-
Posts
4276 -
Joined
-
Last visited
Content Type
Profiles
Forums
Events
Gallery
Everything posted by wm cheng
-
Wow @electric indigo that is absolutely stunning!!! Congrats on another amazing addition to your collection. Love it so much. Is it 48 or 72 again?
-
I feel the same way, I had a good laugh when it came out, but when I have it in hand, it is quite fun (wished it hand landing gears of its own), different and even looks good attached to the VF-31. Although the orange doesn't suit the blue, magenta or green schemes as well and seems to match the only one that hasn't been released yet?!?! Can't wait for that release if it will ever happen.
-
I'd love an Intruder in 1/72 - is that a 1/48? What's the best kit in 1/72?
-

Consolidated Megazone 23 Toy/Model Thread for 2017-2018
wm cheng replied to RavenHawk's topic in Anime or Science Fiction
Hey @Darkspire17 which toy is this? Is it the 1/24 Arcadia?- 817 replies
-
- megazone-23
- toys
-
(and 2 more)
Tagged with:
-
@electric indigo Wow, love the design of that Helicopter - don't know it, what is it again? Great job on it as usual especially in 1/72 scale! @Chas Gorgeous clean build, love that ship too. Any plans on weathering or finishing ideas? @derex3592 That's amazing, what scale is that again? Hard to tell how tiny they are without some reference @Chronocidal Cool 3D print, what is it that you're printing? Is it your design?
-
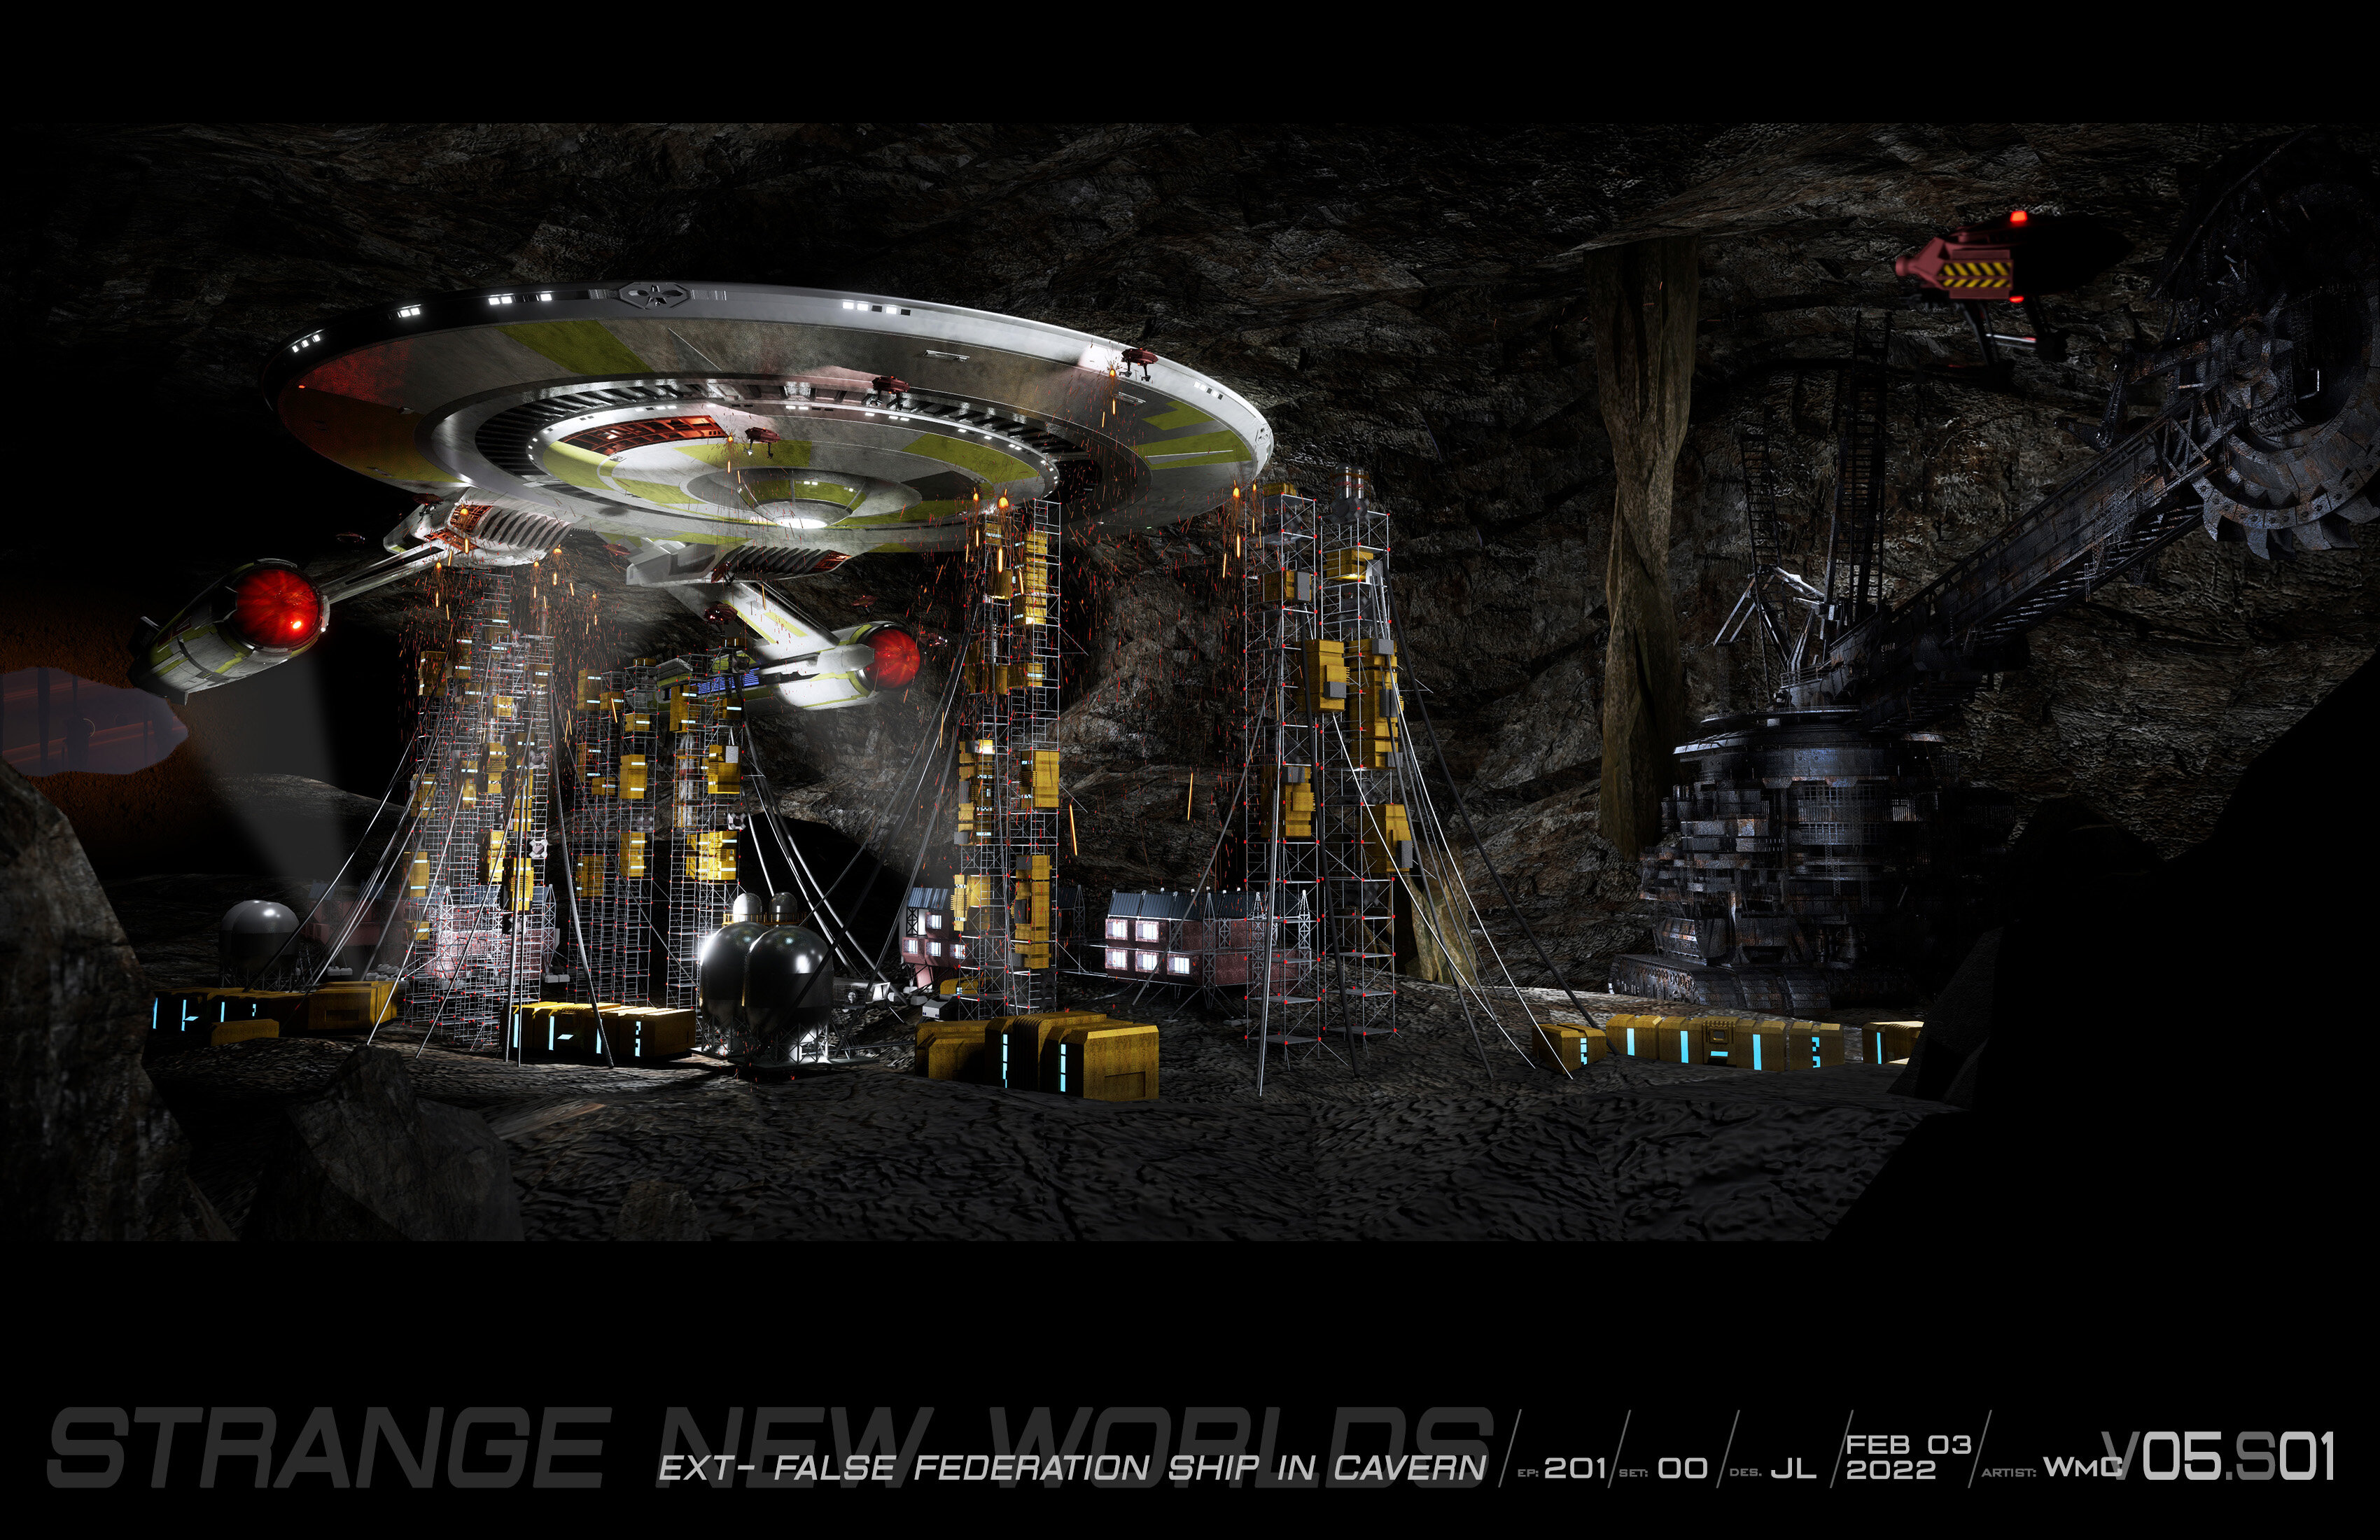
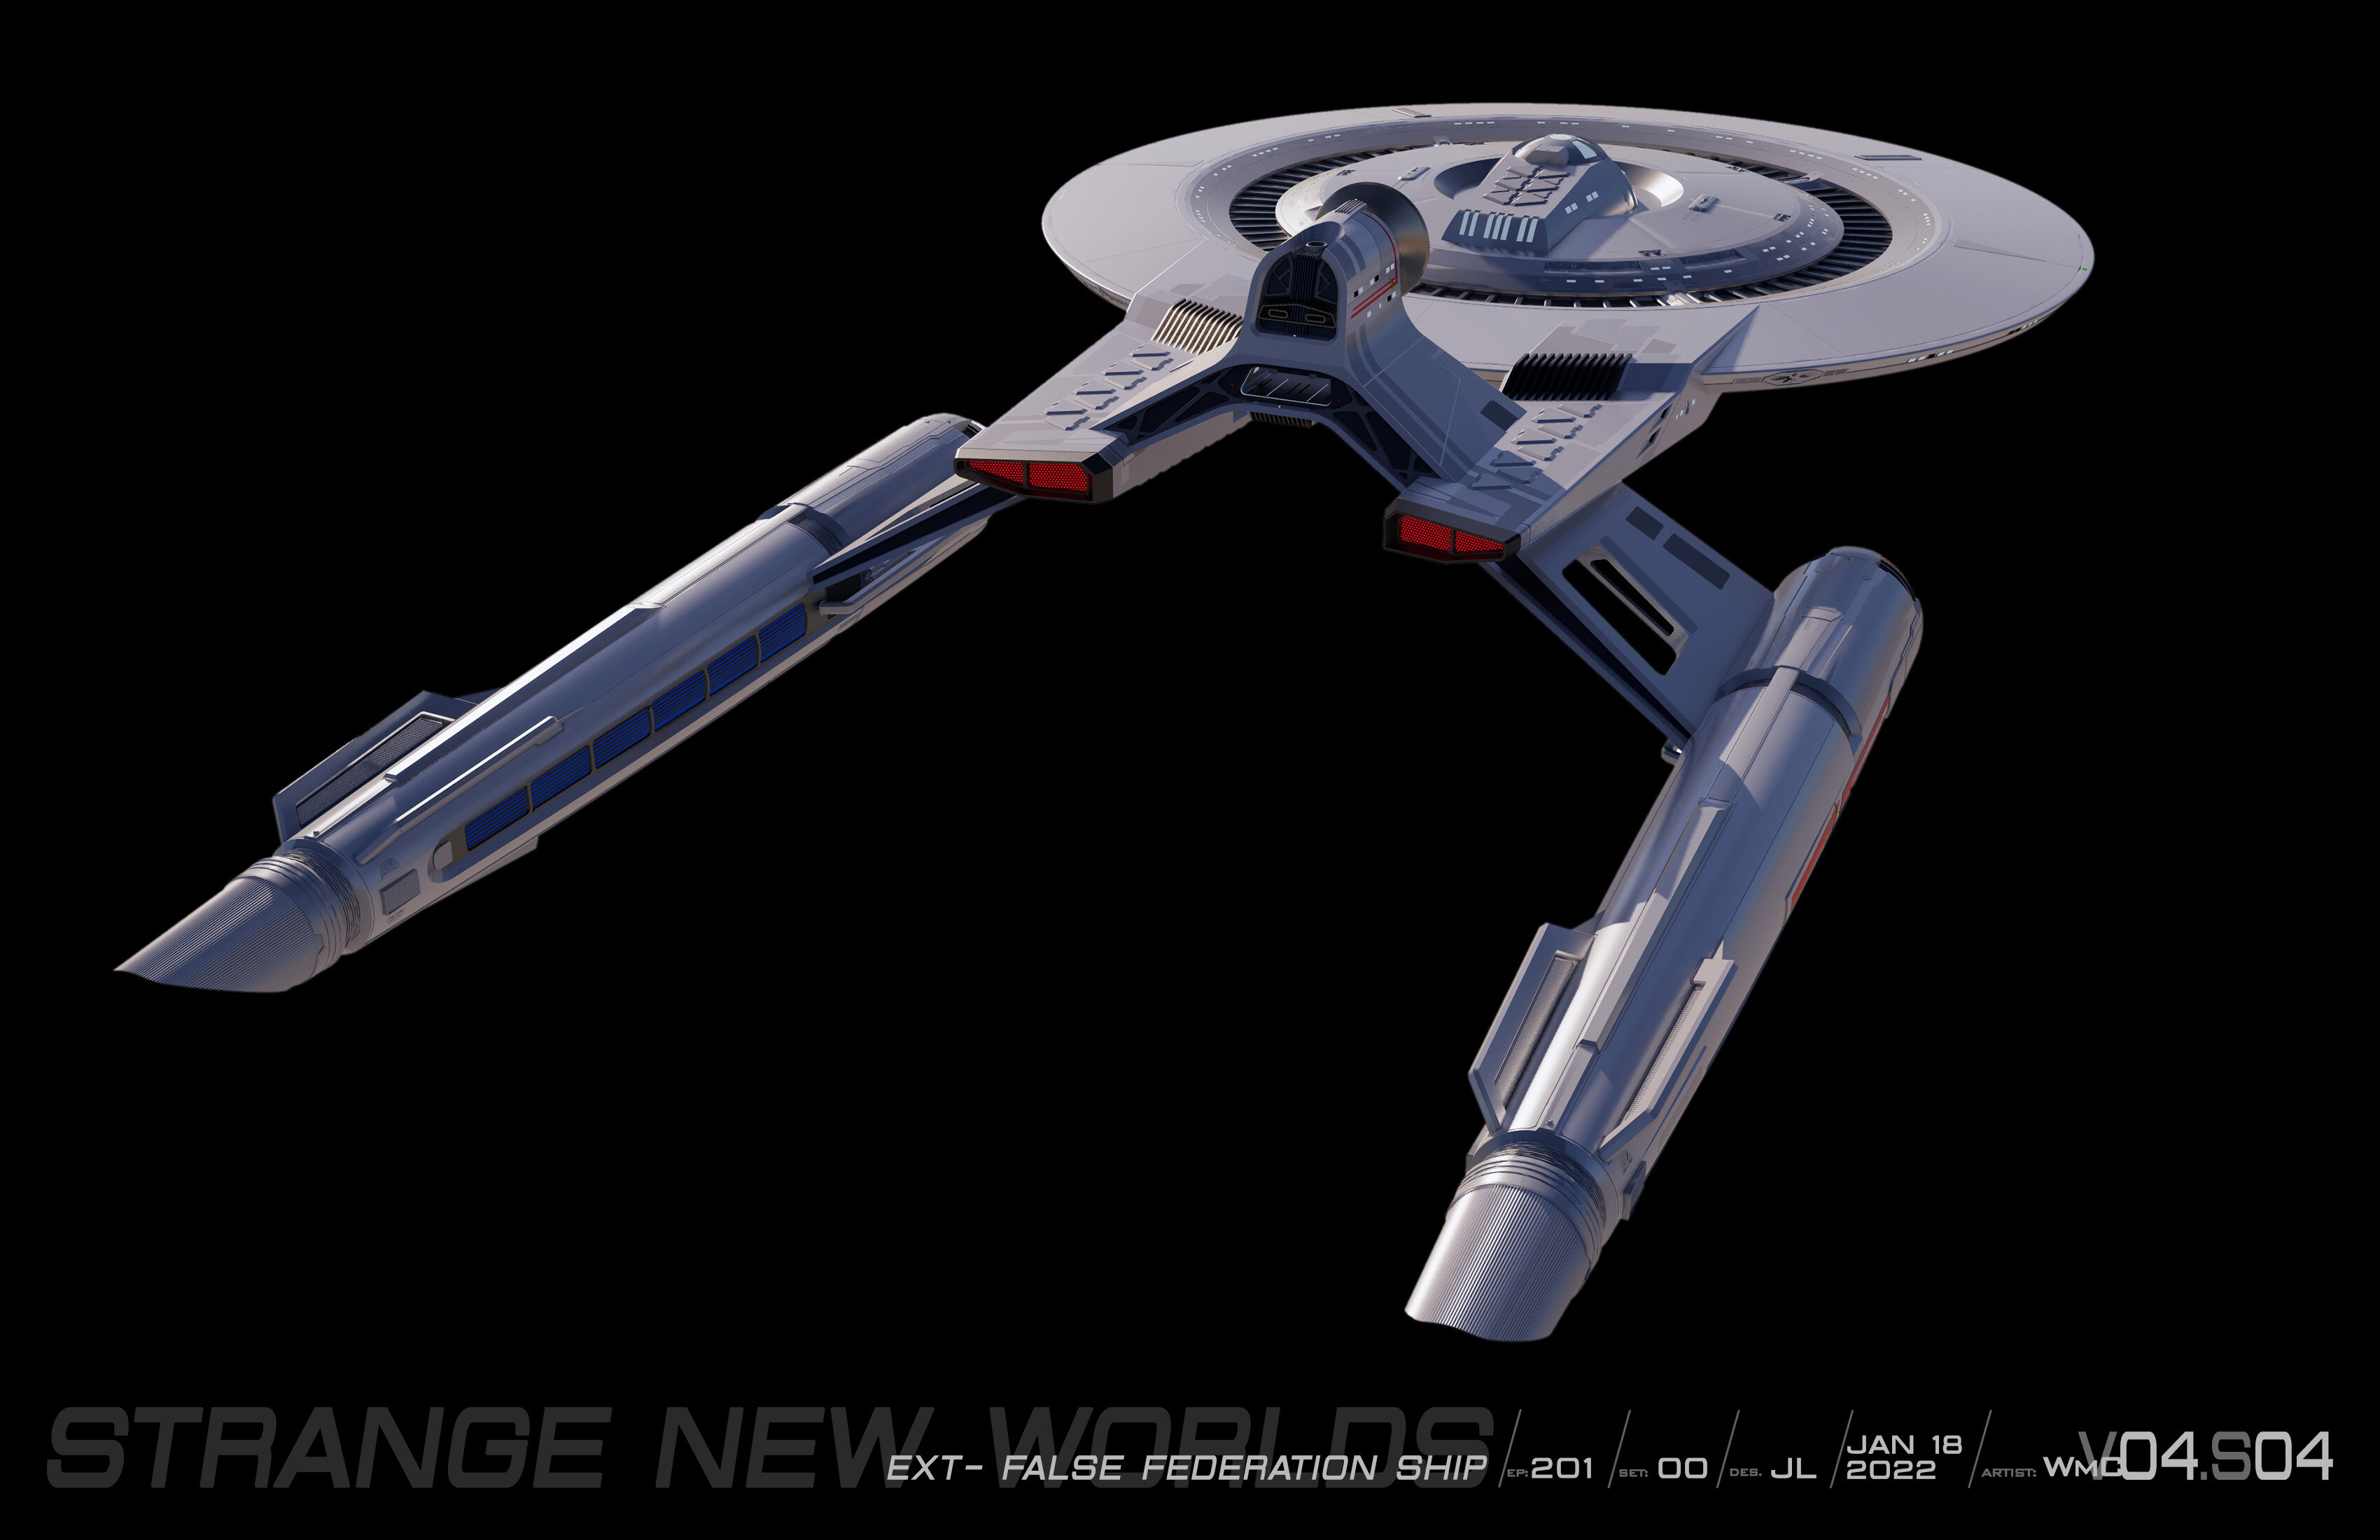
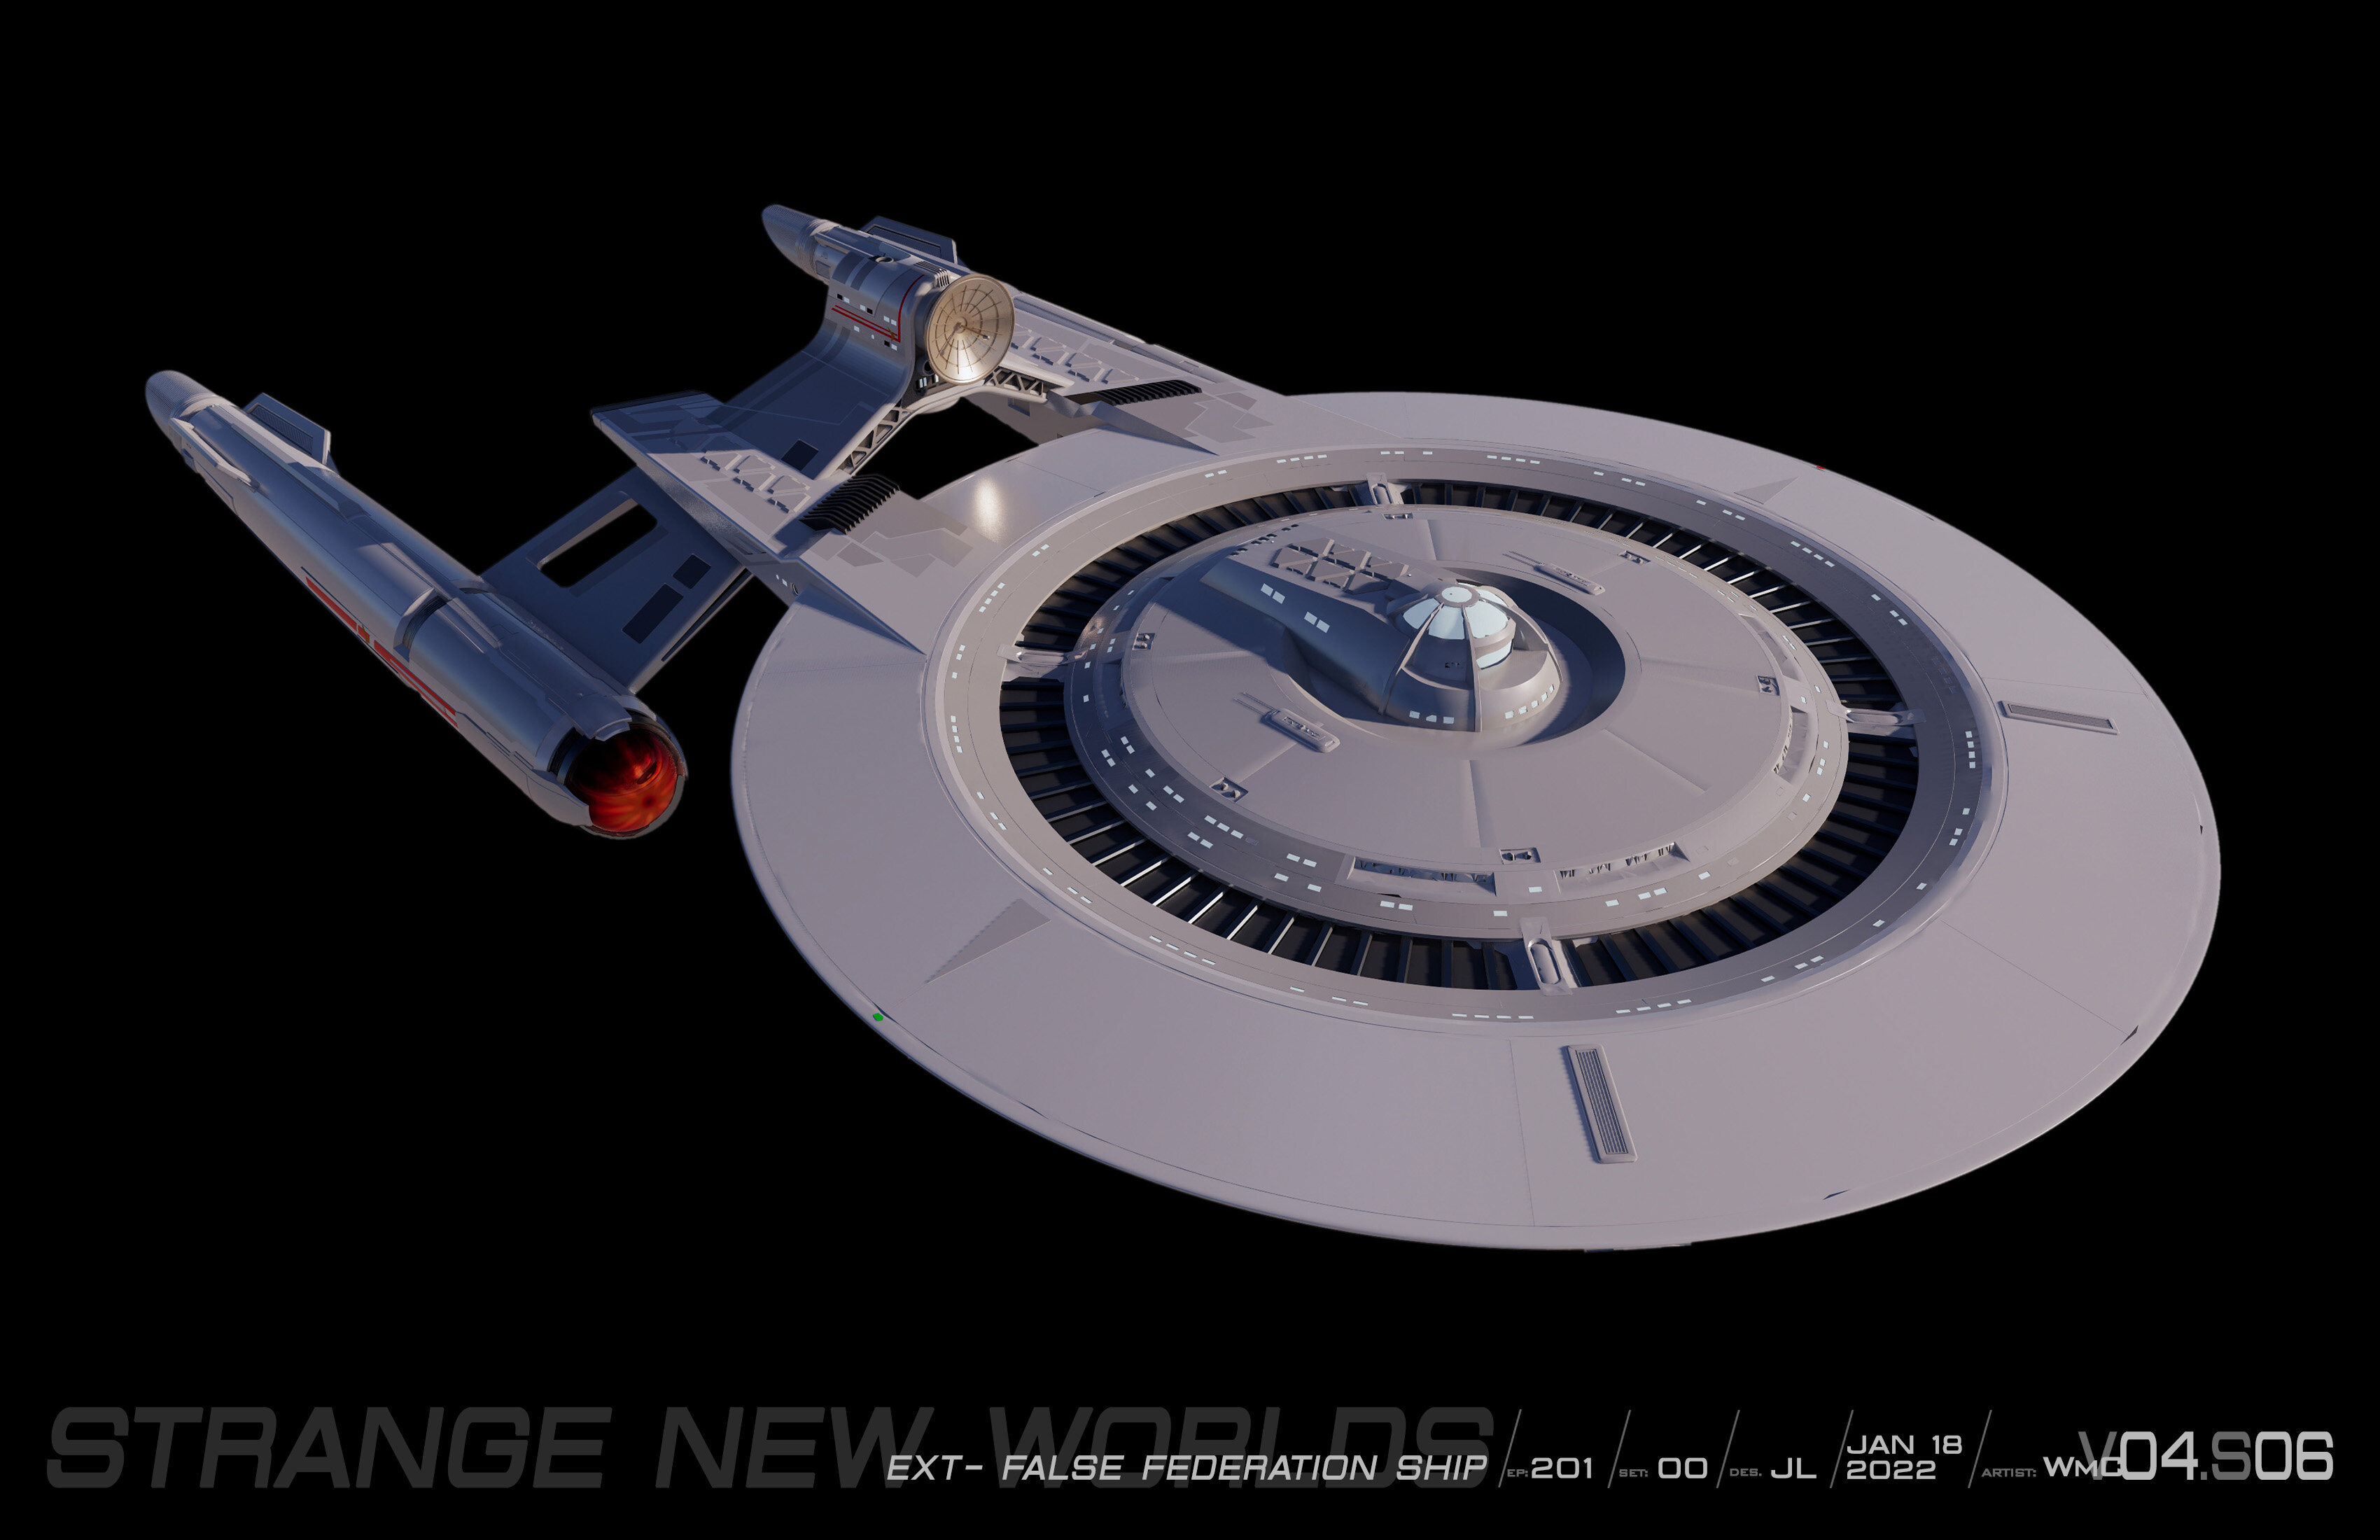
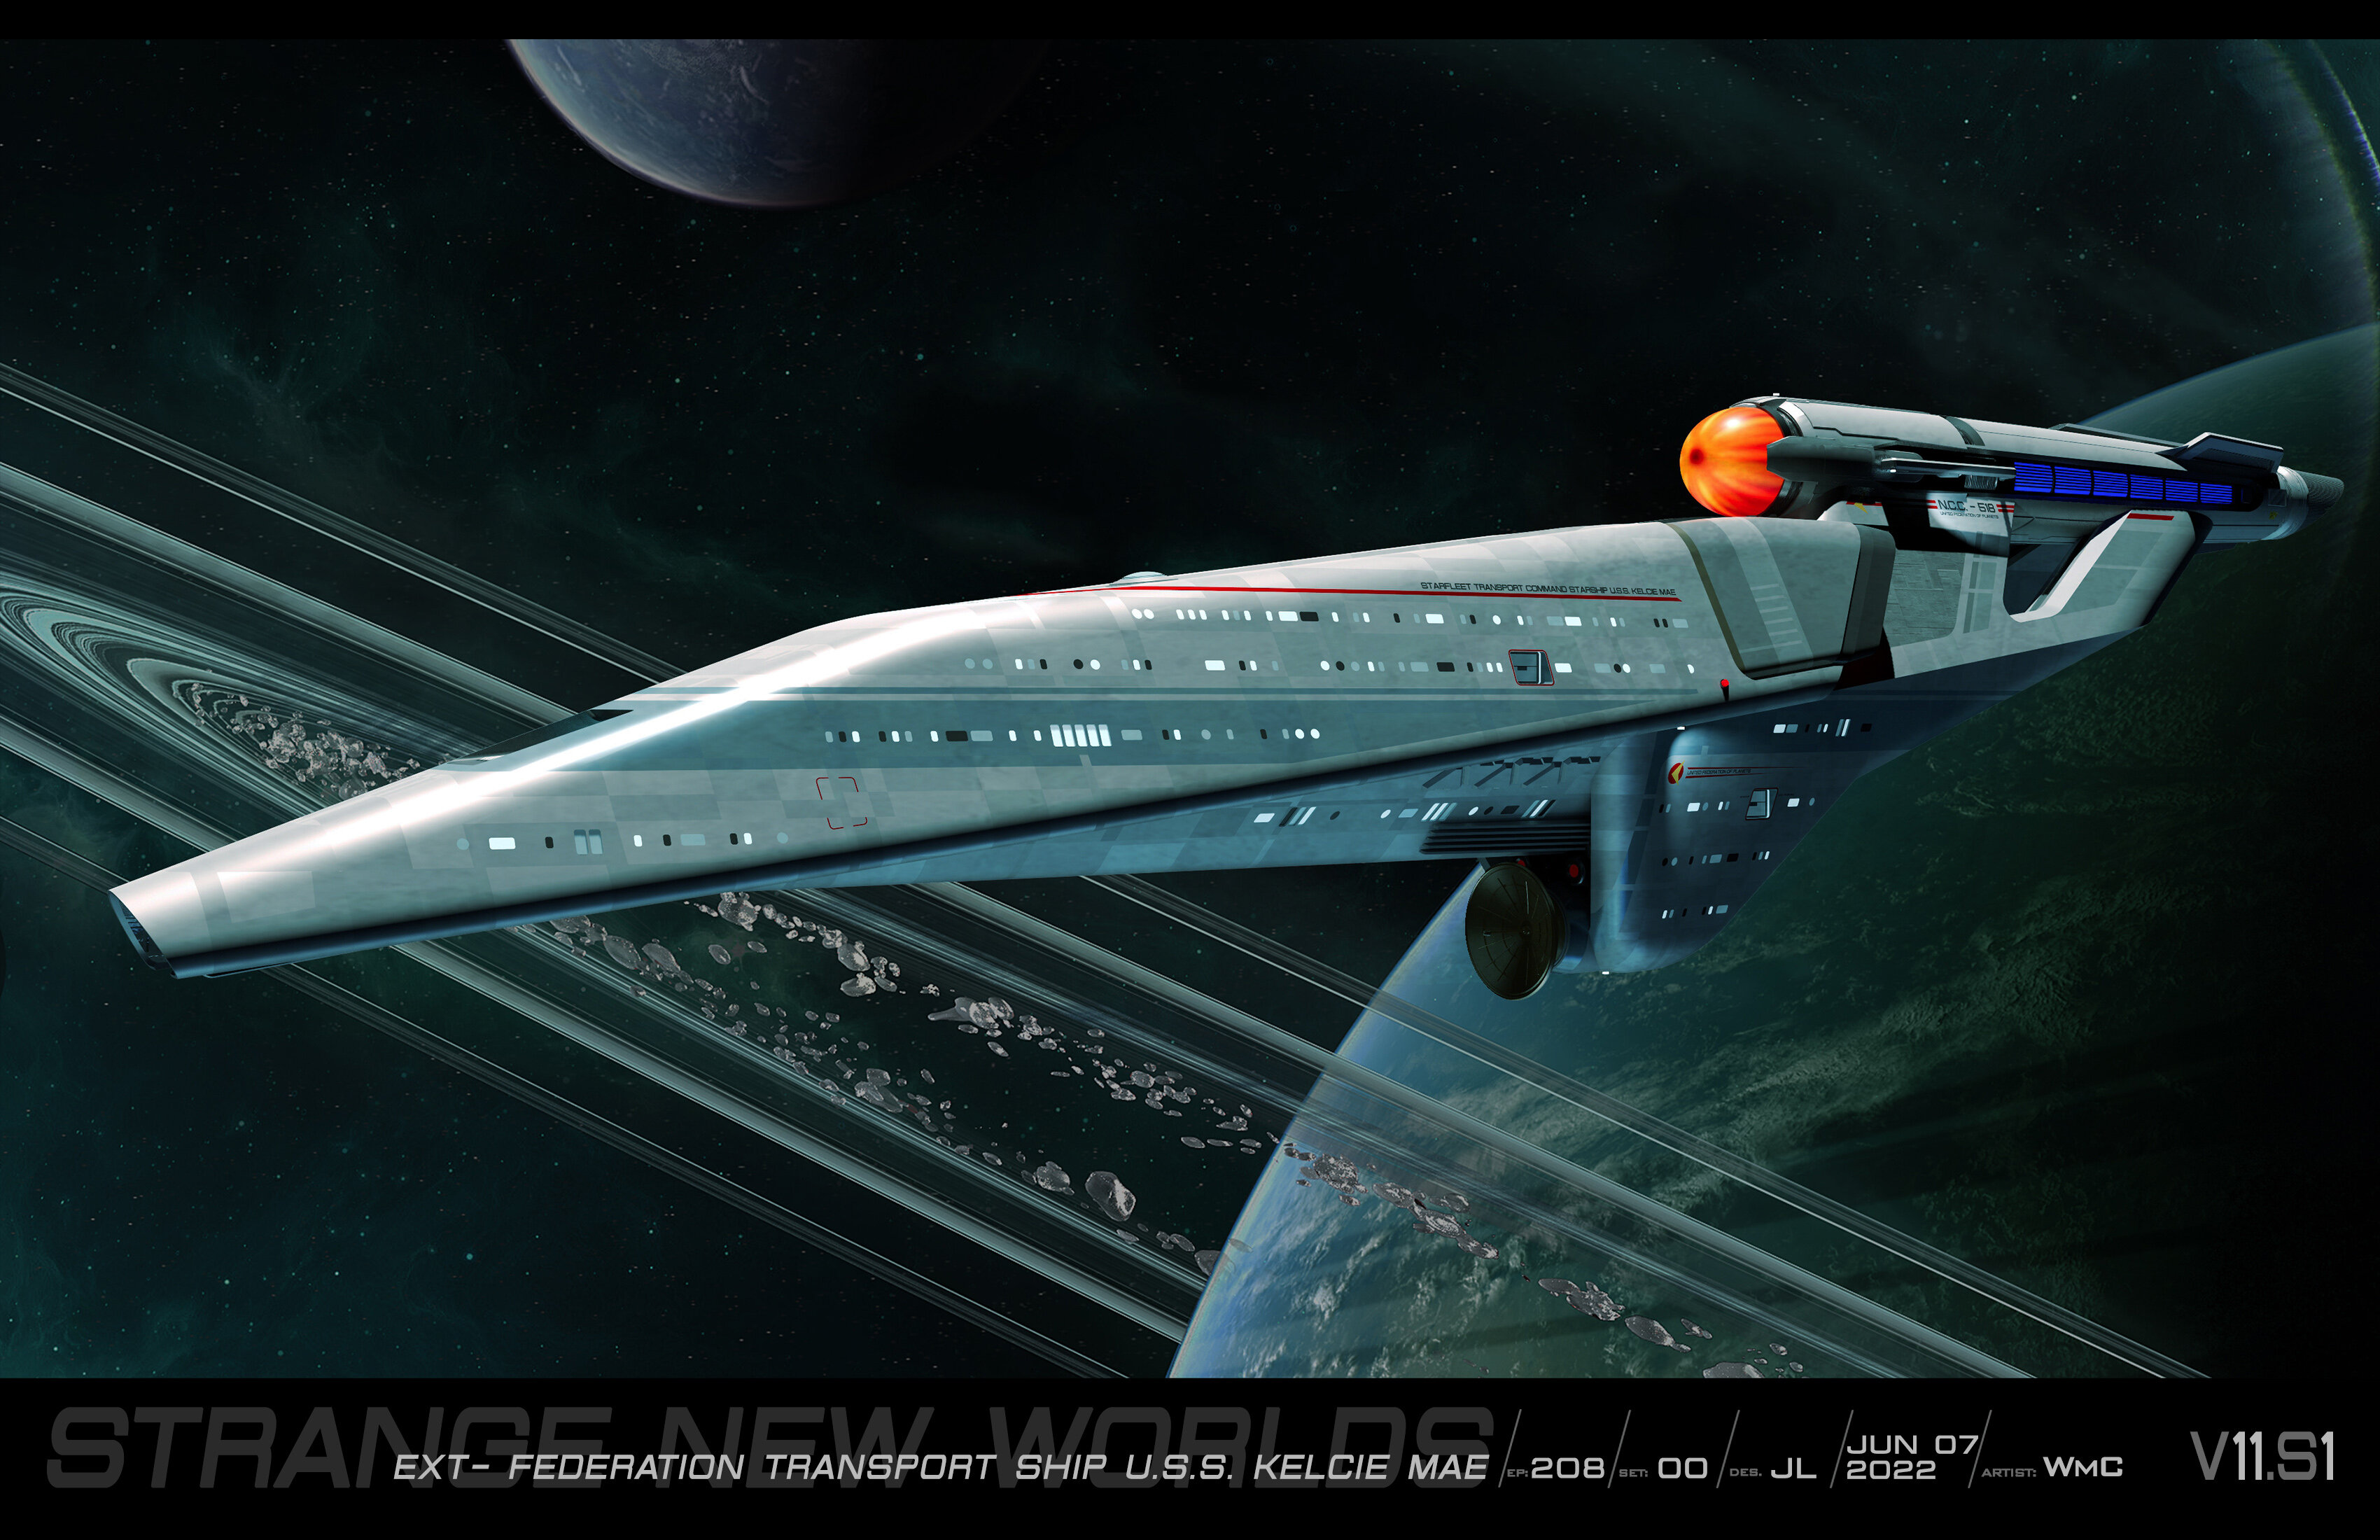
It was scripted to begin with (mostly because we could shoot in the Discovery sets so it made sense to have the saucer from Crossfield class) - other than the saucer, we were pretty much given free range as long as it didn't visually look too much like the Enterprise as you want to instantly distinguish between the two during the fight in the rings (my first version had the nacelles up and the dish below the saucer but it looked too smiliar to the Constitution at first glance).
- 499 replies
-
- uss enterprise
- spock
- (and 8 more)
-
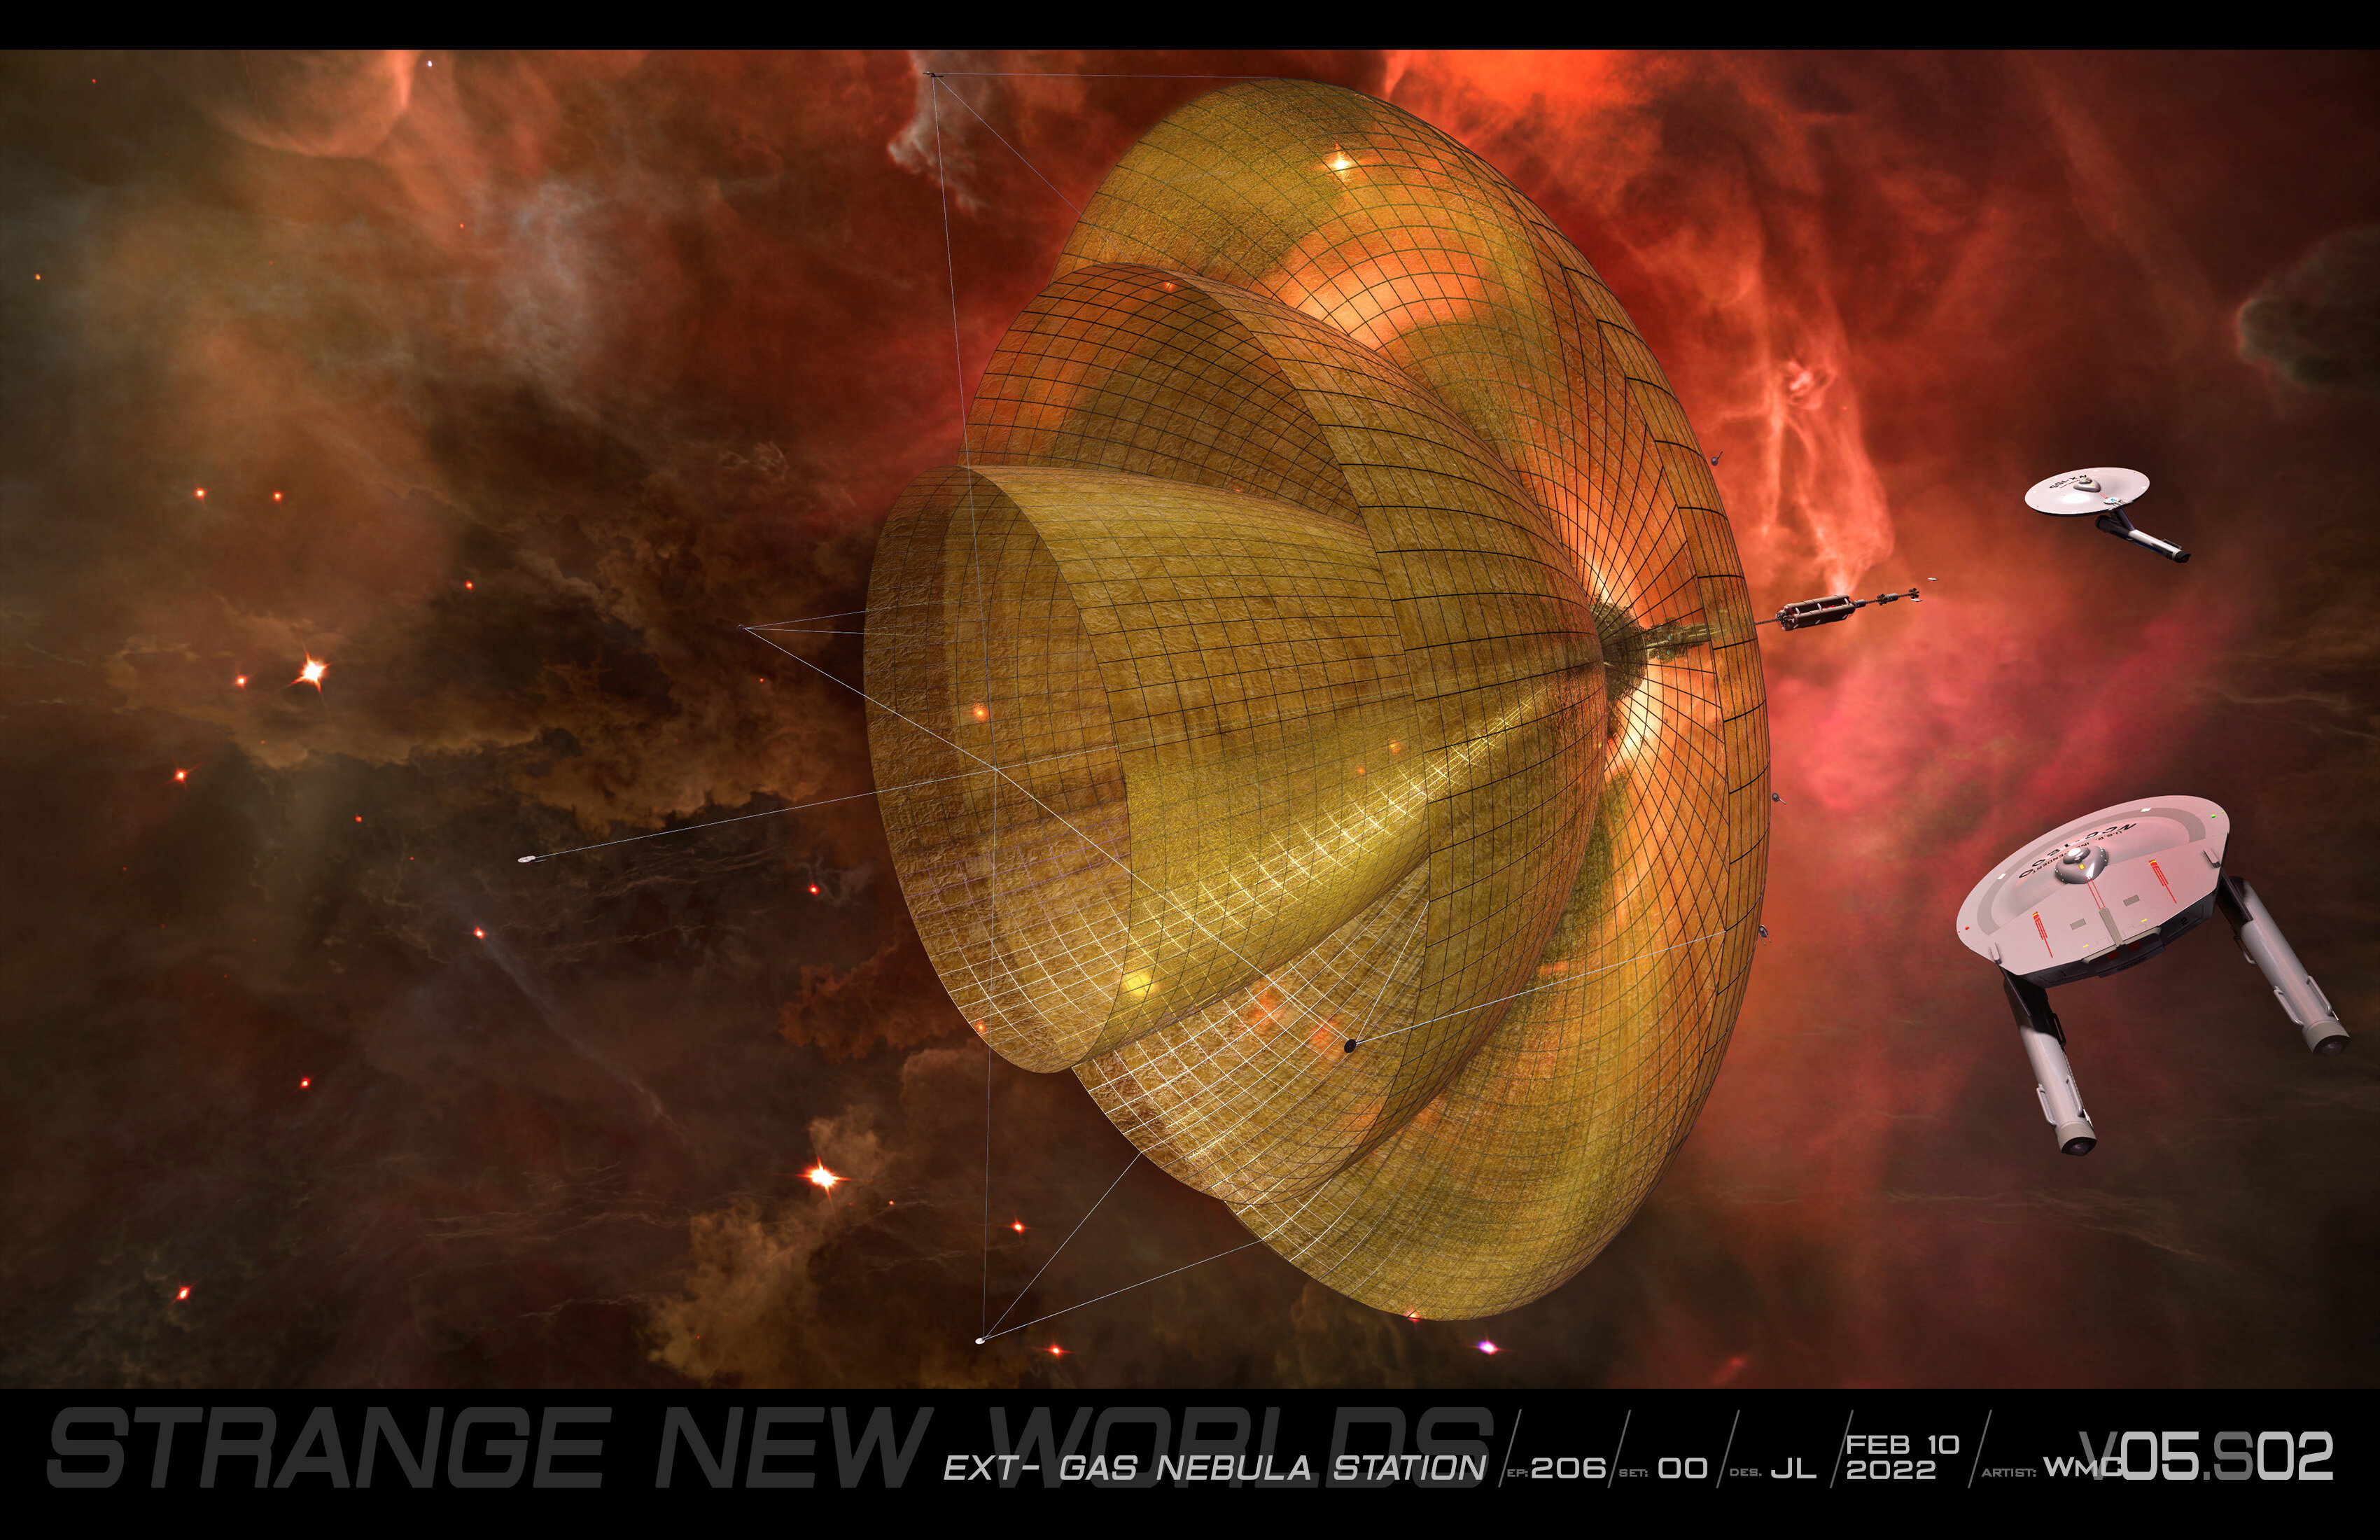
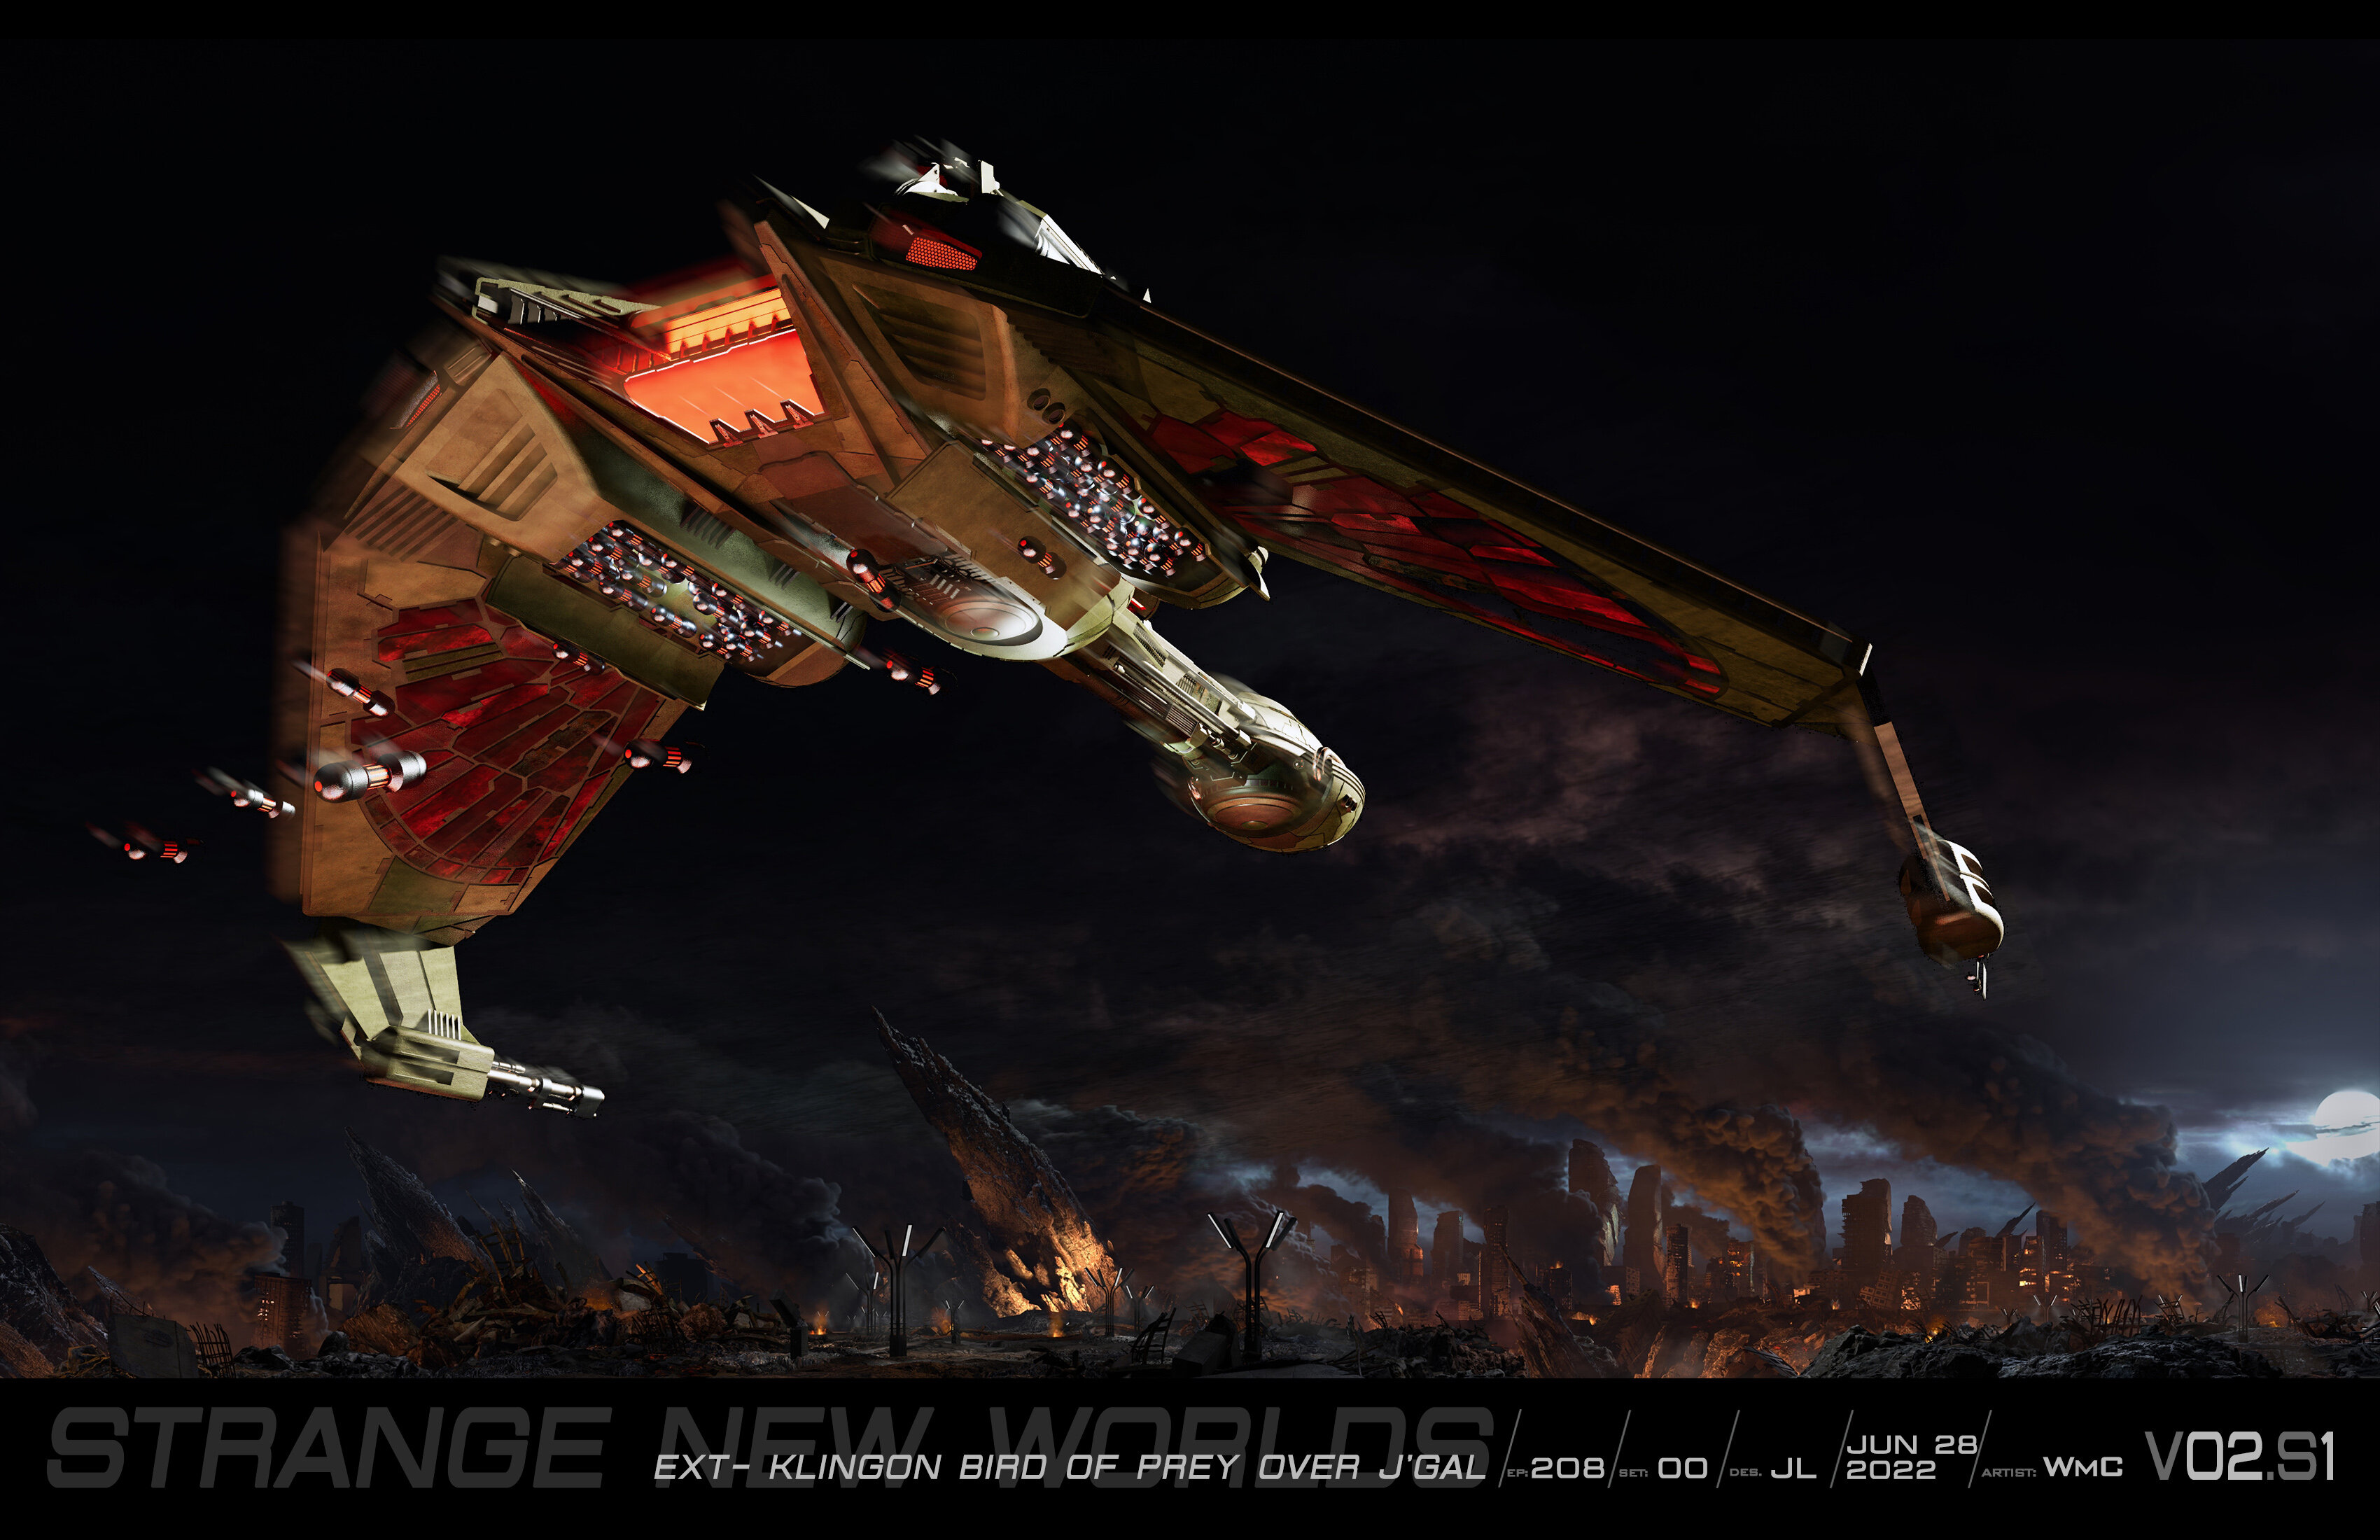
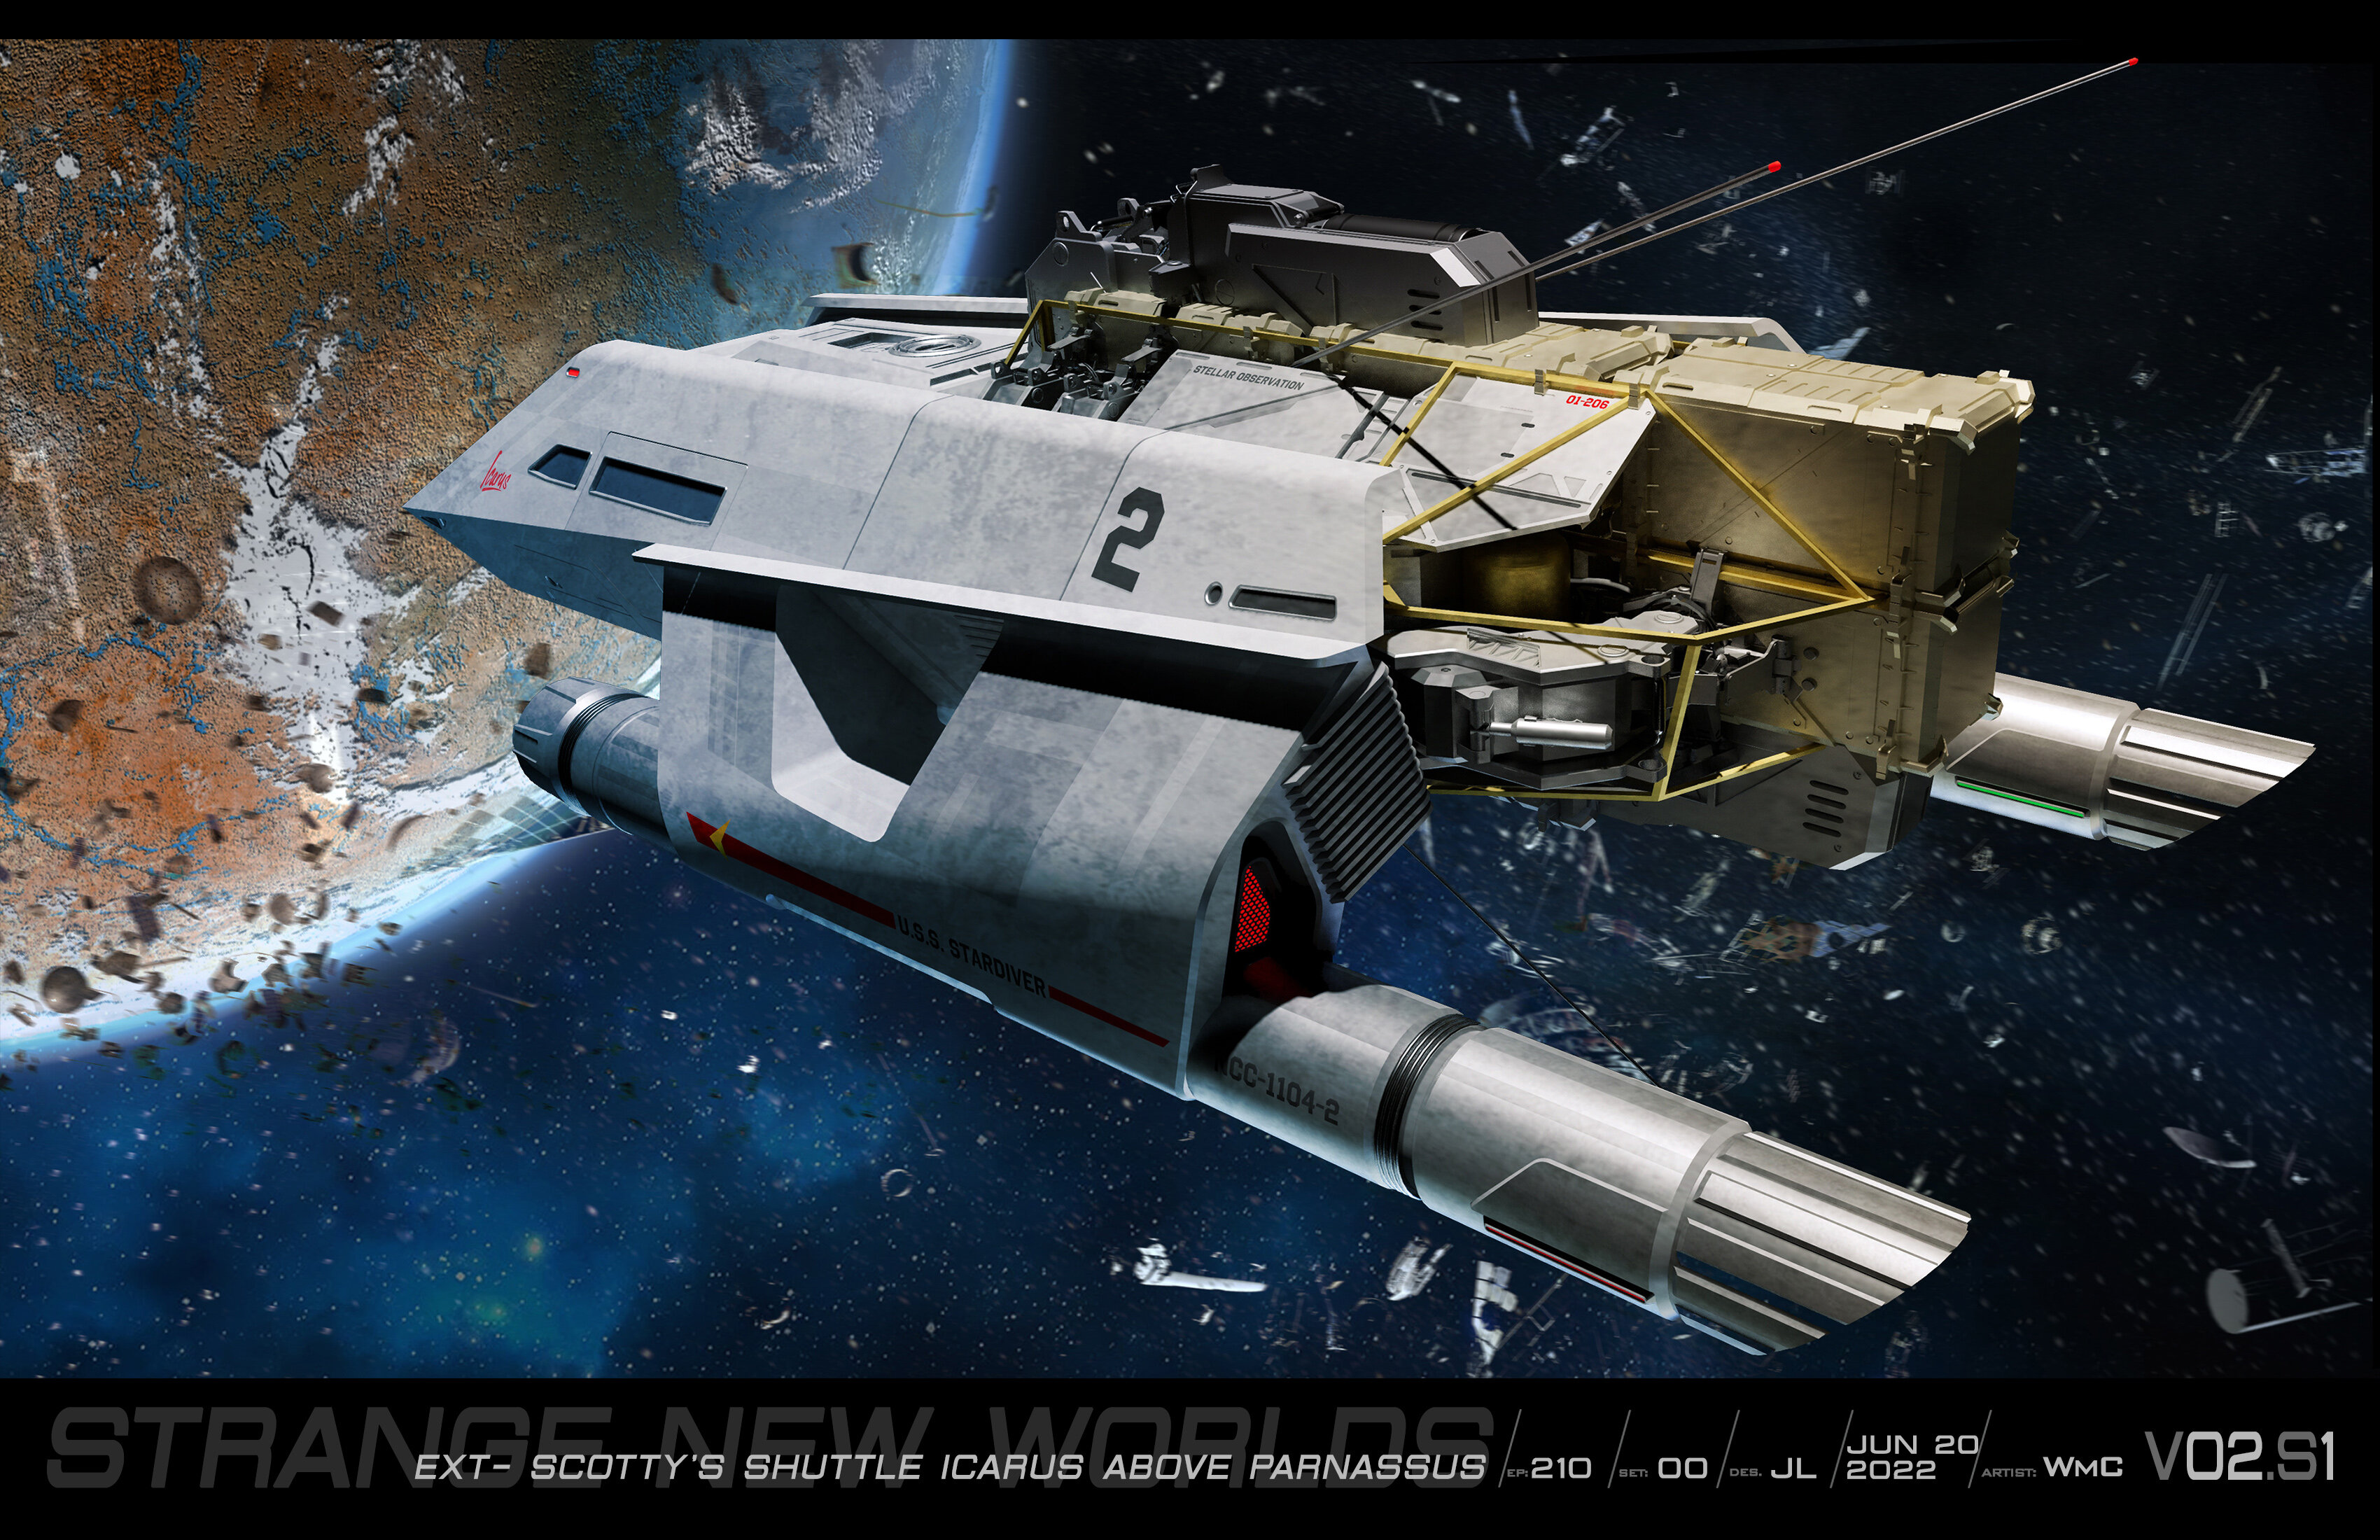
Here was some of my design contributions to this great series! (they didn't use my Klingon BoP for the J'Gal episode due to budget 😭)
- 499 replies
-
- 3
-

-
- uss enterprise
- spock
- (and 8 more)
-
Beautiful Typhoon and weathering @derex3592!!! Wow @Thom that Lancaster kit looks amazing! Did it come with resin seats? I saw a 1/32 Lancaster kit at a show a few months ago that the fuselage even had a "tin-canning" texture from really thin metal panels, the molding quality was phenomenal but it was over $1K - is this the same kit?!?! What a beauty, its going to be HUGE.
-
That Concord looks amazing!!! I wished it was a more interesting livery but I guess it doesn't prefer either Britain or France. That retractable landing gear mechanism looks great, I hope someone comes up with a mod with landing gear doors too!!! When is the VIP points sale in the fall - I guess its too much to hope for its sale to coincide with the VIP, most likely will sell out immediately and be backordered for a while afterwards like the Aston Martin DB-5?
-
Hey @electric indigo that camo and weathering variation on the paint is just superb!!! Looks so good, its it all freehand - black pre-shading underneath with white random sprays and then sprayed each camo green over that pre-shading without overlapping?!?! Amazing! Is that a Tiger Eurocopter? Which 1/72 kit is that?
-

The 'Hey look at this really cool model build I saw' post
wm cheng replied to Shawn's topic in Model kits
Wow! Is that a decal he made from scans of the original poster or did he freehand paint that all in?!?! -
Hi @Shawn my mailbox has gone silent again, did you turn off the email notifications again? Just wondering if you were aware that the threads I'm following are not receiving email notifications once again. I guess its only old timers like me that use the email notifications to followed threads nowadays LOL 😛 Hope all is well with you.
-
THANK YOU @Angesdad so much!!! Is there an English version of that site that lists other manuals?
-
Hey has anyone come across the Bandai Transformation PDF Manuals to these AX toys? They used to put out PDF of their transformation PDF manuals for the other toys, but that link had been down for a while now and I'd like to have the PDFs so I don't have to crack open my paper manuals every so often. I know I can just scan them myself - but thought I should ask first before going through the trouble - or maybe someone has already archived a files section for these things? TIA.
-
@derex3592 Beautiful cockpit and weathering on the sub - did you find something to clear-coat or protect that without affecting it?
-
@derex3592 I also found that the weathering pastels work best on matte/flat surfaces and a light dusting of matte/flat clearcoat works best over top of what you've weathered - any gloss coat really diminishes the effect and doing the matte coat over top of the gloss coat doesn't seem to bring it back - I've done this mistake too and you live and learn. Yes, I love these new 3D printed cockpit decals (had to piece together ones for my F-4J in 1/72 as they didn't have ones for it at the time) but I've found Quinta to really be the best of all the brands trying to provide these upgrades. Finally finished the Nu-Galactica - not the greatest of kits (I've been spoiled with Japanese kits that just goes together!). Lots of huge gaps, internal sprue gates to cut off and shaved an entire deck off the nose and ground away so much plastic just to the head to align correctly with the body. The Admiralty turret guns were a highlight to use, but the string of dollar store LED lights were too dim to see in the daylight (you get what you paid for) afterwards. The Acreation Models decal set were great and added a lot of depth to the ribbed areas, however there was a variation in darkness between the 3 sheets and lots of areas were left missing without decals - I had to scrounge up and not use decal that where in hard to see places to piece up missing decals in more hero areas. There were hundreds of ribs to cut out individually that my neck is so sore now from the days/weeks I spent hunched over in my magnifying glasses cutting and applying the decal strips. Funny, I always had this deep metallic finish in mind when I first watched the show, and the model turned out similar to what I had in mind, but upon reviewing the references now afterwards, its much more matte and bluish grey. I did do an overall dry-brushing of bluish grey filter and hand painted matte clearcoat between the ribs over the decals and spot matte/flat coated the paneling to create more variation in the sheen especially when viewed from certain angles.
-
That's amazing @derex3592 - never even knew these tiny compressors existed! Love to hear more user experience from them. 12-15psi is all I ever shoot at anyways. Alclad are shot at that 12-15 and I hardly ever go above 20psi. I have a giant SilAir from Italy the 80's that's like 30-40lbs and the size of a mid-sized computer tower (although half of it is a storage tank) - so this is crazy miniaturization. Unfortunately my Iwata HP-BC just bit the dust from 1986 - the price is the same then as it is today?!?! I guess its time for a new one.
-
@derex3592 that turned out amazing!!! Congrats. Did you go with the pearlescent over top in the end? What a beauty. @Chas amazing kit-bash, really captures the era's design language. I can see the Zeta Gundam backpacks too what an ingenious use - can't wait to see you finish this gorgeous design!!! So much work showed here! Amazing. I'm still in decal hell...
-
Thanks! I always thought it was quite metallic while watching the show - there seemed to be a lot of specular highlights in the episodes, its just the still renders that seem to render it flatter/greyer which wasn't what I had experienced when I saw it on TV. I am going to tone it down a bit with a bluish grey drybushing afterwards and I think I'll paint/clearcoat the darker areas between the ribs matte/flat over the decals which will lighten them up a bit. I'm a bit disappointed that the decals darkened the armored sections up so much that there's less contrast now between the armored and ribbed sections. I started a little dark wash on the underside (I always experiment with the underside first) in the middle of the trench to see how the dark wash fills in between the ribs where there were no decals - it seems like its going to work out fine.
-
I thought they were experimenting with non-moveable control surfaces (no more ailerons or flaps) - I can't remember what that was called? Would make future modeling and weathering a lot more simple and boring 😛
-
@electric indigo is that Tutor going to be in the red & white snowbirds scheme? @MechTech I like the sheen, but I'm not sure if it will dull down too much if I matte coat it - not sure what I'm going to do yet, still got a lot of decals to go. Might hand brush matte/flat just in between the ribs. Thinking of doing a bluish/grey drybrush overtop to give it a slightly bluier hue. @Rock is that a fancy shiny new spray booth? If so I'd like to learn more, I have a kitchen exhaust fan installed in the ceiling, but being 4ft-5ft away seems to be too far away and I have a bad case of the dried dust/overspray all over my workbench and would like something I can hook up to my exhaust fan that can capture more of the overspray on my bench.
-
What about hitting it with a pearlescent white afterwards? I was thinking of doing that after the aztec decals whenever I finally get to the Enterprise/Reliant duo. Yeah, the 1/350 Enterprise refit would be my ultimate "holy-grail" but it's in the $1K range just to get all the aftermarket stuff and lighting components and the multi-color pearlescent aztec just seems so daunting - so it will be after I "actually" retire.
-
Why not make it a Christmas pair with DX YF-21?!?!?! (if this goes well, maybe it might make the YF-21 a little bit more of a reality?)
-
That's so cool @Chronocidal - love the see the whole cockpit when you get it together! (sorry don't know what plane its from but looks old like 70s but I do know its not an F-14) Some more progress on the decals - so many tiny strips to cut out and place but it's coming along pretty nicely. Already can see that there's going to be a lot of little spots that the decal sheets missed or the pattern is incorrect or too short that I'll have to repair later on. Can't wait to do a dark wash over it to pick out the recesses and a bluish grey tint/dry brush to tone down the metallic sheen and pick out the highlights - but that's a while away...

