-
Posts
4276 -
Joined
-
Last visited
Content Type
Profiles
Forums
Events
Gallery
Everything posted by wm cheng
-
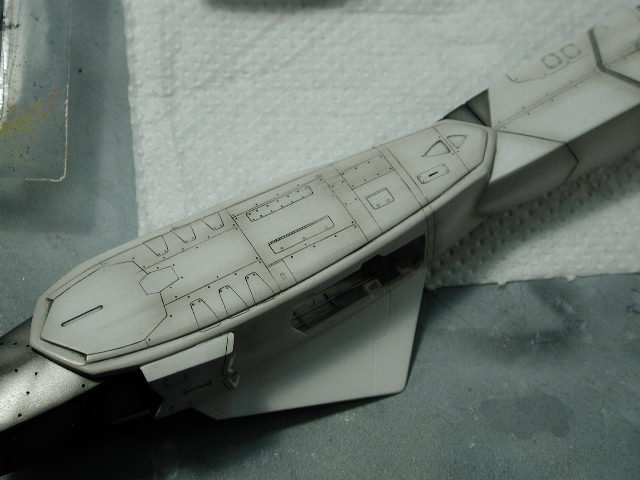
Argh! it didn't really work - the chalkiness of it wiped off too easily You hardly see it, and with any further handling (even just to get a clear-coat on to protect it) it just about dissapears. Oh well, please bear with me as I experiment on this phase. I think its off to an art store for some supplies...
-
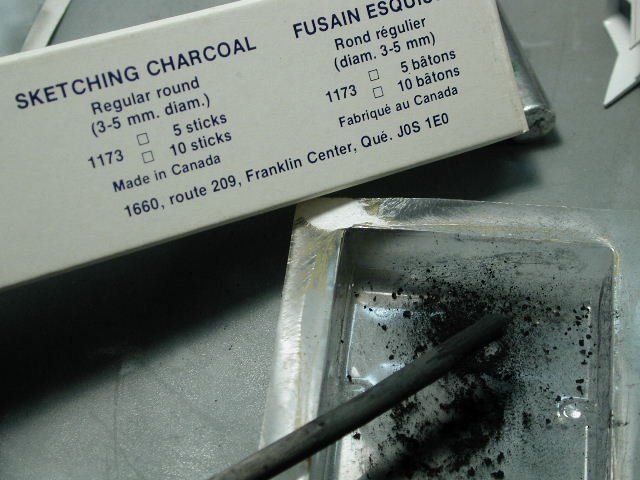
Hey LTSO, my brakes came out fine, I use Tamiya masking tape, which helps - I also don't leave it on too long or press too hard. What is your white undercoat - I find that really glossy finishes tend to mar slightly with the masking tape - or anything else for that matter. Thats why I like working with semi-gloss finishes - its seems to be more resistant to abuse. Funny you should mention being based in a coal mine David I thought I'd try sketching charcoal, I used an xacto knife to scrape away some filings to dab onto the plane.
-
Wow, thanks David, what fantastic articles - now I have something to aspire to. I've always loved that mottled grey look, now with that weathing tip, I can finally start on that 1/72 F-14 (if only I had the time). I will try to adapt those tips to this VF-0, except it should be a little more weathered than real-life, since I want it more animation/cgi accurate. This would be a good test bed for the F-14 later on. However, I don't have the skills or control of do those panel mottling details on a 1/72 scale. My wife would kill me if I started building 1/32 planes!! Also, I don't want to turn the VF-0 grey, it is essentially a white plane with streaks. I'll omit the mottling this time around, and concentrate on the streaking and same colour over coat to blend it in, but I might try some mottling then in the over coat when blending. Oh, well, I'll revise my previous estimates, the post-shading that you guys saw represents 25% of the finished product. Thanks Graham, I meant the two bulges on the top of the plane on the "front/back" plate. I think they are optional, since there is very good panel line detail underneath them on the Hasegawa model (just that we've never seen a VF-0 without them). I'll try to post some pictures of the pastel streaks later today.
-
You said Noel! (although if I go through the effort of customizing, maybe Hasegawa will speed up the process and put one out before I'm finished ) Bitter? me,... non! I'll be looking forward to that baby!! Hey, even the "pros" didn't fill in the injector pins/holes in the landing gear doors, they left some and covered some up with some piece of styrene - man, no respect!
-
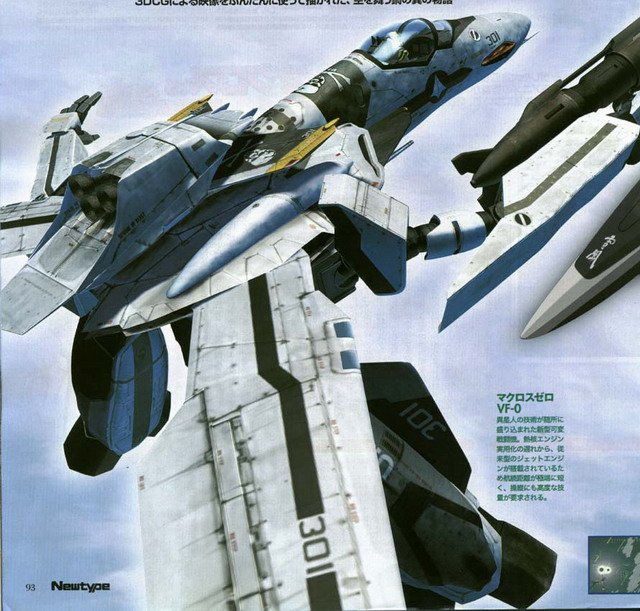
Hey here's another reference on the weathing - look, the streaking is definitely not in the direction of the airflow - pretty dirty bird if you ask me How would I attempt to get that surface mottling - I see a lot of recent tomcats like that, its more than just paint patches?
-
Oh, sorry Hikuro - didn't mean to ignore your question, but I'm not sure I understand the situation. (you know, you should strip paint with the solvents instead of sanding it off). If my read is right, you sanded the paint, but that left the old paint in the engraved panel lines showing through - and you are asking if you can still do the oil wash in the panel lines to show up? Well, that depends on how much of the engraved lines are still a recess after they have been filled with your old paint. If you stripped the paint with a solvent (one that doesn't eat at plastic) and a toothbrush, you could get all the paint out of the crevices and that would leave deep enough engraved troughs to hold the oil wash details. If the paint in the panels have filled the tiny lines then no - the oil wash would be useless since there is really nothing for the oil to sit in.
-
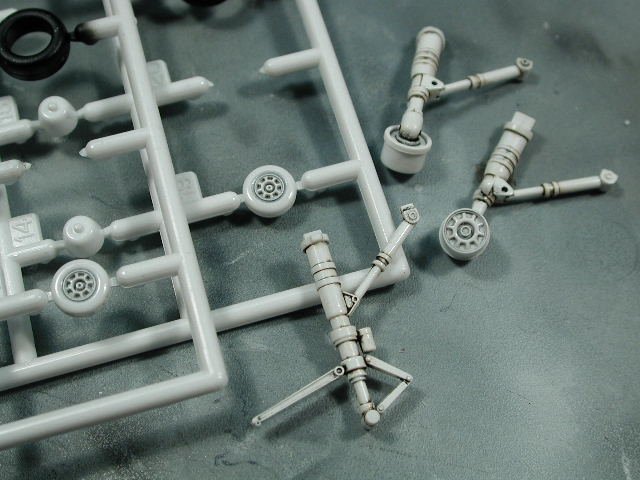
I sprayed the front wheels white and applied the dark wash on them to pick out the details. Actually, I applied the wash first thinking I'd be lazy and use the white plastic of the wheels as is - but it looked plasticy translucent. So I painted over it, and it was good since the original wash was a bit too dark. The trick to doing these wheels and getting a good separation between the white hubs and the black rubber is doing this black wash, the wash gets into the crevice between the hub and plastic, then when I hand brush the flat black on the tires, I don't have to go right up to the edge of the hub, I let the black oil wash do that for me.
-
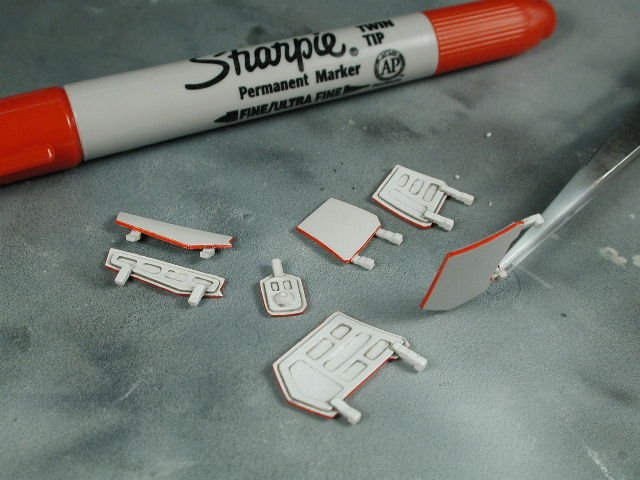
Here's the doors edged in red, I love this Sharpie marker (you can get them at most Staples or Business Depots) it has two ends, a fine and broad tip. The hardest part was continuing the red edge pass the hinges, I had to scrape some of the paint off to eliminate some excess red on the hinge tabs.
-
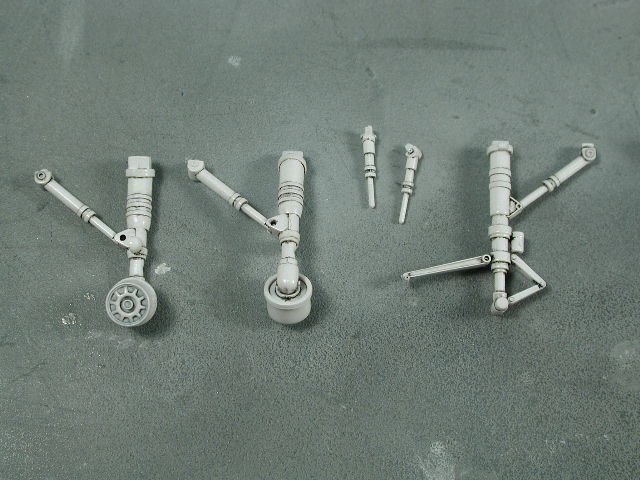
A black wash on the landing gears to pick out some detail, I'll do a brown rust/hydraulic leak wash afterwards. Another great Hasegawa innovation, the rear main gear hubs are molded separately from the tires, hallaluah!! Too bad the front gera wheels aren't like that too. By the way, that can on the front gears, is that the brake fluid reservoir? What colour should it be? I still need to apply the Tamyia chrome maker to the bare metal actuator struts.
-
-
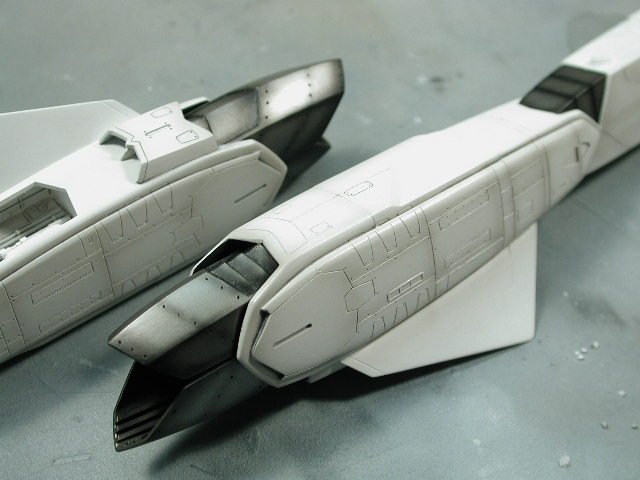
Man I love the tailcones, thanks for the idea to do the ribs - I love them. I also drew in some pencil lines on the top part of the leg to restore that ridge that kind of gotten lost in all that sanding and defined some very light panel lines. The pencil lines are sealed in under the clear coat to prevent them from being rubbed away.
-
-
Here it is drying after another clear-coat to protect the very fragile and thin post-shading work. I highly recommend a clear-coat after the post-shading, since often its just a light dusting of paint, it can scratch off.
-
Unfortunately during all the handling, I tore off that nose pilot tube. I knew it was going to happen when I glued them on in a much earlier step, but I had to do it early on since I wanted a good bond between the plastic (before it was painted) and I wanted an oil wash and post-shading to occur at the valley where the probe meets the radome. It was a hard decision back then, normally I always leave the fragile things till the very end, but they always looked tacked on, and often fell off since it wasn't properly glued in the first place (worst, often it would ruin the painted surface or take some paint with it when it fell off). I don't think I have a single model that has a pilot's tube intact
-
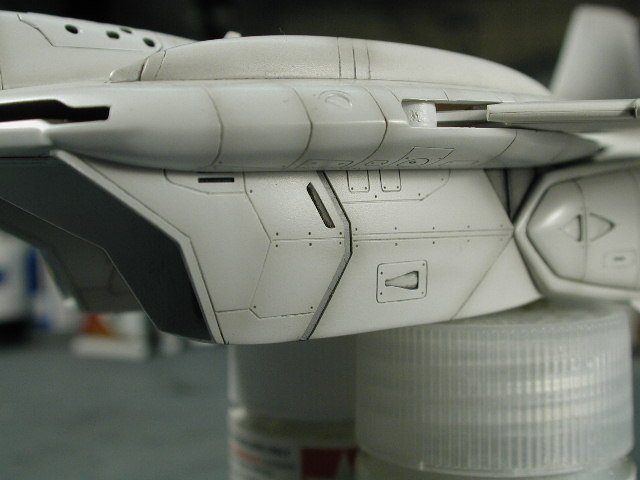
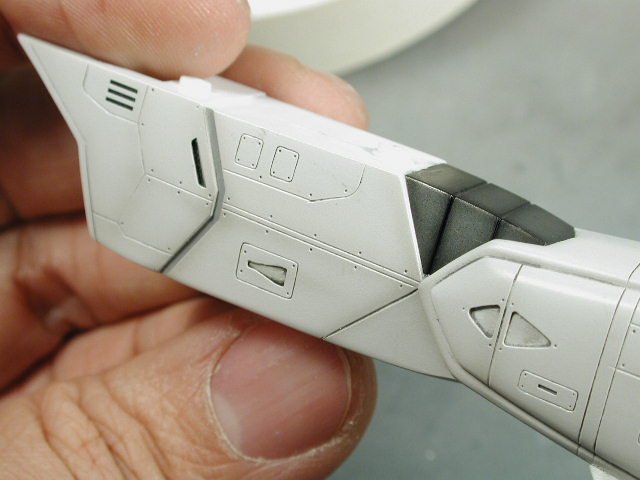
I masked that hip separation and painted that sky grey to give it a little more definition than just a oil wash.
-
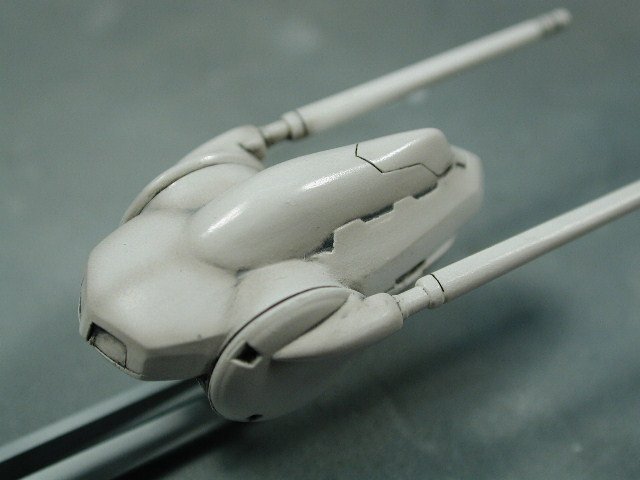
The front intake turbines, I cut to two little pins off, its too difficult to align them properly. Its too bad they didn't set it back further into the intake.
-
-
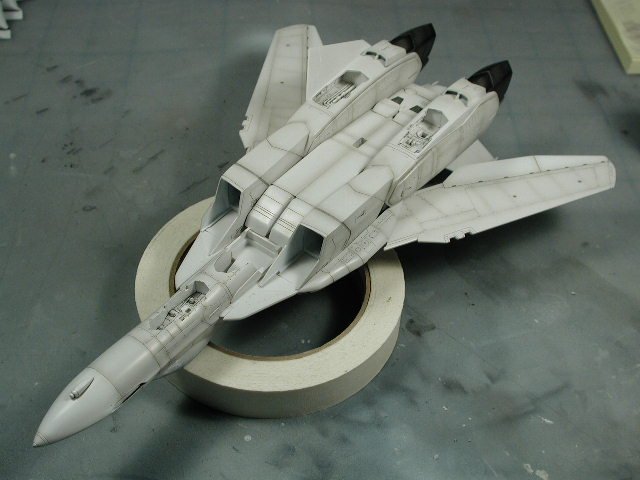
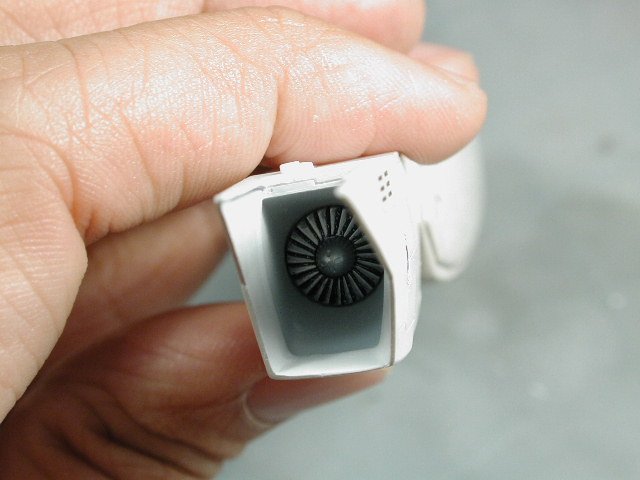
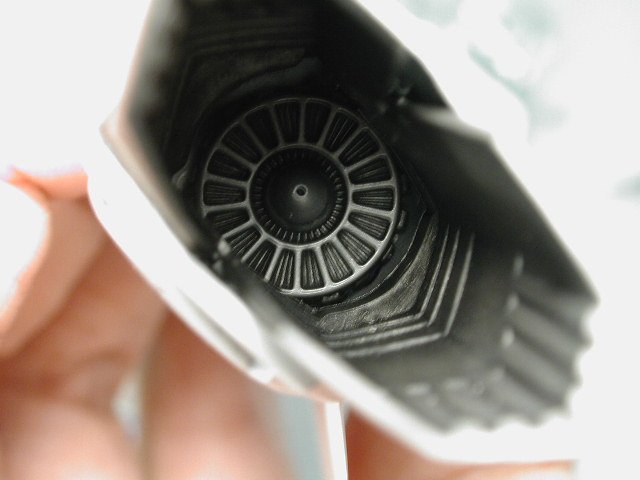
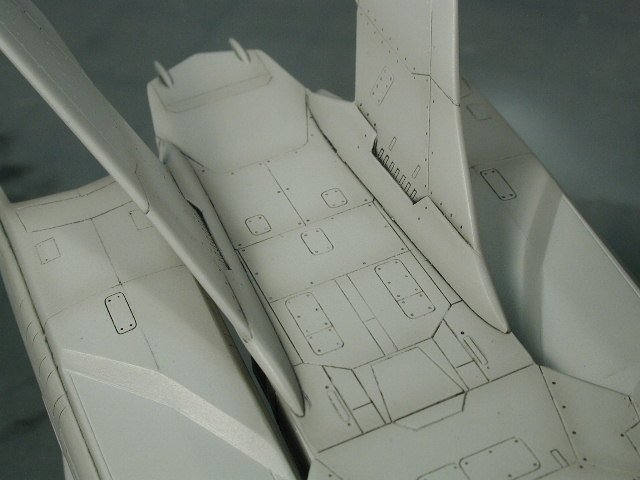
Ah, one of the best things Hasegawa did was design the tailcone/feet to be assembled after painting, this saves so much masking the interior black headaches. This one of the things I've been looking foward to assembling.
-
Ok, maybe David or anyone else here can answer me this - what is the direction o streaking on the swing wings supposed to be? This is going to be my weather reference - I get the idea of airflow and everything, but look on the swing wings, they have it flowing directly back - it looks ok, but its certainly not in the direction of the airflow over the wings. I know, this is anime, so do I follow the anime airflow pattern, it looks better, or do I do it at an angle to the wings (which IMHO looks a bit odd) but makes physical reality sense - it so then at which angle on a variable geometry wing? Maybe we can have a vote - anime direction or realistic direction?
-
-
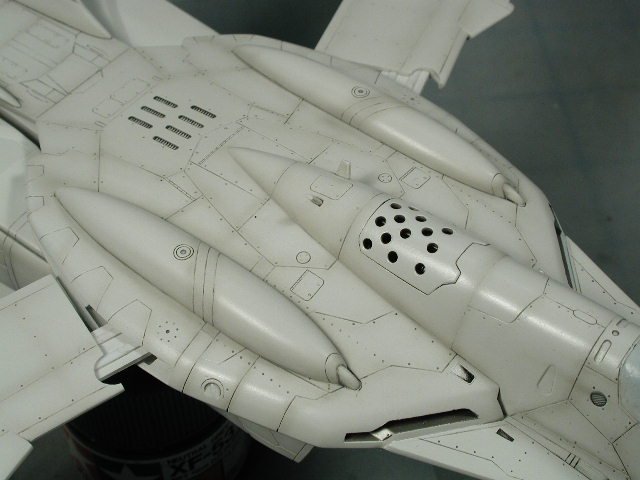
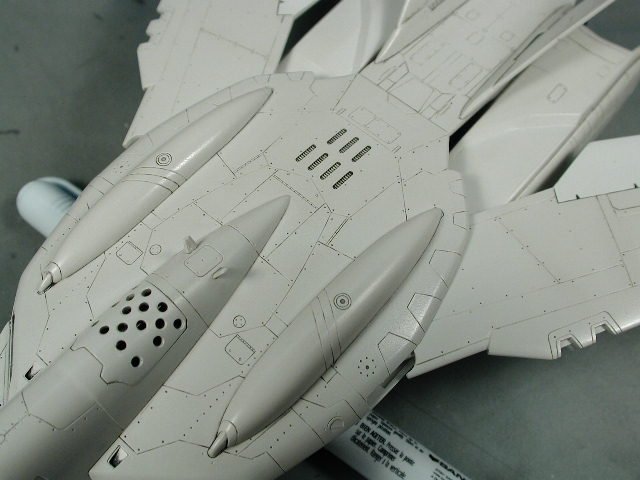
Here's a close up, I shaded those (conformal fuel tanks? what are they David/Graham?) to bring out their roundness, and concentrated on the valley at their connection to the airframe. I also shaded where I think the black stripes will meet light grey paint, so the black separation has a bit of a transition and won't be so jarring. Remember you want to avoid masking after the decals (that VE-1 Radome incident ) Now I want to do the streaking next - but I'm not sure how - any suggestions? I thought I'd do the majority of weathering now before the decals since certain decals such as the warning and no-step labels will have a tiny bit of carrier film attached to them (more inbetween the letters) even if I trim them very closely and if I wash or streak, it might catch the edges of these decals and produce a dark halo effect around each graphic (bad experience I don't wish to repeat). I tried wiping the oil wash in a single direction, but the streaking isn't what I wanted to achieve, it streaks, but the darkest portion is towards the tail - I want the darkest portion to be at the source - then fading away. An effect best achieved by airbrushing the fade, but I can't get my airbrush fine enough - I want to streak away from some of the revit holes. I have some sketching charcol sticks and conte pastels, which I might try - I was thinking of rubbing them onto a piece a paper and using a fine tipped brush with a little water and using the shavings as ink painting the streaks - what do you think?
-
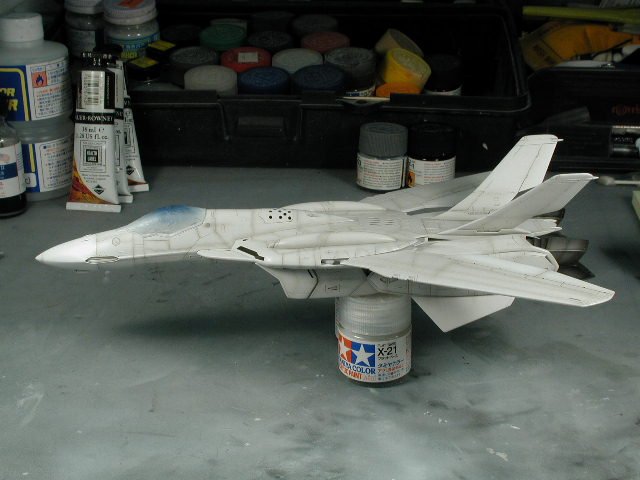
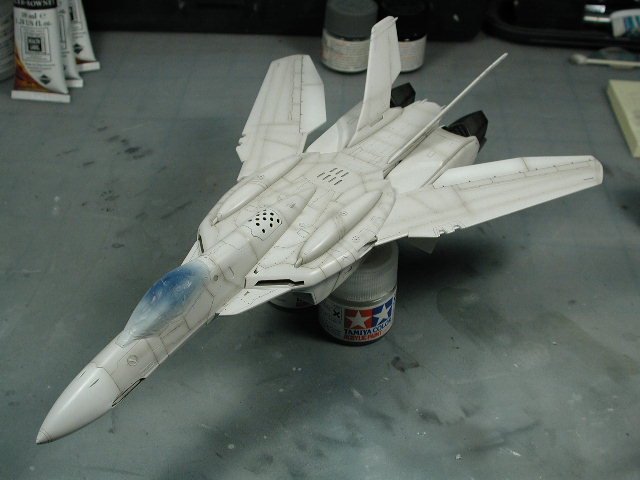
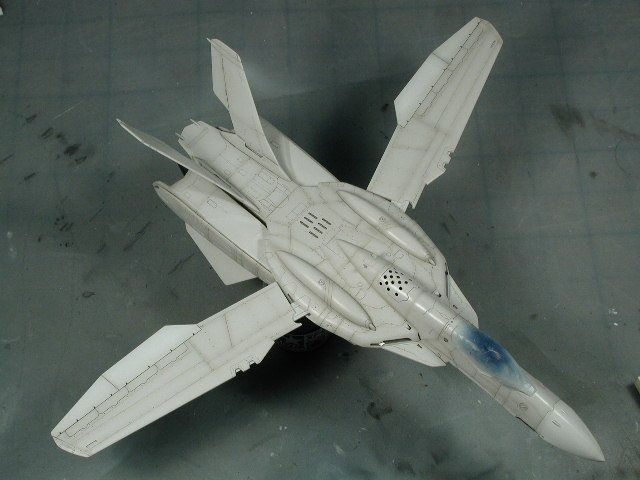
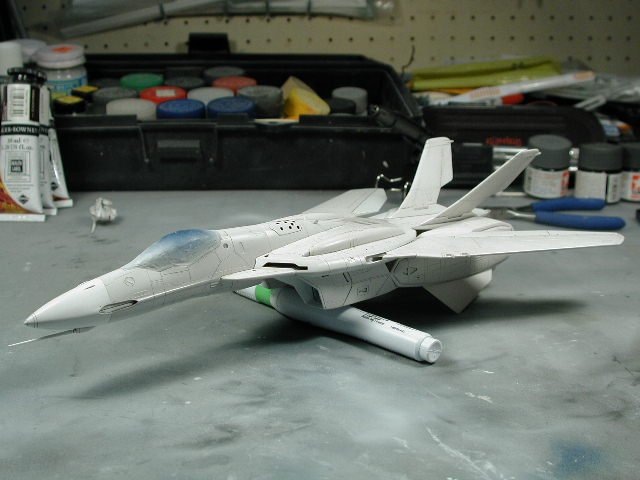
Here's an overall shot, I tried to trace the panel lines with my airbrush (or as close as I can to them). I used a thinned down sky grey for the post-shading. I thin it down 70:30 thinner:paint ratio, much more diluted than I am used to painting with - so it flows easily out of the airbrush and prevents clogging. I really need control for this stage and I try to get the finest lines I can. I often go over lines quite a few time because so little paint comes out - this way I can: A) see where the paint is going to make sure I hit the lines B) vary the darkness of the shading C) after a few strokes I can get an more steady and even stroke D) because I chicken$h@! so I like to build up my colour in multiple passes I hold the airbrush quite close, maybe 1-2" from the model to get a fine line. Periodically spray full open onto a piece a paper to clear out the airbrush and prevent splatter - then go back to the model. This is much heavier post shading than I usually do, but hey I think this bird is more weathered than most - finally not a new demostration scheme (MacrossPlus birds) and I noticed a lot more weathering on the CGI shots. Plus when I apply the stark black stripes, that will make such a contrast to the eyes, that these post shading will fade into the background more. I don't want to over do it at this stage, I still want to do another pass after the decals are on to tie them into the paint scheme more - so treat this as 75% of the desired effect.
-
I focus on all areas, there are no real specifics, but I do omit the really small details that I know I can't get my airbrush in tight enough. Generally I try to hit all the contours of the aircraft - concentrating in the valleys with a darker colour, and hitting the highpoints with a flat white later on to simulate wearing. I think of it in terms of shading a drawing, where the painted color represents the mid-tones and any recesses gets shadowed with a darker shade and any highpoints gets hit with a lighter color. Also think what gets hit with the blast of airflow that should get a bit lighter worn, where as areas that are recesses tend to collect debris and dirt. Then after all is said and done, I sometimes just spray where ever I think might accentuate something (artistic licence )
-
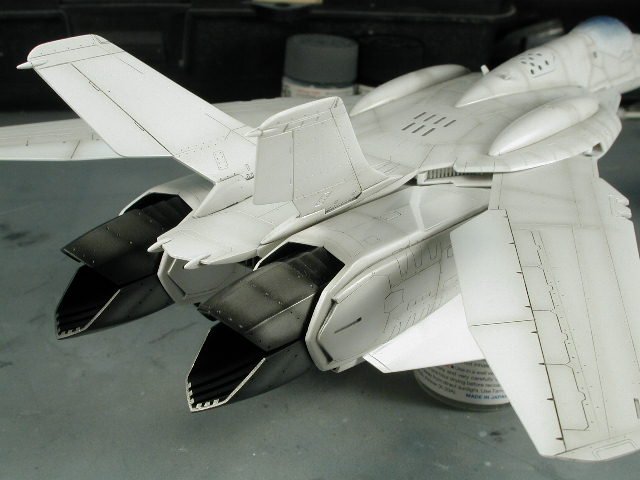
I love being able to see some glint of metal inbetween the holes of the airbrake!! I also love those slotted vents on the back. I've sprayed another coat of semi-gloss clear coat (allowing overnight to dry without me picking it up ) to protect this stage in preparation for tomorrow's post shading. If I over do it tomorrow, I can always take a little windex and "erase" any extra post-shading to this point without disturbing the paint underneath.
-
Just have to fit the legs on - too bad they don't slip on and stay on allowing them to be removed like the VF-1. You really need to leave gluing them on till the very end since you need to decal the "inner" calves before they get glued in.


