-
Posts
4301 -
Joined
-
Last visited
Content Type
Profiles
Forums
Events
Gallery
Everything posted by wm cheng
-
FANTASTIC!! Very nice - that's exactly what I wanted to do, right beside the VF-0S! It looks great - maybe the panel wash is a little on the dark side for the non-moveable surfaces - but you did a fantastic job with the kit. I hope to build mine some day. Thanks for sharing GunnerX (how about one with all three together, F-14, VF-0 & VF-1S) Now you've got to get a F-18F and a F-4 with the Jolly Rogers (never ends...) p.s. you know there's a new Eduard photo-etched set out for the Hase F-14 that includes PE parts for the ends of the missle racks that shows the exposed launch rails - very cool indeed.
-
I'd save the PE parts for when you want to display the canopy open without the pilot in. The pilot takes up quite a lot of space (you can't really see around the pilots arms to the side consoles anyways. The pilot's hands already have a partial stick molded onto them as though they are gripping them already.
-
Hey Jonn13, There was a thread about this a little while ago, check here; http://www.macrossworld.com/mwf/index.php?showtopic=13183
-
Man! David, you're my goto guy! why didn't you tell me about the low-vis VF-103s! Well, you are officially on notice - anything like that comes out again, or good decals - PM me! I need to know about it. I want to do the high-vis on the ground with all the flaps & slats extended - and I'll do one in flight mode with the low vis. By the way, any good F-14 pilots in 1/72 scale - I don't think the Hasegawas came with pilots... I'd still like to eventually do a flightline of jolly rogers of F-14, F-18, VF-0S, & VF-1S.
-
Hey the F-14 looks fantastic - you should post a step-by-step here - I'd be really interested in your process. I've got the same kit, with some resin cockpit additions and PE parts too - and would like to build it up some day! I'd love to hear & see more! I'd also like a kit with the low-viz jolly rogers decals to so I could build one in flight and one on the ground with all the flaps & slats extended. Too bad the kit doesn't sweep though - but overall an excellent kit. Now I'm just waiting for Hasegawa to put out a 1/72 F-18F in the new Jolly Rogers markings - you know they have one in 1/48 coming out. Keep up the great work!
-
Thanks so much Grayson - please keep posting, I'm really interested. I love the F-14. Which kit was yours again? It looks exactly like my 1/72 Hasegawa - but is your's 1/32? I'd like to do all this - but in 1/72 scale! But there's so much more aftermarket resin stuff for 1/48 and 1/32 - you could get a wheel well aftermarket kit if the pins bother you - or just add wiring over top of them. LTSO - yes PE parts are a pain@! but they look so good when you get them right. The worst is gluing canopy lugs to clear parts, if you're not careful, the crazy glue hazes the clear canopy - I know there are special crazy glues that will not craze the clear part - but I have yet to try them.
-
Hey Grayson, I'd love to see your progress on the F-14!
-
Nice work with the stencils John! Care to share? Thanks for all your tremendous efforts - I received mine last week - and all I can say is that its up to the usual John Standards! I hope to do you proud some day soon when I can get back to my bench! Just don't forget about the launch vehicle...
-
Wow! fantastic weathering on the grey blue scheme!! Thanks so much for sharing, definitely will file it for reference if I ever get around to mine
-
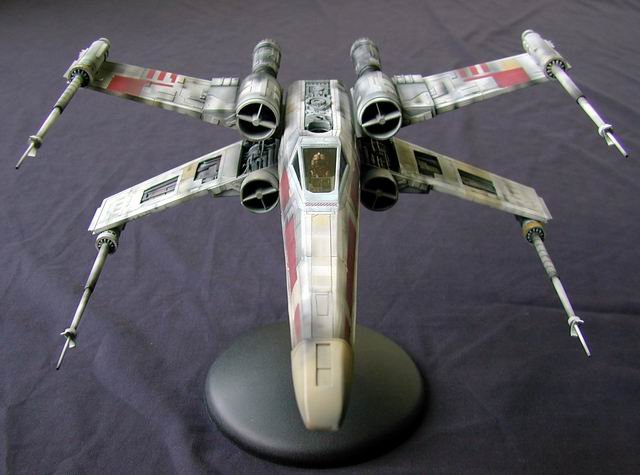
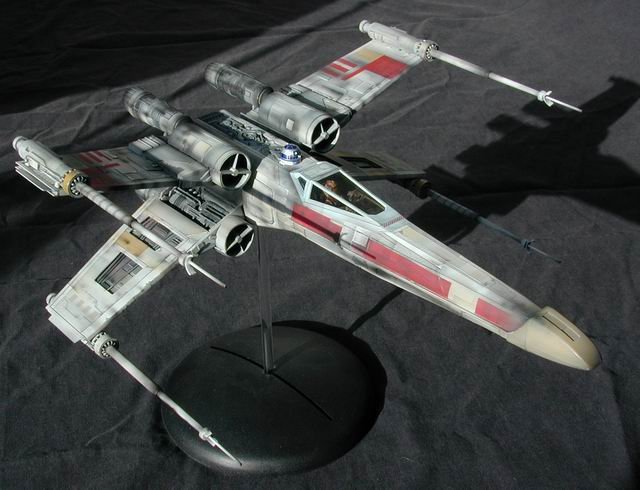
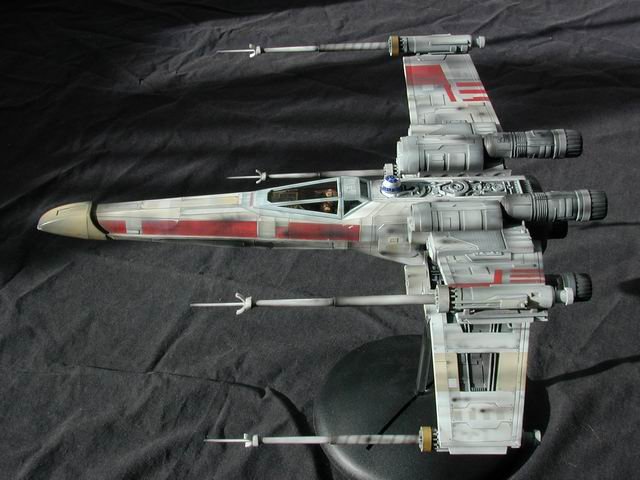
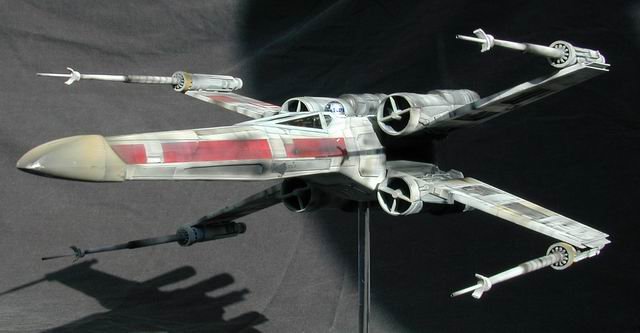
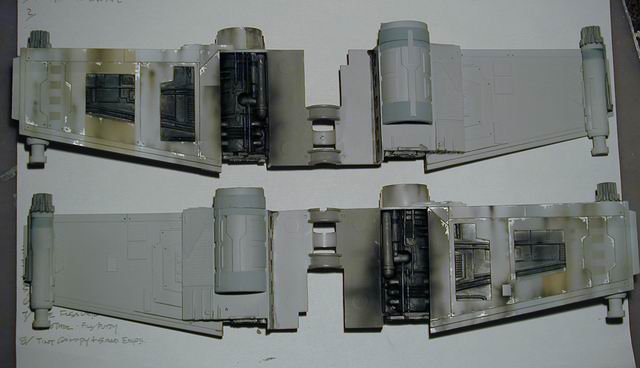
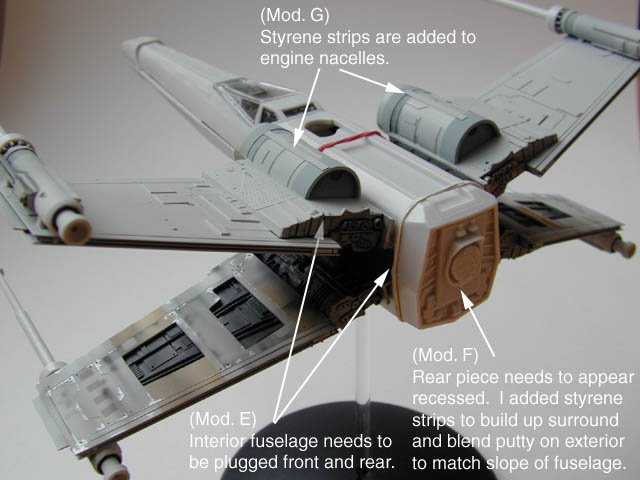
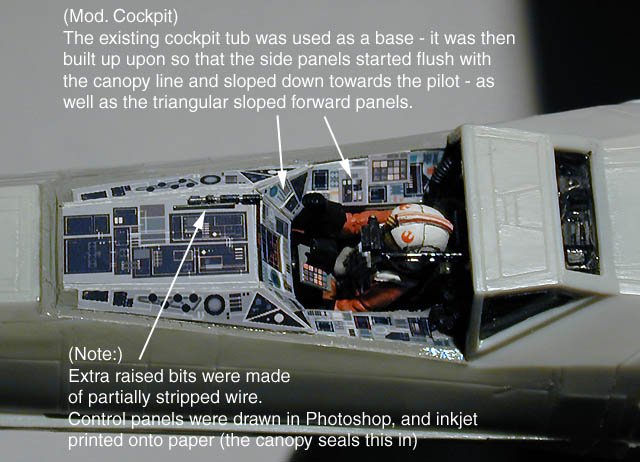
OK, last one... (I just don't think the FM has this long shape) so I rather like the AMT kit, yes the photon tubes are not recessed deep enough (which I chose to ignore ) and it lacks a decent pilot/cockpit - but it doesn't take much work to get it into a pretty good looking replica of this famous fighter. (oops, I forgot R2 in this shot - I made decals from my inkjet printer for R2, its just too small and had to have straight edges for my free-hand skills)
-
Sorry for the crappy pictures... it was before I had my digital camera. I might dusted it off for some decent pictures sometime soon.
-
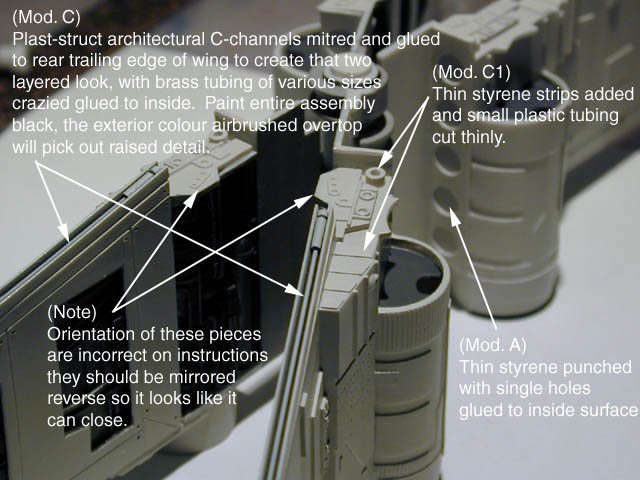
Here's a finished shot (as you can see NEWCA - my kit was that stupid thing with the clear plexiglas disc that supported the X-Wing, 3rd down from your pictures "Flight Display" - it was cheap at a garage sale! - but the black base was nice - so I used it for my base, and drilled a hole in for the clear acrylic tube) Additionally, I feel the larger resin kit has a very thin nose, just too sharp & needle-like (nice kit though LTSO - not to knock your beautiful resin). My main dislikes with the AMT kit are that the canopy could be higher, and the bump on the lower fuselage just aft of the torpedo launchers are too pronouced (make the kit look "cranked") but it dissapears when you look at the fighter from above or 3/4.
-
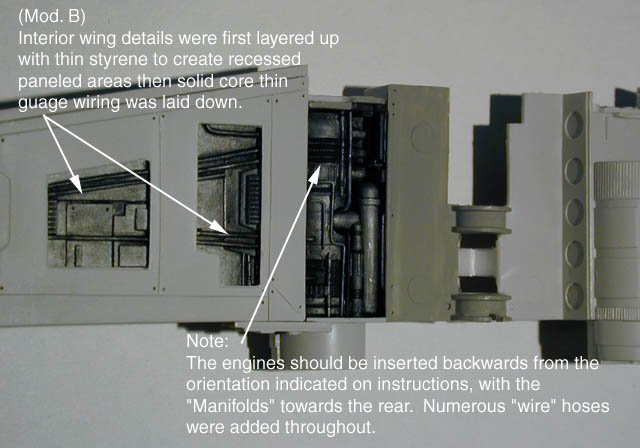
Just make sure you paint and weather the insides of the foils before you assemble the kit, or it will be real hard to get in there later on.
-
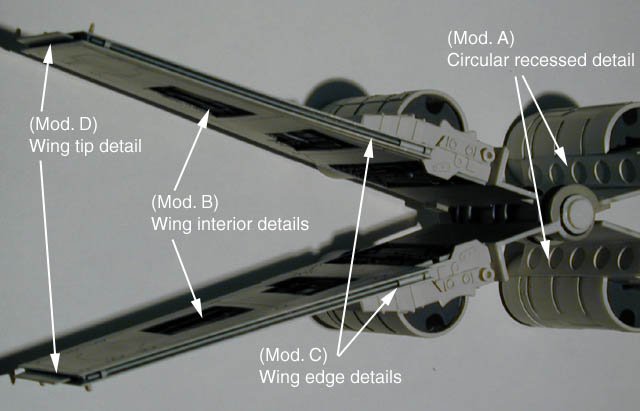
If you're anal like me you can add losts to the AMT kit (which I feel is already the right shape - plus it has engraved panel lines!) In fact, I wasn't impressed with the FM kit, I find it a bit snubbish - the nose didn't seem long enough (IMHO).
-
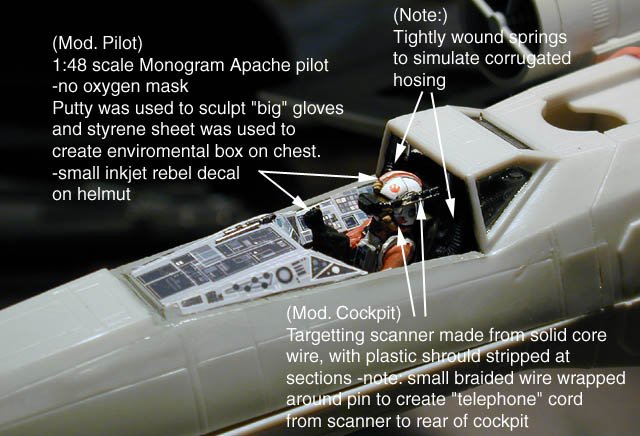
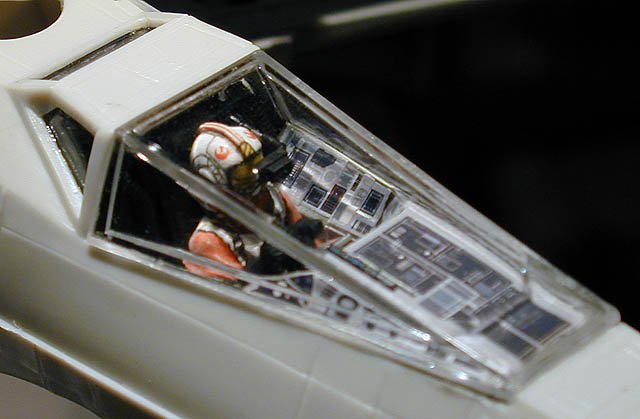
Just my 2 cents, Hey the AMT 1/48ish isn't that bad, plus I feel its the perfect size, I just don't have the room for a 1/24 studio scale resin (plus something that big just begs for so much more detail ) Maybe its all the great memories I had when I was 8 building it for the first time, without paint, just stickers and zooming it all over the house for days! Yes, the pilot sucks, but if you get an cheapo Monogram 1/48 scale Apache kit, the pilot in that is pretty darn close to the rebel pilot, just add some big-ass black gloves and a chest box and you've got an excellent Rebel pilot. (I had some jpgs prepared 5-6 years back that I never bothered to post when I built this X-Wing)
-
I'd definitely like to know more about Yukikaze - man! I love their aircraft designs!
-
Great work - cool paint job!! Congrats on your new "model"! Guess we won't be seeing too many new models from you for a while
-
Hey! I want to try that game... do you get to be inside the cockpit looking out (1st person view) - all the screen shots I see you are outside, seeing yourself (3rd person view) Secondly, does it work with the Joystick/Throttle combination from Ace Combat 4? Thanks, Wm
-
Woohoo!! I'm so relieved that this is back... This is my most awaited kit for the Hasegawas!! And it looks like you've done a fantastic job with it! I am still hoping that I can modify it to use rare earth magnets to make the Valk removeable after construction. Is there still some type of metal re-inforcement inside the main struct? I'll take 2 or 3 (any deals Jesse? - I'd be happy to build one up and take some proper photos of it for your box or advertisment?! ) Thanks again!


