-
Posts
4305 -
Joined
-
Last visited
Content Type
Profiles
Forums
Events
Gallery
Everything posted by wm cheng
-
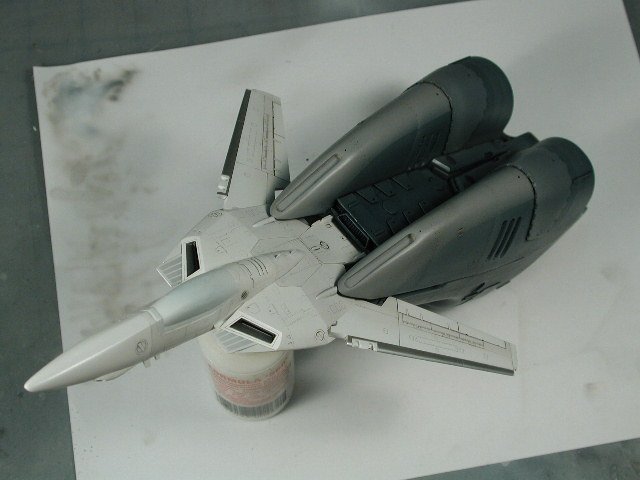
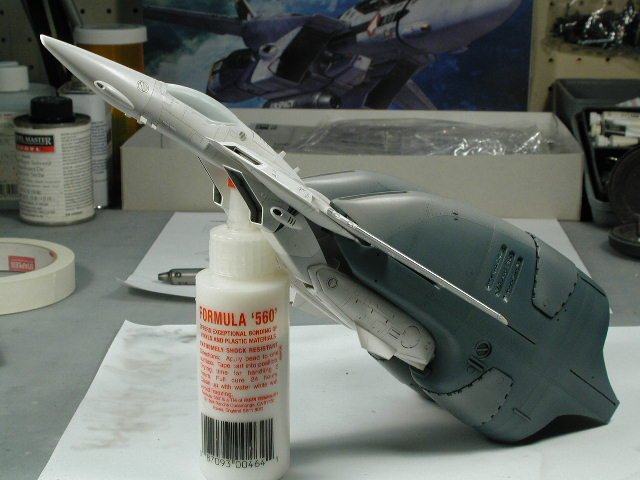
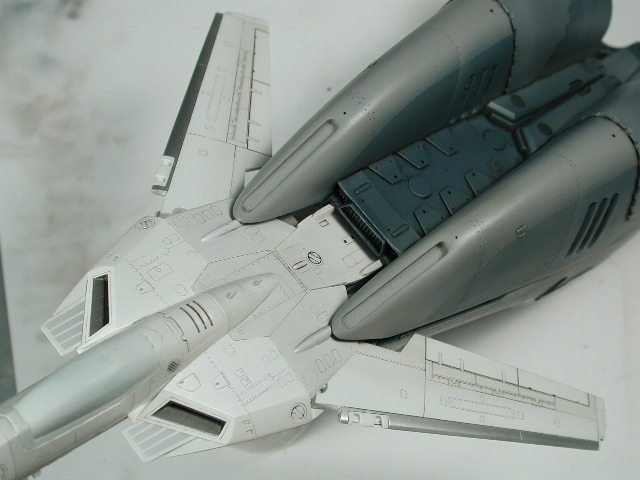
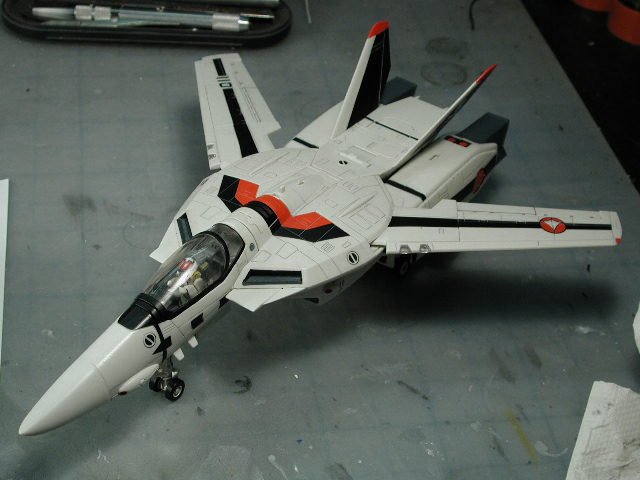
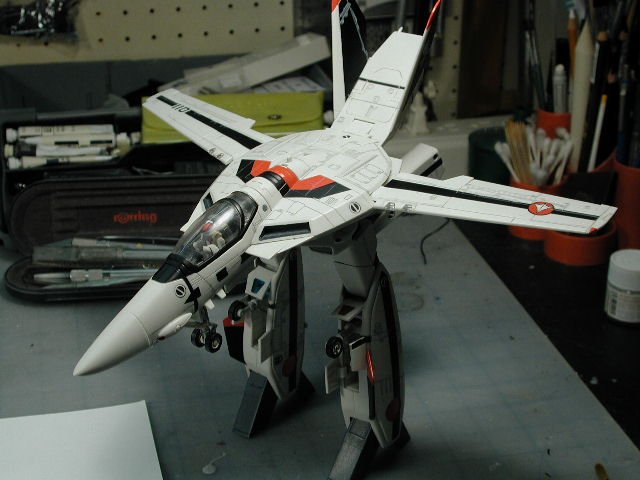
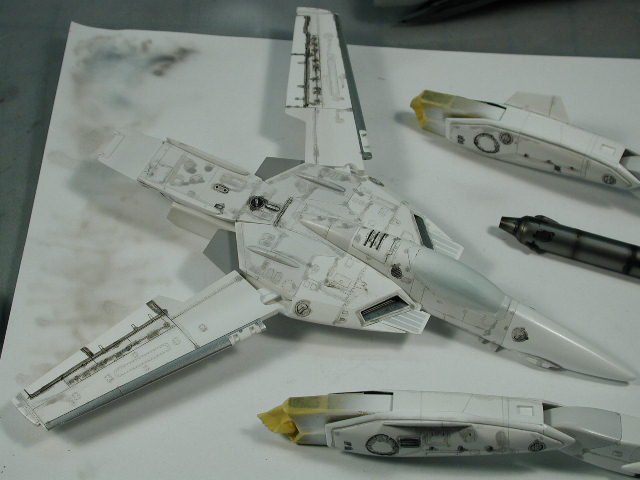
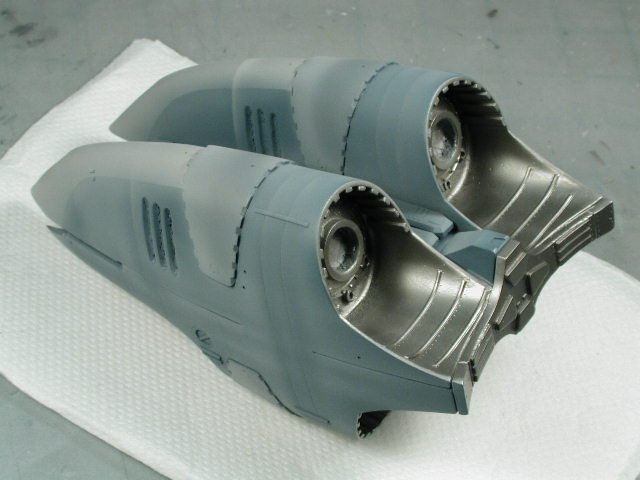
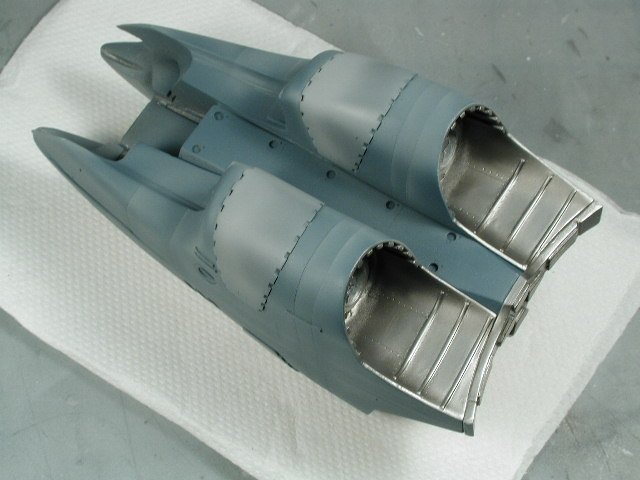
Time to go to sleep... Some parting shots as I leave it to dry without my impatient hands putting fingerprints all over it! The next step would be to do a light post shading over the panel lines and seal it in with a semi-gloss clear-coat. Ready for the weathering and decals!
-
-
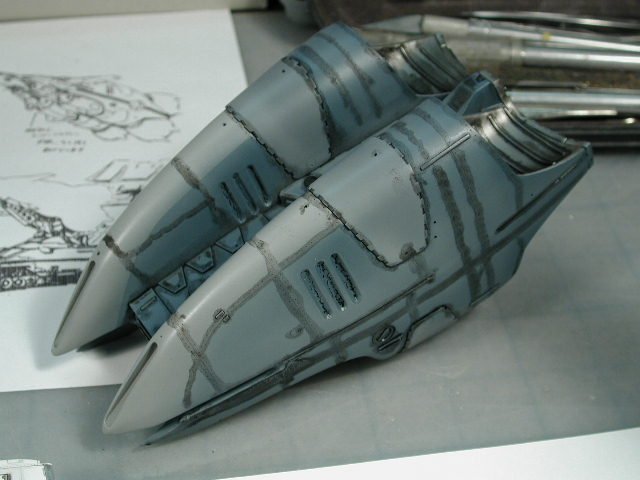
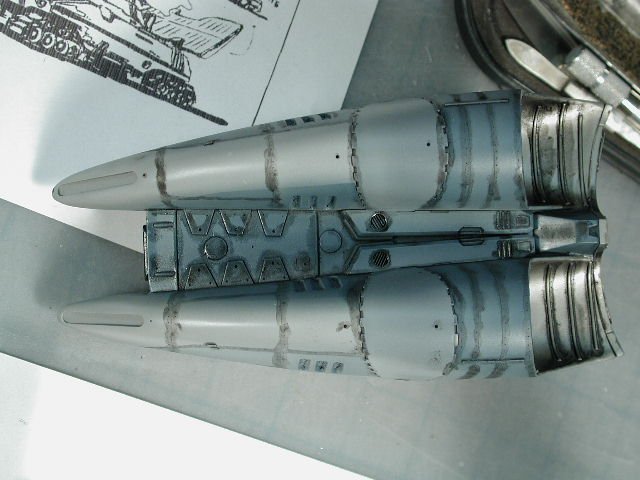
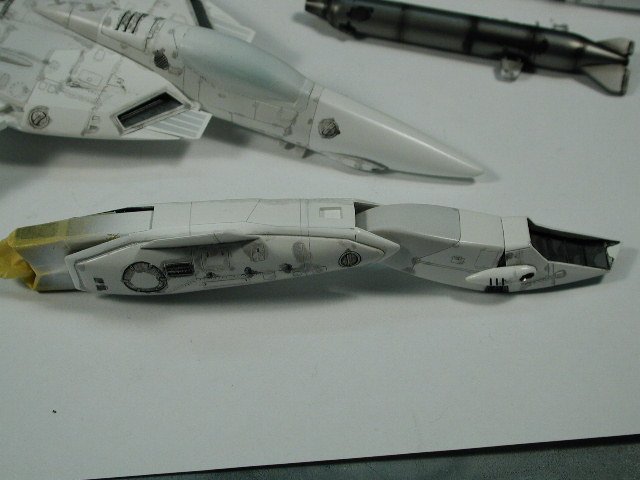
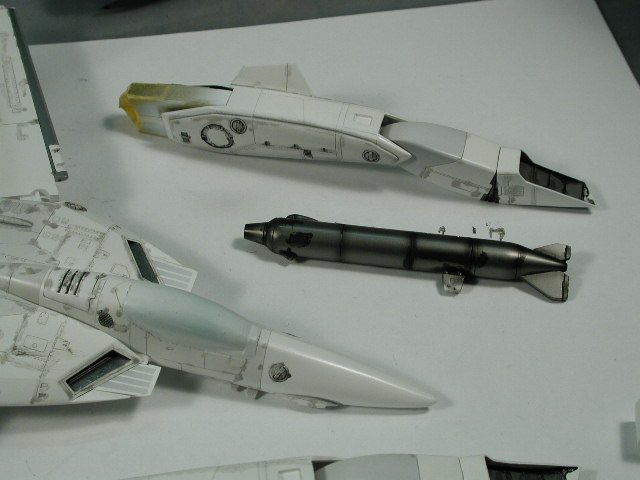
The booster came out great - the dark wash added a much needed depth. (its too bad the photos don't seem to do this justice )
-
I waited half and hour or an hour - just so there's no shine/wetness to the applied oil wash. Here's a shot of them Valk after I wiped it down. Don't worry if you wait too long - you can also damp the paper towel with a little low odour varsol and it will take off any excess that may have dried. However if you don't wait enough, then when you wipe, you will remove all of the wash including the stuff in the panels. These shots show the different washes - I find that by varying the greys it gives a bit more life to the panels - instead of just a monotone wash over all the panels. YOu can see the flaps and spoilers get the darkest treatment - because they move. Where as some of the detail on top of the plane never gets opened - they are there just for the intial construction of the plane - so they are much fainter.
-
Hey Spatula, yep its late here - but I'm not working at the moment (in between assignments ) I usually only model when I can get a real chunk of time - once I start I get quite obsessive about it. Don't use model paint - I use artist oil paints. They can be bought from an art store in a tube. The main thing with the wash is that it must be of a solution that is different from your basecoat of paint on the model - so that the thinners and solvents from the wash does not eat or interact with the paints you applied to your model. I use an alternating sandwich of paints as I layer up my model so that each layer does not interact with the previous layer underneath it. I start with a laquer primer on the styrene, then a Tamiya Acrylic paint surface, sealed with a ModelMaster Acryl (actually a laquer) clear-coat, then the oil paint wash - to be sealed with another layer of clear-coat. Be very careful that whatever your wash is will not take off the paint underneath. That will be disaster if the wash interacts with the paint below. That's why you can wipe the excess away afterwards without affecting your paint. I use a dark grey to pick out the panel lines on top of a light coloured decal and a very light grey/white on top of a dark decal.
-
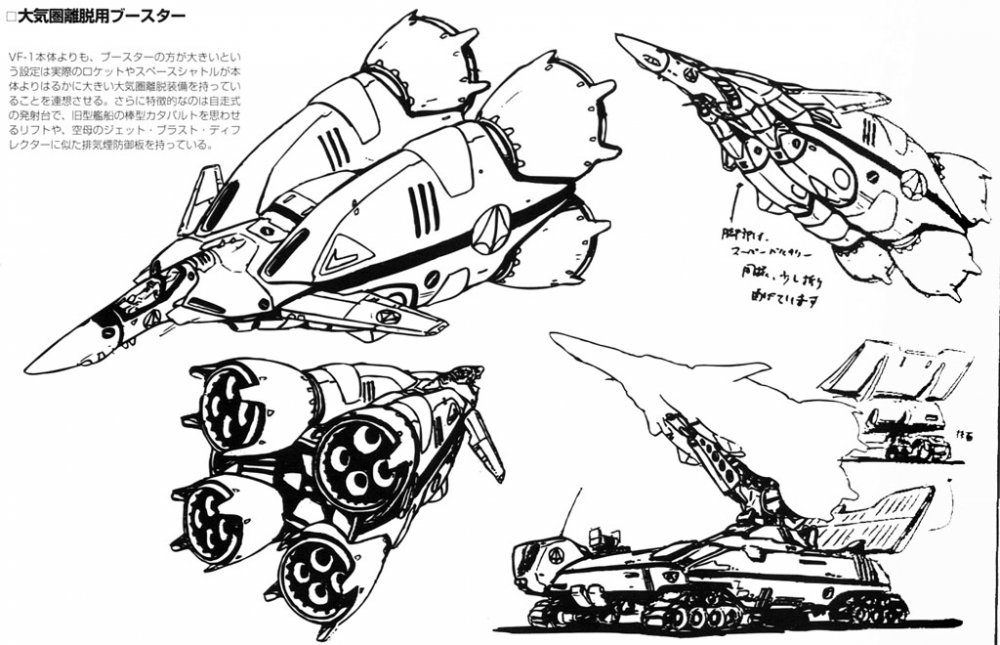
I also apply the wash to the Boosters - but I start at a much darker shade so it shows up against the darker basecoat. Now all the nice revits the Captn' put in will be shown.
-
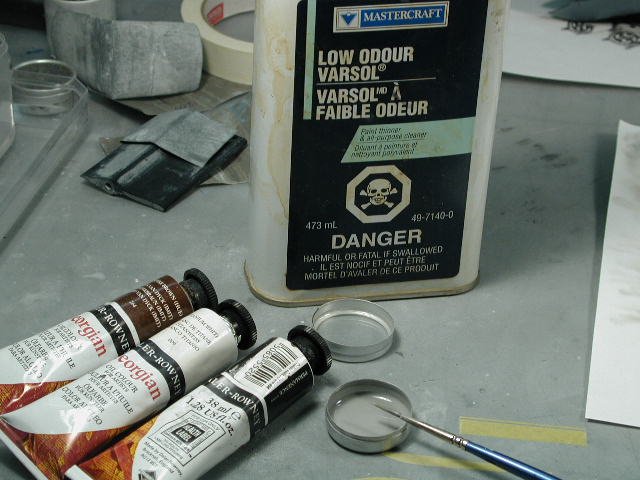
On to one of my favourite parts! The panel oil wash. As most of you already knows, this is a solution of thinned down artist oil paints with low odour varsol applied with a thin brush to all the cracks, crevices, revits and panel lines of the model. I only use 3 colours, white, black and brown - I can mix all the shades I need with these. This thin solution seeps into all the engraved details - and after a little while, I wipe the excess off with a paper towel. I always start off light, mixing a mixture of white and black to get a very light grey - this will highlight all the rivits and non-moveable panel lines thoughout. I thought I might as well panel wash another Yamato 1/48 Valkyrie I recieved reciently. (Some of you may know that it was my best friend's collection of Macross stuff all the way from when we were in high-school together - we had such a competition collecting this stuff... now I have doubles of everything... since he died - I hope he approves ) As you can see - it gets pretty messy - there are dab marks all over the place, but don't worry, it all wipes away easily (especially since I sealed all the previous work behind a layer of semi-gloss clear-coat) Now I start adding other layers of oil wash - mixing each layer darker. The dark washes are in areas I think are moveable such as access hatches, or flaps and control surfaces. Lastly, I mix up a batch of pure black for the vents. I also mix up a batch of brown for areas I think hydraulic fluid may leak from.
-
Not to worry Spatula... I like them because they provide all the black markings and a lot of stencilling - essentially, you can just paint the whole thing white, and with the decals, get a really good looking model. There are a lot of other companies out there that gives very little in terms of markings on the decals. In terms of thickness, Hasegawa is slightly on the thick side IMHO, but its more forgiving to the beginner modeller, but hides some of the fine engraving due to its thickness. While the decals are wet (you can re-wet them) I usually blot them dry with a paper towel while trying to press them into the panel and rivit details. I also use MicroSOL (a decal solvent) and MicroSET (a decal softener) when I'm applying the decals (they are tricky to use and can melt your decals into a goo-mess - so I'm not recommending them to a beginner) and these solutions will helpo the decal melt into the plastic/paint surface to look painted on. I will get to the decal part of my Valkyrie in a few days or so (if you can wait) In the meantime, you can get a decal softener solution, and dab it onto the already dried decals you have on (as long as you are careful not to touch or move the decal while the solution is on top of it) and let air dry. It will soften the decal and allow it to conform to all the nice little rivit details. Careful not to stretch the decal when you're putting it on. Good luck. I also go back over the decals with a very light controlled oil wash to pick out the rivits and panel lines. On the black portions, I go over them in a white/grey wash - so it shows up.
-
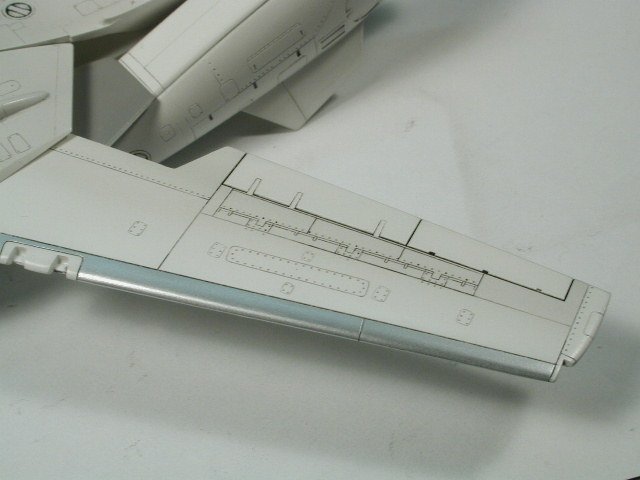
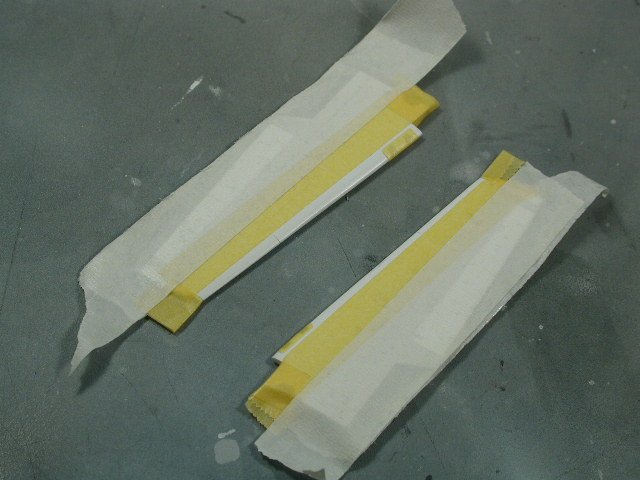
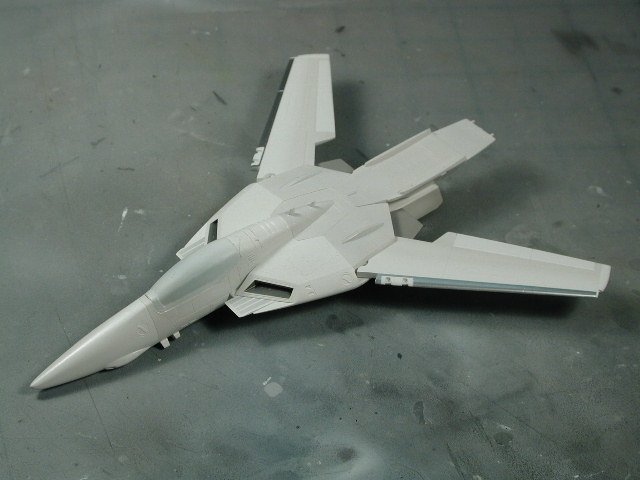
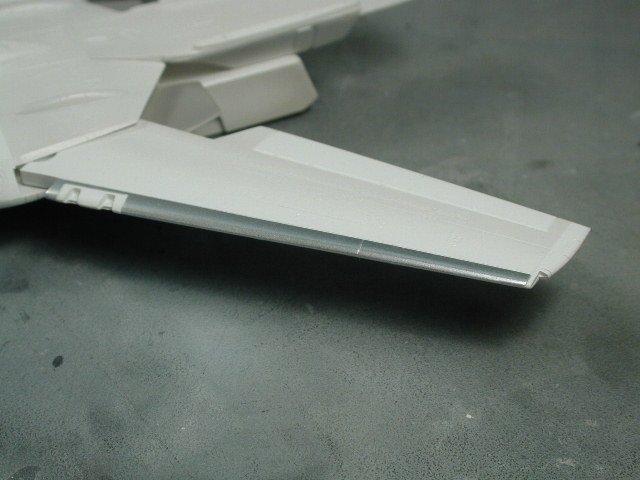
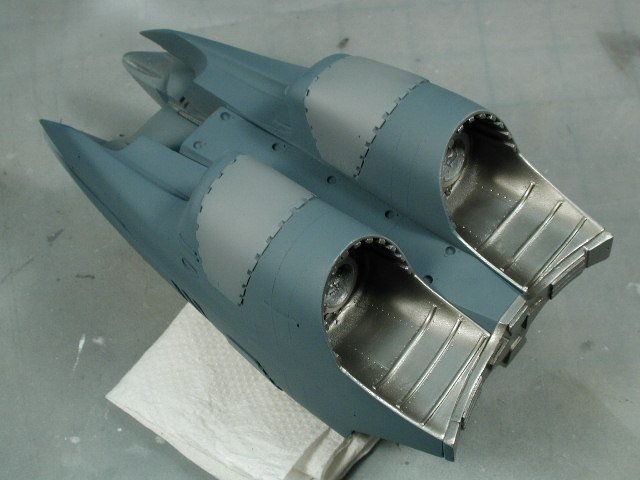
A shot of the grey patches with the masking removed... Ah, since I'm slightly departing from the canon - I thought I'd make the leading edge of the main wings silver (like the F-14s) - plus I've seen some paintings of the Valkyries with this leading edge slats in silver. Man! I love this Alclad Metalizer stuff! - I sprayed it with Polished Aluminum. I masked around the lights - I wasn't sure what to do here, but I thought it adds a bit of interest. Lastly, I thought I'd paint the interior of the side bulges on the intakes silver, they seem to always be silver on the Hasegawa box art. And of course, I coated the entire Valkyrie in another coat of semmi-gloss clear-coat to protect everything. I'm ready for my panel wash now...
-
Just looking over that amazing Tenjin Valkyrie book for more ideas to darken the Valkyrie up (more patches of grey) So more masking again, for areas that will get a coat of sky grey such as the area behind the swing wings, underneath the fuselage where the legs swing down, since they are exposed now (without the leg fast packs) and I found some neat light grey markings that Tenjin puts on in front of the forward intakes.
-
-
Now I am masking the white portions off to do a dual tone light grey on the Valkyrie. I want to darken up the Valkyrie so it doesn't appear to stark white against the Boosters, but I don't want a grey plane, I still want it to appear essentially white. You can have quite a bit of latitude since eventually, the black lines of the decals are so stark - it hides a lot of tones of grey. I essentially want to subtly shade the Valkyrie from light to dark towards the tail at areas that are in direct contact with the Boosters (if I'm successful in the end - one shouldn't notice the shading too much - the Valk and Booster should look like they belong ) My first past was really too strong - I went over some areas too many times. The contrast was just too much here; I should take my own advice; build up in layers! Well, not to worry, I just went over the entire thing with white again - this lightens the grey and evens the shading a bit more to my satisfaction. That abrupt change from white to grey at the chestplate area will be just fine when I apply the yellow & black stripes - you'd hardly notice the difference - that area won't be stark white hitting the front of the Boosters. Wow! its late - I've just put on another coat of semi-gloss clearcoat to seal in the shading and provide a protective layer for my post shading tomorrow (in case I don't like the post shading, I can strip it back (undo) to this point). And I'll let it dry overnight without my meddlesome impatient fingers getting all over it!
-
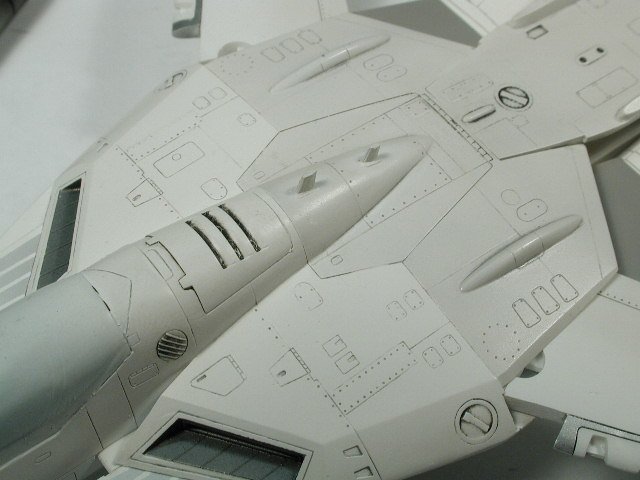
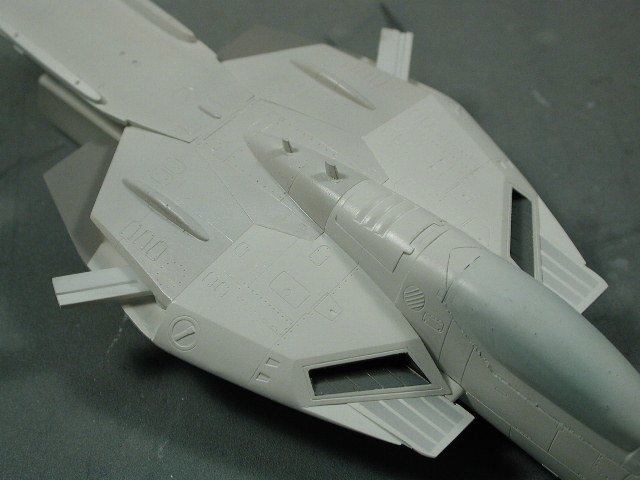
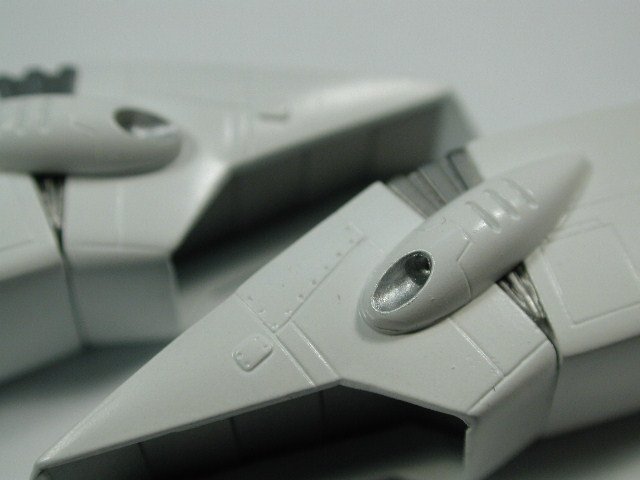
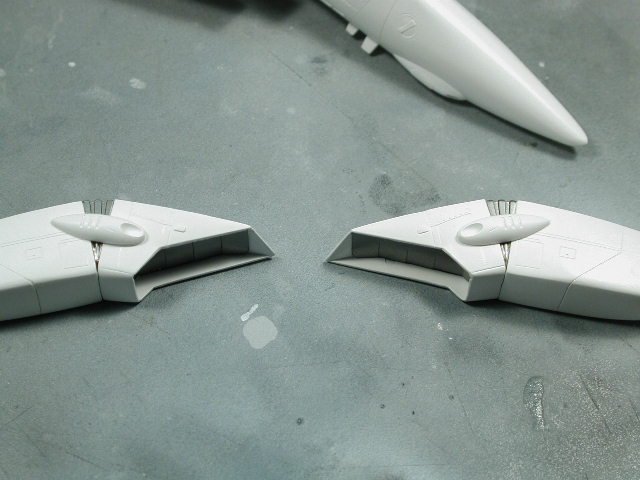
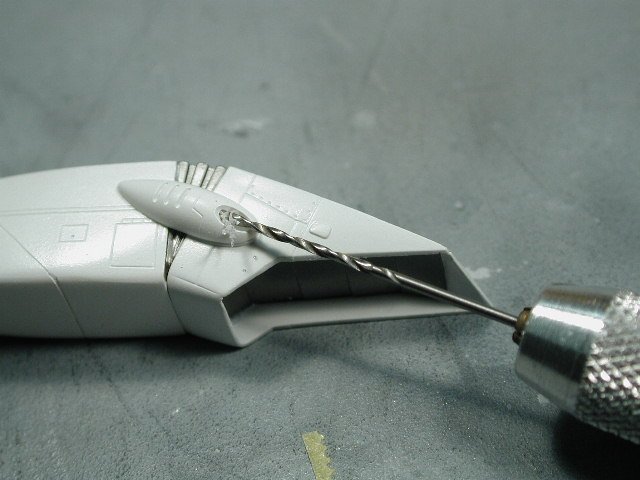
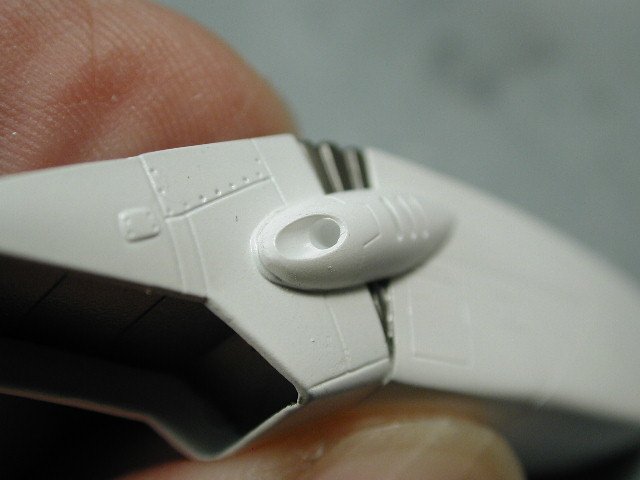
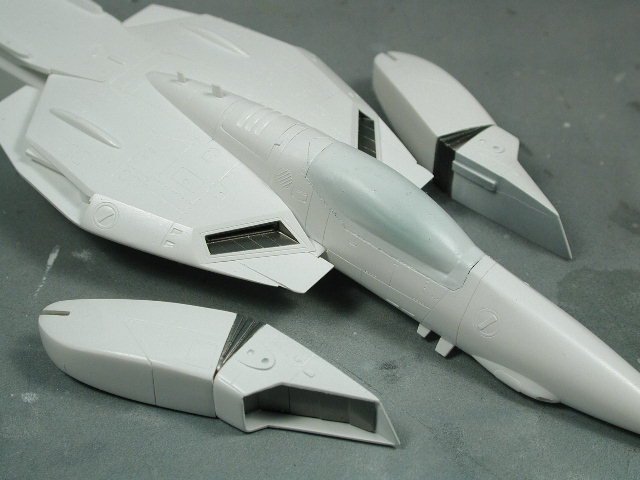
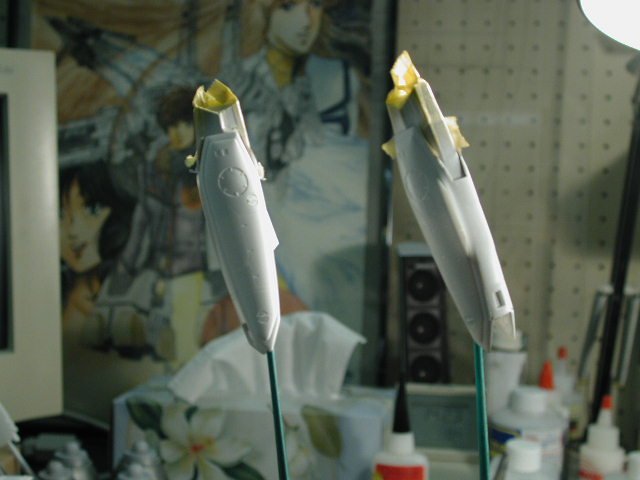
I can finally add those little bumps on the side of the intakes - I keep worrying that I'd loose them. I crazied glued them in - since its styrene being attached to resin (actually with a layer of paint on top - but I didn't think it matter too much since these bumps don't take much stress) Now, I thought while I still had the intakes as separate pieces, I'd drill out the bumps. It looks better as an intake or vernier thruster, so the hole adds some detailing especially when we come to the dark wash. Again, I start with a smaller pin-vise bit to locate the hole then work up to the bit of the intend hole size. Here's a shot of the competed hole, you don't have to drill too deep.
-
Here's a shot of it done - with the masking removed. Its really not that dark - but because its highly reflective, it seem darker than it is.
-
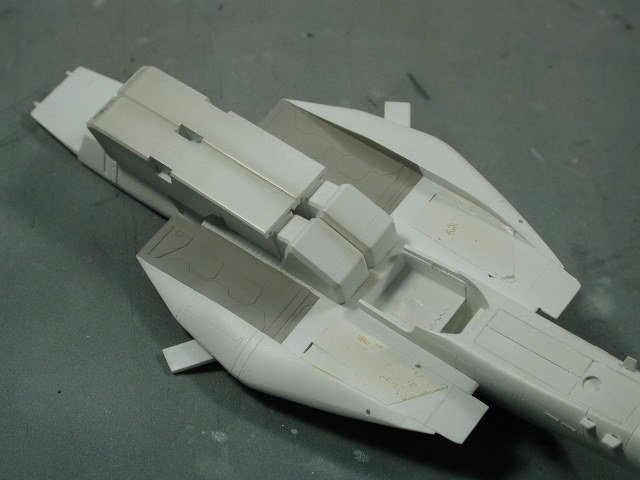
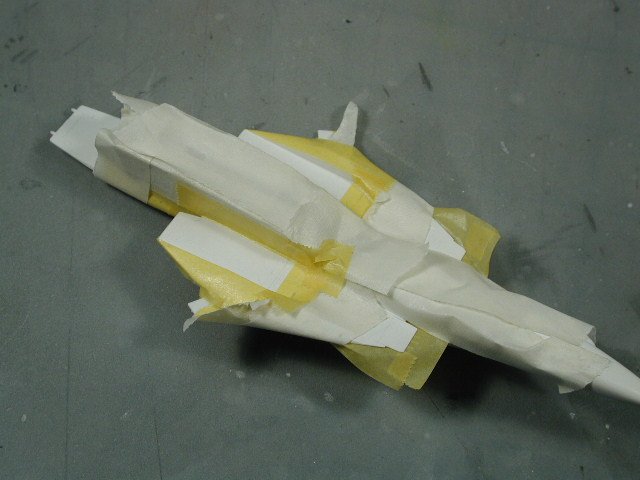
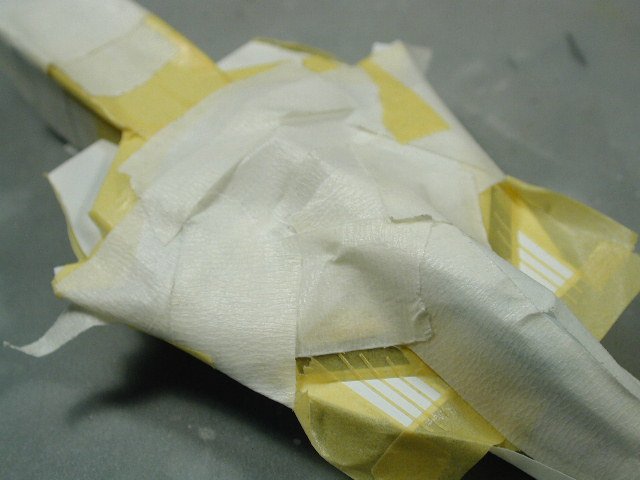
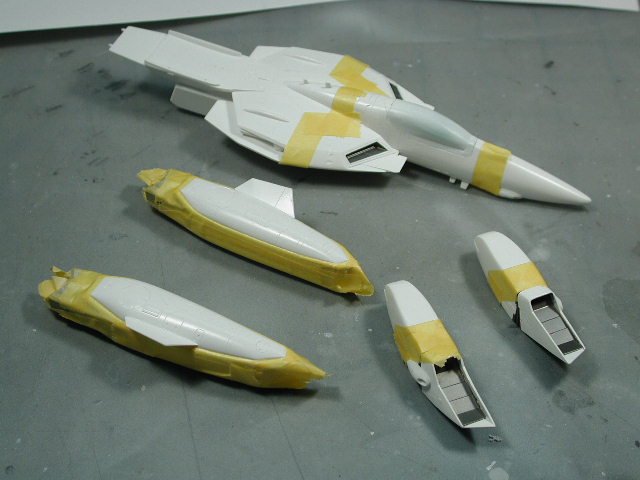
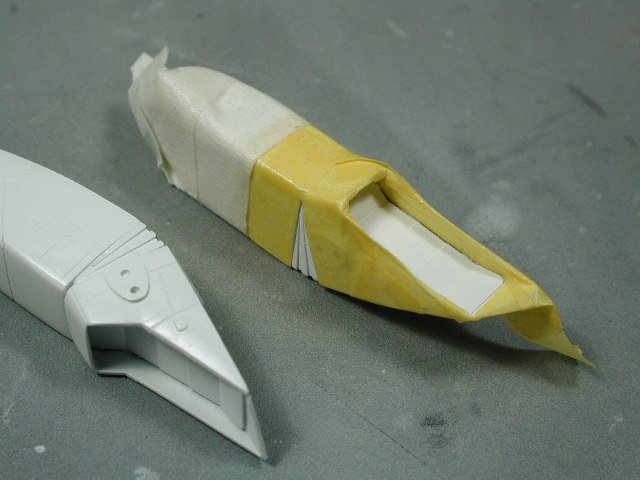
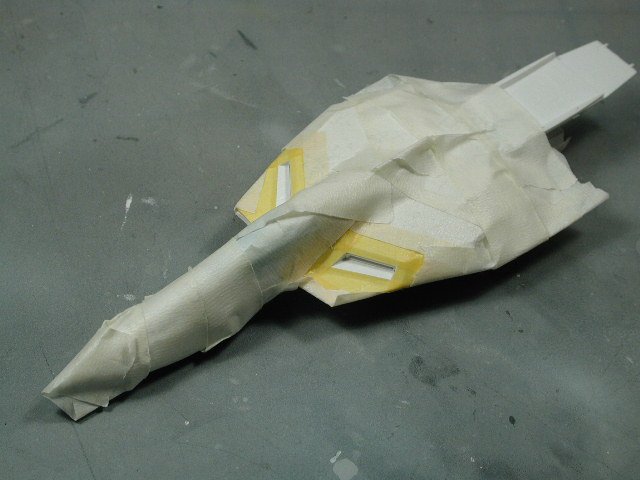
Thanks for the kudos! although, Ido, I'm beginning to know what you mean about the blue/grey colour scheme (i'm not that confident about it - partly because its departing from canon - and seeing Bertt's sure looked nice ) But I'll reserve judgement until I get a little further along and get them both together (its all an experiment ). I'll just hold off the decalling of the booster till I'm sure. Glad the decal worked for ya though. OK, I'm on to masking for the metalizer steel portions that couldn't be painted separately. It was great that the Captn' provided the resin cast of the modified intakes - however, since it was molded in once piece (which saves construction and sanding) the intake covers couldn't be painted separately. Additionally, I didn't use the Photoetched parts for this kit (which would of made painting them separately a breeze). So I have to mask out all the white around it leaving only the leafs of the intake cover exposed to the metalizer. Now with hindsight, it would of been easier to paint the portion metallic steel or grey, then mask it off and paint everything else white - but hindsight is 20:20! oh well... I've gone a little overboard here wrapping up my Valkyrie like a mummy, but I hate overspray especially on white! Again the yellow is the good stuff - the Tamiya masking tape, and the rest is the cheapo regular masking tape after I stuck it to my jeans first to get some of the stickiness off.
-
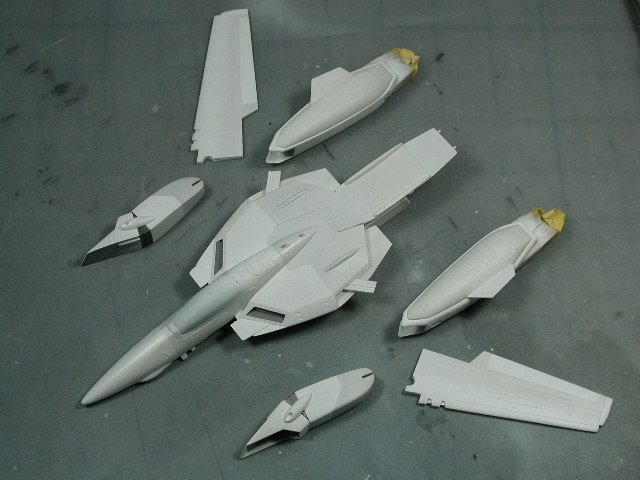
Spatula, don't be discouraged, the wing tabs and sprockets become misaligned all the time, exactly what Grayson said and you have them back in order! When you attach the wings, it will never do that again. Try to leave them operable - you'll be happy you did in the end. Which lights dropped? The wing tip or the two wing root lights? You can always file a new light from the clear plastic sprue that the lights were attached too. If you're sanding is good, you can glob on some gel-type crazy glue where the light is supposed to be and file back down to get the proper profile (careful that the crazy glue is harder than the styrene). I usually use white glue to glue the clear pieces on. Ok, I just sanded any little imperfections left and re-coated the Valkyrie with its final coat of white. Then I sealed it in with the ModelMaster Acryl semi-gloss clear coat. No pictures of that - just a boring white Valkyrie for now. Probably will start some patches of grey on certain panels with some post shading tomorrow. I concentrated mostly on the booster for tonight. After I got the base coat of colours down, I started to weather it, with a reverse post-shading technique, mainly where ever I would normally shade dark, I used a lighter Sky Grey to pick out the leading edges of certain panel lines. I also sprayed a very light gradated overall coat of Sky Grey from the front to the rear - blending in the various shades of grey (the idea is that the front gets worn a bit and is lighter) also to lessen the contrast between the booster and the Valkyrie. I want to add interest to the greys so that there are no solid patches of colour - always some type of variation. I got out my old VF-1A super as a guide to the weathering and colour range for the booster. Lastly I sealed this very delicate light misting of Sky Grey in with ModelMaster Acryl semi-gloss clear coat again. I plan on a dark oil wash tomorrow to pick out some of the details.
-
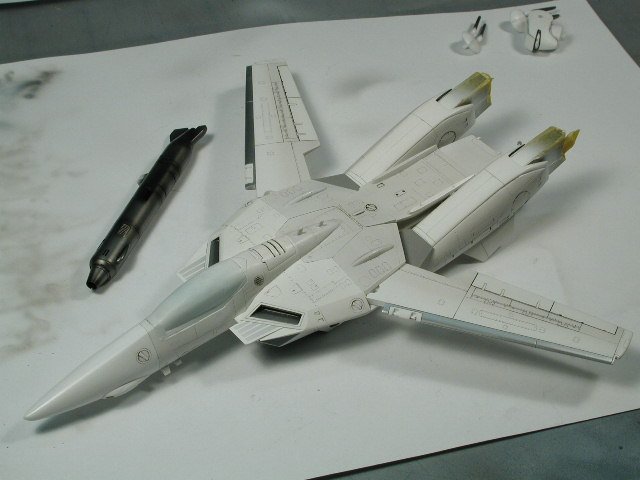
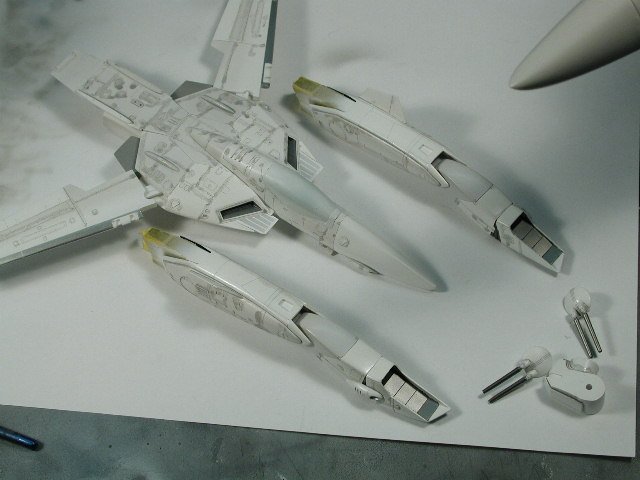
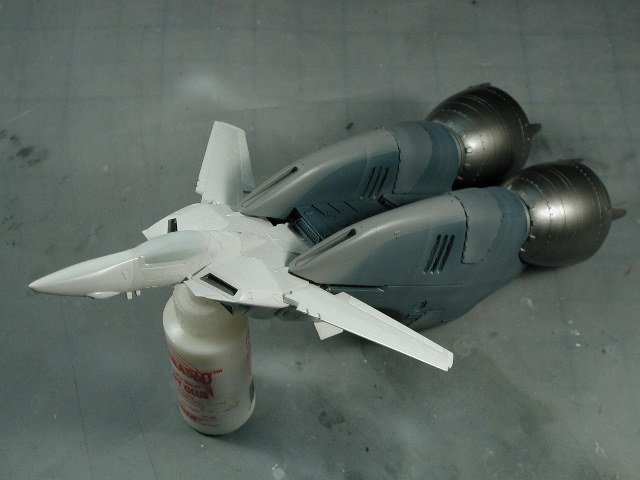
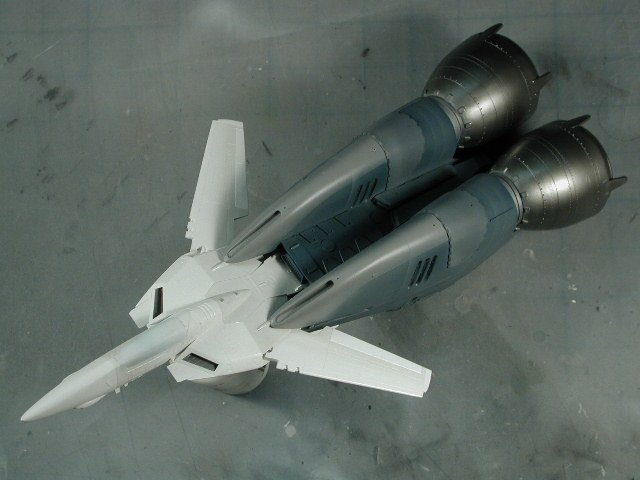
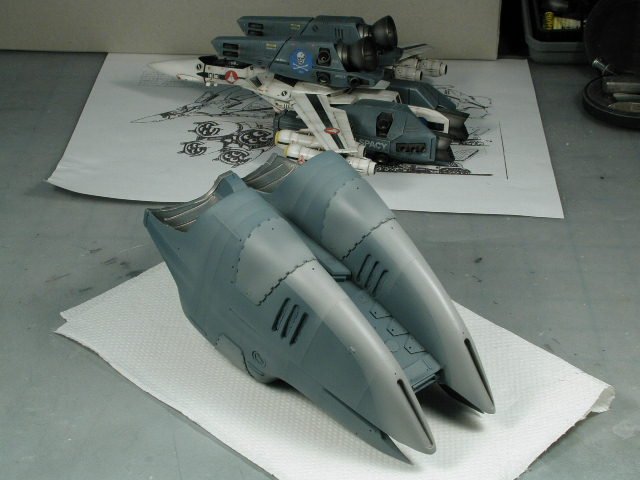
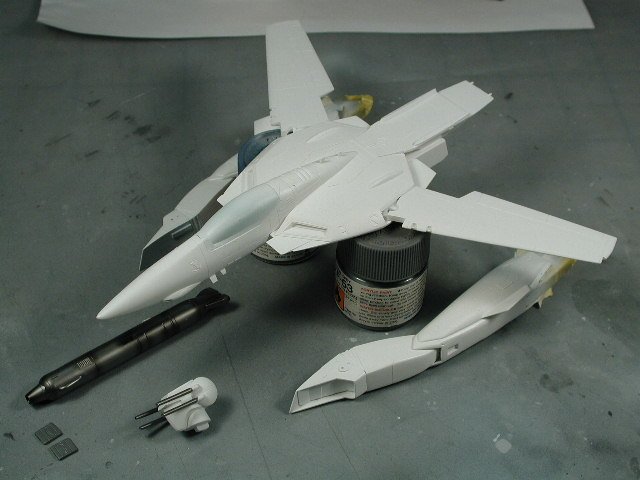
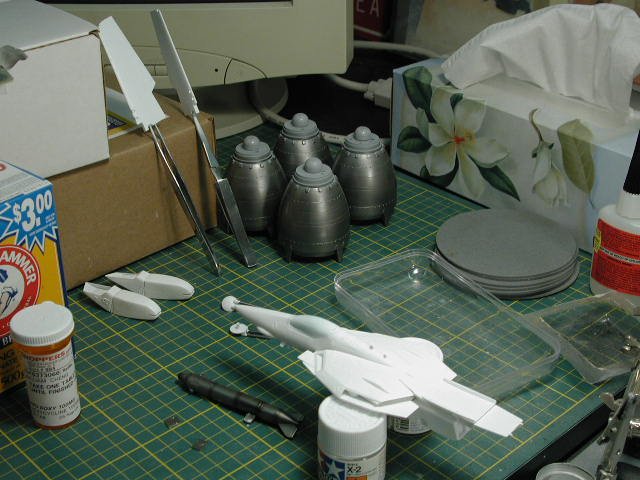
This is the stage the Valkyrie is at - its ready for some shades of off-white and greys - I plan of doing a darker version of the white (yellow & black) Roy's colours with more shades of grey and more weathering so it ties into the greys of the boosters a bit more. It will be Roy's plane after Hikaru took it over - so it will have Hikaru's name on the canopy rails. Now the flat finish on the boosters are still pretty fragile and doesn't stand up to much handling - especially if you have any nails. I will spray the entire thing down with a coat of Model Master Acryl (its actually a laquer) semi-gloss clear coat to protect the finish. The semi-gloss will make the entire booster appear darker (kind of like its wet) but I have to keep in mind that it will be flat and lighter in the end. I just couldn't resist a dry fit! I plan on spraying a lighter grey to work all the greys together a bit more over the clear coat, and start to weather and delineate some of the panel lines on the booster once the clear coat is dry. I have a final bit of sanding to smooth out some irregularities on the white Valkyrie and a final coat of semi-gloss white (I mixed 70:30 flat:gloss white) to get a semi-gloss that is more durable than flat paint, but have some of the covering characteristics of flat paint.
-
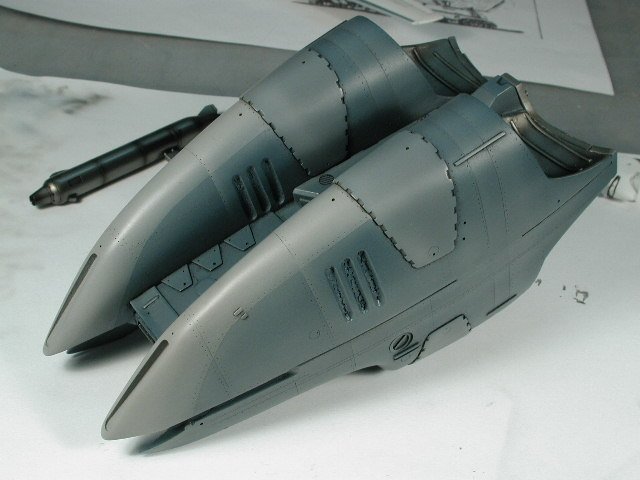
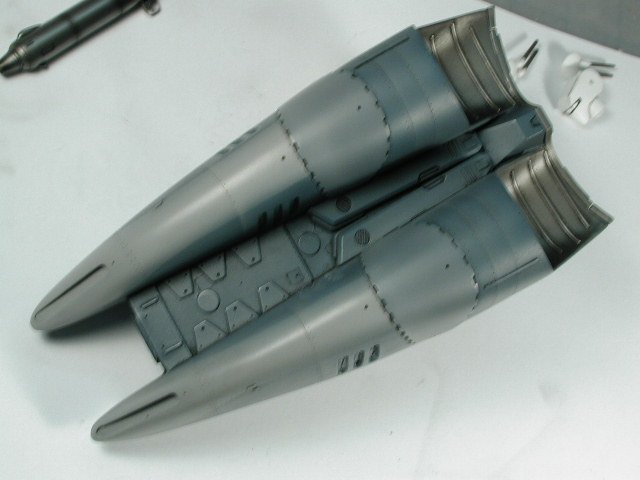
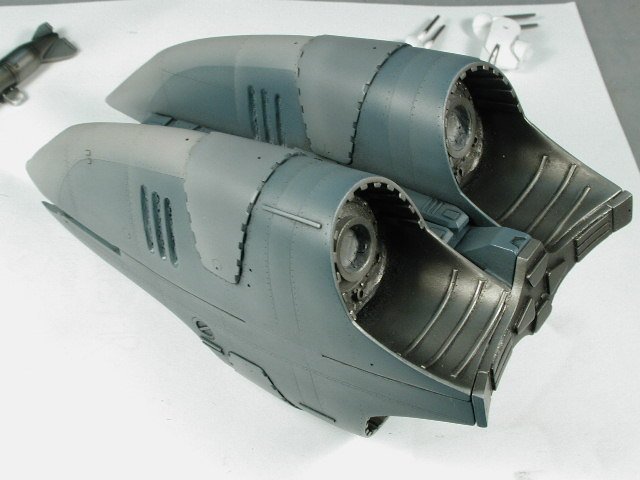
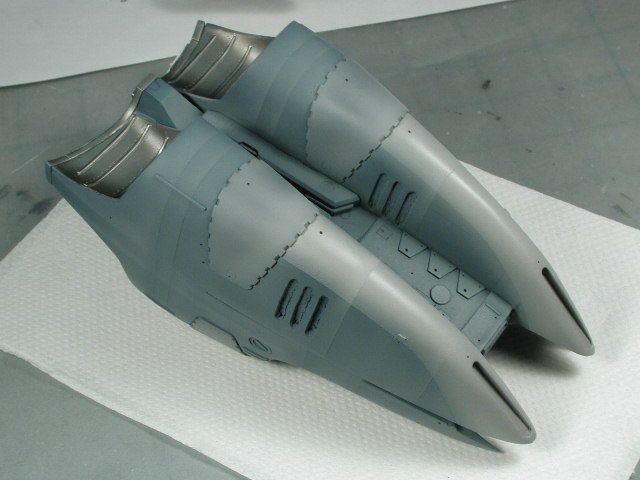
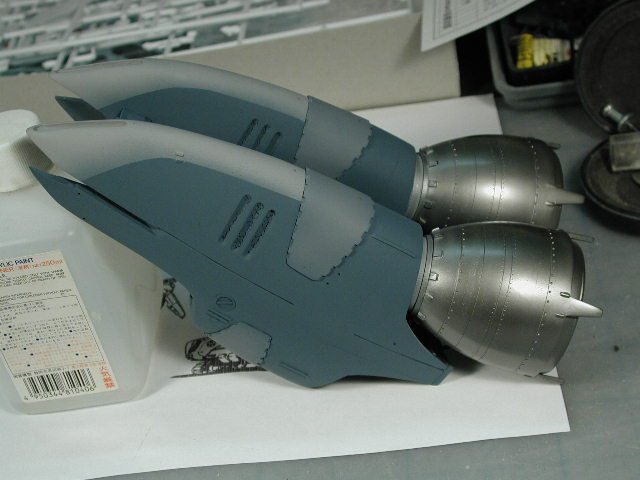
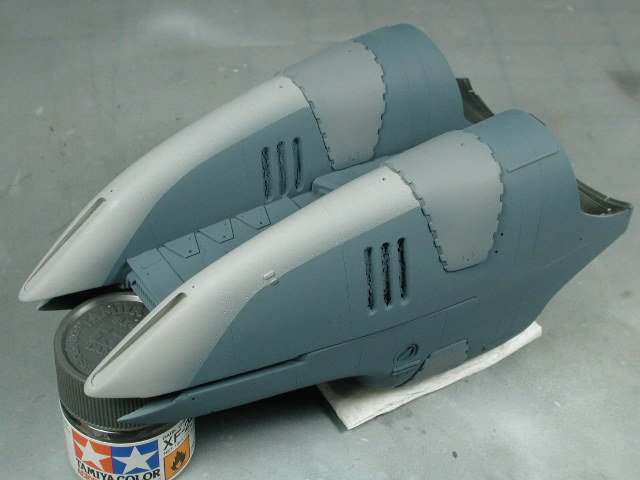
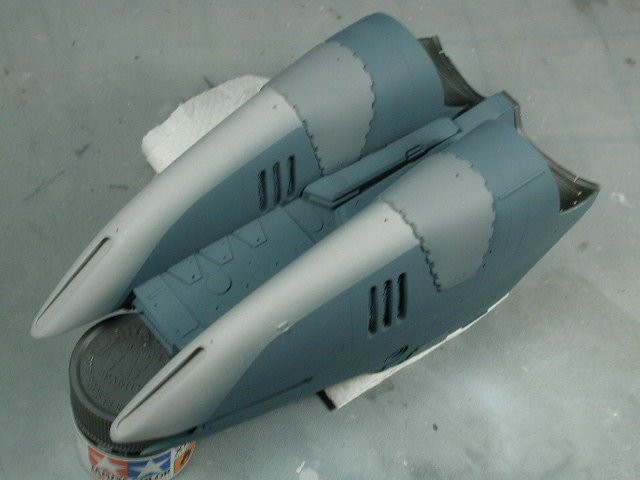
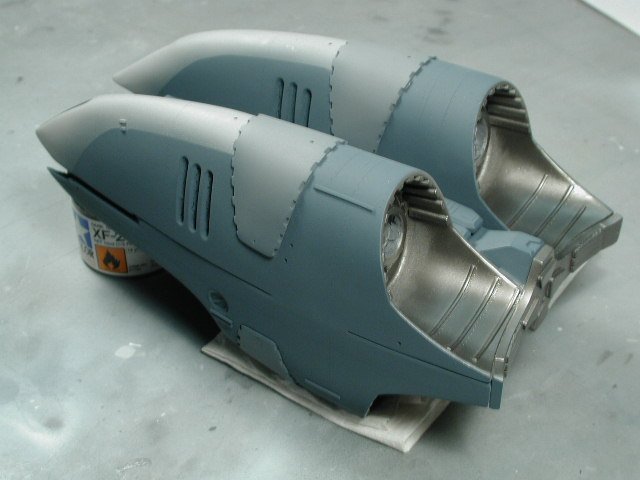
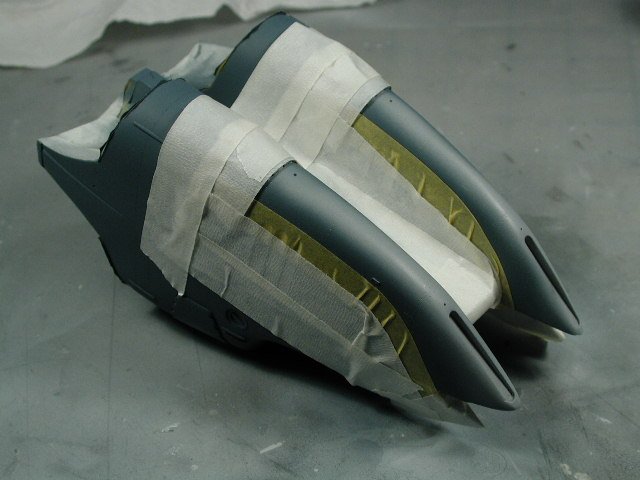
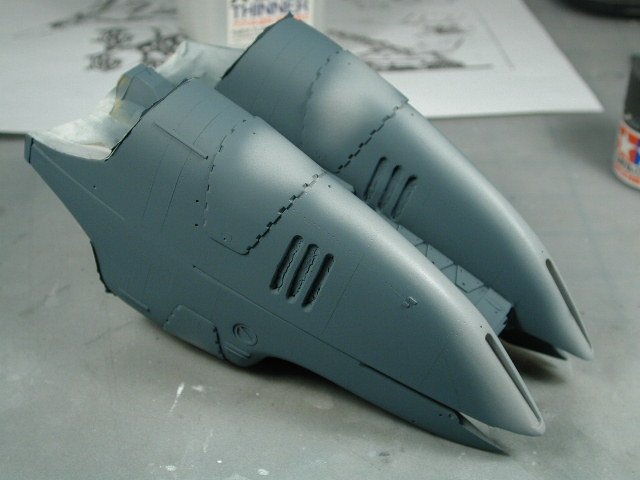
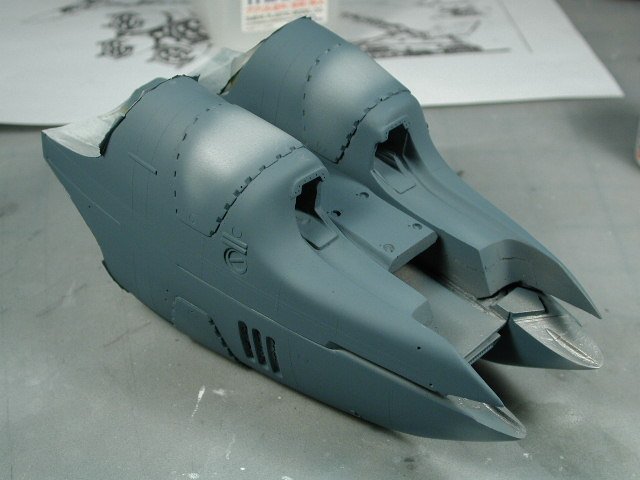
Well the main three shades of grey are on it now. The sharp line between the front sky grey portion and the main body of blue/grey was a little too strong in contrast. So when I returned with the medium blue to fix up some of the scratches that occurred while I was handling it during the masking - I also decided to spray medium blue over the areas where the different greys were delineated to soften the contrast between the colours. Keep in mind this is still the basecoat. I still need to feather the greys from a light to dark from front to back, apply some post shading weathering effects and generally lighten the tones so they tie together more. But overall, I'm pleased with the restults.
-
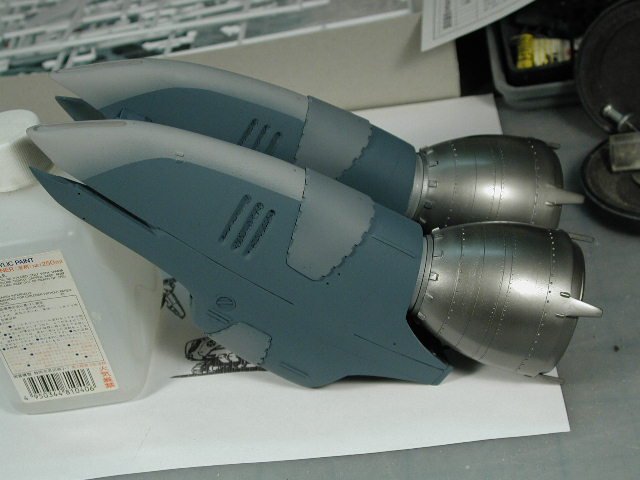
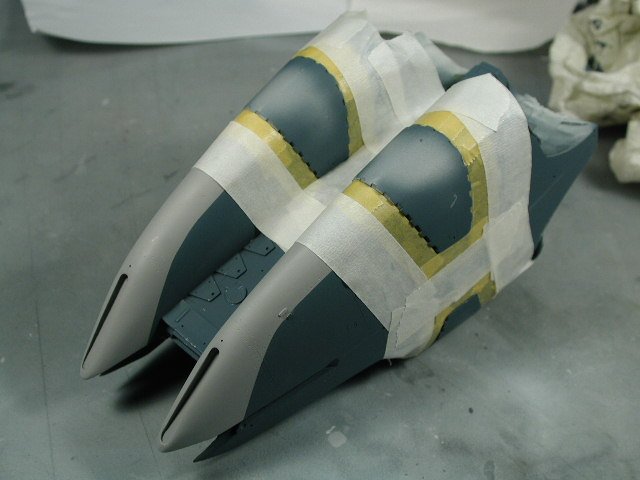
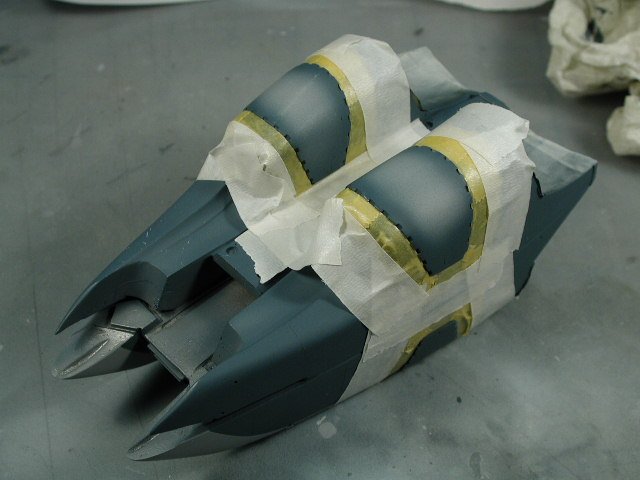
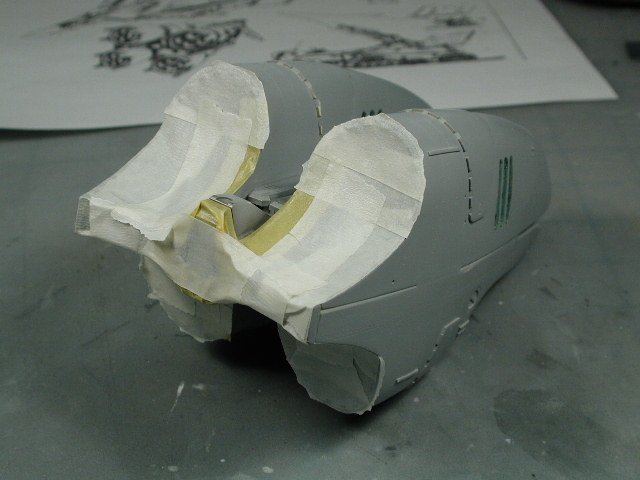
Next I decided that the raised areas on each of the booster humps were going to be another shade of grey. I decided on XF-53 Neutral Grey. Again I taped off the areas using the good Tamiya masking tape for the edges and the cheaper stuff all around. Becareful with the flat paints (especially unsealed Tamiya) its a beautiful thin coat, but very delicate to scratching. Just handling the boosters and taping and masking I accidentally scratched off a few sections of the basecoat. I'll go in and repair it later.
-
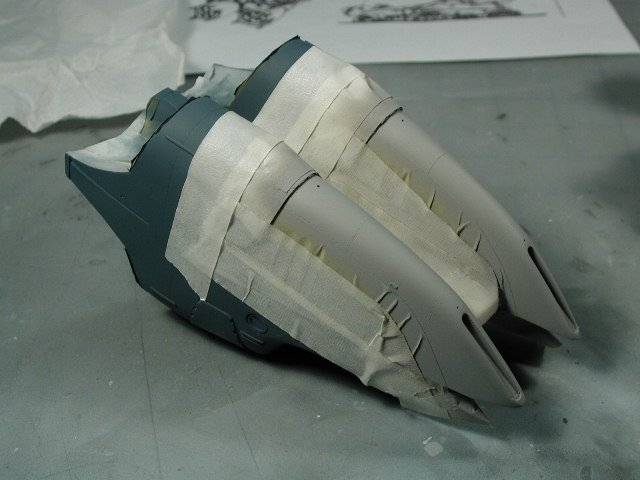
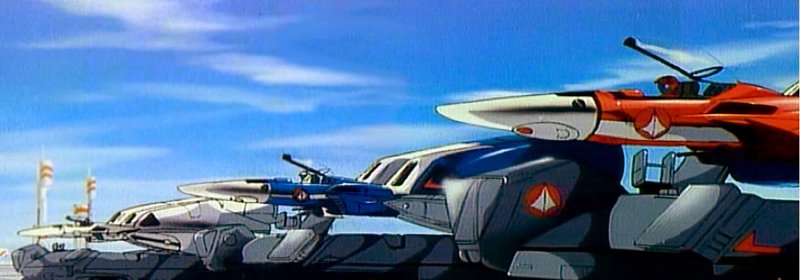
Now onto my next colour - I've decided that I would like a light shade on the top panel (like the white area on the Max & Millia boosters in the screen capture). I am going to try to make the boosters go from a light grey (portions close to the Valkyrie attachement points - to minimize the abrupt contrast) to a darker shade towards the engine bell end of the booster. I use the good stuff (tamiya masking tape - yellow thinner tape) on the edges where I want a straight line. I follow the Captn' scribed line on the outside faces and try my best to interpret the line on the inside faces (I will learn to scribe my own panel lines soon - but this isn't the project to learn on ). I use the regular masking tape (light tan) stuff for all the other areas that aren't important. I then carefully spray the lighter XF-19 Sky Grey onto the intended areas. Always spray away from the taped edge to get a nice sharp line. And try to spray lighter so that the paint is almost dried when it hits the surface - you don't want the paint to seep underneath the tape. Also if you spray towards the tape, you could get a bit of underspray underneath the taped line.
-
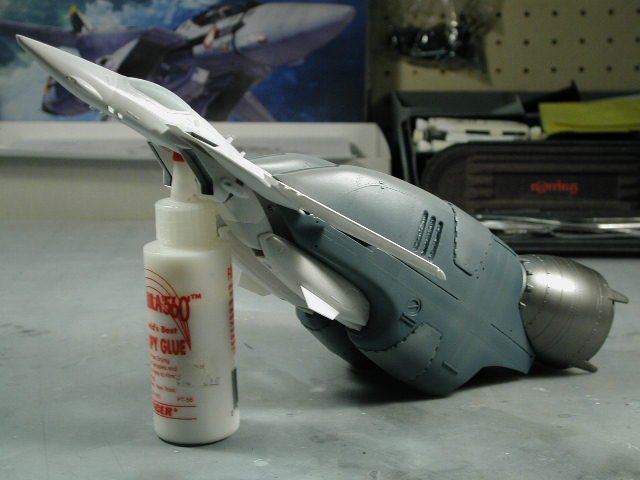
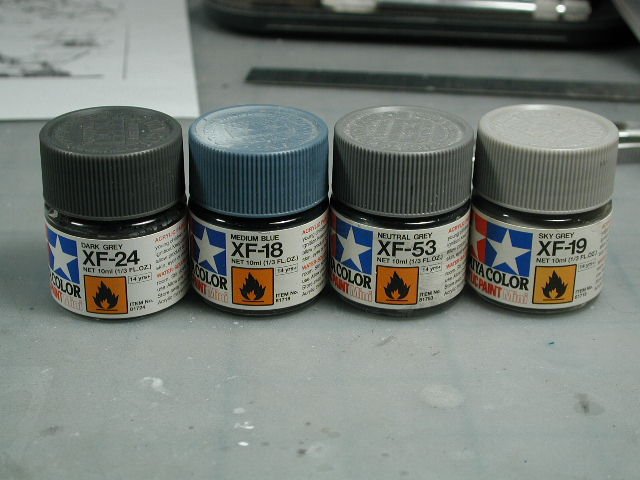
The colours I plan to use... I start off my masking the rear portions that I've already sprayed with Alclad Metalizer Steel. Then I spray the entire thing with XF-18 medium blue - this will form the base colour that I will work from (its the same colour I used for the fast packs on my VF-1A super)
-
Ido, the Tamiya acrylic white (Flat) covers better - however, you can't sand it - where as the Mr. Base White is at least a little bit sandable if you're careful. I've gotta find a decent white primer! I didn't know you can clean it with alcohol too, why can't you clean the airbrush with alcohol too? The long strip of black on the wings is a toughy - just use lots of water and don't apply any decal softeners until its in its final position. I apply it with lots of water and play with it until its down and blotted out (press deeply with a paper towel so that it sinks into all that nice engraved details and rivits on the wing), then apply some decal softeners or solvents over top and around the edges before it's dry and DON'T TOUCH IT!
-
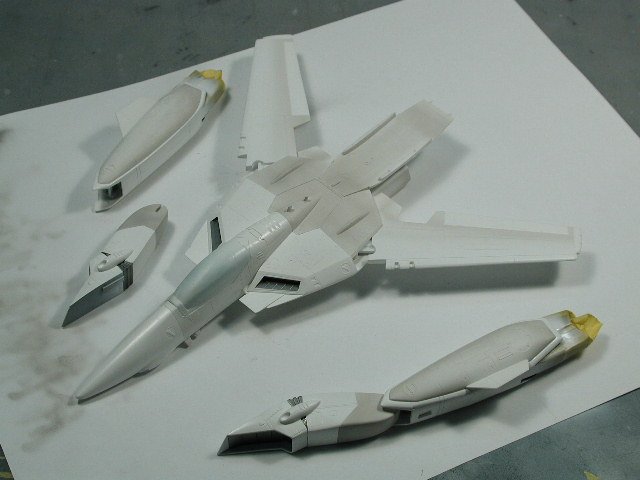
OK, I had a little time last night and this morning. The first thing was to get the Valkyrie up to snuff. I had to do a nice white coat over the entire thing. I did it in several lighter coats. Every once in a while I'll get fluff/lint cought on the surface of the drying paint (I guess I need to vacuum my basement!) - I'll let it dry, then very lightly sand that area with 2000 grit sanding film to remove the fluff/lint (and slightly around the area). Then re-paint over the affected area until you can't see the repair.
-
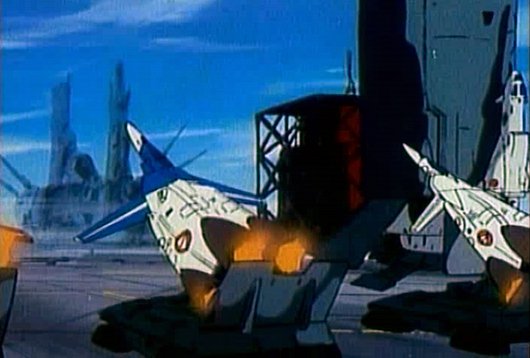
David, I don't think I could duplicate the effect at this small scale anyways I'm just using it as a guide/inspiration - its always useful to have real-world references. Ido, argh - you're right, it doesn't sand as nicely as a primer should! At least its a laquer (I hate spraying laquers, it stinks up the place and its harder to clean brushes and airbrush!) so it does bite better into the plastic - and it does sand better than the Tamiya white (which doesn't sand at all). Thanks for the rivit scriber tip - I'll order one the next time I have something from HLJ - although I'm not quite the stage to scribe my own panel lines and rivits yet Brett, that looks fantastic! hmm... I starting to have doubts about my fastpack blue/grey idea... It really looks good - pretty accurate to the TV episode screen captures. Here's some of the captures I've collected; (if anyone has any other references - I love to see them...)
-
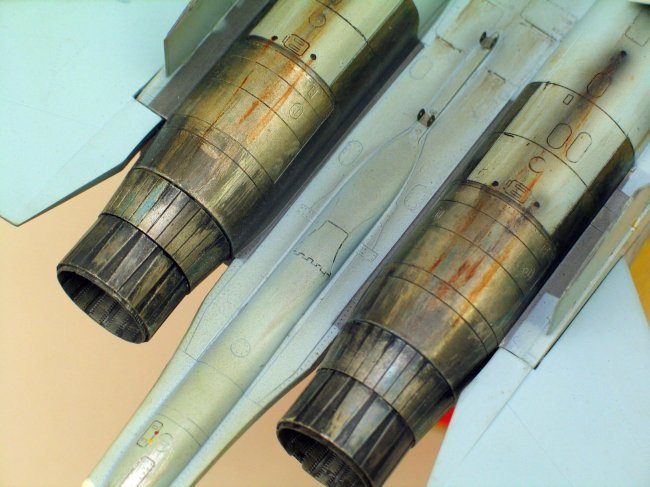
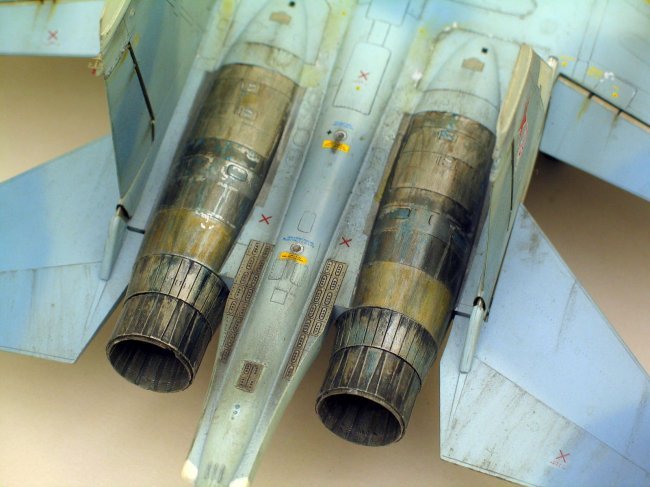
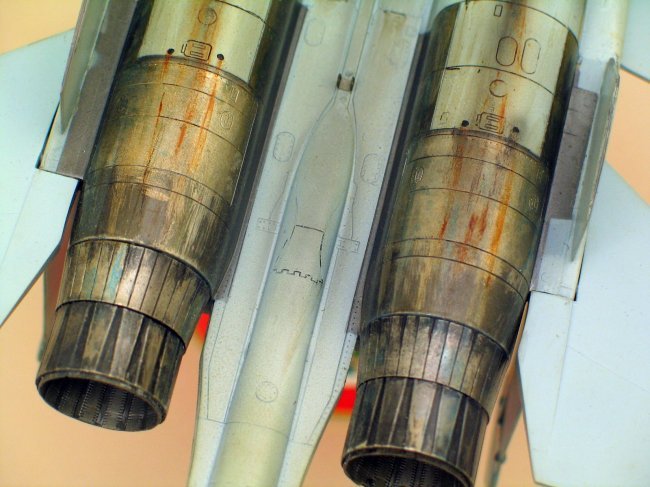
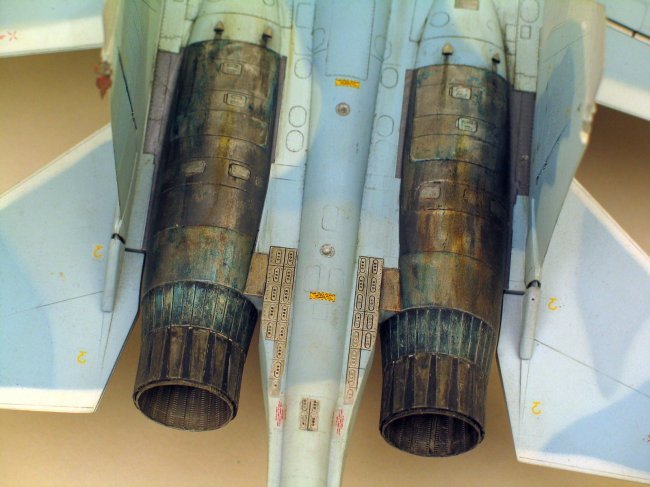
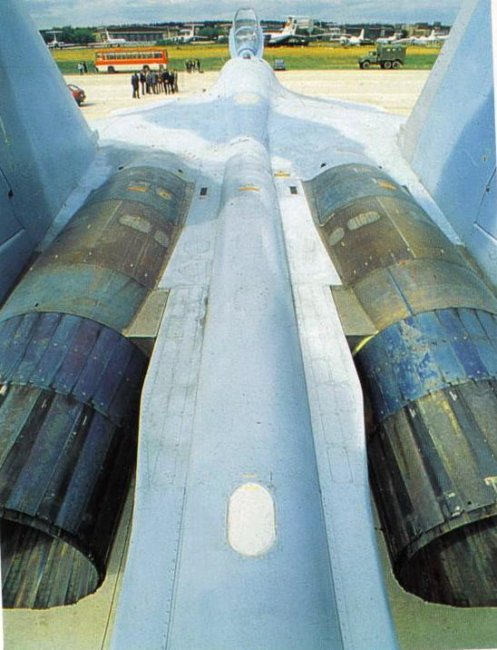
There's a great article; Heavy Metal Flankers (Painting weathered bare metal finishes) by Paul Brown over at; http://www.aircraftresourcecenter.com/ Go to Tool 'n' tips section - its under bare metal finishes. Great site! I was thinking of experimenting and doing something like this real Flanker photo(but much less weathered or used) Of course his model is 1/32 scale which is much bigger - I want to try to reproduce some of his effects in our much smaller 1/72 scale. I think it gives a good reference guidline though.


