Saburo
-
Posts
3904 -
Joined
-
Last visited
Content Type
Profiles
Forums
Events
Gallery
Everything posted by Saburo
-
I noticed the differences in the gap after I had taken all the pictures, I didn't feel like retaking the photos. I know what happened, I moved the left arm while trying to reposition SFD-1.
-
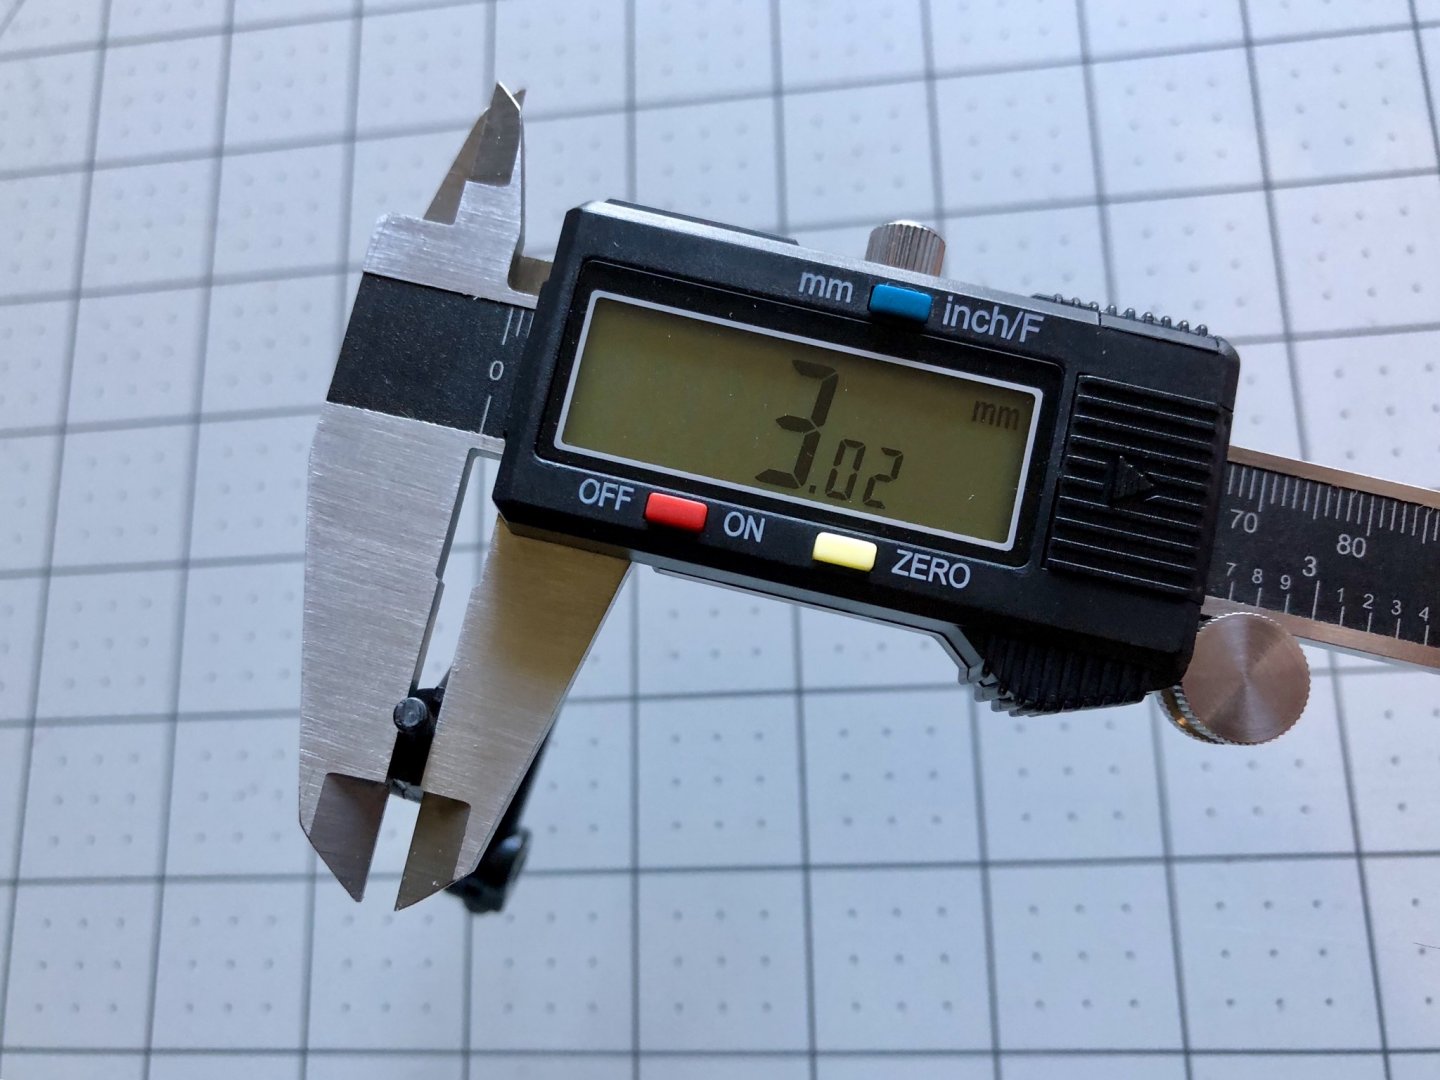
Oooops, I didn't measure the other end but it looks to be a 5mm peg, I'll check when I get home. Awesome display @Slave IV!!
-
-
-
I was humming it as well as I took and processed the photos. Thanks @RED WOLF! Nice, post up pics when she arrives.
-
Your most recent Macross or toy purchase! General thread.
Saburo replied to Gakken85's topic in Hall Of The Super Topics
Thank you @rdrunner I appreciate the support and glad those pics help. -
-
-
Thanks @CrossAir Thanks @no3Ljm! An now for Battroid mode pics.
-
Your most recent Macross or toy purchase! General thread.
Saburo replied to Gakken85's topic in Hall Of The Super Topics
Here are some pics of Tornado and Super parts. Tornado Parts: Super Parts: -
I can take some measurements when I get home.
-
More details
-
Thank you @Ignacio Ocamica, I'll be posting up the rest of the pics shortly.
-
The lights do make it pop, but I with the illumination last a longer. Still looks great though. Thanks @Slave IV! I am working on getting better shots of the glow in the dark paint. @ArchieNov, I always take my shots to minimize the amount of photo editing/manipulation I need to do. These shots as do my other photos have some processing done to them. The glow int he dark is tricky to capture, blasted it with my studio lights for a few min to charge up the paint. (I wrote that because it sounded cooler than me typing I put it under some lights. ) then turned them down to take the shot. It can look like that on your shelf for a brief moment till the illumination fades.
-
Test shot 2, getting things dialed in for the pretty lady.
-
Here is a preliminary test shot of the SDF-1.
-
Your most recent Macross or toy purchase! General thread.
Saburo replied to Gakken85's topic in Hall Of The Super Topics
Nice Haul. Whoa, that has to be the biggest HLJ box I have ever seen. -
And then there were 2.

-
Your most recent Macross or toy purchase! General thread.
Saburo replied to Gakken85's topic in Hall Of The Super Topics
Rey has joined Stig. -
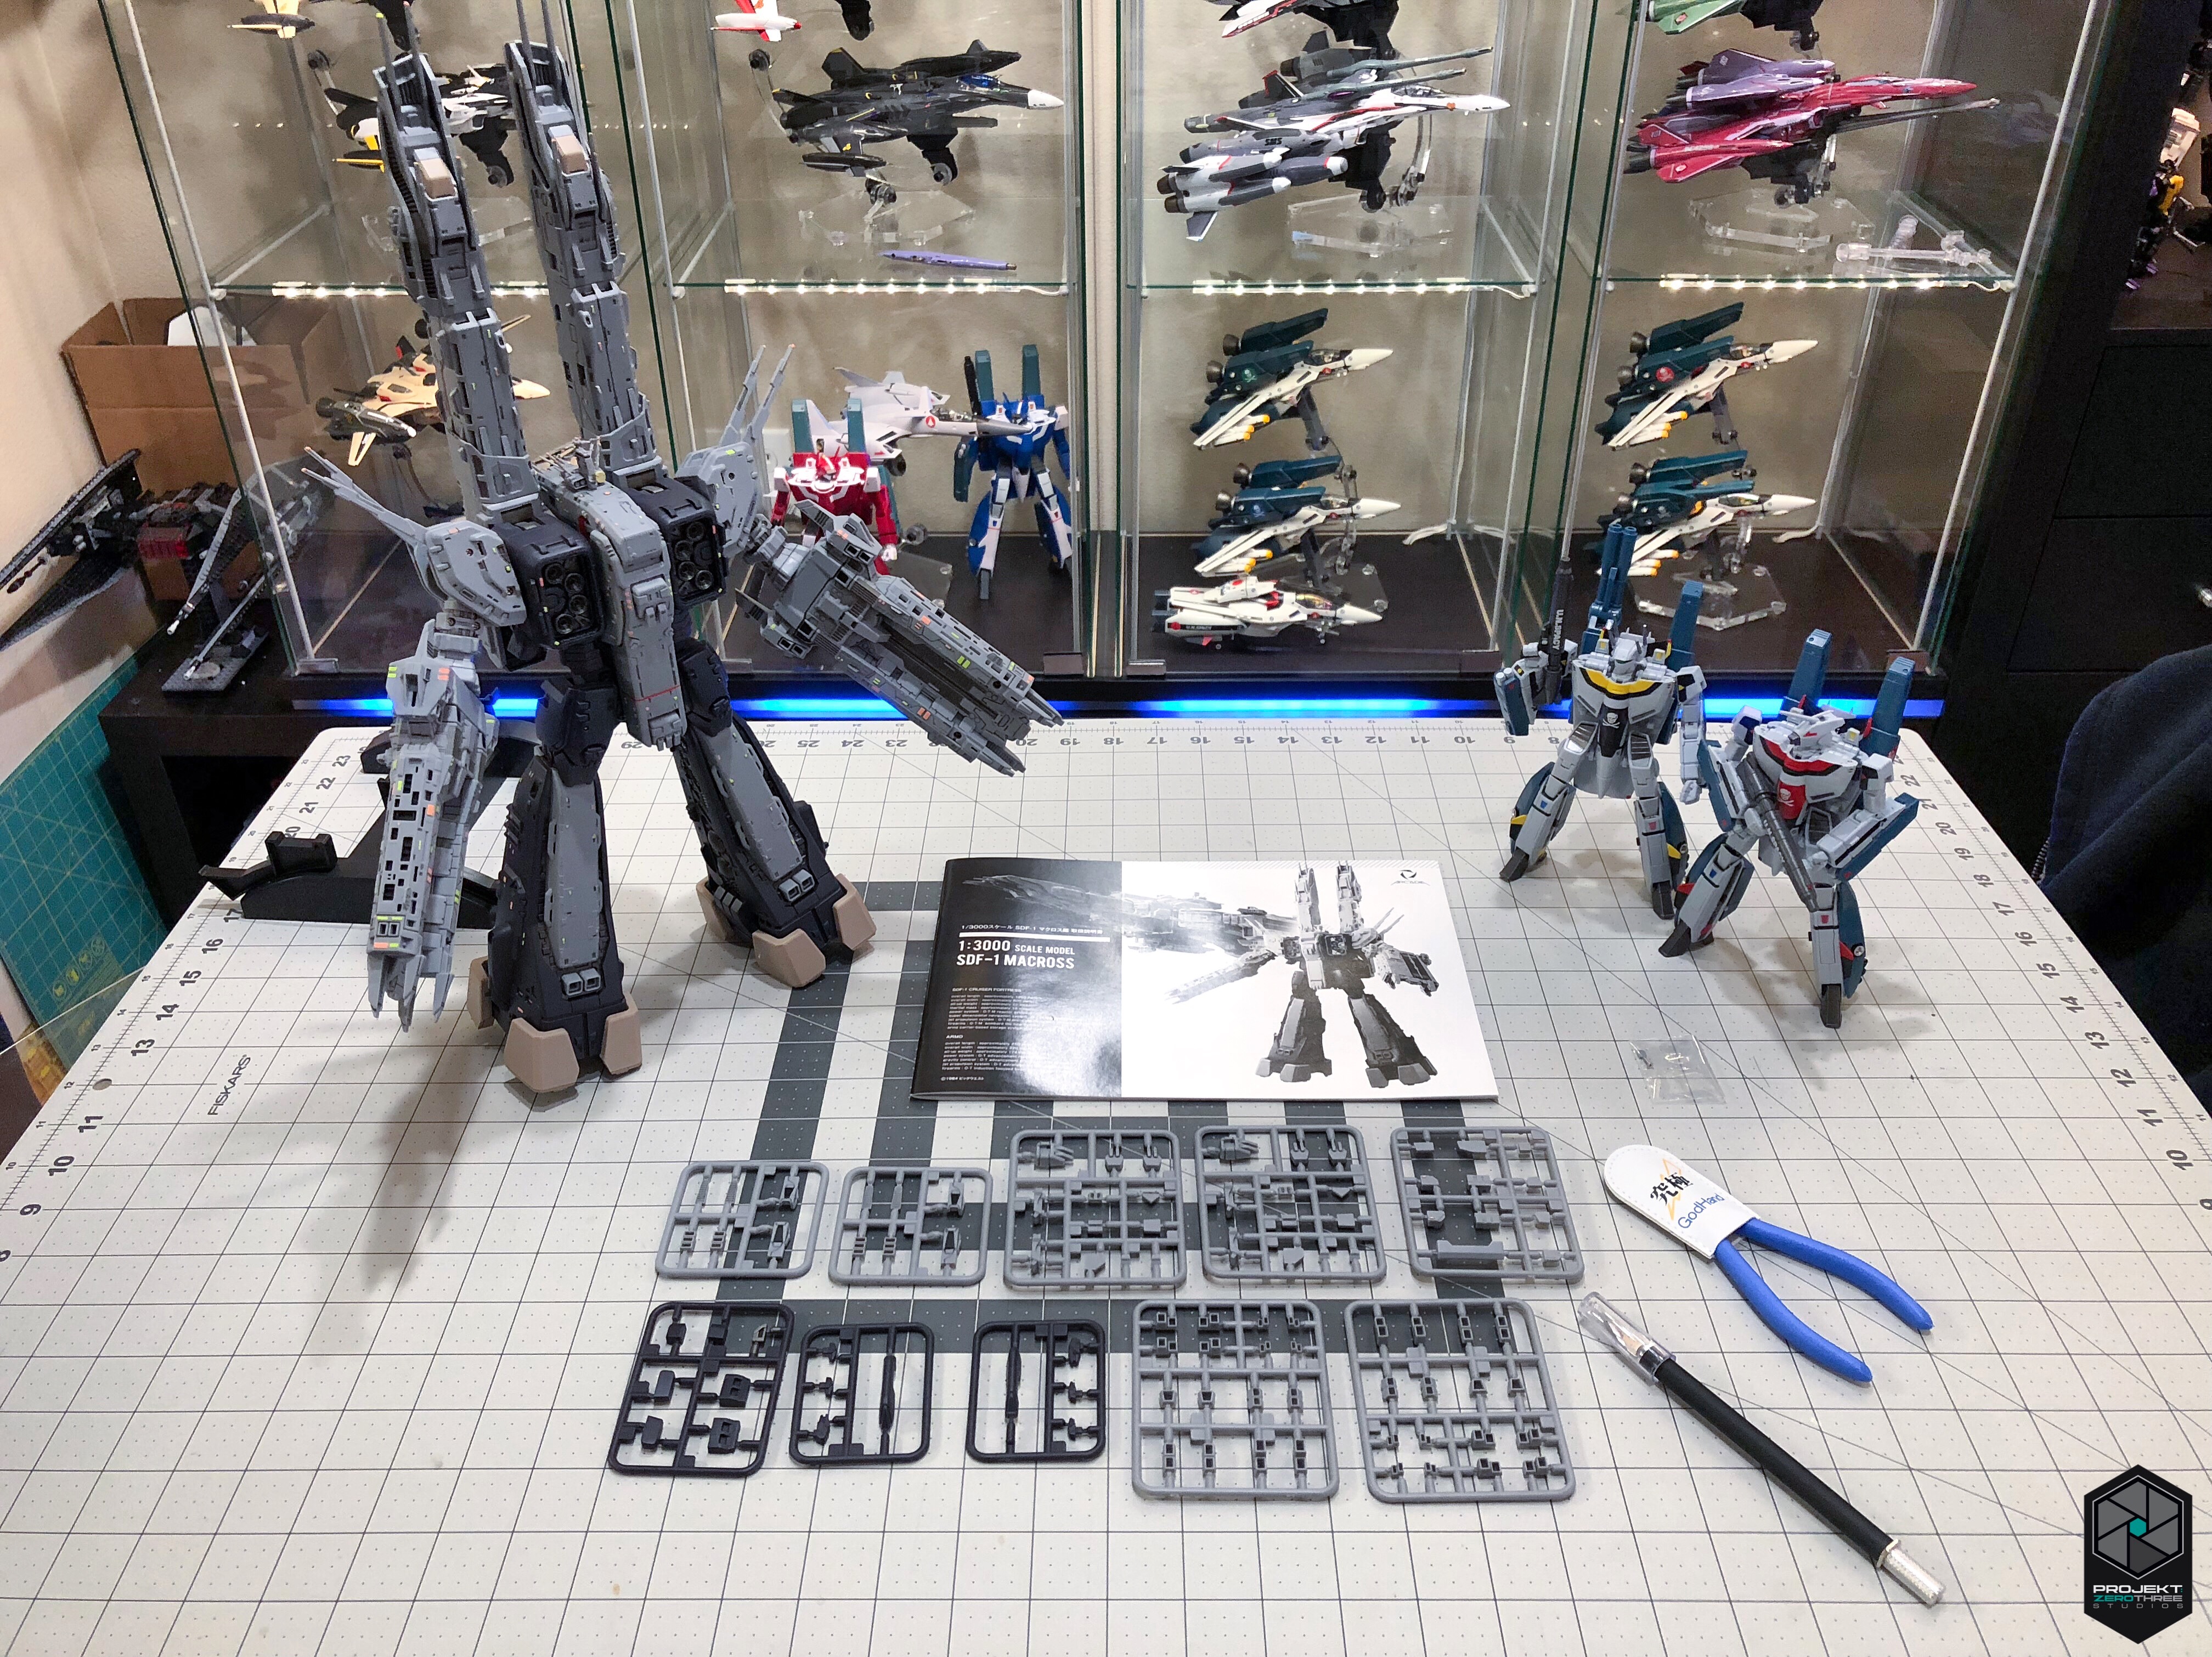
Nothing yet, I'll be doing the studio shots soon. I just needed install the finishing parts for the SDF-1's photoshoot. I am not saying this is the recommended way, but this how did it. Cut the part off the sprue using a modelling spruce nipper, then sanded the any excess plastic part from the sprue.
-
Thank you for the info @ArchieNov & @wmkjr! I thought I had missed something. My fingers are sore from installing the finishing parts, especially my thumbs it like I was playing all day long with the NES controller.
-
I took the pic a few hours ago and I am now done, that was fun. I was afraid that one of the really small covers would fall and get lost. For those that installed the finishing parts, did you have 2 left over parts (30 and 32)? I went over the instructions to make sure I didn't miss anything and I find no listing for where pars 30 and 32 go.
-