HWR MKII
-
Posts
2644 -
Joined
-
Last visited
Content Type
Profiles
Forums
Events
Gallery
Everything posted by HWR MKII
-
The flash on the parts was light enough to shave off with an exacto knife and touch up using a fine sandpaper. The pour stub on this piece was carved off and sanded as well. The resin feels exactly the same as carving a piece of balsa wood.

-
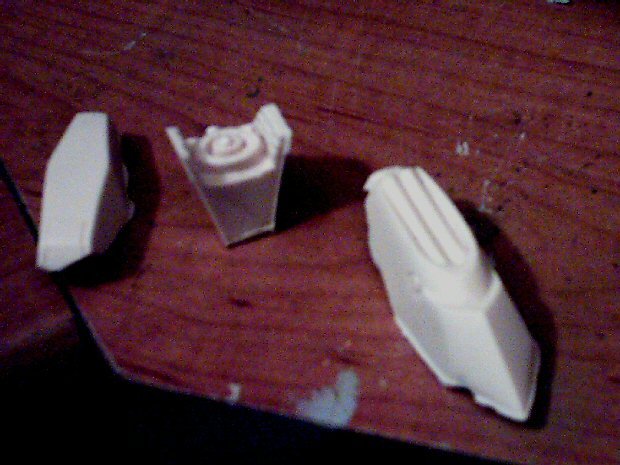
Heres the parts breakdown for the exhaust nozzles. Notice the flash around the edges and pour stub on the larger piece.
-
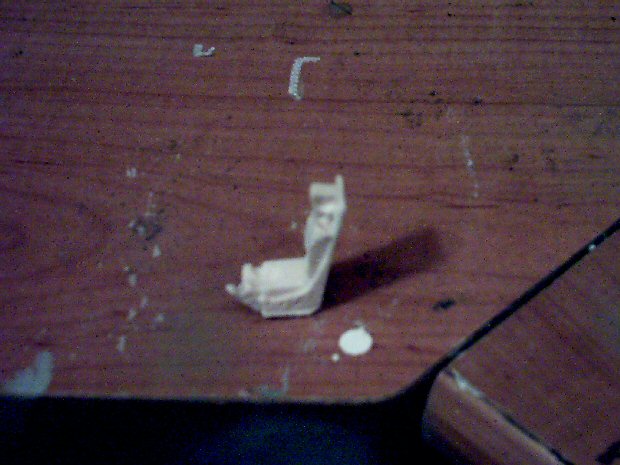
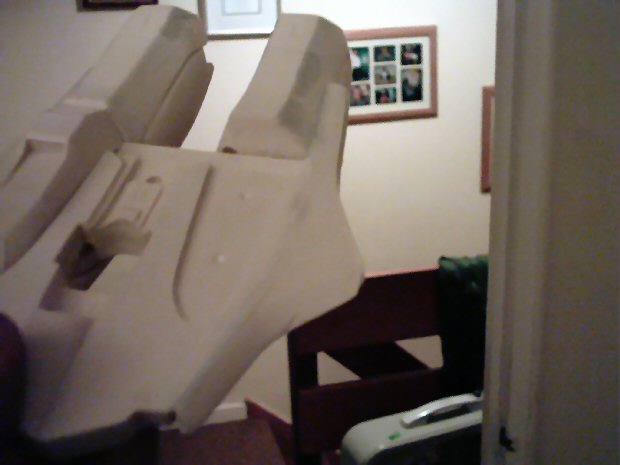
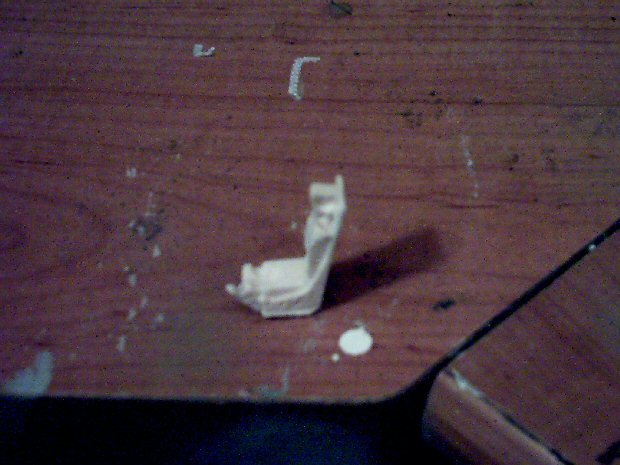
Side view of the seat again.
-
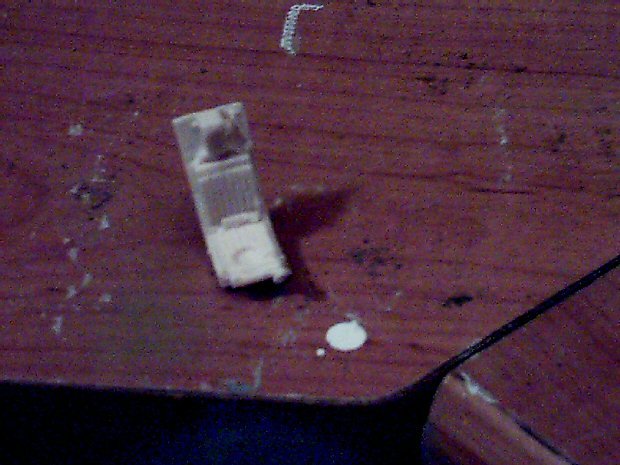
Now for the seat. The seat looks like it was taken from an old Monogram Tomcat. Im going to create a new headrest for it and make some of the overall appearance more accurate to the animation. This is the seat before cleanup.
-
Now the problem wing. the dark pinkish stuff in the wing root is Bondo. It had the quickest cure time and best sanding qualities for feathering the pieces together.
-
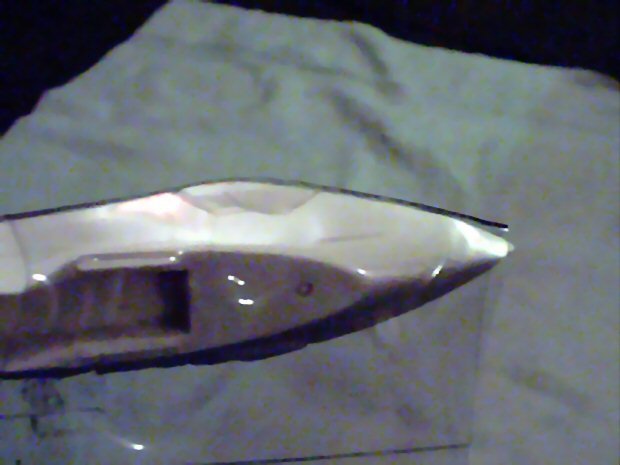
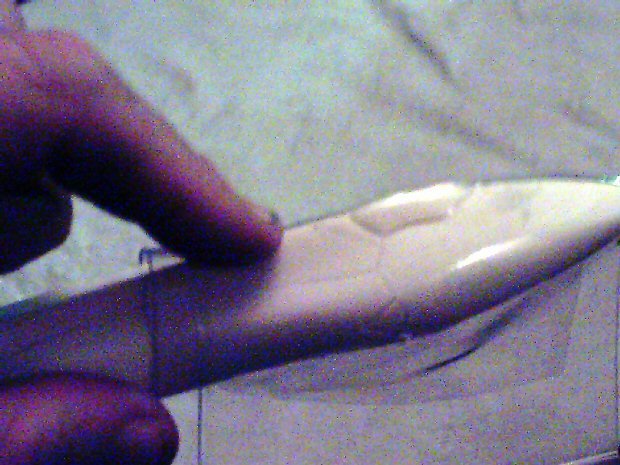
Now the nose. You can see the indentations for the sensors. The clear parts are both trimmed and painted clear red ready to go. im going to keep the installation of those for last you guys will just have to wait to see how they work out.
-
ok here are some more pics for you guys. IM sorry for the blurr but i have no good lights in the house. first the upper fuselage with a light coat of primer on it.

-
about 1/16 to 1/8 thickness. One wing looks good and fits into the slot provided and the other is lucky to match up on top. i had to feather the bottom on one into the lower fuselage check the pics on my thread in a bit.
-
ill have to put the scene in slowmo when my projector bulbs get in from the states.
-
I read something similar in popular mechanics back in 99. it also goes on to him saying that he got the design influence for tha naboo starfighter from a 1930s earring and otherr sources . The 2 movies also had gags geared toward Lucas himself. The naboo starfighter was yellow and chrome to reflect the roadster from American Graffiti, and the open top speeder in episode 2 was also a nod to the same roadster. Side topic sorry. Has anoyone found the THX1138 reference in episode 2 yet? lucas has put a reference to that movie in every film he has directed. not written DIRCTED 1 THX 1138 the movie 2 American Graffiti the yellow roadster had the license plate of THX138 3 SW EP4 LUKE "Prisoner transfer from cellblock 1138 4 SW EP1 The battle droid JAR JAR knocks down at the end when they shut down has a stylized 1138 on its backpack. So where is it in EP2
-
Did you have a problem with one of your wings being thicker than the other?
-
Thanks LTSO well i have the whole basic airframe assembled and i have to say the kit is good. The ONLY snag was that one of the wings is thicker than the other so it does not sit flush on the bottom. I glued them so the tops are both flush and even with the root piece and left the seam to show the moveable nature of the wing on the acft. One wing fit perfectly the other im going to have to feather in with putty on the bottom but it shouldnt be very noticeable when the whole project is finished. I have also been test fitting the intake pieces as well. These look like they will fit ok with a little tweaking but the parts are so thin i have already broken one (its fixed) because they have to be bowed in a little to fit into the grooves placed for them. pics to follow tomorrow
-
Last one for now showing again the puttied areas. now im off to carve out the other sensor blister. Take it slow and easy on that and double check yourself as you go. Parts cleanup is a snap on these kits and they do fall together quite easily. To glue it together im using ZAP brand CA glue with a kicker. The ZAP is in the bottle with the green label and the kicker is to set off the glue fully once it is tacked in place so double check before you kick. if something is misaligned you can seperate the pieces with nailpolish remover or acetone.

-
The greyish areas are where i had ti fill with a little putty. The only things i had to fill were large gaps where the wing root pieces meet up with the engine pods and some areas where there were seams from the molds not matching up right bit its the norm for any resin kit. I sanded down as much of the resin as i could without changing the shape then filled the remaining recesses with Squadron white putty. This putty is good for this kit since it is about as hard as the resin if not a little softer when dry.

-
I cannot emphasize enough that you should take your time sanding and carving this resin. It is softer than most other resins but i prefer it that way. Resin that is too hard can wear down your sand paper before you sand the part down. For me this resin is perfect. The main bulk of the fuselage is together and the seams are filled but not sanded. i have not glued on the wings,fins,and nose. Also another thing i noticed was the master kit that this kit was made from is missing 2 things. 2 fins on the bottom of the fuselage between the arm pieces and the 2 internal cannons mounted near them nor is there any room to install them.
-
I have carved out the solid detail and test fit a lense already and they fit great. This is a test fit sorry for the darkness but if its too bright you cant see the clear piece at all. I still have to fine tune the fit but this is almost good enough to glue in as is. I also have to make the pieces that go inside for the sensor itself since the lense will be clear red i want there to be a suggestion of something.

-
One last note. When i build this i will minimize seams and joins but i will leave the mechanical joints in the kit that would be there for the acft to emphasize the fact it transforms. These will not be huge gaps but nor will i completely fill these seams. Another thing you must do on these kits is to lightly sand the surface of the parts and remove the grainy texture on the parts. The finish should suggest an acft made of metal not shark skin.
-
Sorry the pics arent clear. It is difficult to take pictures of clear material and have it show.
-
Kurt. My copy does have some bubbles but none are too big or in places that are important. The Smash forming went very well. what you need is thin clear acetate from a overhead projector or McFaralane toy. cut it into a 3x5 piece. Be sure to have extras since it may take a bit to get the hang of. Once you have your piece cut heat the center over a candle or heatgun( i have a heat gun). DO NOT get too close to the heat or you will burn through the plastic. Heat the plastic until it starts to sag in the middle then mash it down over the piece. The end result should look like a second skin of clear plastic.
-
Gabe Q I have started my build thread on the 19 i dont want to take away from scands build up but in a way this mirrors the competition in the animation. Two aircraft being made at the same time. Scand i wish you the best of luck on the 21. i see what you mean abou the intakes. This shouldnt be a problem though. I dont want to hijack Scands thread so if anyone has any questions for me please PM me or post them in the 19 build thread. Sean
-
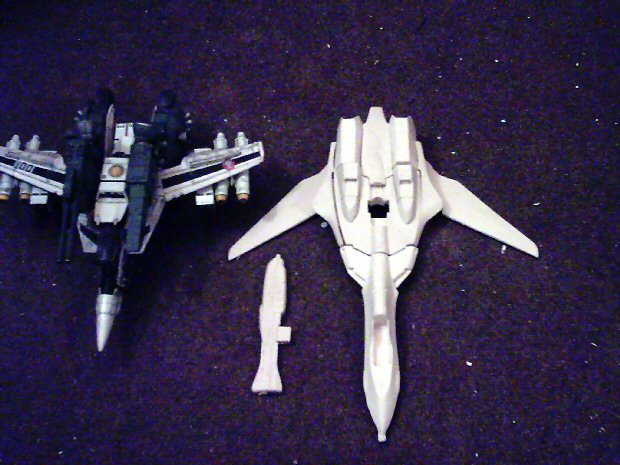
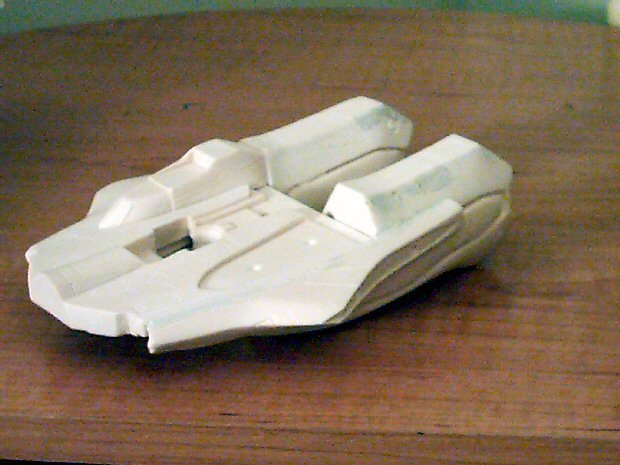
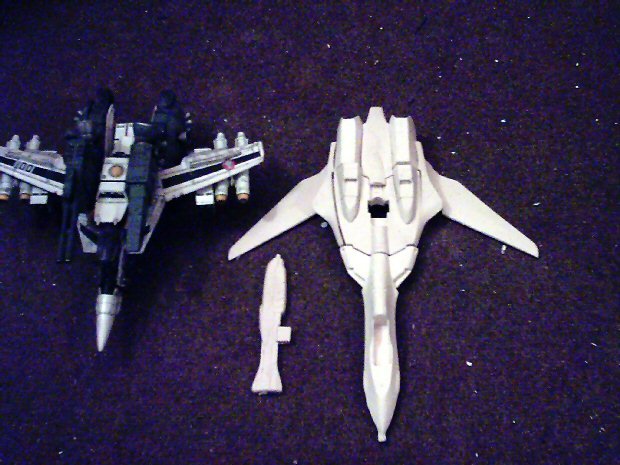
These are all the basic airframe parts loosely fit together with no cleanup. The parts fit very well considering the flash on them. That is my recast 1/48 ultimate detail VF-1S strike next to it for size comparison. This kit will build up between the size of a F15E and F14D.
-
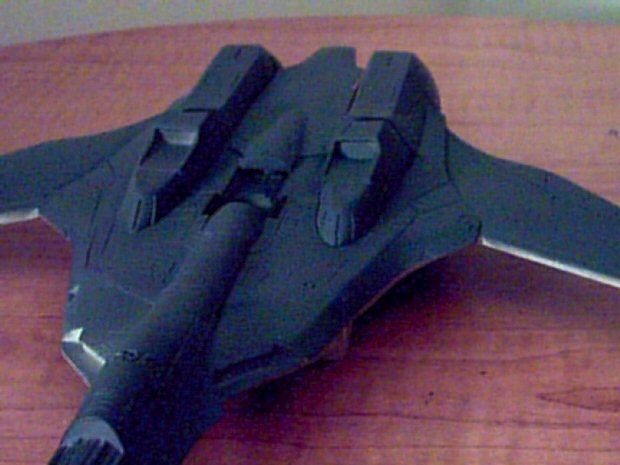
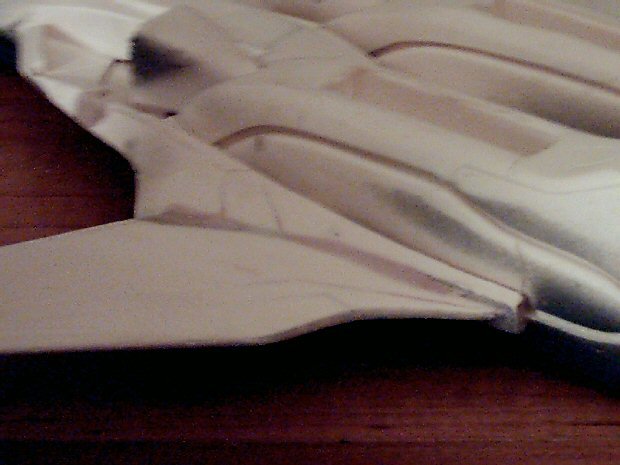
Here is one of the "leg" engine pods. Of all the pieces these required the least amount of cleanup. The only things i will have to do is some light sanding of the seam lines and rescribe some panel lines.

-
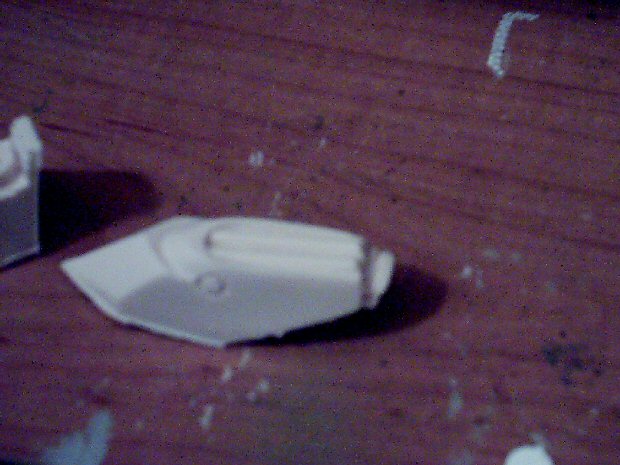
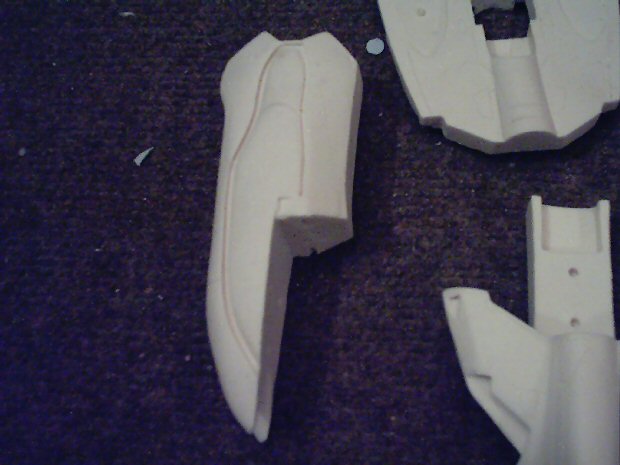
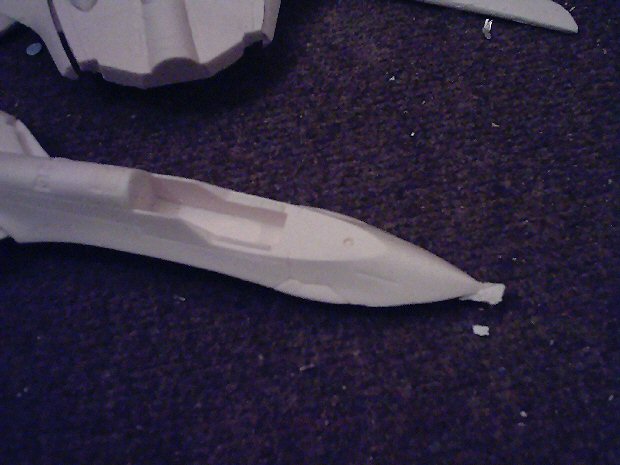
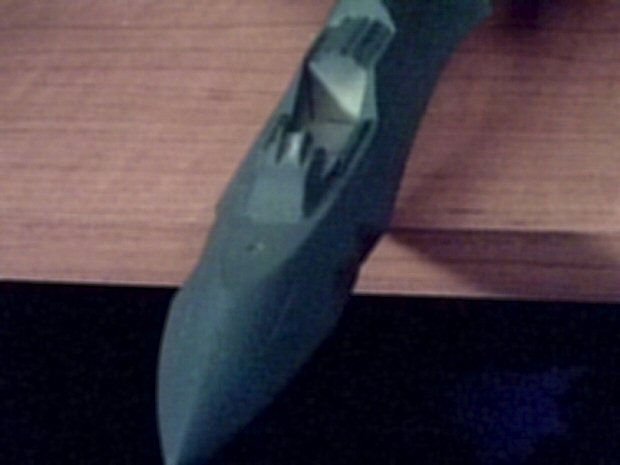
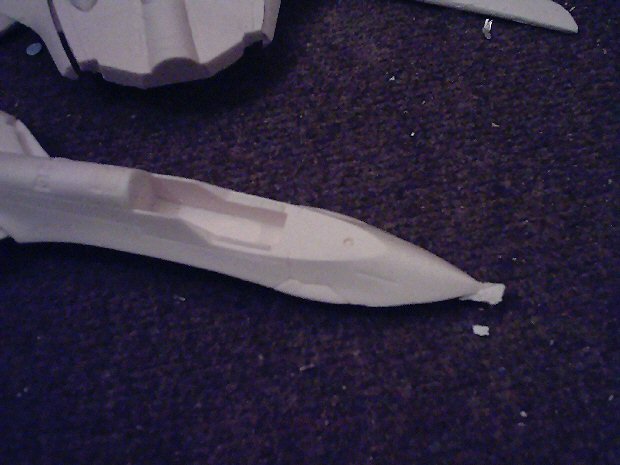
Next up is the nose. The pour stub at the front has been trimmed down before delivery(thankyou) but its remnants are still present. It is located mainly on the bottom of the nose. To remove this lightly and CAREFULLY shave off the bit until there is very little left on the piece. once you have it trimmed to almost the basic shape sand the rest off slowly and frequently checking your progress. You want to preserve the strake edge down the sides. Another thing you can see is the well formed shape of the sensor blisters on the nose. This will come in handy when i stretch form the acetate over it. more to come on that when we get to it. The cockpit tub has basic details for the sidewalls. the seat, up front display and equipment pack behind the seat are molded as seperate pieces.
-
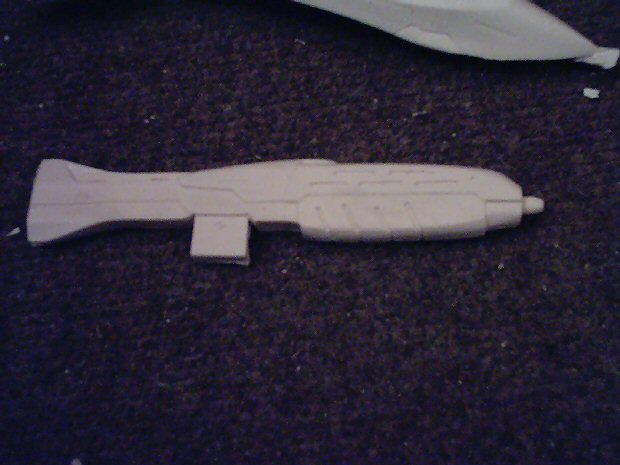
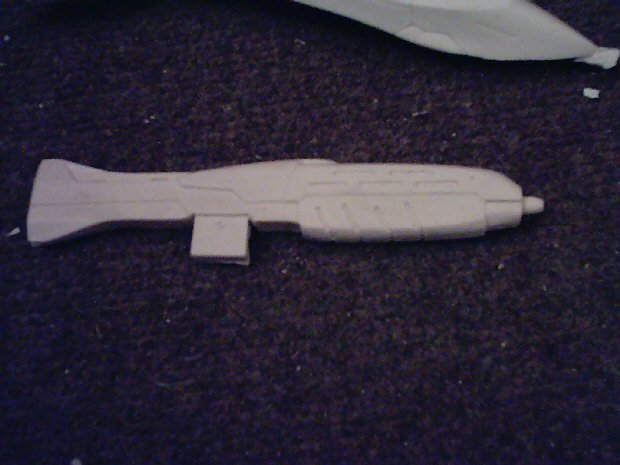
Here is the gunpod. As far as i can tell it is as line art accurate as it can possibly get. there was almost no flash on this part. The only clean up required is the careful removal of what appears to be tiny BBs of resin that became lodged inside the recessed details. to remove these i have a little Xacto blade with an offset tip that comes to a small point. it is perfect for reaching into the corners.
-
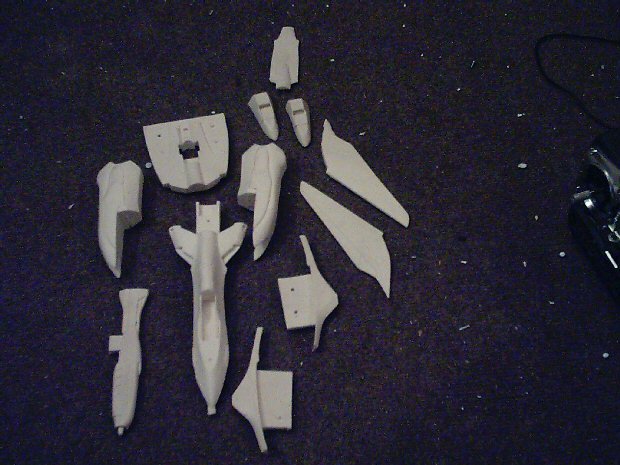
Well guys let us begin. These are not all the parts but just the major parts. i will cover the smaller detail parts as they come up for work. All of these parts make up the basic airframe. I WILL be making the Acft landing gear down.