HWR MKII
-
Posts
2644 -
Joined
-
Last visited
Content Type
Profiles
Forums
Events
Gallery
Everything posted by HWR MKII
-
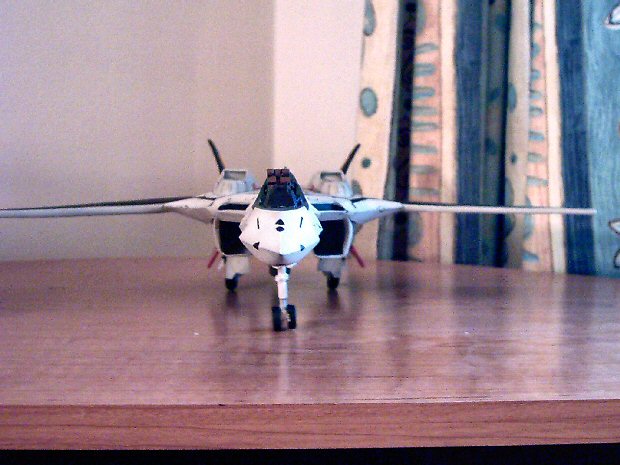
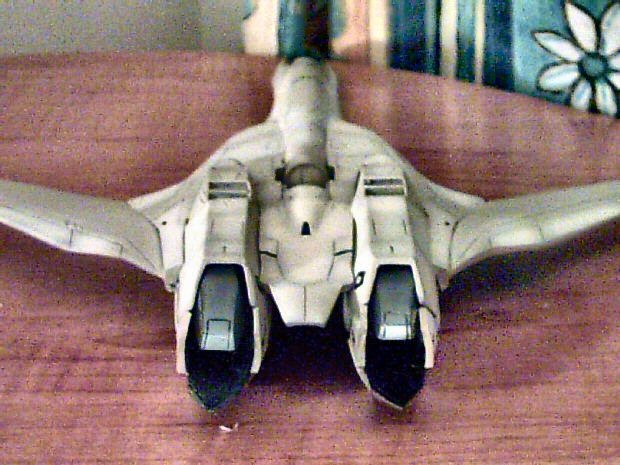
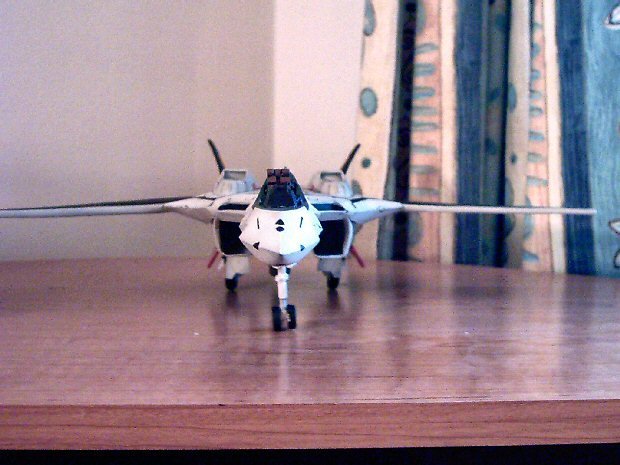
Full foreward view. The gunpod is installed, in Macross plus the pod is a greenish khaki color the best match i had was polly scale slate grey. You will have to add a shim of plastic to the mount point on the gunpod to get it to sit better on the kit. The difference in wing thickness it very evident too.
-
As you can see the landing gear is on and the detail painting is almost complete. Be careful cleaning the landing gear parts they are very fragile besides having a metal rod in them. After you assemble the gear treat it gently the wheels have no solid locator pins to join them to the struts.

-
Other side.
-
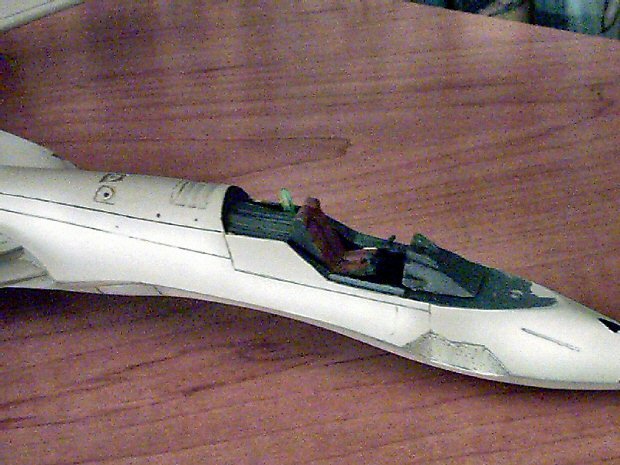
Closer still.
-
Here are todays pics. Someone asked for pics of the cockpit in another thread in the model kits section. Here they are.

-
Try to use gap filling super glue or bondo. if that doesnt work try to debond the canopy piece and refine the fit a bit more. The problem using plastic model putty on a resin kit is that it will not bond to the resin. On plastic kite the putty is supposed to lightly melt the plastic and stick, thats why i use gap filling super glue and bondo.
-
I have M7 Dynamite on the way. can anyone tell me if the animation quality is any better or worse than the TV series.
-
Not only a telemarketer but a telemarketer for Target. . SO what now if we hang up on him he chokes us?
-
Thats all for today folks. I hope to have her on her landing gear tomorrow until then wish me luck. As a review of the kit so far. EXPERIENCED RESIN MODELLERS ONLY!!!. overall the fit is ok but it is a recast and has alot of the problems that come with it. MY 3 biggest gripes are 1 the uneven size in wing thickness, 2 The poorly fitting intake scoops,WTF is up with having 2 turbine fans in each intake . 3 The inaccurate seat which had to be rebuilt. None of these problems are because of Jessee and his associates efforts. this is one of the best recasts i have ever built. These problems stem from the original person who designes the master parts for the kit in the first place. The 21 looks like it just needs a little fiddeling and the parts will fall together but the 19 should be approached as methodically as possible. Well ill have more later Sean
-
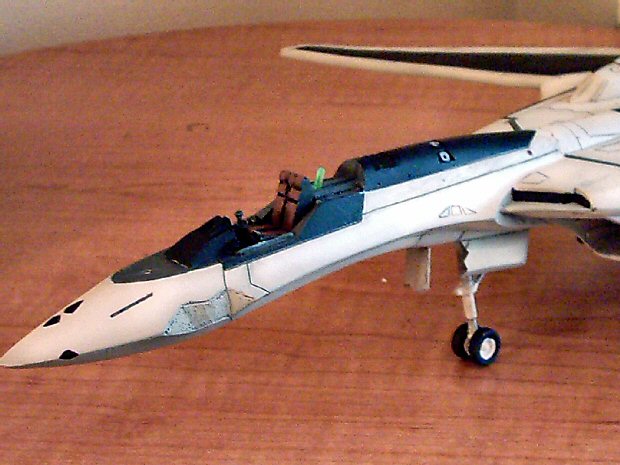
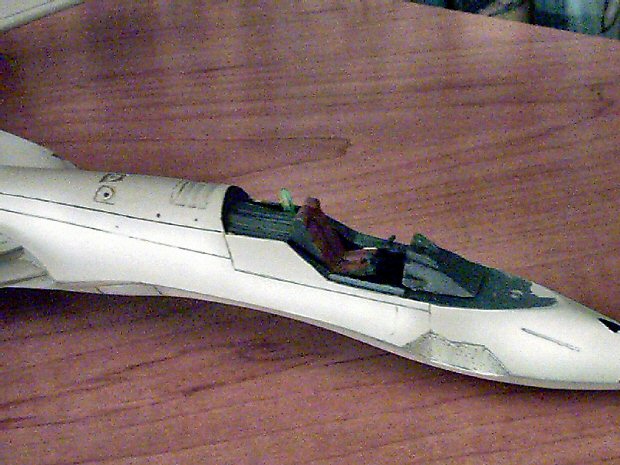
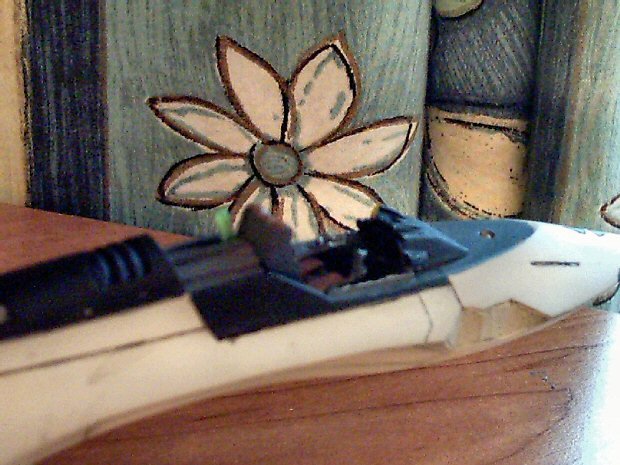
Left side nose/cockpit. This side has the throttle control and the green thing on it. on all the macross models i have seen of the 19 noone has included the green post thing in the cockpit of the fighter but it always stands out in the animation. Well for the first time on macross world. TADA

-
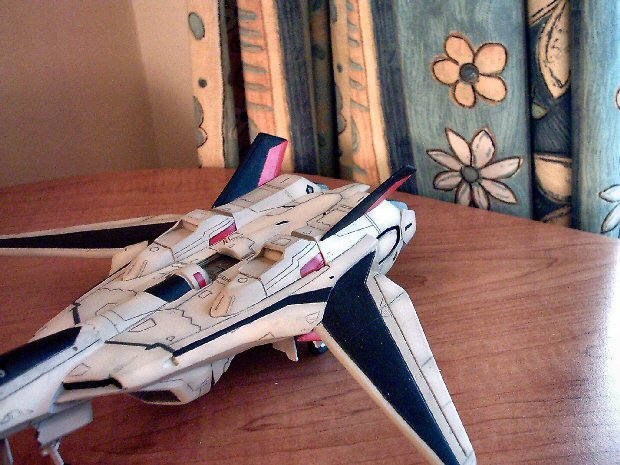
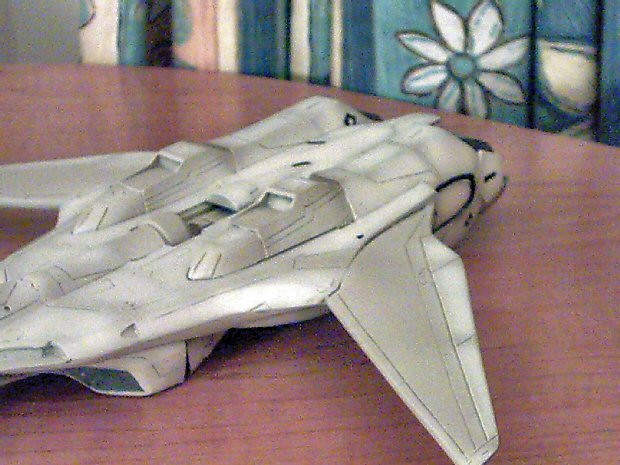
The left side main fuselage. The darker area on the wing will be getting the black stripe put on it tomorrow so i didnt bother to cloud it.

-
The buisness end of the fighter. This was the best i could get the nozzle parts to line up.

-
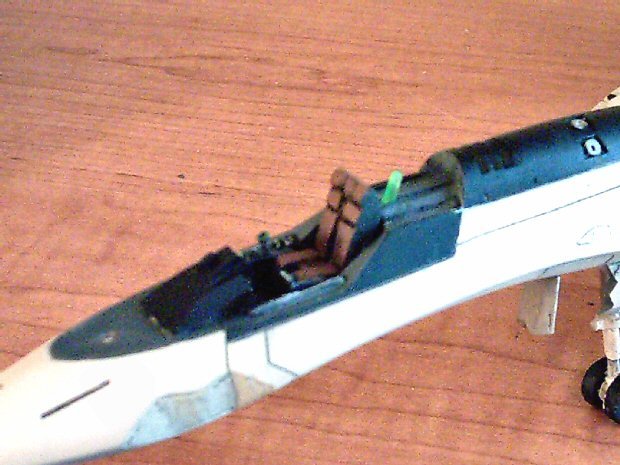
Aclose up of the right side cockpit. Notice the side stick controller (which he kit was not supplied with) attached to what i would like to consider a greatly improved seat.
-
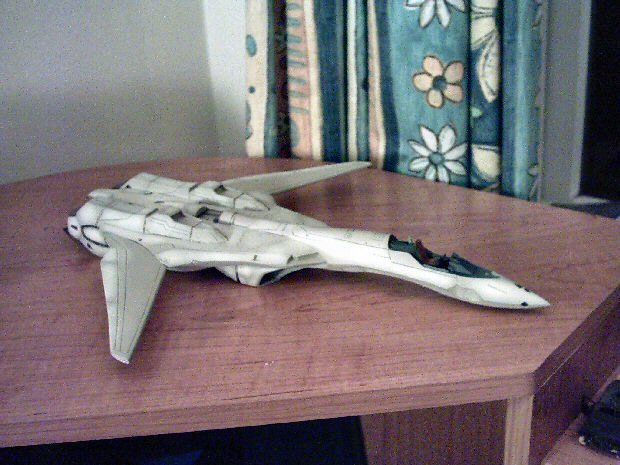
OK some new pics. The base painting has been done. The primary color used was Tamiya Buff mixed 50/50 roughly with white and airbrushed on. The secondary color was Testors Acryl Radome Tan again mixed 50/50 with white sprayed on in cloudy patched over all the major panels. The only areas i didnt apply this to were the ones that will be painted black tomorrow. First pic is a distant shot overall of the fighter.
-
Scand. it would be difficult to do gear up. the gear doors dont exactly match up.If you work it enough it could be done but id rather just sharpen up whats there and use it. I also added a throttle and side stick to the seat which they are attached to in the animation. I mainly use Squadron White putty for anything on the kit but for the trouble area on the wing and the space where the FWD fuselage mates to the body needed bondo because of the thicker make and quicker set time. Are you wet or dry sanding? i wet sand and my paper doesnt clog the water keeps the dust from building up on it. Take LOTS of care fitting the intakes as well. They dont fit well at all. Jagull. I used Tamiya clear red to tint the lenses. Im still tossing around the idea of making the lights for the wings and fins. i may use bare metal foil on them and coat that in the clear colors.
-
Neova Yes you can replicate canopy glass with this method. If you can try to get a solid master made first or use the kit part if it is solid enough. also if the acetate is on the thick side take into account the thickness of the plastic your using if you arent careful the canopy may be a hair too large to use in the closed position. I have never tried using a hair dryer. If it gets hot enough it will work. Experiment with it, I know you can get a inexpensive heat gun at some arts and crafts centers for around 30 bucks. Good Luck Sean
-
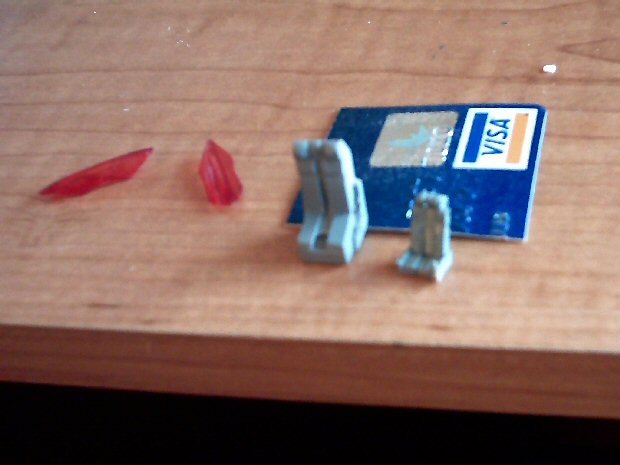
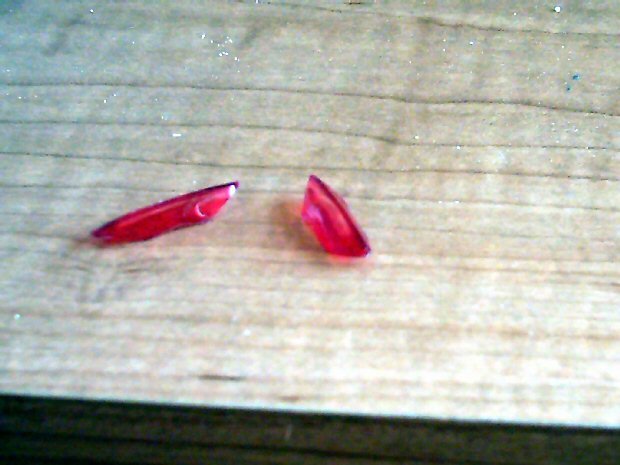
What were those red things in the pic above you ask. HE HE yup its the lenses fully trimmed ,fitted ,and colored. This is the last you will see of them until i get the initial painting done. ENJOY!
-
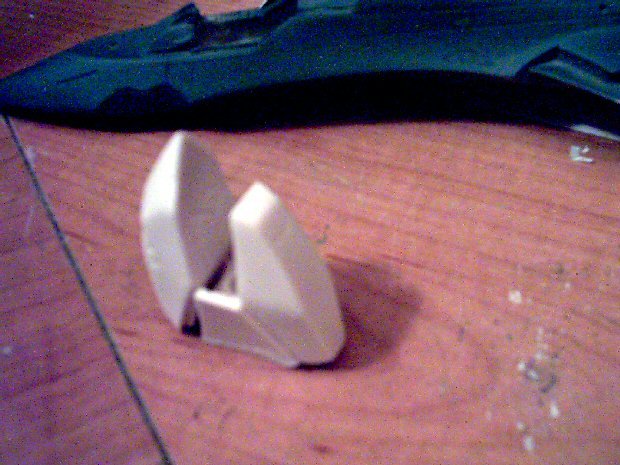
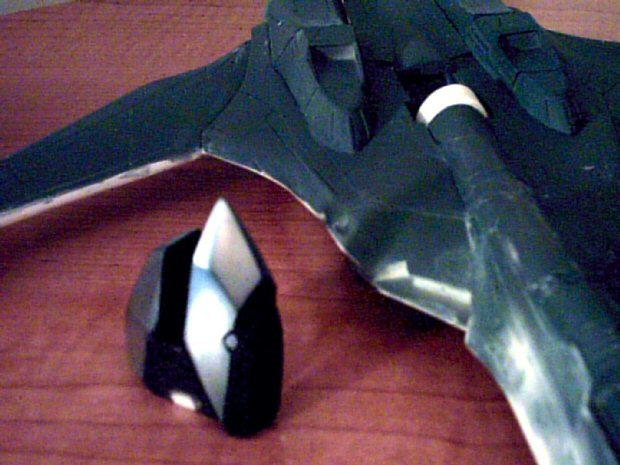
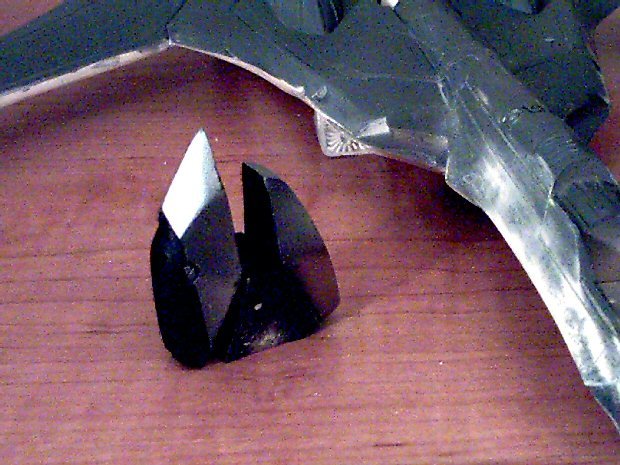
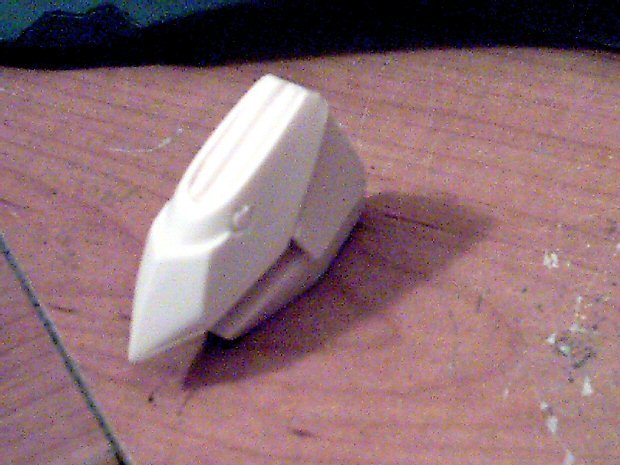
Here is the more accurate seat. I sliced the headrest of the kit seas and trimmed the front where the pilots knees go down to normal size. Then i took a piece of sprue from another model and glued it across the top of the seat. make sure you put the sprue slightly foreward not dead center. After the sprue is glued and dry cut the ends flush with the seat and fill the step behind the sprue piece with white putty. Once the putty is dry sand it down at an angle from the back of the seat to the headrest. Carve the sprue piece in 3 equal sections to look like the padding on it. Then i filled the ribbing in on the kit seat and sanded flat. After you have done that cut strips of sheet styrene plastic out to make the padding on the seat itself. the end result should look like what you see here. I have the hasegawa seat next to it. The Hase seat and Macross plus were my only available references to do this.

-
I thought the DYRL? WTF? thread was closed? My first exposure to DYRL in english was also COTB. Fortunately i saw it in un subbed japanese first so i knew what was missing. Never watched COTB again.
-
Any reference i have read always hints at the falcons design being outdated and old by the time of episode 4 ,but Han and before him Lando kept upgrading it to keep that particular ship on top. Lando had gotten it from a gamble in a sabbac game same way Han won it from him. It would have been nice to see some newer looking unmodified YT-1300 freighters in ep1 or 2 just to help ground the 2 trilogies together in a visual way.
-
Final shot for the night. This one shows off the different effects in the highlights from the buffing. The edges pick up the light really well.
-
Once you allpy the paste you can get a really high sheen to it. its a new technique i wanted to try and seems to have worked well. i wanted a nicely maintained clean look for this model. There will be some slight weathering to give the subject life but it wont be too heavy.

-
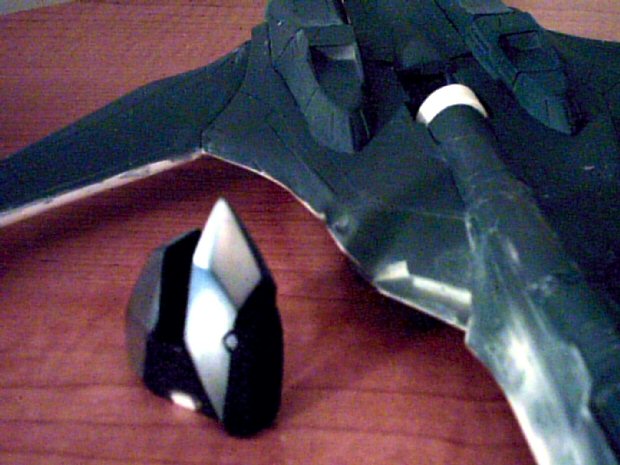
Here is a nozzle after paint. I sprayed them flat black then applied SNJ rub and buff silver leaf paste. I rub the paste on with my finger tip and then buff it with an old Tshirt to bring it to a sheen. if you get some paste on the area you need to keep black you can just paint over it with acrylic to clean it up.
-
Another view.
-
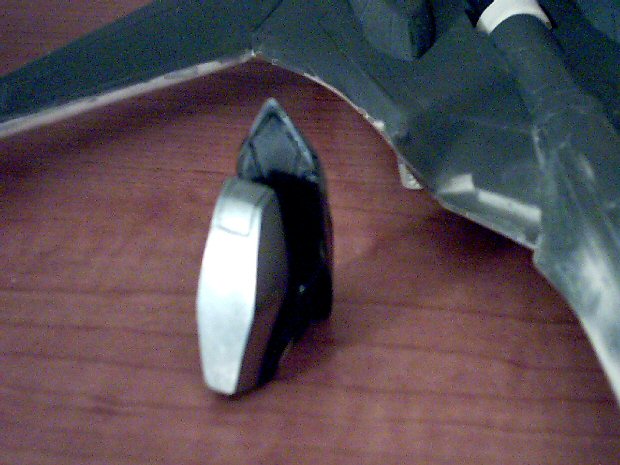
Heres the nozzles cleaned and assembled