HWR MKII
-
Posts
2646 -
Joined
-
Last visited
Content Type
Profiles
Forums
Events
Gallery
Everything posted by HWR MKII
-
Wow ZEO You have great attention to detail. Tamiya clear in the spray can is good for a kit that size. Be sure to get the cans marked TS not PS. PS ones are for polycarbonite racing bodies and will eat your paint alive. The TS paints are formulated to be compatable with any hobby paint but always test paint on something else first. Sean
-
my 1/16 leopard 2A6. Check out the paint/build thread in the how to section for pics.
-
Ill try to get some of it and its forefathers slogging through the mud at the Tank museum this weekend after the weathering and the matt varnish are applied. I wish i could put video up somewhere Sean
-
EXTERMINATE! EXTERMINATE!
-
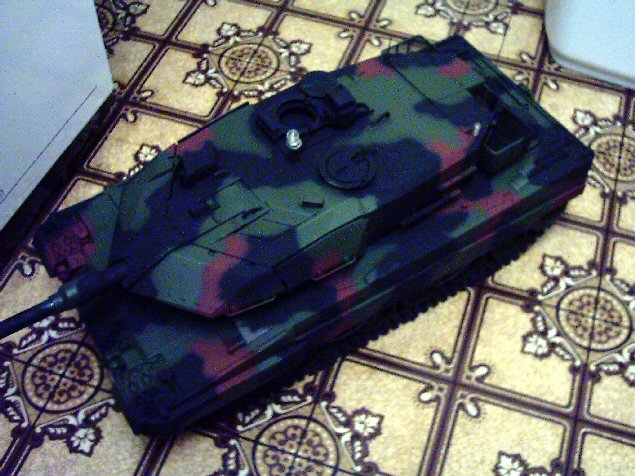
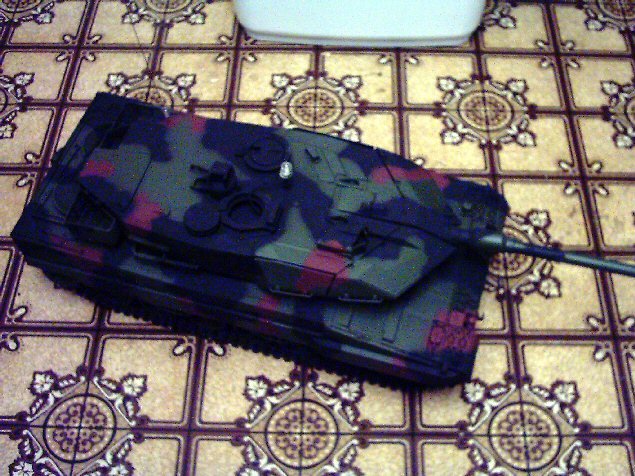
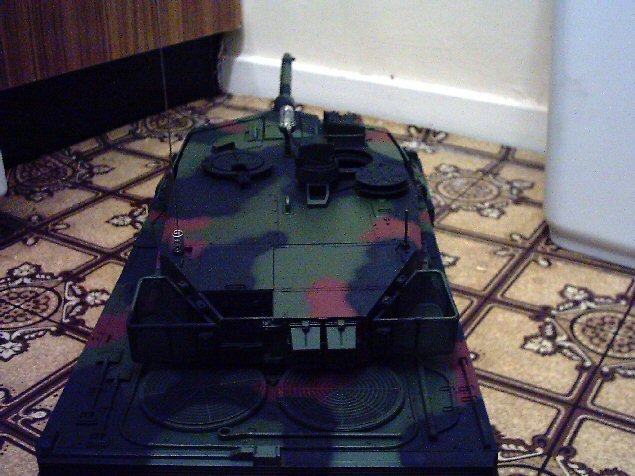
Final one for the night. It took me 2 hours to airbrush the pattern on by hand. I didnt use any masks just did it the same way it is done on the real vehicle. First spray the outline of the color your applying and then fill it in. I used my airbrush on the finest setting at around 10 PSI and got the perfect pattern.
-
Sorry for the blurry pics this camera sucks in indoor light
-
This is the standard NATO tricolor scheme.
-
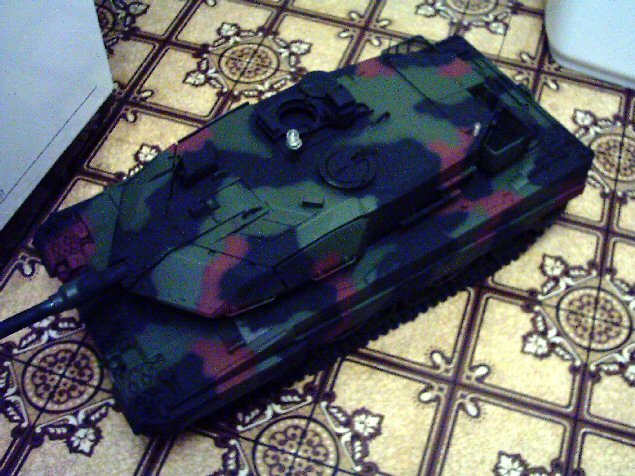
Here is the big cat fresh from the factory. The smoke dischargers still need to go on but i need to make the chain pieces for them first.

-
Notice the dirty scuffed tracks. I took the tank out to the proving grounds i have out back and it performed perfectly. The brake lights even work! Ill have pics tomorrow with all the lights on.

-
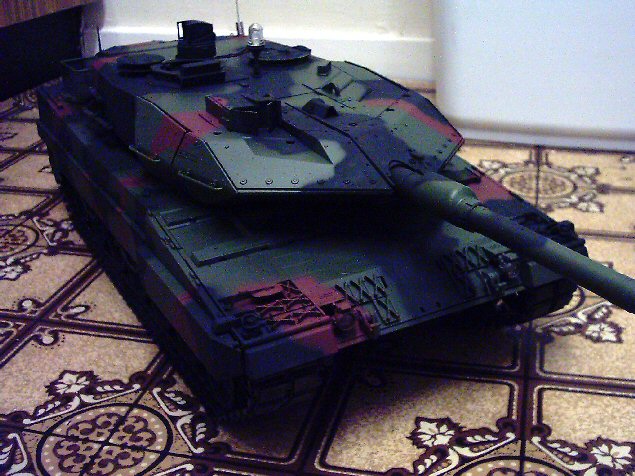
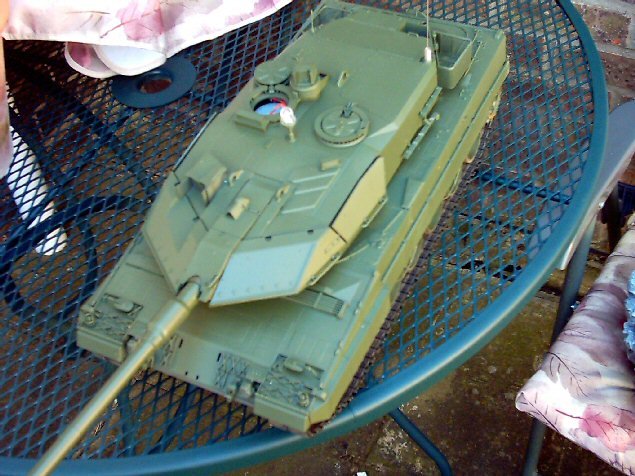
Nice side view. I still have to add the smoke dischargers on the turret sides before i give it the camo pattern. You can see the mounting rails on it.

-
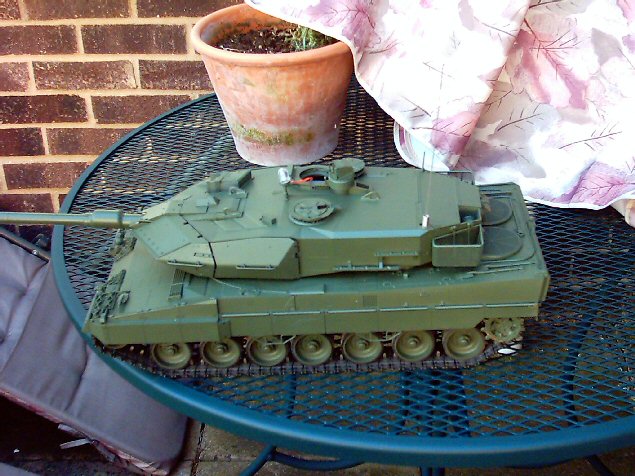
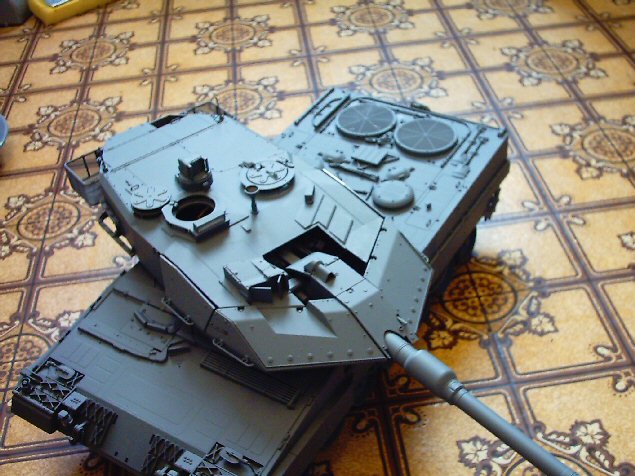
Heres the basecoat of Tamiya NATO green. I used the spray can version because of the size it allows for better coverage. For the pattern i will be spraying on im using NATO black and NATO brown. As i said before these paints colors were actually formulated for the relesae of the kit and match the german colors exactly. The little clear dome on top of the turret is a safety light required by oversize vehicles on european roads.
-
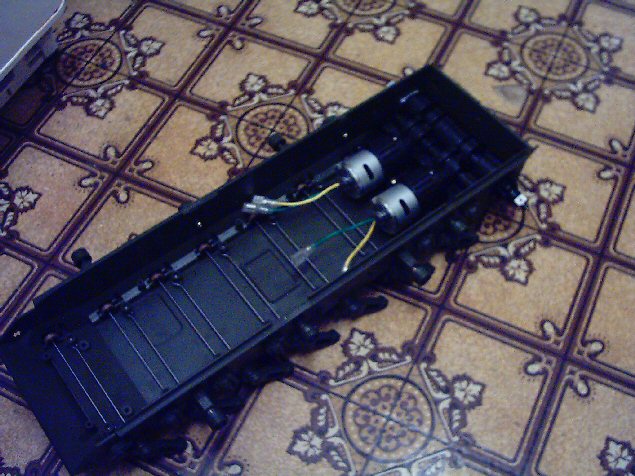
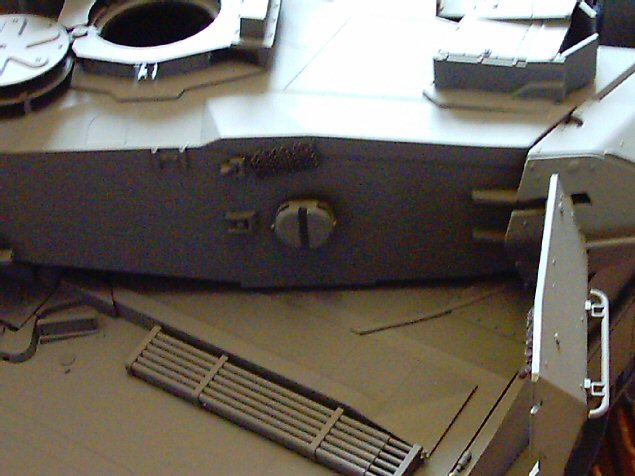
These oval shaped tabs on the sides are what holds the turret together. All of the electronics are inside it and leave no room for anything else. You have to have the cables routed perfectly or the top wont fit on at all.
-
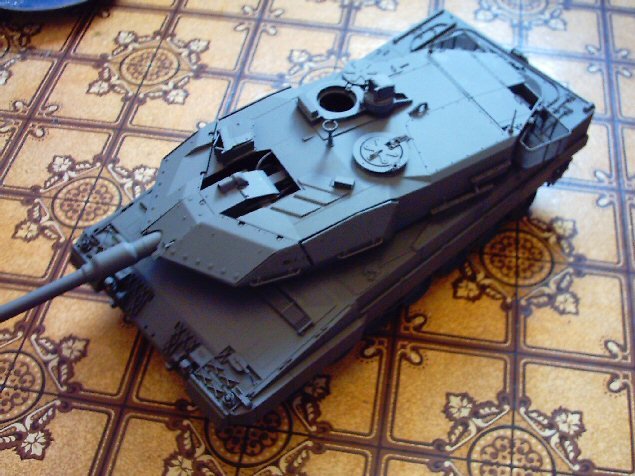
Next one with the turred in a different angle. The turret itself is almost as long as the afore mentioned Tiger 1. I do have the base coat of nato green applied already but im having technical difficulties. Tamiya wants us to fit around 10 miles of cable in a 1 mile box. Pics of the basecoat coming soon after field trials

-
Sorry these pics are a little later than promised. First an overall shot of the tank in its primer stage
-
Its 10 am here and im off to the market to get the paints i need which were actually specially blended by tamiya for the introduction of this kit. I am also going to pick up the crew figure made for it as well. More pics in about an hour and a half or so. A 1/35 R/C M60A2?! is it full function? and what size servos are you using?
-
Those are 540s the tiger is powered by the 380s. I dont know if they are mabuchi motors though they came with the kit so its from whoever supplies Tamiya. All of the major sub assemblies are together. There was nothing special involved in the construction just follow the instructions very carefully. I rigged up all the electronics tonight and the sound quality is worlds better than the tiger. I am also impressed with the lighting system. It allows you to have different light setups based on in combat mode or not. The recoil on the main gun is beautiful as well along with a nicely reproduced sound effect of a 120mm smoothbore rhinemetal cannon. I will post pics of the primed stage tomorrow and the stages of painting after i give it the base coat.
-
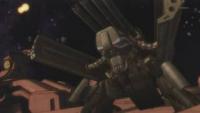
Were any of those patlabors in 1/35 scale? I am so searching for one.
-
If hase made a transformable VF1 it had better be in 1/32 scale so they can design the best transformation into it . I would definitely shell out the bucks for that one .
-
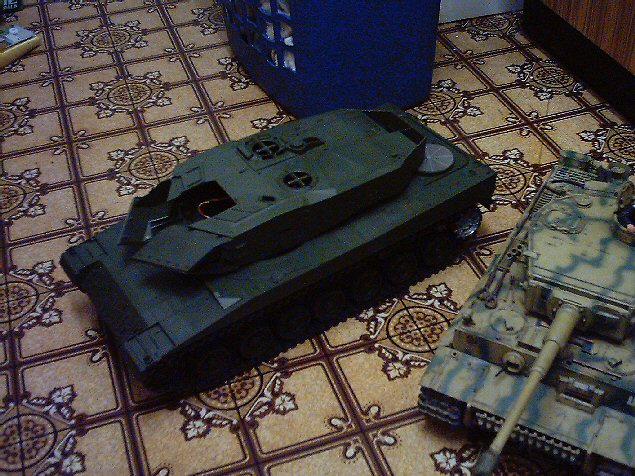
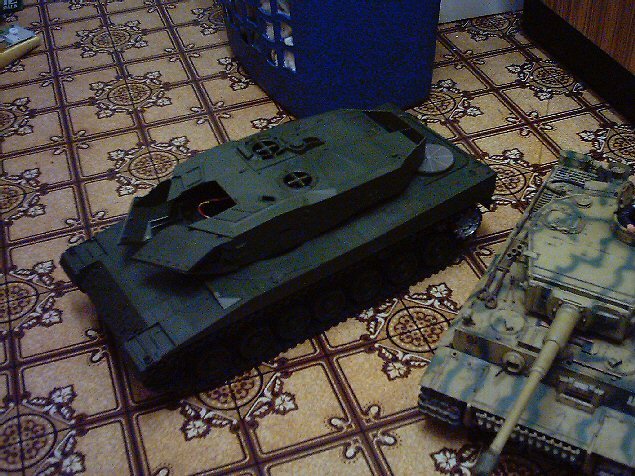
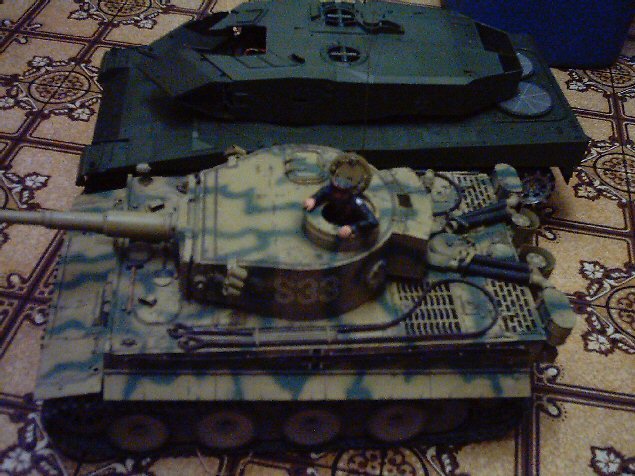
Final post for the night. i have reached a good stopping point. All of the lower hull is constructed next steps are installing the lightbar assemblies for the fiberoptics. I just noticed that the rear deck of the Leopard is almost as high as the turret of the Tiger. You might be able to tell in the side by side pic above. The tiger weathering is a 50/50 mix of wash and drybrush methods and real weather and dirt. The leopard will have a similar treatment.

-
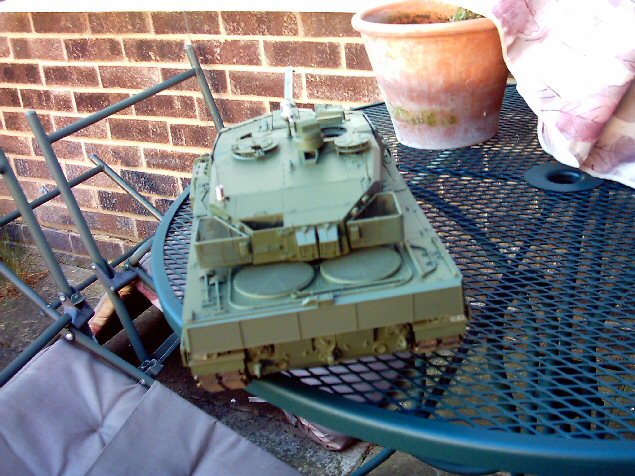
Notice the photoetched grills over the radiators on the back deck. I cant wait to get this thing up and running.
-
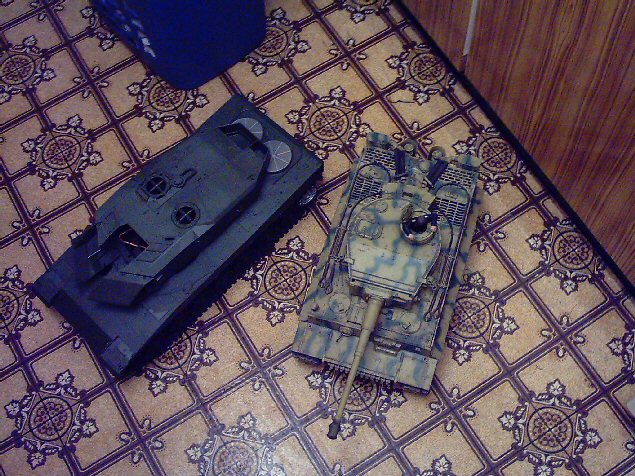
Final posts for the night. I know i said id leave the road wheels off until i painted it but i decided to attach them for now so i dont have a huge box full of sub assemblies. What do you guys think of the size difference between this thing and the Tiger 1 in the foreground?
-
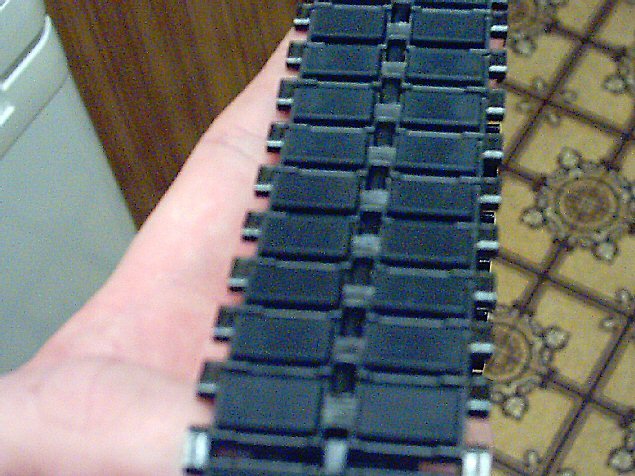
These are obviously the tracks. They have to be the most beautiful tracks i have ever seen. They are metal links with rubber pads added to them just like the real thing! I cant wiat to wear these in if you look at a real tank these pads get chewed to hell and back, sometimes the pads are missing on some links. No i wont go out of my way to rip them up but im not worried about wearing them a bit it all goes into the final look.
-
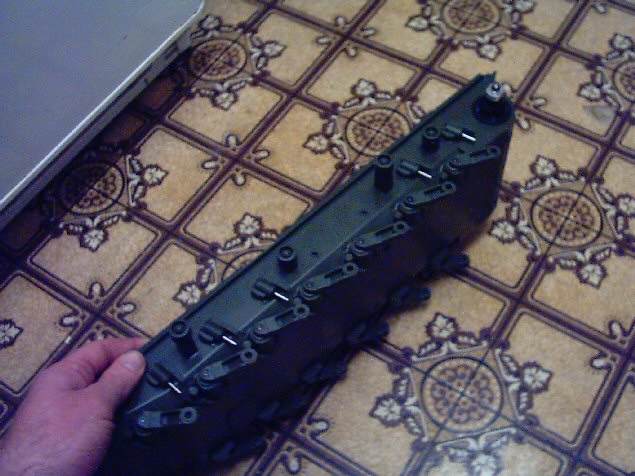
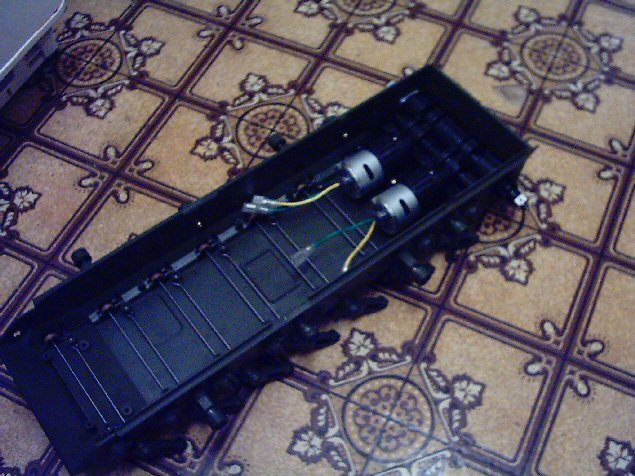
Here is a side view of the lower hull. I have left the road wheels off until after painting. Next step for this part is primer. Each of those silver rods you see is a actual working shock absorber. Leaving the road wheels off also allows me to paint the wheels seperately and add the rubber tires to them afterward.

-
here is the lower hull with all the basic parts added. The bars going across it are the torsion bars. The torsion bars act like they do on the real tank giving it what is known as an "active" suspension.
-
I will be posting alot over the next 3 days. only breaking for sleep, food, wife time, and time to go work on real tanks. One thing that i cant emphasize enough is to work on a kit like this in a immaculate area. THERE ARE NO SPARE SCREWS! In one bag there are screws less than a millimeter long and thinner than.05 pencil lead. Tamiya does give you some tools to do the job but you will also need standard fine tipped phillips head screwdrivers, jewelers screwdrivers, needlenose pliers, and other odds and ends that may come in useful for some unknown purpose. If you read and follow the instructions to a T you shouldnt have too many troubles on the kit. Be sure to read through each step at least 3 times before you start on it. If you get confused in the size of a screw compare it to the picture in the particular step you are working on. The picture is the exact size of the screw it represents. Once you complete a step where you may have to make 5 or 10 somethings like the shock absorbers on the outer hull take a 10 minute break. It works trust me. This isnt a speed build but if i lose momentum it is hard to get the pace back up. Sean