HWR MKII
-
Posts
2644 -
Joined
-
Last visited
Content Type
Profiles
Forums
Events
Gallery
Everything posted by HWR MKII
-
Actually i want a couple F-14s to kill first then a VF-0D.
-
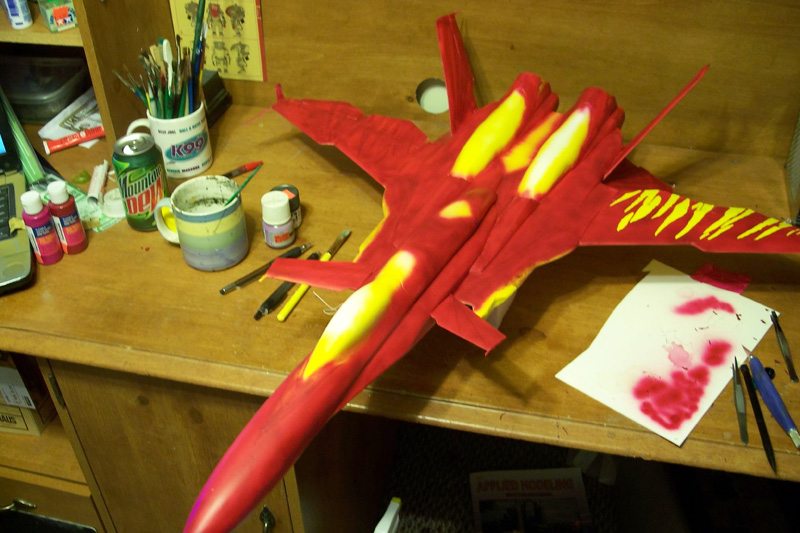
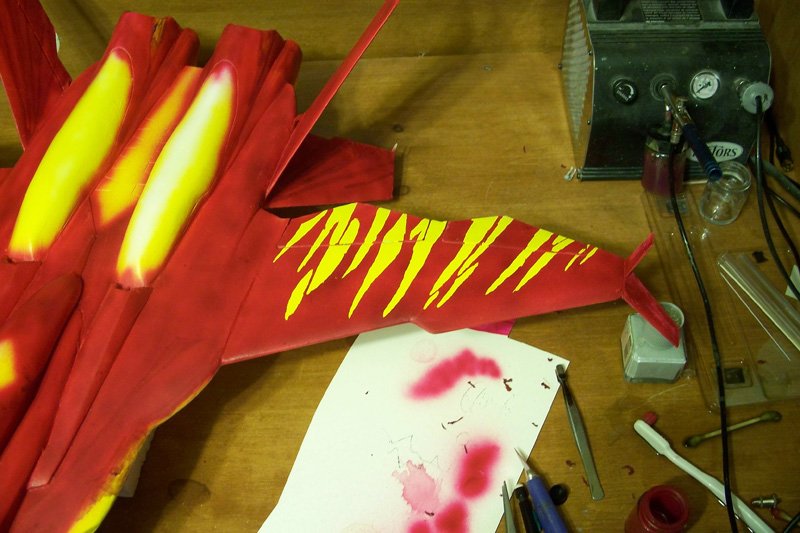
Thats just the upper half. i still have to mask and paint the lower half tonight then paint in the details like the black panels. Fortunately the top and bottom paint patterns arent the same so it will aid in keeping orientation in flight.
-
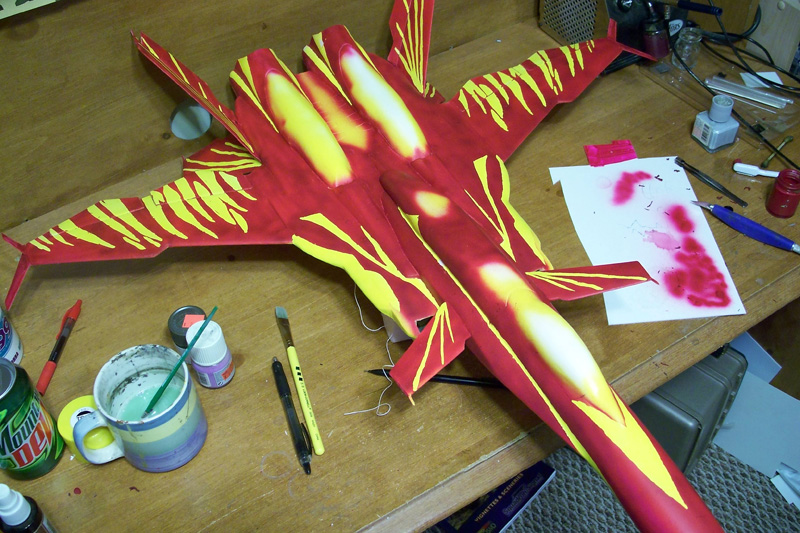
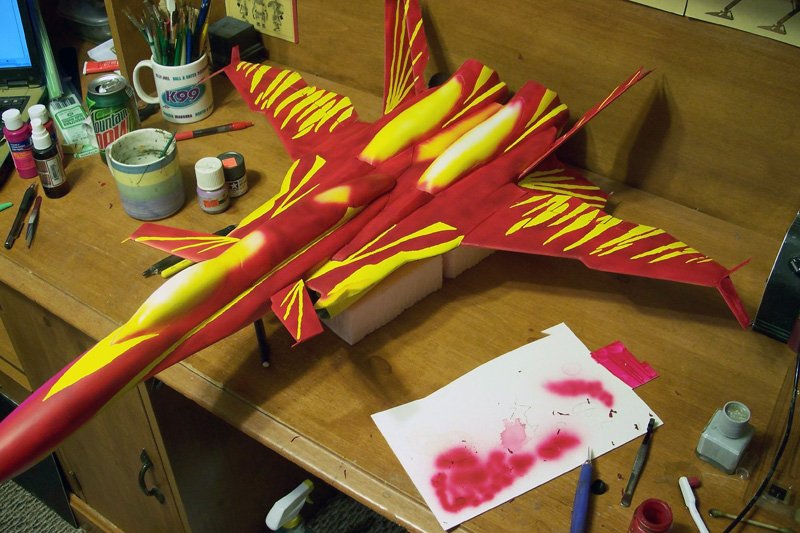
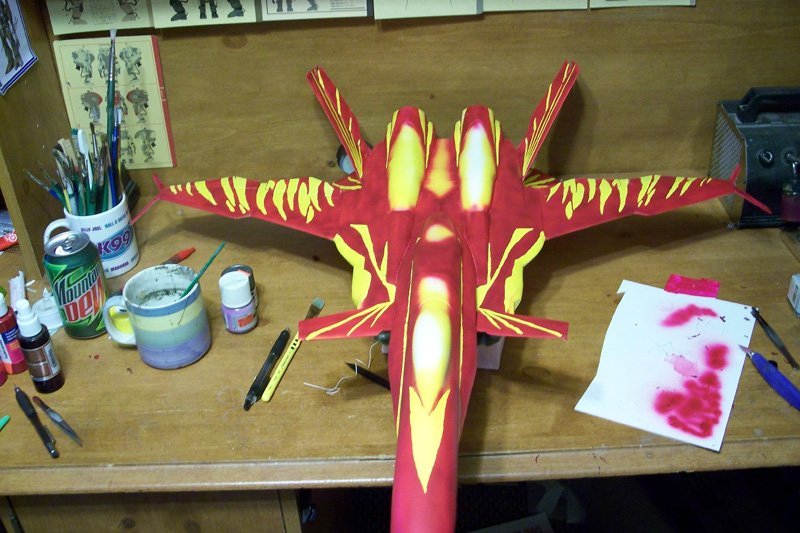
More progress. Got the top coats applied and masks removed. looks awesome. Any areas not magenta or part of the splash pattern will be painted accordingly with details.


-
Now does anyone have a scan of the decal placement guide from the instructions? Theres no good references of the underside and it would help to figure out the overall placement of the masking fluid for the yellow stripes.
-
I have been doing just that actually Micro crystal clear works well too. Its basically thick white glue.
-
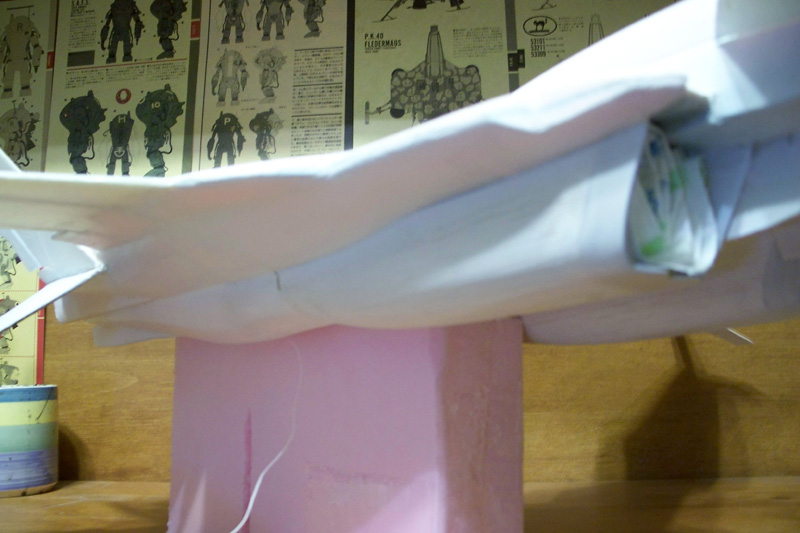
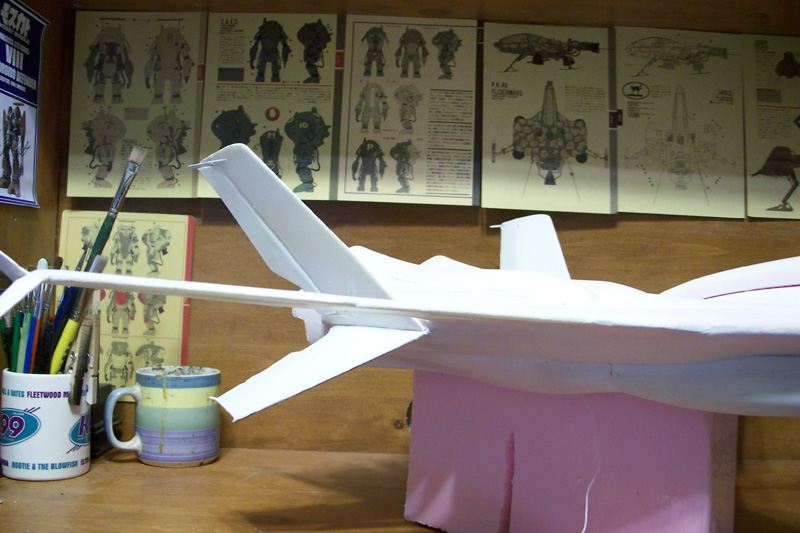
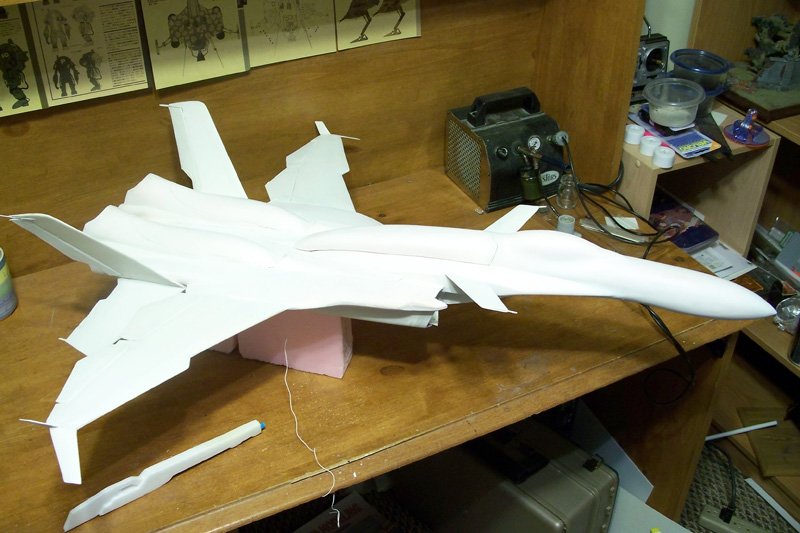
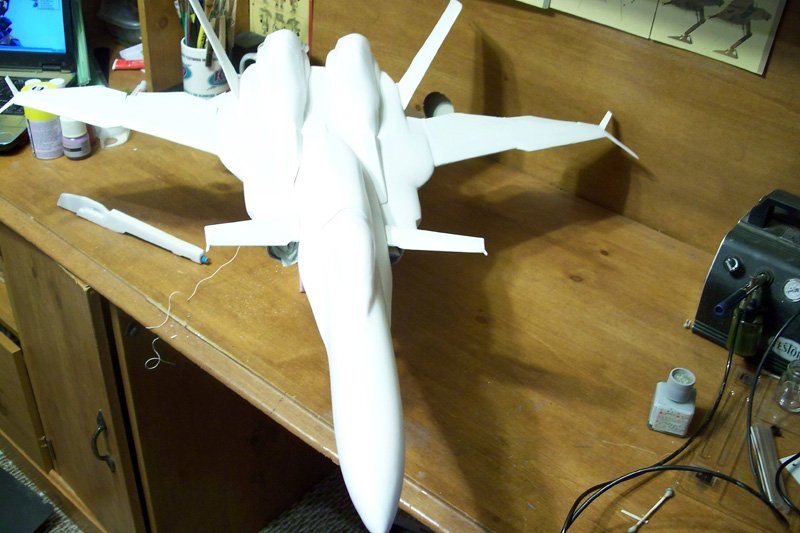
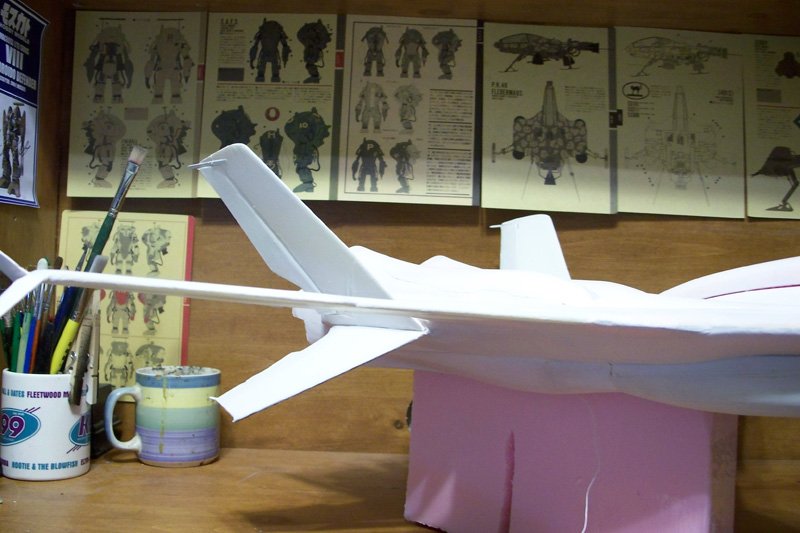
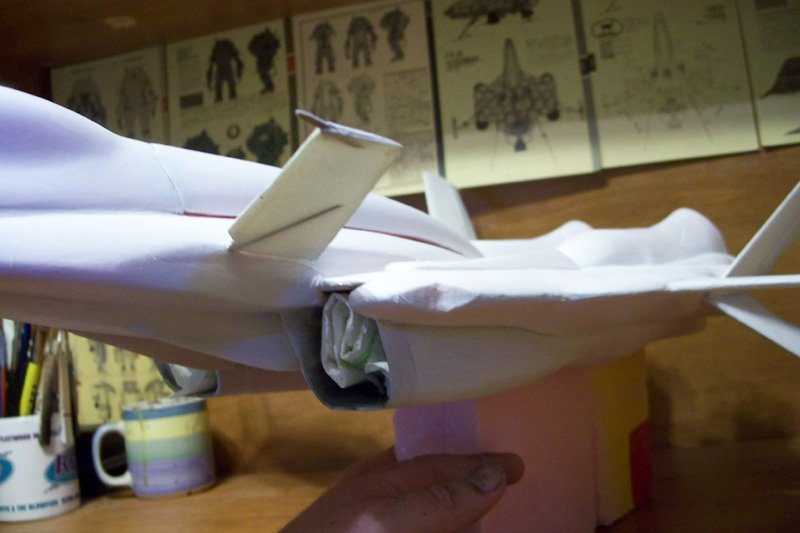
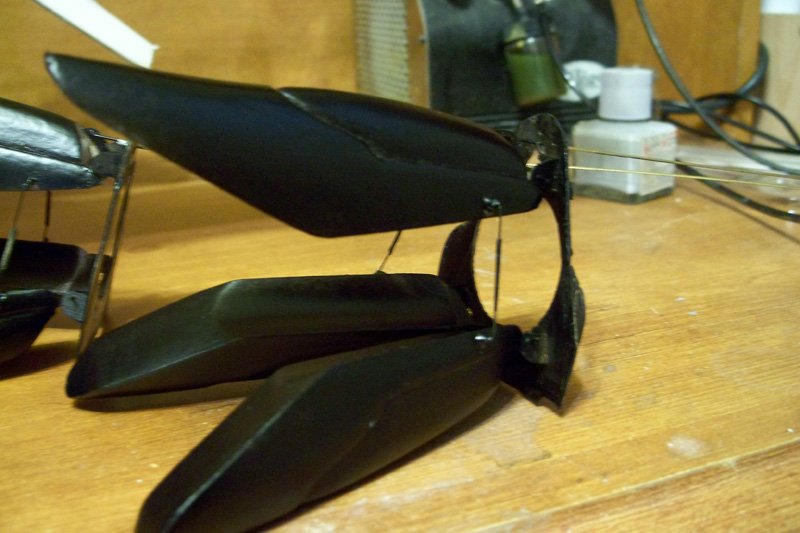
The SV-51 i commissioned Luke to build is here! There wa a little shipping damage but it is all repaired now. The airframe has a light coat of primer on to even out surface tone. Next up will be a yellow undercoat in the proper places and then liquid mask and the coat of magenta.


-
I used tamiya nato black on mine and postshaded with flat black. The nato black is just the right kind of off grey black to work.
-
ALOT probably.
-
Im glad the LV is getting a second lease on life. Maybe now someone else will build one. As far as i know mine is the only finished one out there. Ken i think the term you were looking for is "reissue".
-

What putty should I use to build up the sides of something?
HWR MKII replied to David Hingtgen's topic in The Workshop!
Aves Apoxie Sculpt. Similar to epoxy putty but far more durable and workable. Its available at the starship modeler store. You can get 4 pounds of it for 40 bucks. It took me 3 years to go through my first 4 pounds. -
I just saw the post you had on throubles with the liquid mask. The bottle of it i have says to not leave it on longer than 5 days. I guess because of the problem you just witnessed. I tried it and left some mask on something for a month. Same thing happened as yours. BUT i noticed the ammonia smell from when i put it on new. So off to soak in windex for a day. Sure enough the windex softened it enough to get it off quite easily. So if you have any other projects like this just dunk it in windex. Word of caution though. Windex will eliminate almost every acrylic paint. I have seen dried tamiya run like a wet watercolor painting from it. BE CAREFUL!
-
No prob man. Next up a T-16 Skyhopper in 1/72. Starwars fans should know this little trifoil craft.
-
Theres a 2 page spread for each ship in the booksome show under construction shots others are just the finished model. In the case of the B-wing its just the finished filming model. A couple decent shots of it. This combined with the old 1980s Technical Journal could get a decent model built.
-
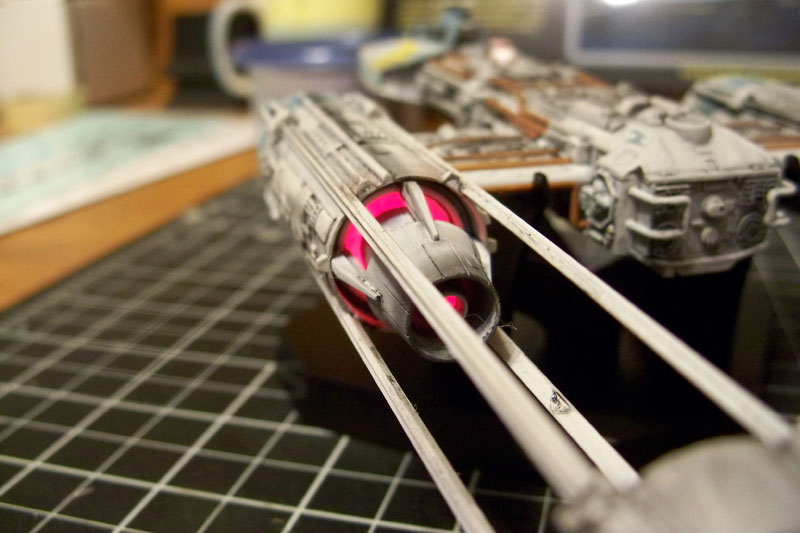
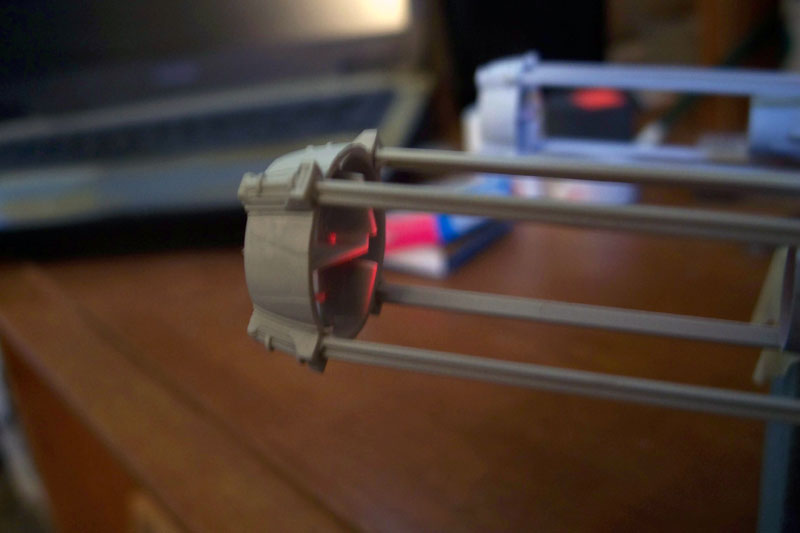
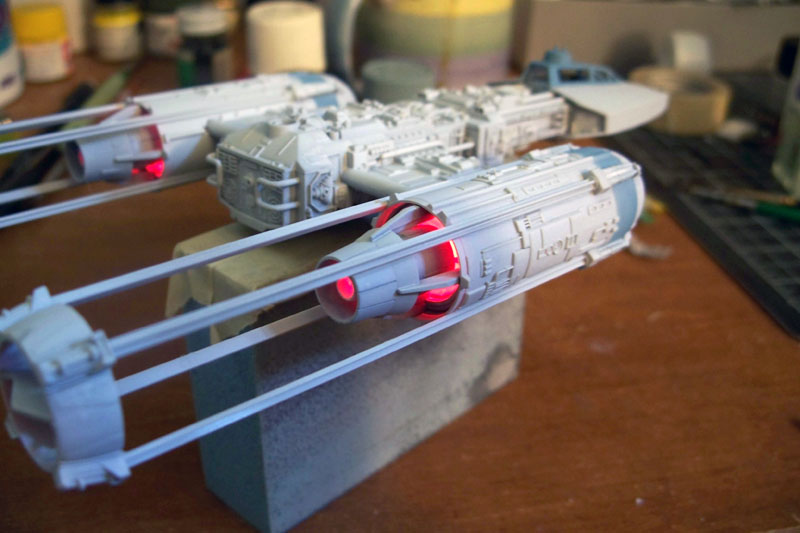
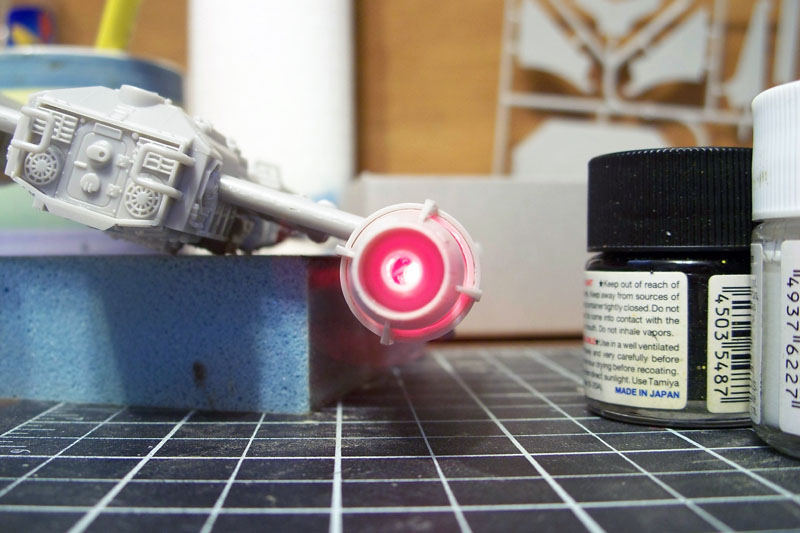
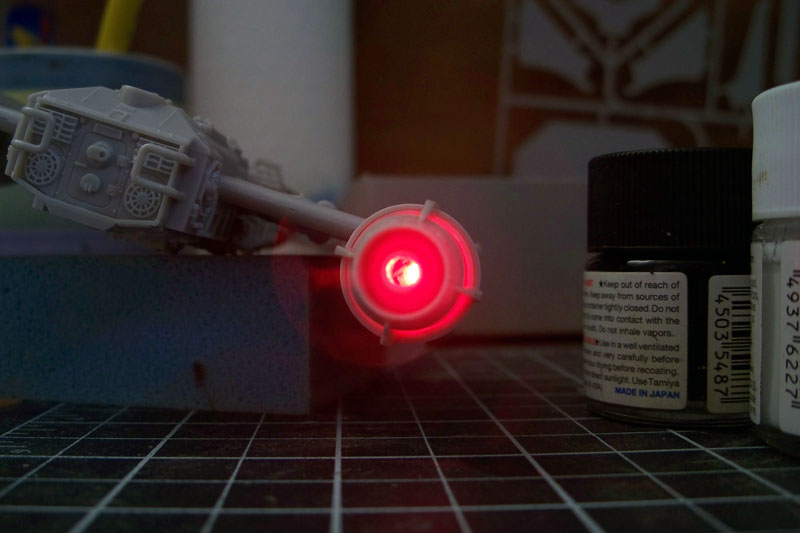
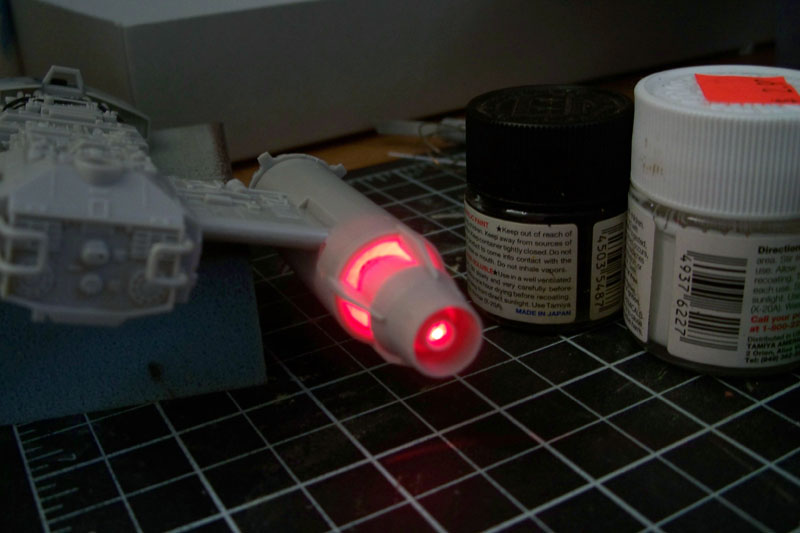
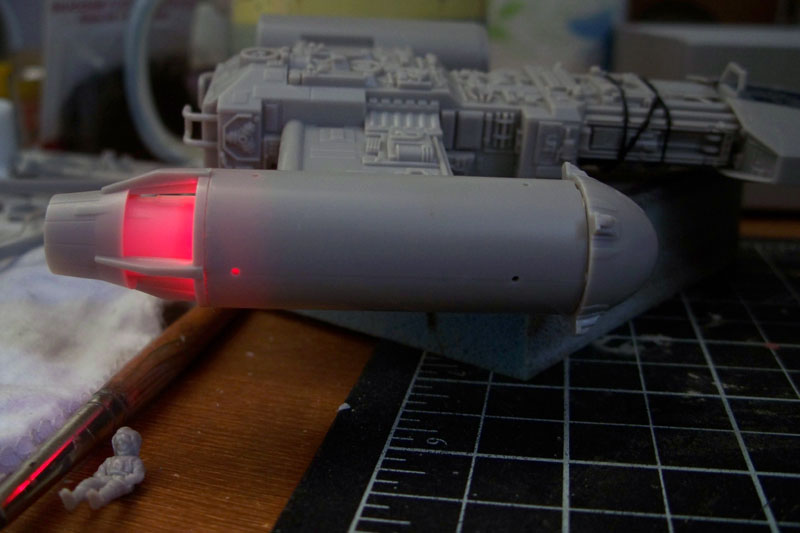
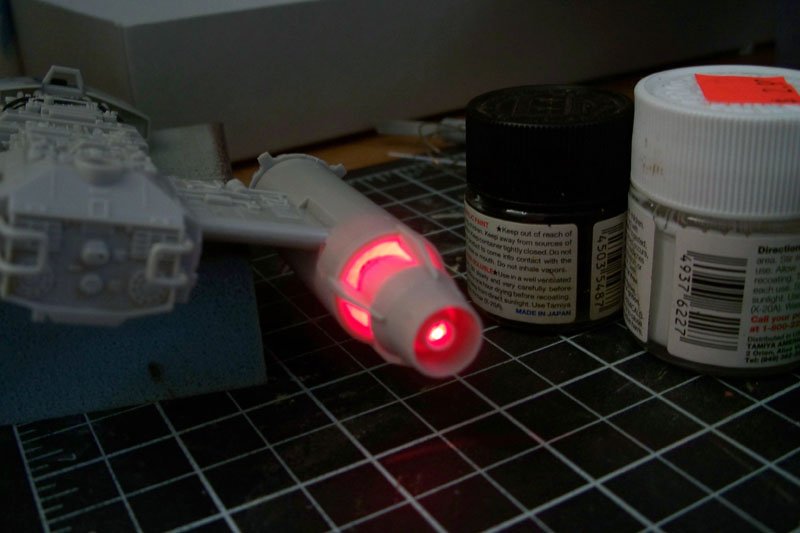
Hey WM This is a surprise! Norally were asking you 50 questions. First for the lighting. In short each engine is a self contained unit with light, circuit, batteries and on off switch inside each one. This eases troubleshooting if one has issues i can just take the front cap and the nozzle out and remove the whole assembly. its pretty easy to do. A better explanation can be found here. http://www.starshipmodeler.net/cgi-bin/php...p=765728#765728 As for the scratches they are painted right over the base coating. The trick is to use a thin paint. once dry and dullcoated over you cant tell its painted over. Its just the light grey base coat with dark ghost grey for the darker parts. I also used some of my "blue" mixed for the rings and canopy on the nacell fronts. Some scratches are also decals included in the kit but not all were covered. The ones on the nose where it looks brownish were replicated using photos of the same filming model in Star Wars Chronicles. one of the best SW references around. I didnt light the falcon. When i got it the PE parts and clear engine parts werent on the market yet. I can post some pics later if you like.
-
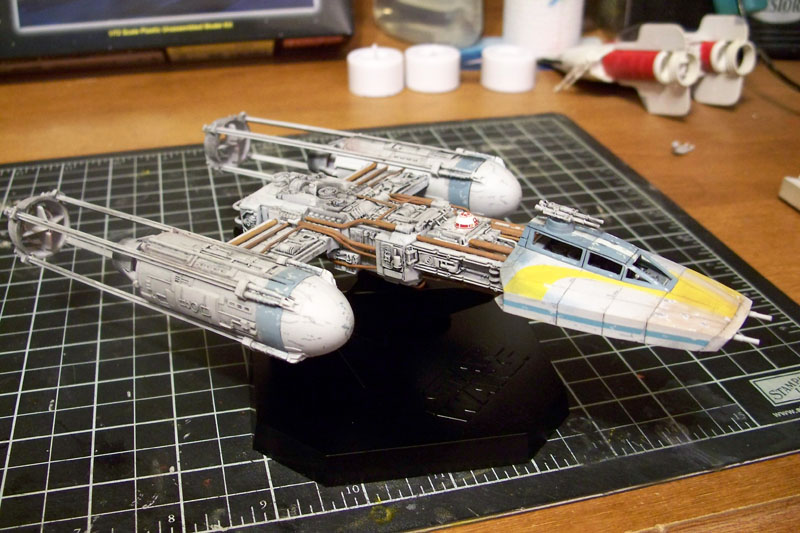
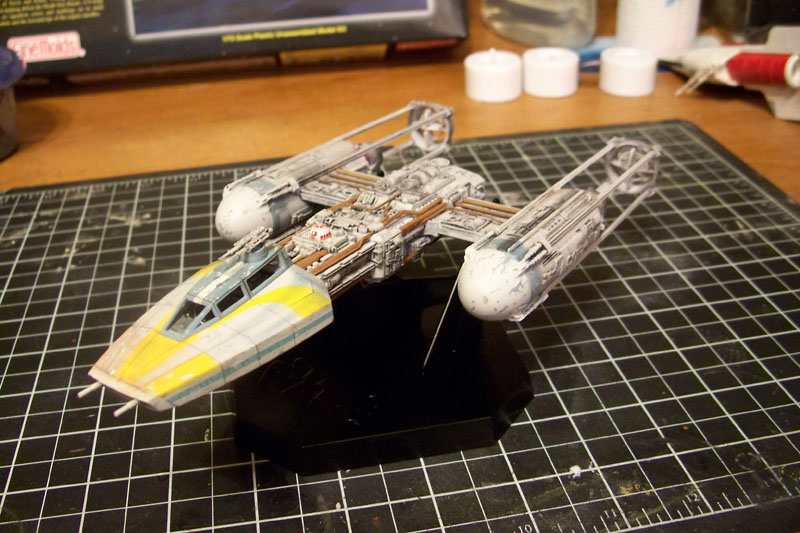
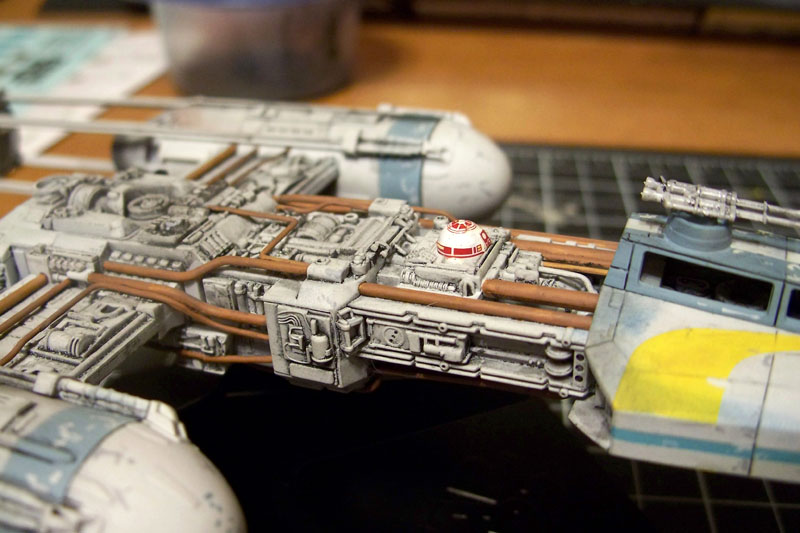
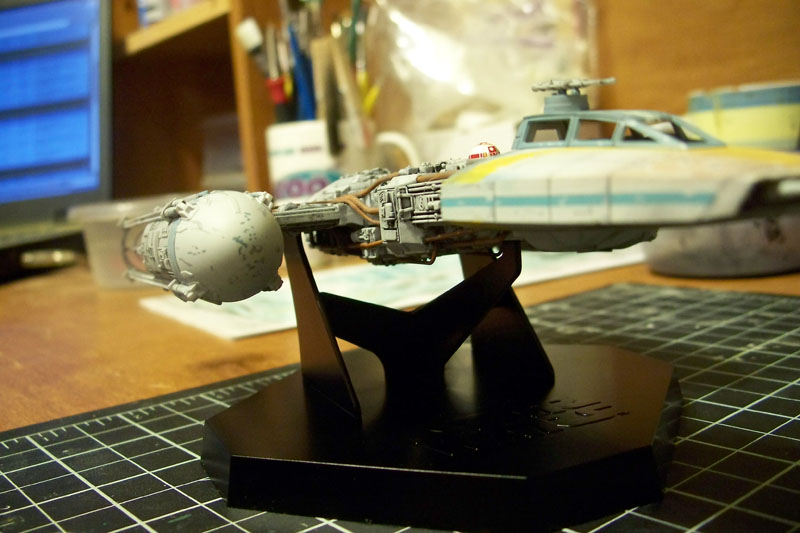
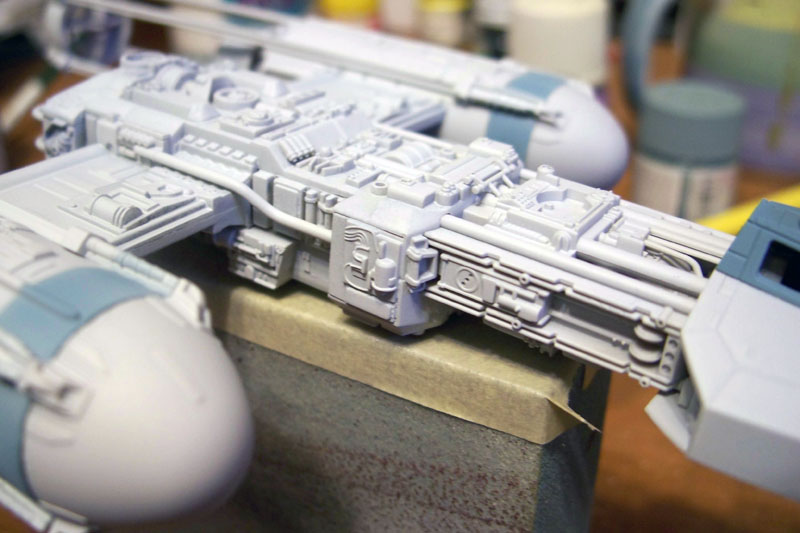
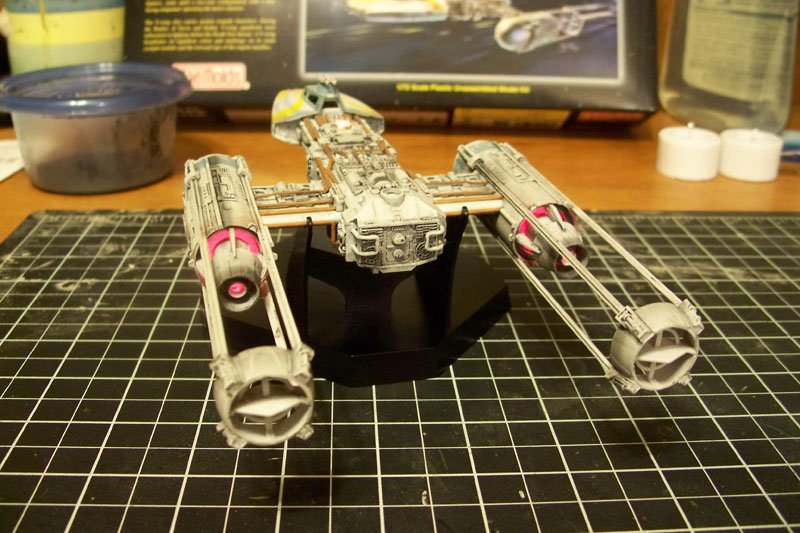
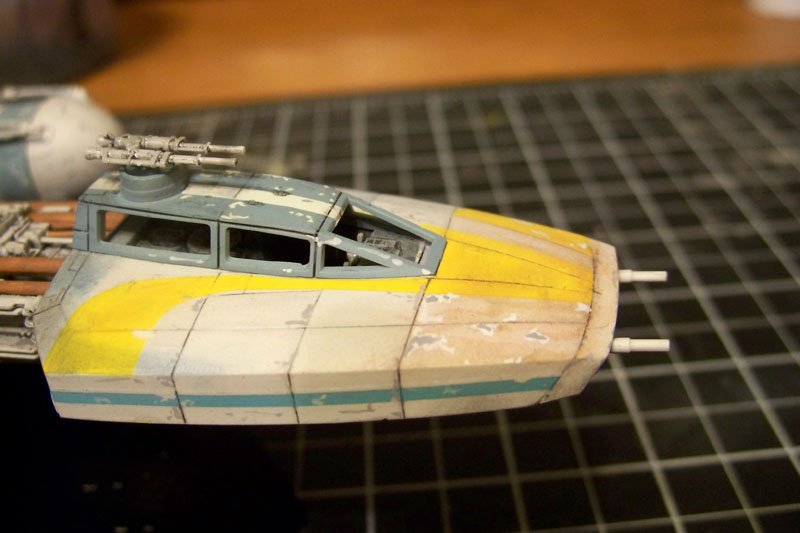
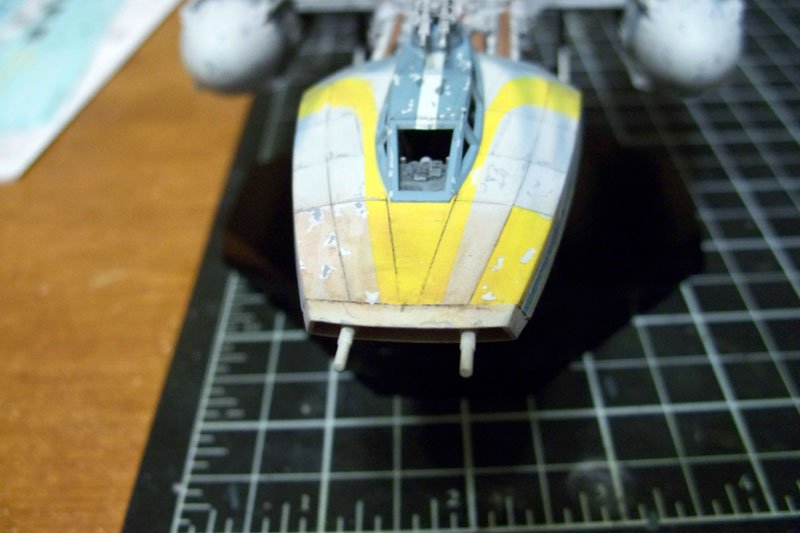
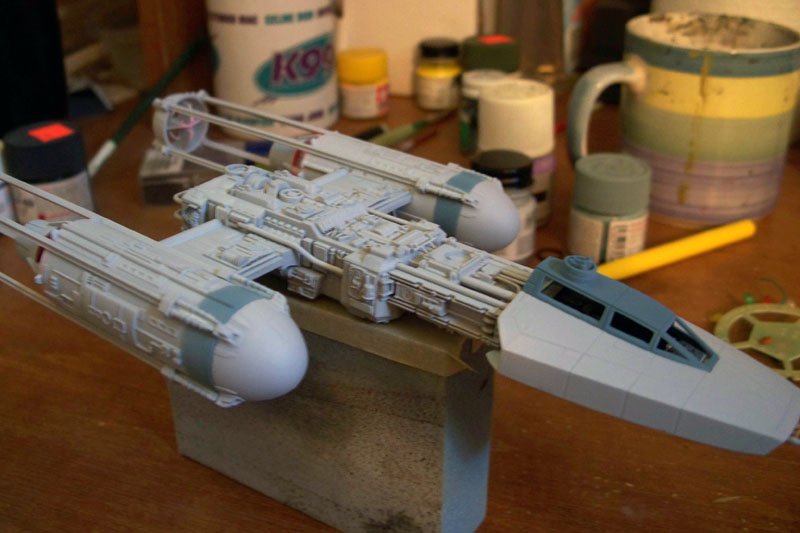
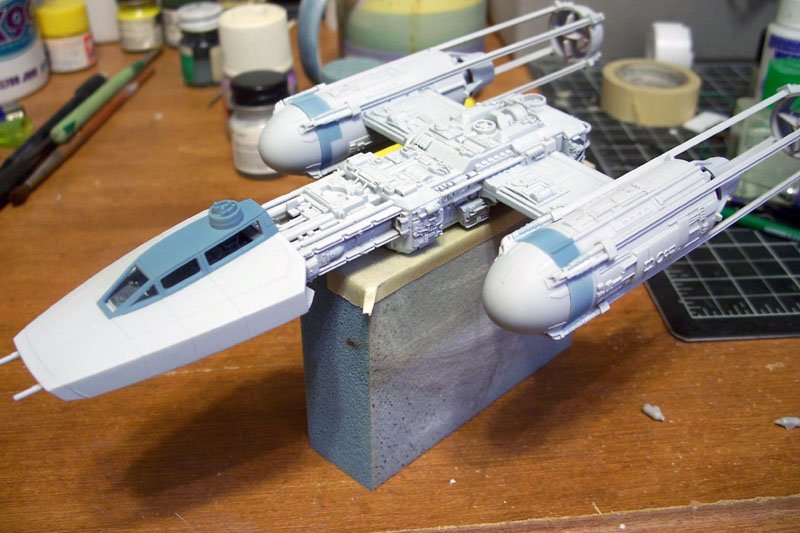
Aside from the pilot the Y-wing is done. The base coat is testors Light Grey cut about 25% with tamiya flat white. future, decals and a second coat of future were applied. I only used the 3 yellow decals and the R2 unit decals. The "blue " ones were too bright to me and compared to the 3 reference books i have with this particular Y wing in them. I mixed the best match i could using tamiya paints. The model was given a dulcoat then pastels were used to tone and dirty up certain areas and to add the more feathered streaks. Then more paint chips were added to again match the references on hand. The model was then given a final dull coat to seal the pastels and even out the tone on the paint chips. Overall this kit has to be one of the best models i have built since the Fine Molds Falcon. No putty as needed and the parts fit was "almost" perfect. I hope you enjoy the pics as much as i enjoyed building it.


-
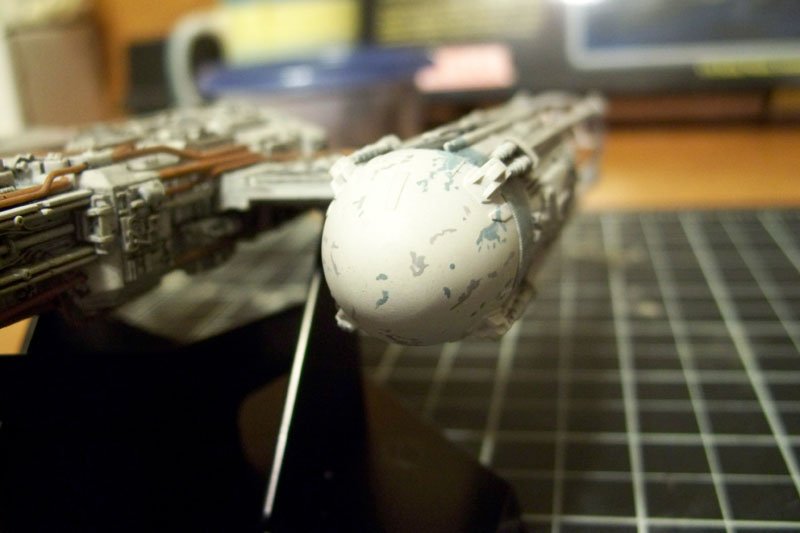
No silver will be used. I will be using greys and whites on it where applicable. The filming models didnt have any silver on them just chips through the layers of paint and streaks of other color on top. This model is nowhere near the size of a studio Y wing though so the effect will be getting replicated with paint. Im laying down a final layer of dullcoat to even out the look for the scale and seal in the pastels. The first coat of dullcoat is to give the pastels something to stick to. Gloss+Pastel = not good.
-
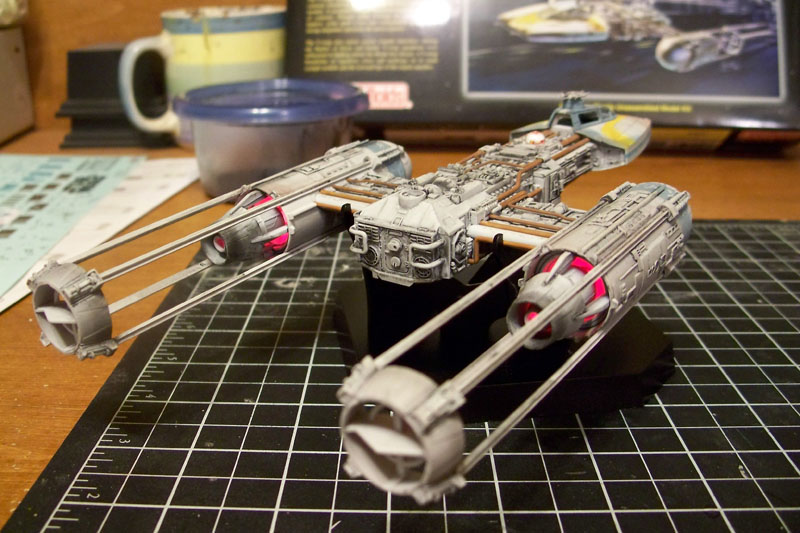
Ill be posting more pics tonigt. So far the only changes are 2 coats of future, decals another coat of future and the oil wash. Next up is dullcoat, pastels, chipping and another layer of dullcoat.
-
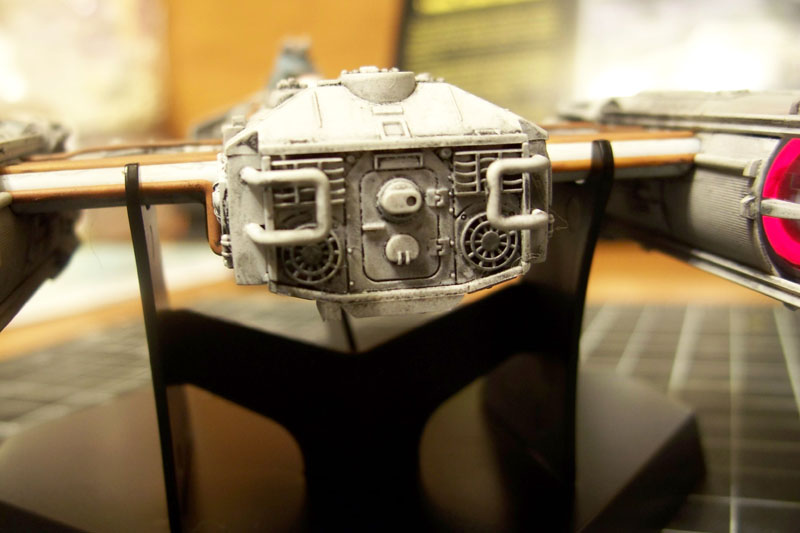
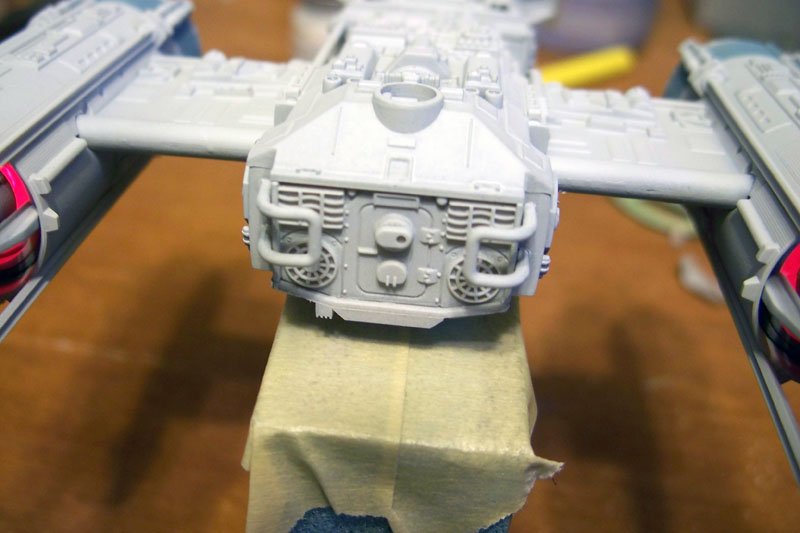
It is THAT seamless. They replicated the detail so well you can see the 3 phillips and one flathead screws on it that hold the head of the cockpit together. They are on the underside. They got the details on the falcon that close too. Theres a few allen head screws on that which were replicated too. Tamiya extra thin cement and some tight rubber bands during construction help too.
-
your gonna love this then


-
Gold 3 #1 Engine lit.


-
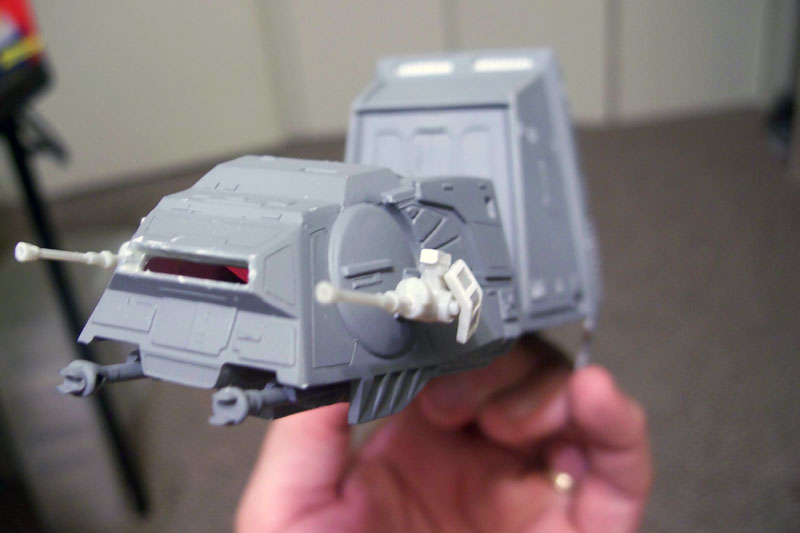
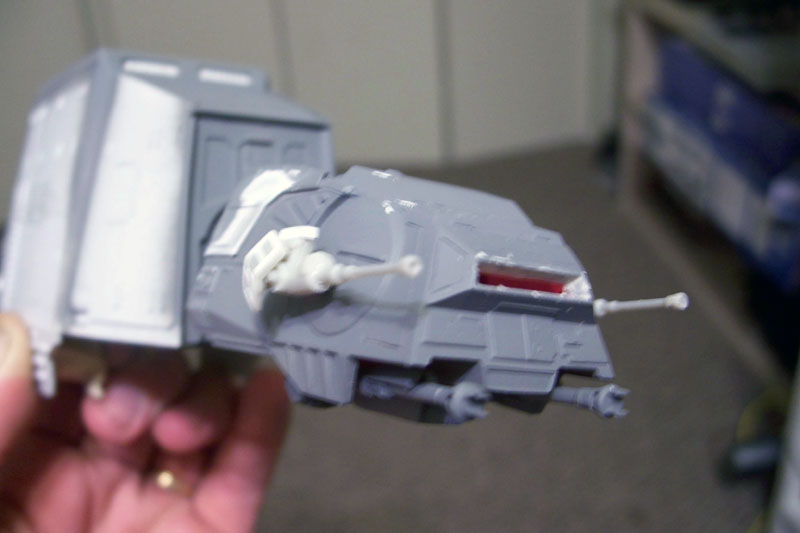
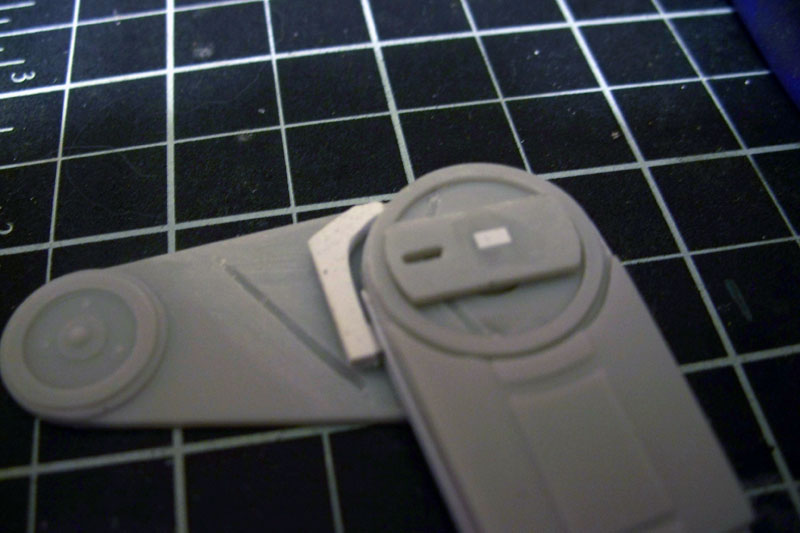
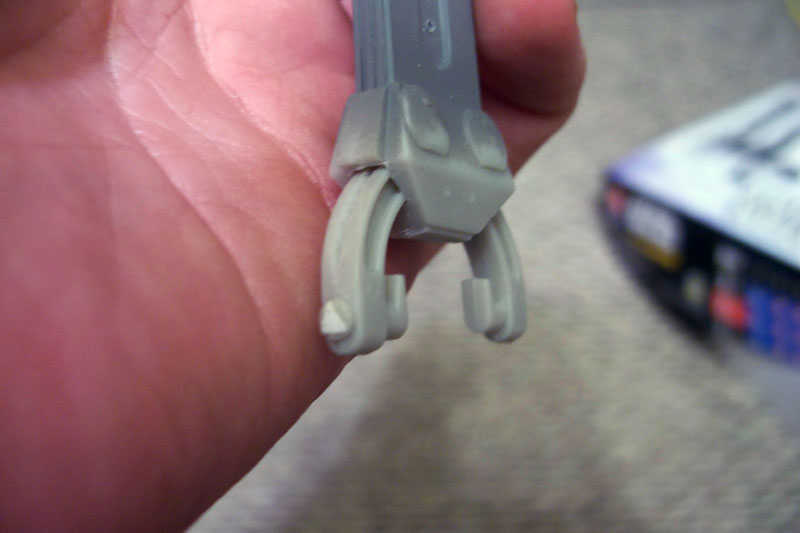
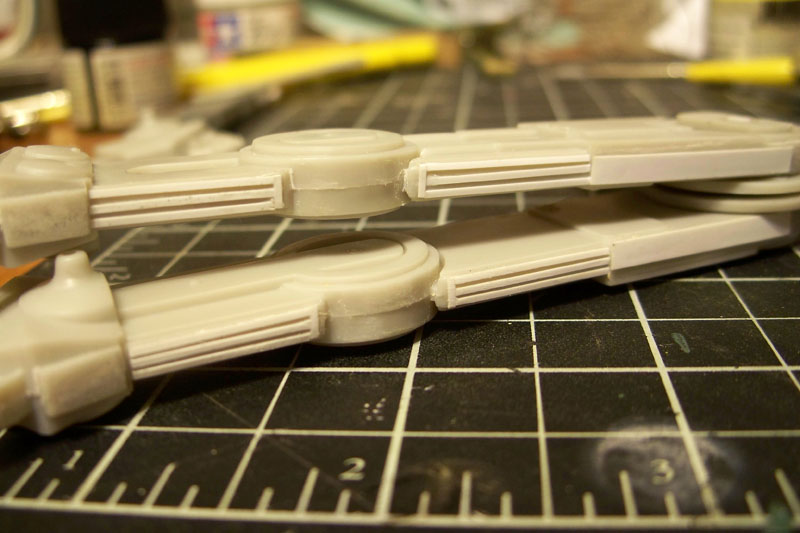
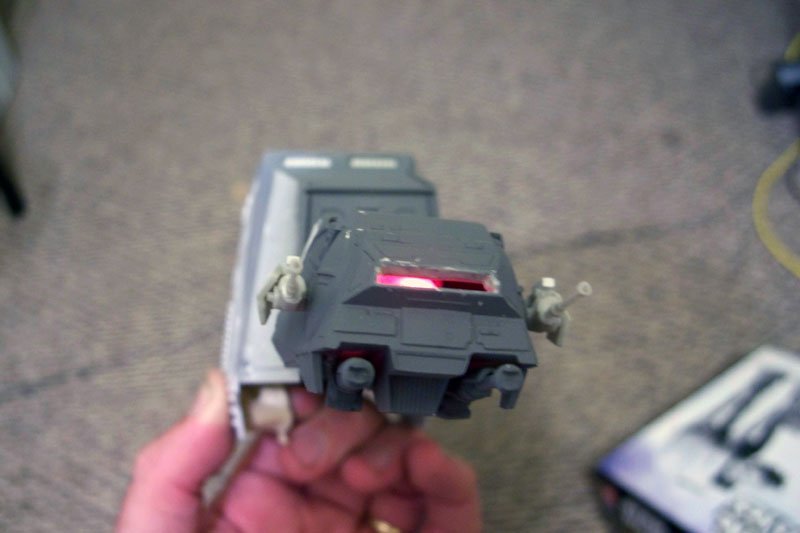
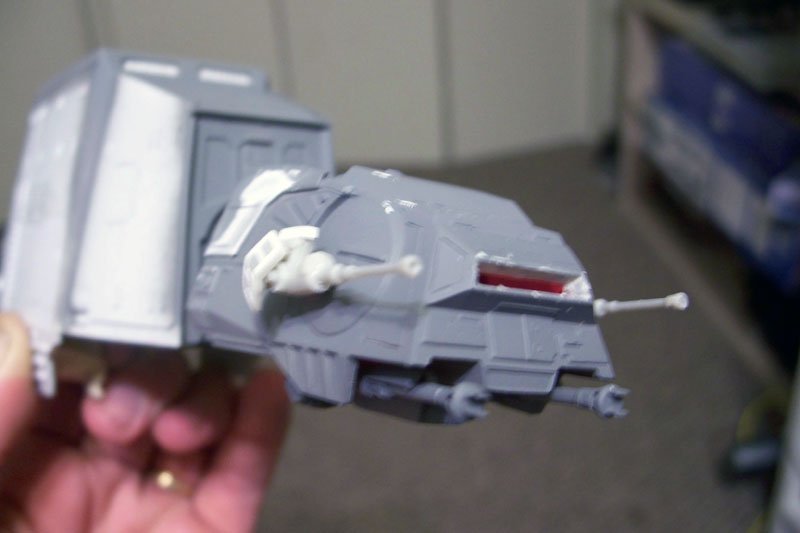
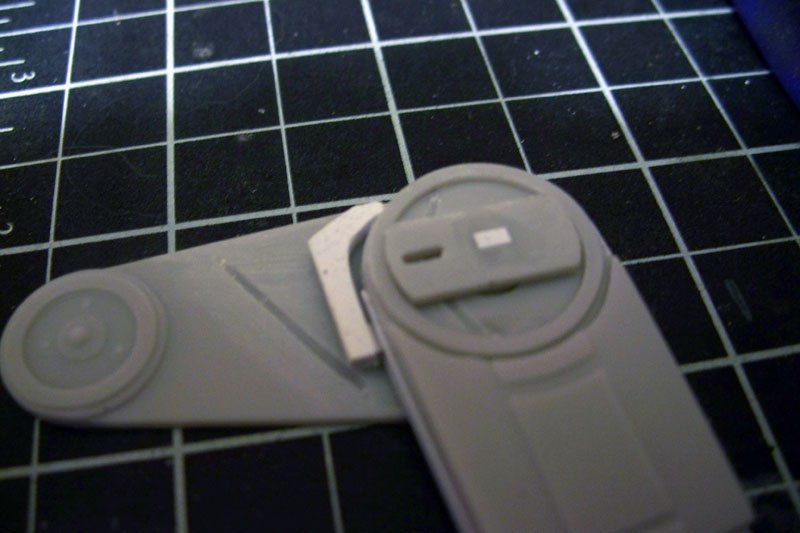
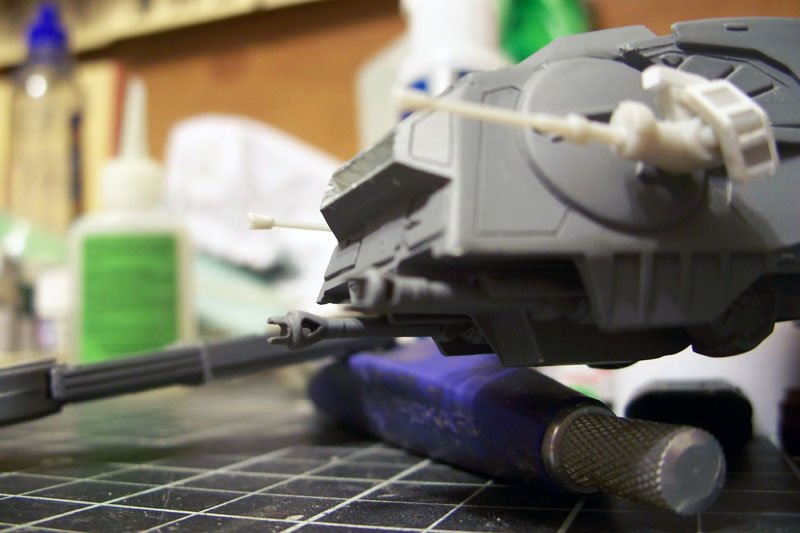
I studied pictures of the movie models and scratch built what wasnt there. Its mostly strip details on the legs and alot of scribed and engraved details. Prett easy overall once i found the right width of strip styrene. The chin lasers were lobbed off and trimmed down. Then i took some 1/72 King Tiger barrels cut to fit and glued them on.
-
Heres some pics of said AT-AT. enjoy. Sorry for the blurr i took these really fast.


-
I have a Fine Molds Y-wing awaiting a start. But right now im still tackling my AT-AT. Installed an LED in the head and im trying to cram as much studio model correct detail into it as i can. The legs are mostly done. I just have to scribe the feet, fit any missing greeblies to the underbelly, final assembly and paint.
-
you really need to get te launch pylon and vehicle for it somehow.
-
VF-1S Strike Battroid Valkyrie step-by-step
HWR MKII replied to DrunkenMaster2's topic in The Workshop!
None right now. It caught alot of flak in the move and needs to be rebuilt......again. Be careful. its top heavy and WILL try to tople over after a while.