HWR MKII
-
Posts
2646 -
Joined
-
Last visited
Content Type
Profiles
Forums
Events
Gallery
Everything posted by HWR MKII
-
Nope he 25 would be the same size maybe bigger in overall size. The base parts seem slimmer and sleeker but the fighter and battroid modes seem to be similar in size to the last generation of craft.Lessons learned from use and the old protodevelin threat. Plus new systems and abilities for it to handle greater sresses
-
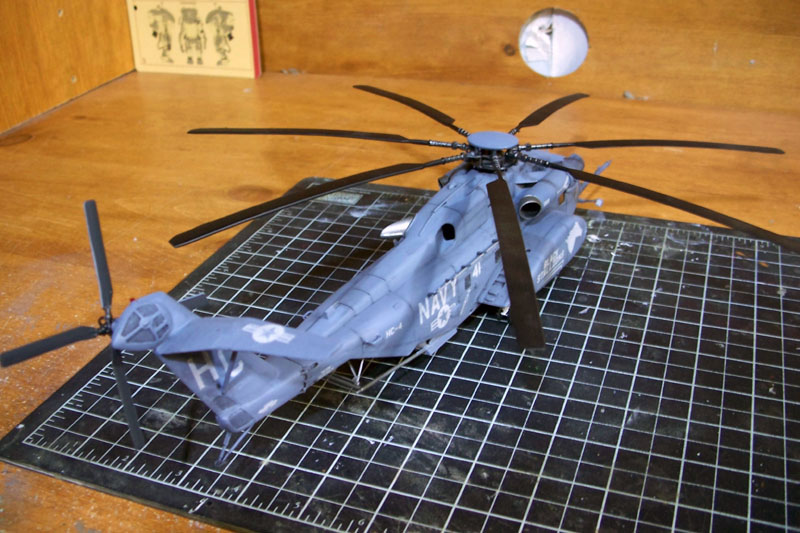
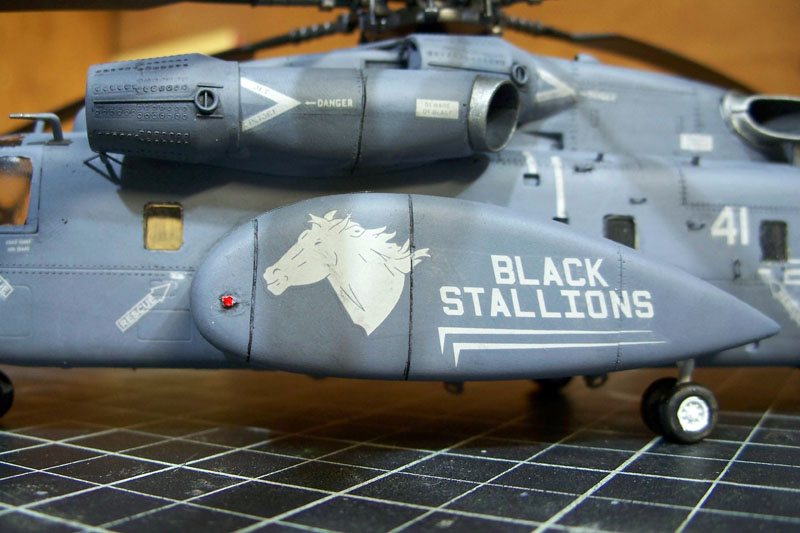
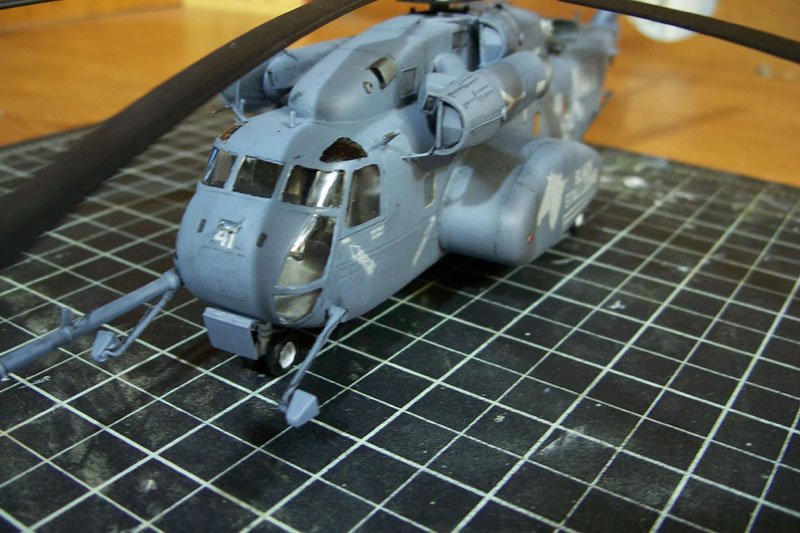
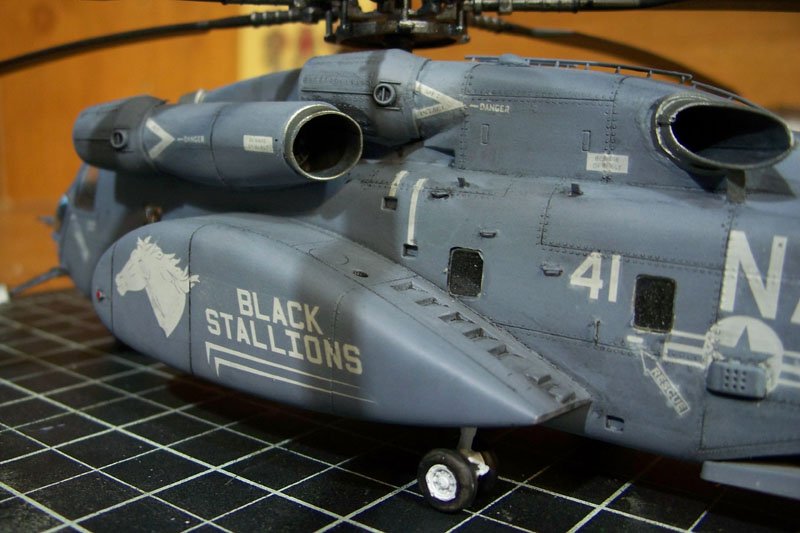
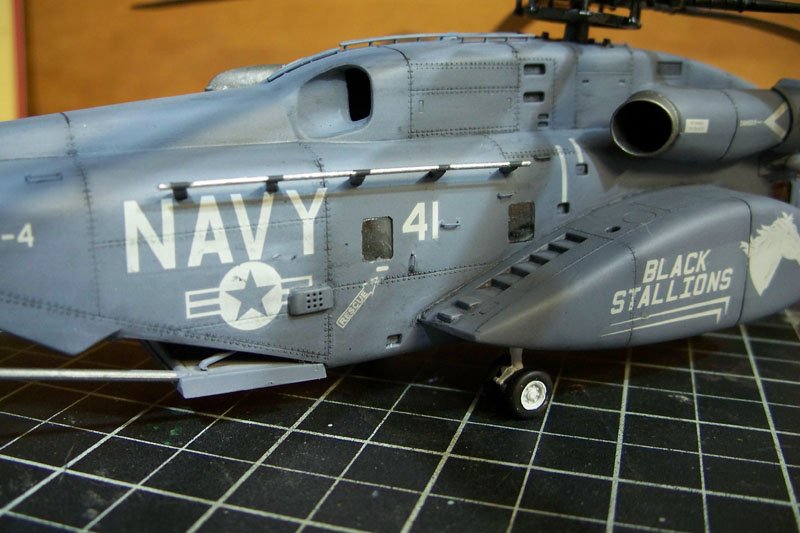
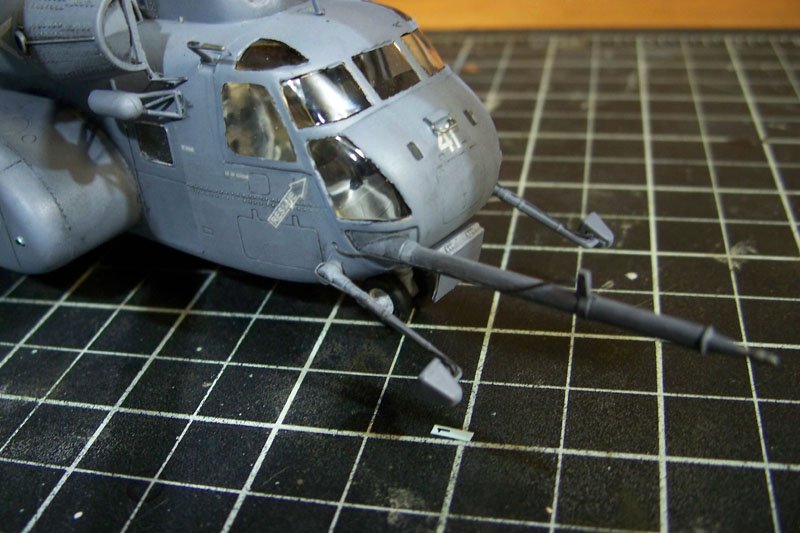
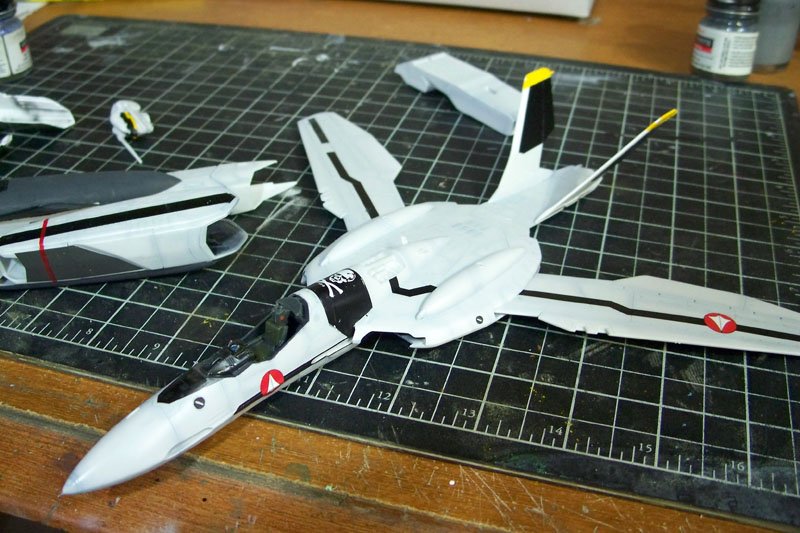
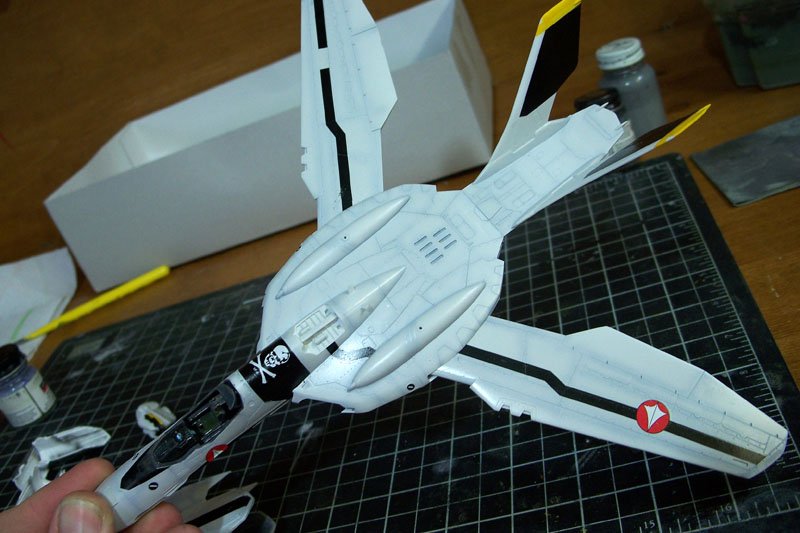
This just left my workbench.


-
VF-0 was basically a regular turbine powered fighter that could transform as a test bed for the VF-1 series. Turbines were probably bigger than the fusion motors usd in the VF-1 thus the craft and battroid were larger. The VF-1 was made for one thing, fight zentradi. This it did well. When the next gen fighters like the 11,19 and 21/22 came out the craft had more systems and capabilities installed. They also learned from the VF-1 that a larger fighter would be better. It would be stronger, and more capable of dealing with the powered armor the Zentradi wore. When humans first learned of the Zentradi they knew how big they were physically and built the VF-1 for that. They didnt know their pods and suits would be much larger and give them an advantage.
-
I used XF-60 dark yellow on mine too. It was the closest match i could find to the DYRL color scheme.
-
My SAFS is in that mag too in the wonderfest section. Great work on the 0D so far. If it comes out as clean as that VF-1S Strike it will look really good. Its good to see more buildups happening.
-

Moscato Atmospheric Booster + Hasegawa Valkyrie 1:72
HWR MKII replied to PetarB's topic in Model kits
That looks great! Very clean build. now you definitely need a pyln for it. or else your bosters will pop off from the weight. -
Well if you want to add them to the models page on the front page as built up pics feel free.
-
Theres an enhanced remastered version coming out soon. New exhaust, detailed landing gear,Rails for the missiles to sit on and look like they can launch from more panel lines to more fit with the hasegawa models and bring it closer to the F-15 style lineage that it has. I cannot give any details for release but i do know it is coming.
-
They arent difficult kits at all and can be left in subassemblies for painting.
-
I have a strike battroid i need to rebuild.
-
Thanks guys. Yes all destroids are 1/72 scale and made of resin. Id say about 30 pounds tops. the monster being 17 of them. The smaller destroids are pretty light.
-
Well if i could afford one id get it. But right now i dont have the funds. Now if someone wants to get me a nice gift. Heck id take rejected castings of the thing for a build and paint sample if the caster would give up a set of them. Rejects can be repaired to me so im not picky. Also i know what the colors should be but i wont share HAHA! And yes my "someones commenting on my modeling speed" radar picked this up. Note the title under my avatar.
-
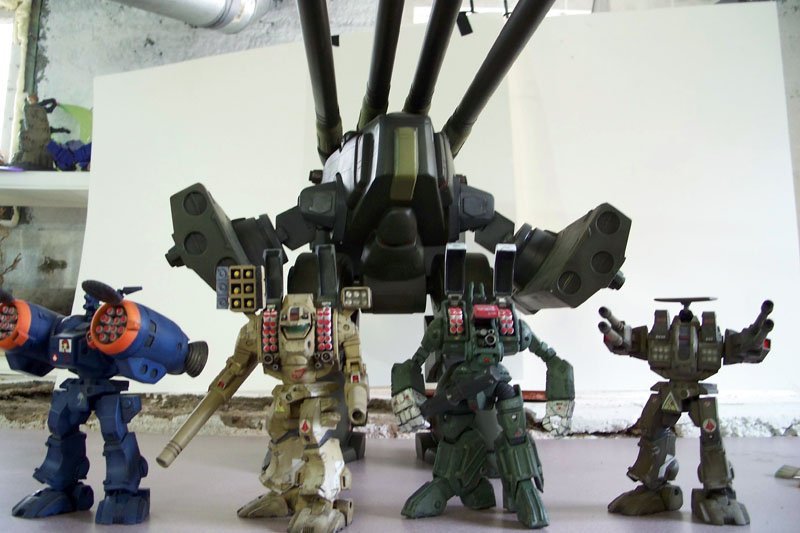
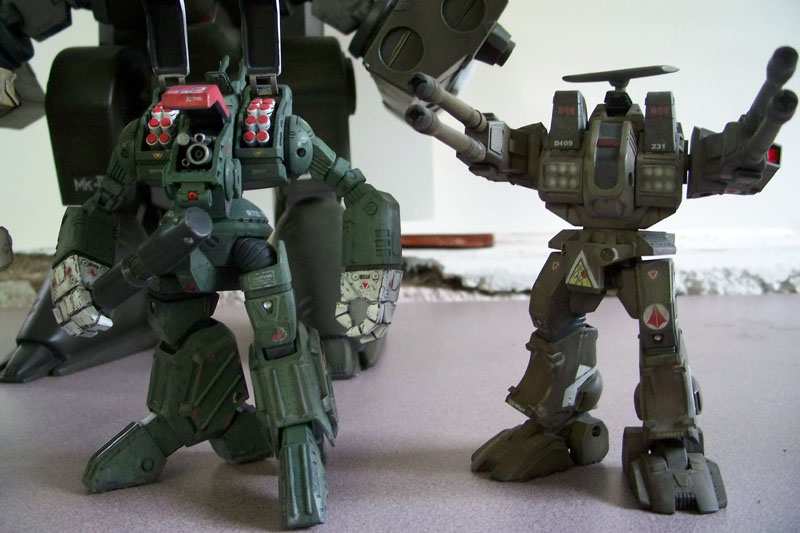
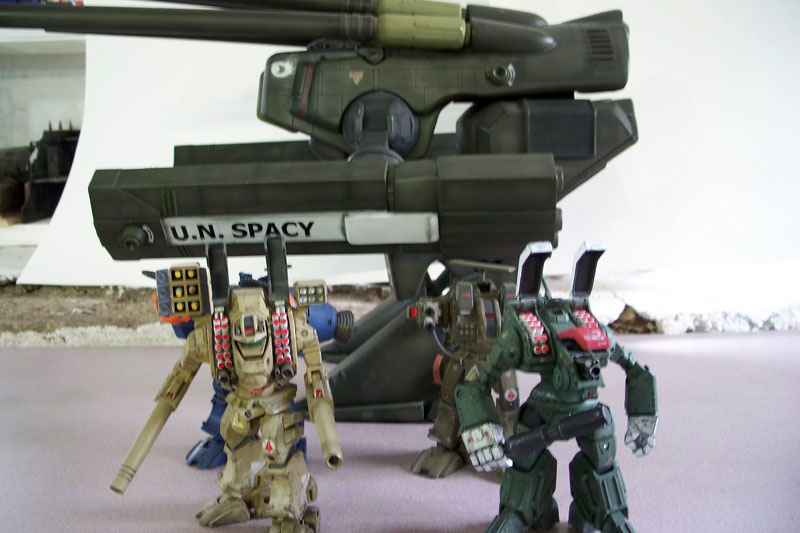
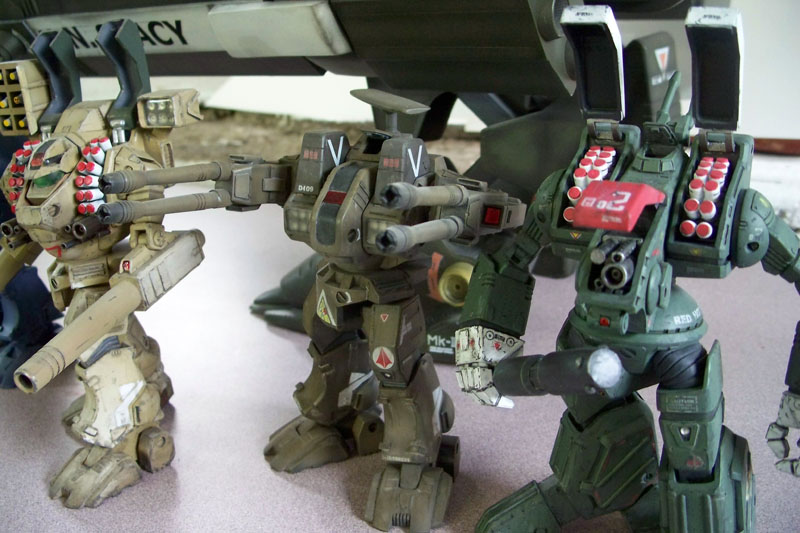
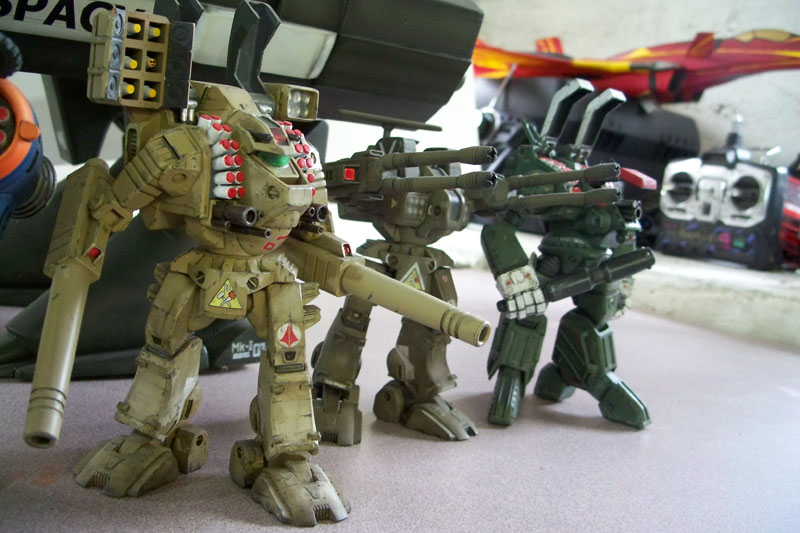
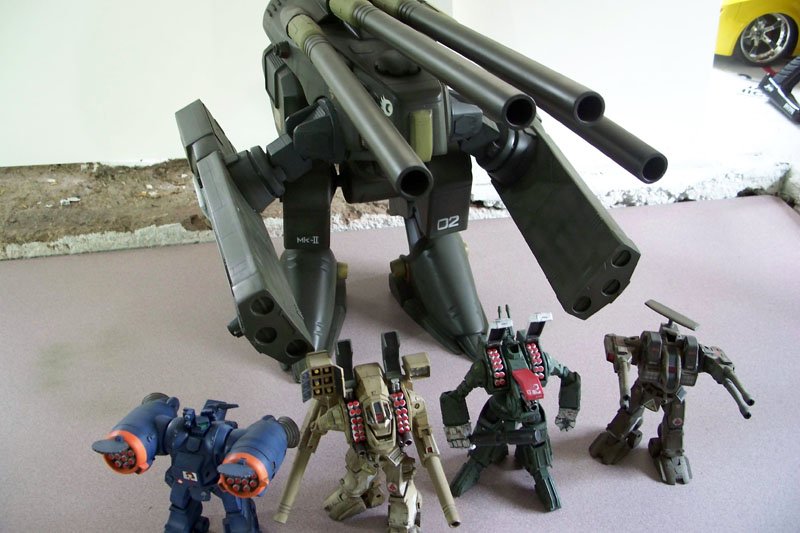
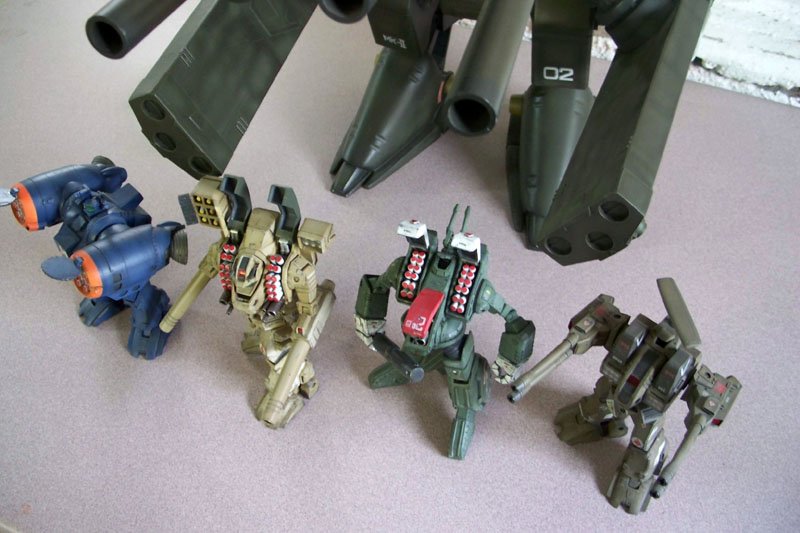
You know i have been wondering if i am the only one who has bought and built ALL of the new destroid kits. I have yet to see anyone post finished pics of them all. Neptunesurvey finished his spartan i know. But i dont know if anyone else has all 5 of them. Still there is a 6th....im still bugging John to make the Cheynne from Macross Zero. It is in line with the Tomahawk series. It shares some leg design and is like a prototype mix of tomahawk and defender. Plus who can resist 2X 30mm Gau 8 cannons in the arms.
-
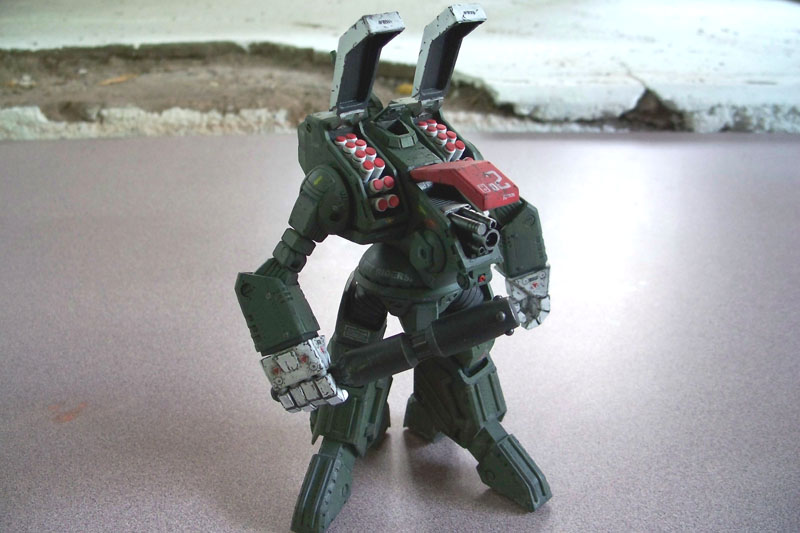
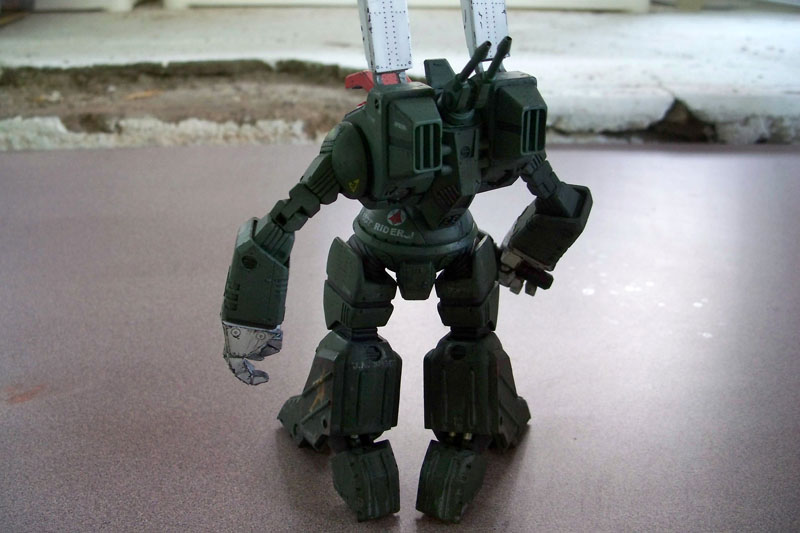
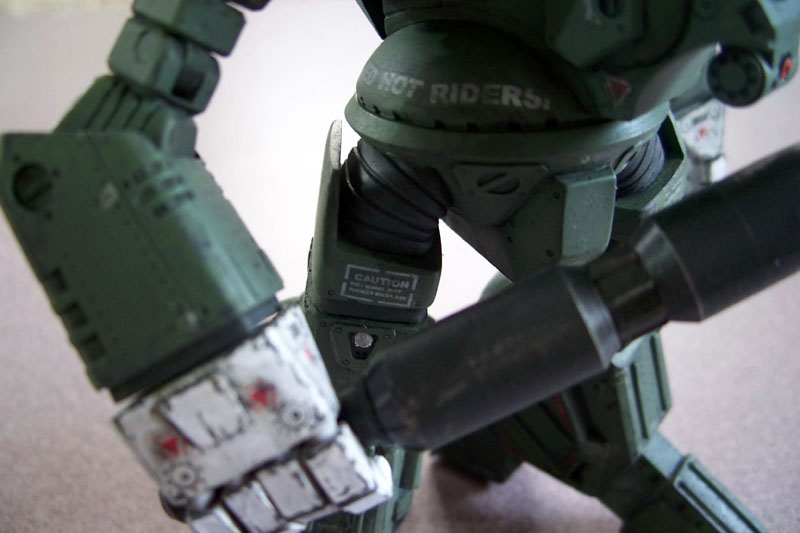
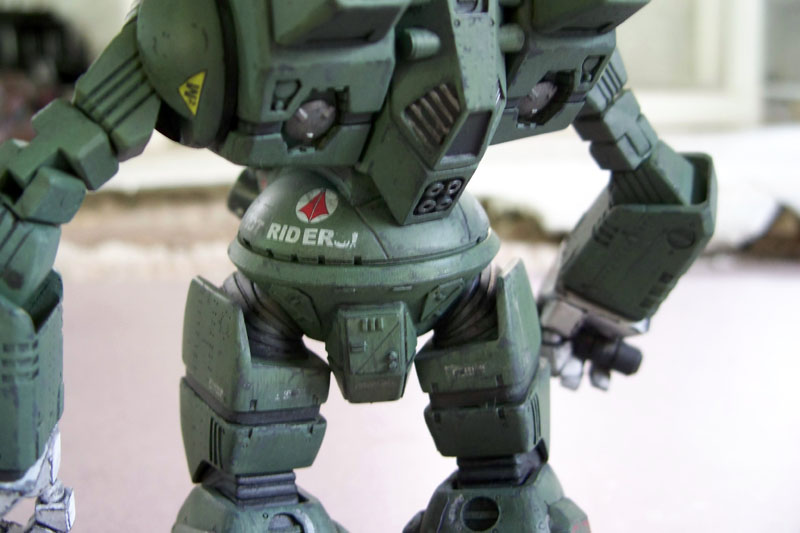
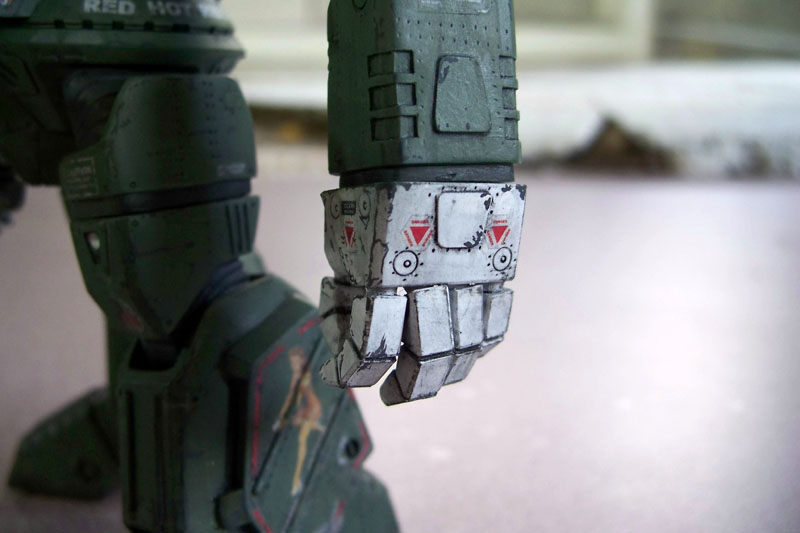
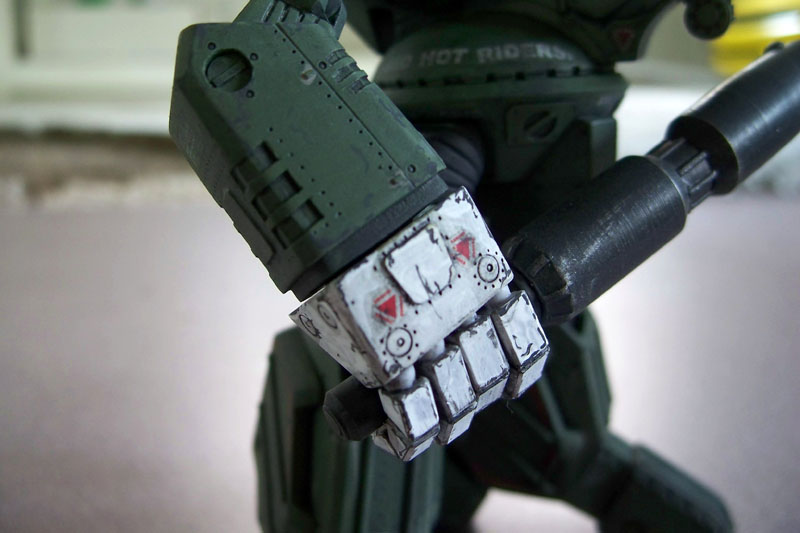
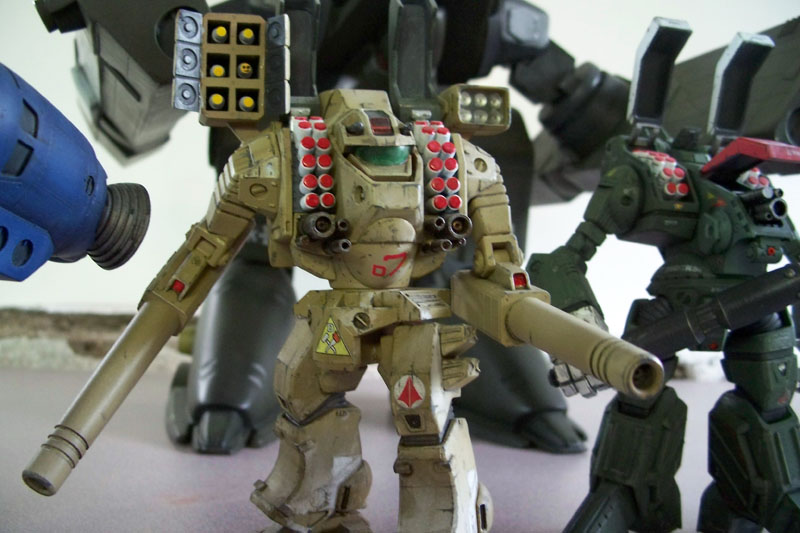
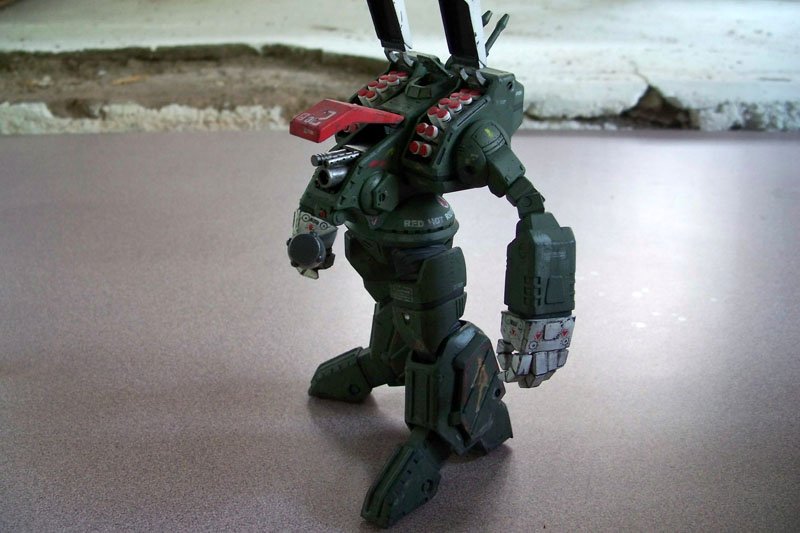
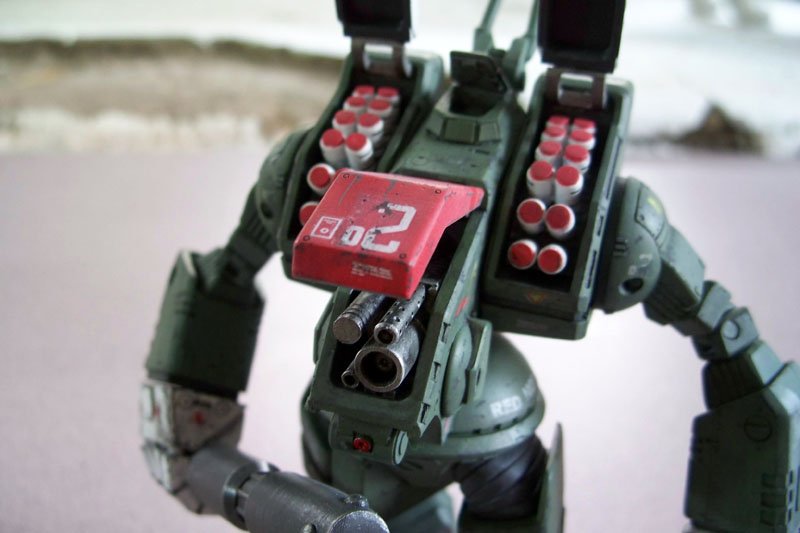
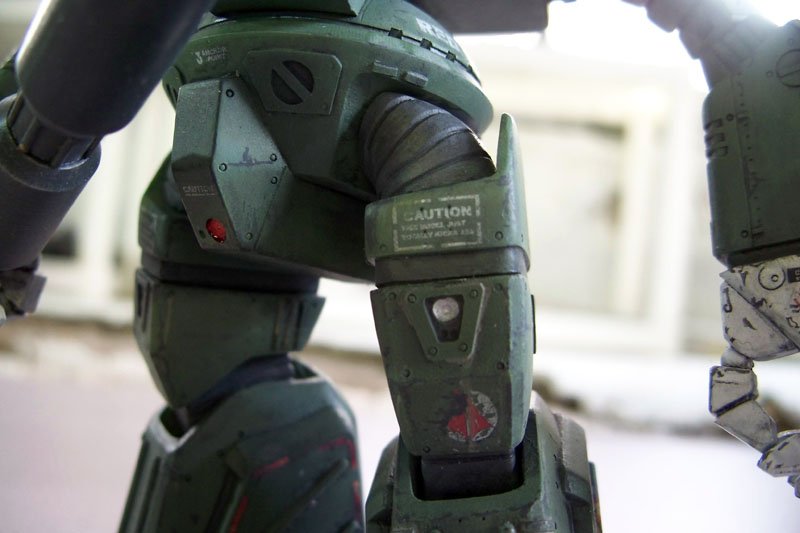
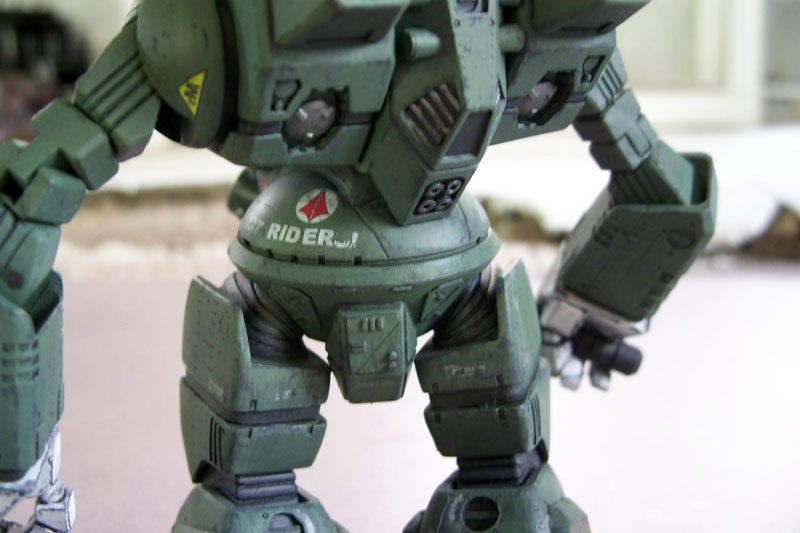
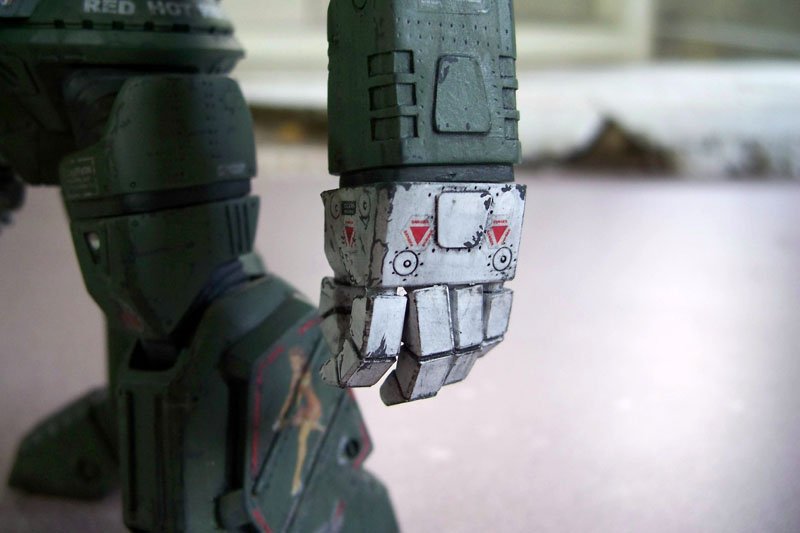
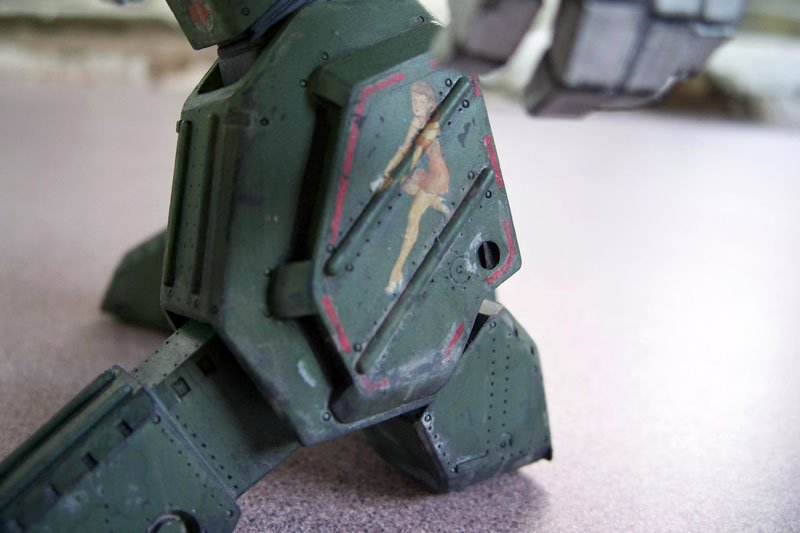
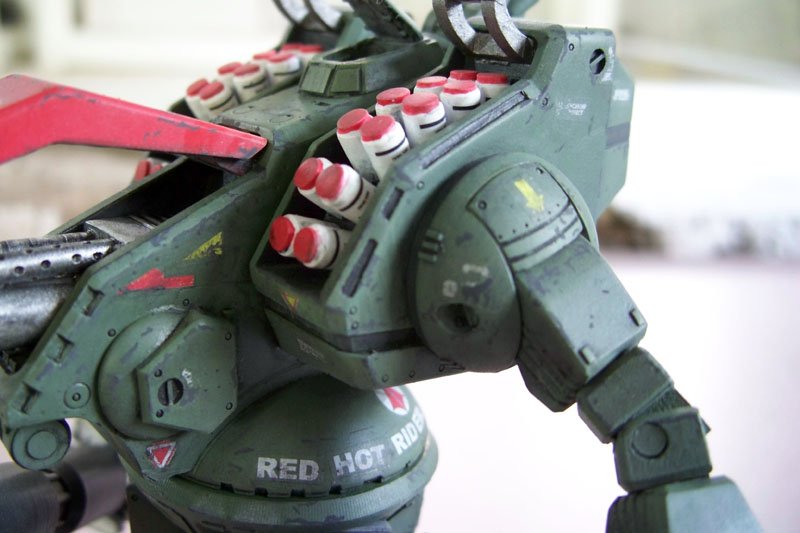
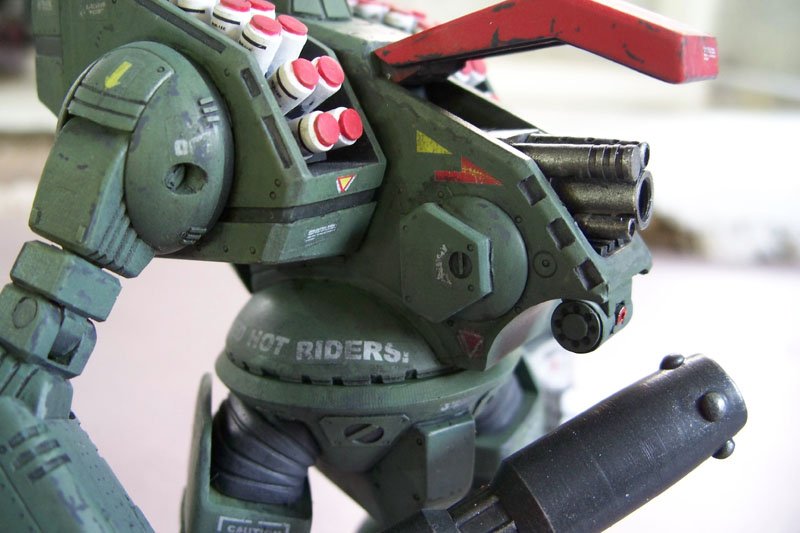
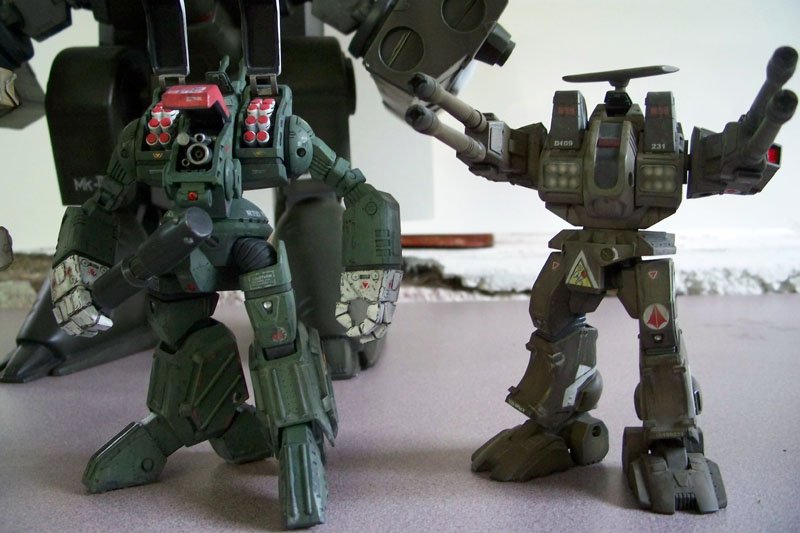
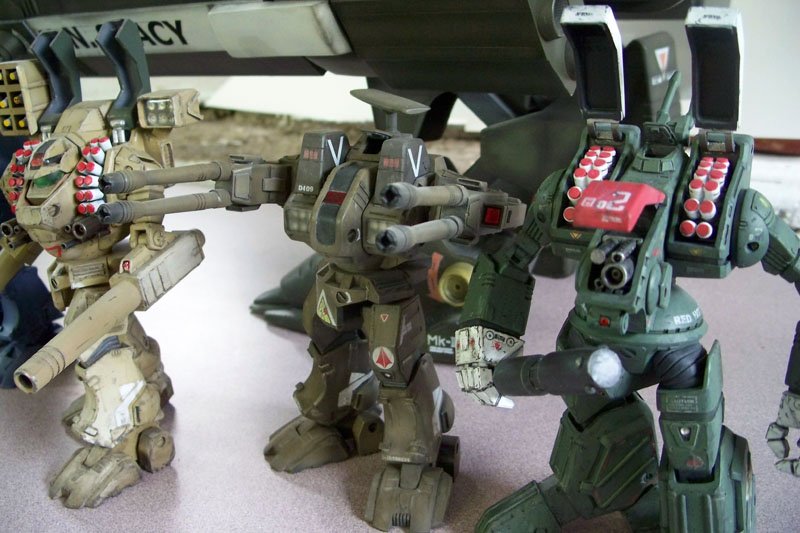
Well here he is the little green bastard, or the red headed step child. Regardless the second most unique destroid in the macross universe. I say second because the monster came first in development and there is still nothing like it. Overall an excellent kit. Some troubles with removing the pour stubs carefully but that was no biggie. The only other issue i had was the decals didnt like the thinner i used in my wash and fell apart as i was removing excess wash. So i decided to let that issue guide me in the finish of the litle bugger. So heavily chipped and worn it is. Im glad the 2 "Caution this model totally kicks ass" decals survived and are still legible though. Heres some shots of it by itself and with the rest of its family of macross ground attack mecha.


-
Your not intruding at all. I like the decals you put on yours. I made mine look a little more like it was in the animation. I didnt see much in the way of markings even in the close up shots so i left it pretty clean. A litle light preshading with a medium grey is about as fancy as i got. All the smaller grey panels and the red marks are brushed on.
-
I have always used windex. So far no issues.
-
Thanks WM. Clear resin is always a 50/50 chance. MOST resin canopies i have seen always need a little polishing. this wasnt as bad as the recast but still benefited from a god polishing with some 30000 and 40000 grit with some wax and future. I have some parts of an aircraft canopy polishing kit i use on mine. Have you seen my VF-0 in the next section down? Id like to se your VF-2 but i cant find any of the pics of it.
-
Heck metal siren nothing. Even a couple wing mounted reactive weapons from a VF-1 or launched from the arm cannons of a Monster can take out a ship quite effectively. Theres plenty in the macross universe that already does the job of this...thing. Heck the YF-19 was capable of knocking out a monster on its own with a simple forearm mounted weapon.
-
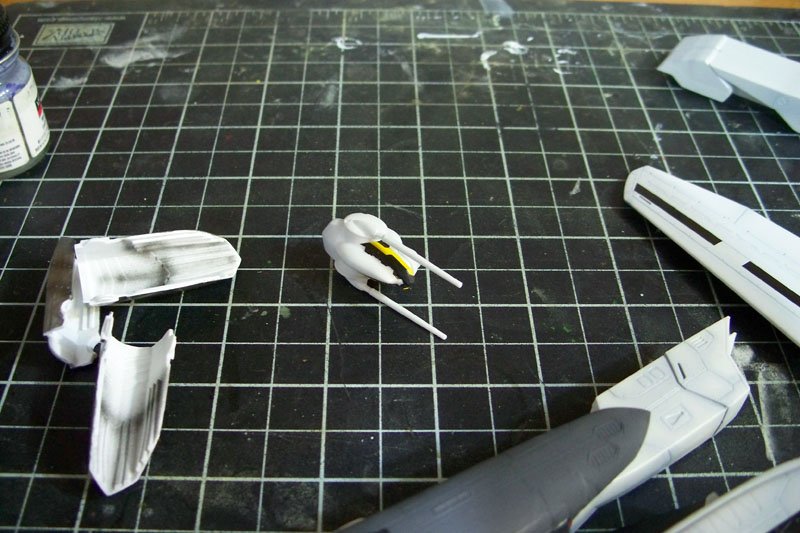
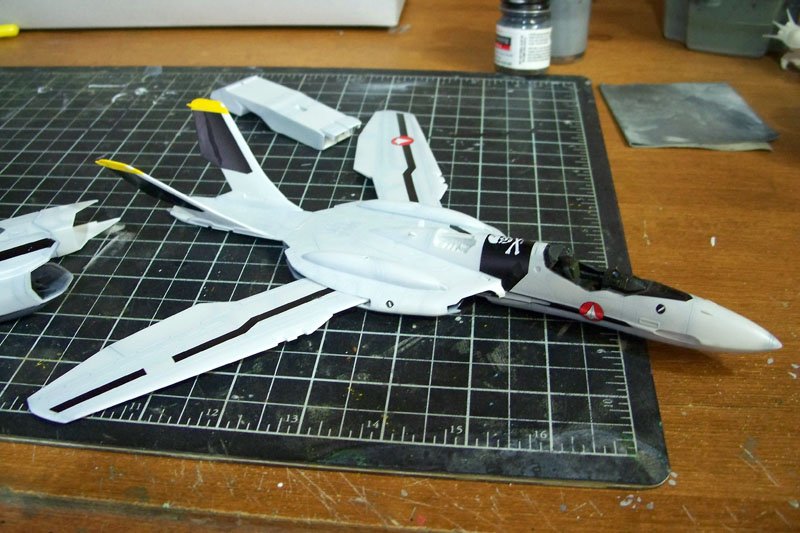
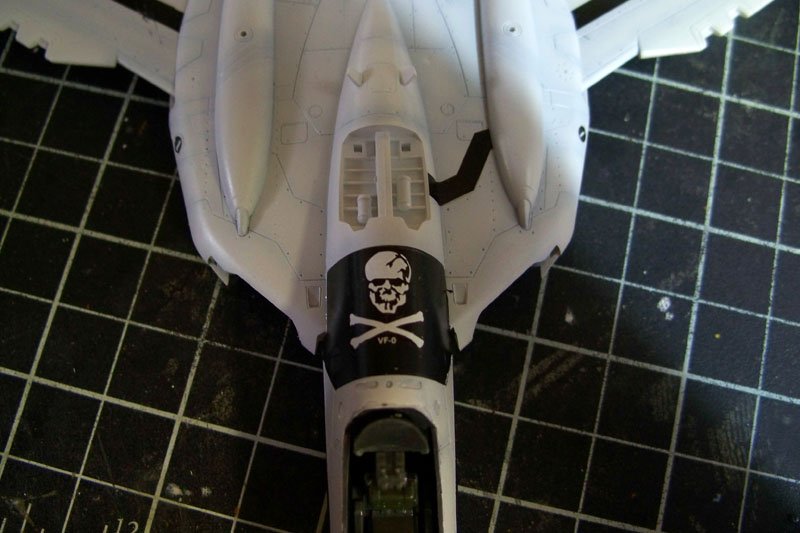
Well the decals are coming along. I tried using the fin decals on the legs. Got nothing but wrinkles even after they dried and they would not go away. So i sanded them down with 1500 grit and painted over in matching colors. The rest of the decals are going on well. I decided not to use the yellow decals for the tail tips. too many compound curves. So i based them in yellow then cut out the "slime light" that goes on the tip. This will look much better in the long run. Still alot more decals to go .


-
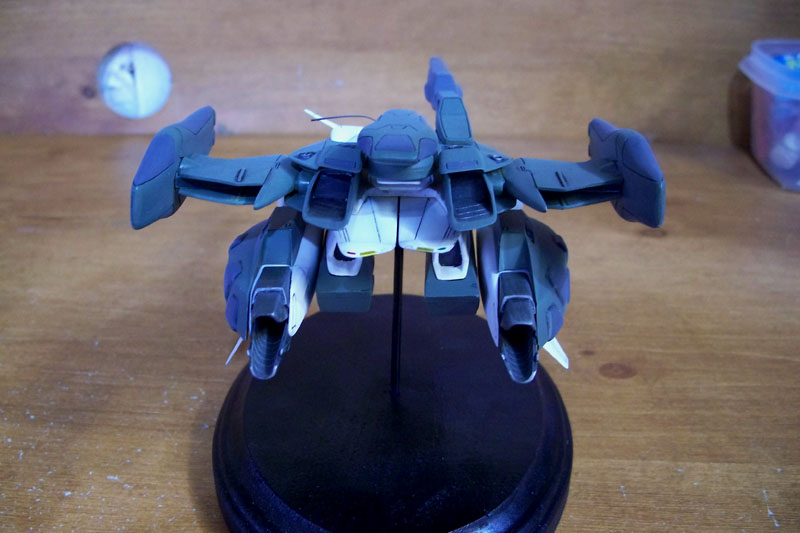
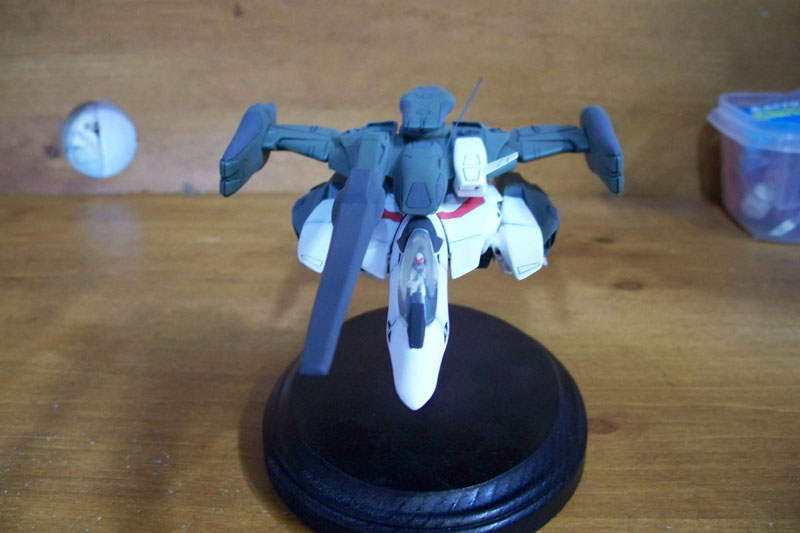
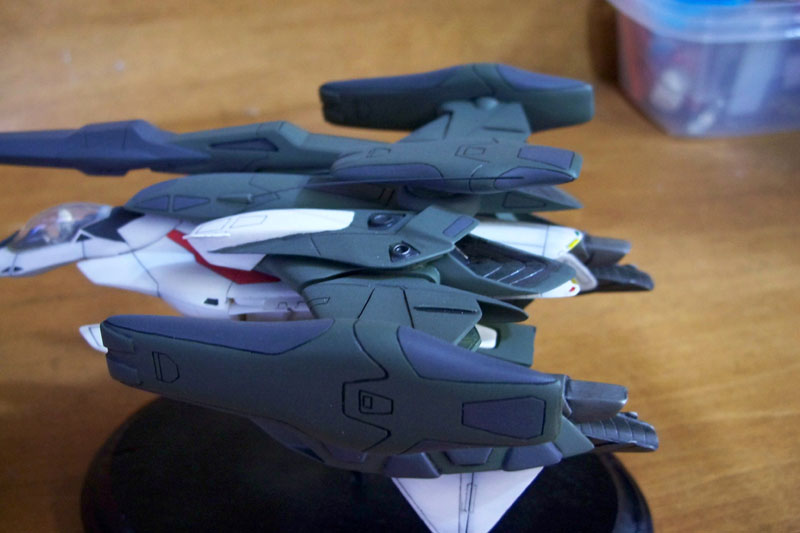
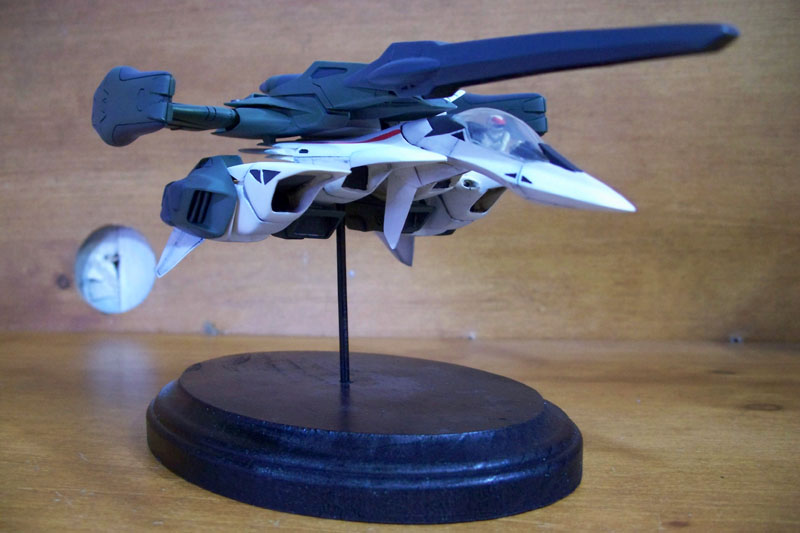
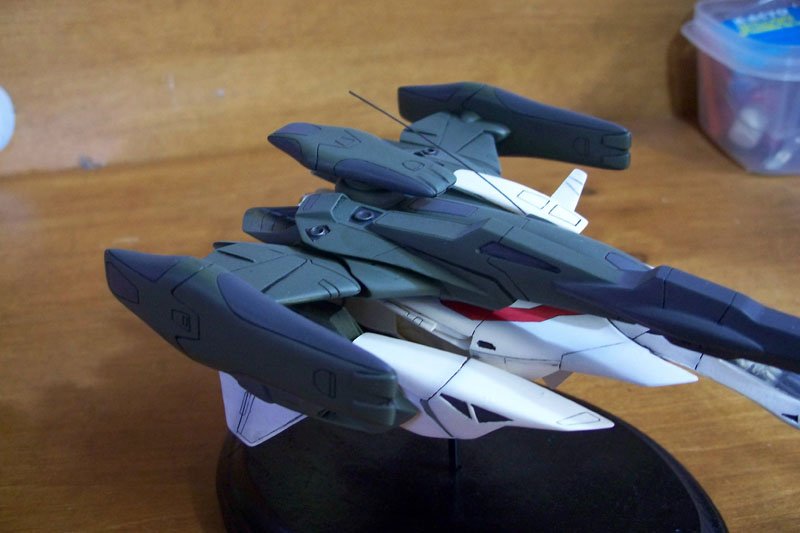
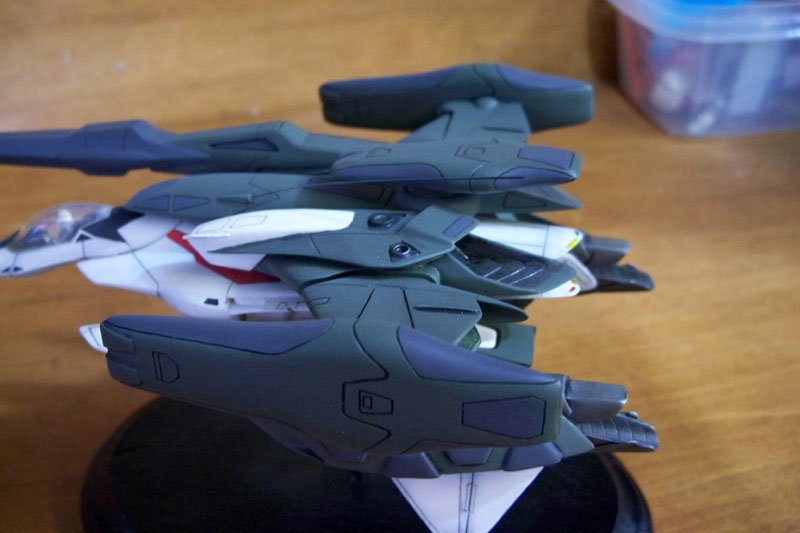
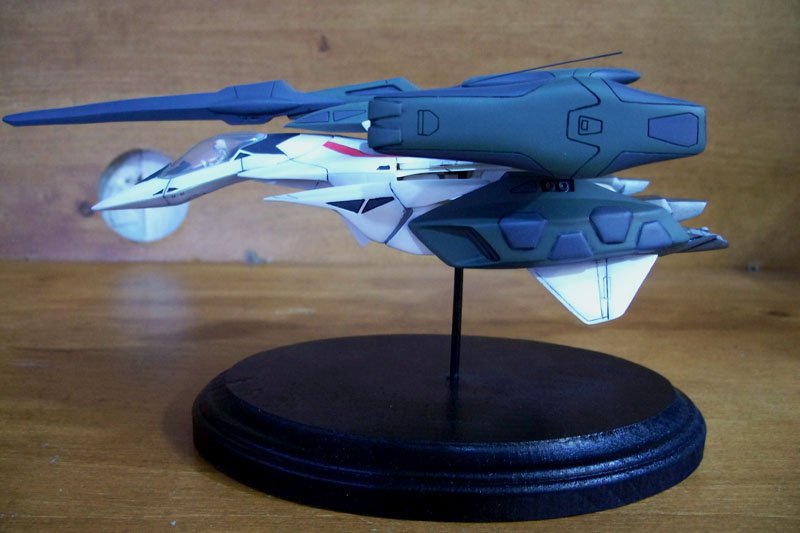
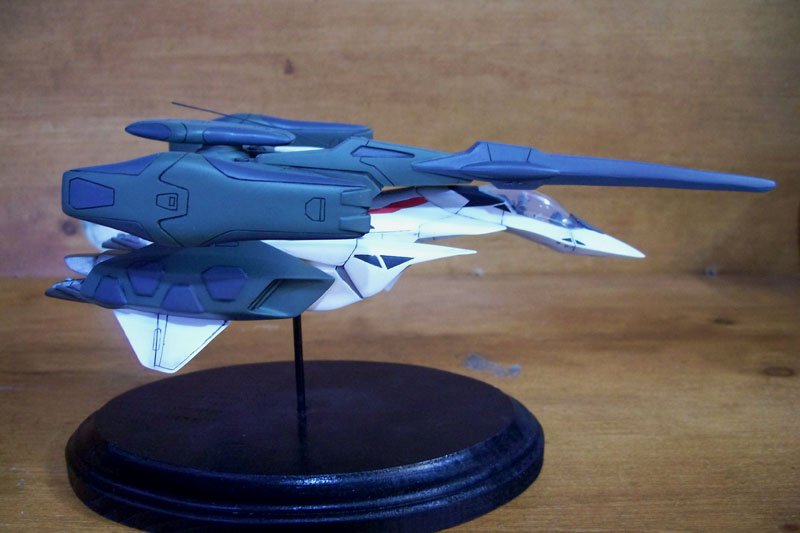
Well finally i got around to building this thing. I have had it for about 3 years and have worked on it on and off in that time. This was a GREAT kit. the only issue was the canopy. it required alot of polishing to even see through it. BUT i got it down and clear. its alot clearer in person than in the pics. I dont know why but the white of the model is causing some glare and throwing off the color in the pictures. Ill try taking better ones later. This was made from an original Musasiya kit. I have the 3 battle pods that came with it still but just wanted the Valkyrie II on its own.


-
Sorry for a lack of updates. Work has me pooped. Expect something tomorrow.
-
Have you seen some of the malformation on the thing in the animation? Overall it looks like a YF-19 to me.
-
Decaling has started. Not too many tonight. Just alot of the large panel ones like the fins and strakes. Ill have more done tomorrow for some good in progress piccies.
-
the 19 went together pretty easily overall. the 21 was a bear to build. I had to saw large portions off some parts so they would fit together properly.
-
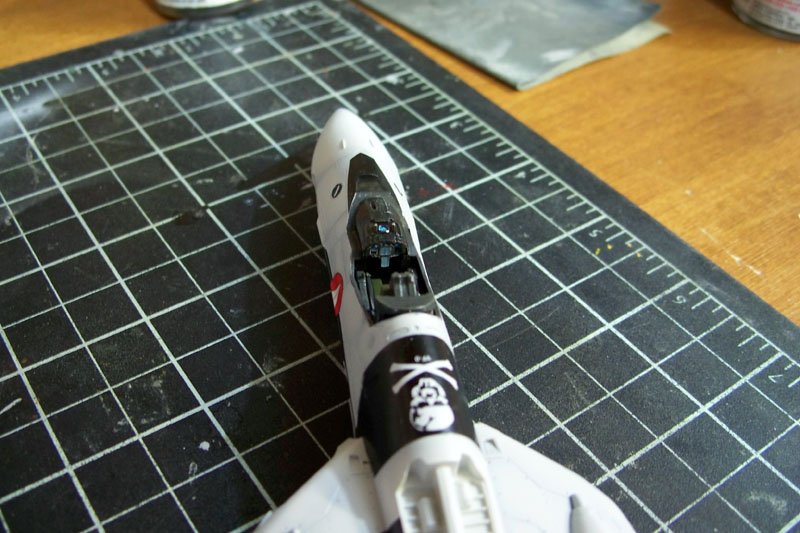
I just gave it a coat of future. This will sit and cure while im at work to let it harden. Then when i get home i start the decals. This will take a few days since theres a ton on this kit.