HWR MKII
-
Posts
2646 -
Joined
-
Last visited
Content Type
Profiles
Forums
Events
Gallery
Everything posted by HWR MKII
-
 Starship modeler has a few left in stock. Their Alto is out but their Ozma had 4 left last night i believe.
 -
Dave to the bloody rescue. Thanks Mate!
-
Ok does anyone have any good shots of a VF-25 cockpit? I want to get the nose buttoned up tonight and get the future laid down to cure. Once that is done i can move on to the head. Ill probably just brush paint the head overall since the parts are so small on it.
-
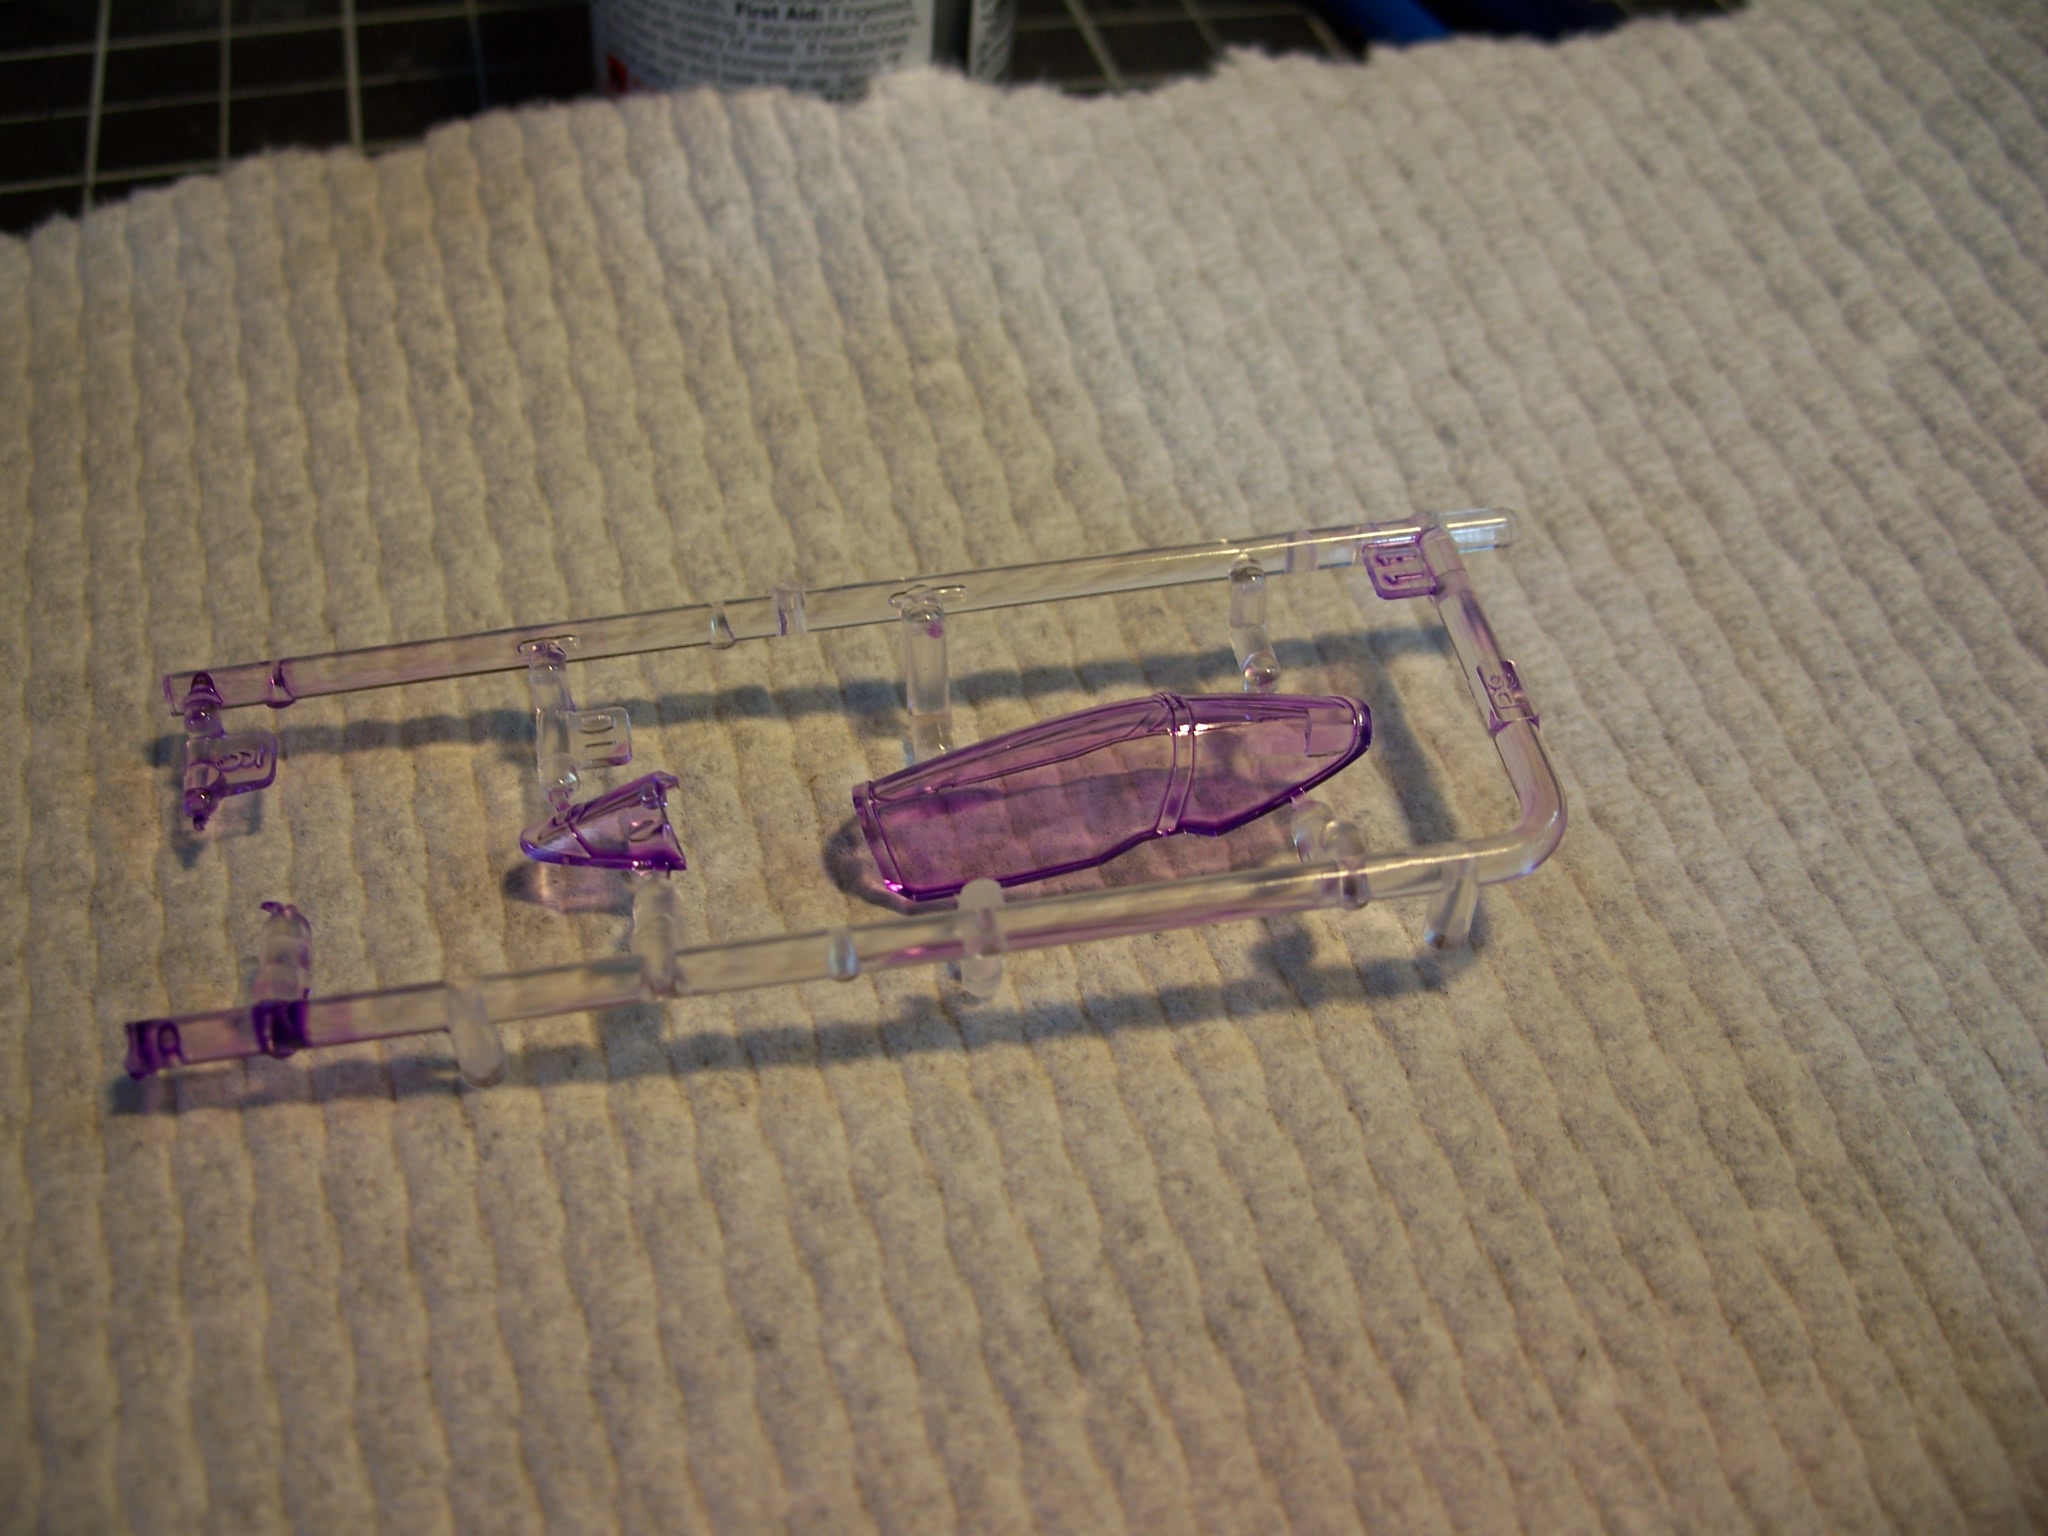
The fuure ink mix was the only coat. The canopy in this kit is as clear as it can get. No seam down the middle or anything.
-
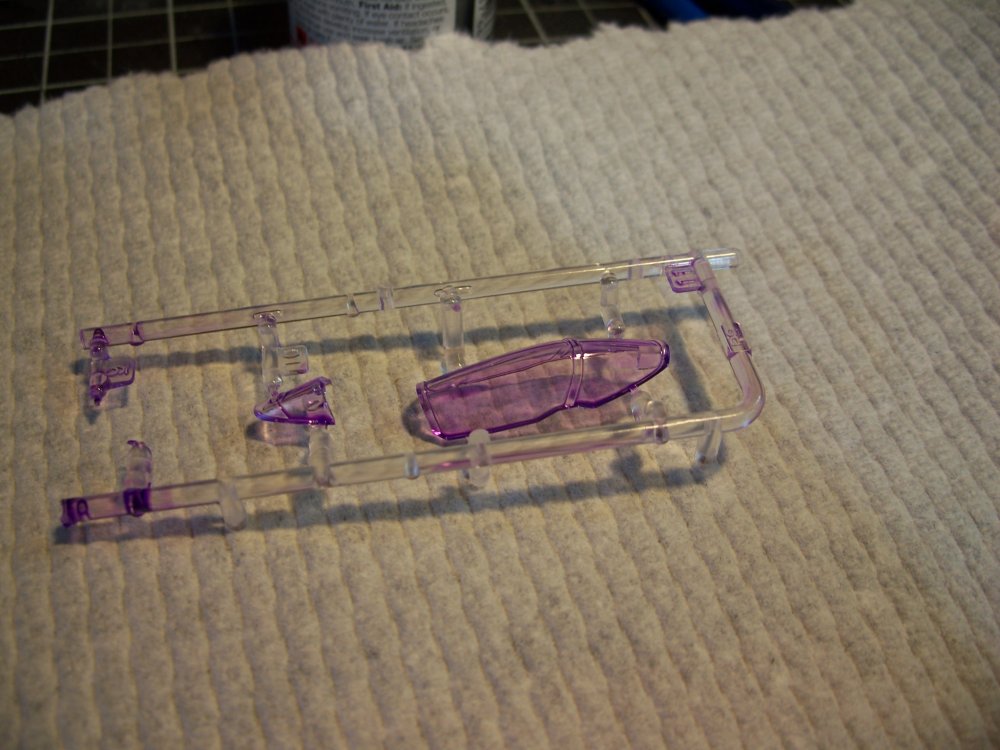
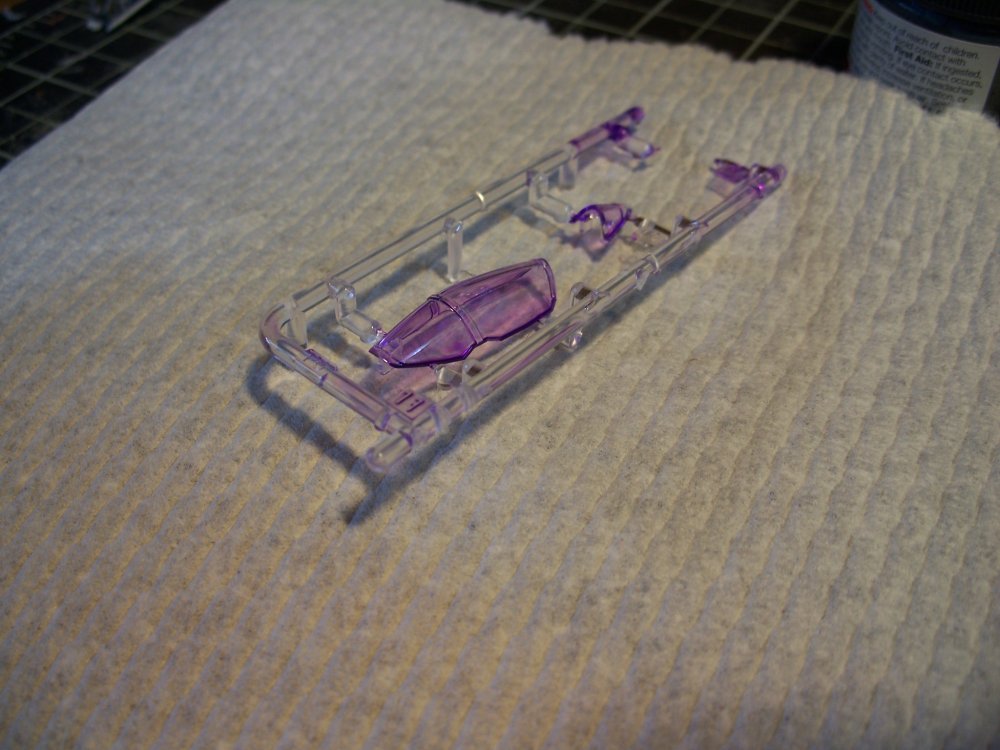
As for the canopy. I blended some of the same purple ink in future to tinit it then brushed it over the outside. If you paint it from the inside you run the risk of the purple pooling around the base of the attachment stubs and causing dark purple rectangles to be visible. THe effect is very very slight and will look great once the canopy frame is painted. It is wise to do this tinting with the canopy and its rear section still attached to the sprue. It will allow you to hold it better.
-
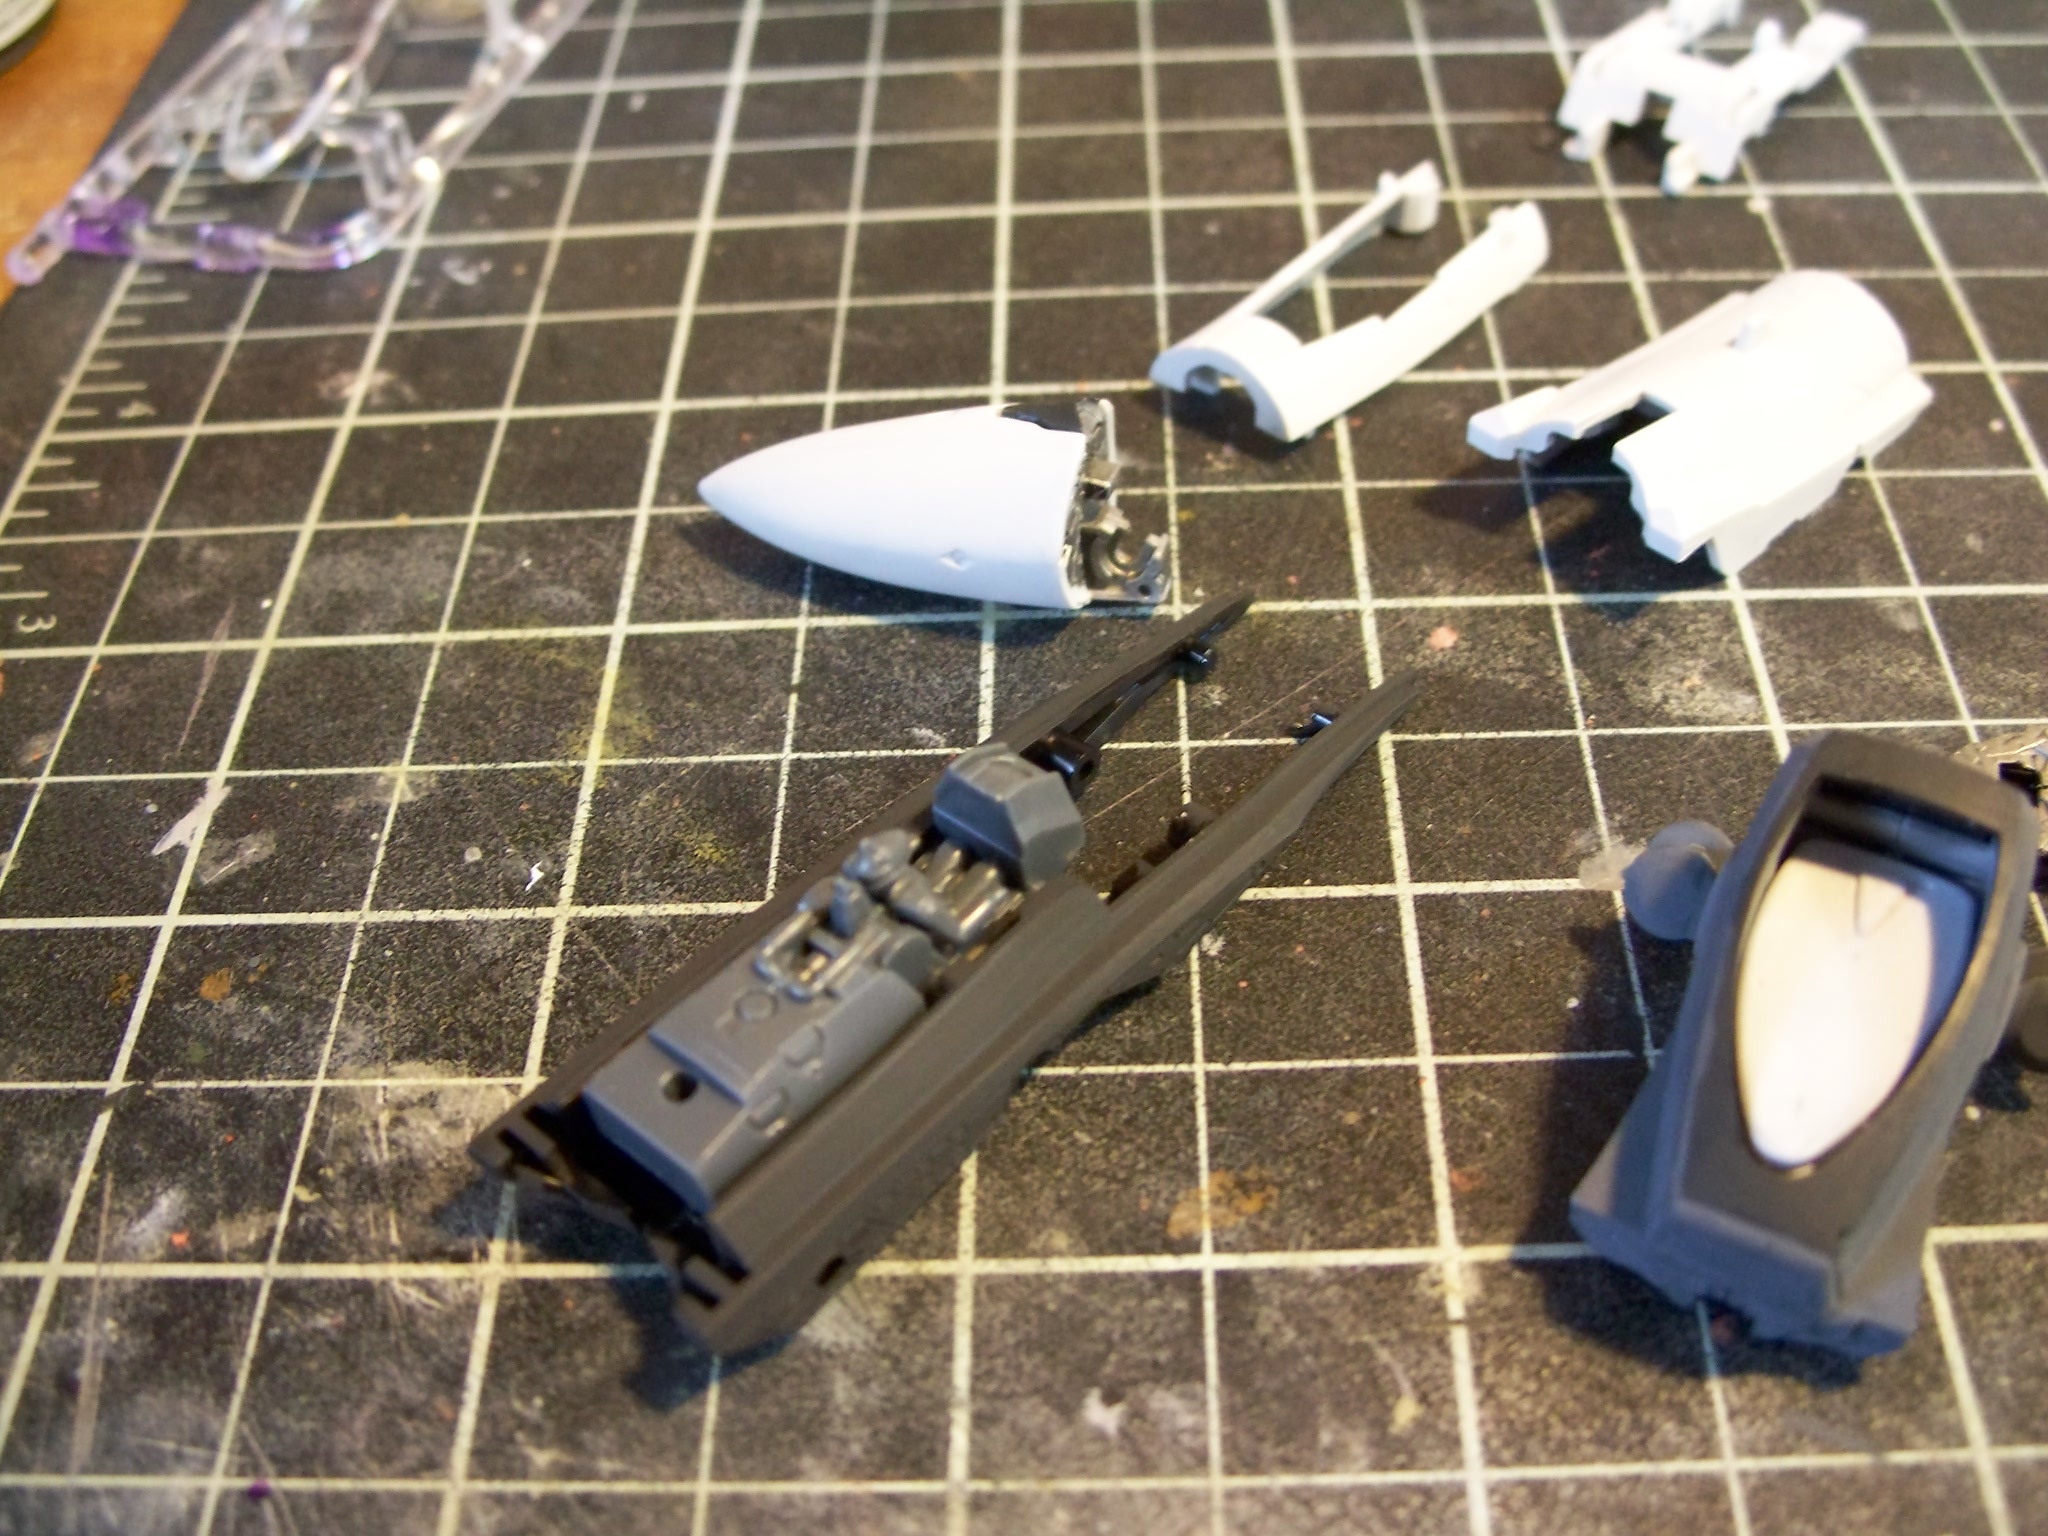
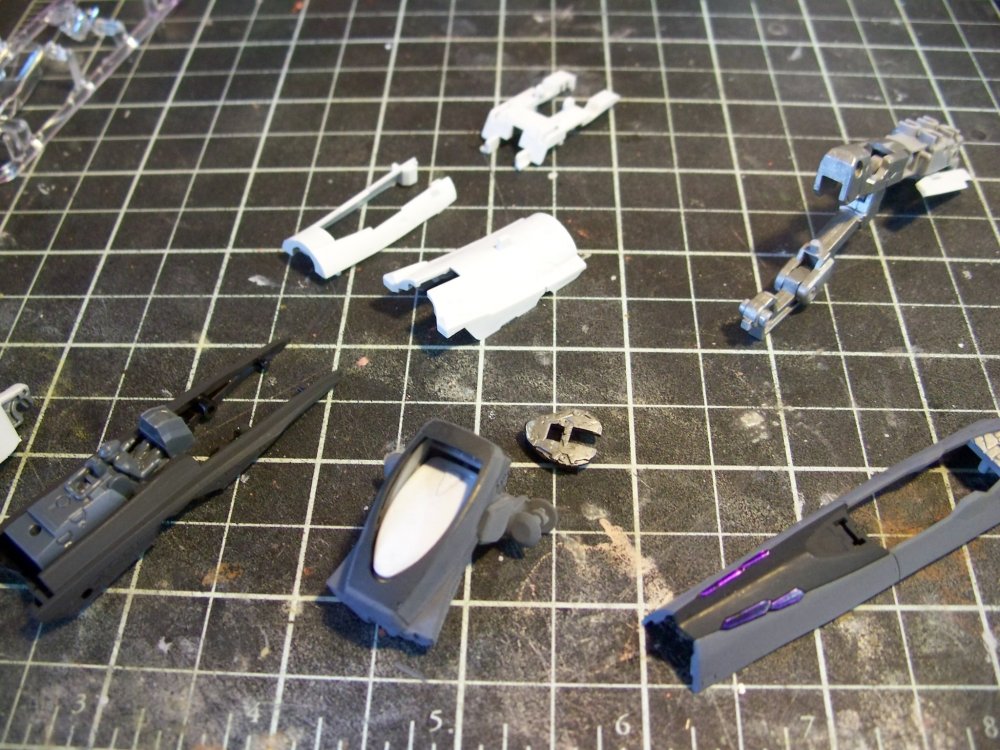
Bare metal foil could work but theres 4 pegs on the bottom of the part as well and they need to be silver. It keeps holes from showing in the finish. Also the foil may make hte part too thick it gets sandwiched between the upper nose and the anti glare panel. Only the sides show. Well i found i had the paint colors i needed here is the nose assembly mostly disassembled. I reassembled some parts so i could see where scratches may develop. Ill give them a coat of future and let that harden while at work. Then ill reassemble it tonight. The only bad seam so far is on the nose cone. But some liquid cement and a clamp with a clothes pin fixed that. Then i put some Mr Surfacer over it and wetsanded it with 1400 grit. This eliminated the seam all together.


-
Yup ink on the outside and silver on the bottom/inside part. The silver i used is tamiya chrome silver from a bottle.
-
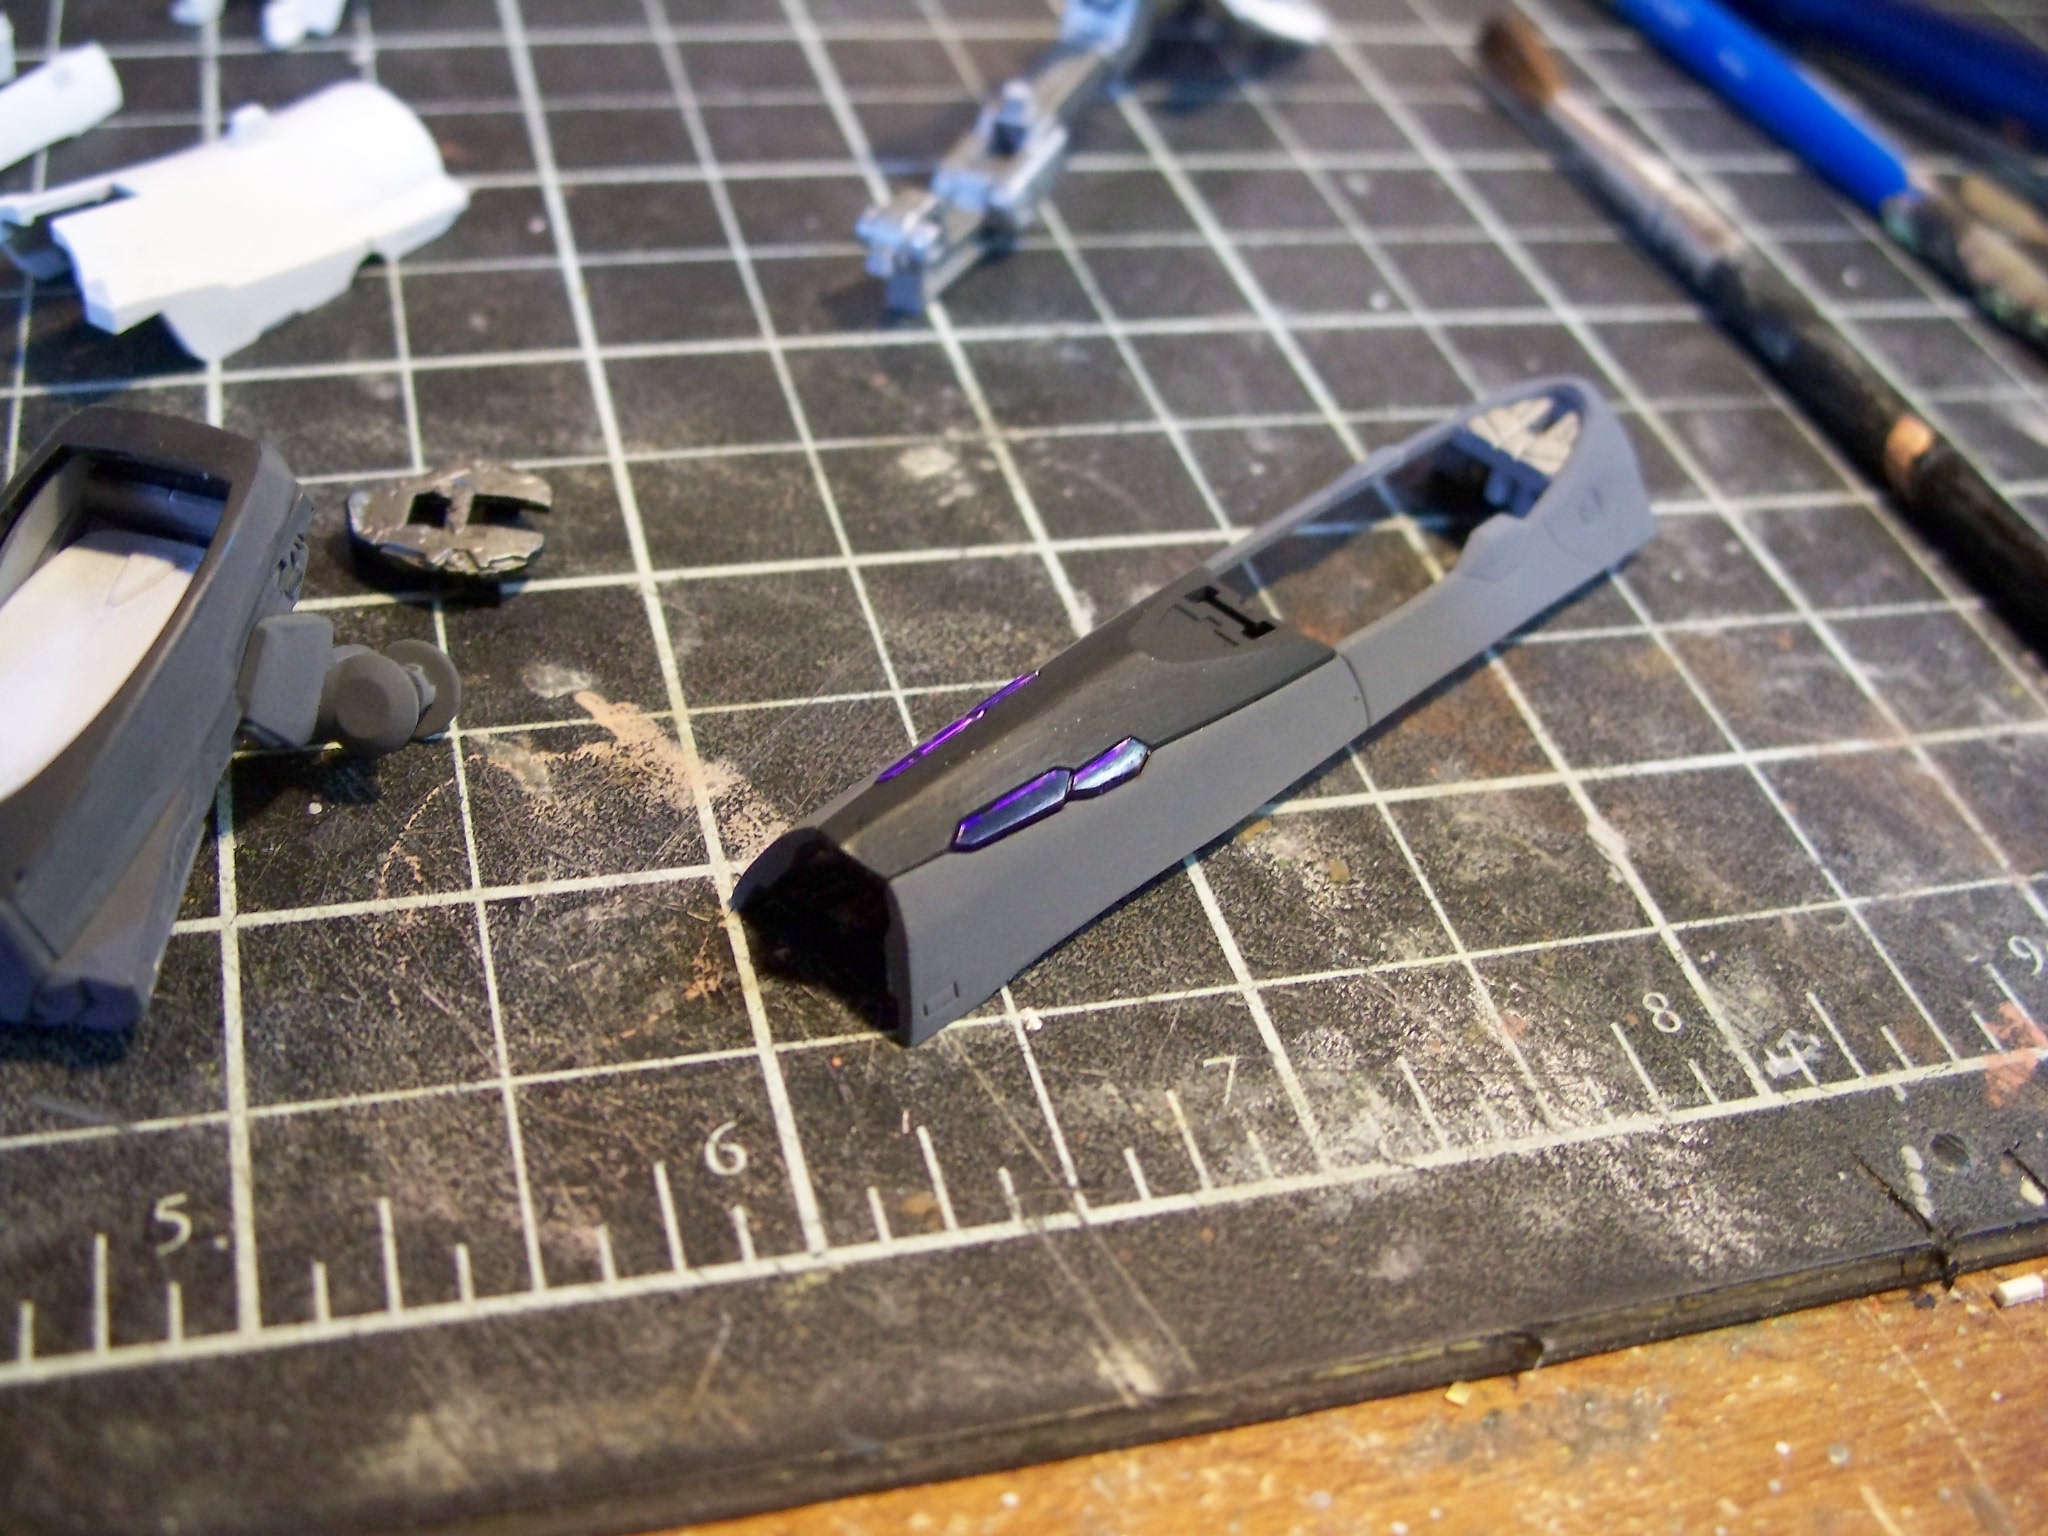
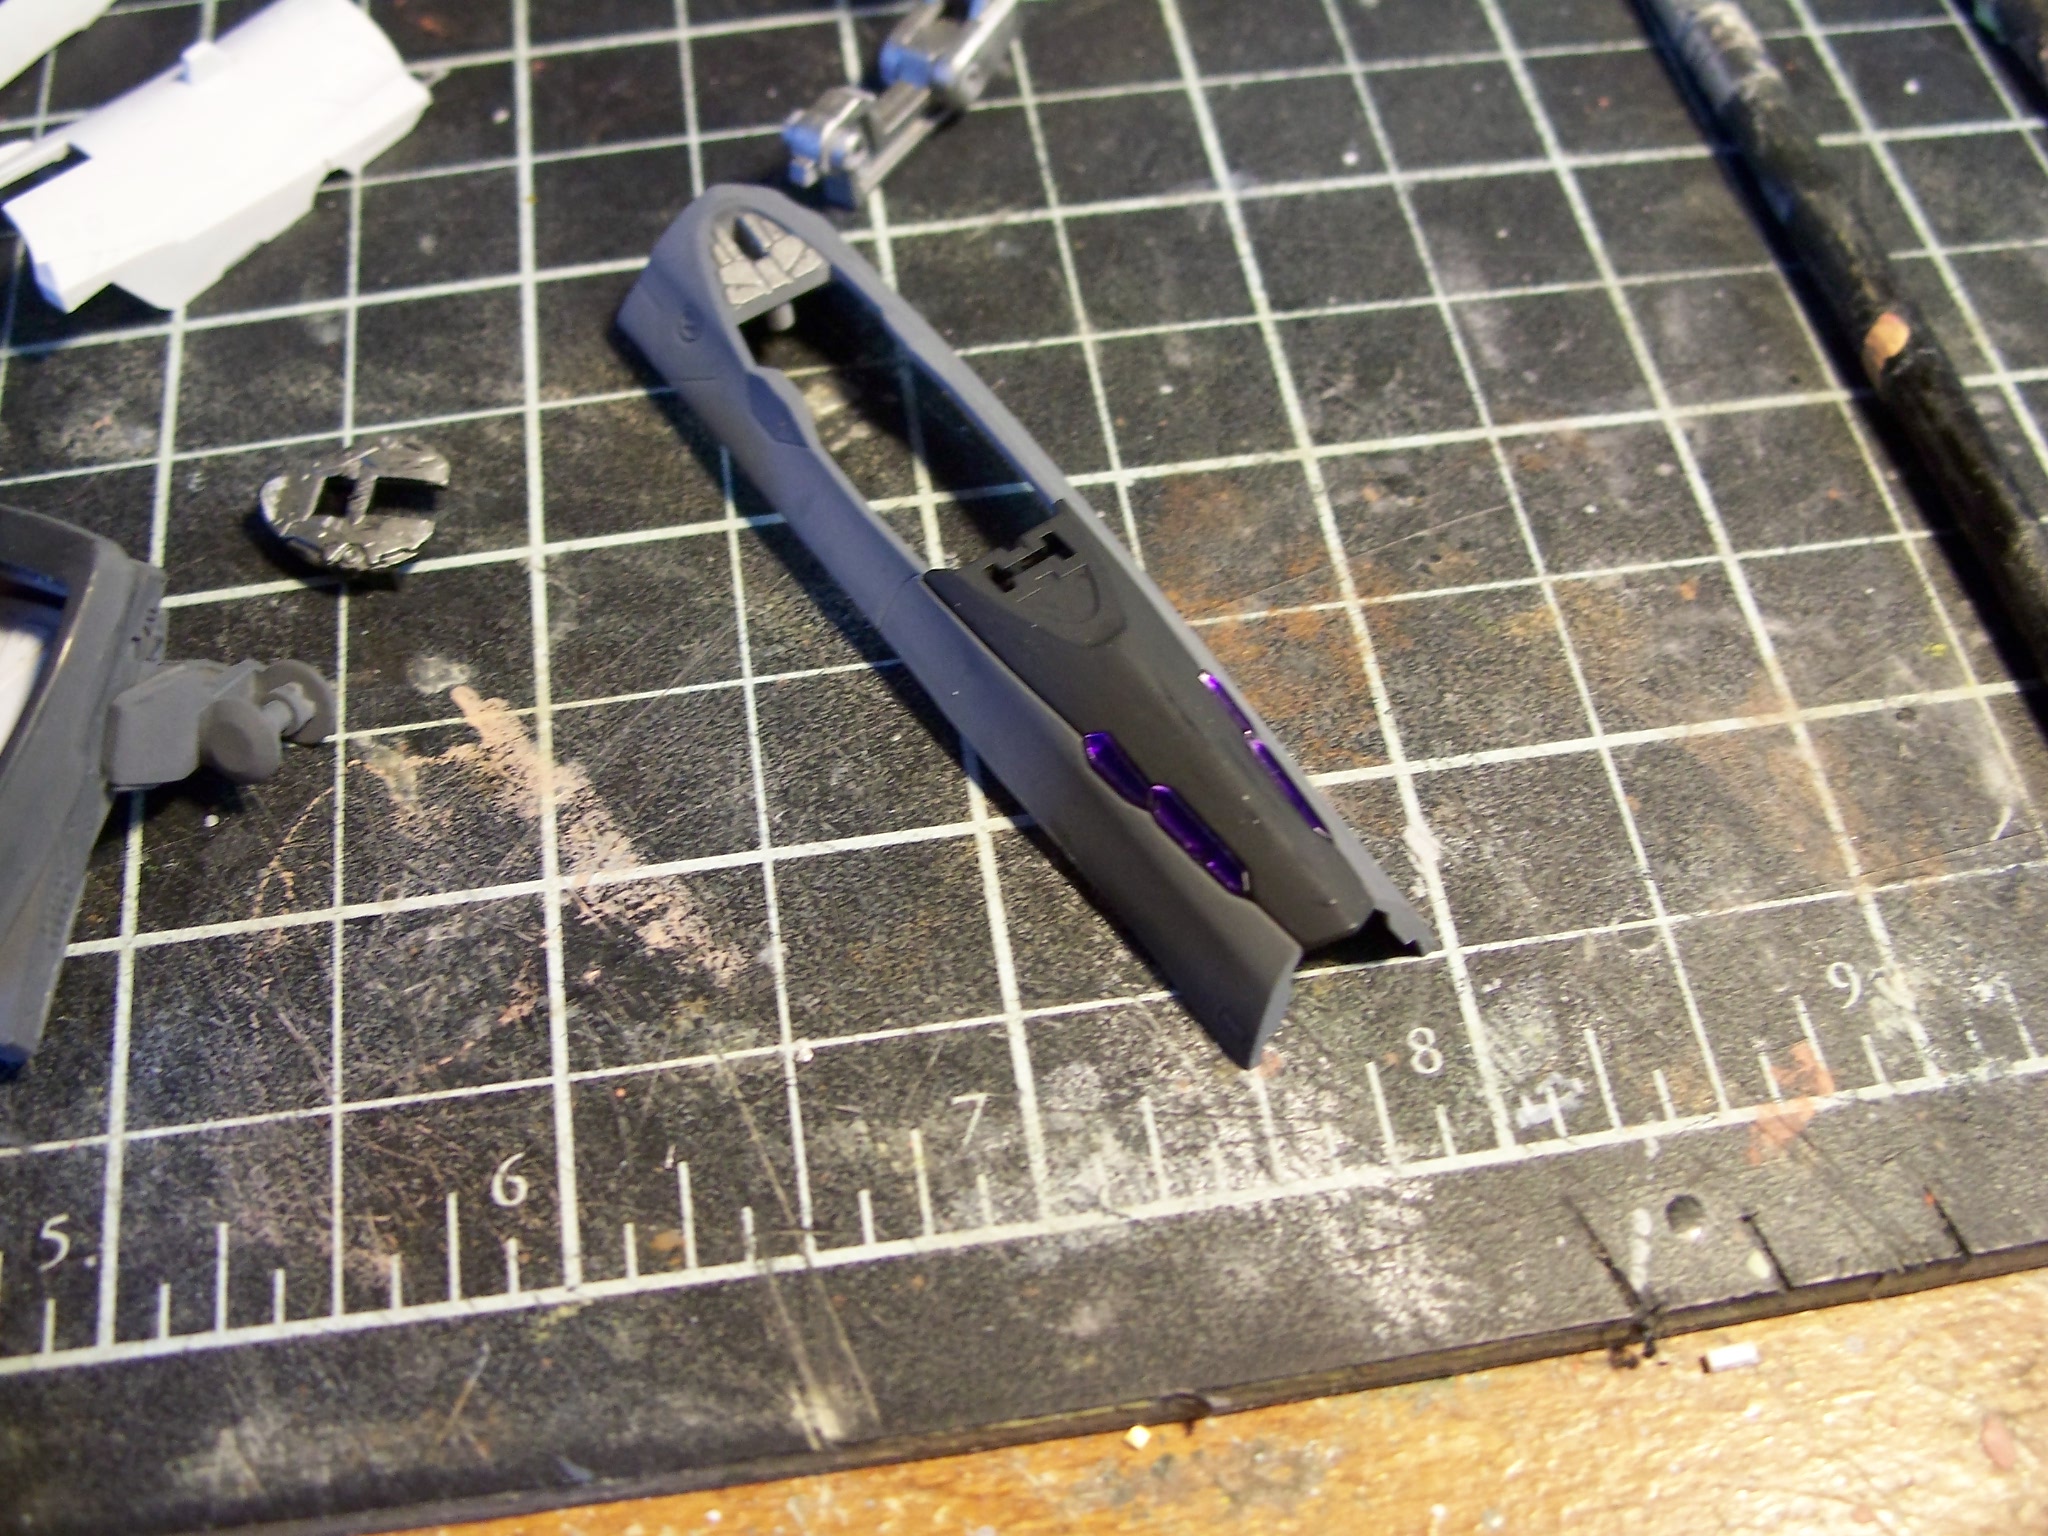
Well i wasnt able to get the paints i needed today. But i did start construction on the kit. Nothing to show really that hasent been seen yet. I just got up to step 9 of the first part. This covers the whole nose and wheel well. A few notes. The clear lense that goes on the nose. Dont bother using the sticker. Just get some games workshop purple ink and color it with that. Then back it with silver. BANG nice sharp clear lenses. The grey called out in the instructions for the upper fuselage color is too light. It matches the skull decal grey. It needs to be darker so the skull can contrast like it does in the show. A slightly lightened panzer grey or gunship grey will work well for this and match the images of the CG model better. One good thing is each part can be taken one sub assembly at a time. This is what i will be doing. Tomorrow i will tear down the nose i assembled and get the paints i need monday (im off work and will have time to do it) I will have pics up then. Sorry this is taking so long guys. Im just taking this one day /one part at a time so i can get the best possible result for ya. I will have reassembly shots after paint so if you choose to paint yours you will know in advance what parts to paint what colors.
-
Whats Lying on your Workbench MKIII
HWR MKII replied to HWR MKII's topic in Hall Of The Super Topics
TAKE IT OFF!!! God that saying has alot of uses. -
Spray a coat of futore floor polish or tamiya clear over it. A wash will stain a matt/flat finish where a gloss finish will only keep the paint in the panel lines and around details. the gloss allows you to remove excess. I will be covering this in my VF-25 build.
-
there will be on saturday. I need to get some paints first.
-
Well ill be doing a nitty gritty on this. One part one step at a time. Considering the complexity it cannot be rushed.
-
Yes i do. Im not too happy with bandais choice of format for instructions. They CAD model idea doesnt work. The contrast is so low its difficult to make out details well on them. Line drawings would have worked so much better.
-
Its what im going to do. Its also quicker than having to pick out each line seperately and can get into the finer details as well.
-
Why not use an artist oil wash and remove the excess with a Q tip?
-
Ok the kit is here. First impressions are.... Impressive. This has to be some of the sharpest detail bandai i have seen yet. Usually their detail is shallow and a little soft looking to me. This has nice depth and definition. Ill need to go restock some paits before i start so expect to see the first photos sometime saturday night. I am also going to do some tests on clear coats to see which one is the most chip resistant. I dont expect the decals to give me troubles. I have my wys for making them stick now. Another thing i noticed is (unlike tamiya) Bandai clearly marks which pars are made of ABS. This is good as it lets me know when to switch adhesives and paint techniques. Most times ABS can be painted on normally but sometimes it can be slightly greasy or smooth feeling and paint wont stick well. I will be taking some liberties on colors for my own personal tastes (gunpod color). But overall will try to go for a screen look for the most part.
-
Well tomorrow should be the day i get the kit. I have all the frontier soundtracks and episodes ready to go and try to keep me motivated
-
Aside from the lighter grey you added it would seem you dont fully paint your kits?
-
Actually this wont be a very fast build. I plan on taking it one little bit at a time. But i will be going for a slightly weathered look for it.
-
Whats Lying on your Workbench MKIII
HWR MKII replied to HWR MKII's topic in Hall Of The Super Topics
Its been handled. It was a misunderstanding. -
You could also use ribbed or corrugated sheet styrene.
-
Bertt is an excellent builder. He may not be the fastest but he produces consistent and quality work
-
I will be starting a build up thread in the model section in about 3 days time. I will also be coverig similar methods. Please follow along. Great work on your 25S. I will give the blog a scan for any trouble spots in the kit construcion. I know the bandai kits fit well and such but theres always an area that makes you go huh?
-
This will be a WIP thread. I just decided to start it early to get some prebuild feedback from those who have also built it. I have yet to see one straight from the ground up build. Usually the model is finished or it has been built then disassembled and then rebuilt.
-
I can see that. I was going to go and edit it earlier to reflect this but hey it was locked.