-
Posts
5633 -
Joined
-
Last visited
Content Type
Profiles
Forums
Events
Gallery
Everything posted by nightmareB4macross
-
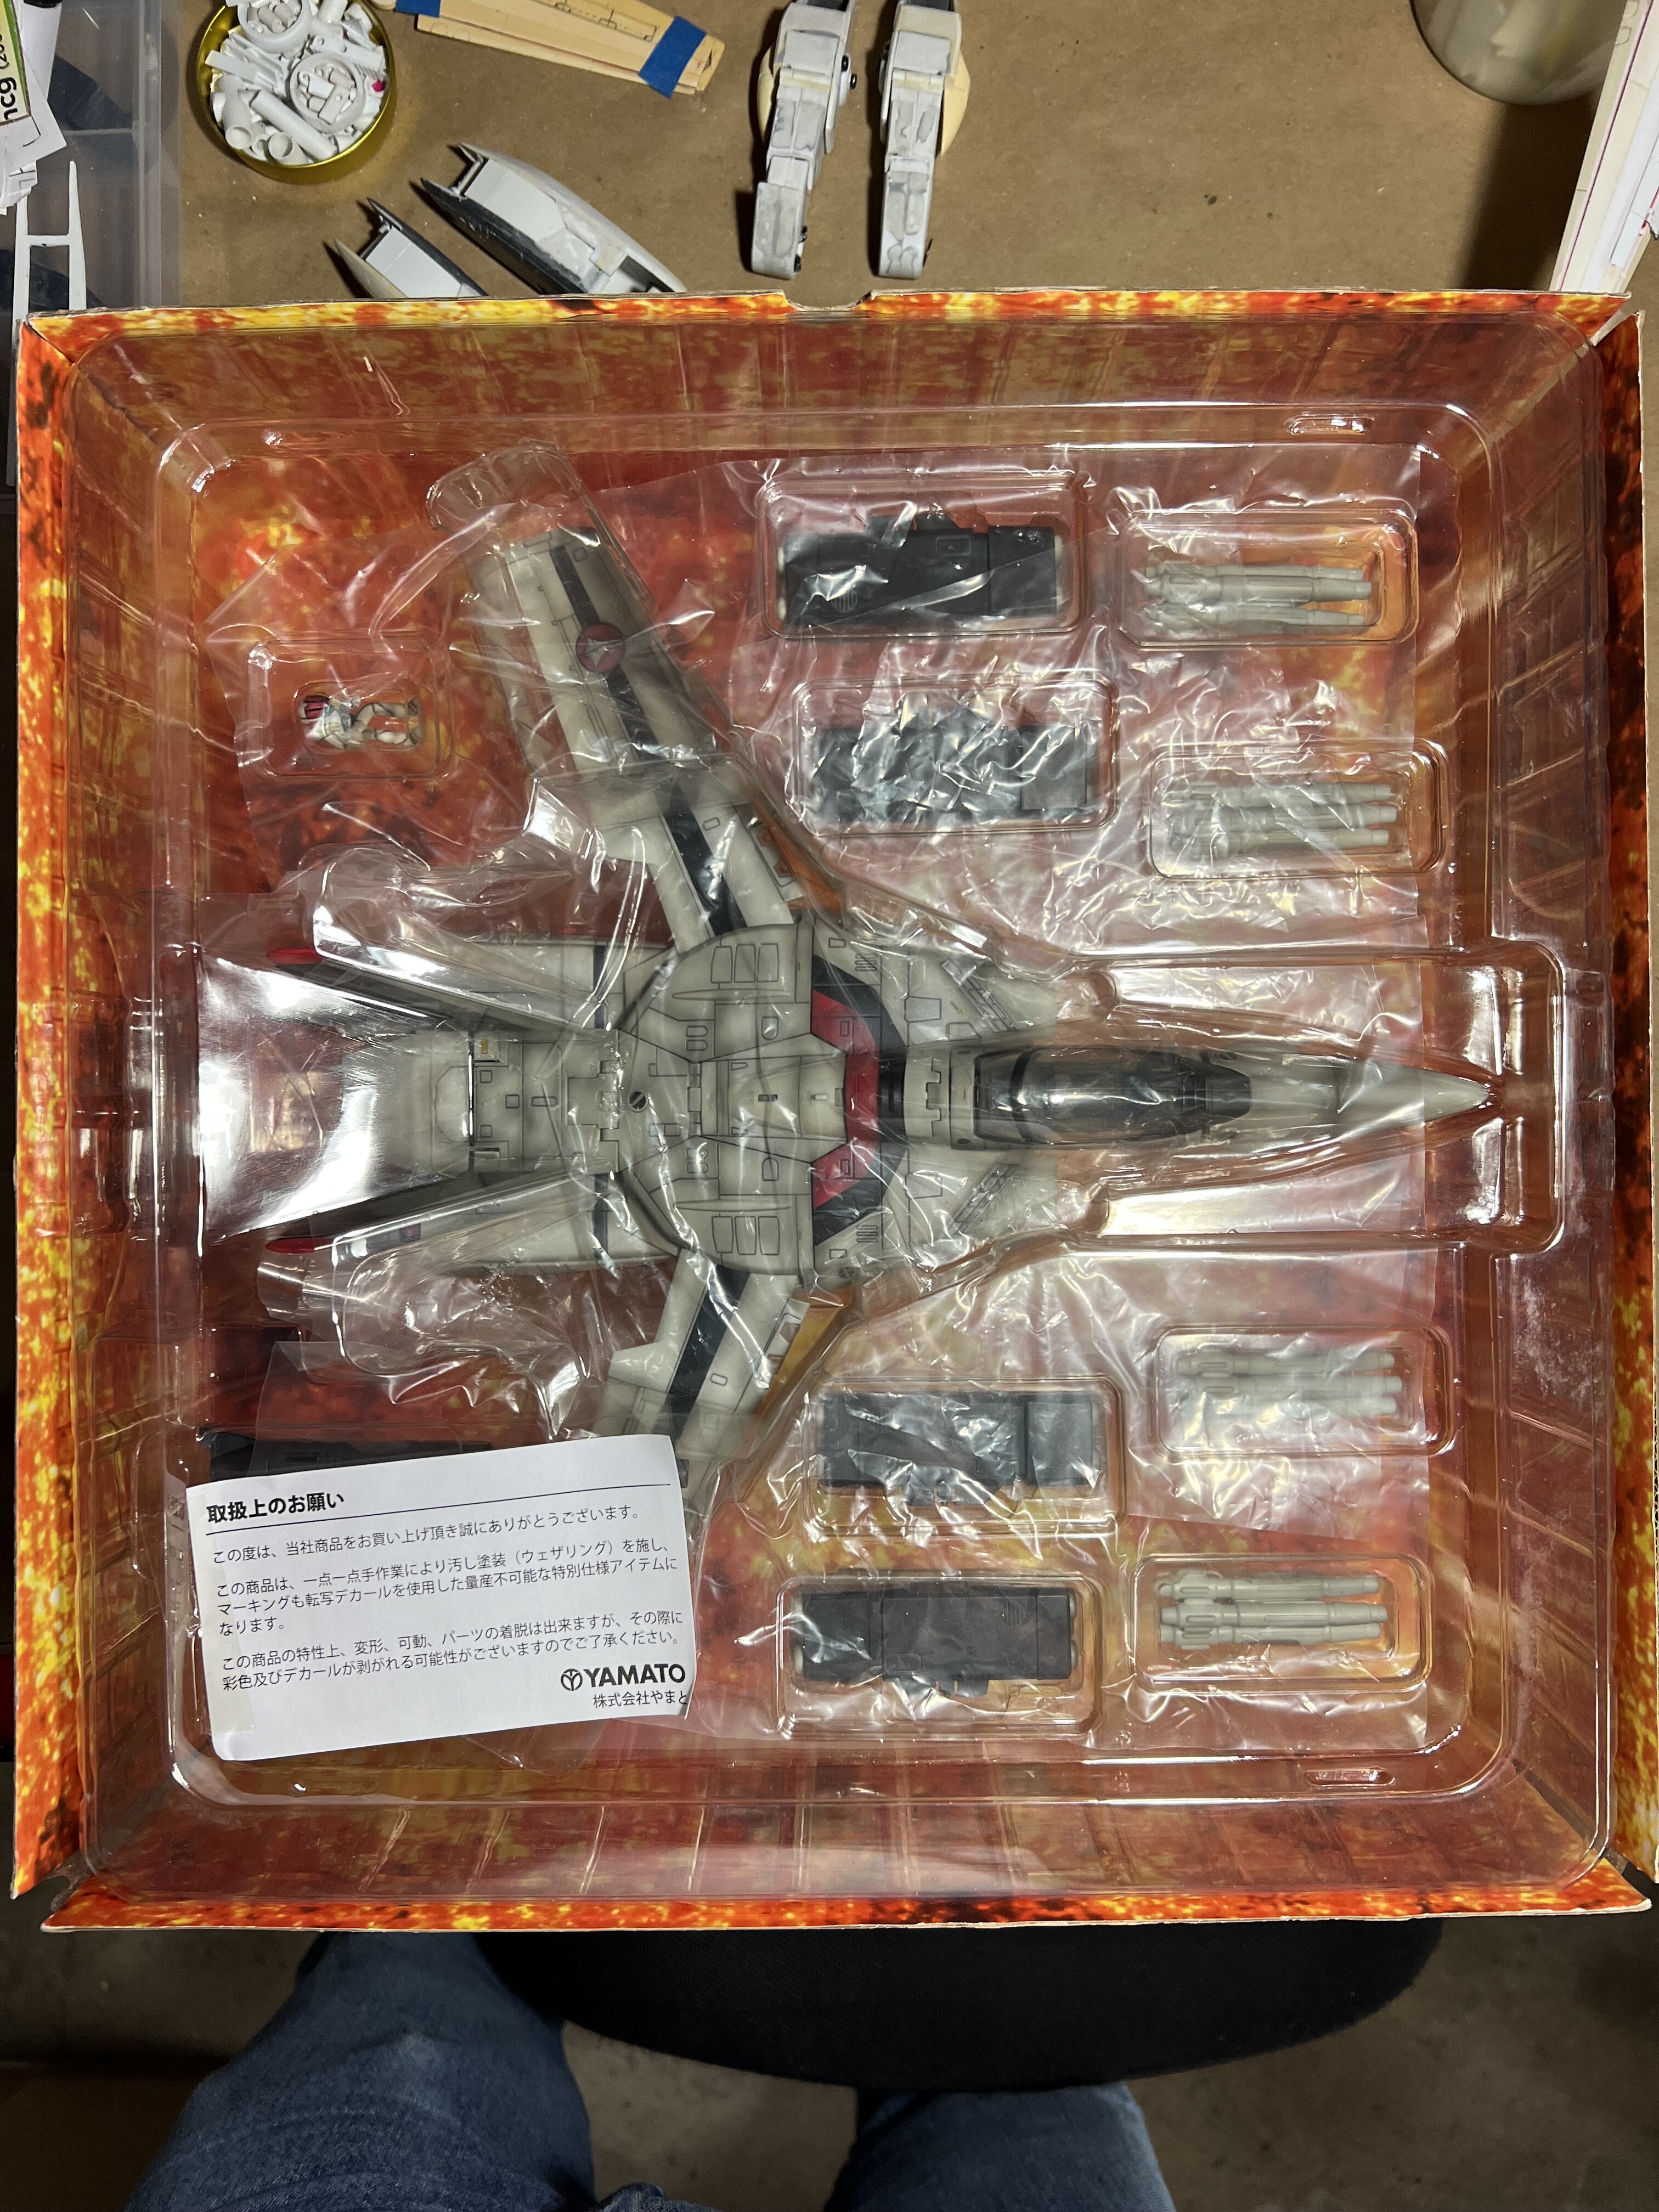
Finally found one for an amazing price. Clean complete and oh so nice. Maybe I’ll find the Strike Pack one day for just as great a deal as this.
- 467 replies
-
- 4
-

-
- toys
- just purchased
- (and 14 more)
-

Unix Square Robotech VF-1J
nightmareB4macross replied to GGemini's topic in Anime or Science Fiction
As much as I like the proportions of the PlaMax, this is nice to have if it is 1/100 since it will be fully painted and assembled. The only gripe I have about this are those weird shoulder joints. Still it looks pretty good. -

Unix Square Robotech VF-1J
nightmareB4macross replied to GGemini's topic in Anime or Science Fiction
New Chunky Monkey? -

Whats Lying on your Workbench MK IV
nightmareB4macross replied to Urashiman's topic in The Workshop!
-

Whats Lying on your Workbench MK IV
nightmareB4macross replied to Urashiman's topic in The Workshop!
-

Whats Lying on your Workbench MK IV
nightmareB4macross replied to Urashiman's topic in The Workshop!
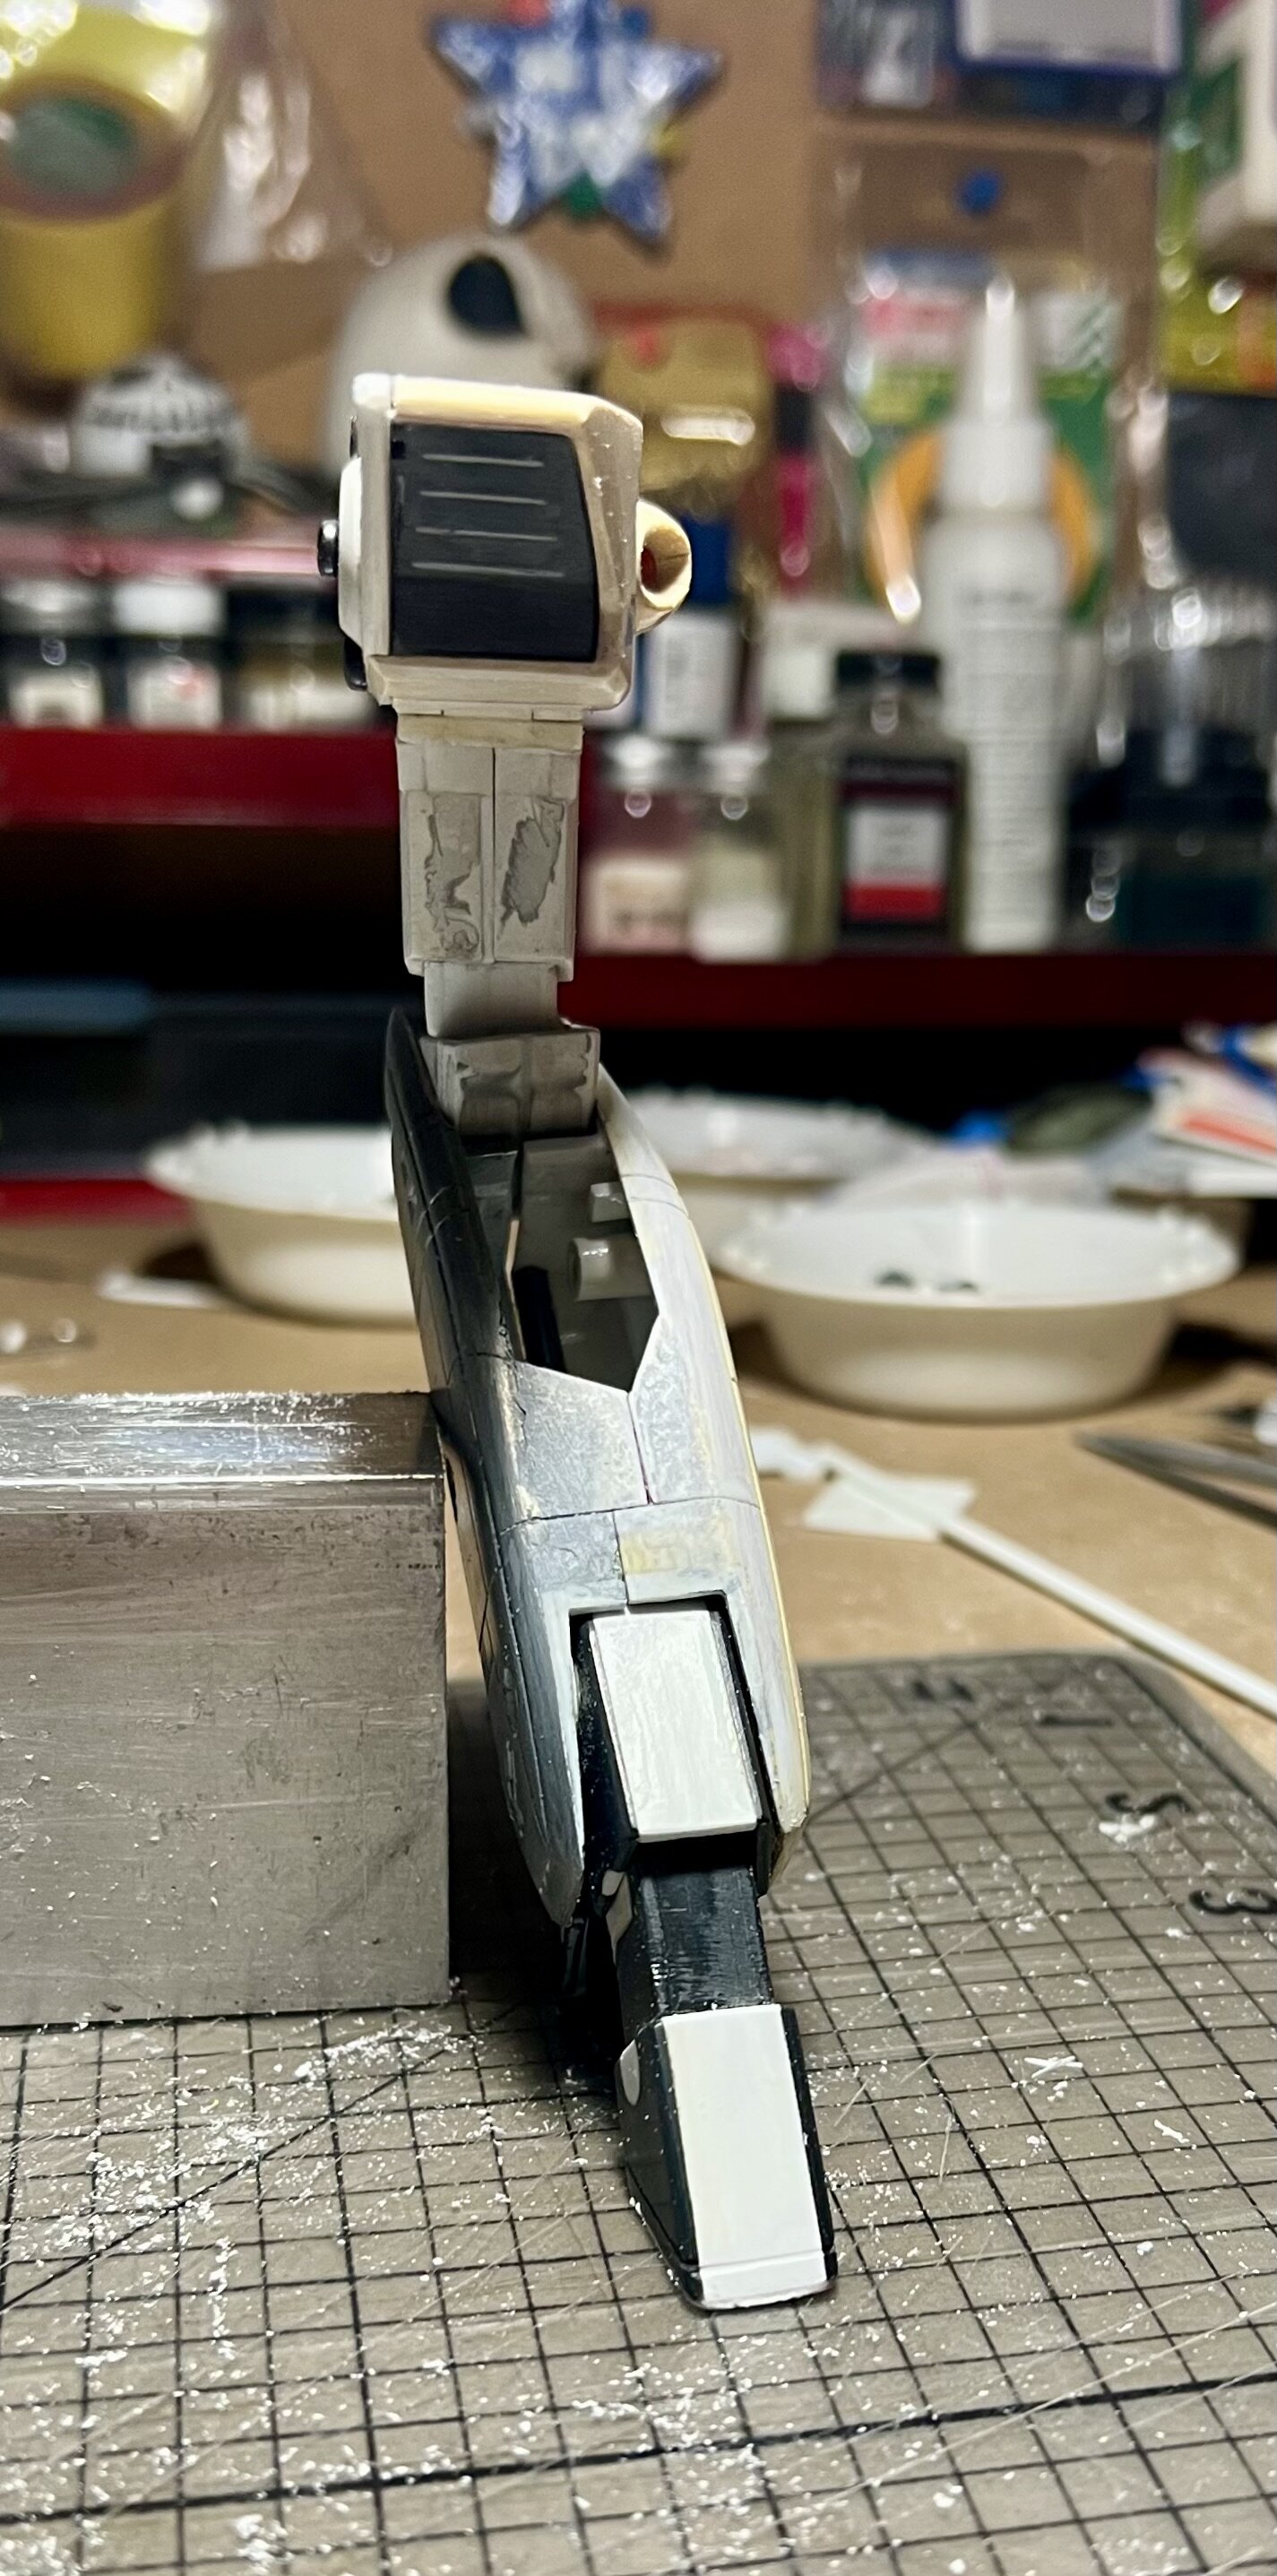
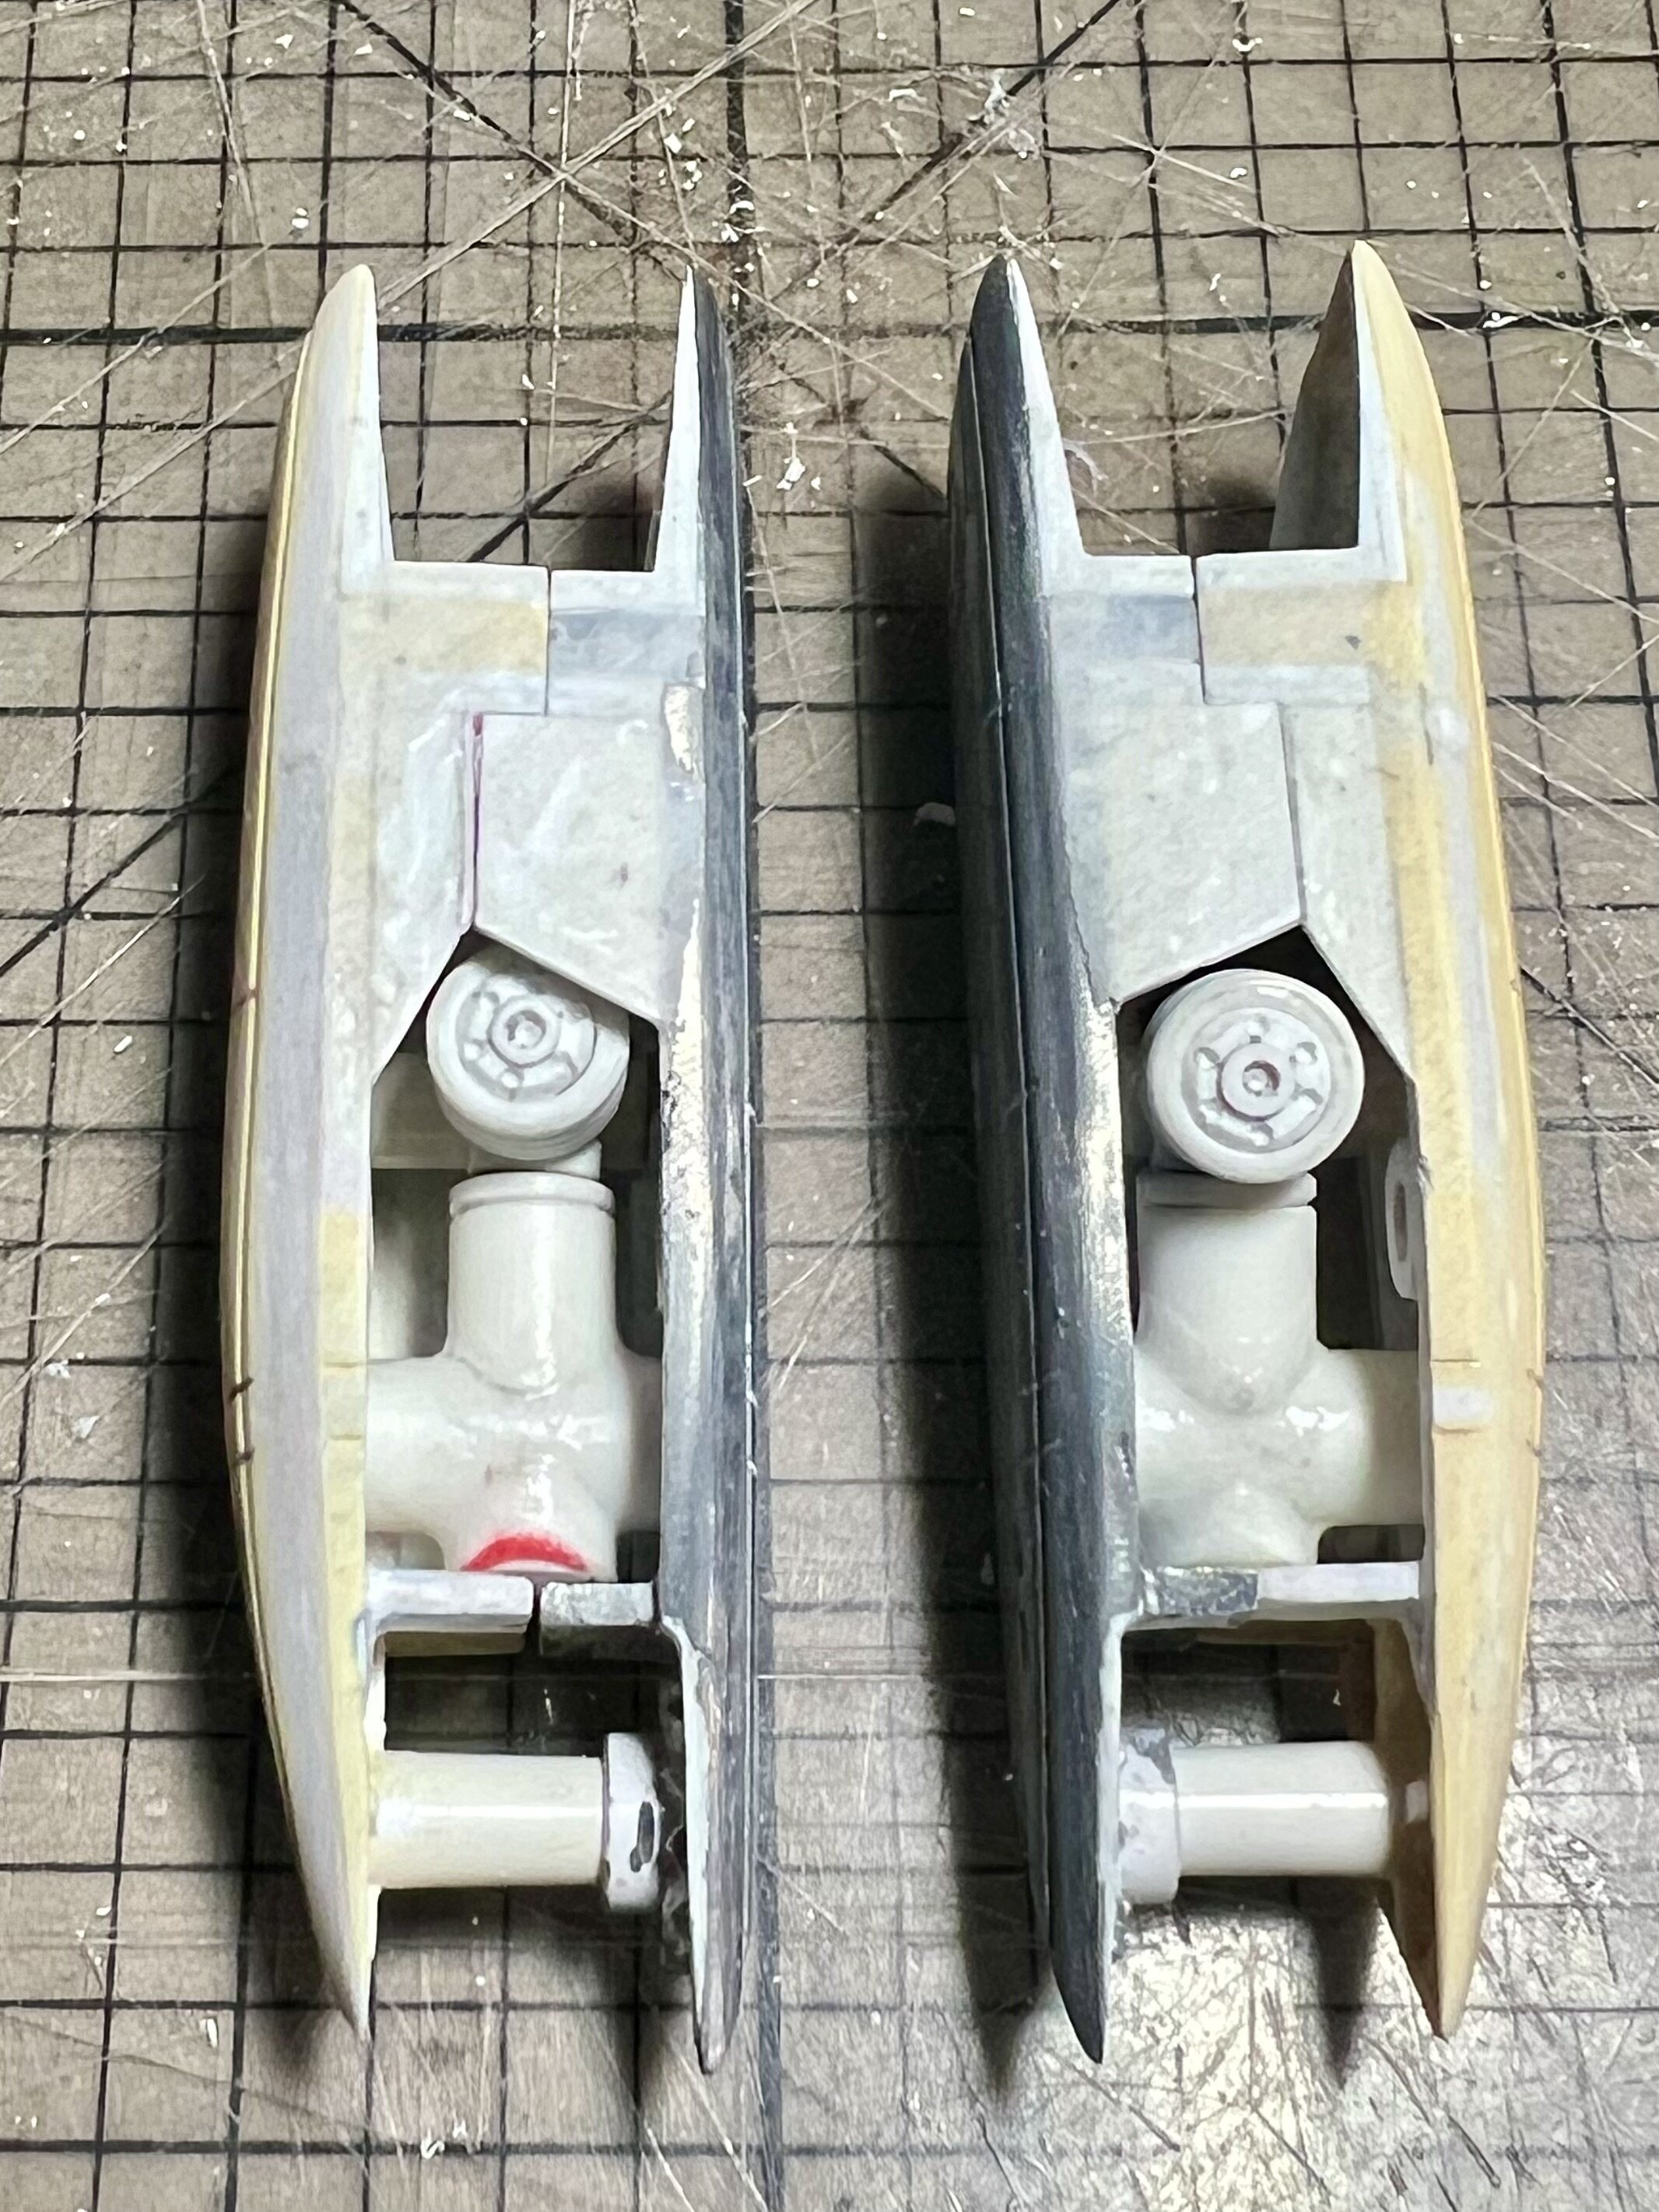
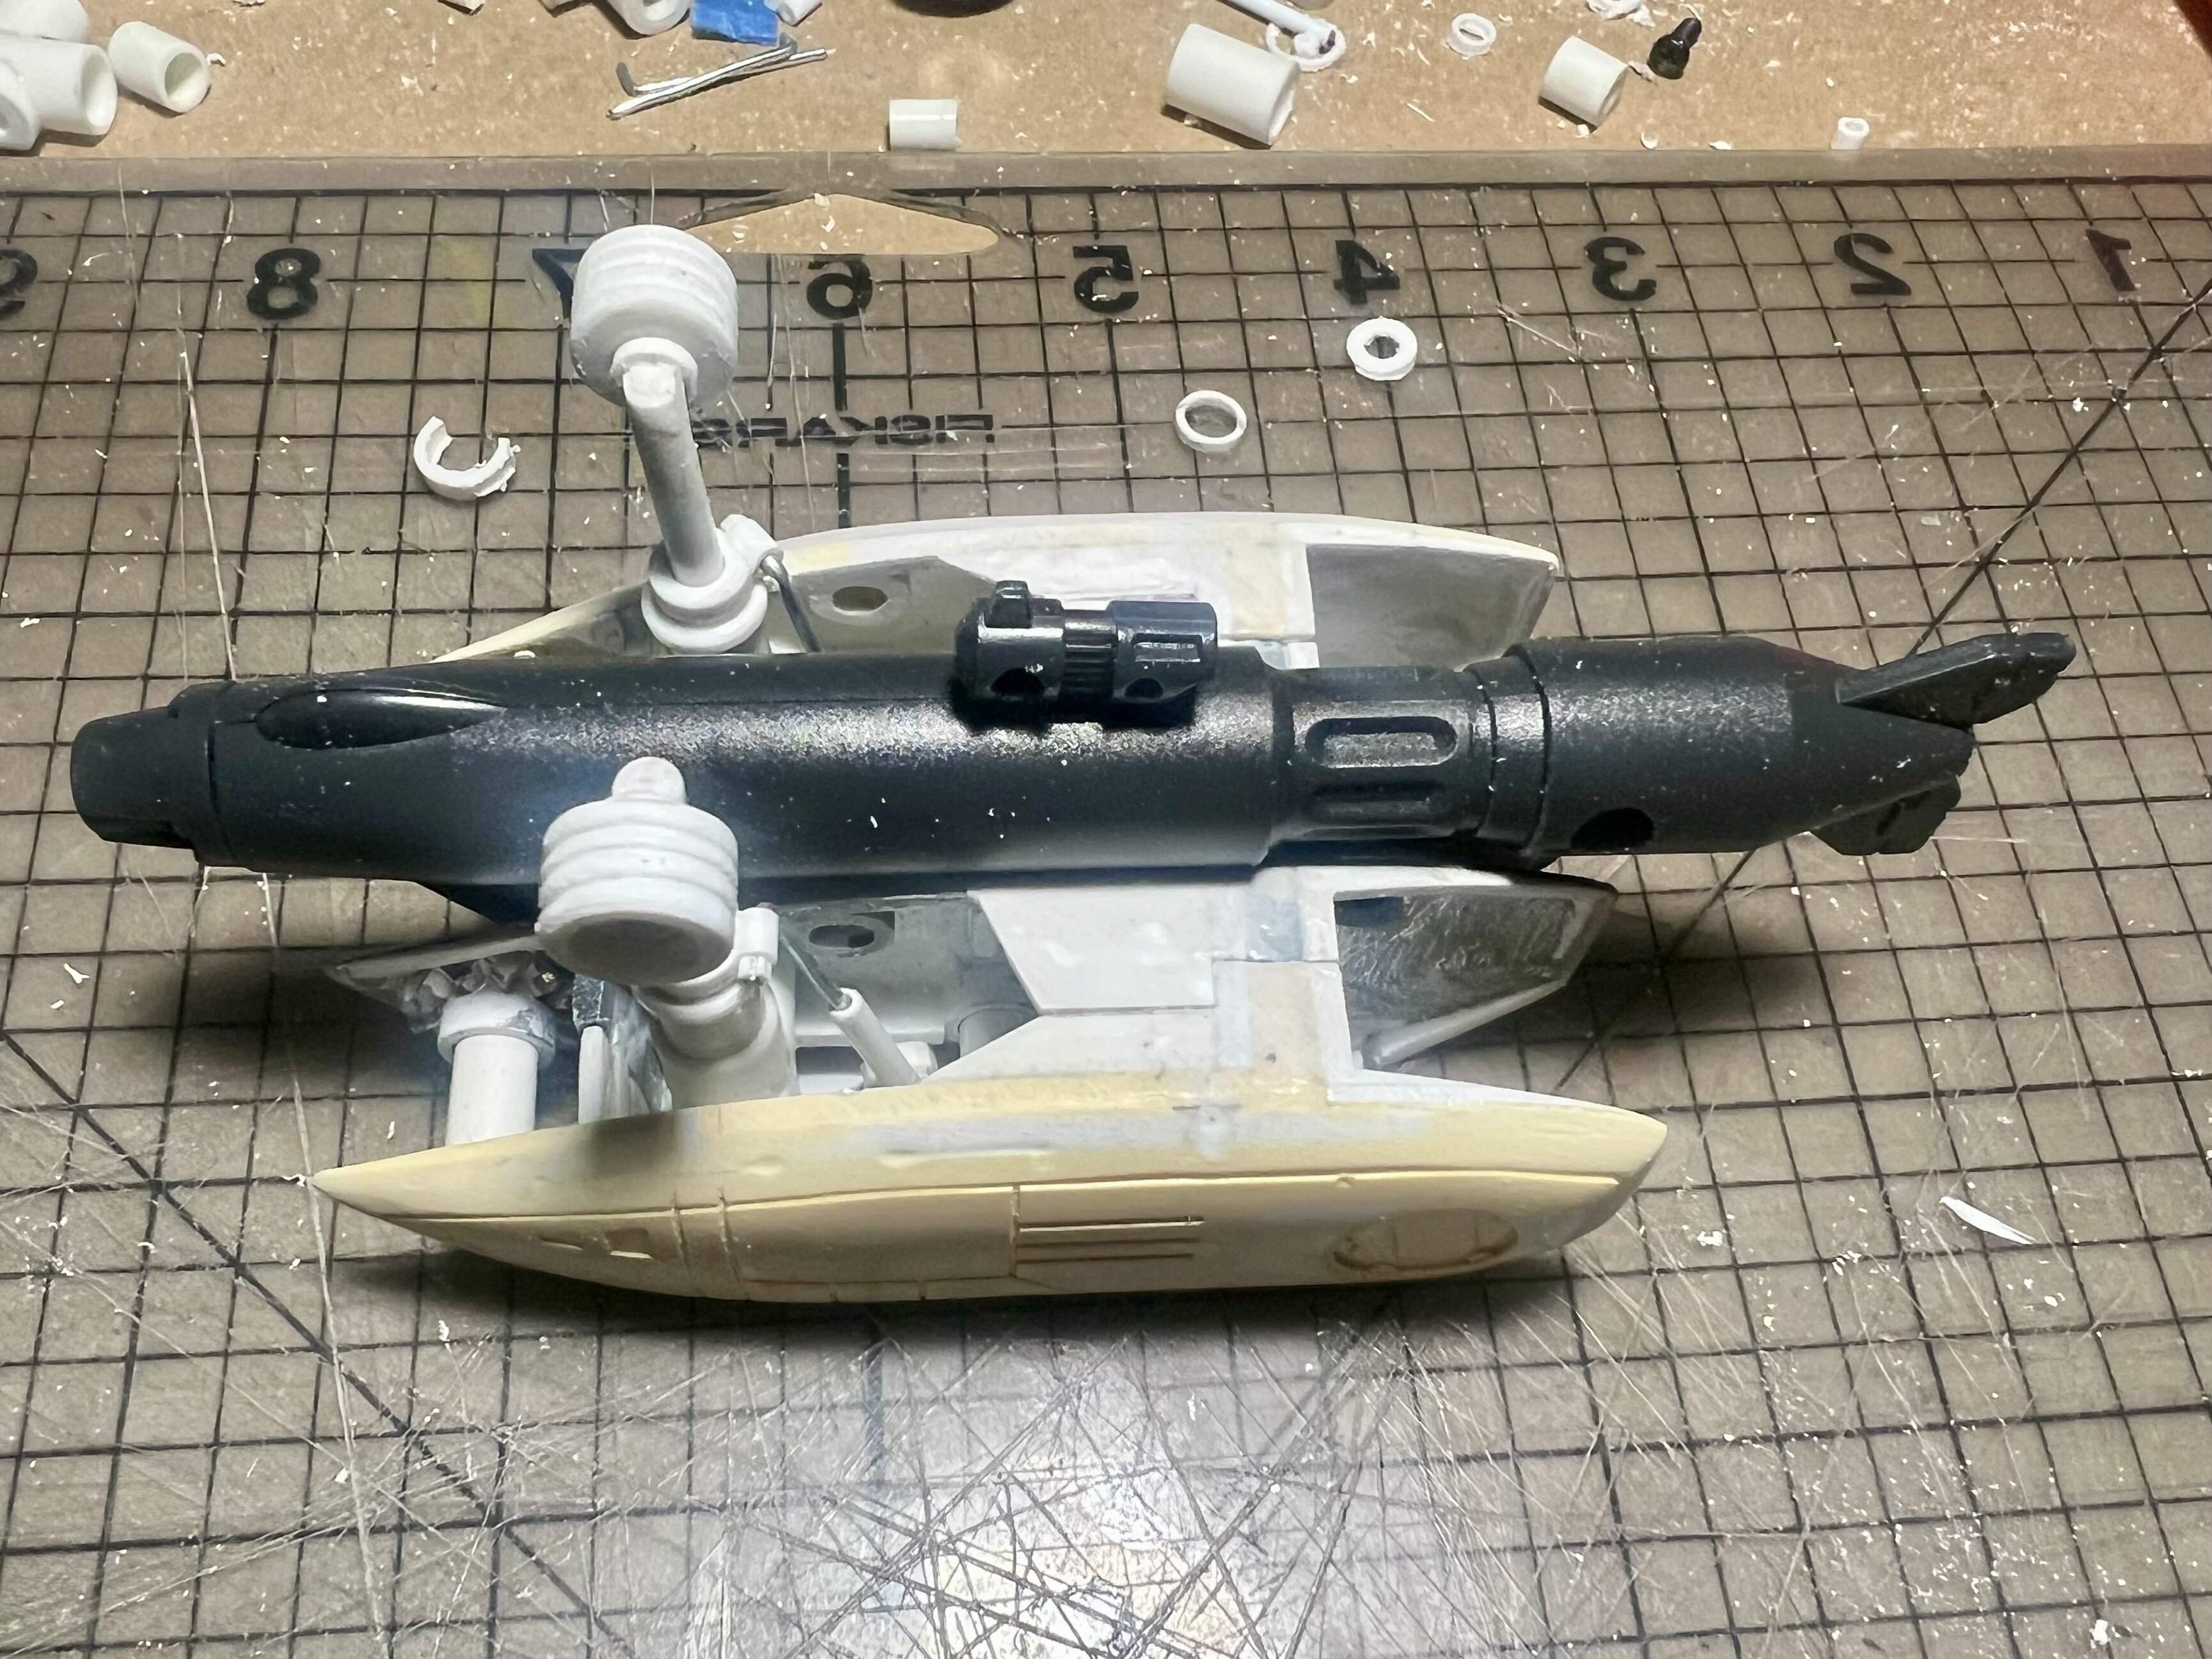
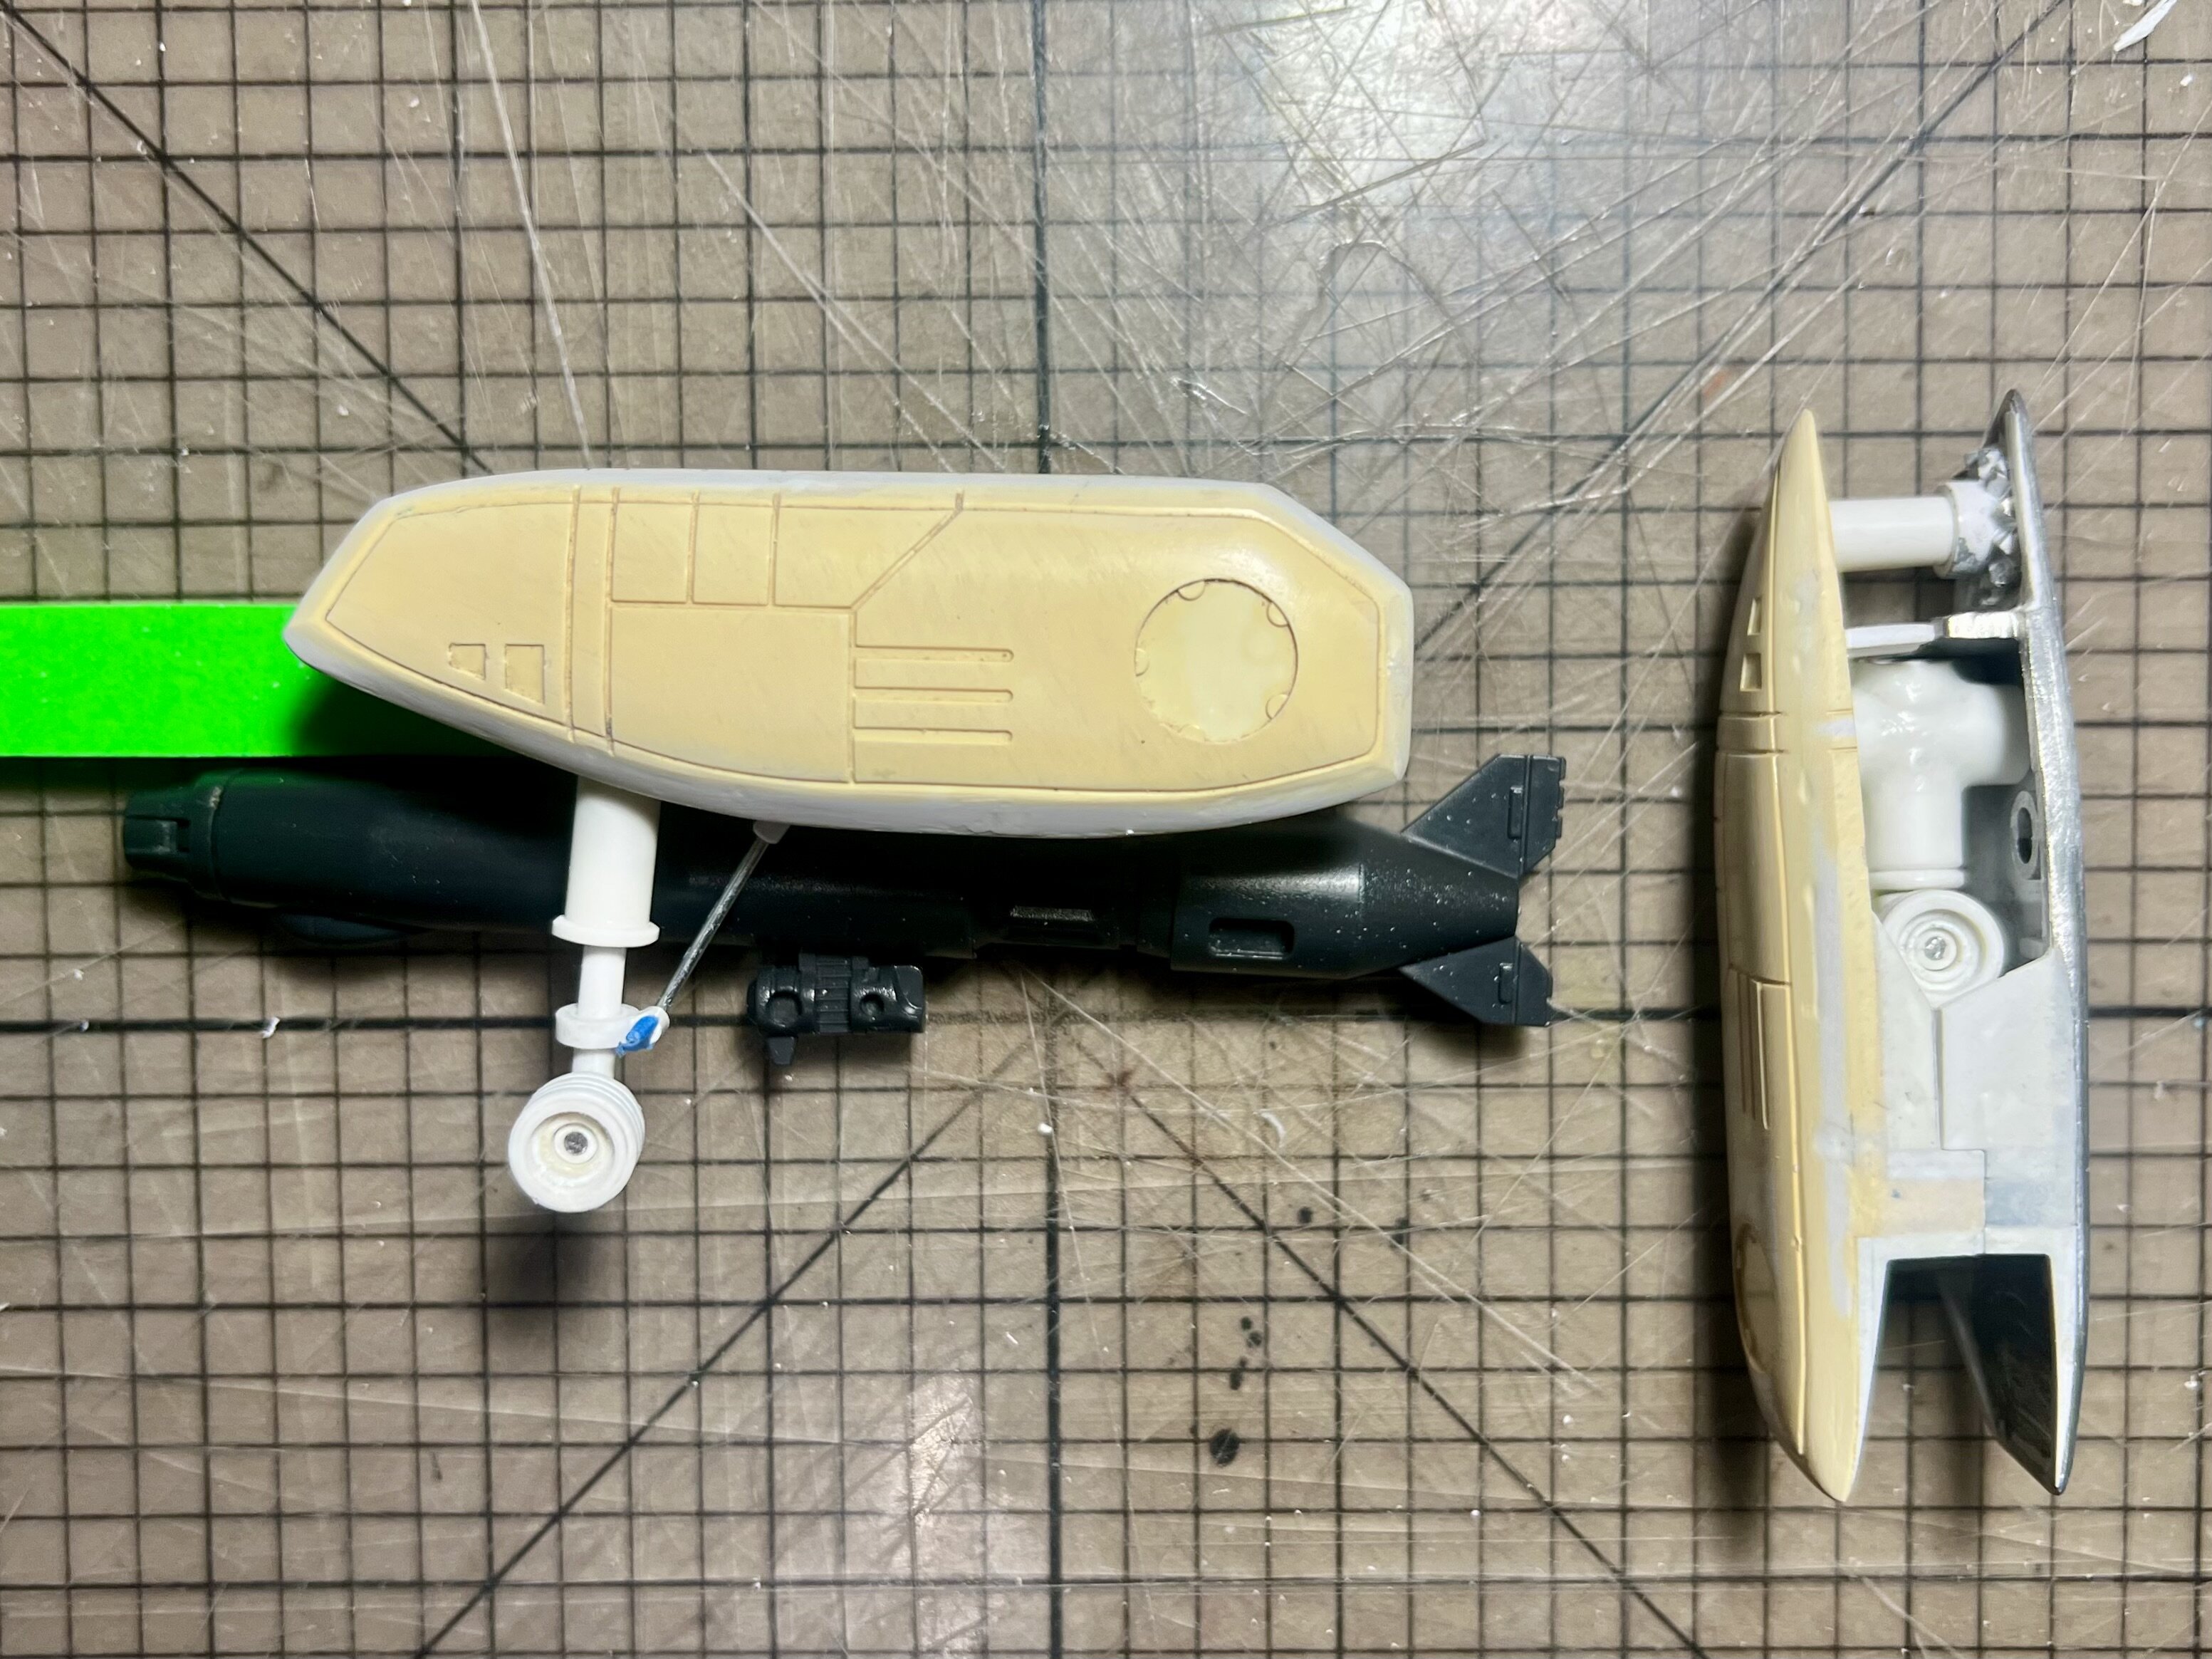
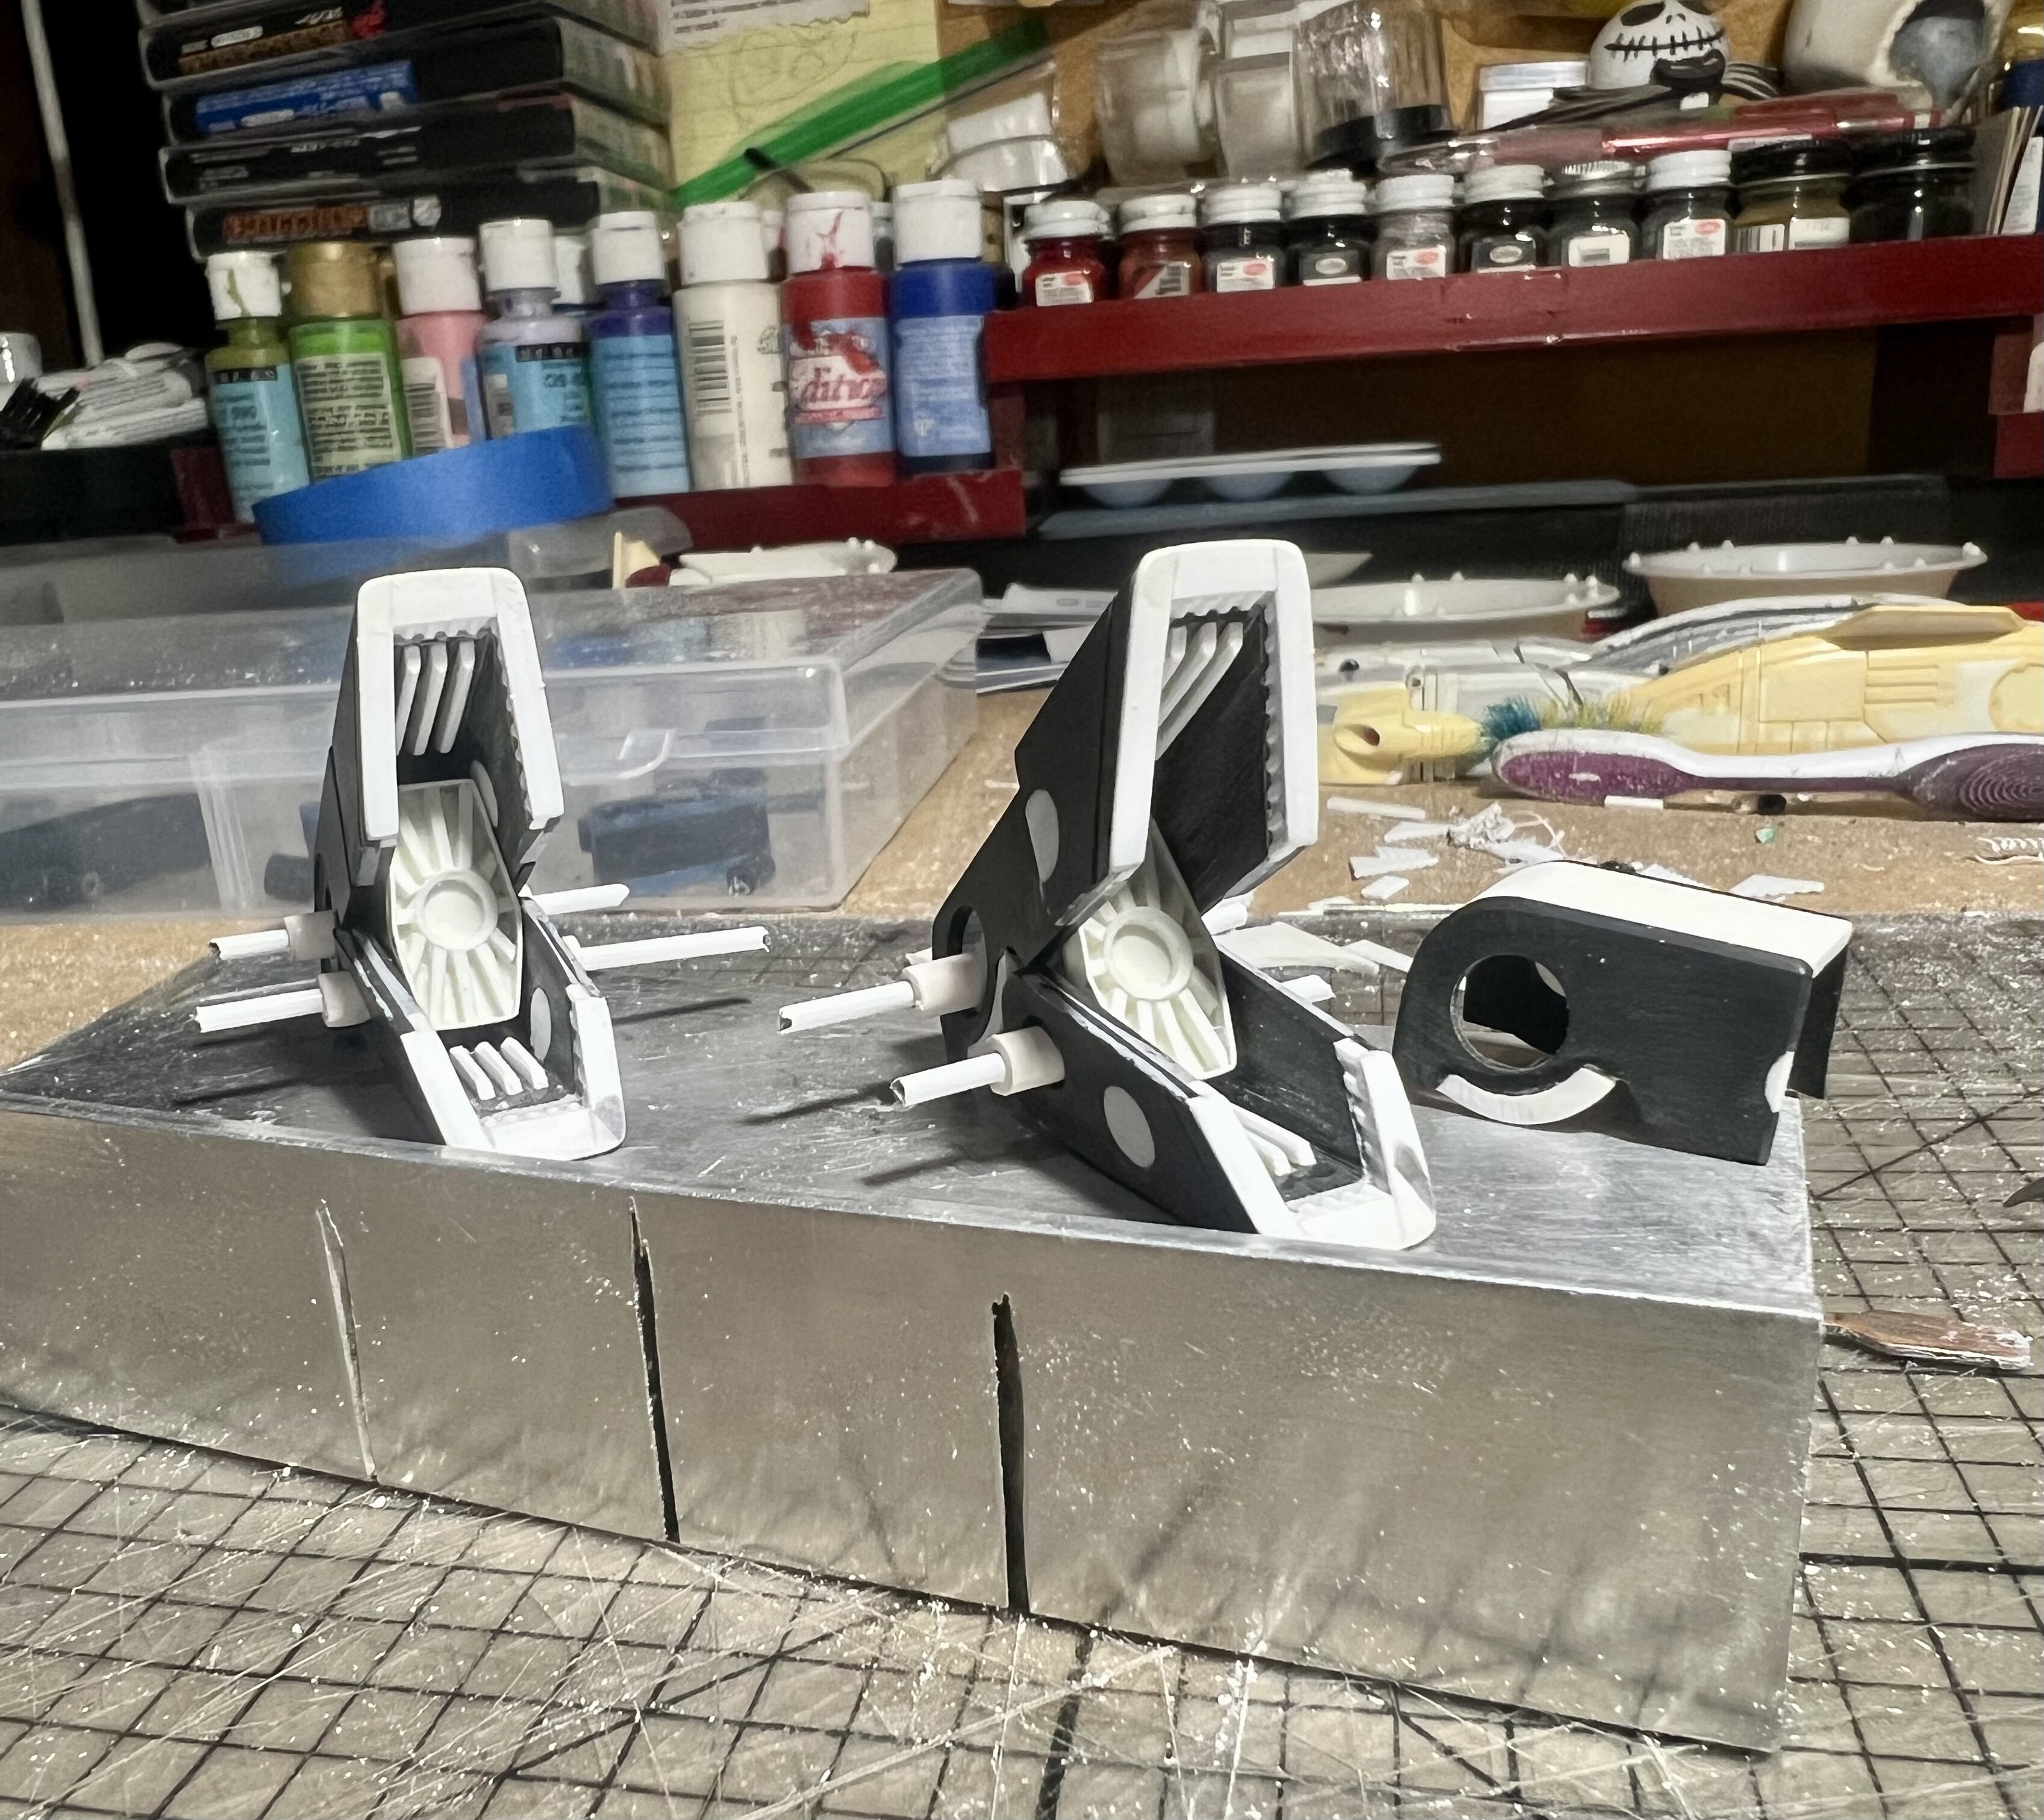
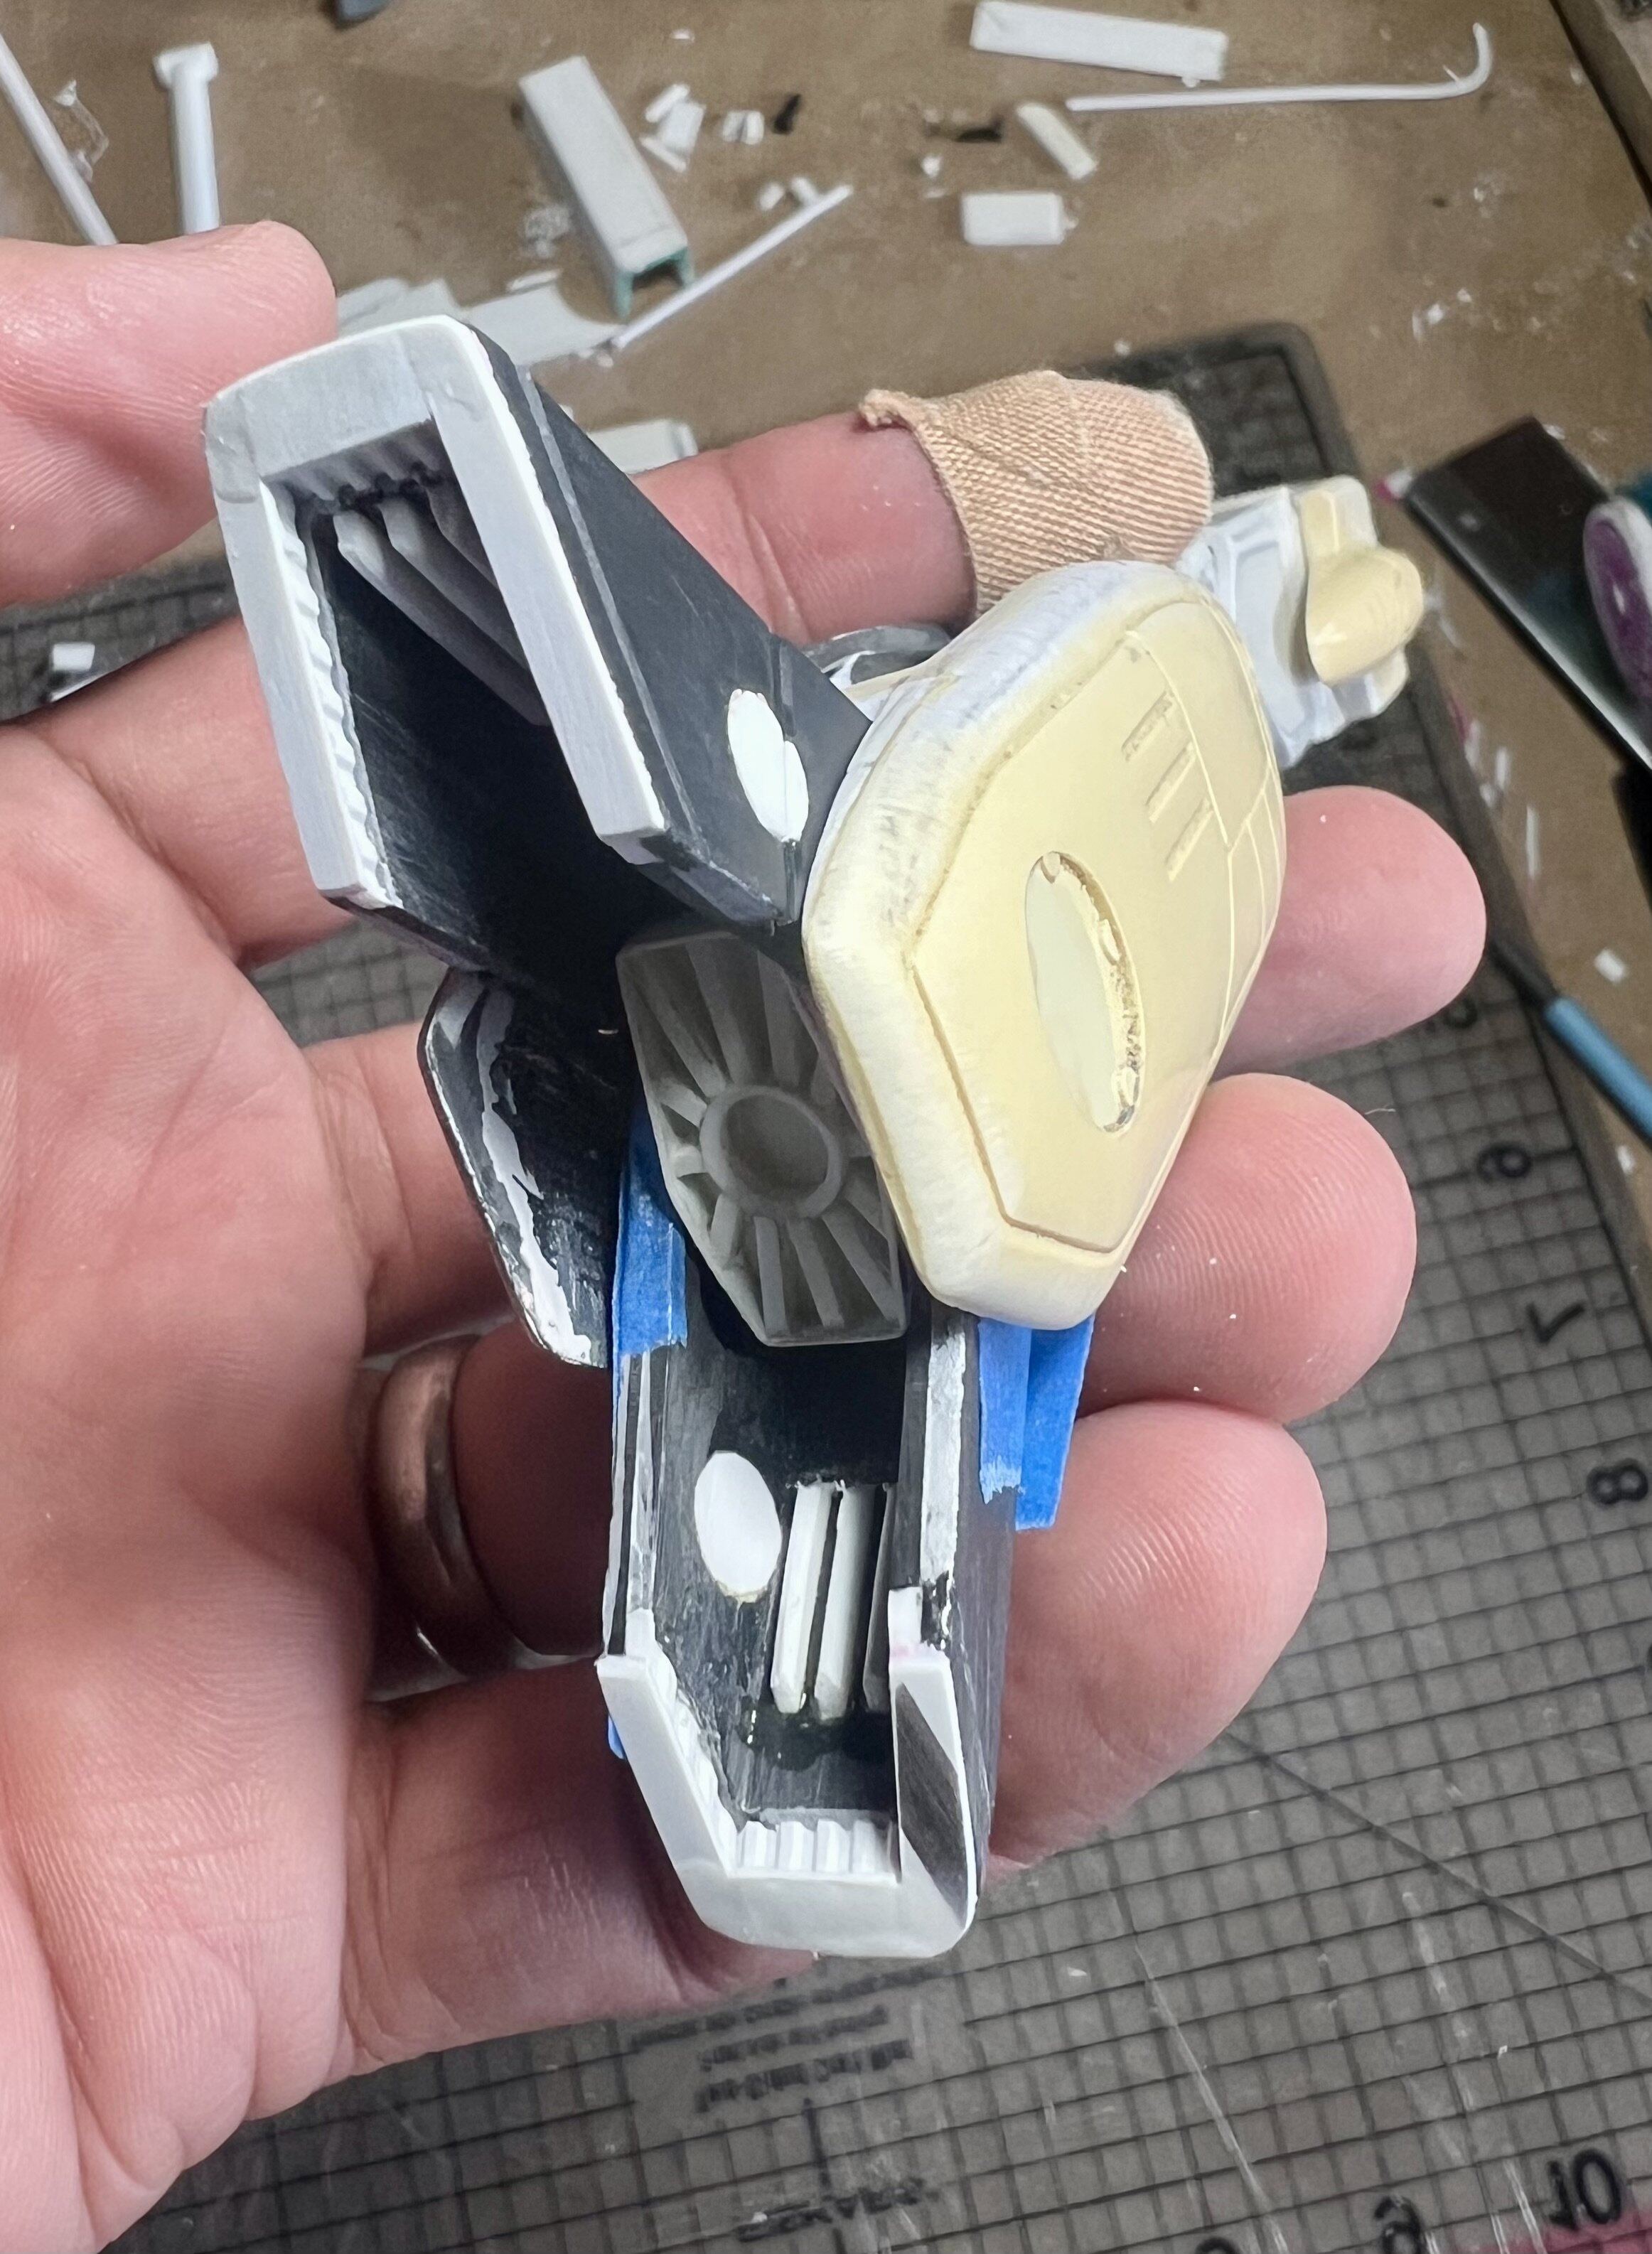
You guys are doing some amazing work!! The level of detailing and paint throughout all these projects is truly inspiring. Thank you all for that. I’ll just keep on trudging away with my little ol’ custom. These landing gear bays are getting cramped. -

Old - But New to Me - Zentradi Battle Ships!
nightmareB4macross replied to Thom's topic in Model kits
Wow, those old Arii kits sure bring back some good memories. Those will be a fun build. That resin recast from e2046 is an amazingly detailed flagship. Once complete details really pop out. Post pictures when you’re done. Here is a little inspiration and part of my list of kits to complete. -

Whats Lying on your Workbench MK IV
nightmareB4macross replied to Urashiman's topic in The Workshop!
-

Best way to remove dust stains from white plastic figures?
nightmareB4macross replied to CK74's topic in Toys
Post a picture. it might just be residue. If you want to clean it well use a clothe dampened with warm water and dish soap. Not need to rub it in. The warm water and soap should lift off the grey. -
Looking forward to all your pics and findings.
-

Whats Lying on your Workbench MK IV
nightmareB4macross replied to Urashiman's topic in The Workshop!
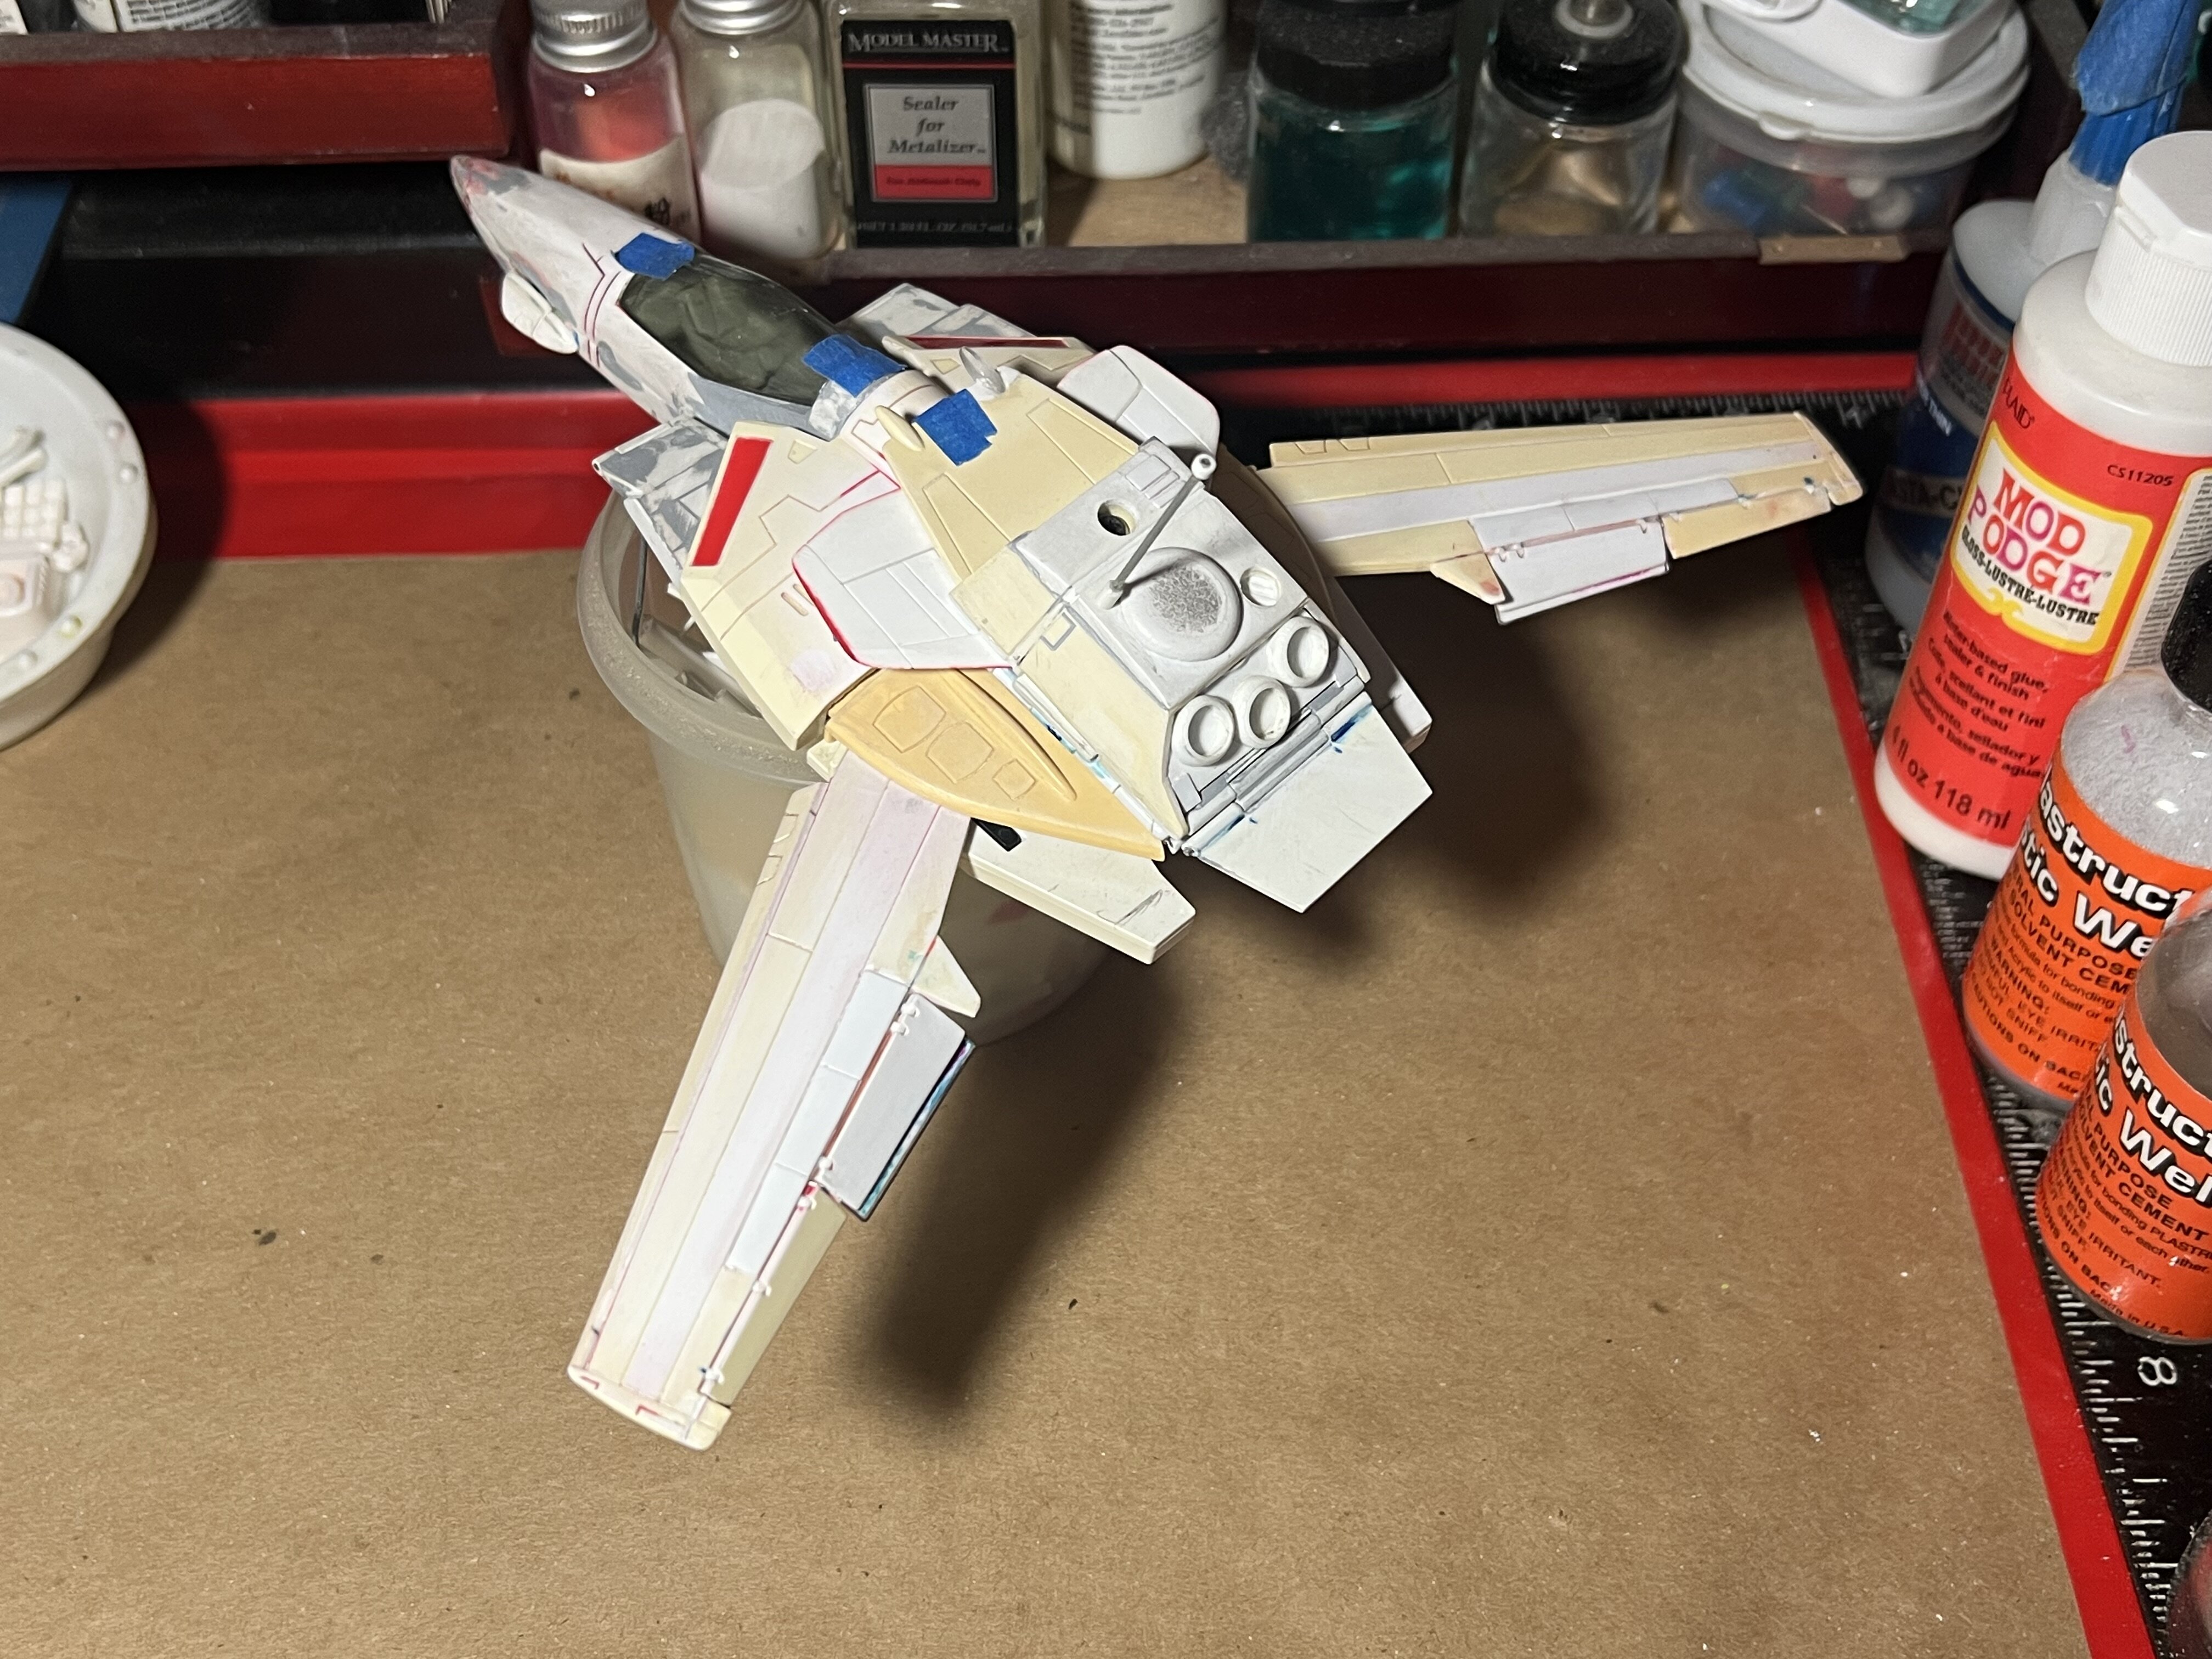
Have to keep checking that everything fits nice and proper before finalizing parts and beginning the primer phase. -

Whats Lying on your Workbench MK IV
nightmareB4macross replied to Urashiman's topic in The Workshop!
-

Whats Lying on your Workbench MK IV
nightmareB4macross replied to Urashiman's topic in The Workshop!
-

Whats Lying on your Workbench MK IV
nightmareB4macross replied to Urashiman's topic in The Workshop!
Thank you. I have a stash of K&S goods and the thought was to build this with metal. The innards have metal embedded for strength. I wanted to use this method to allow the paint to really grab onto something since there will be some movement. Also it gives a robust landing gear that fits well with this build. -

Whats Lying on your Workbench MK IV
nightmareB4macross replied to Urashiman's topic in The Workshop!
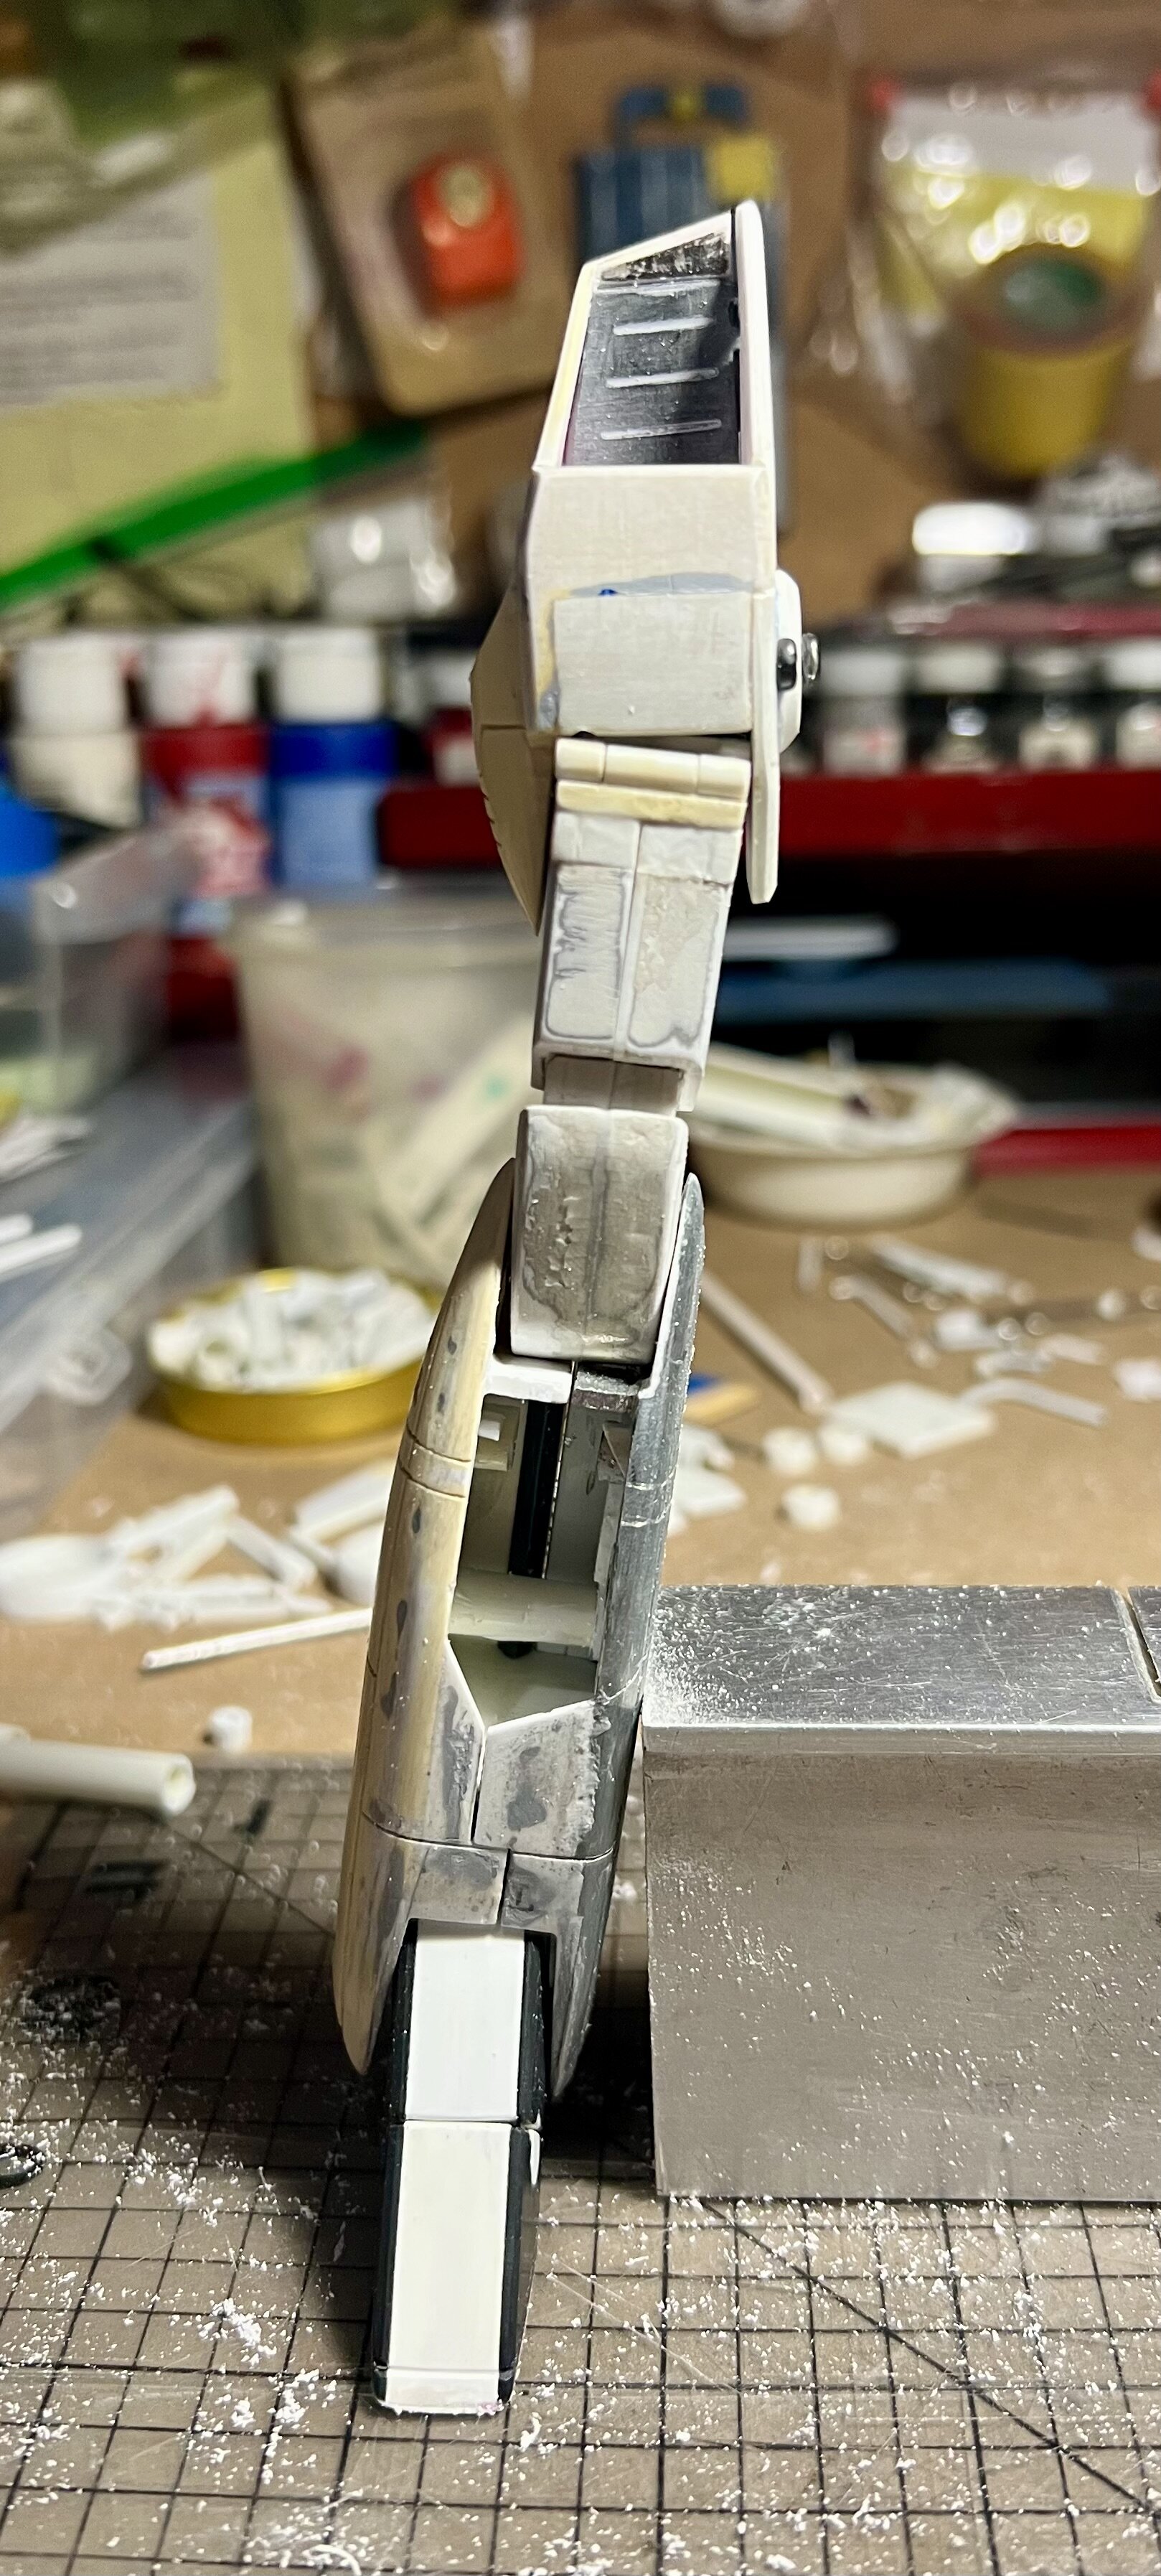
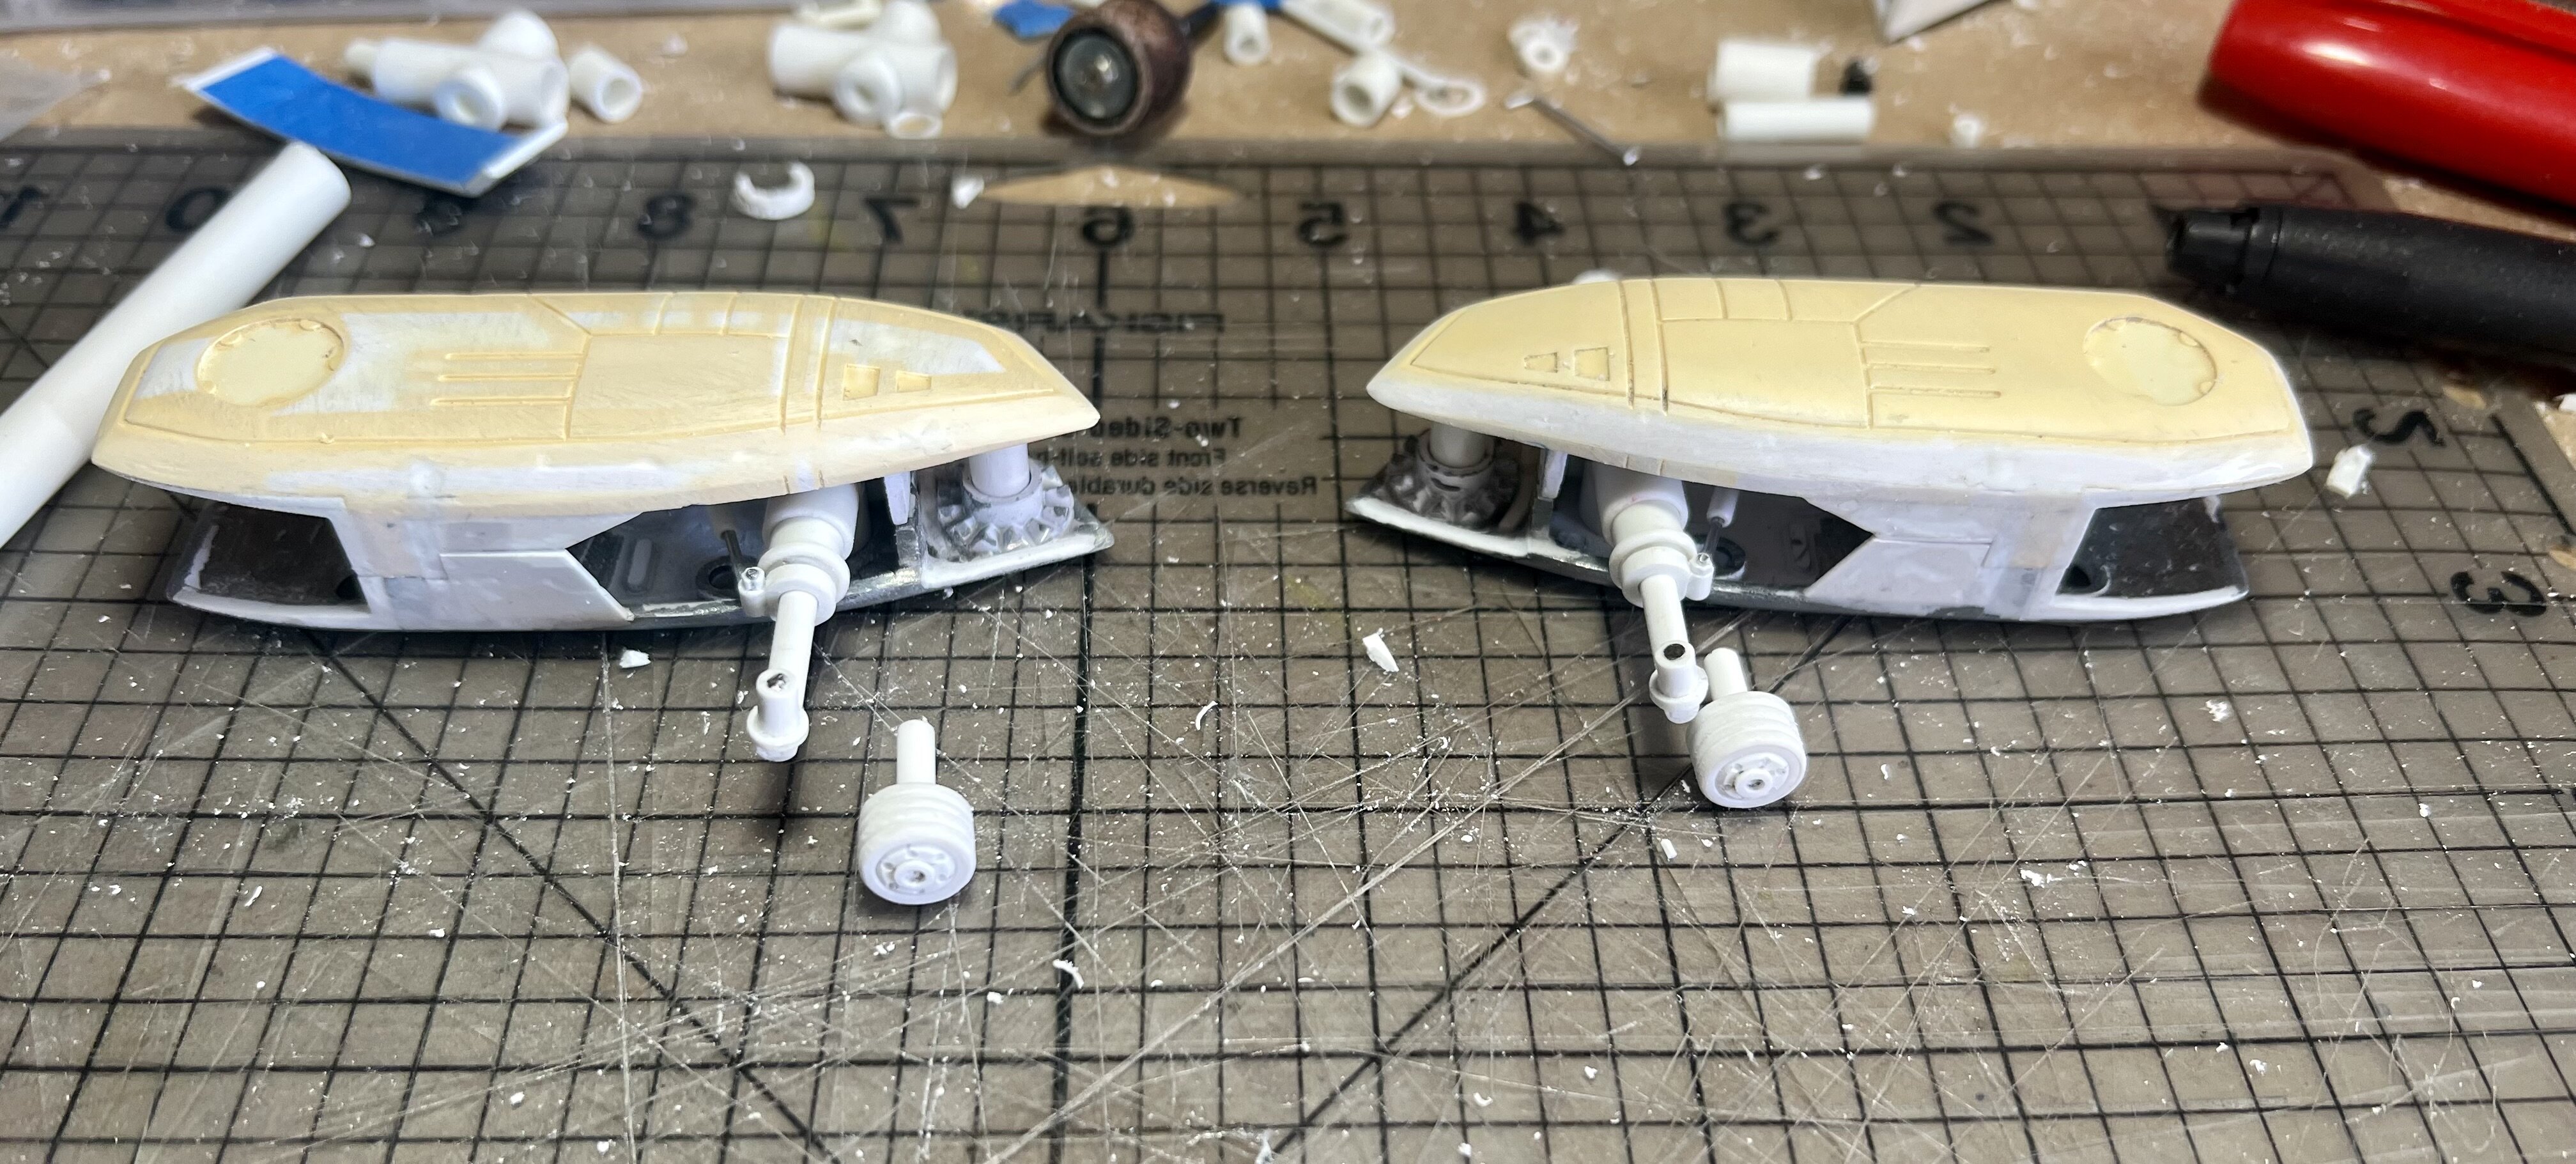
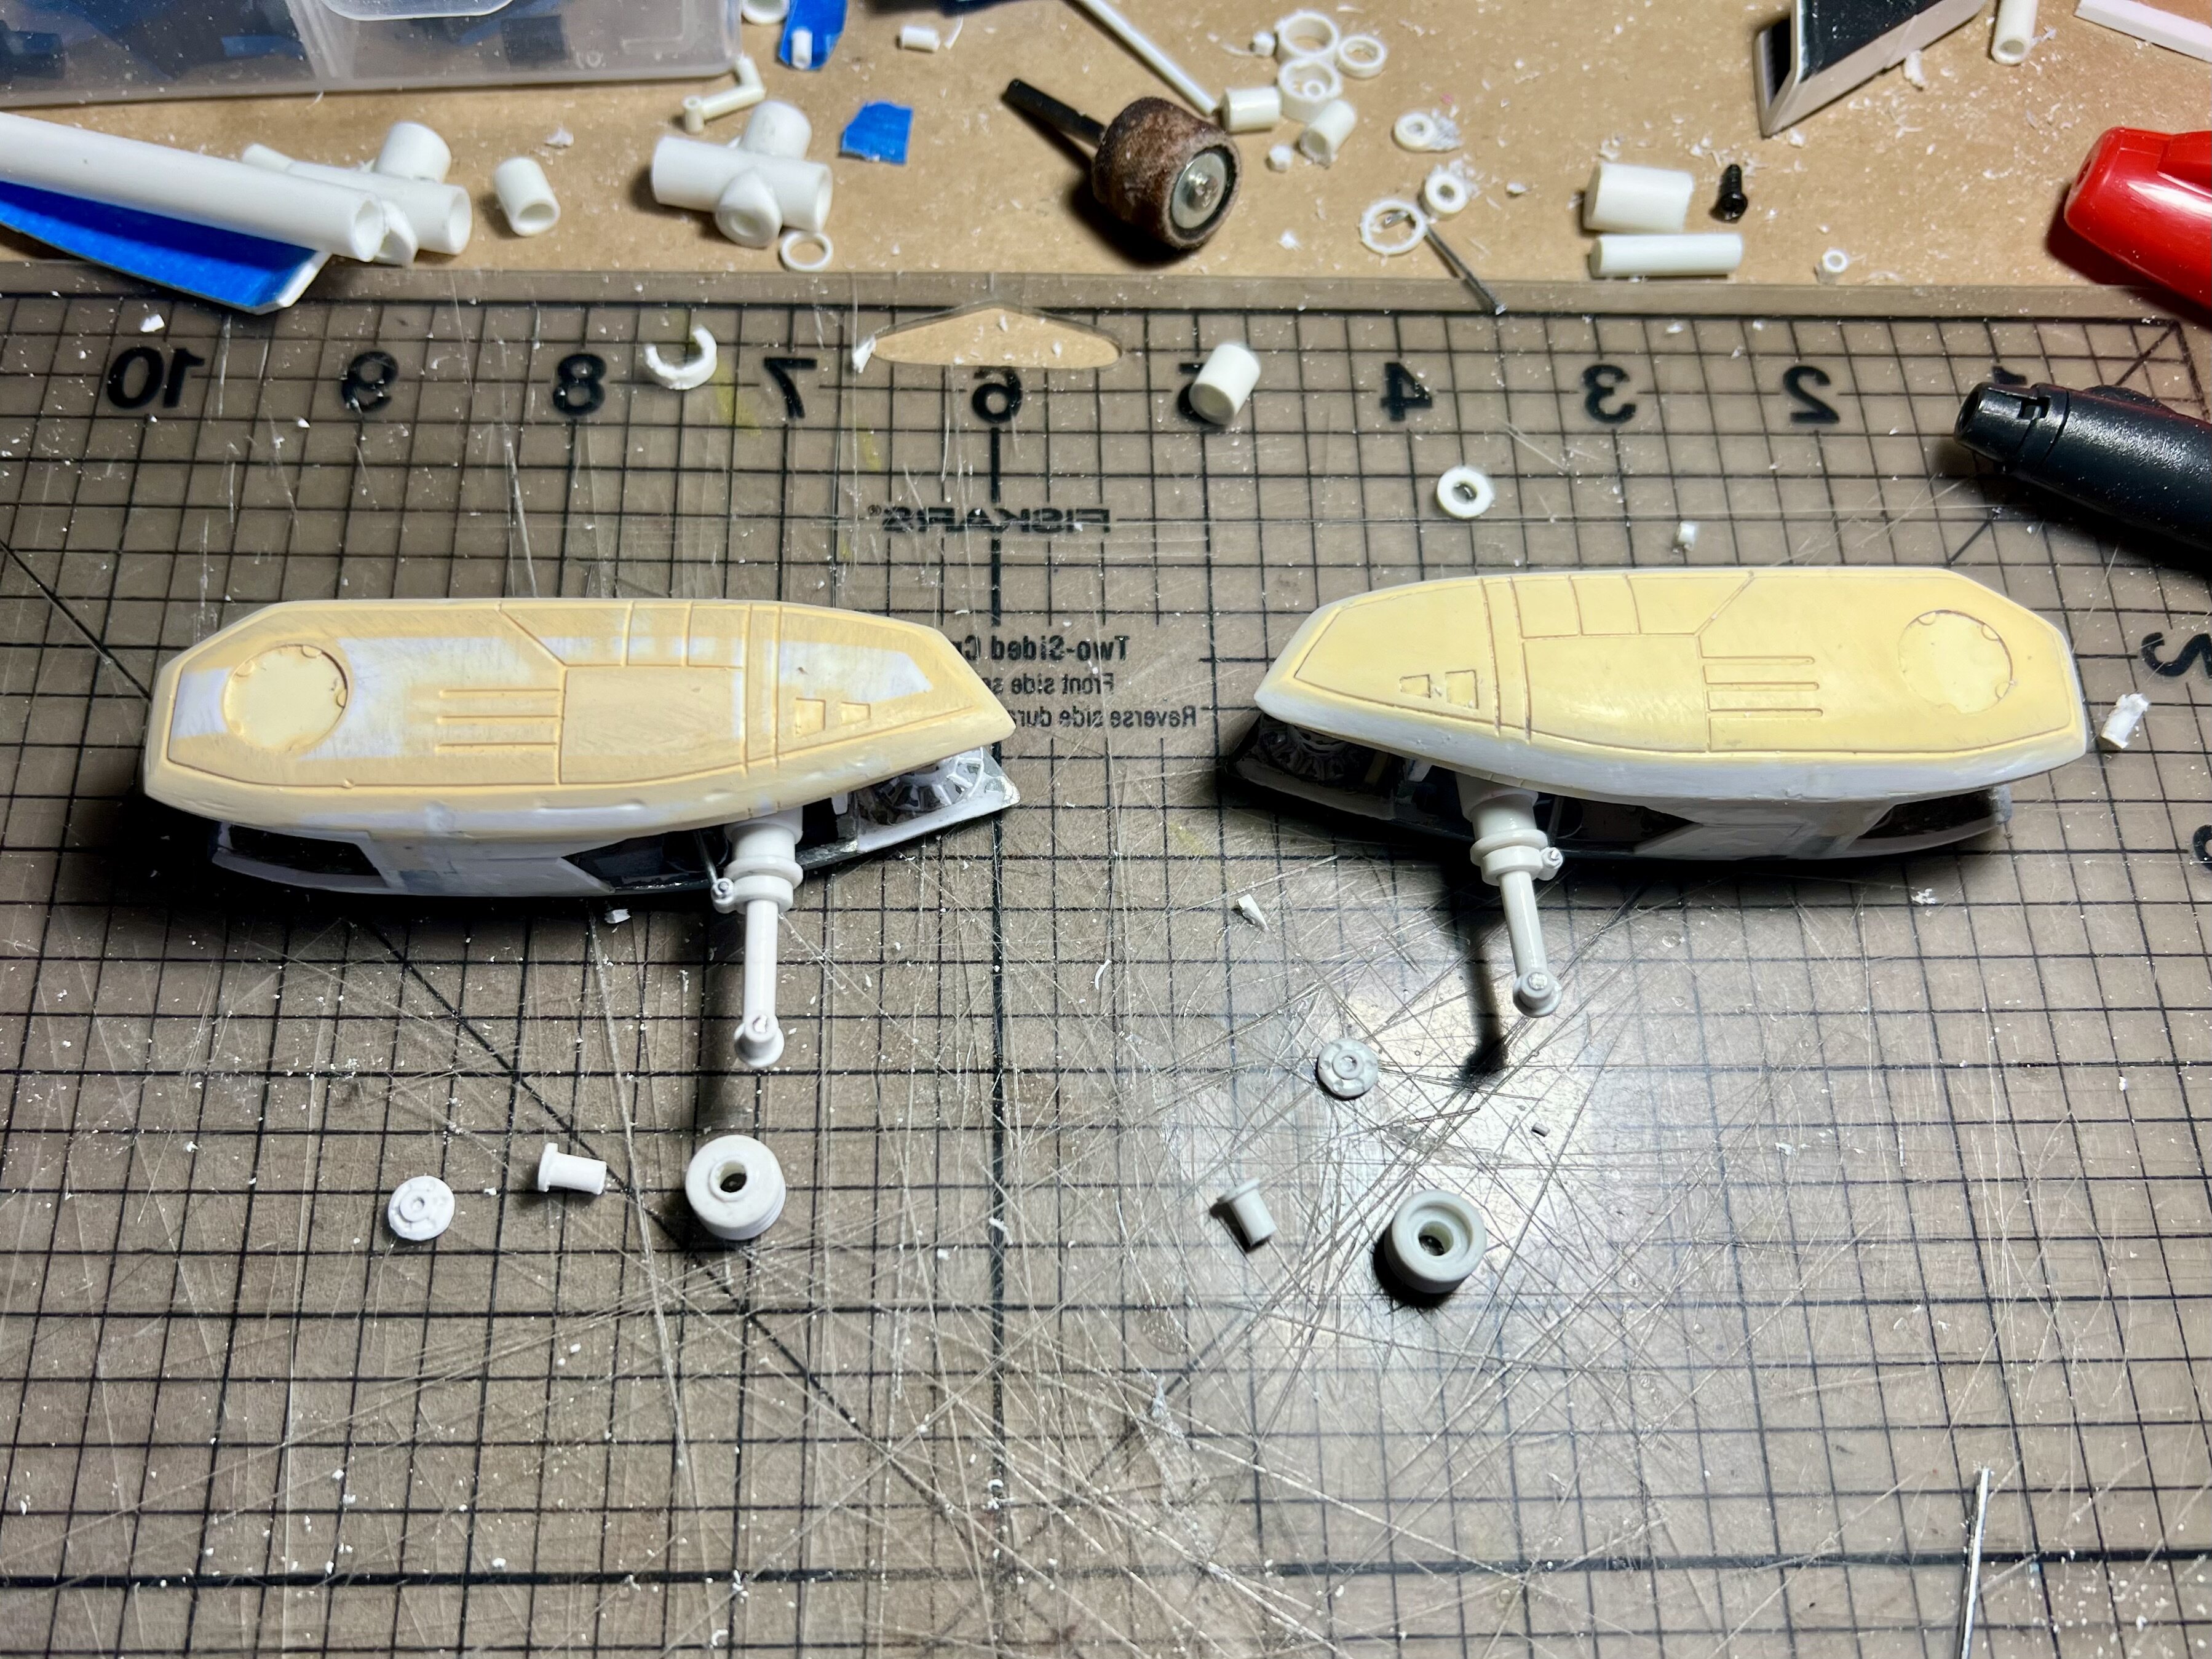
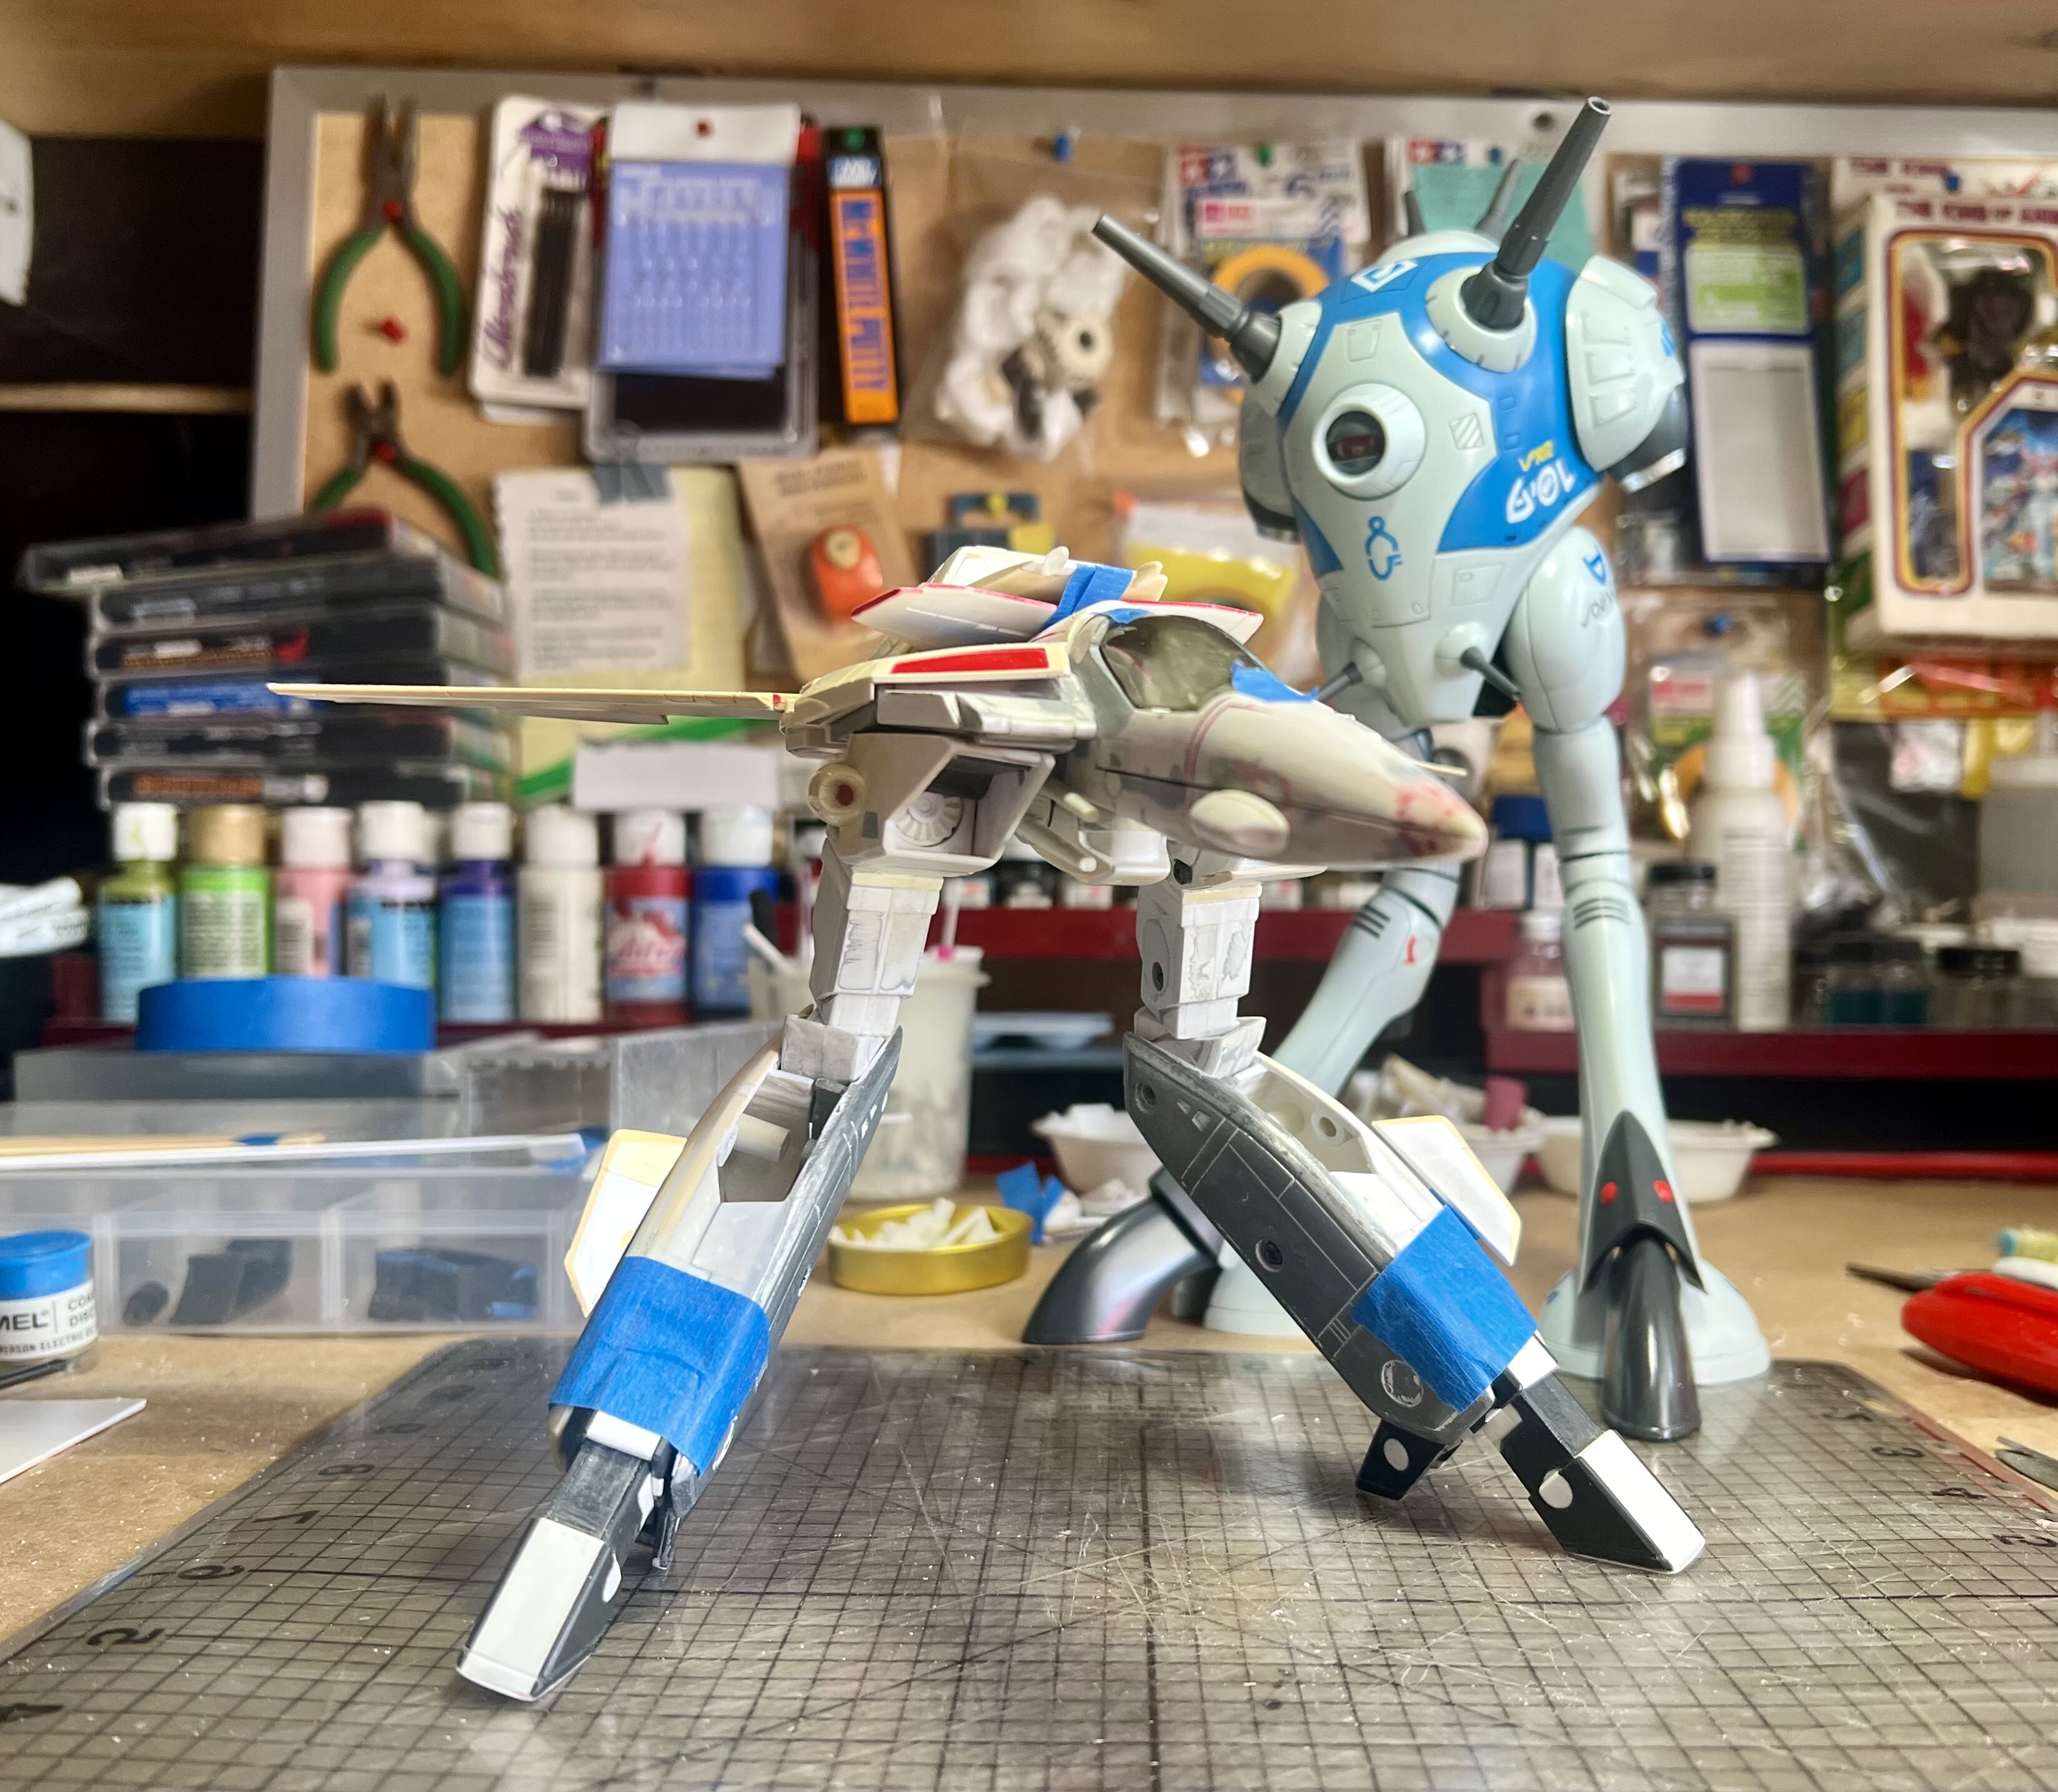
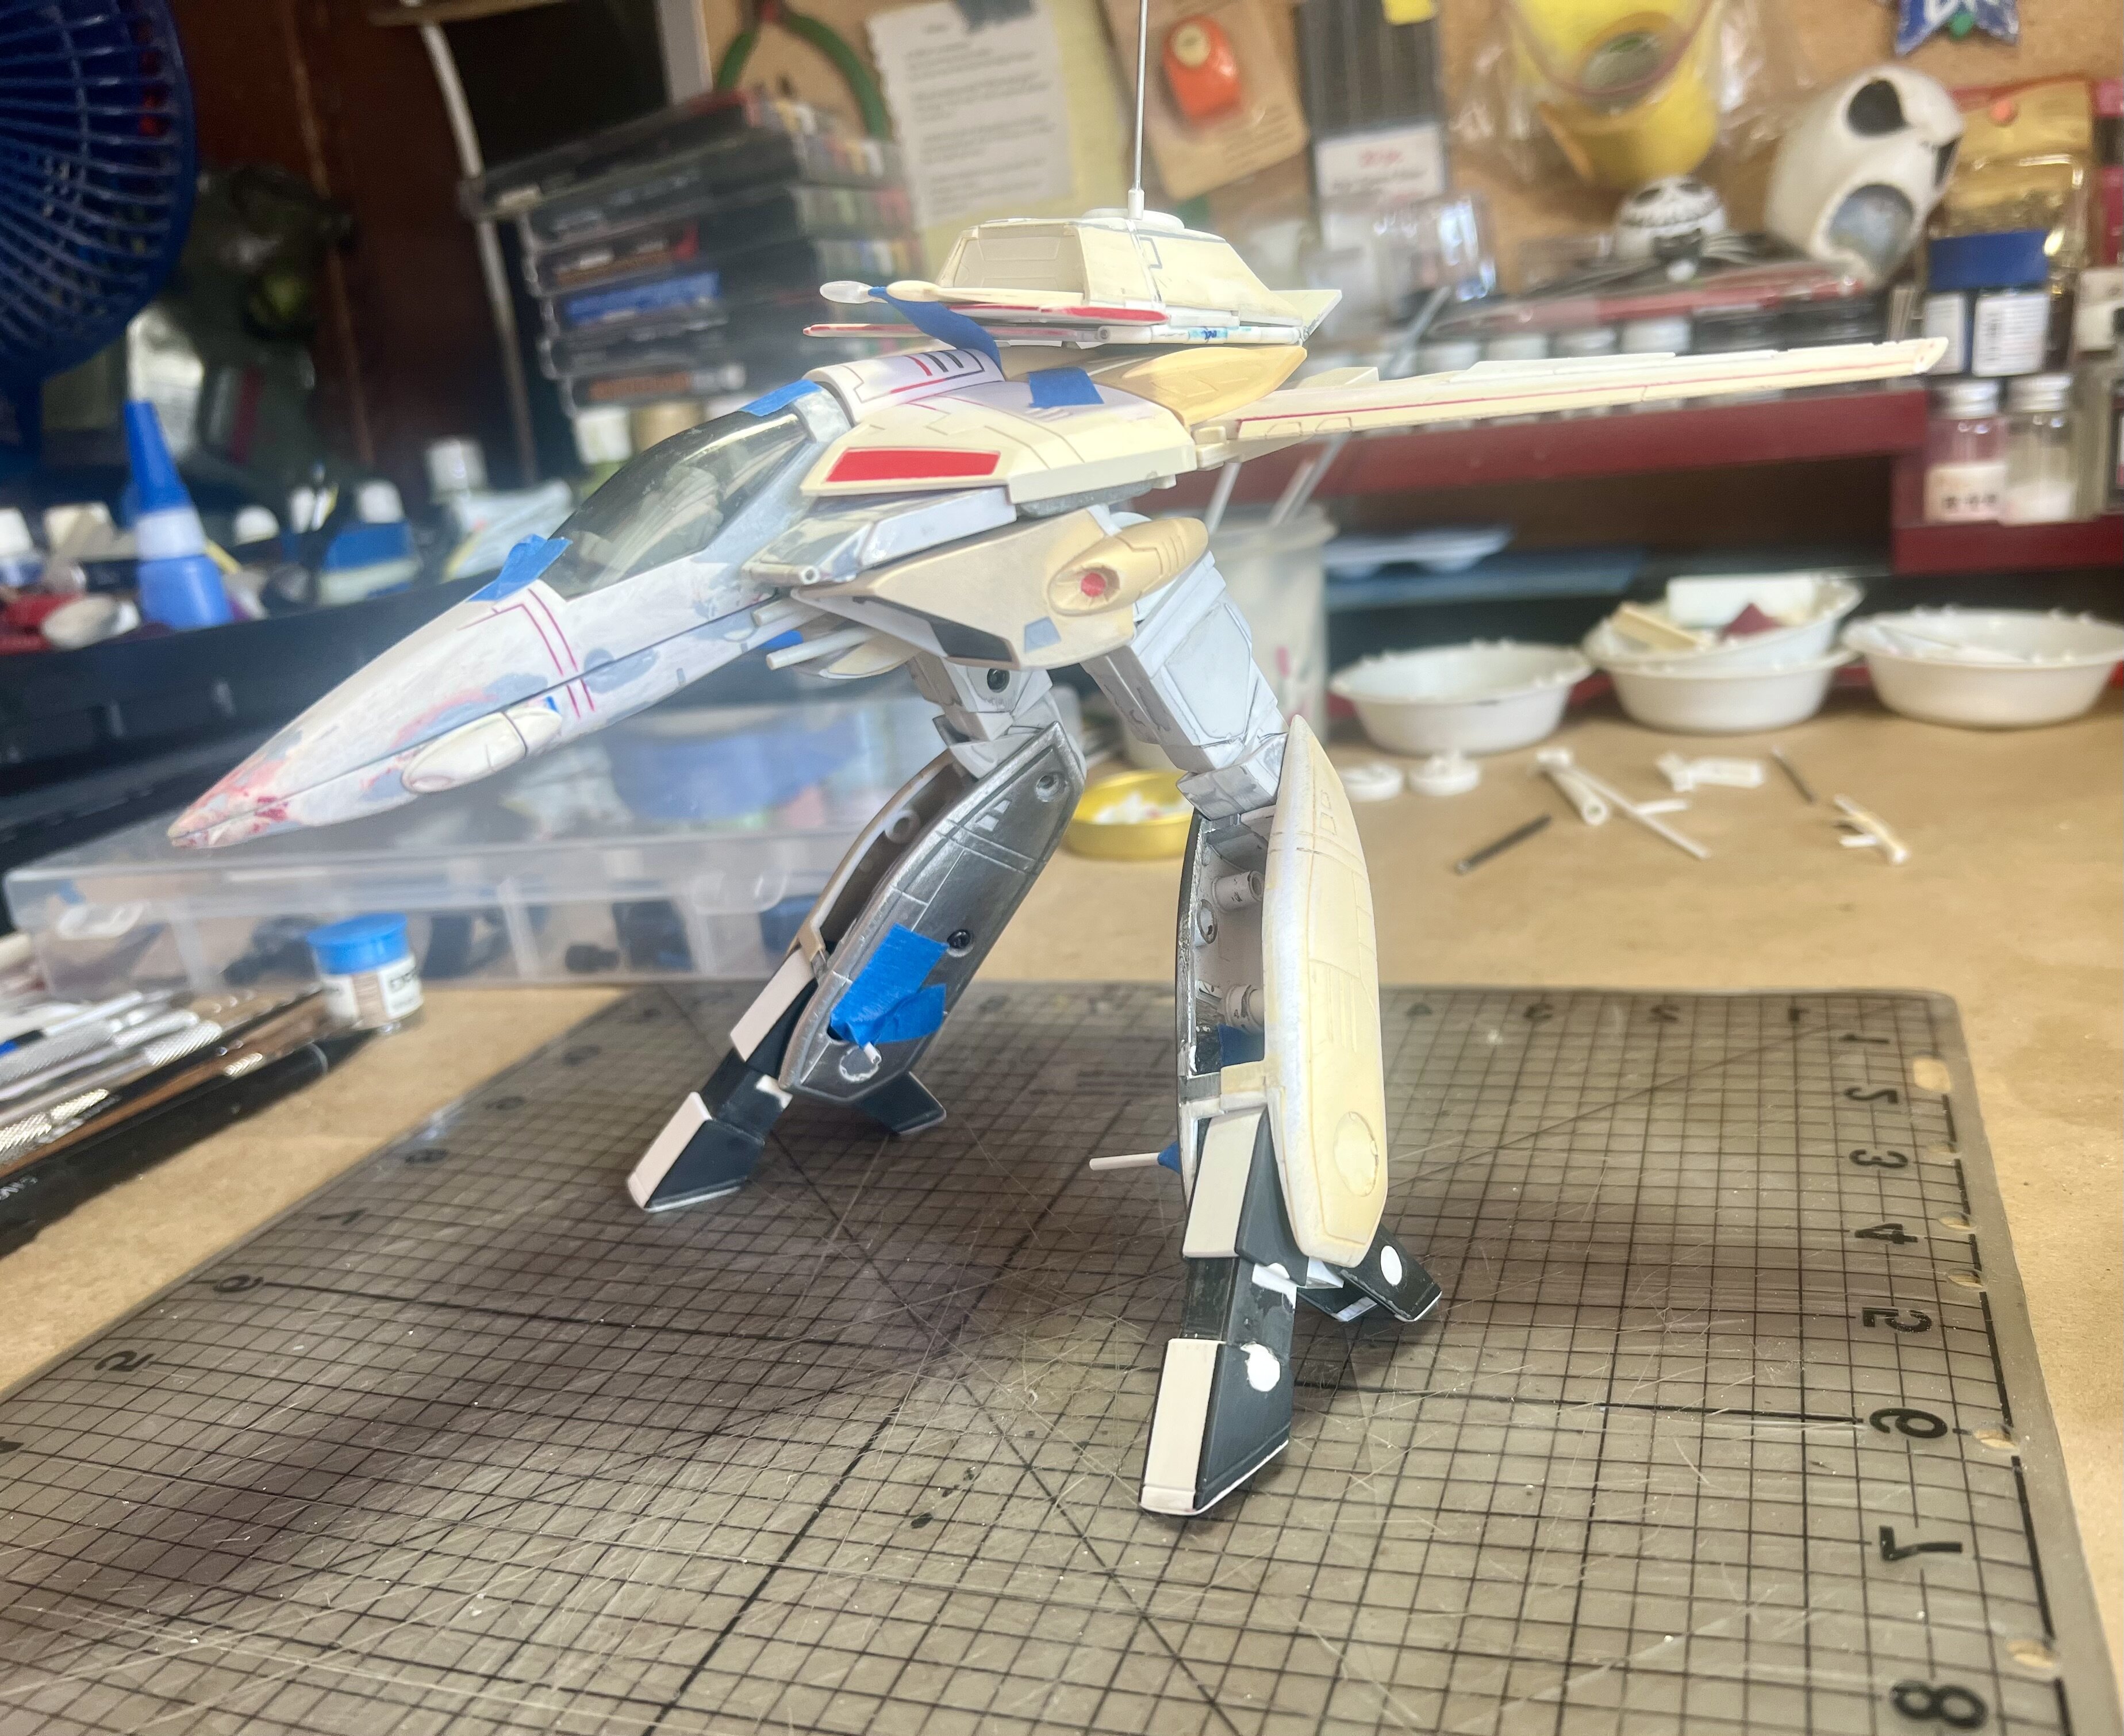
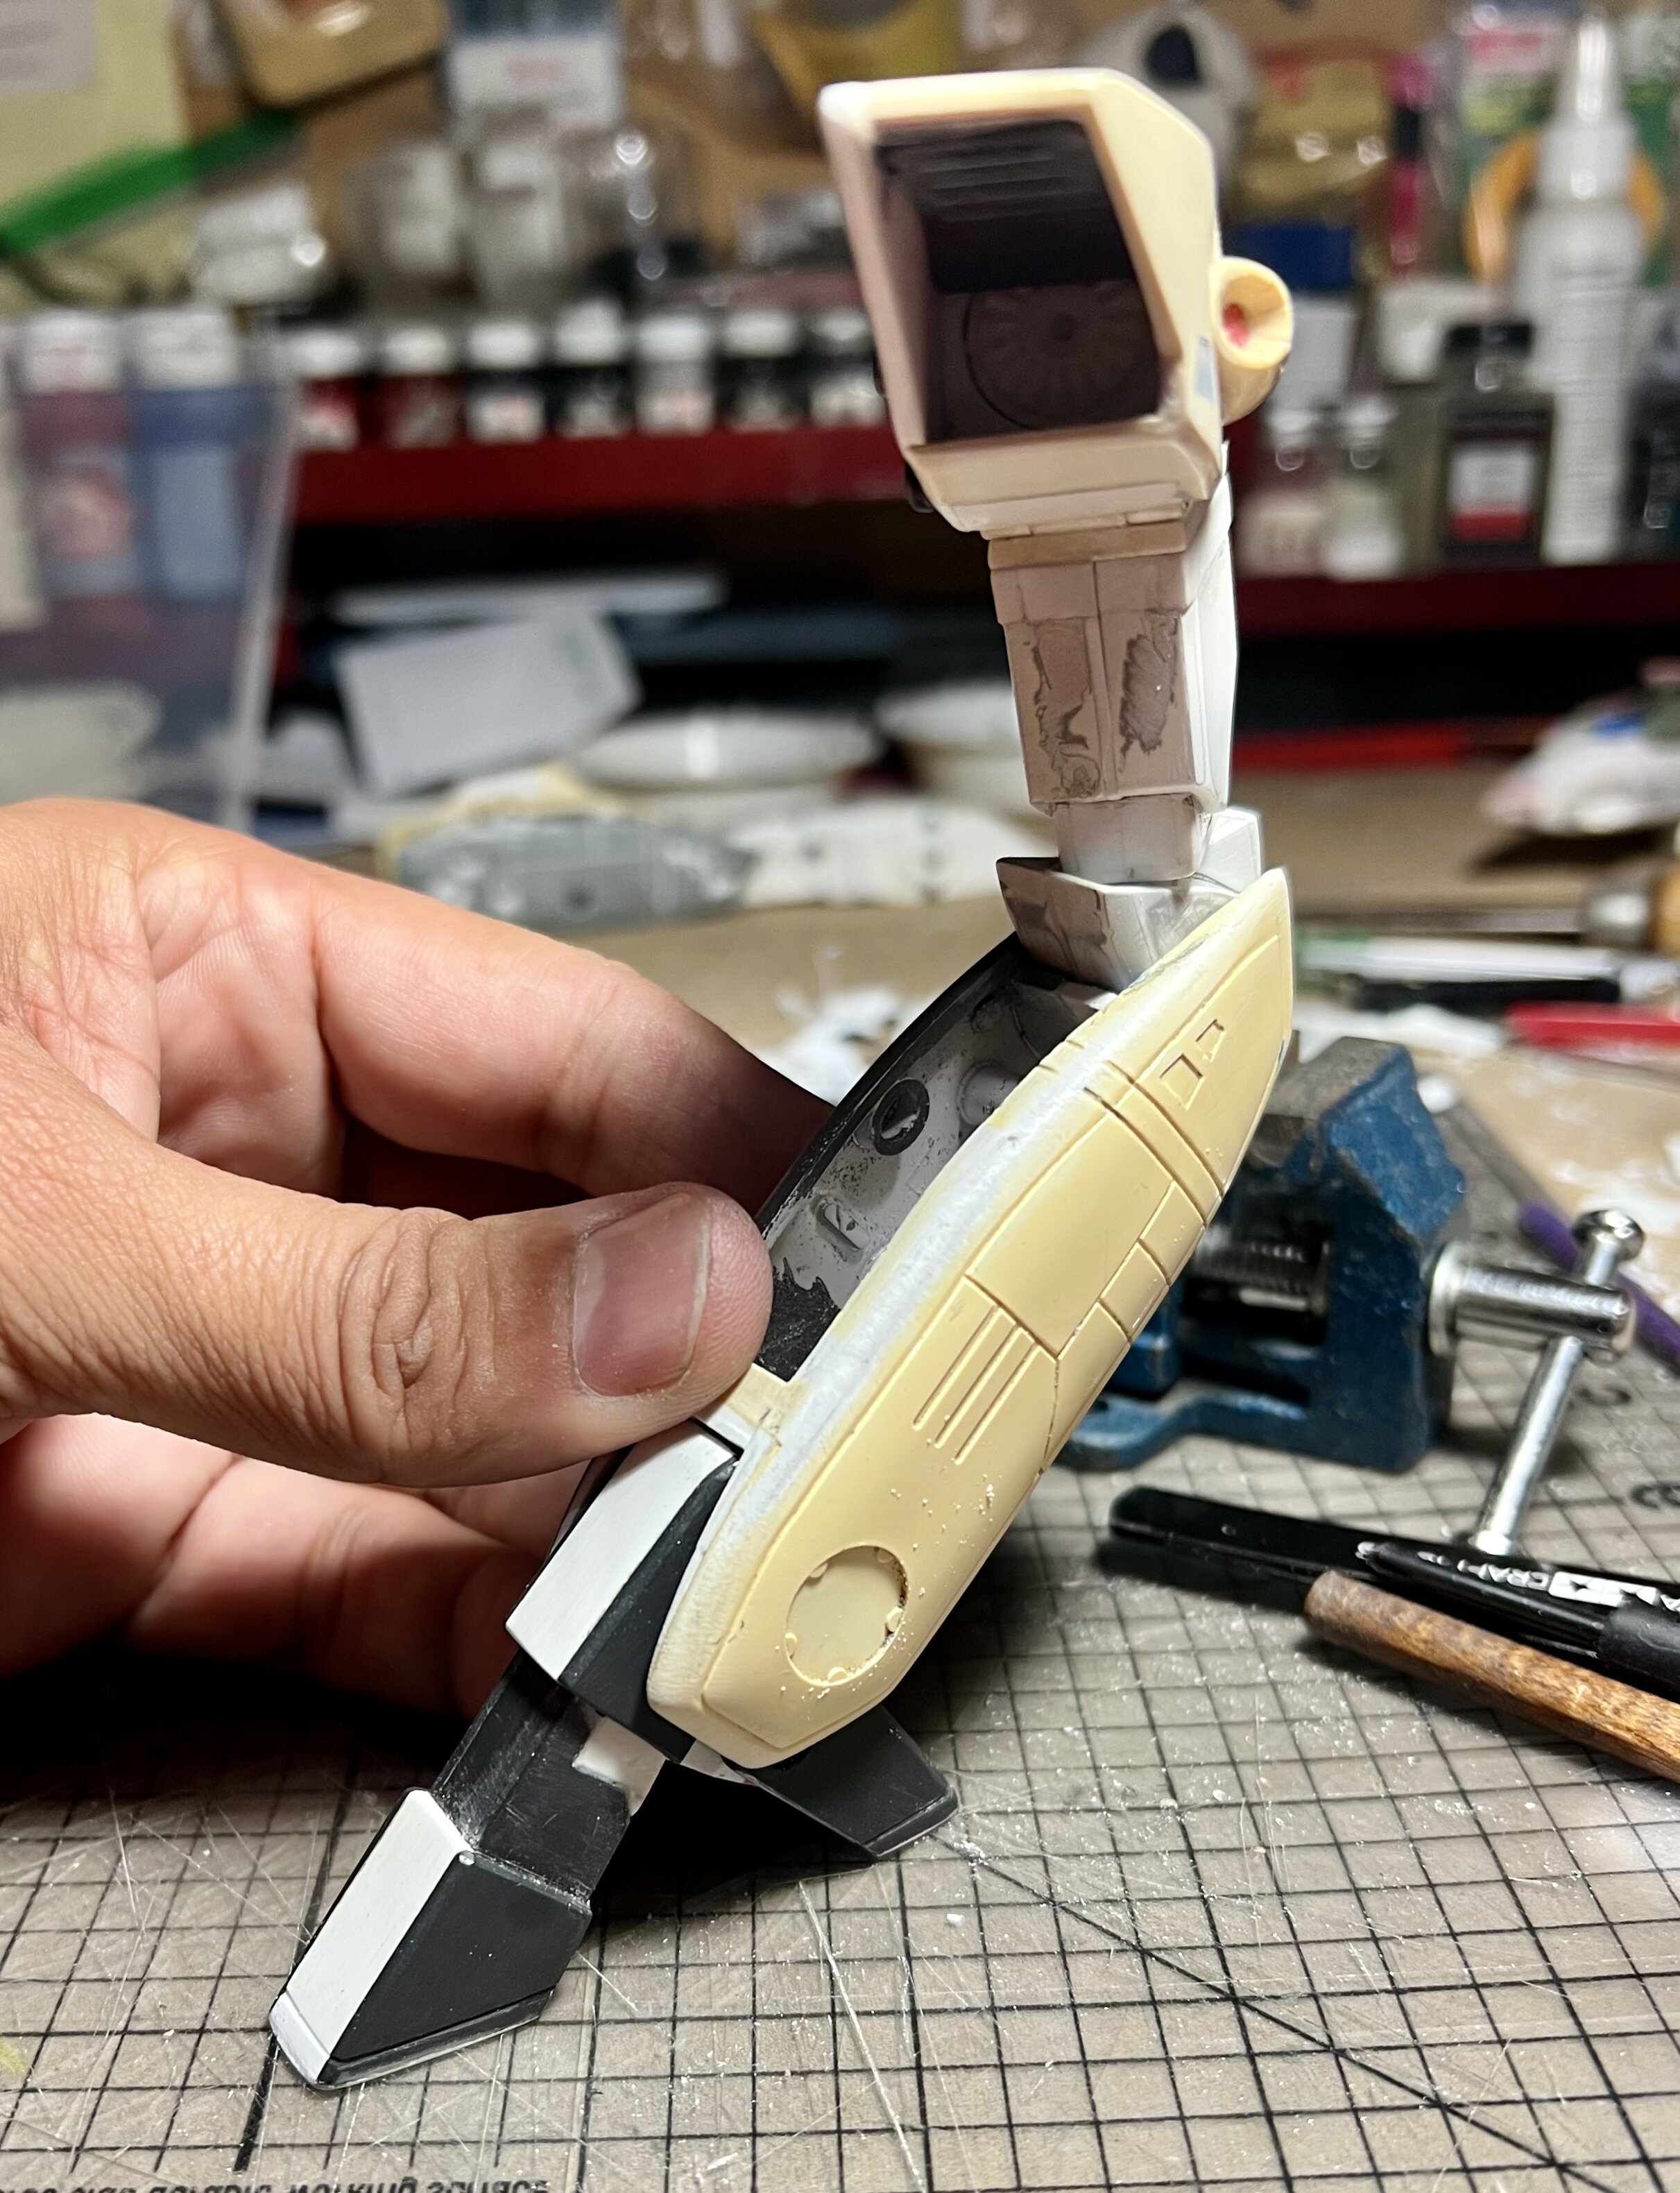
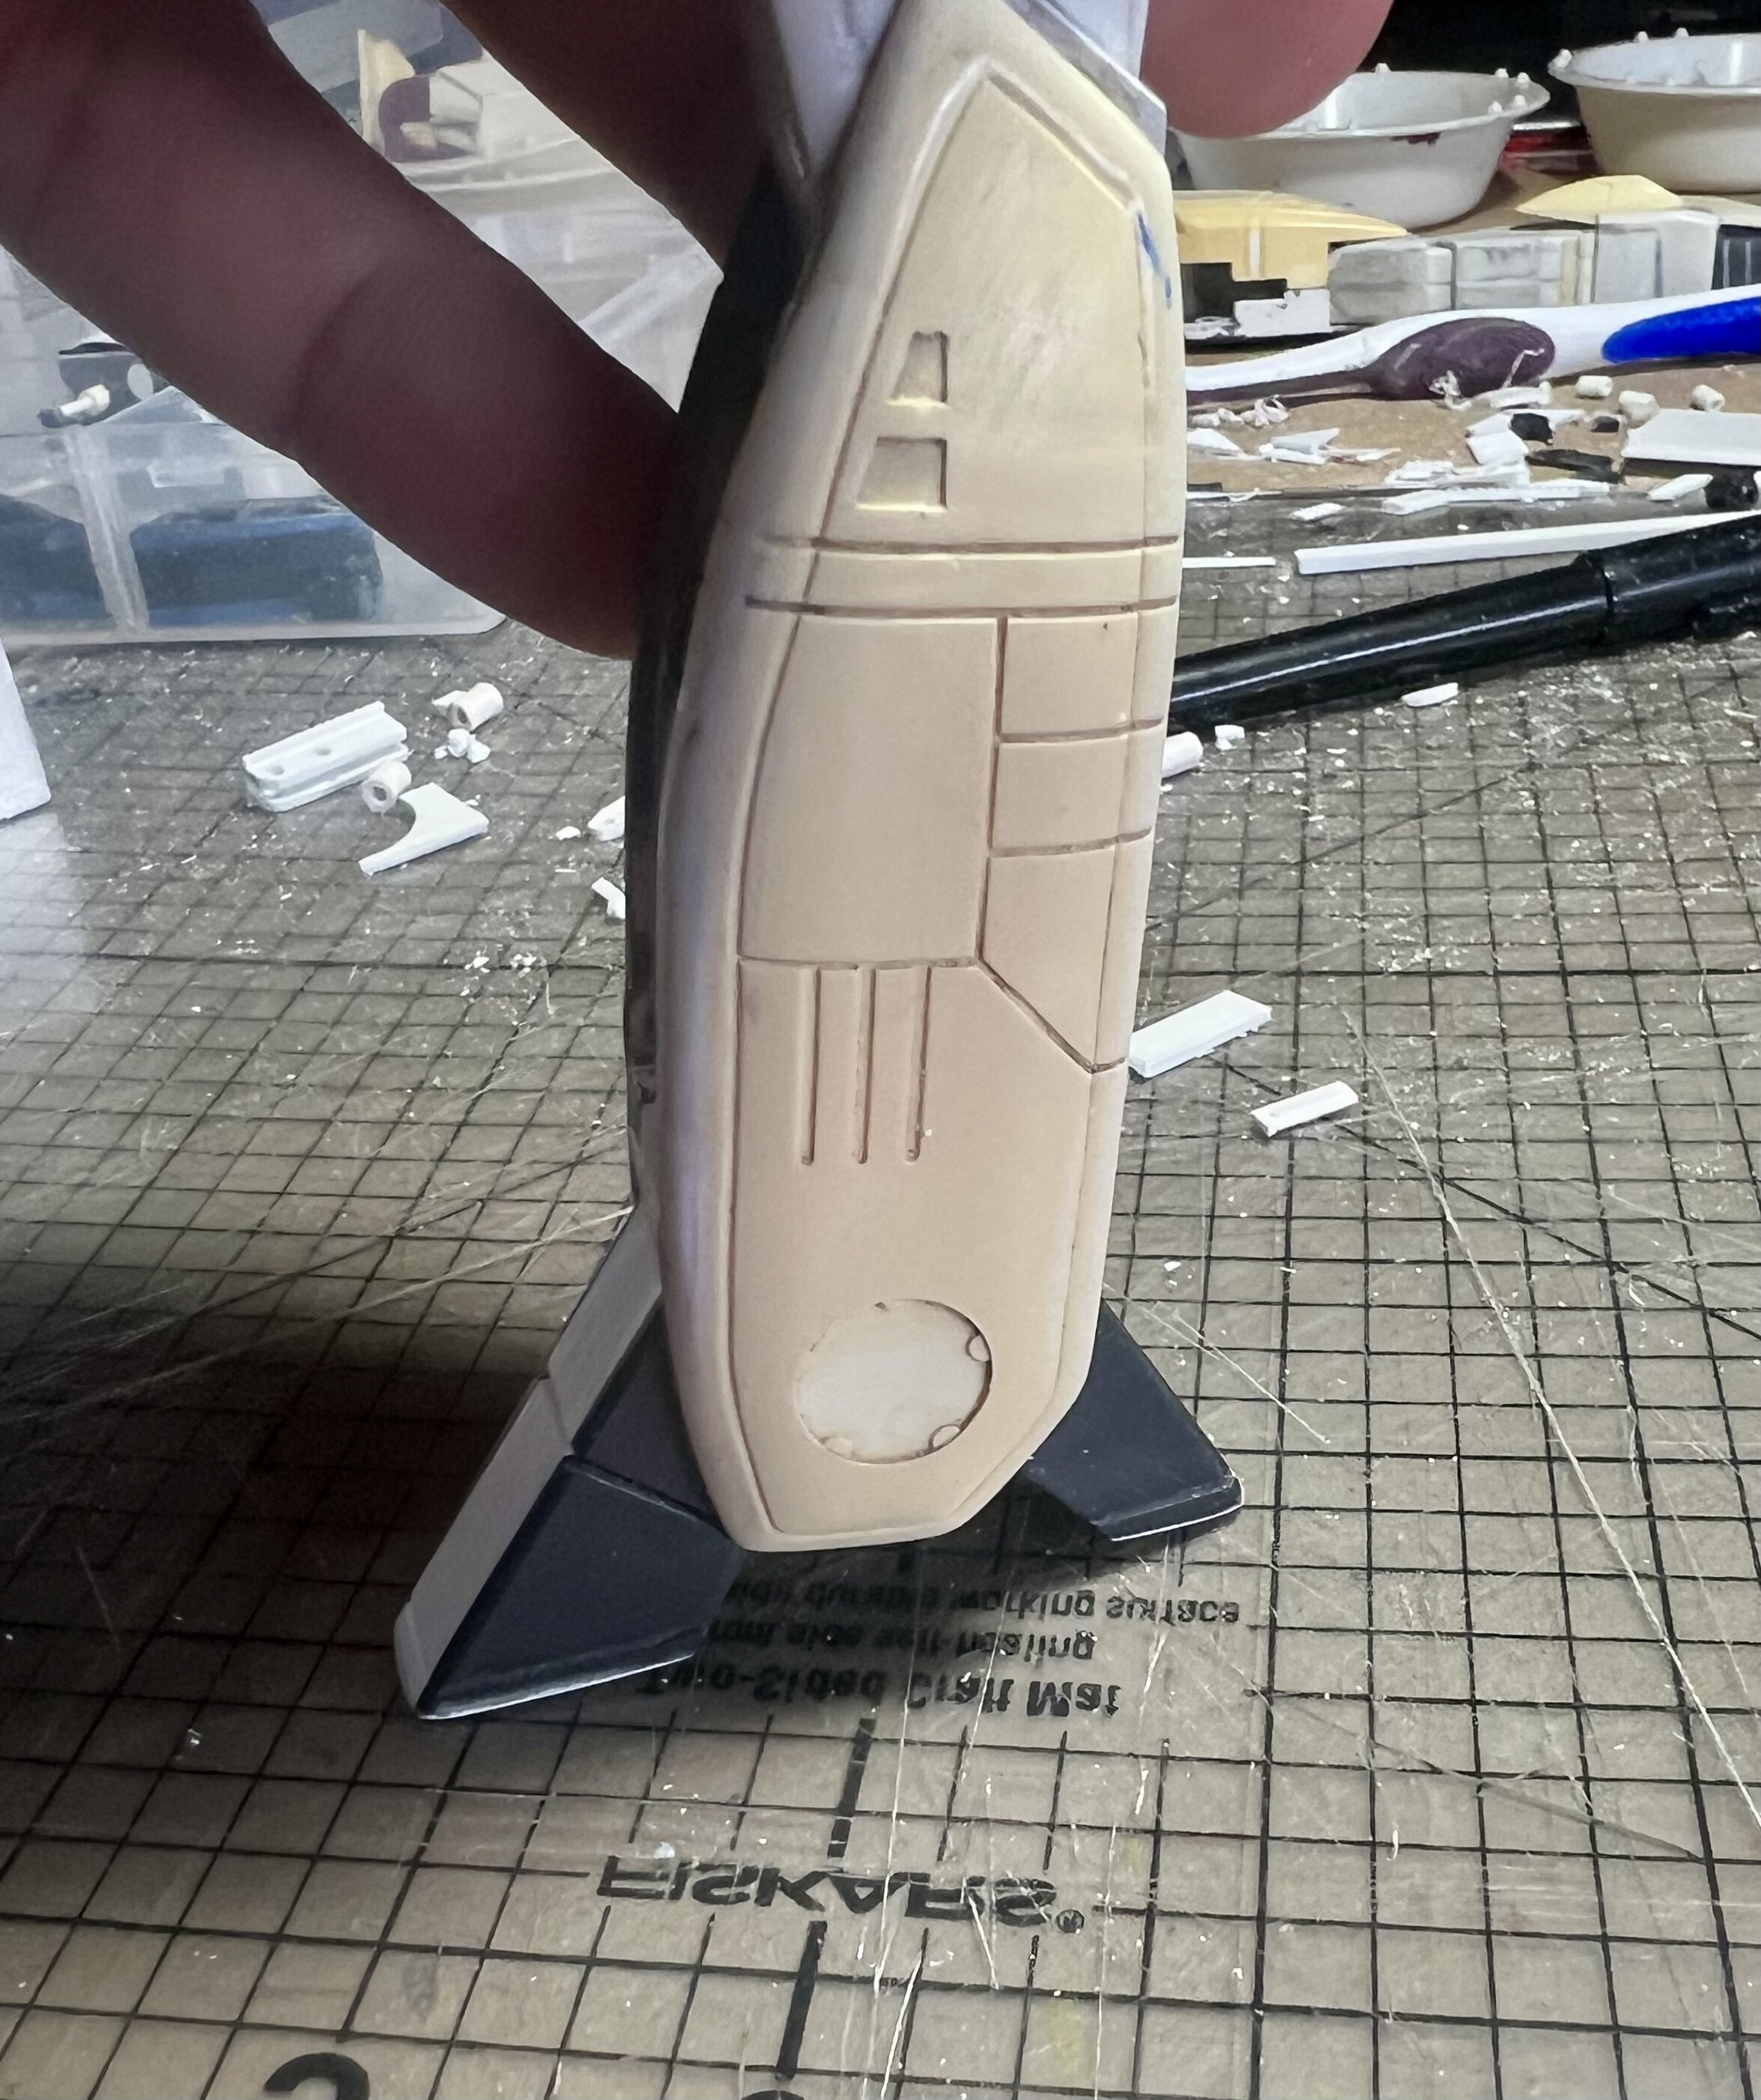
Landing gear. Not yet set but making sure everything will work together and hold once set no matter the armor configuration. -
The VT-1 and VE-1 both have such allure for collectors. Even though a DX is available, buyers are stilling willing to pay top dollar for a nice 1/55. I don’t think I will ever sell mine. Too much wrapped in nostalgia to even consider it.
-

Whats Lying on your Workbench MK IV
nightmareB4macross replied to Urashiman's topic in The Workshop!
-
What a splendid Christmas gift. This actually a thing where the straight head lasers are on the Takatoku stamp VF. Can you take a picture of the box? Happy New Year!
-

Whats Lying on your Workbench MK IV
nightmareB4macross replied to Urashiman's topic in The Workshop!
-

Whats Lying on your Workbench MK IV
nightmareB4macross replied to Urashiman's topic in The Workshop!
-

Whats Lying on your Workbench MK IV
nightmareB4macross replied to Urashiman's topic in The Workshop!
-
Had to take another look at some the fine work. Excellent.
-

Whats Lying on your Workbench MK IV
nightmareB4macross replied to Urashiman's topic in The Workshop!
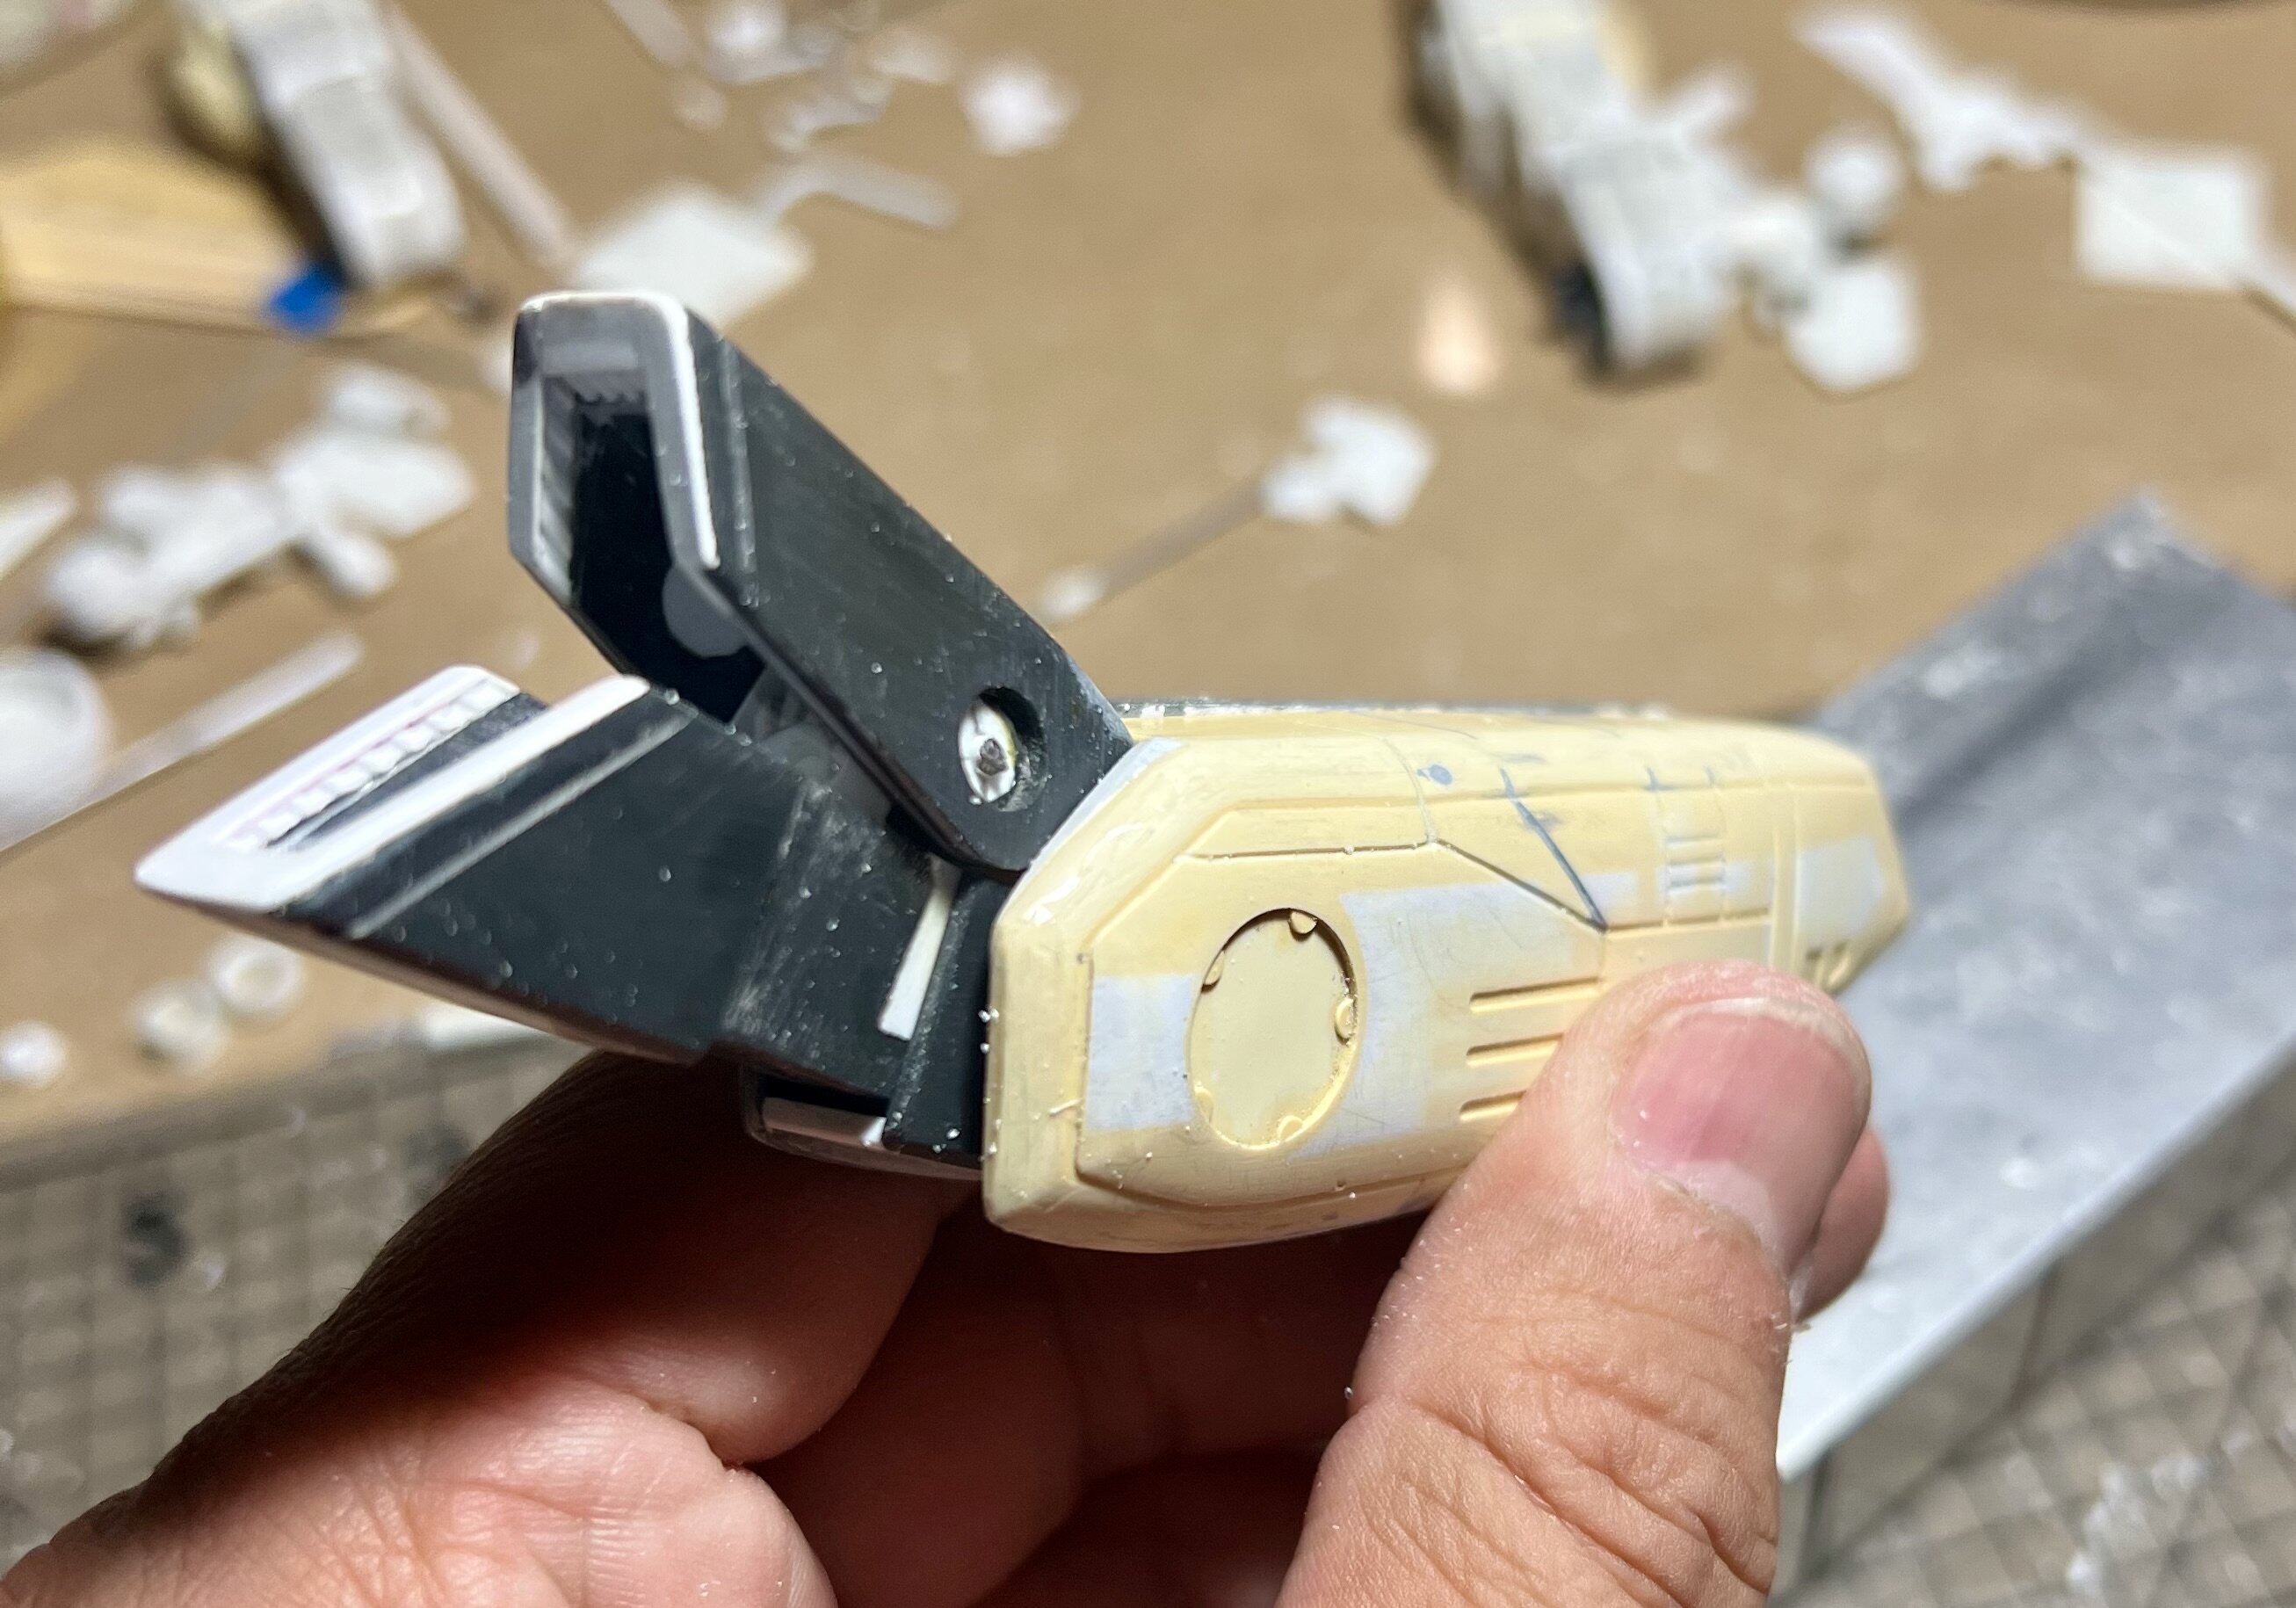
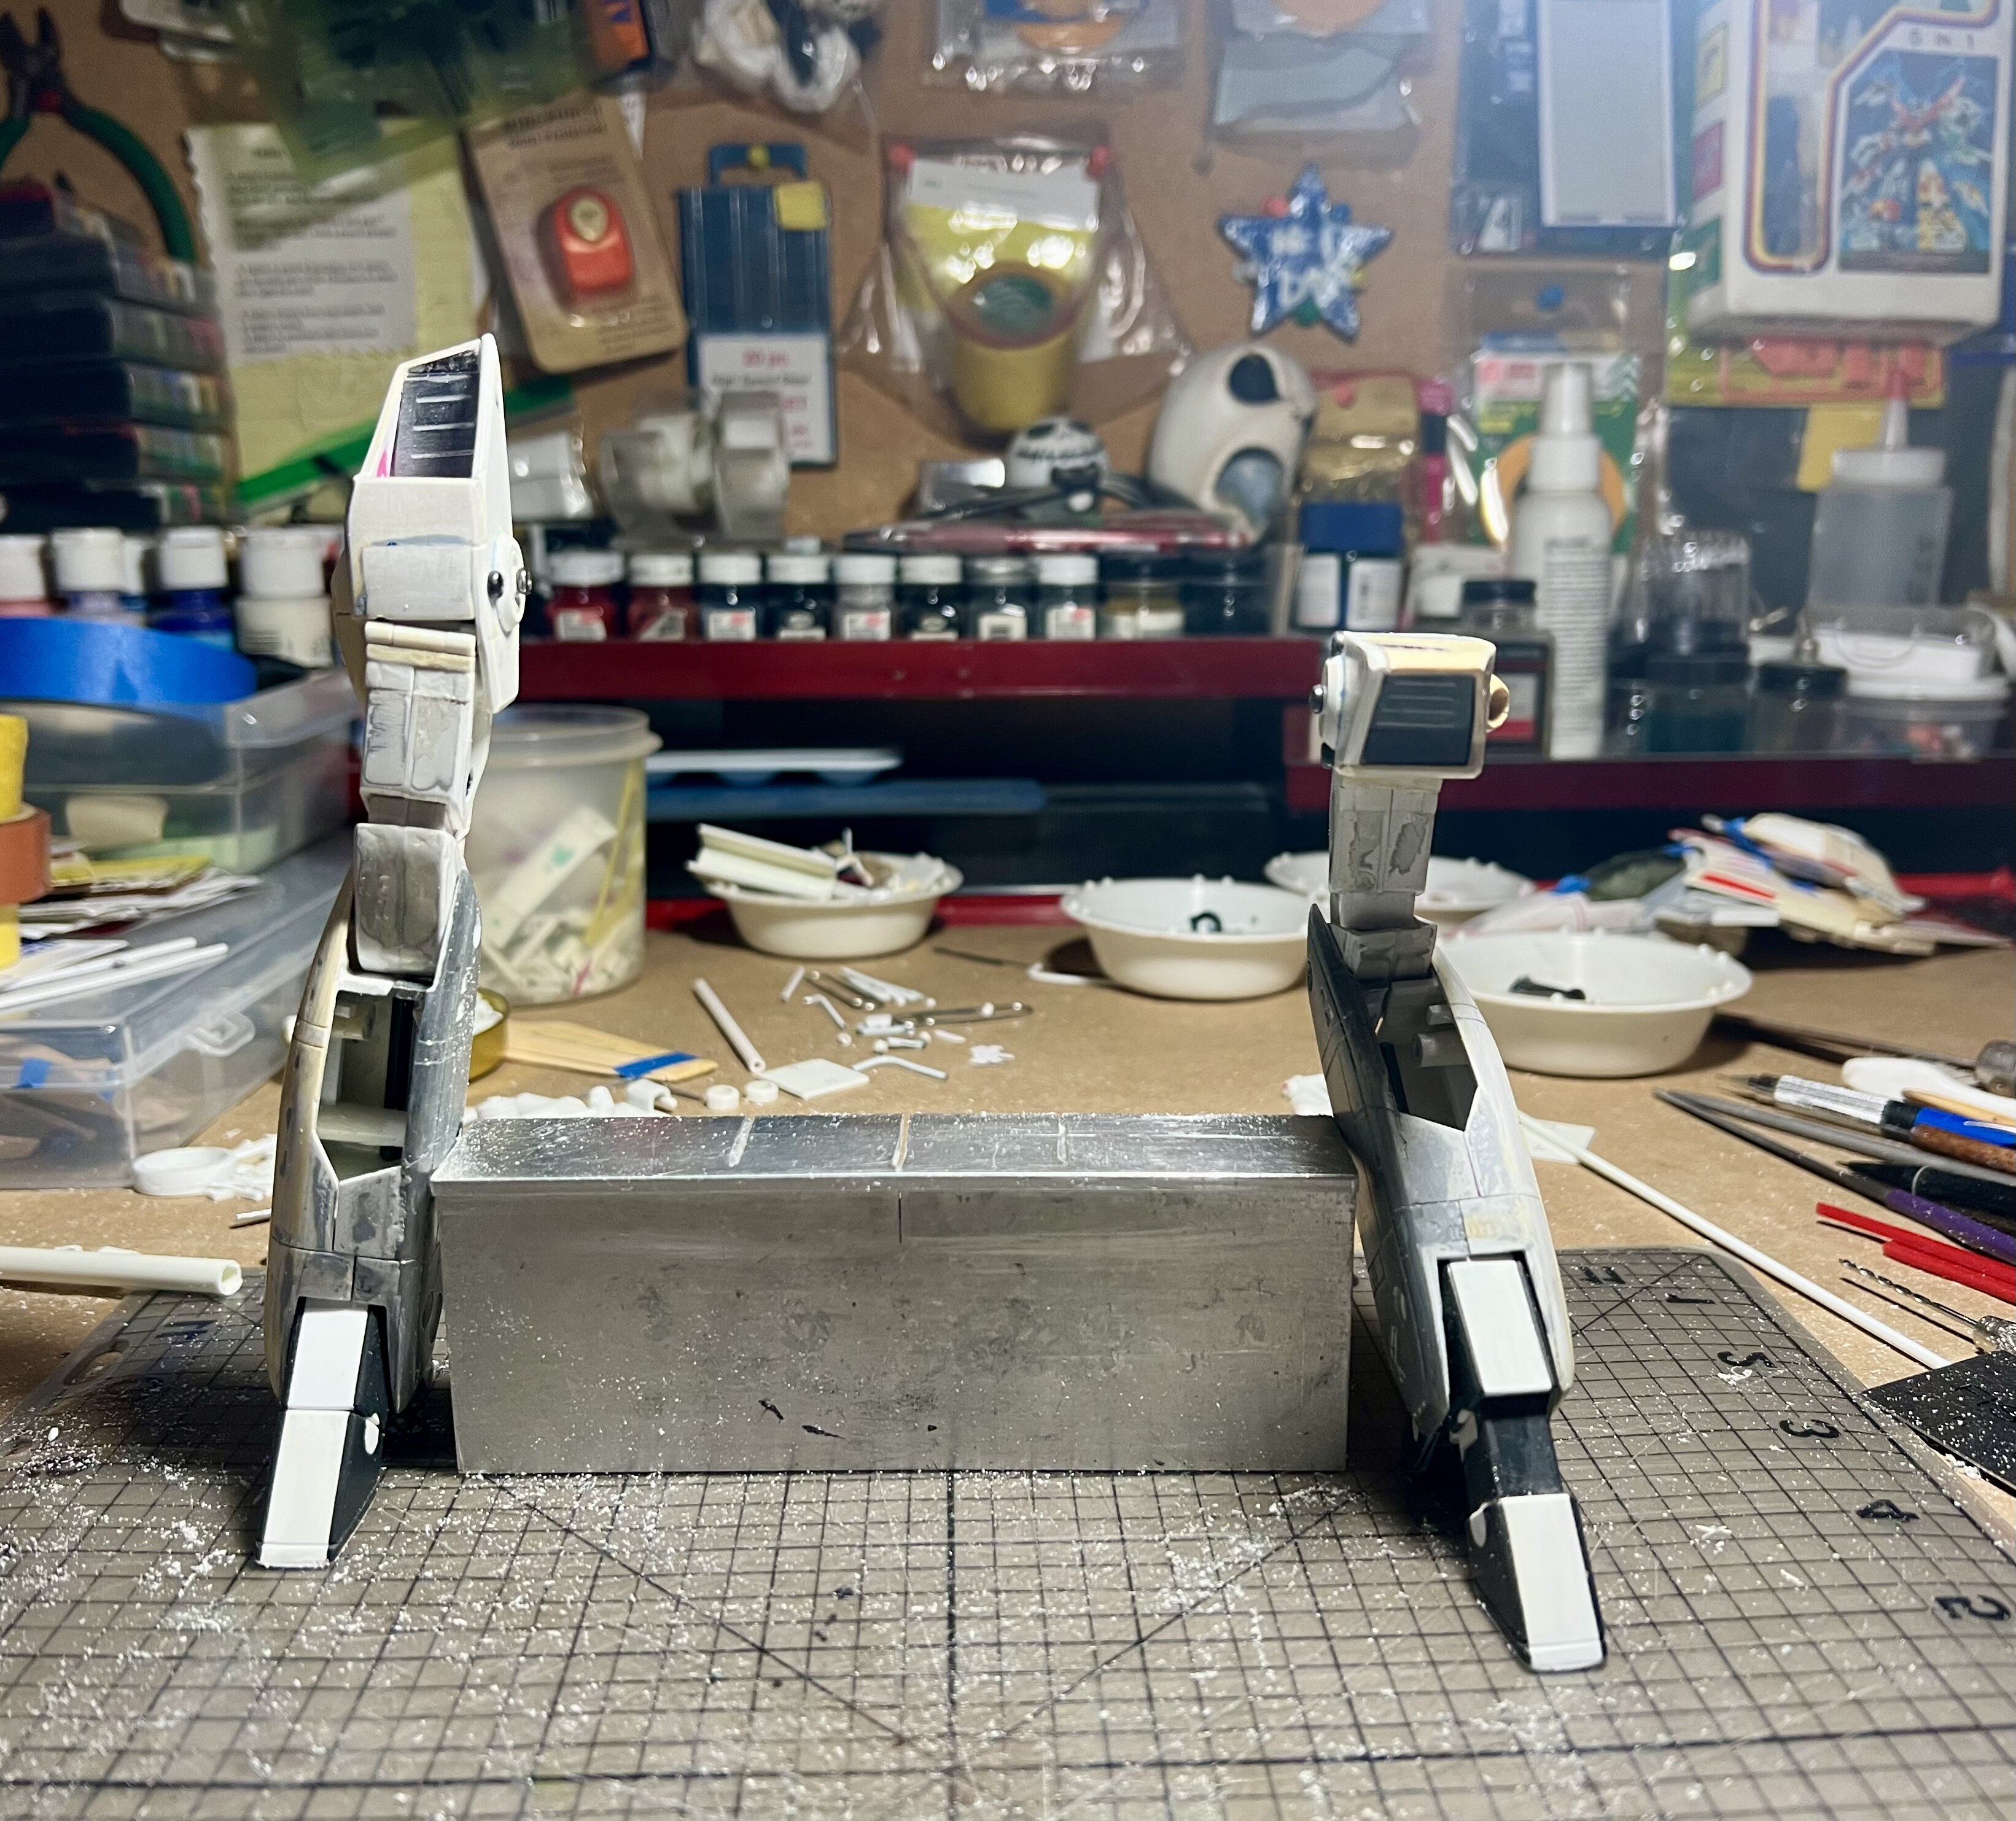
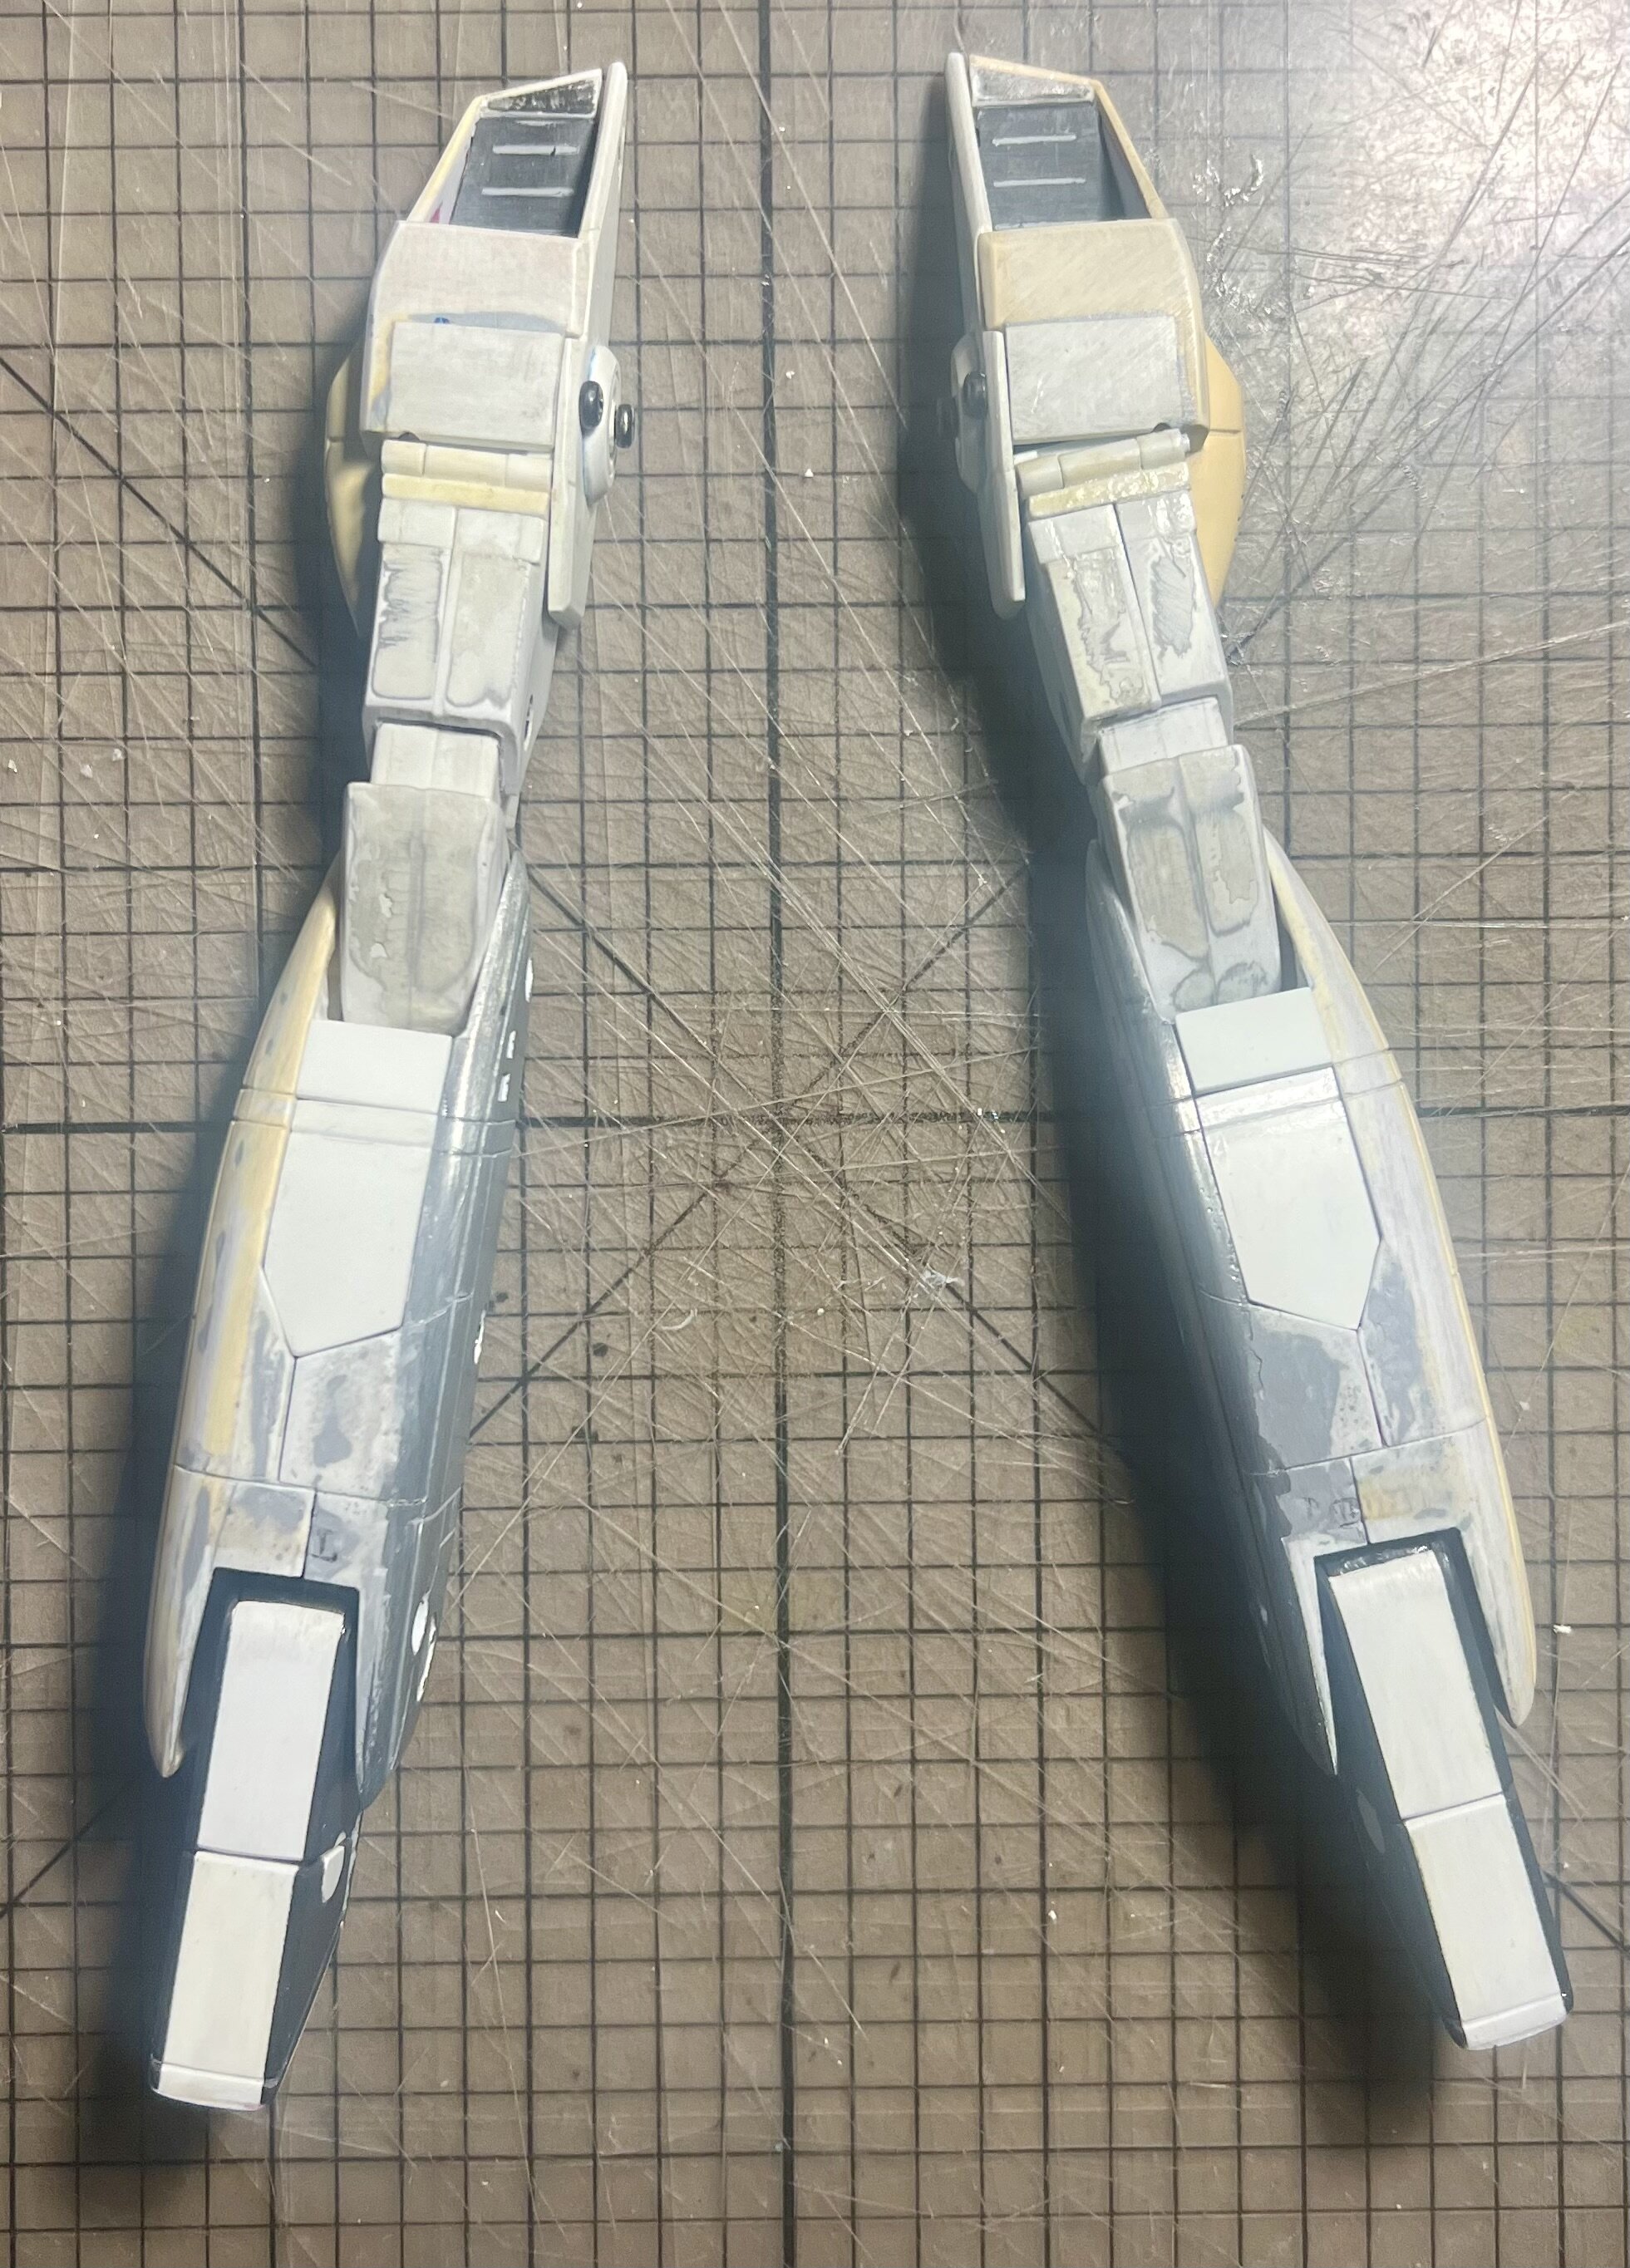
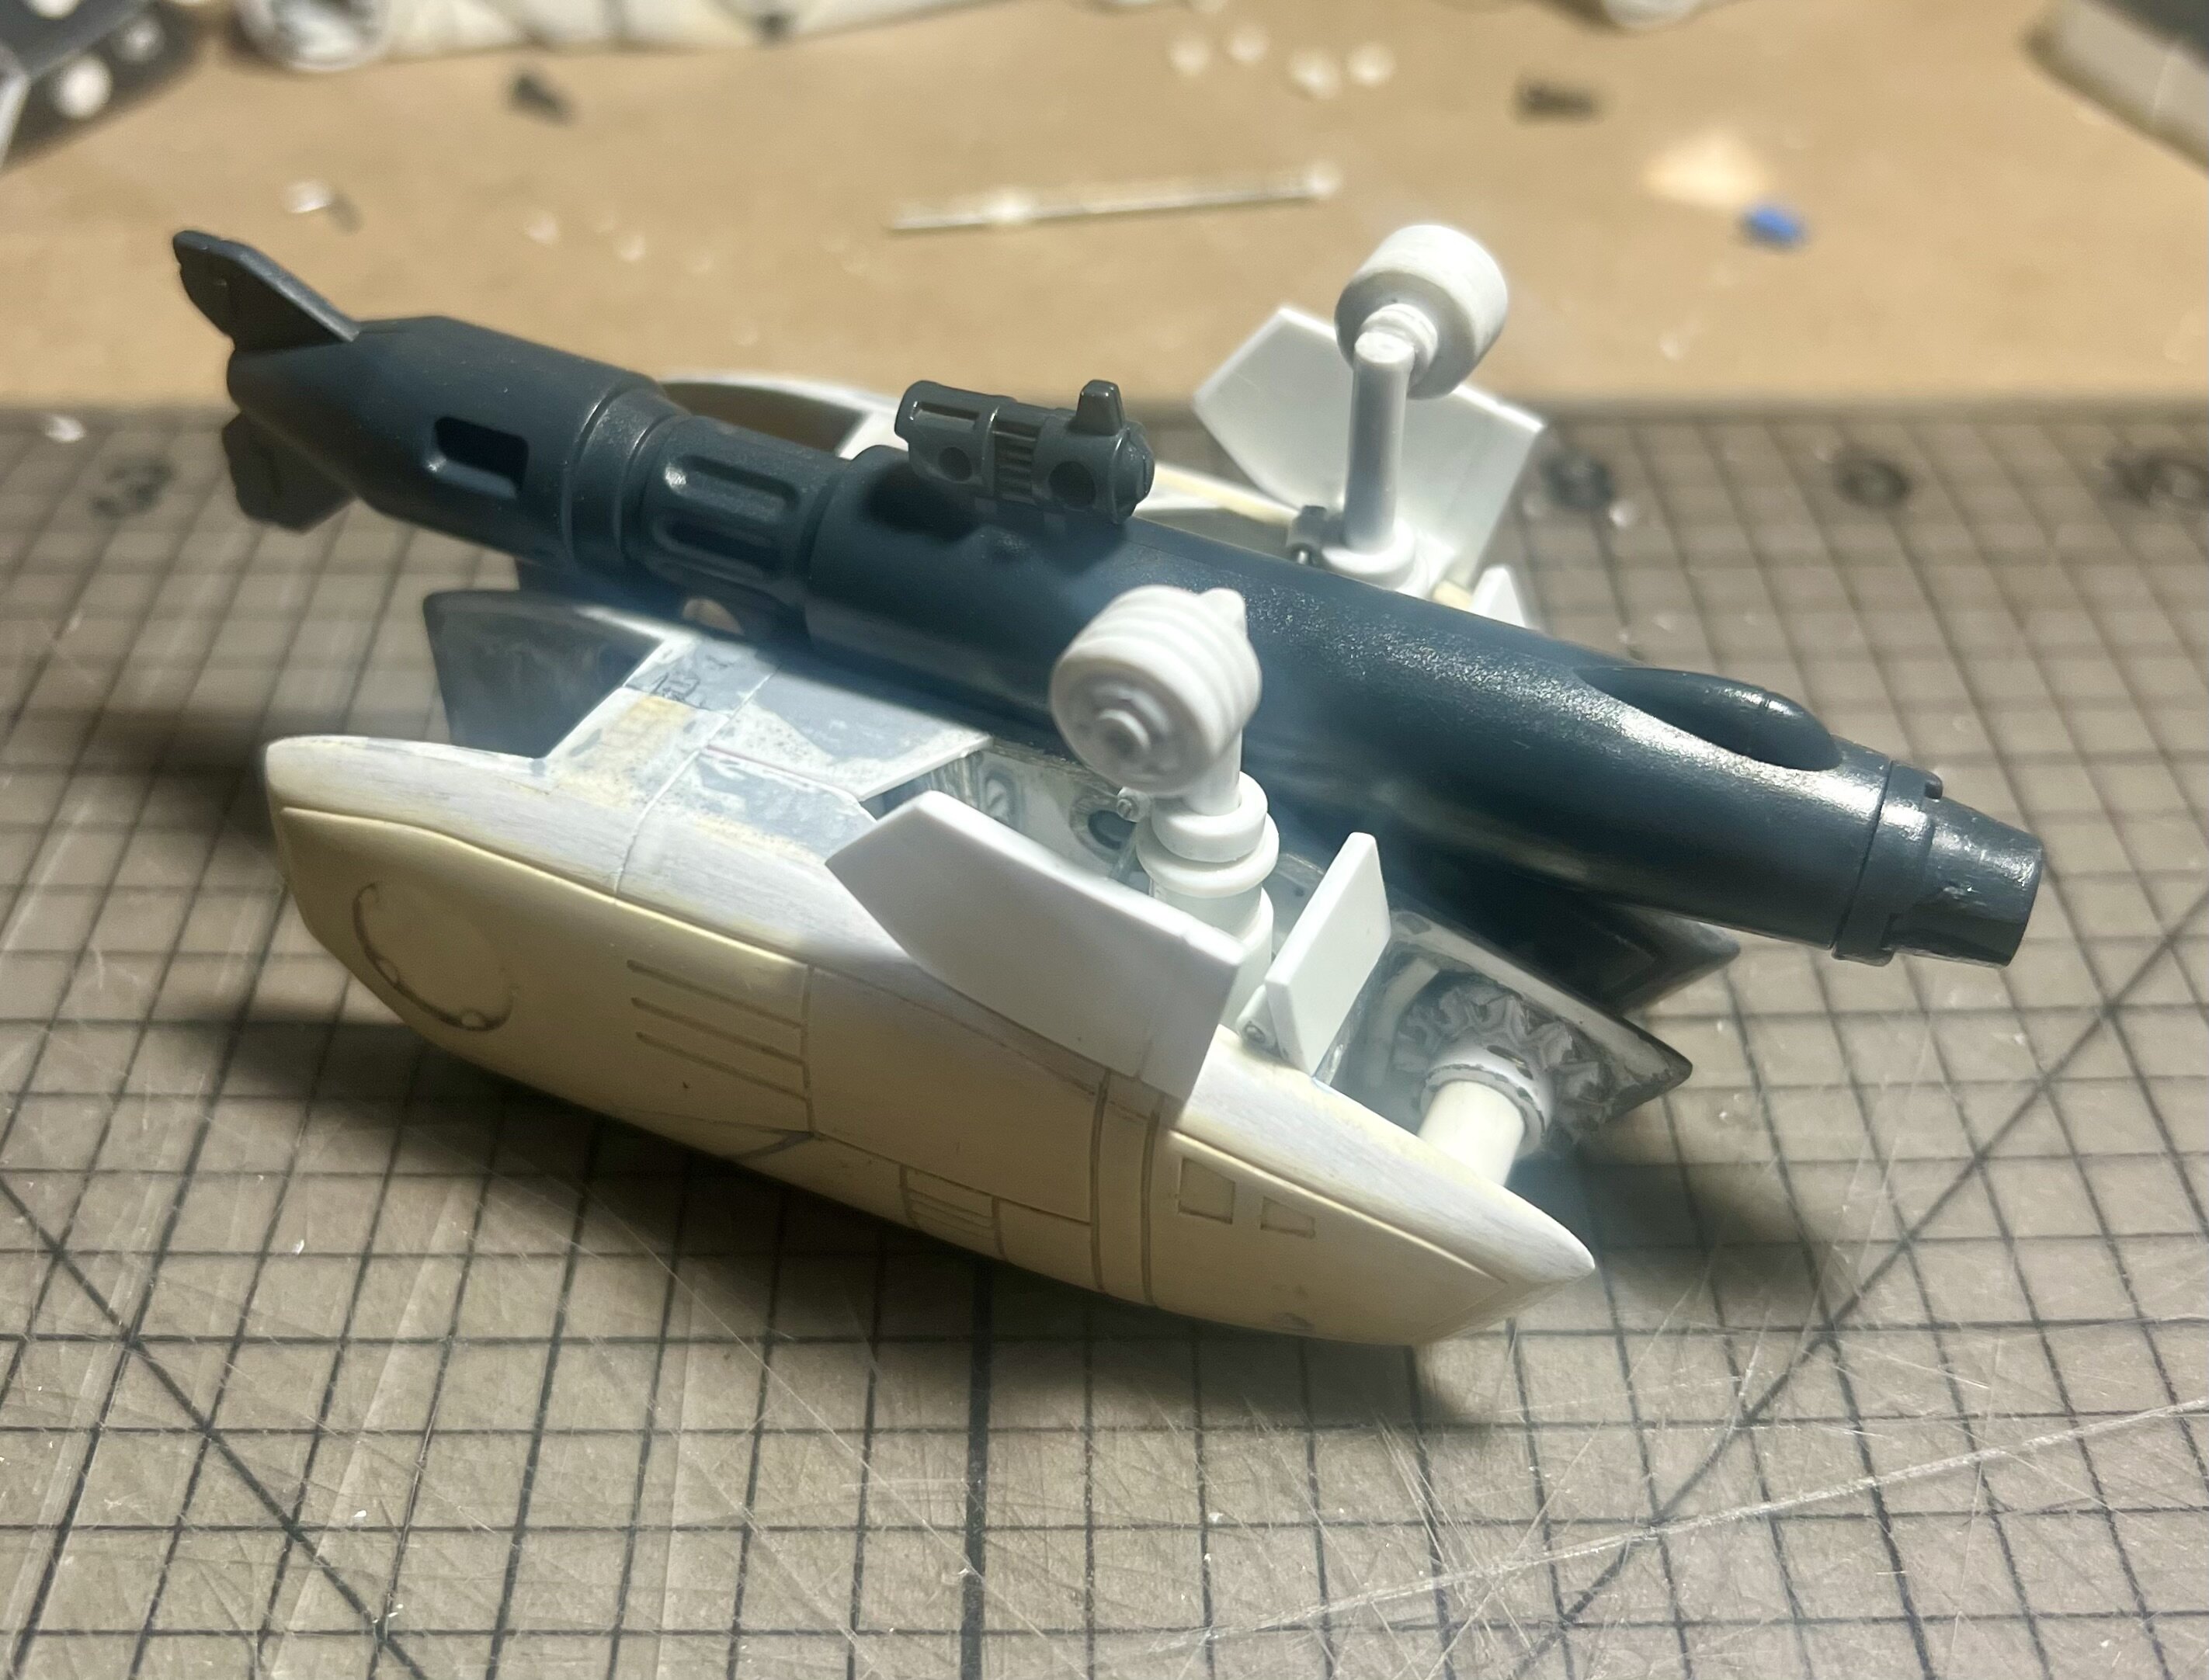
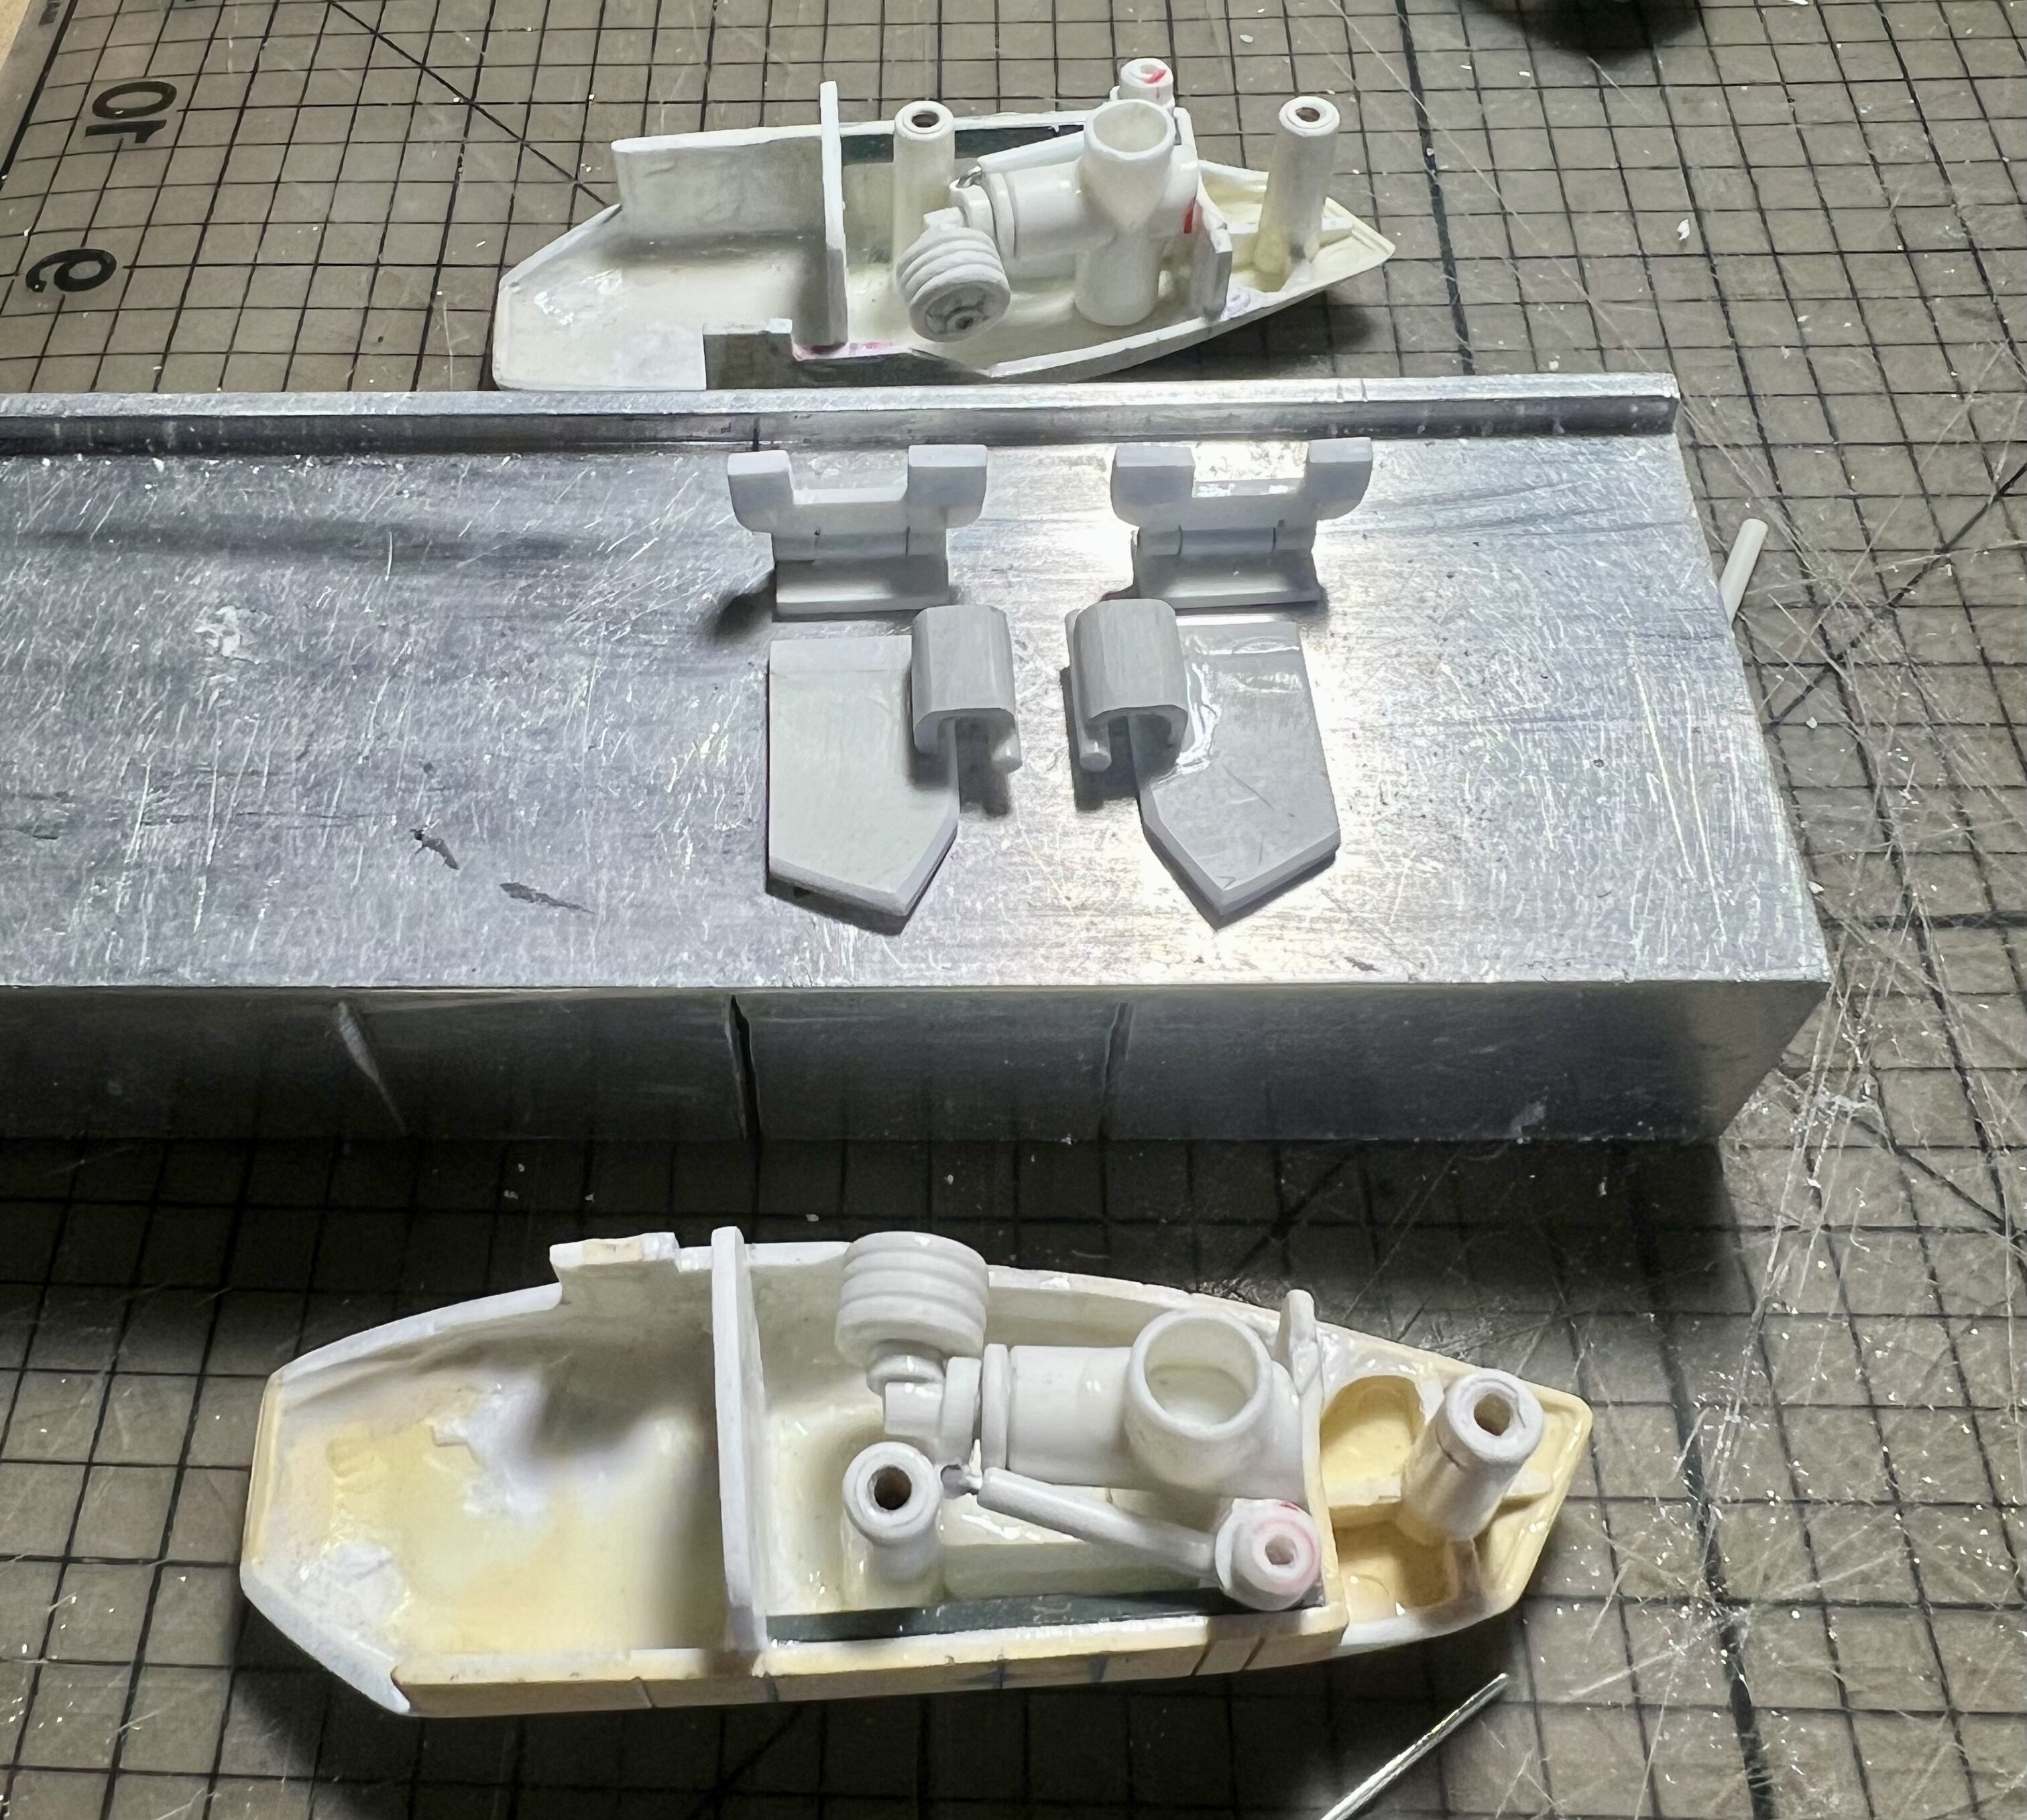
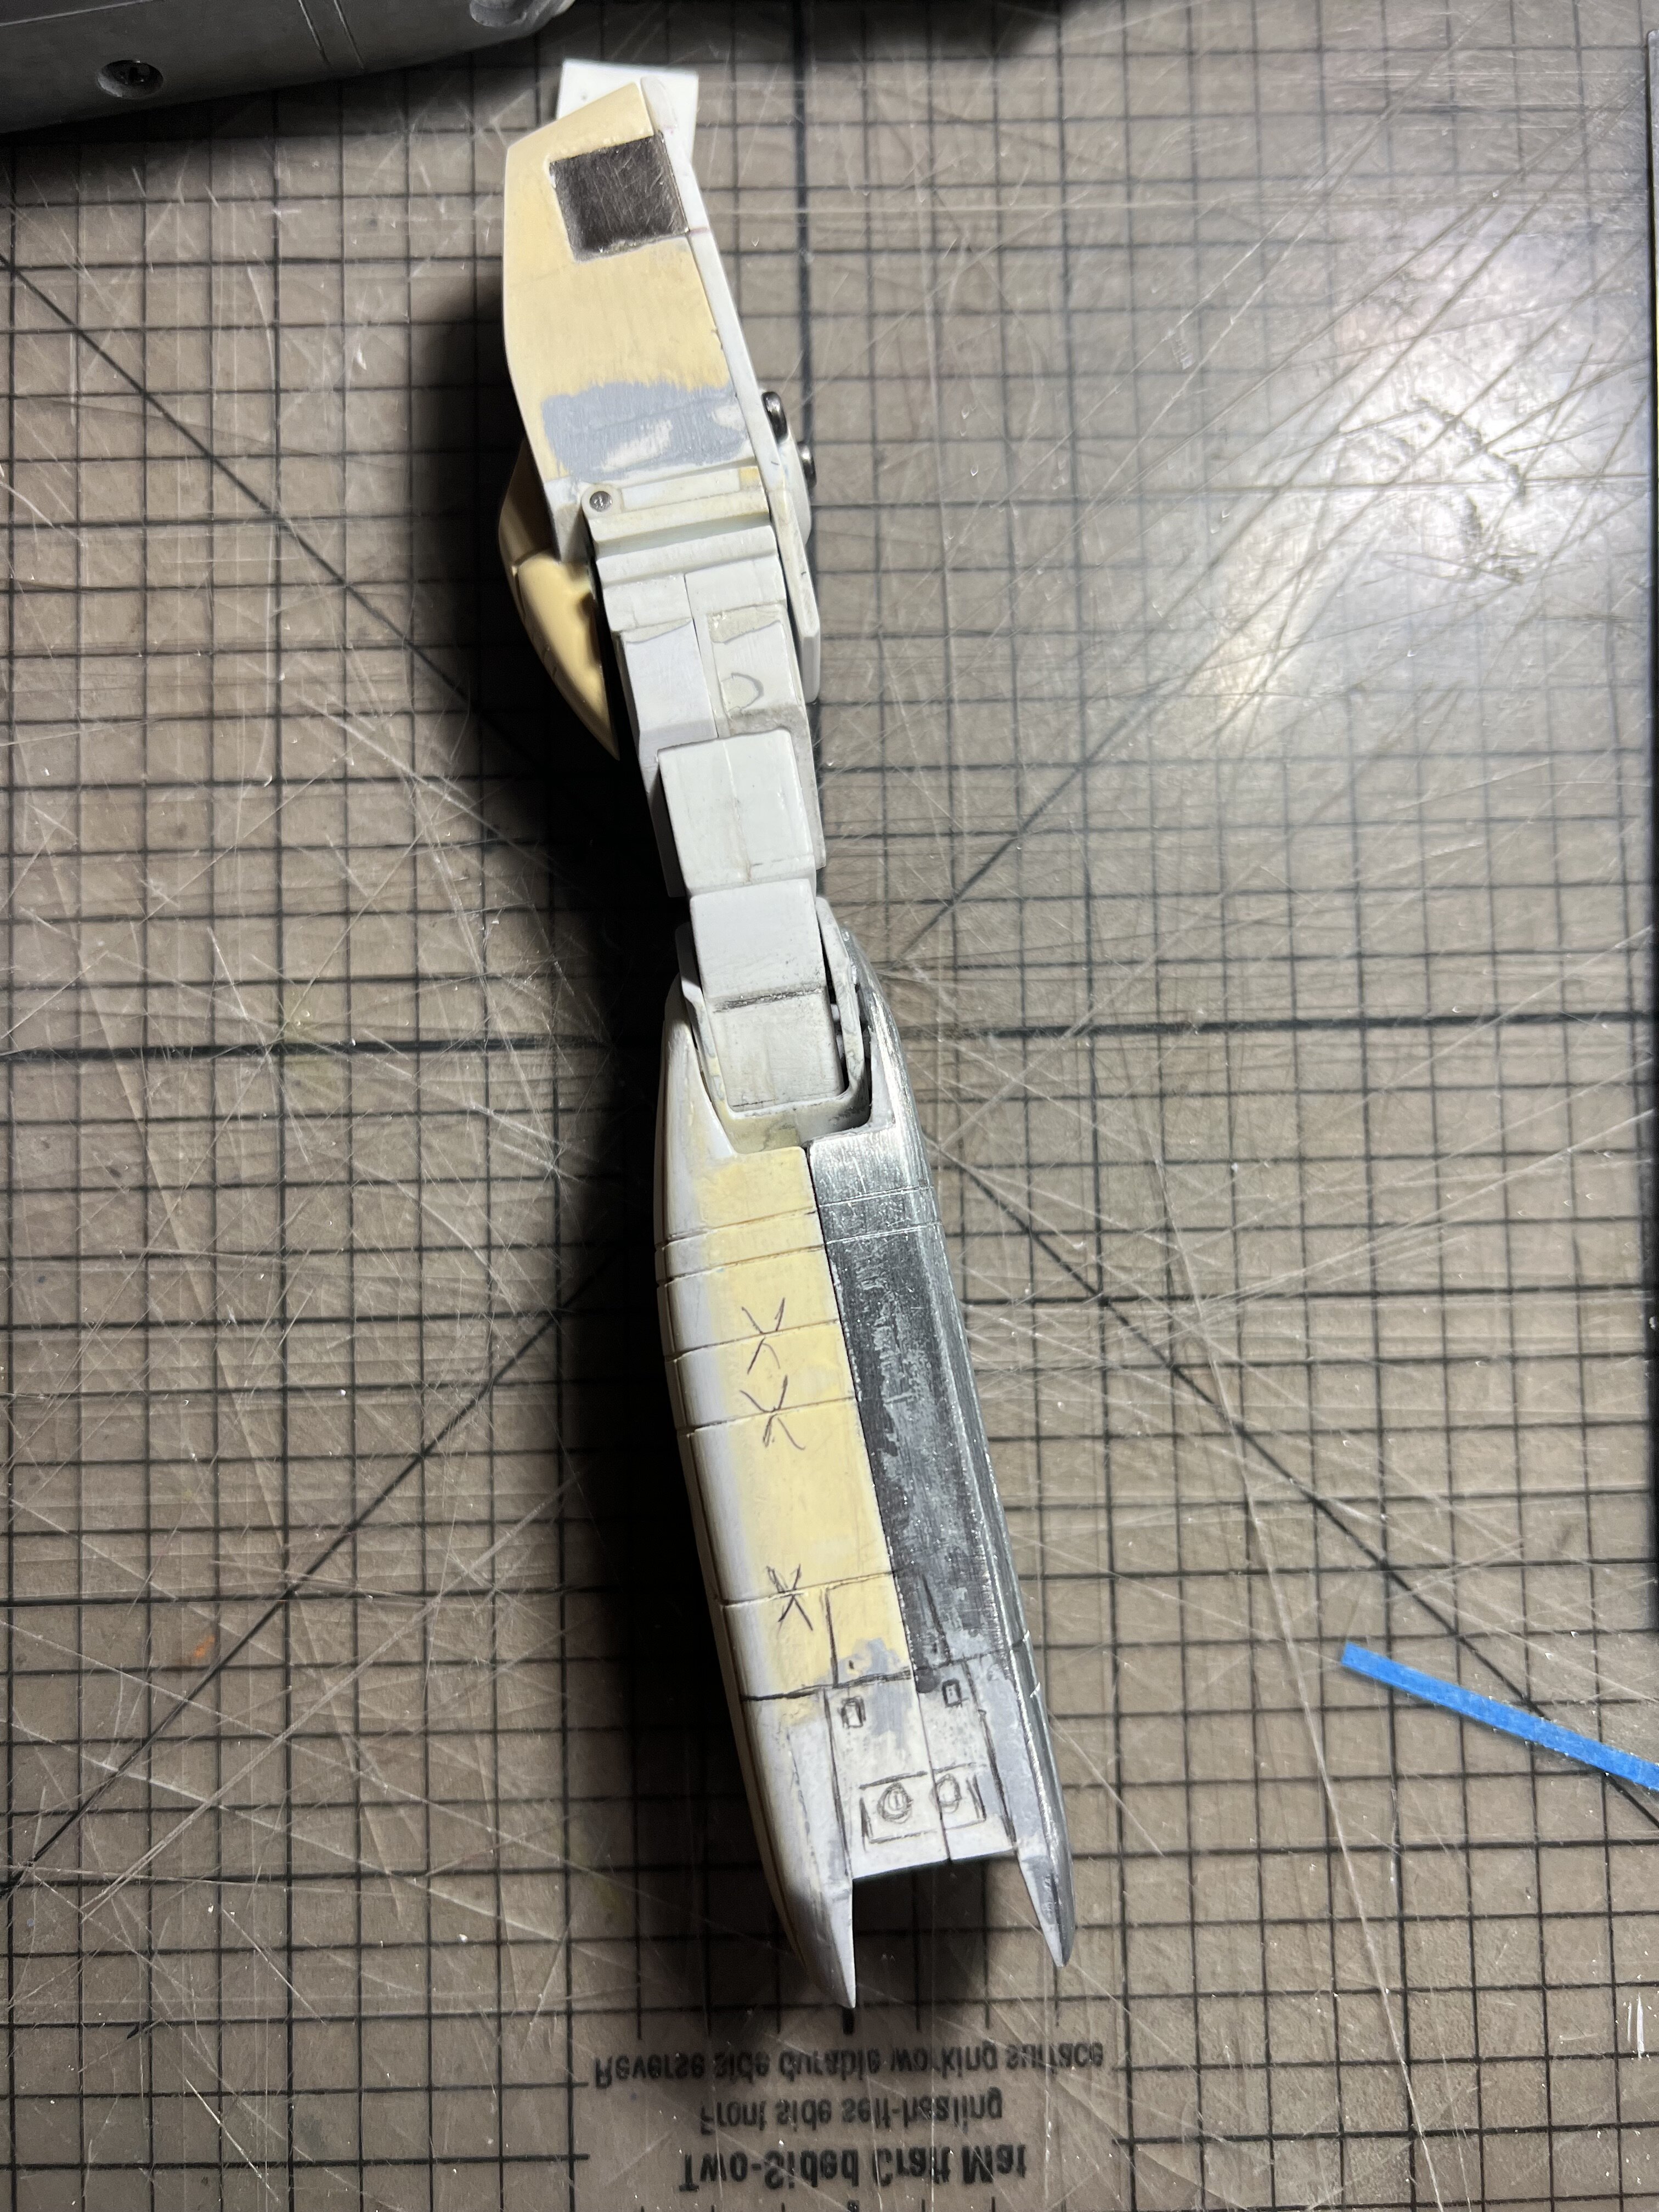
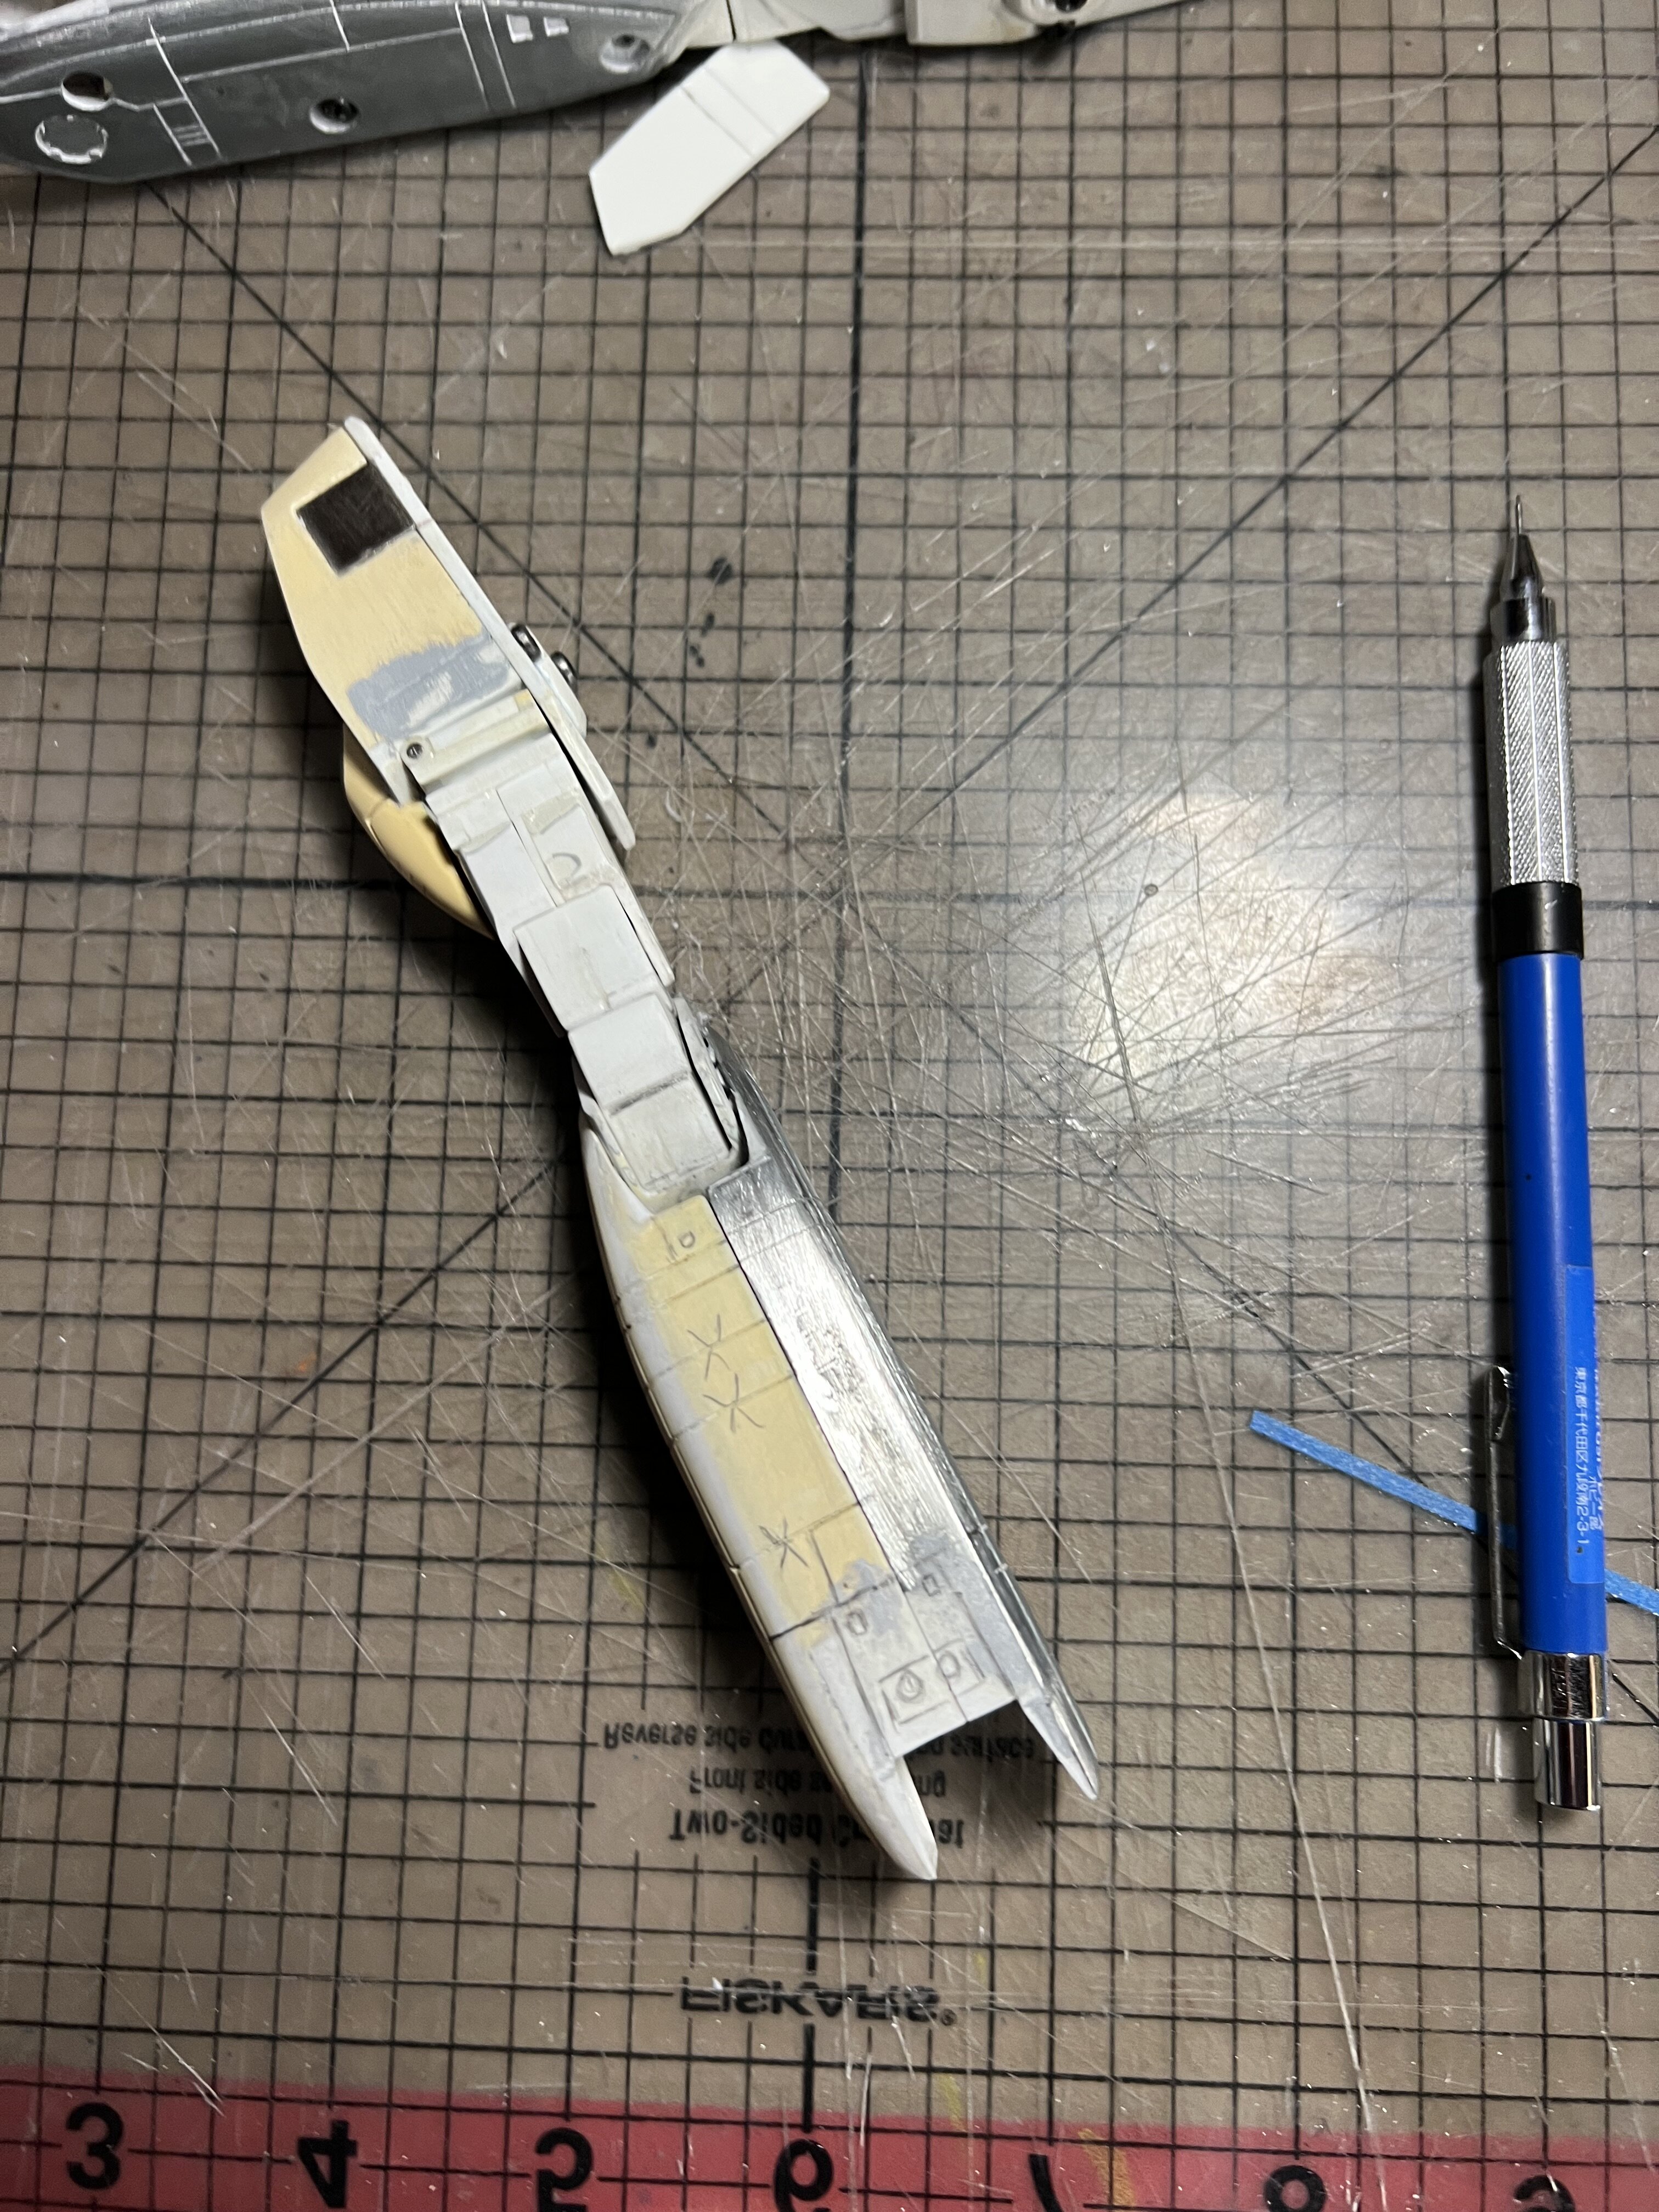
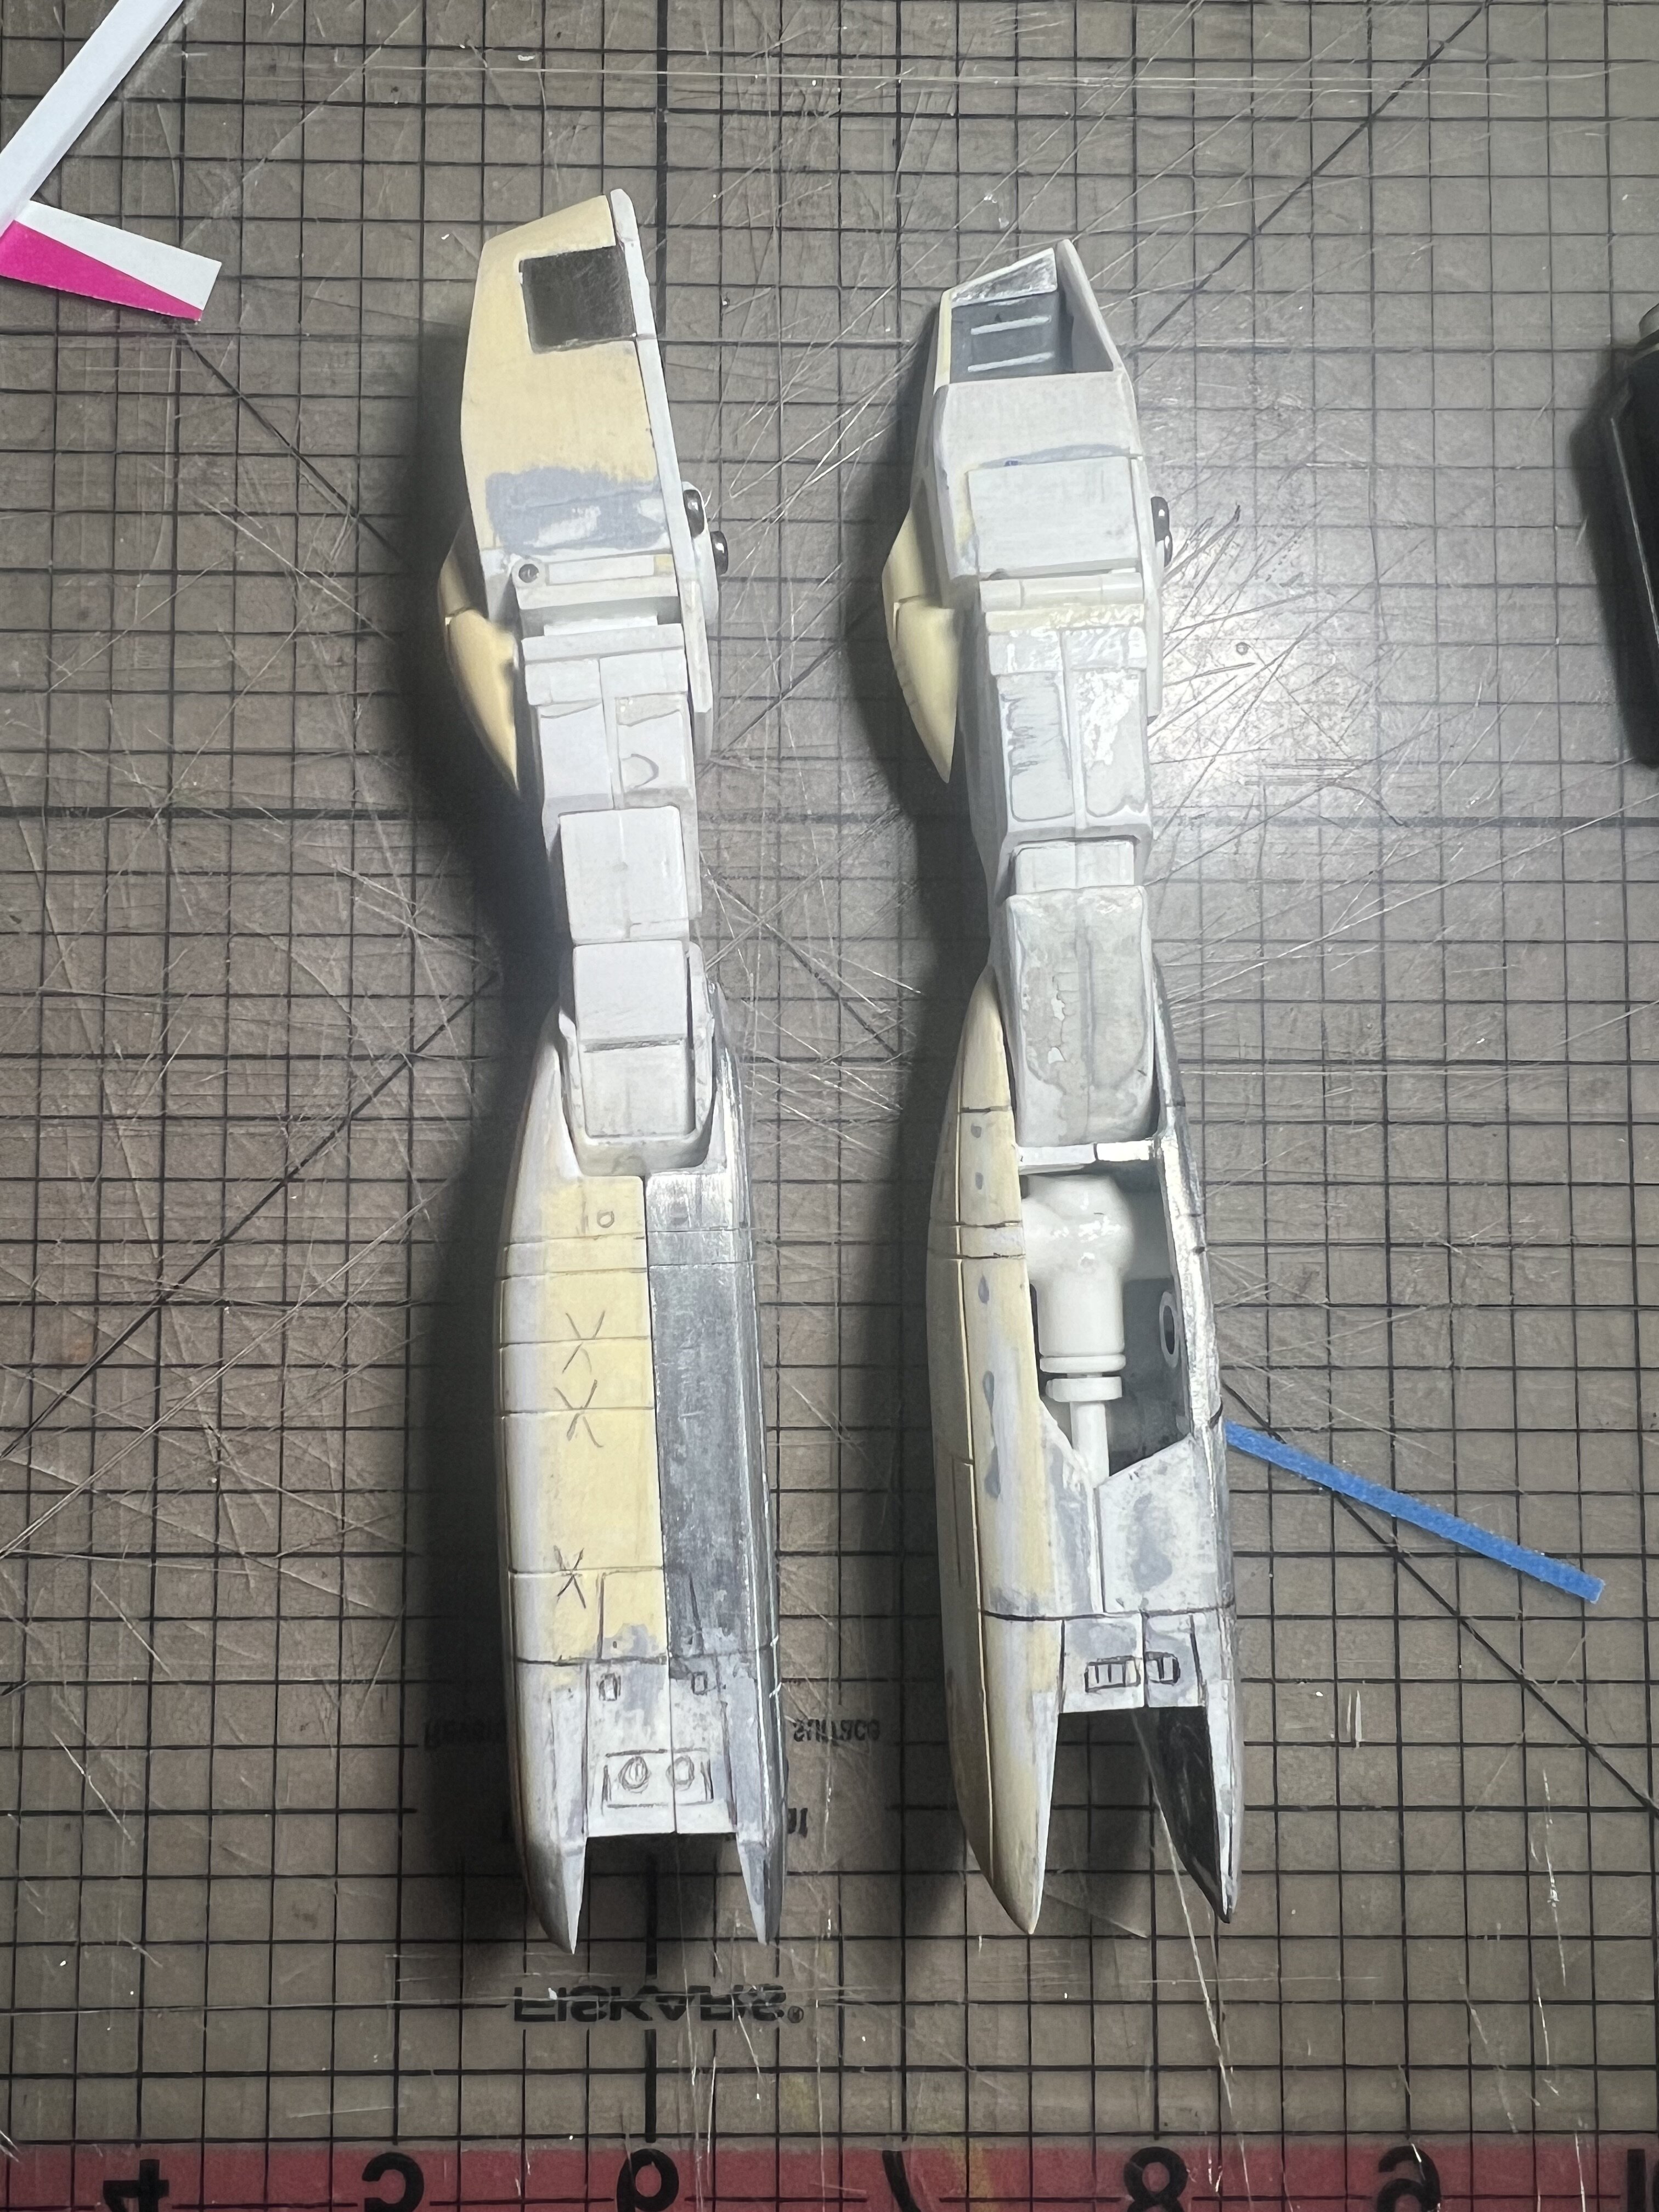
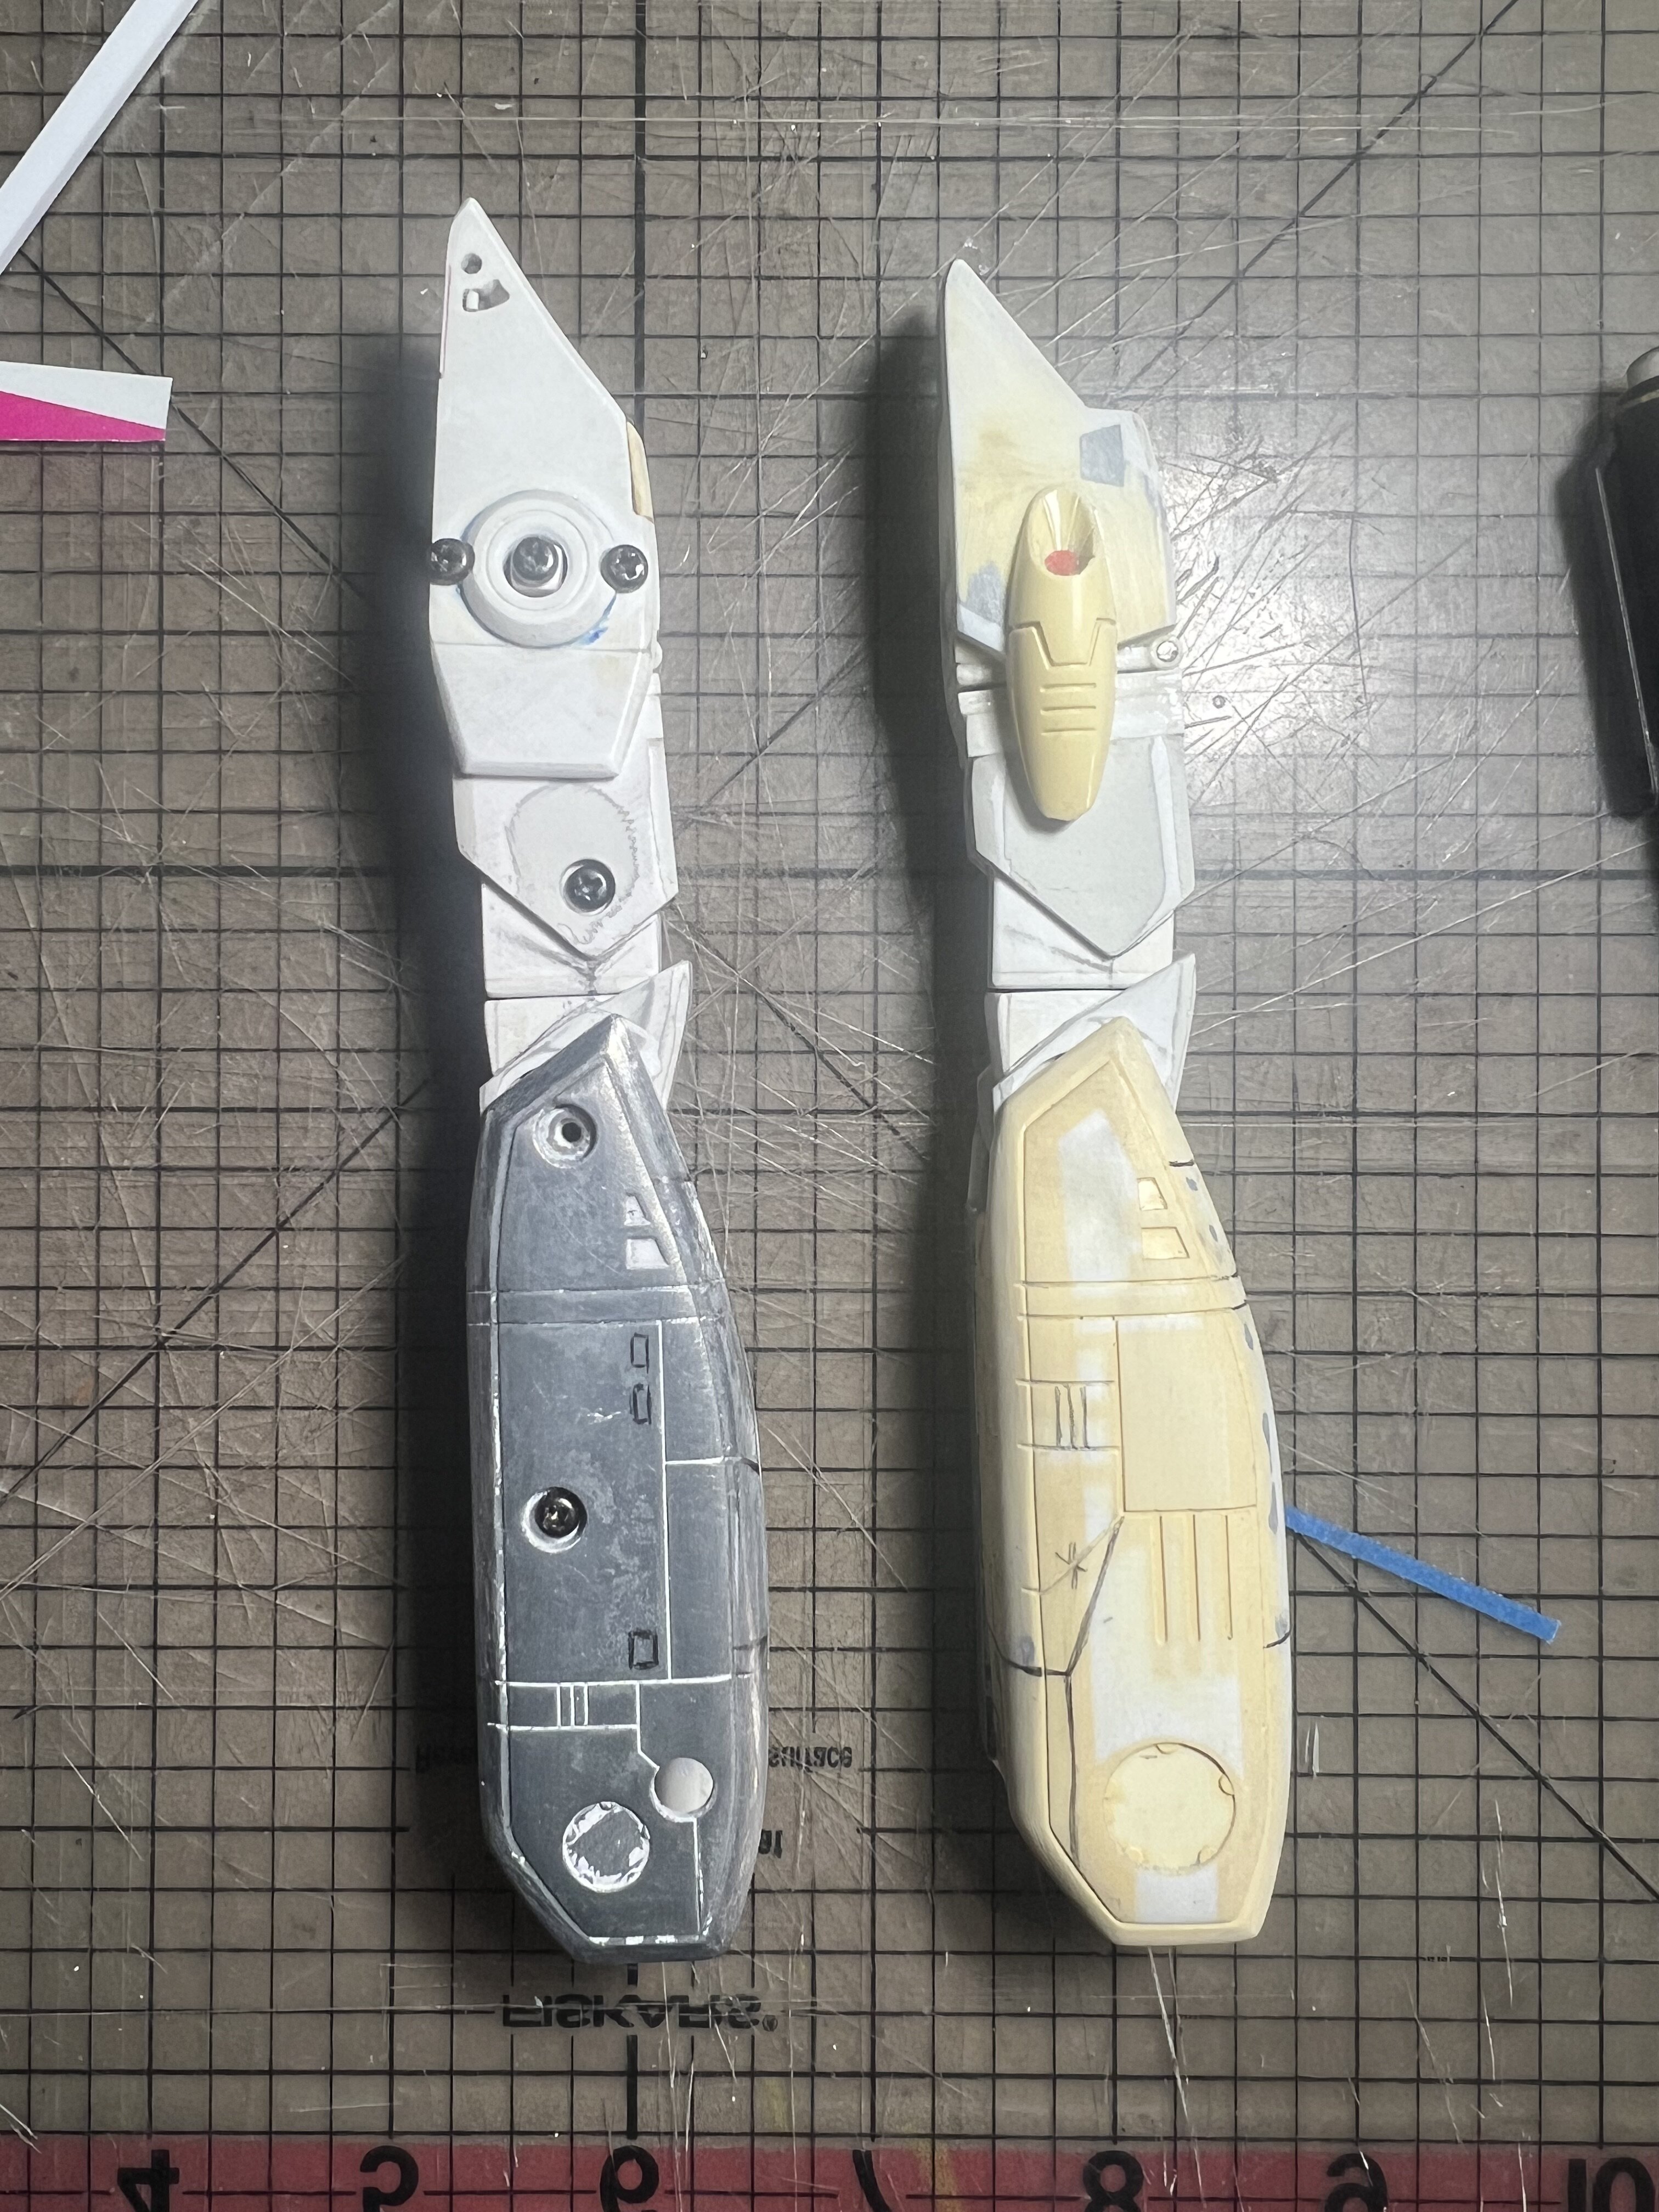
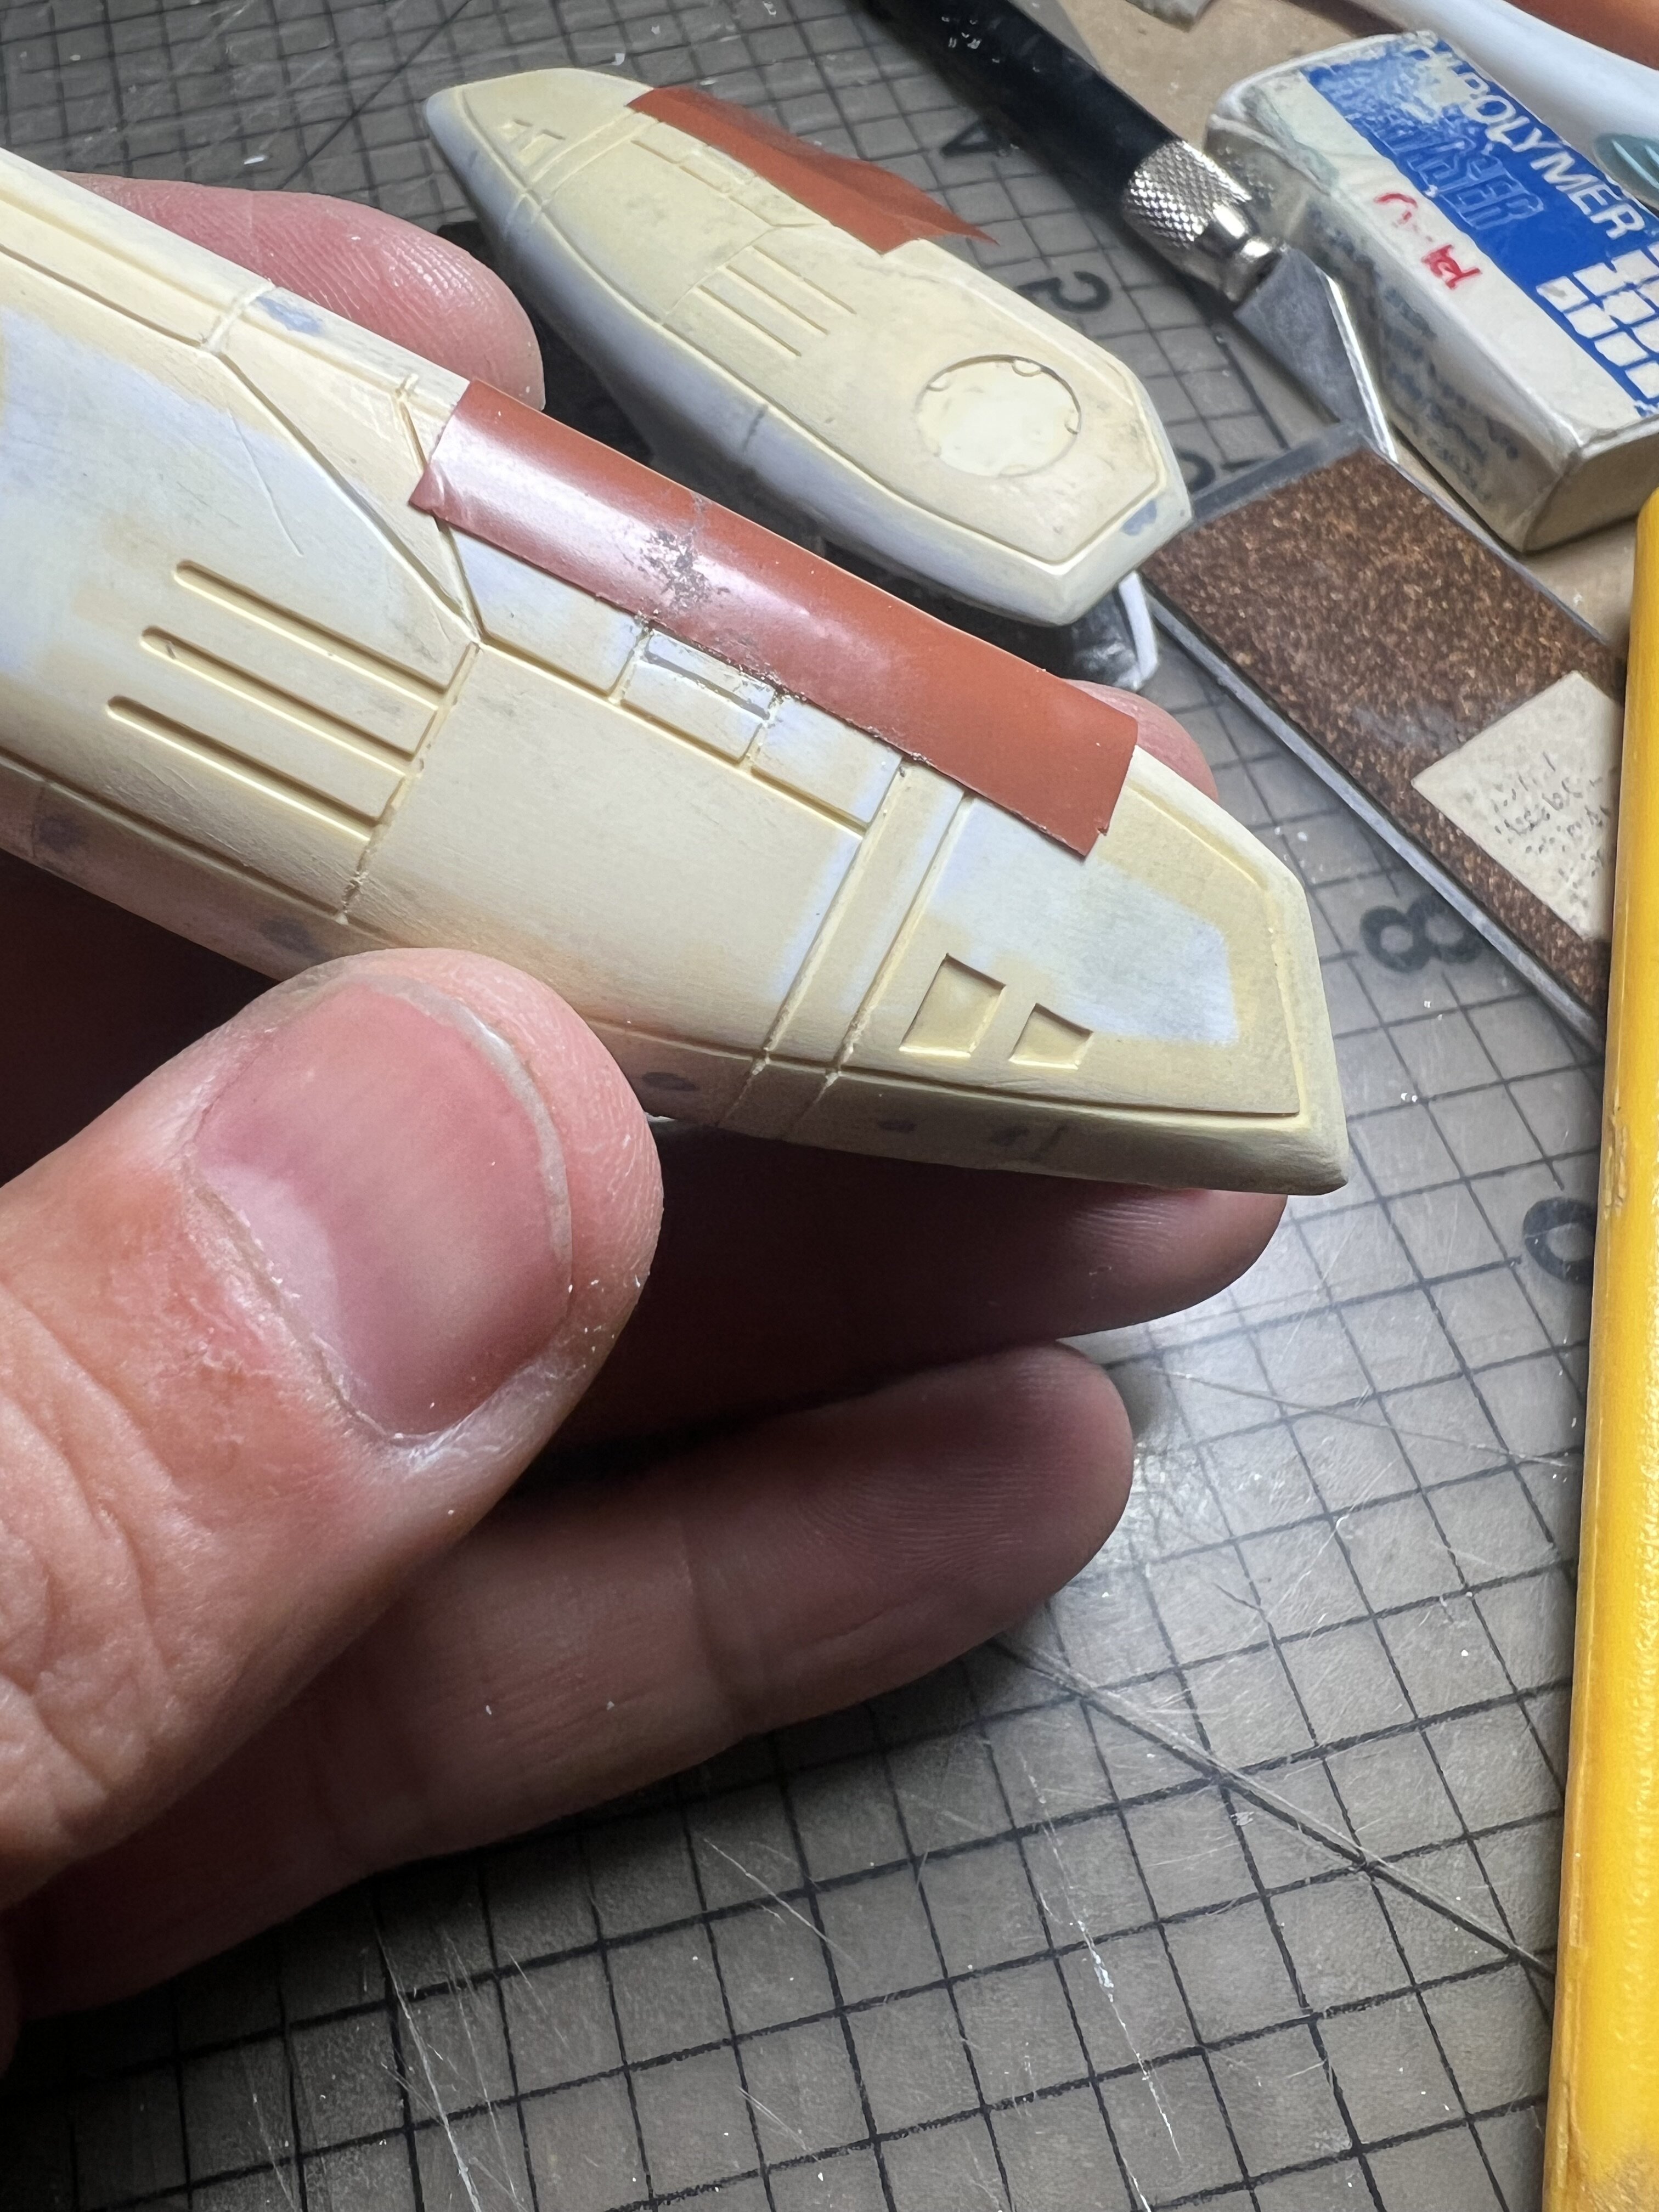
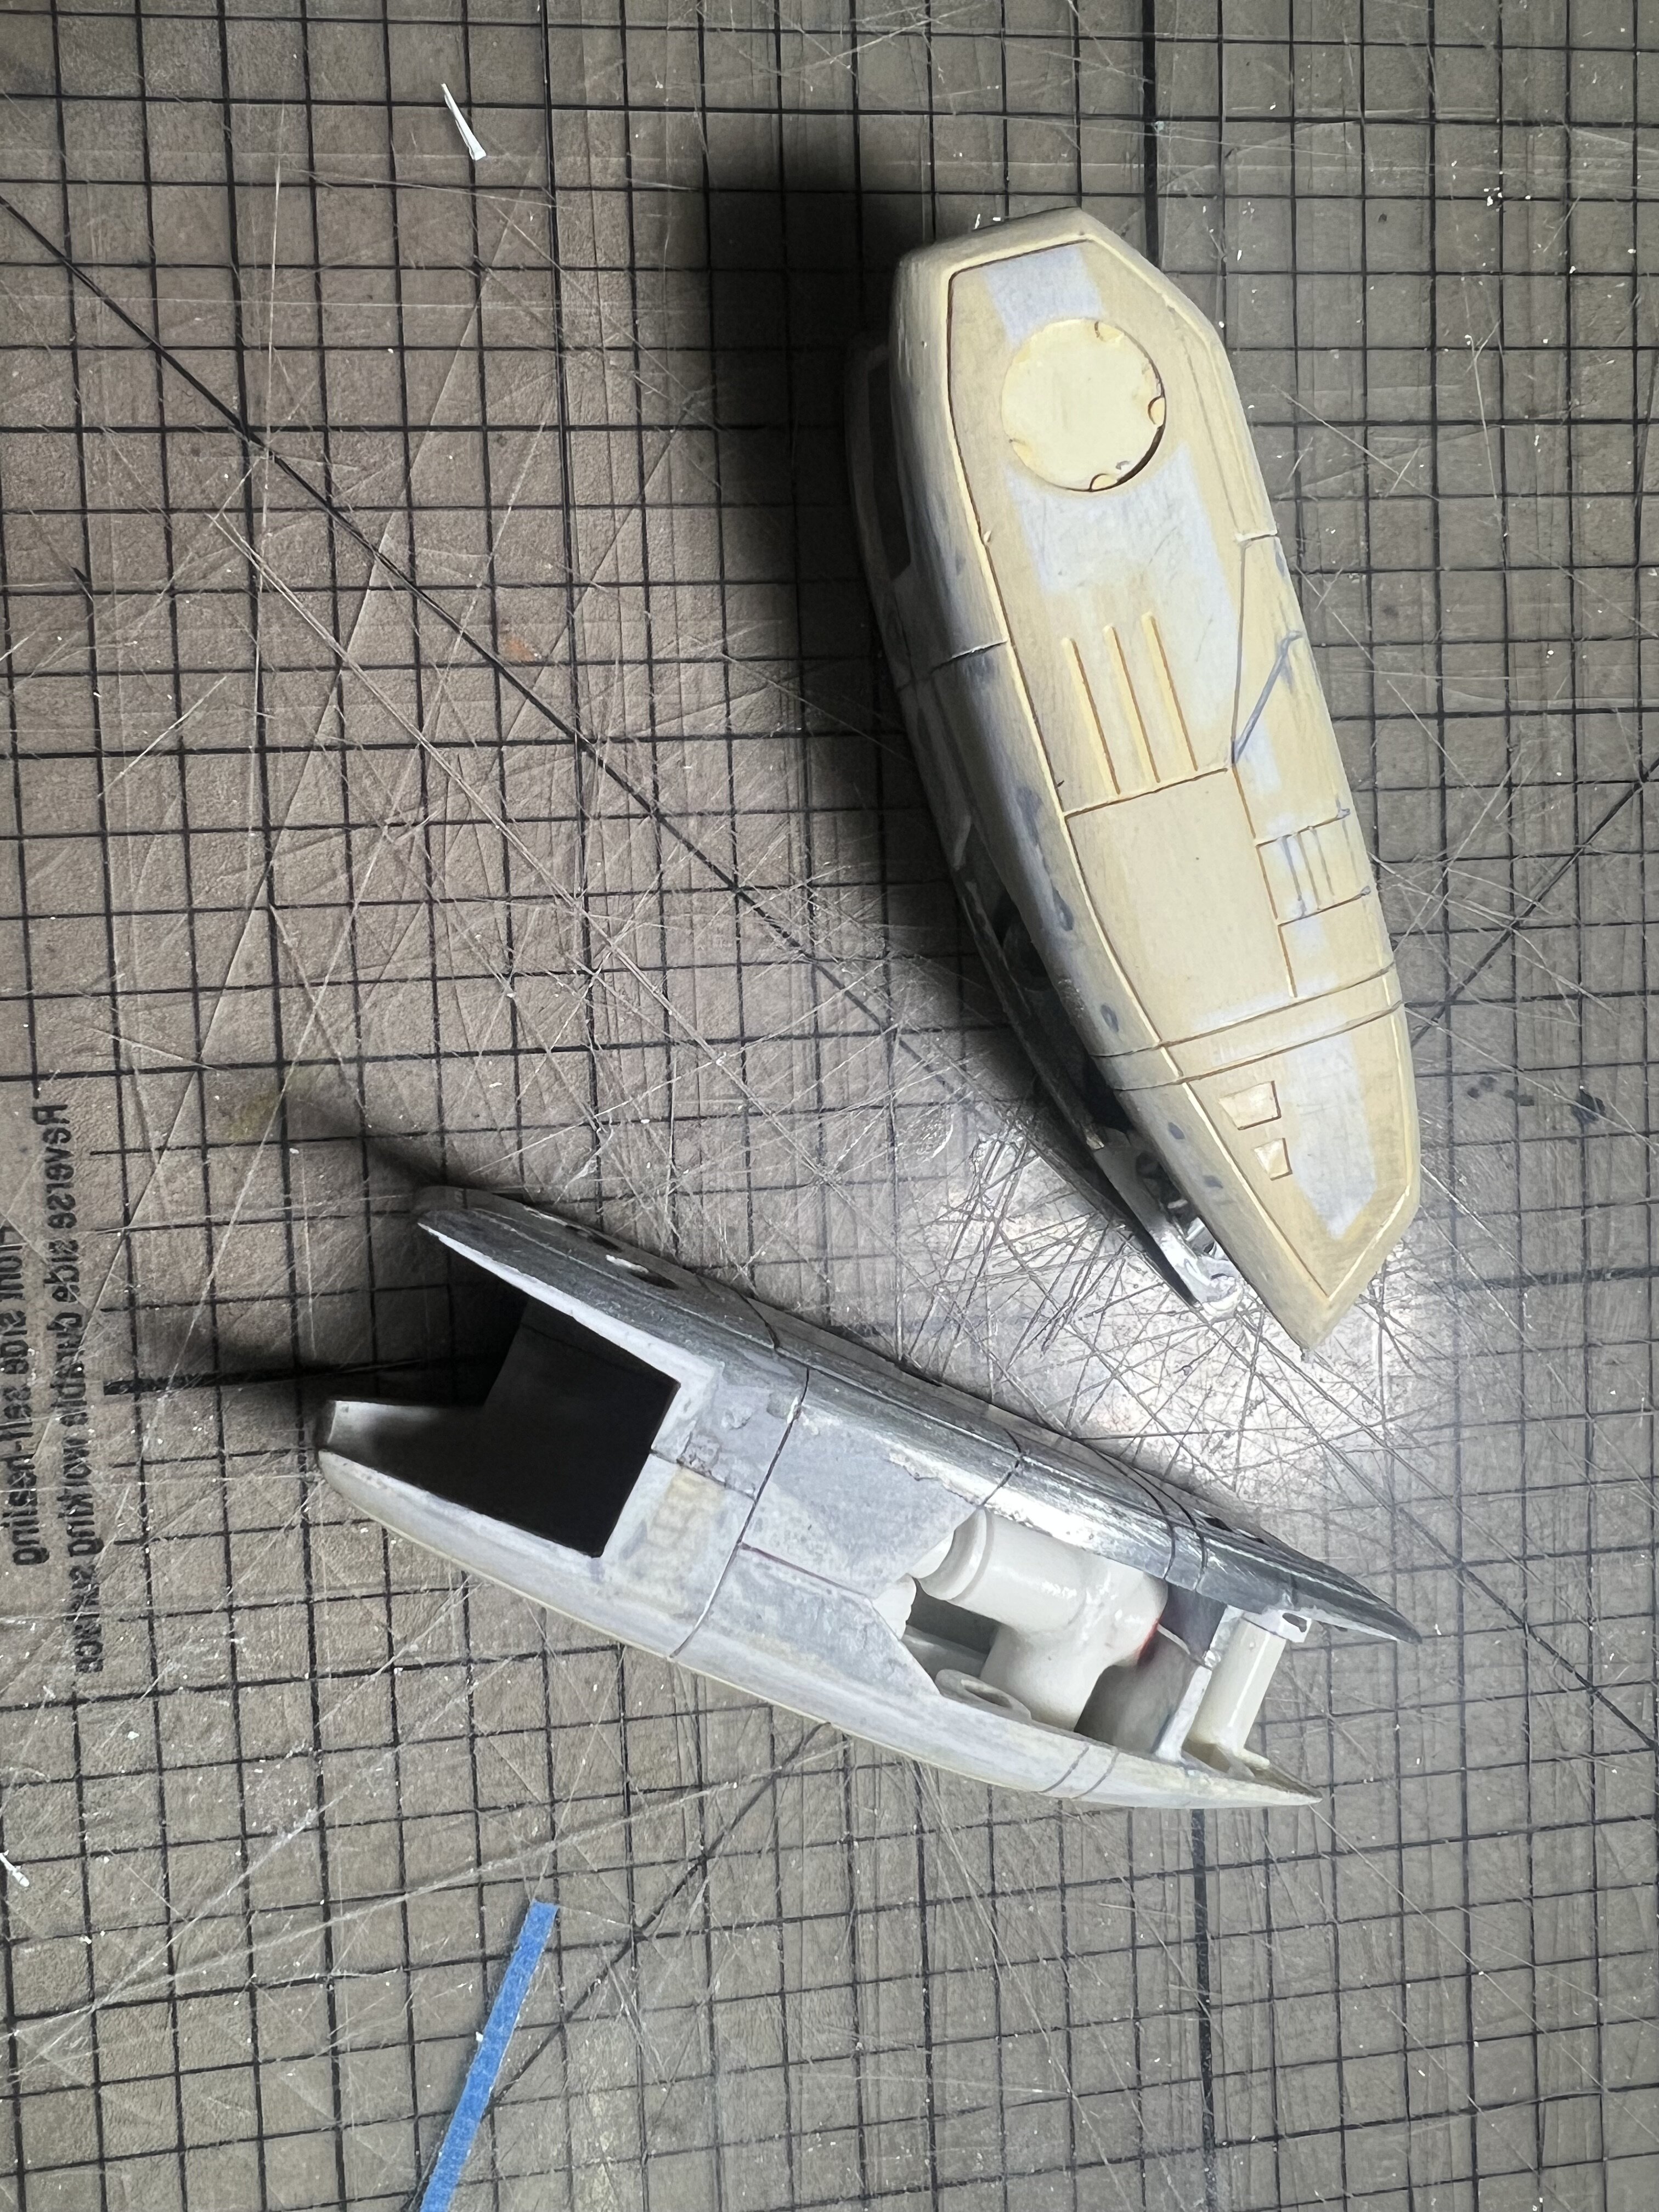
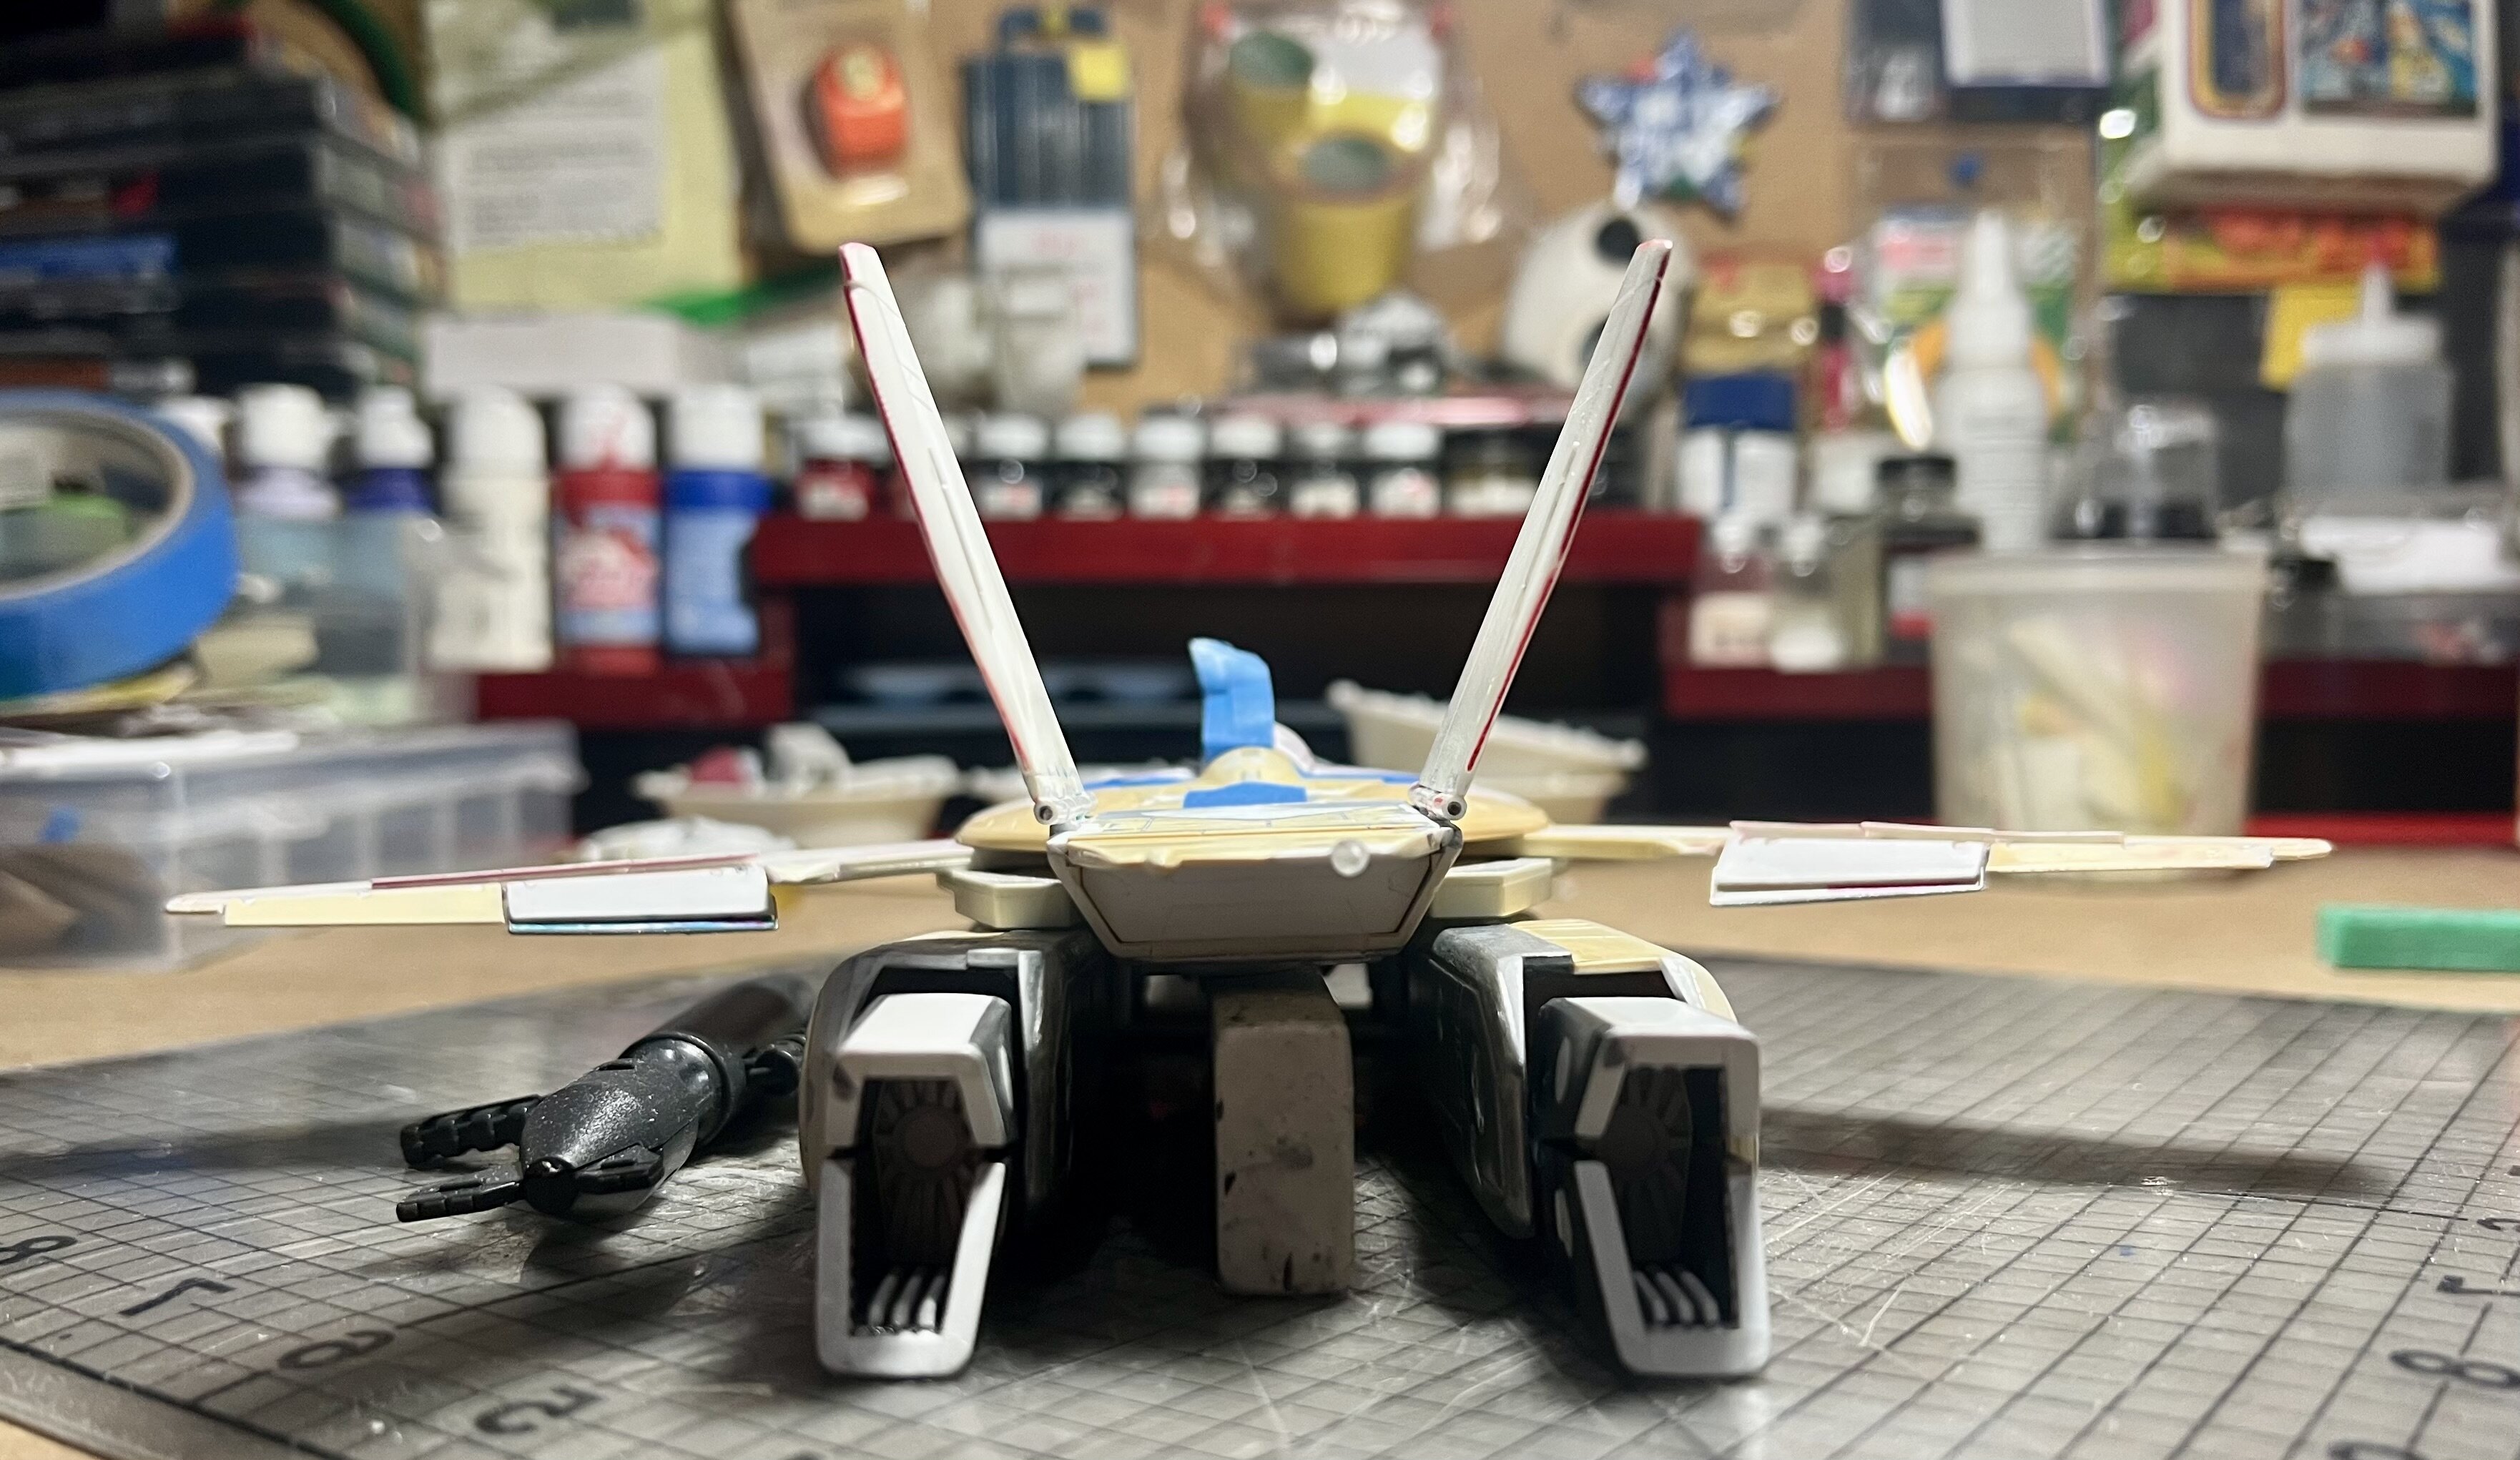
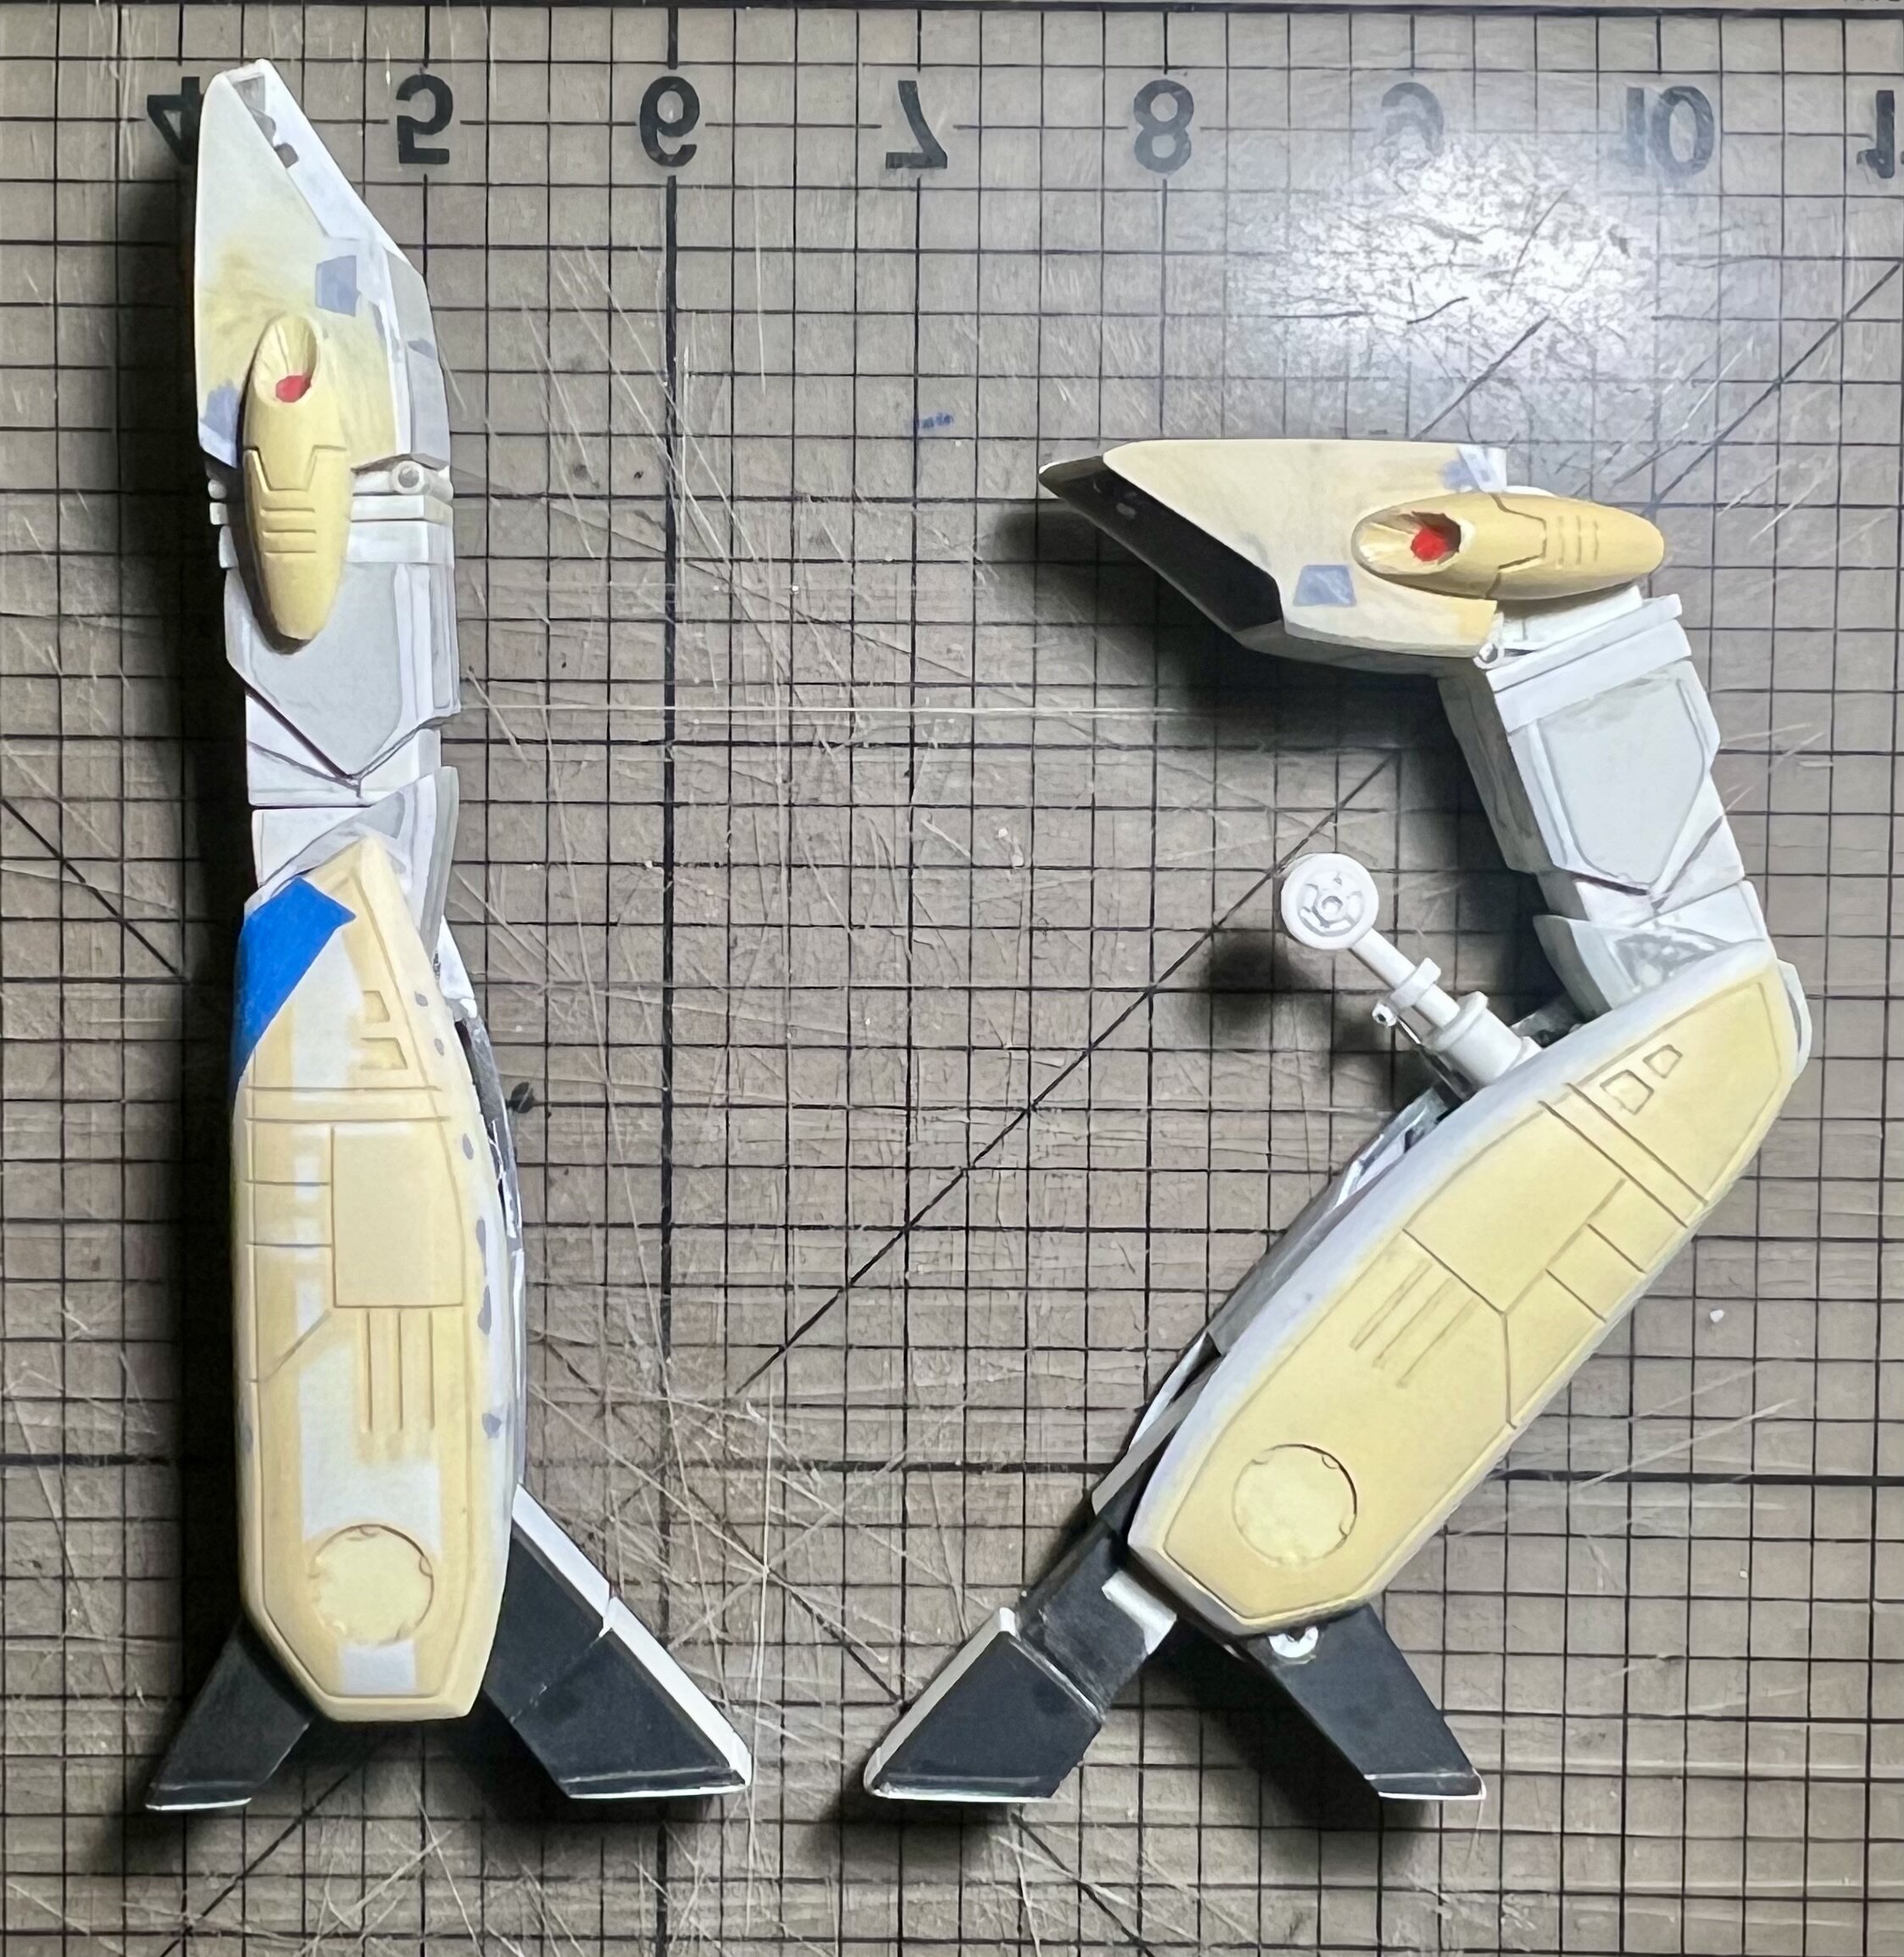
Took a bit of a break away from my 1/55 custom. In the last couple of days feet and thrusters were created with extensive detailing. This sure is a fun project. -

N/S Takatoku Toys VF-1S Model
nightmareB4macross replied to nightmareB4macross's topic in Model kits
It’s funny that I have seen this video months before and never made a connection. I was actually looking for something else. 😅 -

N/S Takatoku Toys VF-1S Model
nightmareB4macross replied to nightmareB4macross's topic in Model kits
Thanks for clarifying it as a bootleg. Just wasn’t sure. But as you can see here, quite a few varieties were released. I just found it strange that it was labeled Takatoku.

