Grayson72
-
Posts
2563 -
Joined
-
Last visited
Content Type
Profiles
Forums
Events
Gallery
Everything posted by Grayson72
-
Next I started working on the upper arms and shoulder missile launchers. I immediately ran into problems (of course!) The shoulder missiles were way to big to sit on the battroid shoulders. It would have been one thing to just plug up the gaps around the shoulder but it also left me with a dilema of how to attach the missile launchers and still have the shoulder stub reach the polycap shoulder socket on the main body. I had two choices, one was to cut the shoulder in half fill in the holes in the missile launchers and glue the stubb to the inside of the launcer, or I could extend the length of the stubs on the shoulders to reach all the way through the missile launcher and into the polycap socket on the main body. I decided to go with option two since the first option I decided would have looked too weird. I started by filling in the large gaps on one side of the the missile launchers with sheet styrene.
-
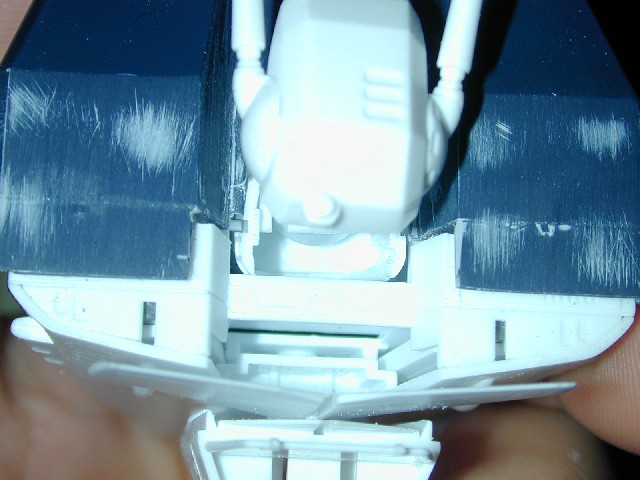
Here's a better shot from underneath

-
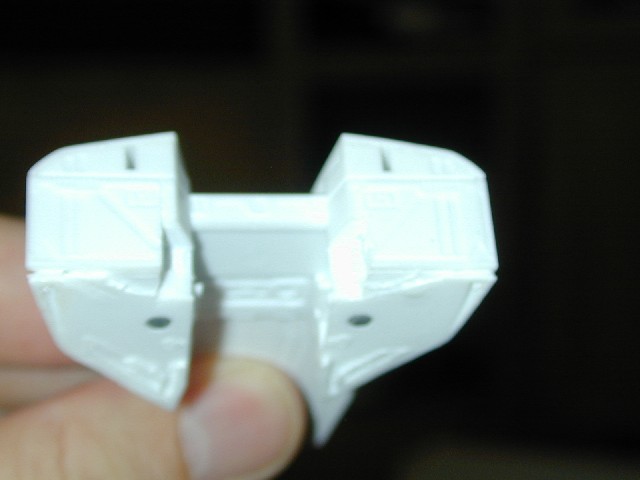
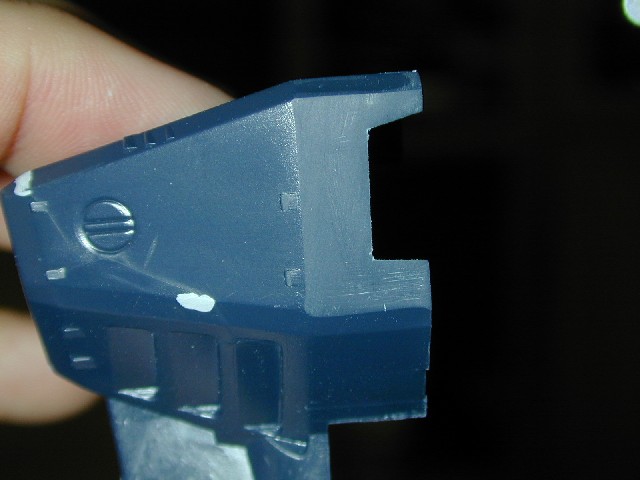
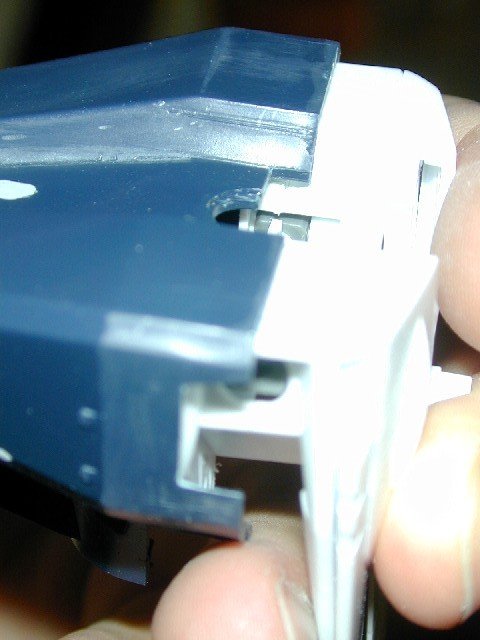
The side pieces below the arm socket had to be notched as well to fit snugly into the back of the Hase body.

-
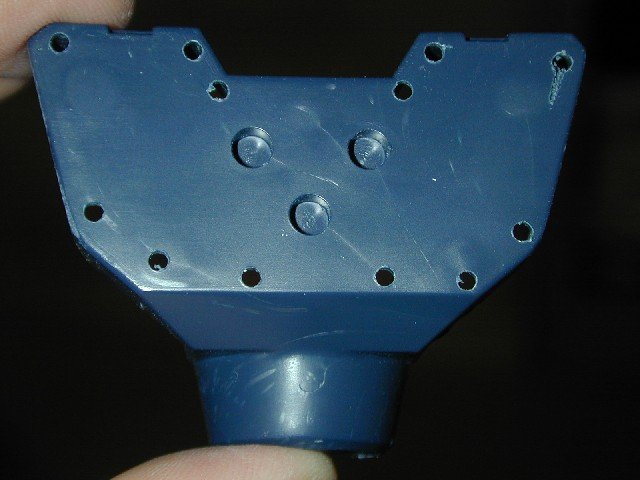
Here's a shot of the top with the back pieces.

-
Here's a side shot of the side with the back pieces added on. The back pieces actually had to be cut into 6 small pieces (two on top and two on each side, above and below the arm socket) in order to sufficiently extend the chest piece to mate with the main body of the Hase kit.

-
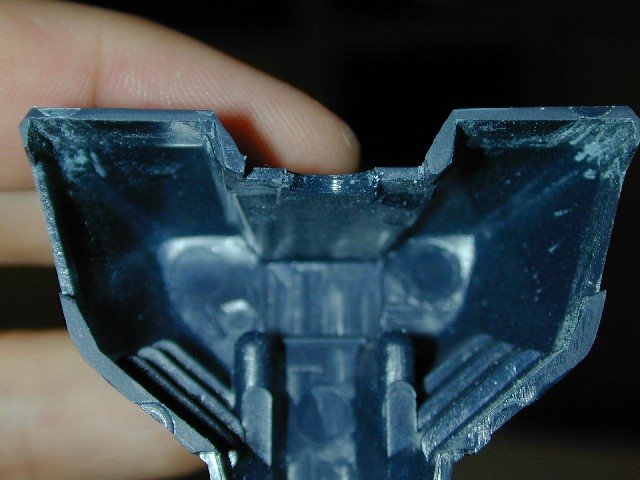
Here's a shot of the top with the notch cut out and a test fit of the fuselage. I roughly cut out the notch with my dremel tool again and the sanded it into a better round shape by wrapping my exacto knife in some sand paper.
-
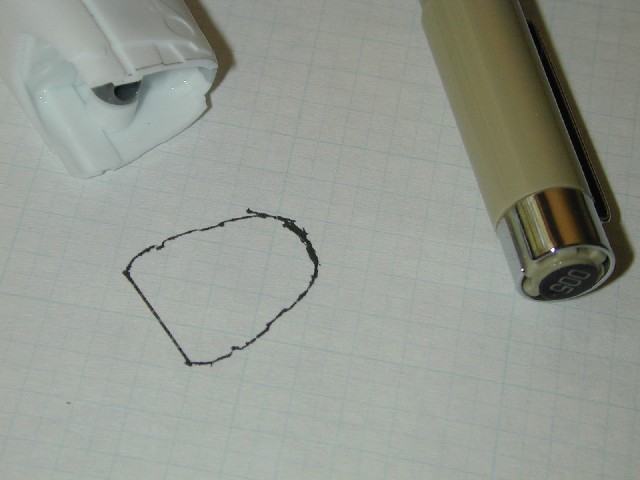
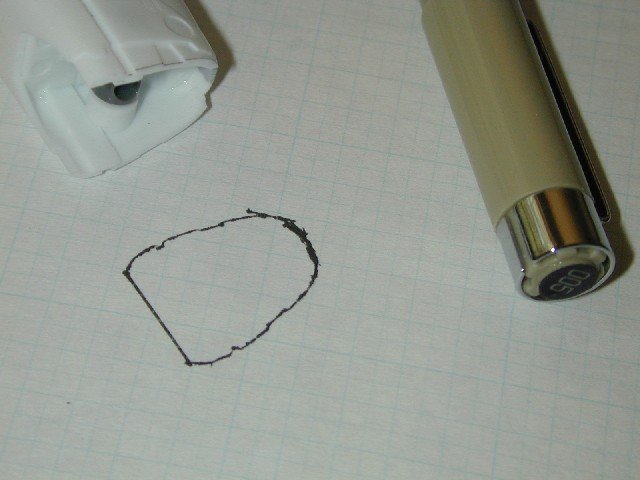
To cut the notch for the fuselage I made a template out of paper by simply tracing the outline of the fuselage and cutting it out. It was a lot more simple to use the template to then trace the general outline on the chest piece.
-
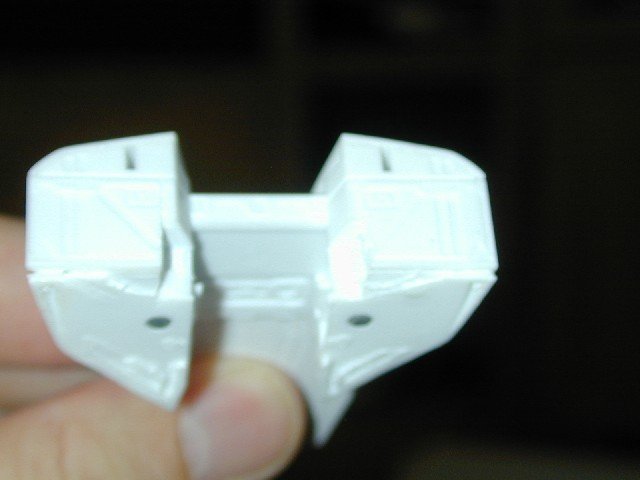
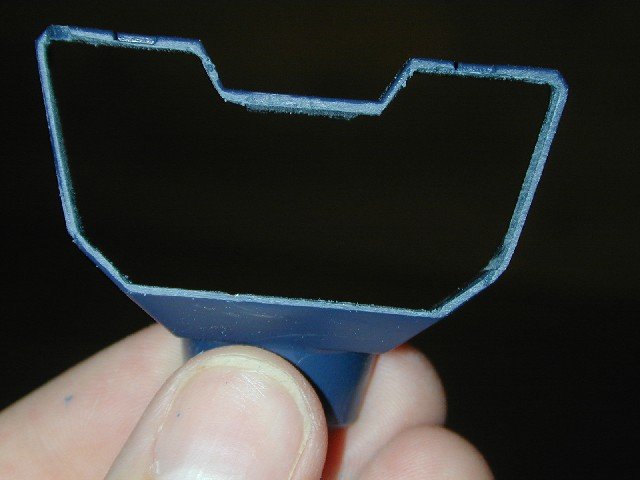
Here's a shot of the top before the back pieces were added. Also note in this shot the groove hasn't been cut to allow the top of the Hase fuselage to fit. The original hole for the original head is still there.
-
Here's a side shot before I added the back pieces

-
Here's the chest piece before I added the back pieces
-
Of course I had to cut off the chest plate off of the Hase battroid to get it in there. I would have never glued it on in the first place if I'd know I was going to do a kit bash.
-
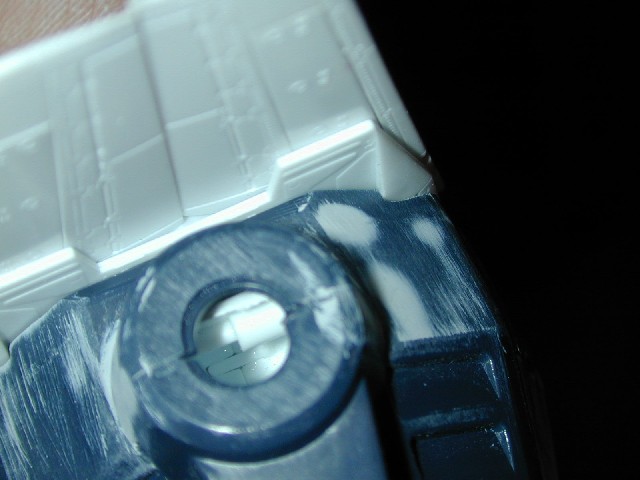
The main body of the Hase fit amazingly well inside the chest armor, I only had to cut away some of the plastic in the corners to get a snug fit. The plastic on this old battroid kit is unbelievably thick.
-
Here's a side shot of the front part of the chest, I had to cut off a blocky part on the side of the chest that would have originally connected to the shoulder missile launcher.

-
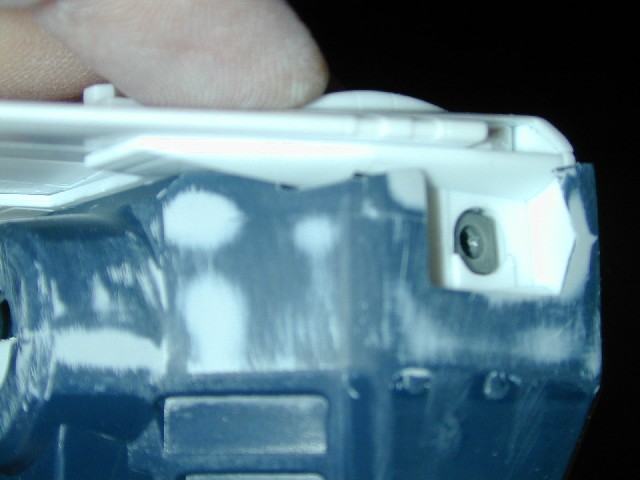
Here's the back cut away, I used a cutoff wheel on my dremel tool to do it. Made quick work of the job.
-
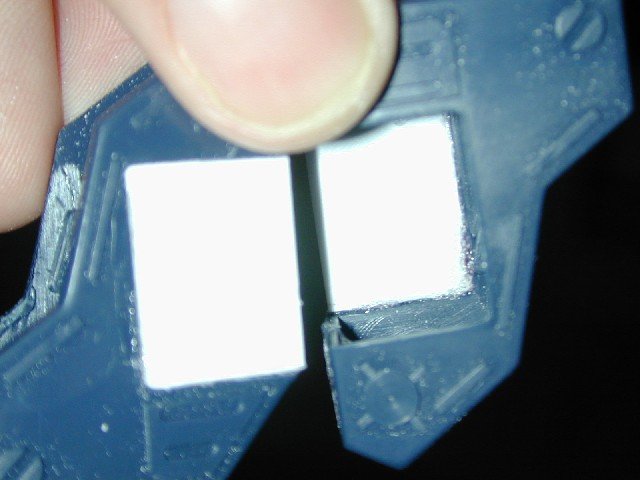
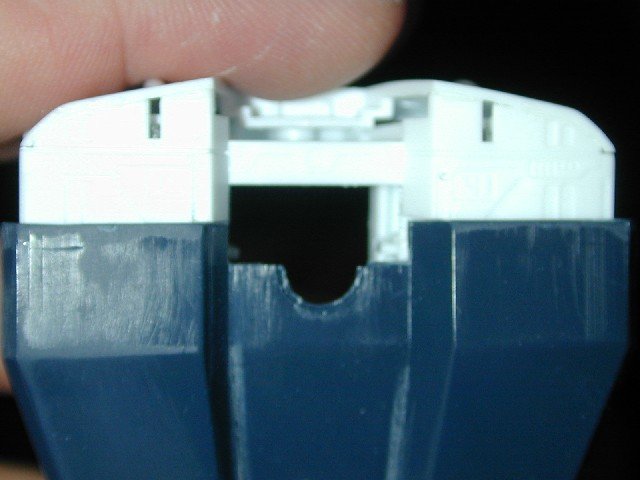
At the same time I was working on the legs and waiting for the leg stuff to dry I started on the chest section. I actually started with the back, most of which I had to cut off and discard. The front piece by itself doesn' extend back far enough to mate up nicely with the main body of the Hase battroid. I drilled a bunch of holes at the corners to assist me with cutting away the back.
-
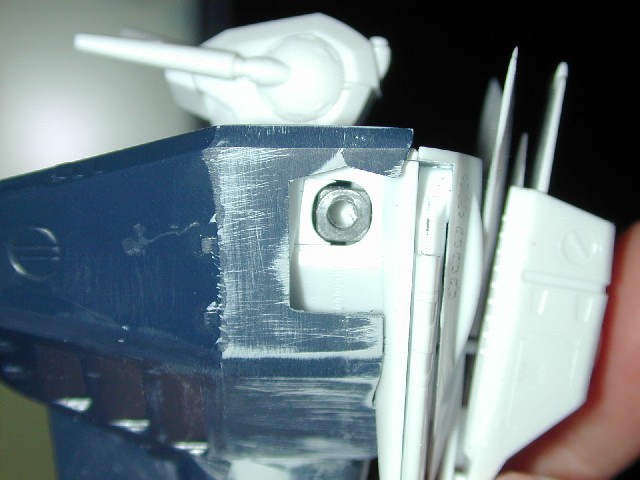
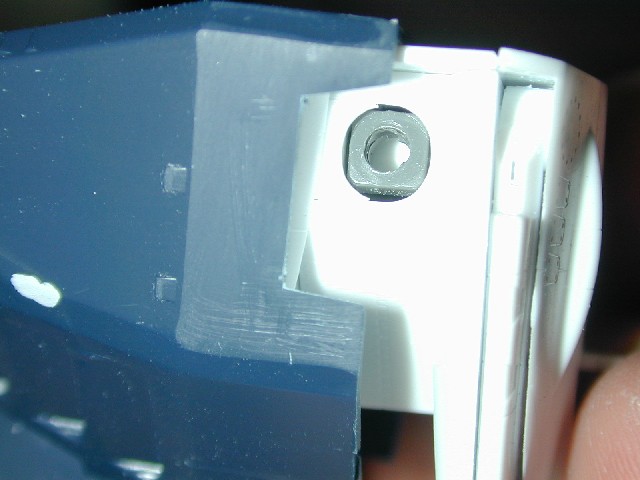
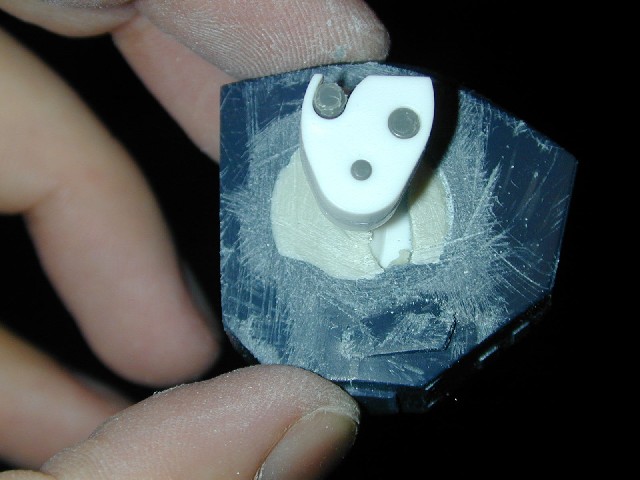
Here's a shot of the back of the lower torso. The gray center is the putty I stuffed the section full of earlier. The rear of this lower torso stuck out so much it hit the folded wings of the Hase battroid when it's mated with the chest armor. I had to cut about a quarter inch of the back just to get it to fit. You won't be able to tell it's been cut away though since the folded wings on the Hase kit are so long they cover it up. Also in this shot you'll notice I've got the mid section of the leg attached to the armored leg now, I cut the very top off the Hasegawa leg so close that all that was left on each side of the mid-section of the leg was two little triangles. To get it to sit inside the armored leg I stuff the inside of the top of the armored leg with the two part epoxy putty and then jambed the Hase mid secion with the two triangles in the space I wanted it. I let it dry overnight and the next morning it pulled out of the top of the armored leg. I was hoping it would stick in there but at least I had to hard casts that were the shape of the inside of that armored leg. So I just took some gap filling superglue and glued the whole thing back in. I can clean up the gobs of putty later.
-
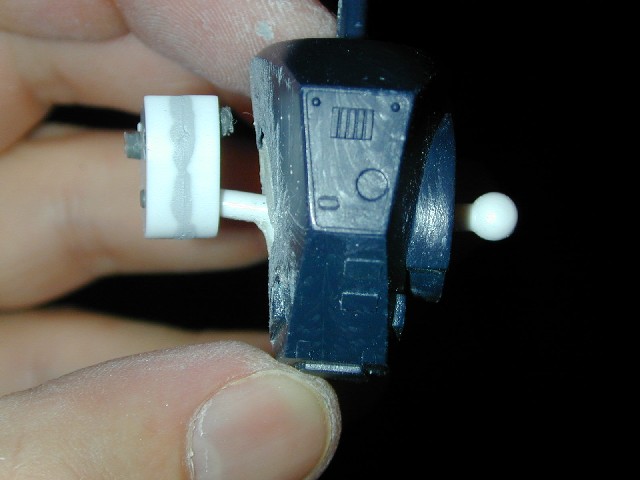
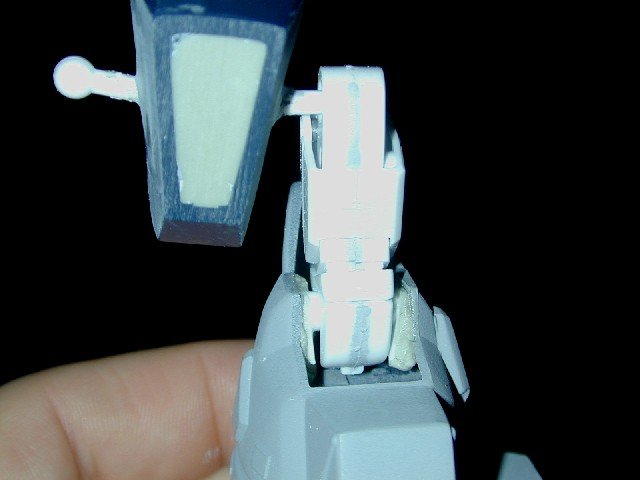
The part that's attached to it is the upper part of the Hasegawa leg, it fits inside the covered intake of the model which then fits inside of the armored portion of the upper leg. I'll have to cut away most of the intake section to make it fit properly.

-
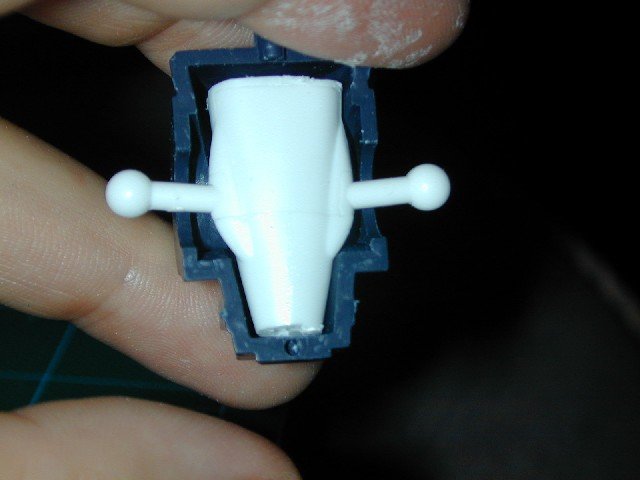
I filled the gaps with two part epoxy putty, this stuff is turning out to be pretty darn handy. It dries pretty hard but you can still cut and sand it as well. In this shot the two halves have been closed and the stubs centered. The putty pretty much takes over night to harden which gives me a long time to work with it. Good thing I'm not in a rush
-
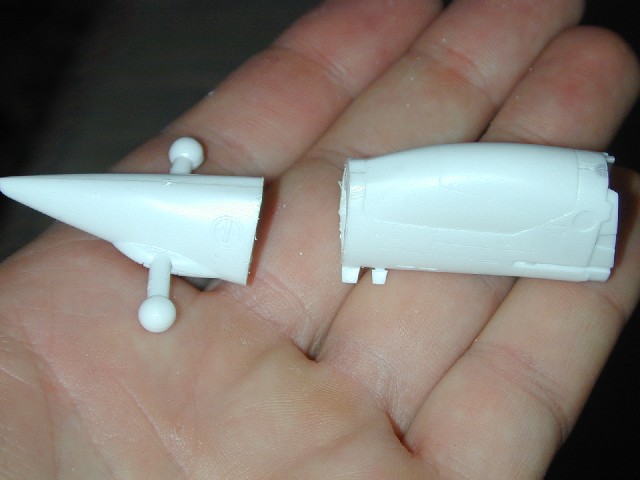
The lower part I cutoff fit pretty well into the lower torso of the armored kit. I had to cut the very tip of the nose cone to get it to sit right in there.
-
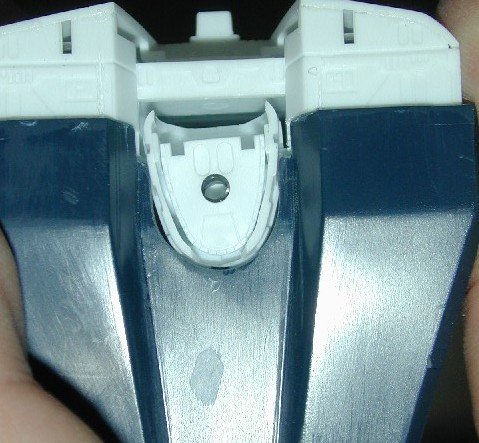
Ok time for an update, in this next series I kinda wander around the whole model doing small modifications while I wait for other parts to dry etc... Here's how I'm doing the lower torso where the legs attach. I cut the section of the main body off that have the leg stubs.

-
You're nuts, that looks about as simple as a rubix cube. Good idea on the doubling up on the casting. Jesse casts about as fast as molasses in February Just kidding buddy
-
Since Jessee is doing the casting why wouldn't he just cast those little knee parts from his own super kit?
-
God that bell is pure perfection, it's just so real looking, wait till I paint it with those Alclad lacquers of mine. muhawhawhawhaw
-
Now that's a gooooood tip!!!
-
Oh my friggin god that's beautiful! How the heck do you do raised details like the riviets and the the little horizontal lines where the bells go? By the super valk parts I assume you just mean the leg joints that help bend the leg into proper position? No leg armor.