Grayson72
-
Posts
2563 -
Joined
-
Last visited
Content Type
Profiles
Forums
Events
Gallery
Everything posted by Grayson72
-
Ah, so he dwells mostly in the toys section, that's why I don't know him.
-
I'm sorry, am I supposed to know who Rohby is?
-
Got anymore pics John? I need a booster fix today.
-
I'm still waiting for my original Ghost I won on Yahoo Japan to be shipped to me.
-
The Ghost is 1/72nd scale.
-
Yeah I just picked up an original 21 for 80 bucks on Yahoo JP. Pretty good deal if ya ask me.
-
So what other Macross recast stuff did you see there? I don't suppose they have a web site?
-
Hi Sean, welcome to Macrossworld, this is Macross central when it comes to toys and models. Some of the models and custom toy parts you see here occasionally can only be found on this site. If you get a chance we love seeing peoples built models, everyone shares so post some pics. Please make sure to shrink the size of them to a resonable size though. Grayson72
-
Thanks man, I think it's gonna be great! Hey anyone got any tips for making tiny hinges? I want the shoulder missile hatches to open.
-
It's coming together pretty well, couldn't resist this shot.

-
You should be able to find a really good diamond pattern from an existing kit like one of the hasegawas. Actually you know what had gobs of diamond plate to copy was the original 1/100 factory kit. If you've got one that'd be perfect. Hey how bout some more pics.
-
Almost attempting to take credit for someone else's work?...Not the best way to introduce one's self to the MW forums Yeah was that supposed to be funny or what?
-
Money shmoney, I take two
-
You say take it up a notch like he's got a 3d copy machine with an enlarging feature. He'd have to create a brand new sculpt starting from scratch. I doubt that will happen, especially since it'd be huge.
-
Yeah I said it wasn't gonna be removable in the very first post. I'm not planning on doing any mods really to the legs though. I'm using the mid and upper leg sections of the Hasegawa so it might make it longer.
-
Was it really featured in a magazine?
-
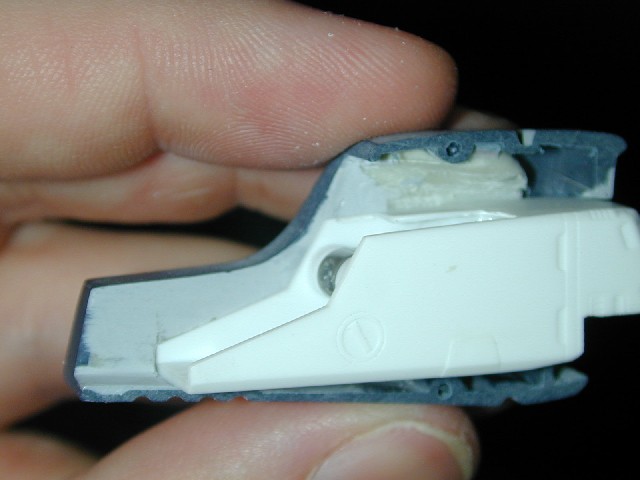
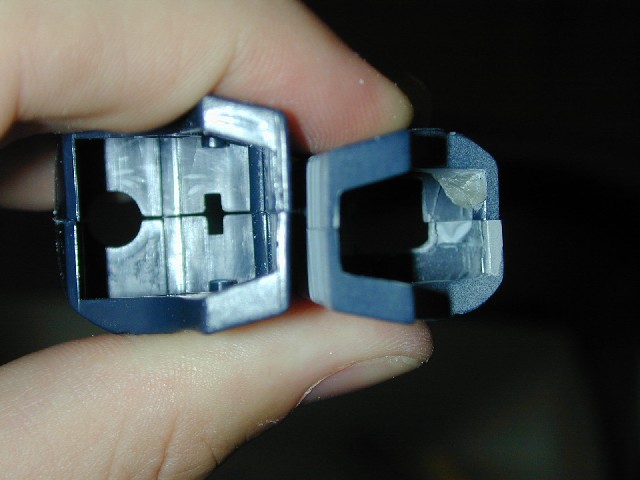
Here's the inside of one side with modified Hase arm. Because the new sides are now more narrow I had to cut away some of the putty I filled the insides with. I think it actually looks like a better customized fit like this

-
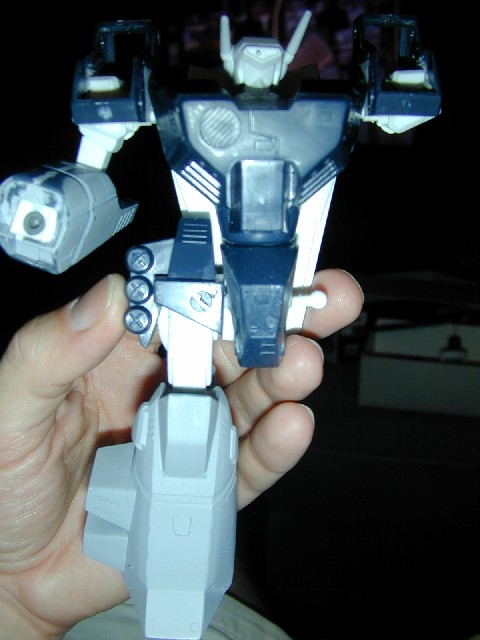
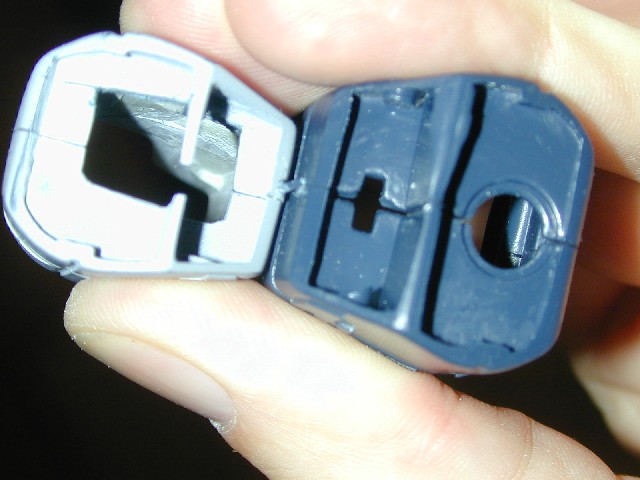
Here's a shot of the back of the modified and original for size comparison

-
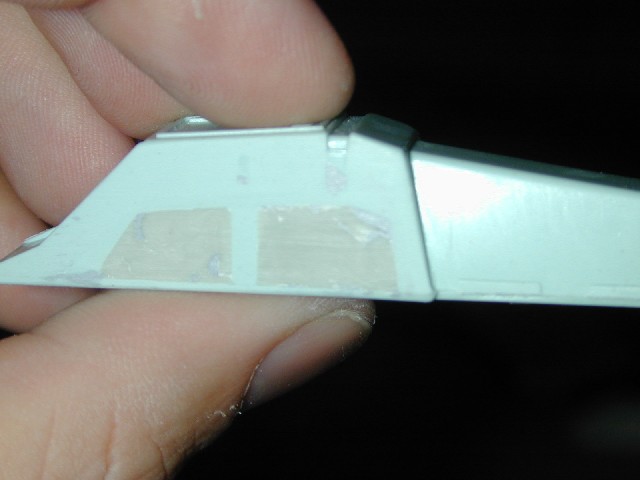
Ok I took a step backwards today. After looking at the arm armor I decided it was too bulky and didn't look right on the model. So I cut the finished arm in half and sanded the two sides down I think it's going to look much better this way and besides now he can hold the gunpod

-
Interesting title, I thought we were gonna have another Jenny Jones incident.
-
Ok last update for tonight, I cut off the armored fastpack from the lame backpack center piece that comes with the kit, I plan to attach them somehow to the backpack of the hase kit. Cutting off these parts left big holes on each of the fastpacks. I filled in the holes with the two part putty. I considered using styrene but the shapes were odd and it would have been difficult to trace the shapes with a pen. Anyways this was the easier way to go, I let the putty dry overnight, I sanded it down as much as possible and then filled in the remaining gaps with Tamiya putty.

-
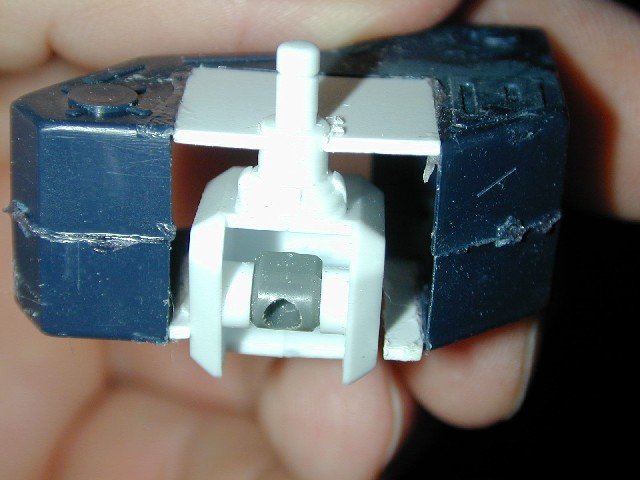
Here's a shot of the two pieces joined together.

-
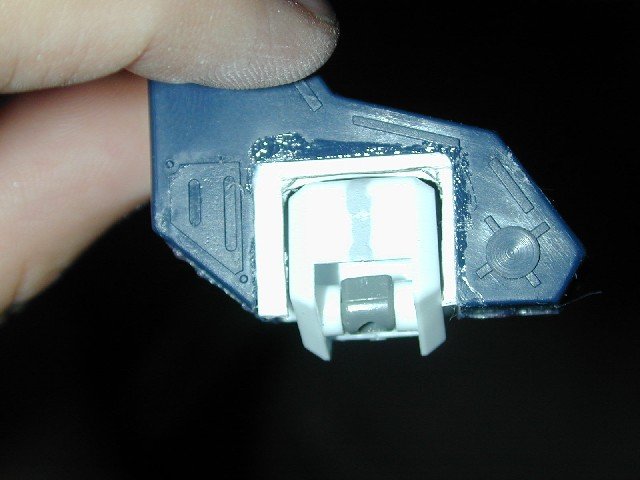
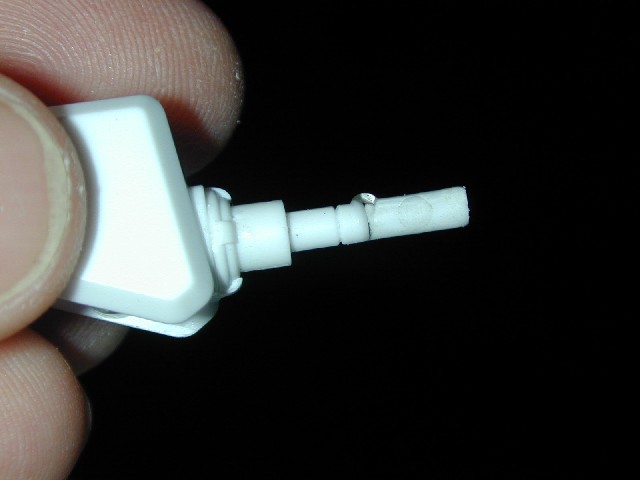
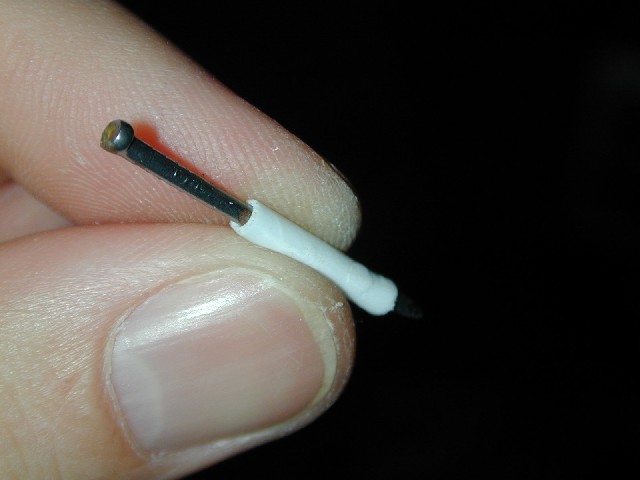
Next I figured the best way to make that stub longer would be to use some extra sprue that came with the kit which happened to be the same diameter. In order to mate the two together I thought it best to reinforce the mated stubs. So I found the smalled finish nails I could find and measured those with my calipers and found an appropriate sized bit. I then proceeded to drill out the centers of both the shoulder stub and the extra sprue, I drilled all the way through both pieces. The nail fit perfectly and I fed it through the inside back of the shoulder through the hole in the polycap and out through the end of the stub so that the head of the nail prevented it from being pulled out. I then just super glued the extra sprue piece onto the end of the nail after I had cut the nail to the correct length.

-
I measured the fatest part of the shoulder stub with my dial calipers and picked an appropriate sized drill bit to make a whole through the styrene to allow the stub to extend through to the arm socket in the main body.
-
Next I cut more sheet styrene to fit around the shoulder on the other side of the launchers. I've still got more gap filling to go.