Grayson72
-
Posts
2563 -
Joined
-
Last visited
Content Type
Profiles
Forums
Events
Gallery
Everything posted by Grayson72
-
If it's just dented it should be fine, if it appears stretched when you put it on the model just get some MicroSol and melt it back into shape.
-
Looks pretty good for your second model, thanks for sharing. It looks like you are missing a few decals are you not done with them yet? Also for some small but worthwhile details you could paint the wingtip lights red and blue respectively. The technique I use when I don't have clear parts to work with is first paint the lights Model Master chrome silver, let that dry a good long time, then paint over that with Tamiya clear read and clear blue. Really works well, just make sure you do this after the dull coat. I use testors dullcoat it works really well, it's lacquer based but dries really fast. I think your kit will really look good after this step. take care
-
It's mostly the paint schemes, all the main characters planes schemes are different between the movie and the TV show except for Roy's. Also, the hands are different on the battroids and so are the flight suits. I'm sure there's more I just can't think of any right now.
-
I'm sorry we only allow hardcore here
-
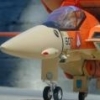
I think he meant the paint job on the radome not the radome itself.
-
You definately underestimated the demand for Macross models here. Anything that hasn't been produced before or one that is more detailed or a differnt scale than one that has been previously produced will sell like crazy. You'll also find that the more obscure the subject the more popular it is it seems.
-
I'm definately in. Please continuously update your first post with the names of those who are interested, paid, been shipped to, etc. Similar to other for sale threads by Samurai Monkey. It just helps to keep everything straight. Thanks
-
Yup the radome is my favorite part, way cool
-
i guess you don't like lowrider and it's affiliated magazines then haha... $500 wheels or a $100 car. Yay... Yeah well, they have to put girls in front of the cars because the cars are lame. Oh I couldn't agree more with you on that one. Drives me nuts when I see a crappy little Ford escort with the gold spoke wheels that cost 500 bucks a piece and stick out 6 inches past the fender.
-
Holy Jeebuz! nice panel work! Go honneamise, go honneamise, it's ya birfday
-
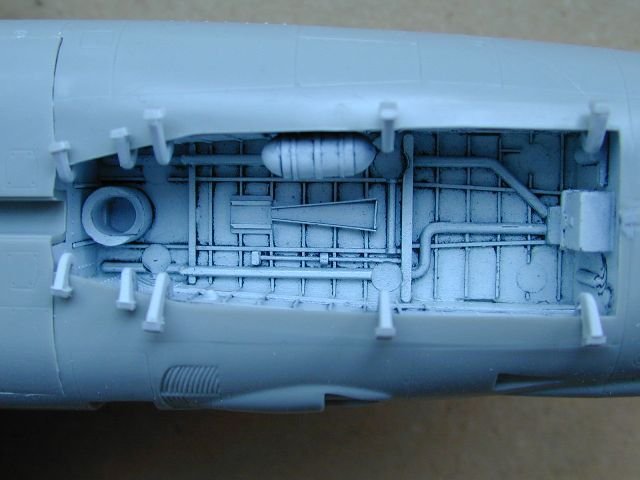
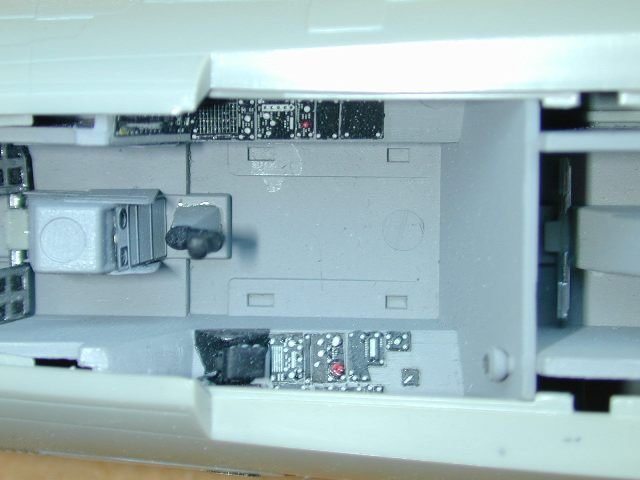
I'll have to try the tacking in place trick, so you let the model glue dry before you try to add the CA? What kind of model glue? the really fluid stuff or the gooey testor's orange stuff? How long do you give the glue to dry? I didn't call it out earlier but the shot of the forward wheel well bay has a PE part dead center of the pic, it's the triangular piece in the middle. I had to bend three sides of it. I bought this really great PE bender, I can't imagine doing the PE stuff without it. WM - the F-14 is the Tamiya 1/32 kit.
-
Way cool man, nice custom, do you have a better shot of the red/green visor?
-
Heh thanks, actually I meant to ask about your panel shading on the 23 not the lining, my bad.
-
Heh, what else is there to do with weather like that but stay indoors and build models
-
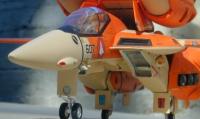
Here's a reference shot just to make this an official Macross thread, big ain't she?

-
Thanks HWR, good to know here's a pic of the forward landing gear bay, nice placement of the ejector pins huh?
-
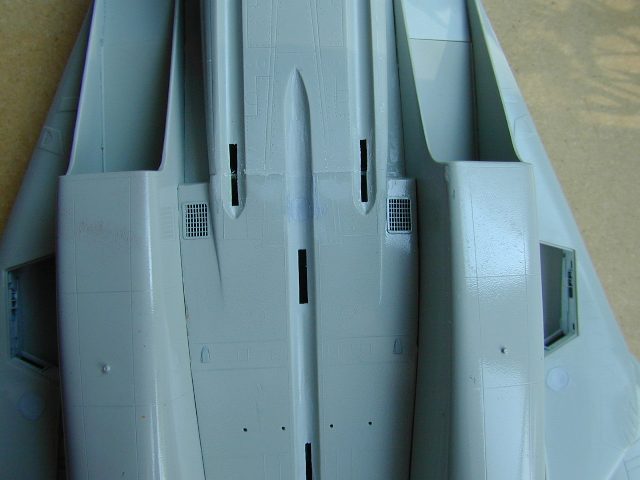
Here's another shot of some other ones at the rear of the aircraft.

-
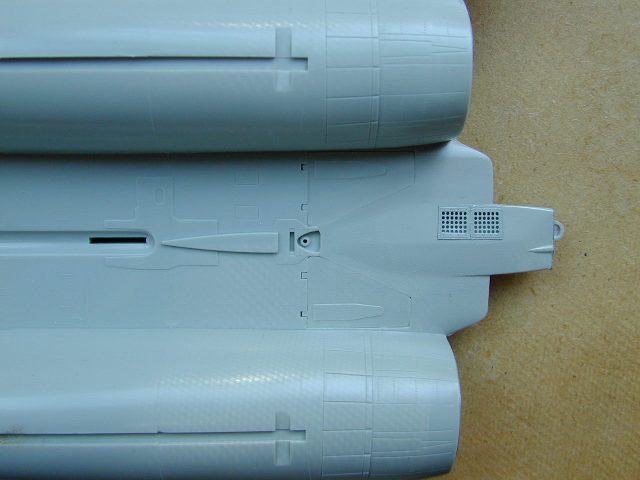
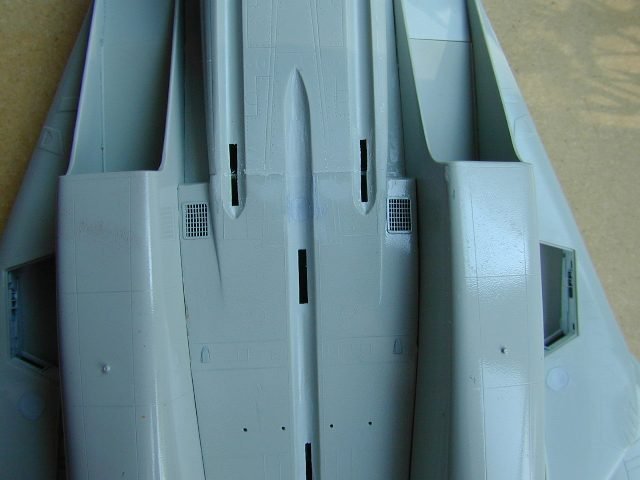
Here's some shots of some grill covers on the underside of the fuselage. I had to cut away the molded ones and super glue the new ones on. The super glue really didn't seem to adhere as well as I'd expect it to.
-
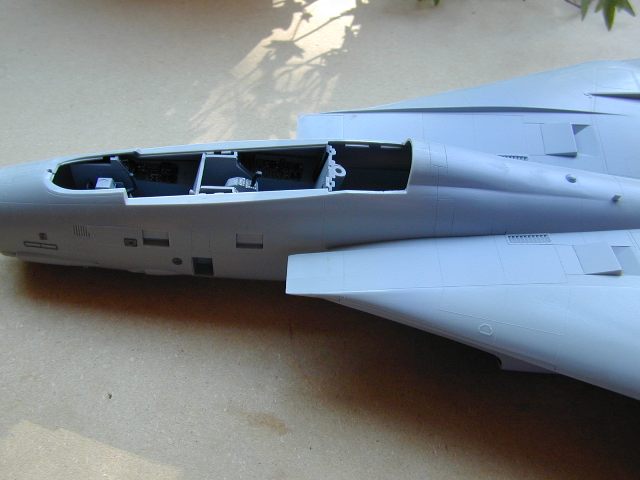
Here's the forward fuselage, the fit from it to the main fuselage was horrible. Probably because when they updated this kit they kept the old main part and created a new forward part. Almost a 16th of an inch higher and 16th of an inch gap. I had to sand and fill and sand and fill. I still don't think it's perfect but It might have to do at this point.

-
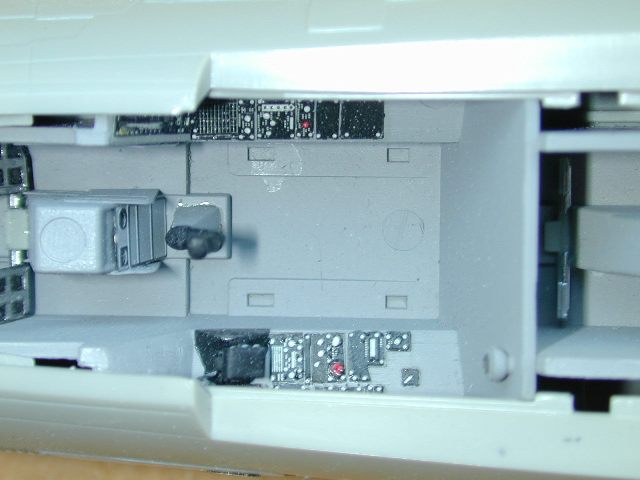
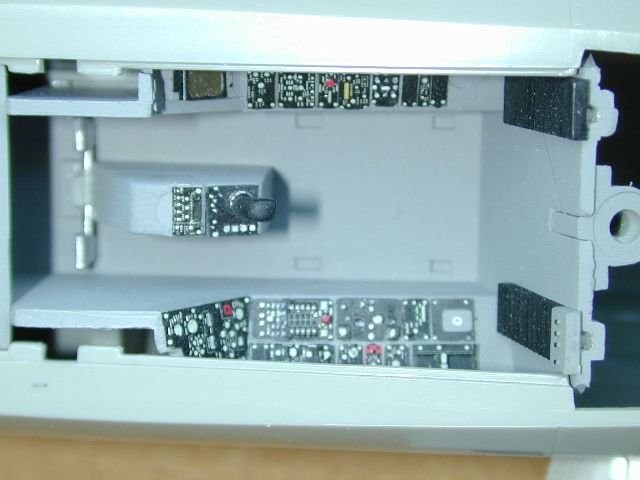
Here's another shot of the cockpit, this was done with Eduard PE sets and then I cut up the Tamiya instrumentation decals and individually applied the ones that matched the PE, the others are hand painted, I'd say it was 75%/25% decals/painted.
-
Hiya WM, here's a few shots of some of the PE areas.
-
Oh I thought you were quoting Toy Story where he tells everyone to get a moving buddy. Too much TV watching with the kids, everything sounds like a Disney reference to me Anyway... the machinists square will help me with gluing the parts together square but what about getting nice straight, square edges when cutting the styrene?
-
I use Tamiya and Gunze Aqueous, both are acrylics/water based. The Gunze paints are sometimes difficult to find but they are the exact paints called for in the Hasegawa instructions. Takes some of the guesswork out of building those Hase's.
-
Thank you Woody
-
Whoa, glad you said something I was waiting for a Payment PM from you.