-
Posts
2630 -
Joined
-
Last visited
Content Type
Profiles
Forums
Events
Gallery
Everything posted by arbit
-
Cool. But remember, fiber wont work with movement.
-
He also says, "One case that I can think of where you can use a resistor powering several diodes would be if the maximum current going through the resistor is small enough that a single diode can work with full current. This way the diode won't die..." Which is what I have done. So I think the wings will melt before the led goes out .
-
That would be optimal, I always have resistors for each led, but in this case, there would be no space for the wing gears. So it is an either/or situation: Wing lights or motor. There is no space for 6 wires out of each wing, there wasn't even space for one resistor inside the valk. I wont be redoing the wings now, but I have broken their lighting out so I can have them on with a momentary switch only. I can always go back and change the wings when I get a beater set. Actually for the next project, I just ordered SMT resistors to save space. We need a wiring plan for the wings that minimizes wires AND heat AND resistor space, and still works on 5v. (I suppose we could also use a 9v outside the Arduino control. Are 1/8w different? I always use 1/4w. Can a series circuit handle different leds with one resistor?
-
Lookin good. Try to tone down the panel lines. How hard was it to swap the wings?
-
Faaaar better than the box art.
-
Sweet Kairos. Im not into the F1 colored valks, but I love that one.
-
The 1000ohm resistor is outside the valk. The wing is getting power from the 5V Out of the arduino powered by 3.7v-4.5v lipo. Why am i using 5V Out and not the GPIO pins, because the MaH from the arduino pins is not enough to power the 3x parallel leds with 1000ohm resistor. But I suspect I have a short in there.
-
Some stuff I have learned about Arduino on this build: - The reversing motor sketch, micro limit switches, and motor driver IC are very reliable. Any bugs I had were user error. - The Trinket has a couple high-powered PWM especially for servos, and the rest are normal PWM pins. I have been using the low powered ones which led to problems sometimes. - I learned the "Repeat" code which is great for blinking lights at high speed without coding "On-Off" a thousand times. - I also learned how to code Functions, which make complex blinking patterns for multiple leds/neopixels, and then you can call on the Function and "Repeat" the entire thing. - Also learned how to break down the Neopixel Library Strandtest into its component parts, so I can use only the parts I want, such as Colorwipe, Rainbow, or Theater Chase. Anyone wants details, let me know. @Mechtech, I am sure I can code your Wave Motion Gun Pulsar Cannon effect now.
-
-
-
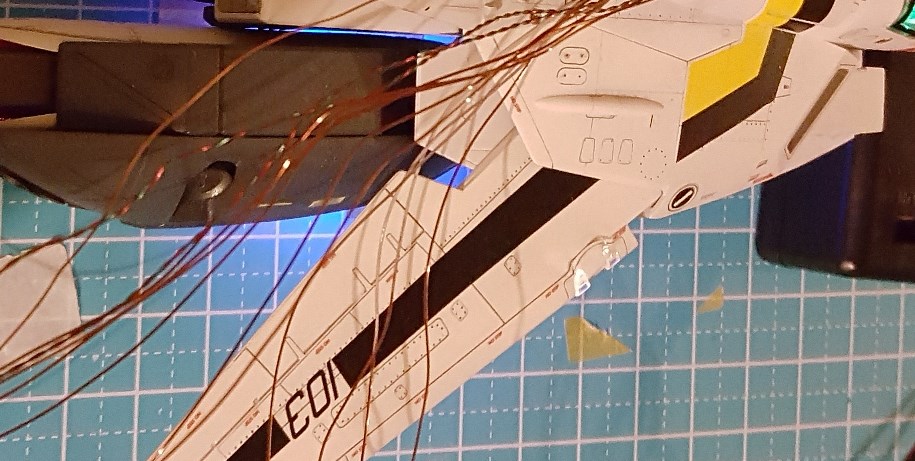
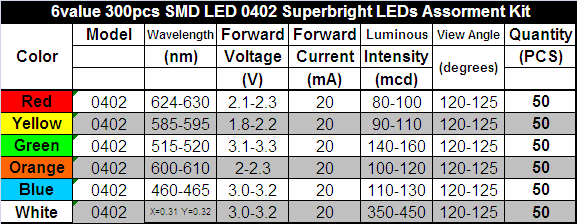
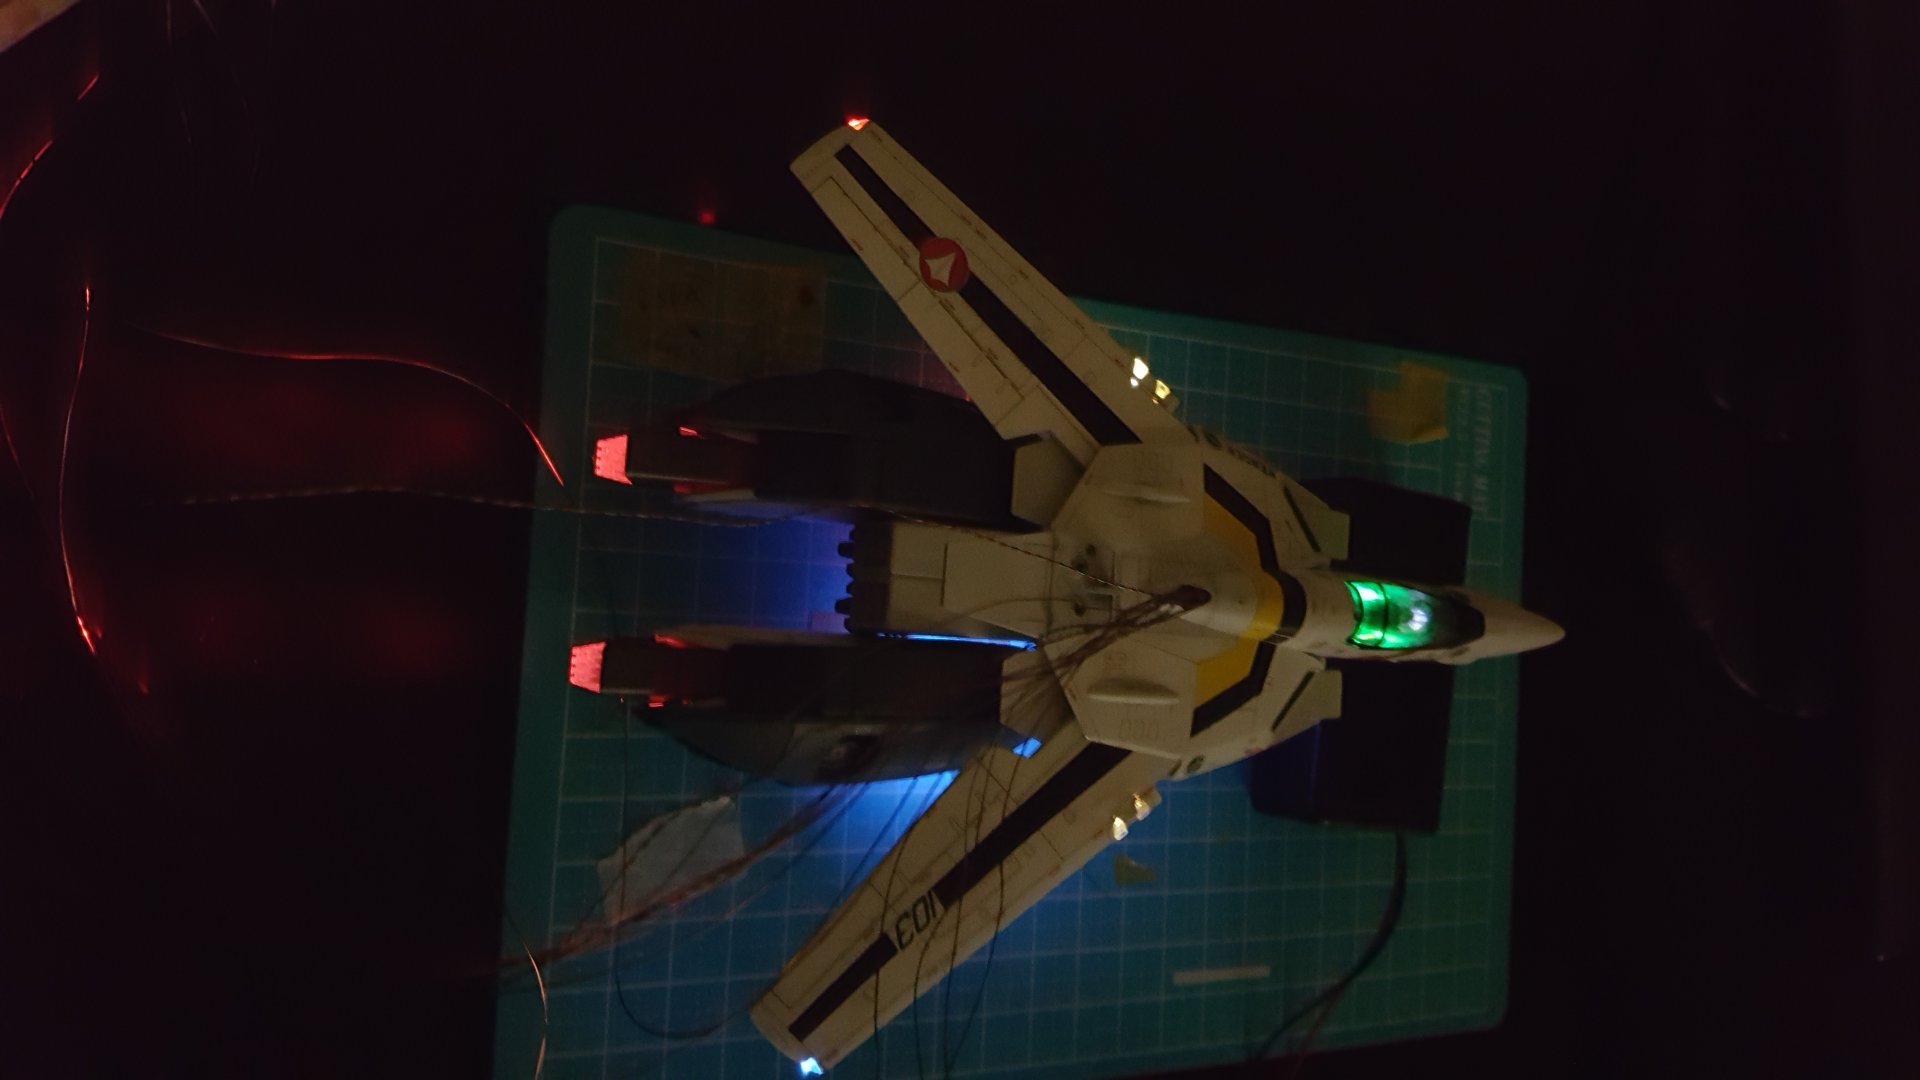
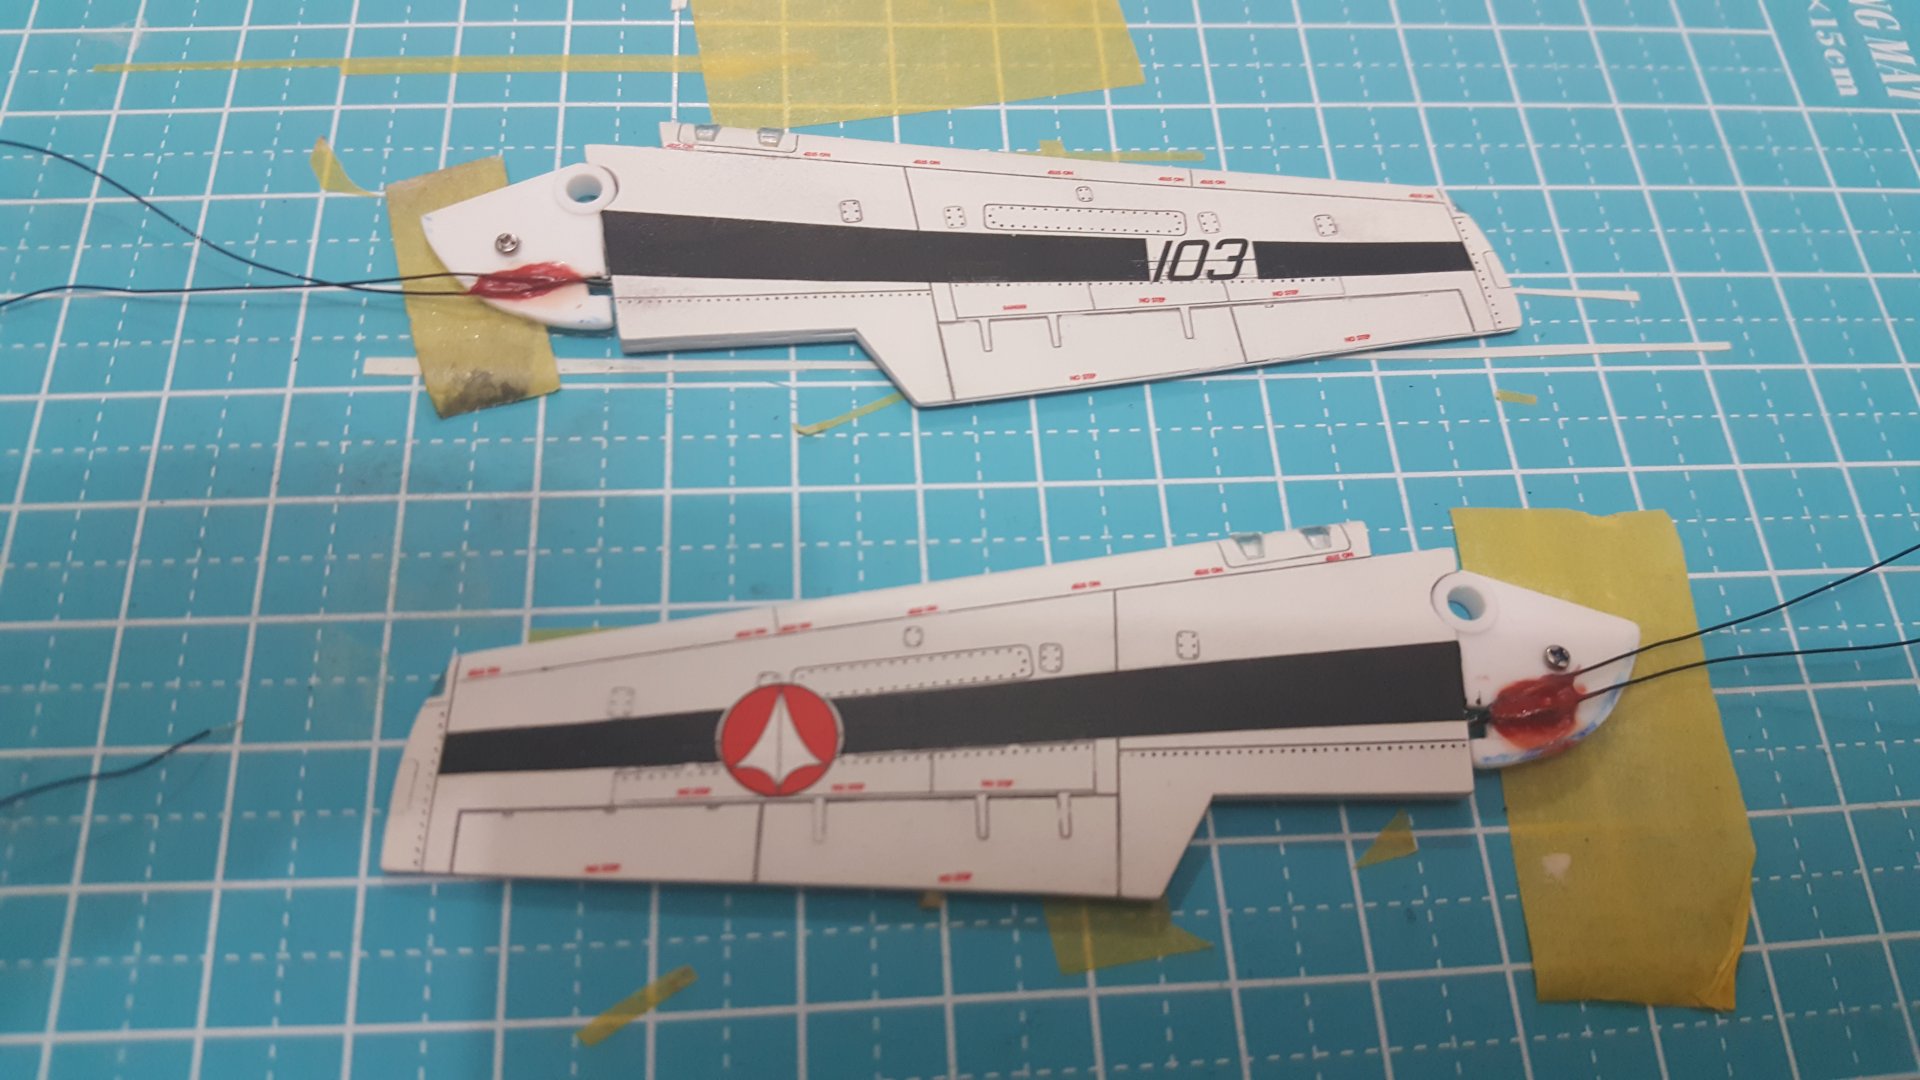
The white leds on the blue wing have heated up and slightly warped the light ports. You can barely see it in my last image. I always expected this might happen, but this is the first time. What's strange is that it happened on the balanced blue wing, which has like-voltage SMDs, AND it has a 1,000 Ohm resistor, which is more than 10x the requirement. I think I left it on too long during testing, because it is usually cool to the touch. I also neglected to coat it in epoxy before closing the wing, which might have helped. I will live with it, if that's the only major problem. They still work anyway. Any ideas how to avoid this in the future?
-
I don't have that. How about white glue?
-
The motor is also loosening my screws. I will have to epoxy them down.
-
You got that right! I was going to use a small speaker, but then decided to put in the biggest, meanest one I have. Anyway, it's all just for fun. Can't be perfect.
-
Optical Electronic Systems: Check. Brainwave Control System Interface: Nominal. BDI System: Nominal. Switch to PSX sampling data and simulate. Synchronization Complete.
-
So you did bring the wings. Good thinking. We need to see them. More pics!
-
Good job, I doubt we will ever see an official Kairos battroid. What parts did you bring over?
-
Is that a Kairos battroid you made? Why are you going to use the finish? You plan to polish it? Sounds risky over decals. Better wait for the pros to reply first.
-
Godspeed, Ranger 03.
-
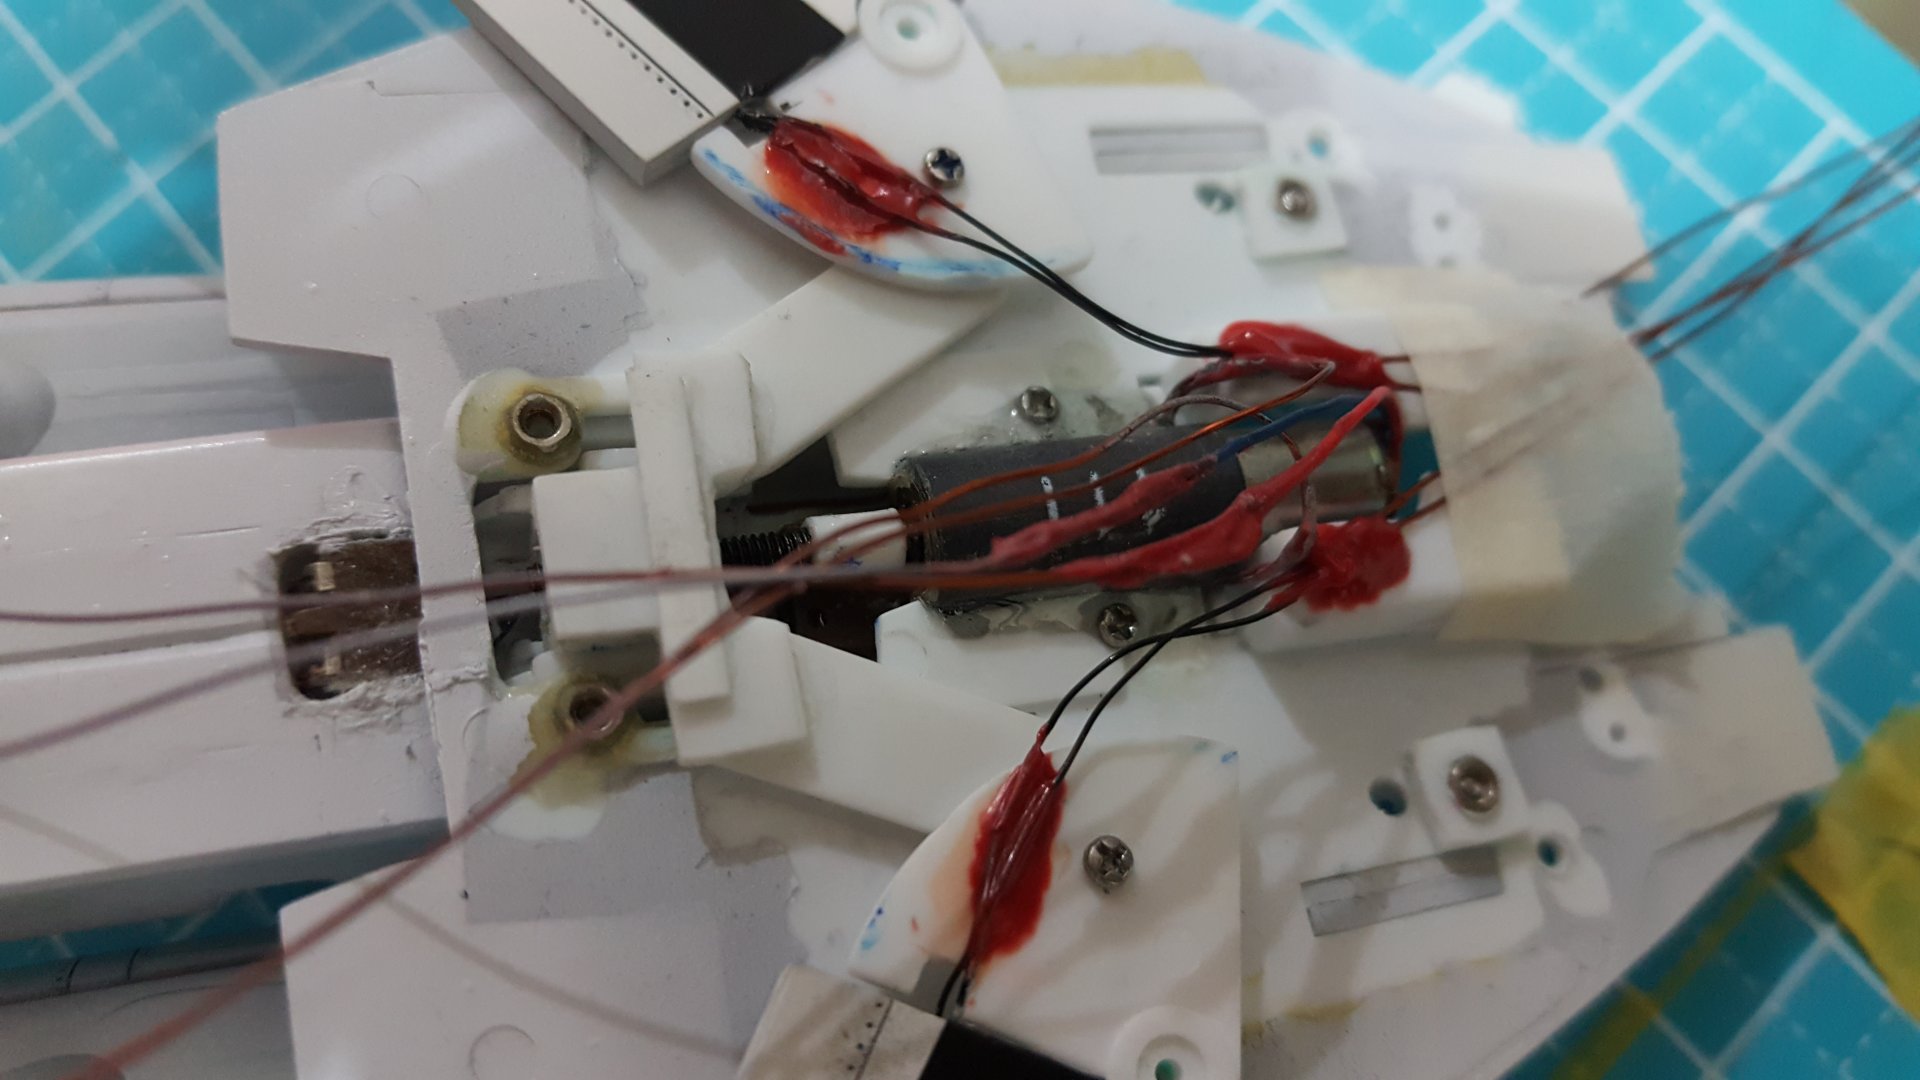
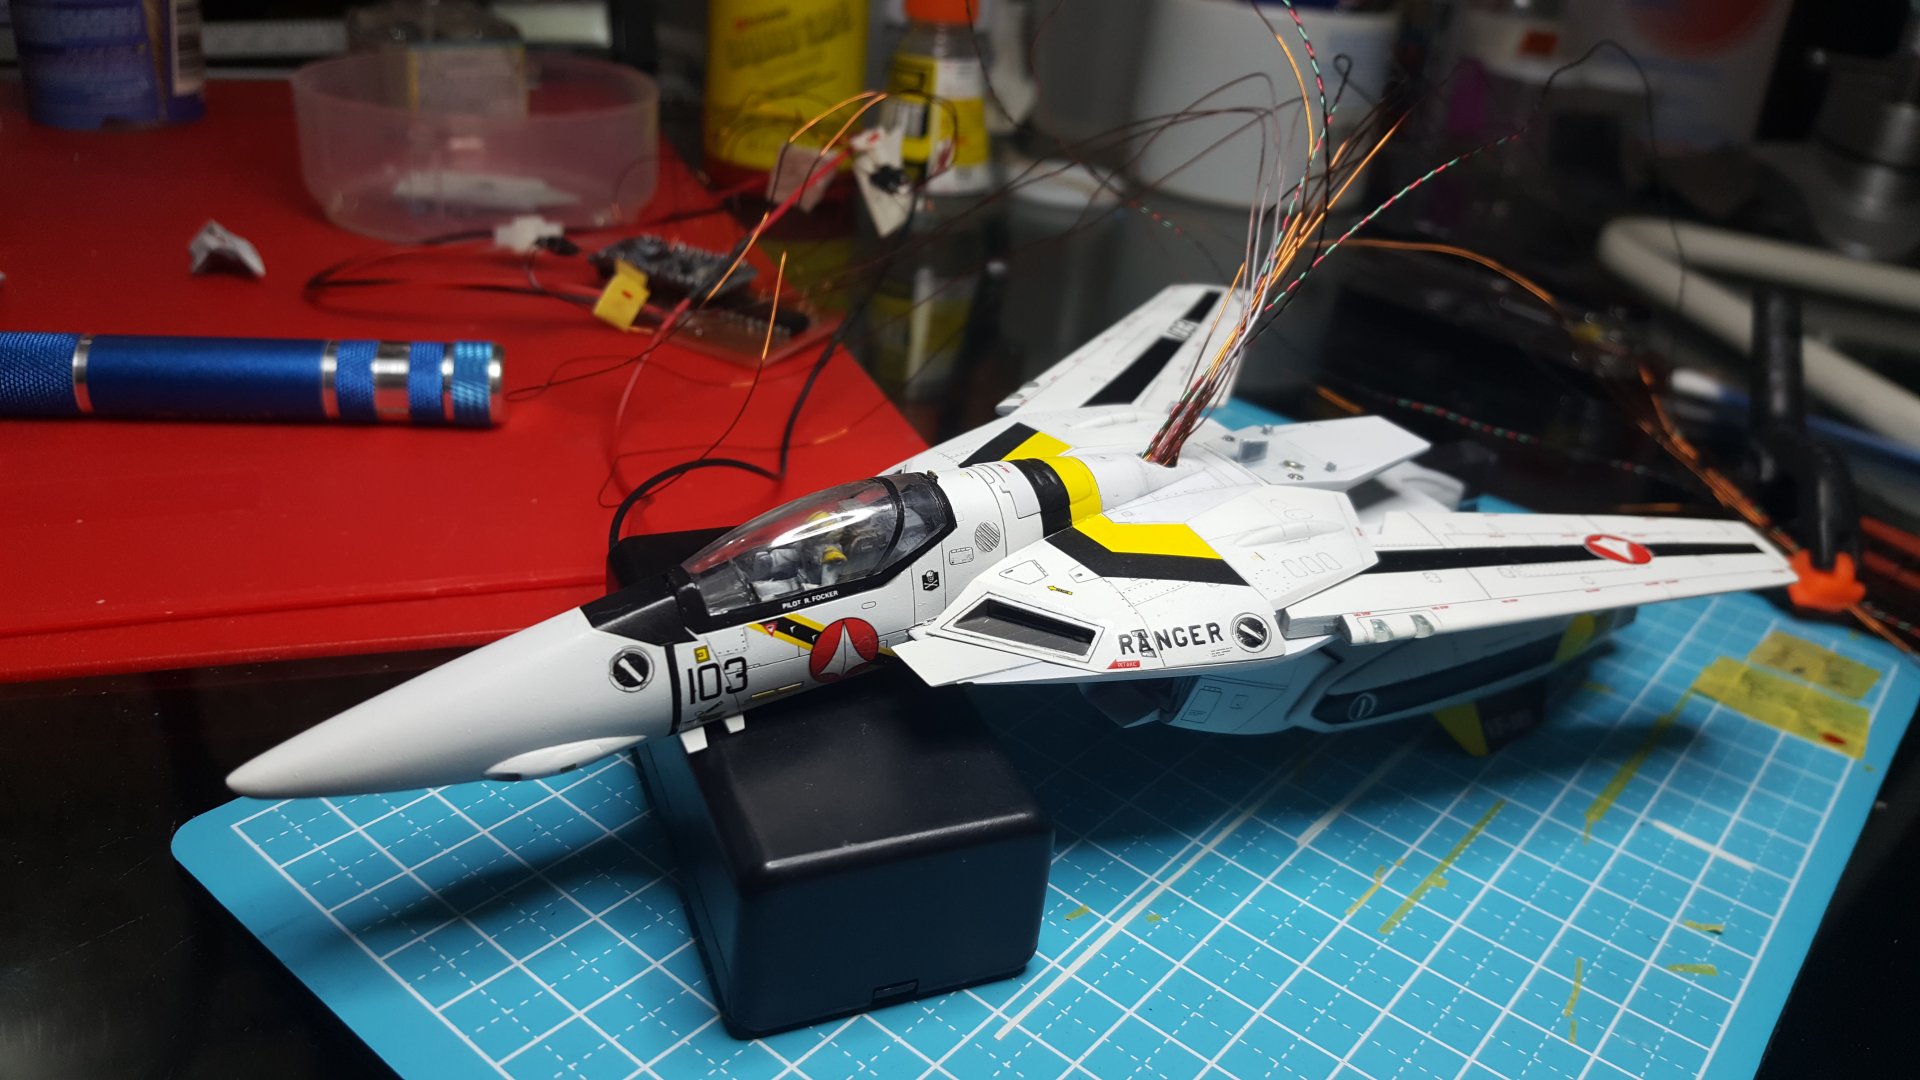
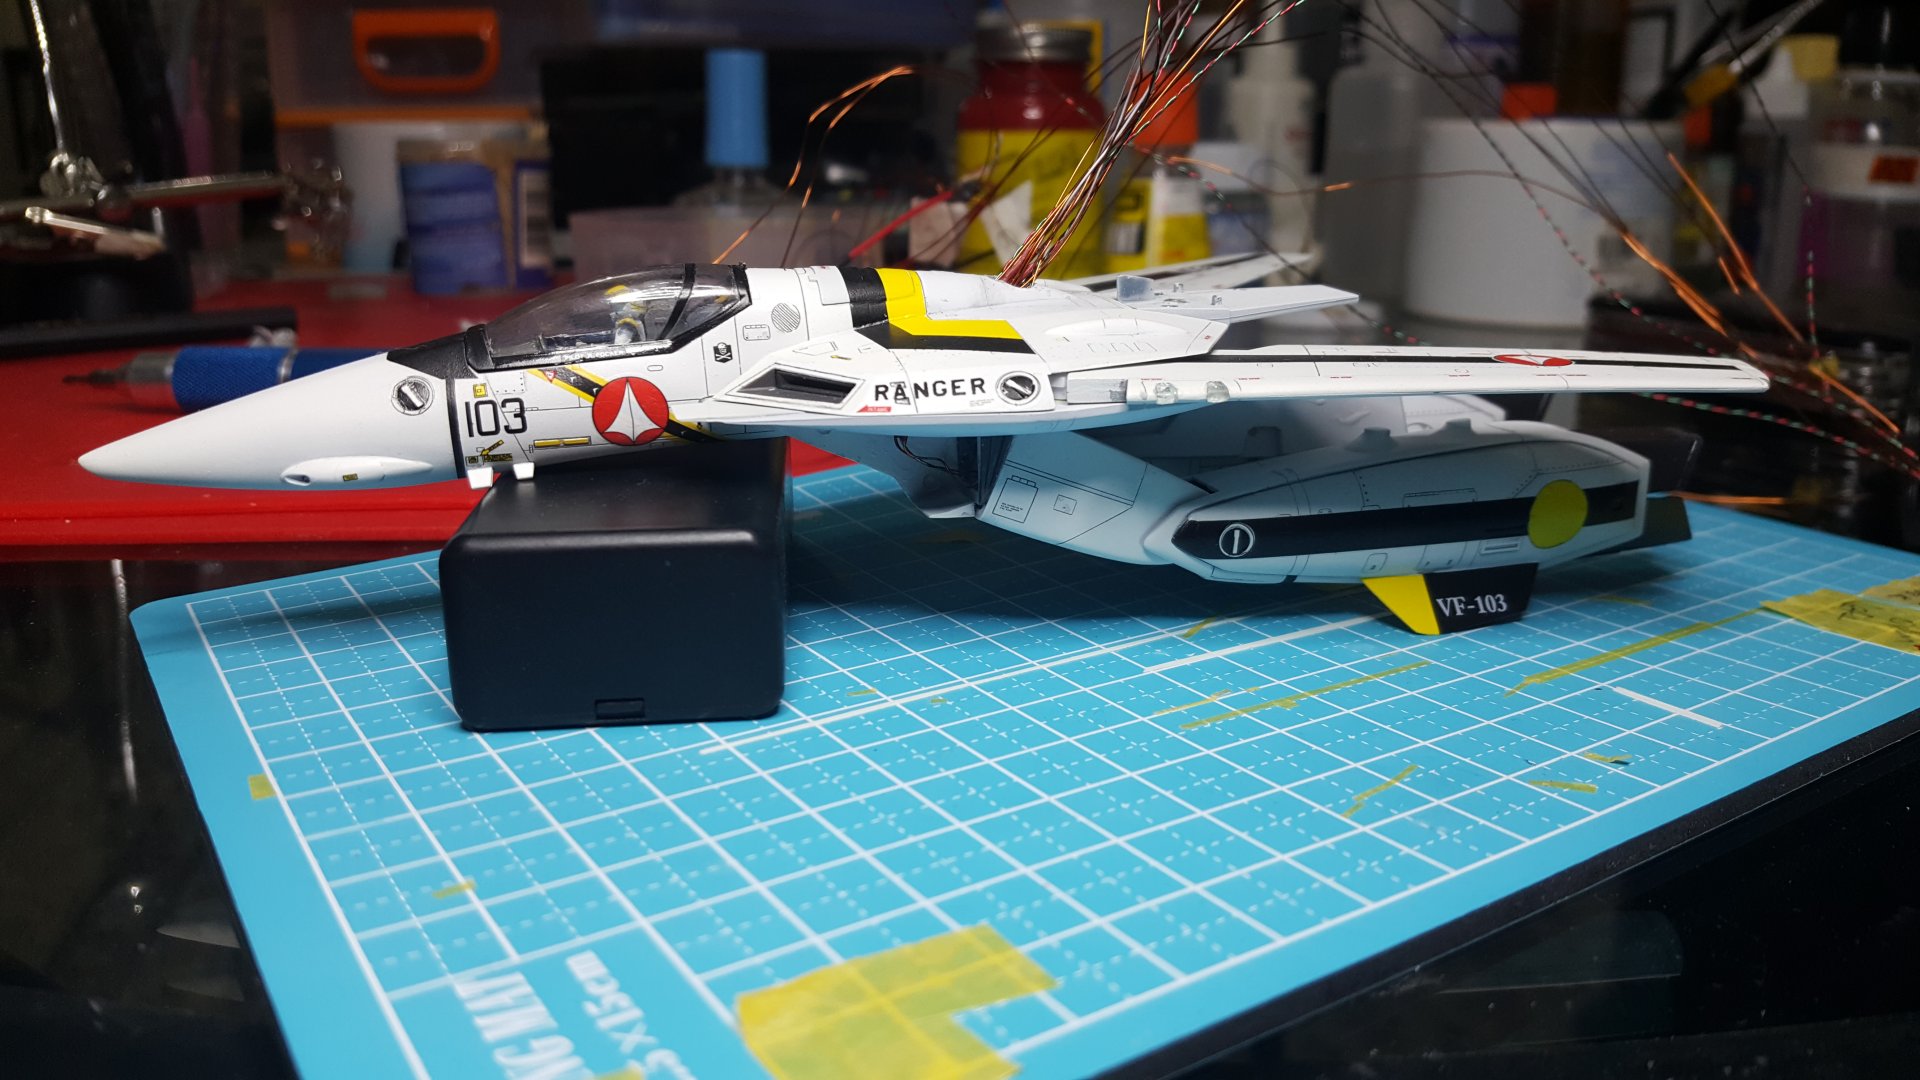
The wing led wires are anchored with enough leeway for movement. All the wires collect near the cockpit area and go straight up the hatch, above the motor. Keeping gears completely clear for movement. I will test for a few days before attaching.
-
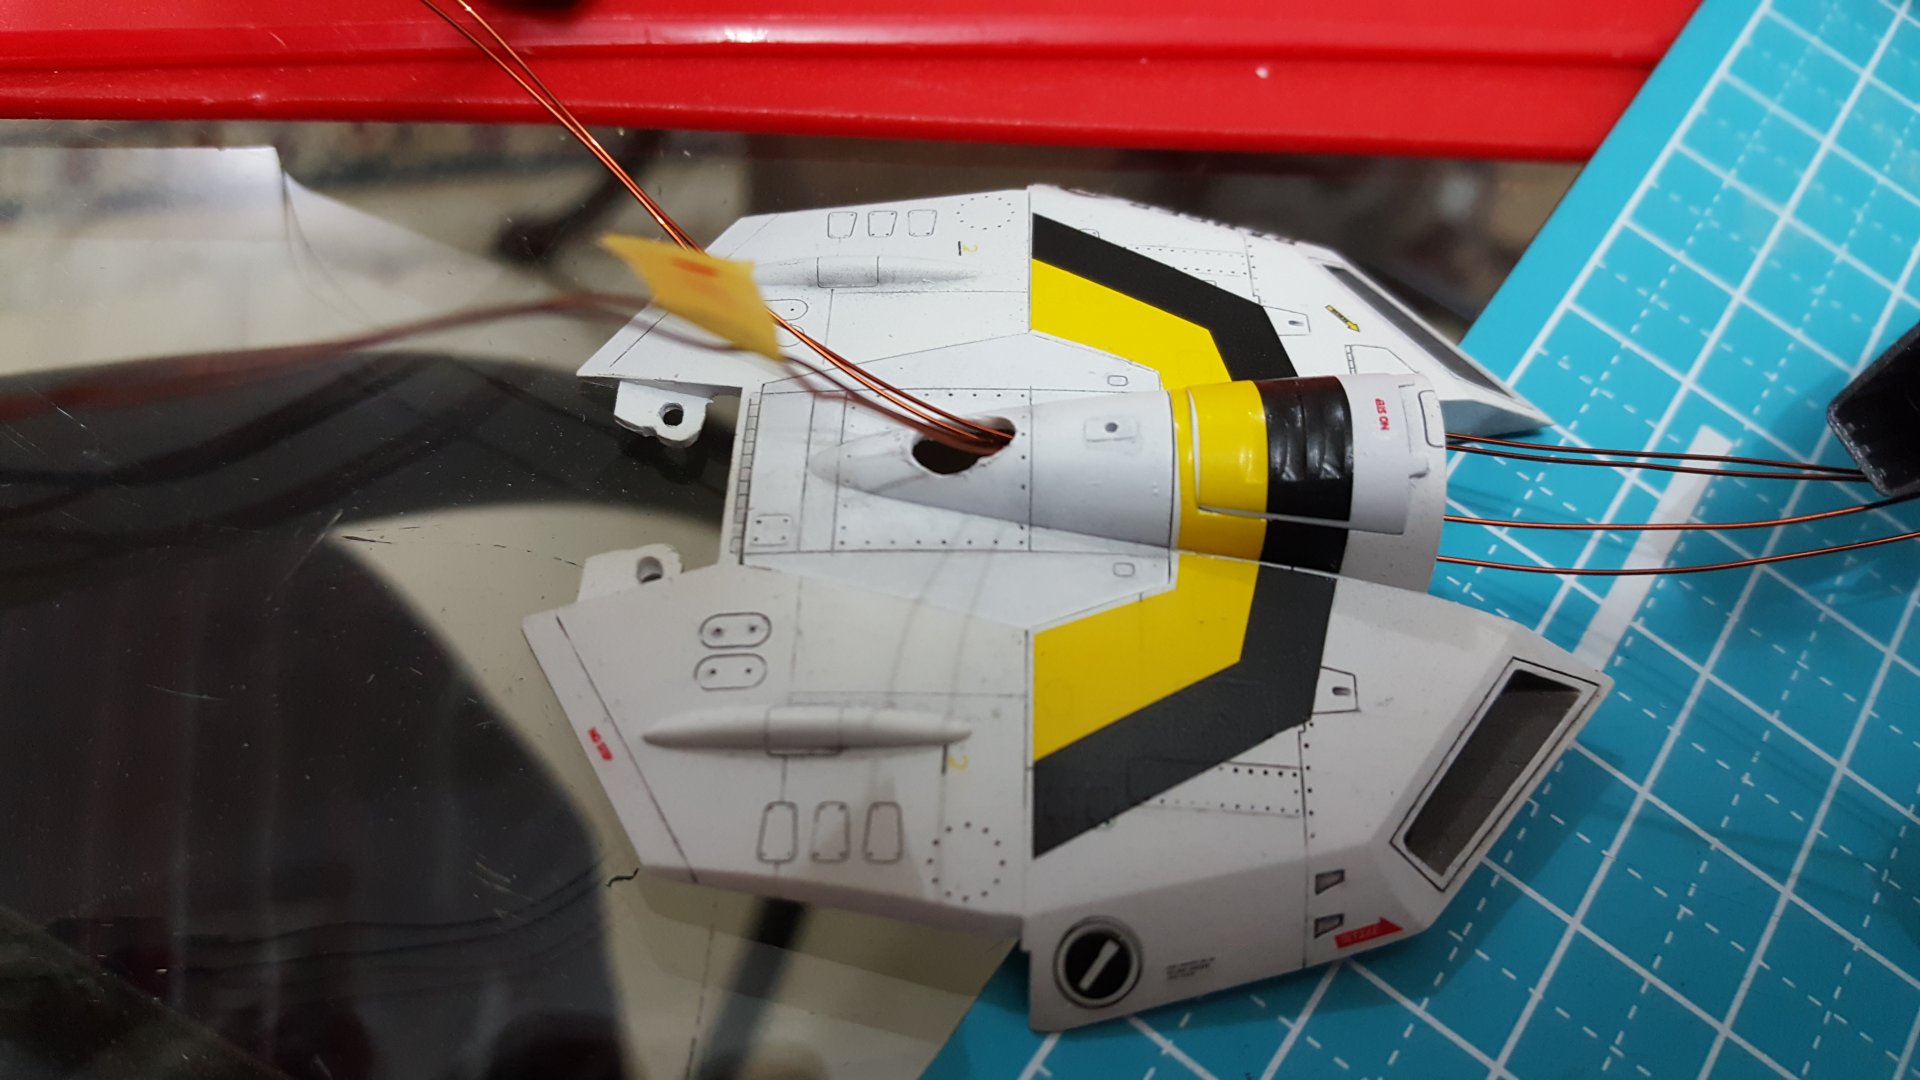
I removed the resistors off the wings and moved them outside the valk... Causing wing movement problems. Lighting the wings with movement has been the most difficult part of this whole thing. Almost there. But no guarantees. (Wiring the wings story: I needed to parallel two white 0402 SMDs and a blue and a red on each wing to pull this off. Can't do series because the Arduino gives out 5v, which is not enough for 3x LEDs. The blue and the whites have the same forward voltage, so no problem there, you calculate the resistor value for three leds. BUT the reds and the whites do not have the same forward voltage. You are not supposed to parallel non-like voltage leds, but I must... To do this, I burned about three sets of trial leds. I kept increasing resistor value until I realized that you have to give all three leds the same resistor as if you have the red alone, otherwise it will suck everything up and burn out. Tested successfuly for an hour.)
-
Some nice chipping there. I don't have the patience for such detail.
-
Great work. Look forward to more updates.
-
Nice work! I look forward to seeing it painted. I'm sure you learned a lot on this project. I cant even fathom how you guys do it.
-
Nice paint palette! Love the Bug Eye. I need one myself.
- 4 replies
-
- valhalla iii
- que-quallie
-
(and 1 more)
Tagged with:


