arbit
-
Posts
2630 -
Joined
-
Last visited
Content Type
Profiles
Forums
Events
Gallery
Everything posted by arbit
-
Hmmm... In that case I need to learn.
-
Did you sand it down first with high grit paprr and then with toothpaste or other gritty compound?
-
The technique is shown here. What I described is a bit different because I don't like thick Tamiya putty, but same idea. It's also how a lot of people fix mistakes. But I also wonder if it would be easier to prime the whole part, then completely sand the primer off, and repeat as required to remove 3D print lines. http://reedoak.com/how-to-prepare-reedoak-3d-printed-figure-for-paint/
-
I would have made them all valk girls! Another Pengbuzz special! What are you doing with the 4th?
-
Tage (and @Xigfrid), I don't know how far you are with painting, but I have seen pros who hide the 3D print lines by brush painting Mr. Hobby Surfacer 1200 along the seams, then wiping off the excess with lacquer thinner across the seams, sanding and repeating. Seems painfull, but...
-
Nice review and progress. Probably my favorite valk.
-

large.Tracks.png.cbf87fd817a0b941d179fae3daecbd37.png
arbit posted a gallery image in Macross Collections
From the album: Arbits Album
-
large.Tracks.png.cbf87fd817a0b941d179fae3daecbd37.png
arbit posted a gallery image in Macross Collections

From the album: Arbits Album
-
I thought this would be my only motorized valk, but with Xigfrid doing his magic, I am planning a couple more! Here is a night version showing off the wing lights.
-
The dream comes alive...
-
From the album: Arbits Album
-

From the album: Arbits Album
-
From the album: Arbits Album
-
-
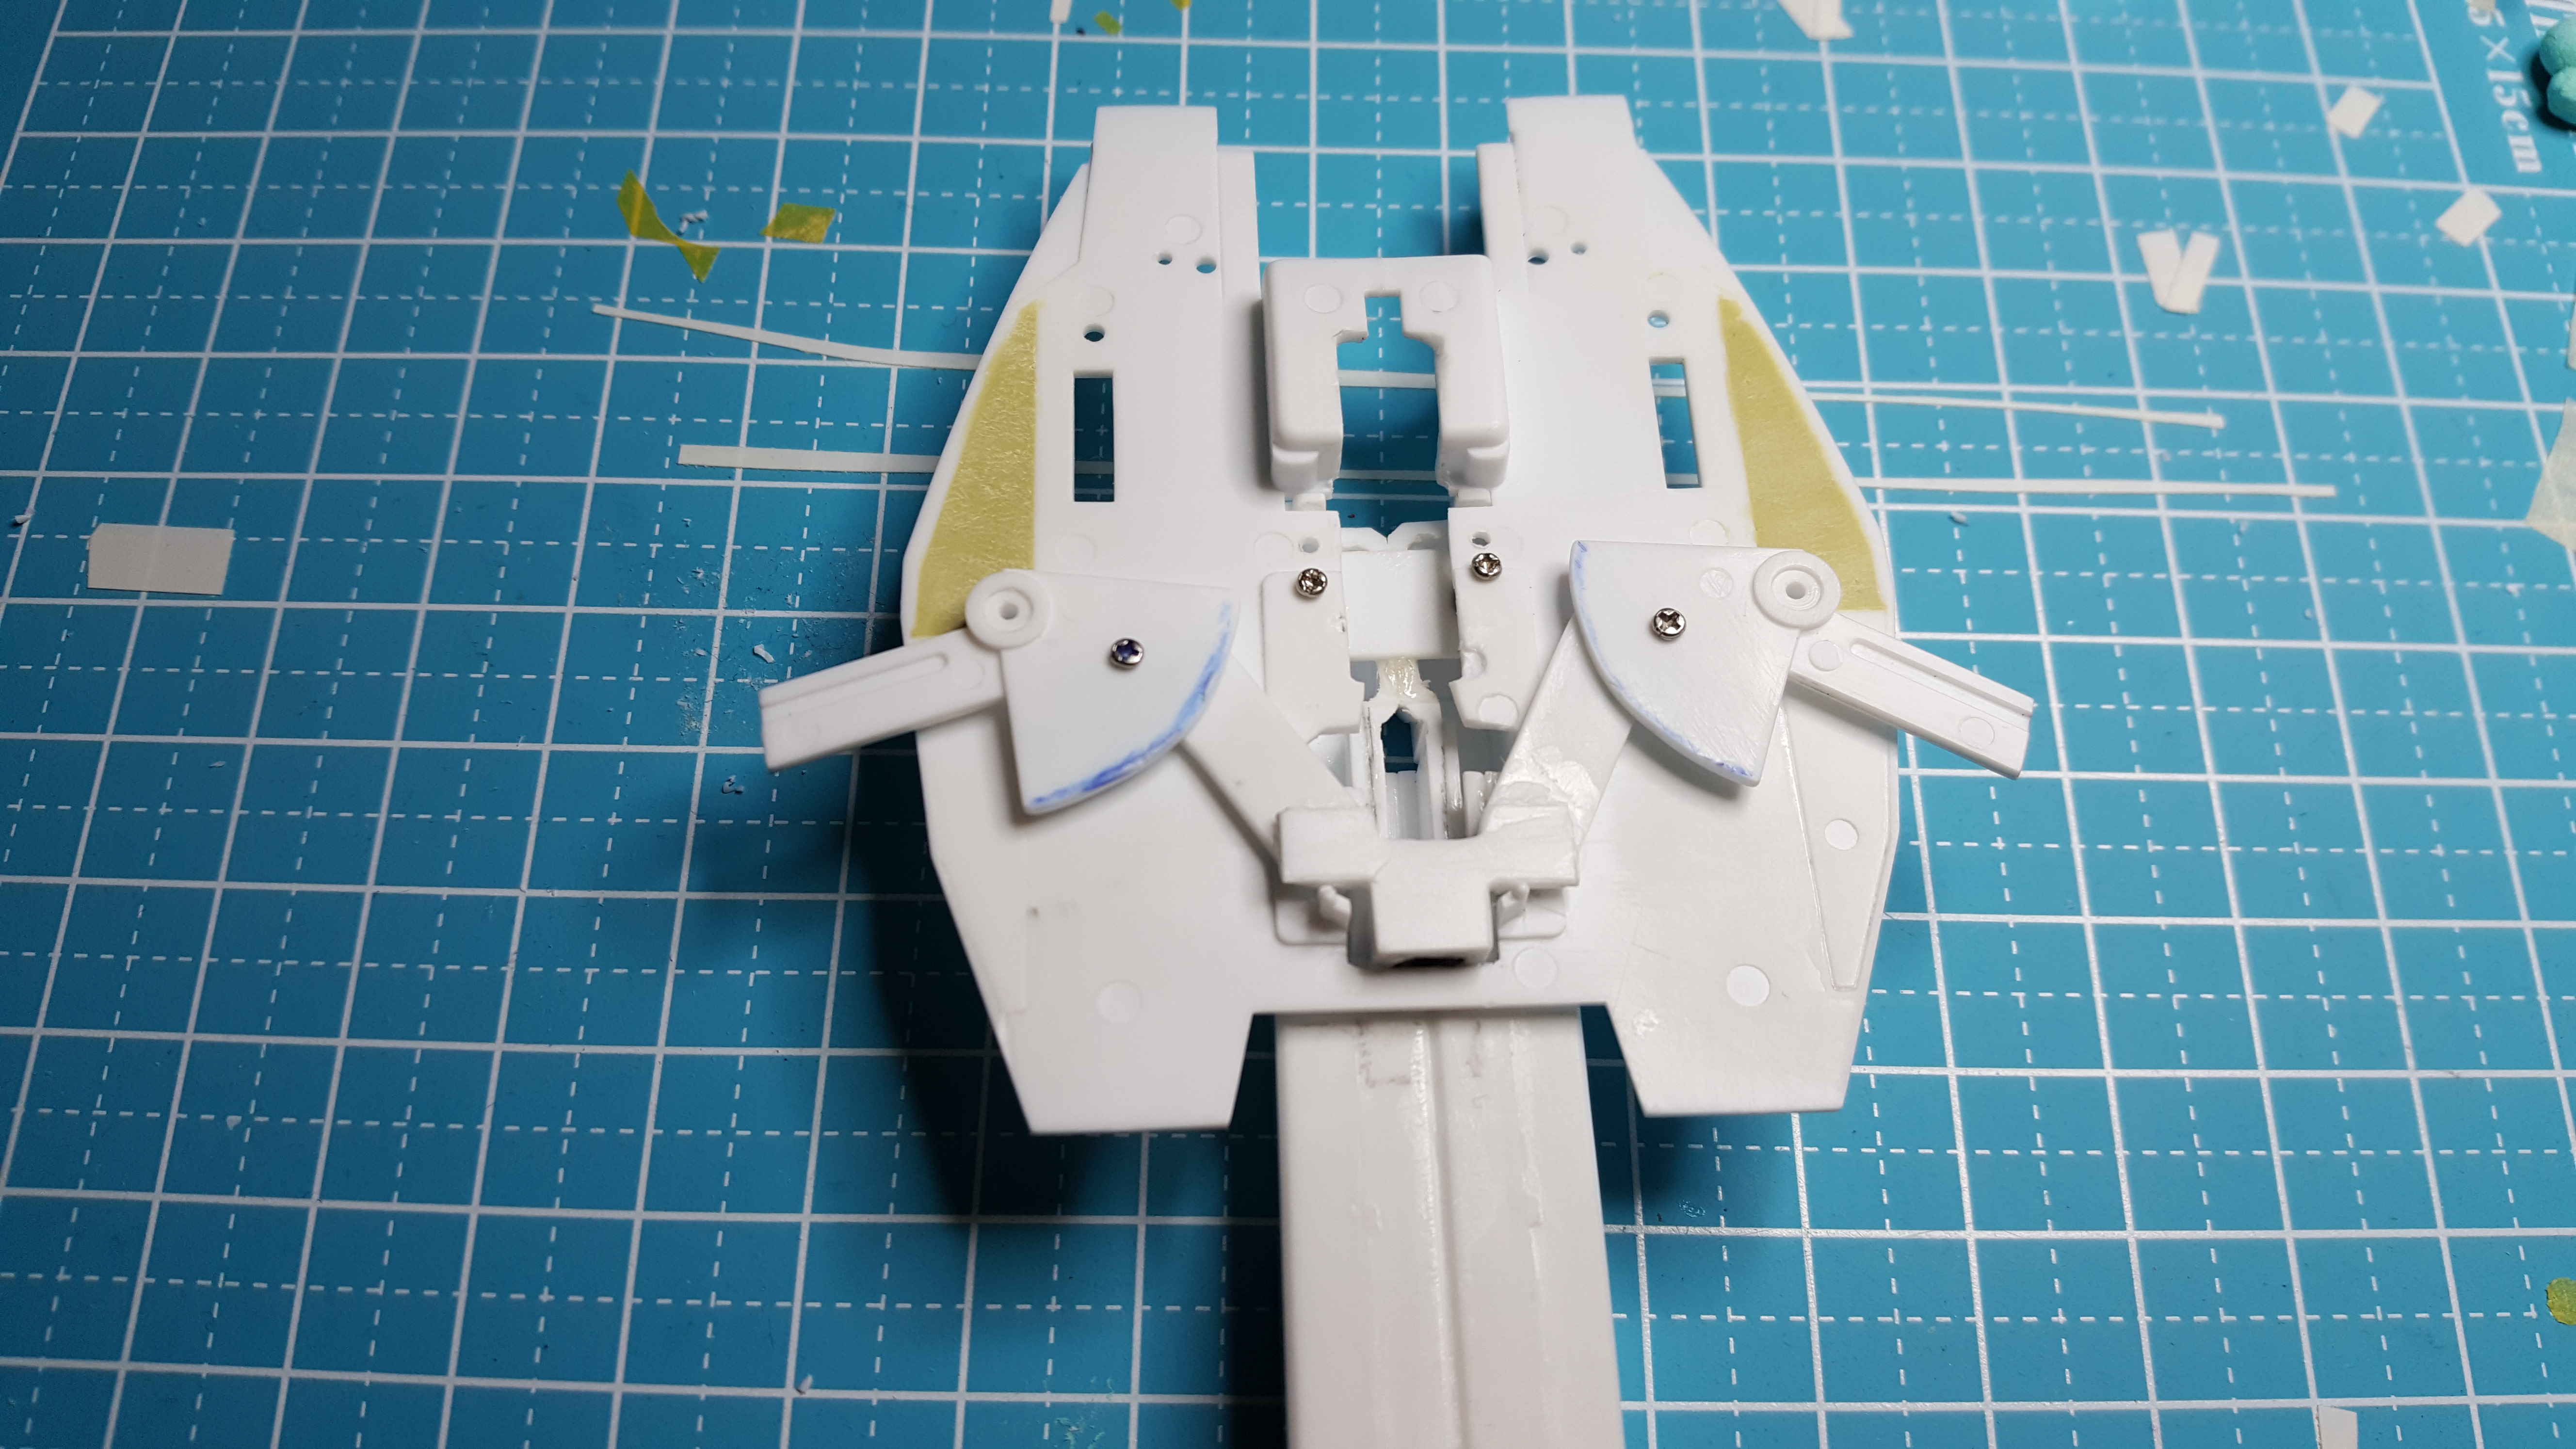
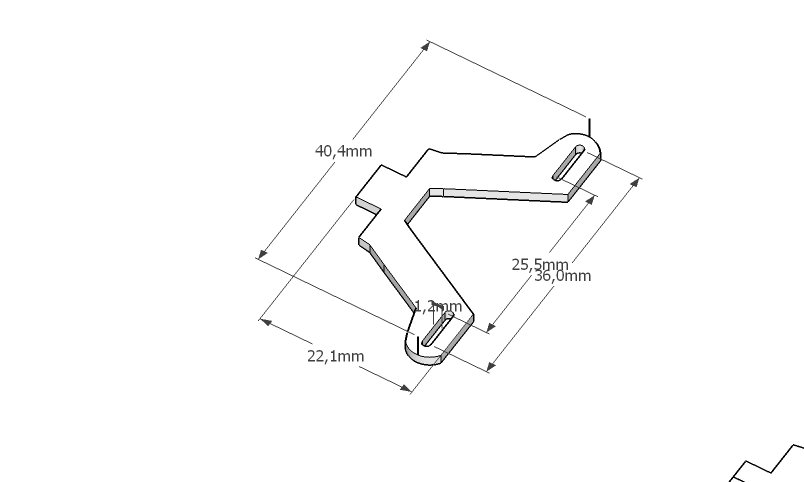
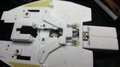
I may not be understanding. So, here is my reasoning: The space in the valk is 20mm from the pink line to the center of the wing pivots, therefore the gear is 20mm long to the center of the notches. This way I dont have to dig below the pink line as i did at the tail of the valk (I had to dig below the pink line we are measuring 20mm from). But honestly, i dont think it matters, as long as the gear fits in the space, final adjustments need to be made when connecting to wings.
-

-
The notch is at 20mm. Centered to the wing points. You can center it where ever you like. What really matters is how evenly it connects to the wings. In my actual model I was grabbing the wings a bit below center. But I also dug below the line to get a full wing opening. It was hand-made, so it required an iterative process until I got it right. It can only be perfected with a CAD drawing with gears, which Xigfrid doesn't do. Overall, this new gear fits the 20mm distance centered at the notch. It is also balanced on both sides, flat, and made with one piece with clean notches. All of which will make it many times better than my hand made one. Mine also got bent during testing multiple times, so while it started out smooth, it ended up jerky. There are 18th century watch makers turning over in their graves.

-
I dont understand your comment. Please rephrase with what you are suggesting.
-
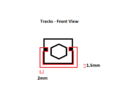
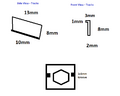
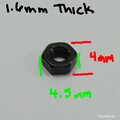
Doesnt hurt to get your view. These are the dimensions. Based on your measurements, we are good.
-
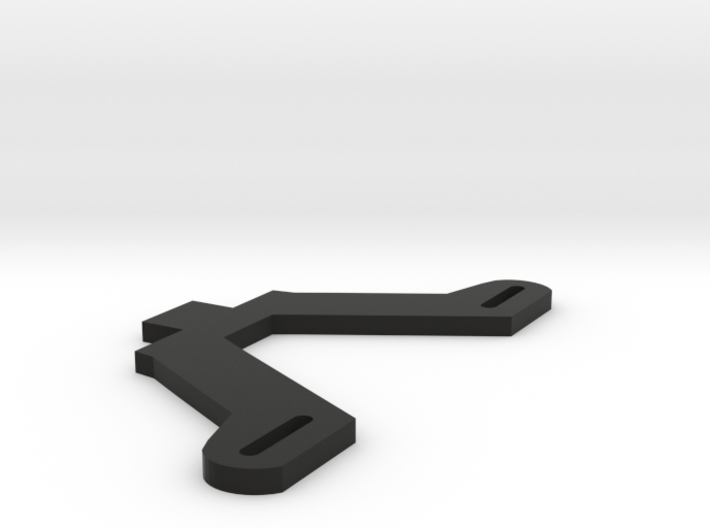
Thanks Nzeod. The gear is in Xigfrid's shop if anyone feels adventurous.
-
Xigfrid is 3D designing the gear to put on Shapeways to give it smoother balance. Could someone with an open valk, or two (ahem...Nzeod), measure the inside of these points please?
-
-

-
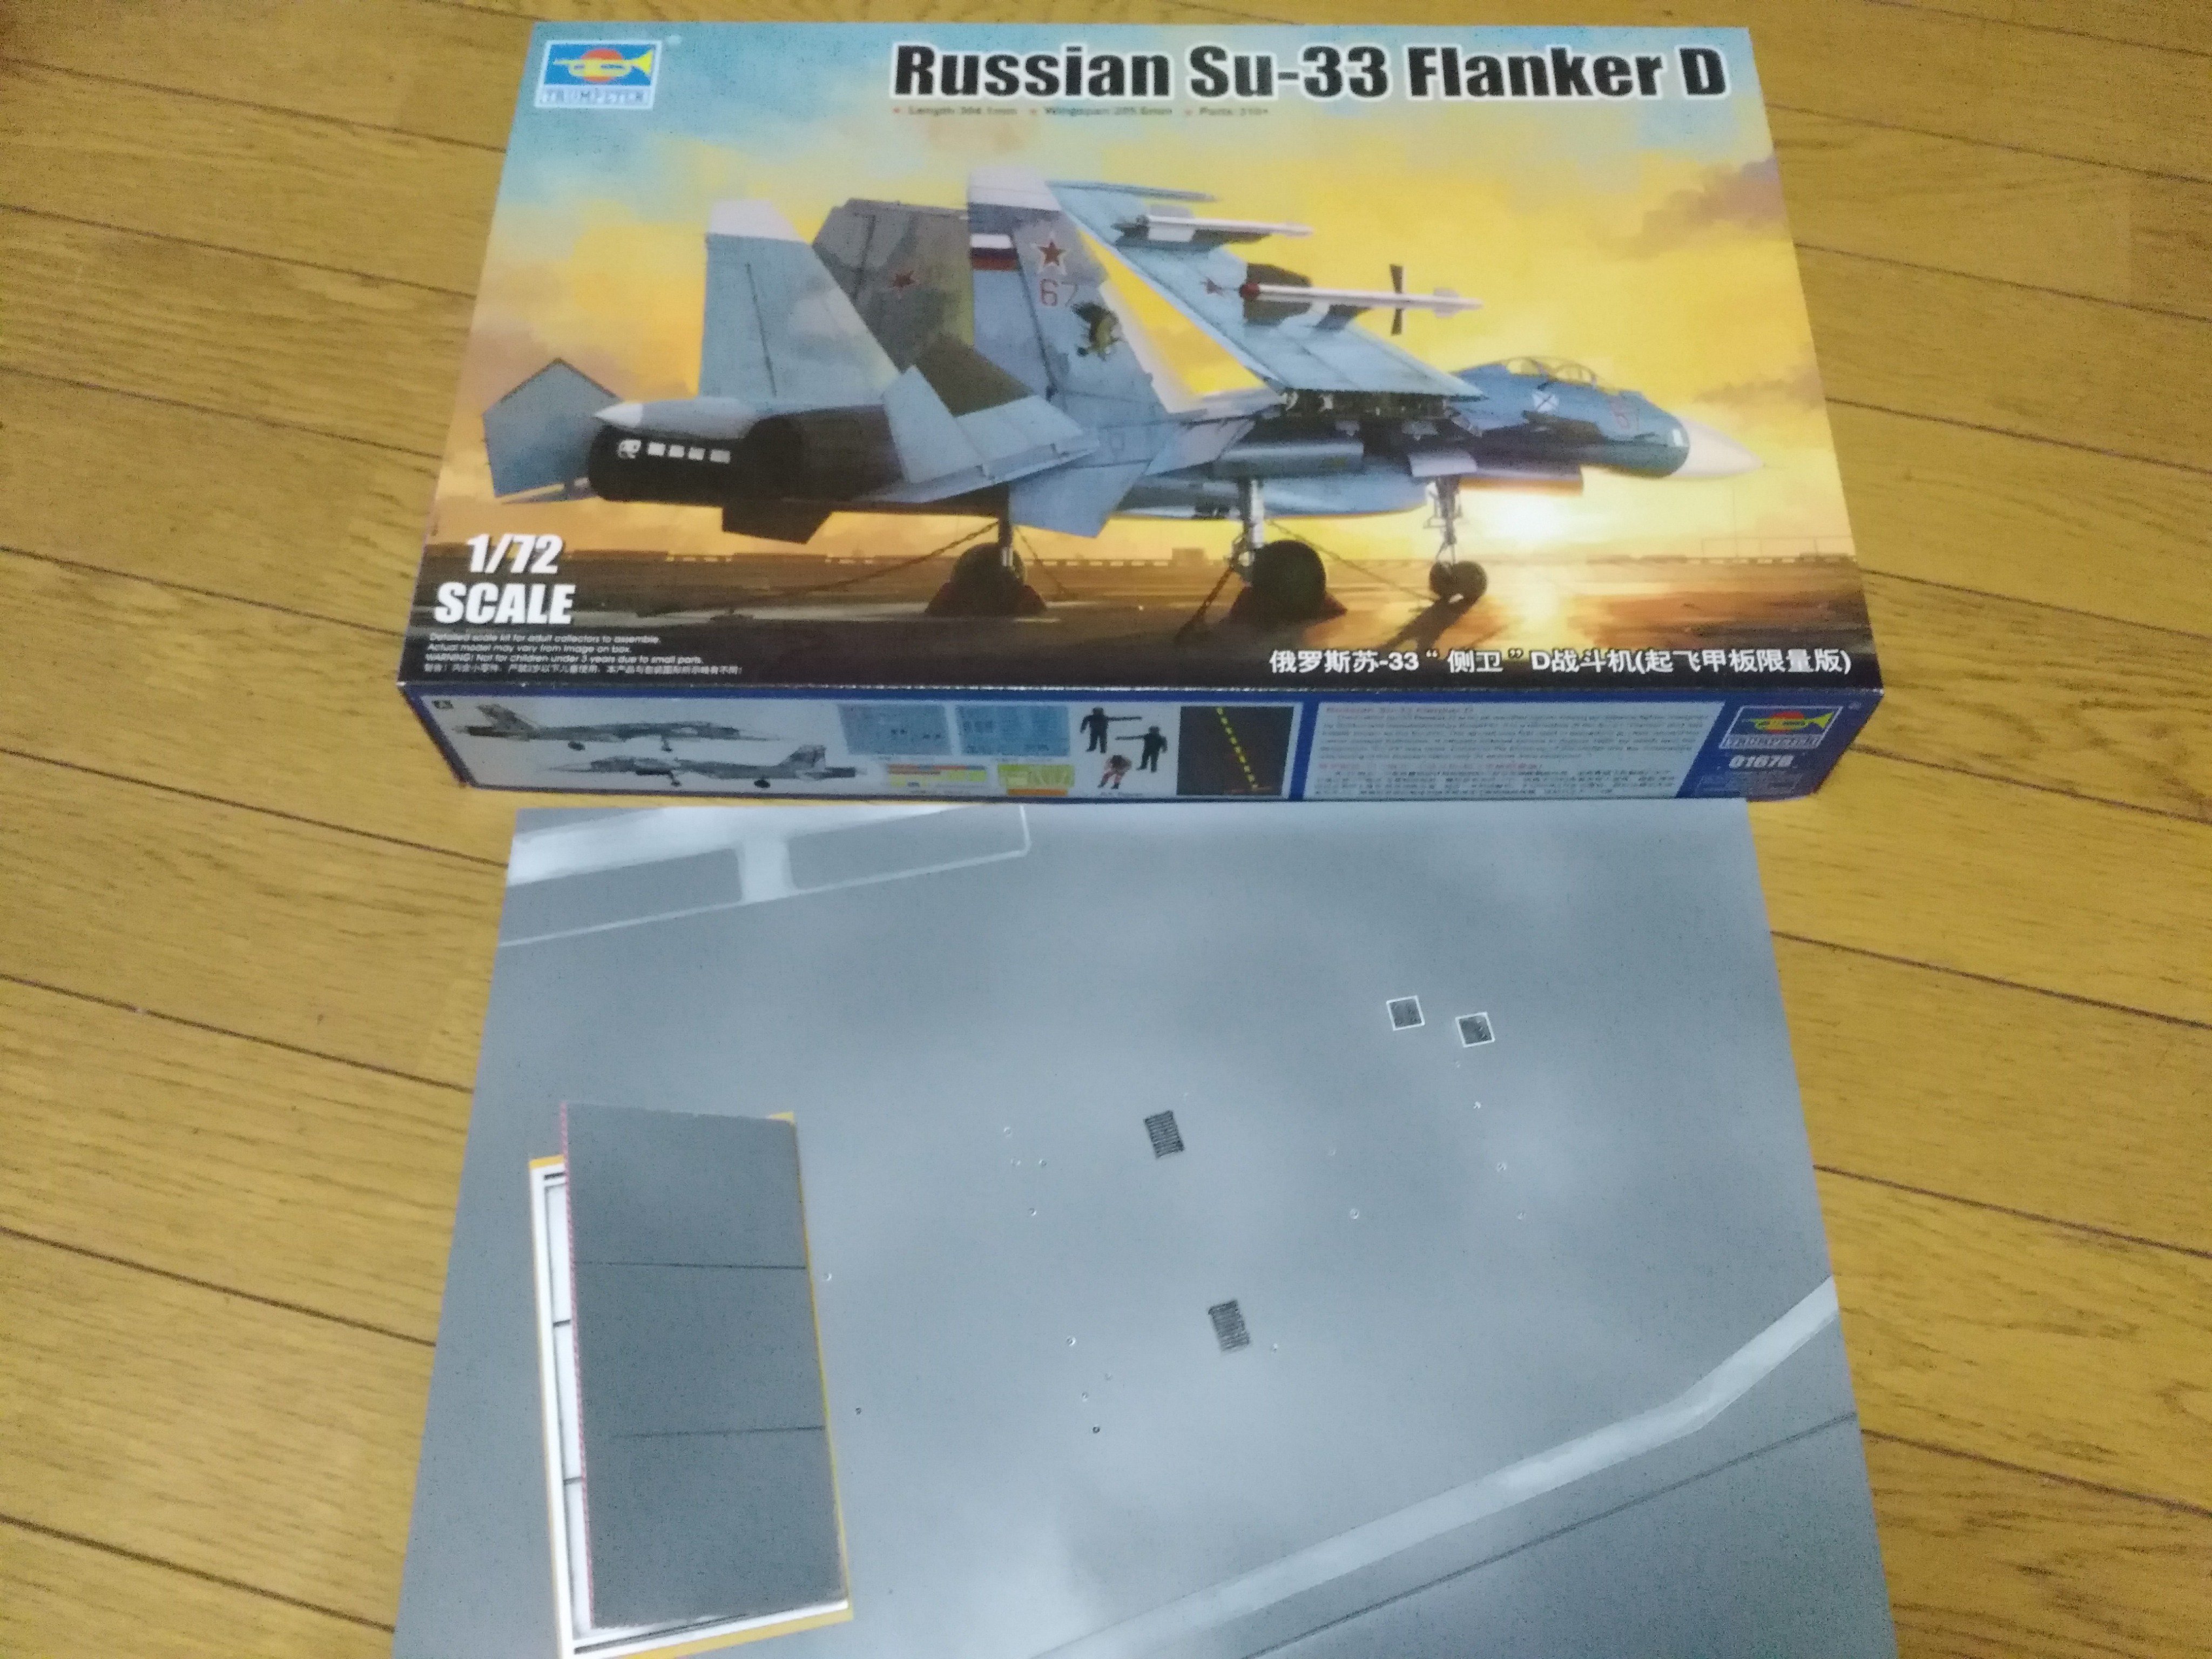
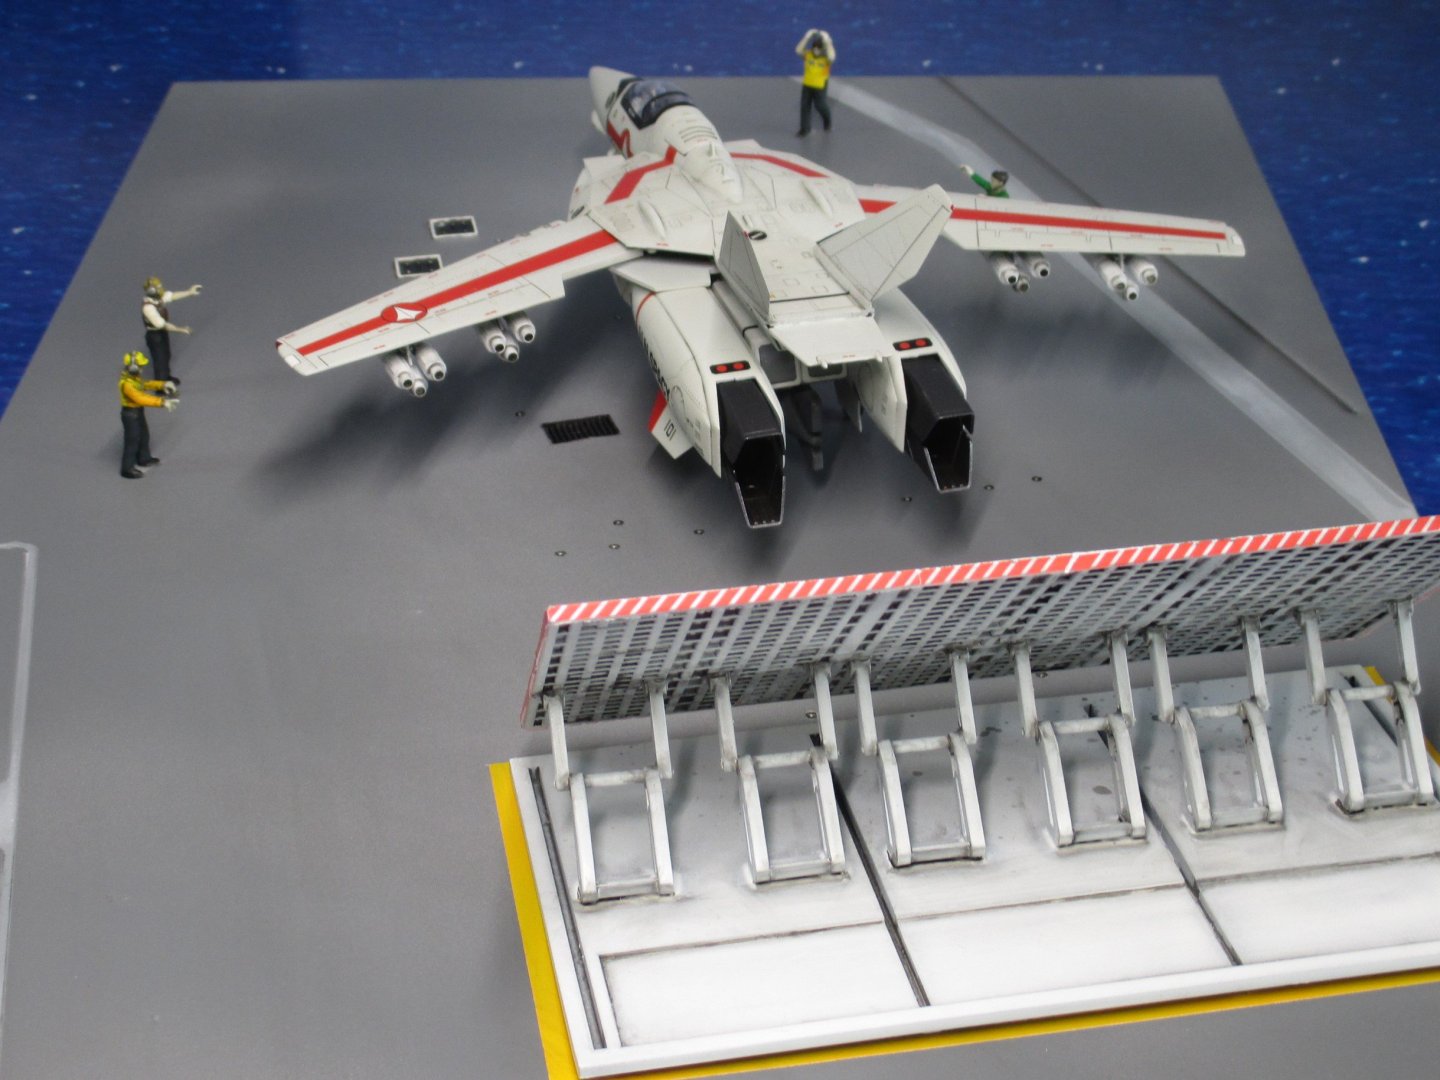
Those are cool. Do you have references for how they are installed? I also found this cheap alternative to those expensive flight decks that comes with a Trumpeter 1/72 SU-33 Flanker D. Hobby Search seems to have them in stock for ¥6,000. Any comments on their quality?

-
I have an improved video for you guys.