-
Posts
2630 -
Joined
-
Last visited
Content Type
Profiles
Forums
Events
Gallery
Everything posted by arbit
-
That's a lot of armor on Arad's 31. Can't see anything of the valk except the head!
- 20137 replies
-
- macross delta
- vf-31 siegfried
-
(and 4 more)
Tagged with:
-
Cool. I was worried they had given up. I wonder what uniforms they will have. Really surprised with the choice for the first Minmay dress.
- 1588 replies
-
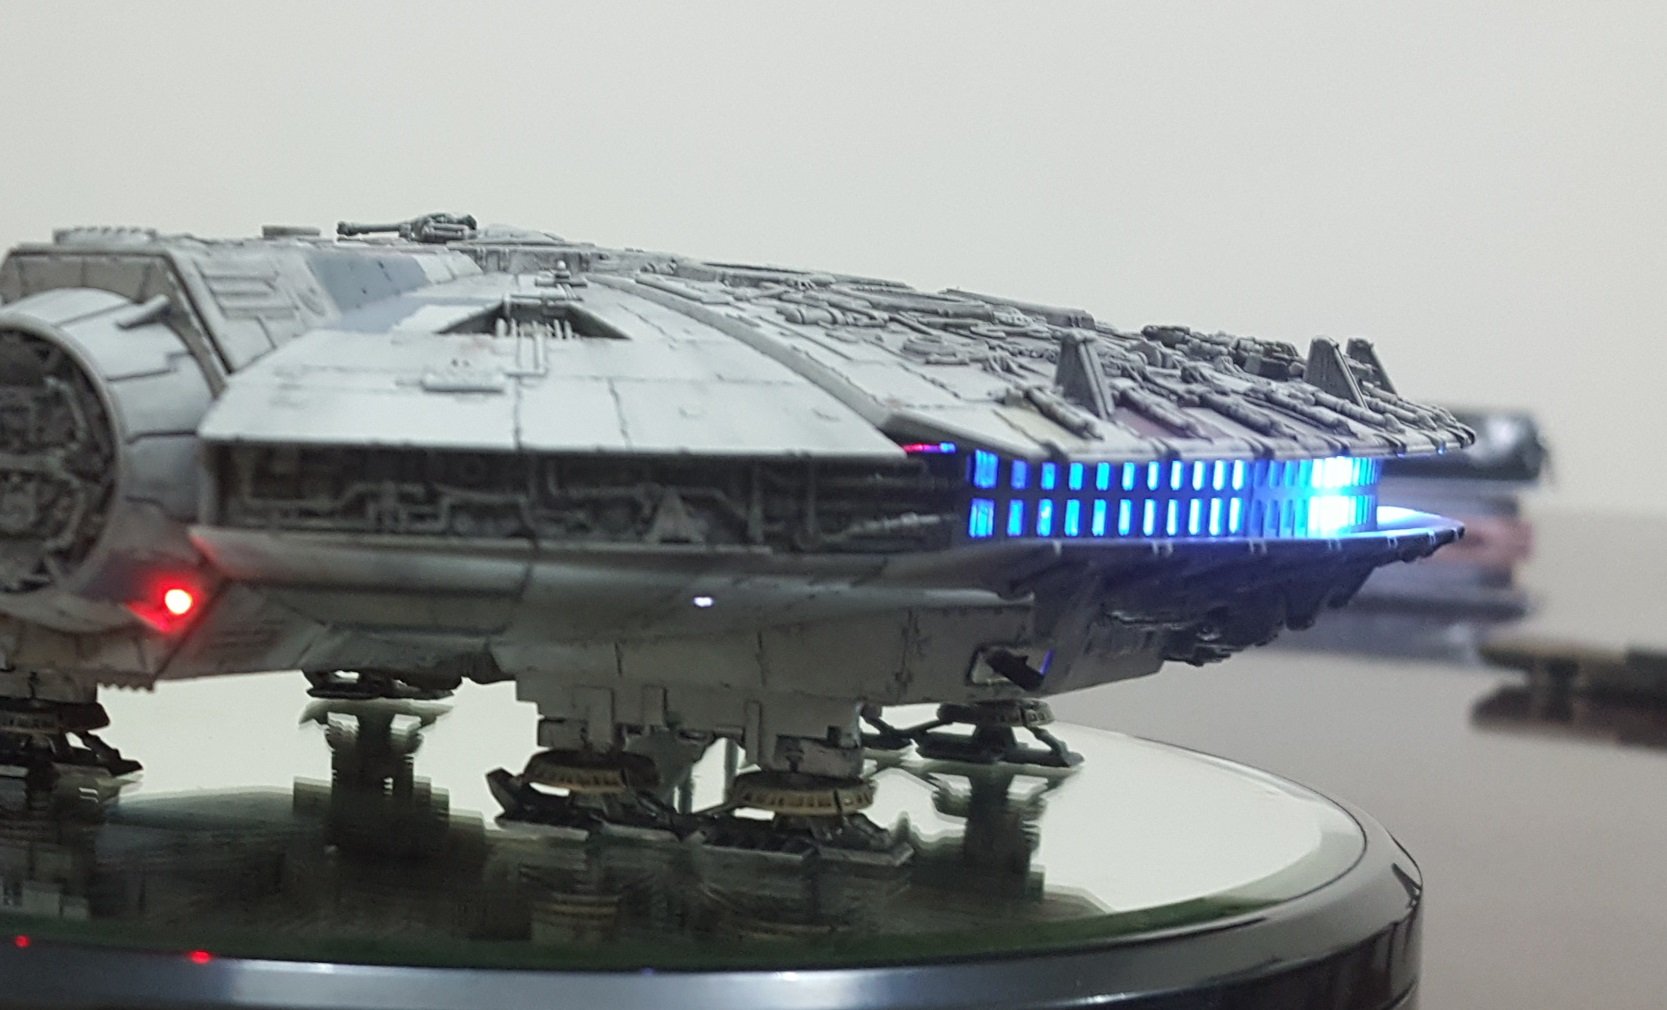
Thanks Mechtech. I'm really glad you had fun with it. That's my only goal. I'm not interested in making any masterpiece, I'm just trying to survive the process!!! Sorry, I'm not much of a photographer. Capturing video of those light panels is really difficult. I lost focus on the Falcon, because I was so concerned with the lights not washing out. Although I made my best effort to get a good video, I still screwed it up.
-
Whatever approach you choose, I have found that watching a lot of Youtube tutorials first really helps avoid trial and error.
-

1/32 F-14 Tomcat magazine subscription to build model?
arbit replied to kyekye's topic in Model kits
I lost it all day after seeing that. But it is enormous in size, and it is manufactured, not custom made. -
I find Gundam Markers impossible to use and control. You are better off hand brushing details with some Vallejo Acrylics (any kind will do). You will save money and they will last a long time. They are easy to use and not toxic. I use Chinese zero size brushes for details. Learn how to set up a wet palette and you will be set for life (takes one sec). You wet a paper towel on a plate of any kind, and lay some baking paper on top. That's your painting palette which will keep your Vallejo paints from drying out.
-
-

1/32 F-14 Tomcat magazine subscription to build model?
arbit replied to kyekye's topic in Model kits
Completed build blew my mind. -
joscasle, Looking sharp. Very nice finish. And you pulled off the Miria red very nicely. What's your next step?
-
I told you I had somethin' cookin'. Now go wash your mouth out with soap!
-
I made a toy! This is the final video showing the Bluetooth controls. Hope you like it! Don't ask me what XYTV is. It's from a paid app, Viva Video, that's not supposed to have watermarks!
-
Yes I meant the Kairos. So anyone have any idea how NY is getting these one by one?
- 20137 replies
-
- macross delta
- vf-31 siegfried
-
(and 4 more)
Tagged with:
-
Careful, since I mentioned them here, Gizmoszone seems out of business but still taking money. Just won a non-delivery case against them, and they have insufficient paypal funds as well. Anyone know who else has 6mm low speed motors (12mm length)? The 6mm planetary motors on ebay are too long (L 19mm) for the valk. com
-
Thank you Master. But wait till you see what I am cooking up here.
-
Finally got my KairROS from NY. Don't hate me. I ordered on Oct 7. But could someone please give a theory on how the heck they are fulfilling these one by one? I just don't see how it works. If there was a second run they would have filled all orders right away. Not drip by drop. I just can't figure it out from a business perspective.
- 20137 replies
-
- macross delta
- vf-31 siegfried
-
(and 4 more)
Tagged with:
-
That's the same fix I mentioned yesterday worked for me too. Except to be safe I filed away with 400g paper, so i could file and test, file and test. But careful to file/trim the main hinge, not the fin itself which has the little 1mm nob to attach to the hinge. Then I cleared up the 1mm hole in the hinge as well with a pin-vice drill.
-
He will be pleased to hear that !
-
Thanks so much wmcheng. Youre our hero. I dont have 1/10 your skill. I couldnt be doing this without the guys on the workbench showing me the way. They taught me everything I know. I just try to have fun with everyone. It's a team effort.
-
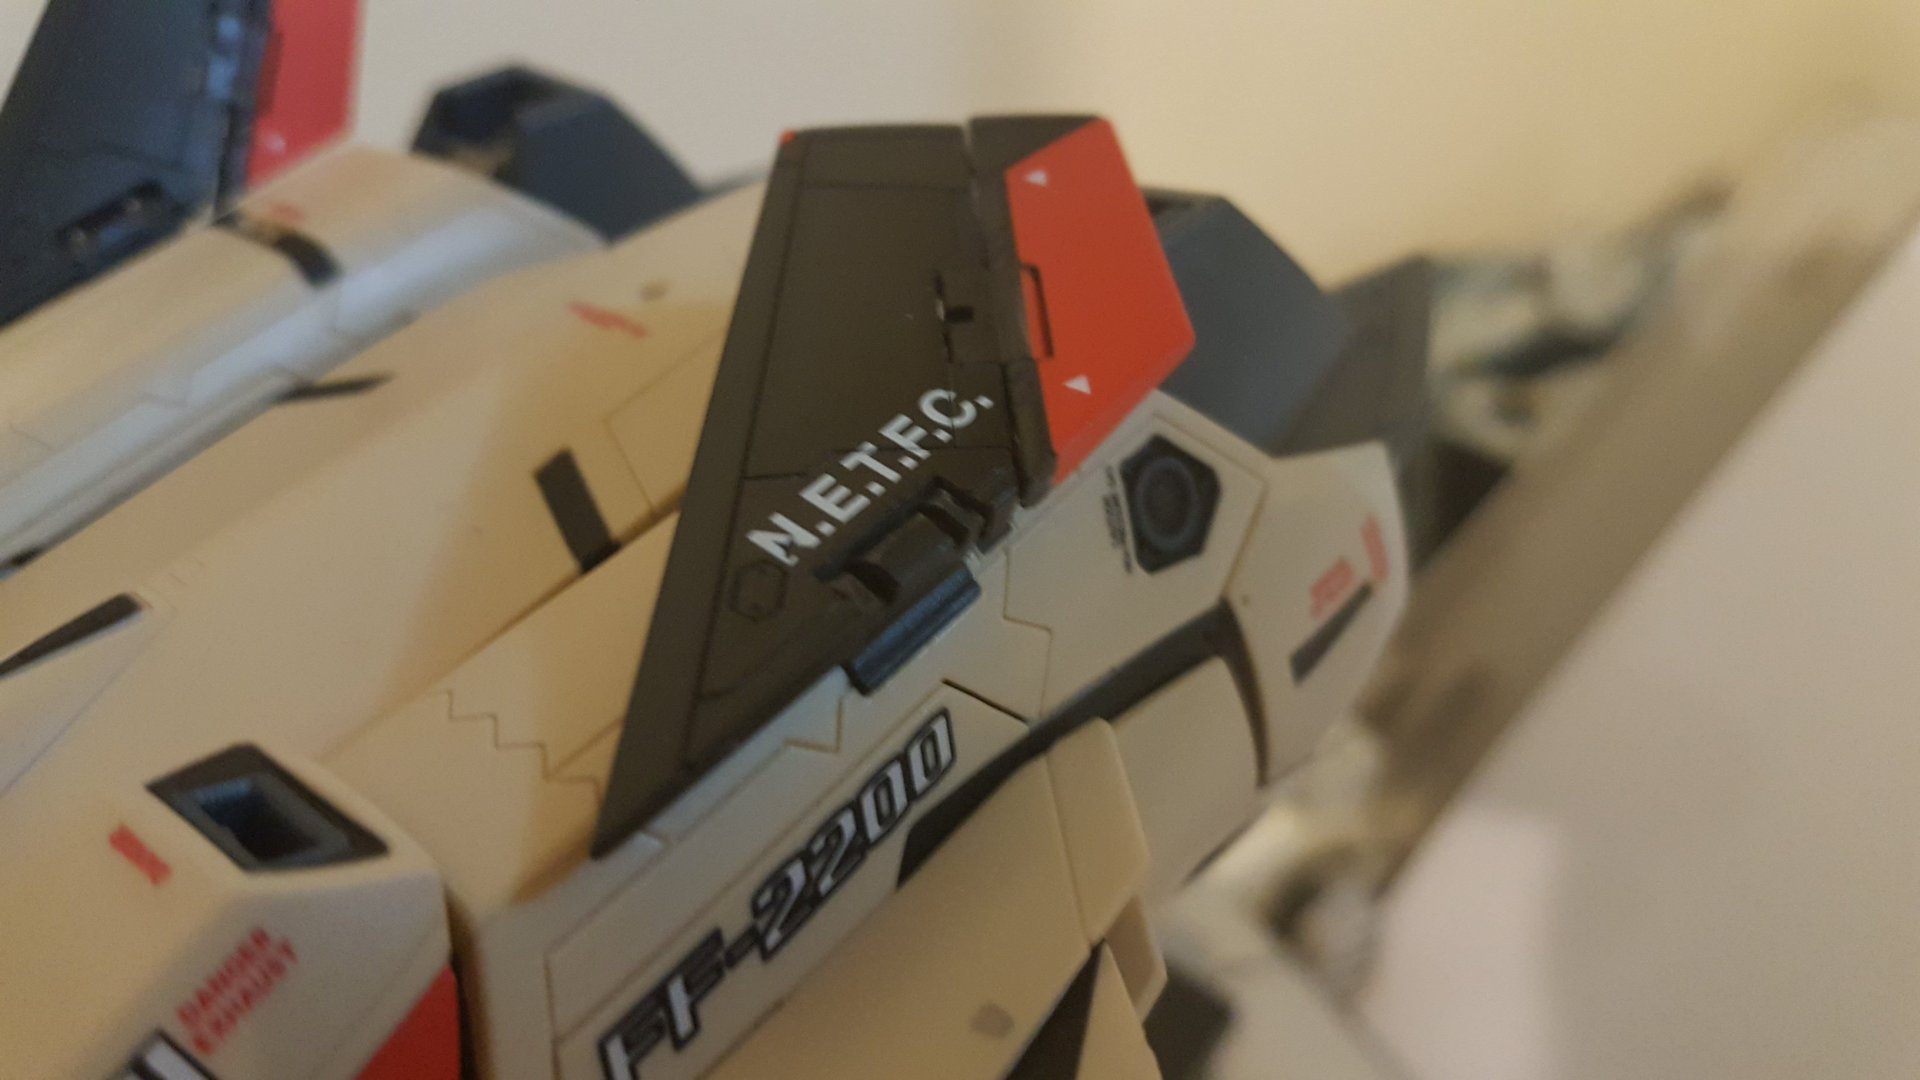
Generally I dont like to be negative and complain, but the QC on this YF-19 is the worst I've ever seen from a leading manufacturer. On my piece they have jammed the rear tail wing hinge when installing it, turning both joints to an unrecognizable mess. I managed to correct it a bit with some sanding and drilling. But this is really hurrendous quality, especially for a USD300 toy. Never cared much for perfection when there are small mistakes, but this makes me really reconsider if I want to waste my money on these jokers any more. You can see my sanding marks and drilling to straighten the edges out and make the hinge "workable" again.
-
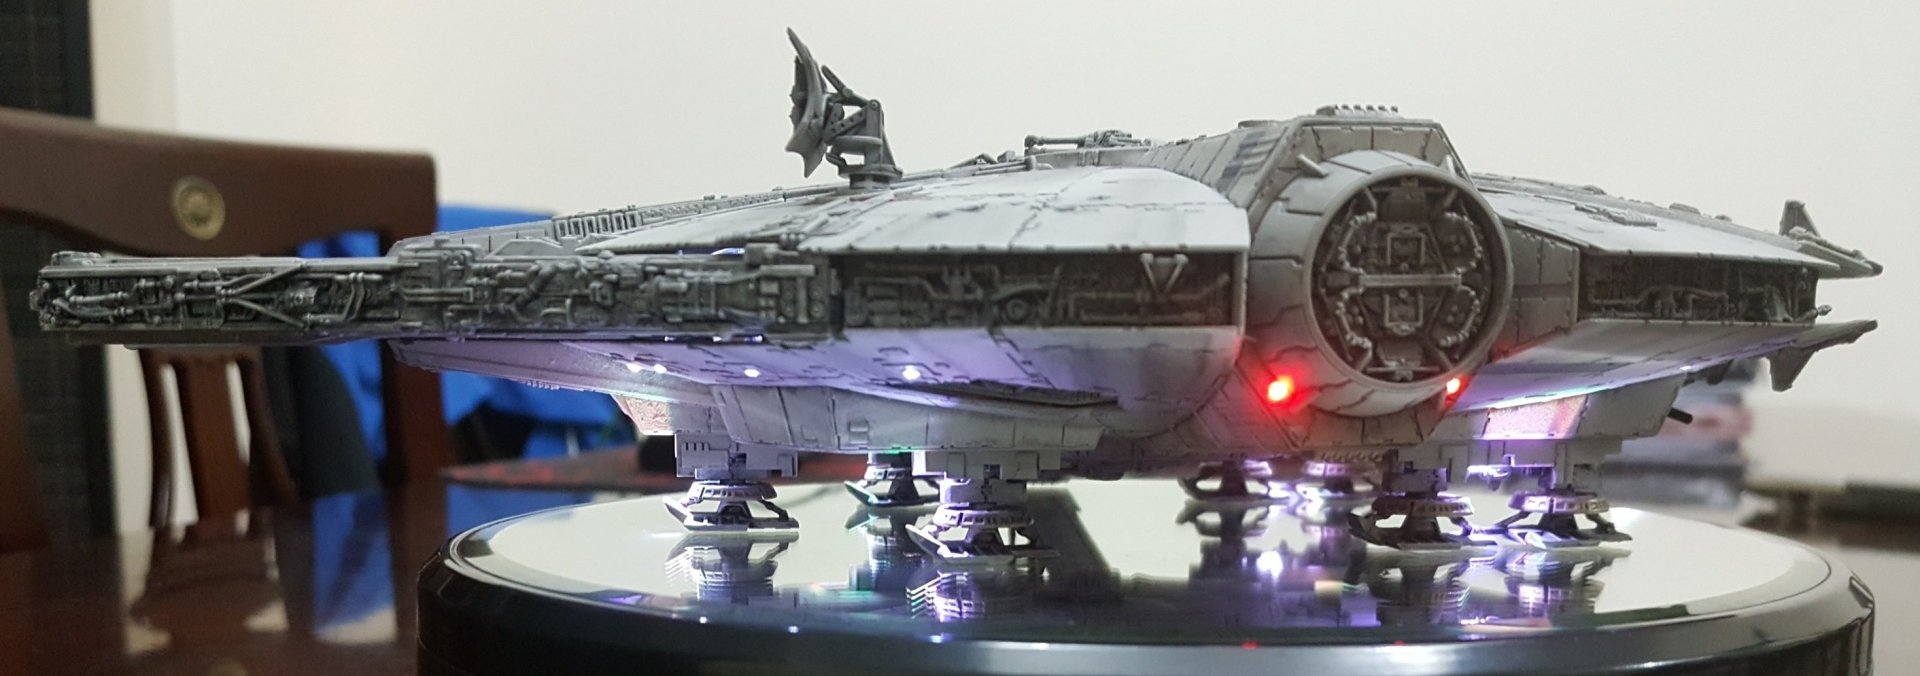
Exactly 250 grams. But I dont trust this levitating display. It comes crashing down with a bang from imbalance. Anyone experienced one that doesn't do that? I made this for my kids because this is exactly what I would have wanted. My 7-yr old gave it a 10/10. But my 13-yr old only gave it a 9... Tough customer... Too preoccupied with Fortnite. I'm beginning to really hate that game...
-
Thanks mickyg. This is rushed, but I couldn't resist
-
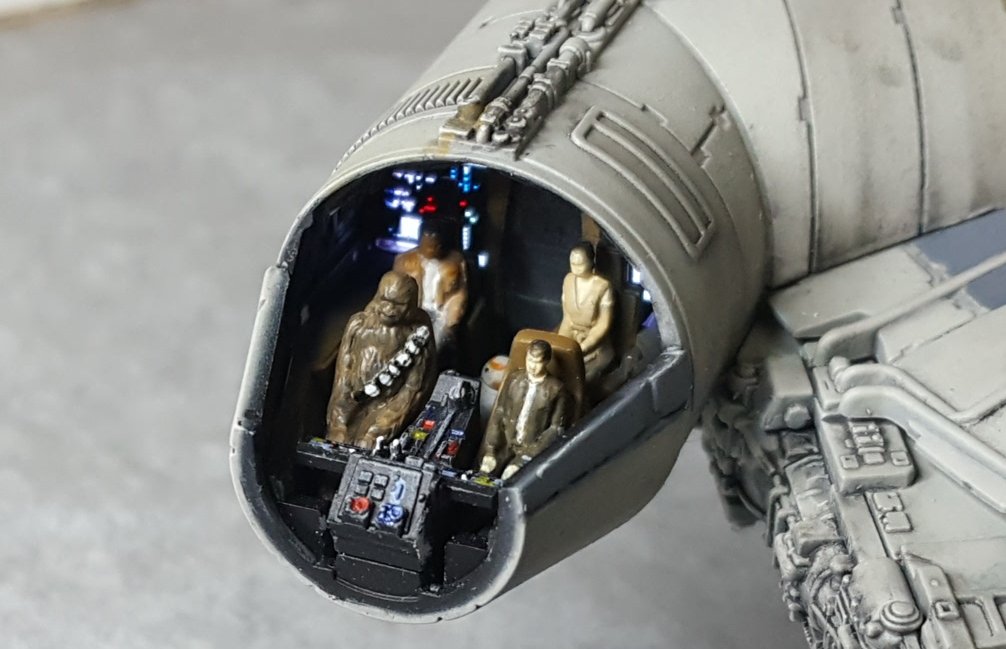
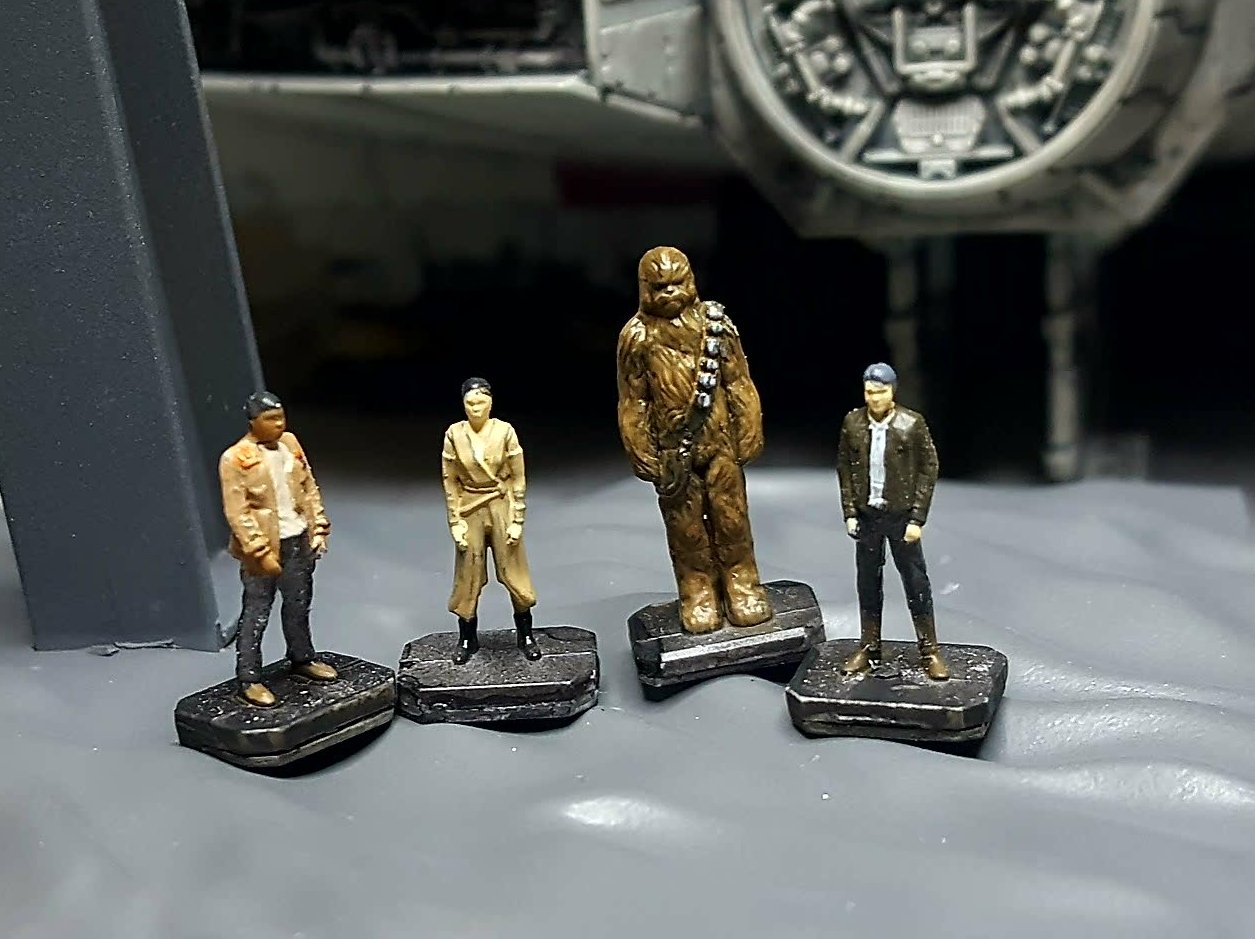
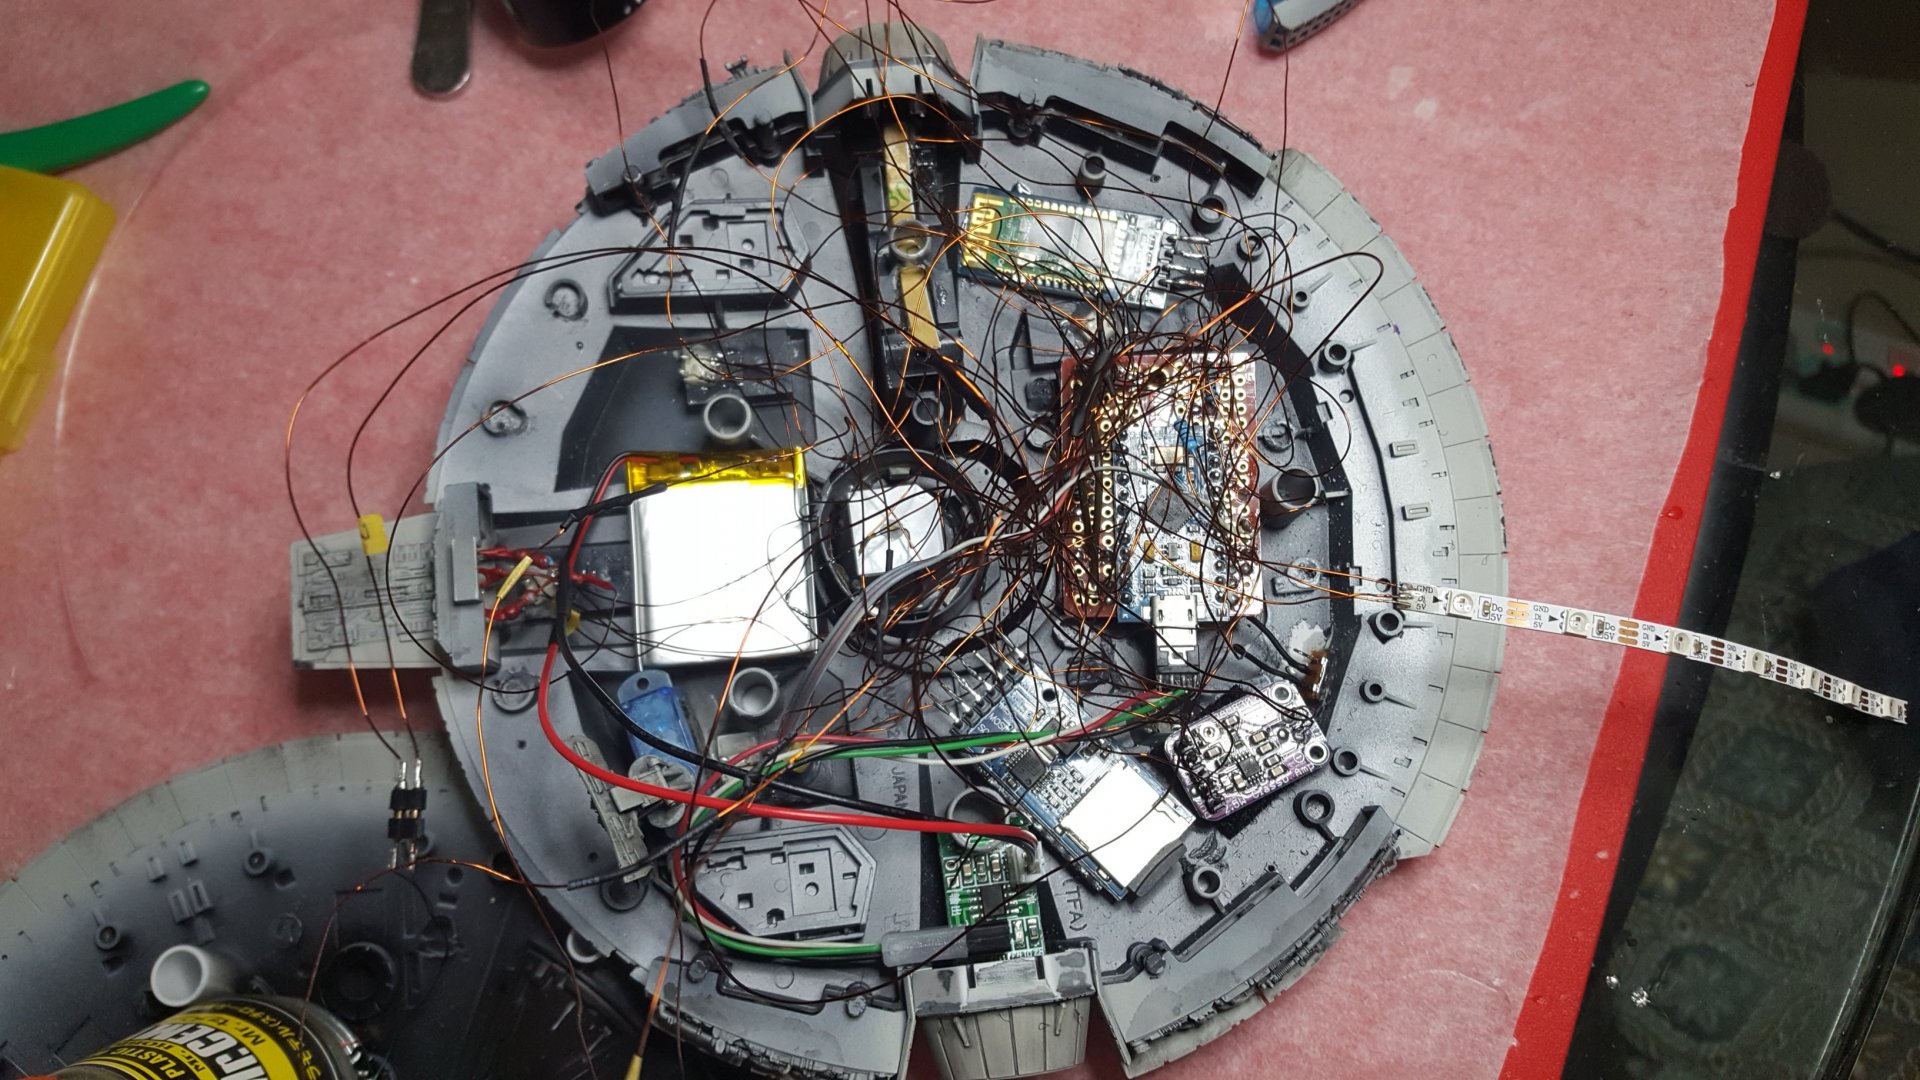
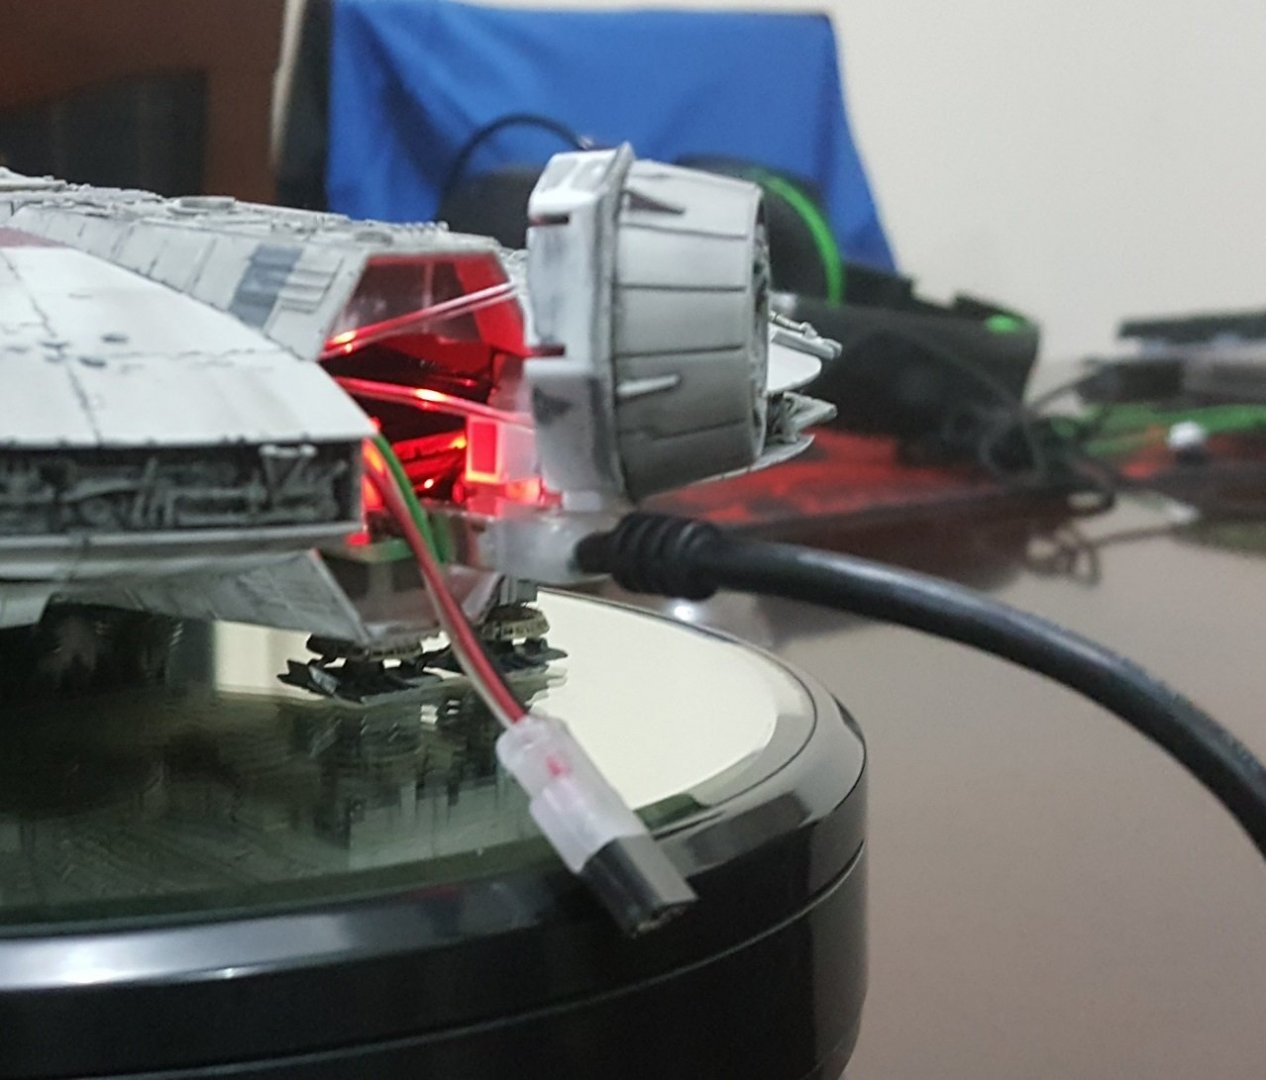
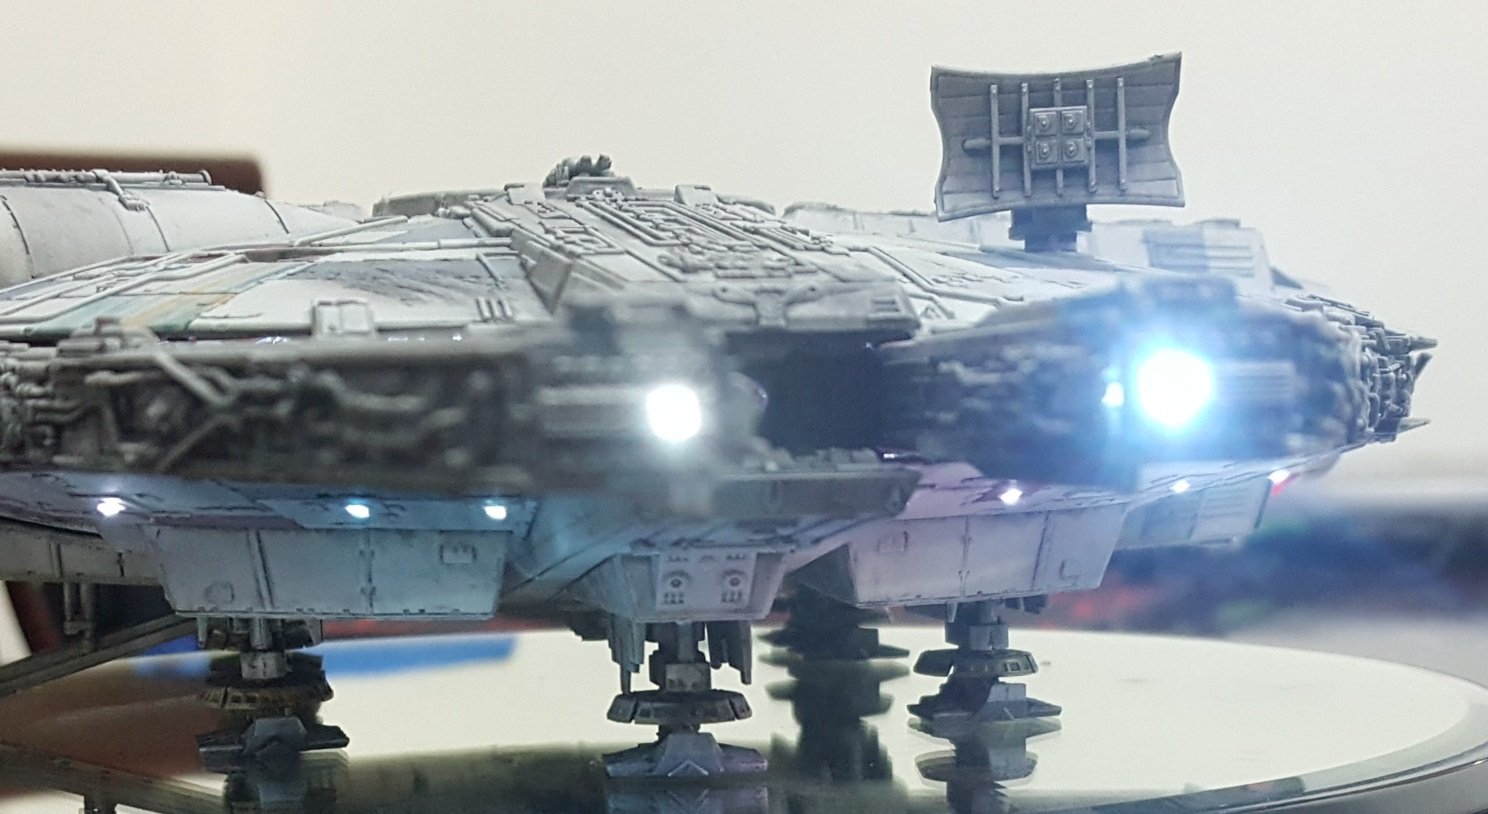
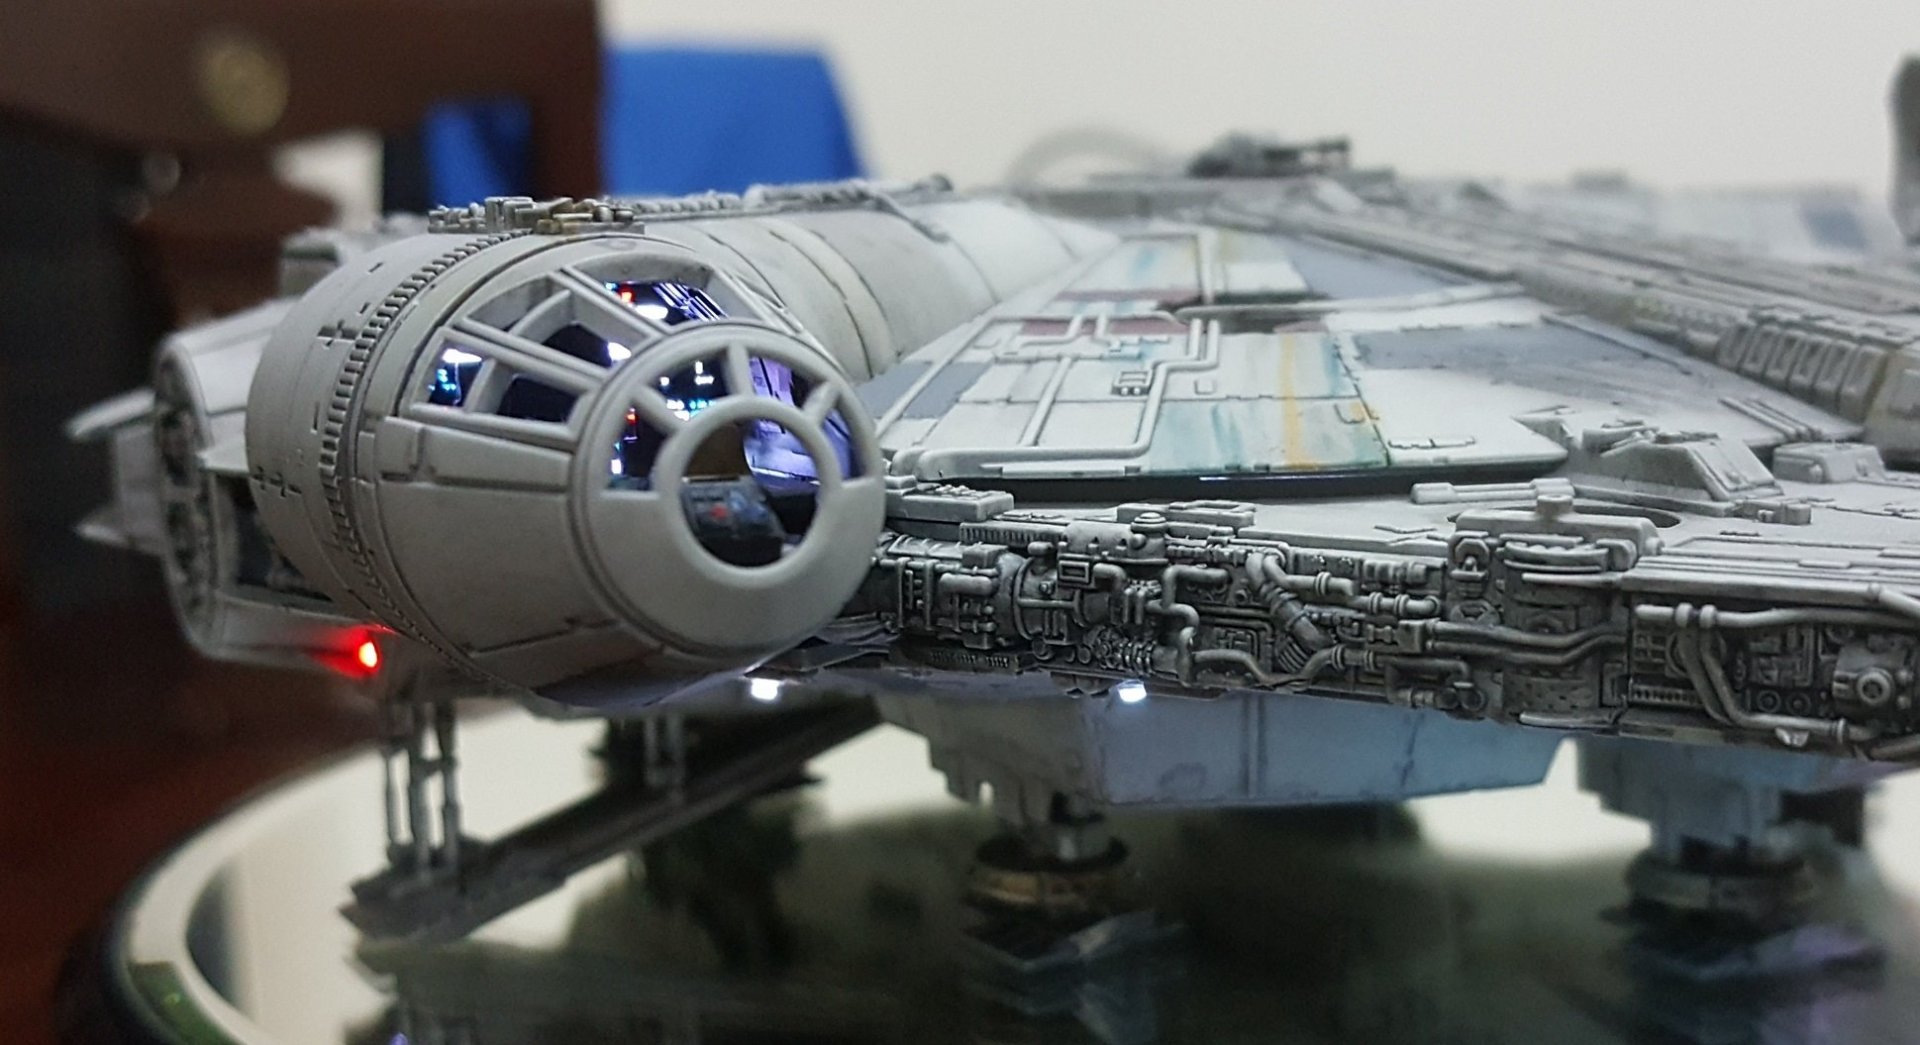
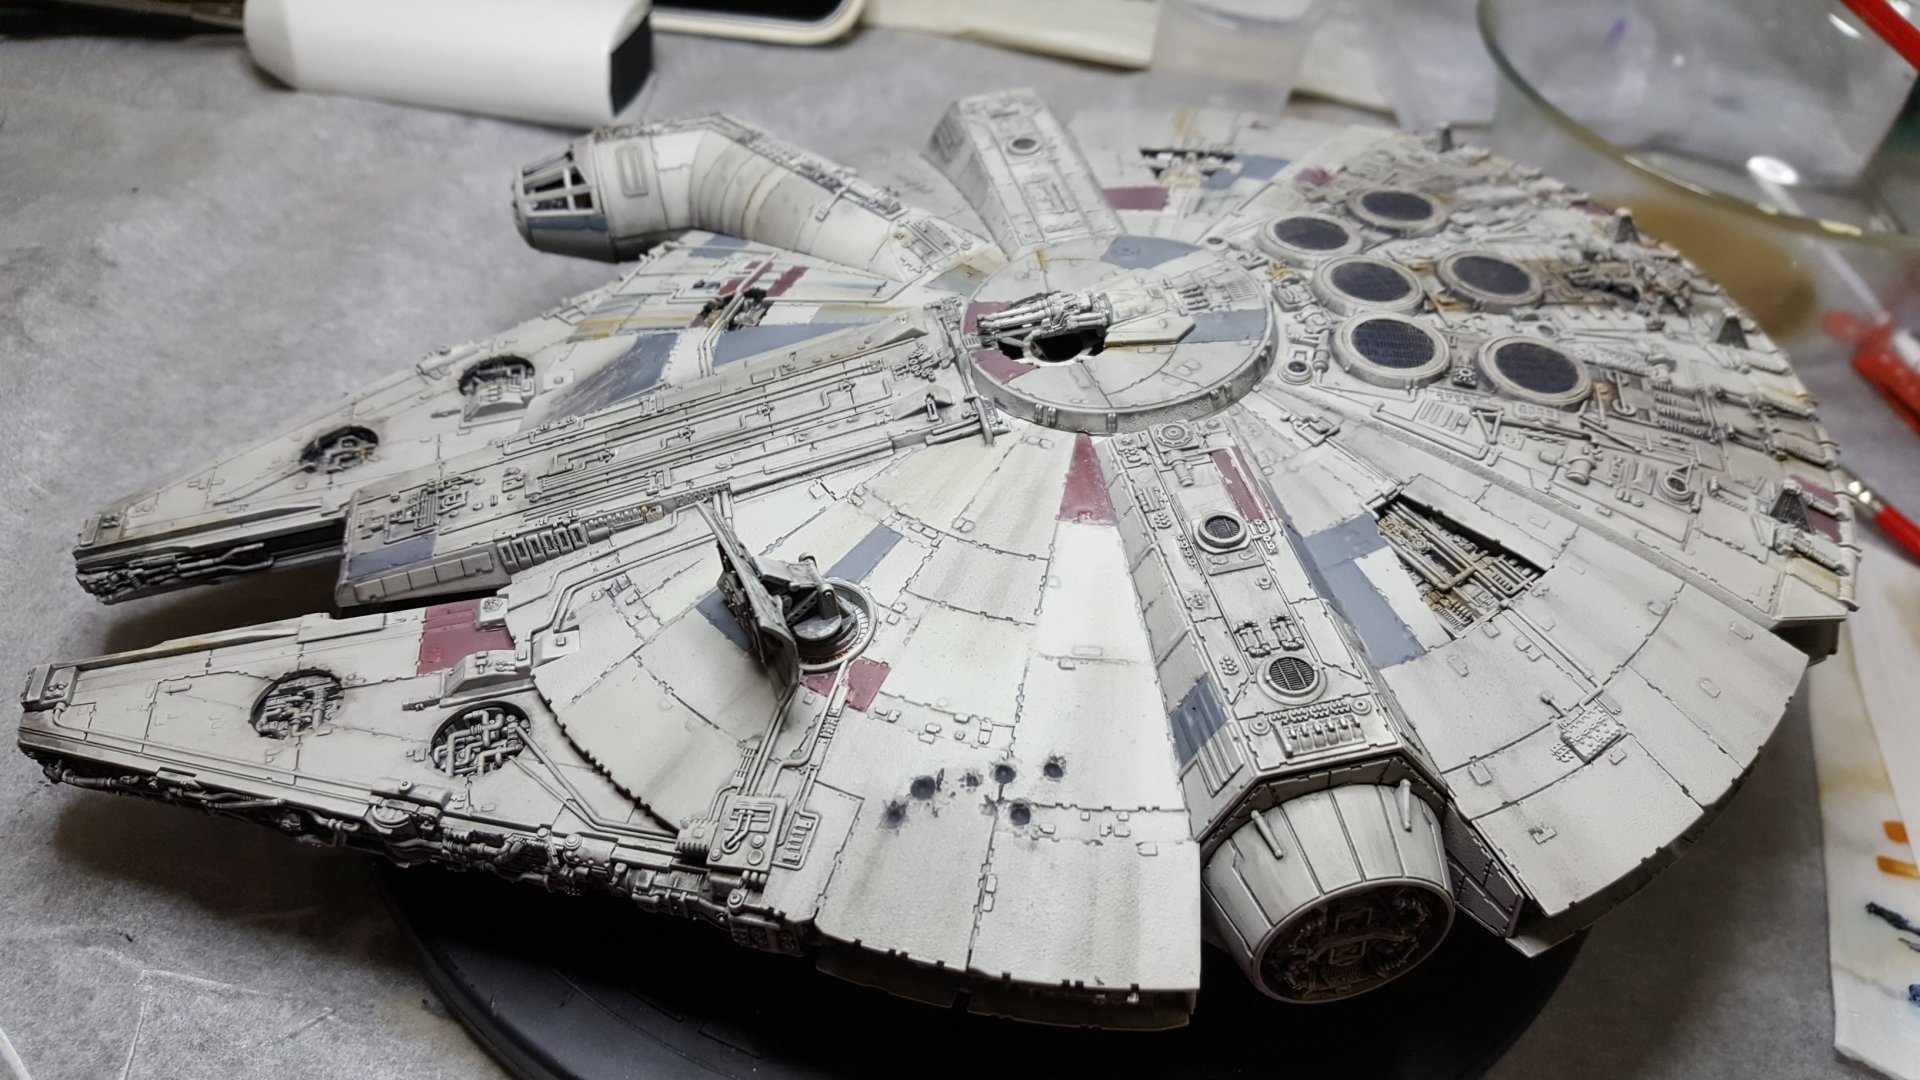
Wrapping up the electronics now. This is my first Bluetooth controlled project (with the HC-06 board), so it took some time to learn. It was pretty easy actually. Otherwise its the same setup I always use with the Mini Arduino, LiPo, SD Card, amplifier, and speaker for the sound effects. It has 25x RBG Neopixels and 3x normal leds (for the lasers and pulsar cannons). They are all separately controlled by Bluetooth, with the Ardudroid app, for the landing gears, stairs, cockpit, gun pit, engine, and 14 spotlights with fiber optics. It's my first completely wireless project that doesn't need a base, because all the electronics fit in the body. Although at this scale it was a tight fit, especially the fiber, It has an external power switch under the engine, and removable side access for charging and programming. Now I'm trying to figure out how to shoot this little guy. I'm hoping to do a Picture in Picture video to show the Bluetooth control in action.
-
Thanks guys. The difficulty with the Falcon is that it is so iconic. With other models like a VF-1 or a Gundam or a fighter jet, you can make any scheme you like... You could make it hot pink if you want, and it will still be cool. But the Falcon has to look like the Falcon, and that's tough to pull off.
-
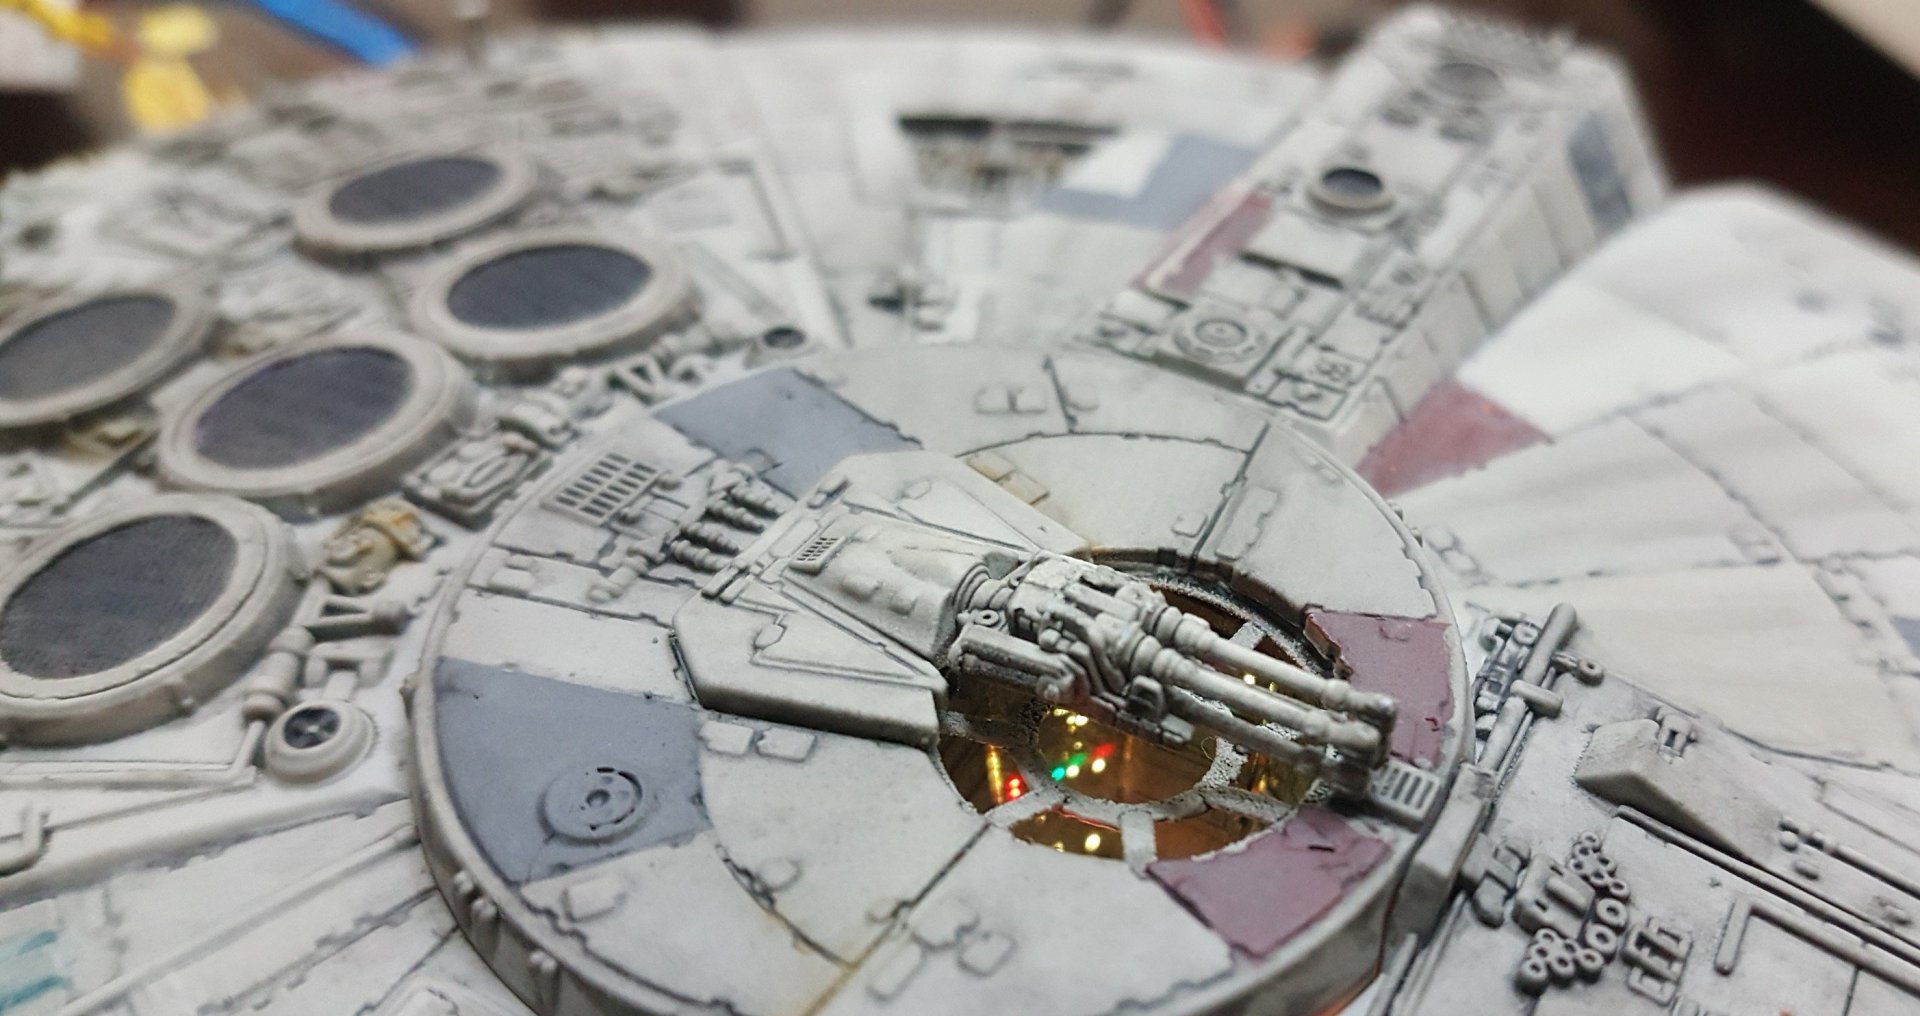
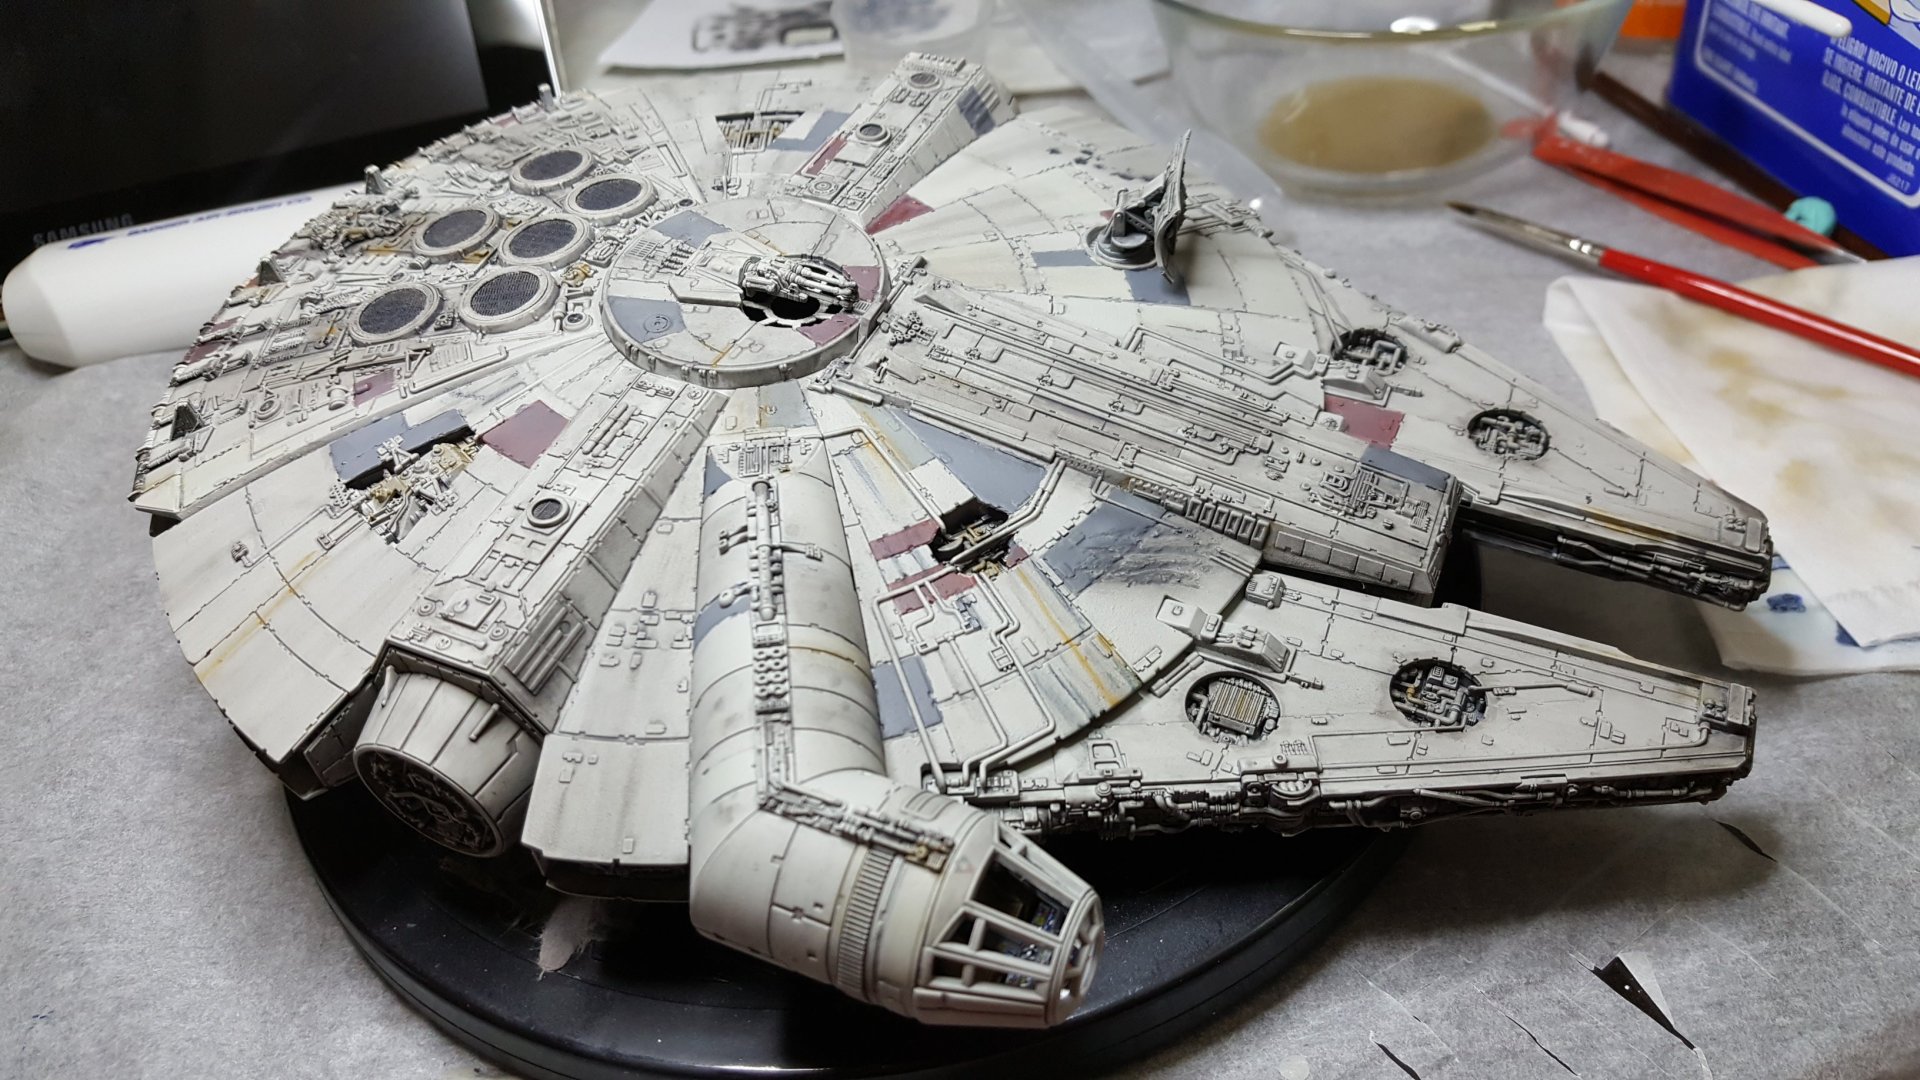
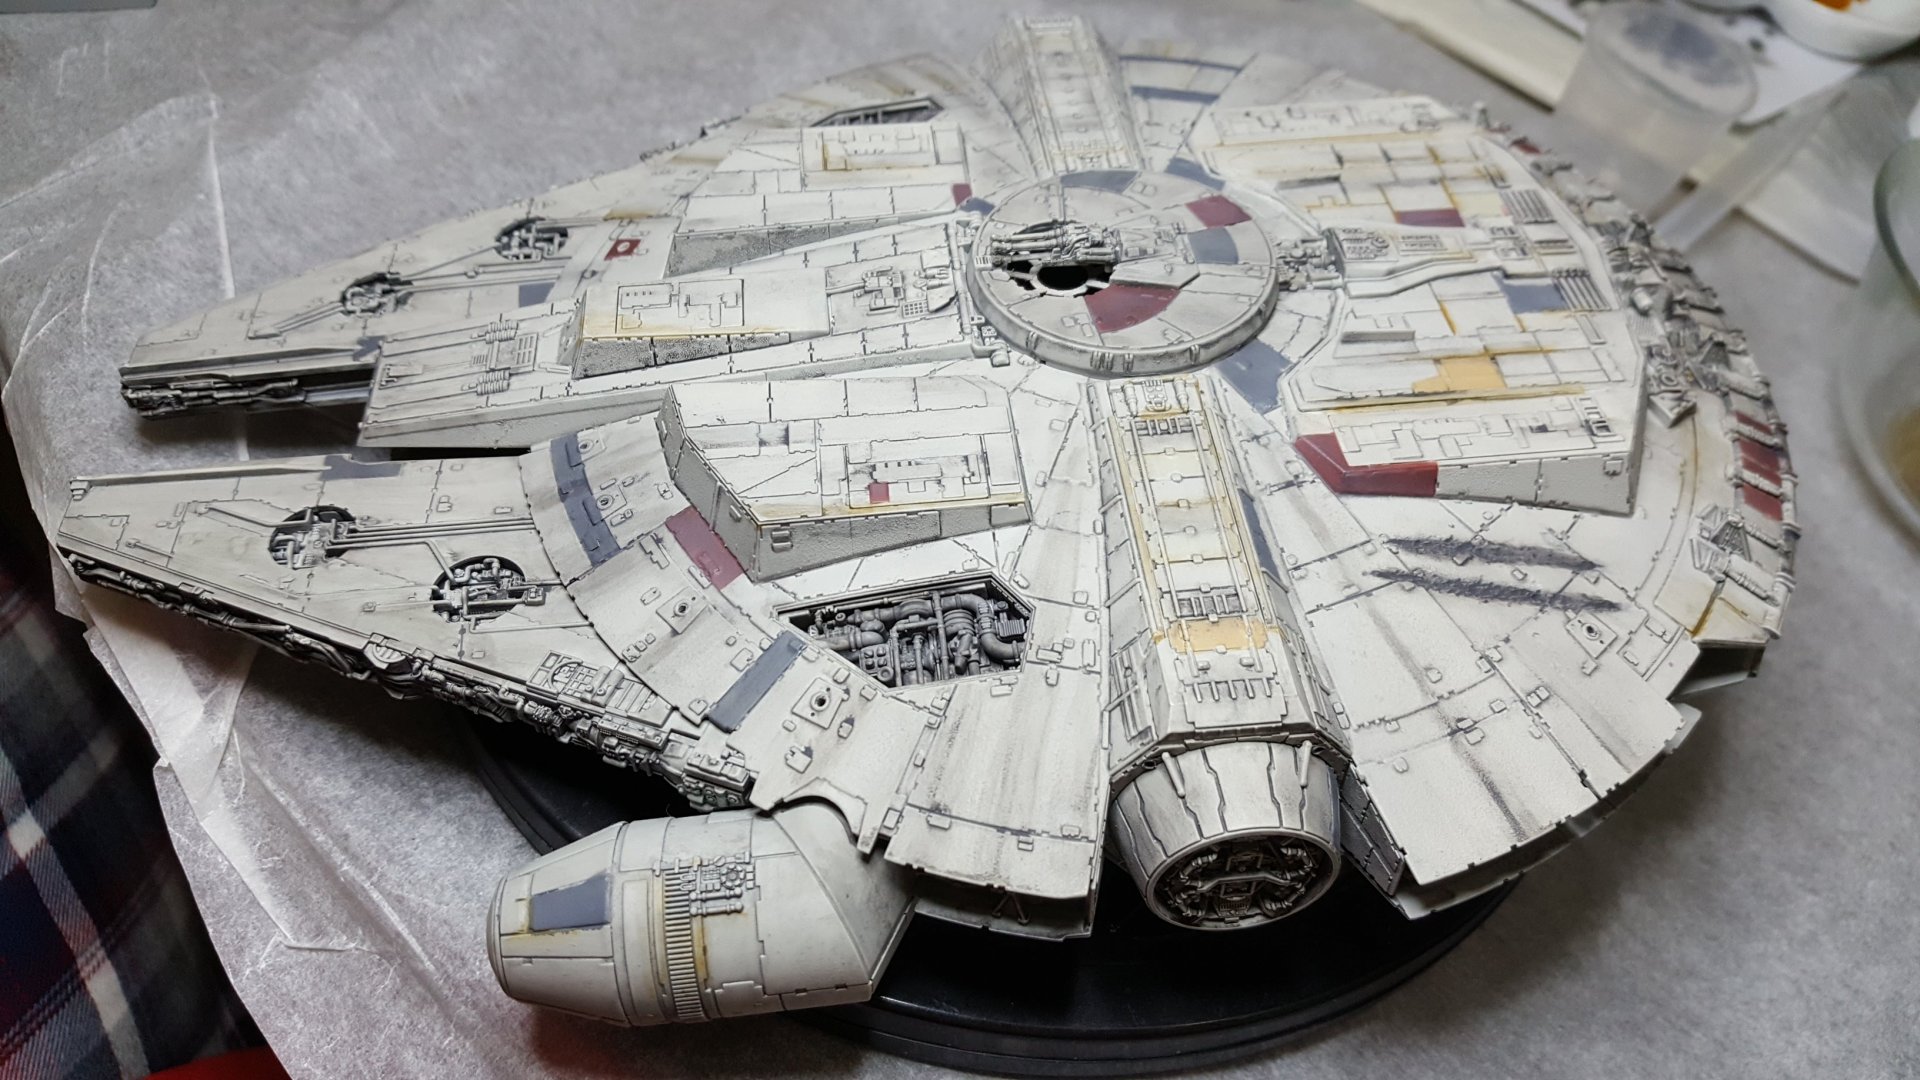
Soot and rust is on. I think painting is done. This is the dirtiest thing I've ever painted. I don't do much weathering because I prefer a toy look. But with the Falcon it's really a requirement. And it's with my daughter's $2 oil set.


