-
Posts
2630 -
Joined
-
Last visited
Content Type
Profiles
Forums
Events
Gallery
Everything posted by arbit
-
Looks great. Can't wait to see it painted.
-
Cool. Interested to see what you do with it. You've got some nice painting skills.
-
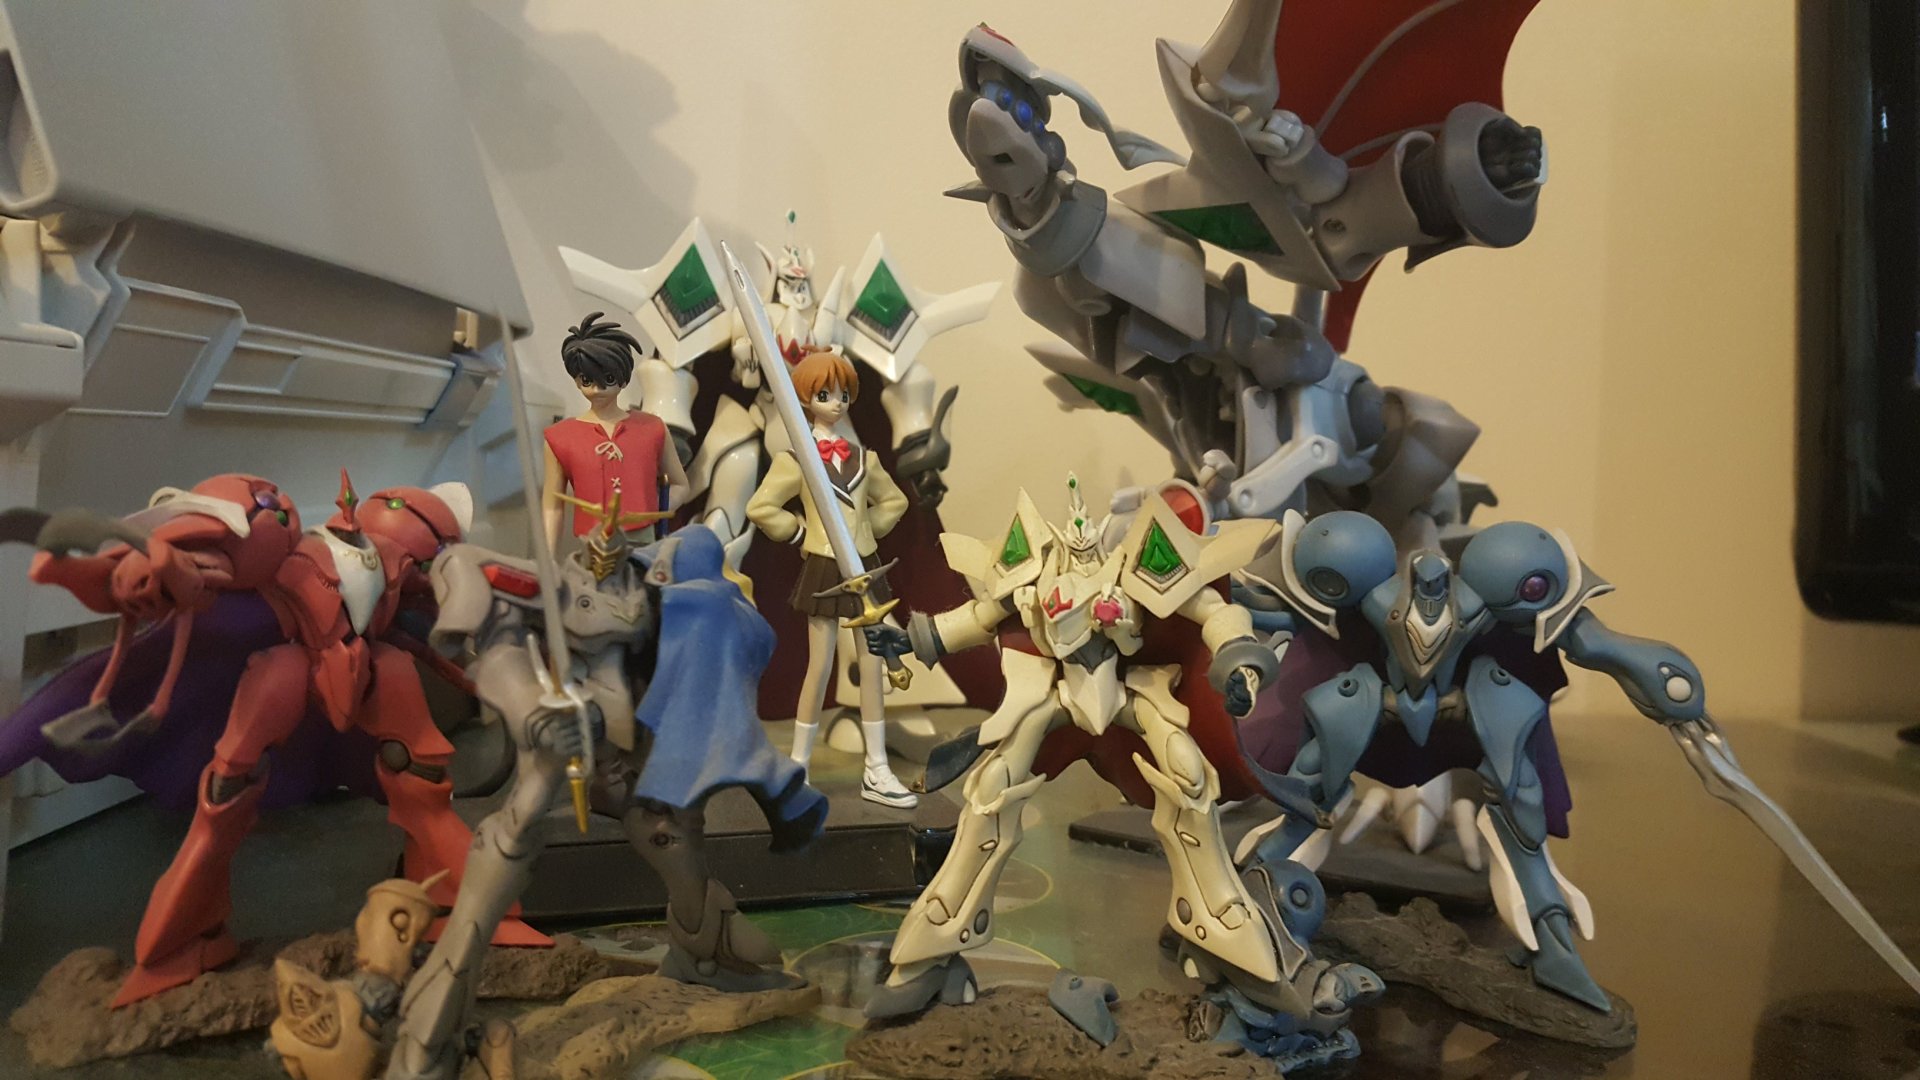
Even though my desktop looks like this these days, not sure I need this little kit. I'm waiting for a SOC Chogokin version.
- 89 replies
-
- escaflowne
- movies
-
(and 3 more)
Tagged with:
-
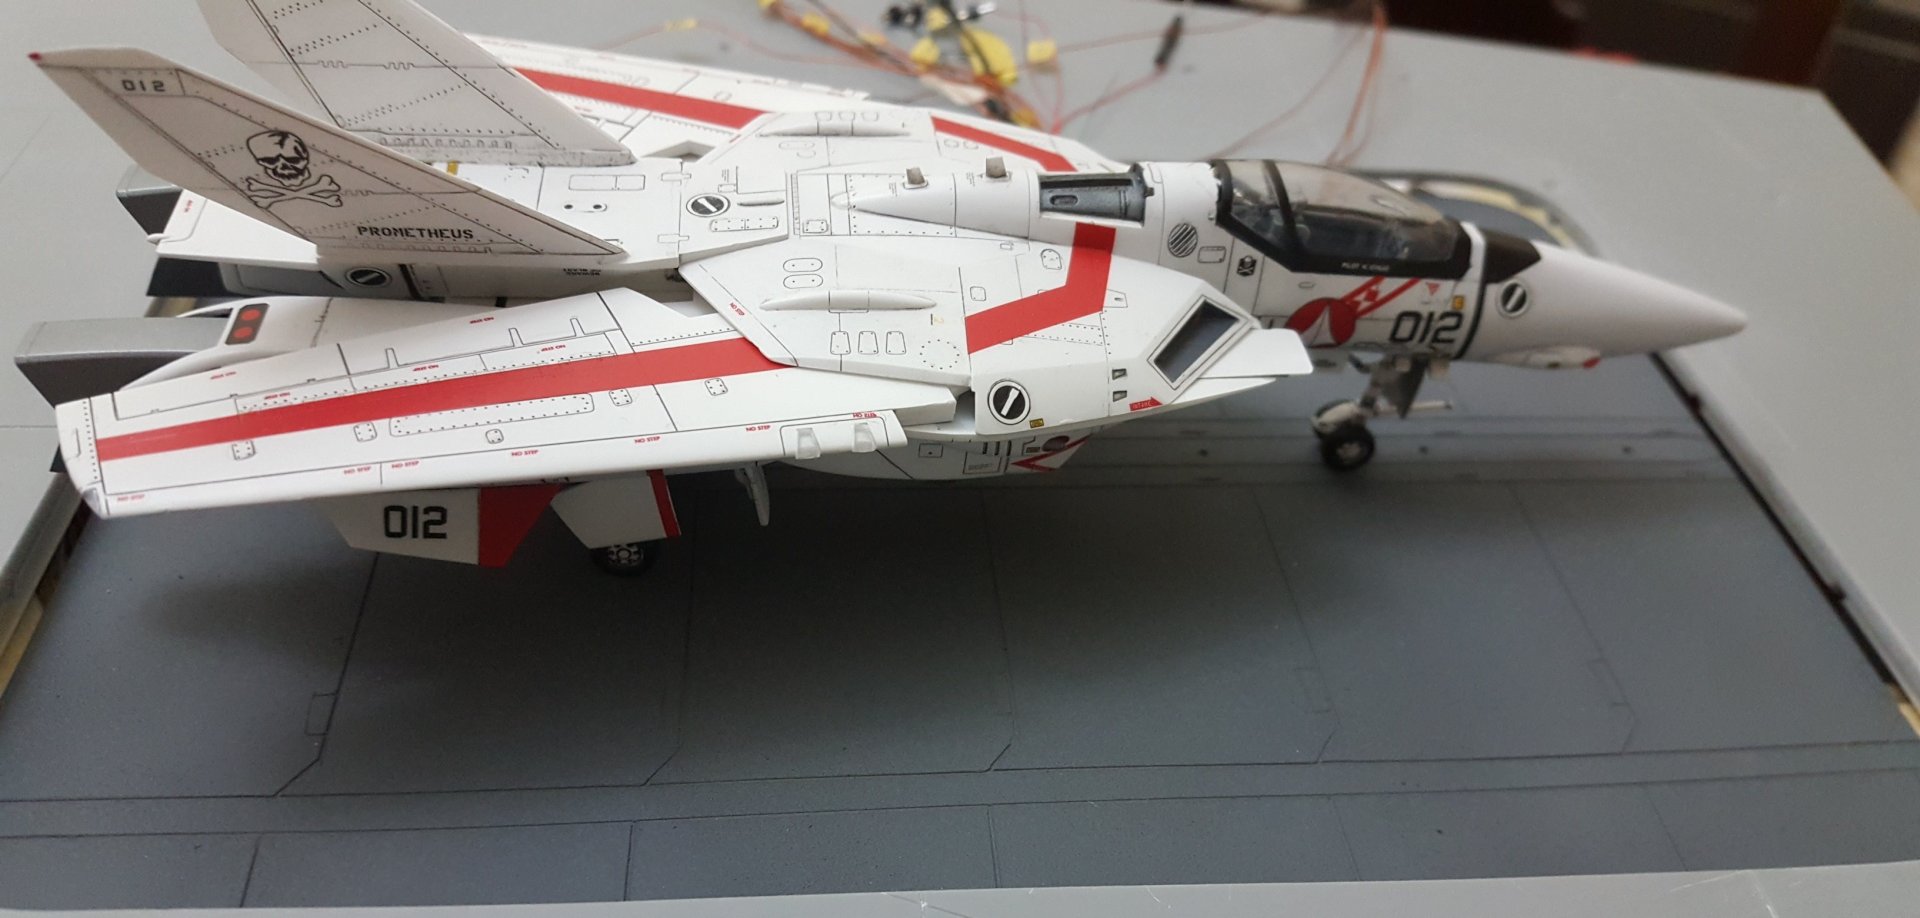
CHAVAKAISER, Does that transform? Checkmate, which Ingram is that? I have one and a Pit Road vehicle planning to light up eventually.
-
I slowed down the motor for the Deflectors. Starting to make some progress now that major issues are solved.
-
- 137 replies
-
- 1
-

-
Ha! I didn't know that.
-
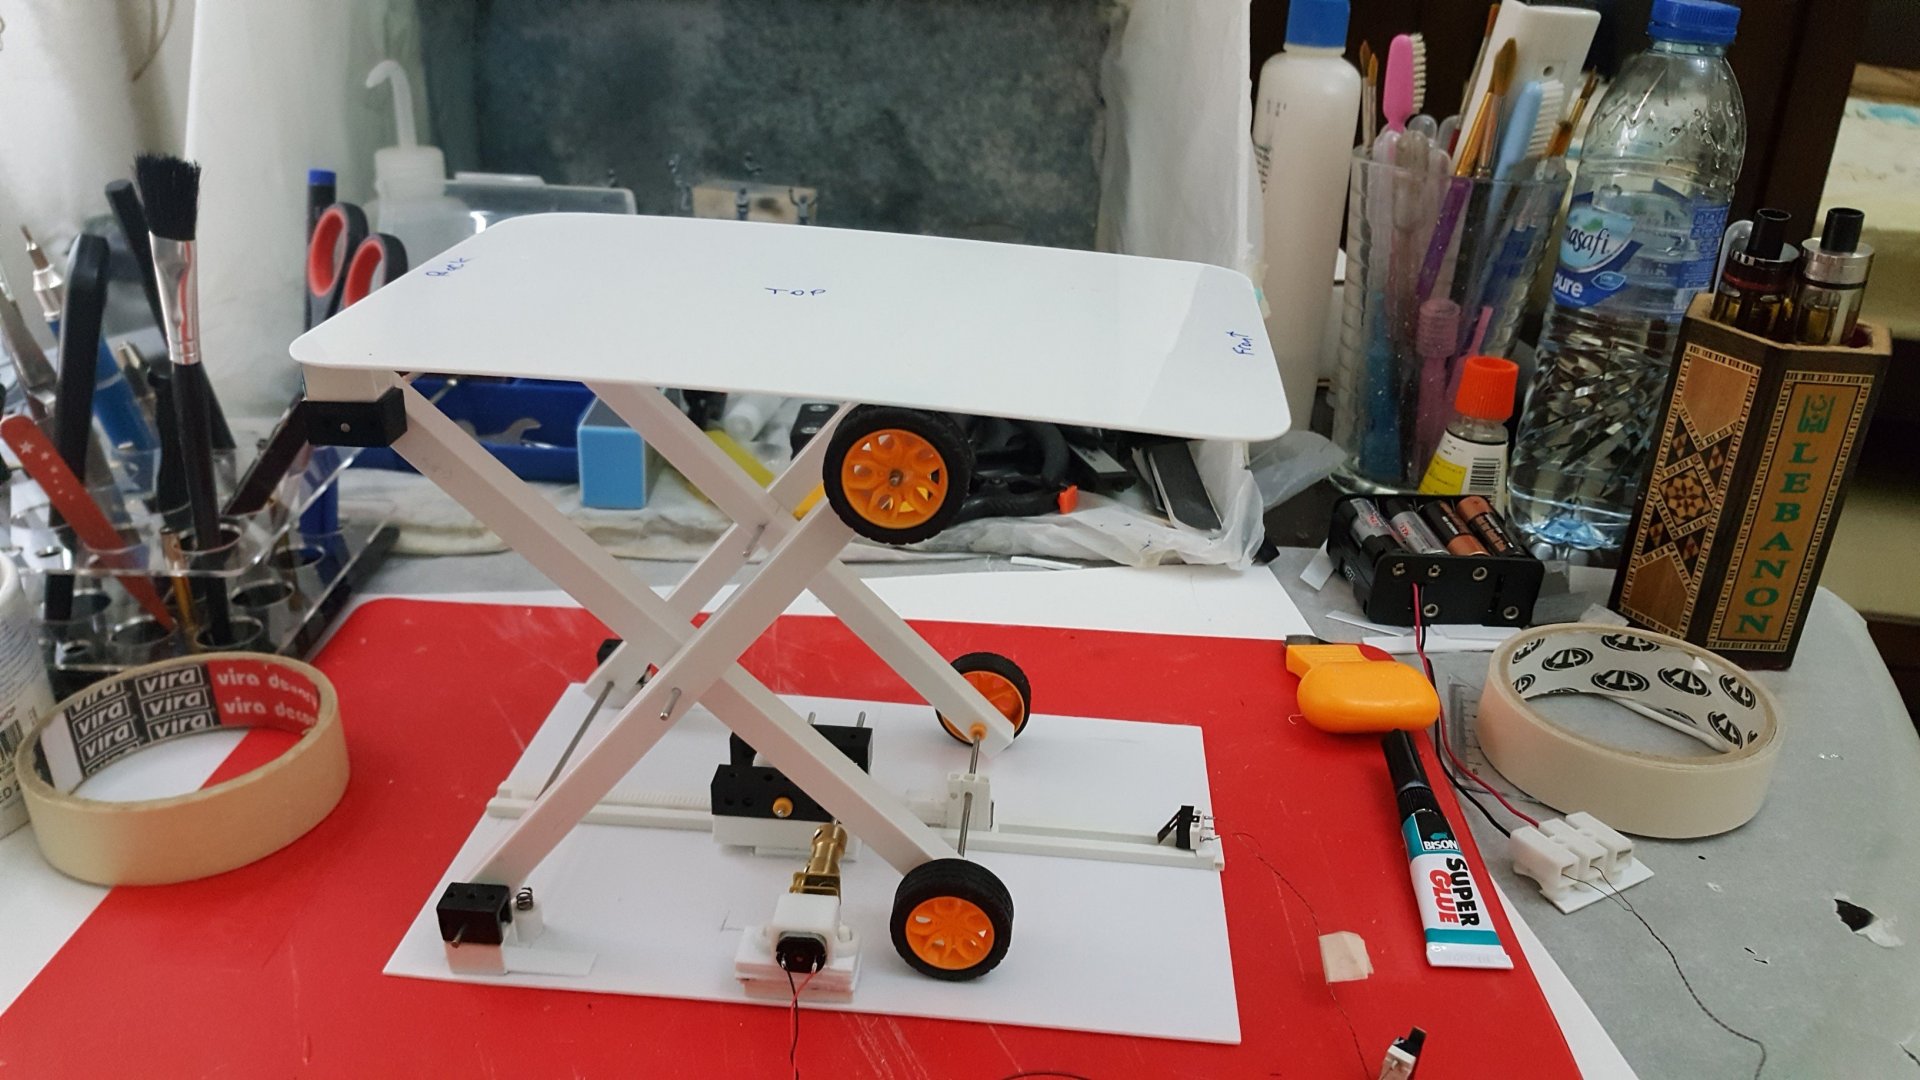
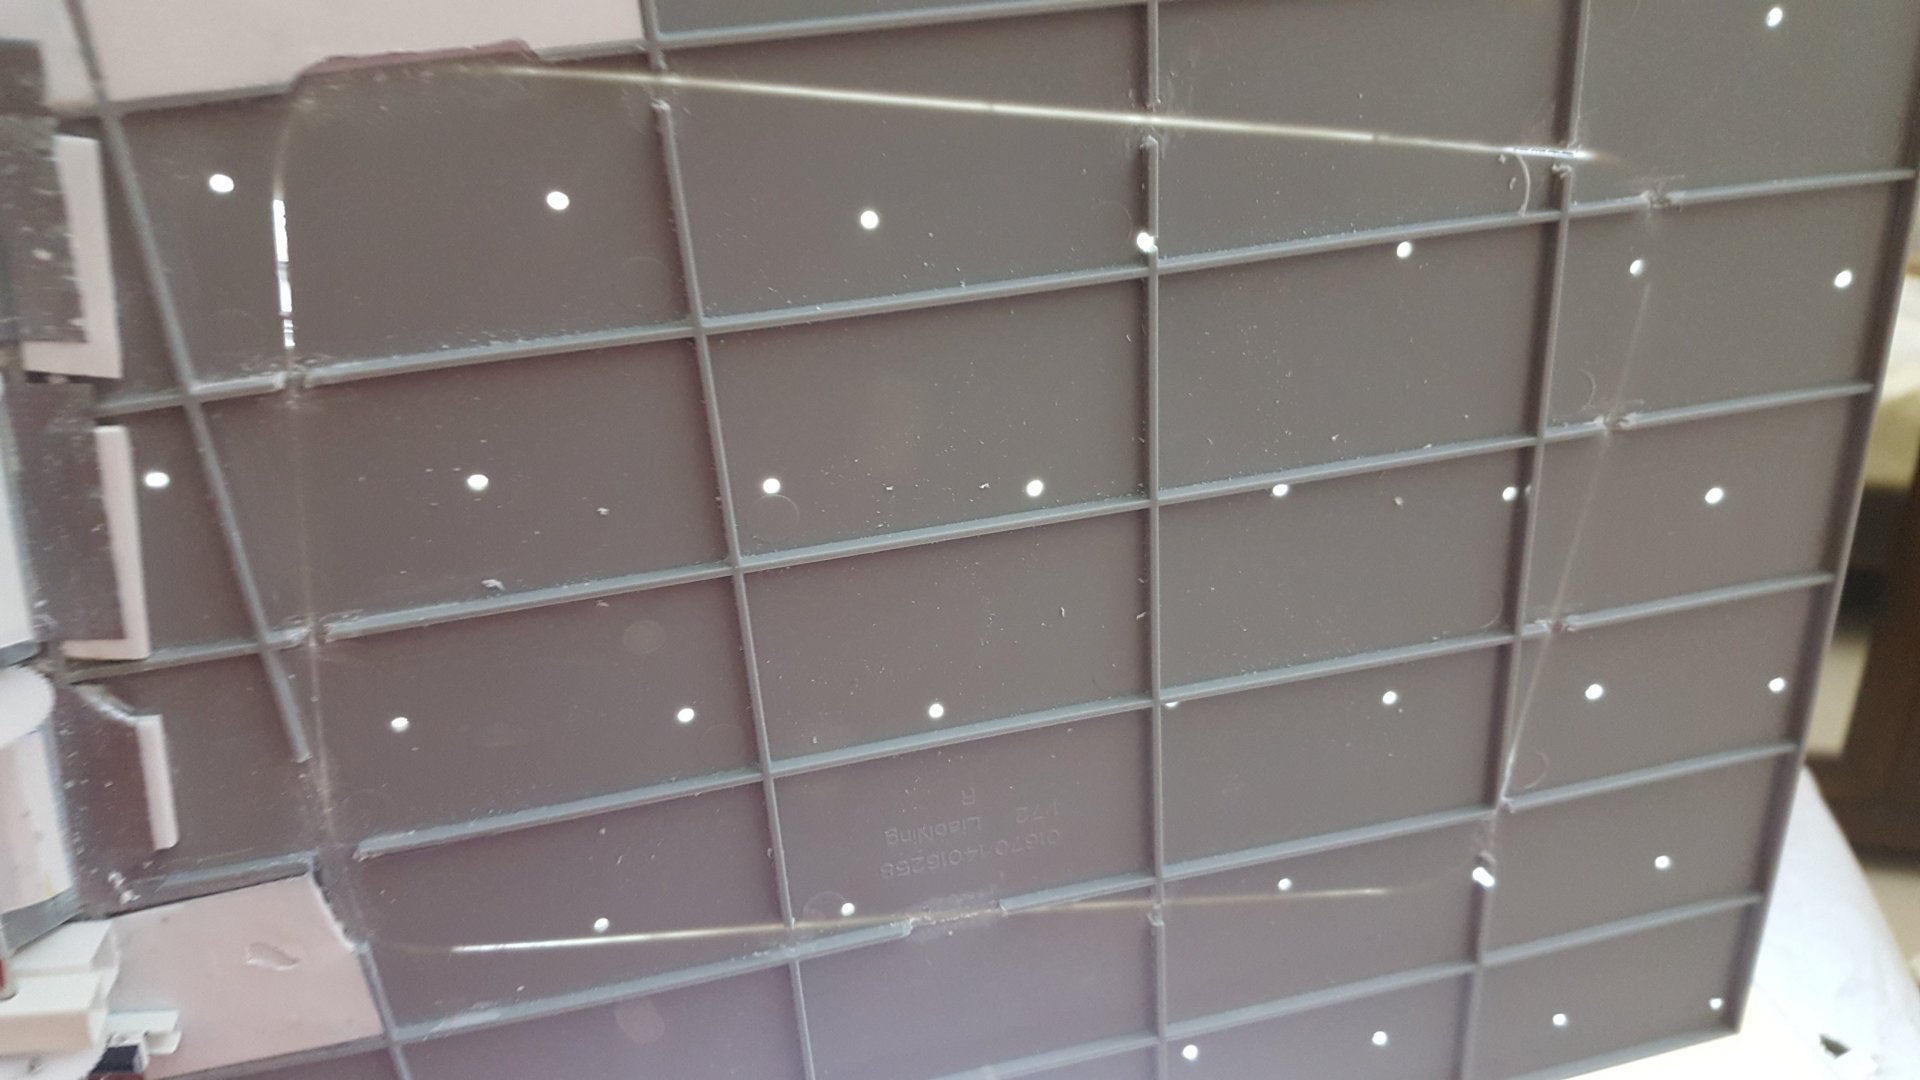
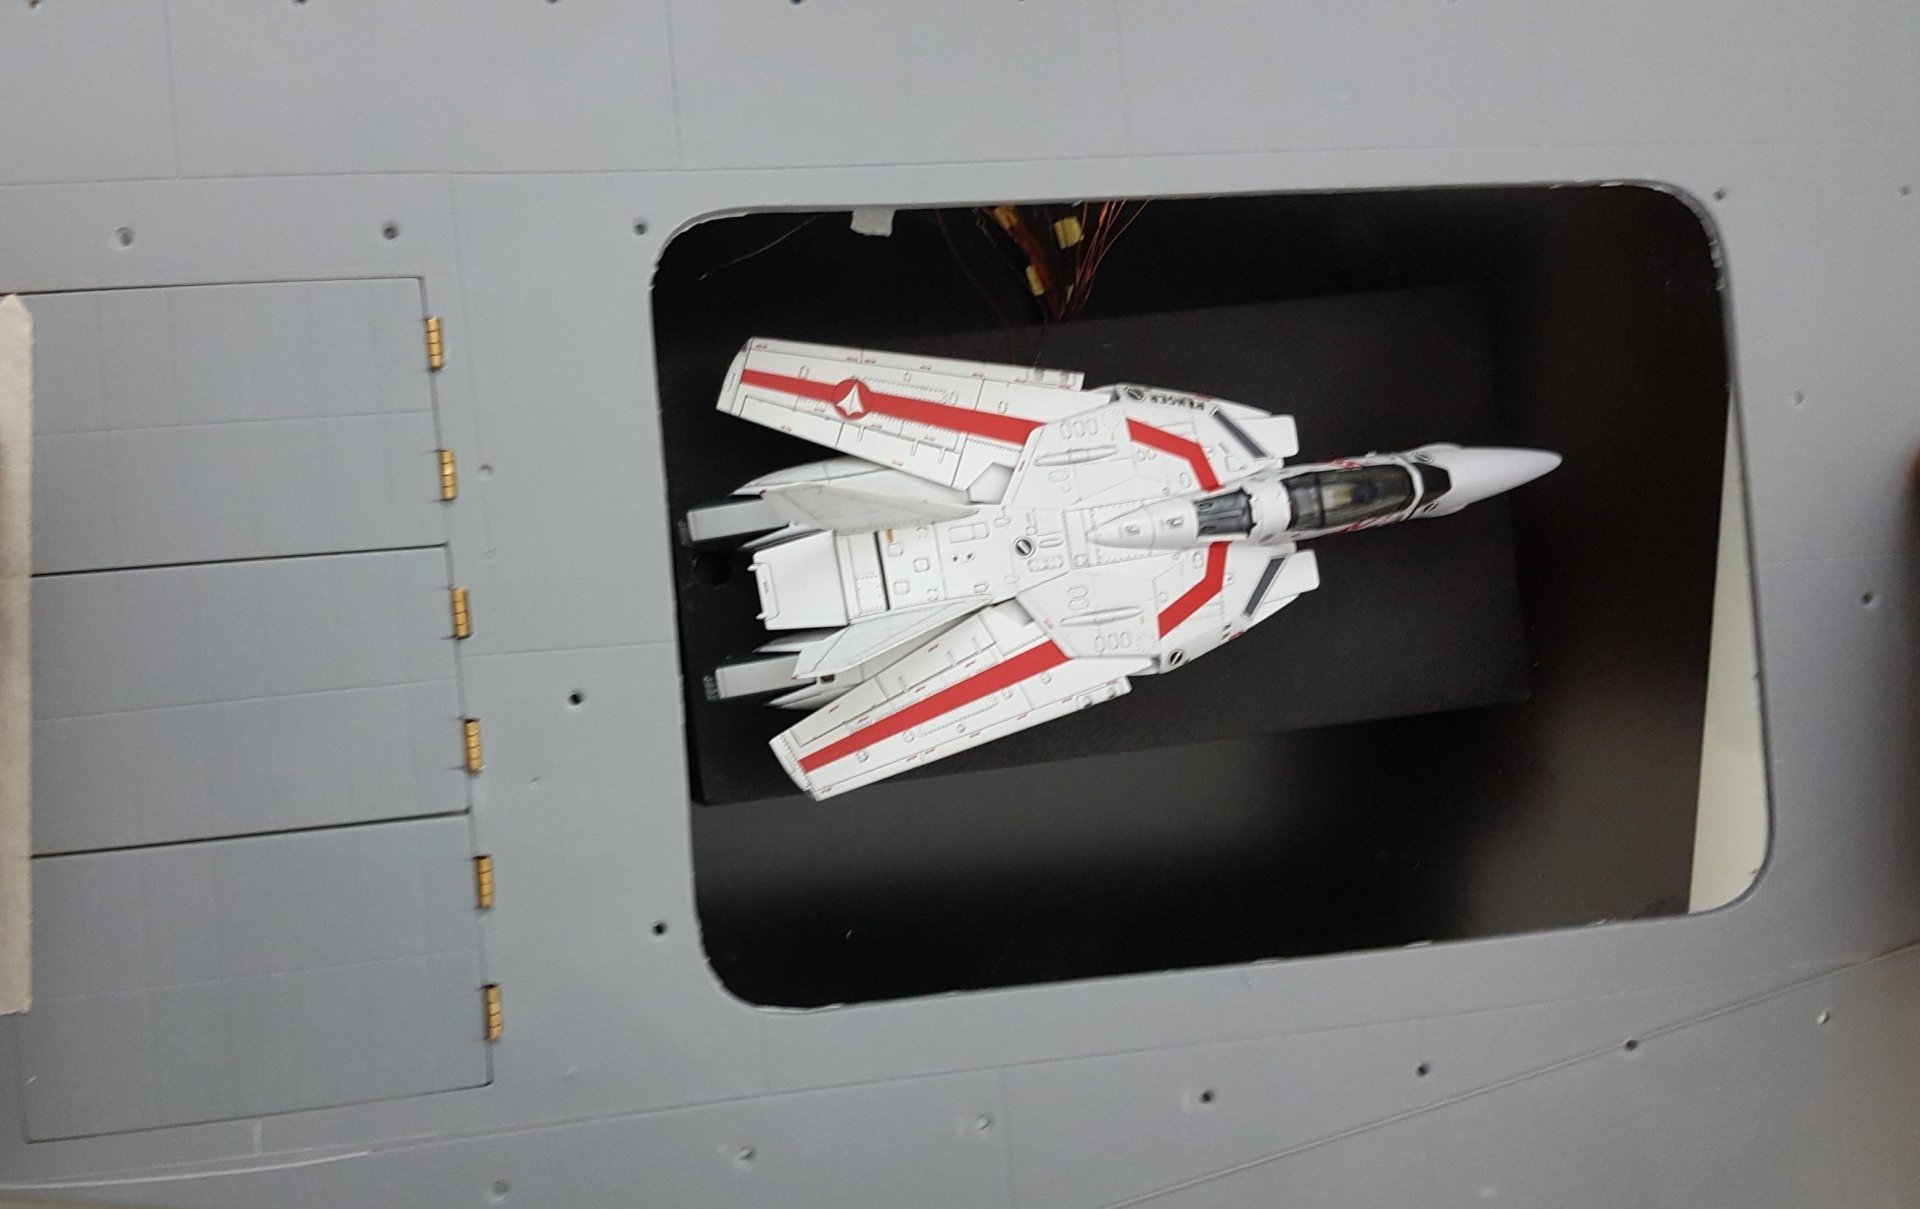
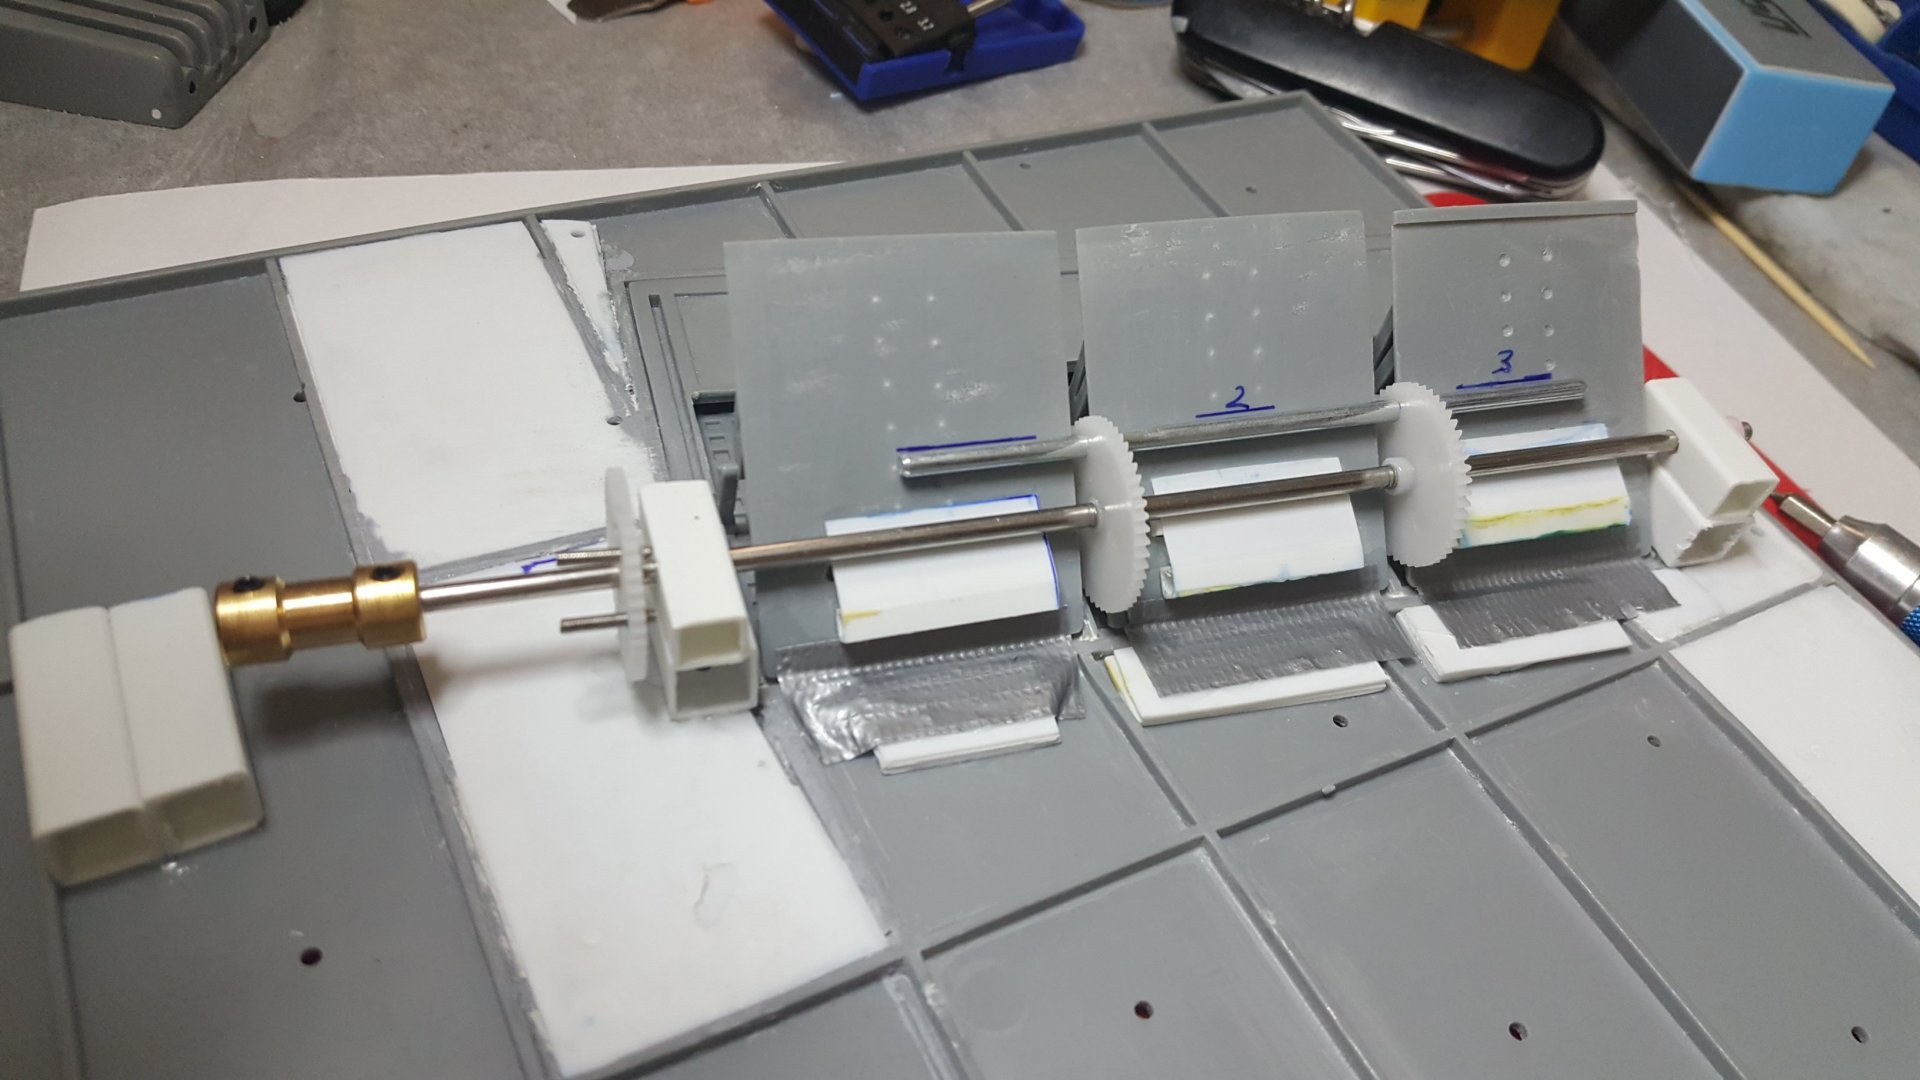
So the third gear in this project is finally solved and I am super psyched about it. I've been researching and scheming and plotting how to solve this for about a year. One more gear to go. The scissors lift dimensions are 9:10 ratio for the short legs and long legs, to get a level surface. All the holes and supports also have to be symmetrical. Little motors can't lift this. I ended up using the strongest N20 motor I could find at 12V 60RPM, and added a compound gear to get it lifting above 200 grams, which is what I need for the valk. The compound gear is a beast, my new best friend saved the day. I scribed the elevator shaft by hand into the Trumpeter flight deck. My hands still ache. It was awful work, so I split it up over several days. Test fit looks about right. Lots more to do...
- 137 replies
-
This is what I'm up to in my dark cave. Took a lot of trial and error to get the right motor and gear set up, given that I don't know physics and how to calculate torque or the stall weight on this contraption. But it got done finally.
-
Another Pengbuzz special! Looks great.
-
Question: Are there knock offs of the Sentinel Riobot VR bikes? I see some low prices on Ebay and didn't want to accidentally get a KO version. Thanks.
- 13224 replies
-
They're hollow? Okay that has me interested. How thick would you estimate the shell is? 2-3mm or even thicker? Rough estimate. Also, I assume it is one piece, so there is no access to the interior for the hull, right? I'm going to ask him for a two part mold so I can get inside the hull for lighting.
-

Hachette Collection 1/24 VF-1S (subscription collectable)
arbit replied to CF18's topic in Model kits
For my taste, this will be one of the best Macross toys ever when completed: Remote controlled canopy, landing gear, and the classic Macross verniers. It's fantastic. But I wouldn't drop that kind of money on a toy. And the subscription approach is not interesting to me either. -
I hope they get on with it and finish the Destroids. All of them.
-
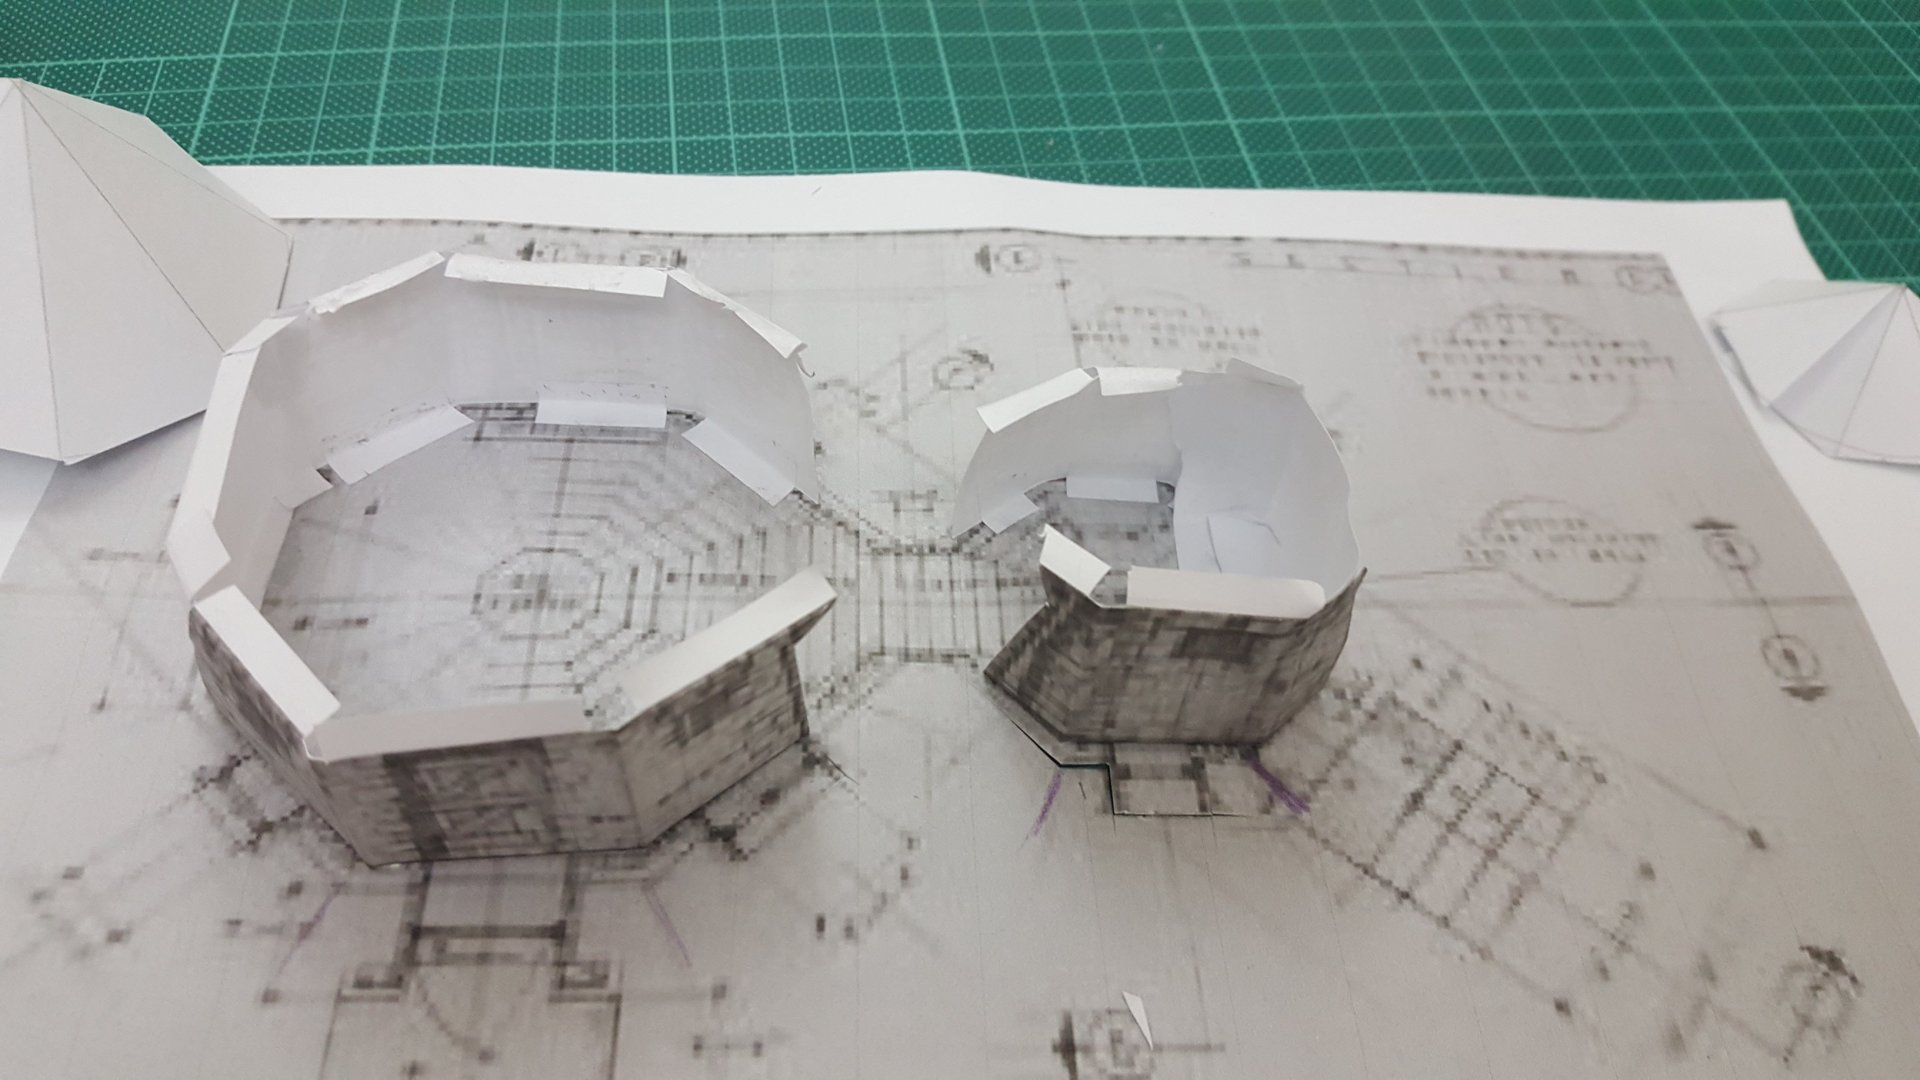
Salamander, Nice start on the diorama. I'm actually doing something similar to scratch build Hagrid's Hut with my daughter. This is a practice run before we do it again with better materials. I've made some progress with my gear set up for the 1/72 Flight Deck. I put a detailed tutorial on my Model Kits Thread.
-
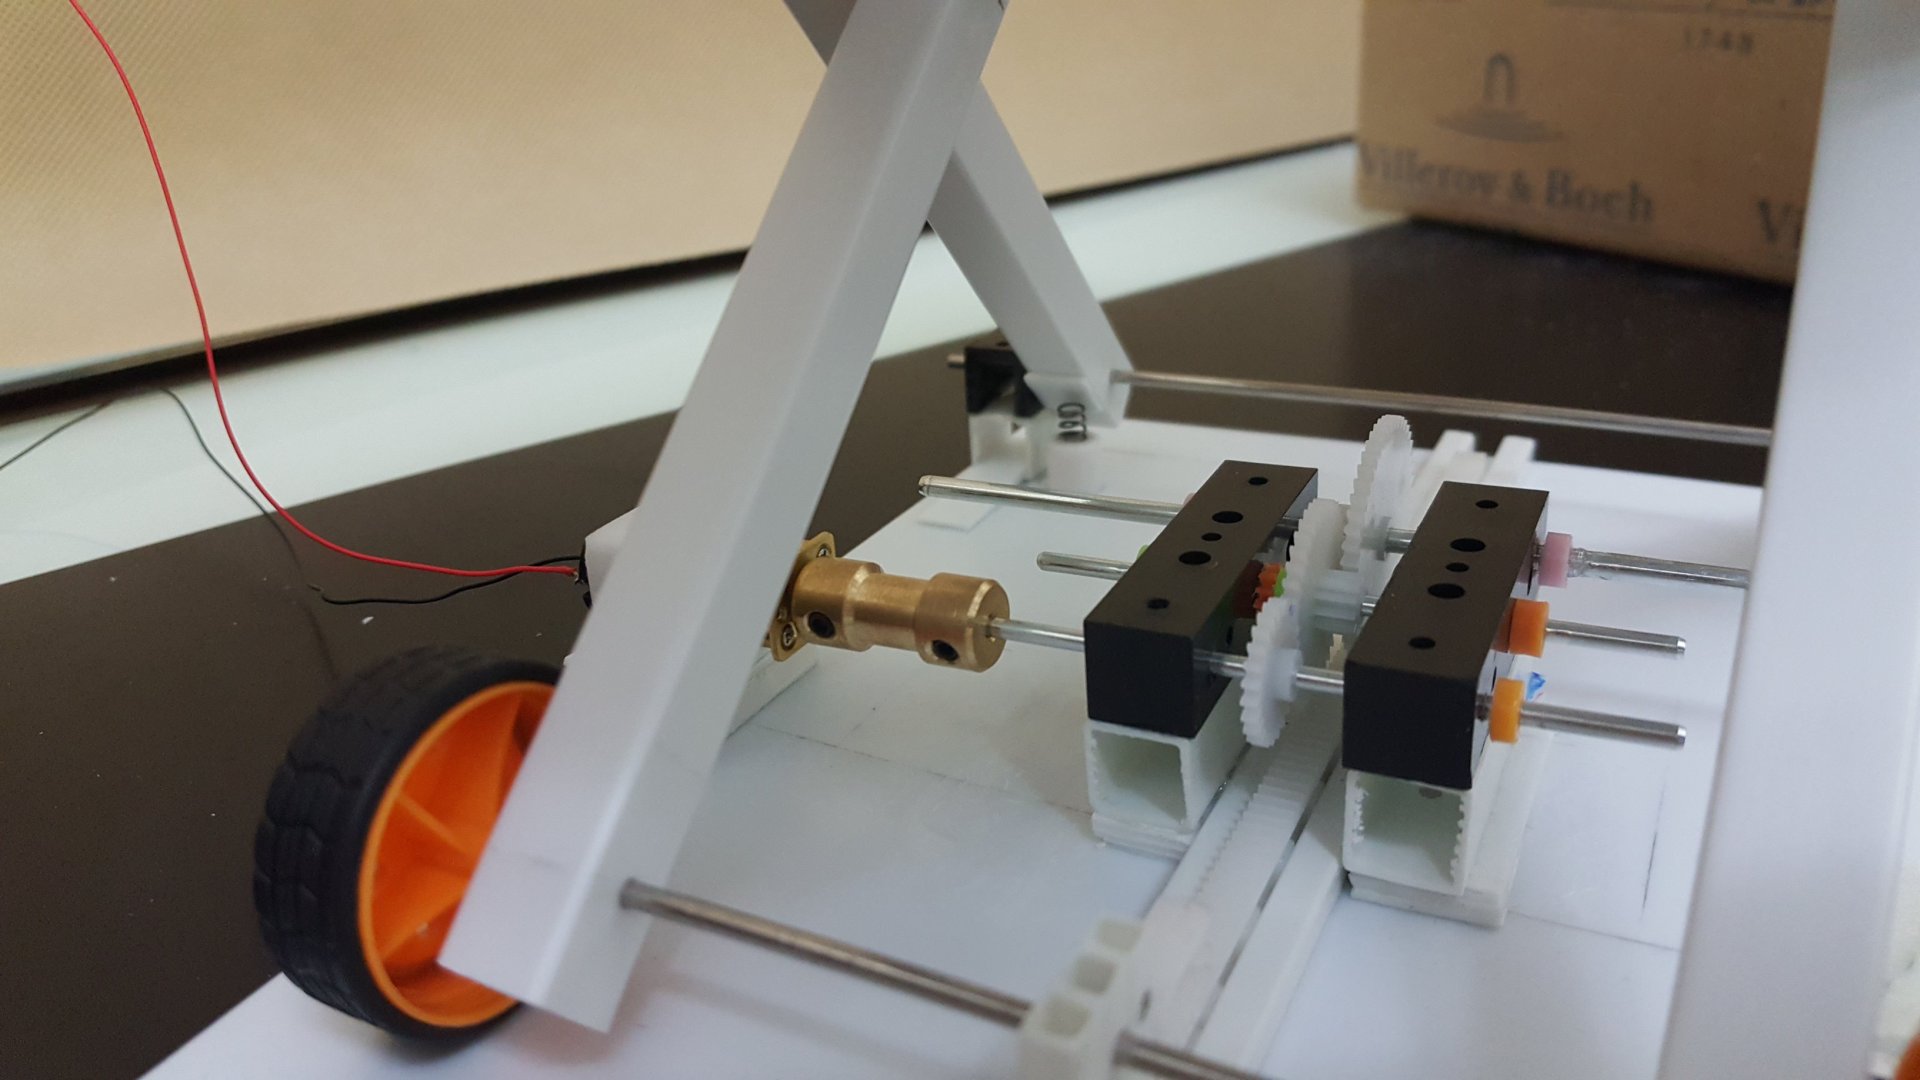
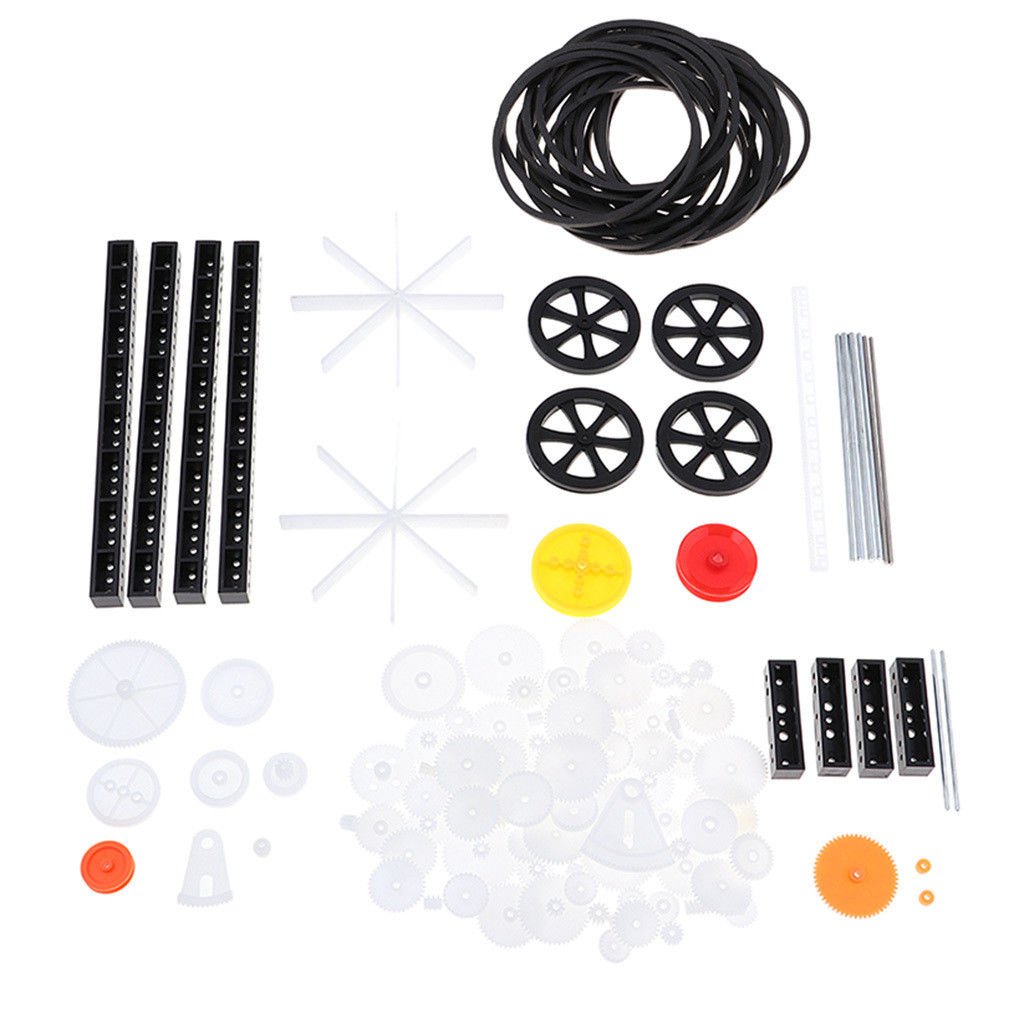
Thanks Bolt. I like hearts I wanted to give a pre-primer on working with gears for total newbies like me. Most gear tutorials start with important info like gear types, torque and speed, and gear ratios. But we need to take a step back and collect the parts we need, and understand how they work together. 1. Gears: You can find cheap sets of gears on Ebay. I recommend getting the biggest sets with the most variety of parts, such as the sets that have the black pre-drilled supporting bars, in the image below, for stabilizing the axles (Or get a drill press. I found that hand drilling axle holes is very difficult, because even if you're hole is off by half a millimeter, the axle rod can be off by several mm depending on how long the axle is). These gears sets are usually for 2mm axles. This is important because it determines the rest of the parts we need. In fact the 2mm gear sets will have a variety of 1.95mm holes for tight non-moving gears, and 2.05mm holes for free rotating gears. 2. Axles: We need different lengths of 2mm steel axles. I got everything from a couple cm all the way up to 25cm lengths. (i.e. do not get 3mm axles, like I did at first to match a 3mm motor, because it will be harder to custom drill the 2mm gears.) 3. Motors: We are usually dealing with N20 motors with M3 size shafts. These can be coupled with the 2mm axle rods using the "3mm to 2mm N20 Brass Motor Connectors". If you have an M2 or M4 motor you can get a coupler for that as well. I keep a variety of motor speeds and volts on hand to address different needs. 4. Styrene: You can get a cheap assortment bag of different size rods and tubes on ebay. With those and some 0.3mm to 1mm styrene sheets, you will be able to scratch build any supporting structures you need for the gears. You can do all the above by hand, and salvage parts from your printer, but with some of the cheap specialized parts above, you will get off to a much easier start.
- 137 replies
-

Hachette Collection 1/24 VF-1S (subscription collectable)
arbit replied to CF18's topic in Model kits
That's so awesome. I thought Hachette might do a Vf-1 eventually. -
Great animation Pedro! Really brought back memories. How long does something like that take you to complete? Thanks for sharing. I am subscribed!
- 13224 replies
-

tekering's BItComp entry #3 - VF-11 Thunderbolt Super Battroid resin kit
arbit replied to tekering's topic in The Workshop!
Cool stuff. Waiting for more progress. -
That is a sweet tool. But yeah, way too expensive.
-
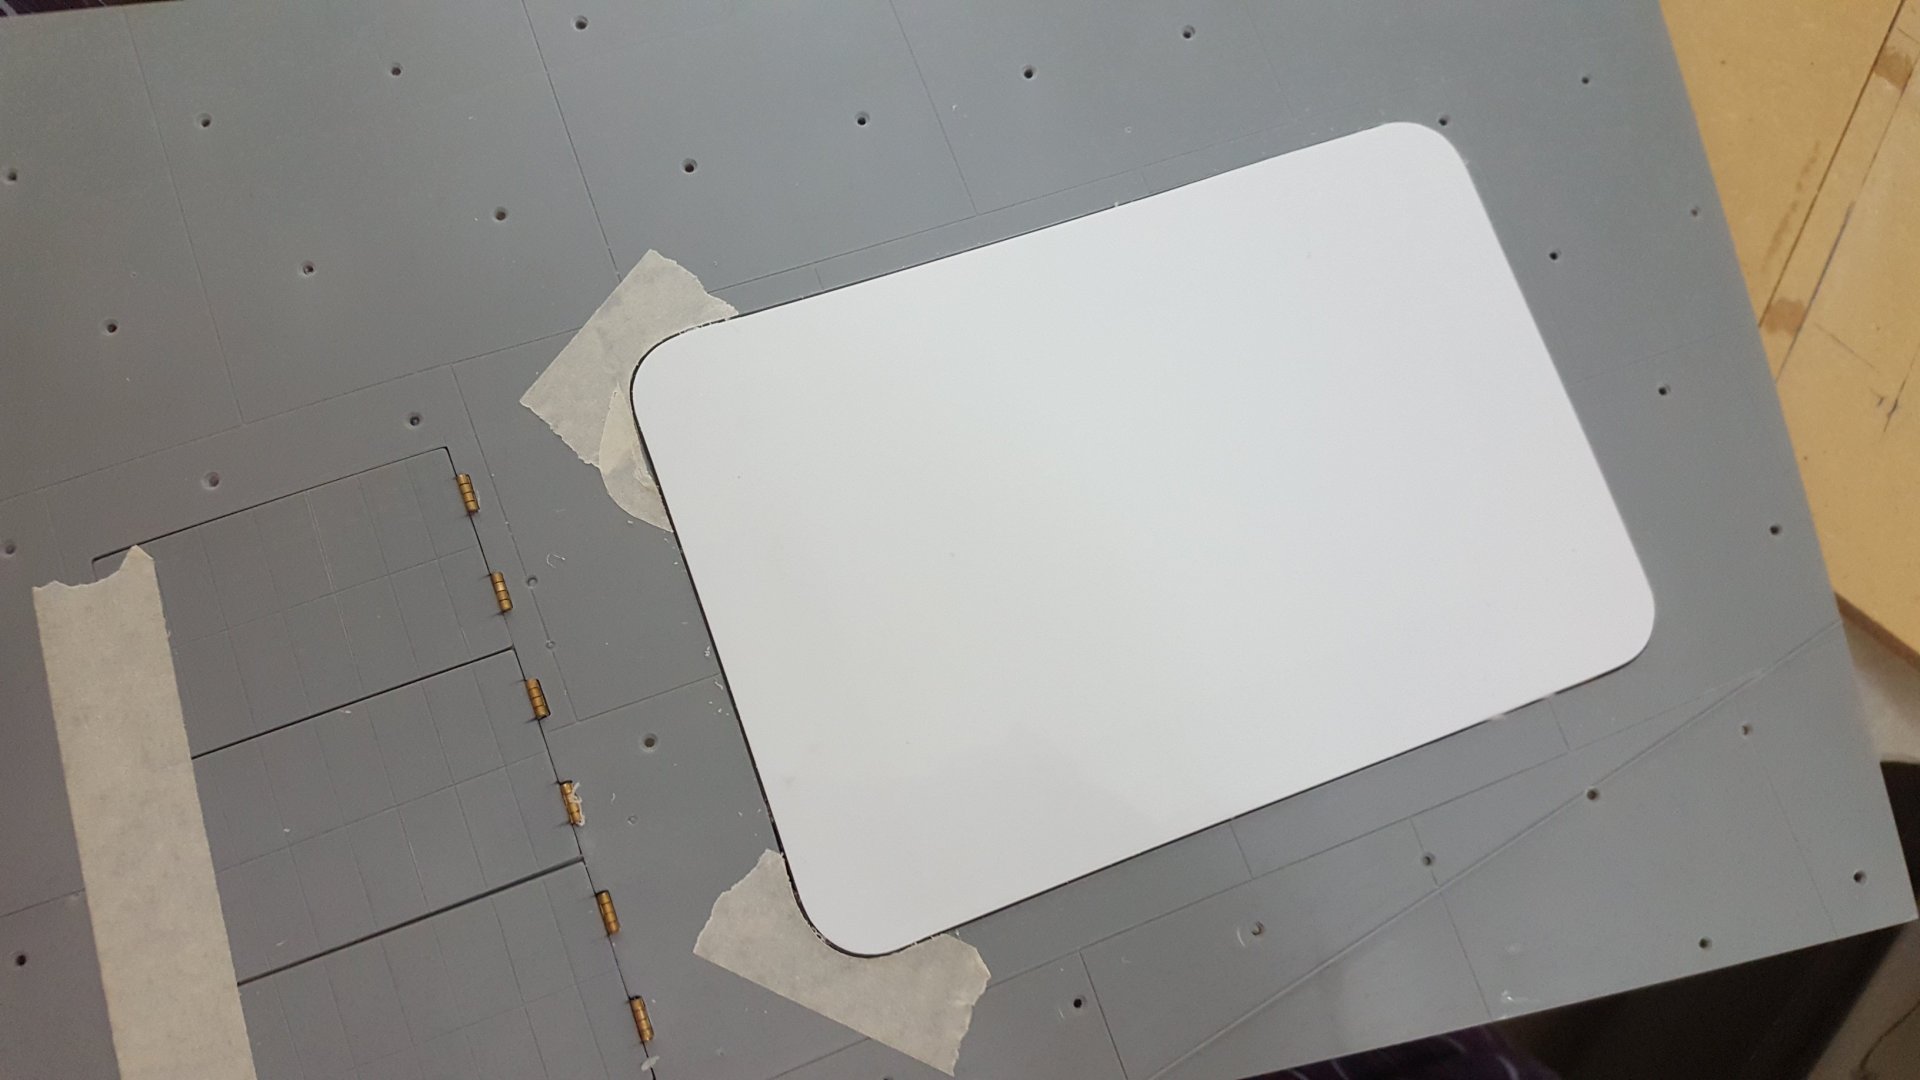
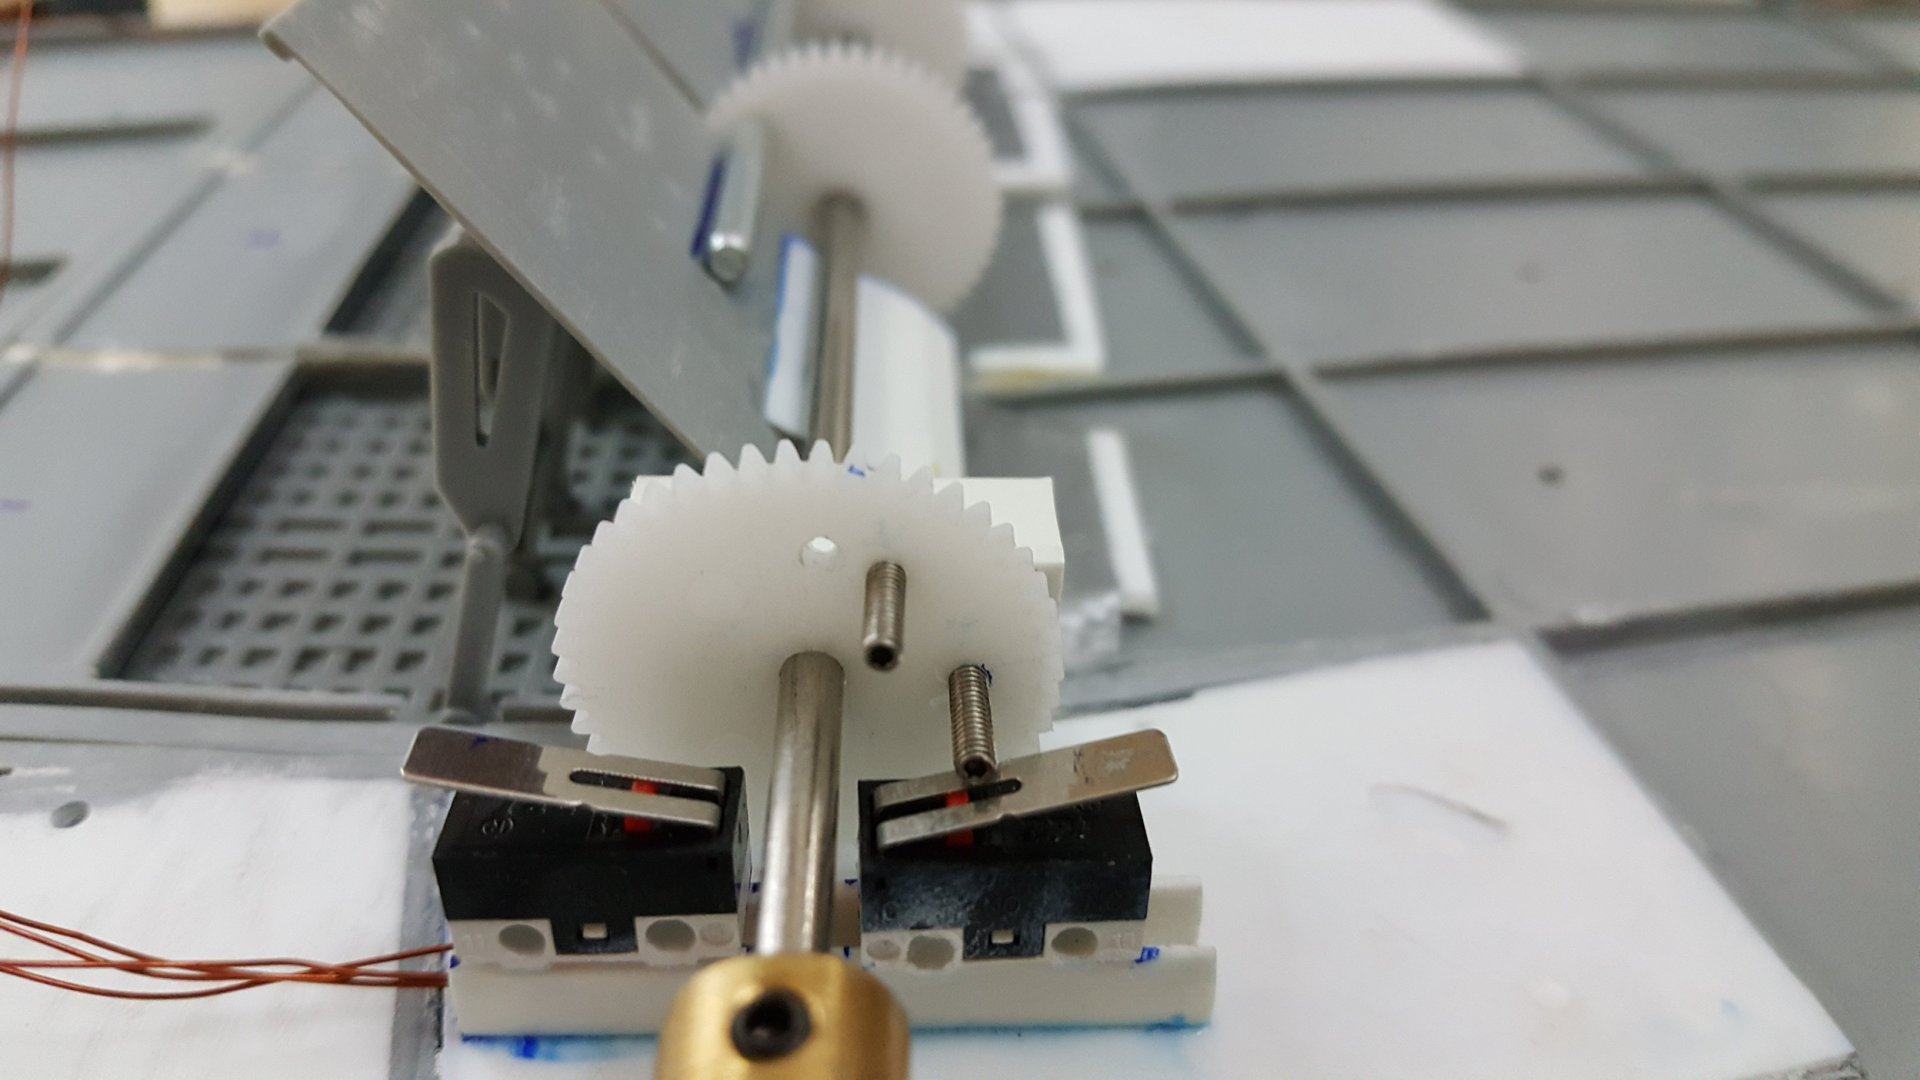
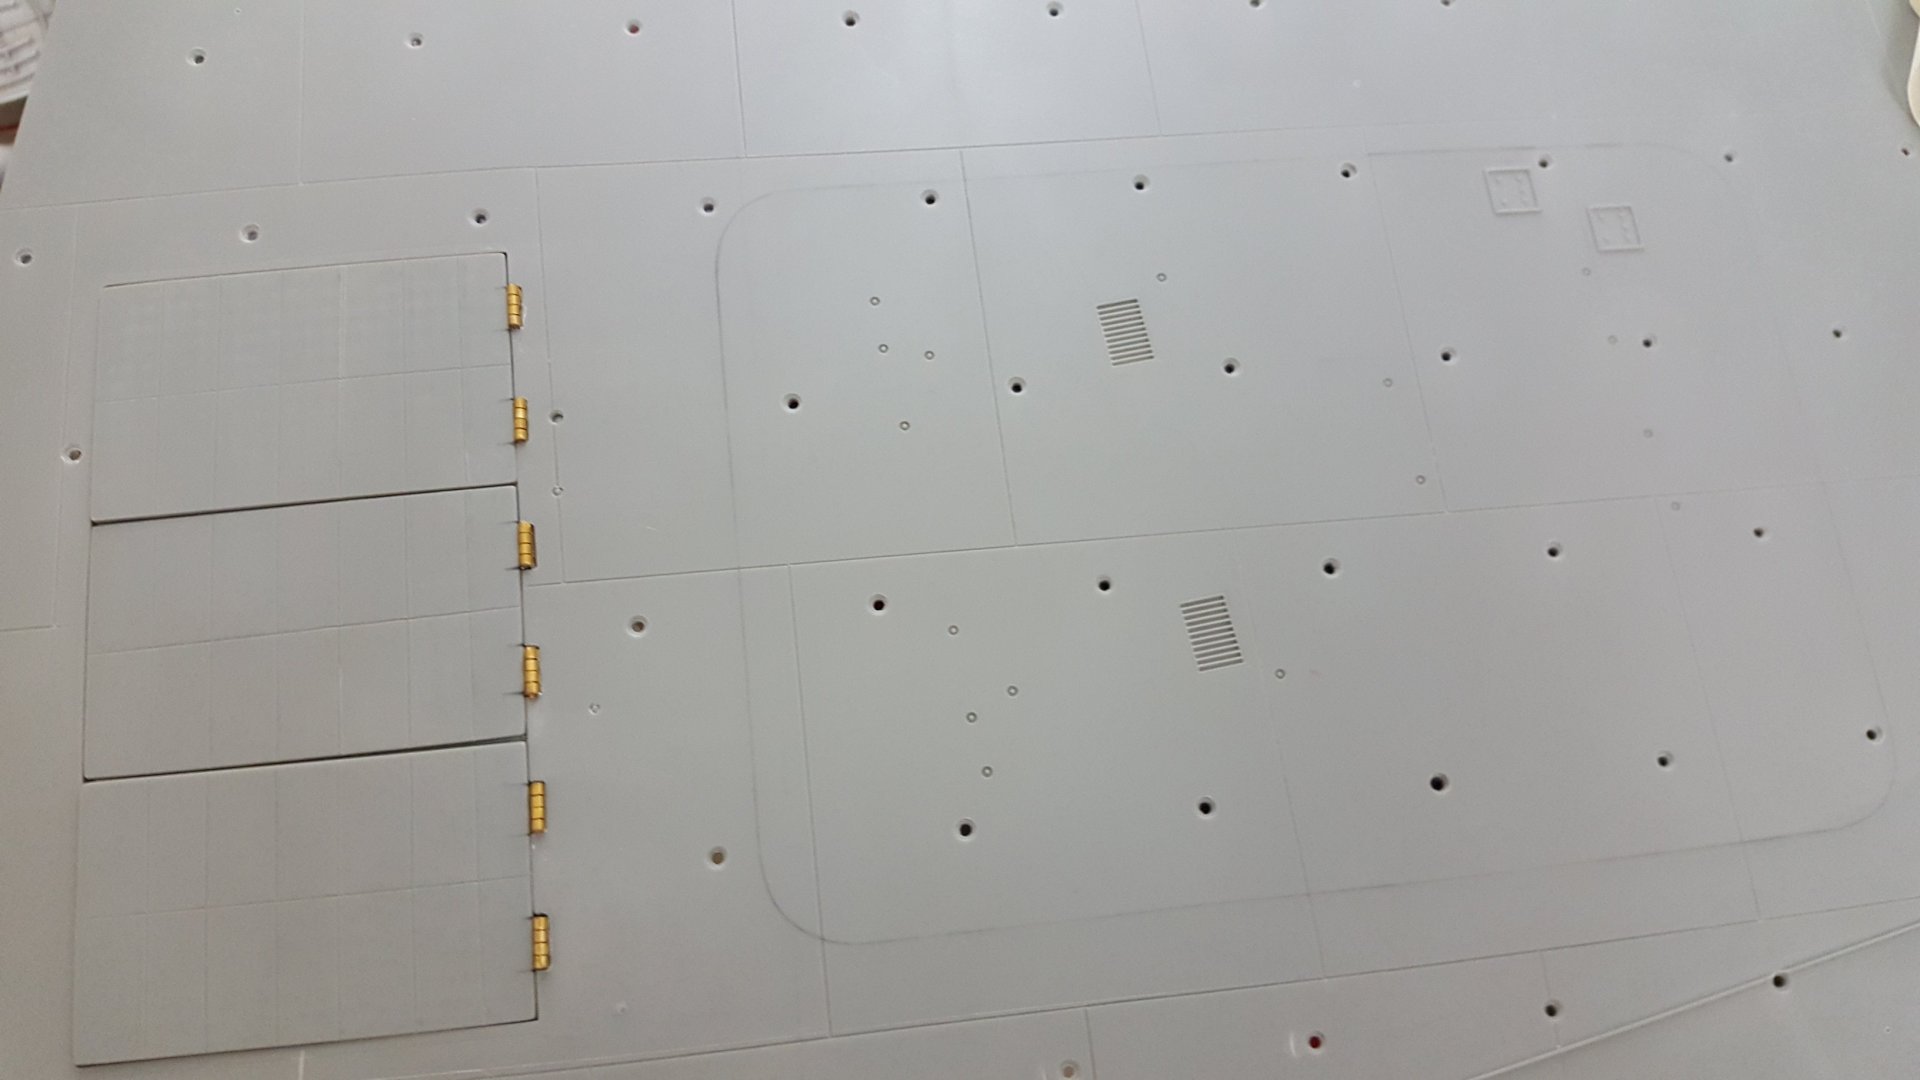
I came up with a new gear for the blast deflectors. Now just need to slow the motor down a bit. The gear works like a lever to push the deflectors up, and hits the two limits at the same time. The lever rides up on the pla plate to get a full open position. I also watched a lot of cabinet making videos to figure out how to lay in the hinges just right
- 137 replies
-
Xigfrid, that's sooo cool. I love the Sharon gimmick.
-
What is your sanding process to eliminate the 3D print lines? I always struggle with anything printed to come out smooth.

