-
Posts
2630 -
Joined
-
Last visited
Content Type
Profiles
Forums
Events
Gallery
Everything posted by arbit
-
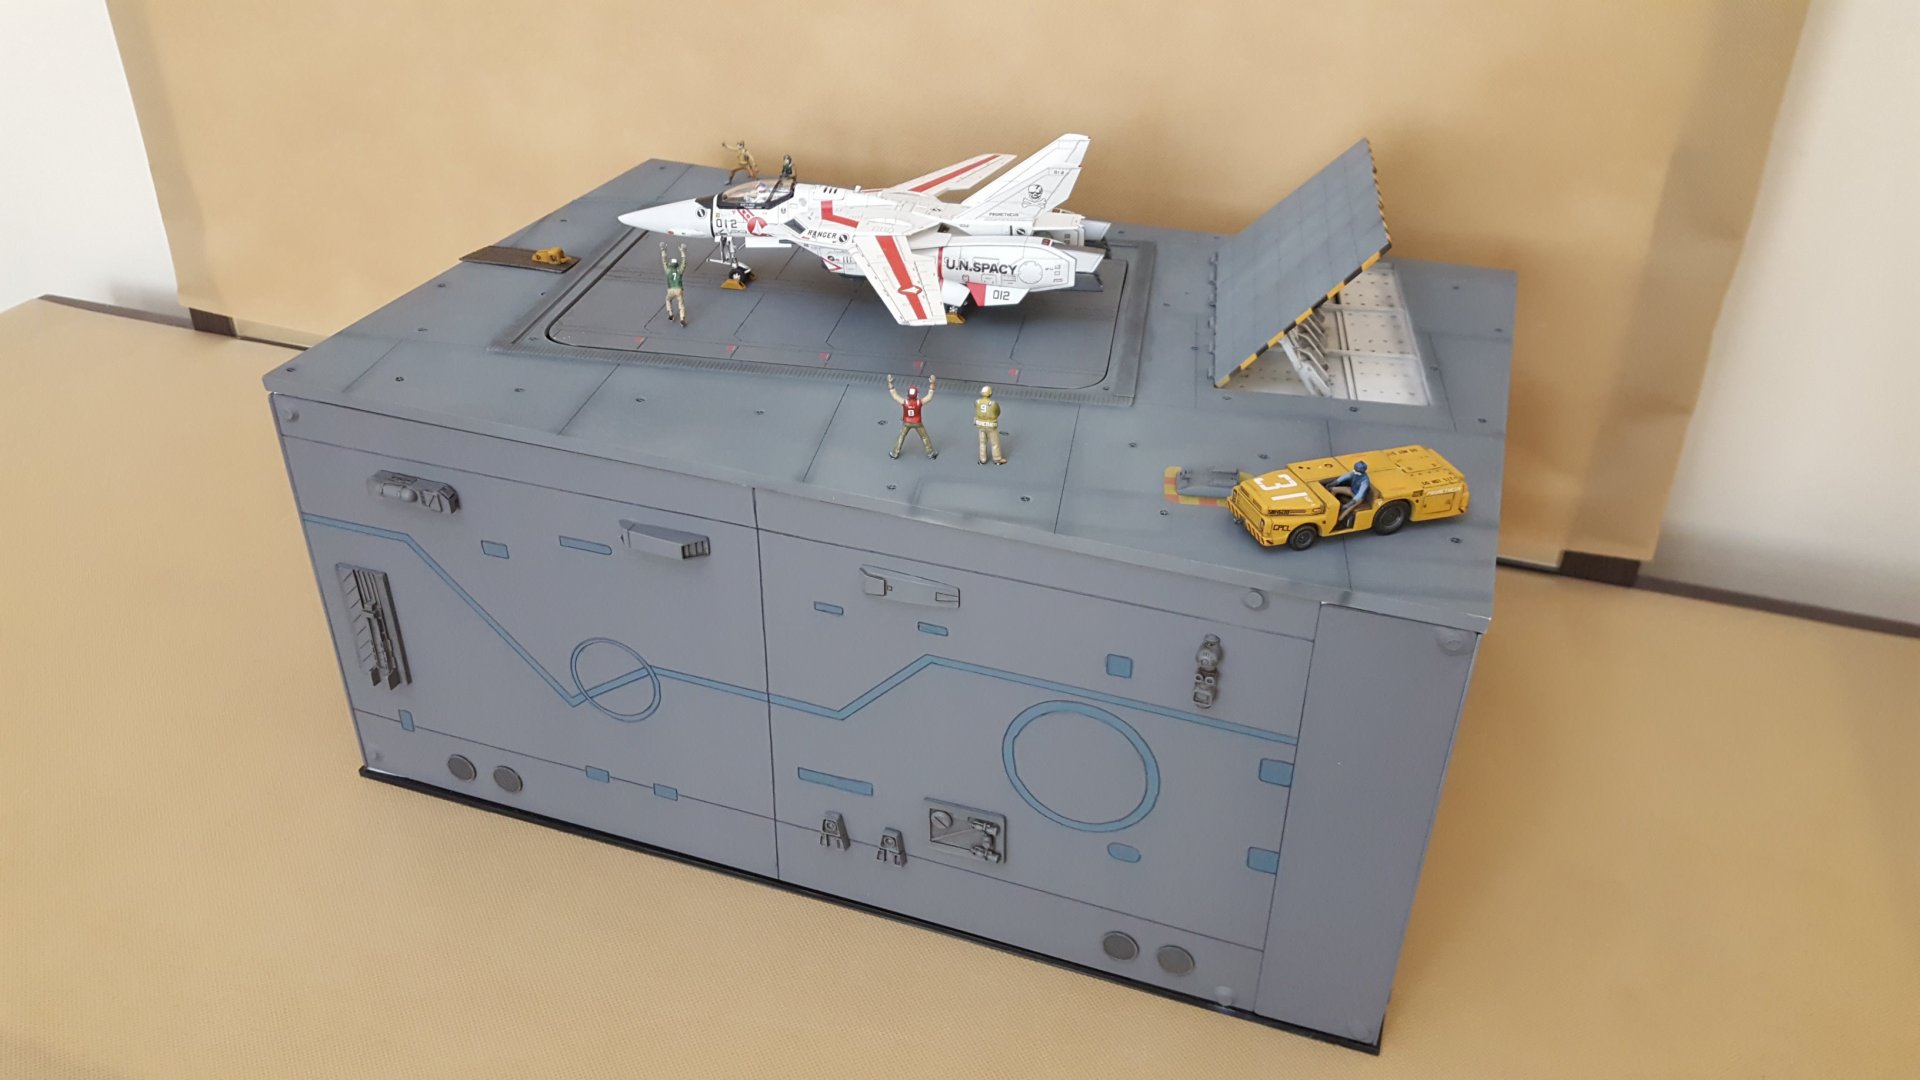
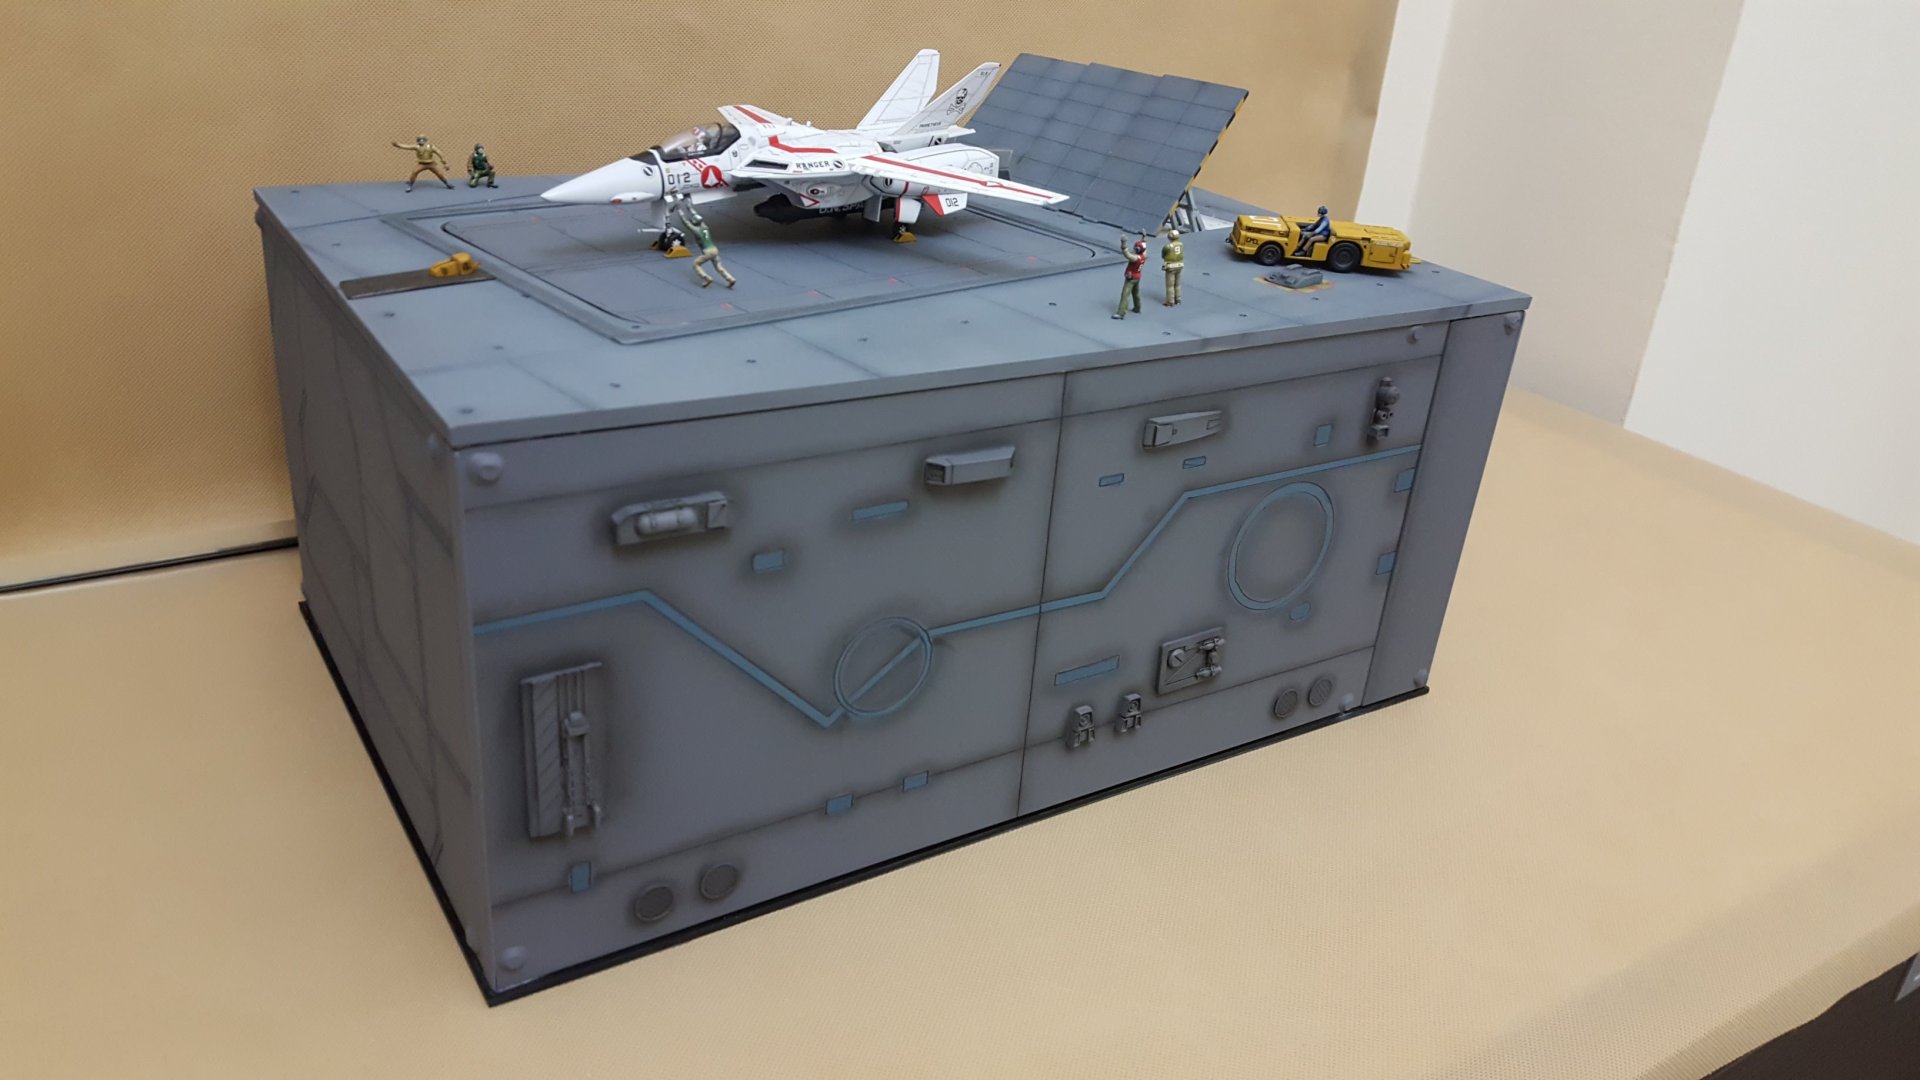
MW member Darkspire17 reached out to me. He isolated the original SDF Macross sound effects which I used in the build, timed with the guns and engine. He has lots of other sounds on youtube if you need them. Darkspire17 said, Hello, ive just come to say im very flattered that you used the audio from one of my old videos for your project ( https://www.youtube.com/watch?v=z2lT5Ezj8YM it's nice to know that ive at least influenced someone with the work i do. Id also like to say you did a FANTASTIC job with your partial flight deck, id love to build one for myself someday! If you would like some more of the sound effects, i can provide them.
- 137 replies
-
- 2
-

-

Hachette Collection 1/24 VF-1S (subscription collectable)
arbit replied to CF18's topic in Model kits
This guy is modifying the Hachette's screen. He does lots of cool stuff. -
SunDuk, Nice to see a YF-21 in progress. Scheme looks very interesting. Hope to see lots of photos as you progress. Mechtech, Interesting set up. I look forward to seeing it function.
-
Bolt, Looking good. I also have the V1 from Xigfrid. A prized piece next to my M+ valks. But of course he had to go and make an even cooler V2
-
I'm a cat lover too, but I'm allergic to them these days. I do have four kids, does that count?
-
Relatively flawless.
-
Really nice work. I think you hit the target for what you were aiming. And that's probably the best photo of the bunch. Looks like you started with a base coat, then speckled the whole thing, and then a top coat, before the gloss. How much did you dilute each step? I want to do a valk with this method, but a bit concerned.
-
Oh, and more photos and close ups please
-
electricindigo, Very smooth finish as always. You definitely have an air brush style of your own. I would say that the paint finish, color palette, pixel camo and decals are very nicely balanced. Everything works together very nice and fits beautifully. Most real world aircraft are severely weathered with oils, which is cool of course, but your's has the new look I prefer for a change sometimes.
-
Thanks gents. I'm not social media savvy. Please feel free to share it around.
- 137 replies
-

R2KF Build it Comp - Winners has been Announced
arbit replied to Return To Kit Form's topic in Model kits
Very nice work and hard to choose between the two. Although we rarely see such a nice Gnerl as this one by Takering. -
Warren looks awesome. The build looks perfect and the weathered painting is great too. Weak us through this: What is the base kit and what customization did you do? Don't tell me this is the old Arii kit.
-
Thanks @Reïvaj, this cross section really highlights the differences. Seems to me Bandia traded thicker legs for thinner arms. Guess you cant have both fit. And here's me playing with my toys... Pick your poison.
-
No need for a big old 9v. A 3v button cell would light an led for days. I see you used Tamiya epoxy to fill gaps. How well does it bond to resin? And does it sand well?
-
And we are DONE. Please enjoy my Macross show. Hope you have as much fun as I did making it. Comments and feedback welcome (except about one little musical choice ). Thanks for all your support along the way. Couldn't have done it without you.
- 137 replies
-
- 6
-

-
Nice work neptunesurvey. It takes more effort to light up a small scale model than a larger one. If you want to win more medals, I can give you a couple tips from what I see here. - Your engine LEDs are leaking through the plastic on the sides. You can light block so the light only emits out the end of the thrusters. You can try painting the sides of the leds, wrapping the leds in black tape, housing the led in a light-bocked styrene tube, and/or painting the insides of the thrusters black. For light blocking I have used black paper, liquid electrical tape, polyurethane primer, and black and metalic paints. Just keep going till there is no leakage. -Your fiber is extruding a bit. I use a square of masking tape, put a 0.10 hole in the center, slide it down each fiber, then snip it with a flat sniper or nail cutter without damaging the model. - You can adjust your resistors for each effect so they look right in real life for the audience. - You can use a thinner tube to base the model at this scale by switching to thin 0.30 enamel wires. Hope that helps.
-
Your red coat looks fine to me. Remember that your panel lining and any wash/oils you use will also darken the red. Don't ever bother with stripping and repainting unless you have a major chemical reaction. the benefit of airbrush is that it gives you thin coats you can always build up and adjust the final shade as you go. So in this case, you could mix a slightly darker shade and go over it again. (A lot of times I will dilute my top layers 70-80% if I want want to lay it on very lightly to adjust a shade). So if you don't get the shade you want at the first go, just keep going and build up to your goal. One lesson I learned is not to rush and remove any masking till I am sure I like the color. And if you are not getting a smooth airbrush flow with Vallejo, I recommend moving to Tamiya as soon as possible. If your airbrush is spluttering, it is not you, it's the paint. Took me years to figure that out.
-
A tough subject to tackle with all those curves. And while it is beyond me to even contemplate how you get all those dimensions sculpted correctly, its your small details and rivets that raise it above past attempts.
-
Nice work guys. Been down with a cold over the break. I saw this on youtube. It's one of the finest lighted kits I've seen. The formation lights are so elegant, I thought it was a real jet. And the difficulty level of lighting of the tail fins is unreal at 1/72 scale. Give the guy some Thumbs Up, he deserves it.
-
That's a lifetime of skills there. Cap, I wonder, when was the first time you sculpted something from wood and what was the reason?
-
I usually love the China dress outfit, but something is just not right with this figure. Roy looks awesome though. Best of the group so far.
- 1588 replies
-
Needed some Greeblies and post shading. Ready for battle. It's amazing how much life a little shading adds.
- 137 replies
-
- 2
-

-
Thanks Urashiman. Interesting background.
-
Oh man, I want one for my CMS crew!
- 13224 replies
-
Mechtech, I had thought you were going to use the servo gear and arm attachment to hit a switch. I didn't know you were going to gut the servo and use the internal shaft to hit the switch. I assume the servo motor will go forward and reverse using the 4-wires? But how on earth did you come up with that? Is repurposing servos typical? I'm just happy if they run right and know where the heck they are, which they never seem to do.


