arbit
-
Posts
2630 -
Joined
-
Last visited
Content Type
Profiles
Forums
Events
Gallery
Everything posted by arbit
-
Lots of greeblies going on! Looking forward to this one! I treat Hasegawa VF-1s like resin kits, lots of puttying and sanding to get the forms I want out of this ancient (yet beautiful) mold. If only it came with M&M in wedding gear!
-
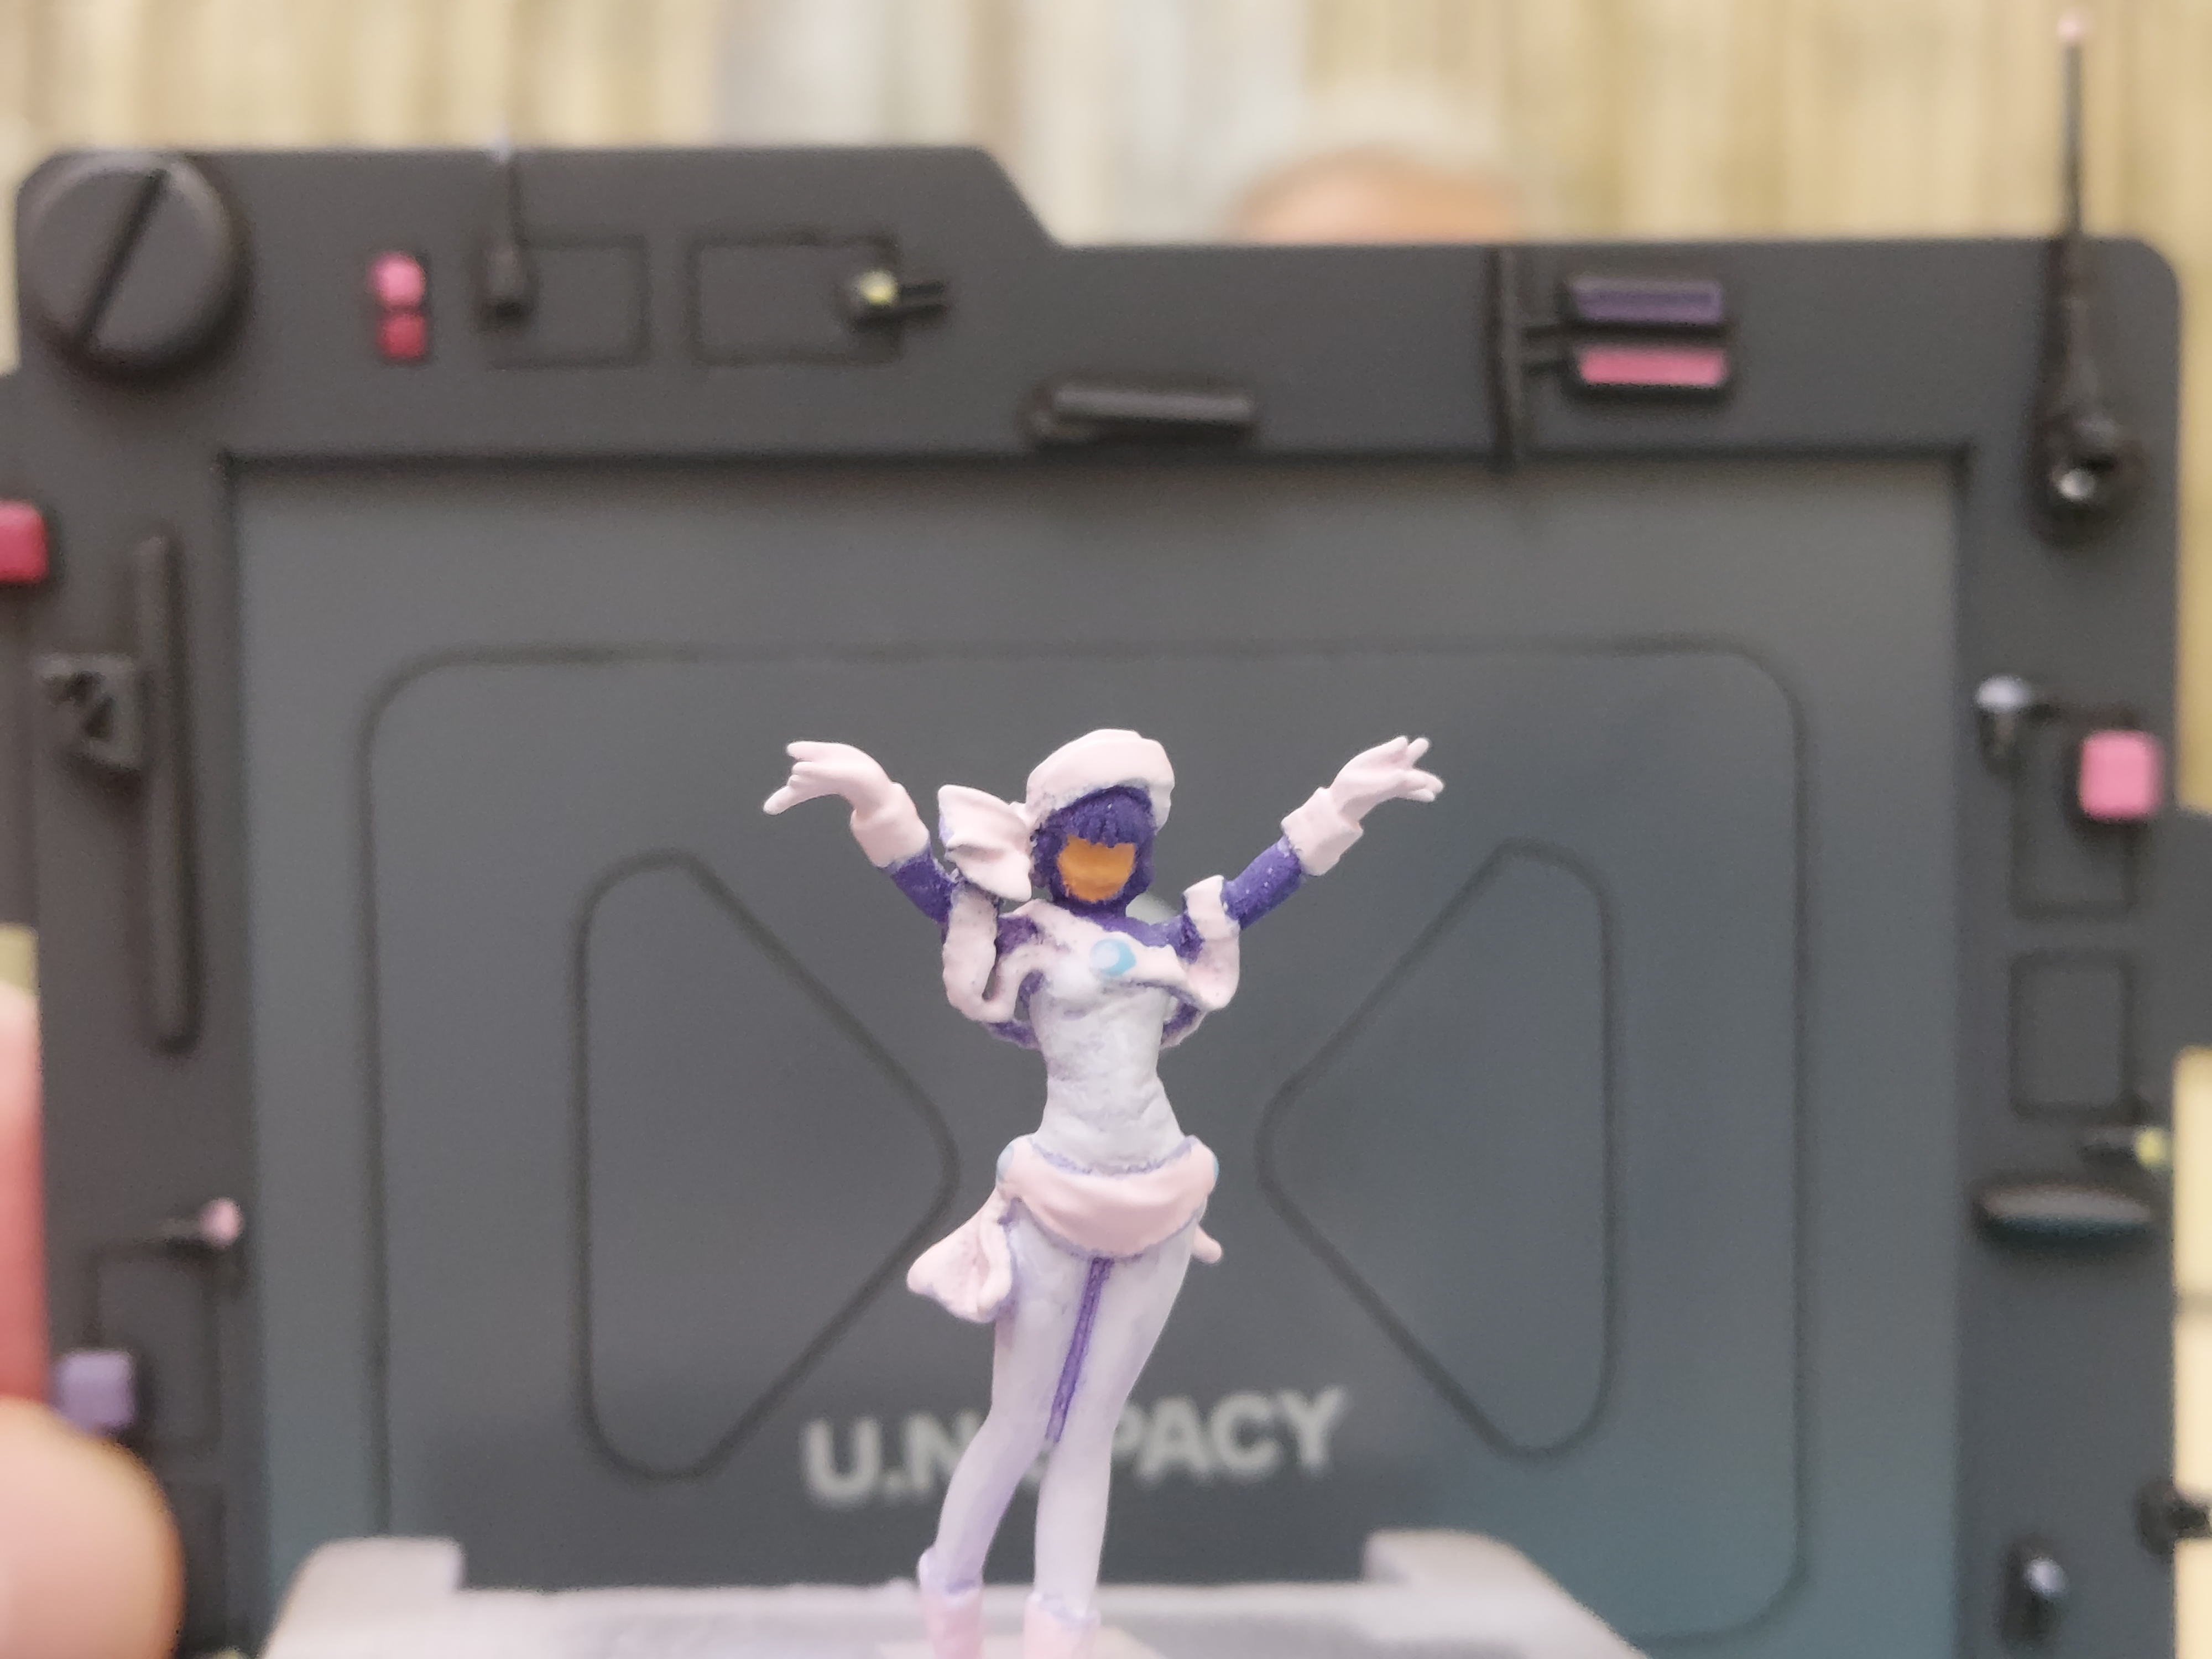
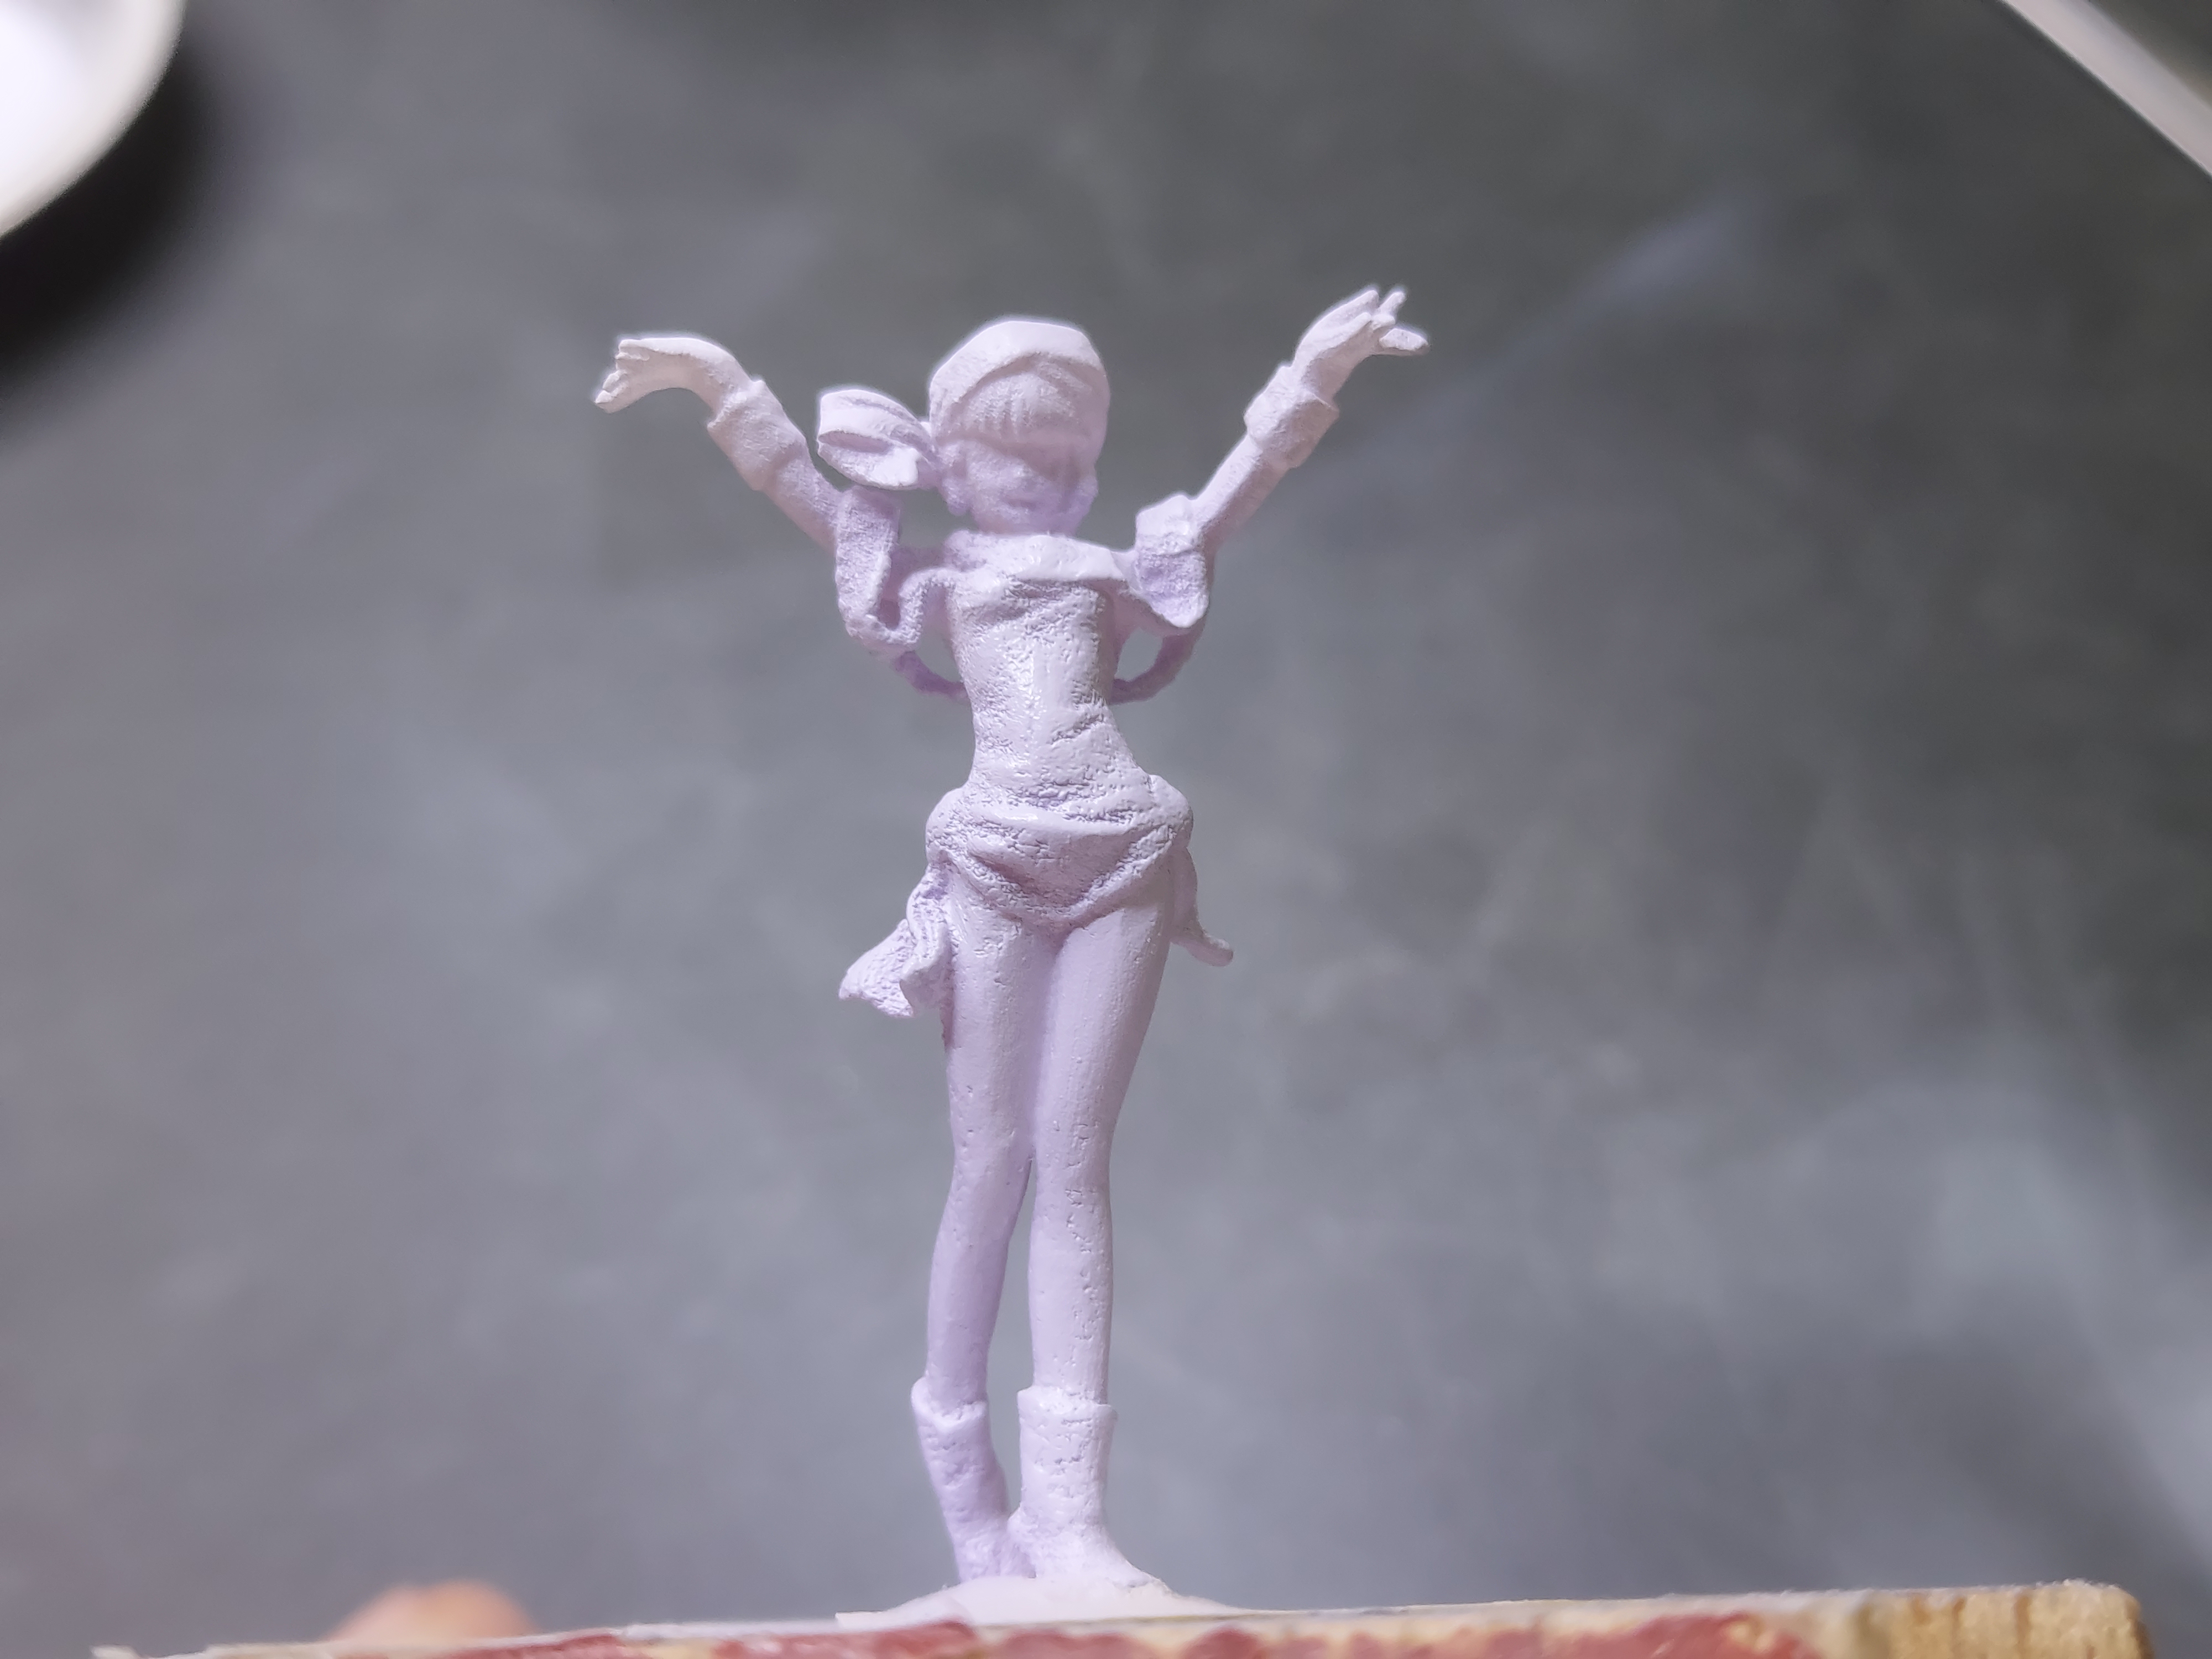
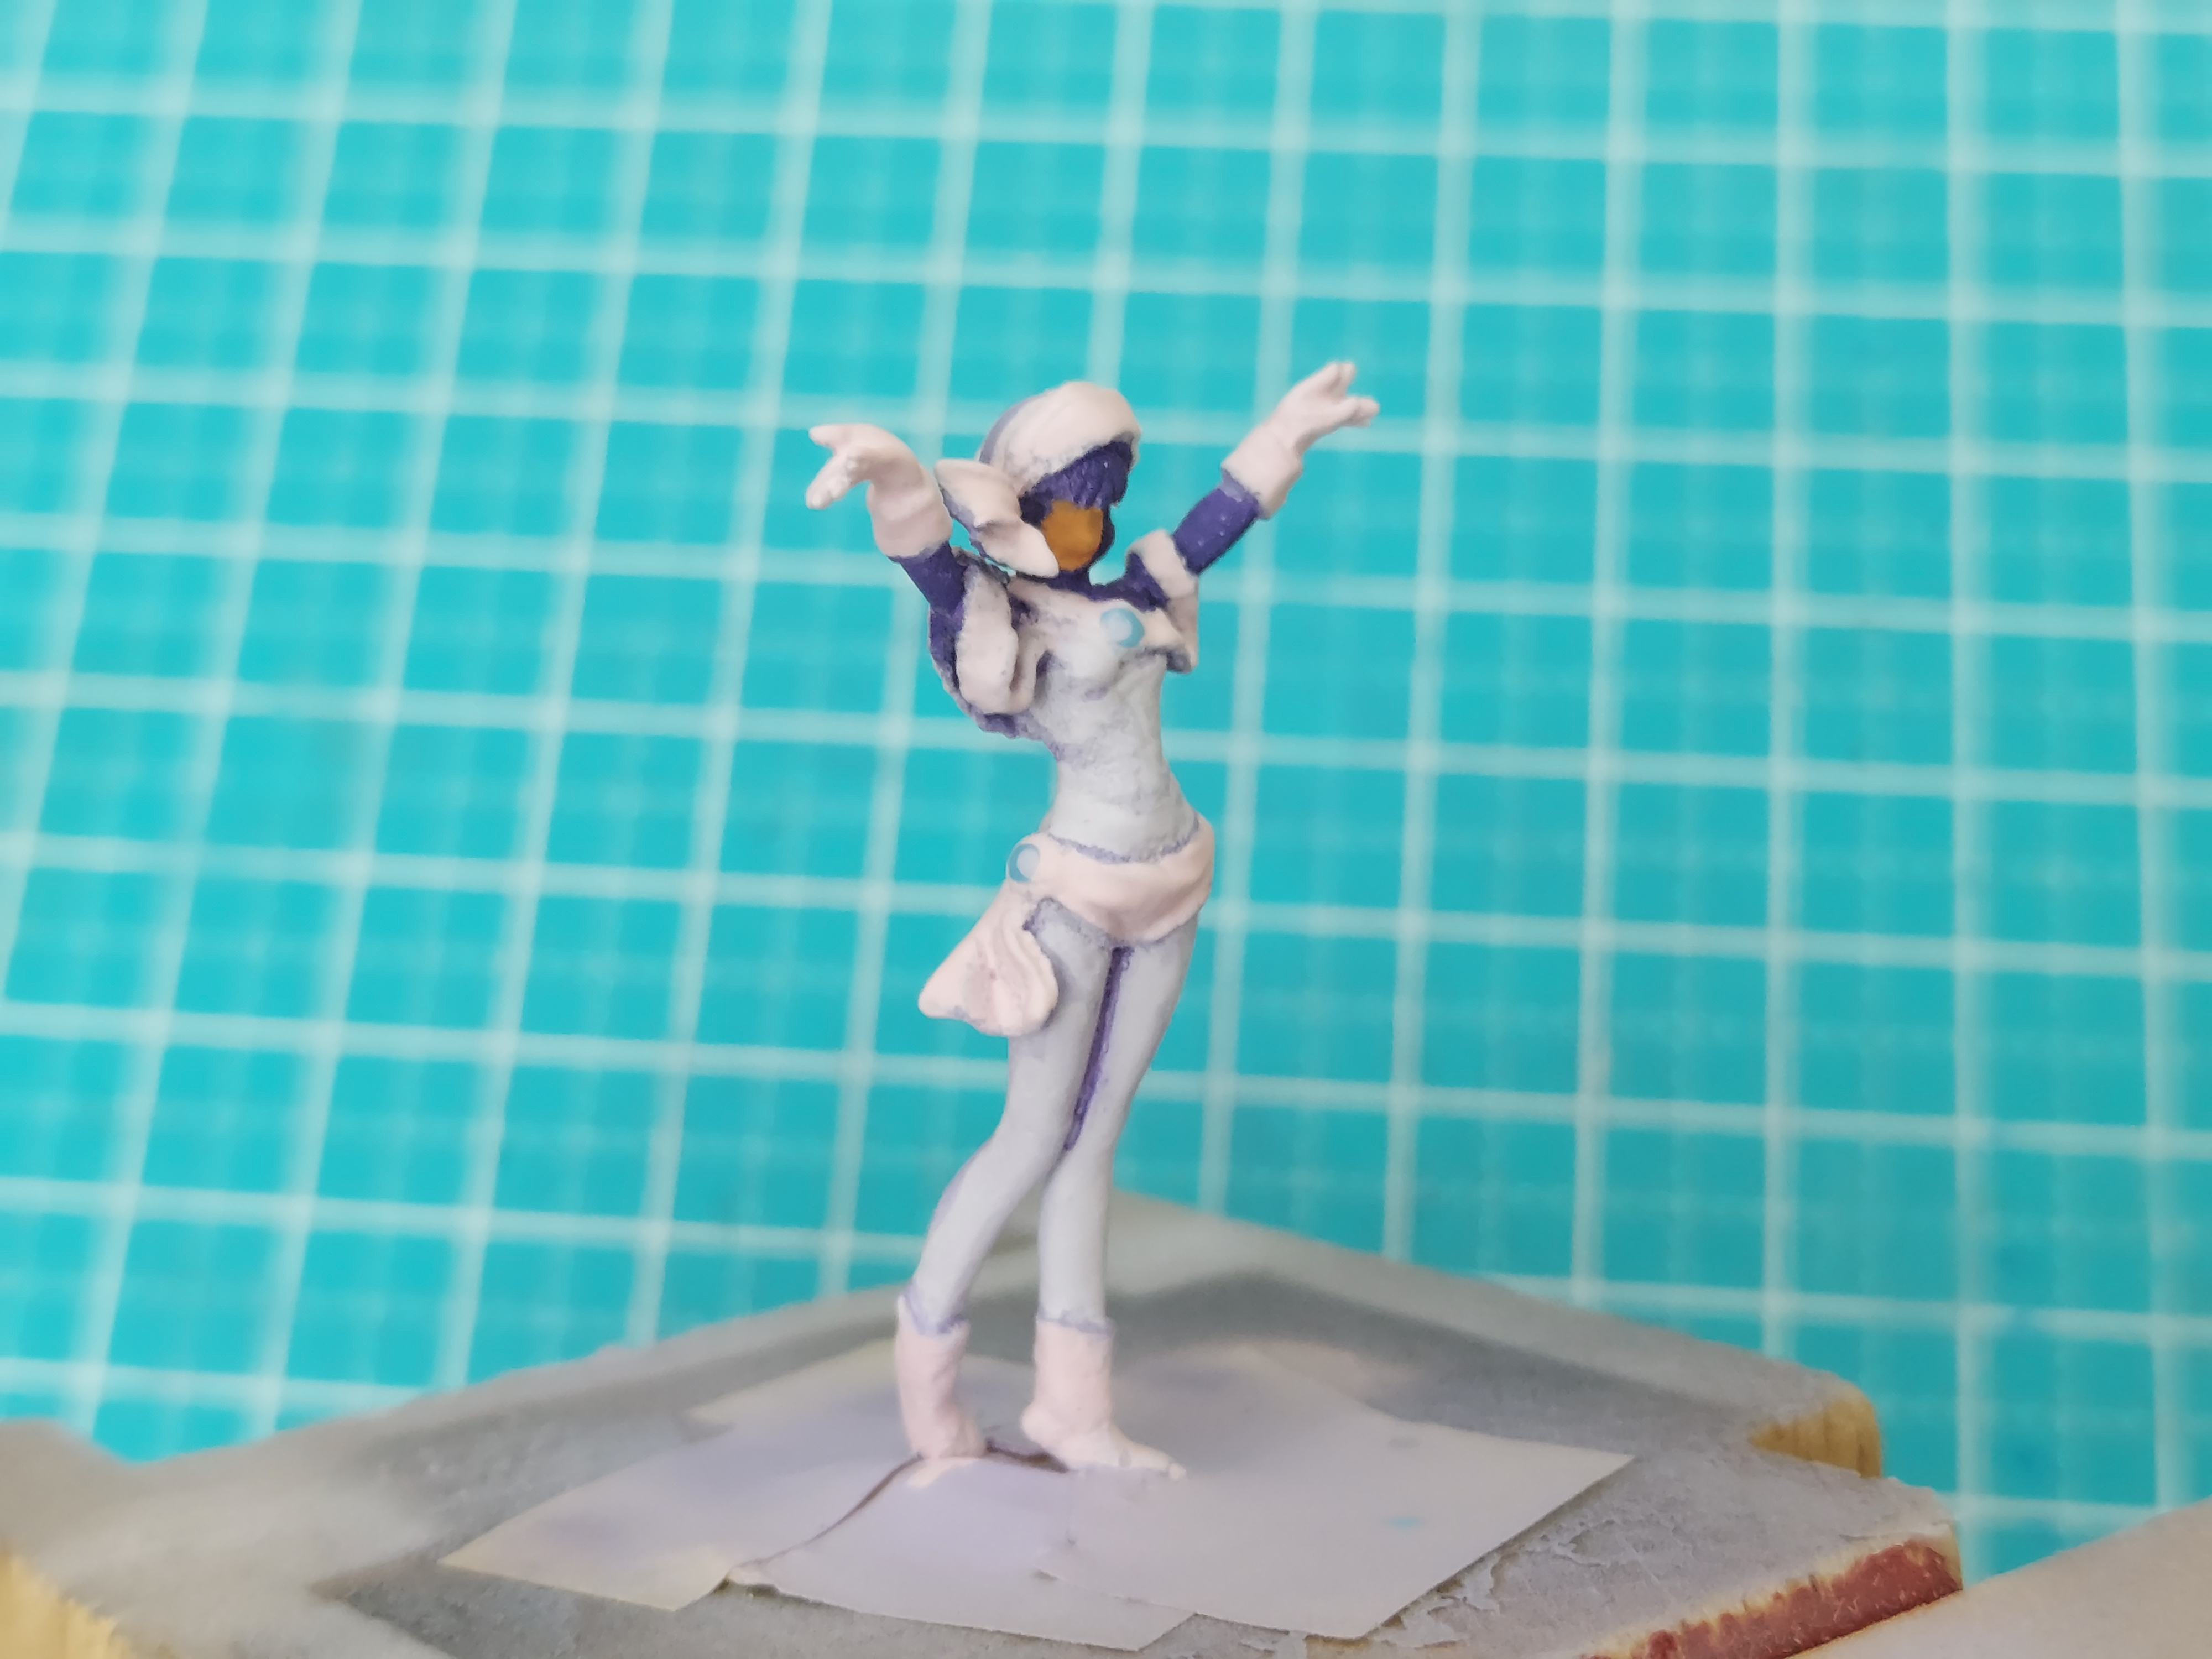
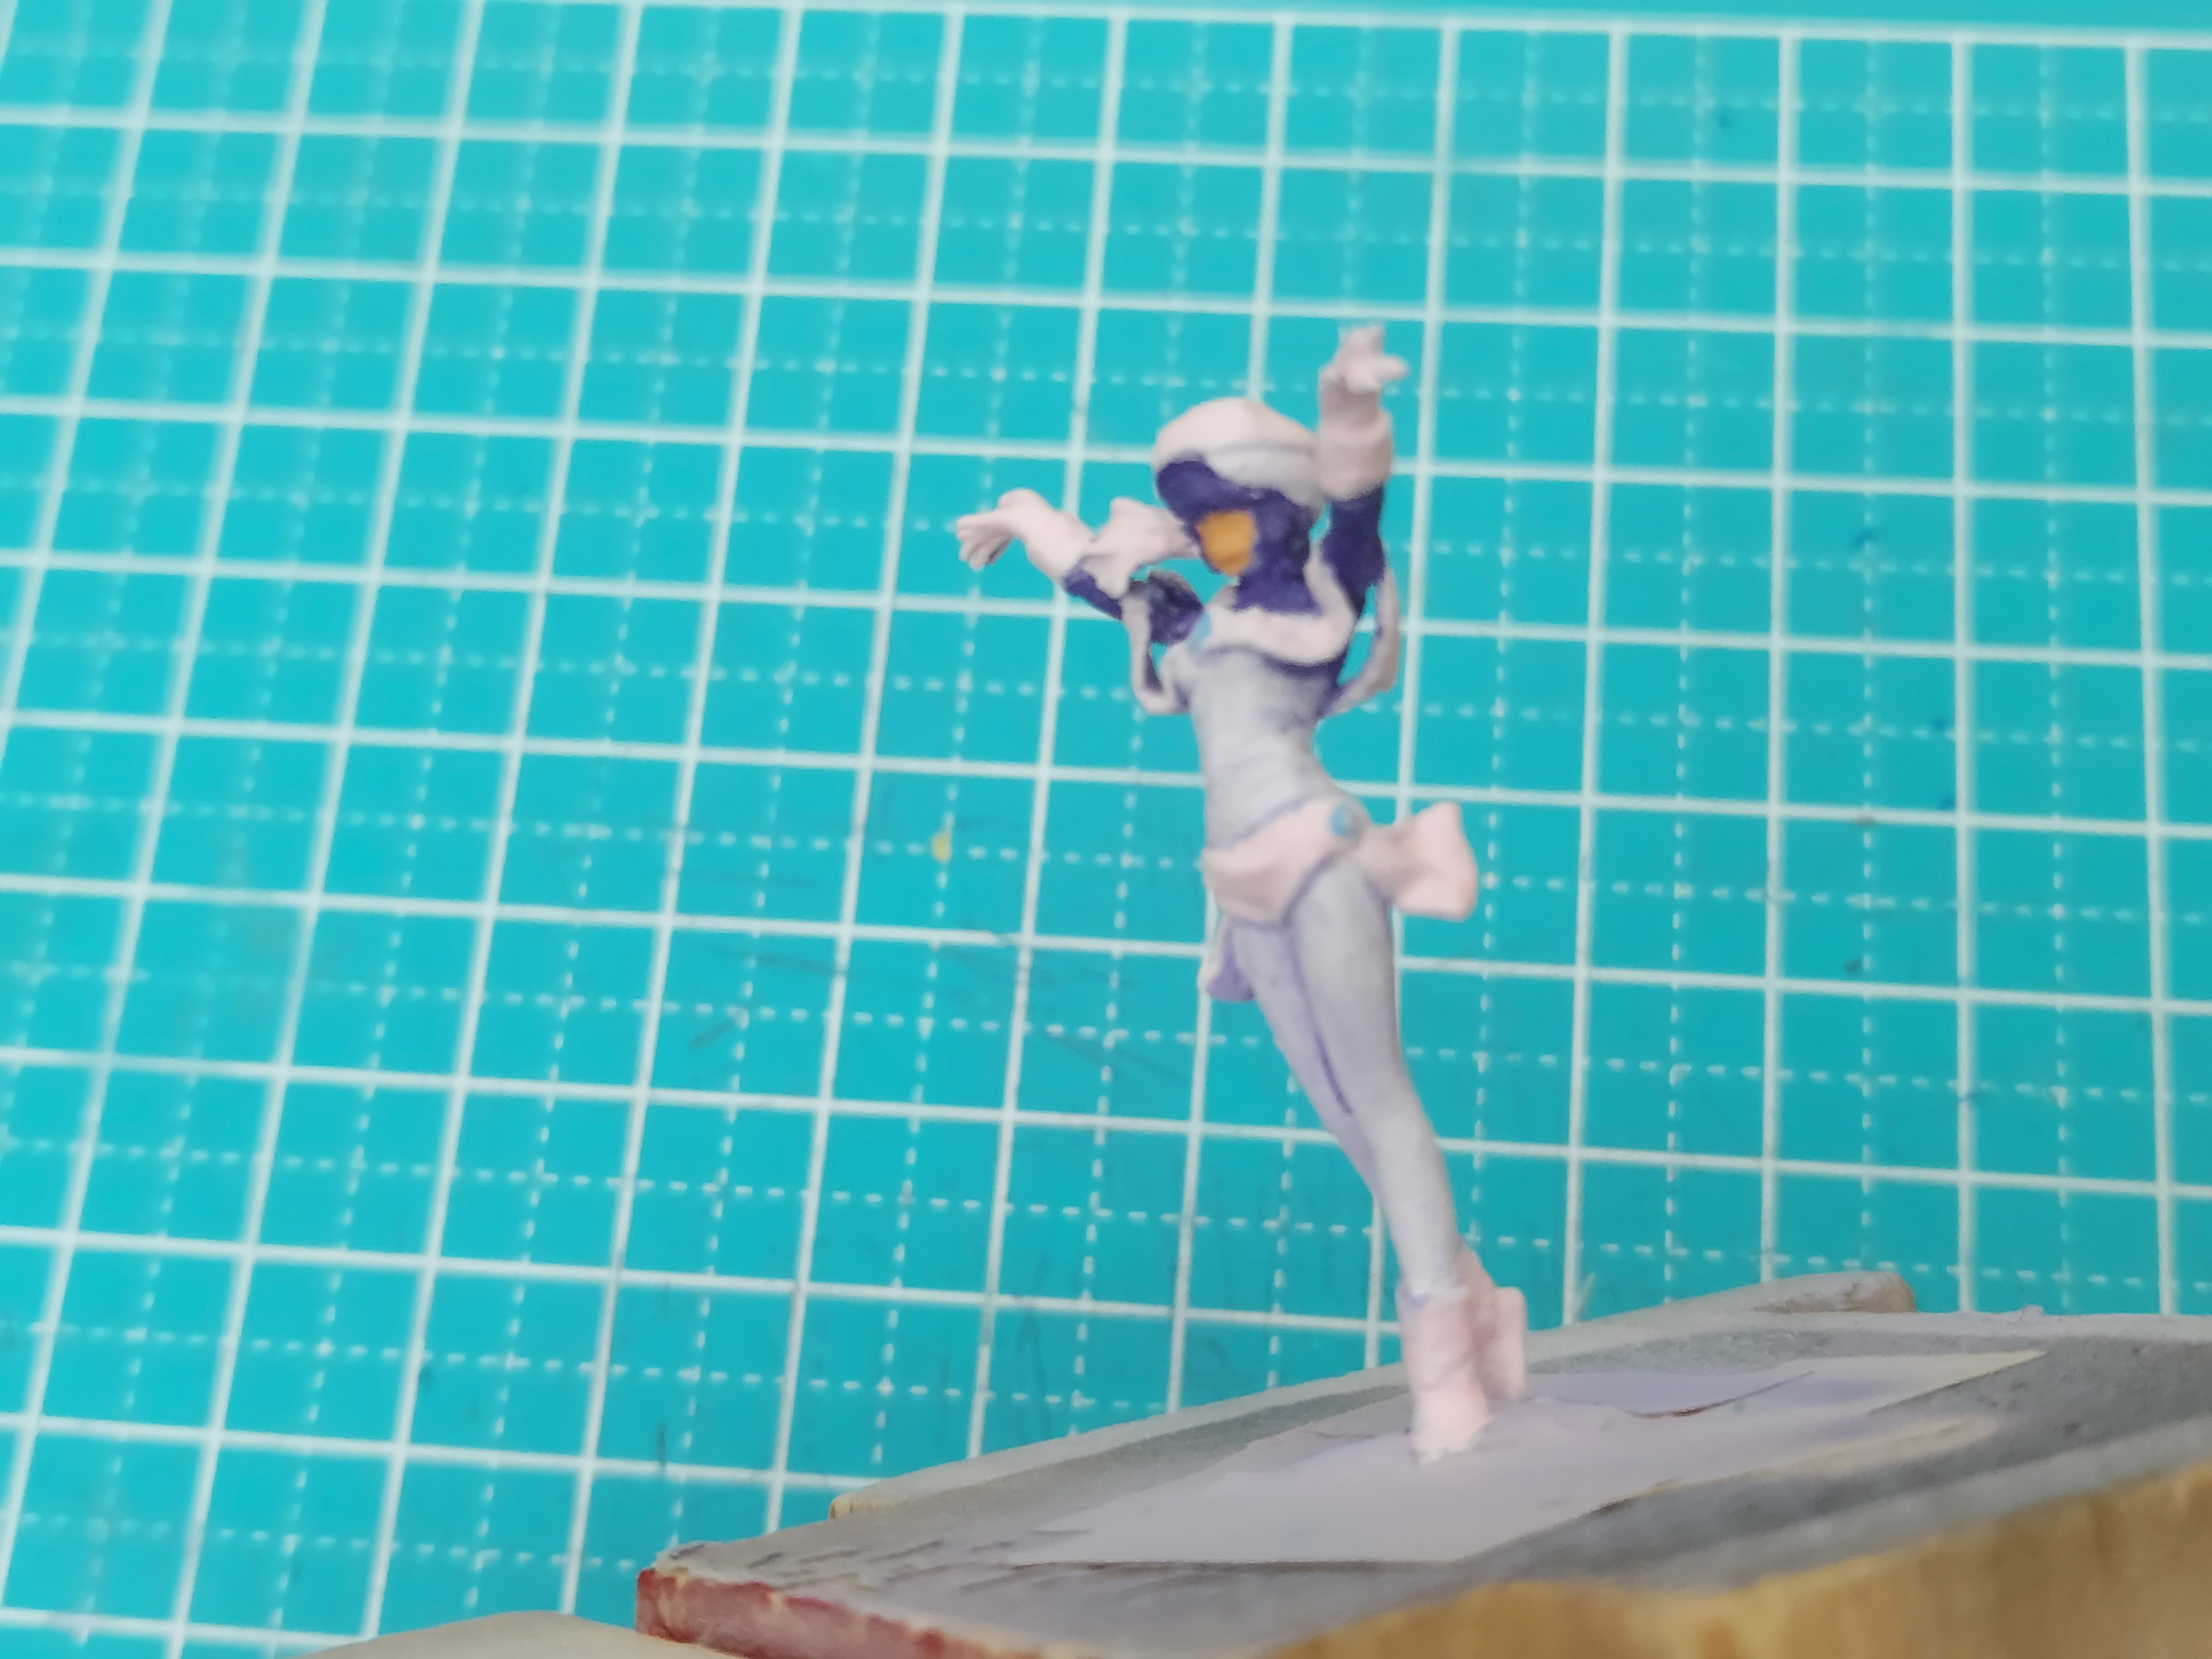
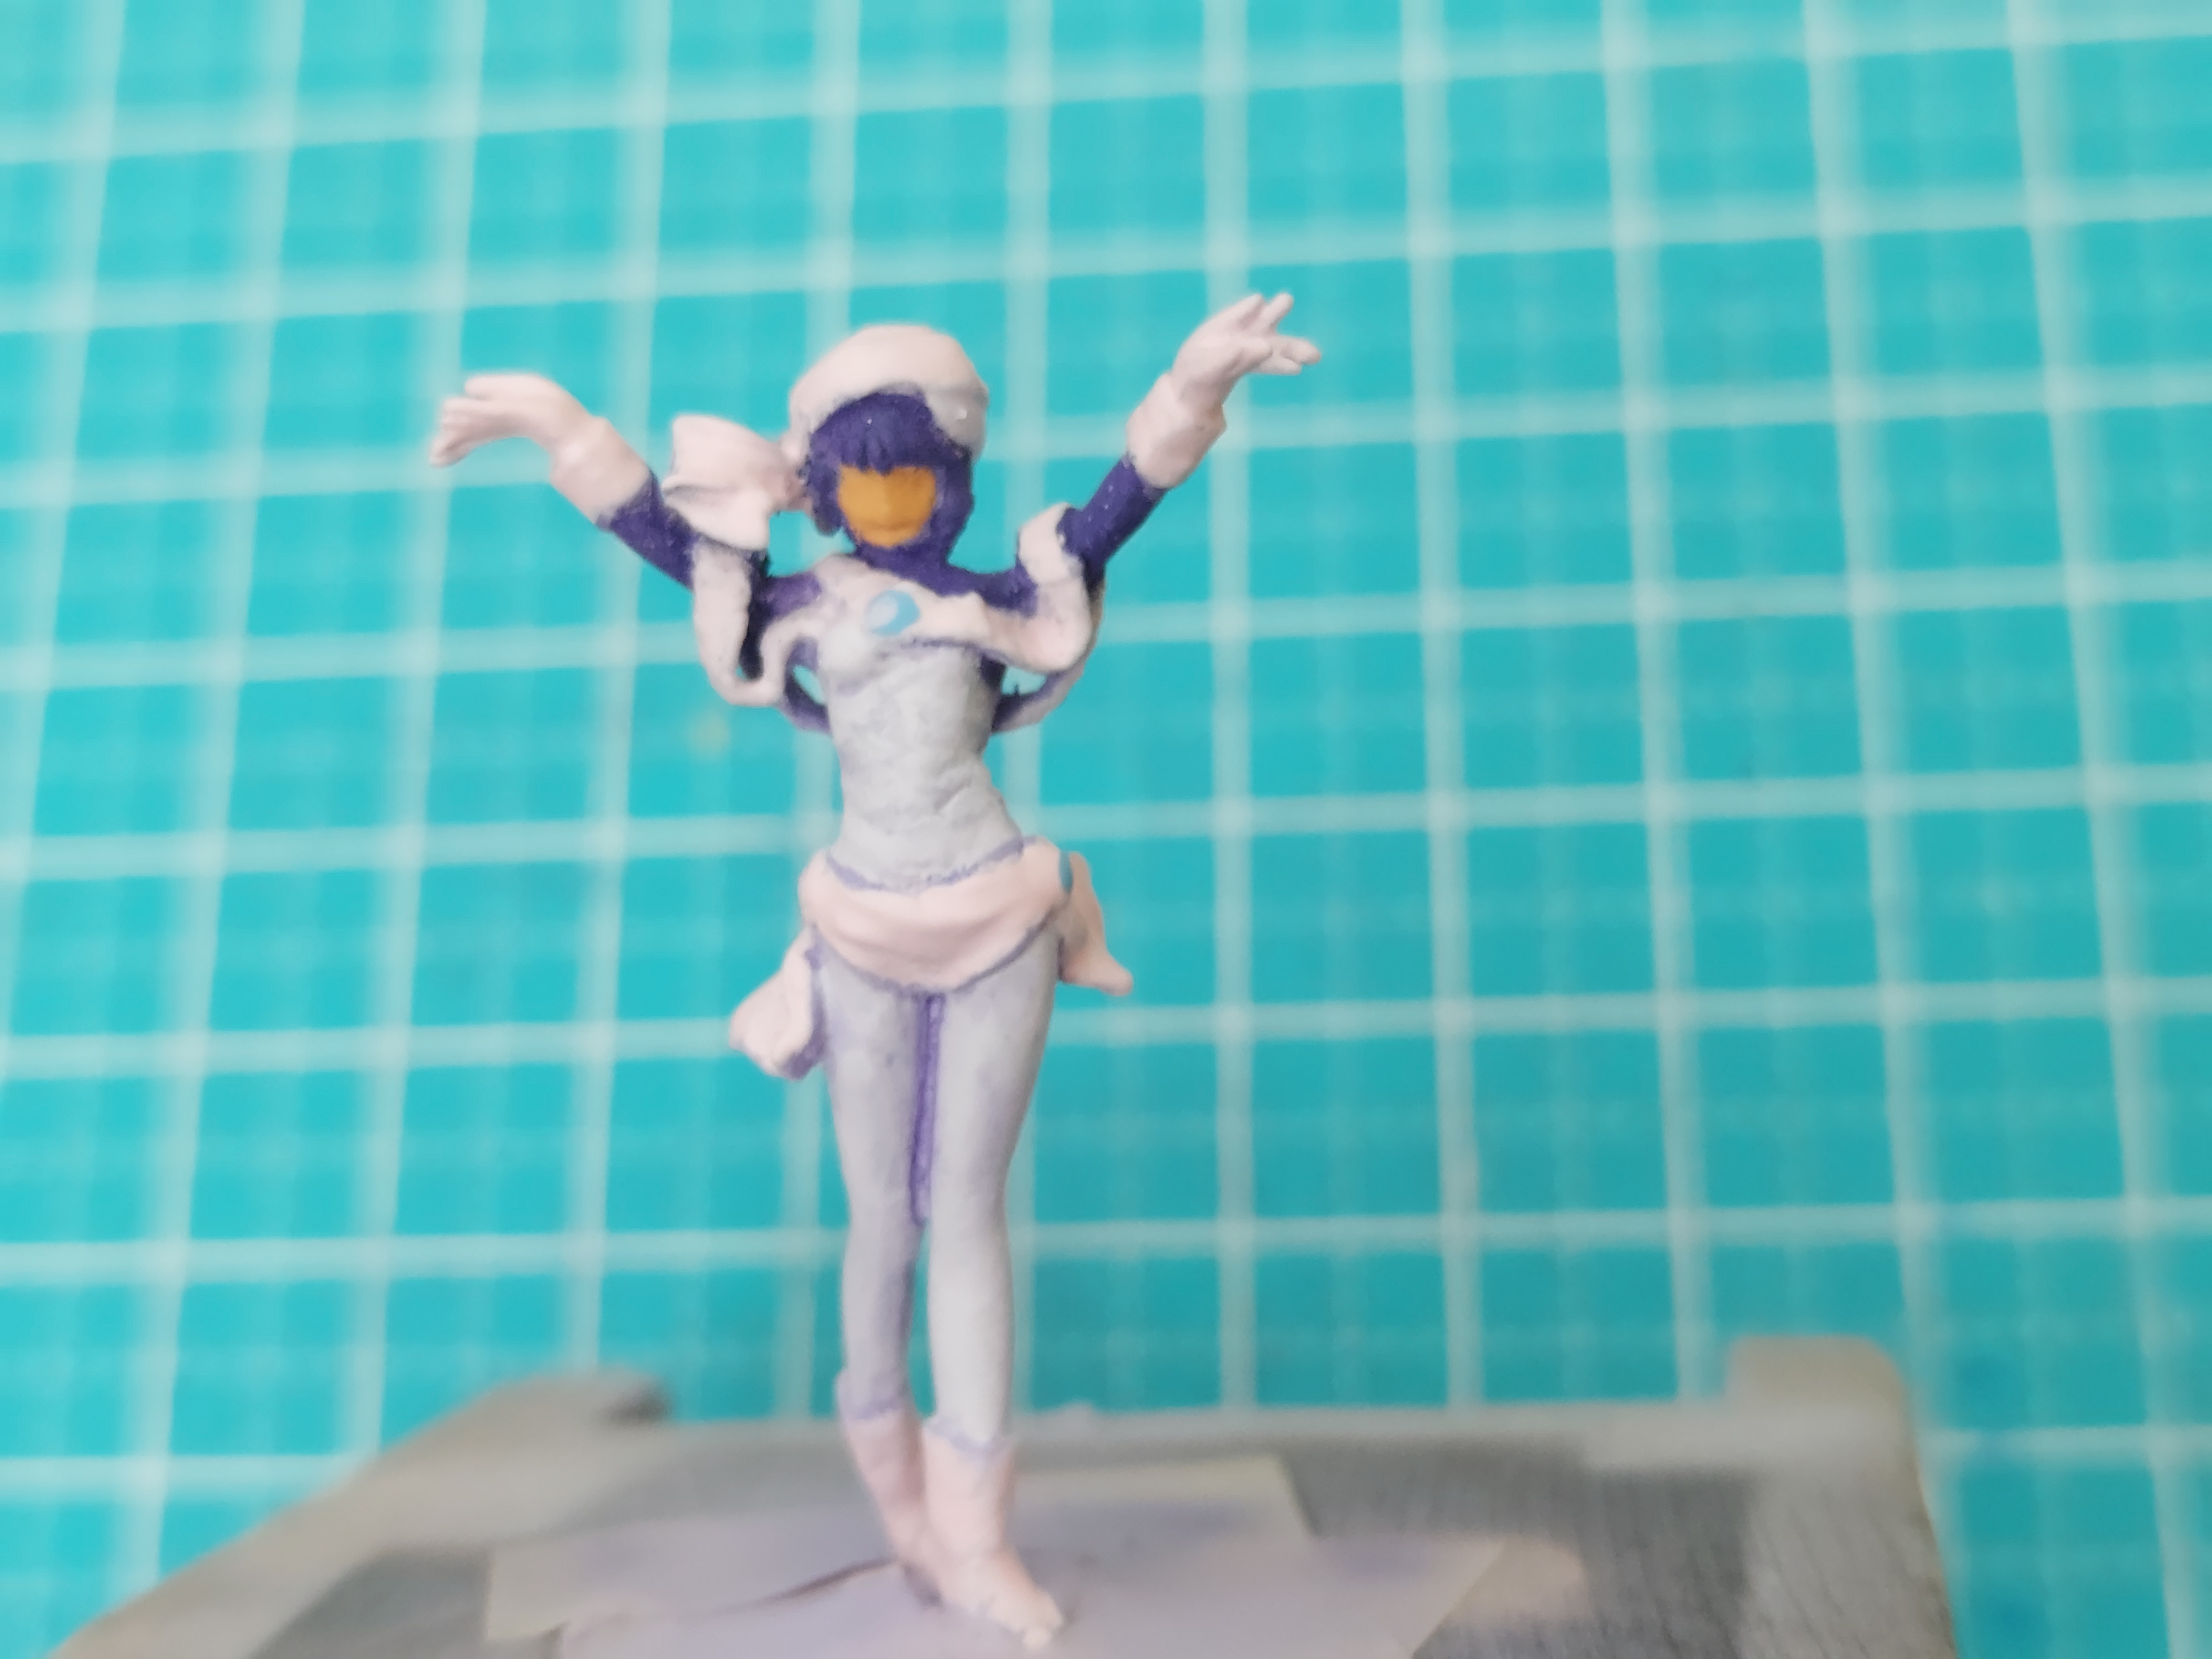
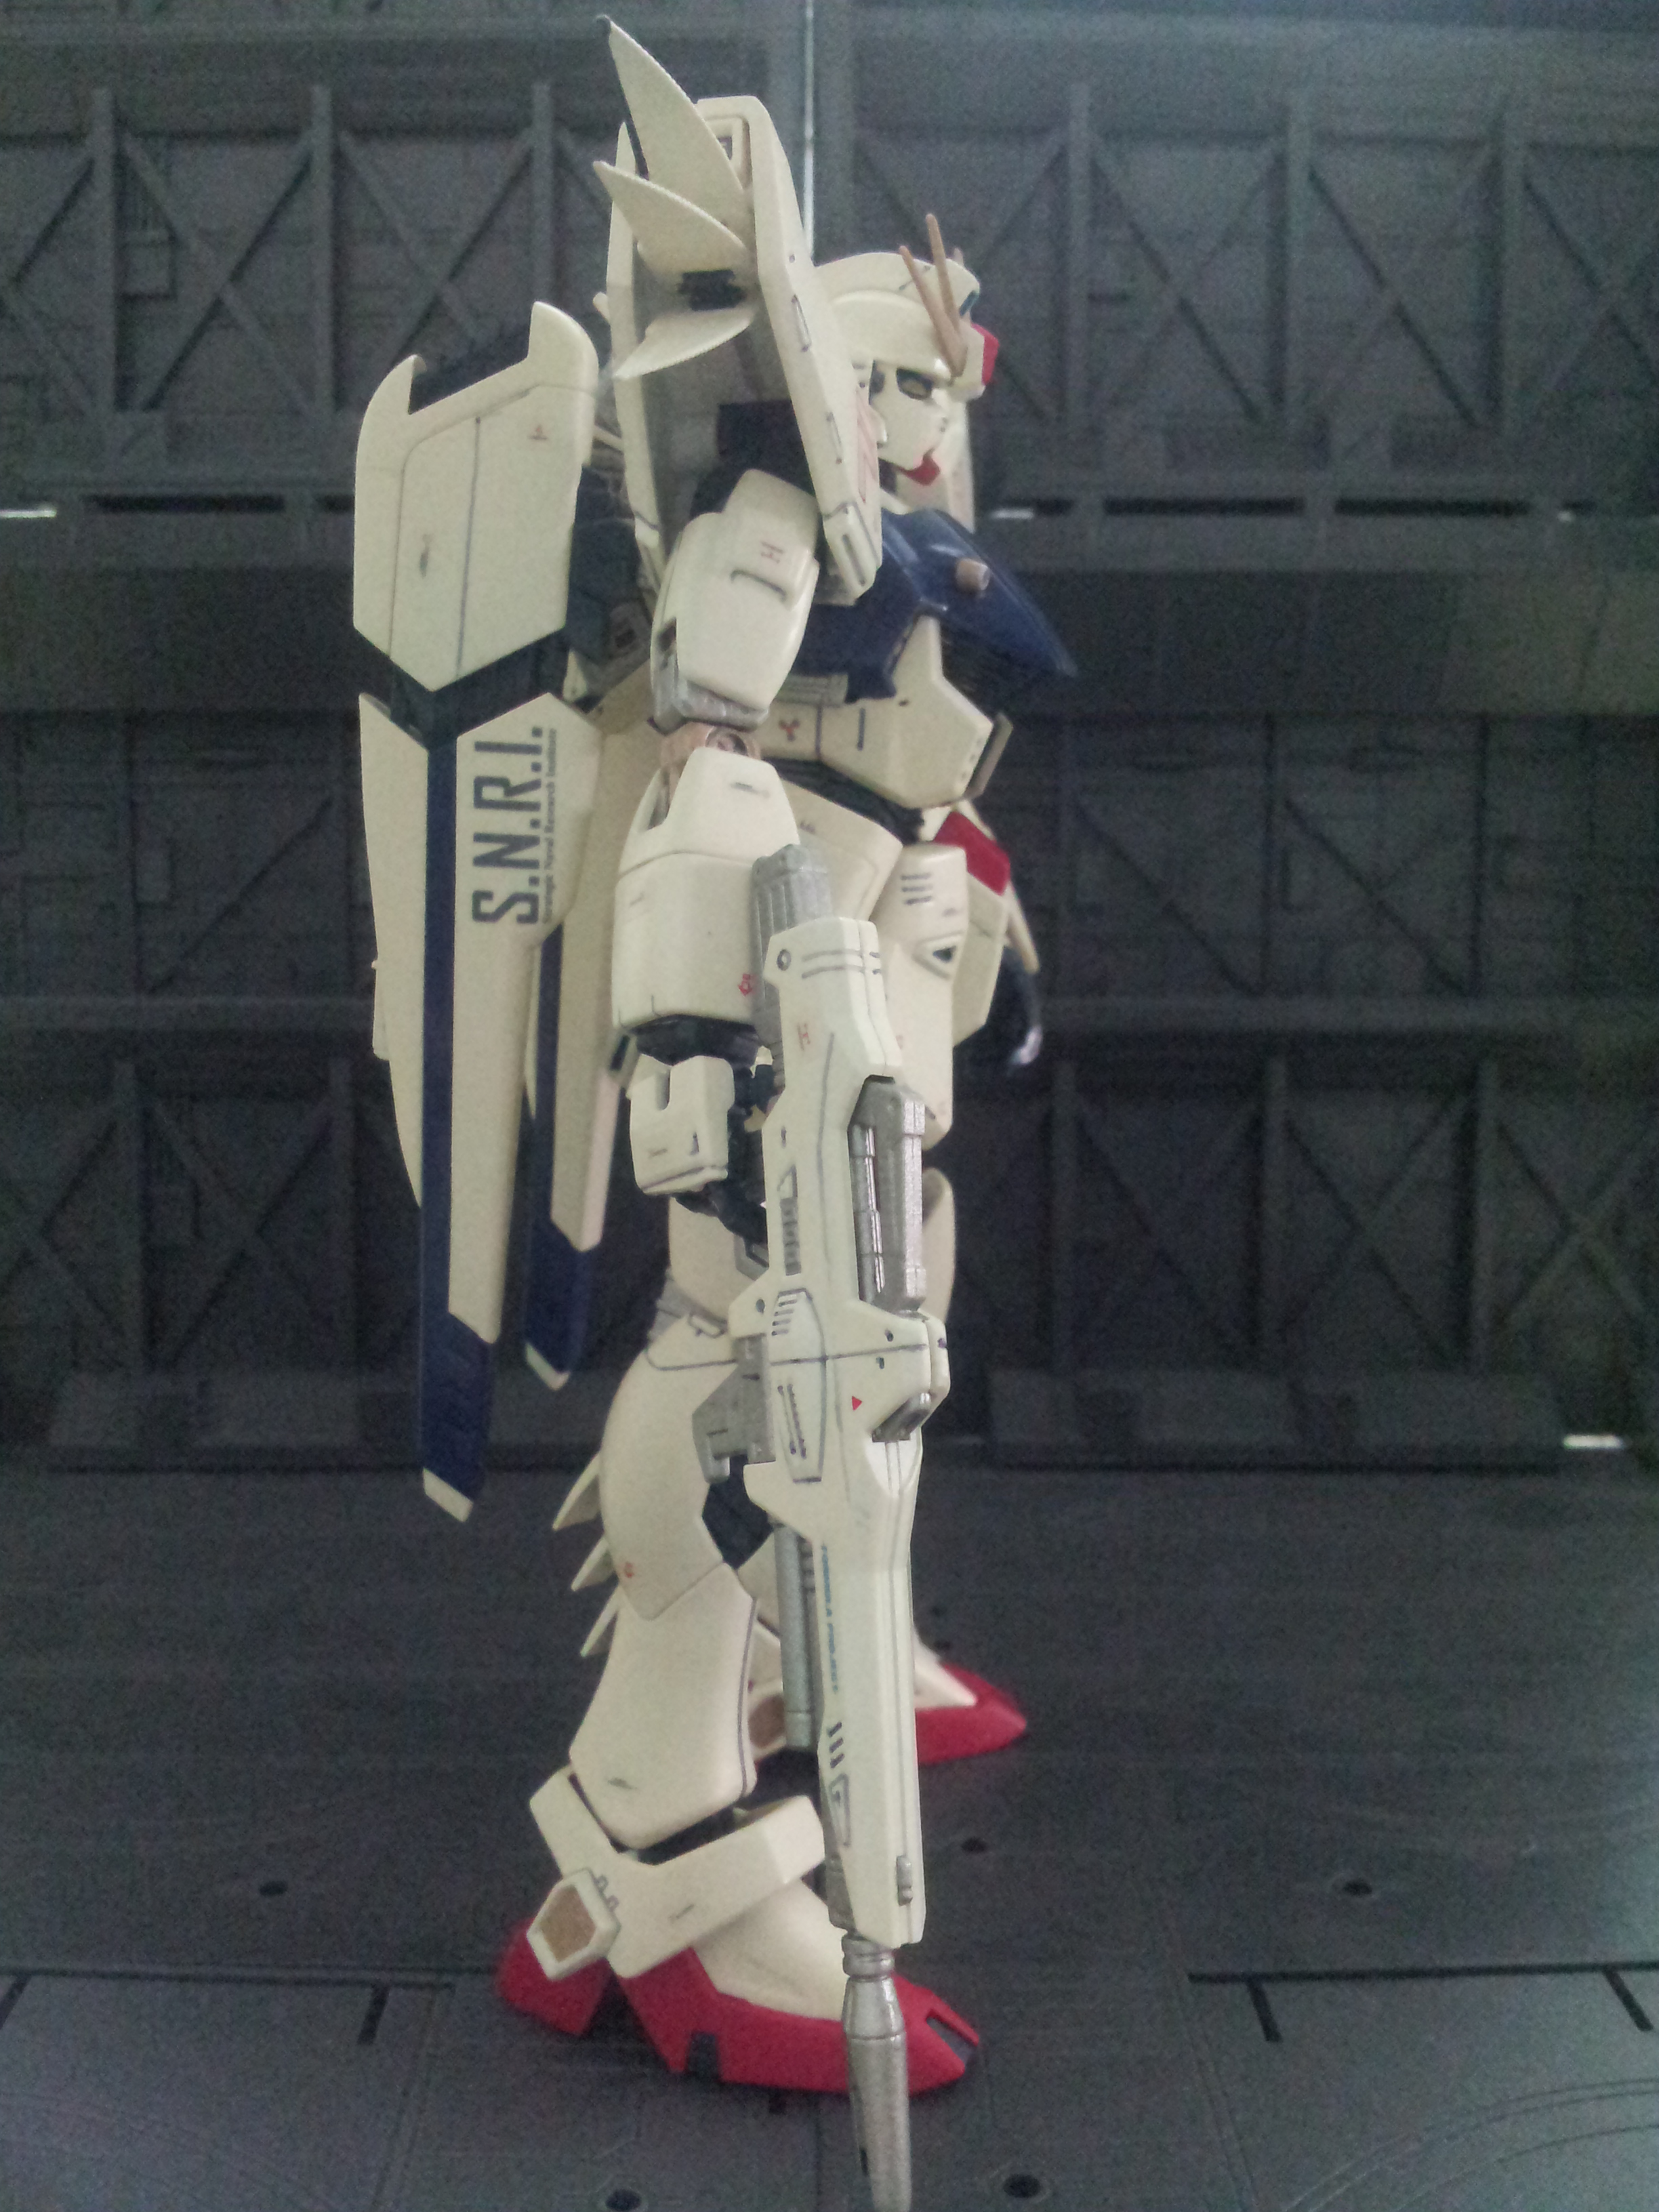
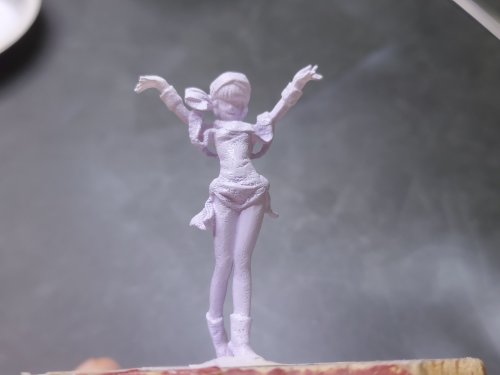
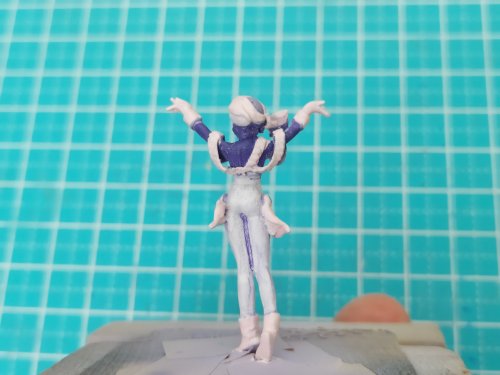
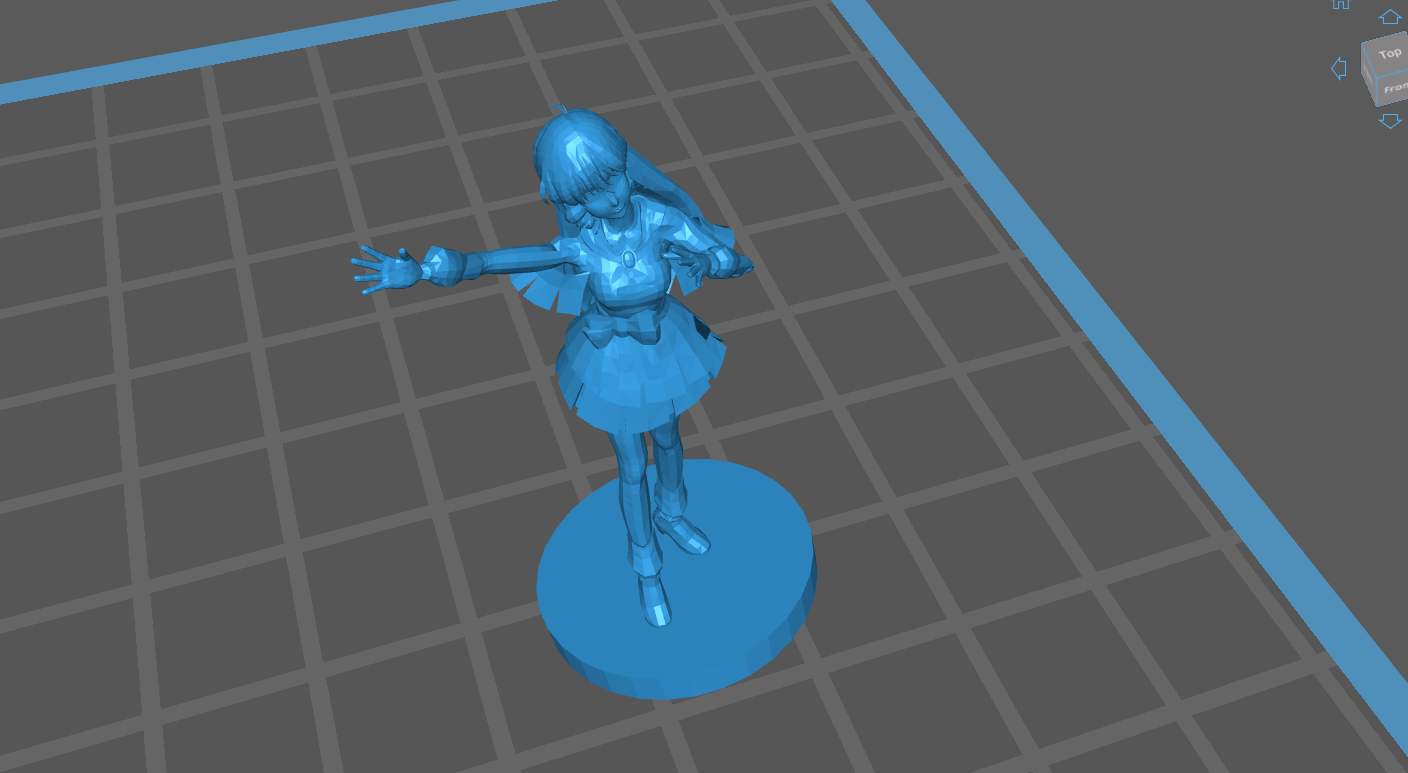
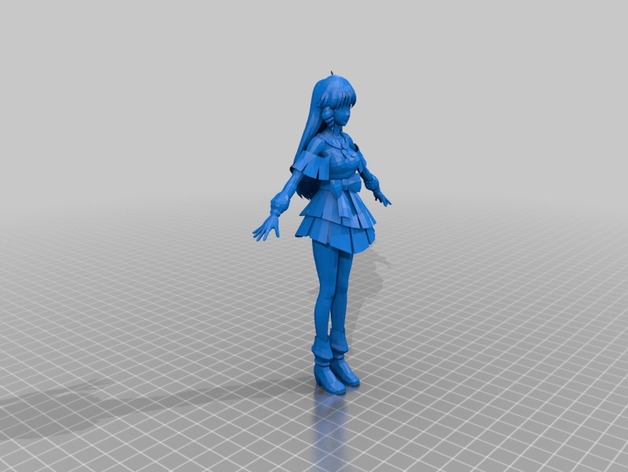
Something I'm working on and trying to learn new things (Only Macross can induce me to learn tech stuff). As I understand, this was a 3D file ripped from a Macross game. I took it off Thingiverse, learned how to give it a pose in Blender using a skeleton rigging, smoothed the gam polygon edges, and rescaled it to about 1/48. The idea is to get it resin printed for my flight deck diorama. This is all hypothetical, I'm a complete tech dummy, but I will let you know how it goes!


-
Cool. I was wondering what was gonna happen to the Captains details. I guess you could rescribe or use a pin vice to fix any that don't get saved
-
Head seems more in scale on the last picture.
-
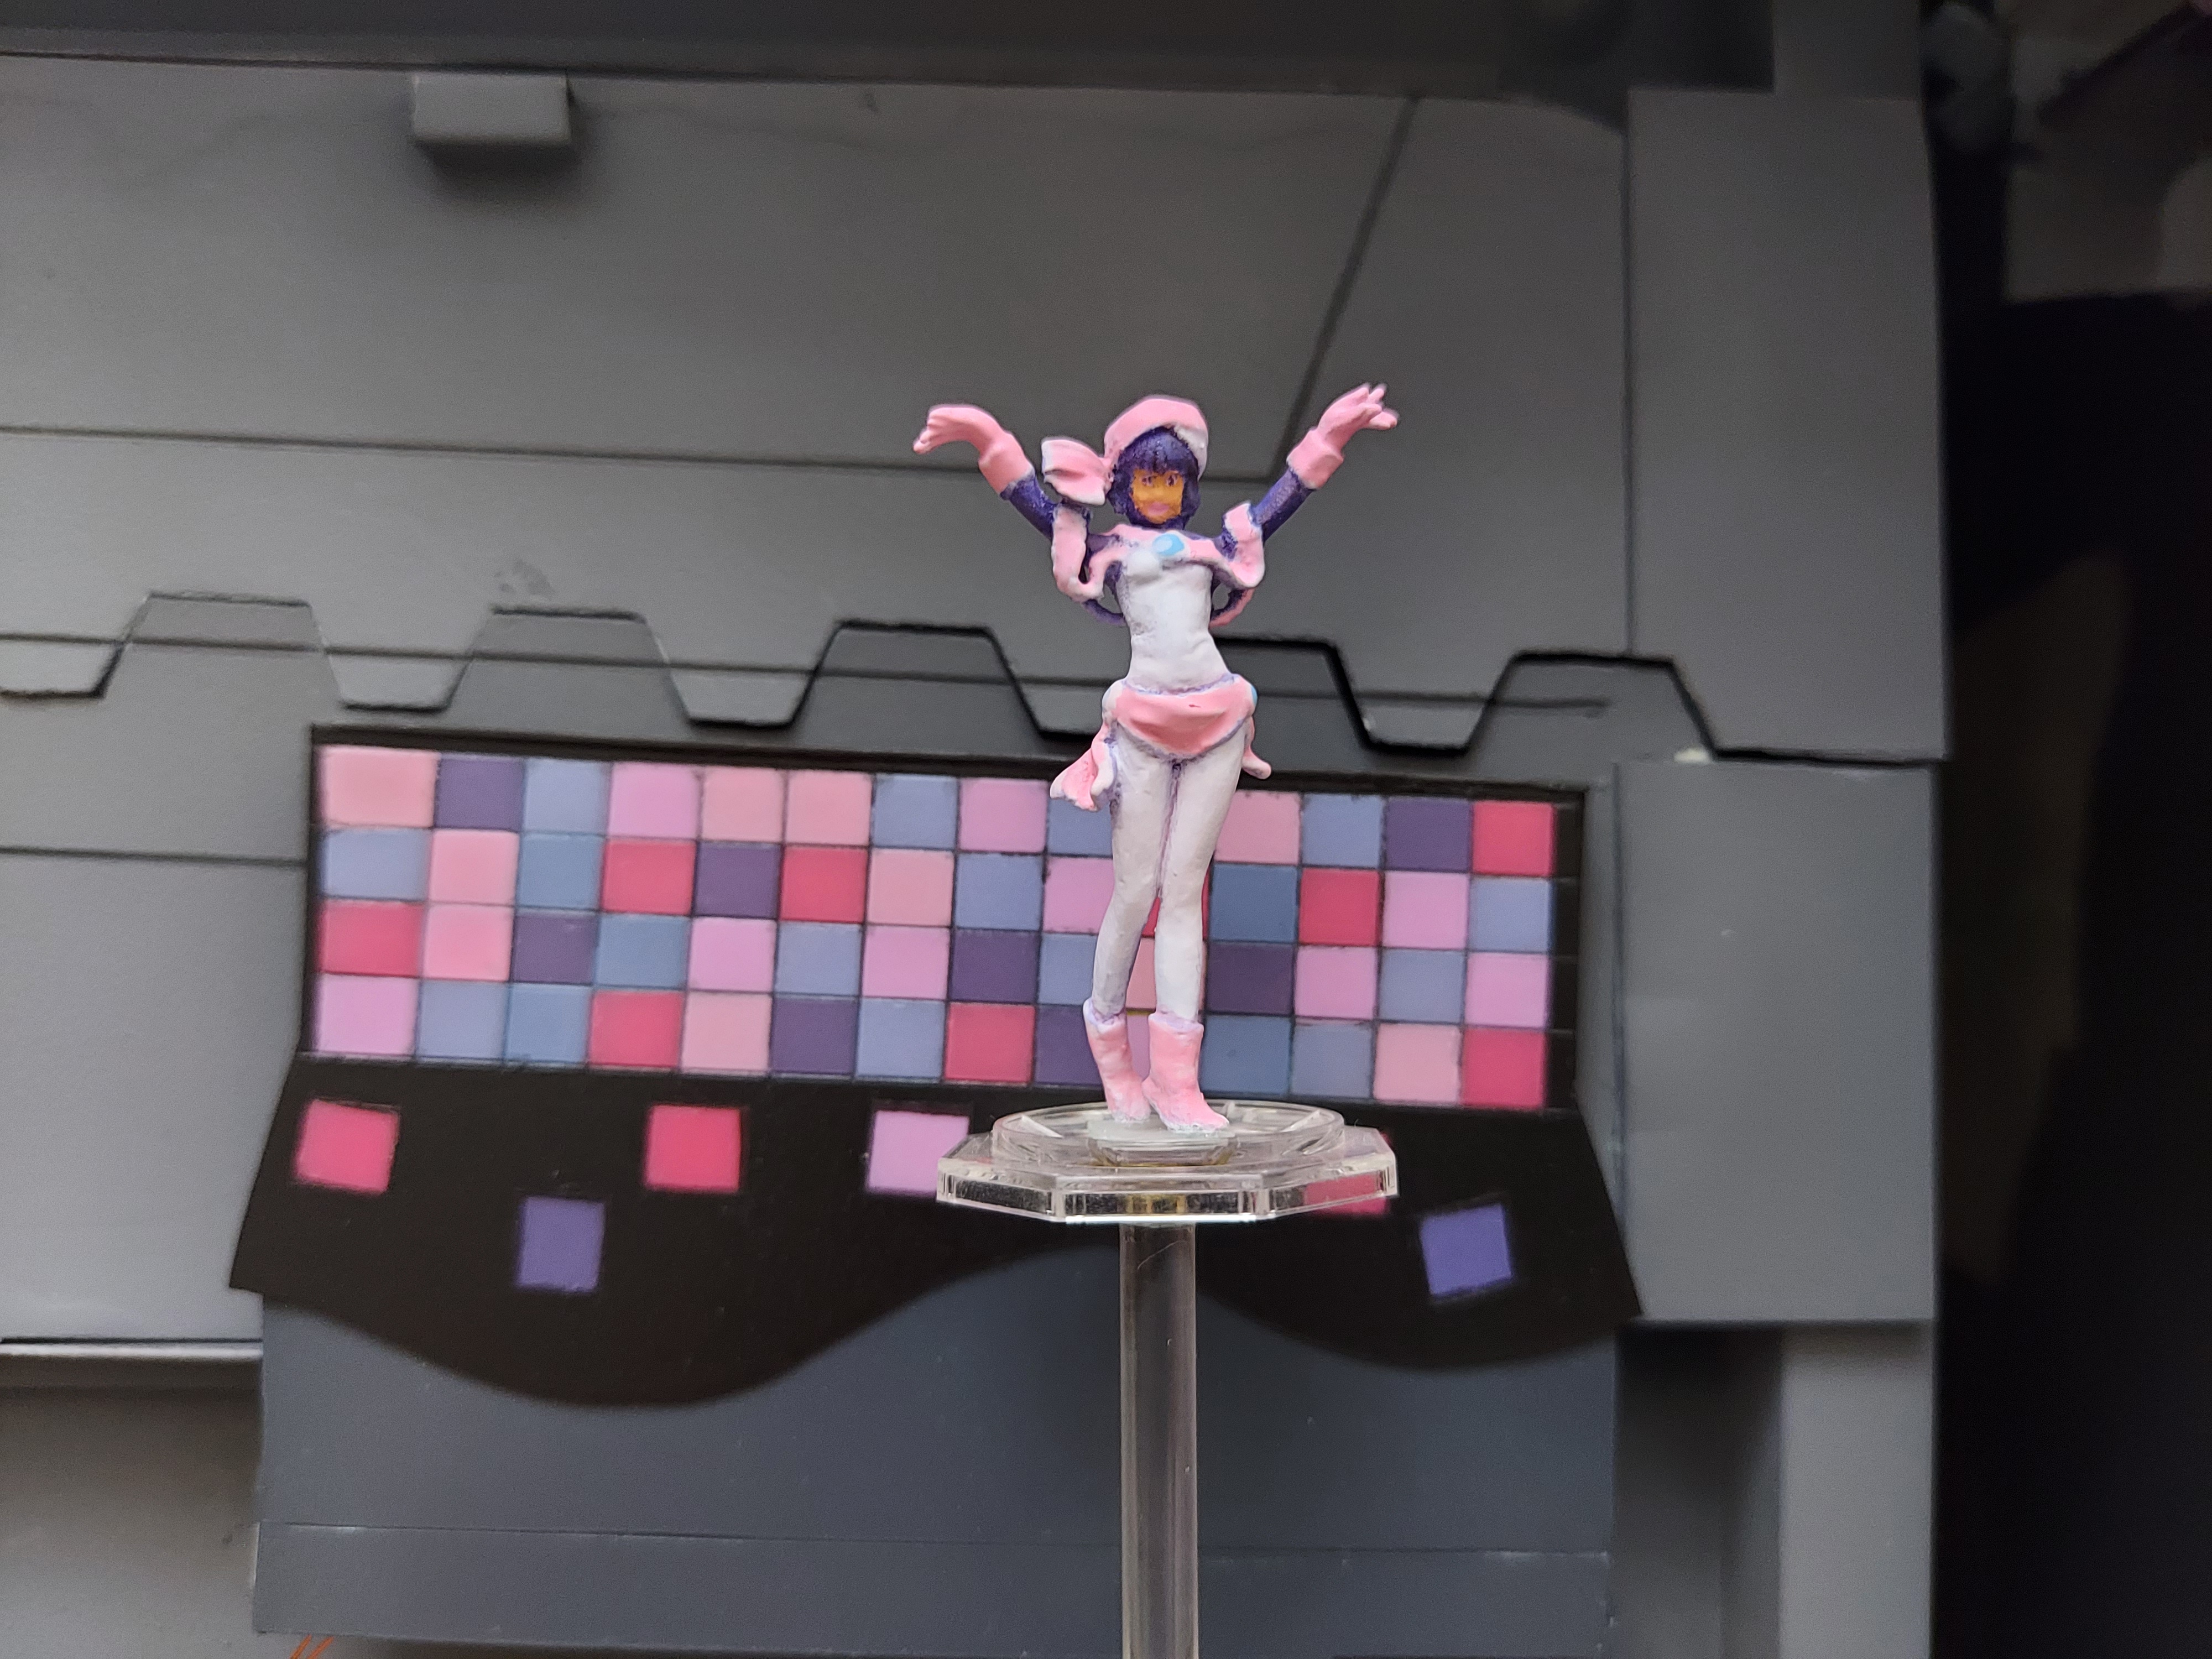
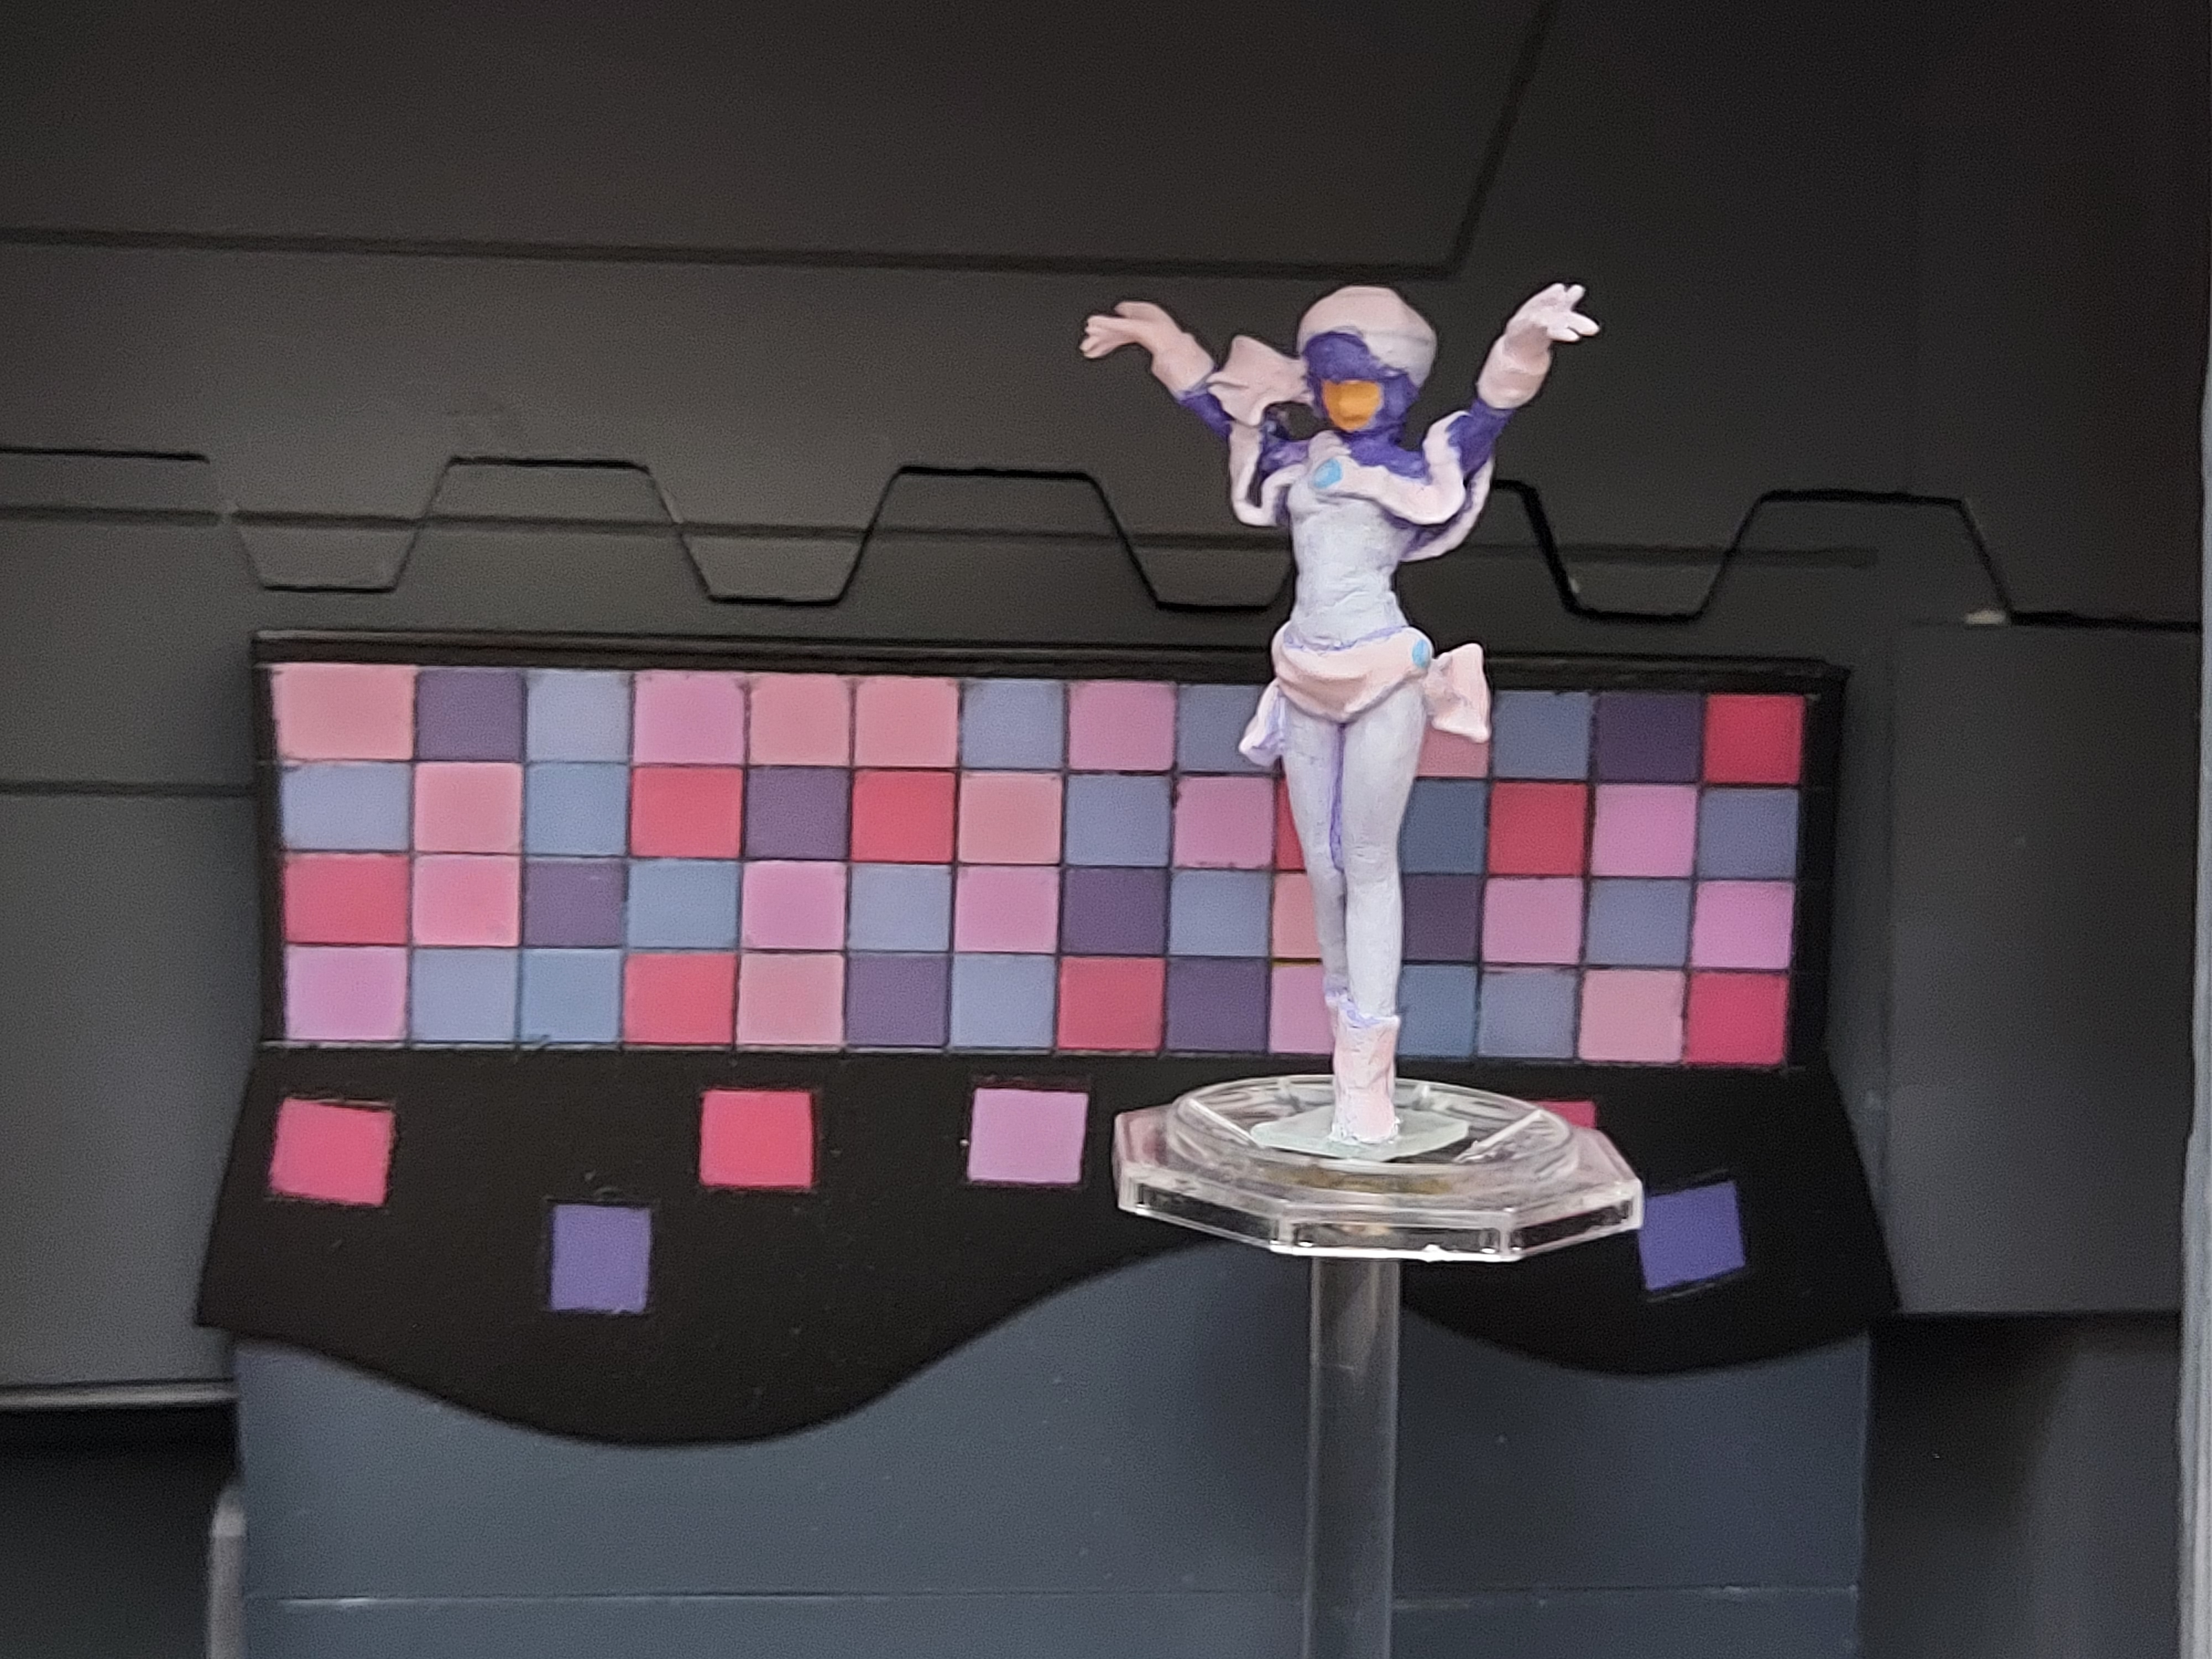
Are you all bored of this project yet? Well, I'm not. Up next, a sci fi version of this platform to add to the deck. I'm thinking of lighting under the floor, electronic wall control paneling, and sci-fi shaped barrels, with Misa and Hikaru at the helm. (Will somebody please make Captain Global and Bridge Bunny figures?)
.thumb.jpg.16fa0fa7b58218f19e280f3d158ec542.jpg)
.thumb.jpg.ba6b6858c5c698957fd63e988a8d33c6.jpg)
-
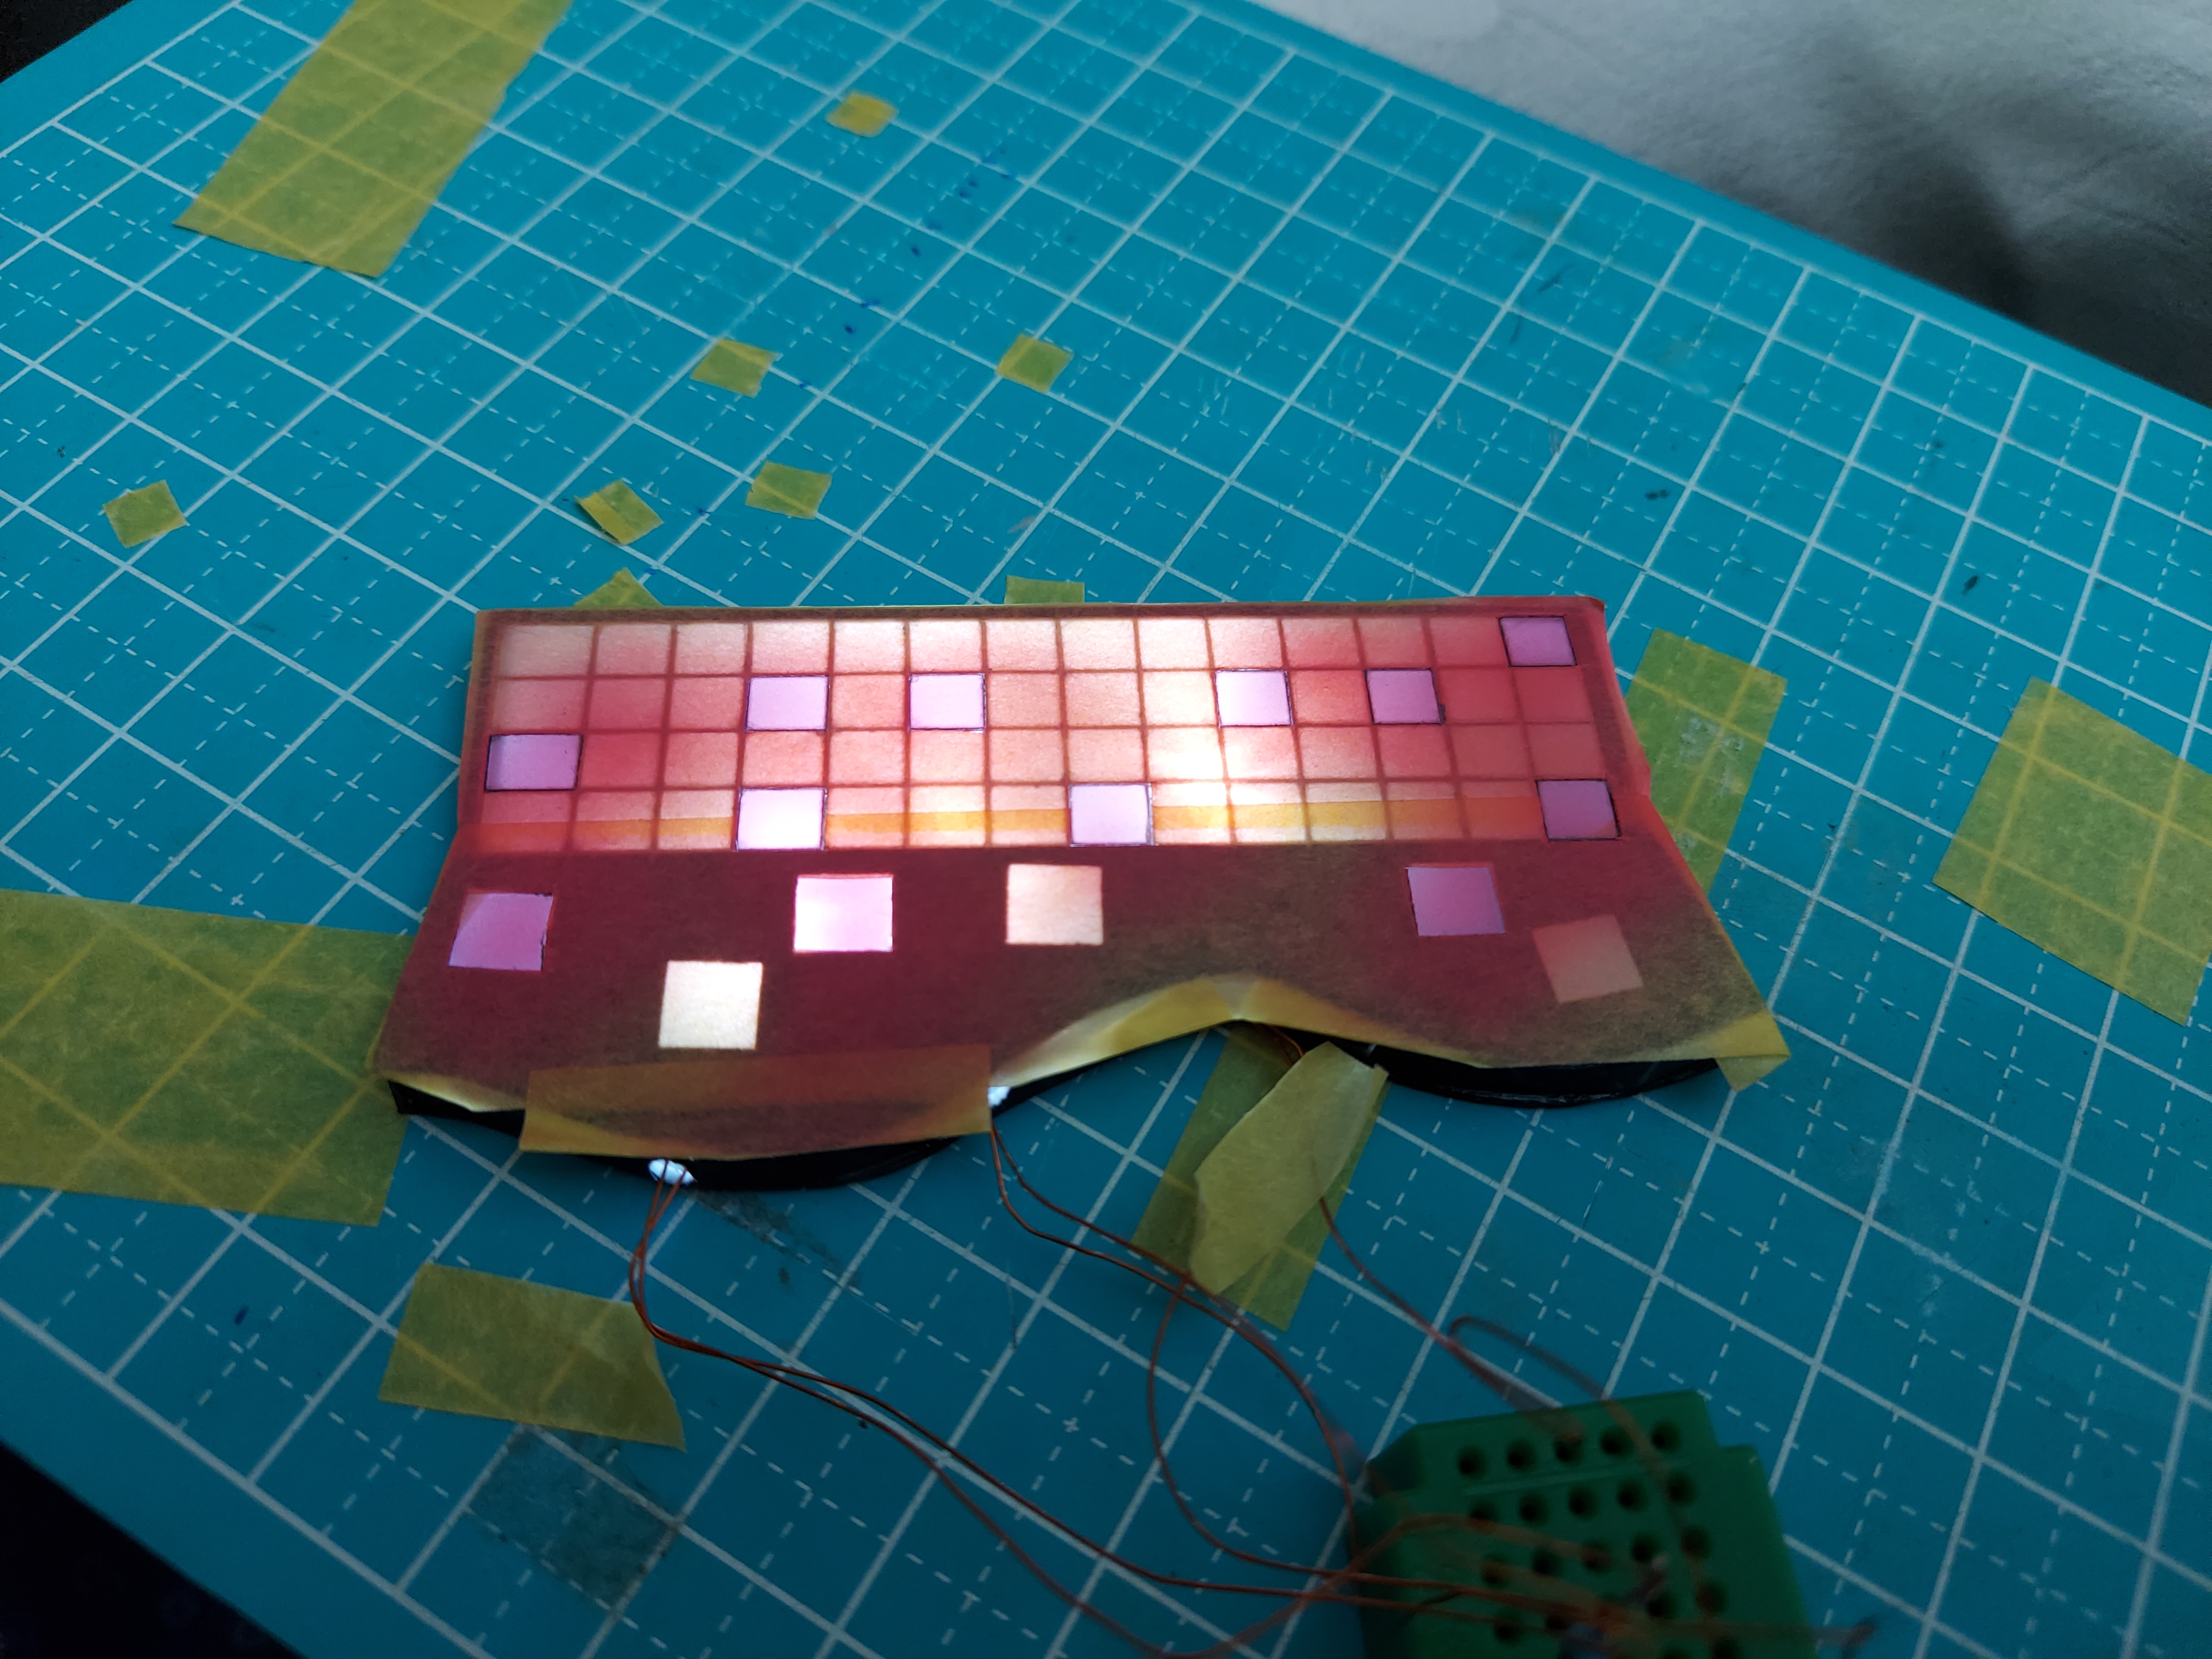
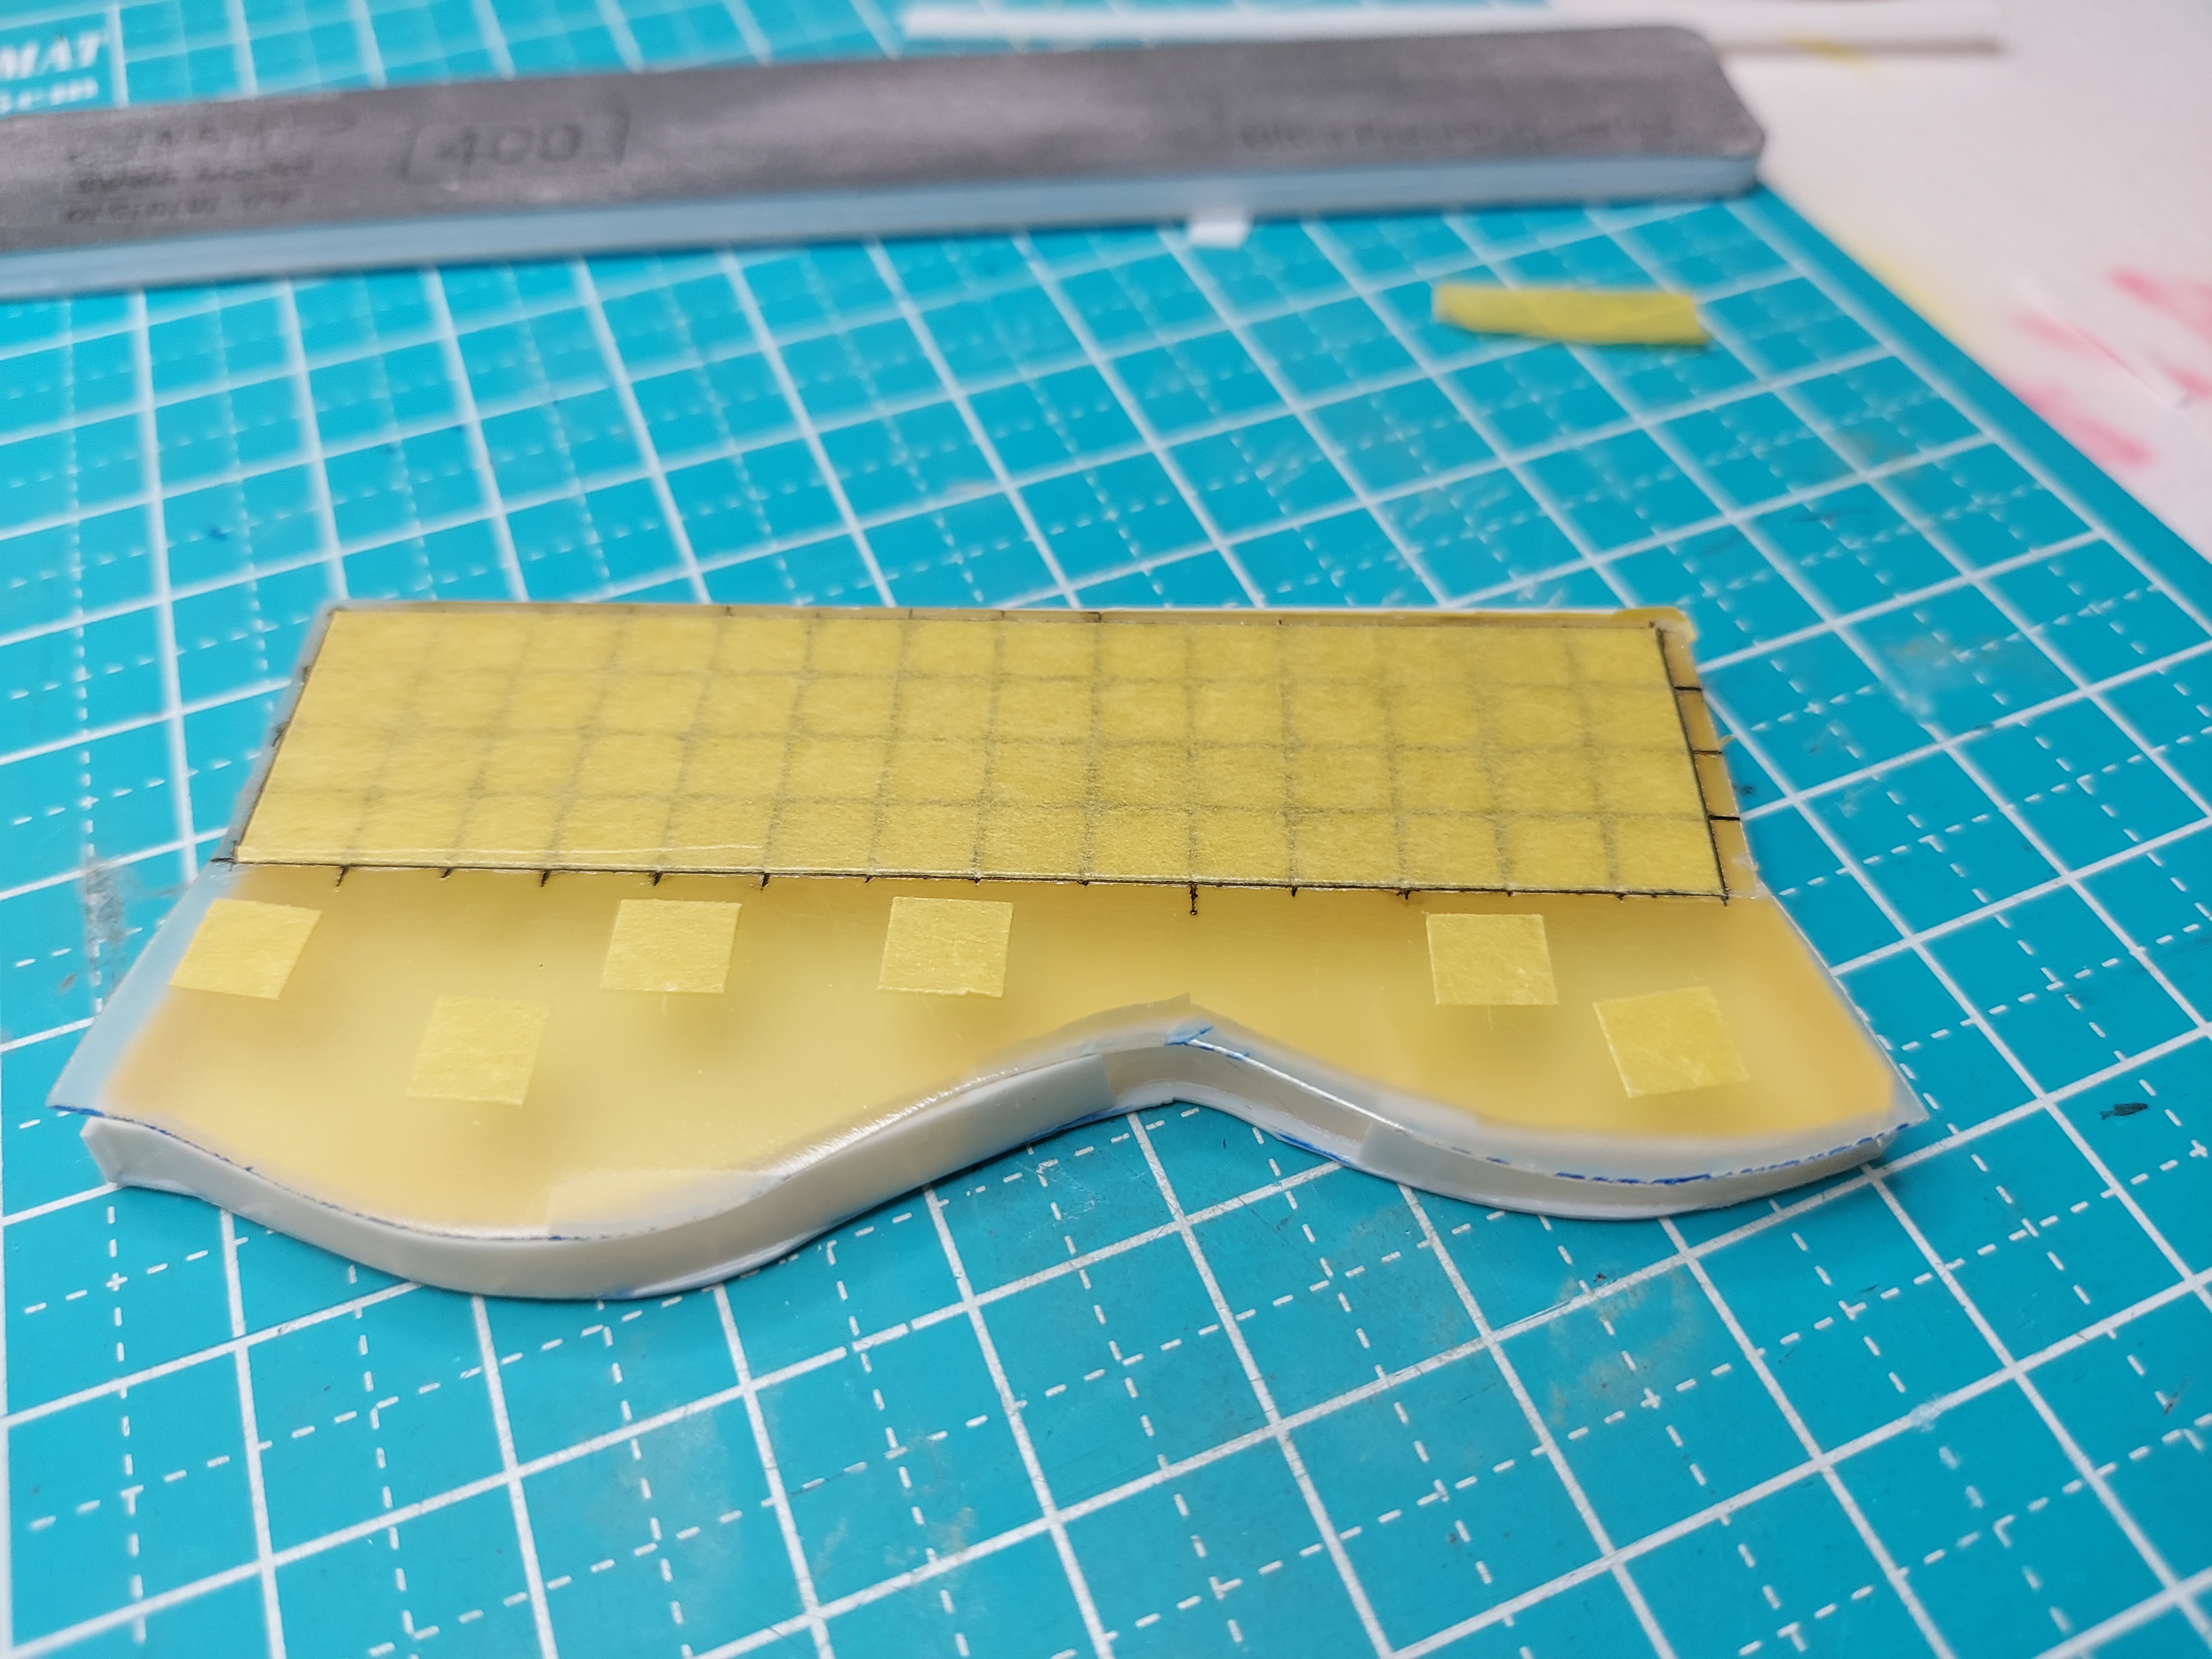
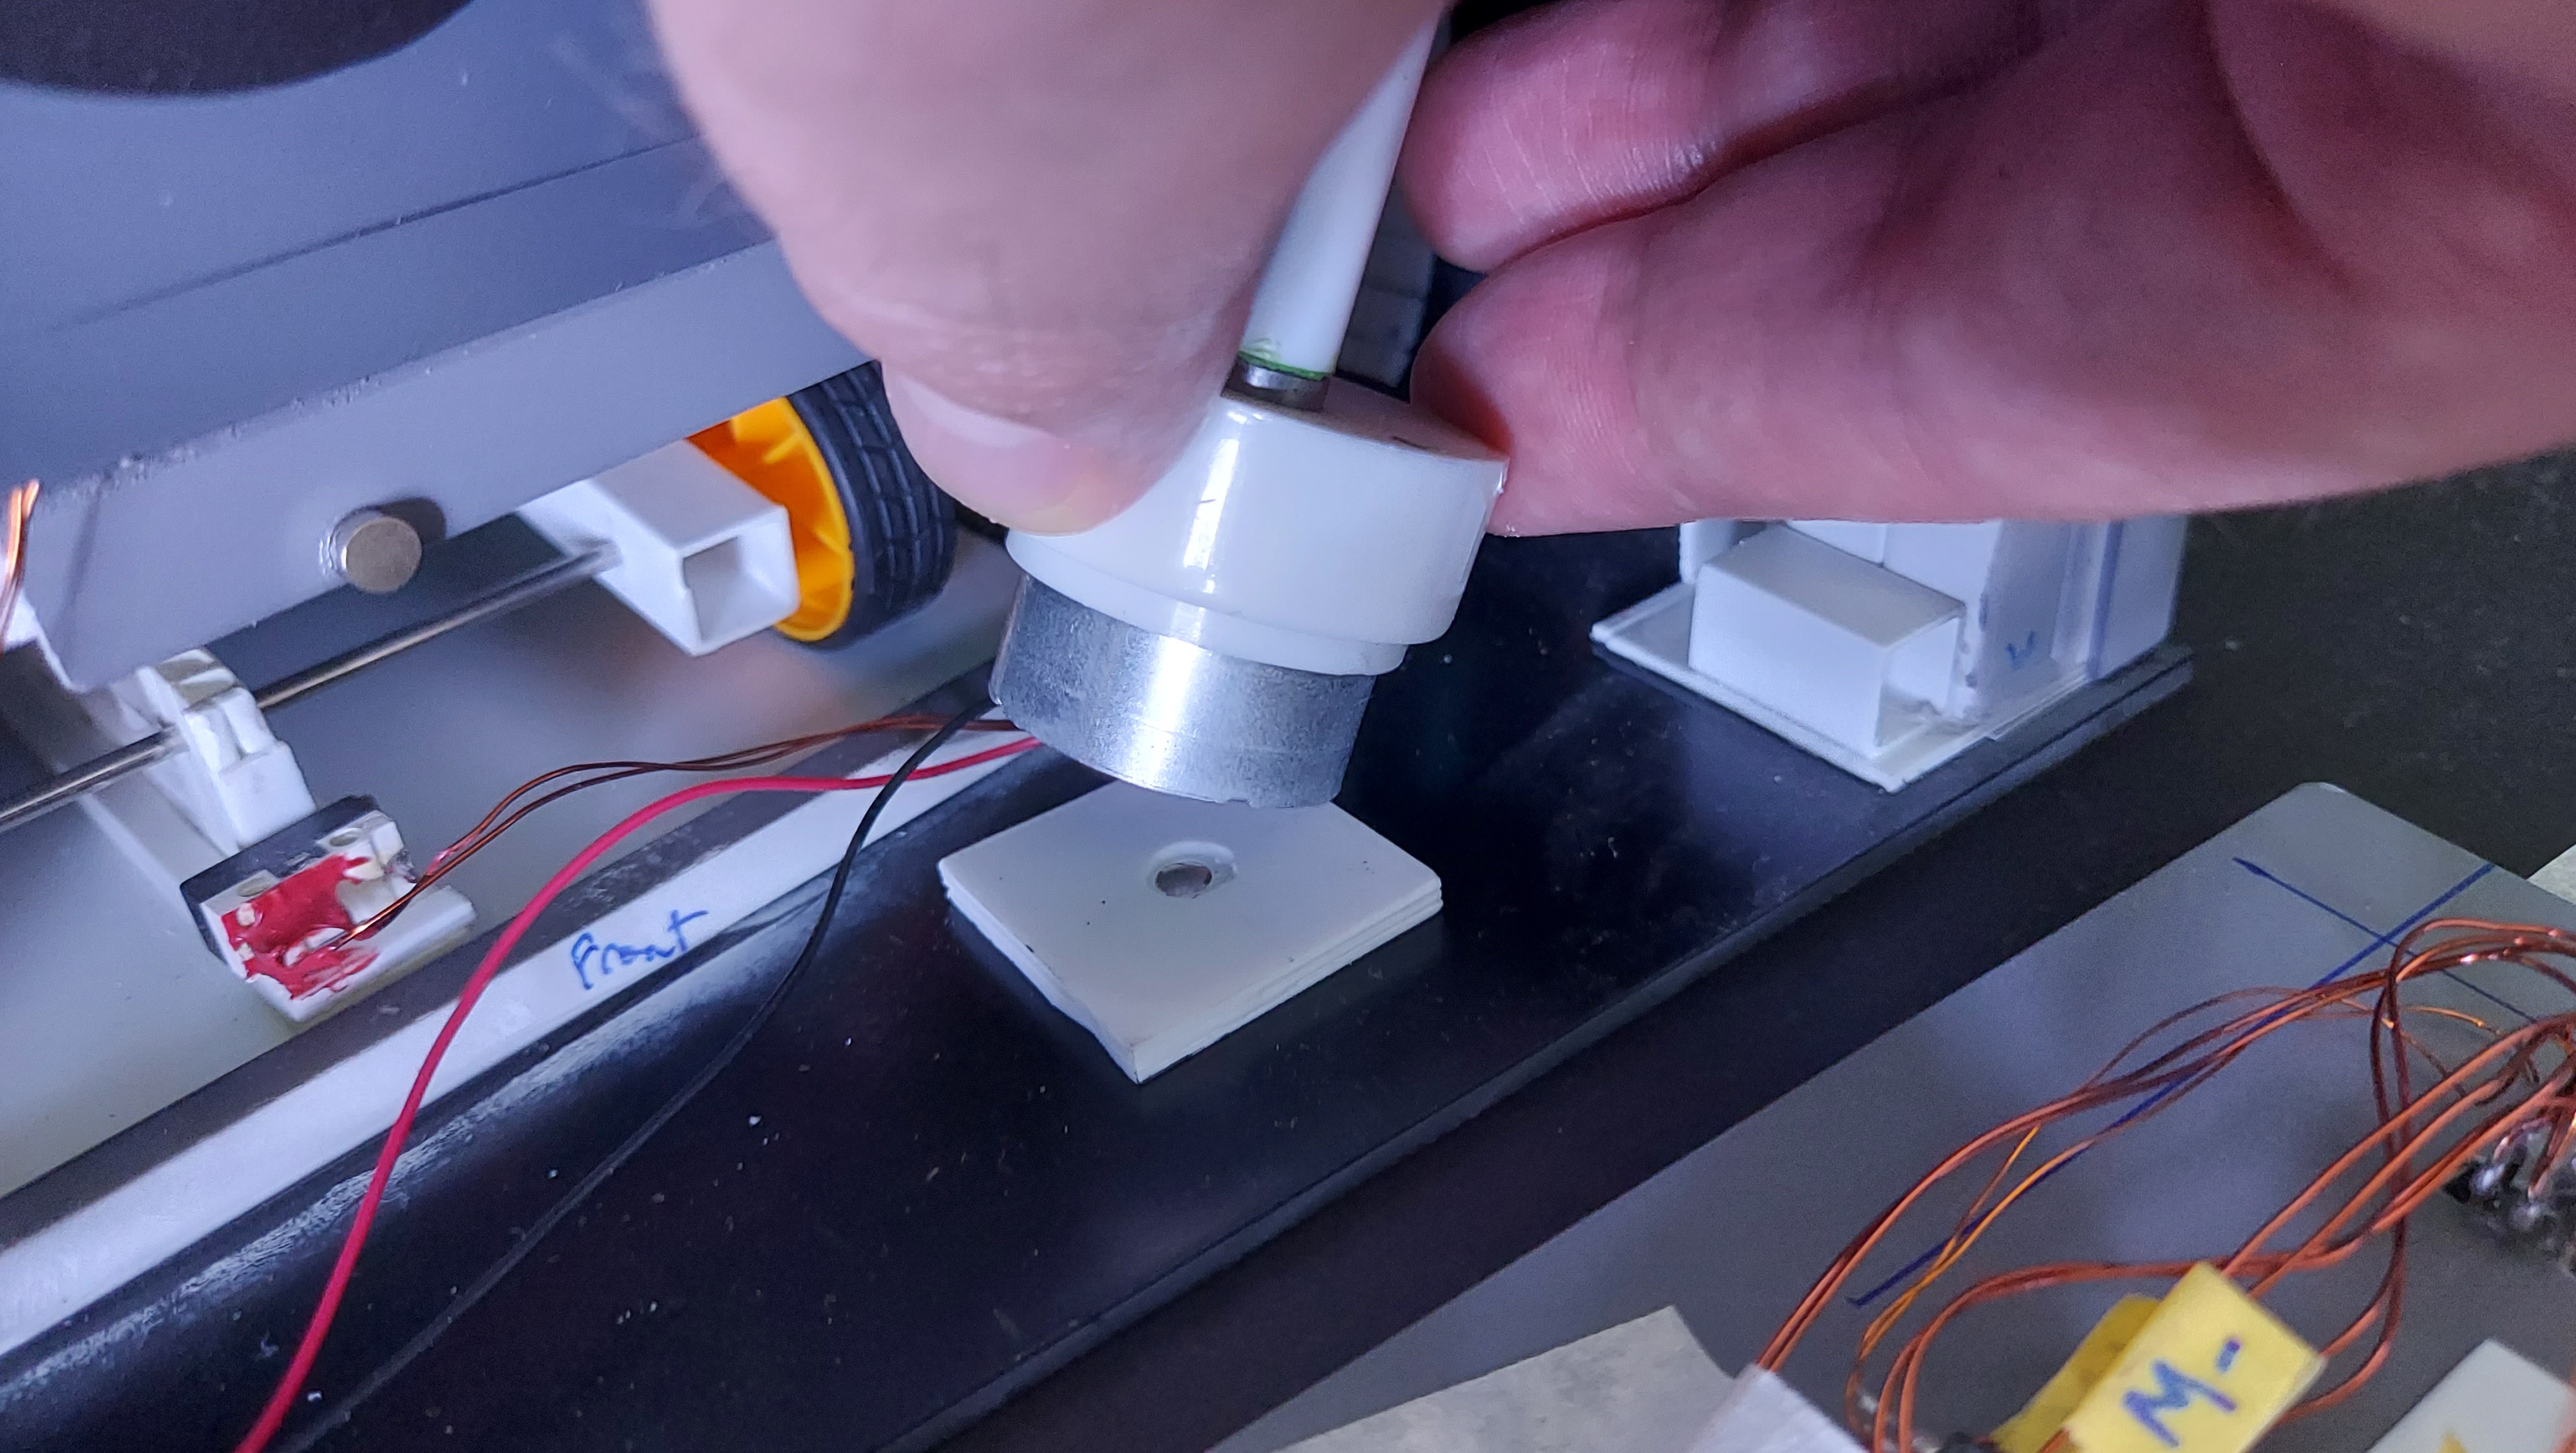
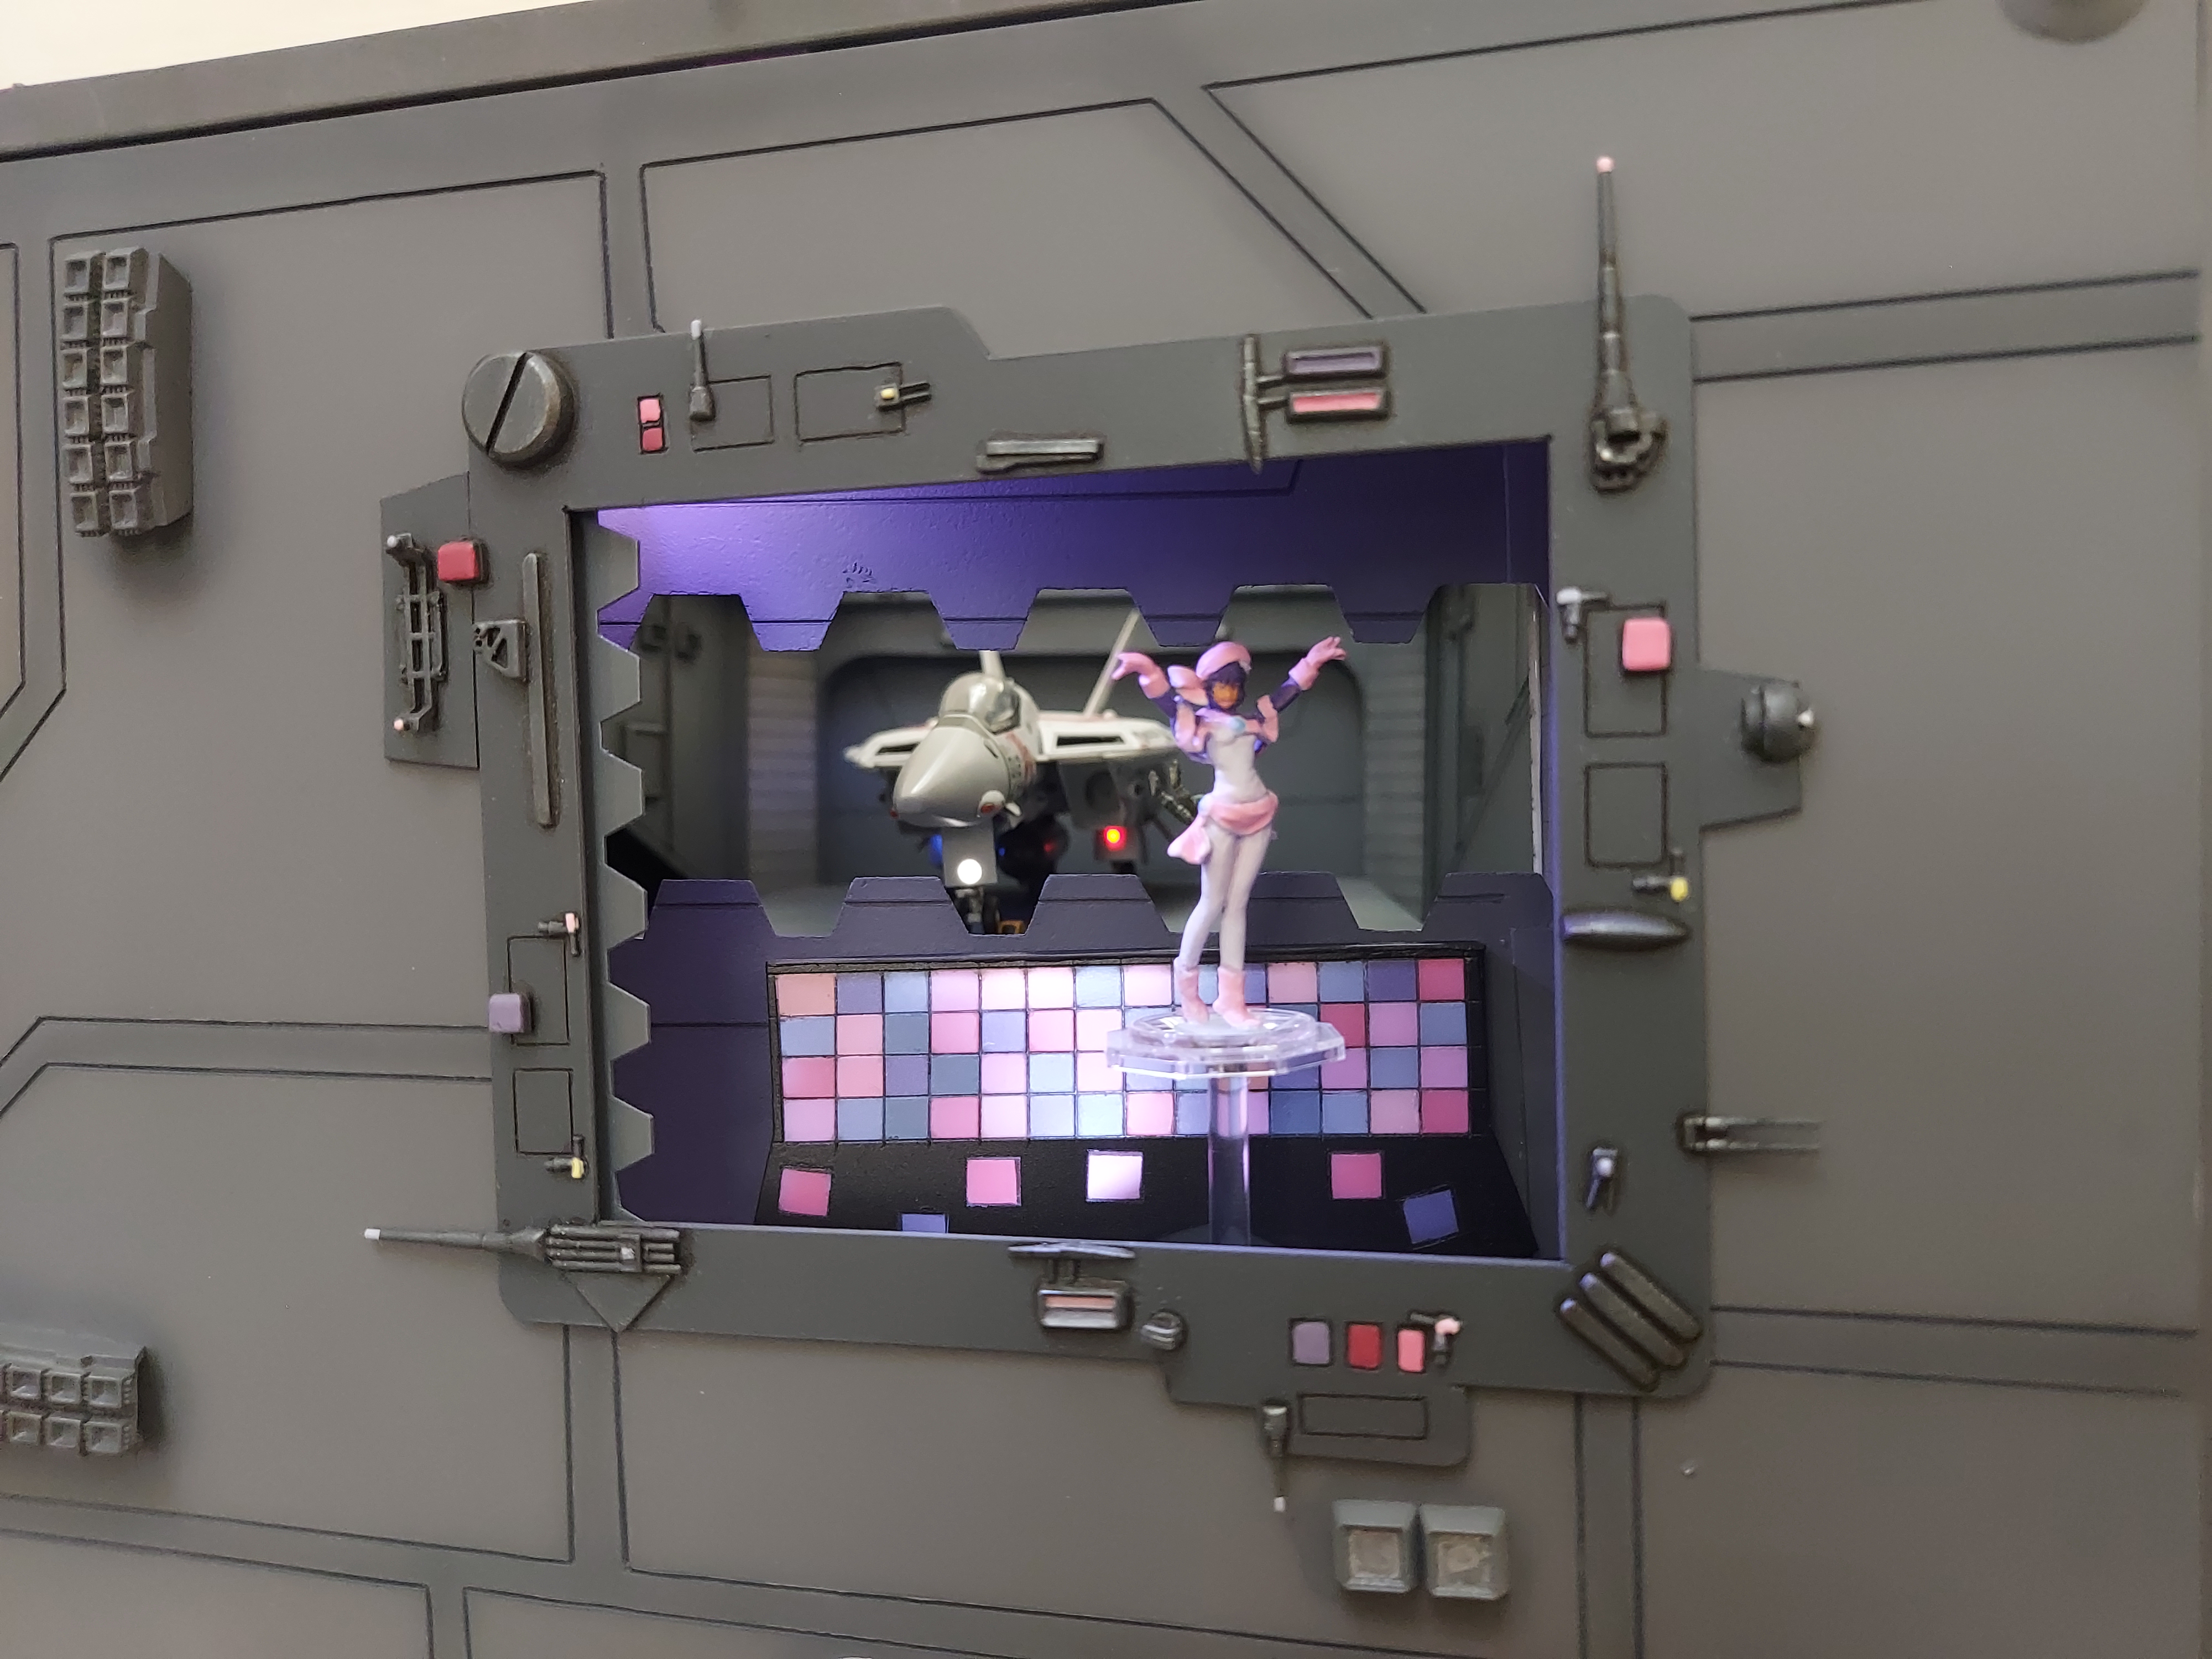
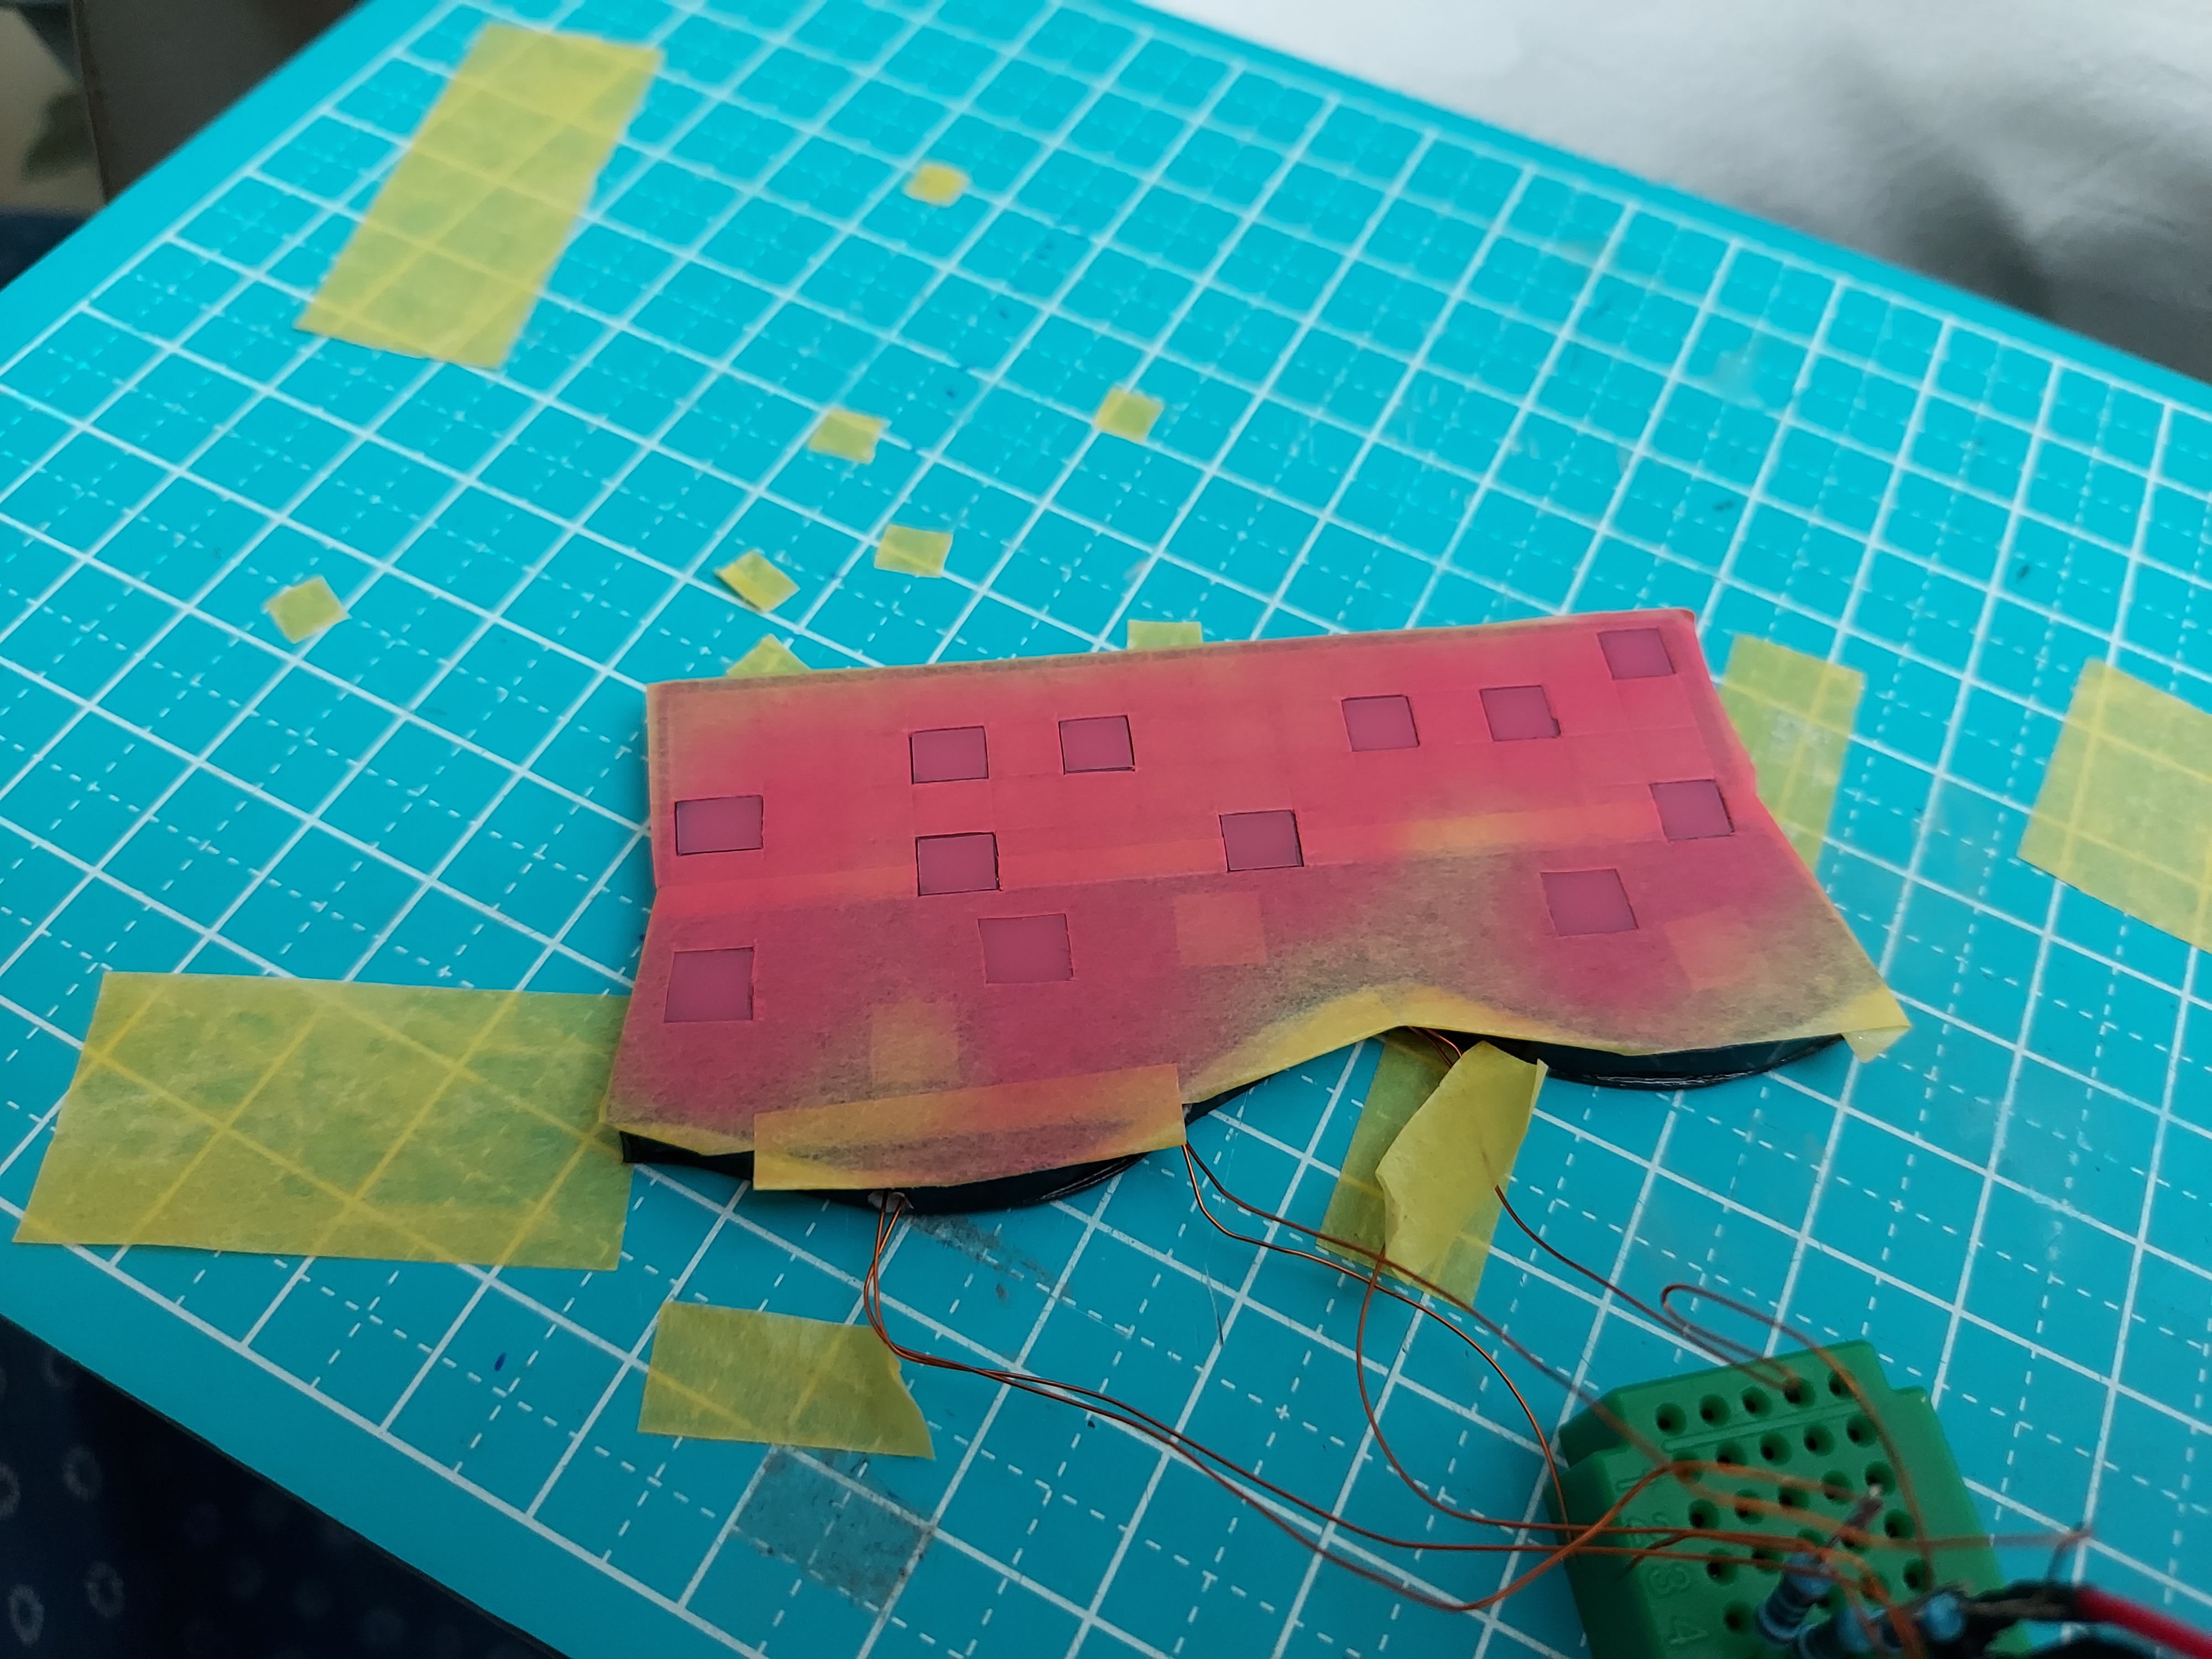
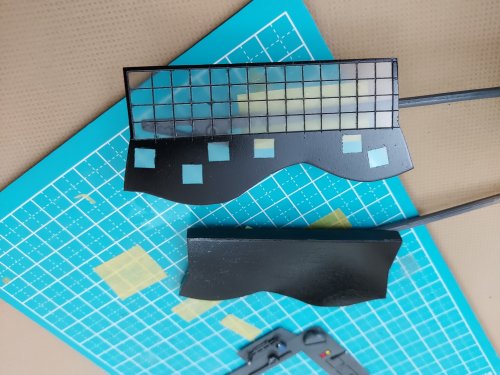
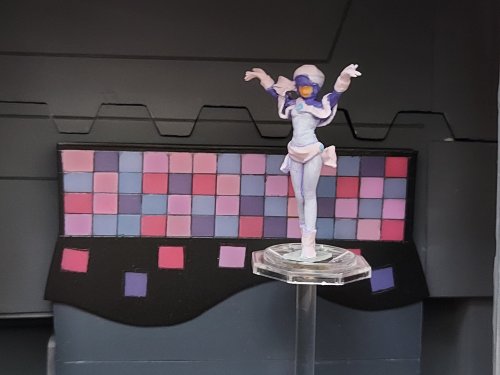
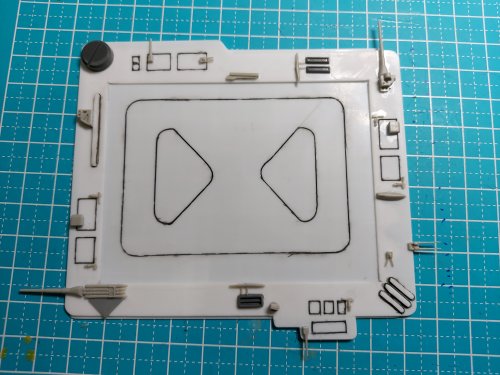
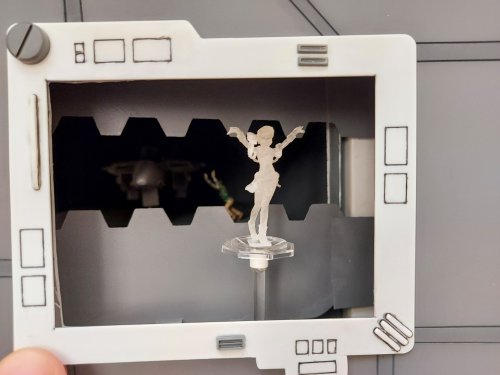
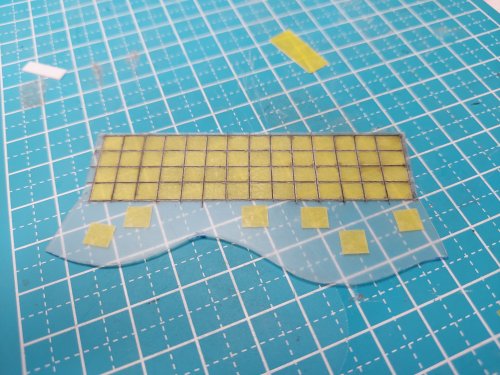
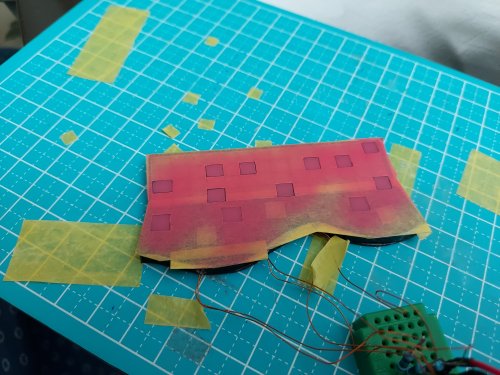
WIP for the laser piano, stage and figure. I scribed the piano panels squares on clear styrene plate, and then laid down an enamel wash to color the lines. The scribing also helped my to mask and cut out squares to paint each color. I paint the black parts of the piano with primer, then metallic steel for light blocking, then gloss black. I painted the colored parts of the piano with a gloss varnish instead of a primer, before airbrush painting the squares. Took me about a week to paint and mask each square! Sanding and multiple layers of primer and acrylic paint ultimately hid the 3D print lines on the figure. Winnup's Minmay sculpt is really nice, but I can't say the same for the quality of Shapeways printing. Stage is made from an unused Millennium Falcon gunner window. 5x flashing LEDs are in the gray box below the piano. Figure paint was too light, needed darkening after testing on stage. Tried to keep the same shades of paint for the whole scene. Lot of mistakes needed repainting. The stage uses a very low RPM motor. Magnet holds the stage's motor in place. Everything is removable in case I need to get inside to fix something in the main project. Hangar door slides open on magnets to reveal valk deck. And of course the inspiration. I guess only Minmay could inspire me to get back at the workbench after a year of Covid and all it entailed. Best wishes to all of you and your families.


-
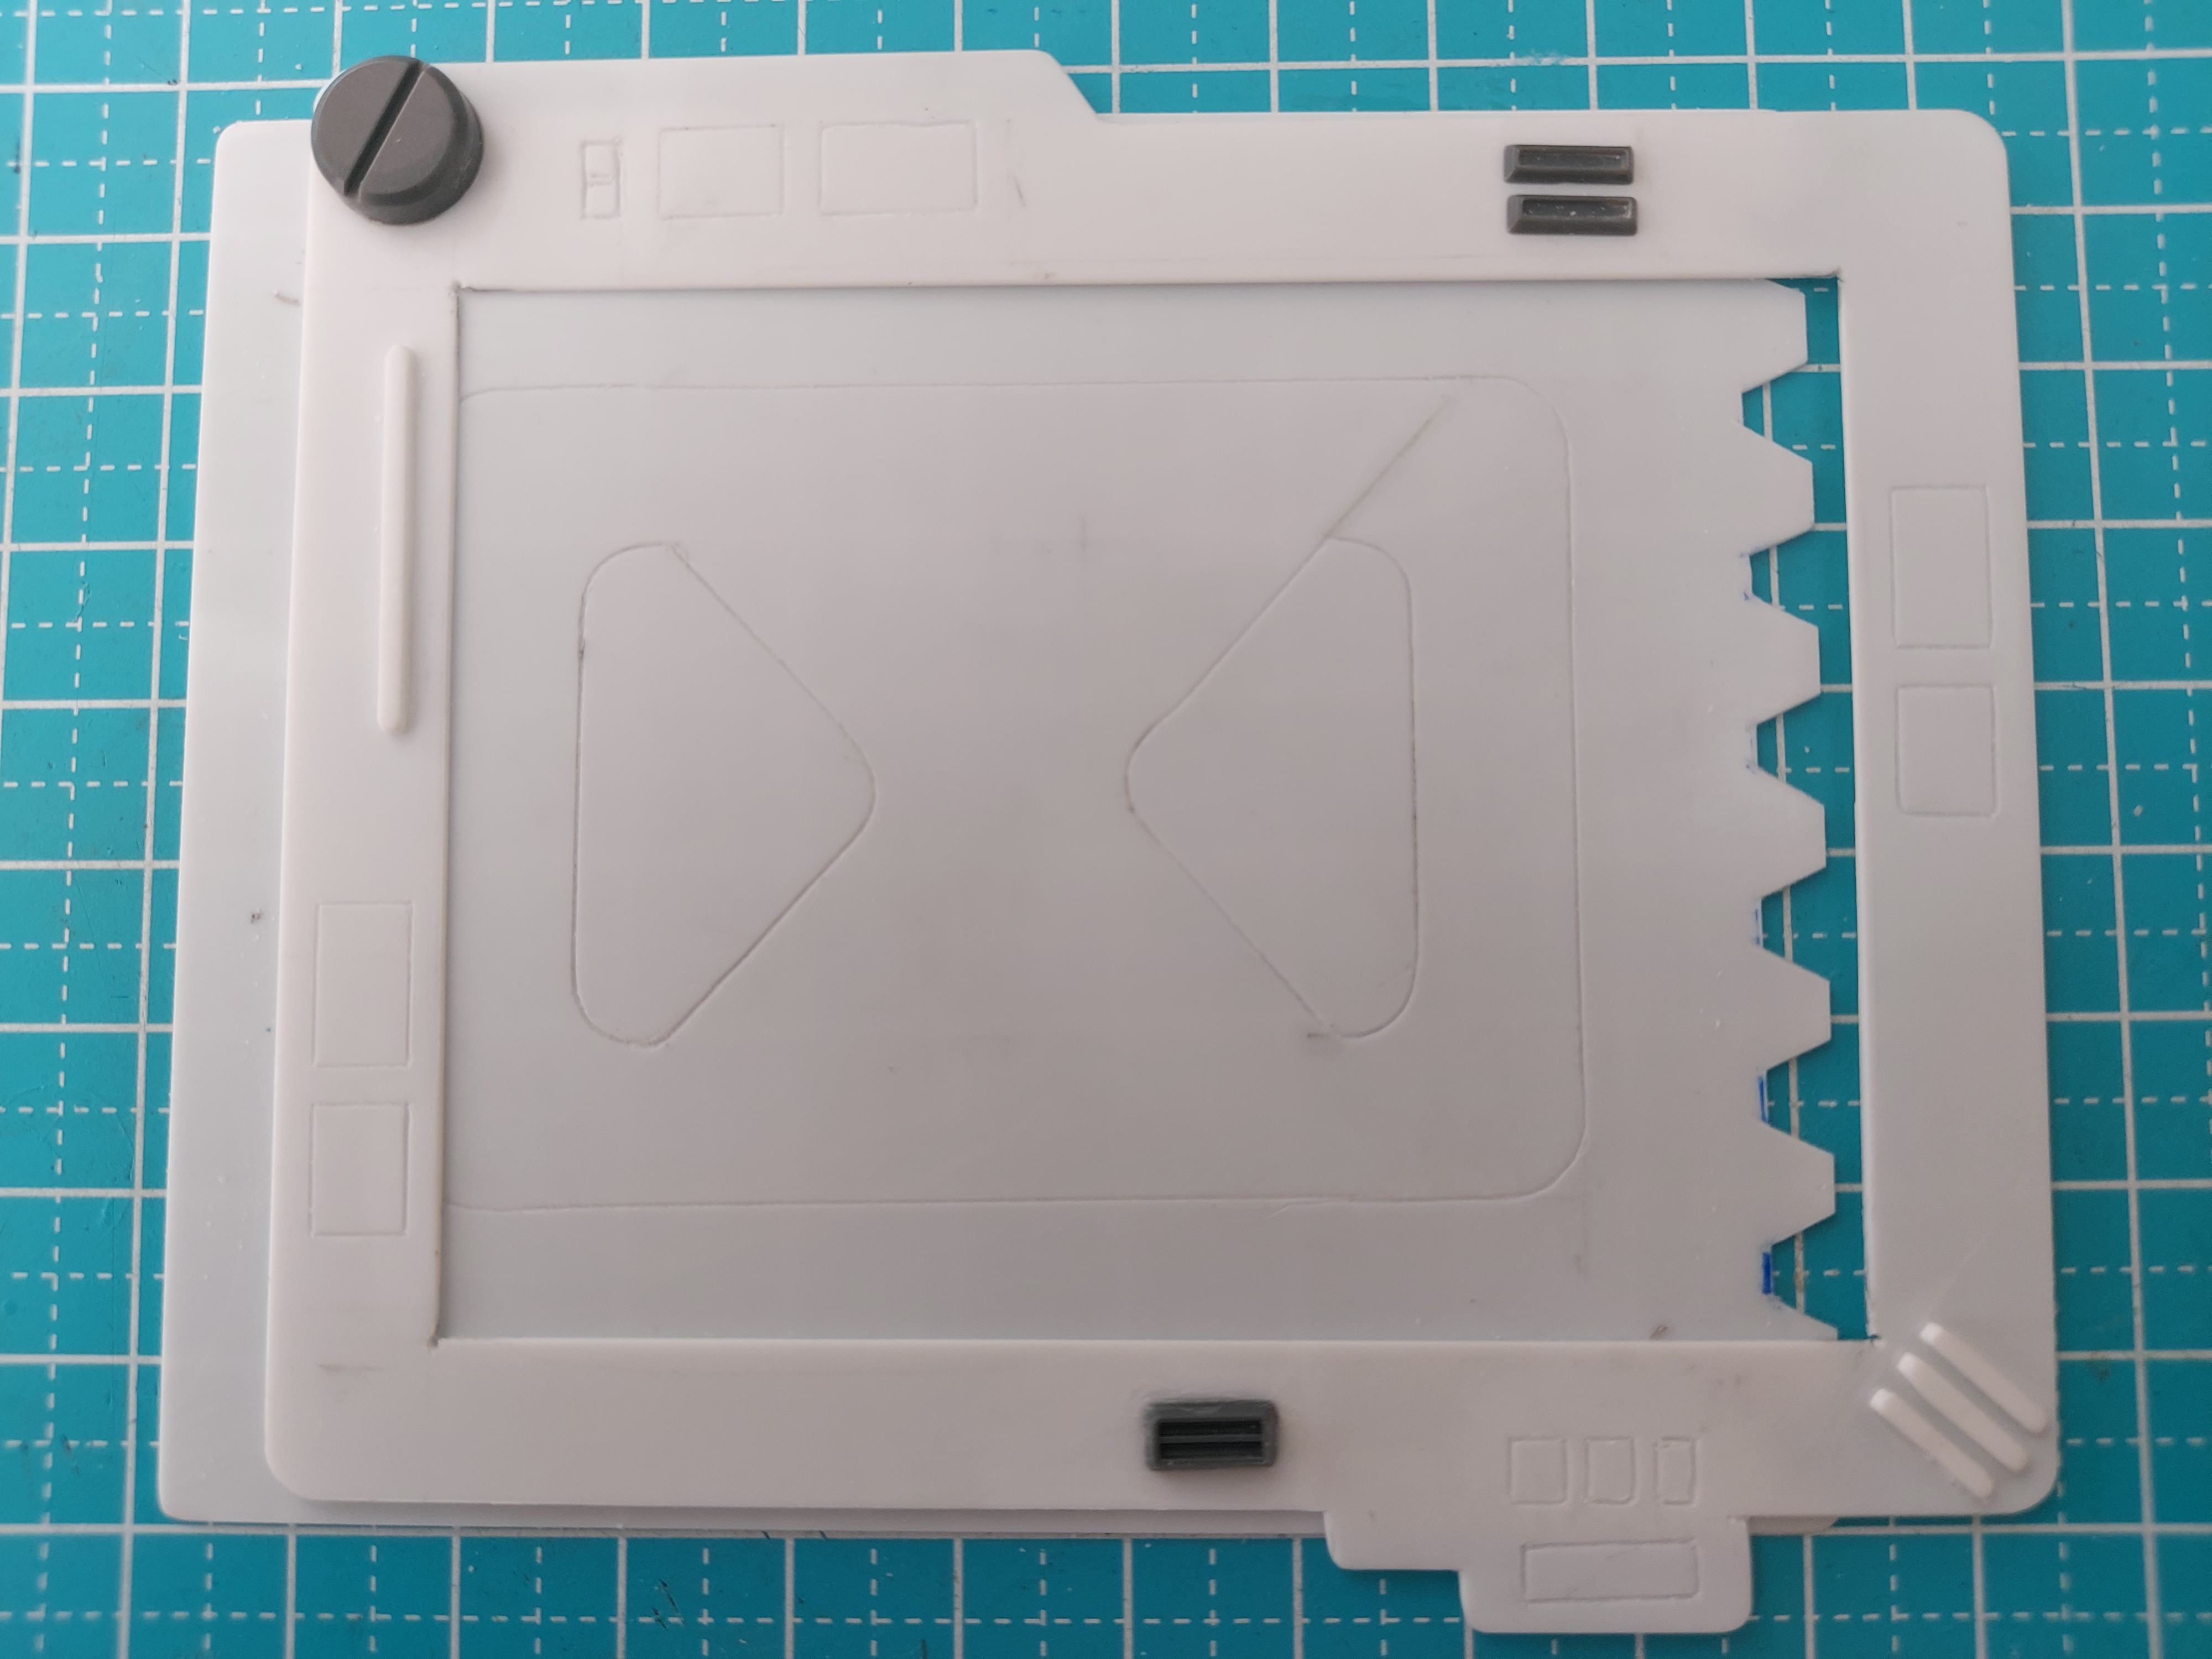
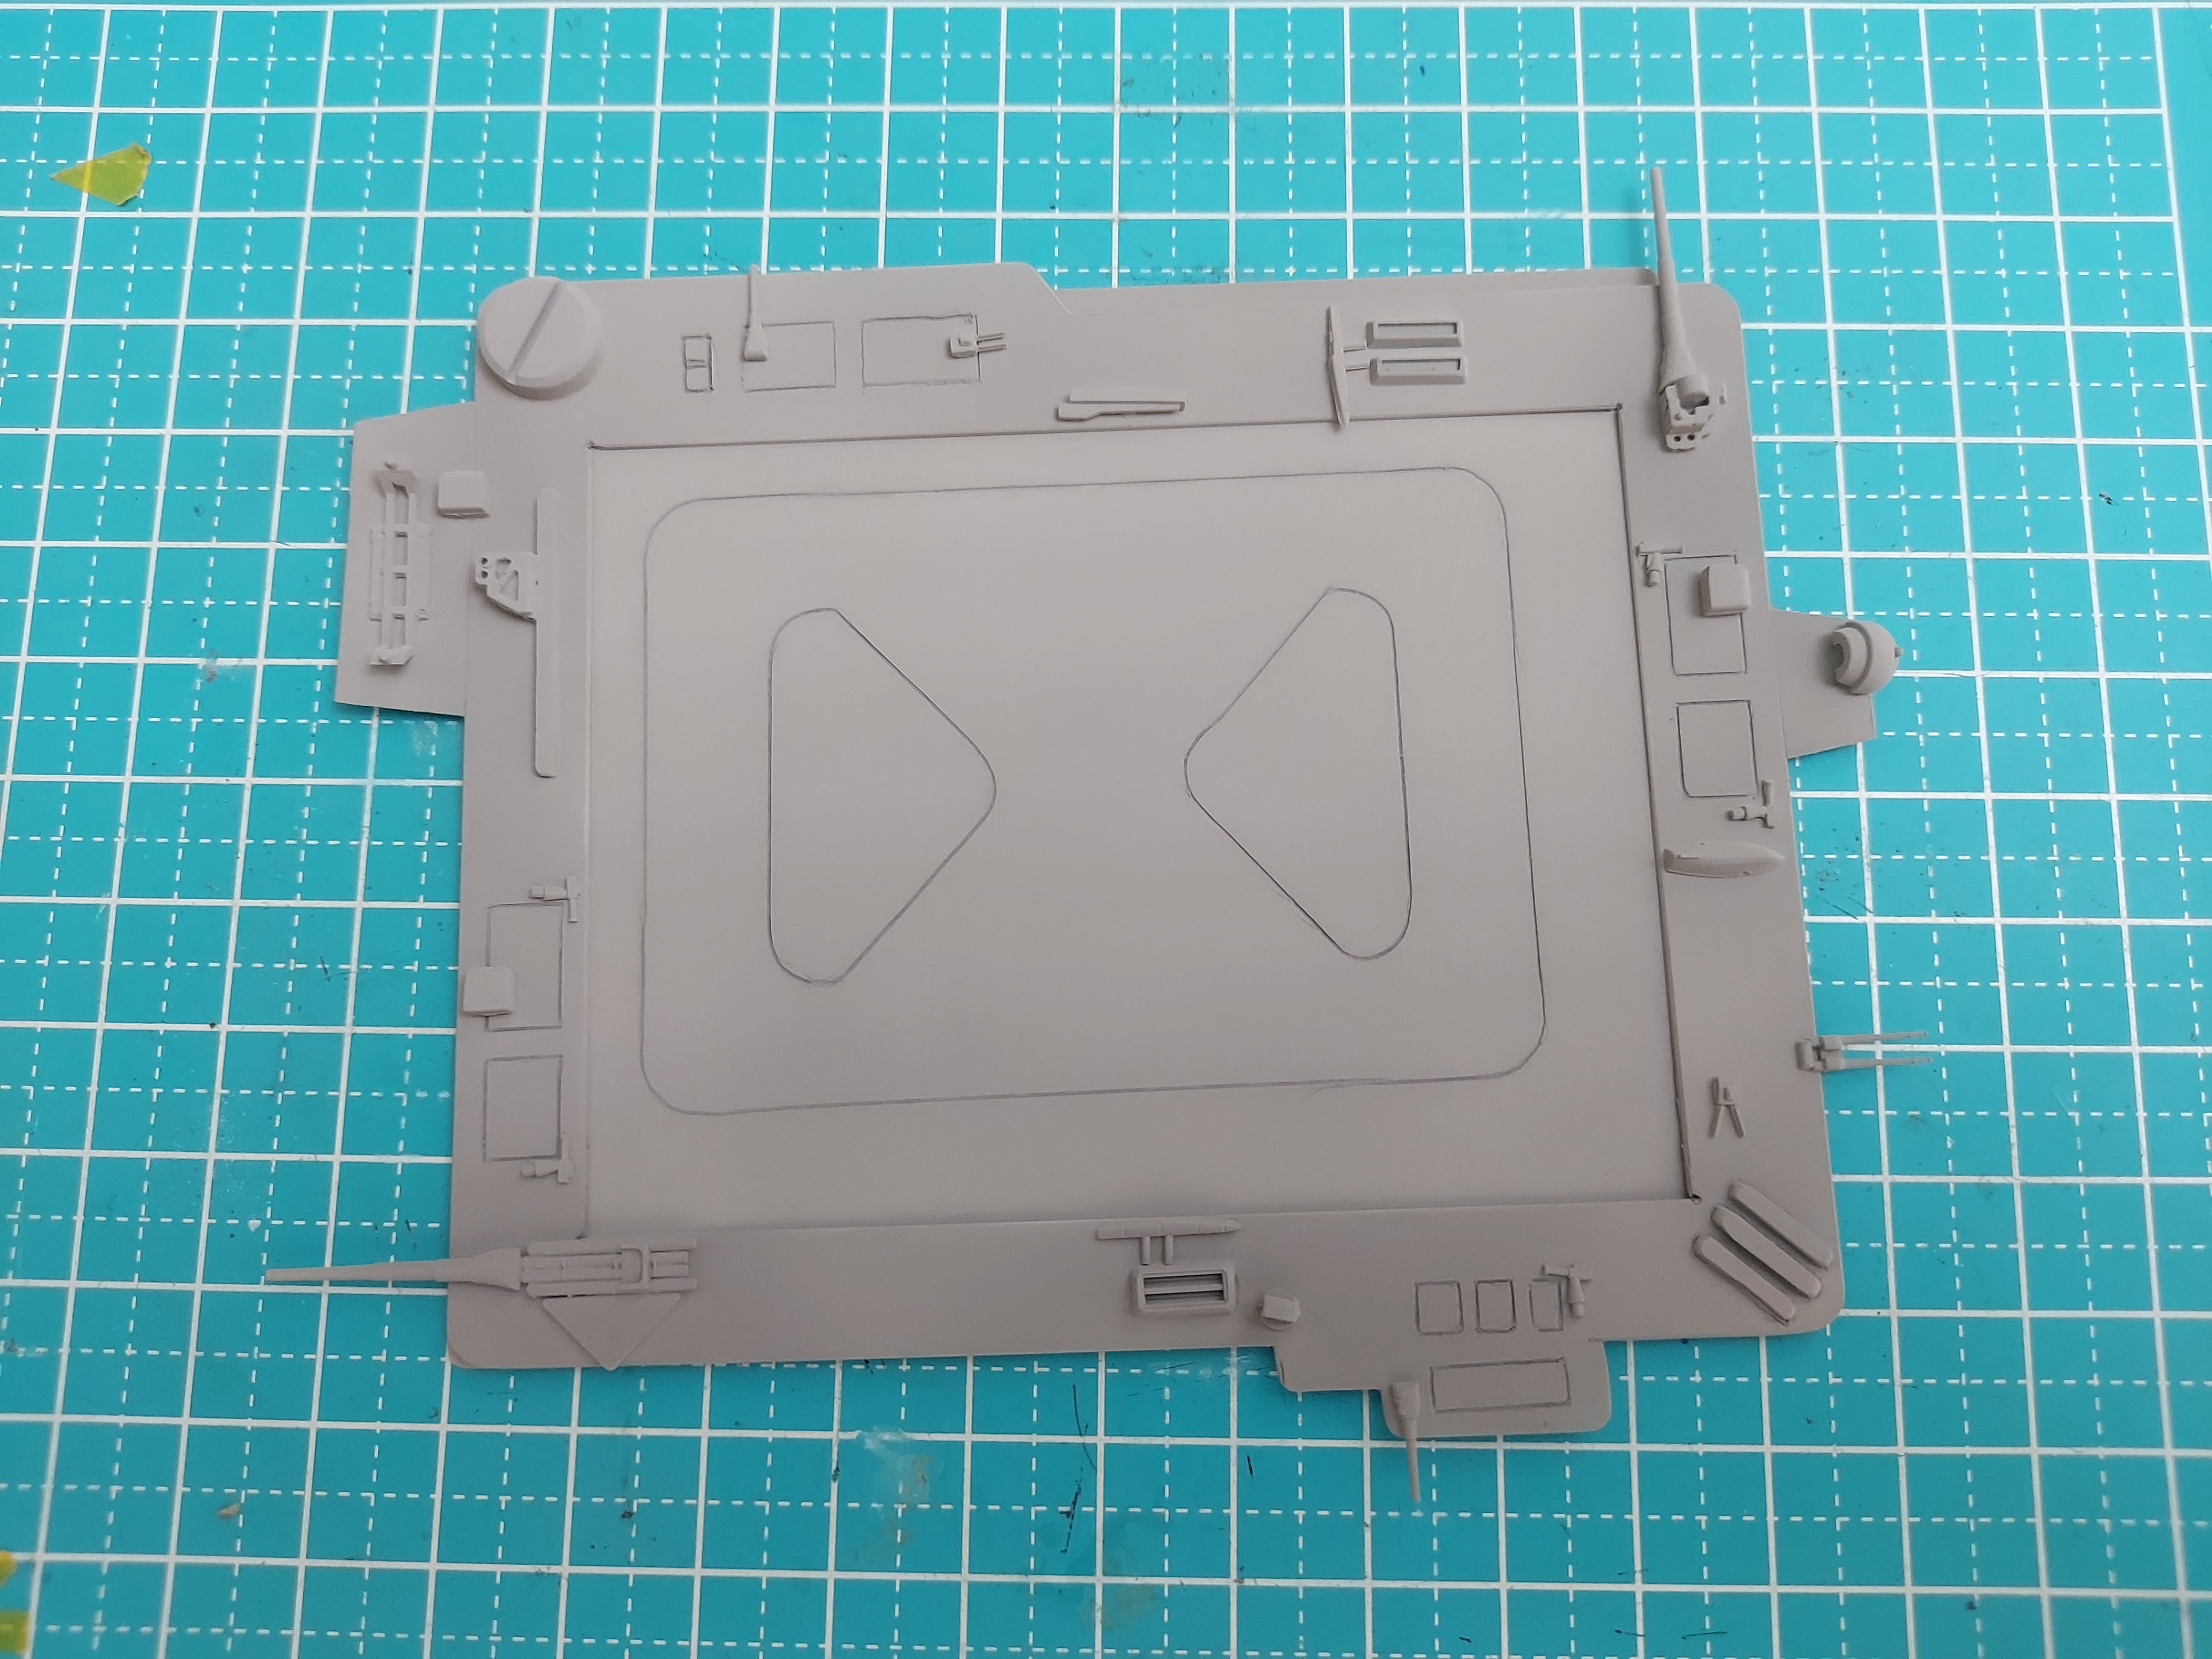
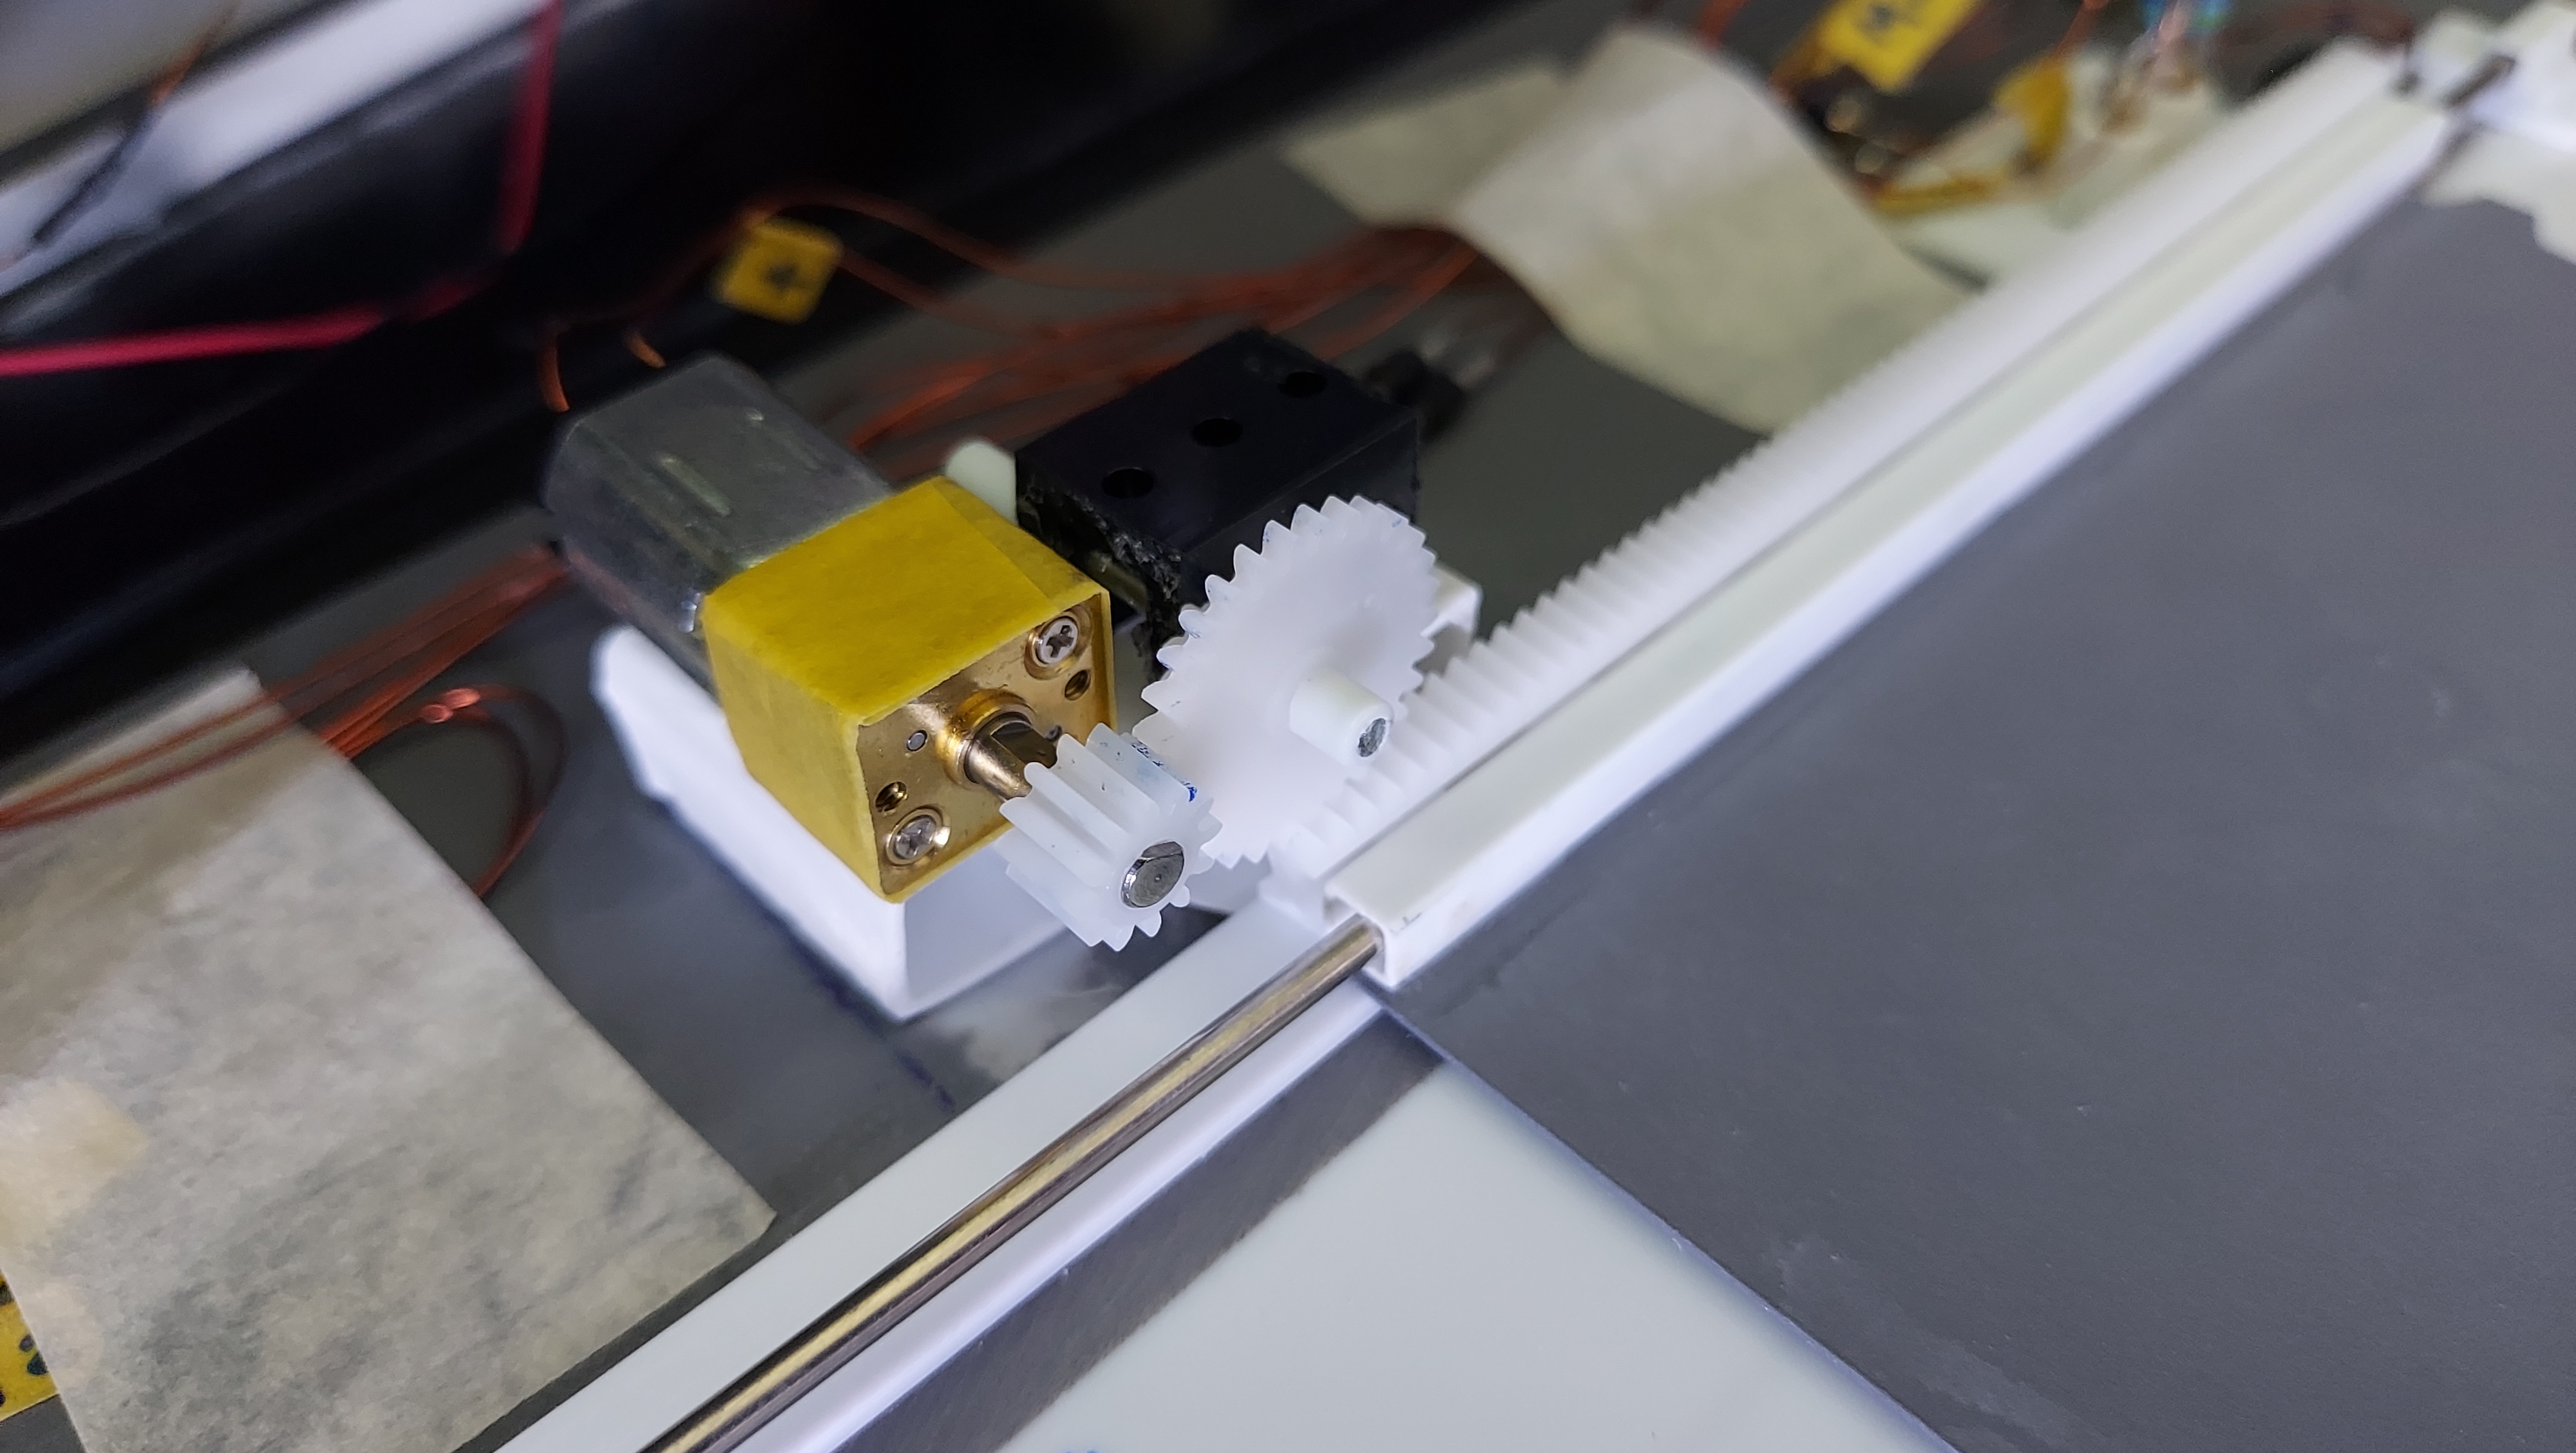
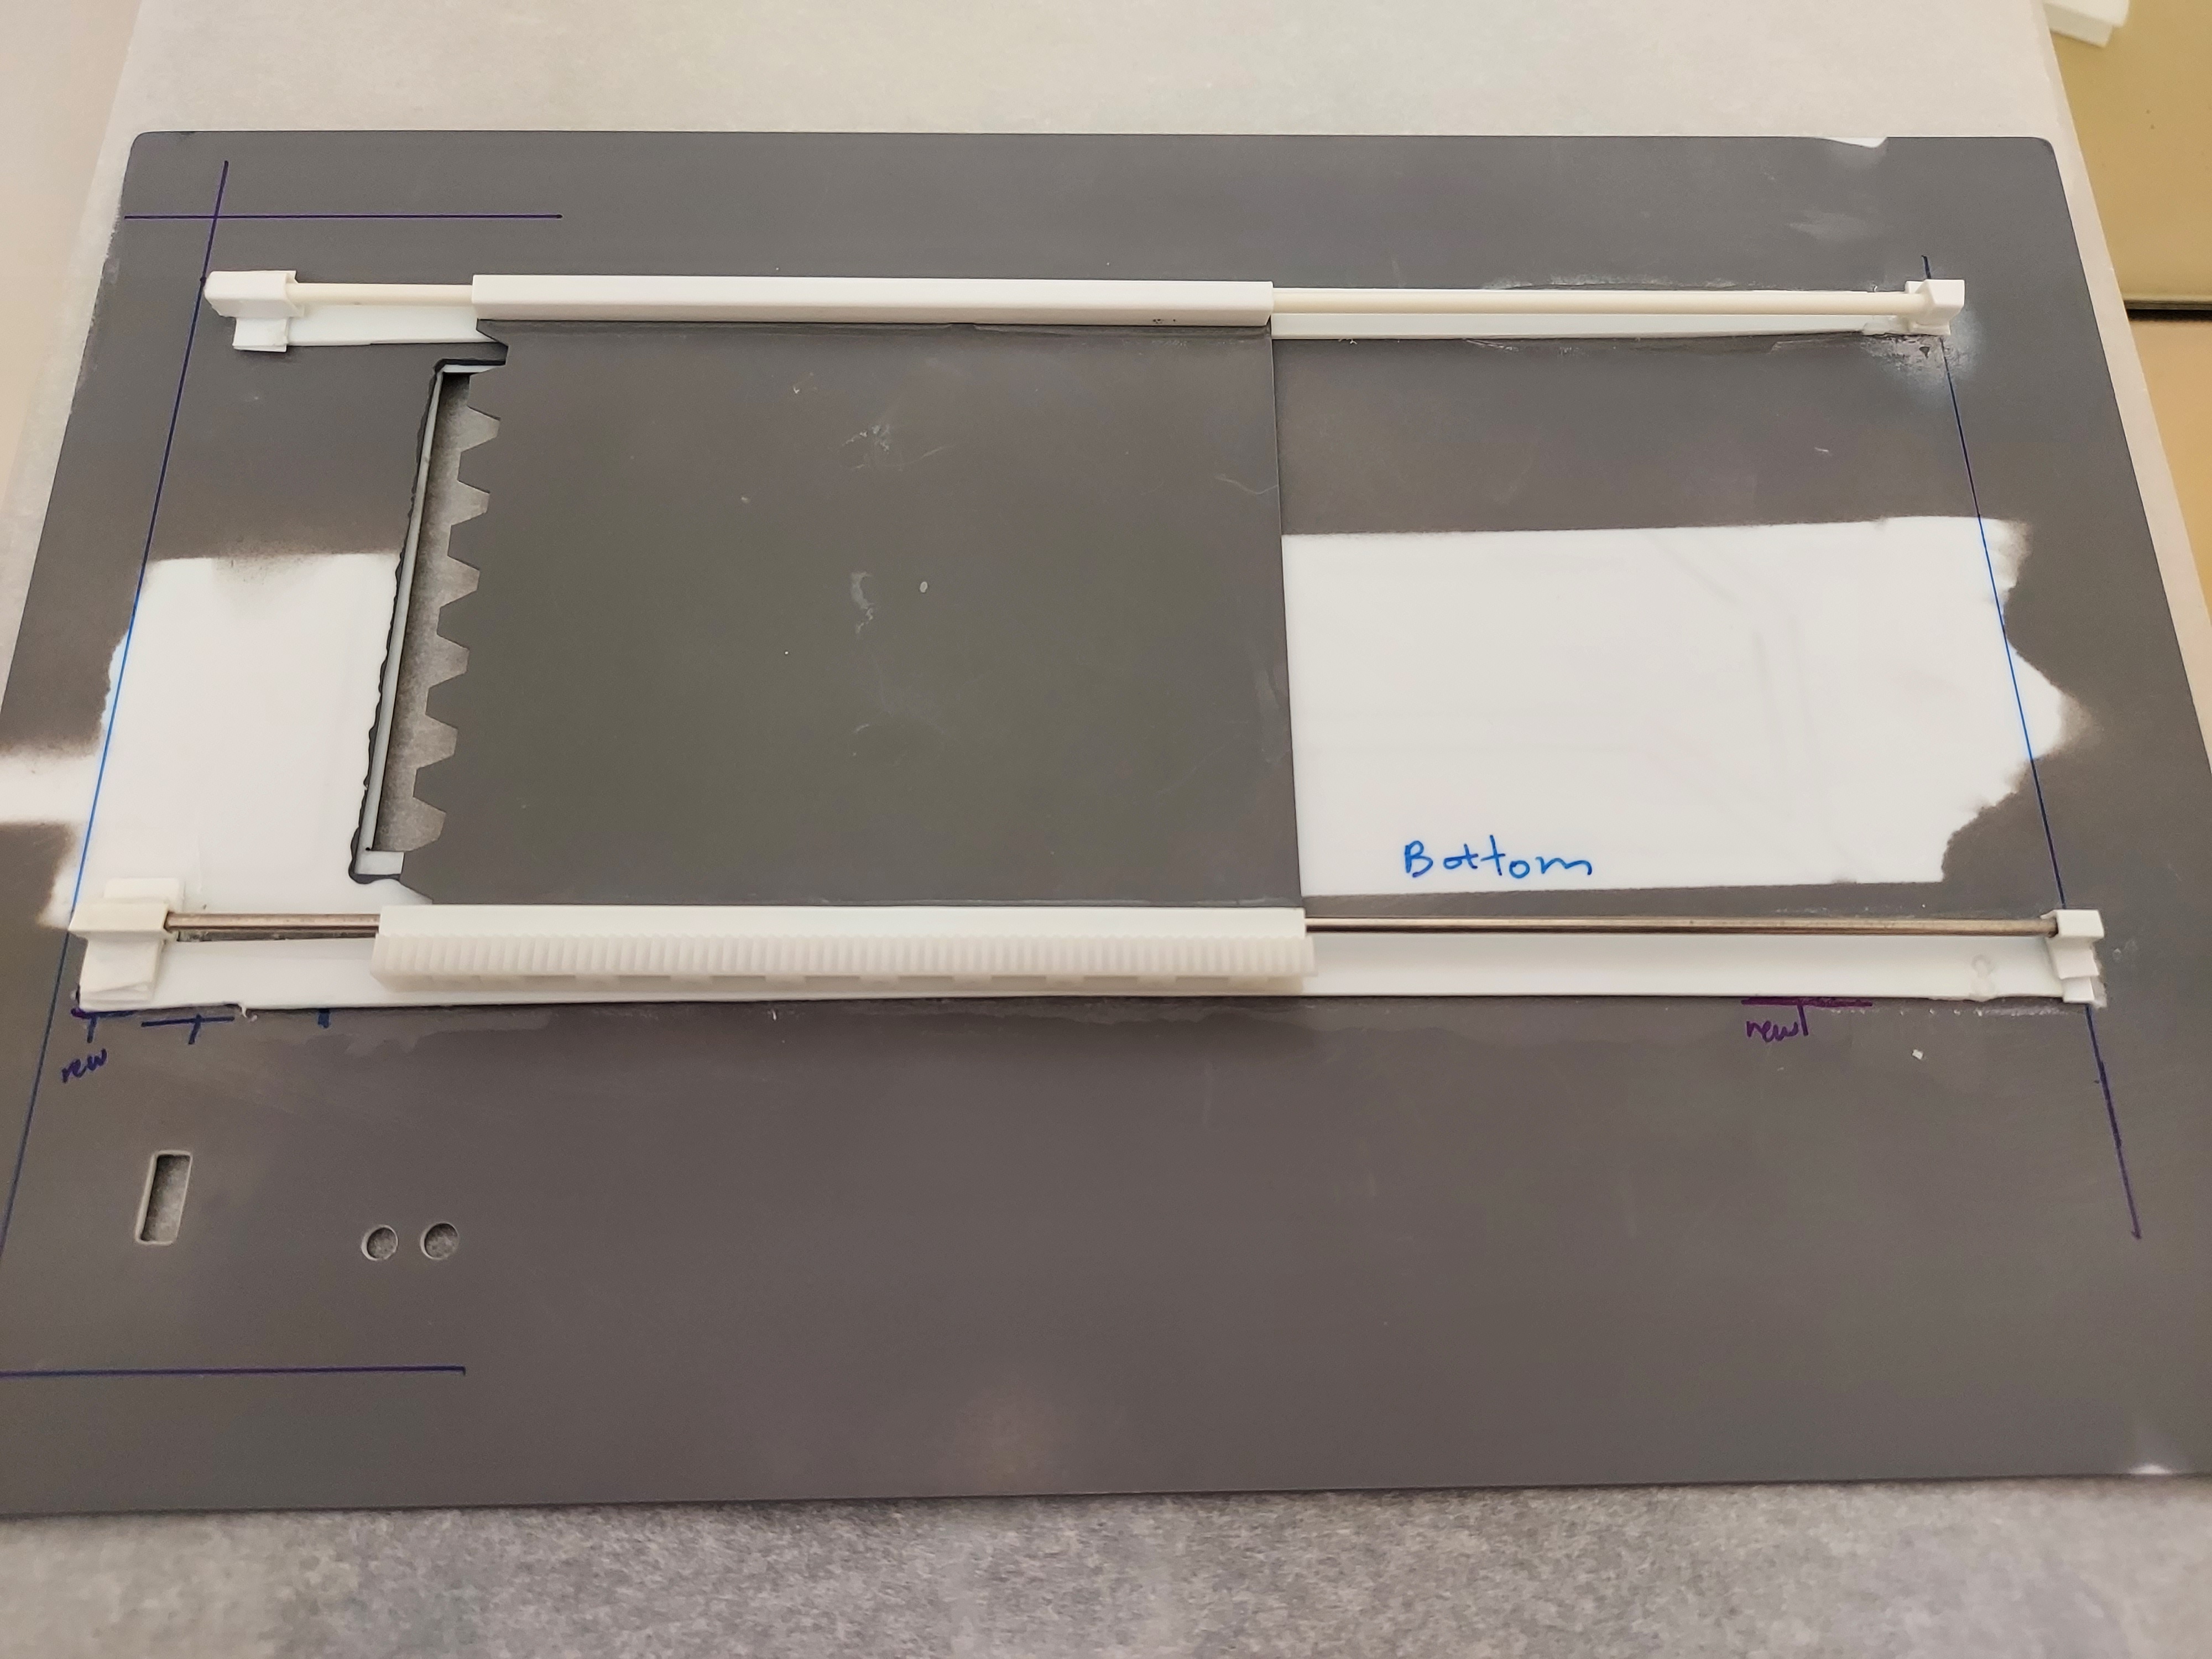
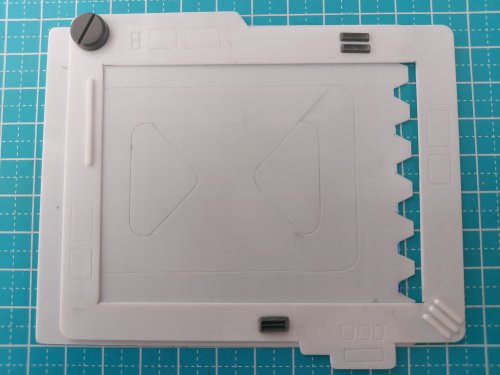
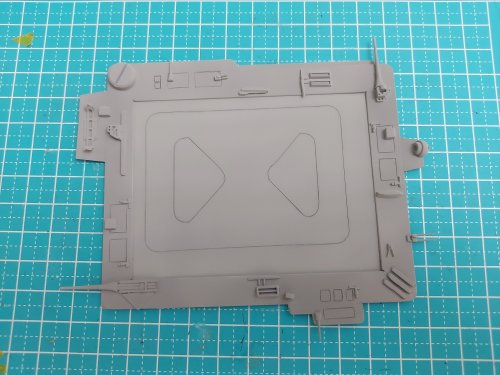
WIP for the door. Just some spare styrene and 1/700 battleship greeblies. No, I cannot lay down a decal straight Scratch built rails for the door to slide on. The 35RPM motor was still fast, so I slowed it down with a larger gear.


-
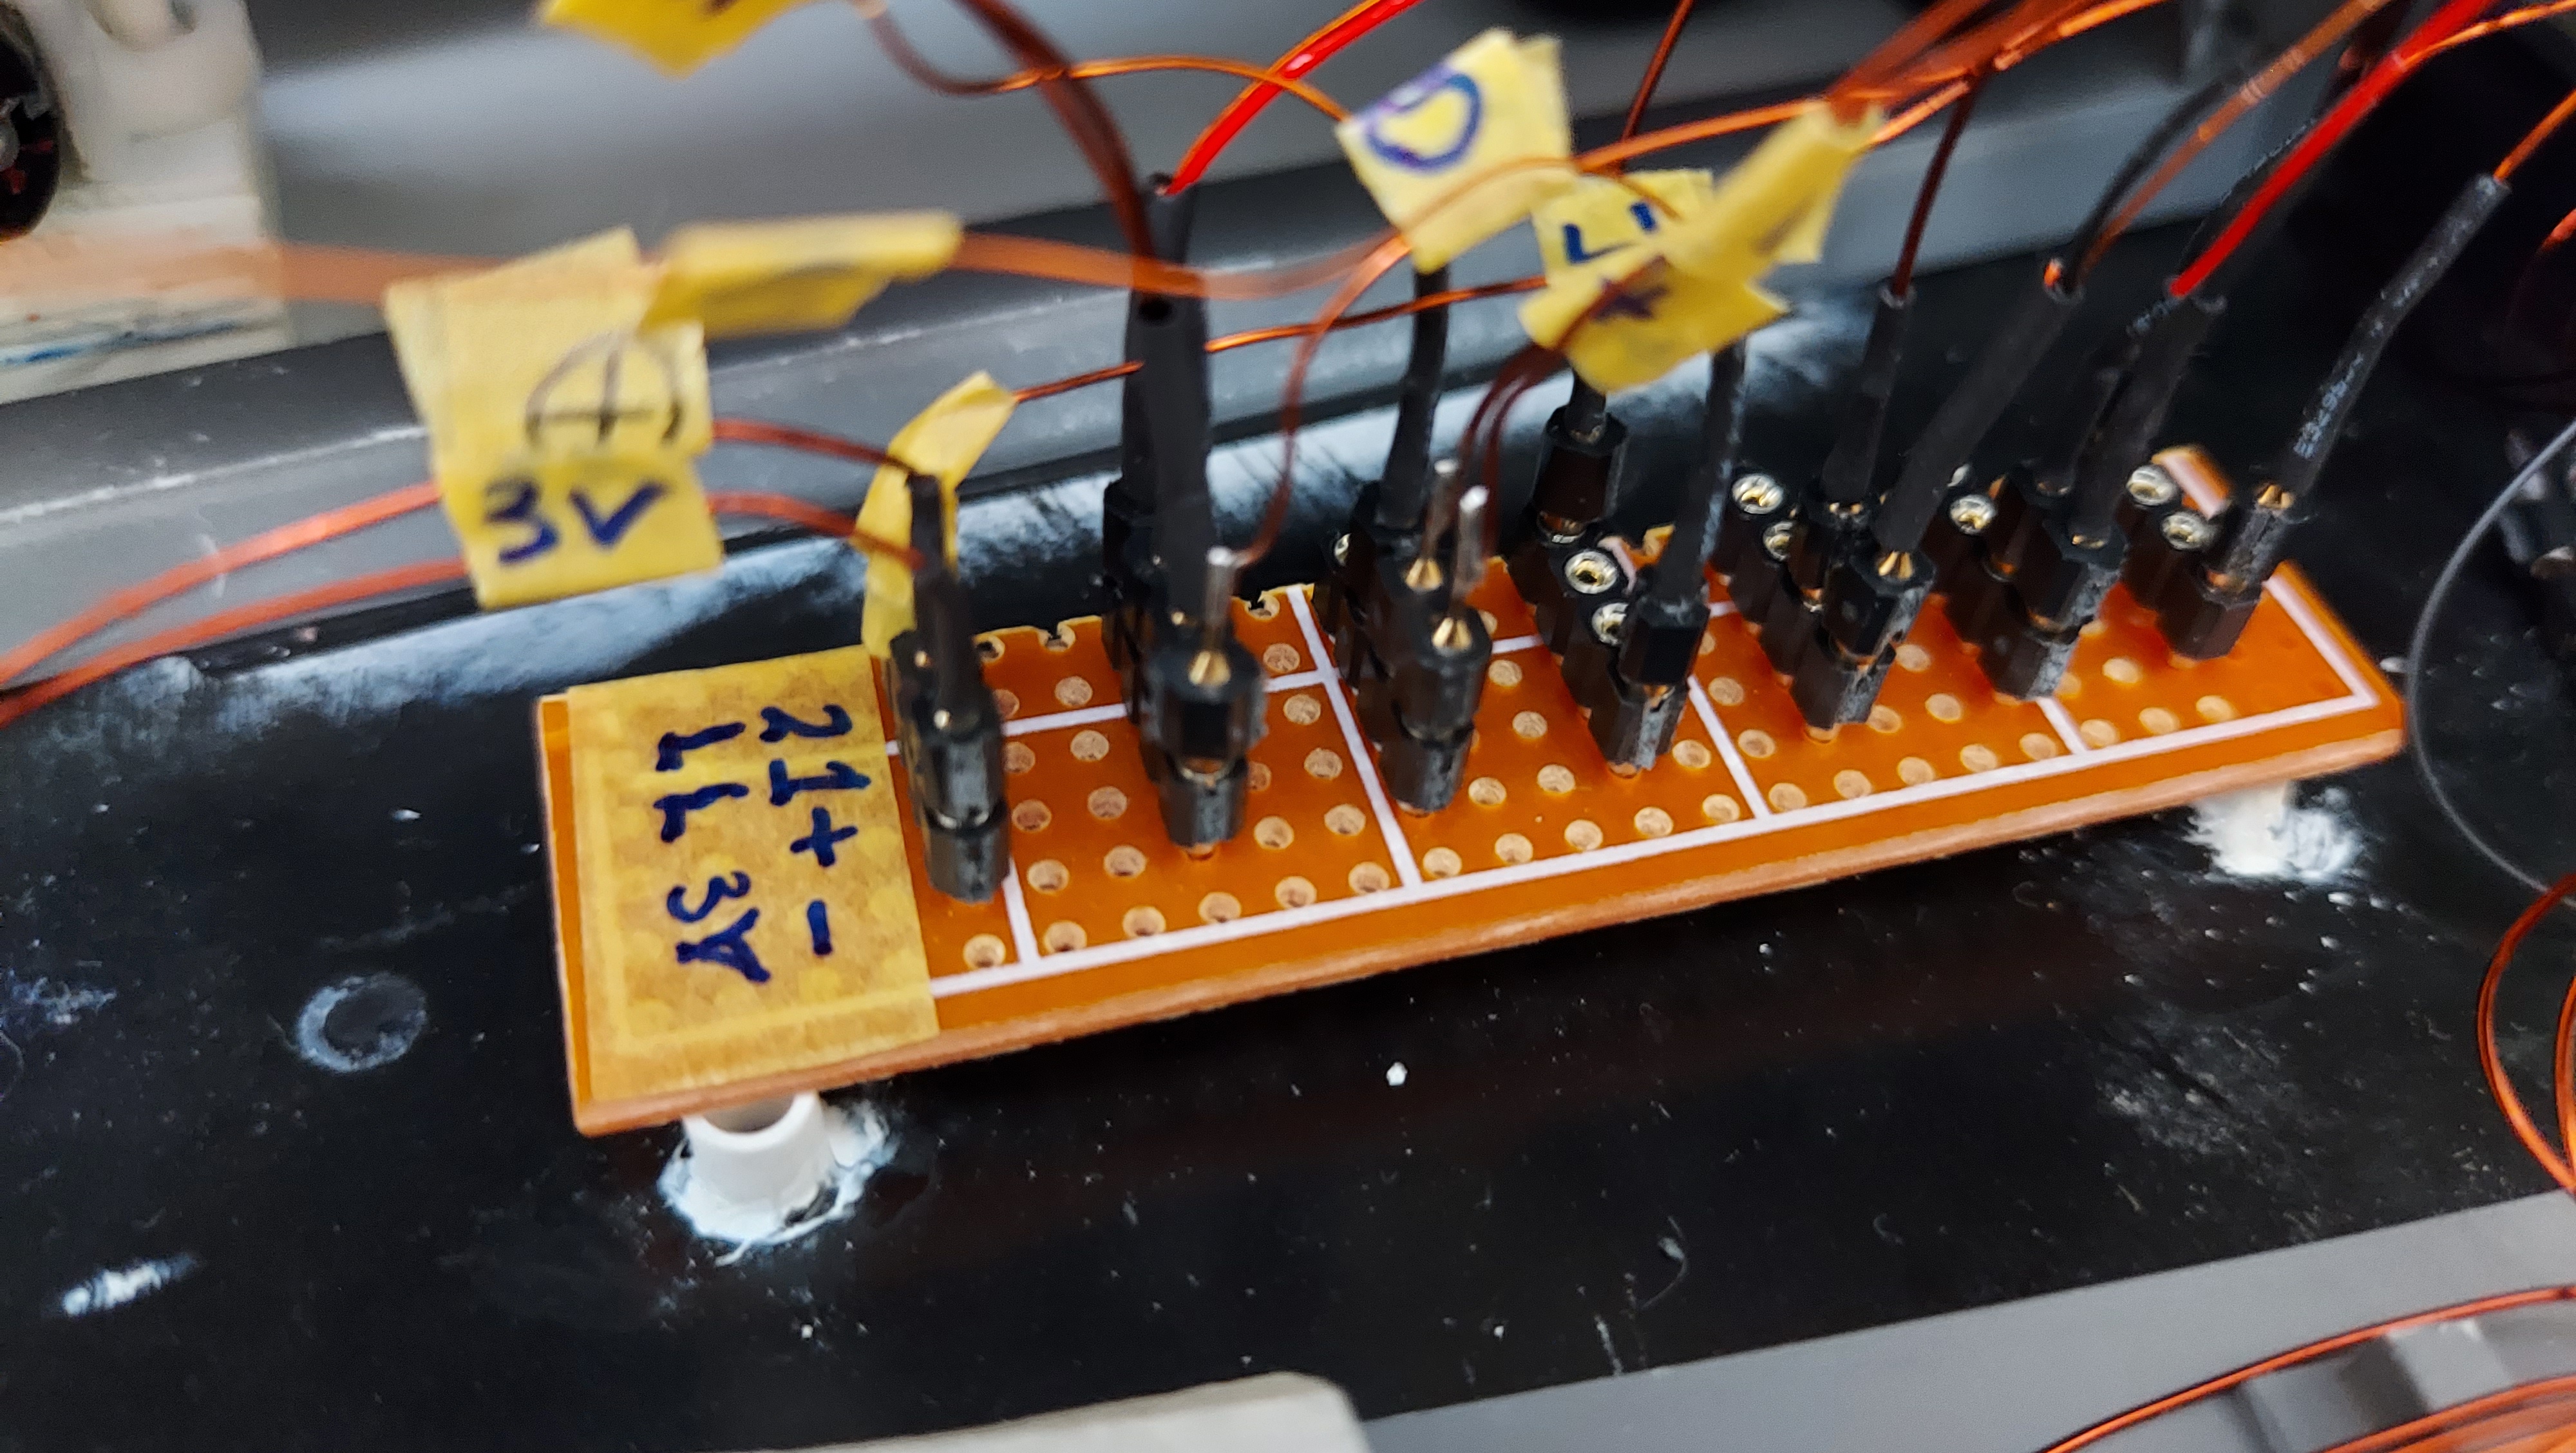
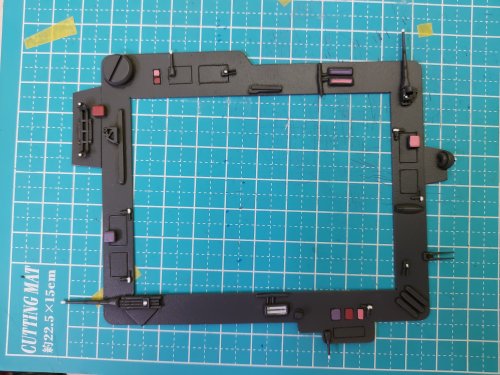
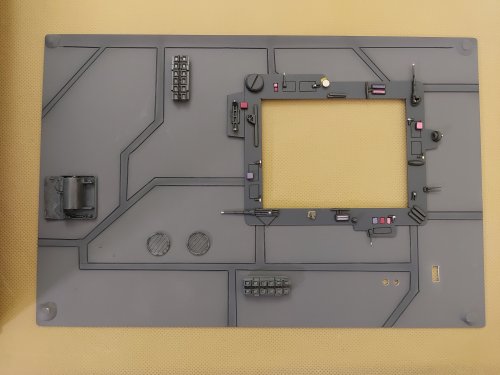
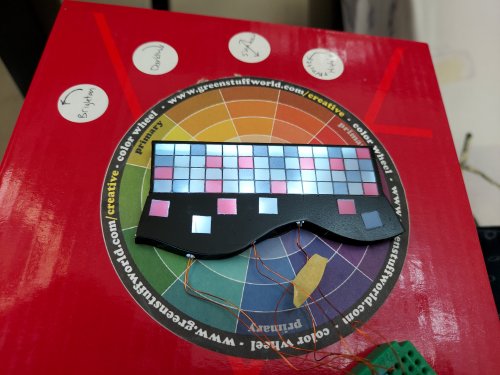
This is the wiring control pad for both airlock doors and their internal electronics to turn on LEDs and rotate the stage. There is no other wiring required except the DPDT switch to open and close the door. This was the simplest way I could figure out to activate both airlock motors and their internal lighting and internal motors. For example, When Airlock Door 1 opens, Light Switch 1 is hit, which turns on all its internal lighting/motors. Wiring in detail: - There are four wiring rows of pins: 3V+, Ground, Light Switch 1 (L1), and Light Switch 2 (L2). L1 is for the Airlock 1, L2 is for Airlock 2. - Airlock Doors always receive 3V power pin and Ground pin to open and close on demand, which I pulled from the main project deck. - Light Switch 1 is connected to L1 pin and 3V+ pin. Internal lights and motors don't get 3V power, they are connected to L1 pin and Ground pin. So when the Light Switch is hit by the door opening, all internal electronics on the L1 pin row get 3V power and turn on.

-
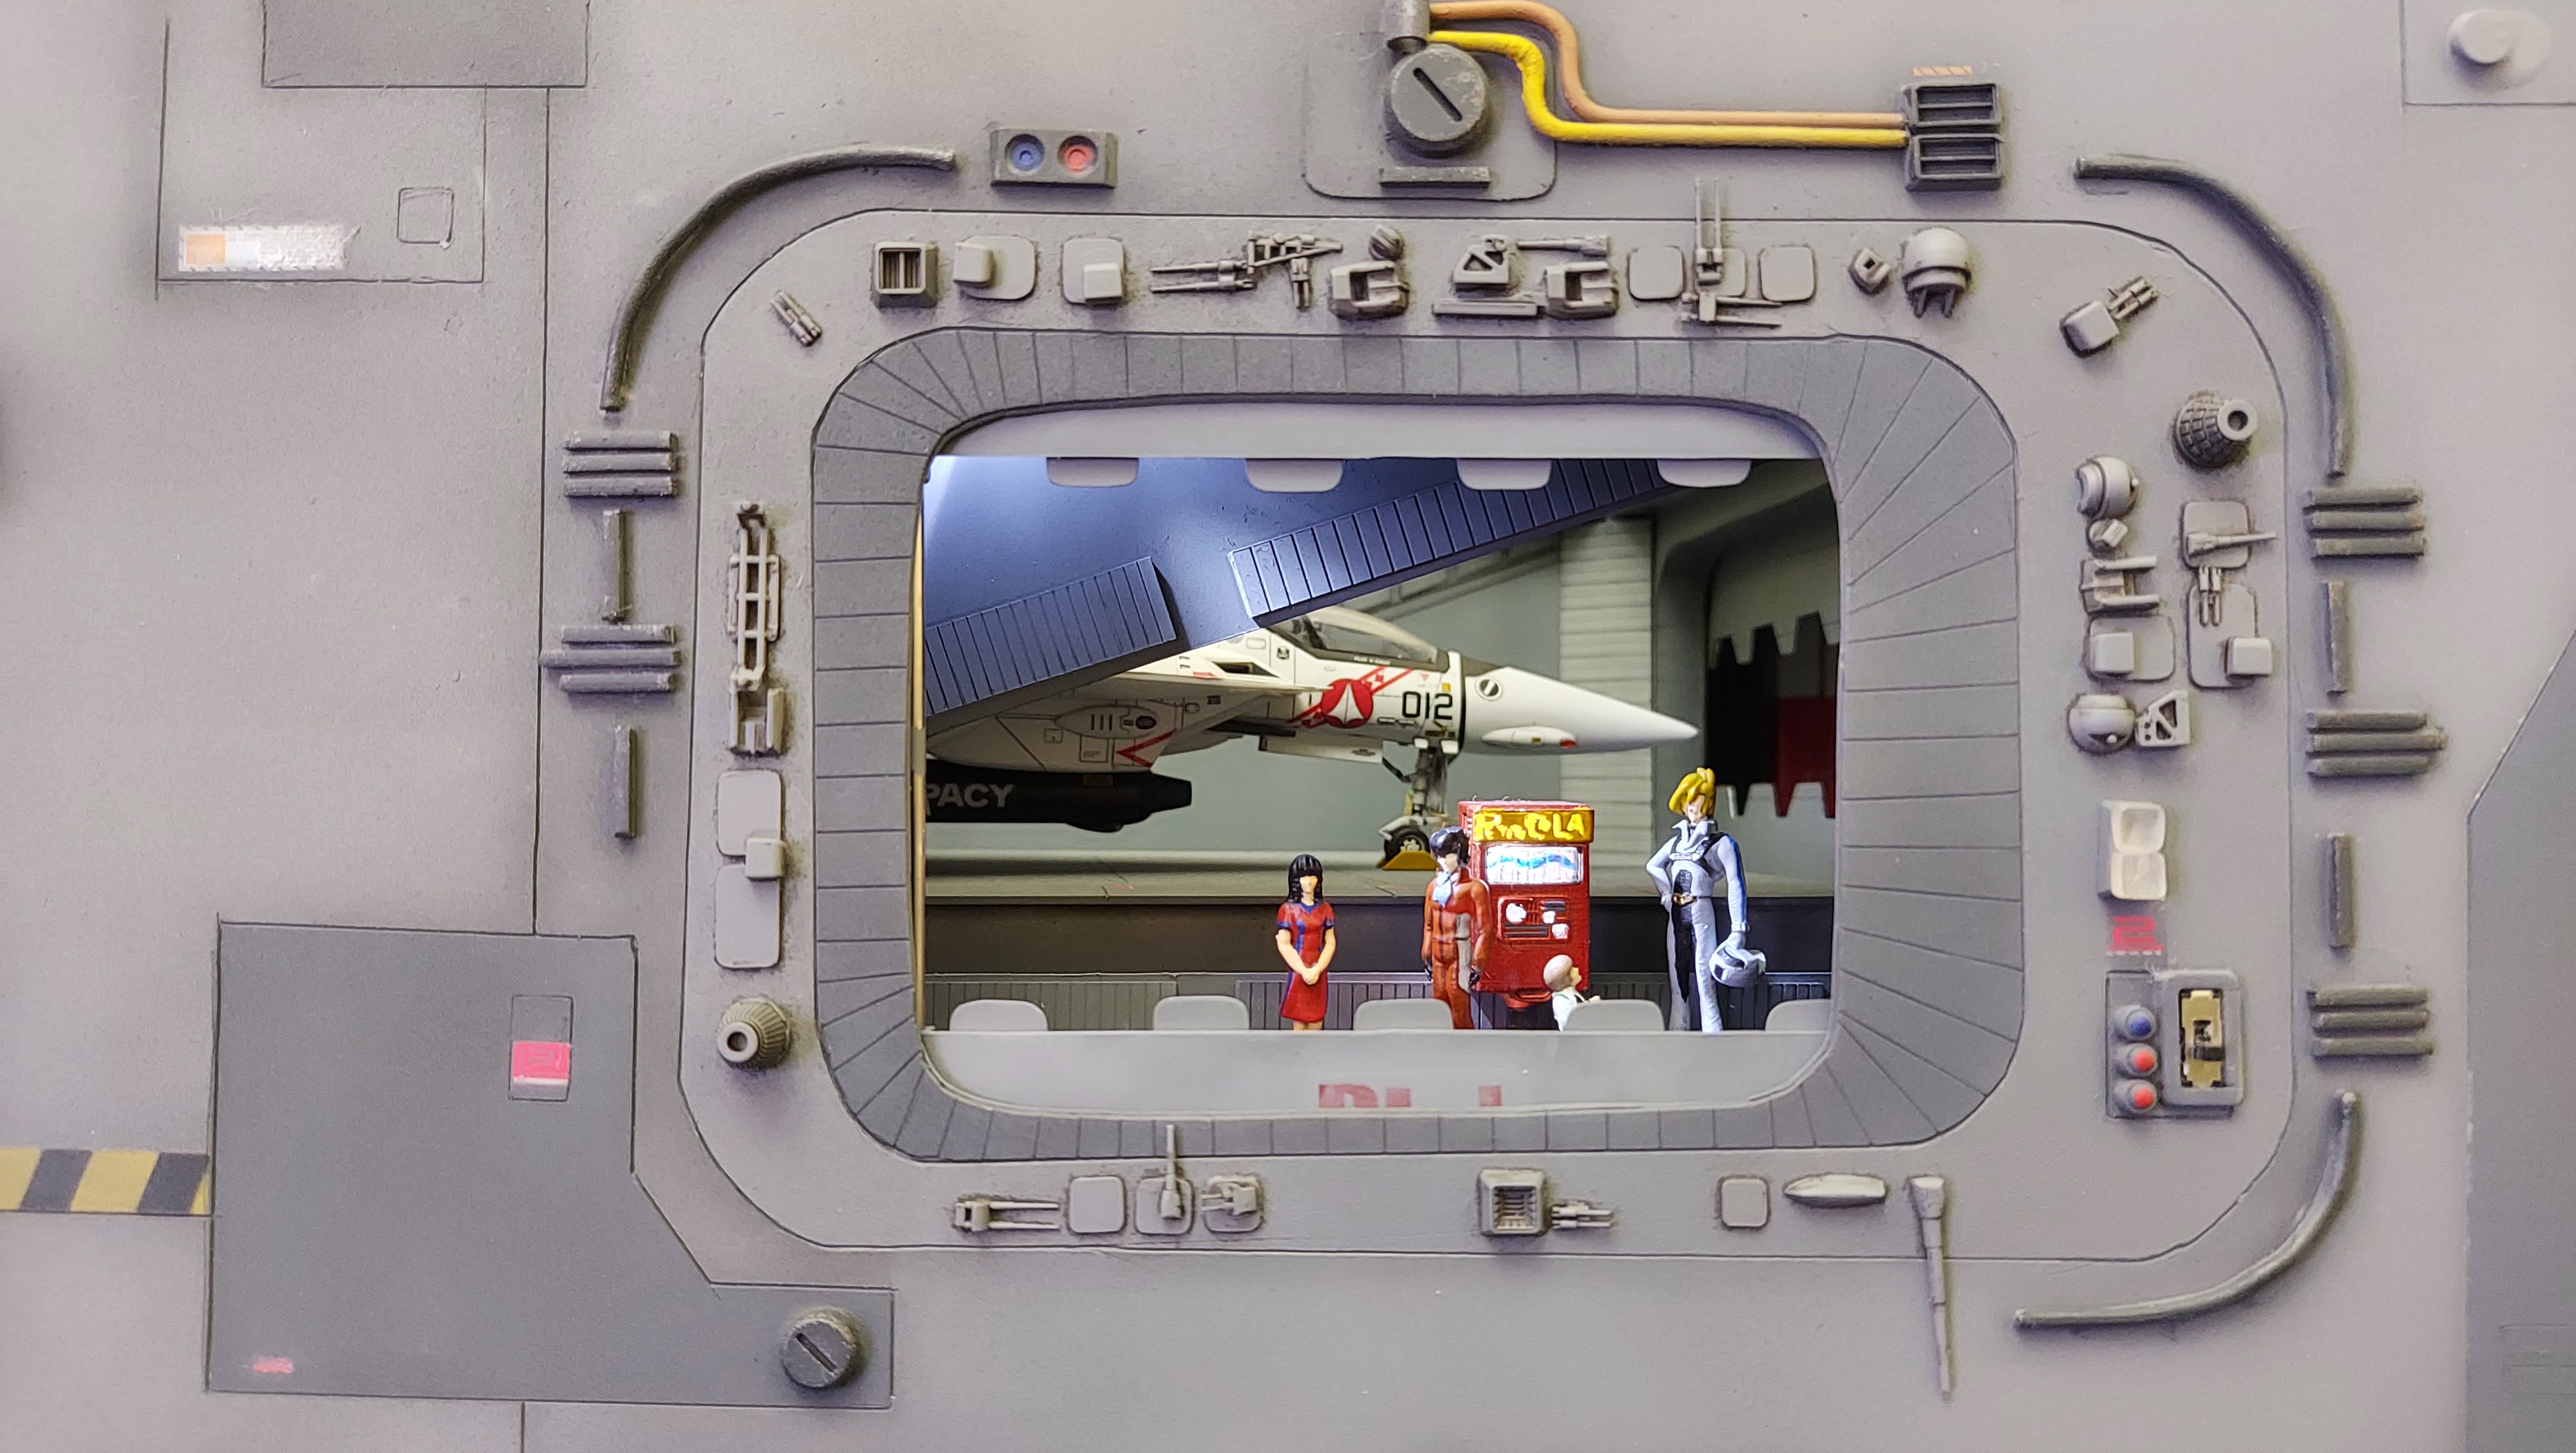
Thanks. I do have a little update on the Petite Cola scene. I added more greeblies and internal lighting.
-
Thanks guys. But for this particular project, your opinion only half matters. What did your other half think of it? I've been showing it to any lady that crosses my path.
-
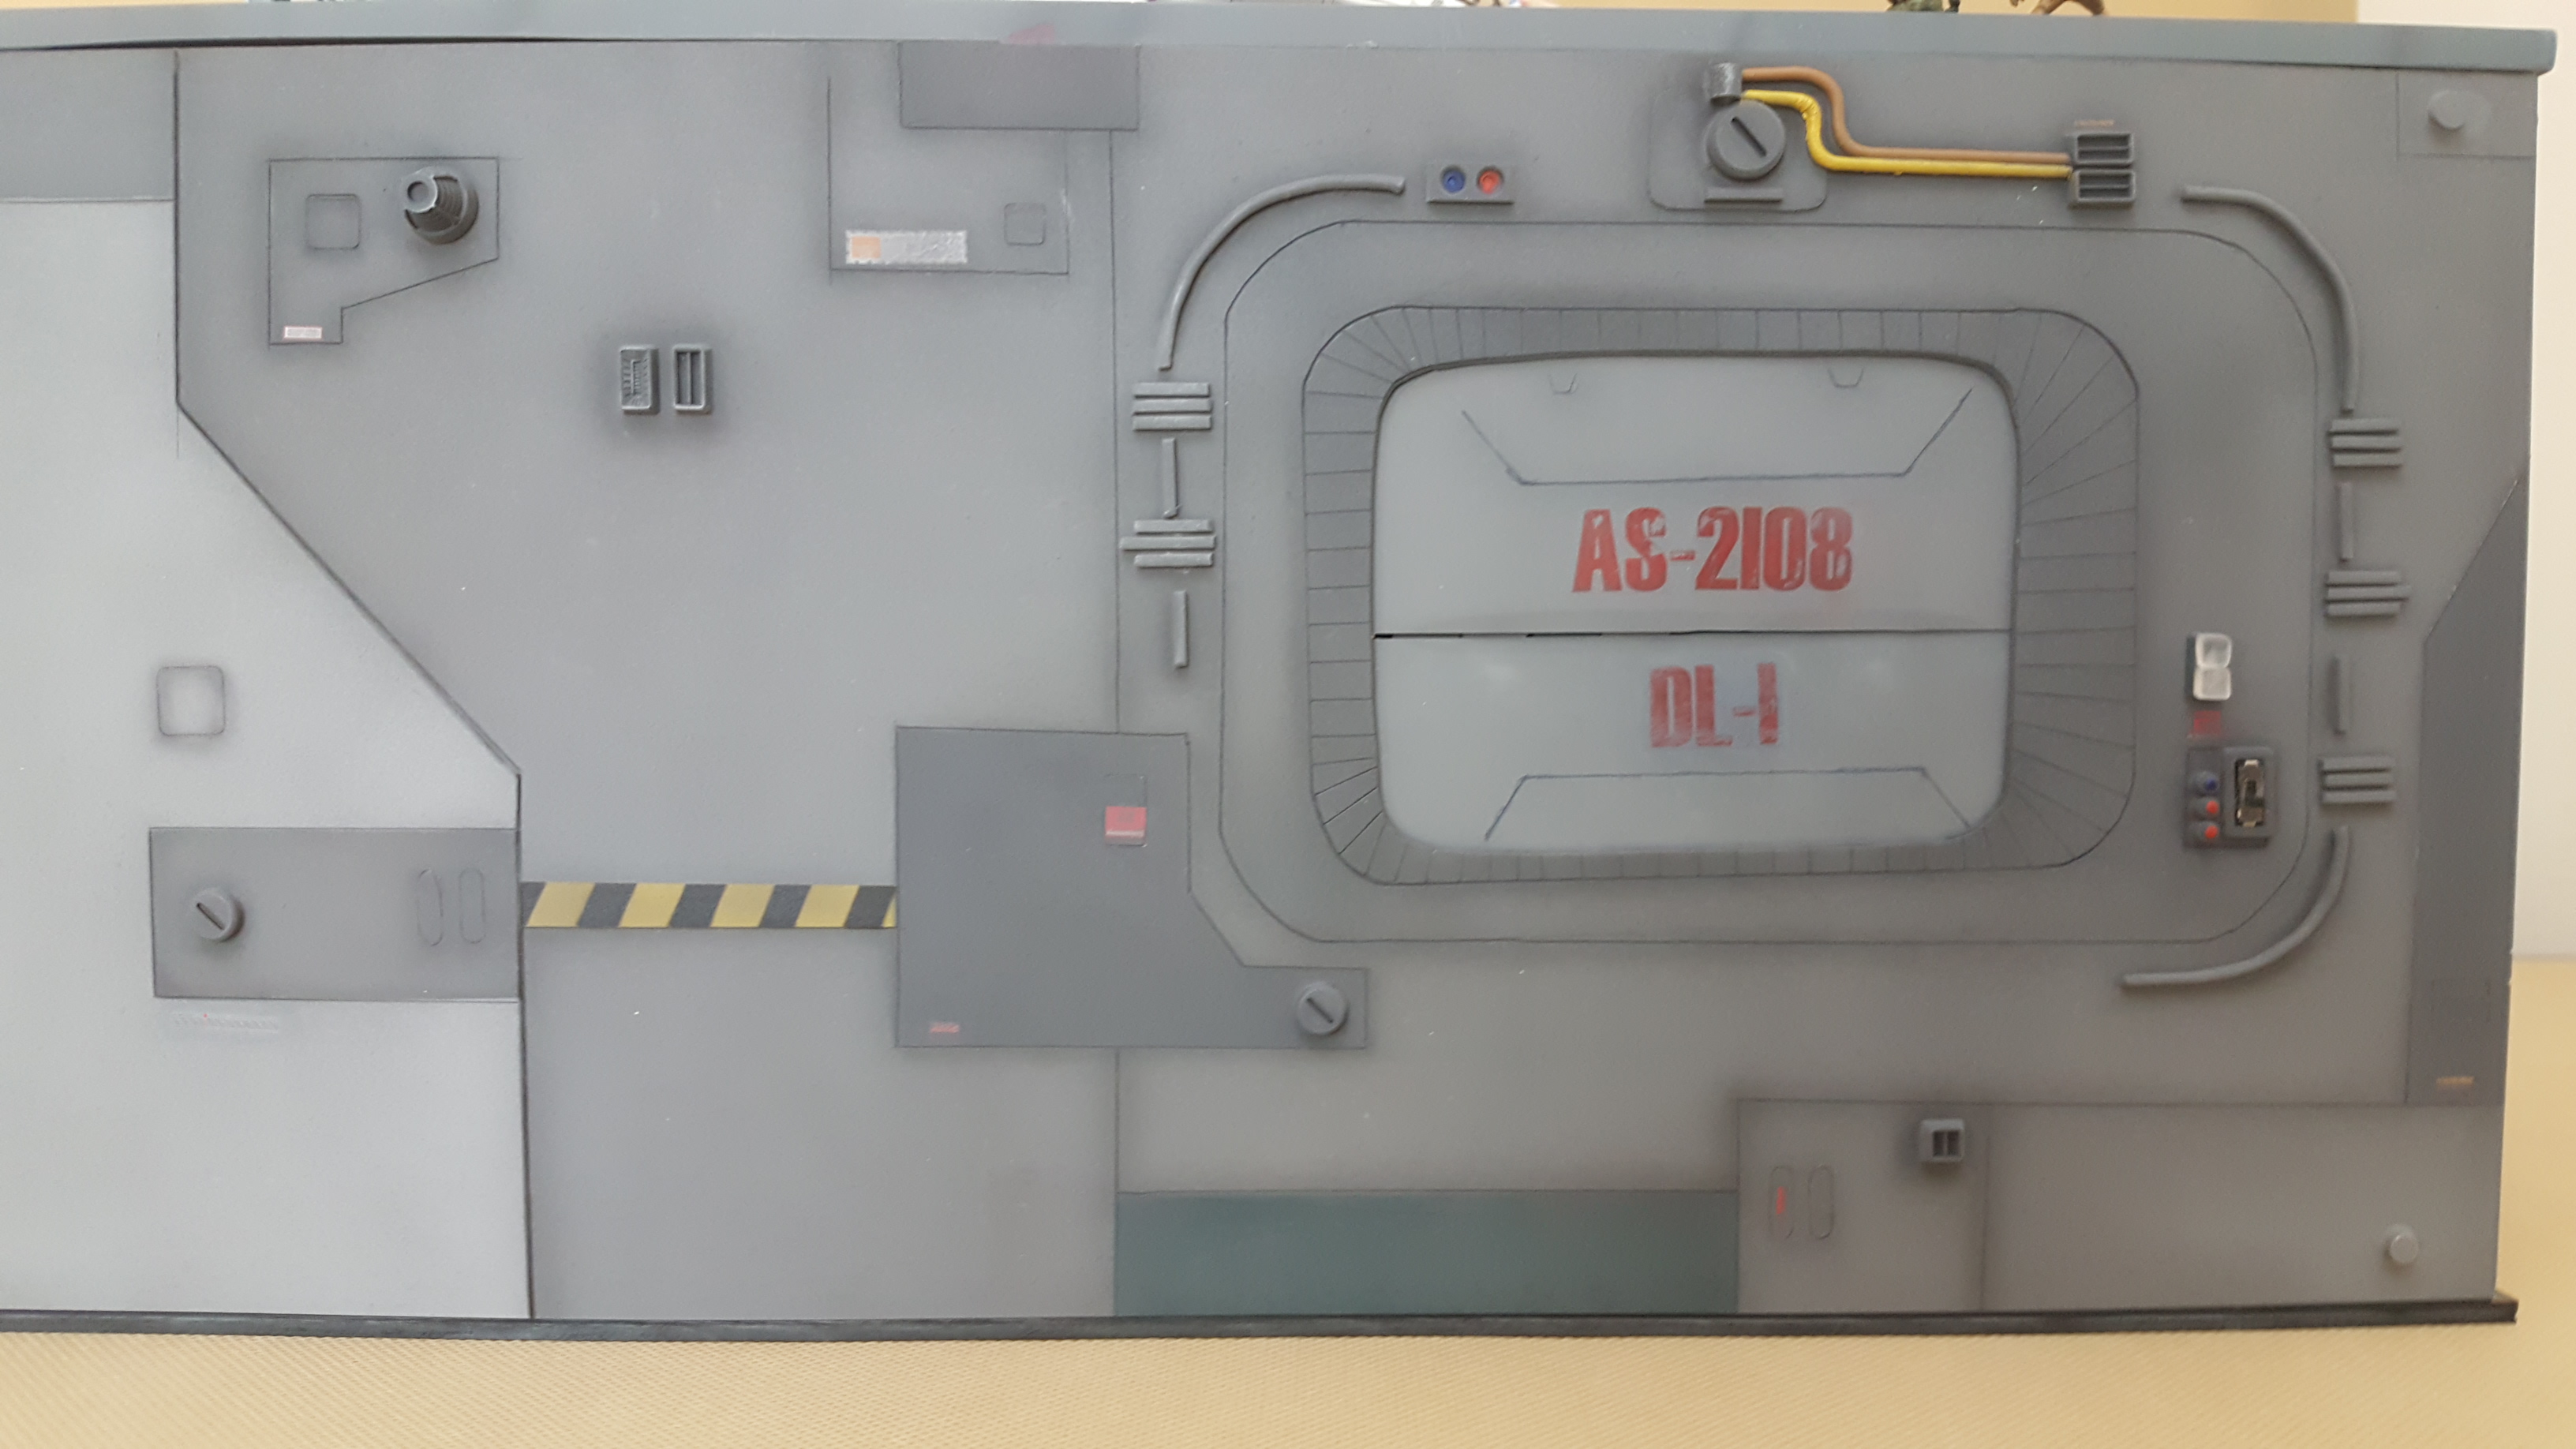
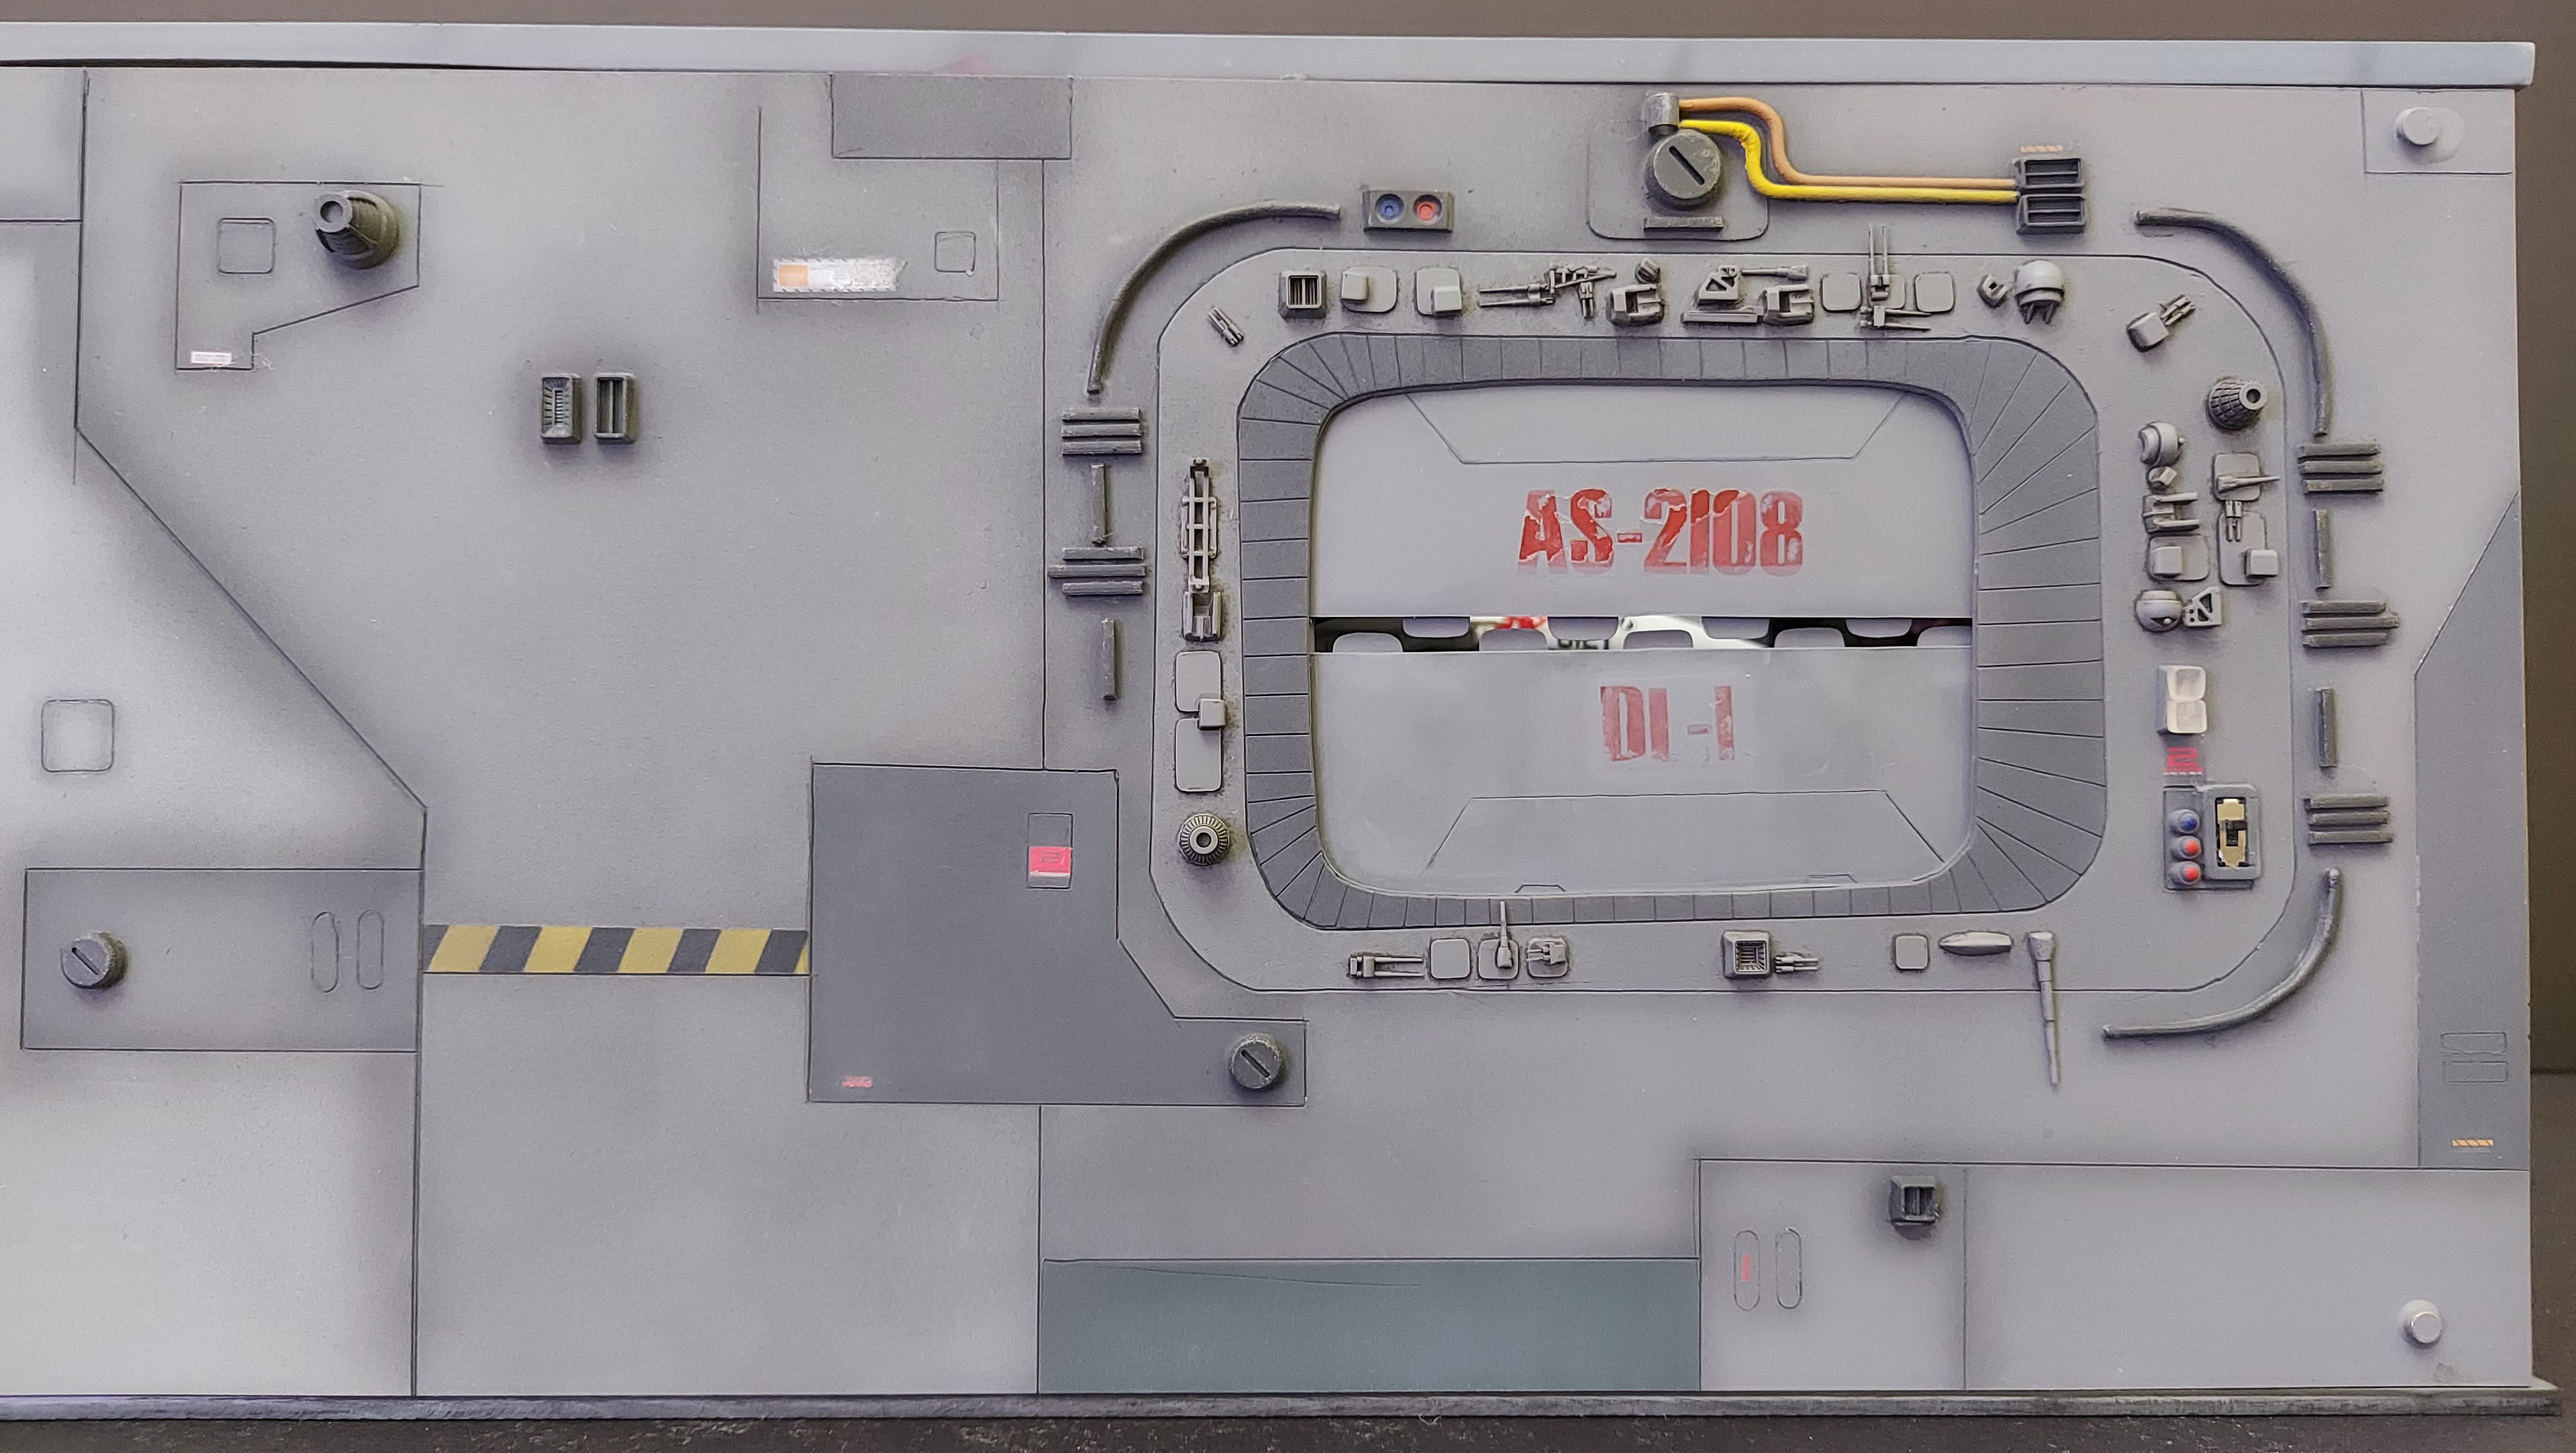
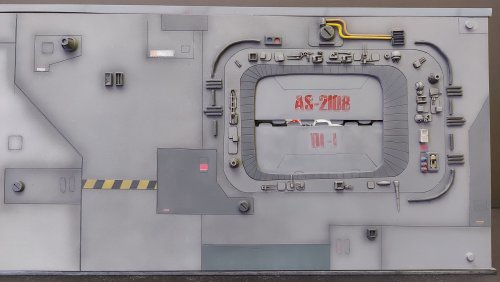
I finally finished the second airlock I always planned for this project.
-
I am sooooo happy with this one. Finished the second airlock on my flight deck. It's meant as a surprise Give me a heart down there so I know you liked it
-
What are the ratios? Would that be the same mix for the TV SDF-1?
-
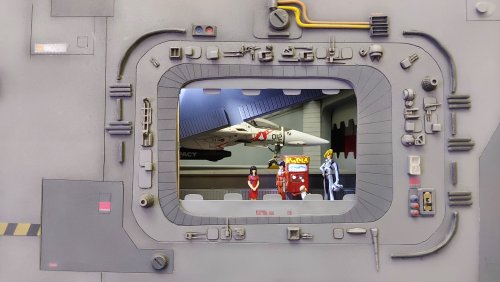
I decided to detail-up my first airlock and added an interior spotlight. These are before and after pics. Lesson is: Sci Fi needs greeblies!

-
Tamiya is definitely higher grit, but I got these examples of a kit I did with Krylon years back. It does go on a bit thick, but if you are careful, it is not always bad. But I really don't have good success with their gloss or primer (except for bases as others said).


-
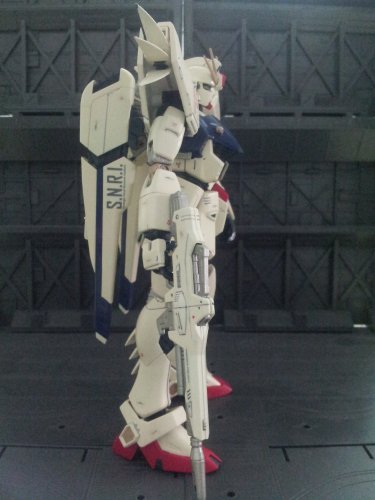
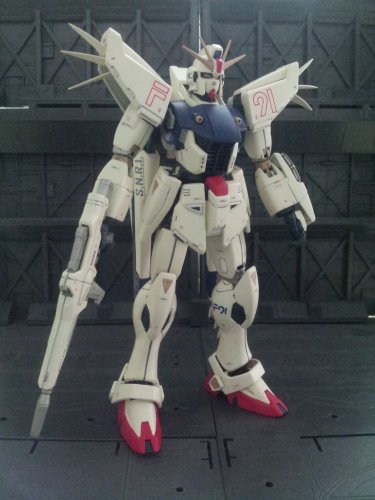
Thanks. Will do. I actually have the Wave LED Mirage and KOG kits. But they lack so much detail that I will probably never build them, especially when I see how cool the big resin ones are!
-
Mechtech, Nice use of the discount bin. I took a look at what the actual kit looks like. Looking forward to see what you do with it. Derex, Looks like you have a lot of masking and panel painting ahead. But the trouble will be worth it. electric indigo, I need to do an FSS resin kit one day, just don't have the confidence yet to deal with a detailed resin kit. Although I've enjoyed some of the simpler resin kits I've done.
-
Peter, Nice to see LOTS of valk photos. Personally, I liked your scribing. (And those imperfections are called weathering ) Pengbuzz, Wowzers your final photo and background looks great! Could be a movie poster for all I know.
-
Looks sweet. Nice color scheme, paint finish, and panel lines. Did you scribe those yourself?
-
I need an Ostriche, with no broken shoulders, and not for 500 bucks!
-
Dang it! Why do I think those figures are so cool? I HATE M7! But seriously why are they all numbered, do we have to buy all the parts separately?
-
I've never had that problem, unless there is an electric short from my own stupidity, leds are not that hot. Resistors might get a bit hot, but they are usually encased in tubing or something else. On the other hand, the process of customizing the model, chipping away bits and pieces to mount the electronics, definitely can impact the fit.
-
Laying down my door sliding airlock door on its rails. Trying to make sure everything is aligned straight and that it looks right on the front side, all while trying not to scratch up my paint. Then I will attach the motor and limit switches.

-
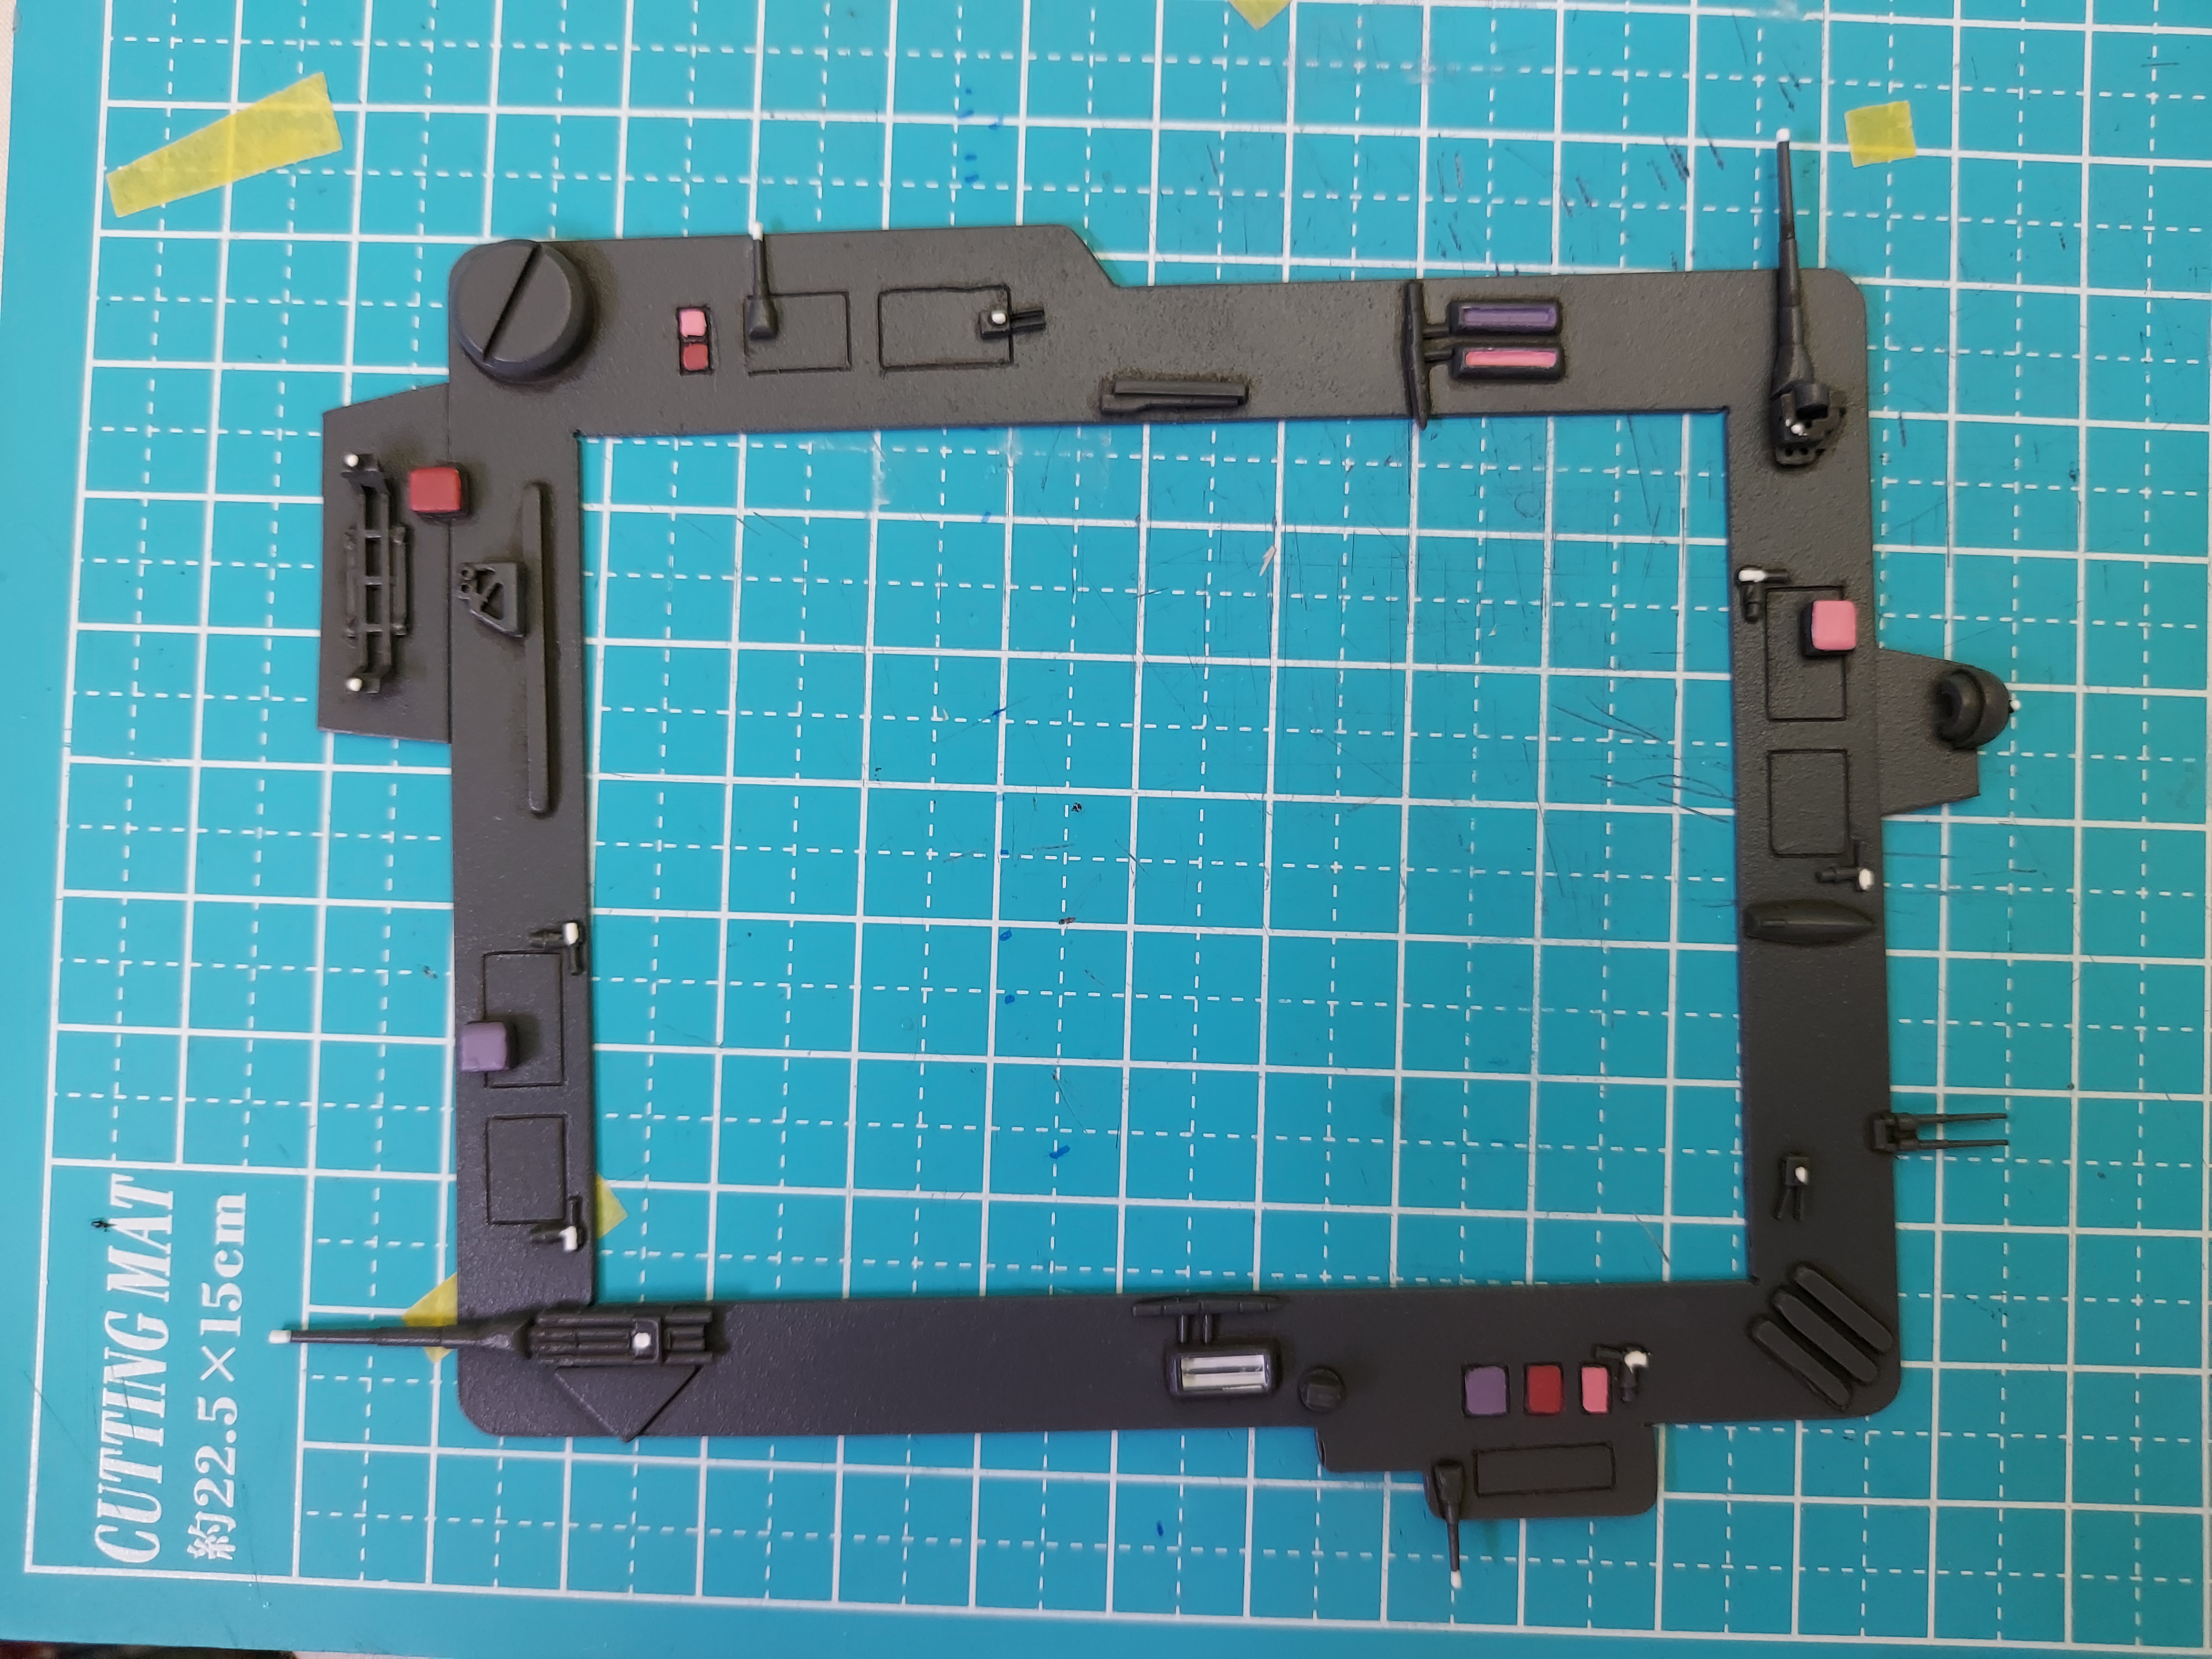
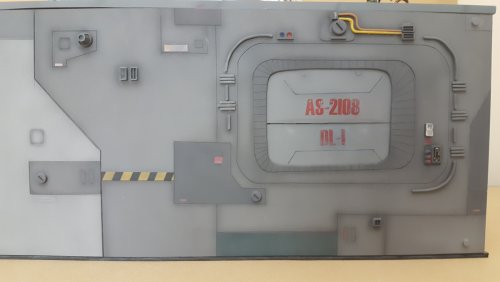
Mechtech, Sorry, it's top secret Pengbuz, The finish on that Tomcat looks great. I bet your showing that off to everyone who will look! Peter, Looks like you have a dozen awesome projects on at the same time. All good stuff from way way back. Childhood builds are the best if you still have them. Electric Indigo, glad to see another FSS build. Can't beat rein for the smooth finish compared to 3D printing these days. Derex, the interior figures and lighting looks great! Glad to hear you're not afraid the lighting anymore, it opens up a lot of potential ideas. As for me, I'm working on my airlock door. I'm trying out several new skills here. Originally I planned to get a really good gloss coat on it so that I can try some oil weathering. The gloss coat with Future came out to a mirror finish. This is actually my first ever successful gloss coat. I think I can safely lay oils on this without it seeping into the paint like it usually does. I have never really been able to weather anything before. Unless I get an inch thick gloss like this, my oils just don't behave as they do with those tutorials online (You know, where they spray on a quick coat of glosss, or none at all, before weathering and panel-lining. Yeah right! That never works.) But now that I got this finish, I'm thinking of not weathering it at all and leaving it like this, because it gives it a cool metallic look. What do you guys think? I'm wondering if I can do a bit of weathering and then glossing it again like this.

-
I'm making a miniature laser piano. I scribed all the panels and laid down a black enamel wash to create solid edges. To paint the clear pla plate, I primed it with a clear varnish first to give the paint something to adhere to. I gained some good experience with the repeated glossing and masking, as well as learning a bit about matching color tones.


.jpg.1990ffde2a19068762b1c5134624939a.jpg)
.jpg.6bf11d831701013438cd9b0905e29df0.jpg)