-
Posts
2630 -
Joined
-
Last visited
Content Type
Profiles
Forums
Events
Gallery
Everything posted by arbit
-
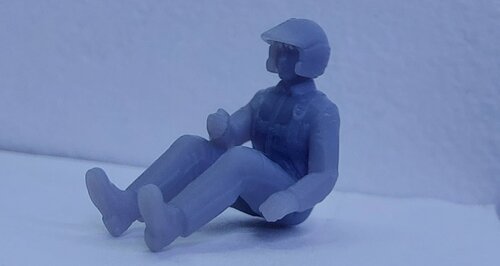
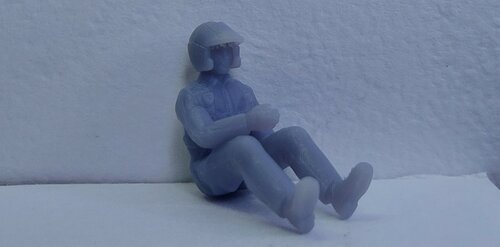
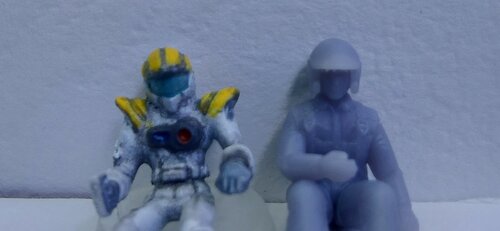
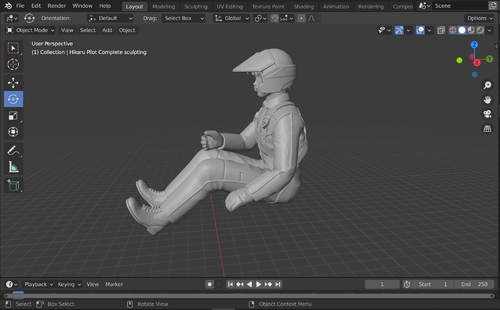
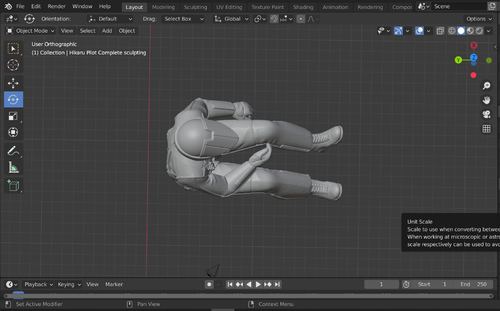
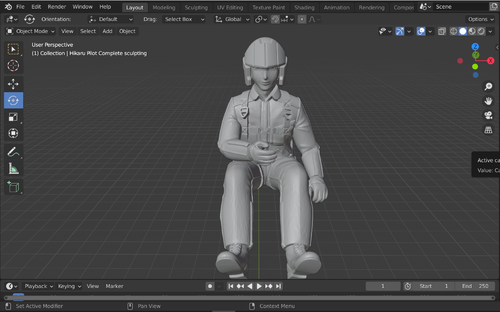
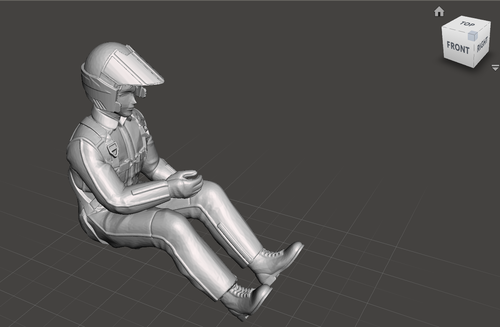
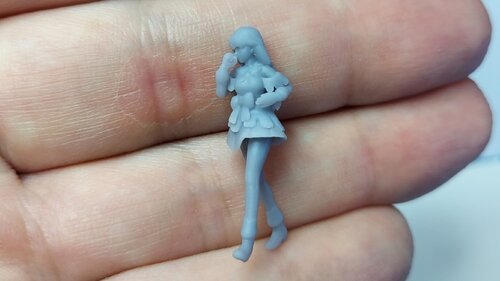
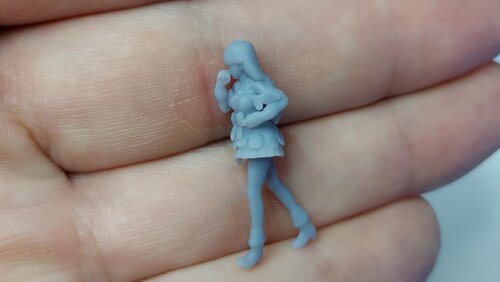
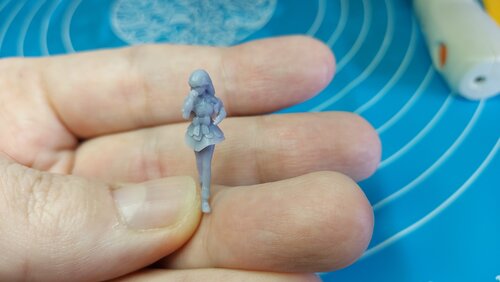
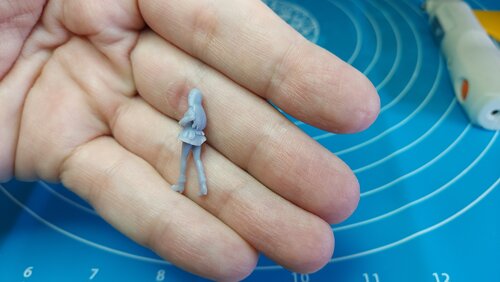
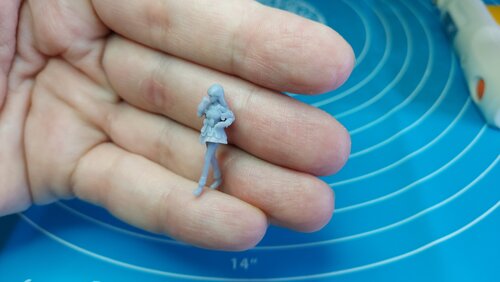
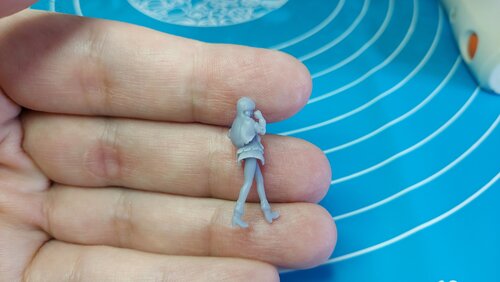
The Hikaru pilot figure printed very easily. No problems at all. Seated next to Bandai 1/72 for comparison. PM me if you want the file. But please do not distribute or monetize (we do not yet have permission for using the body).
-
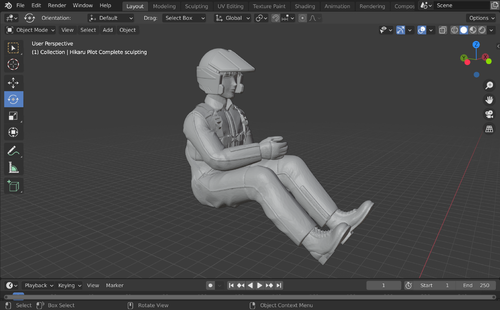
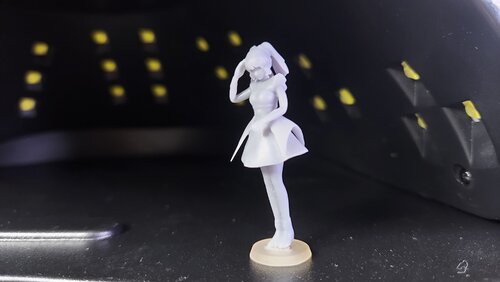
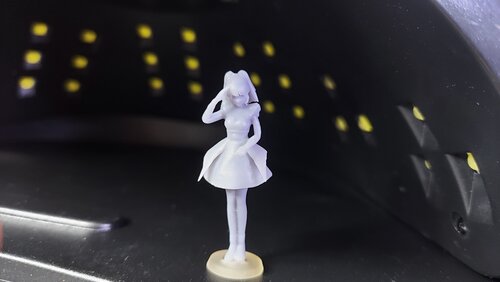
I did some more work on the Hikaru Pilot. I think it's good to go. I'm planning to post the STL, once I do a test print. So you guys can print at home or at a local printer for your valks.
-
That's what I thought. I knew the camera was picking up the pre-shading. So generally we can add more base coat than we realize over the pre-shading, and it will still show through at different lighting angles.
-
Peter, Always nice to see more Yamato. I was raised on it. My first anime. I've zoomed in on your images to enjoy the details. Your build is flawless. Everything looks good. My 1/1000 cannot stand up to such close photography But I have a question: In some images, the hull panel pre-shading looks dark, like tiger stripes. In other images the pre-shading looks light in tone. So my question is, how do the ships look in real life? I know lighting and photography changes colors and shadows a lot.
-
Minmay Project continued... I'm also working on a Hikaru Pilot figure. You could call this a kitbash, since I can't design anything, I've combined an aviator body, with an anime head, and a Macross helmet!
-
-
Hi, Thanks! Yes, curing the resin outside in the sun is one approach, or a UV light indoors. I have a hand nail UV machine. Just can't expose the machine or fresh resin to the sunlight to UV. (I just finished training all my family to not open the drapes if the machine is on!) Regarding longevity, I really don't know too much, I think it's not a major issue with new good quality resin. But you shouldn't over-cure the resin to begin with. My little figures are done in 3 minutes. And then I plan to gloss with UV-protection.
-
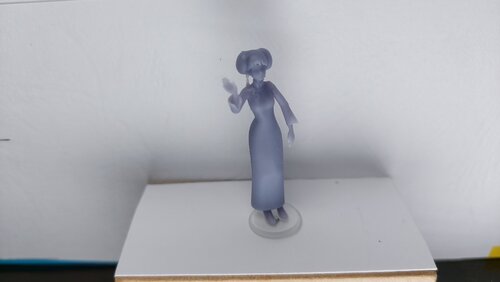
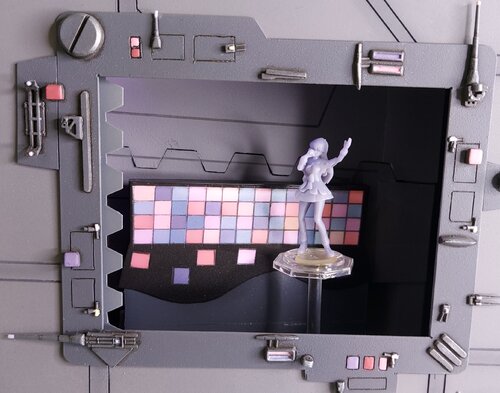
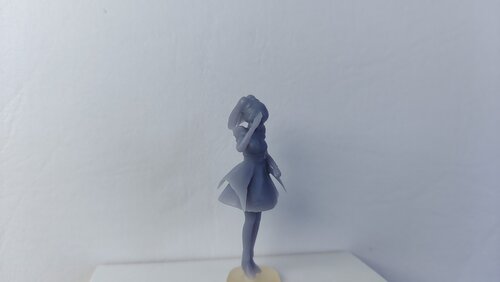
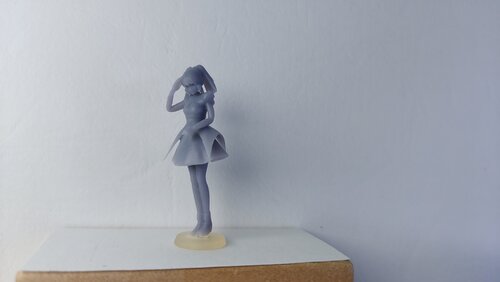
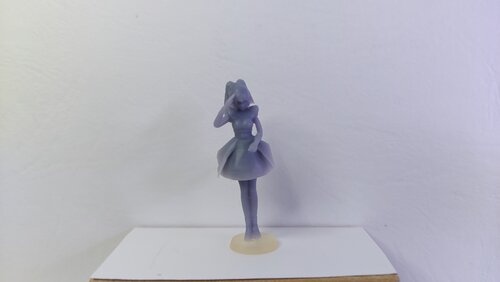
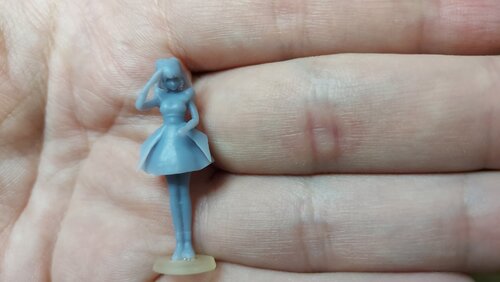
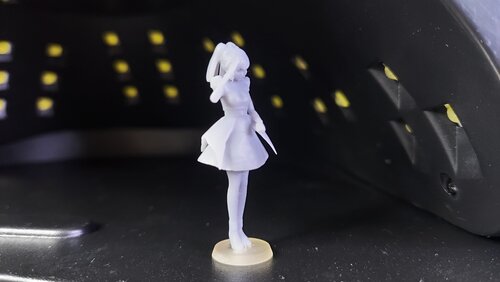
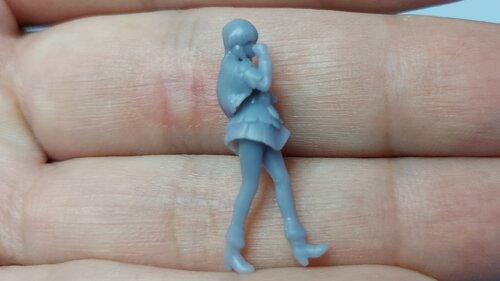
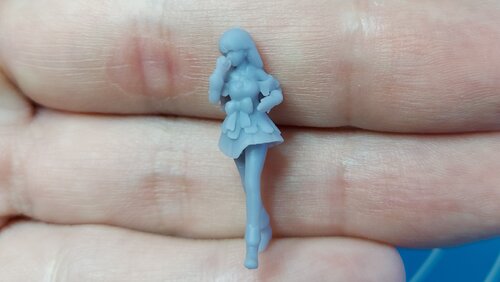
Here is a new Minmay at 3.5cm 1/48 scale. I am in total shock at the detail. I used the same steps as the first one, but took the risk of not thickening her up at all. The fringe of her dress is under 0.1mm, and I didn't know if the print would be possible.
-
I always wondered what kind of paint people use when customizing their valks, and what are the steps for clear coating to avoid scratching during transformation? I would scare me to death to touch my gokins.
-
That actually looks like a fun build. Ain't no Revel though You're gonna have to put Macross aside for a bit.
-
Thanks. But I don't know, seems something is not right. This is the affordable small hobby printer Elegoo Mars 2. Build Volume: 129mm(L)*80mm(W)*150mm(H) The smooth surface of resin is why I decided to give it a go, despite my utter lack of computer experience. You can learn anything with youtube these days. It seems Macross can motivate me to learn anything too. The first few days on Blender in a 3D environment had my head spinning. The last video game I played was Tecmo Bowl!!! I still can't design anything. Tutorials bore me to death, so I skipped ahead to 3D printing stuff right away, and working my way backwards.
-
@Salamander Hmmmm, Thanks I'll look into it. I thought there was something wrong with my eyes.
-
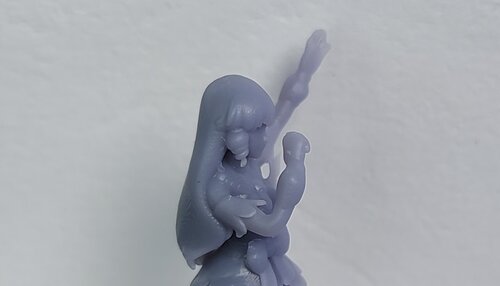
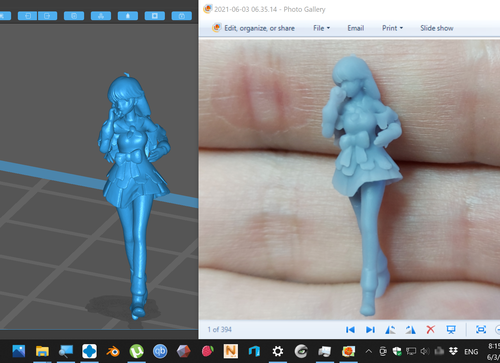
Here is the second and final run. Fortunately, I avoided my previous mistakes. A lot more details show now. Do you think she is a bit chubbier compared to the print preview screen cap I posted last time? I don't know what causes this. The print preview render looks much thinner than the actual printed object, It may have to do with shadows and perspective, or it may be that resin printers make everything look thicker. I did solidify her to add some thickness to the clothing and other thin layers for printing, which effects the whole figure. But not this much. Side by side of render and print. Maybe Minmay needs to try the cibo diet.
-
I would be fired if I printed the breakdance pose! I went though so much misery trying to mold and cast stuff that I finally gave up, and took a dive into the resin 3D printers. They don't have those print lines and the new hobby ones are cheap too.
-
A gentleman only looks a lady in the eyes I plan to make free Minmays for the regulars on this thread. PM me if your interested, you just pay shipping and handling. I have 2 poses, and once I get good prints I will get back to you.
-
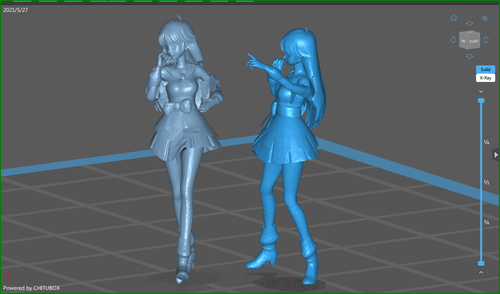
I got my first resin print off the Mars 2. Did I print a practice duck, or a boat, or a screw? A chess piece? Noooooo! We print Minmay. Overall it's a success for first time transfering a game .stl file to a printable figure. There are some damaged areas around the chest, but this is user error, because I placed the supports too close to the body and they stuck. So all thats left is to improve my supports, and it seems we will have some Macross figures. There are some tutorials on youtube on how fix game files for 3D printing, but there is no easy step-by-step. Each file is different and it takes a lot of trial and error and multiple iterations and software apps until the file is somewhat printable.
-
Thanks. The file definitely has a lot of issues for printing. Would you be able to look at it and give me some pointers, or let me know if it is hopeless?
-
What you do with the second one is extreme battle damage and weathering!
-
Now THAT is cool! Perfect shades of blue and white. Very nice! Max was my favorite. He was just too cool.
-
Your kitbash is beginning to look like a little Hulk Buster!
-
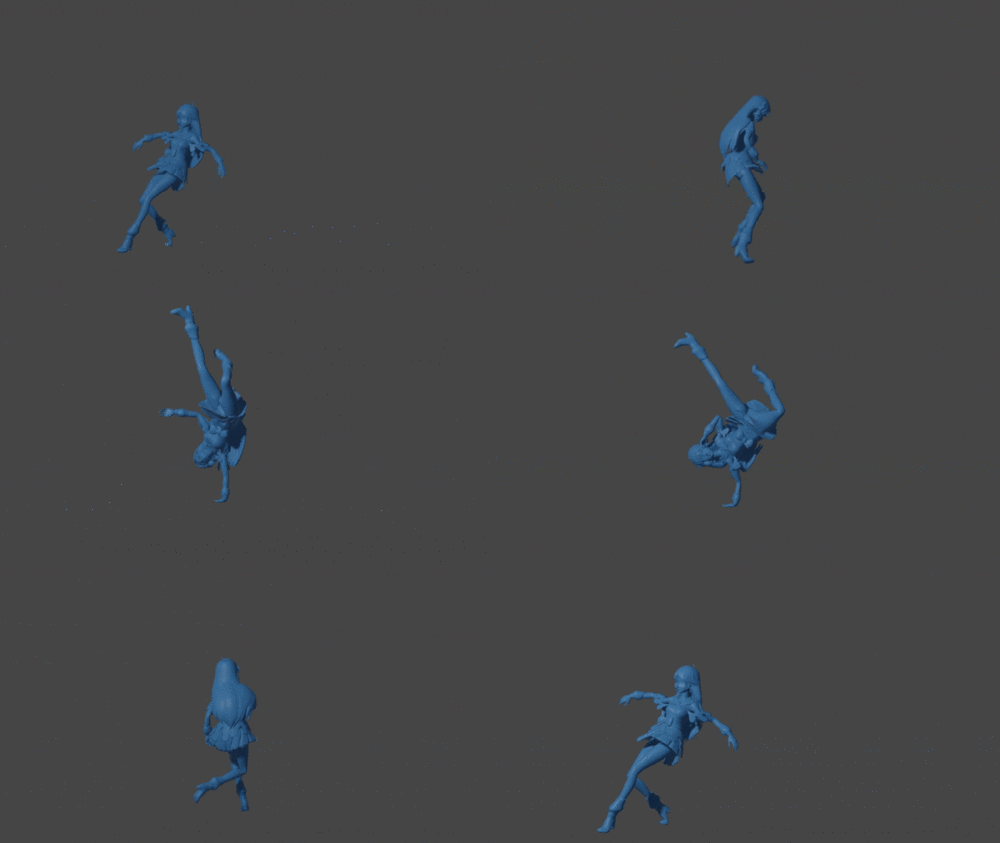
I can't see Minmay breakdancing and not share it with you guys This is Adobe Mixamo, controlling movement of an .stl file. Keep in mind I have zero experience with design software and 3D printing. I am not sure if an animation file is suitable for 3D printing, without making adjustments to ensure the walls are thick enough, and the model is all one piece (manifold), etc. But if it can be done, the possibilities will be endless.
-
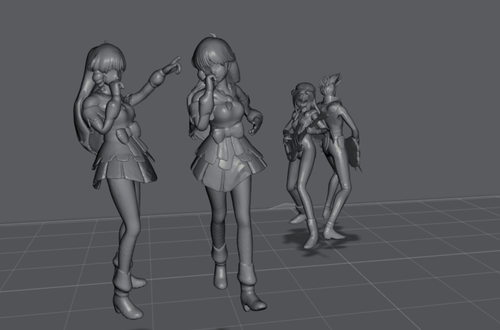
Minmay Project Continues: Can we control Minmay? Making some progress with Adobe built in poses. Still lots to study before successfully printing as a figure. And just because we can...
-
I'm a long time subscriber of that channel. Hope they do more Macross, and take it up another level.
-
The hand paint looks great. You nailed it! And no, I never fly my valks around the room, at least not every day.


