-
Posts
1729 -
Joined
-
Last visited
Content Type
Profiles
Forums
Events
Gallery
Everything posted by Kurisama
-
No idea, don't own a yammie 19. You could take the dimensions for me, if you like,.
-
Oh, oh my. I'd love to have one but the price is going to be ridiculous.
-
It is on my list for sure - I'm about to finish freelance and move interstate in a couple of weeks - maybe I'll have time to start then - but now I have a contact in the injection molding industry and may just be able to help me out...
-
I needs me a Nousjadeul or Renegade Power armour.
-
Ah, thanks! Could use this to polish and floods up some canopies - MP TFs and valks alike.
-
Don't worry - I'll set up a little area and take some nice pics !!
-
-
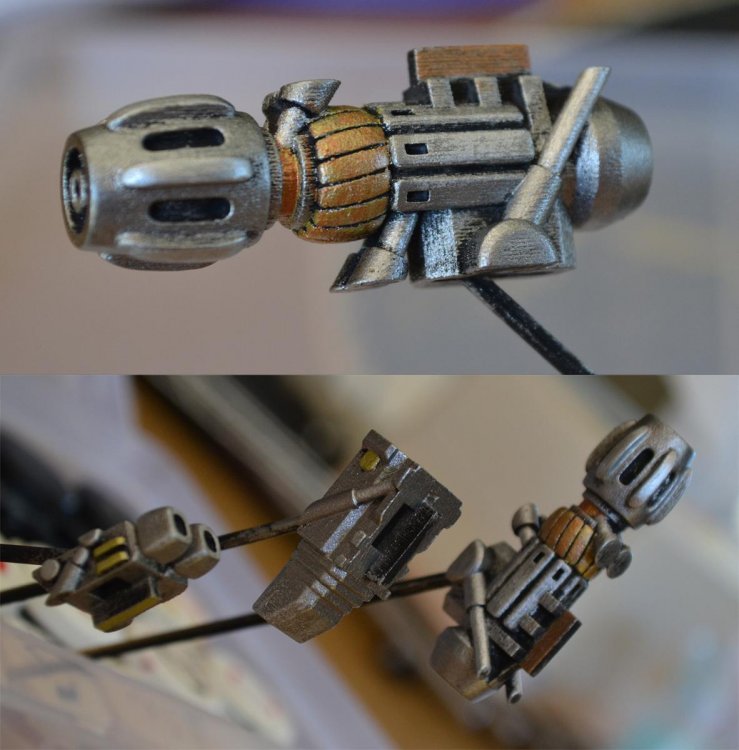
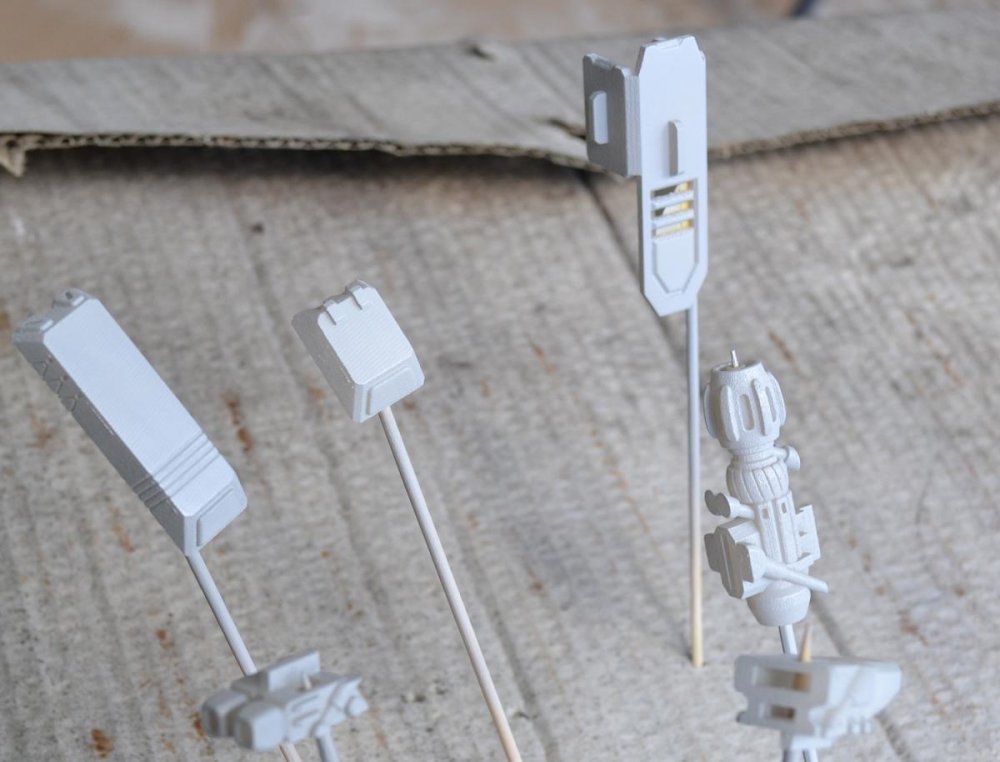
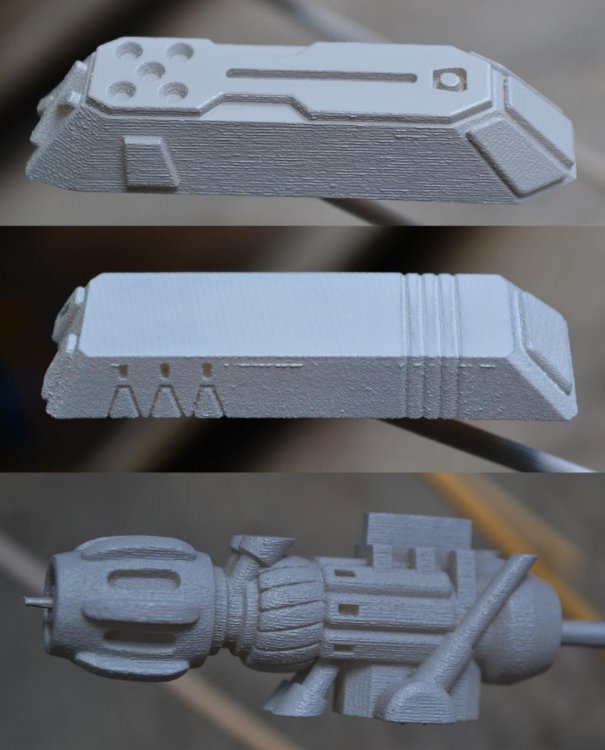
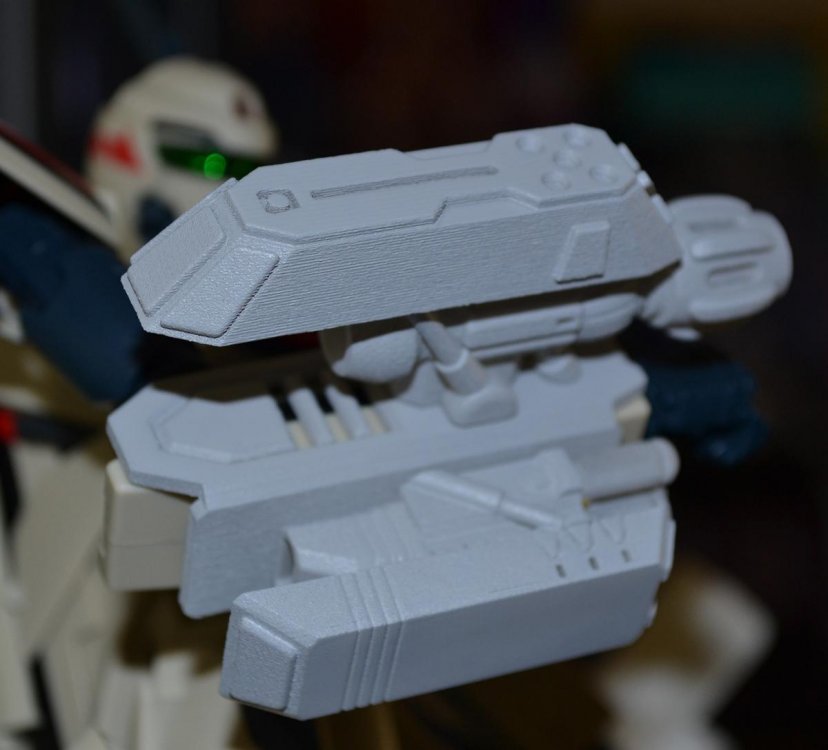
Yep, just sand paper - what are these grit pastes? Easy to use? Would be interested to see what printer you go for - I'm interested in getting one myself. I don't think you need to go that high (FUD) Frosted detail would still save you a lof of work, go with that option if you can. Yeah - I hard;y order lately - it's $20 shipping - even if the piece costs me $5 Thanks for the links - this is a great idea, will use these next time I have large flat areas to do - like the VF-0D wings I'll get to eventually. I'm sure we could work something out - that'd be beneficial to both of us And when the heck am I going to bet on the FB page!!!?! I see other project on there and am like 'dang it! I do hard work too!!!' Ok, update time - here are some pics of the pieces with only 1 coat of colour, I have now done a second coat (and I think a third maybe?) but the white spray ain't covering - even after being sanded back, not sure what to do here. Maybe prime again, a double coat then white? Anyways here is after one coat, and metallics applied as said in previous post; After a second coat; I couldn't resist a fitting again, so enjoy; Still needs a third coat to smooth out some areas - and then I think I'll skip the decals, add some ink wash to the metallic crevices and then finish with a coat or two of matt clear. Updated next weekend - hope this helps!
-
Thanks Mommar! Glad you dig. Lol - thank you very much - although, I'm a twitter neophyte, I wouldn't know how to do that!!! I hope it helps! Yeah - that film it has is crazy, gets everywhere after you handle it - almost feels like my mum's industrial sewing machine oil. Anyways - get ready for a mini-update Here are the pieces that have been sanded; As u can see, some of the panel lines are filled and some rough area still remain as they're hard to get to and I'm no hobby modeller. So any-who, there was a slight delay as I ran out of the gray I was using after only barely coating 1 piece of the several that would need it. So I had to wait for the shops to open due to the Easter long-weekend. For those of you playing at home I'm using Tamiya TS-67 IJIN GRAY which is a touch darker (or lighter? i forget) than the grey FAST packs already - but passable to me - there is another gray (TS-68, TS-66?) that may be a better match - but without the FAST pack in hand, it was hard to tell - besides once I clear coat, might not be that much of a difference. So once I had the paint - coated the 3 remaining pieces first on the underside and then a few light passes from the sides in both direction at an angle - then a good couple front and back passes on the main flat surface area to get a nice and smooth finish - I've found if I go for the 'beauty-part' first and the surrounding areas second - I may spray too much on the part that will draw the most attention and loose detail and have paint accumulate - this is bad. Don't over applicate or spray directly on the pieces with no lead-up. You can always leave to dry and come back to see if you need to apply more. I'm also using the Tamiya Matt White and Matt Black (missiles and inner-gun parts, respectively) as well as eventually Tamiya Camel Yellow for the missile tips. I still have my Games Workshop paints form 20 years ago, and used gunmetal to paint the inner-gun parts - at first dry brushing, but then more of an actual layer of paint. Again, I'm no painter - so some of the metal paint started to clump in small grains - so I had to add more paint quicker and more evenly - but I hope the clear coat will smooth it all out. There is still some black in the crevices, and I may just do an ink wash yet. Then I used shining gold to pick out some greebles and a watered-down dwarf bronze over some of the gold parts to give a cool looking composite metal look - photos to come tomorrow. I then also used mithril silver on the hydraulics and some key edges to make them pop. For some reason the white on the missile parts are not covering well - so I am sanding again so another application of white will make it more even. Going to apply a second coat of gray to the 4 pieces (3 covers and 1 arm brace) and leave in the sun all day to make sure it's all dry - will then look at seeing if I have any relevant decals to apply before the matt clear coat. Stay tuned!
-
Jeez, this thread is inane. Somebody wake me up when there is actual news about the new series.
-
I agree with the VF-11 amendments - ball joints would be neat, double jointed elbows definitely - and hard points, yes please - that's why I made my custom wing gloves to hold the HMMs. If possible, if like to see slightly larger and chunkyer hands. Oh and also the armour...
-
Better this than no lock for the main chassis in gerwalk. But I would still like a lock for the wings. Been fiddling with the 19 all day while I wait for my Shapeways bits to dry, and ended up improving the ankles with super glue and the head unit cover was loose too, so I nail-polished the tabs and it's sweet now.
-
WSF? Not even polished? That's going to need a lot of work. Better off ordering in FD. If anyone is interested - I've posted a thread on my YF-19 Arm-weapon build up and a general how-to take a 3D print from start to finish, here; http://www.macrossworld.com/mwf/index.php?showtopic=40981
-
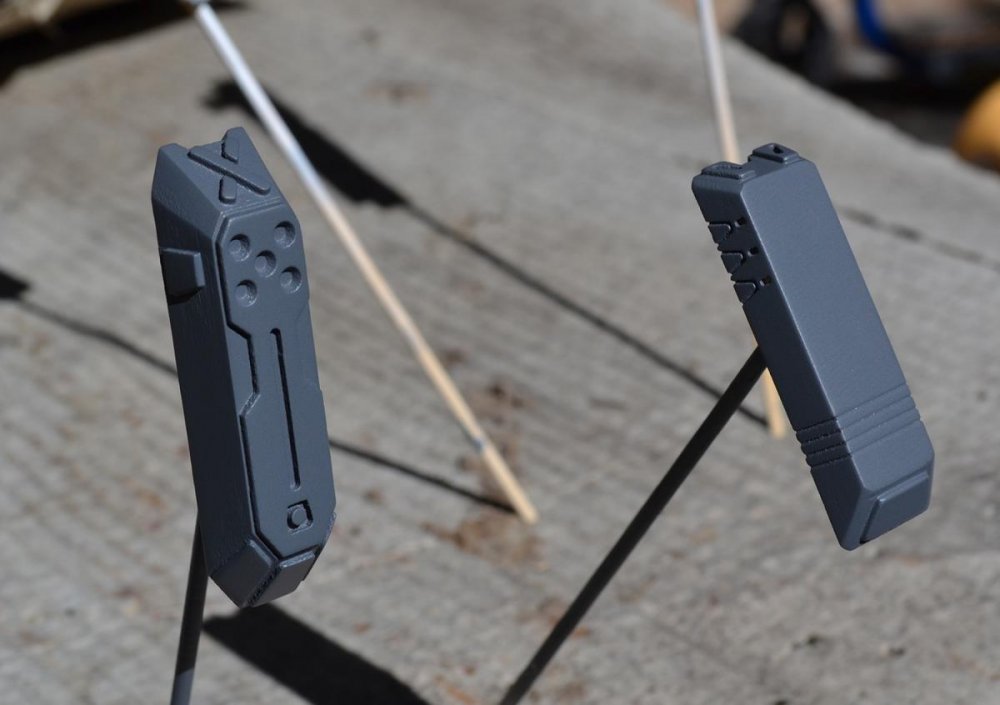
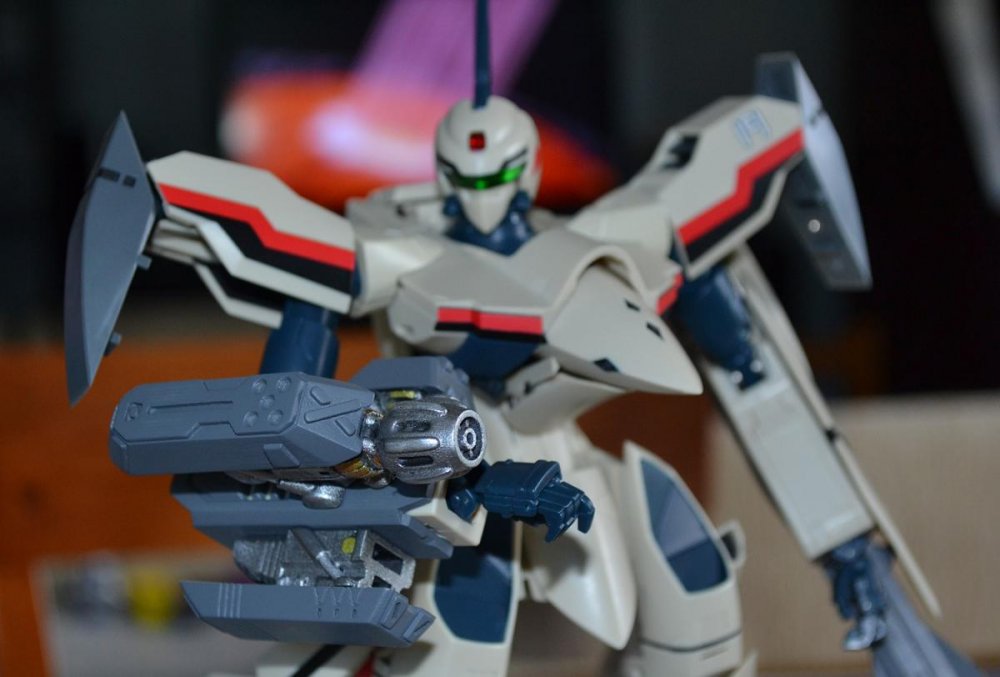
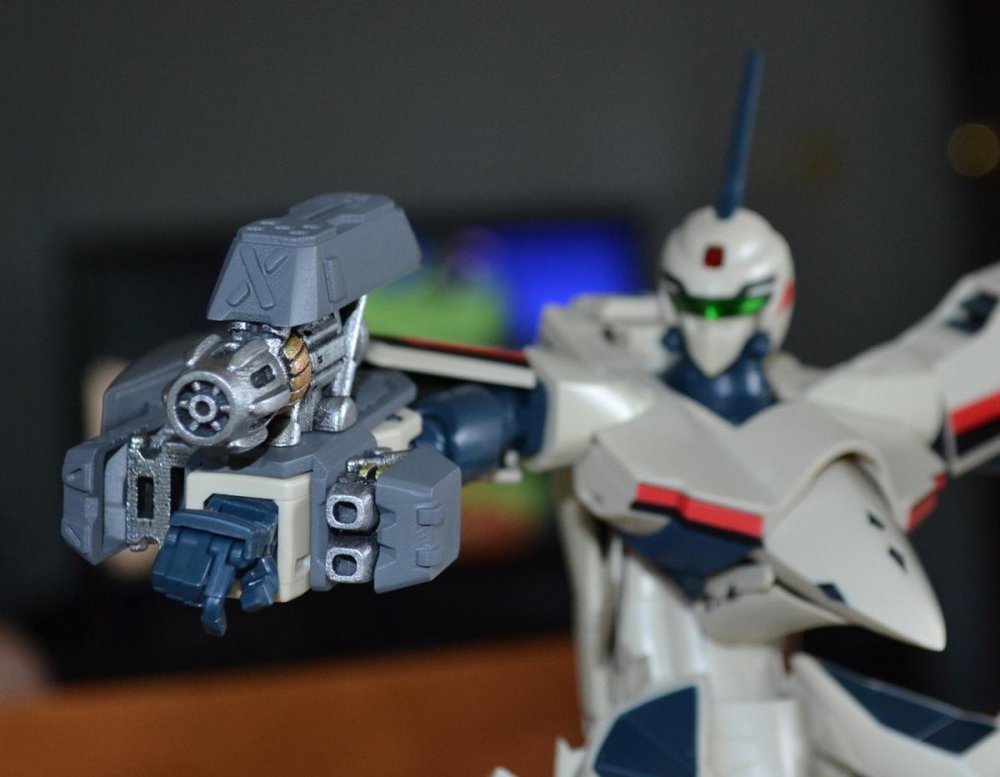
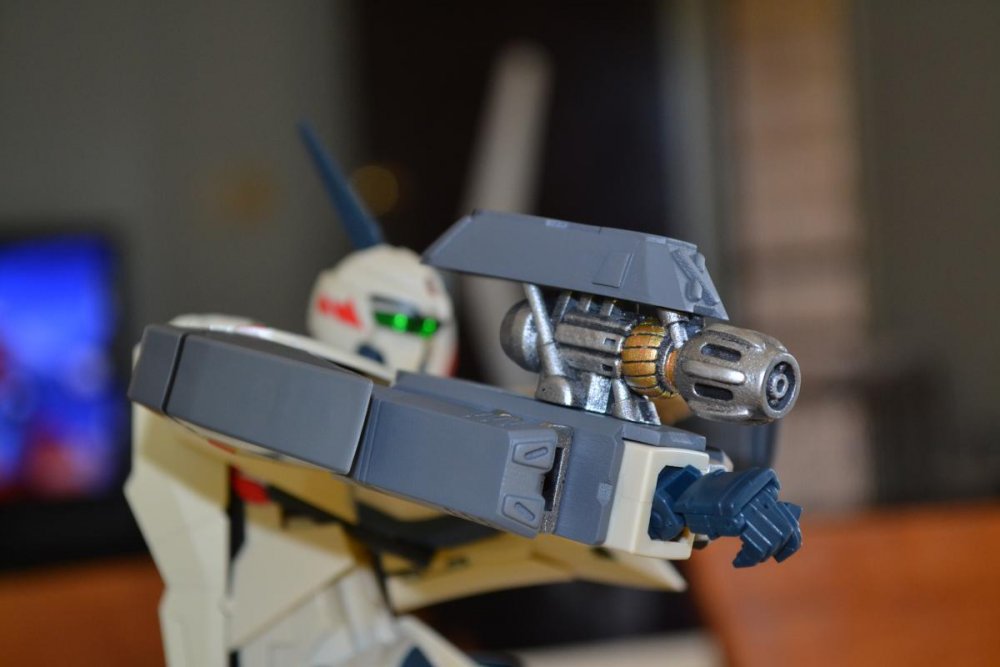
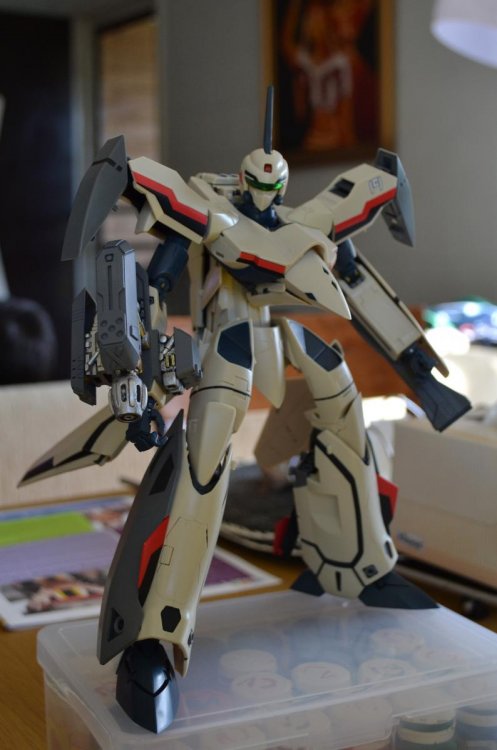
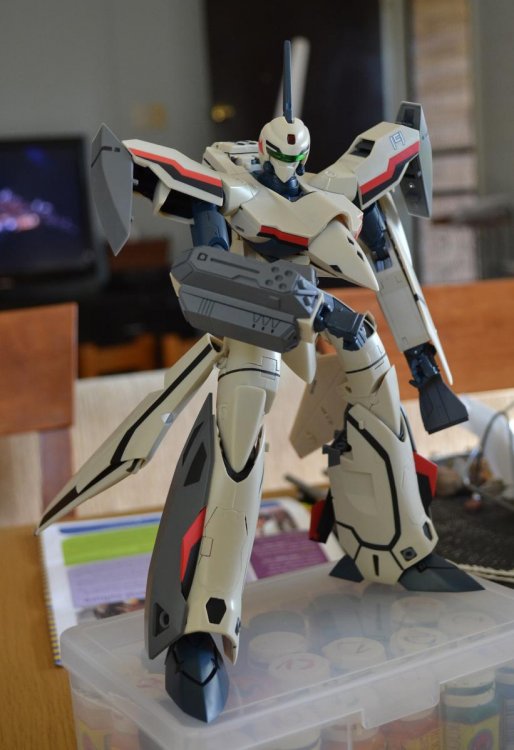
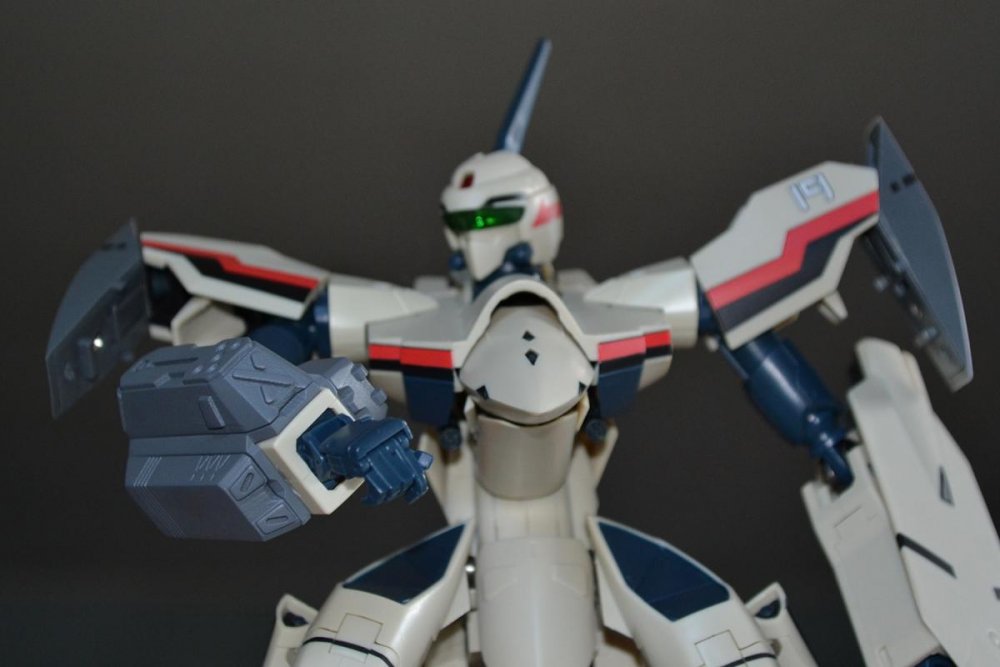
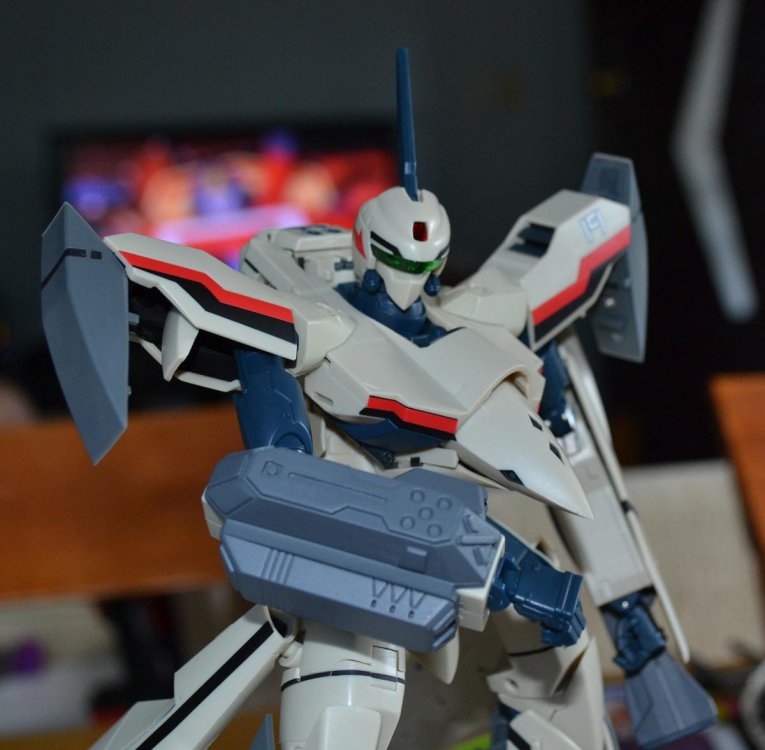
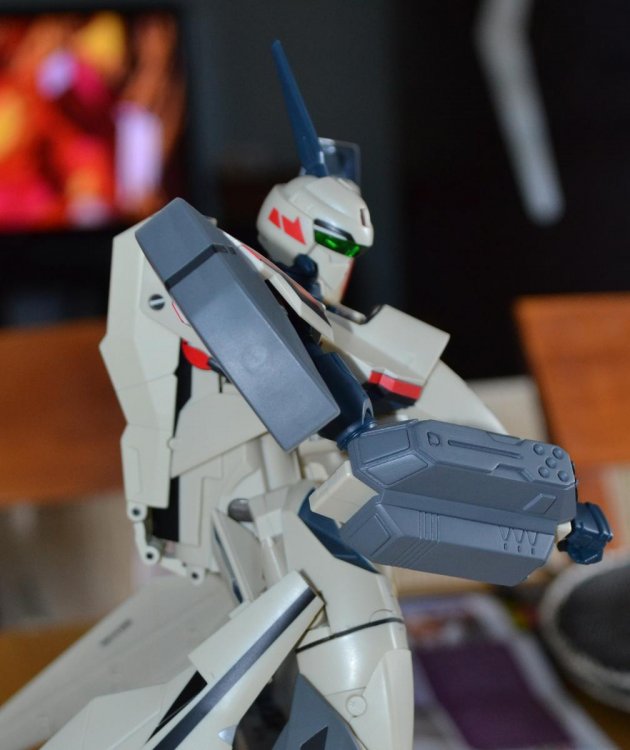
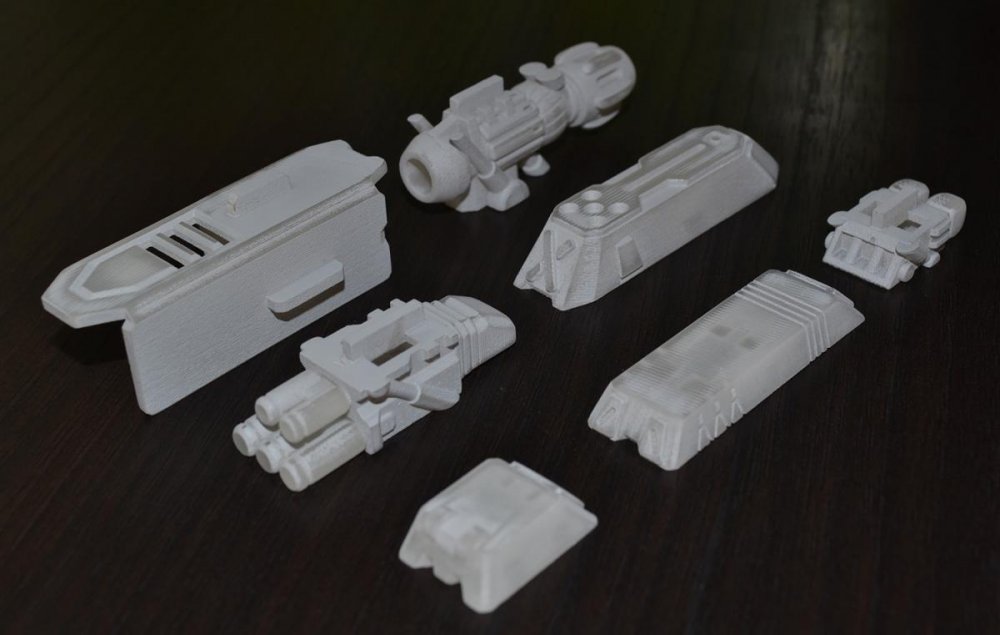
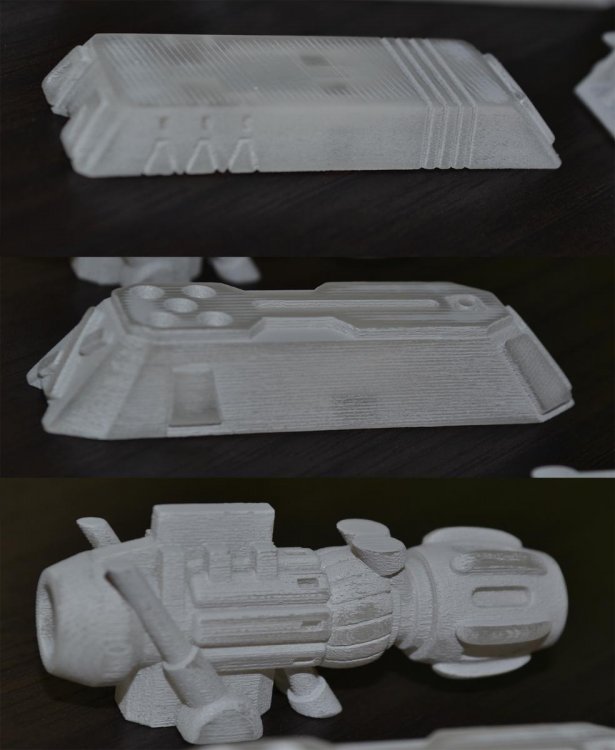
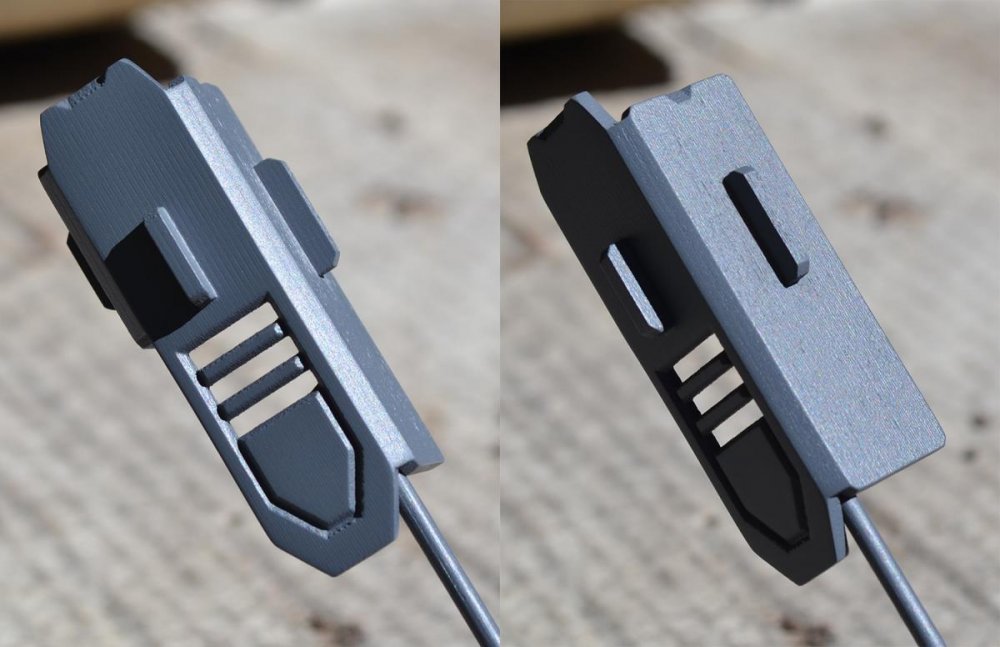
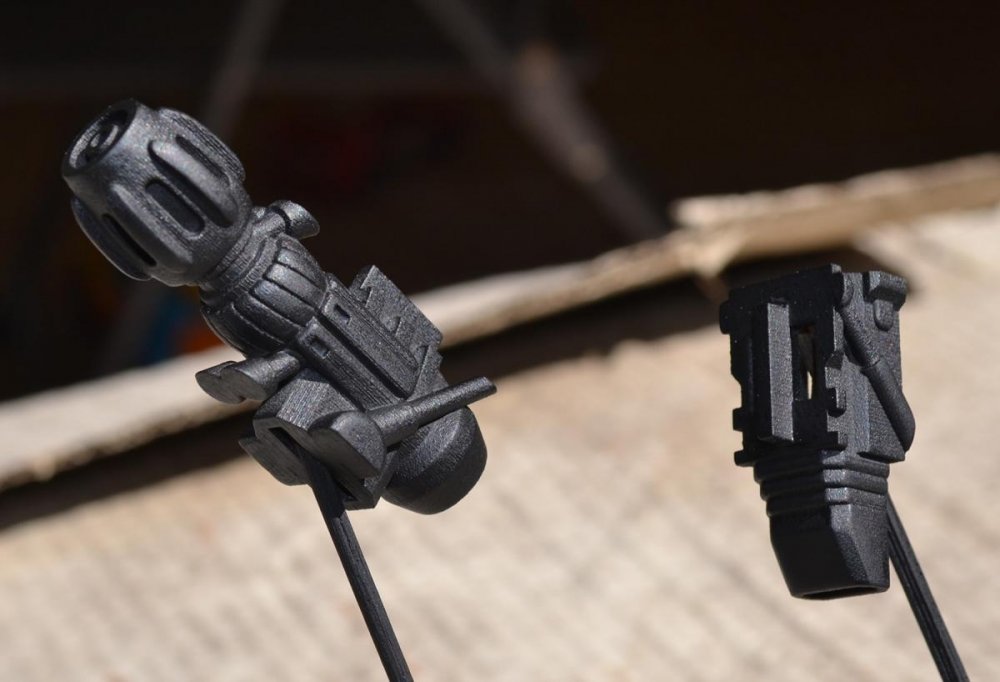
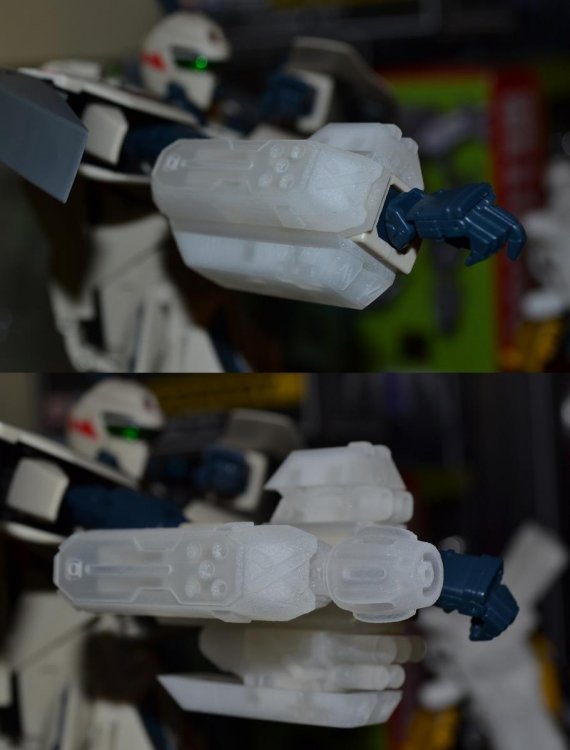
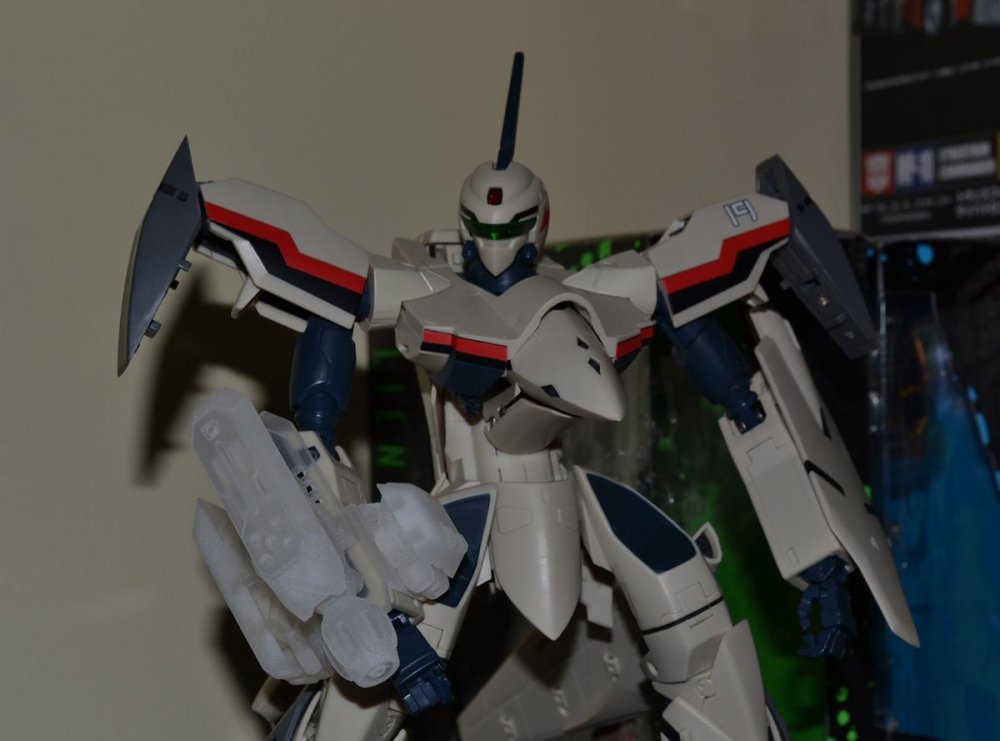
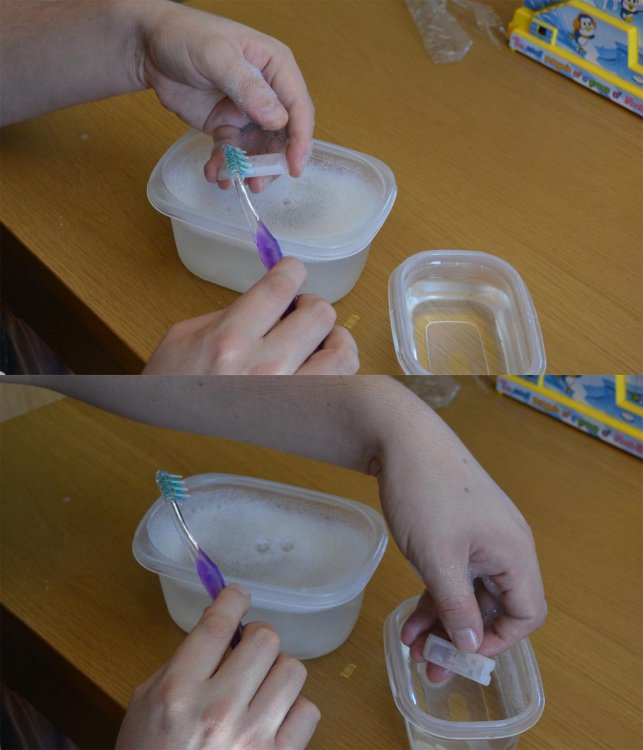
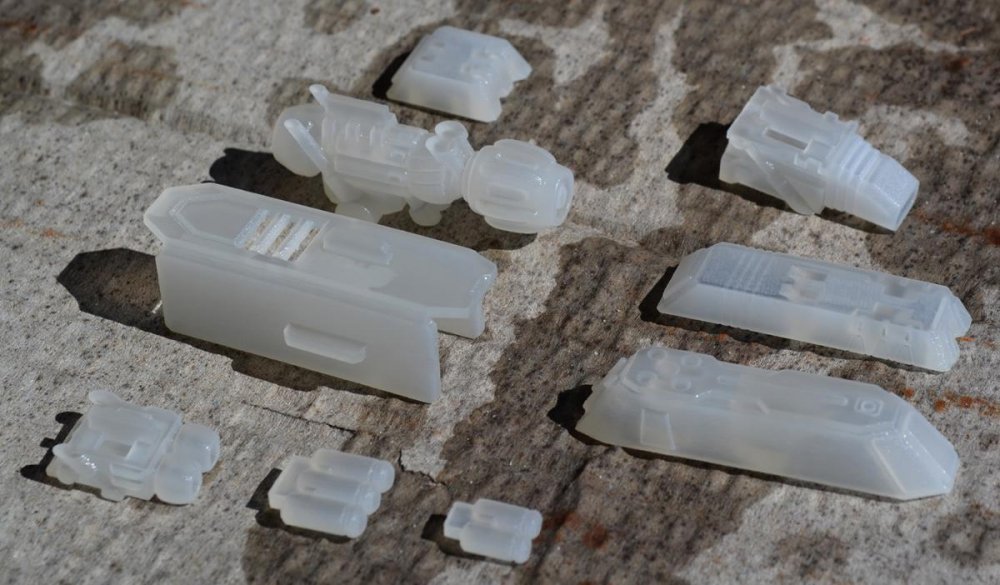
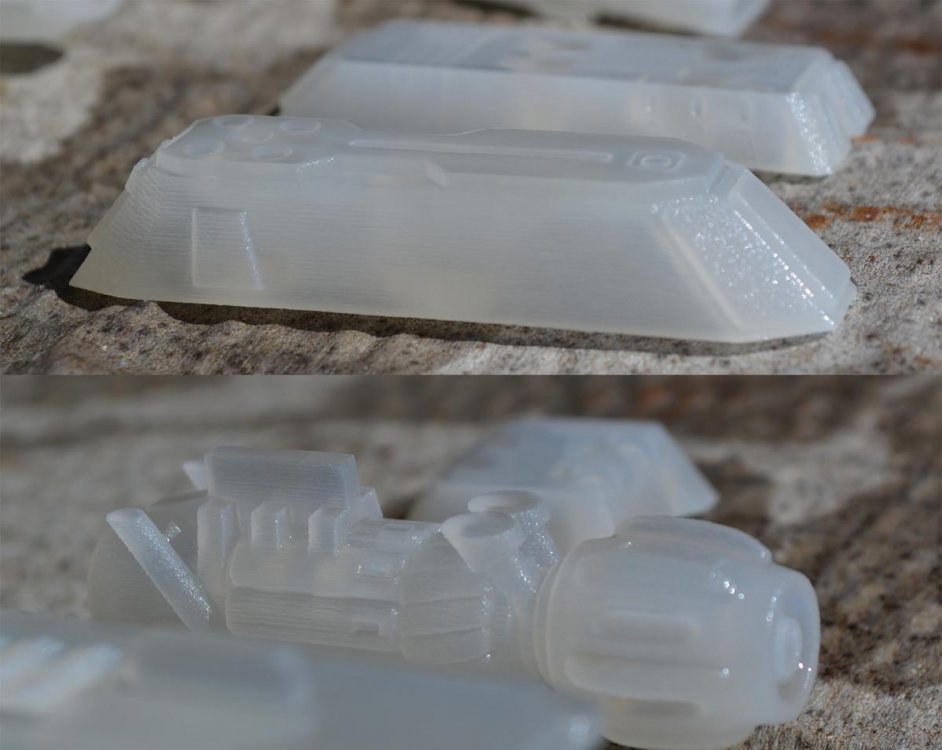
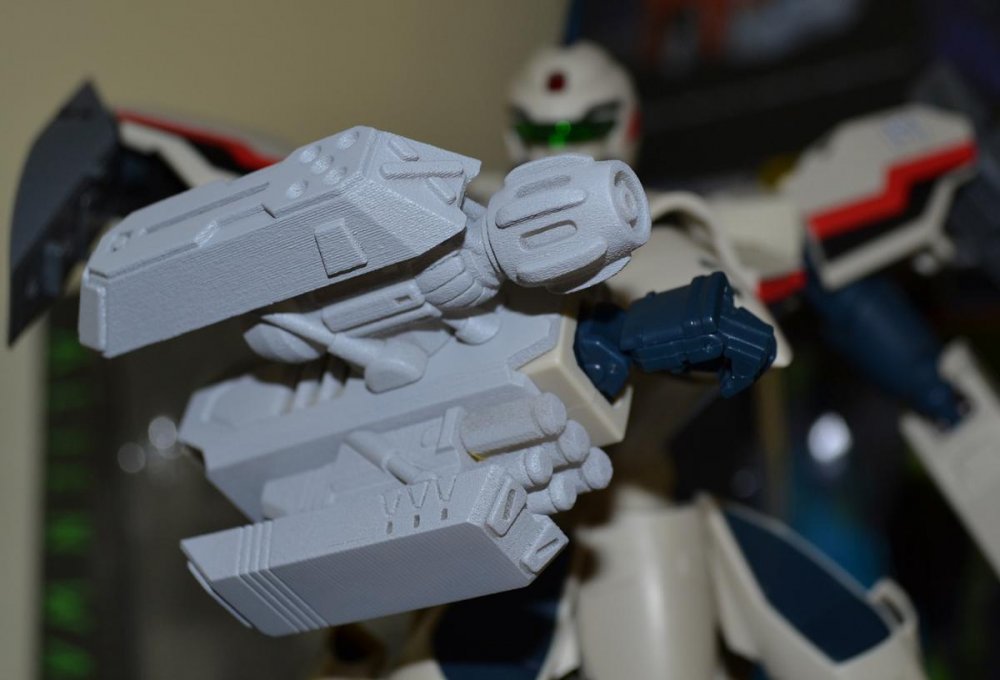
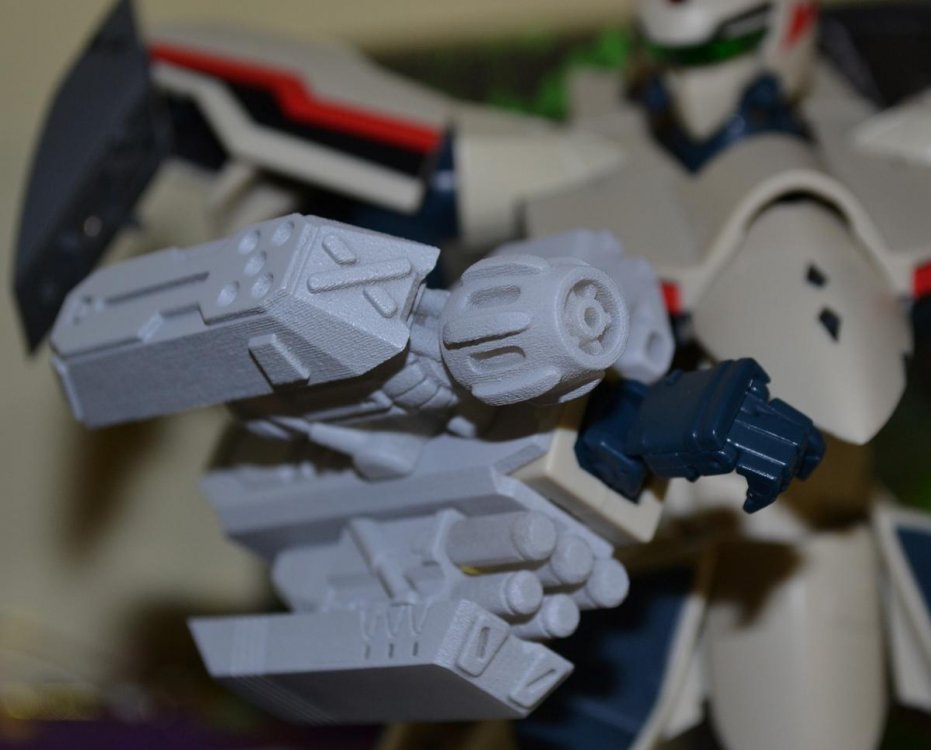
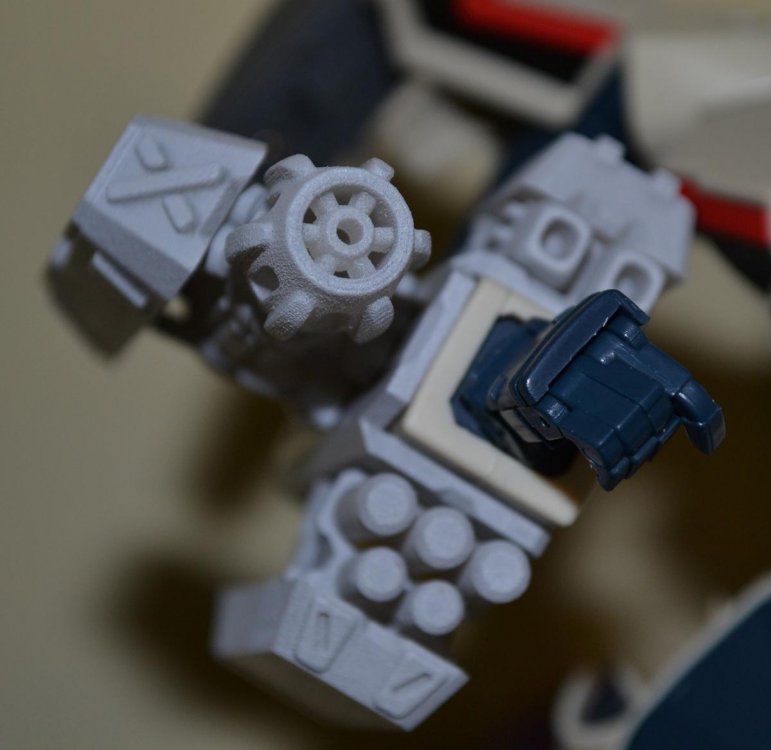
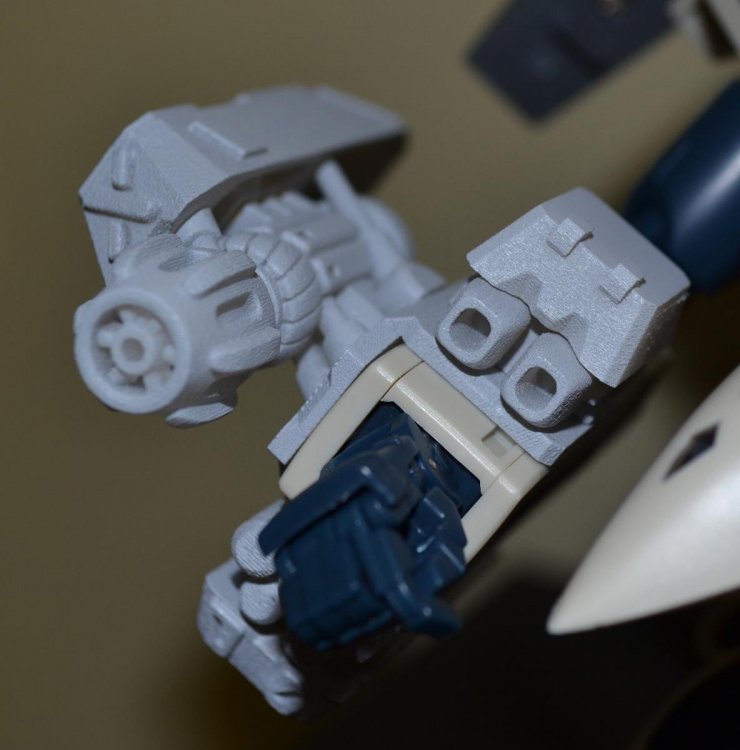
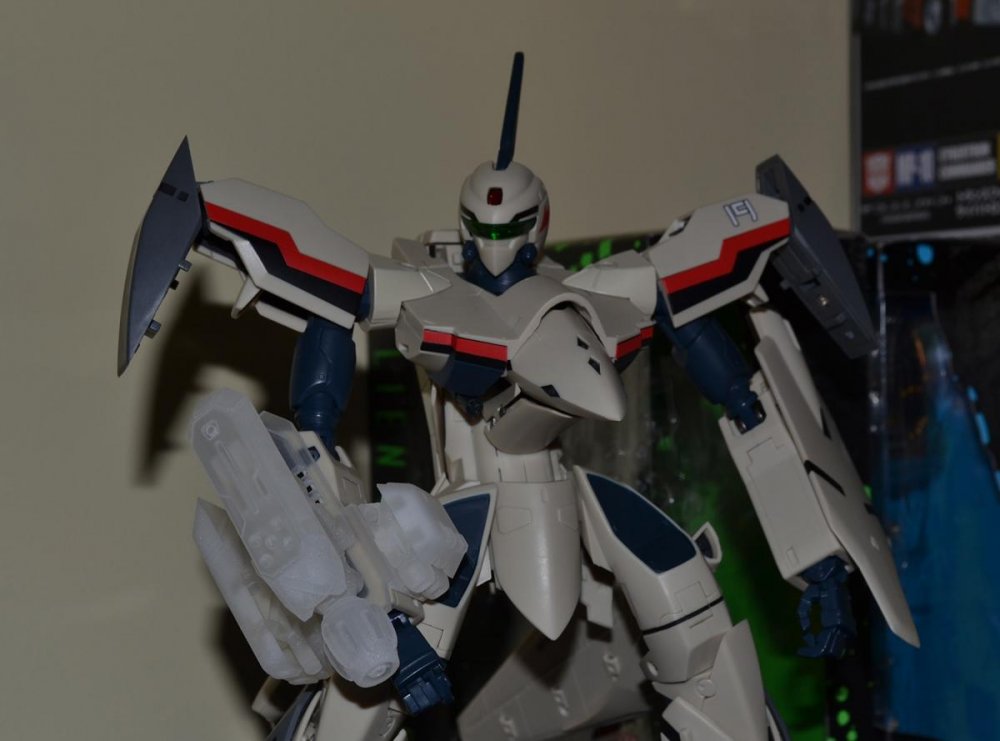
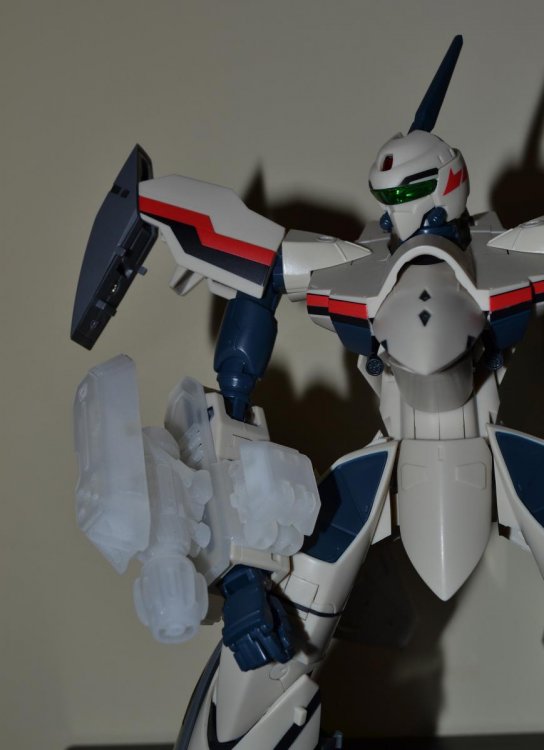
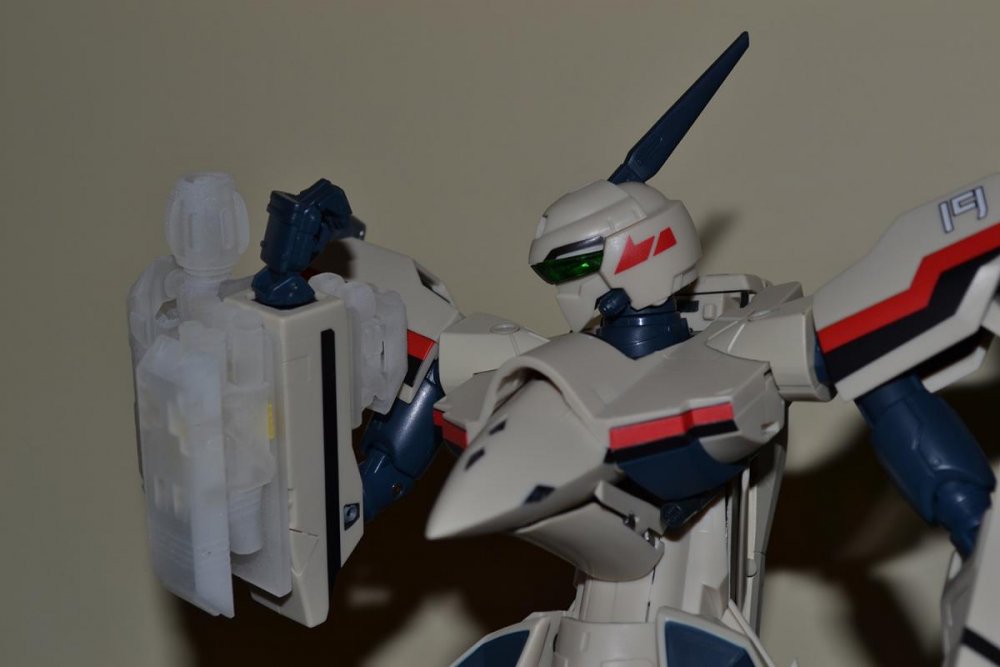
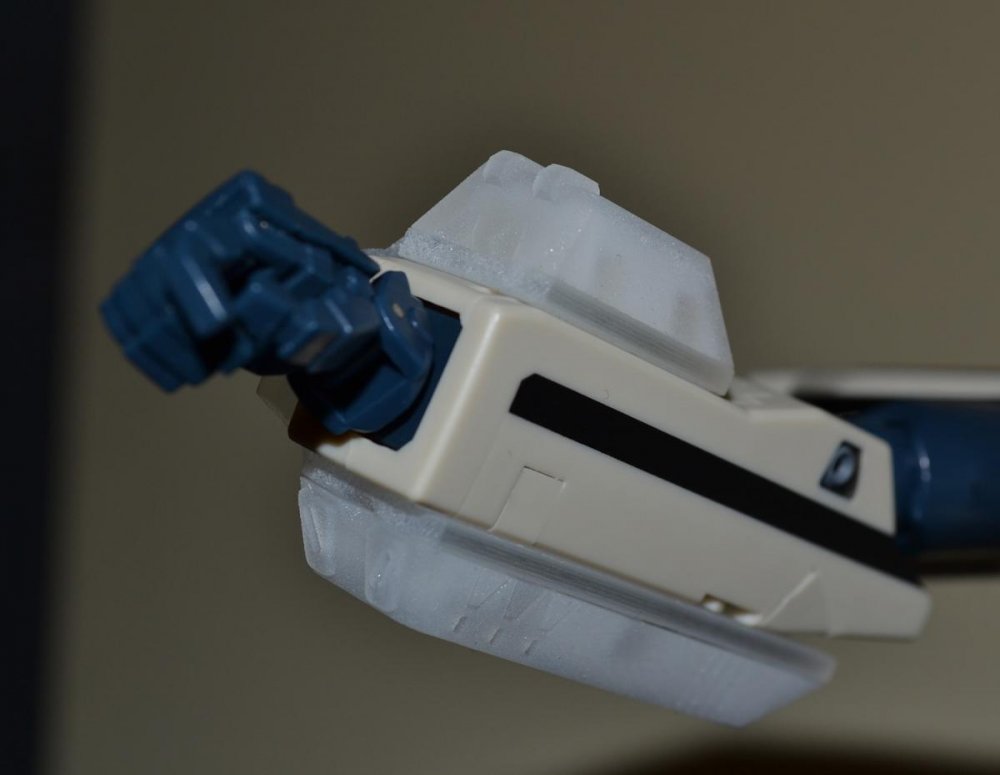
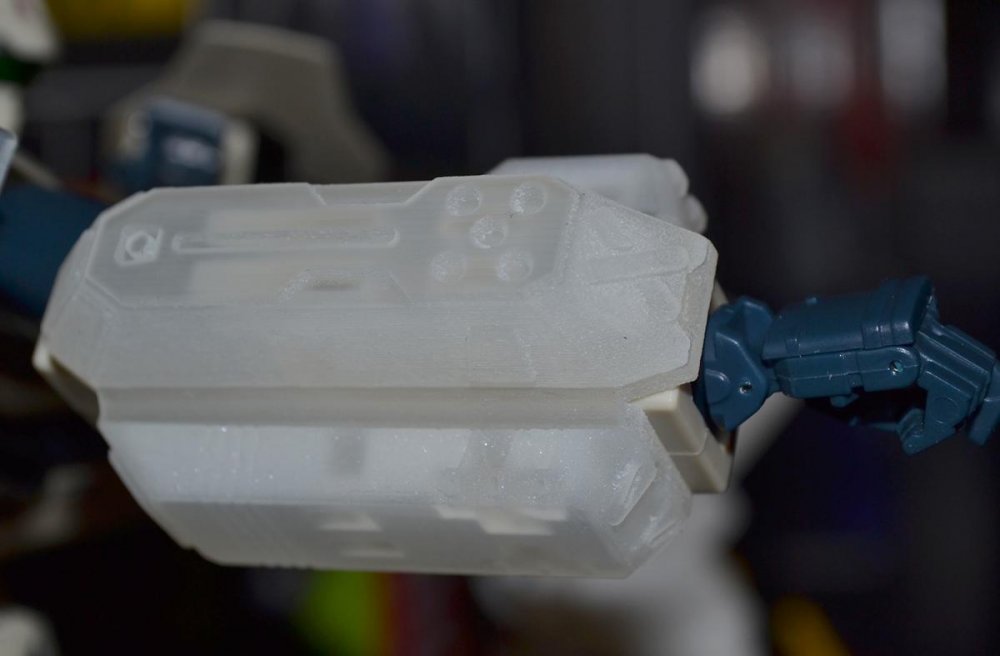
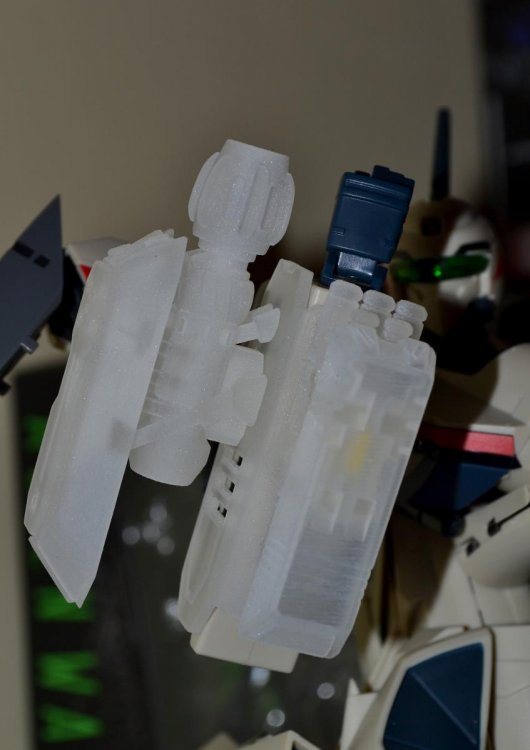
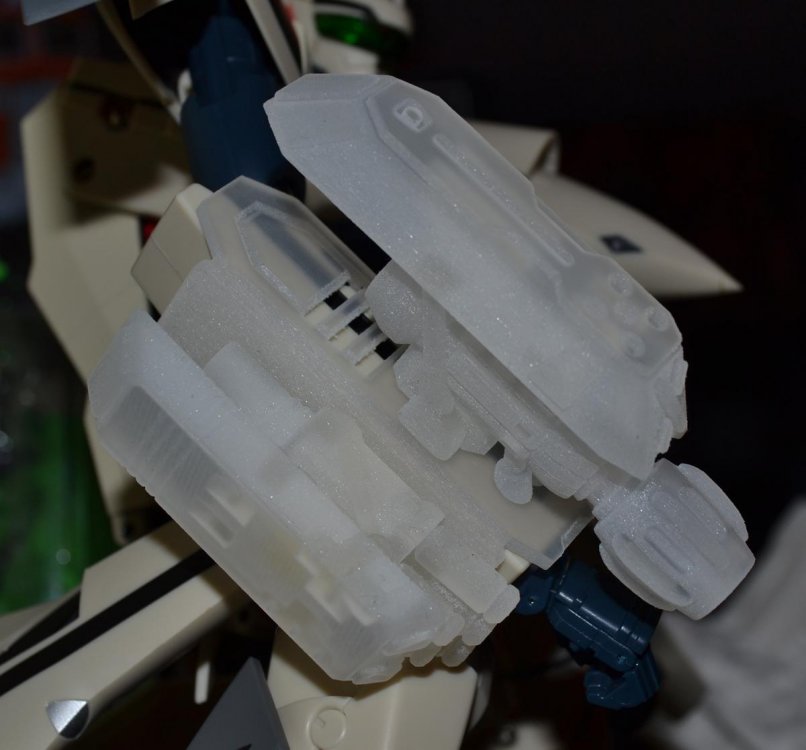
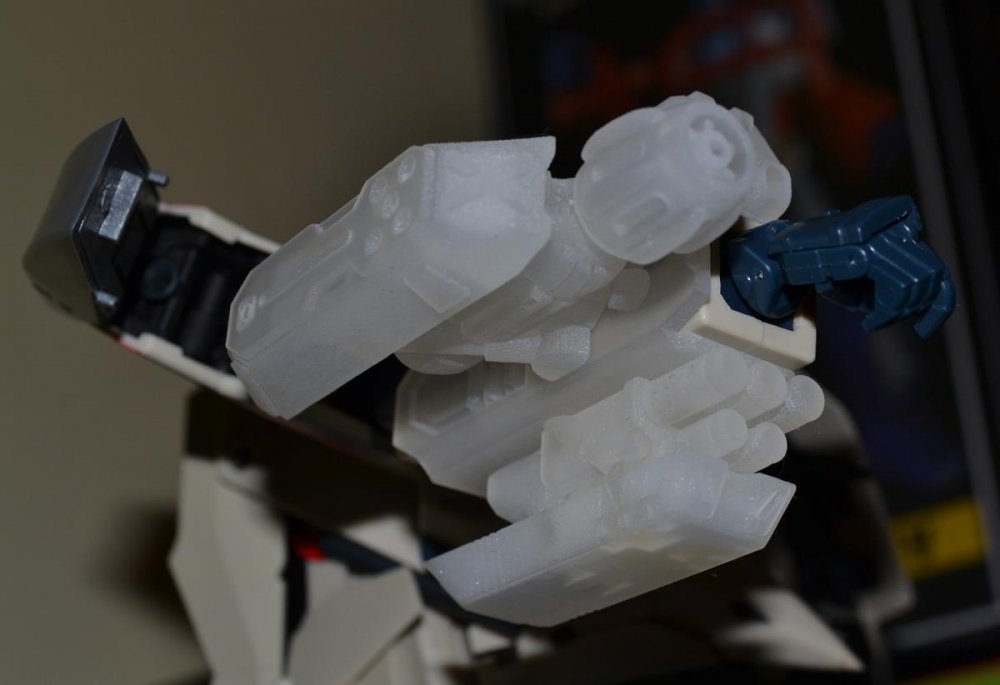
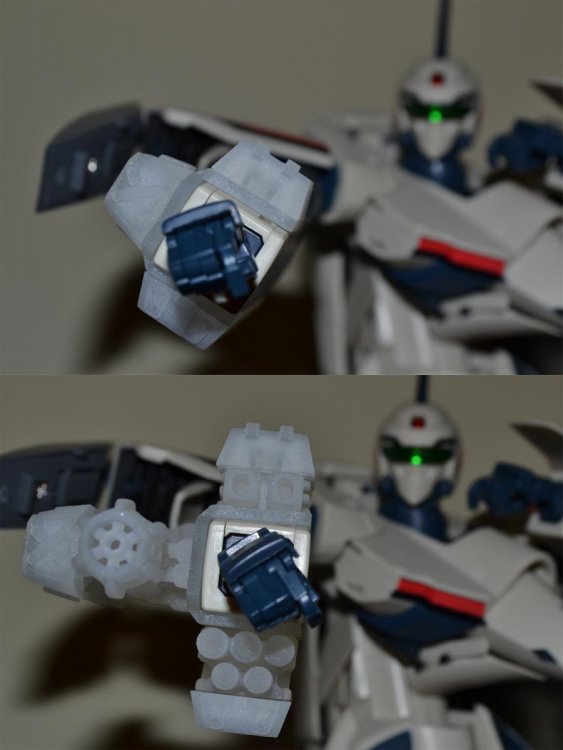
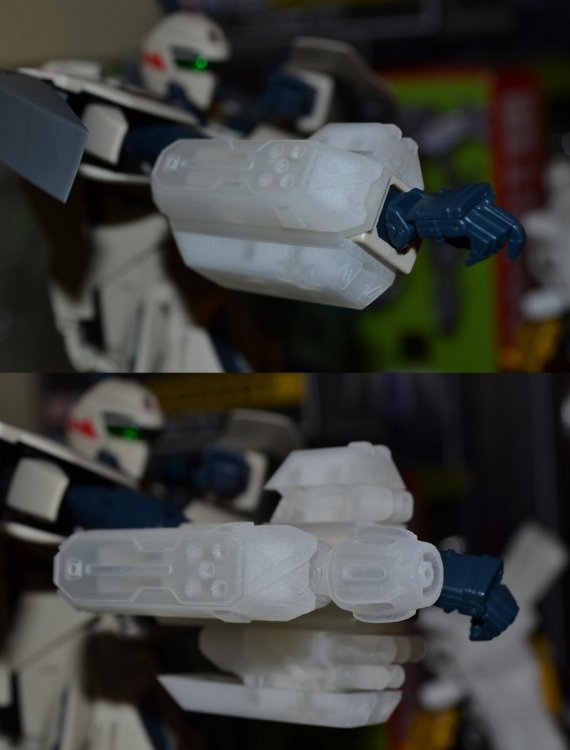
Hey everyone! As some of you have already seen on the Arcadia YF-19 thread and my general custom release thread - I've finally gotten my rendition of the YF-19's arm weapon from Shapeways; I'm going to use this thread to document the process of getting a 3D print up to spec, start to finish. I have a long weekend and hope to get it done between hanging with the family (4yo son and pregnant wife!) and lounging about /packing the house for a move over the next few days. Feel free to ask any questions regarding ordering or preparing the print. First off (after initial fitting of parts and testing on Alpha-One ) I separate all the parts and soak them in a not-quite-hot-but-not-warm tub of water with regular washing detergent. I then scrub each piece (carefully) with a toothbrush and then put in a second bath of just-hot-water (don't want to warp the plastic) and then scrub again and rinse in some more warm water - shake them off and take outside to dry in the sun for a good few hours, turning them all the while so each surface gets a decent amount of exposure; I then use a primer (Mr.Surfacer if u can get it or Tamiya works well too) and lightly coat all surfaces and let dry for about 4 hours - again, turning so each surface gets a good dose. Now you can clearly see the print lines - they look severe here cause I used the macro setting on my camera, but to the naked eye, it appears much smoother. Still, it will require sanding. I've now sanded the pieces as best I can given the awkward angles (no photos yet! tomorrow ) using Tamiya Finishing Abrasives P320 grain - using the P2000 did little, so not worth using it. I can now see where the primer has filled in the print line grooves. Will update with new photos of the sanded (will also brush with a dry toothbrush to get rid of the sanded primer and plastic and also pick out debris from details with a pin-needle or hobby blade) pieces and next round of primer and/or base colours - as well as what Tamiya colours I use. And a couple more pics for the lulz;
-
Negatory - I initially made mine to the measurements of the Yamato VF-19S, F & P in he hopes they (Arcadia) would make the YF-19 with the same arm dimensions (thankfully, they did) - I never made mine with the intention of it fitting the previous YF-19.
-
Yeah, my version is different from Maiden's.
-
Dude, it's so easy even a ding-dong like me can do it. This time I will record my progress.
-
Sure is - smells strongly of Dr.Pepper and is greasy like it has mold release - so needs a soapy bath and clean then some primer and a light sand and then some more primer!
-
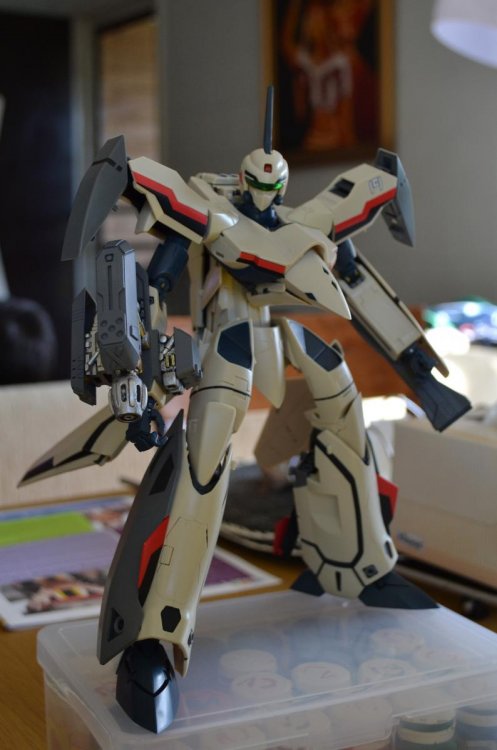
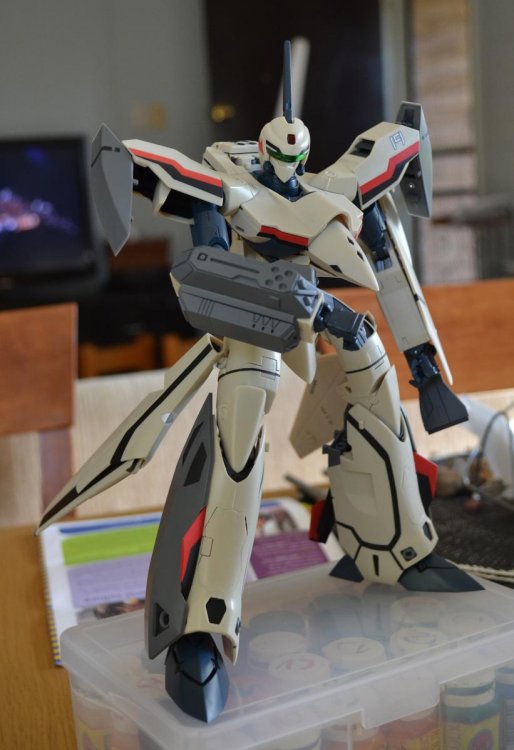
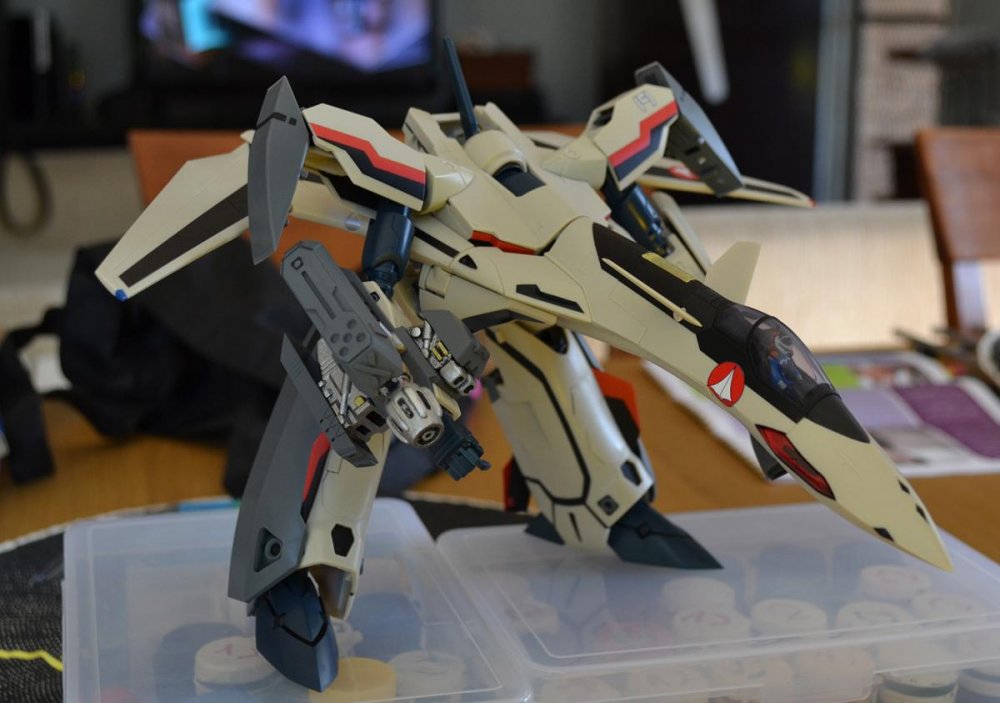
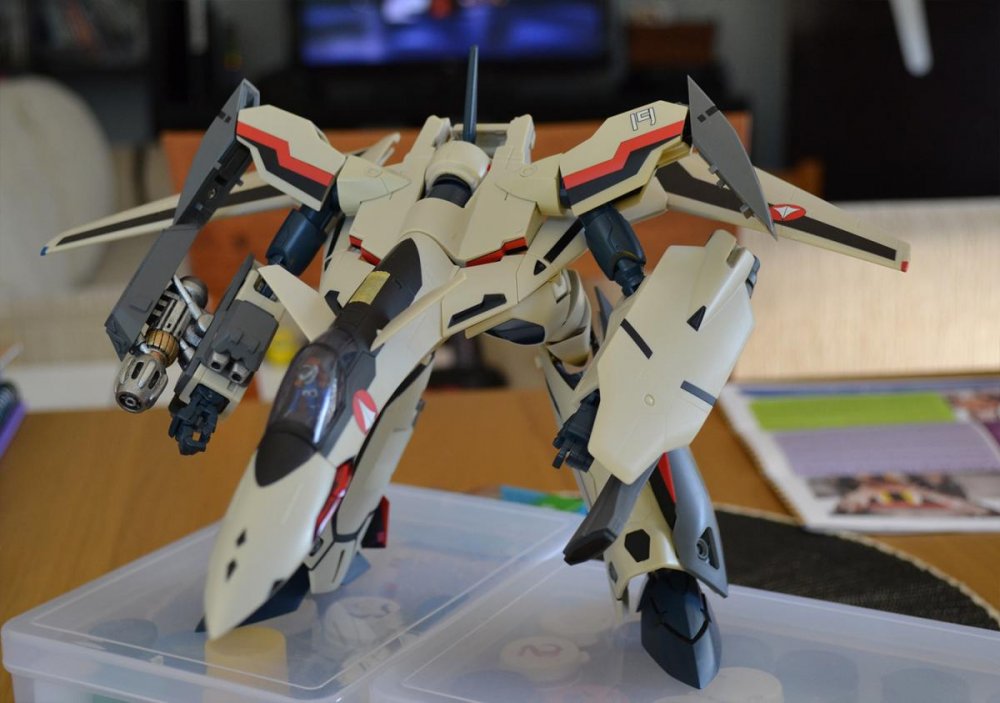
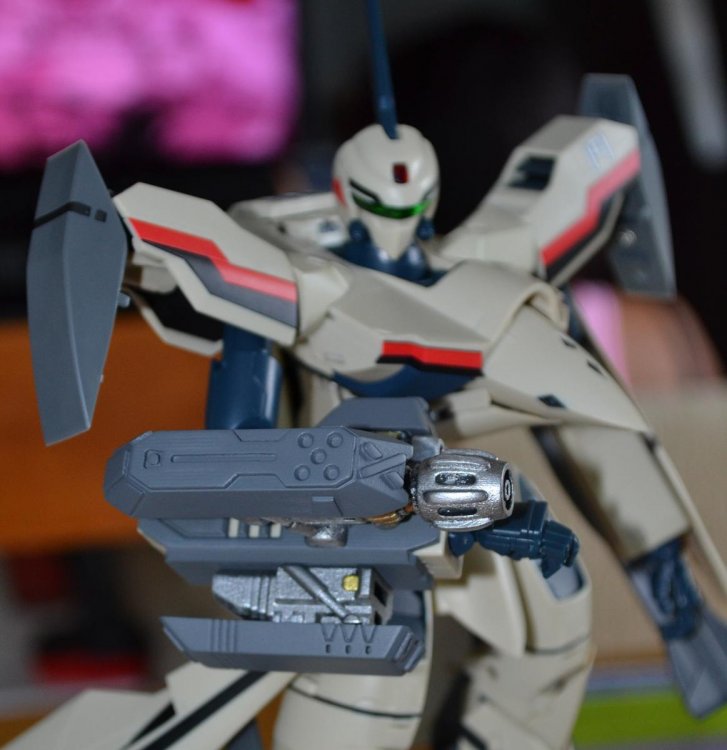
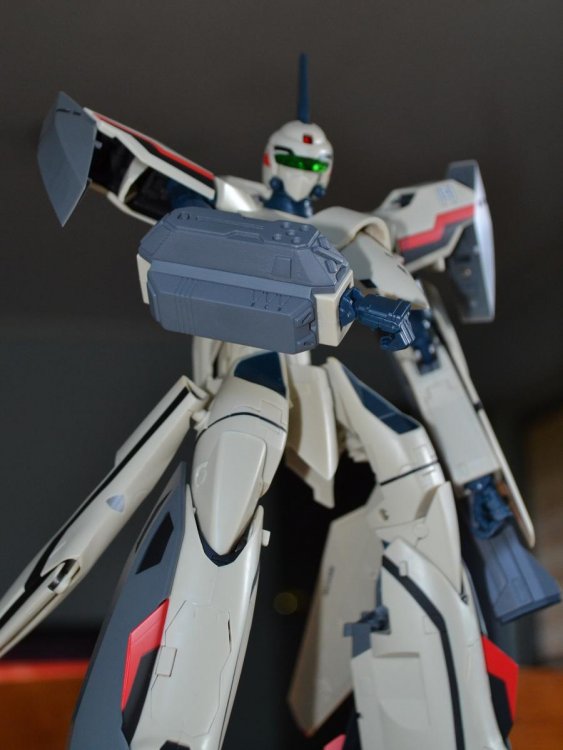
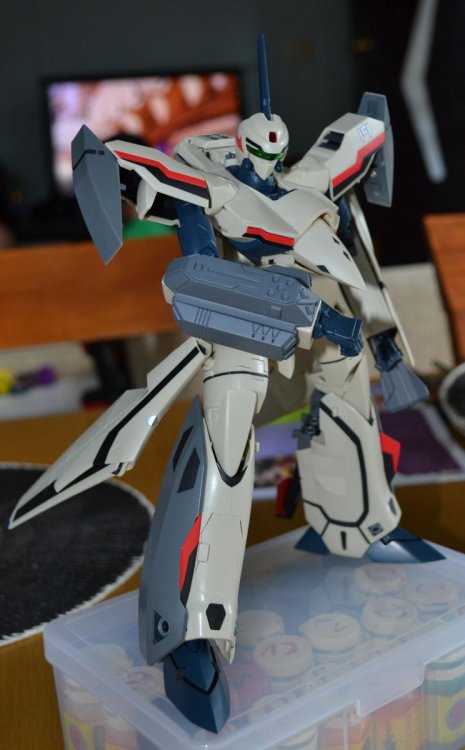
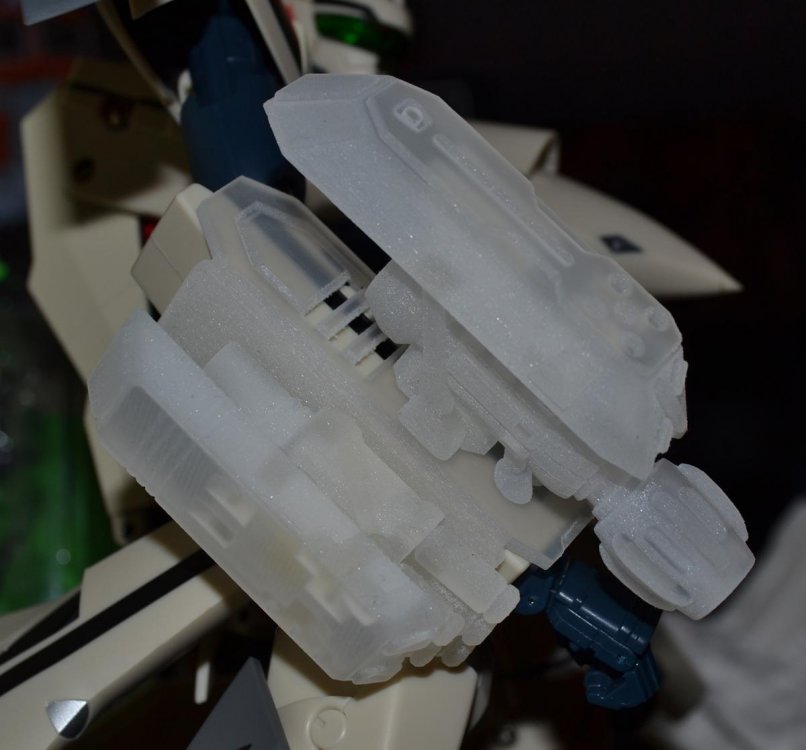
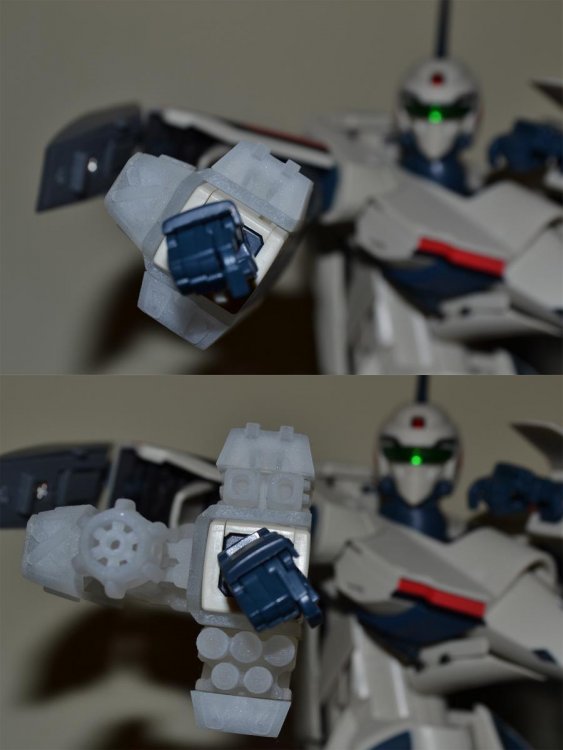
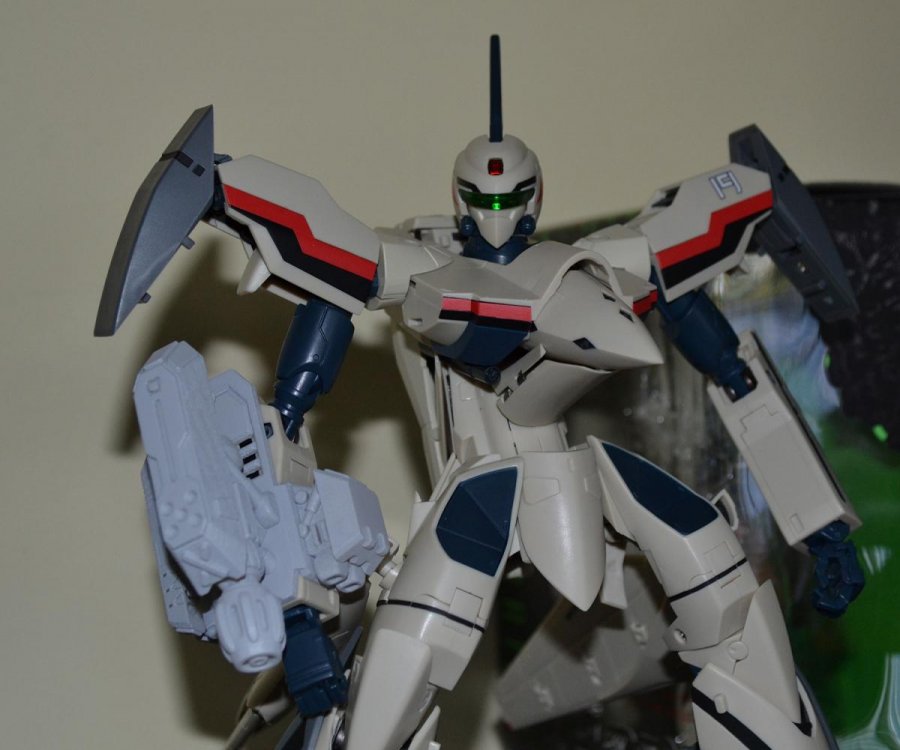
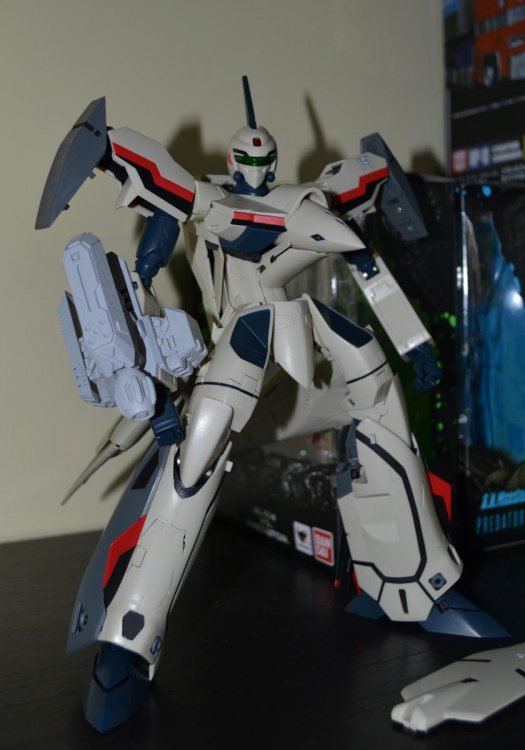
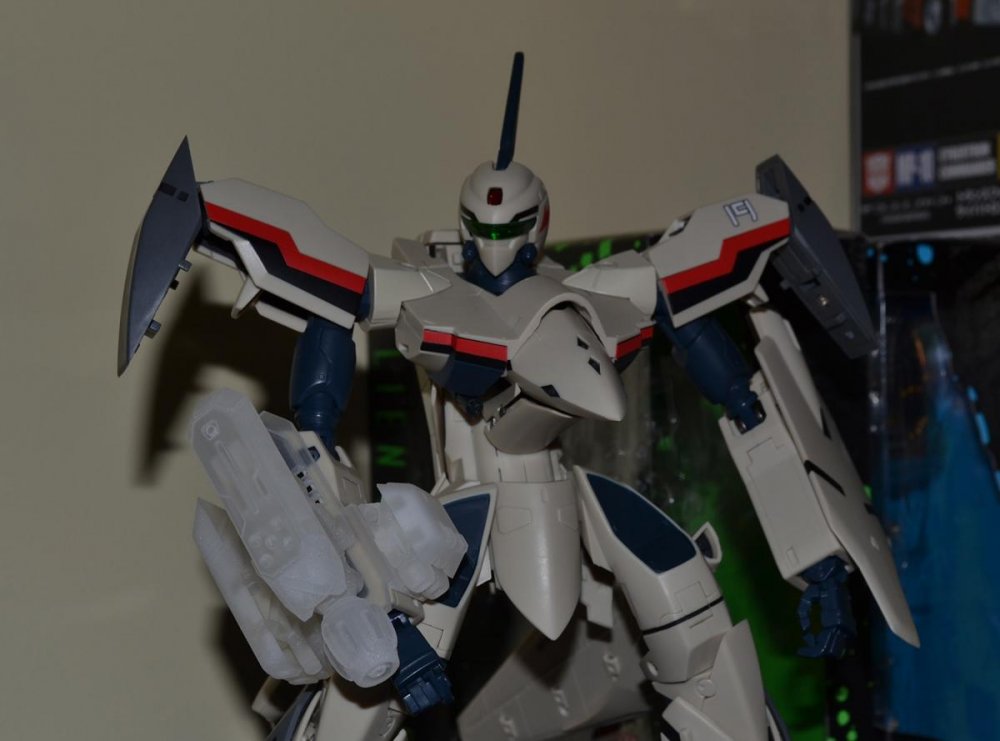
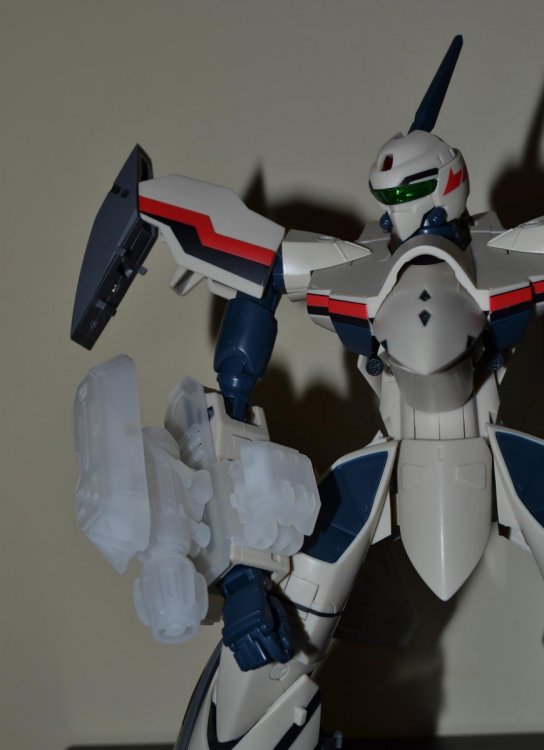
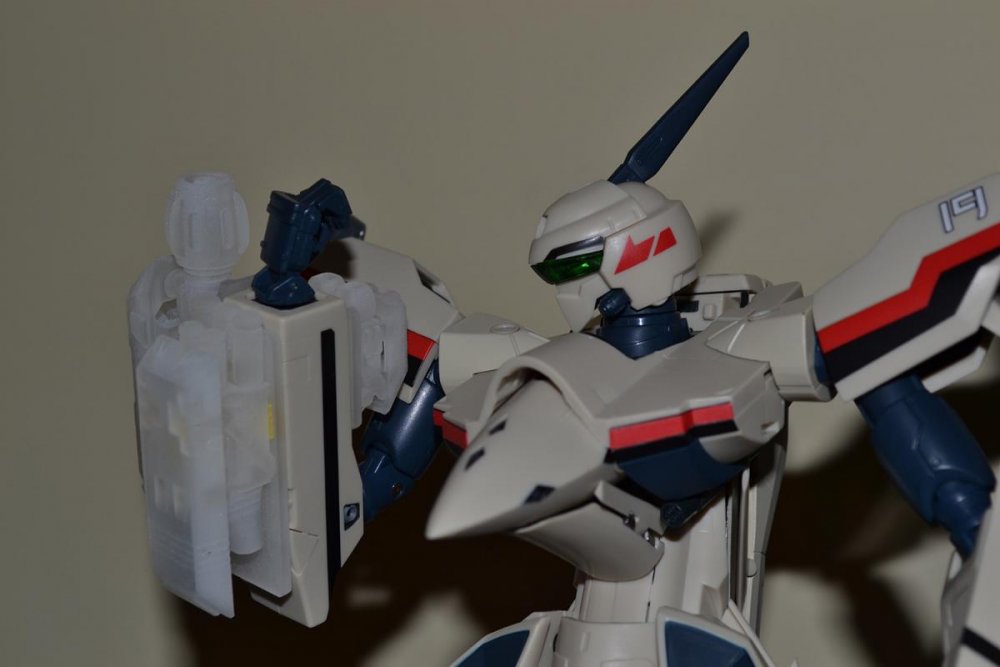
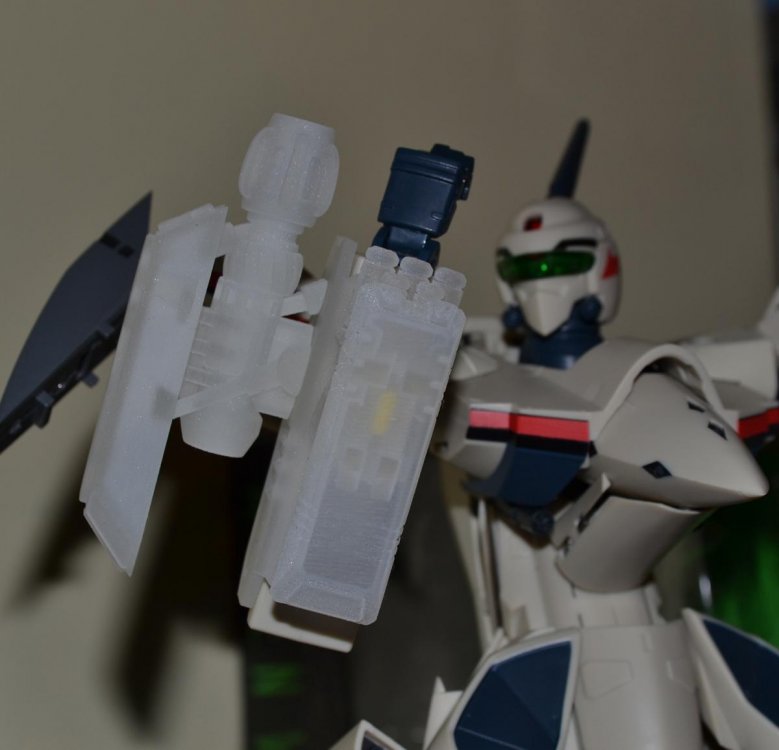
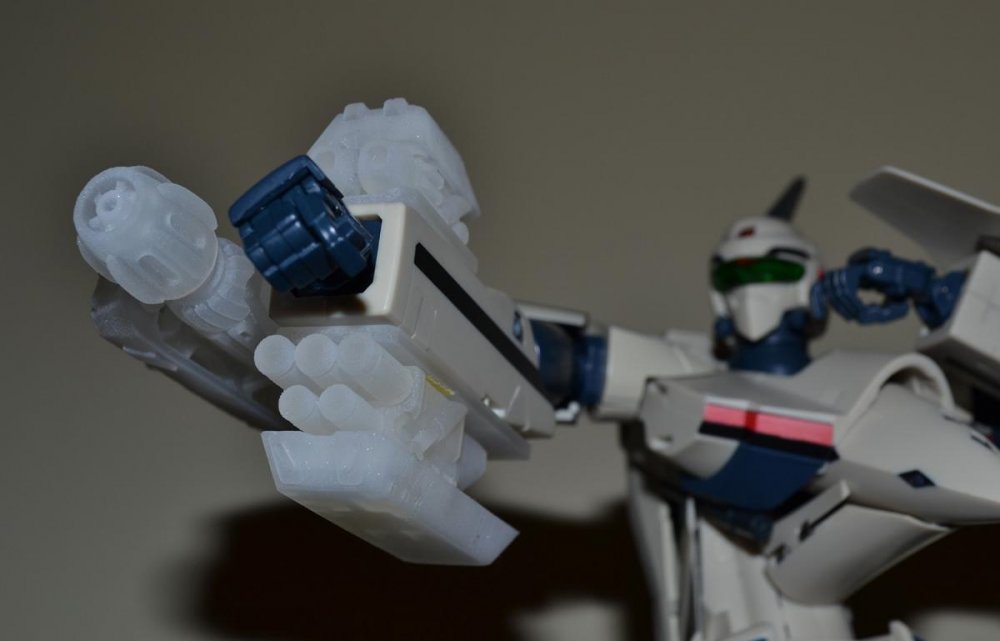
It fits!!! More pics here, if interested; http://www.macrossworld.com/mwf/index.php?showtopic=37124&page=6#entry1115033 And available now from my shop.
-
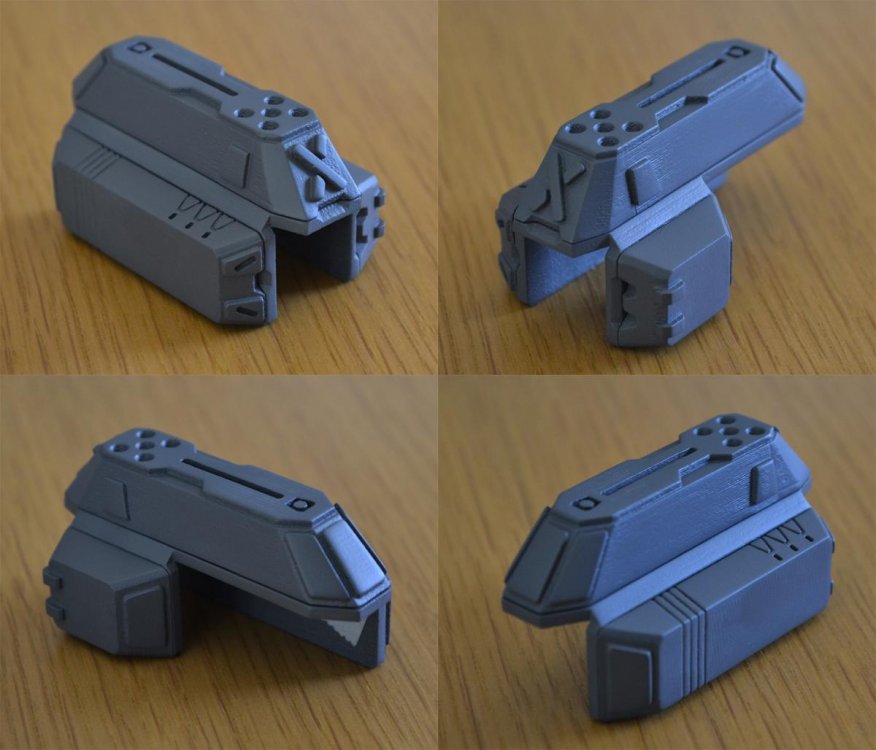
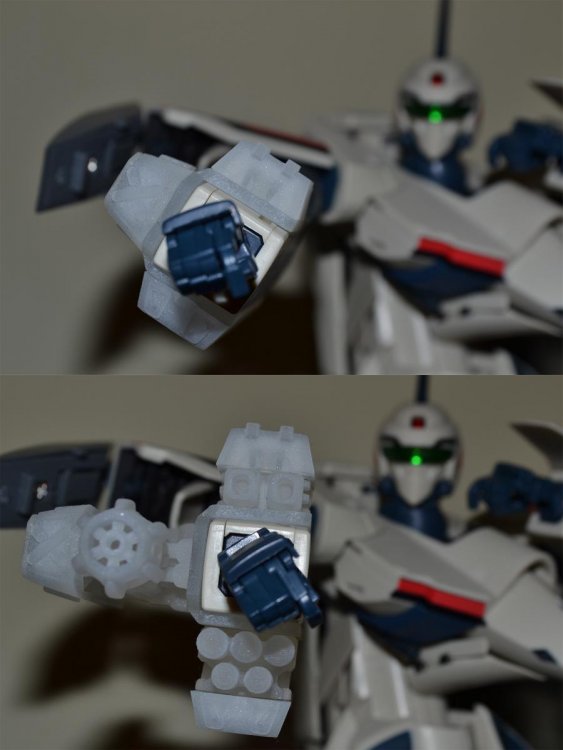
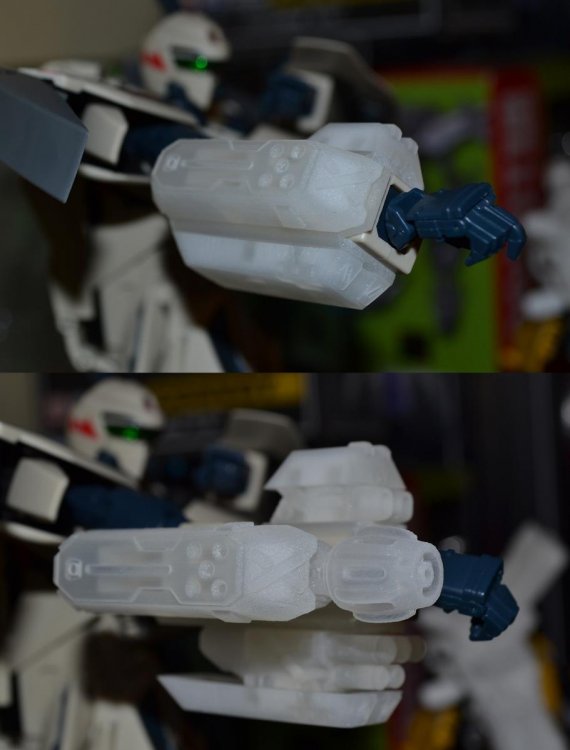
My order got here today; Small snip of plastic (1mm) off one of the gun part slots (micro missile component) and it all fit perfectly! Can't wait to paint it up Available here; Right arm; https://www.shapeways.com/model/1386714/1-60-19-style-arm-cannon-right.html?li=shop-results&materialId=62 Left arm; https://www.shapeways.com/model/1386765/1-60-19-style-arm-cannon-left.html?li=shop-results&materialId=62 Both arms; https://www.shapeways.com/model/1386725/1-60-19-style-arm-cannon-l-r.html?li=shop-results&materialId=62
-
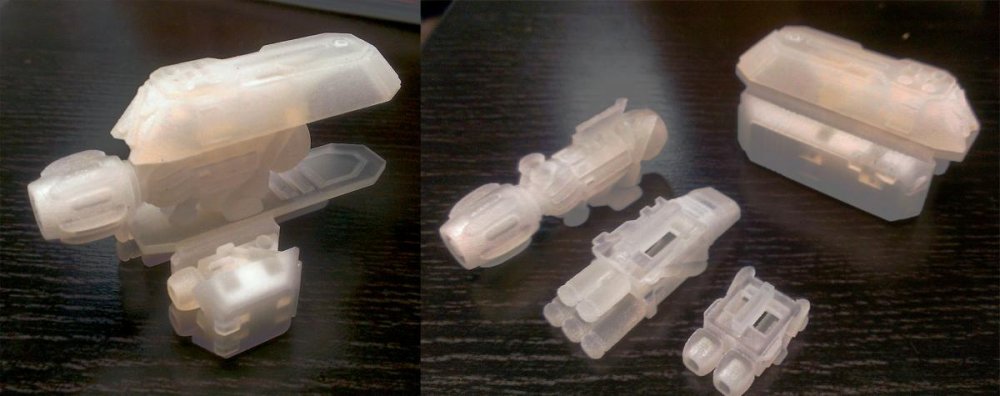
Wooo - look what I just got in the mail; Excuse the 'enhancements' done in Photoshop to make the camera phone pics decent. At work at the moment, so can't test on the '19 until I get home in 6ish hours... Was off by 1mm on the length of one of the slots - but easily cut off that mm to make it fit (bottom missile launcher) - it's chunky and I love it. Stay tuned!
-
I got it from HLJ mid-June last year. Perhaps I'll e-mail them about spare parts.

