Wicked Ace
-
Posts
1958 -
Joined
-
Last visited
Content Type
Profiles
Forums
Events
Gallery
Everything posted by Wicked Ace
-
More.


-
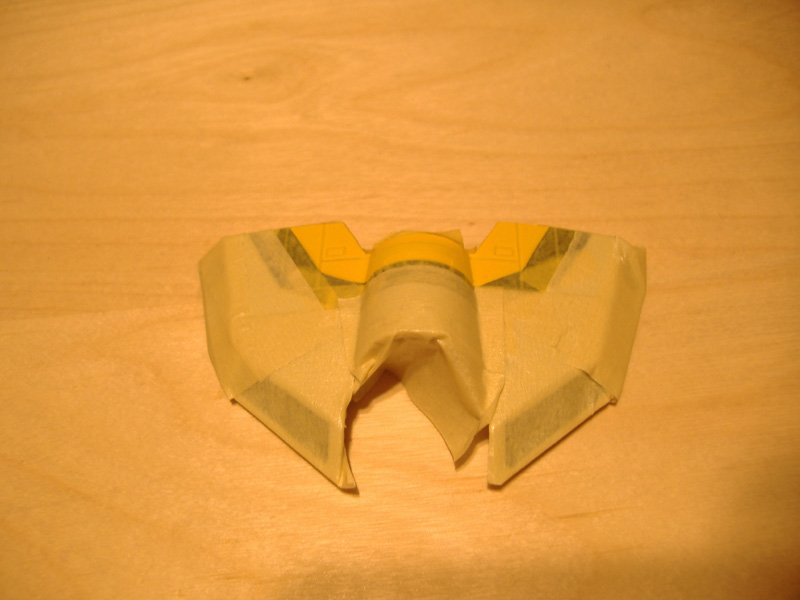
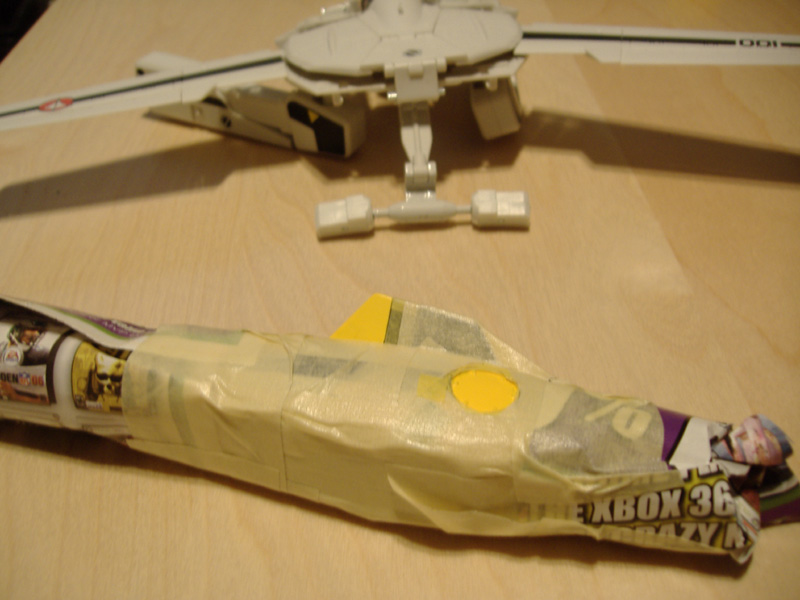
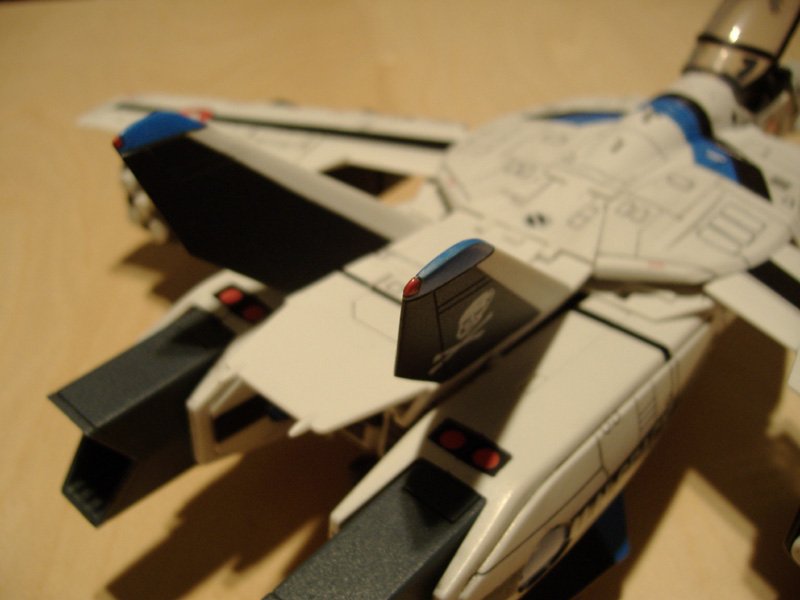
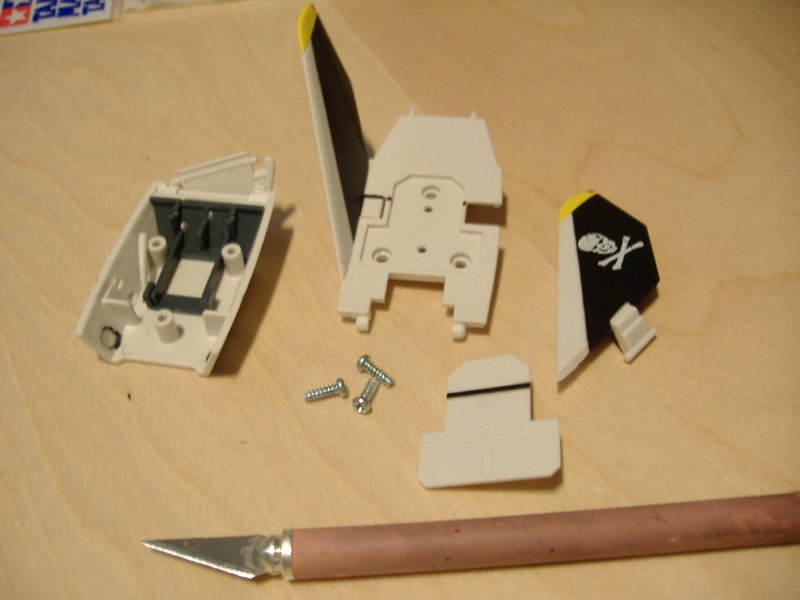
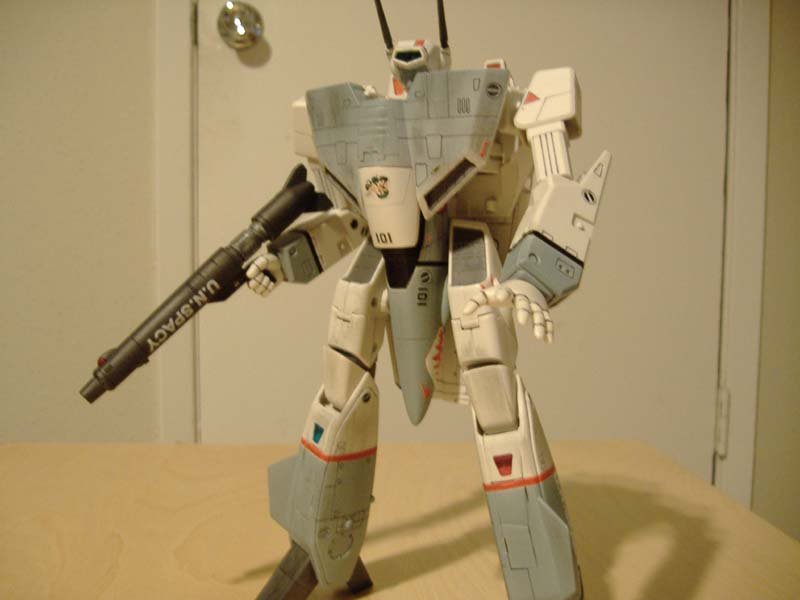
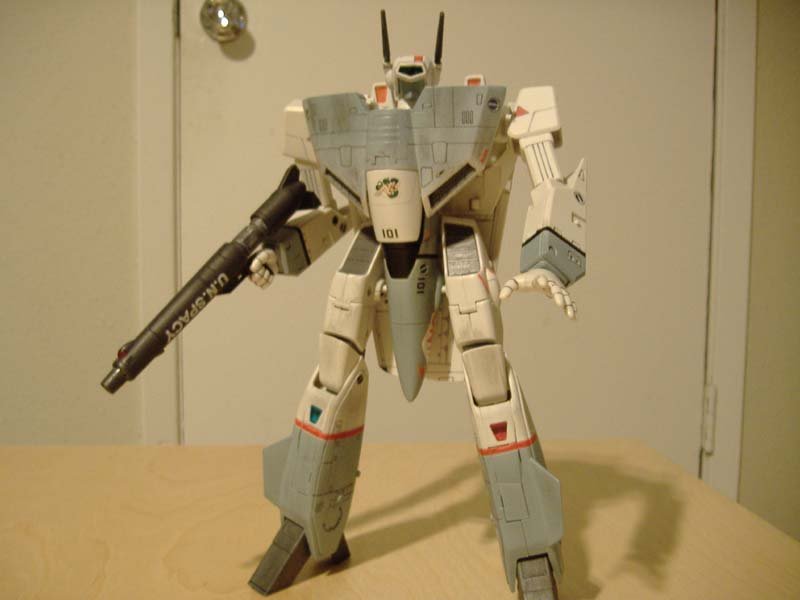
Skipping ahead a few steps (I think the other disassembly/masking steps are too elementary to post pics of), the result:


-
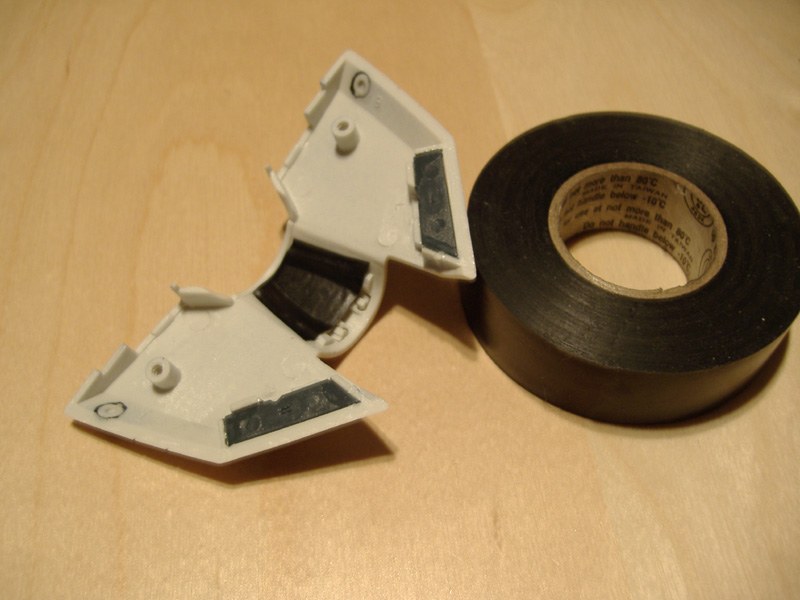
Oh, and to protect my new heat shield, I added electrical tape to the underside of the chest plate, where the shield resides. This has kept the heat shield from being gouged for three transformations now.

-
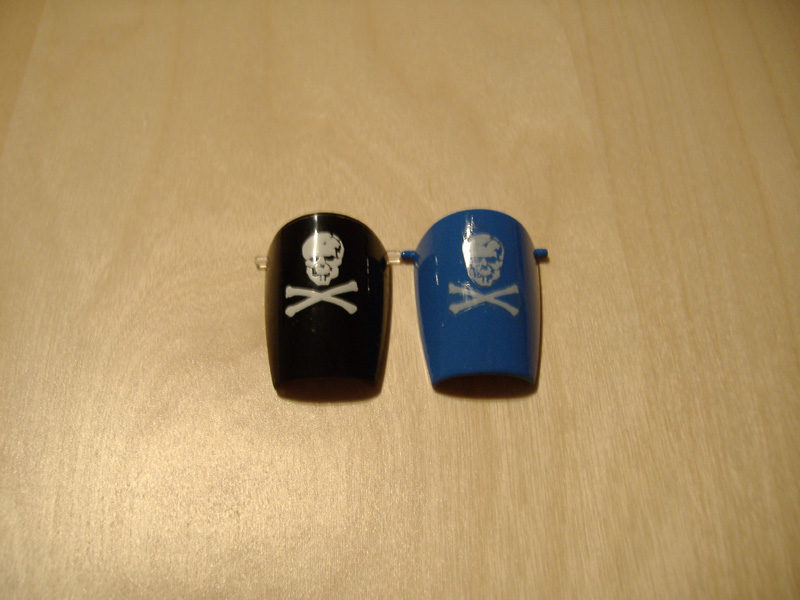
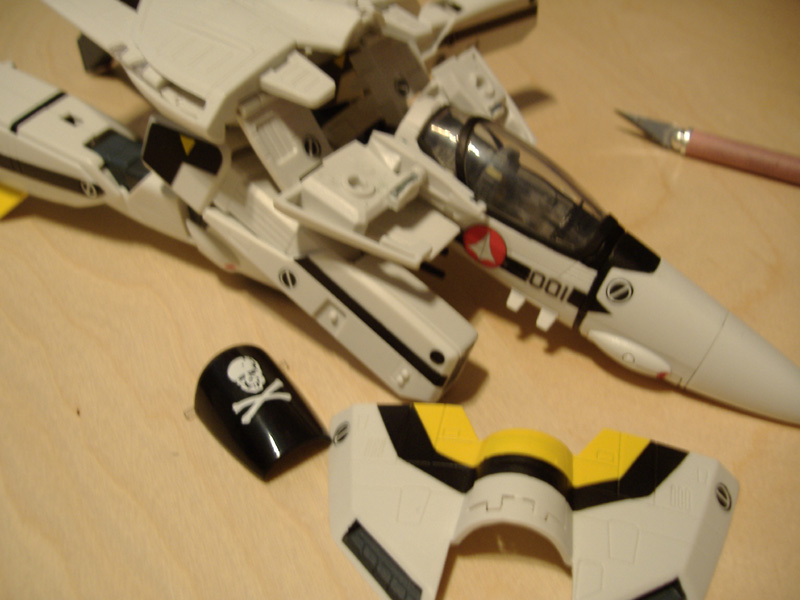
Of course, most of you will be able to strip off the black paint and substitute blue on the underside of the heat shield. Not me. Yamato gave me a heat shield with a crooked skull. My approach was to scuff the top of the heat shield, paint it blue, add a skull decal, and brush on lots of Future. The result didn't turn out too badly; however, looking closely you can see the edge of the sticker -- I'll fix this later by redoing the heat shield with a waterslide. A stock Roy heat shield and mine:

-
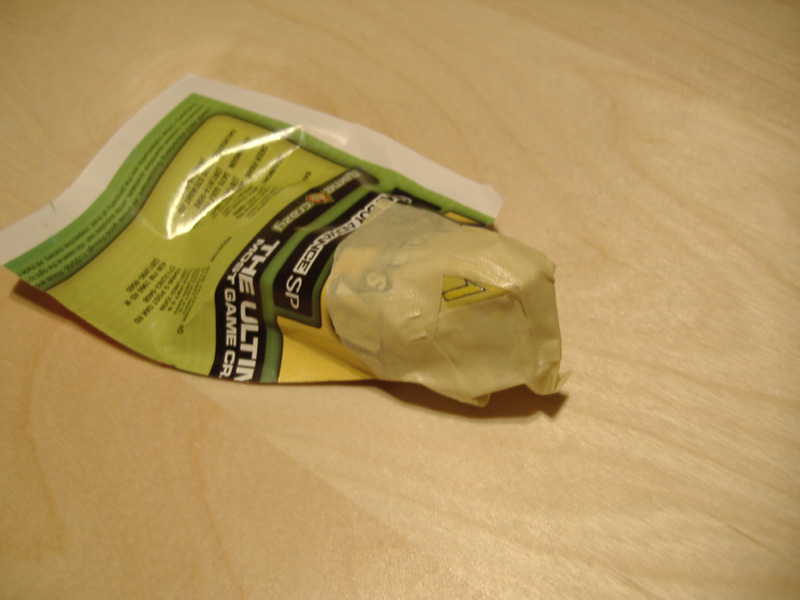
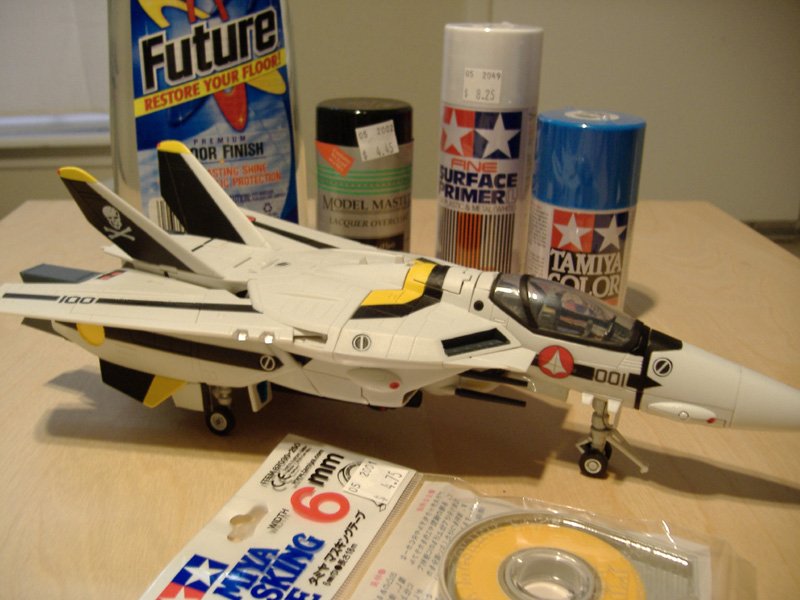
The masking (a.k.a. the "fun part") -- after masking, make sure to scuff the original paint with a scotch-brite pad and/or fine grit sandpaper, then apply primer (I like Tamiya's Fine Surface Primer):


-
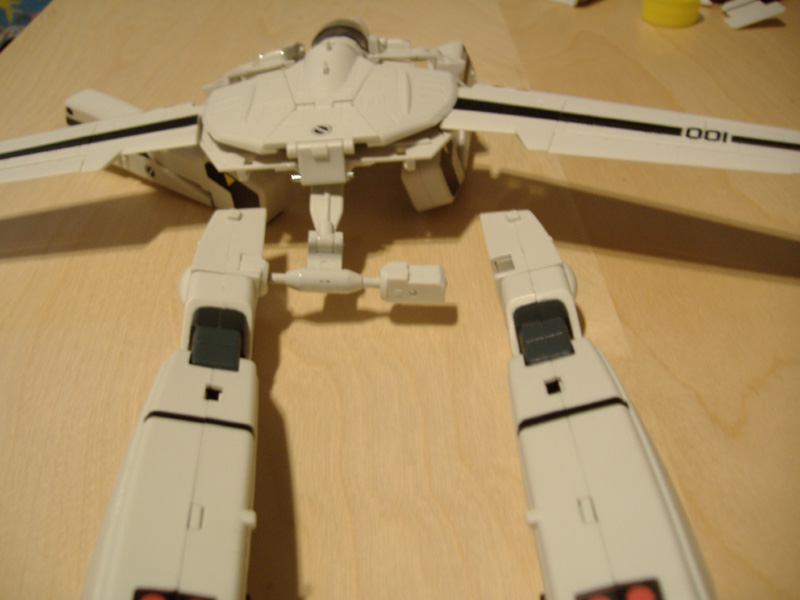
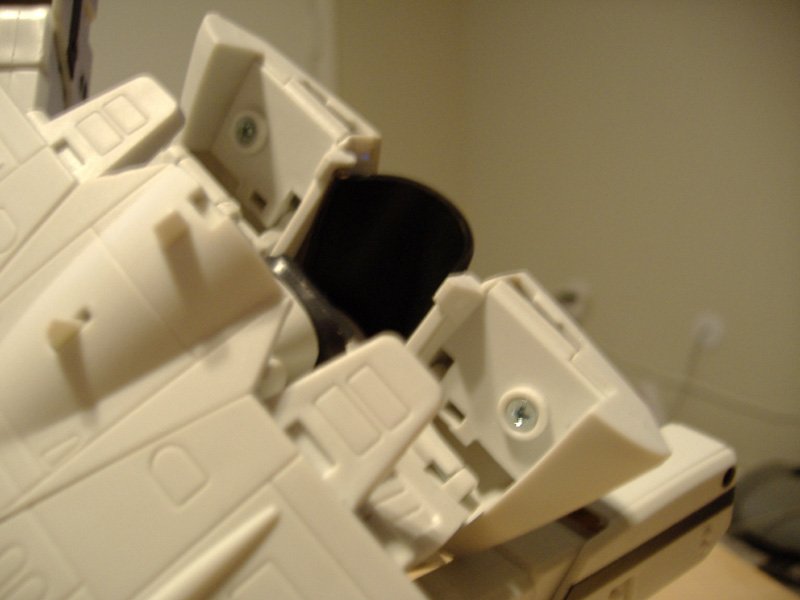
How the legs come off -- just pull outward (I wish I had seen a pic like this before I took apart my first Valkyrie):

-
The freed heat shield and chest plate:

-
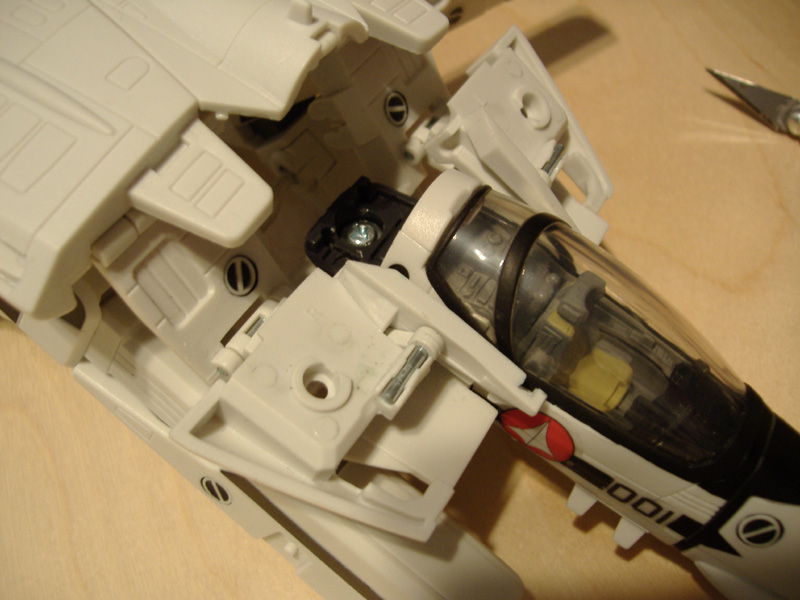
Getting access to the screw holding the battroid's head on -- once the screw is removed, you need to use a little effort to free it from its base:

-
Here, you can get to the two screws that hold the chest plate on.
-
The tail section disassembly:
-
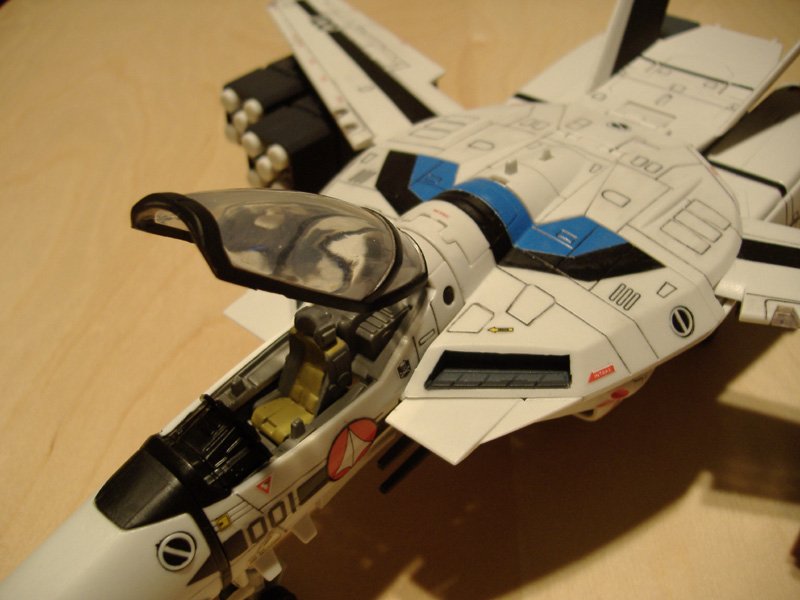
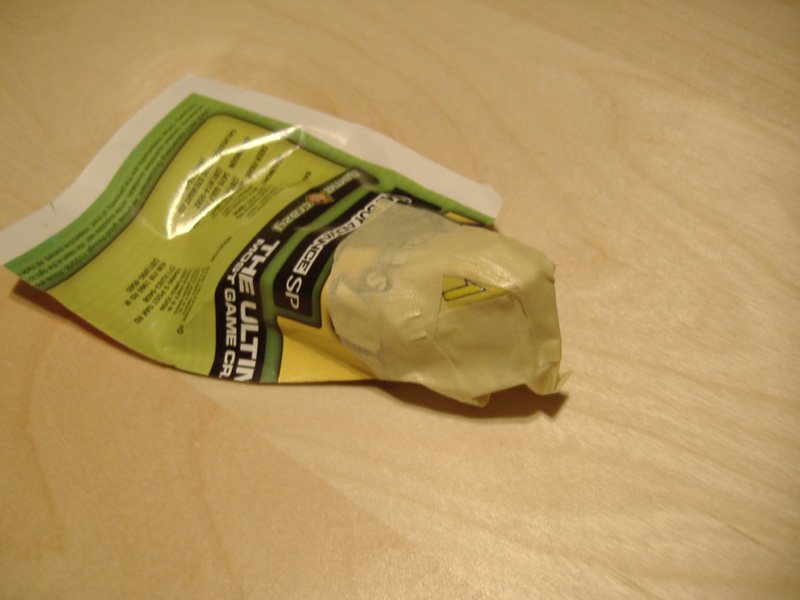
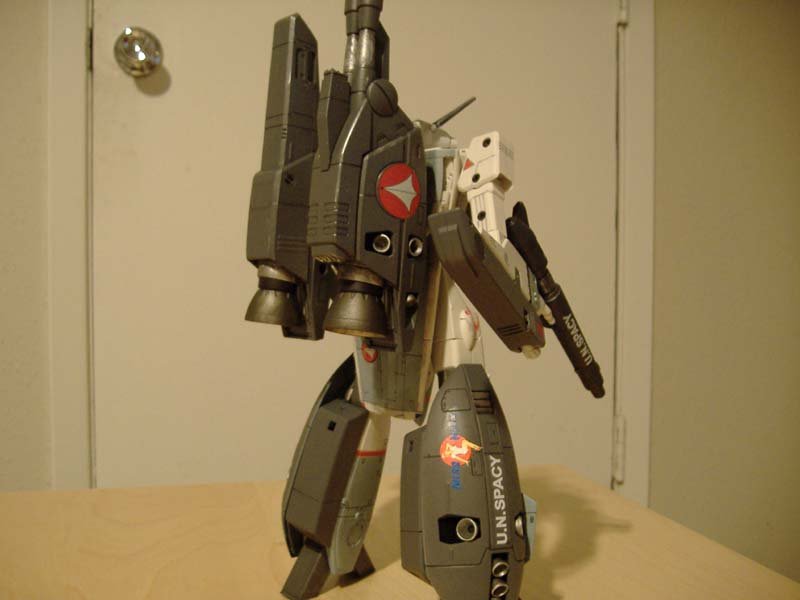
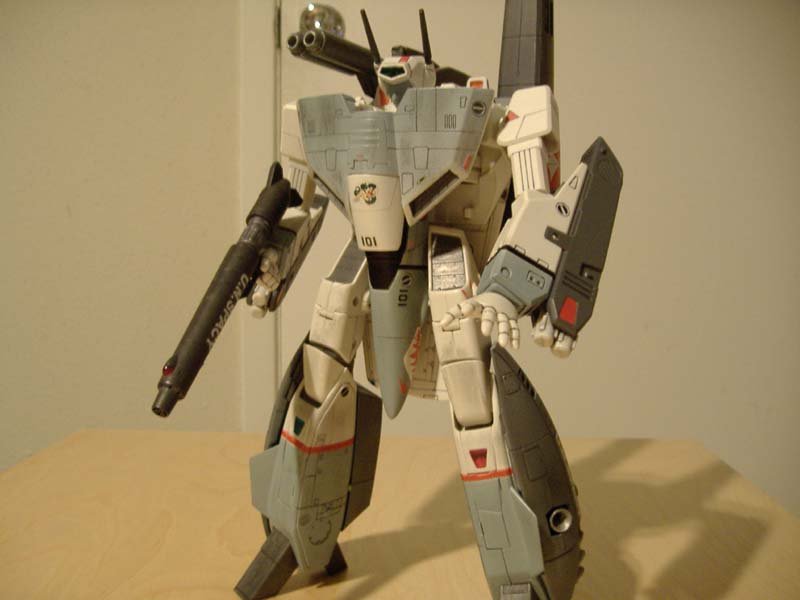
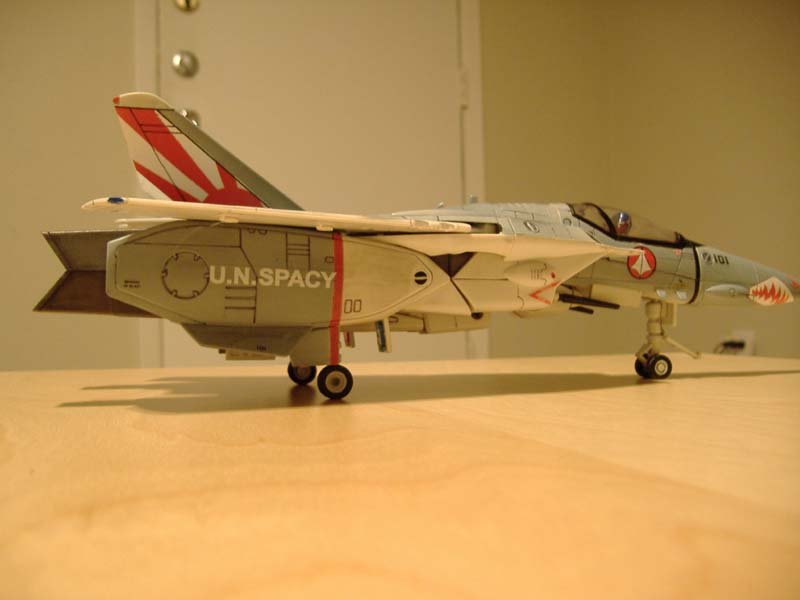
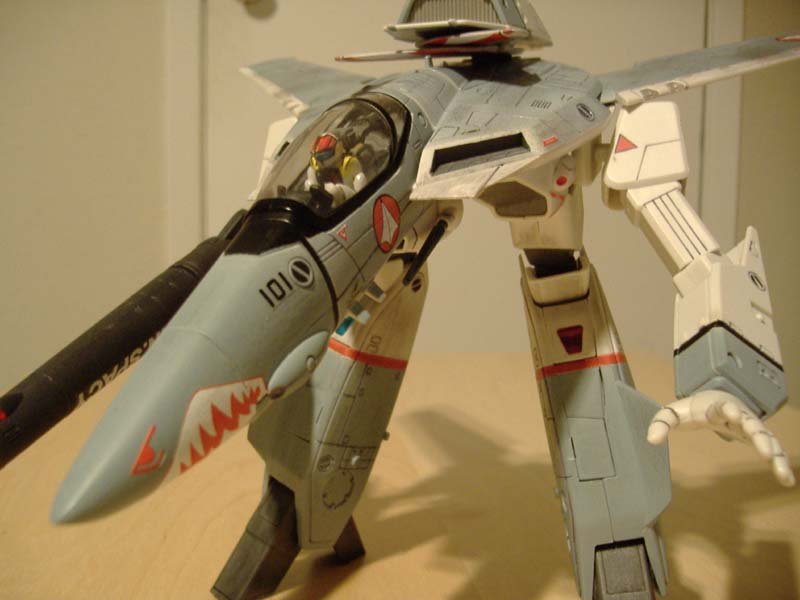
I was envious of the people that had a Max -1S displayed and wanted one of my own. My problem was that I didn't want my custom (or hack-job if you prefer), to look "better" than the Roy and Hikaru it would be displayed next to. My goal was to make my Max -1S look like it came from Yamato; I tried to use as much of Yamato's stock paint as possible and tried to mimic the stock paint look on any parts requiring color changing. I think I've done a decent job of an adequate paint scheme, just like what Yamato gives us. Let me know what y'all think. Here's the conversion "kit." I used Tamiya TS-10 French Blue (I'm using a canned paint, so there's no re-mixing/matching any paint in the event of a scratch).
-
You'll need to change the 011 on the Hikaru -1A wing to 001.
-
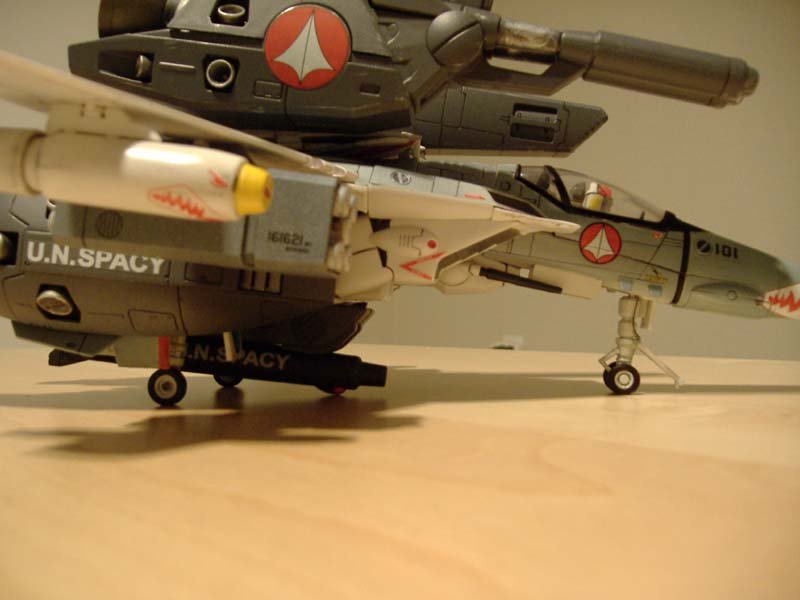
I have both displayed side-by-side and can't see any color difference; I switched the nose cones and didn't see any contrast. Of course this thread is now off-topic.
-
I kind of guessed you didn't want to make your own (like me and the DYRL Max -1A), but you asked what the differences were. 347578[/snapback] After you tell me the differences, I decide to try to find a 1S Hikaru. Thanks. 347586[/snapback] OK. Differences between the two (other than the immediately obvious): 1. The pilot sculpts are different (I prefer the Hikaru -1S pilot sculpt). 2. The Roy -1S has a black heat shield, whereas the Hikaru has a red one.
-
I kind of guessed you didn't want to make your own (like me and the DYRL Max -1A), but you asked what the differences were.
-
The different between roy and hikaru is just the yellow and the red colour? nothing else? 347557[/snapback] The pilot sculpts are different, and the heat shield on the Roy is black.
-
You mean if I find a cheap one just go ahead to get it? 347545[/snapback] People seem to be shelling out some $$ for the Hikaru -1S. If you're not in a big hurry to get one, just wait (or post up in the Wanted forum). The theory is, people will need some extra cash for the holidays, so they might part with something, knowing it will go to another Macrossworld member. OR You could scoop up a Roy -1S from one of the trusted Macross retailers and break out some red paint.
-
Hmmm. . . somebody is supposed to be making pilots for this conversion kit, if I remember correctly.
-
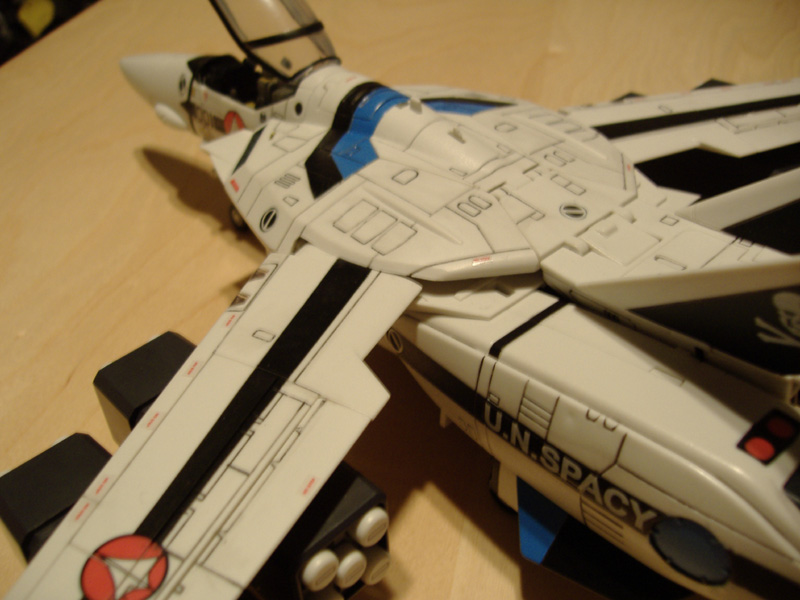
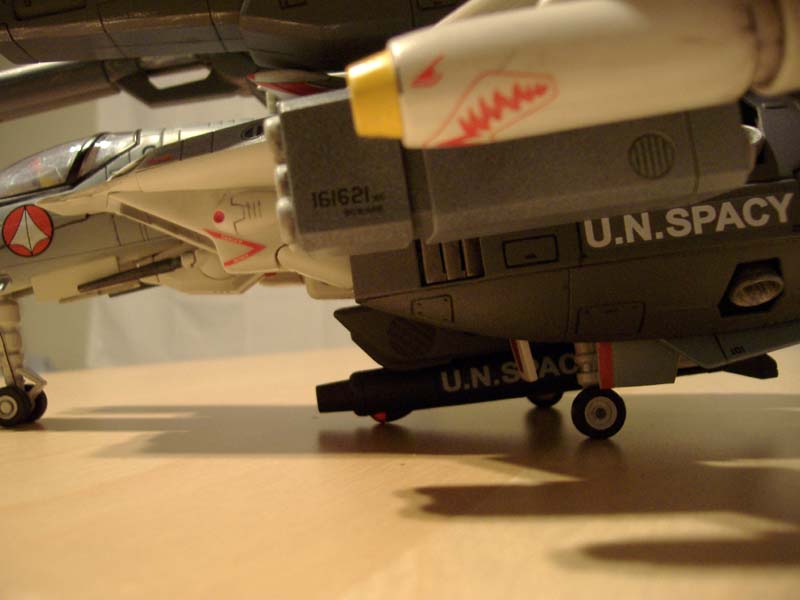
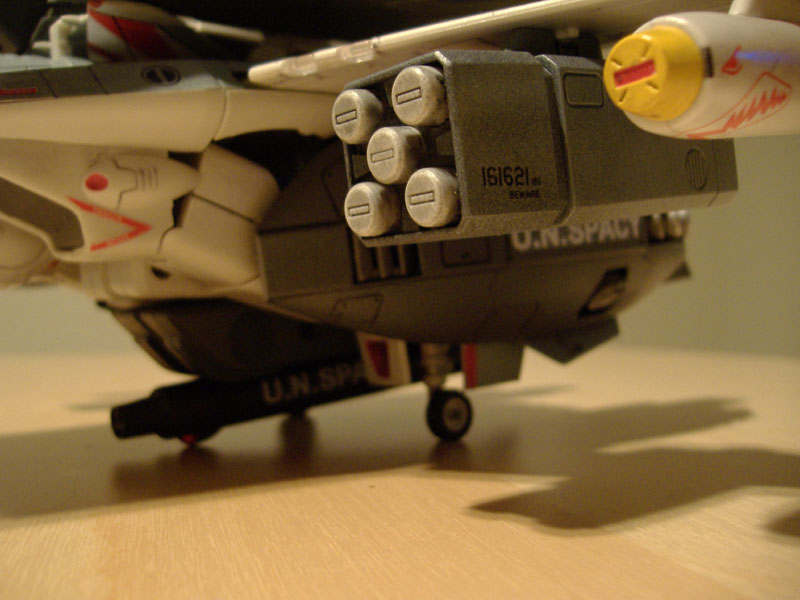
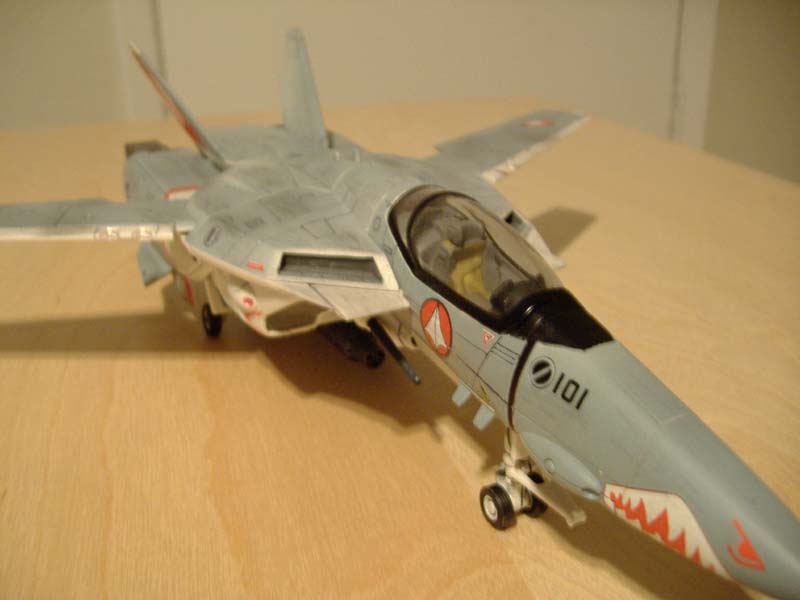
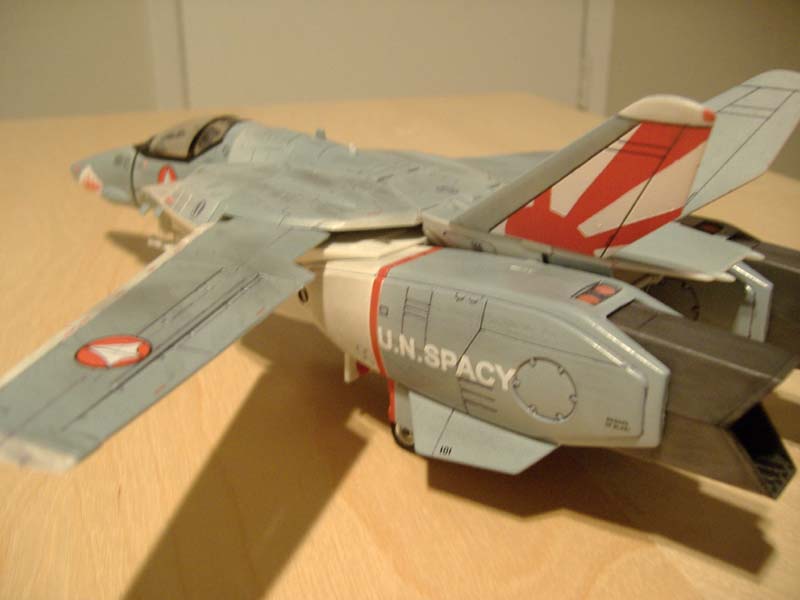
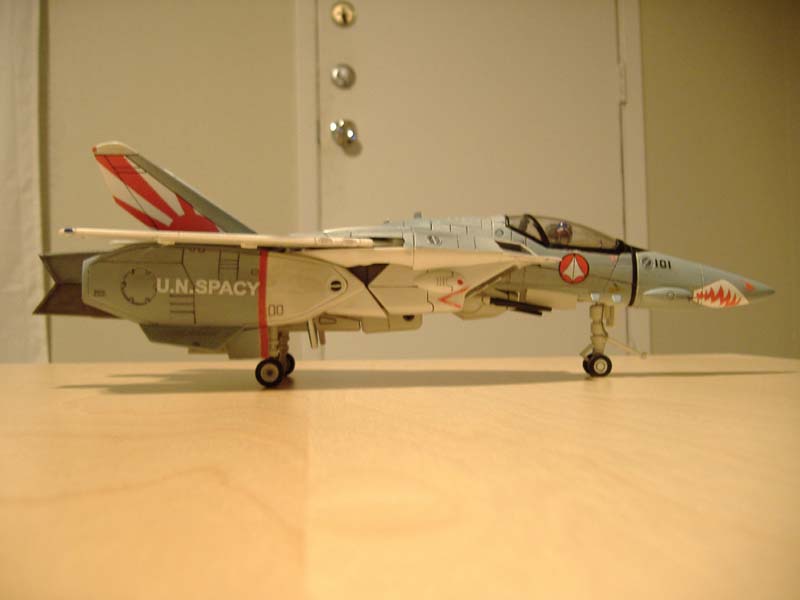
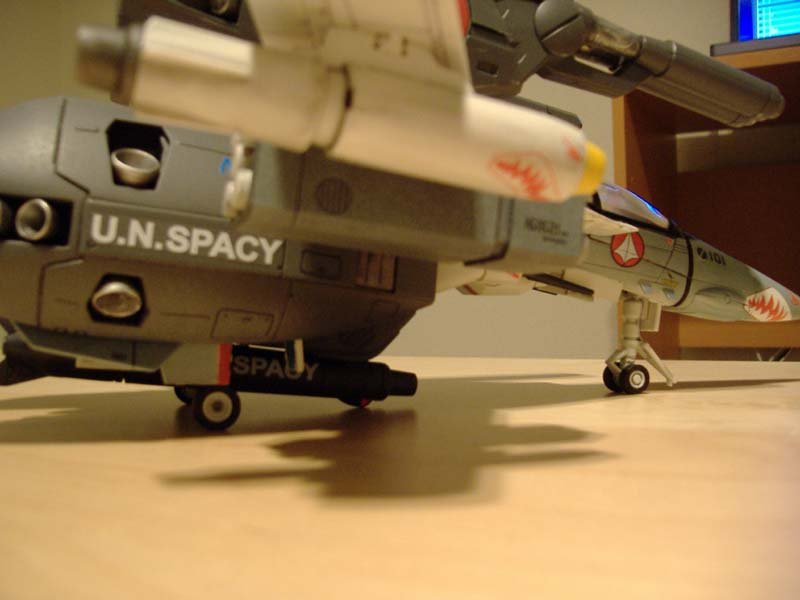
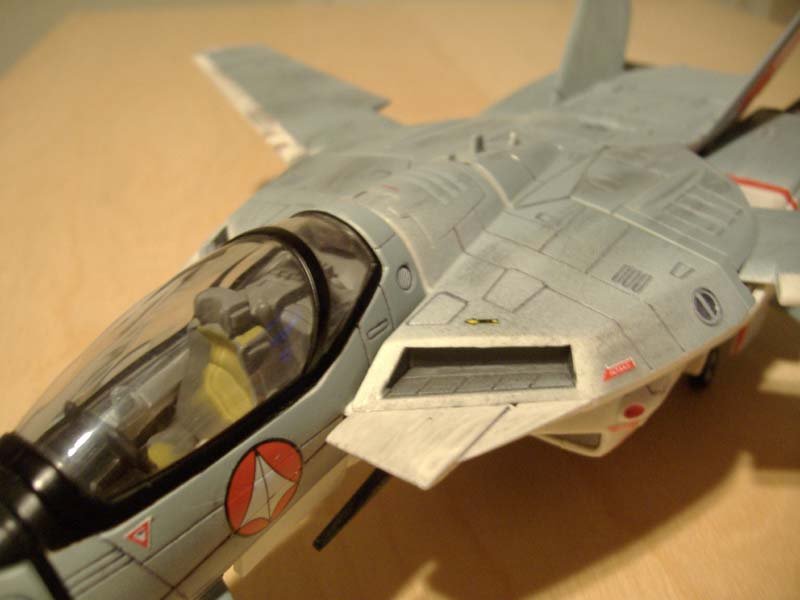
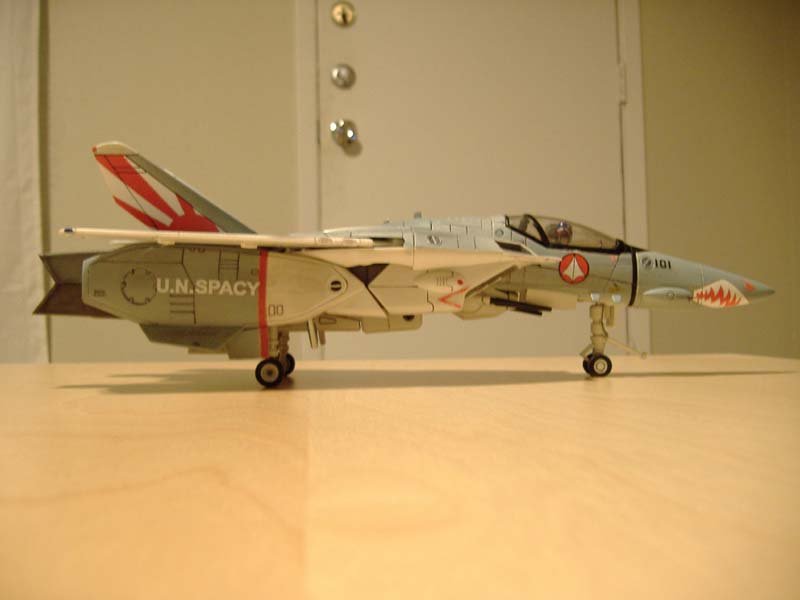
The VF-1 decals from came from both Takatoys and Anasazi. The F-14A decal set came from a local hobby shop; Albatros Model Works is the name of the company that makes the particular set I used.
-
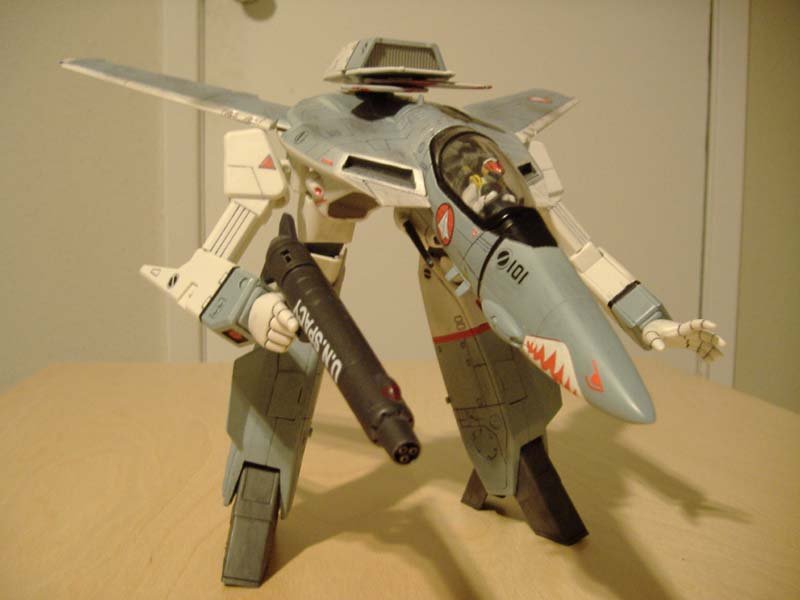
Yup, needs more weapons.


-
Thanks everyone for the kind words. David, I looked at a bunch of pictures, but any specific year similarity is purely coincidental. The first time I saw a the Sundowners scheme was when I was a kid in a hobby shop; I was in awe and bought an F-14 kit. . . too bad mine came out looking nothing like the one at the hobby shop.
-
Great job Datterboy! Your pics make me want to take the lid off the -1D tupperware container and get started.
-
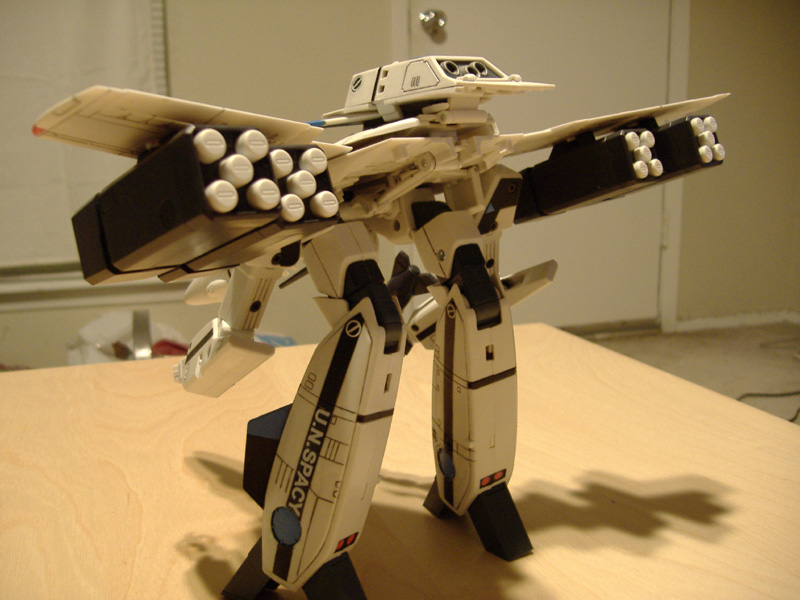
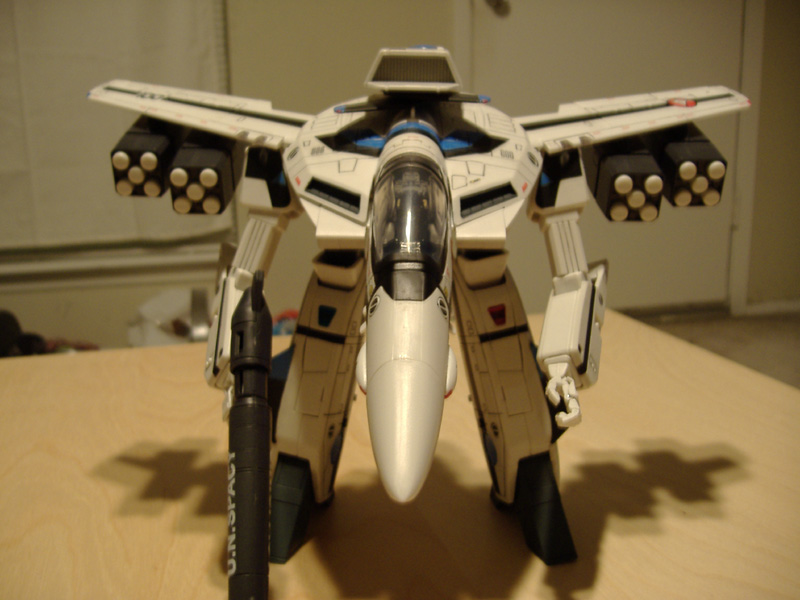
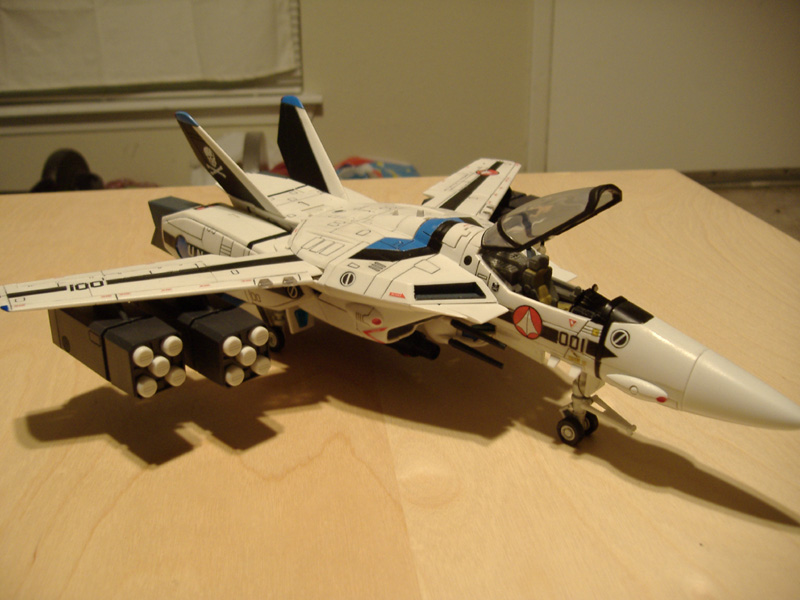
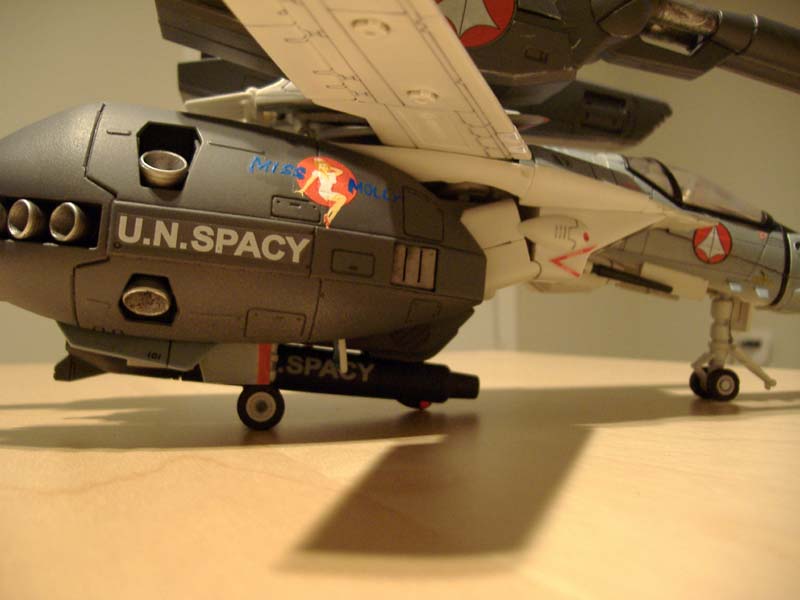
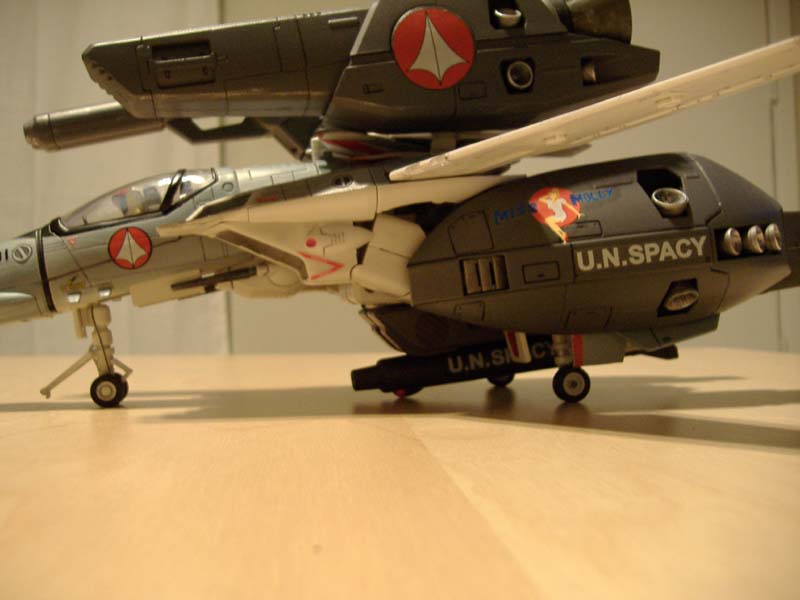
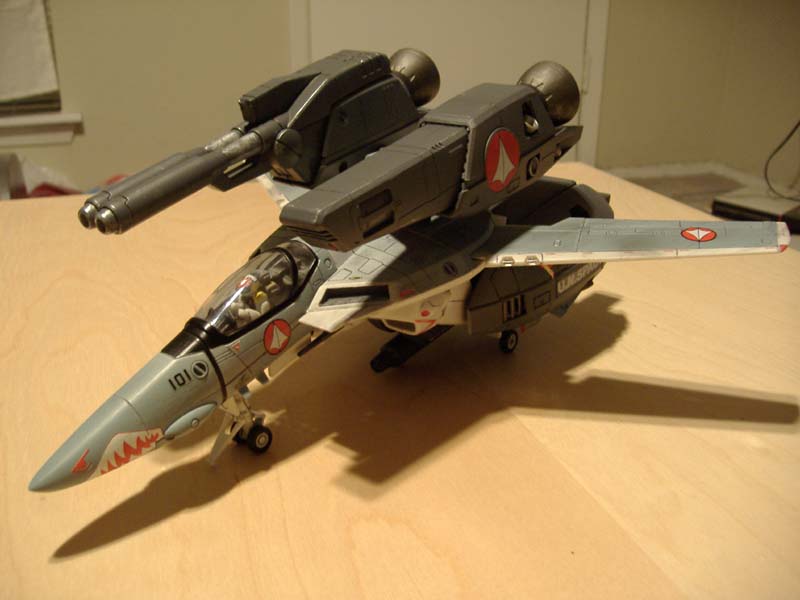
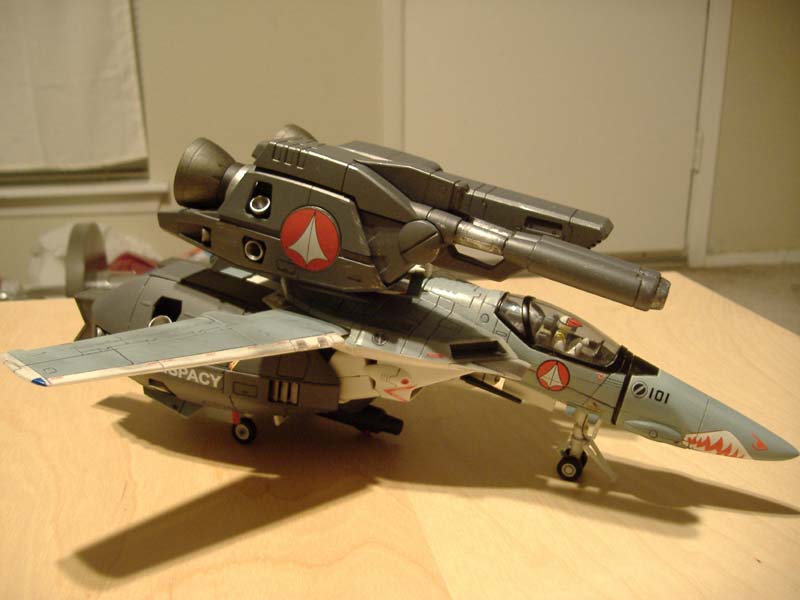
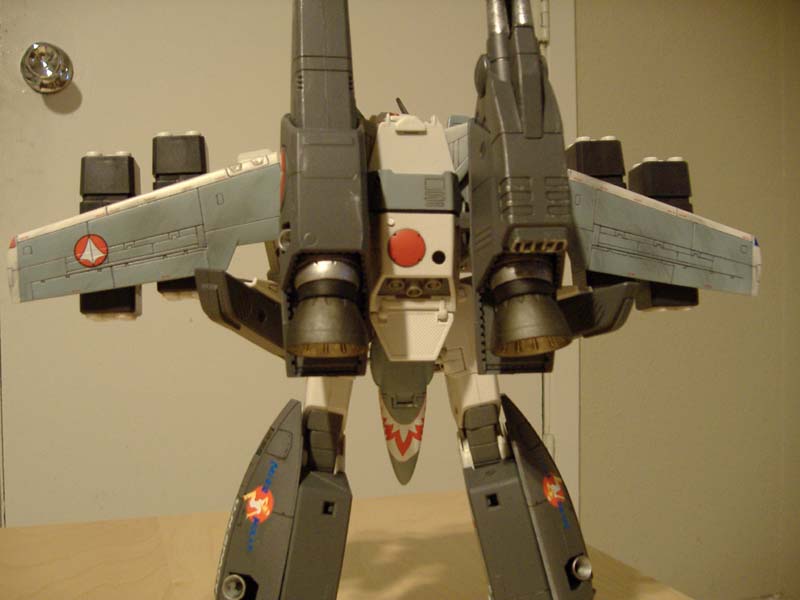
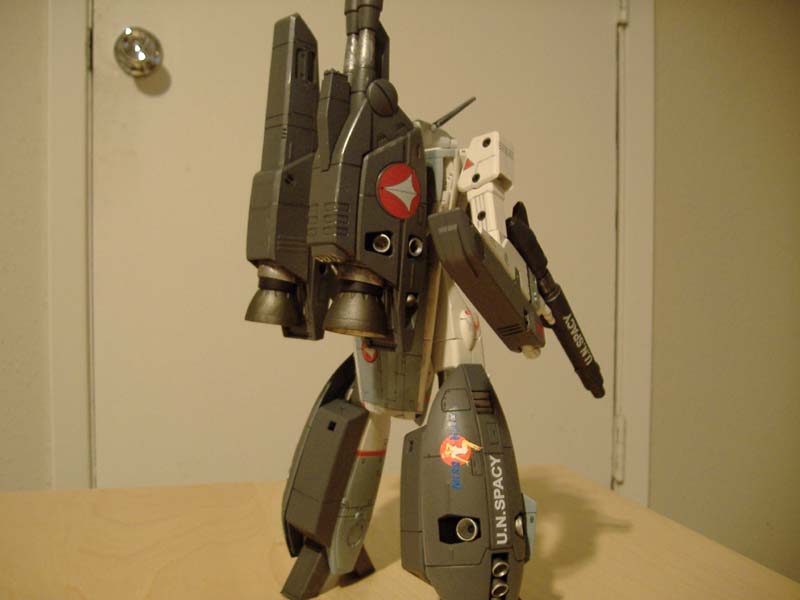
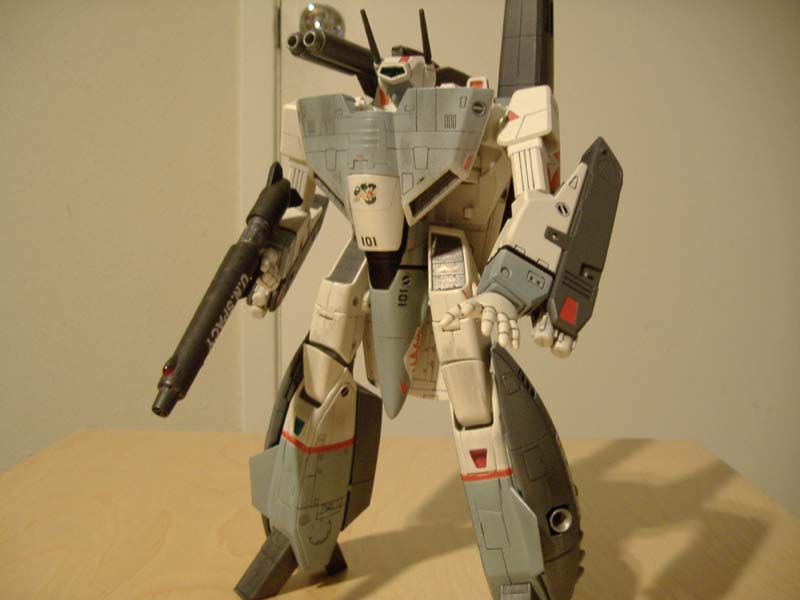
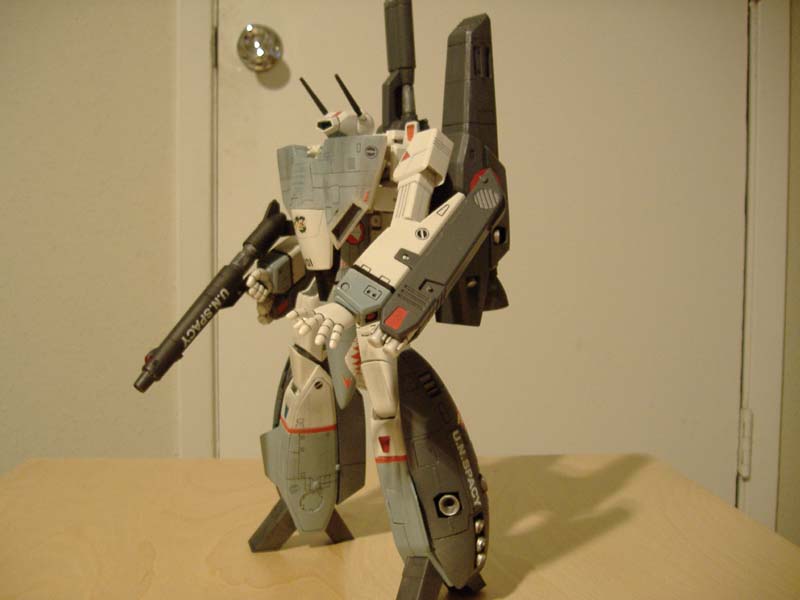
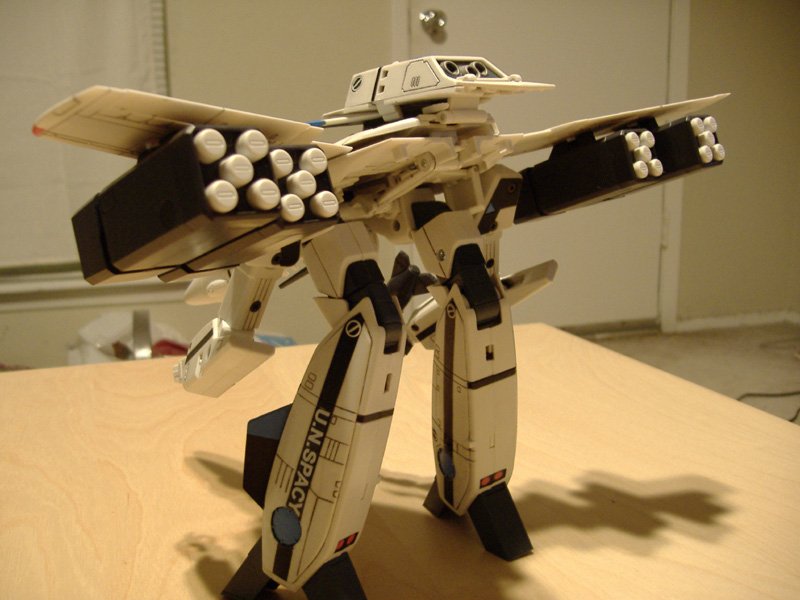
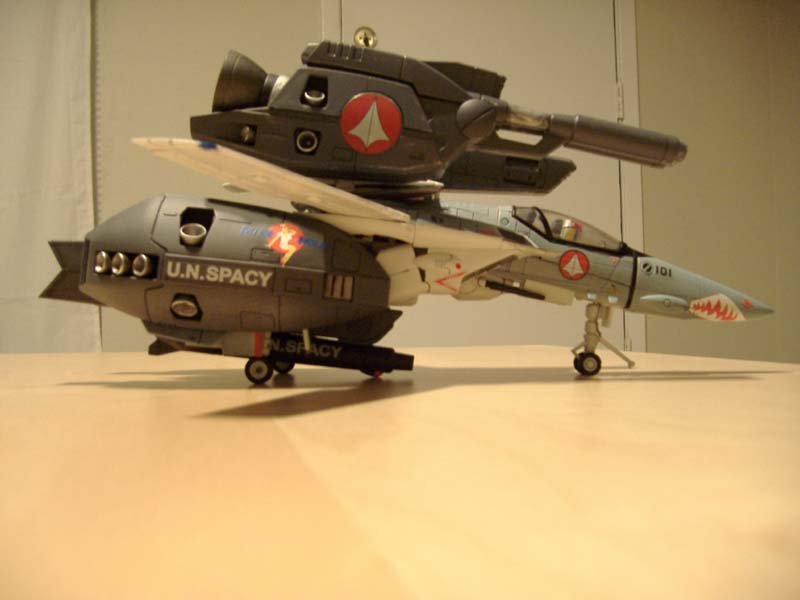
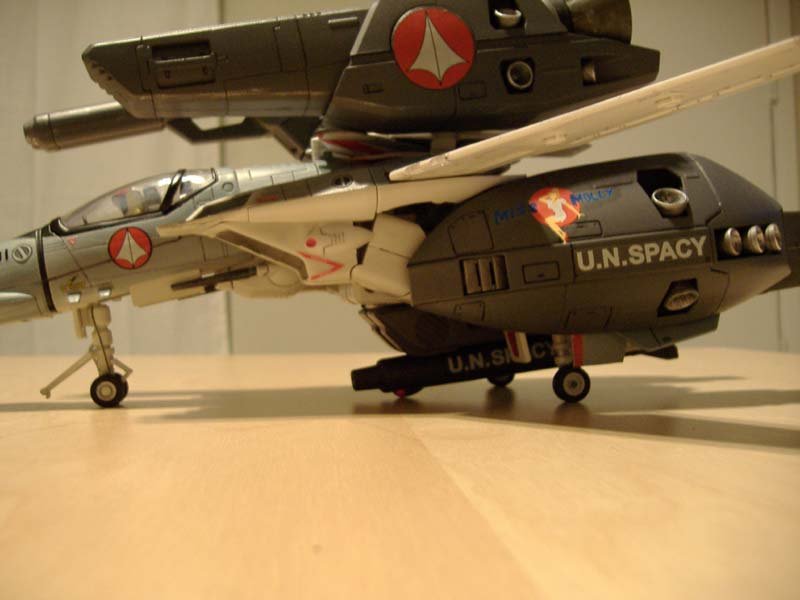
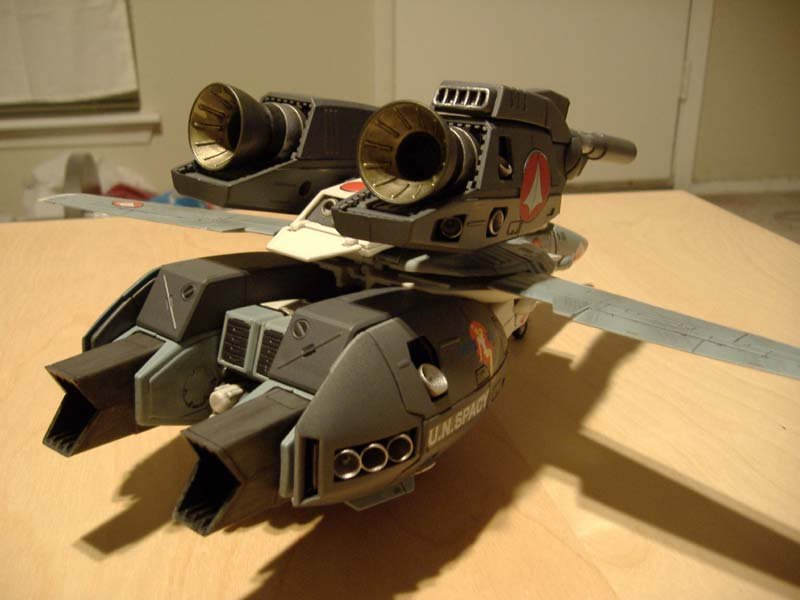
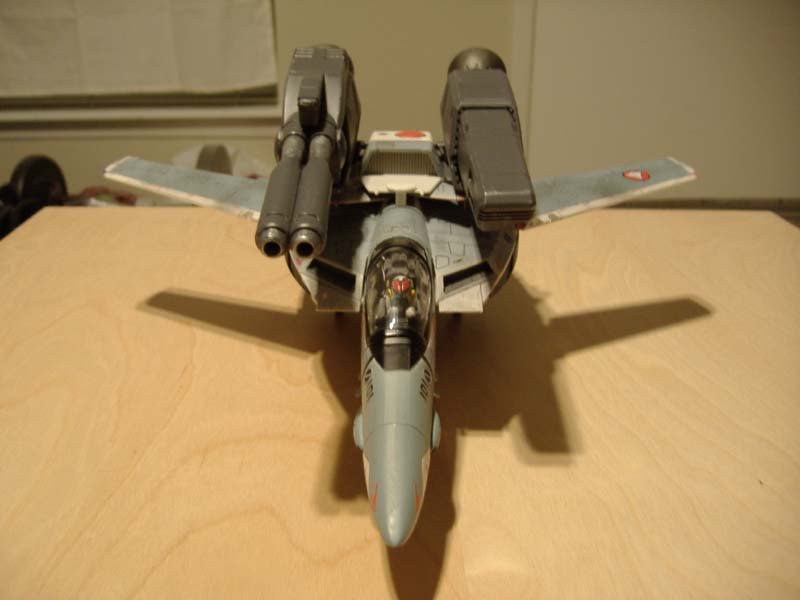
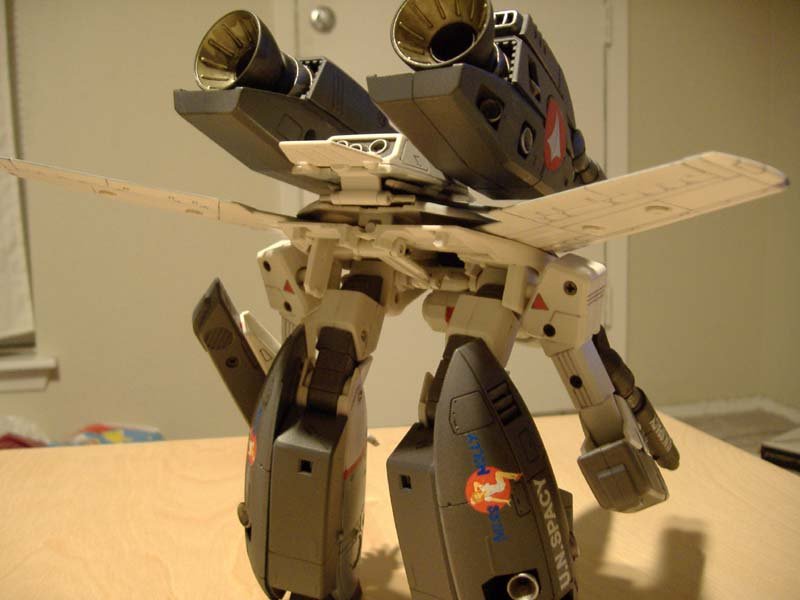
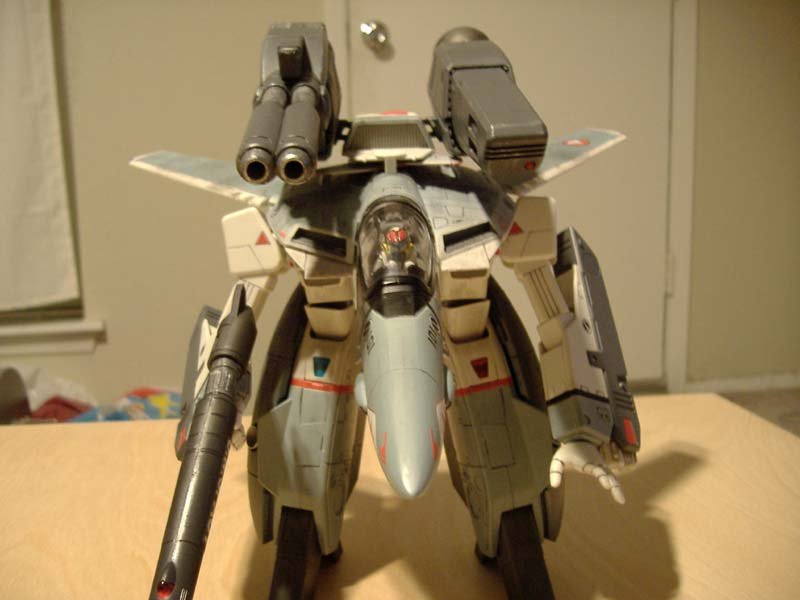
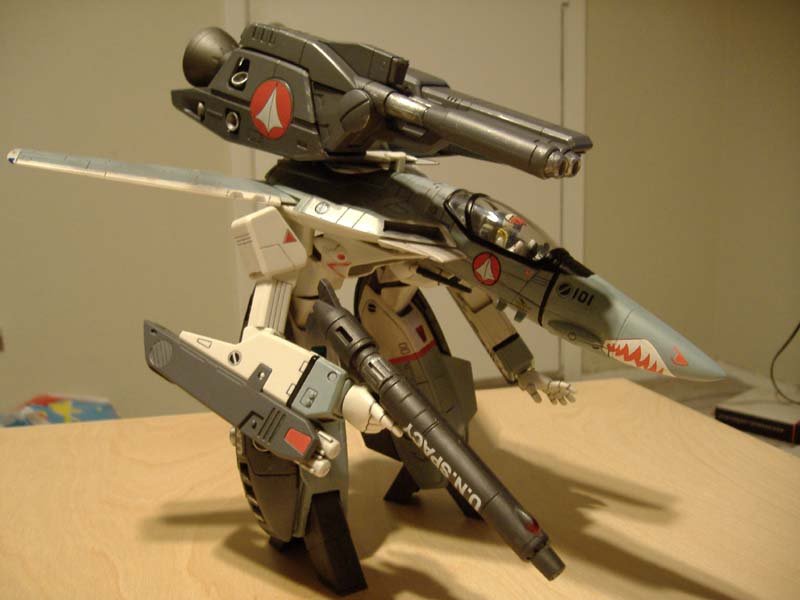
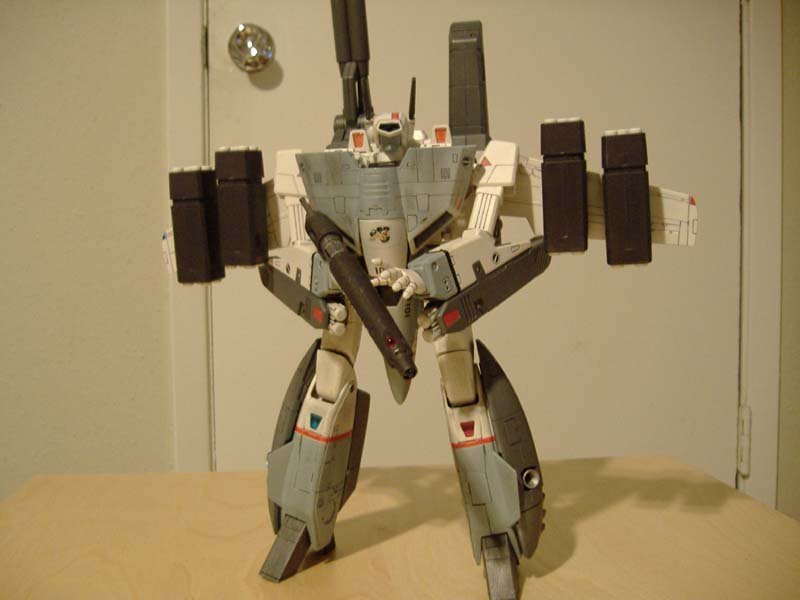
With fast packs.


-
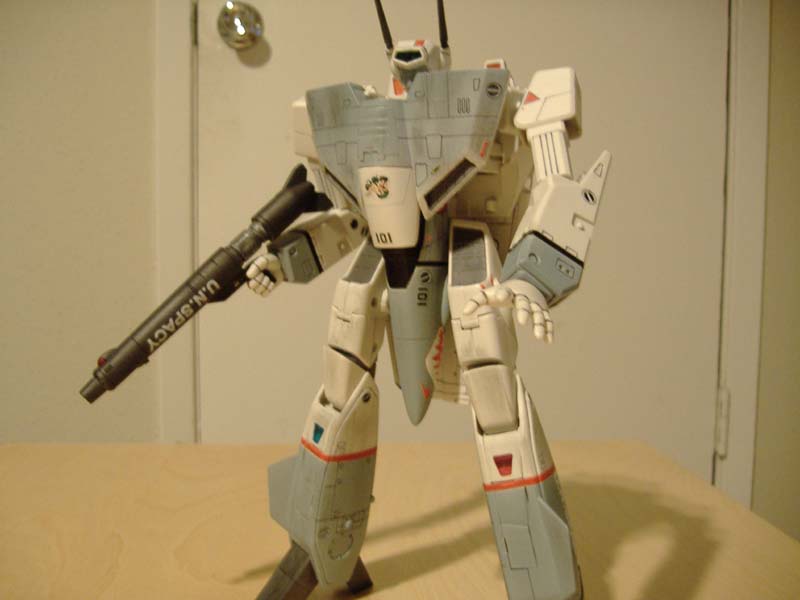
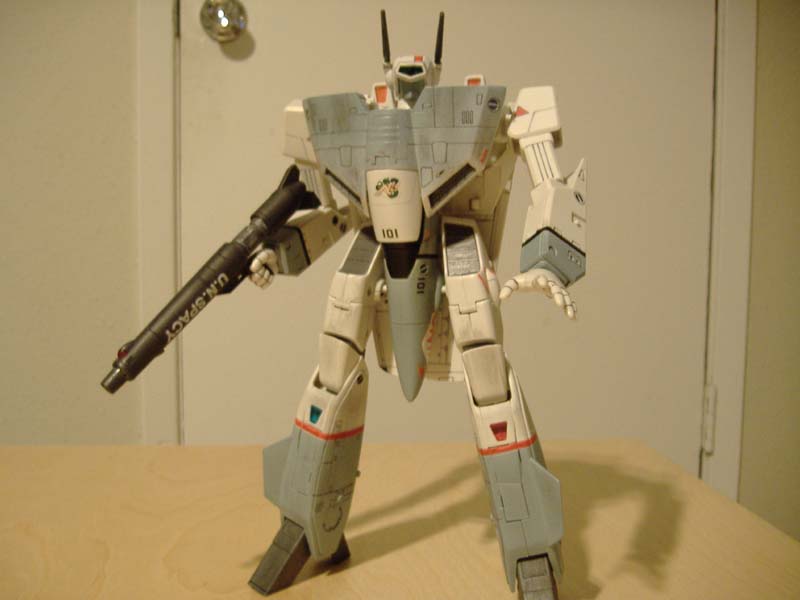
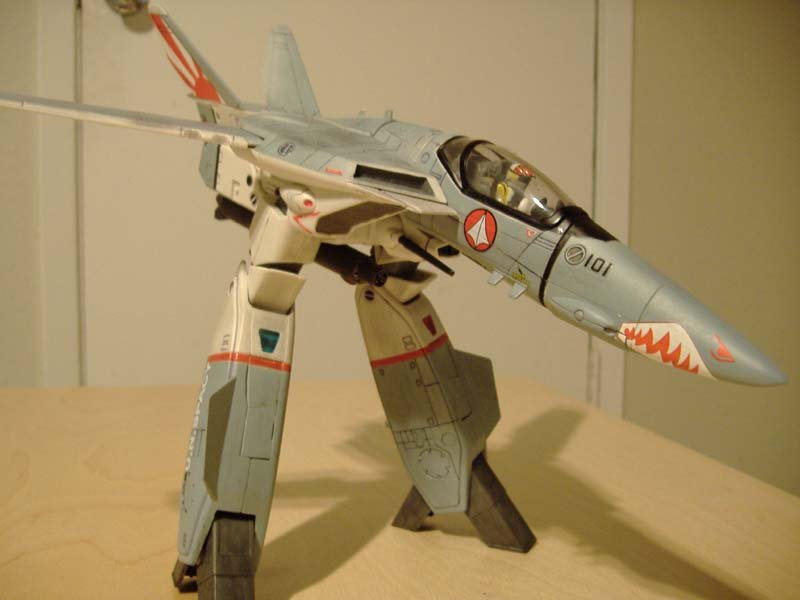
I promised myself that I'd finish this old project before beginning on the VF-1D. This thing needed some fixes and fast packs -- now it has both. Hope y'all enjoy.


-
Yes, I applied a flat coat over the whole Valkyrie, as Future gives it a bright, shiny look (just as advertised for your floor). There's no need to thin the Future; if you'r nervous about applying Future, brush some on some spare parts, and you'll see that it's self-correcting. Oh yeah, David Hingten gave you an awesome link. Thanks David!