
Xigfrid
-
Posts
2607 -
Joined
-
Last visited
Content Type
Profiles
Forums
Events
Gallery
Posts posted by Xigfrid
-
-
Sounds great for resin molding !
-
YF-21
in Model kits
This bird is amazing, perfect execution cool9or!
-
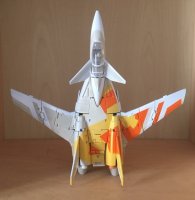
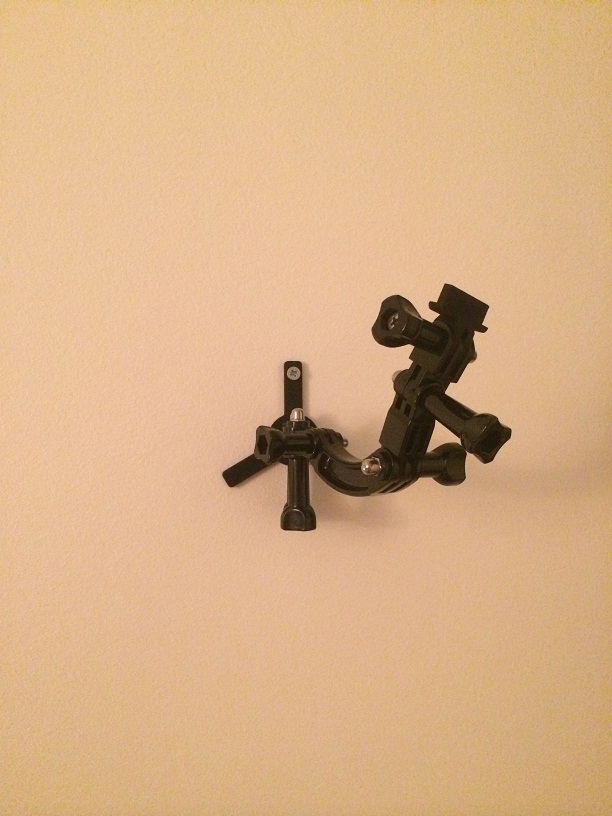
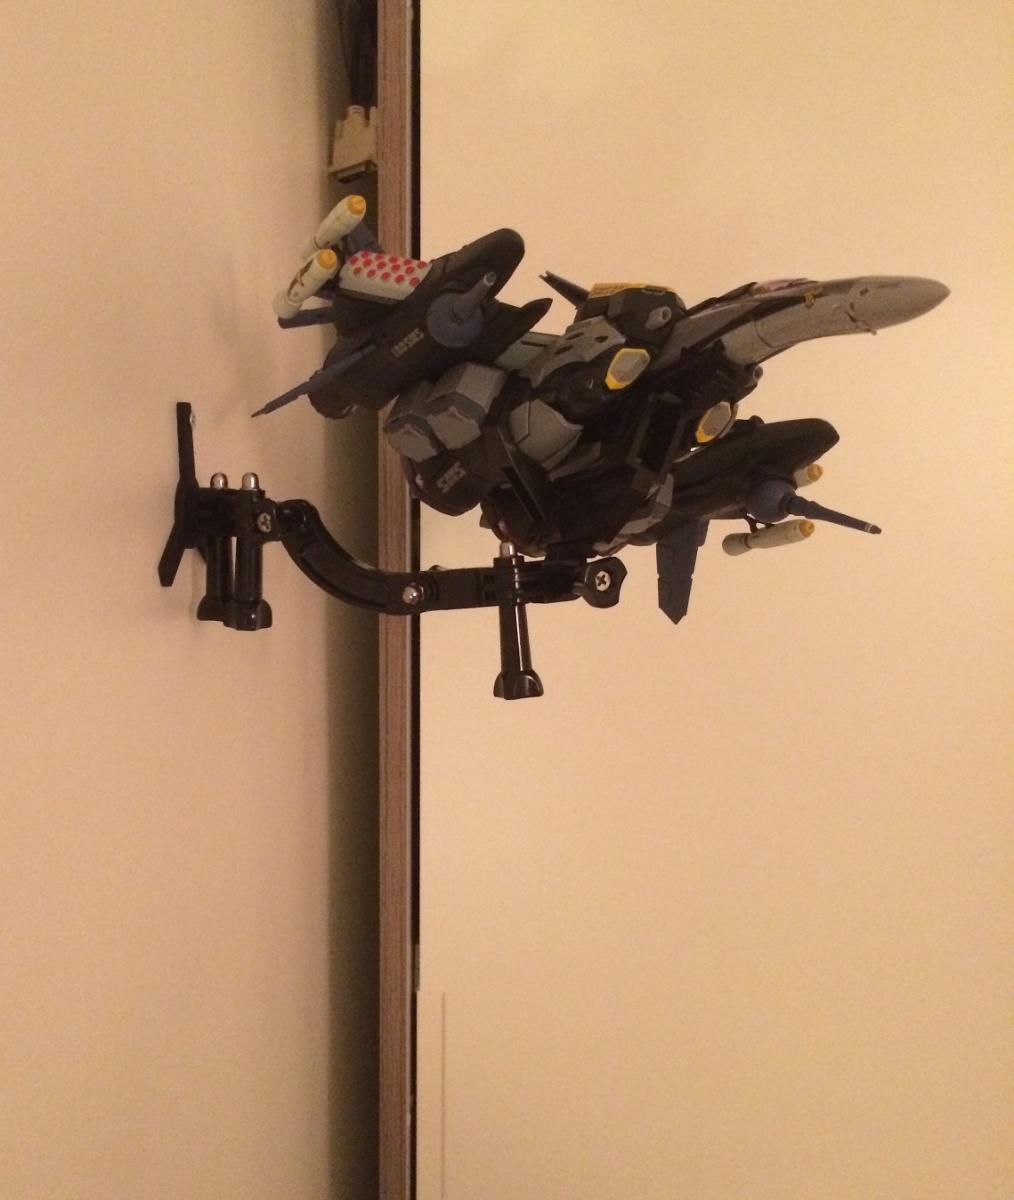
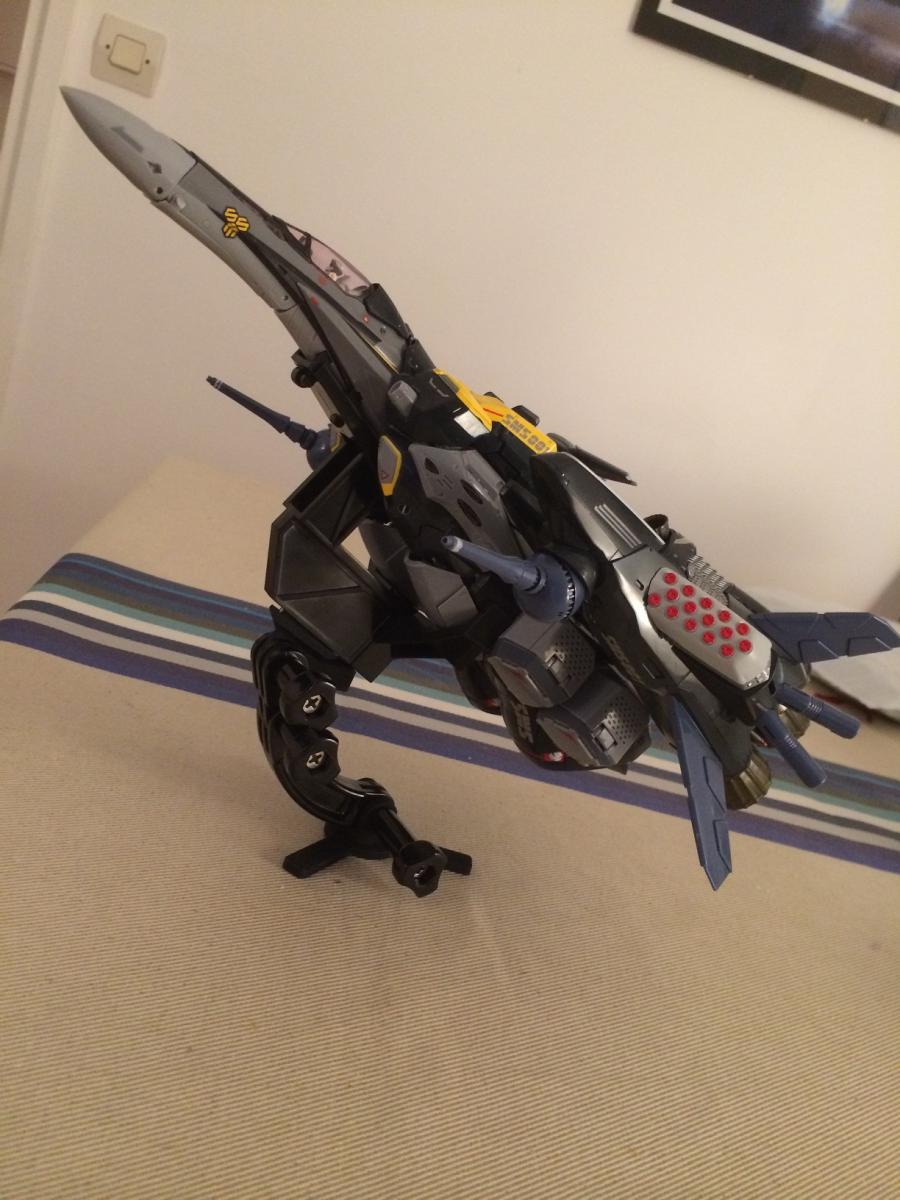
Doing some house work today, I wanted to experiment the stability of the stand when being screwed...


As a wall mount! I got to say I love it ! Unfortunately my wife didn't agree that our baby need a flying Ozma in his room
Just for the sake of gravity tests:


-
That's a pleasure and thank you for the support!
Except If you leave in the USA where Shapeways shipping costs are affordable, you should consider to order both of the two available versions: the one with and the other one without the lower triangle fit.
-
That was a big increase! I will pass on this one and wait for release I guess.
I found the VF-19 Advanced at toysbuddyHK at 26,000 yen approx (http://203.135.134.135/shop_ud/store/index.php?route=product/product&product_id=503) BUT I don't really know how reliable they are. They seem legit, but couldn't find any recommendations for this eshop, so if you want to buy from them, it's at your own risk!
-
Impressive display Saburo!
-
I really like the low vis schems, thx for sharing your tools. I am really debating if I need an airbrush for next Christmas gifts.
-
that's quite impressive that it can hold up a 25 with armor parts!


I also came to an alternate way to solve all the stability issues without the need to 3D print very large socle / bases (which can be very expensive): you can simply drill the base and screw it to a larger plate made of wood or plaxiglass.
You can also buy one of those cheap GoPro base, but I don't like their esthetics... In fact I haven't found one I like yet !
-
Haha. Yes, its my living room/dining area.
Very nice setup! Be careful, you are now distracting your guesses!
-
Thank you Kurisama, your work is inspiring!
-
tests on VF-25s with its armor parts and it is pretty stable once you got the center of gravity

I am waiting for more options and posability upon receiving this accessory: http://www.amazon.com/gp/product/B00IS3N6ES
-
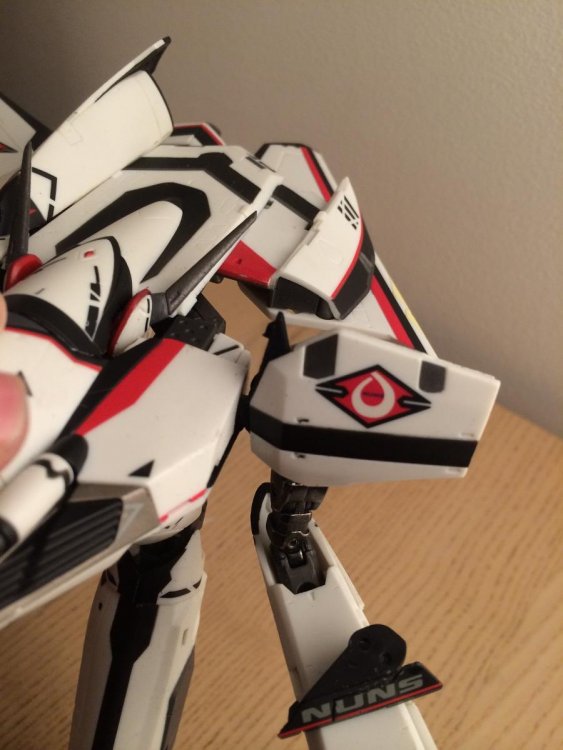
Yeah it's not the assembly that pushes the crotch forward, but the two little metal tabs that slot into it, they won't stay locked in unfortunately. Oh well.
As jenius said, there is an additional spacer only for that matter. It is very rare that the metal tabs stay locked with the armor parts on without the spacer.
-
That's mainly the only issue I got with shapeways

Shipping is expensive, try to grab a few sets and / or other items for your friends, that's what I do generally to reduce the shipping costs.
-
Now that the pre-order for Arcadia's VF-1J has gone live, Kurosawa please update us for this exciting project!
-
Given that it's Ozma I wouldn't expect a re-release until 2018.
That would give me more time to save for 2015 releases ! Bandai's pre-order madness had fed me up on that one.
-
You are welcome!
-
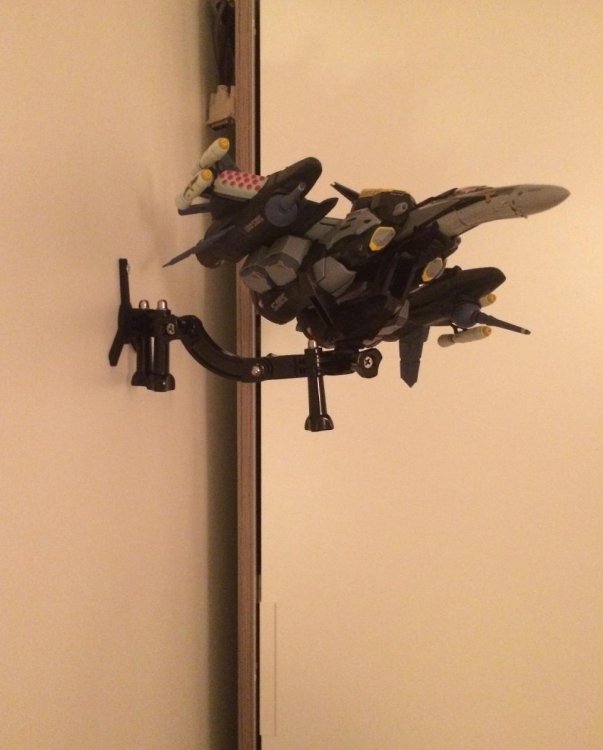
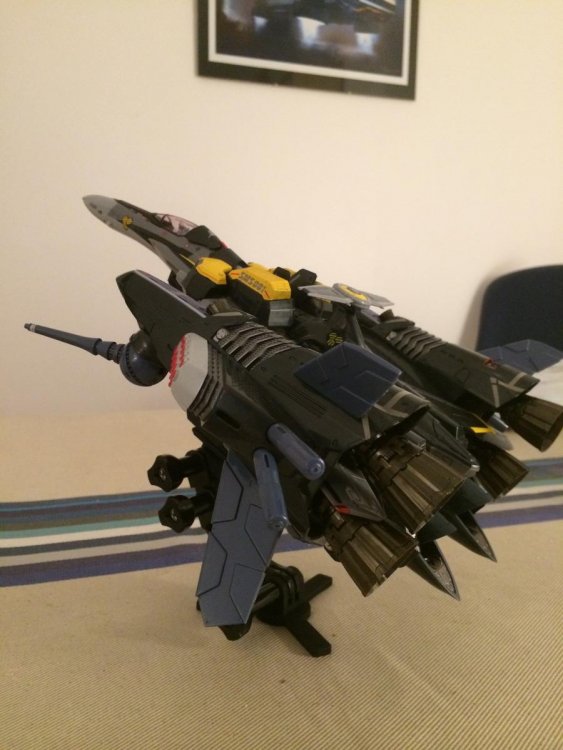
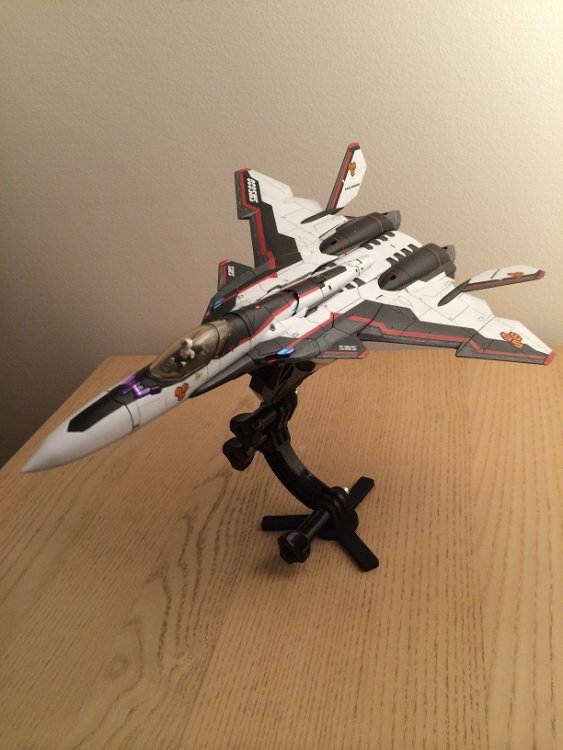
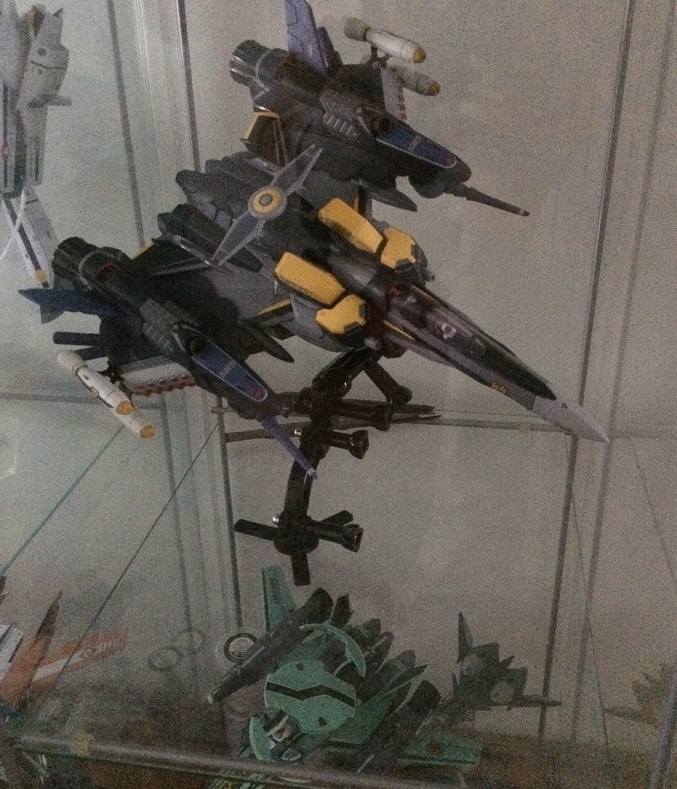
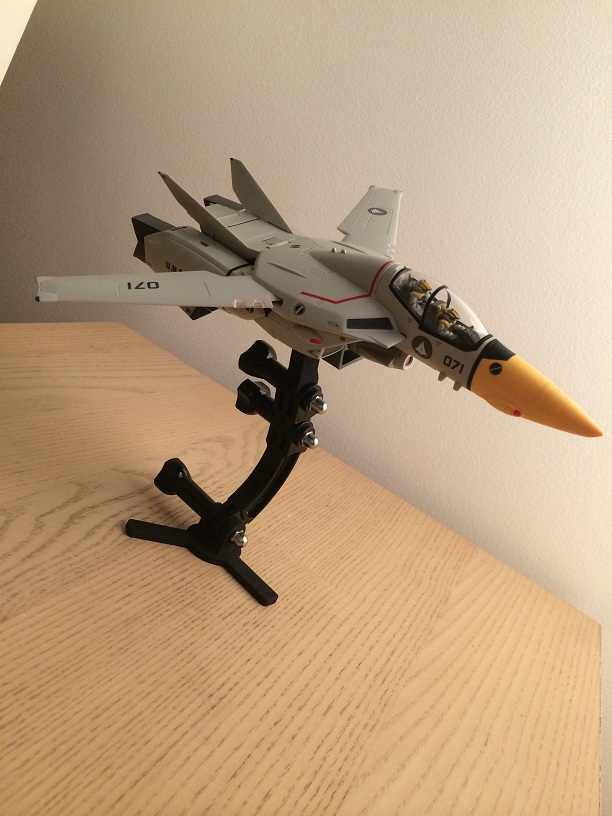
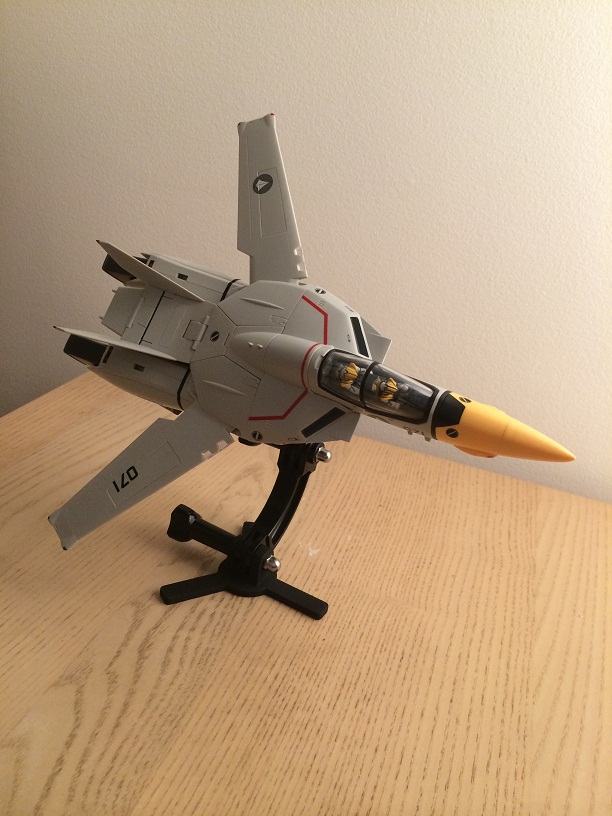
The VF-1 are very stable on the small base.
The YF-30 is something much less stable, mostly because the weight is not well distributed on the plane length.
I later will try the 25s with its armor parts and 25F with tornados, but not much faith on that last one.
3D printing a larger base would cost much more than a GoPro compatible one on Amazon or EBay I guess!
-
Hi there,
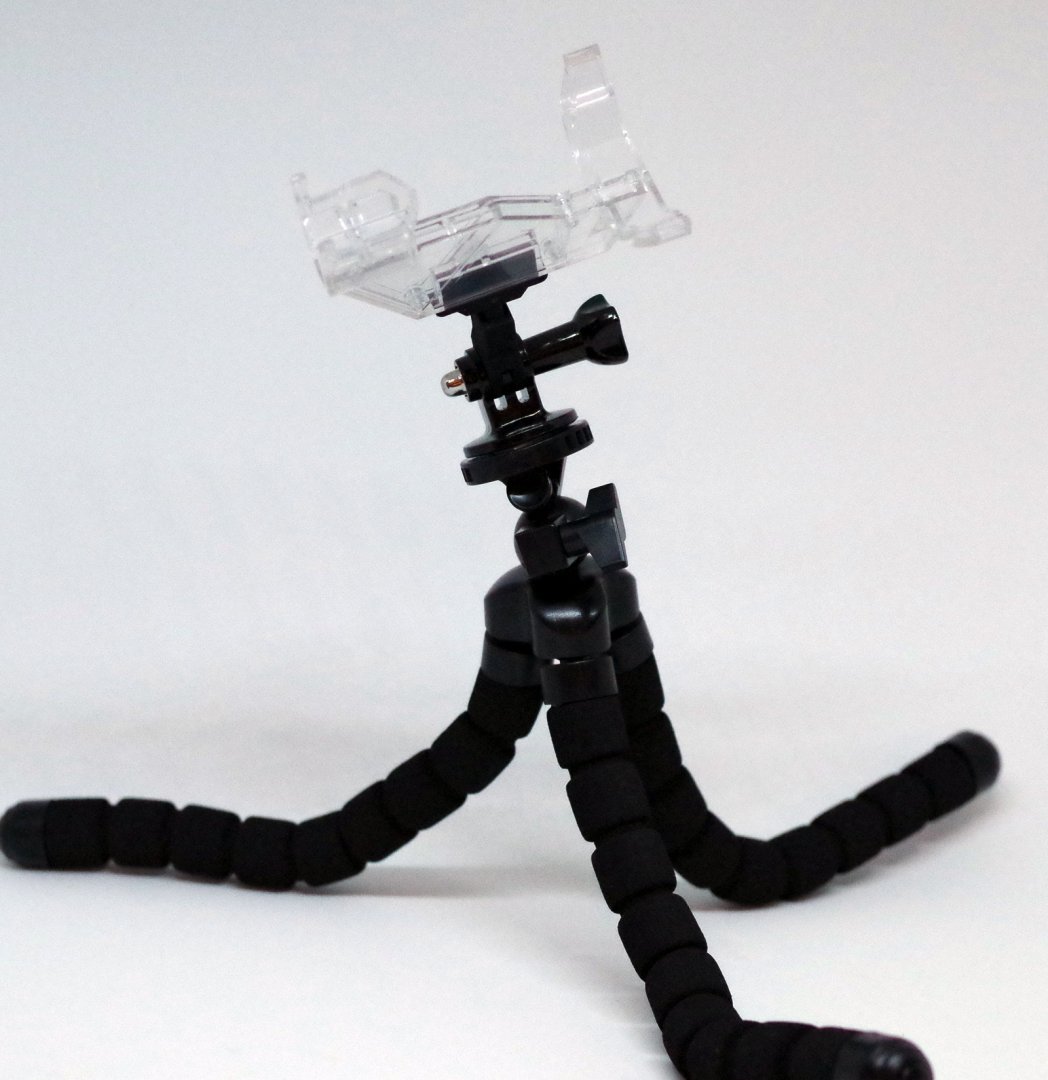
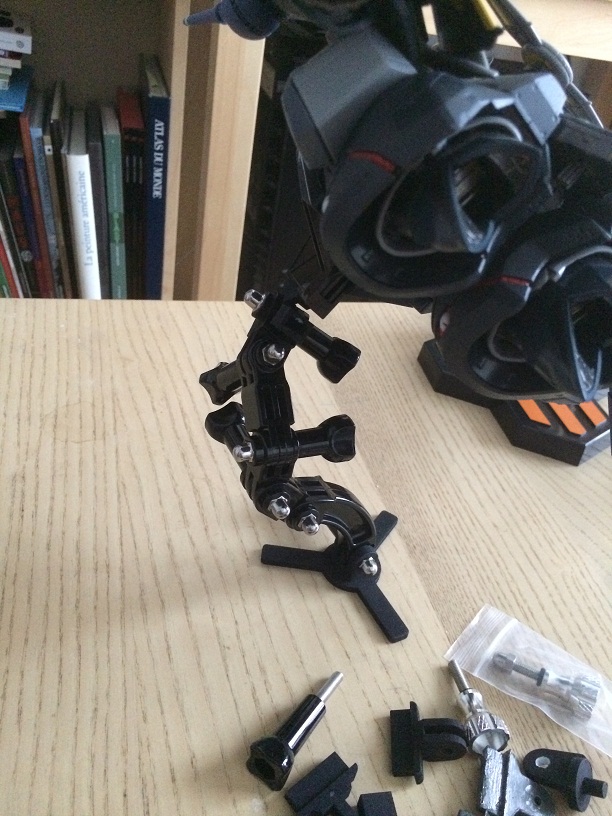
This is the topic for my GoPro compatible stand available to print on Shapeways here: http://www.shapeways.com/shops/xigfrid3dshop?section=GoPro+and+Macross+stands&s=0
Why the GoPro, would you ask ?
The idea behind this stand is to use all the accessories available for the GoPro camera. Because the GoPro is so popular that all the stand accessories are cheap and widely available on Ebay, Amazon.
All we need was the adapter to our toys.
I made 2 for Bandai's and 2 for Yamato's / Arcadia's. Each adapter has a specific rotation axis, so that you can tilt or swivel your toy. Don't forget that the GoPro stands also feature different angle and rotation options!
If you don't have a stand base, grab the one I made.
The GoPro cameras can be attached to almost anything, just browse the internet to convince yourself! In case of you want a small and pretty standard feet for your stand, you can grab one of the ones I made.
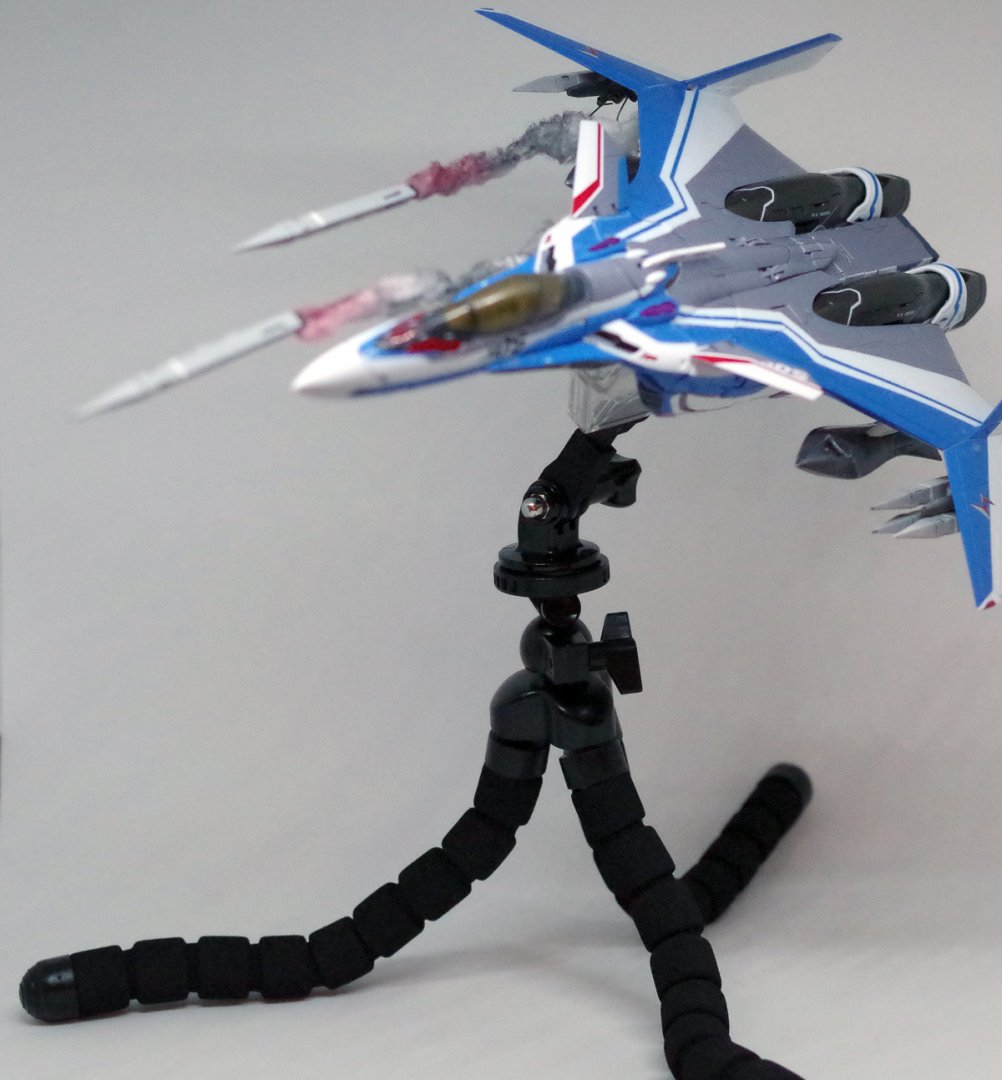
Here is an example:
I ordered from Shapeways:
1) stand base (Axis B)
2) adapter for Bandai (Axis B)
3) adapter for Yamato (Axis B)
from Amazon:
4) a set of GoPro thumbscrew

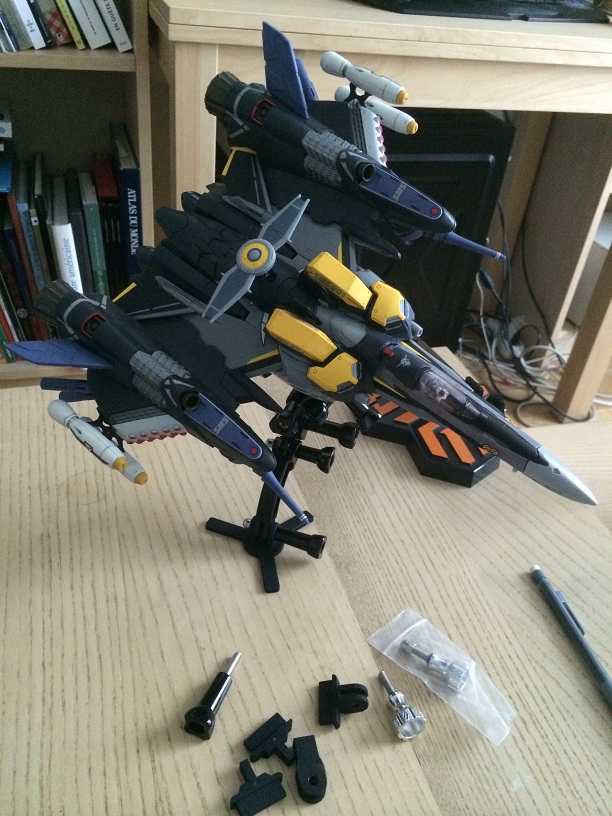
Later from Amazon
5) a set of extension arm for GoPro (http://www.amazon.com/Goliton%C2%AE-degree-rotary-extension-camera/dp/B00H7QM5LC/ref=sr_1_33?s=electronics&ie=UTF8&qid=1418949255&sr=1-33&keywords=gopro+extension+arm)
Bandai
Yamato


Almost anything is possible now!
After some experiments, it turns out it can be used as the first known Yamato/Arcadia/Bandai Macross wall mount!

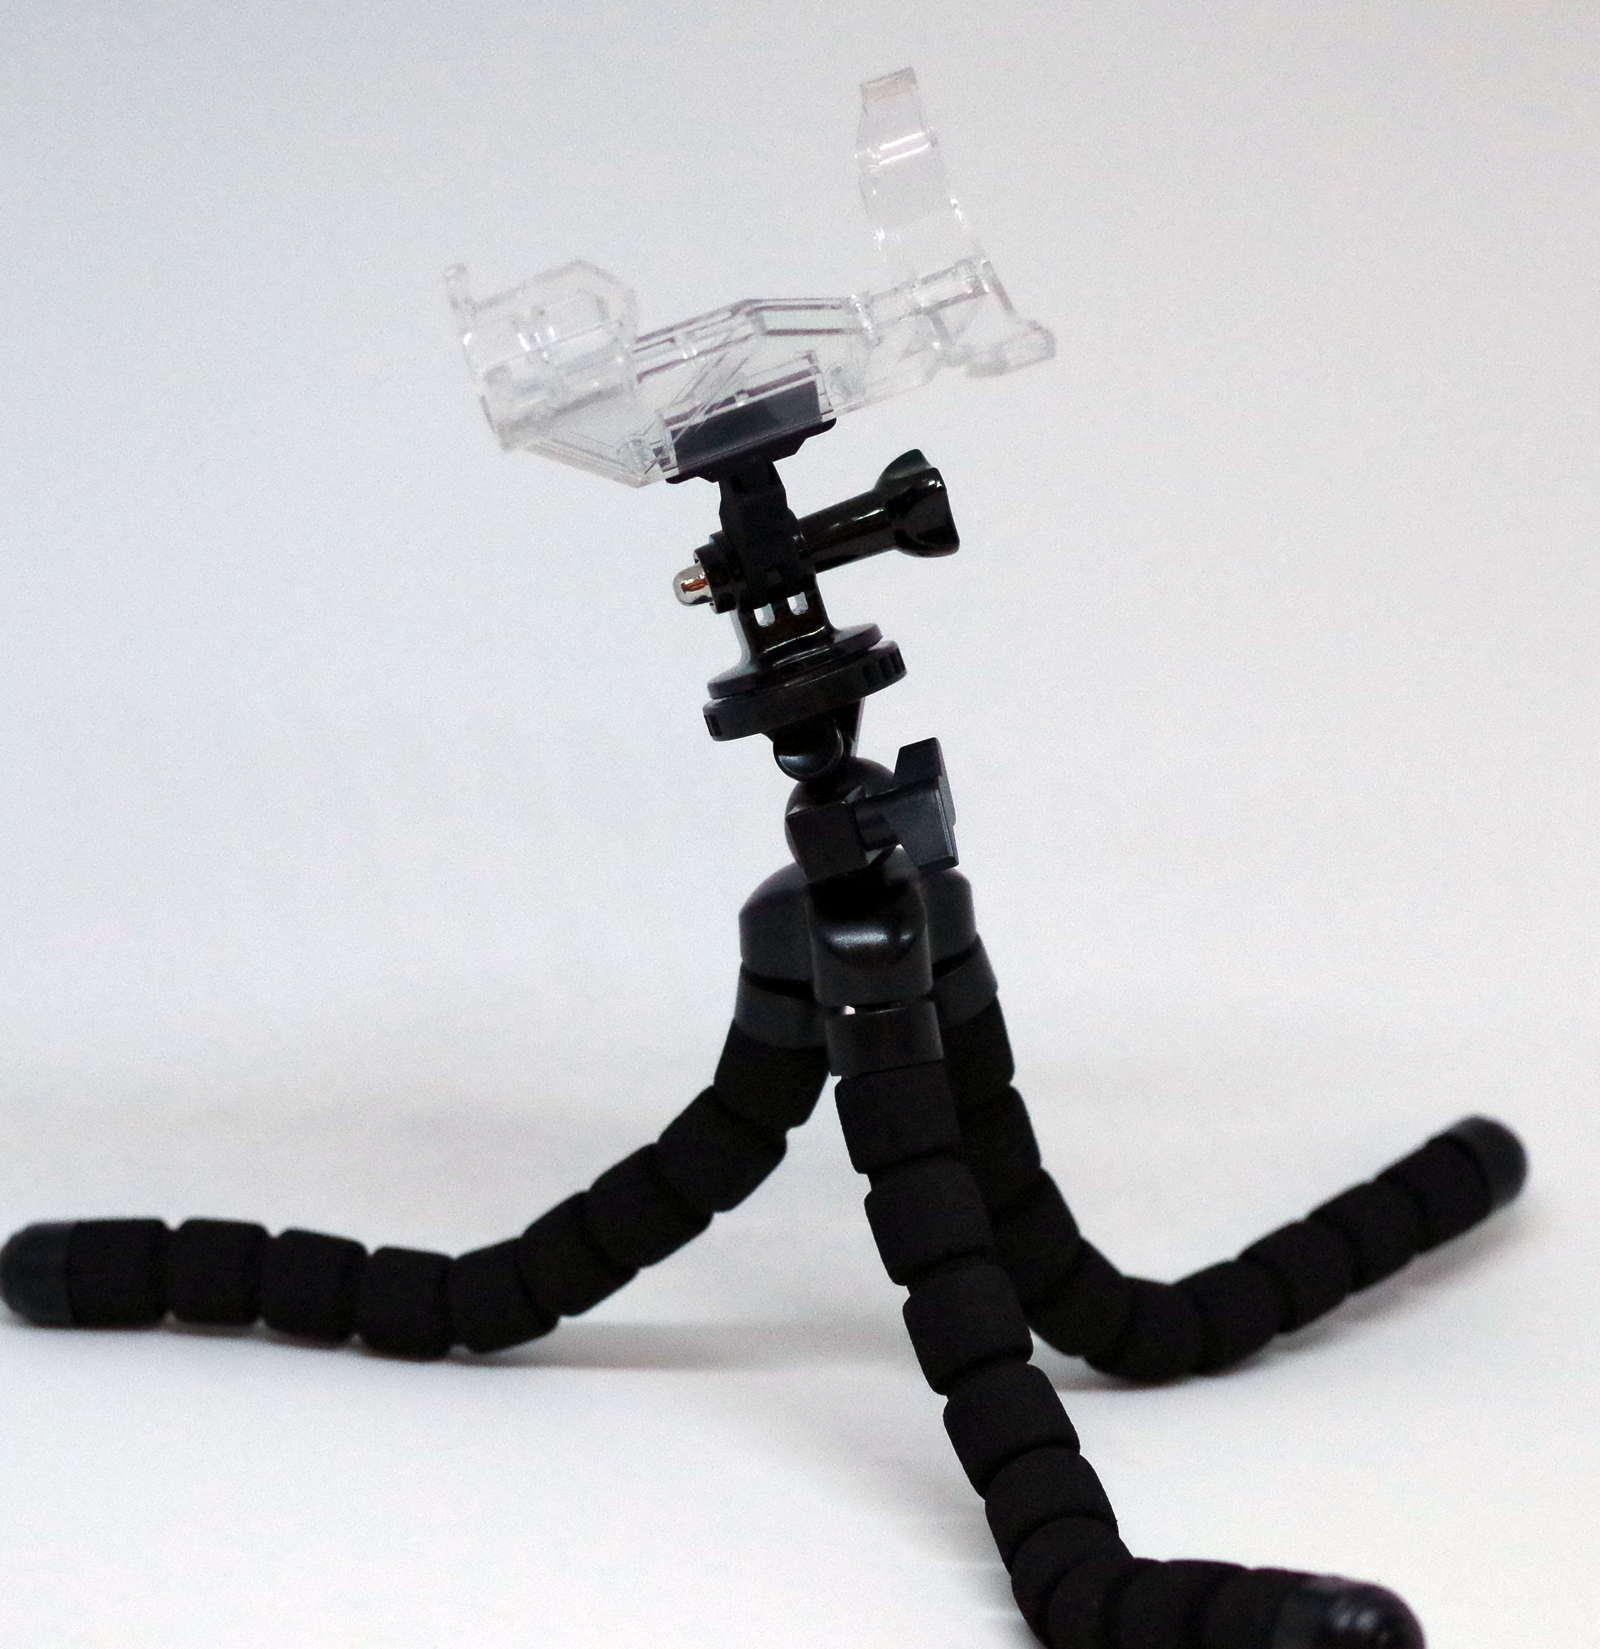
And now with a GorillaPod:
-
Updated first post with new design and photos

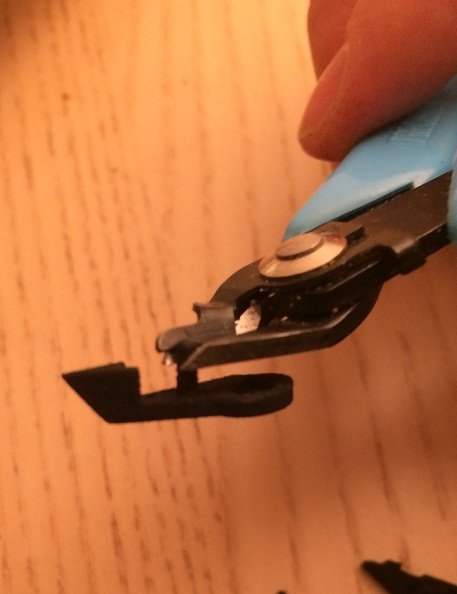
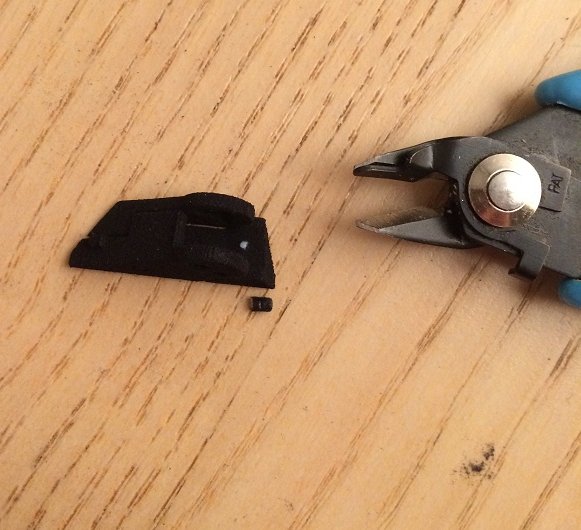
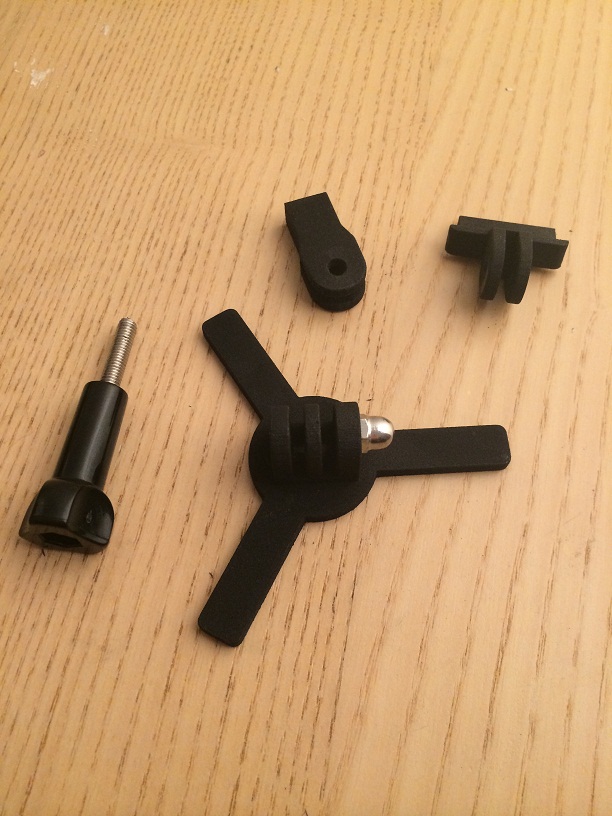
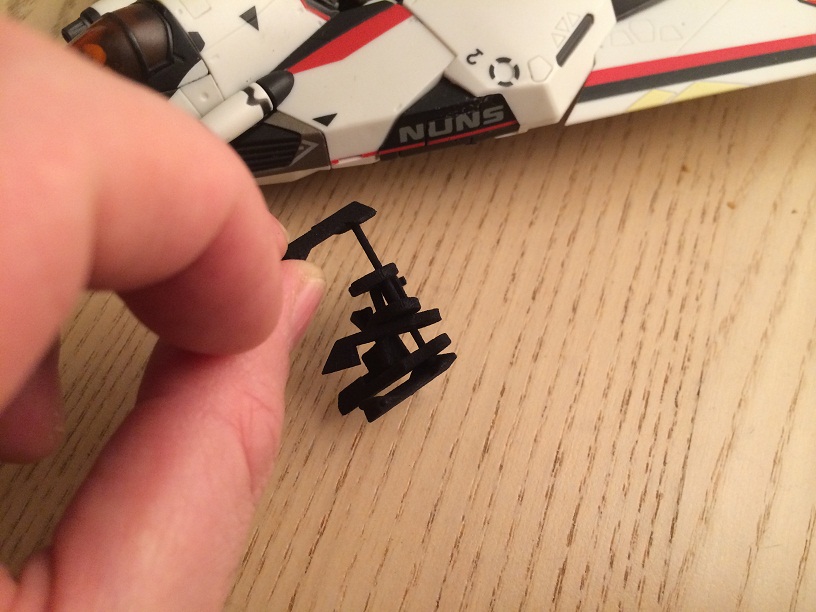
Here is how to assemble:
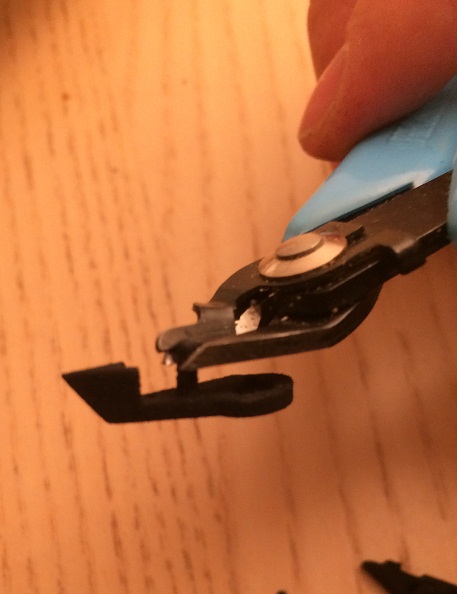
step #1
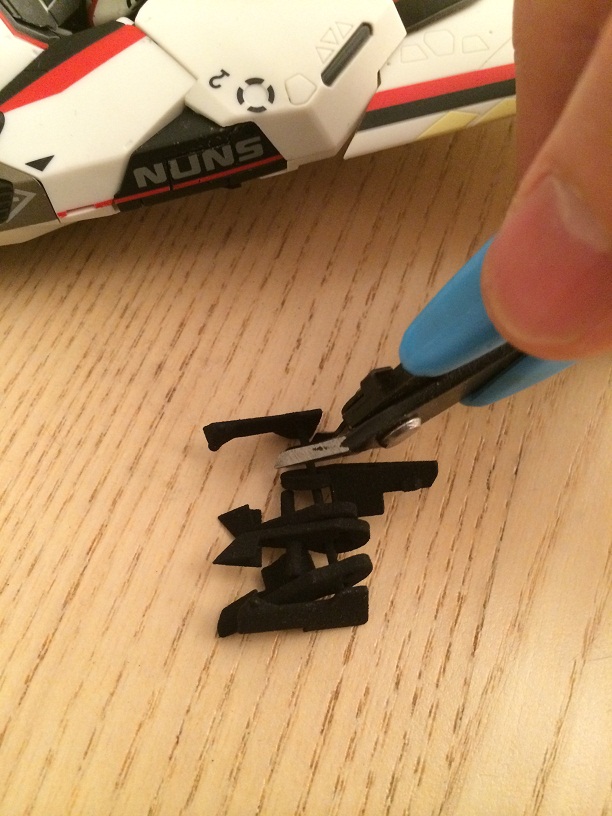
Cut the assembly to free the 6 parts


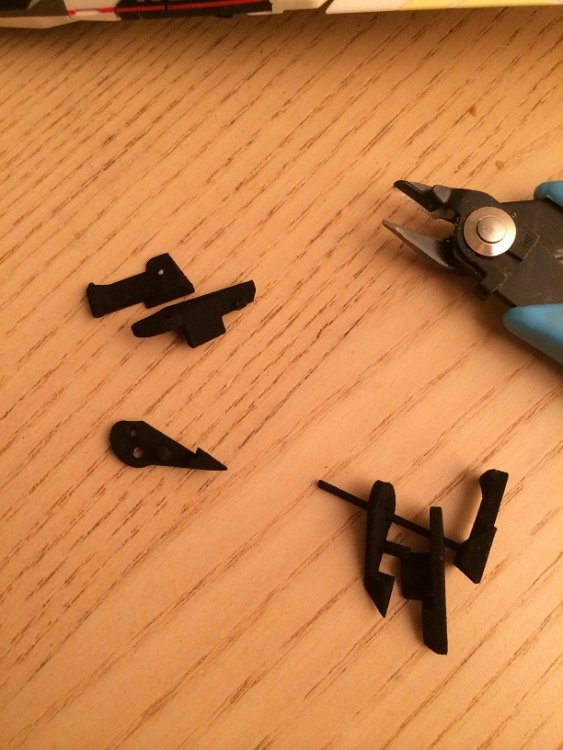
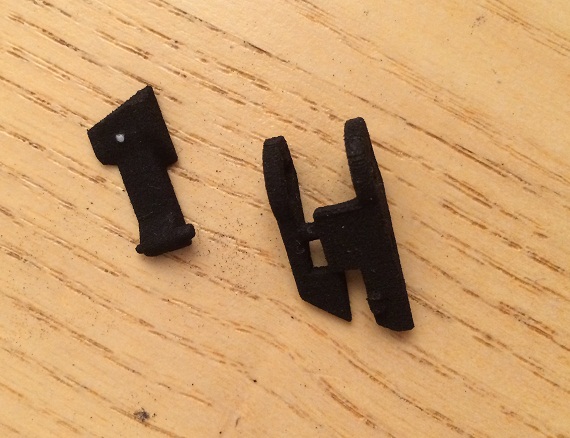
step #2
Test the fit of the lower part and middle part. Rotate the middle part. Do not glue the lower and middle parts !
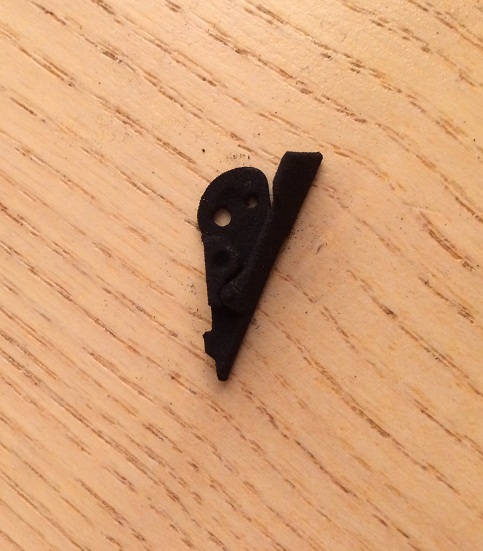
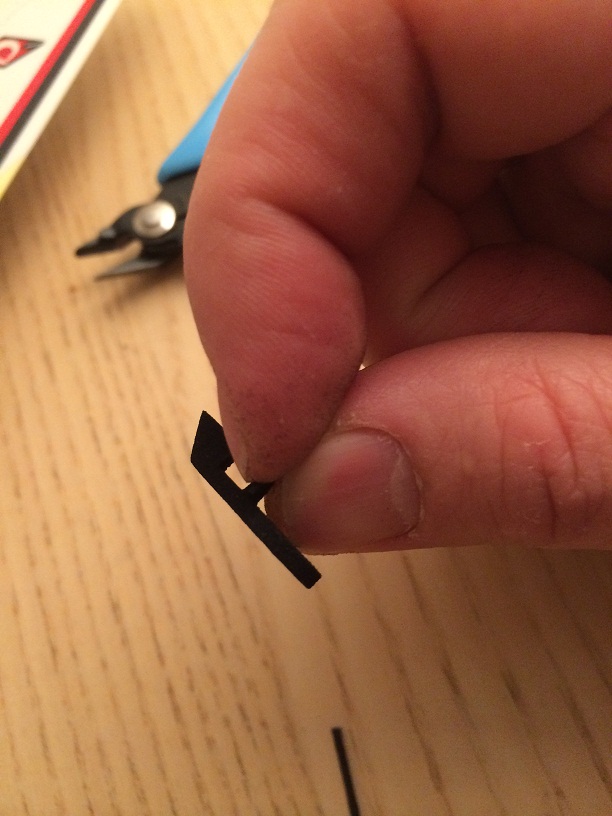
step #3
Take the upper part. Scratch with your nail the fixing rod to eliminate any remains of printing dust.

step #4
Test the fit of the upper and lower parts. In my case, the rod was too long by 2mm, so I cut the rod by this amount, do the same if needed.
and Voila
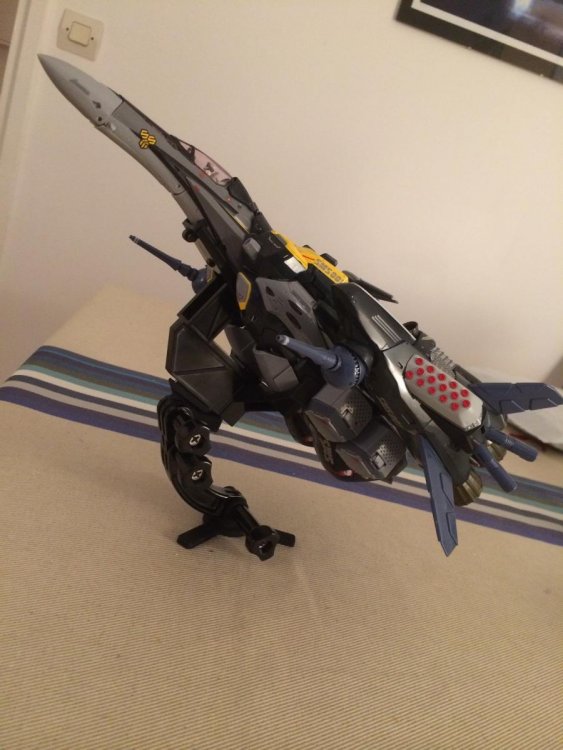
Fitting test in fighter mode:

Fitting test for Battroid mode:
-
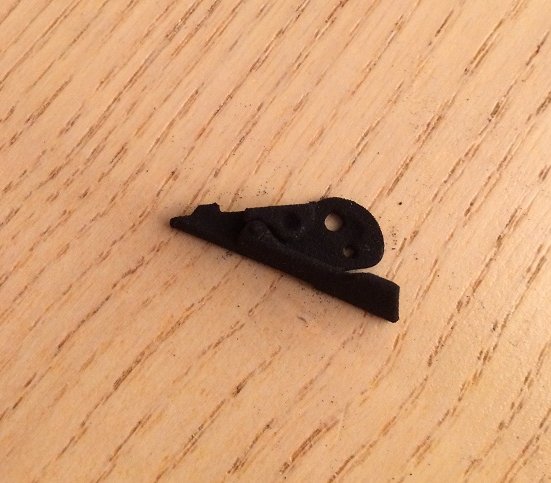
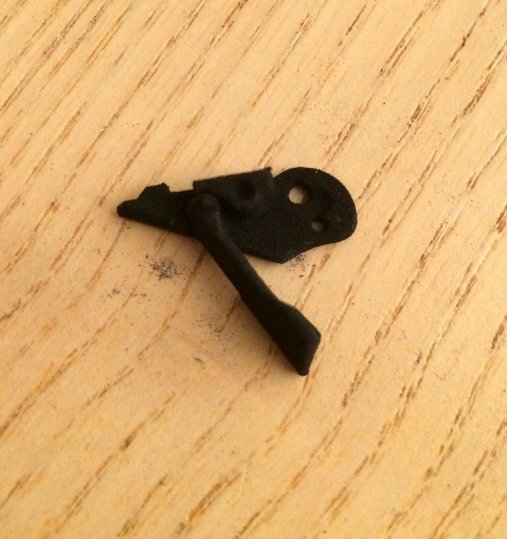
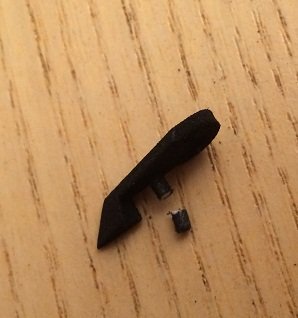
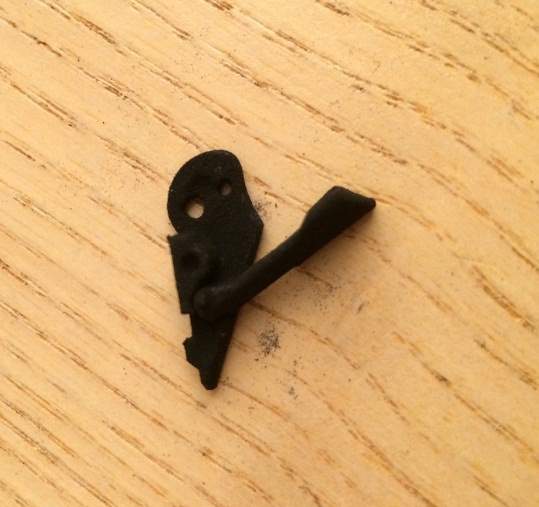
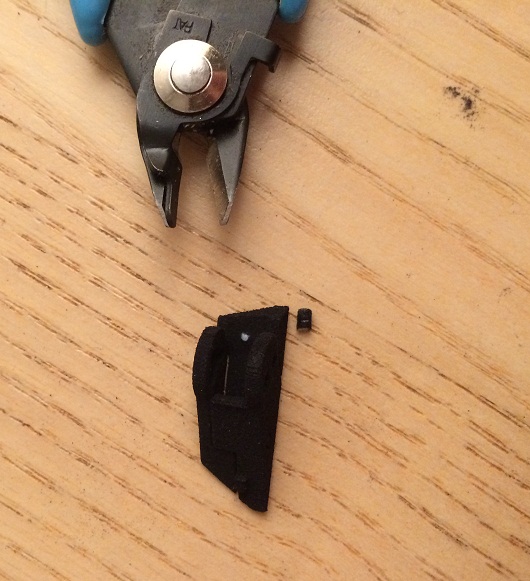
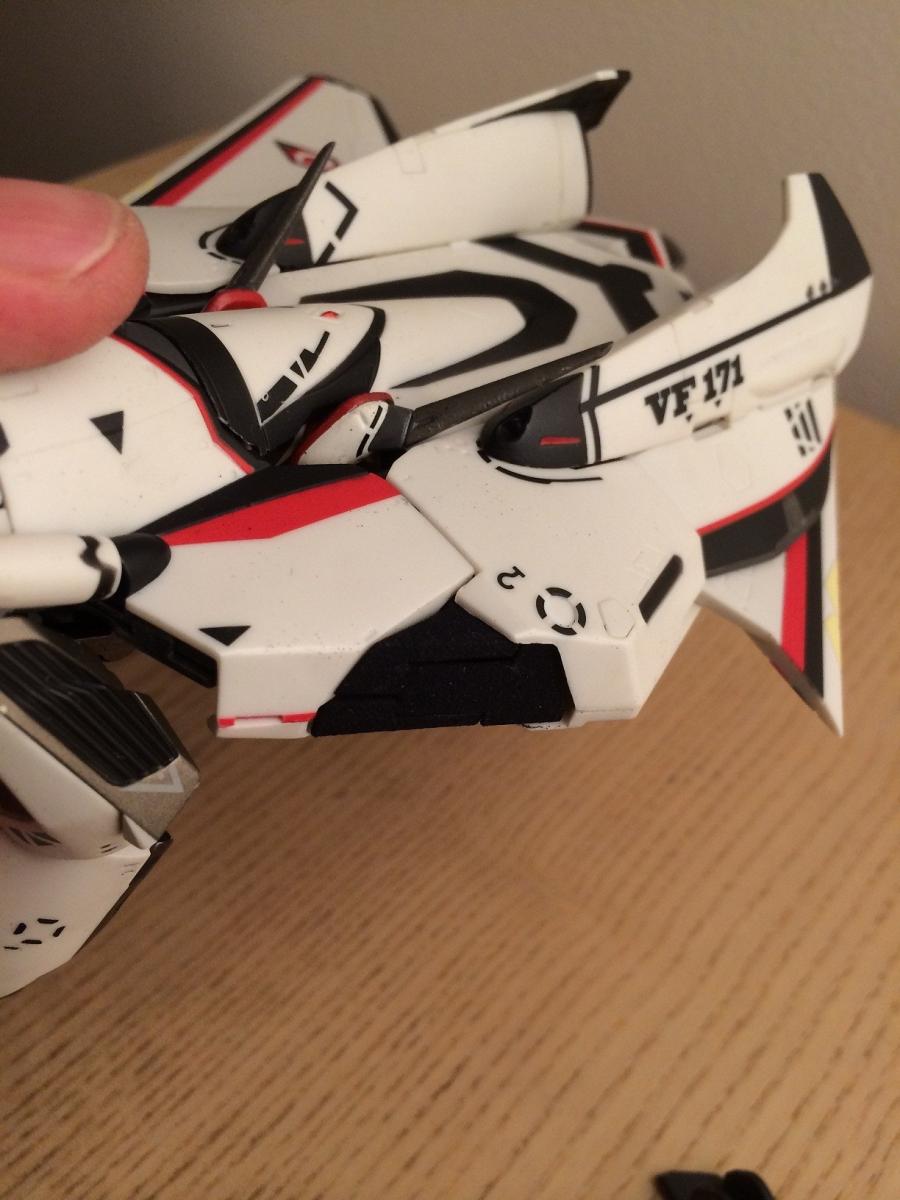
Just received the test triangles from shapeways (among other stuff) ! They fit nicely.
The actual version didn't fit the "lower" triangle, so I had to drill the triangle so that the lower triangle could get in. Don't panic, I made a newer version for that so you only have to choose between:
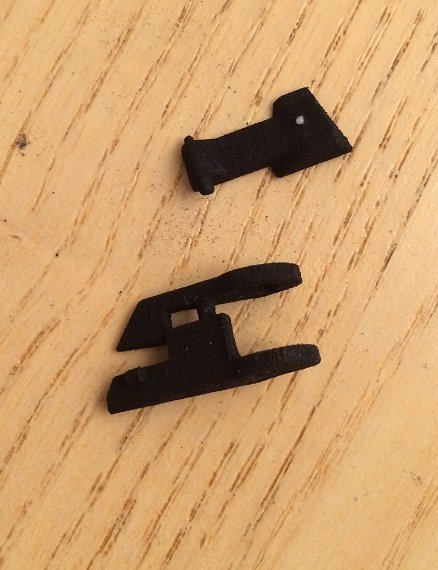
TRIANGLE with LOWER TRIANGLE FIT, if your VF-171 has only the upper triangle broken
or
SIMPLE TRIANGLE, if your vF-171 has both upper and lower triangles broken
The main reason I made the SIMPLE TRIANGLE available is because it is a stronger design and it would be sleeker for a VF-171 that has a broken lower triangle.
-
Yeah I lost faith in getting one at MSRP. Hopefully this YF-29 being a standard release and not a web/tamashi exclusive, will be re-released later in 2015...
-
Damn, missed this one!
-
I feel that the white paint will not pop out the details enough, This head deserves the "Max" color scheme from your avatar!
-
Very nice head, I didn't realize how different it could be from Yamato's head and still carry a stronger "A" feel. Congrats for the design !


Has anyone heard of this material... Plastimake?
in The Workshop!
Posted
Are you sure of that? I use 48H curing epoxy resin and I know it can be heated to 100°C to cure stronger, but I doubt it heats up that much by itself