
Xigfrid
-
Posts
2607 -
Joined
-
Last visited
Content Type
Profiles
Forums
Events
Gallery
Posts posted by Xigfrid
-
-
Great pics Xigfrid!
What we are seeing in pics is 1/48 version right?
Waiting for your 1/60 pre-order call!
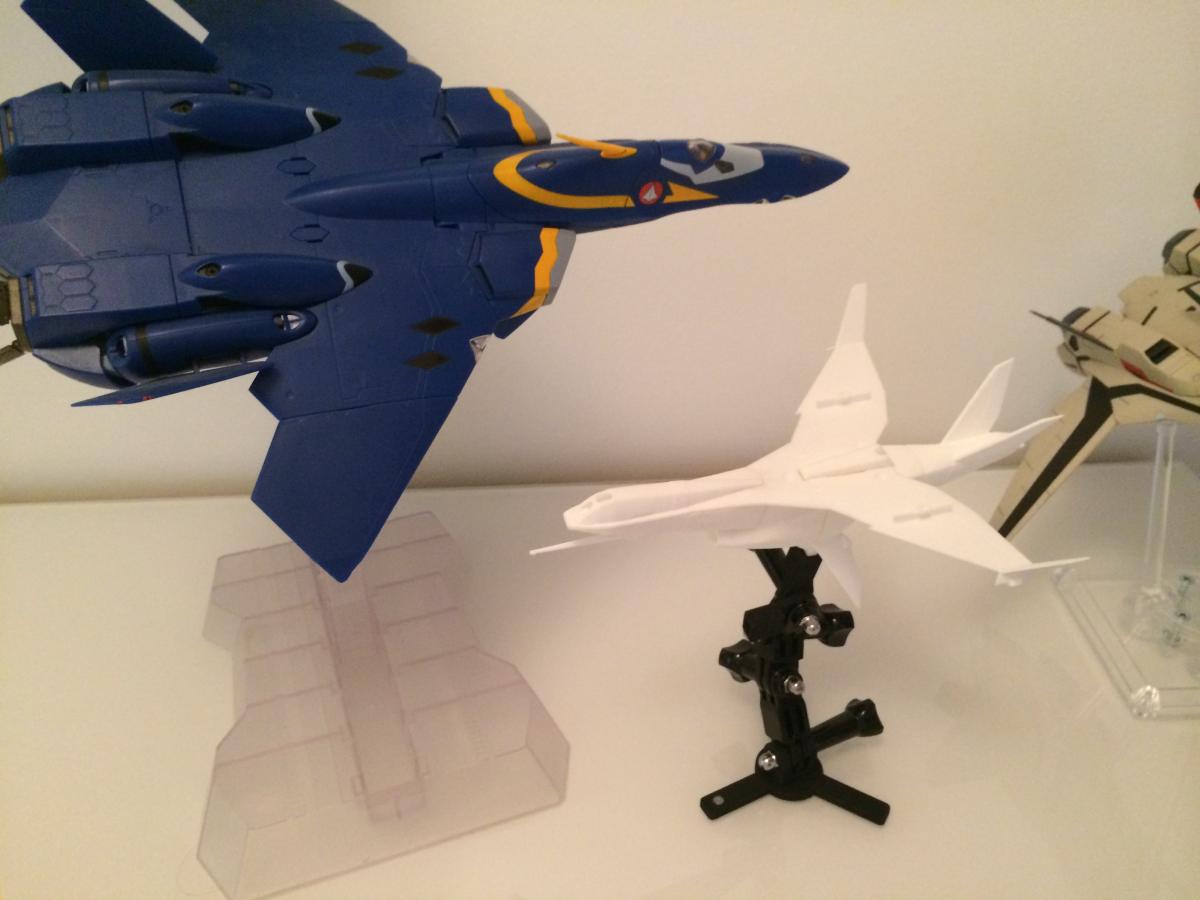
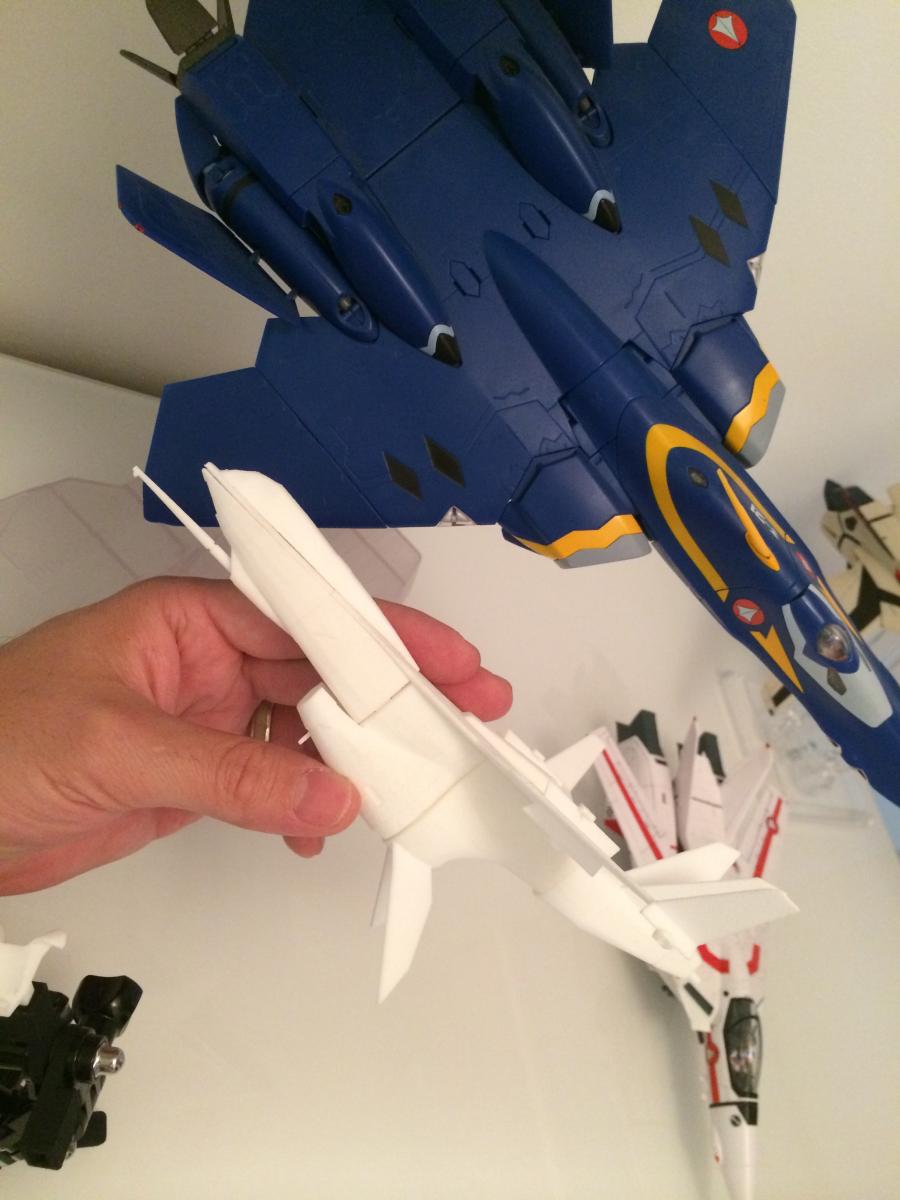
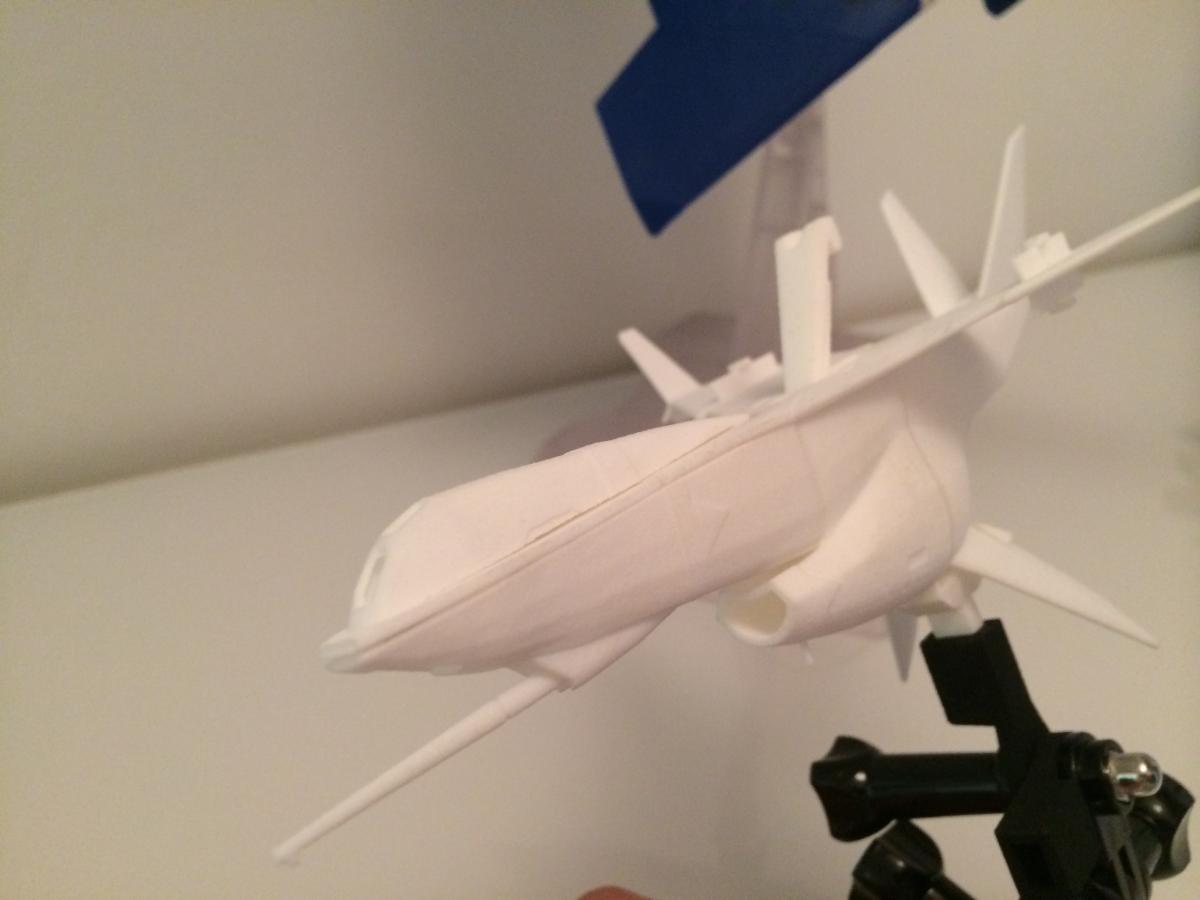
The shoots are from the 1/60 version. This thing is bigger than you imagine !
-
Really nice review, i am impressed by the clarity of the explanations!
Thank you again'
-
Hi guys,
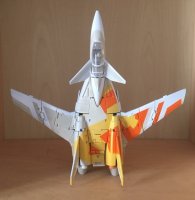
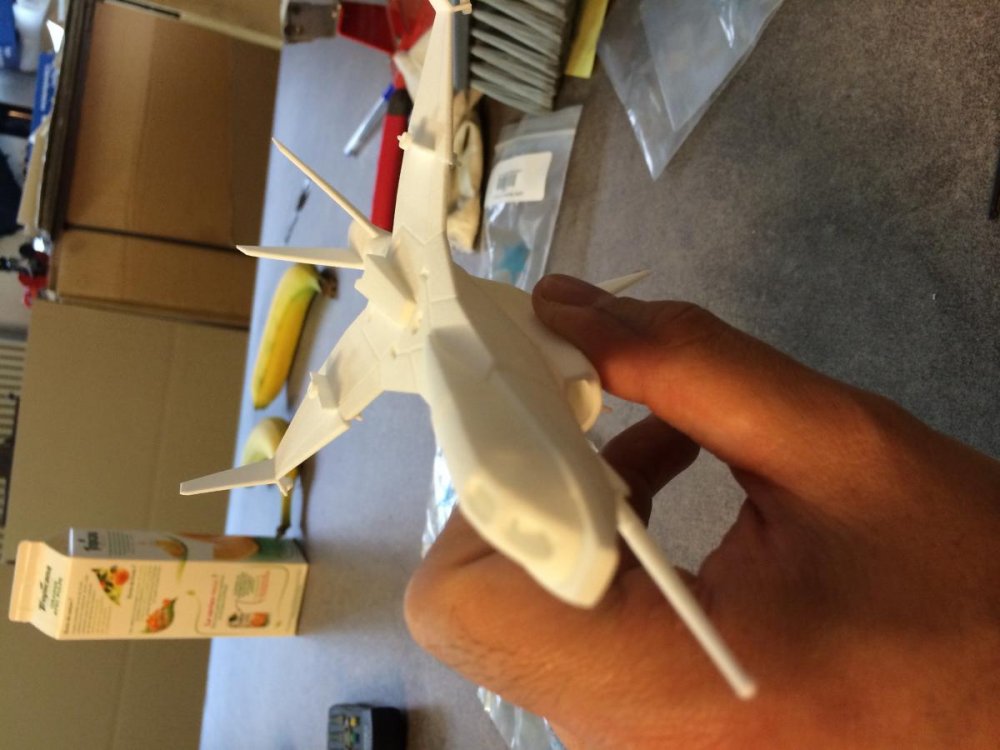
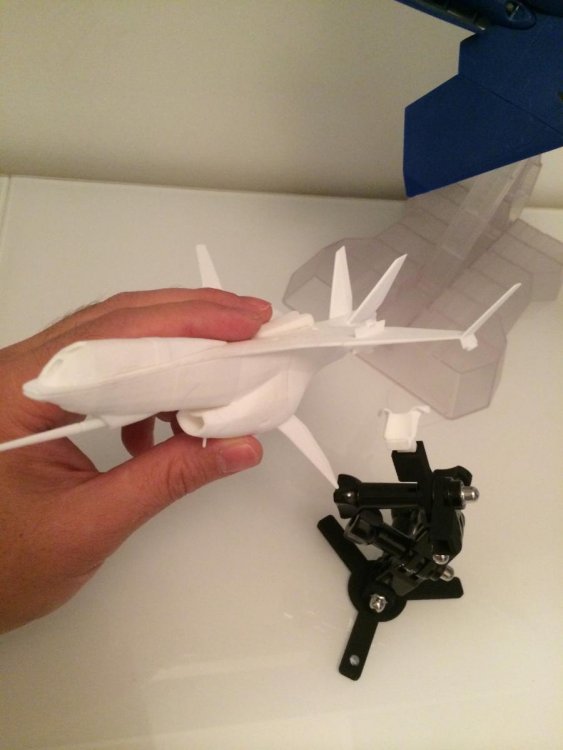
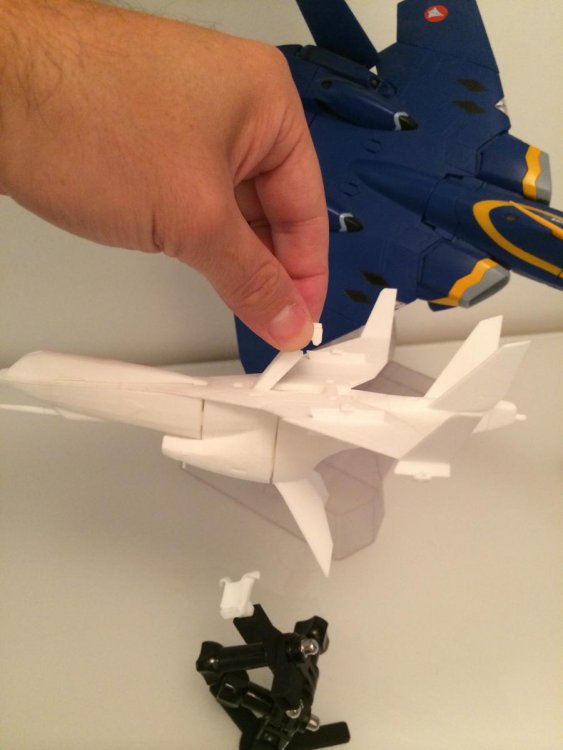
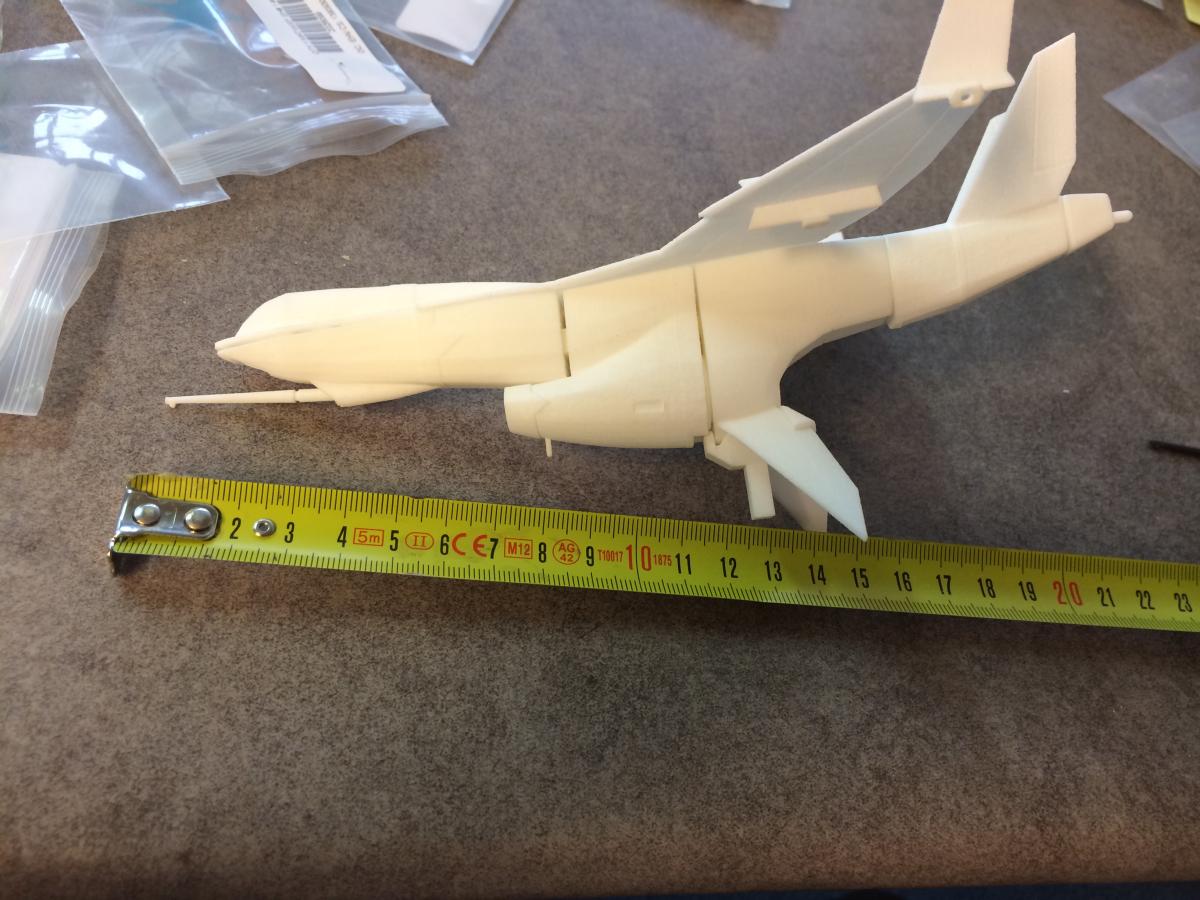
I received all the parts everything is snapping perfectly, I already made few design corrections and decided to make the 1/48 scale drone kit available NOW on shapeways in WSF. http://www.shapeways.com/shops/xigfrid3dshop?section=Drone+Fighter+1%3A48&s=0
I am working on the 1/60 and 1/72 scale versions to make them in resin with a highly valuable member of this forum, I should shortly take pre-orders for these. The resin kits will be limited run so keep an eye on the thread.
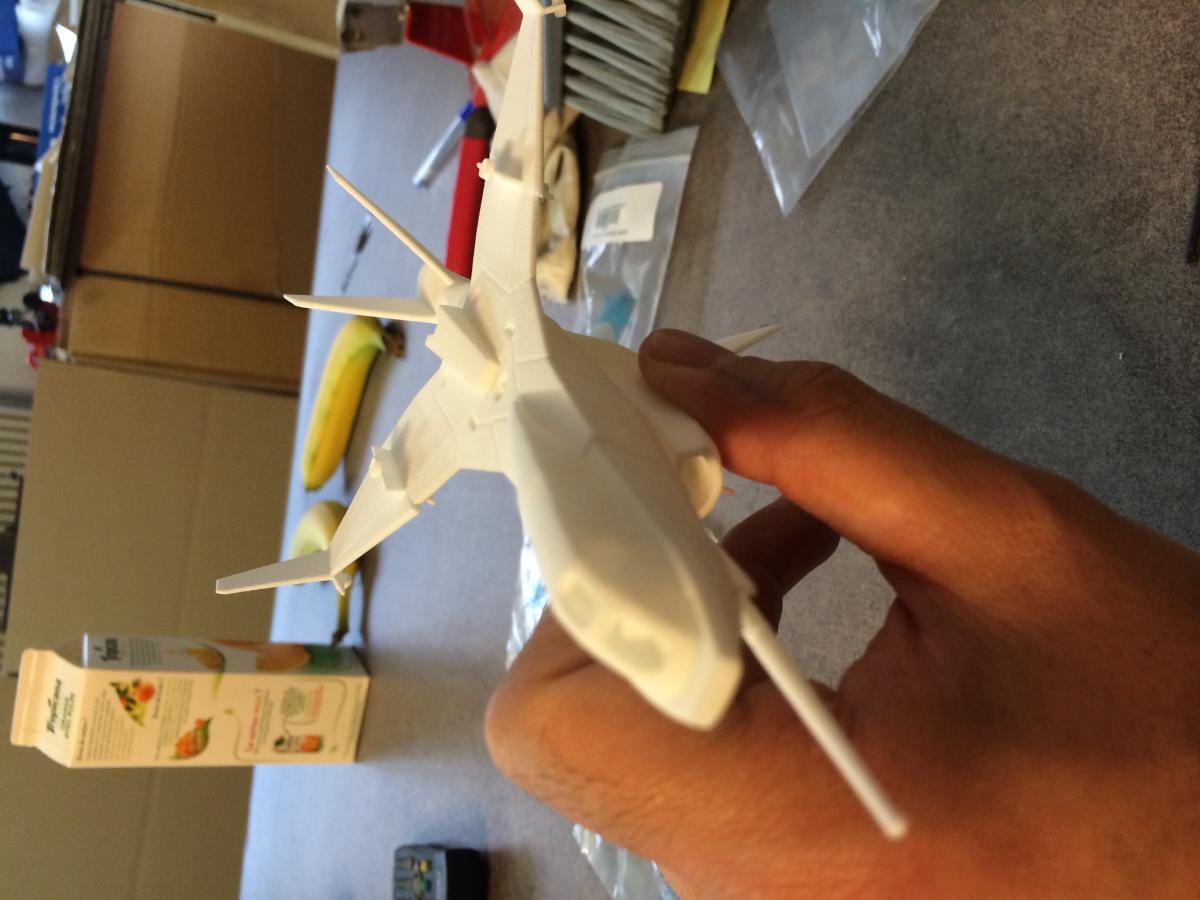
The kits are 11 parts for the entire drone, plus a Yamato Stand adapter if you want a display solution. If you want to order the 1/48 kit from Shapeways, I also recommend the Laser canon in Steel instead of WSF, but it works pretty well in WSF.
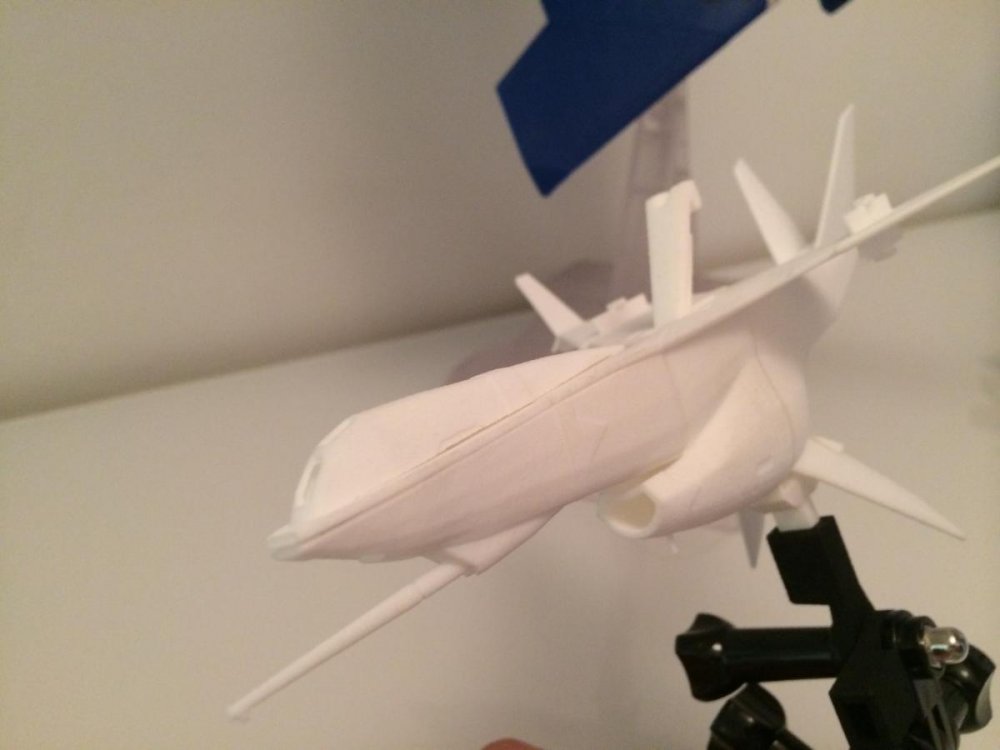
Here are a few pictures of the quickly snapped in out of the box. Sanding/prep/etc will come later but slowly because I am now focusing on how to make them in resin.


-
I have finalized the design and put some updated pictures in 1st post.
I am uploading it to Shapeways and will add it to my next order to review it. Stay tuned !
-
A few days ago, I was on the X-9 design when suddenly the power cut off and I lost half a day of data, including the X-9 files. So I decided to do something else but lighter to forget the loss.

-
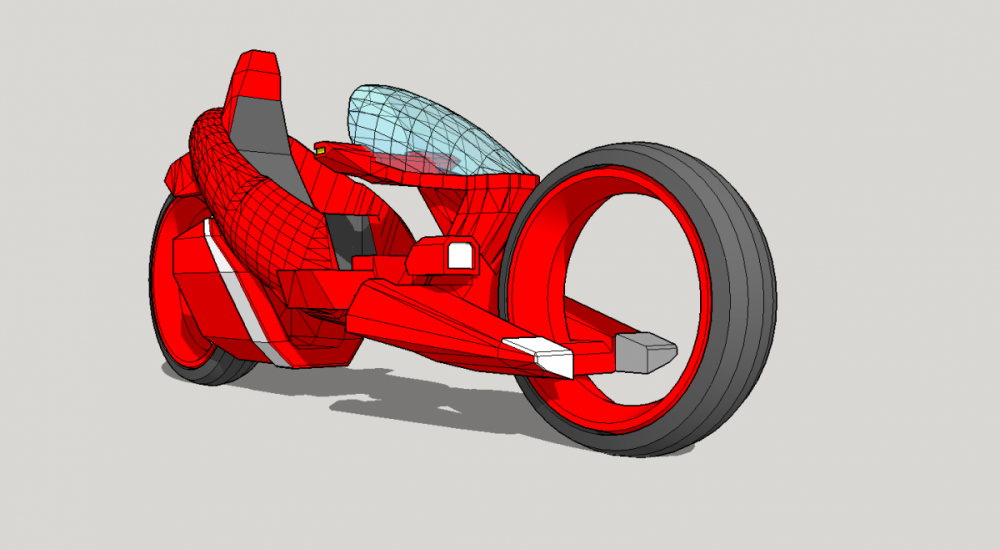
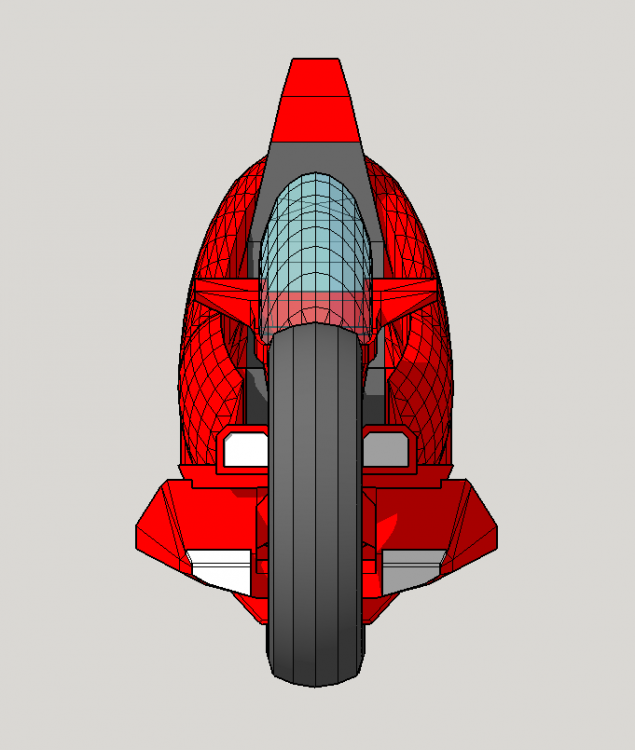
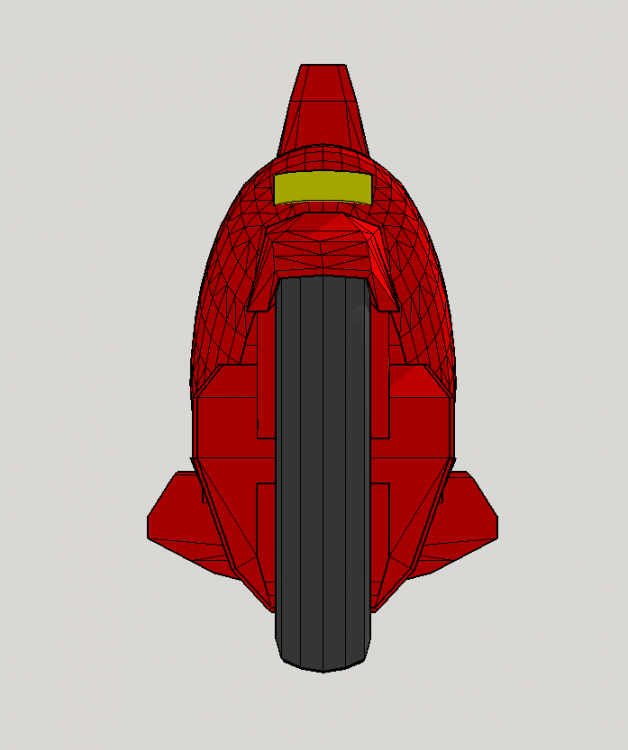
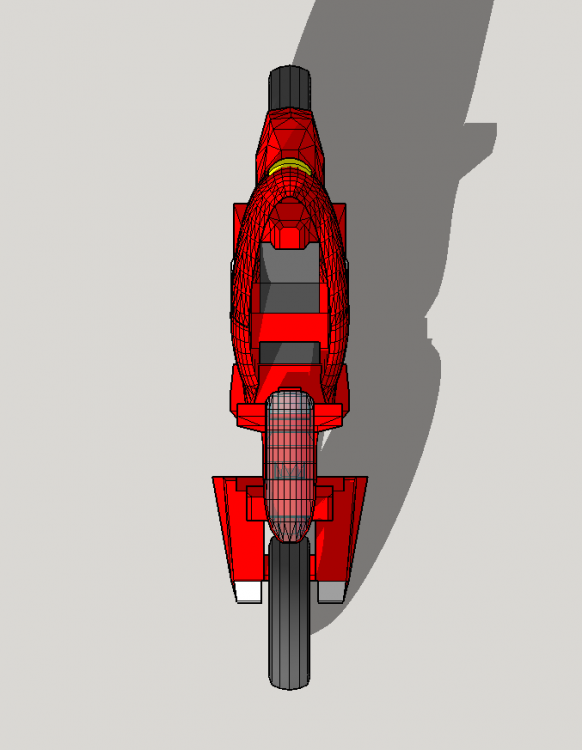
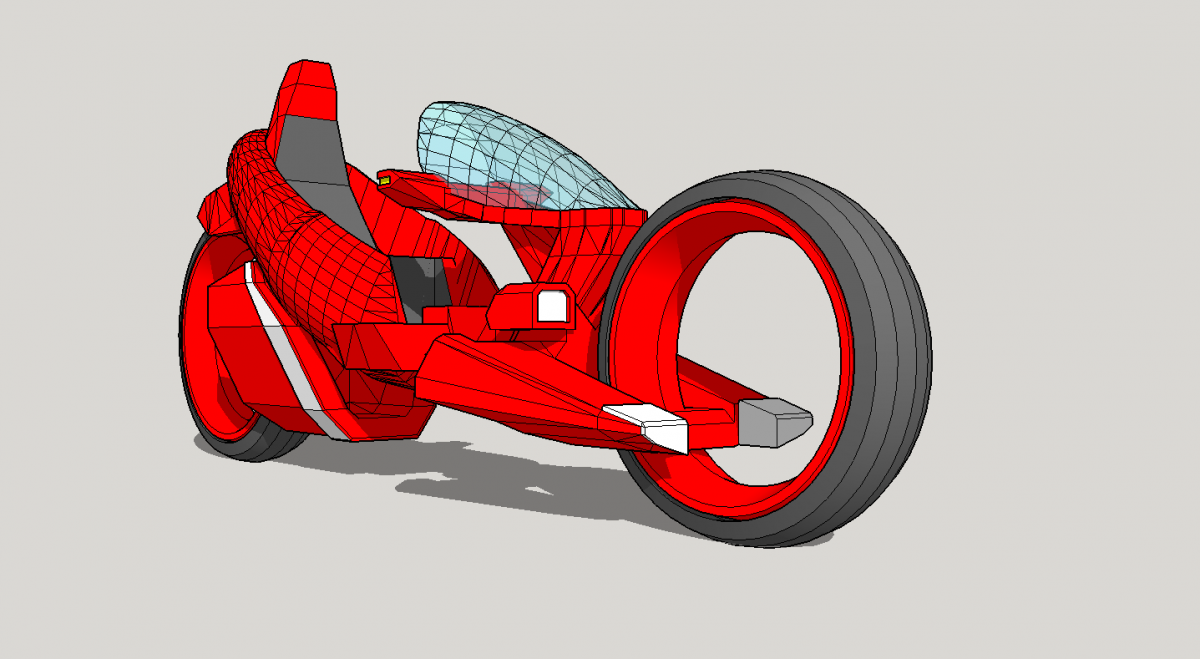
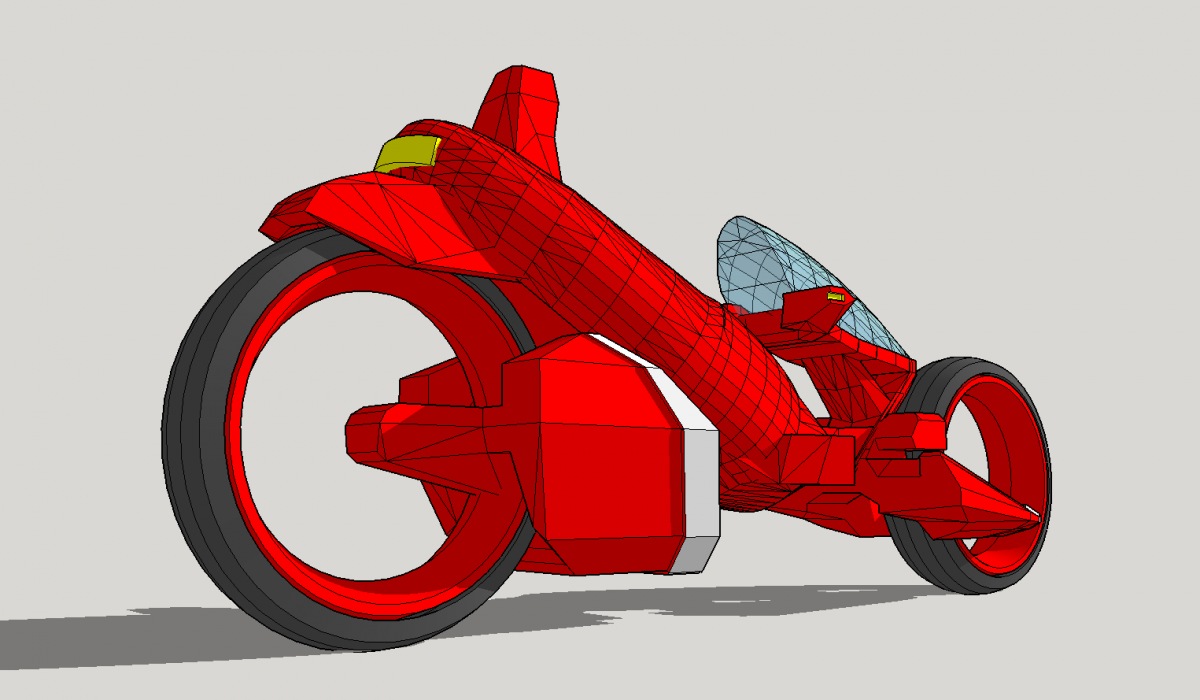
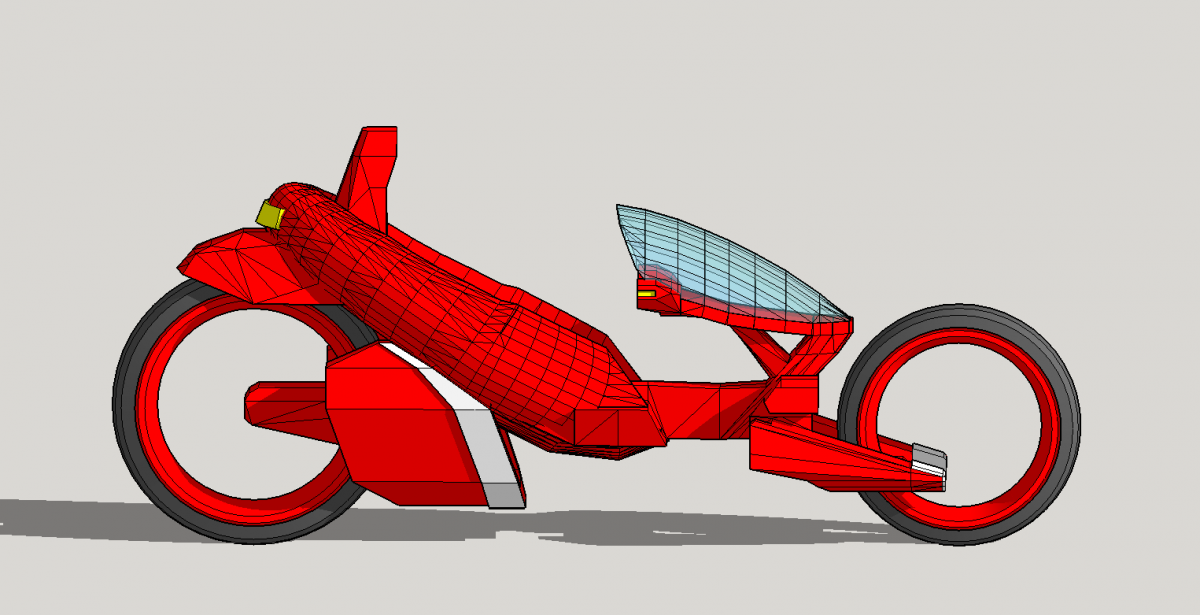
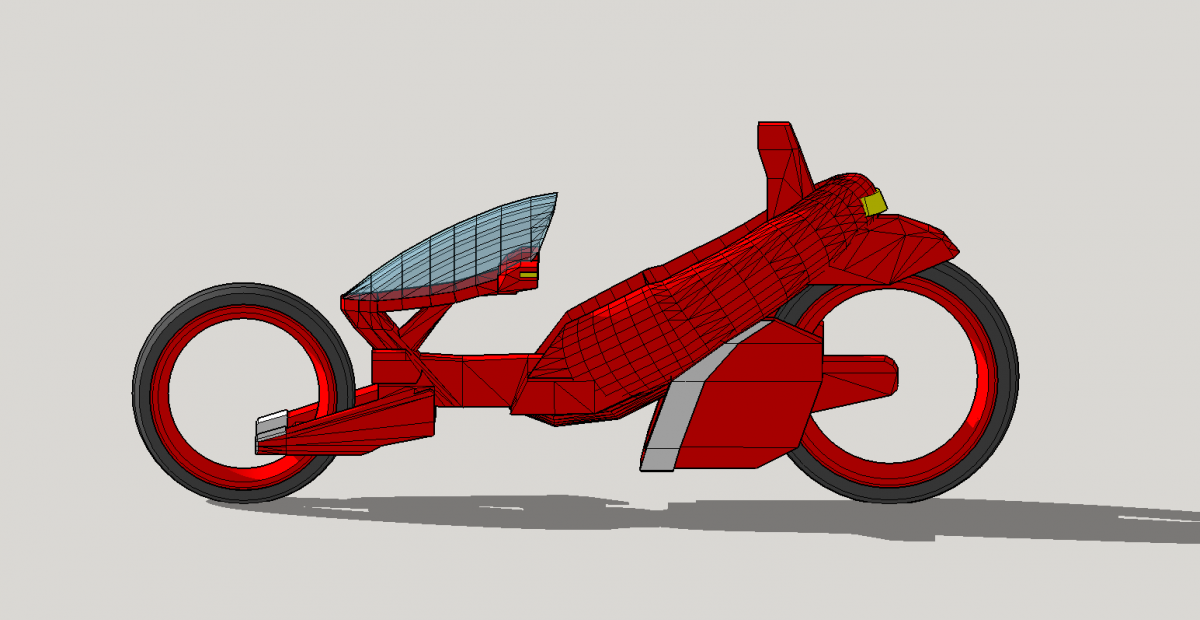
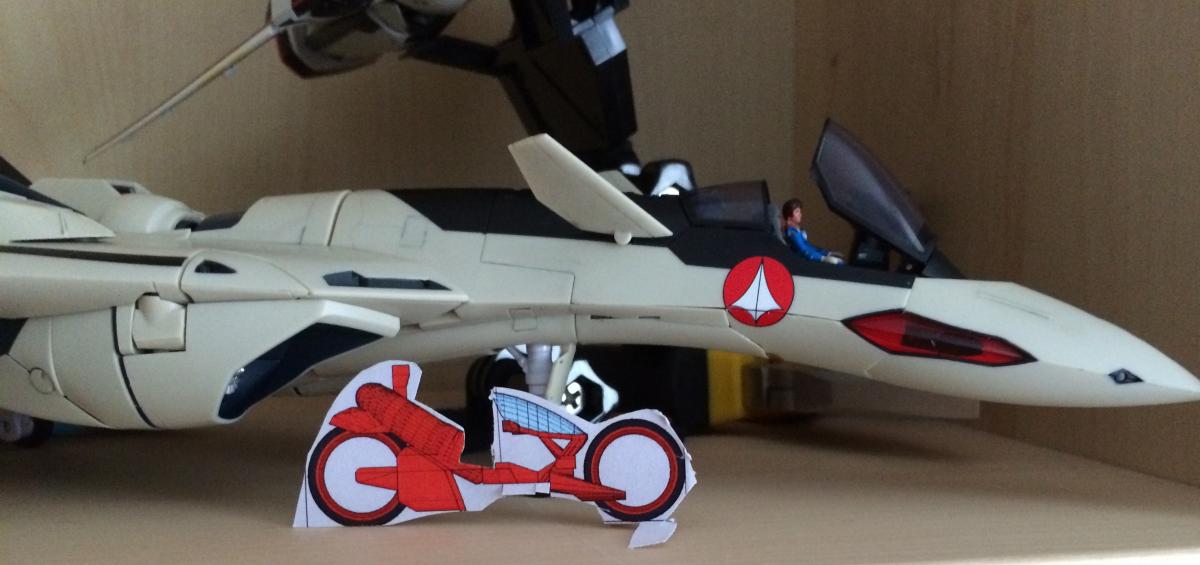
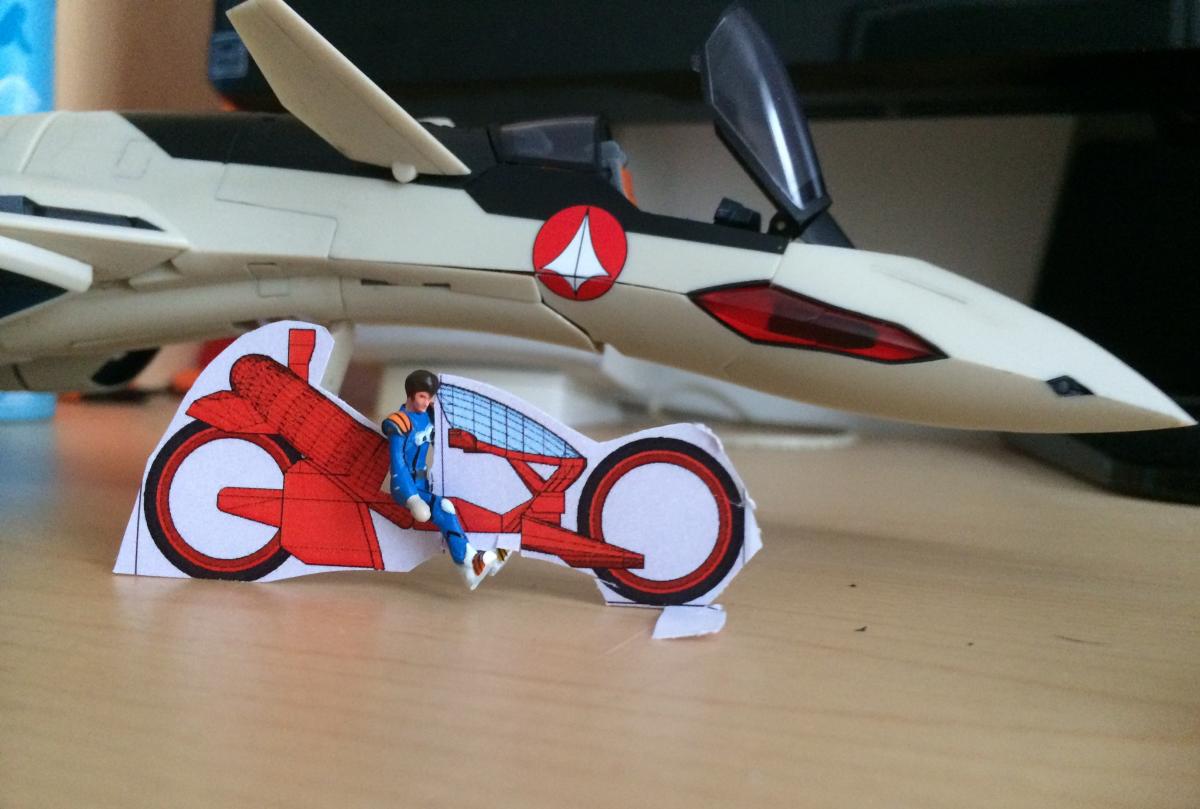
You can visit my Isamu Bike section on Shapeways, there you will find three versions of the bike in the following scales:
1/72, 1/60 and 1/48 here: https://www.shapeways.com/shops/xigfrid3dshop?section=Macross+Plus+bike&s=0
Design finalized,due to the very small size and details required, this bike is limited to FUD and FXD materials. Very fragile and brittle.
A few highlight for the 1/60 scale design:
-use of Arcadia's Isamu figurine as the bike pilot.
-Lucy should be figured from a 1/72 siting blond figurine such as Preiser figures
-no articulation except for the black part of the wheel that should rotate in order to facilitate painting it a different color.
Available here: http://shpws.me/IdVO
For 1/72 and 1/48 scales models, you would have to source your own Isamu and Lucy.


-
I also think that yeti's stands are the best out there!
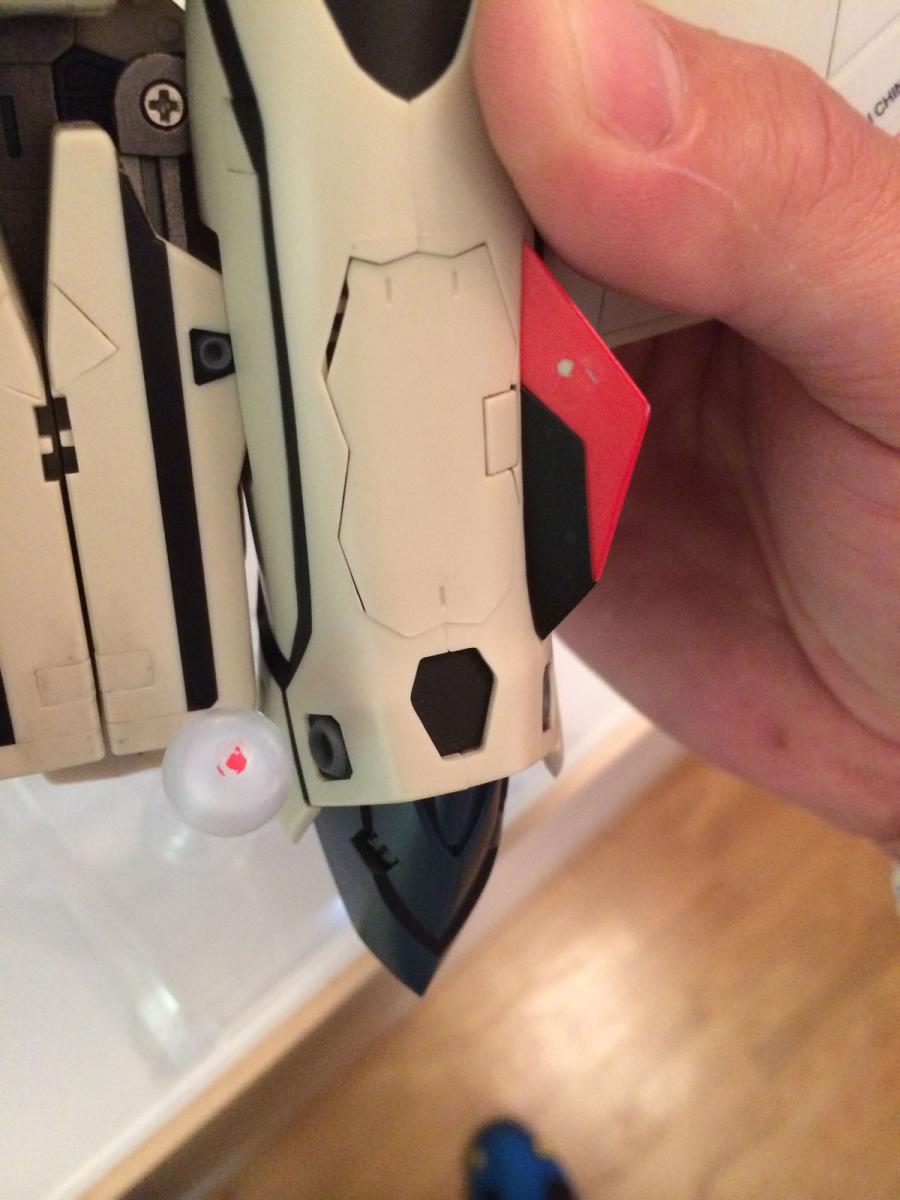
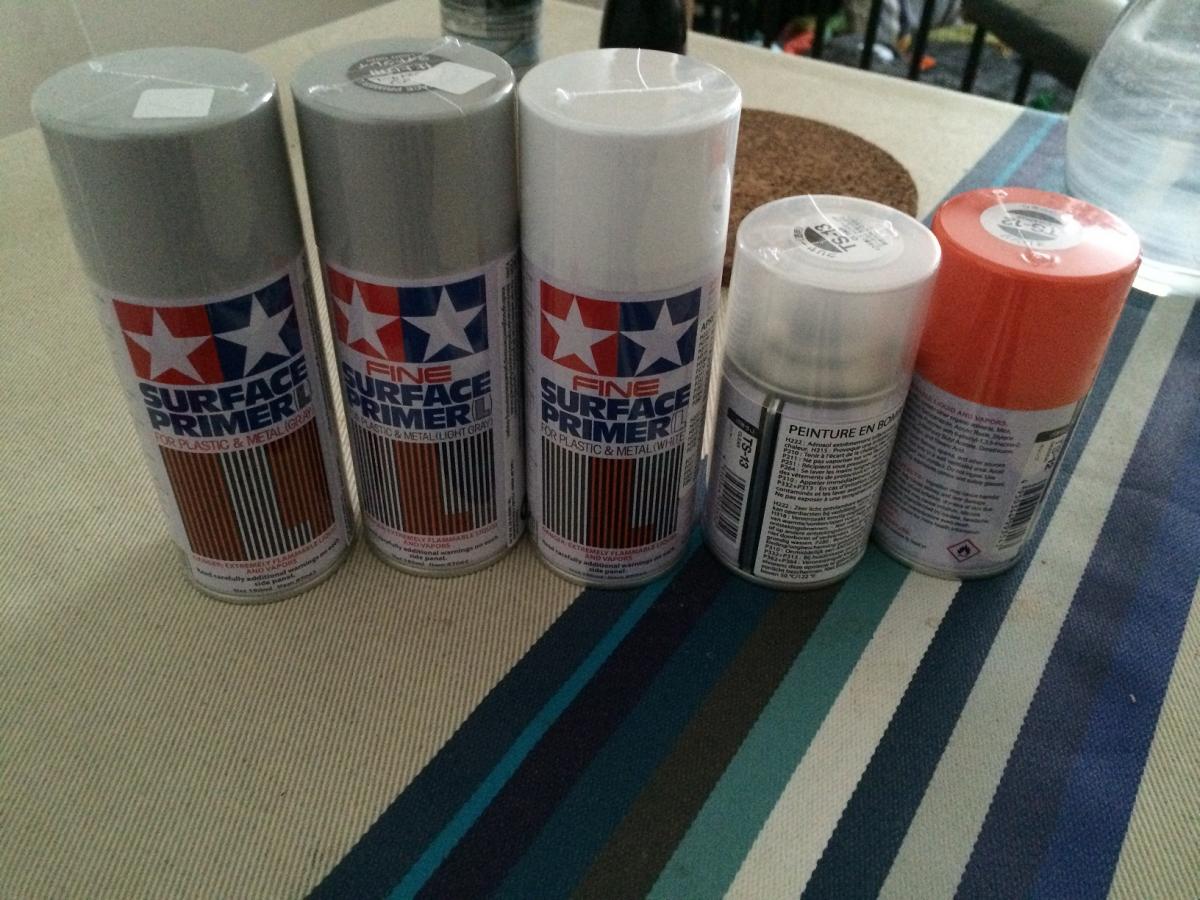
It was easy to put some red paint on the fin to make the scratch almost invisible, I have also put some glossy TS-13 on the flight-pose tips as suggested previously and will test it
-
I live in Paris and my collection is displayed in closed detolfs. Humidity and temps are no issue I believe.
-
Picts are coming soon...
-
It was winter and the temps have never raised higher than 25'C. I don't know, maybe the side effect of having panel lined the 19.
However the red portion is a thick paint layer, so is more prone to react with the stand than the other portions
-
Amazing shoots, my new favorite computer wallpaper.
-
I just check after my Arcadia YF-19 and I am now a little pissed, because it lasted 1 year with a sticky feel, but without paint wearing out, but 3 months after my last cjeck, now the paint has wore off...

-
Received mine today. Showing my support for Arcadia.
Please re-release the VF-1D. It makes total sense now that 0D was released recently. I never got that one when it originally came out. (after all I am a low vis guy and bright orange high vis looks bad in my collection)
Hikaru's first valk in the tv series.
....And yes give us those damn side pieces as freebies. Thanks.

Yes for the VF-1D! But please, with the accurate canopy size!
-
You can get some valuable info here: http://www.macrossworld.com/mwf/index.php?showtopic=39417
-
Most parts are finished, my order only miss the "black steel" laser canon that is still not completed, so I think I will receive it by the end of this week
-
I am doing my best for these little dronies. I don't know yet if there would be a resin kit yet, but I know for sure that the first prototype is going to be very well treated !

I made my research about how to prepare WSF models, this is quoted from Shapeways forums, and I think this is the most complete method I foudn out
1. Wash the model in WARM water, towel it off and let dry completely. *I use warm water because that will help reset any bends the model may have incurred during shipping.2. Sealer- I have read about several methods and tried most of them. I am not sure which gives the best results as the "layering" steps make up for a lot.a) Paint model with several layers of undiluted "Future" (or other) acrylic floor polish. *WSF is porus and will absorb the first layer(s) rather quickly; let it dry before moving on.b) Give it a coat of your favorite "rattle can" primer.c) Paint it with 1-2 coats of diluted PVA ("Elmers") white glue. * About 1:1 Glue /H2O.d) 1-2 coats of Clear Gloss spray sealer. * I like Krylon Crystal Clear.3. Primer (if you have not already done that in step 2)4. Base Color5. Wash. * I use the "Magic Wash" method- "Magic Wash" is composed of 1 part Future floor polish to 4 parts water. I usually mix a small bottle for future use. Pour a small amount into a bottle cap (or other small vessel) and mix it with a small drop of whatever color paint/ink you like. Make it as thick or thin as you want. Let it dry completely before moving on.6. Drybrush with primary color.7. Paint secondary colors and details.8. Pin-wash to bring out more detail. Pin-washing is done with the same "magic wash" method but using a fine-point brush and just edging details and recesses, rather than applying it overall.9. Weathering. * Optional.10. Touch-up and highlight details.11. Clear Coat. * Apply one or more coats of clear gloss sealer.12. Apply decals. * Optional (gloss coat again if you do).13. Panel Lines- go over them with a very fine point drafting pen to further darken/define them. * Optional14. Top Coat- I prefer Testors Dullcote or Krylon Clear Matte Finish. * Unless you want a high gloss finish.15. Glass Canopies, etc... I like to go back over my canopies to give them a bit of a glass-like shine by painting them with a coat of undiluted Future floor polish. * Do this quickly as the polish will start to dry and thicken quickly and that will lead to visible brush strokes.The fact that I use multiple coats of "Magic Wash" is one reason I am able to get a (relatively) smooth finish as each layer contains the floor polish. The Clear Gloss top coat(s) really finish it off. Dullcote/Matte finish reduces the shine and also makes any remaining "roughness" less obvious. When you are done, you should have a model that is unique, attractive and durable. -
@spiff.. that's some great action poses! You're right that 171 looks like a born gymnast! very flexible! I don't dare try that on my old CF171 in fear it will fall to bits or turn to dust!
@sixtybucks.. congrats on your first ever Macross purchase! and you certainly chose a fine specimen to kick it all off with! Love those battroid pose shots! Especially that first shot!
I was just having a giggle to myself about your hand comment.. imagine having a display stand that actually is a mechanical rubberized hand that you can manipulate to hold things just like a normal hand! It would be a little like "Thing" from the Addams Family! I reckon it would be cool! im sure its already been done though..
Action memo20150608_155645_1.jpg Action memo20150608_160124_1.jpg
Can make one on shapeways for you!
-
Everyone is going to want their 0D to look like this when he's finished...guaranteed. Wait for it...
I already do!
-
If I understand the process, you have the salt in contact with the model only the time that you spray a layer of paint and let it dry, then you rinse the salt and clean the model. Repeat 2 times to apply several paint layers and you are done: no salt left on the paint.
-
Thank you Jasonc for the clarifications.
I can see a few issues with resin casting this design: I have a few parts with complicated shapes that will need silicon-like molds so that they can be extracted from the mold once dry.
But the part that makes me wonder the most is the lower part of the nose which is very complicated with an inner rail that accepts the laser canon. That means that I will need more time to make a few parts compatible to molding.
This is why painting should be a faster and more elegant way to deal with this project. Can you PM me to discuss about that ? -
When I was looking into casting for my stands, Kurosawa reached out to me. The samples he sent of his casts were of high quality. Get in touch with him.
Thank you ChaoticYeti, I will try to convince him, all the more so that I am also waiting for his VF-1SR kit. I just hope he has some time to spare on that project.
-
Maybe it would be more economic to polish one printed prototype in each scale and find a caster for mass production?
Given the parts breakdown, you could even get away with colored cast parts and skip painting.
If you know a caster willing to make this drone I would love to make it happen.
-
I have been asked if I could carry both assembling + painting, unfortunately I would love to do so but I don't feel confident enough and I don't have the tools for painting.
1) But would someone else want to make filing / sanding / painting / glossy finish with a batch? Between 3-10 drones at once?
2) If we find a reputable painter, who would be potentially interested - and which quantity and which condition ? Price should be reasonable.
Myself, I would be in for one 1/60th drone.
-
If anyone feels interested in a commissioned painting job for a shapeways M+ Drone fighter, let me know in PM


M+ Drone Fighter 3D Printing Project Request
in The Workshop!
Posted
The sealer is just a gloss lacker in can in the example I guess.