
Xigfrid
-
Posts
2607 -
Joined
-
Last visited
Content Type
Profiles
Forums
Events
Gallery
Posts posted by Xigfrid
-
-
Story or the Mechs?

At first for the Mechs and their realistic CGI and dog fights, I really like it in Blu-Ray version! But after that, I began to like it for its story because it was subtlety mixed in Frontier (in TV episodes mainly) and also it gives Macross 7 a better understanding.
Zero is just a must see if you want to enjoy the other series.
-
Hi loop! You are welcome. Jasonc can make a color scheme on demand if you contact him in PM also I am working on a grey/low vis scheme with Jasonc, I will post it when it would be finished and approved by Jasonc
-
I really love Zero serie
-
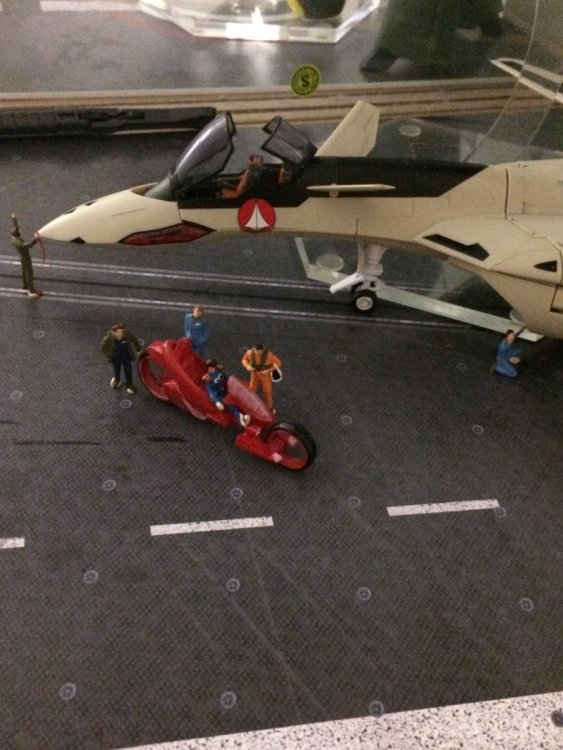
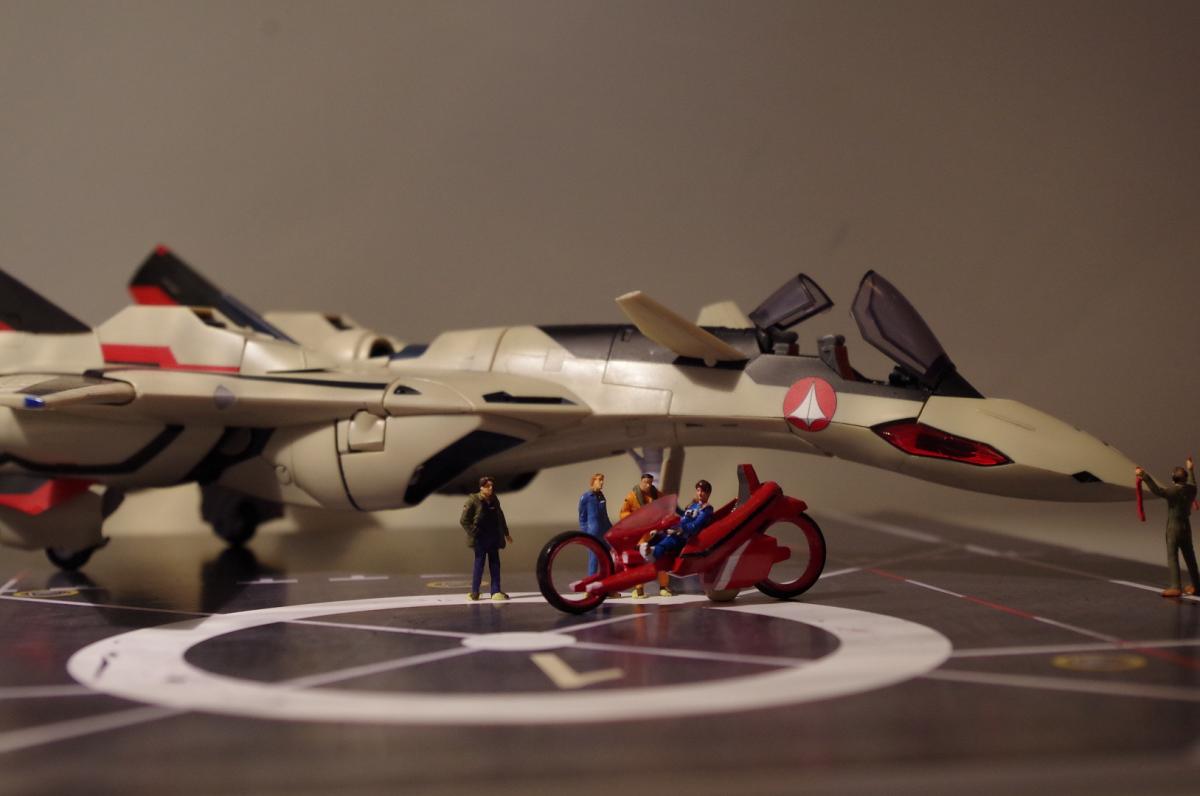
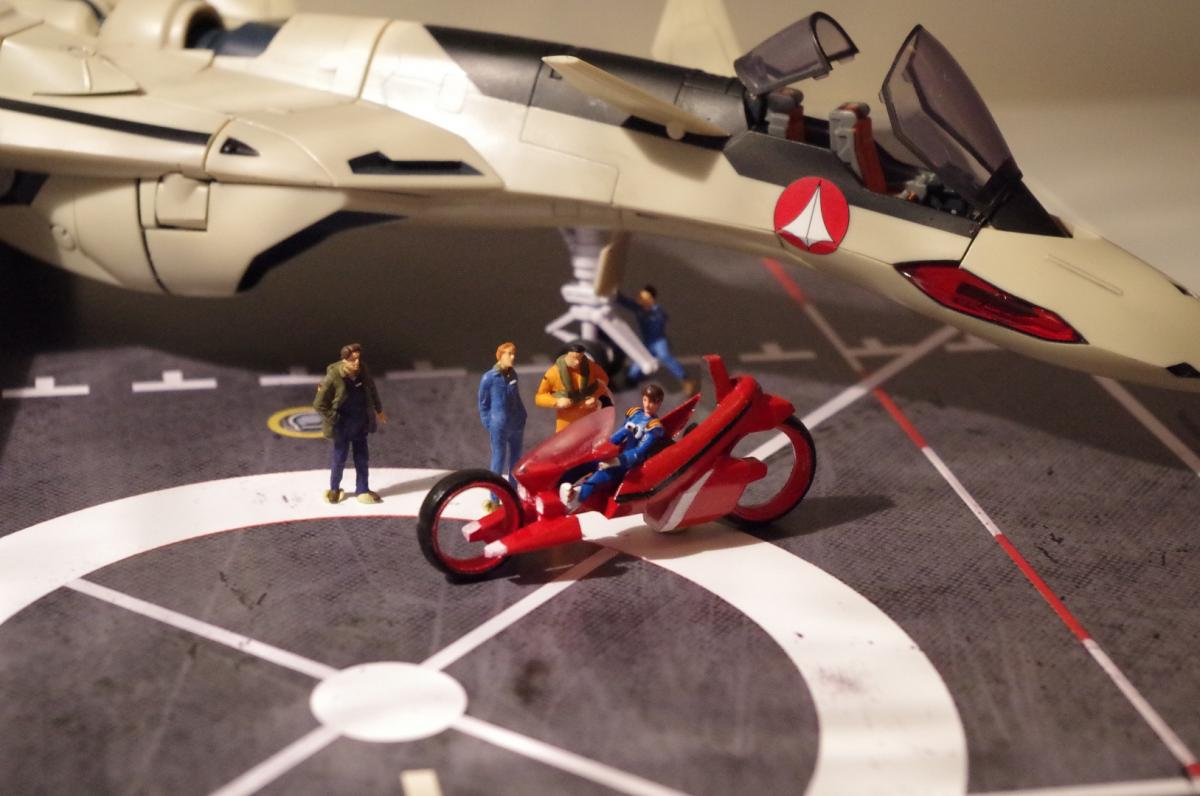
I took some picts of the painted bike, sorry for the pictures quality and unfortunatly the painting was made with a brush, I am not very used to painting yet.


-
Hi Jasonc! I am glad you grabbed one
 I have removed the backrest front seat in order to allow the second/back seat to be used with a figure with legs. My idea is to take a standing female figure and to ploy its legs with a candle, if you see what I mean.
Did you get the 1/60 bike? Because you probably can use any 1/72 sitting figure or pilot figures, then set a custom hair cut with "putty" to simulate Isamu's head and you are done !
But I also see "someone" to do these figures, I would be in for a the female one!
-
Almost finished painting my bike, I got to say that I didn't wash enough the bike and the primer didn't attach well at first. Now, after hand polishing and a few vernish layers, it is becoming nice.
For those who will buy one or haven't yet begun to work on it, I noted a few advices from Nscale.net forums:
27 minutes in acetone to remove the wax and what not(I can't find bestine locally, my local michael's store doesn't even care tempera powder anymore and Hobby Lobby or Dick Blick are enough of a drive that the gas is more than paying to ship).
Then a quick bath in warm water to clean it all up.
600 grit sandpaper to knock off any ridges from the printing process. GO CAREFULLY. On my not-UPS trucks from nscaleaddict, I accidentally wiped out the headlights and ended up freehanding them back in. Freehanding aerodynamic lights isn't a joy.
Black spray primer. Anything else I've tried is not sufficient to kill the translucency of FUD without obliterating detail. The last batch I believed I used Duplicolor sandable primer. My not-UPS trucks were painted black on the inside, got testors glossy brown spray on the outside.
Then it's just normal painting.I have already washed my FUD parts with acetone, but 27 min is pretty scary.
-
Now we need a way to mount twin booster rockets to a VF-11! Nice work guys this thing is bad ass.
Hi loop, actually that's something that can be easily done in wsf on shapeways. But I have other projects on work such as X9, so if you want it commissioned to get it faster let me know.
-
Great shots and poses!
-
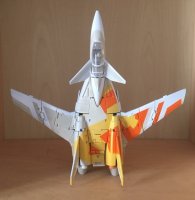
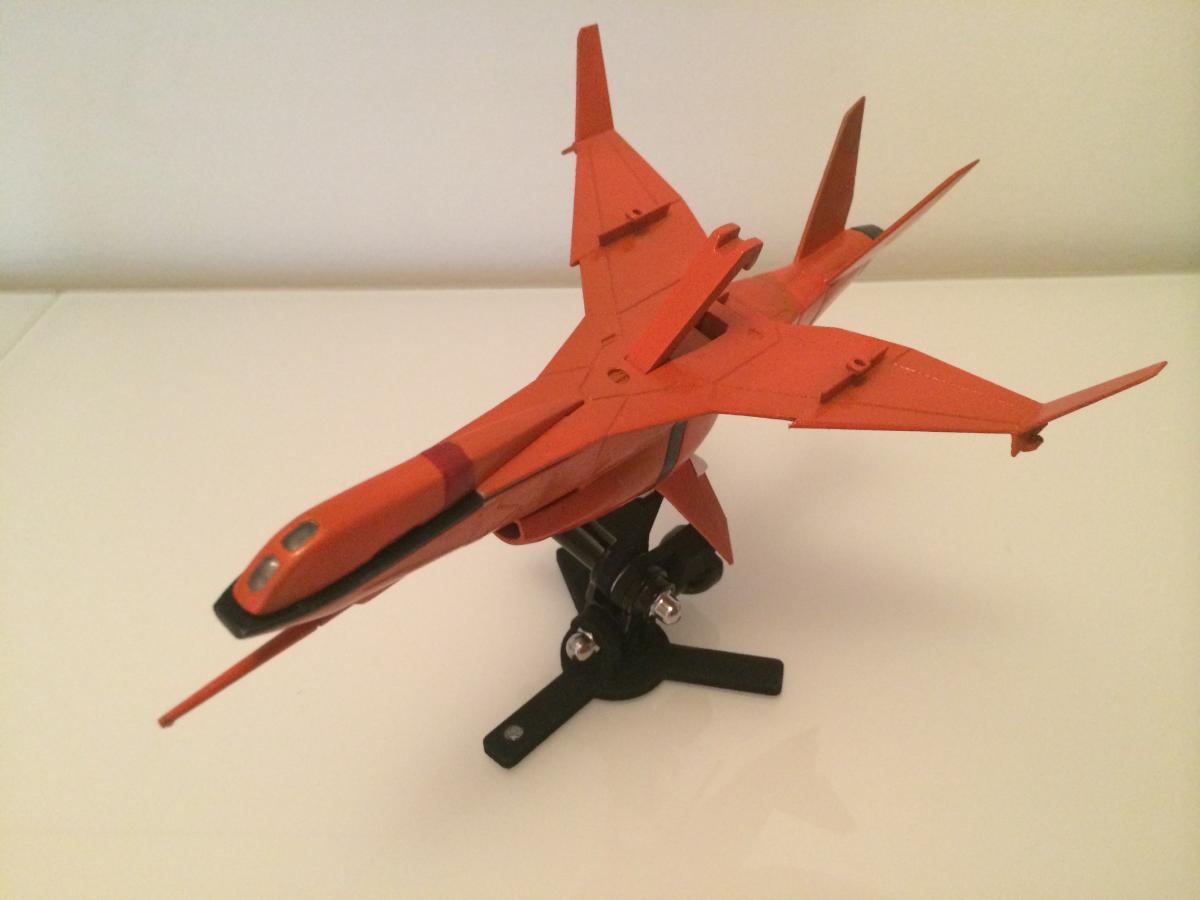
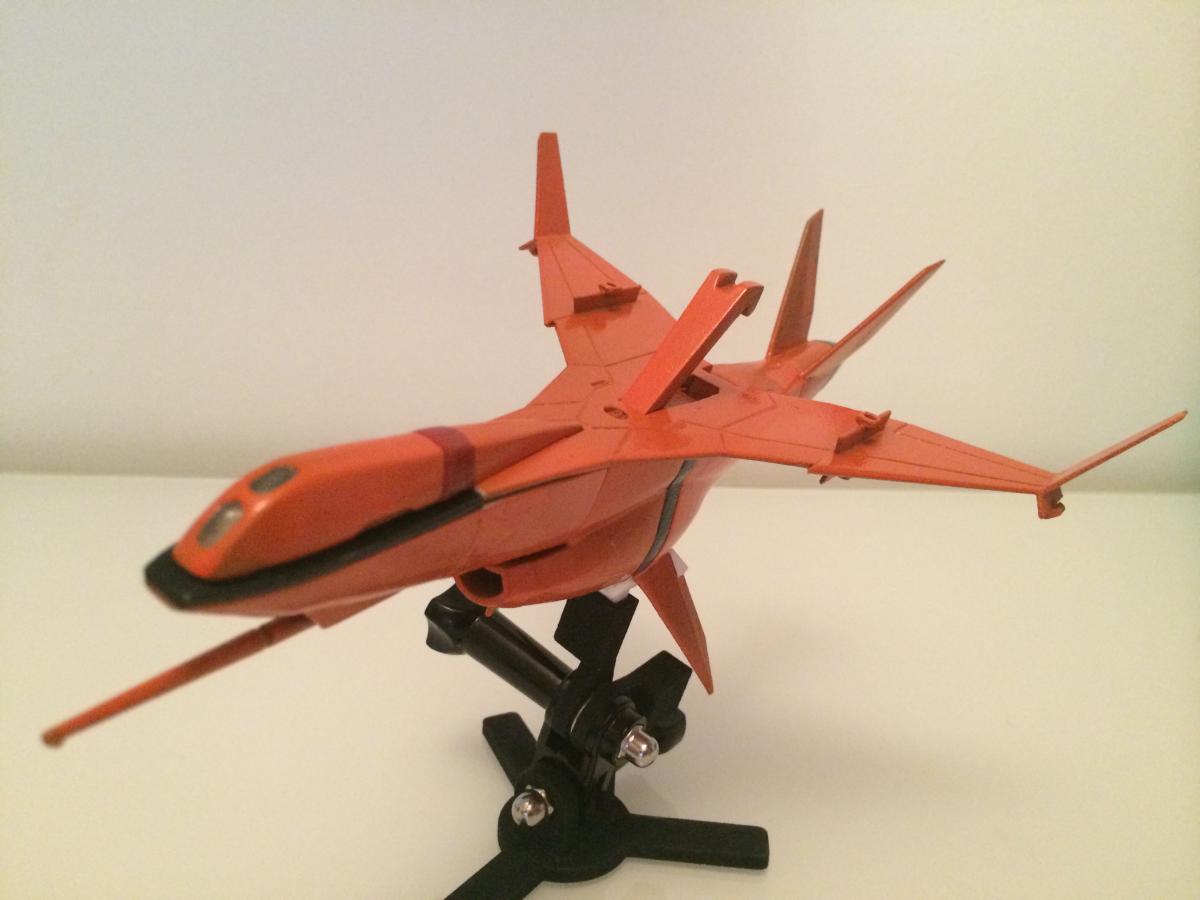
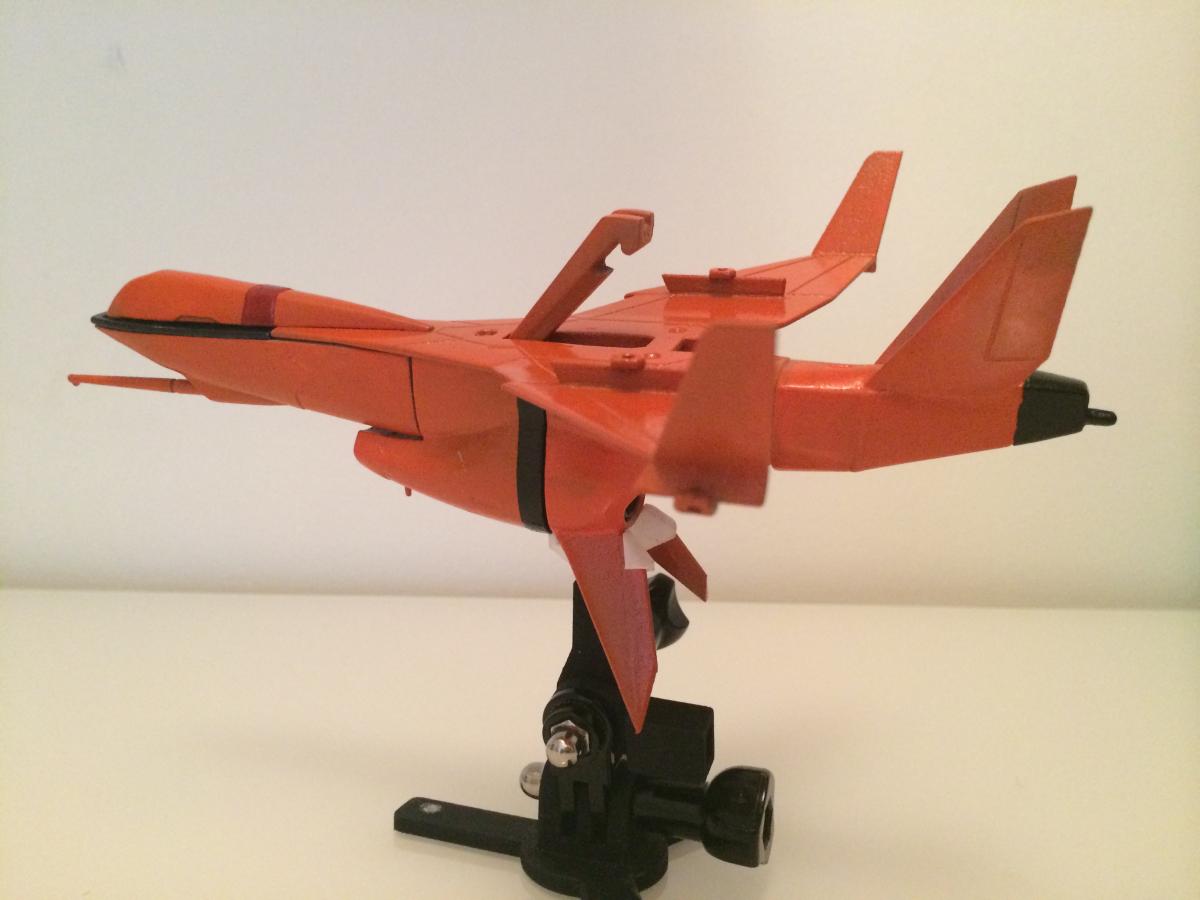
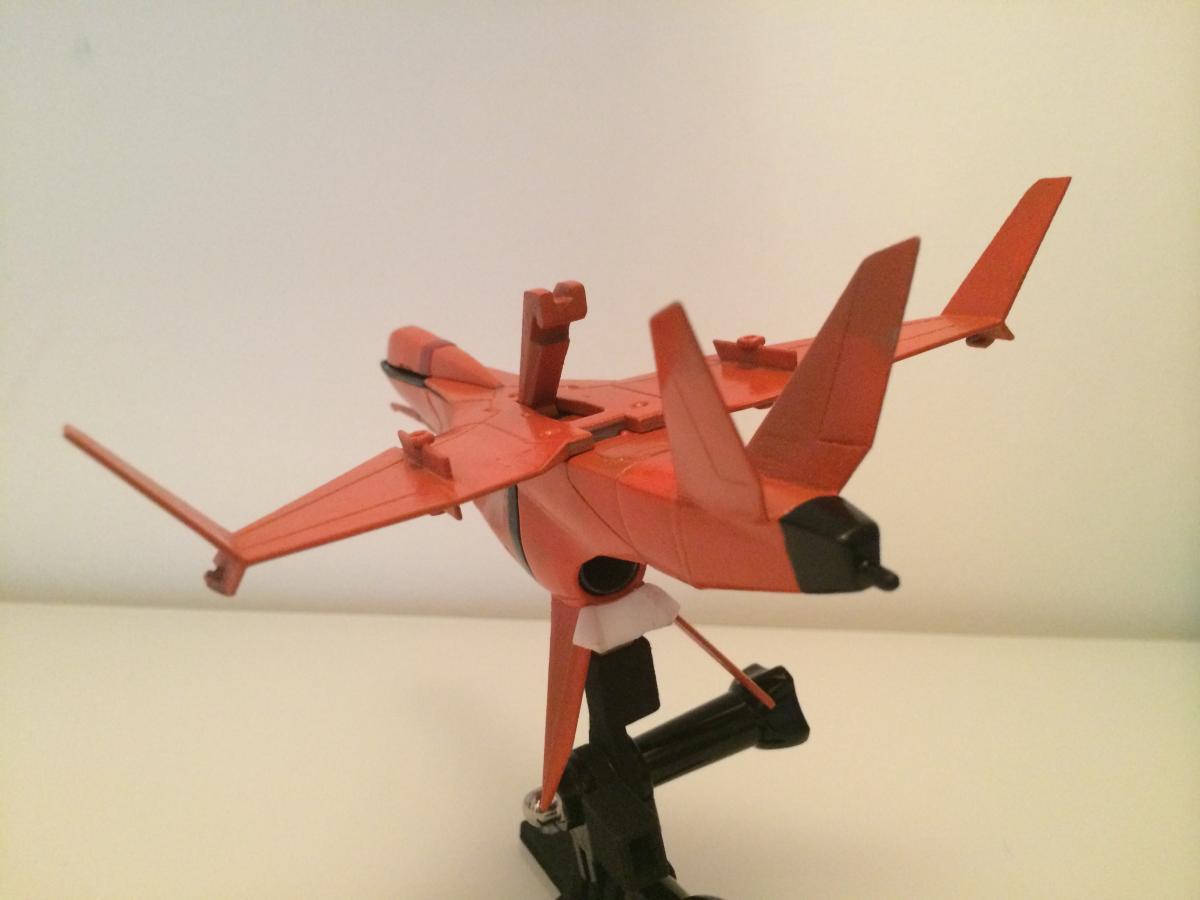
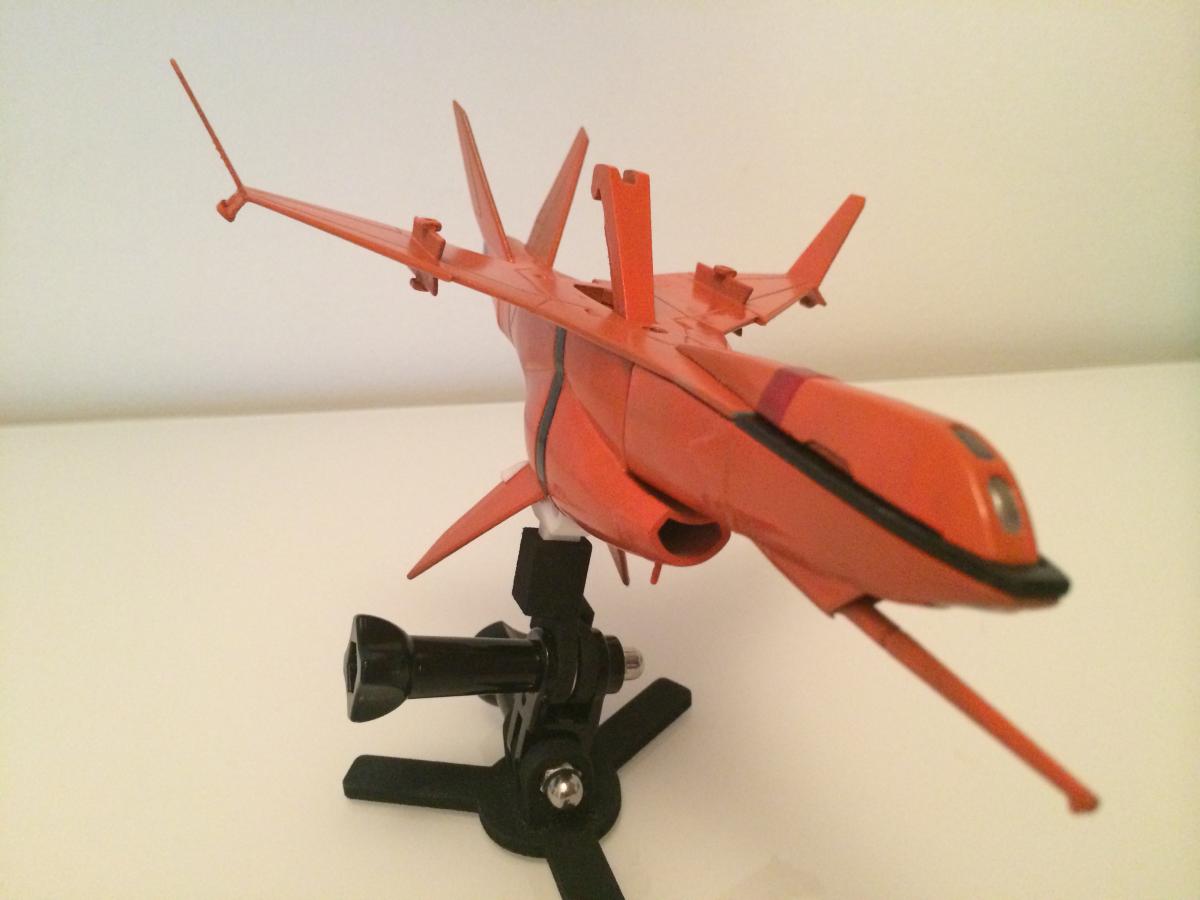
Small update for the 1st page and for everyone:
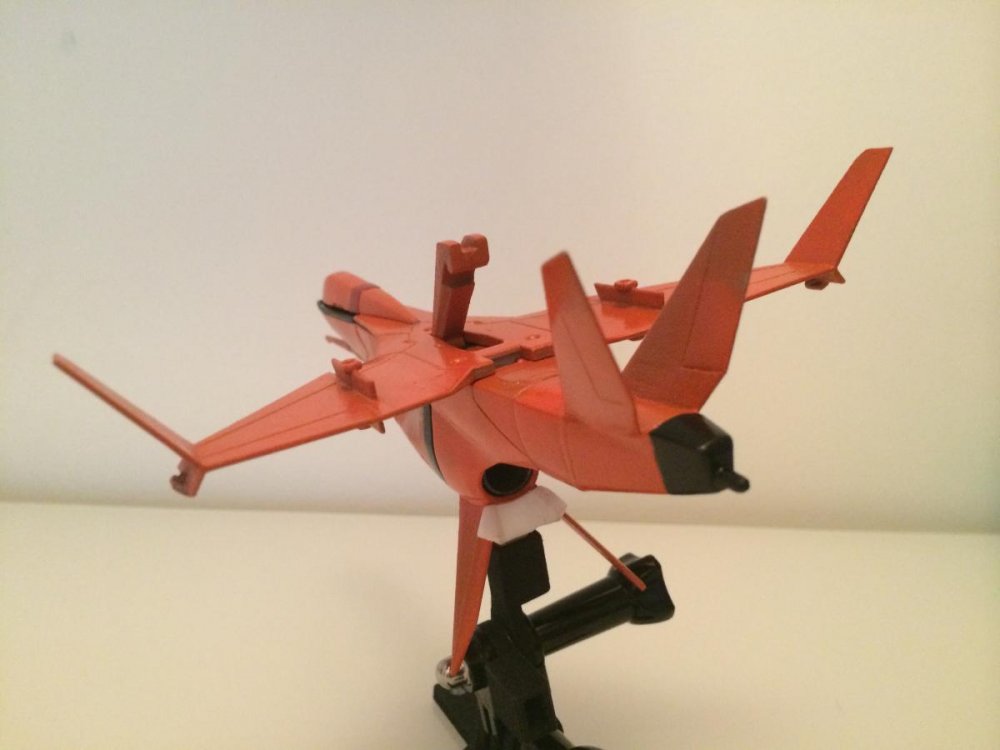
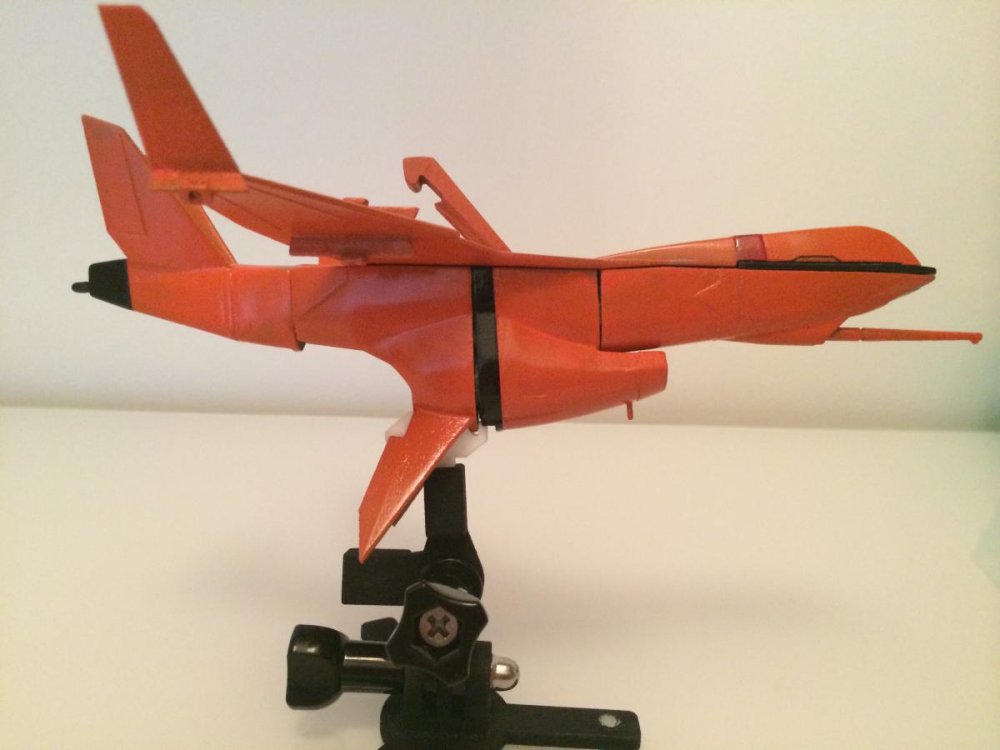
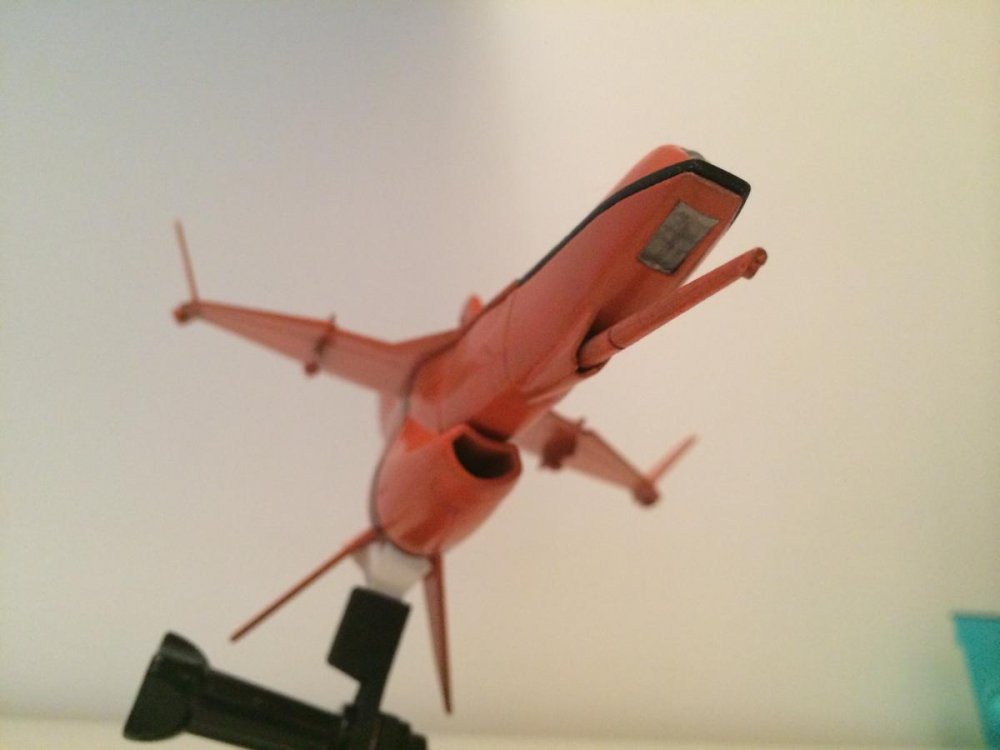
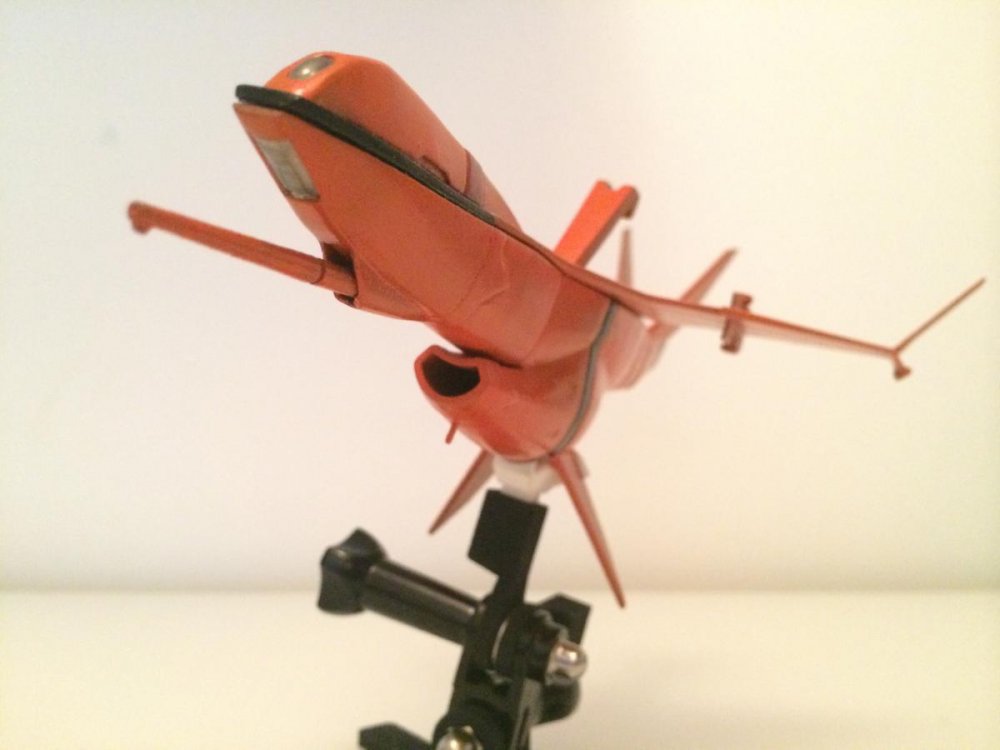
The assembly manual for the drone fighter is available:
-on issuu : http://issuu.com/xigfrid75/docs/drone_fighter_instructions
or
-dropbox : https://www.dropbox.com/s/1pudlaq68vt2bqh/drone_fighter_instructions.pdf?dl=0
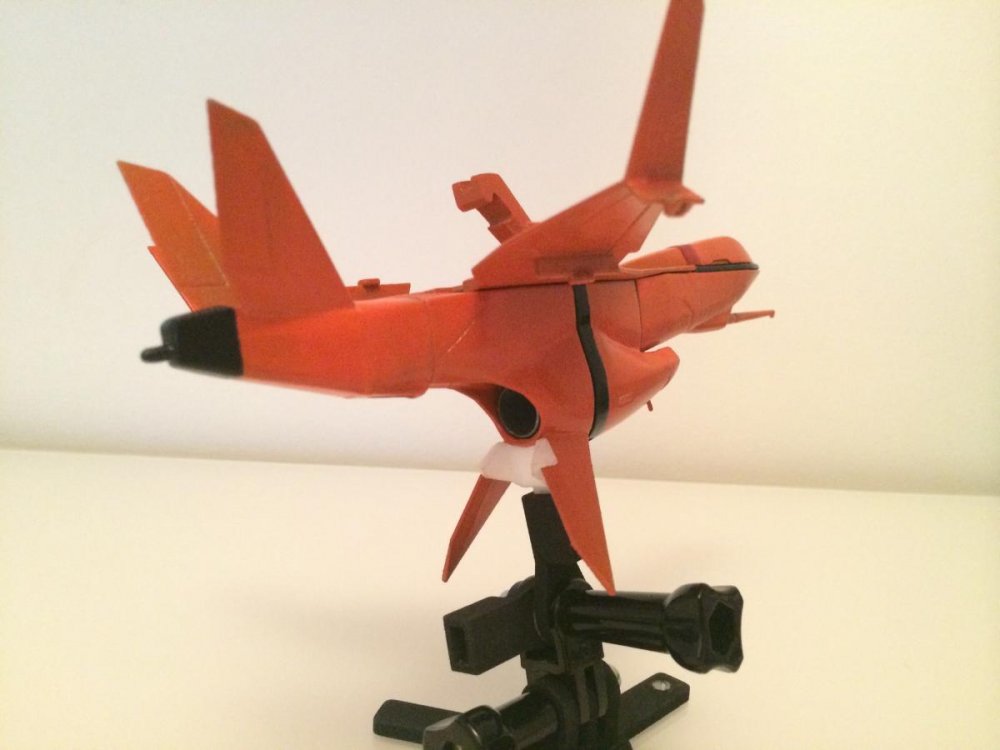
Painted version:
The painted version will come partially assembled through steps: 1 - 2 - 3 - 4 and 7a only.
So you will have to assemble the wings (step 5), slide the laser and snap the drone upper nose in (steps 6 and 7b)
-
I will as soon as I got confirmation
-
Hi Sharon Intel and grayson72, I am sending you a PM
-
I would bet that Arcadia is releasing later the VF-0D CF version, in the exact same grey color as this 0A, letting us mixing parts and create both 0B and 0C variants
-
Wow, this looks amazing! Can't wait to get both the 1/72 and 1/60 scale drones. Can I upgrade my 1/60 to the painted version?
Dully noted!
-
Interested in a 1/72 if there is one available.
Thanks
Mike
I can still take pre-orders, but I need the first deposit to secure yours. Do you want painting or not ?
PM sent.
-
That looks awesome....

any chance you'll make a 1/48 Bike for my VF-19?
Already available! Follow the link on first post
-
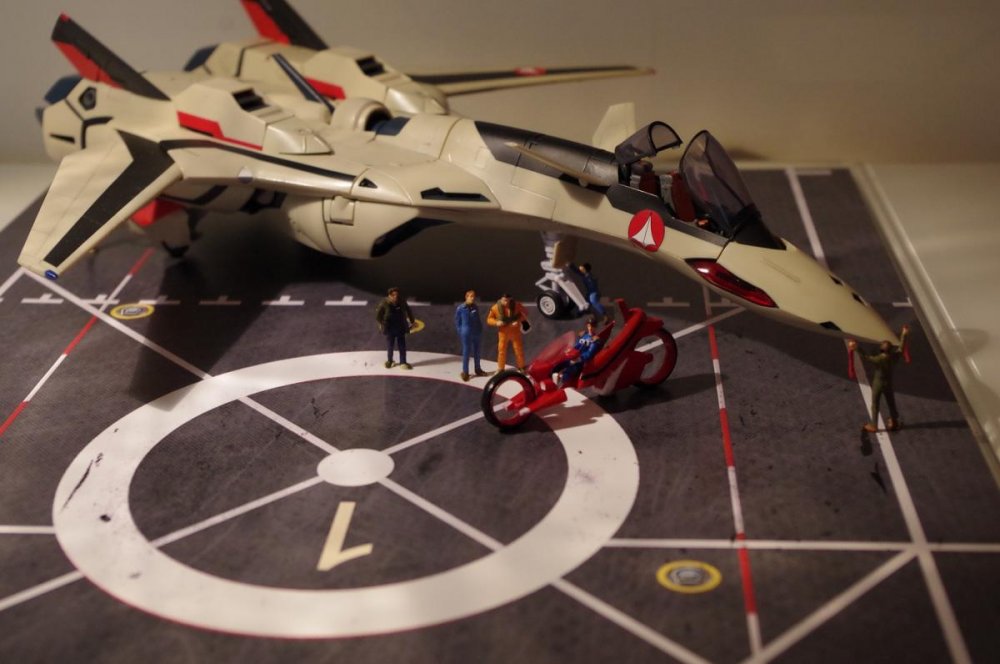
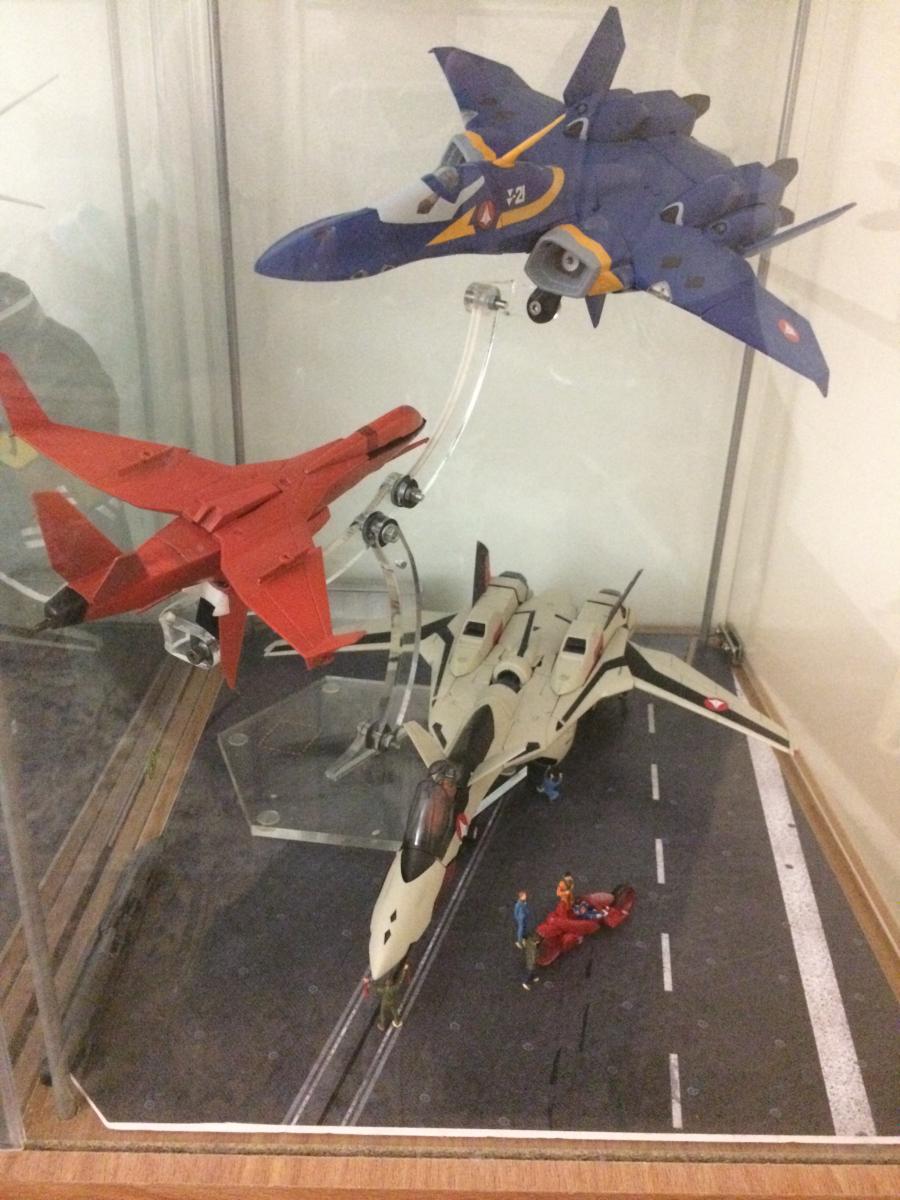
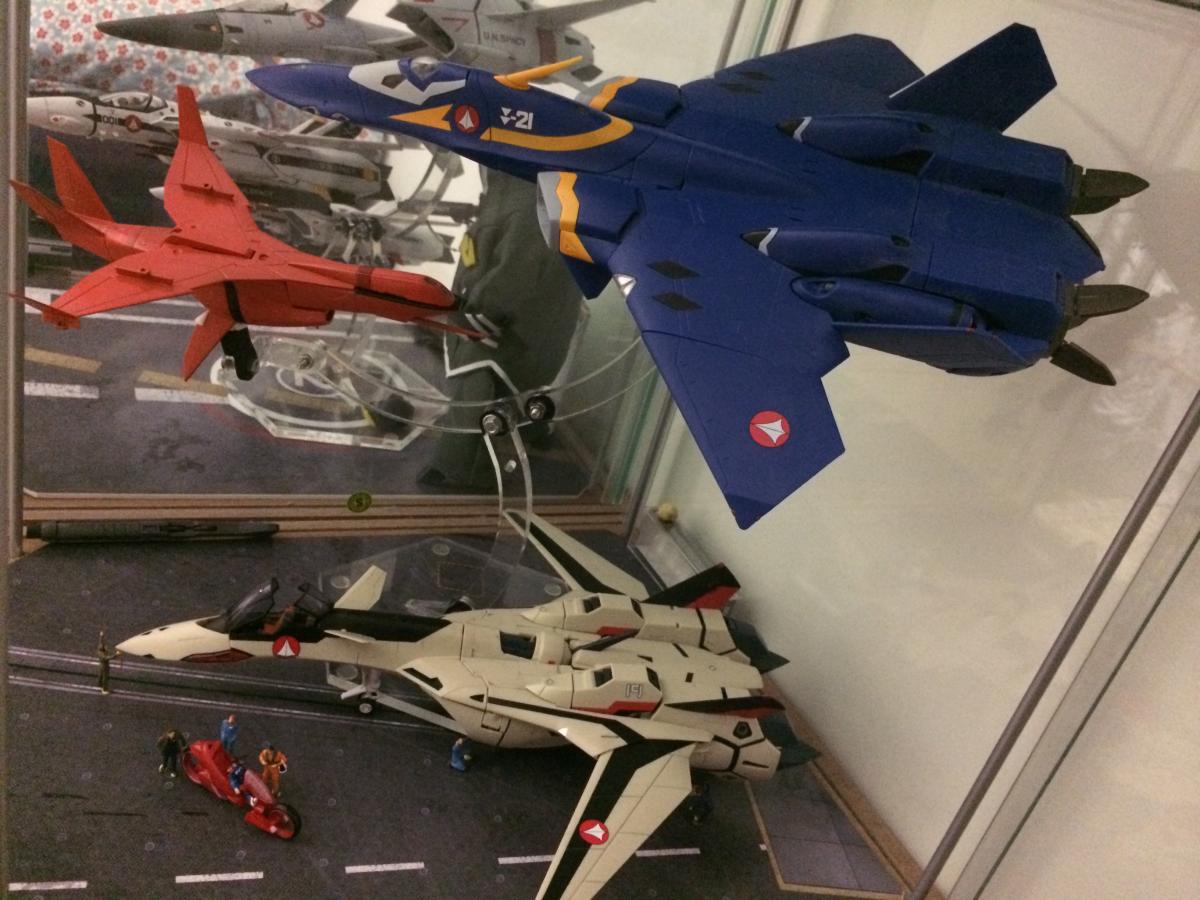
Not finished yet, but I couldn't resist to take pictures of the bike with its comrades.


-
Bump with new pictures.
Pre-orders are open until the 1st August!


-
damn, it's making me want to double-down
You should, this drone deserves a low visibility color scheme!
-
Thank you guys !
Pre-orders are still open until approx 1st of August. It is still time to grab one!
-
We also added clear canopies to the drone, mine was semi opaque because it was printed in FXD, but later they will be casted in crystal clear plastic.
A few shots with painting:


-
absolutely amazing kit and build!
-
I don't have a lot of things related to Macross yet. Later maybe
-
Free shipping for all orders through 12th of July at Shapeways! Discount is applied automatically during checkout.
This should convince a few
-
I have collected a great portion of the $50 deposit, but still missing a few of them: please check your private messages to send your deposit.
This is important that you pay the deposit soon so that all the material can be paid without second thoughts and have this project to be as smooth as possible!
Thank you!


M+ Drone Fighter 3D Printing Project Request
in The Workshop!
Posted
Nice idea, I would like also to get one in grey so we will compare them !