
Xigfrid
-
Posts
2608 -
Joined
-
Last visited
Content Type
Profiles
Forums
Events
Gallery
Posts posted by Xigfrid
-
-
Carrier Catapult hook?
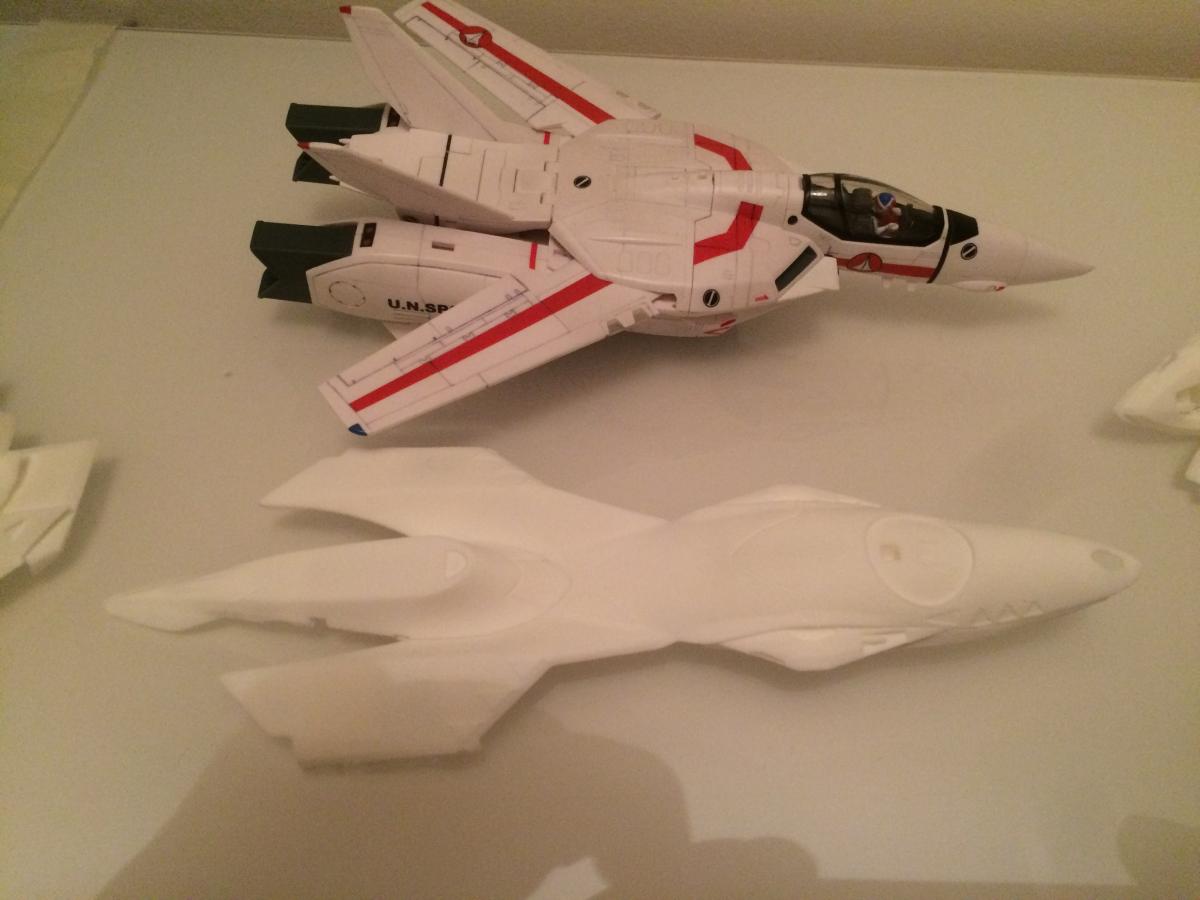
X-9 is smarter than these VFs commoners: it doesn't take off with a catapult, it launches with its own pod from submarines!
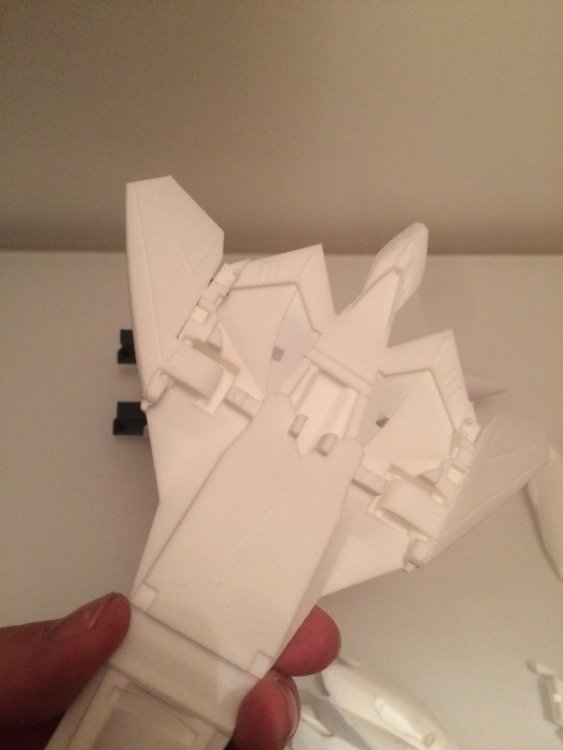
Well mine can fold its wings so the launch pod is always a later possibility

http://www.macross2.net/m3/macrossplus/x9-ghost/x9-ghost-launch-lineart.gif
-
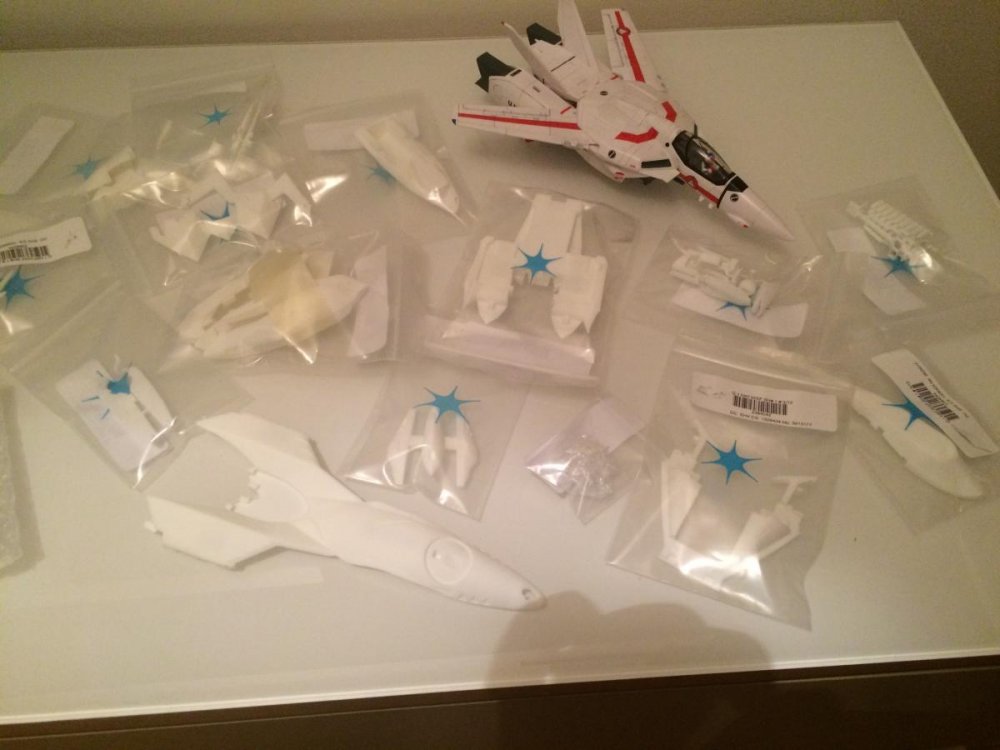
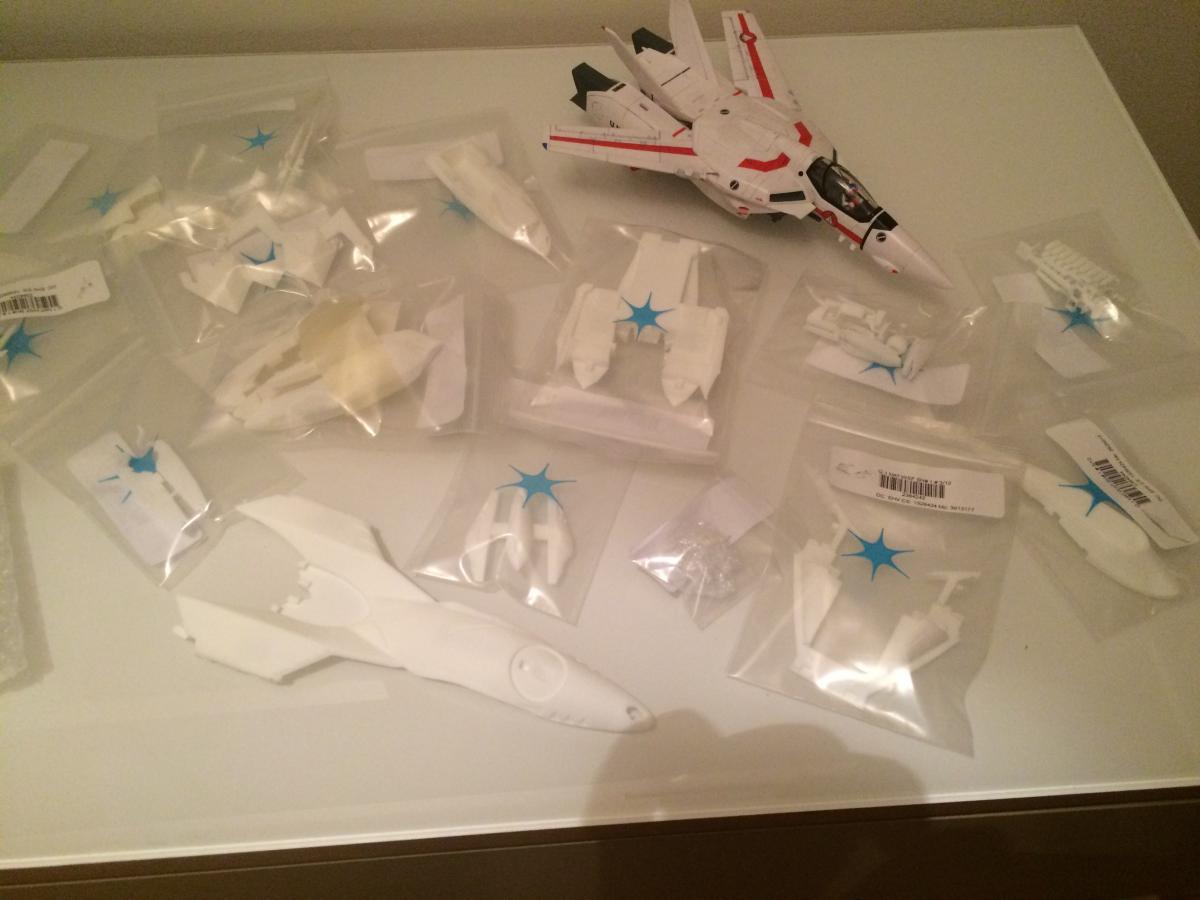
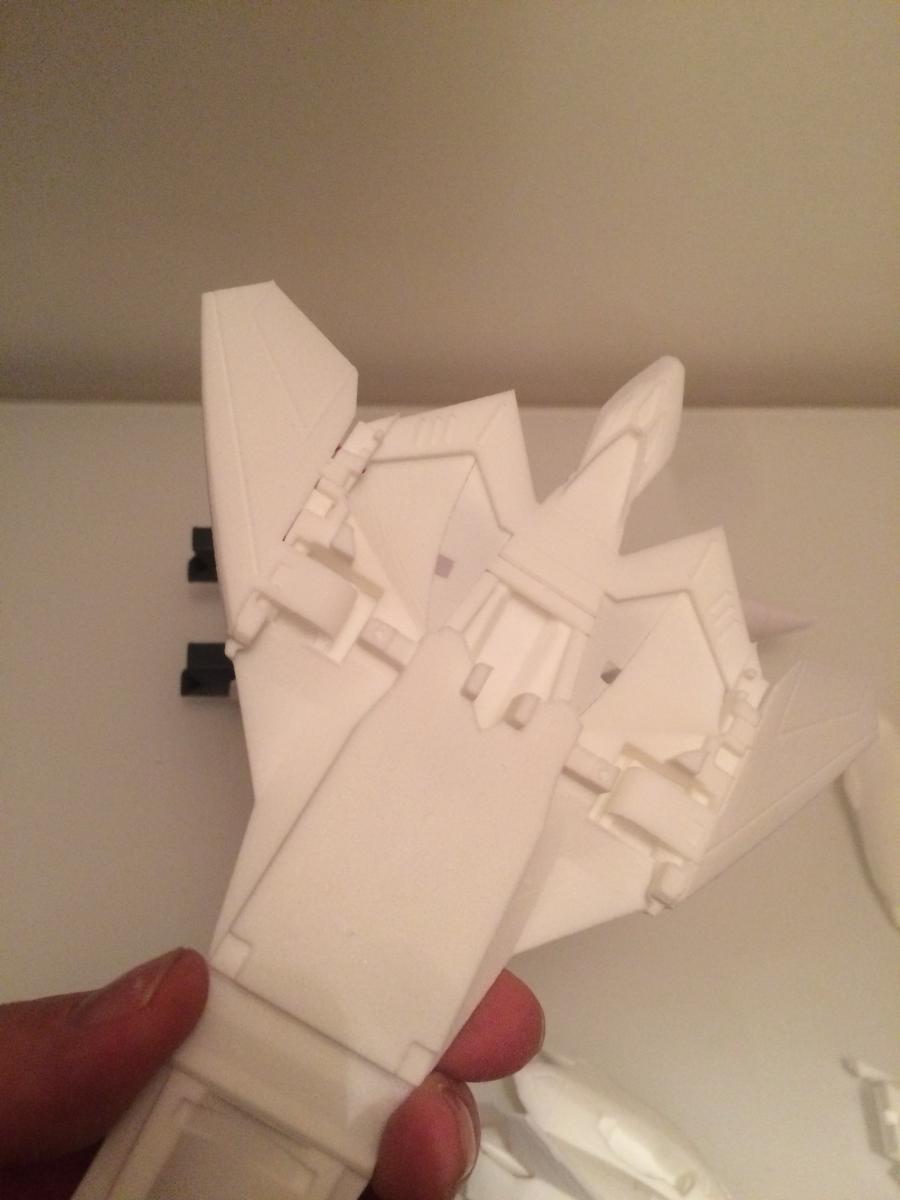
These metal parts had me all pumped up on this project, I have fixed most issues and trying to enhance a few other things in the process now

-
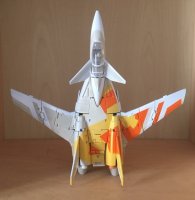
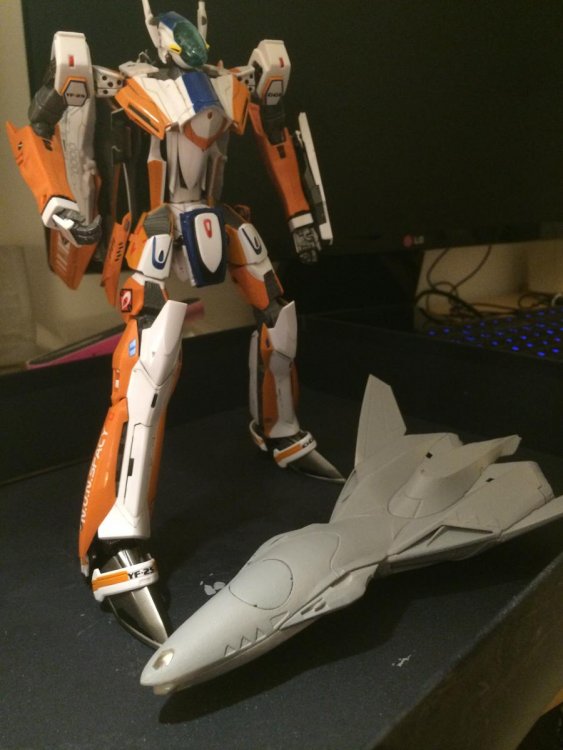
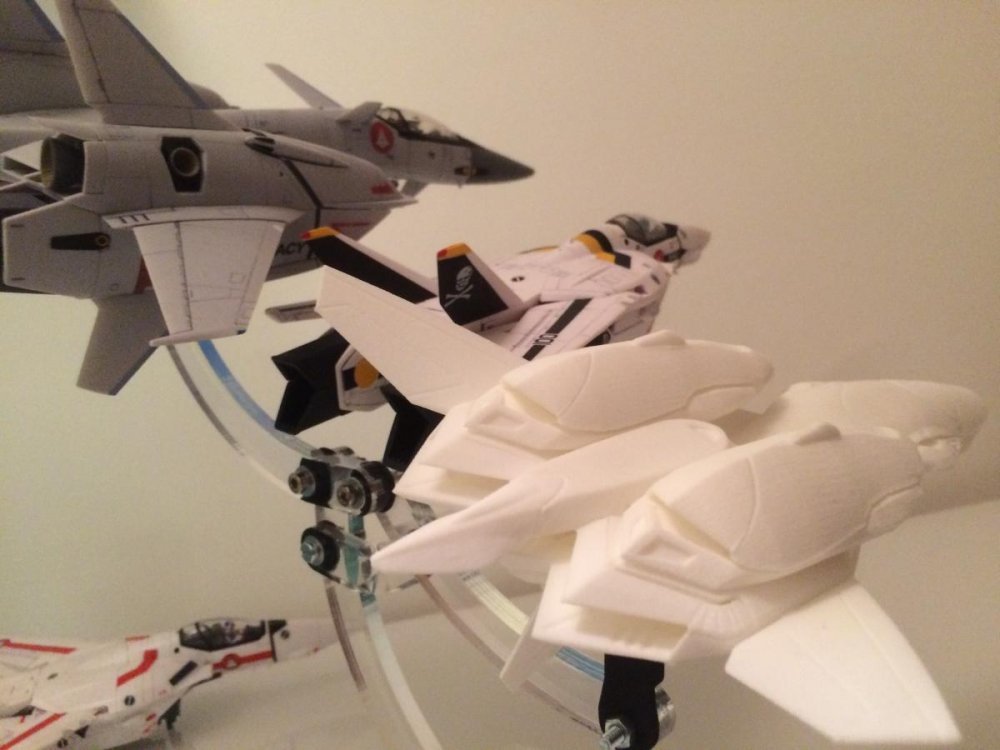
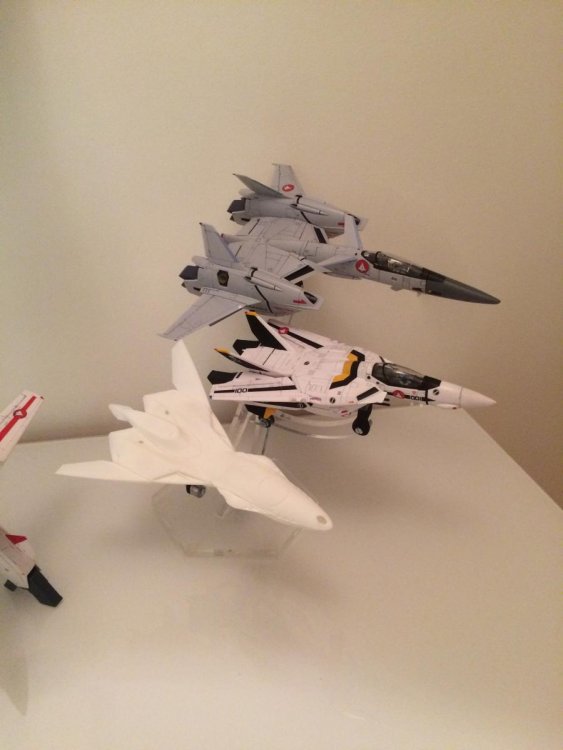
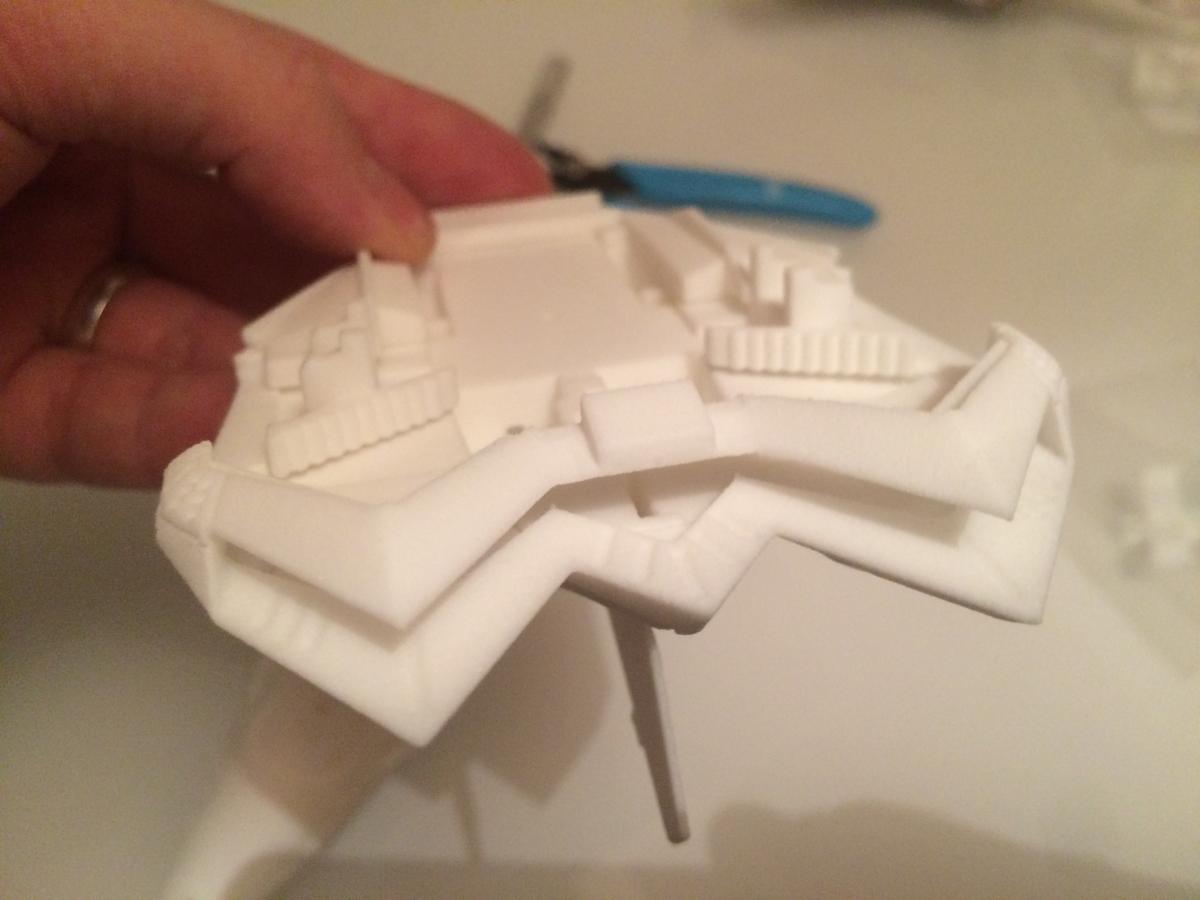
I couldn't believe until they arrived, the X-9 received few upgrades!
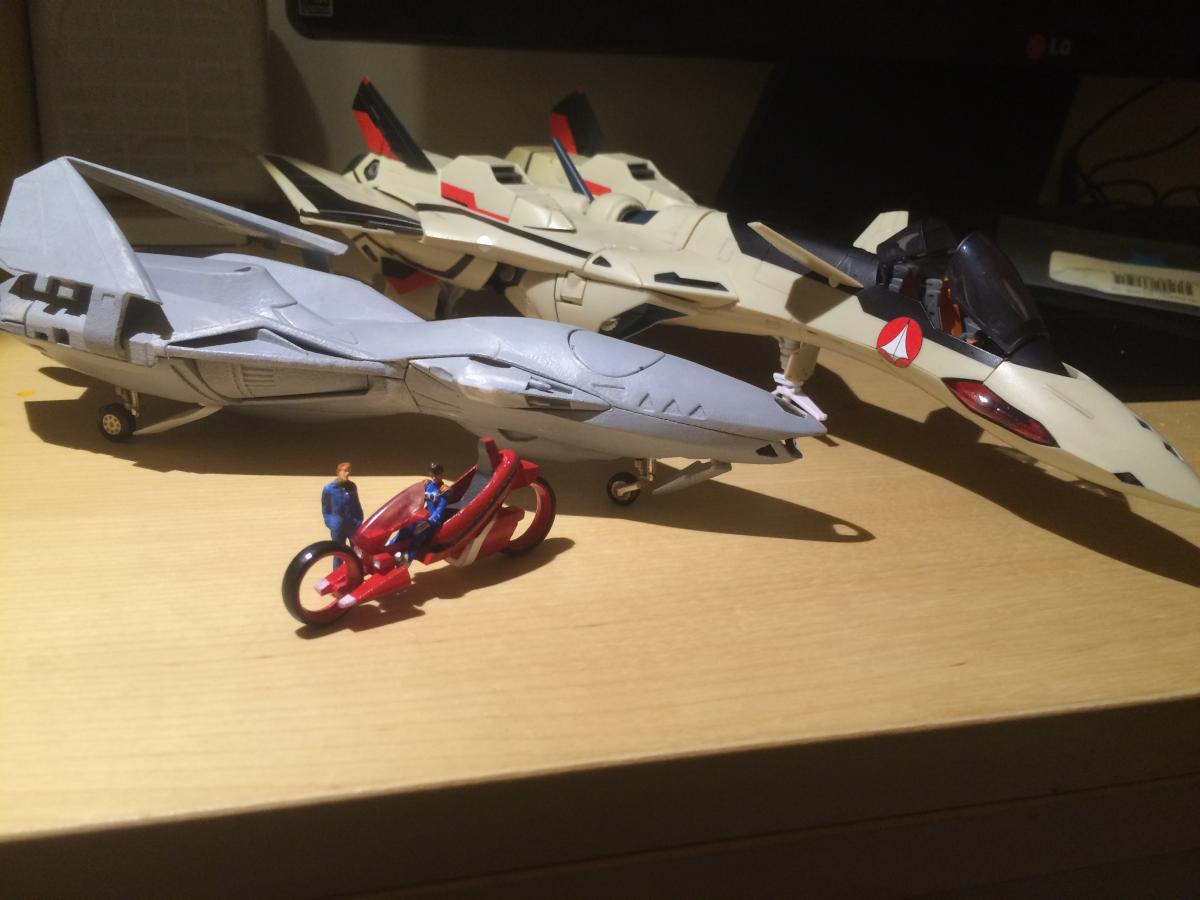
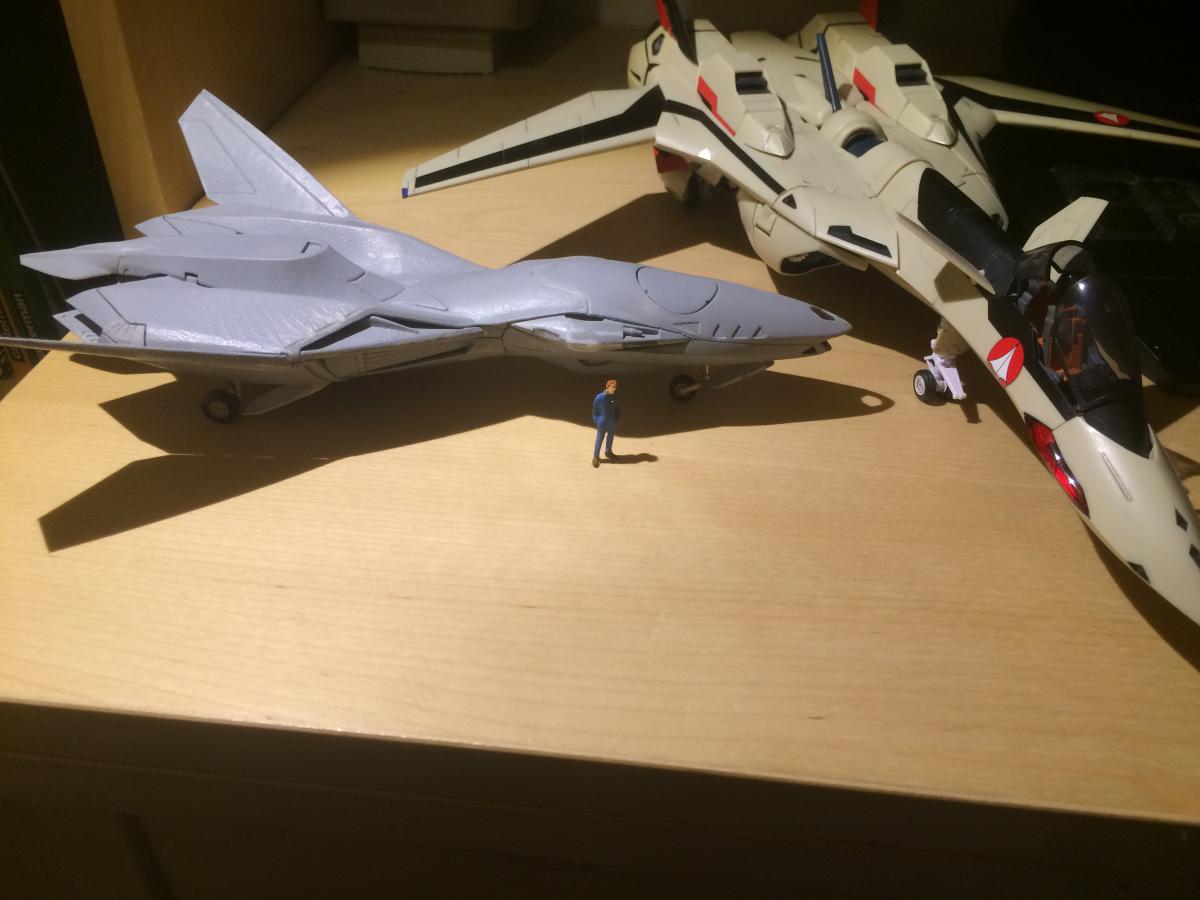
Parked and deployed pictures !


-
'chiurgical acts'?...unless u meant 'surgical acts', you're gonna have to bring me up to snuff on that term Xigfrid
 ?!
?!oh yeah, take care and get better Jasonc!
Damn I always end up with a few french words slipping in :/
-
As far as I remember I have been down by the pain a whole day after the removal of mines. I hope chiurgical acts have evolved and you get less pain now!
Keep the great work!
-
Here is some Zentran love.
I'm looking for some ideas on how to temporarily seal the hull on a capital ship after electric wiring inside.
For smaller scale builds like this 1/20000 Arii kit, if I glue the seam line closed, I wont be able to access the wiring later.
Any links or tips appreciated.
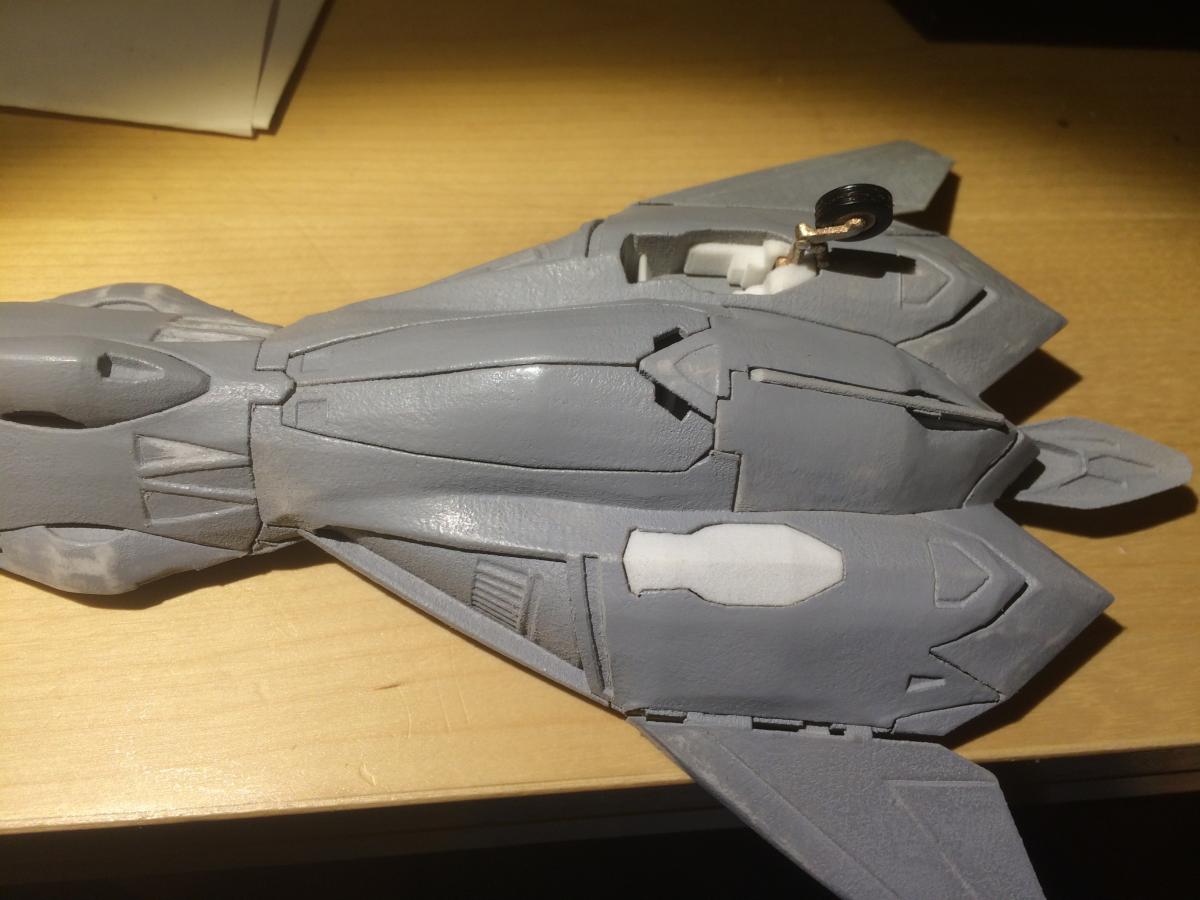
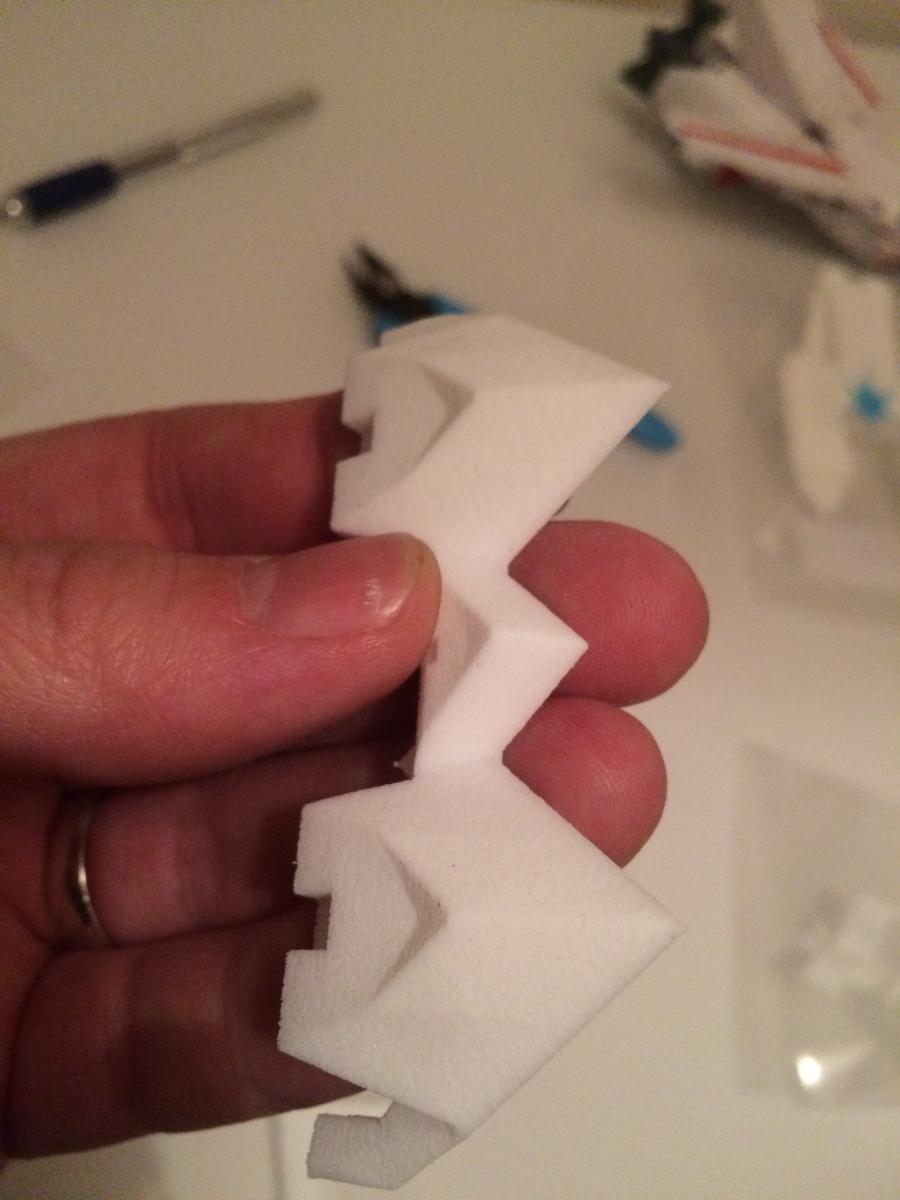
I have been thinking about a similar setup. First you can't definitively seal the model with the battery inside because sooner or later you will have to replace it. For the switch I thought of making a 3D printed battery cage with a thin and flexible tab where you can glue a micro magnet. To close this flexible tab acting like a switch, you would need to use an outside magnet too, which would be more or less visible.
This is how far I went with this idea. Don't know if it can help for your project!
Derex, that falcon looks really great!
-
Great news! I hope we will see these kits soon on the workbench thread
-
We demand a production runnn!

Looks soo good. Keep up the good. Work & churn out more Macross goodies!
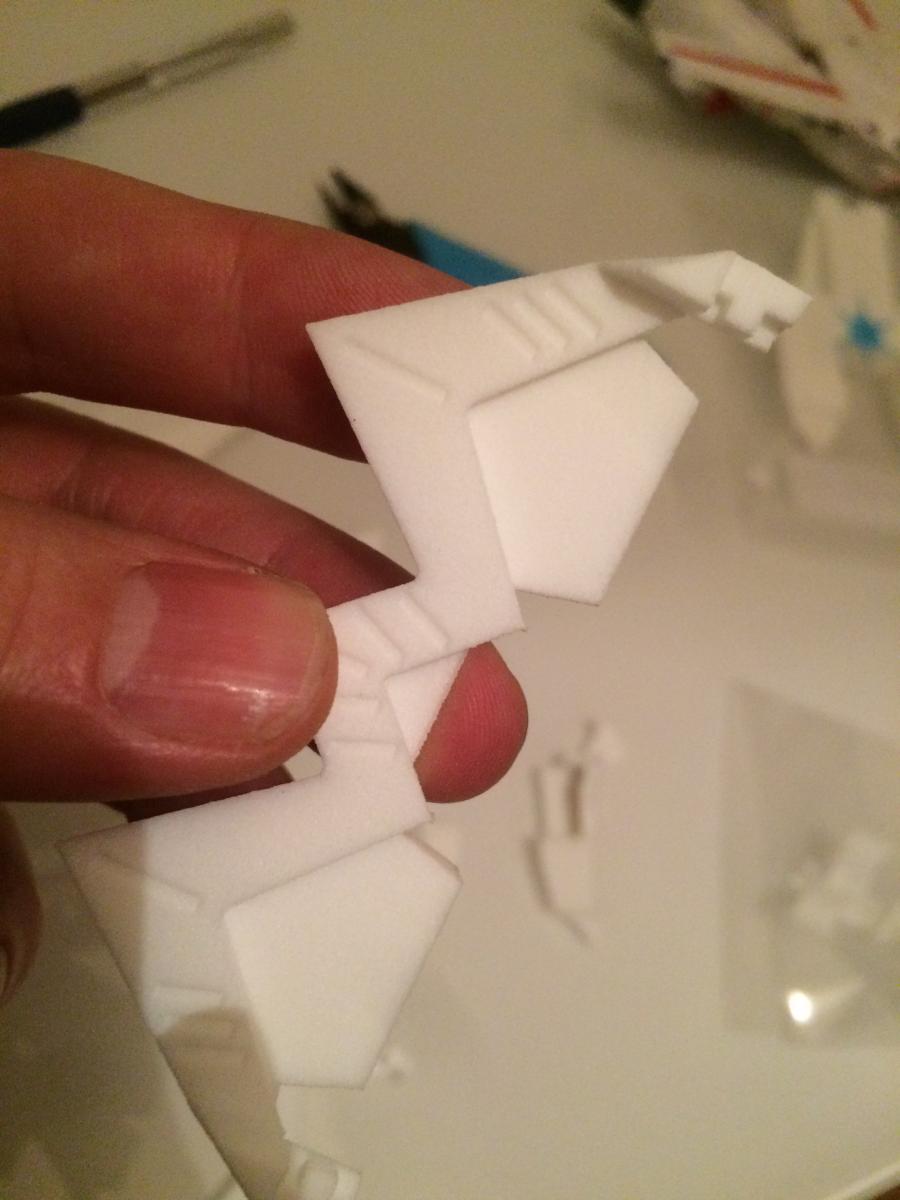
I am facing a few weak points in the design in small areas involving moving parts or locking mechanism. Which are very difficult to fix compared to other areas. Also the metal parts keep on being rejected by Shapeways team...
So at this point, the production run is farther than expected...
-
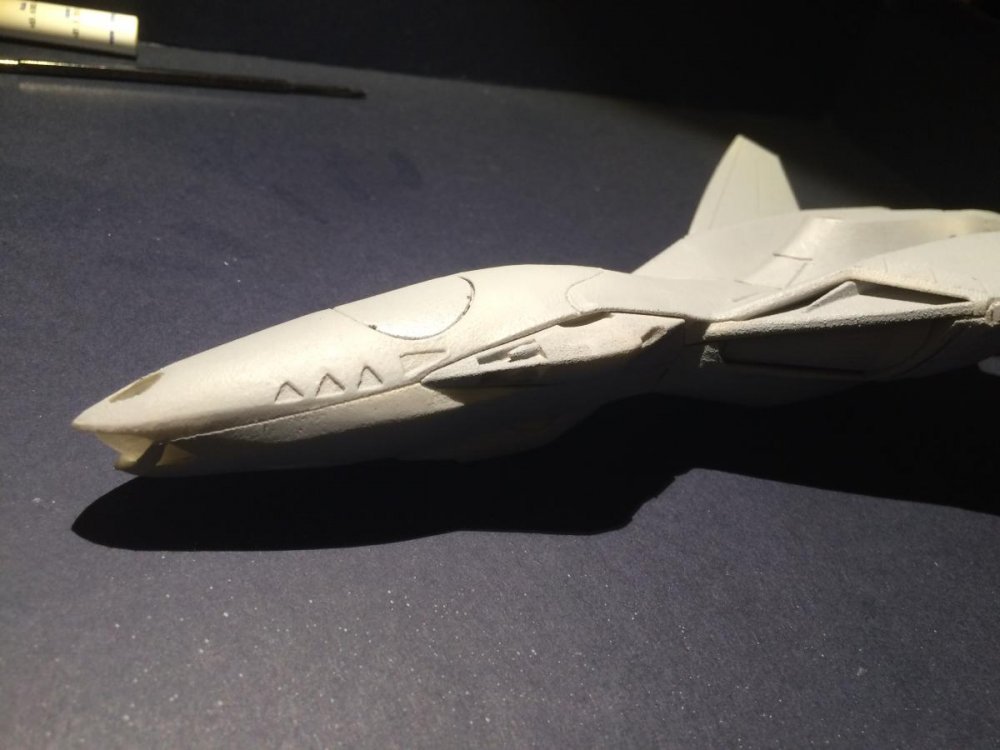
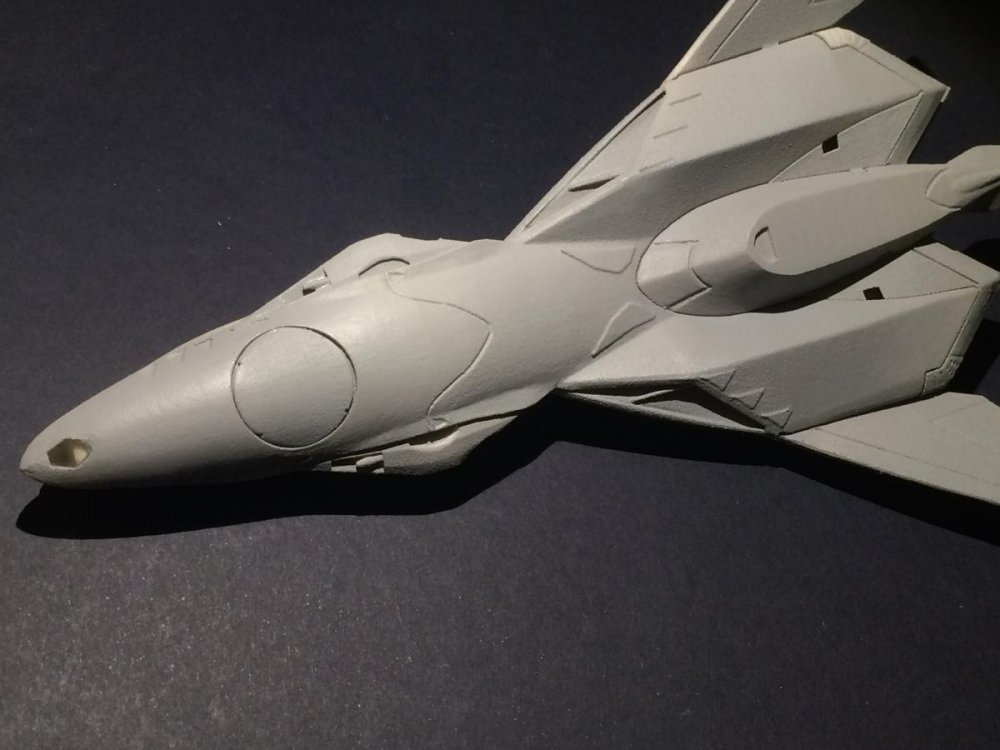
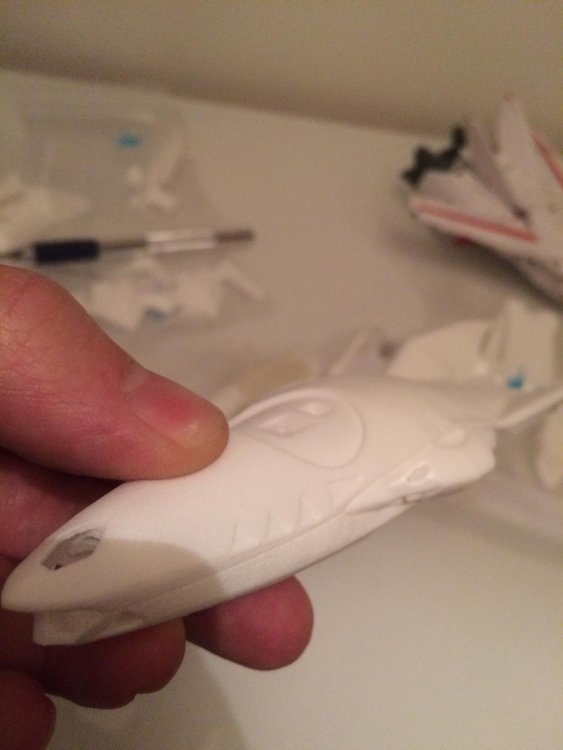
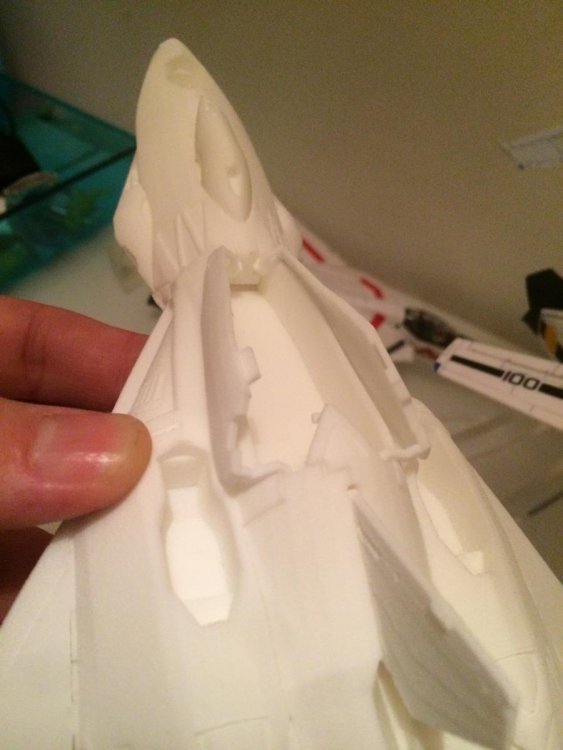
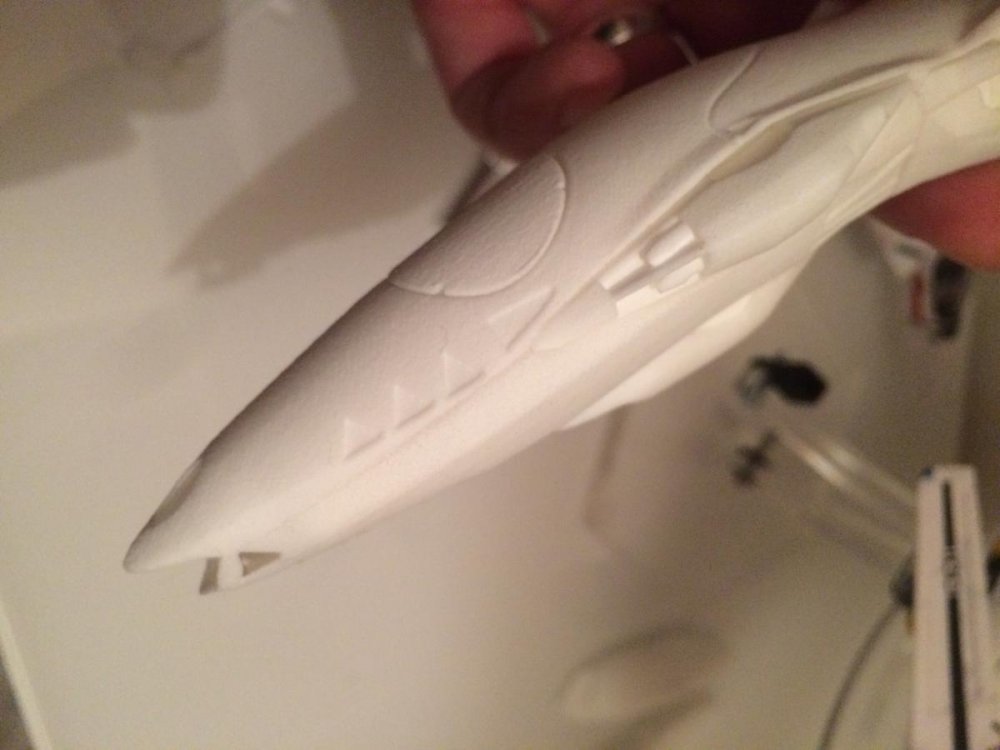
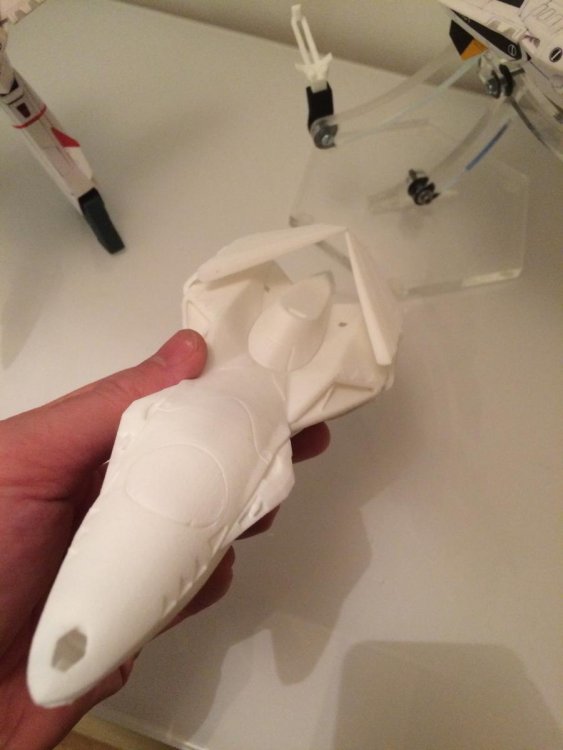
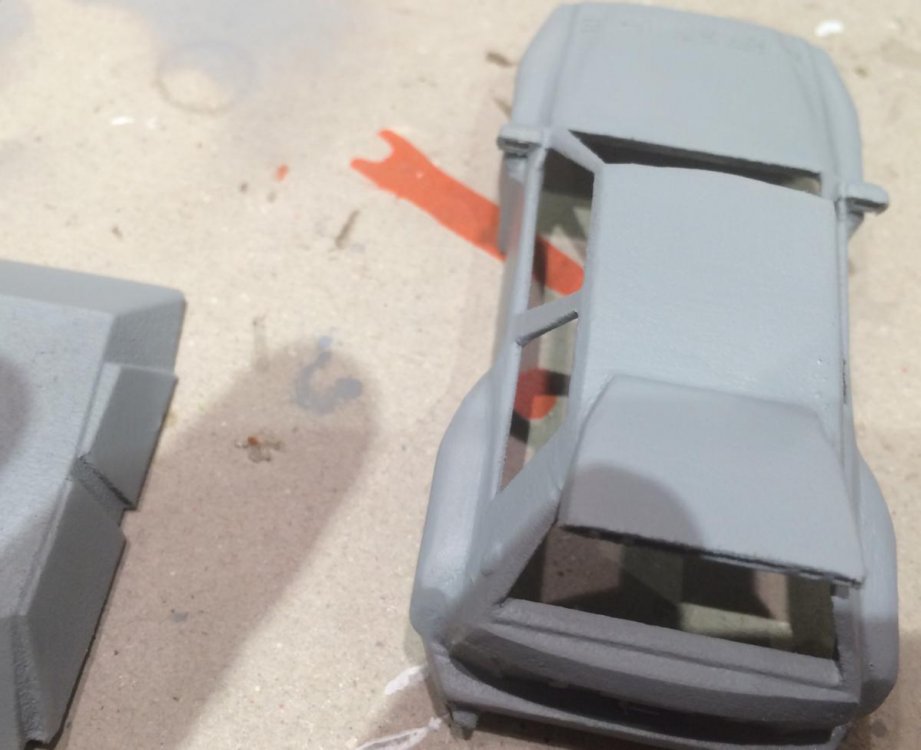
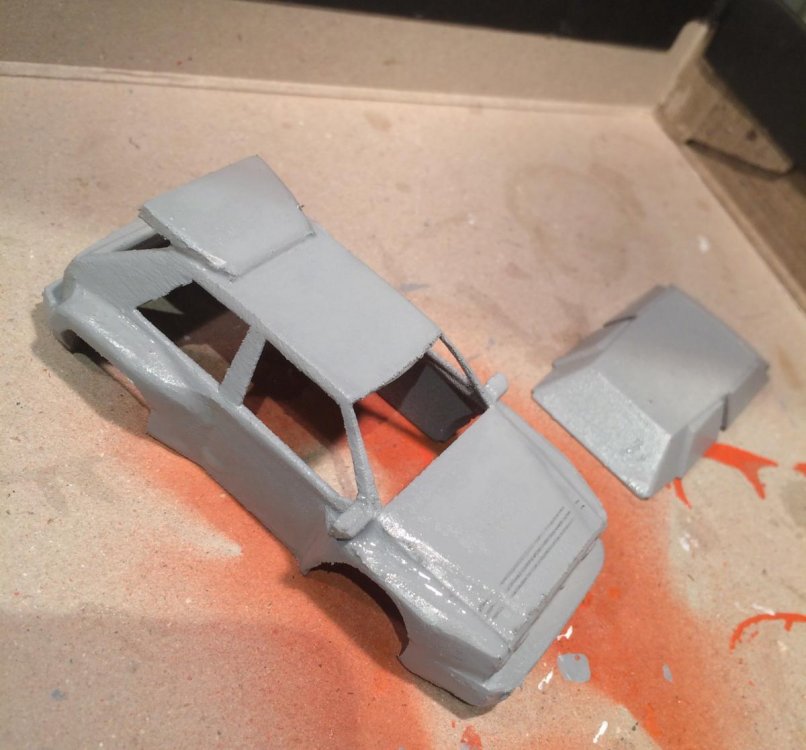
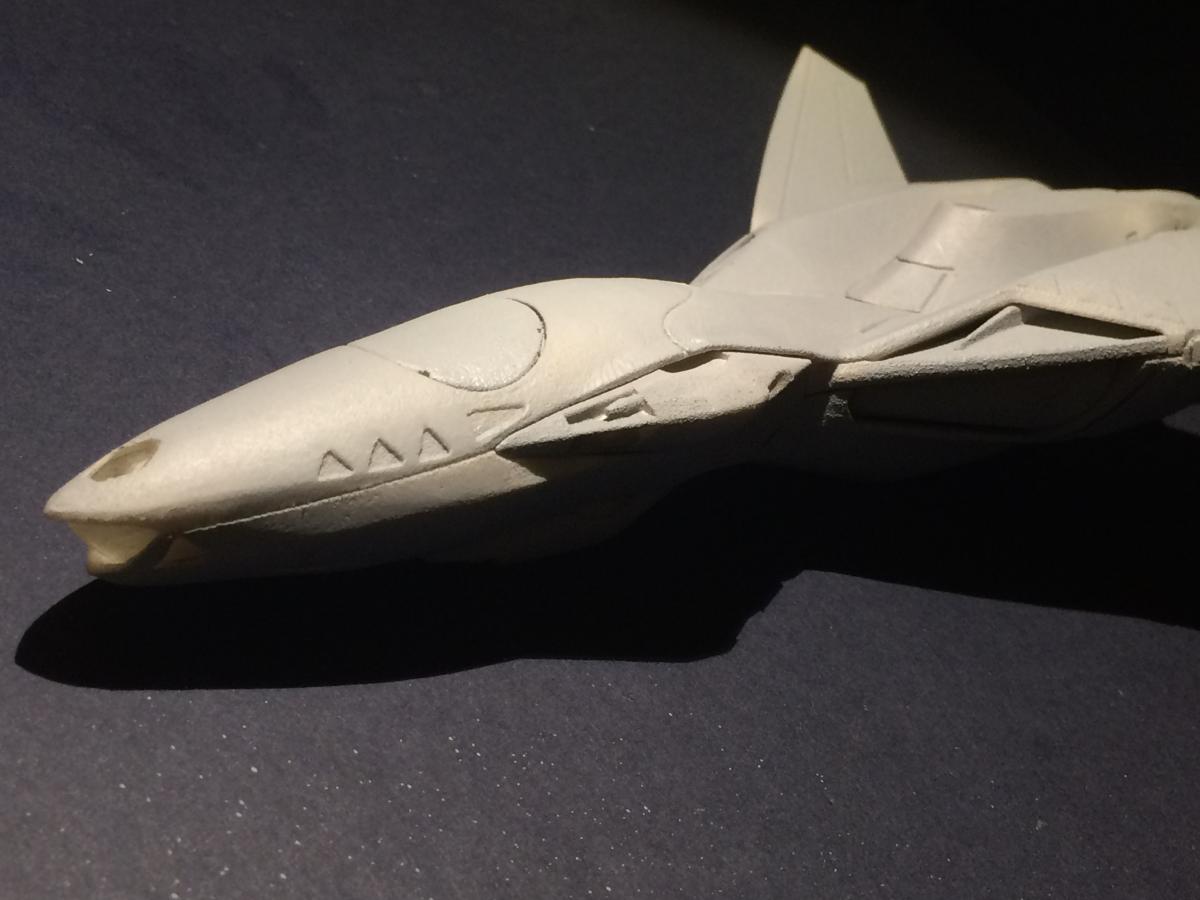
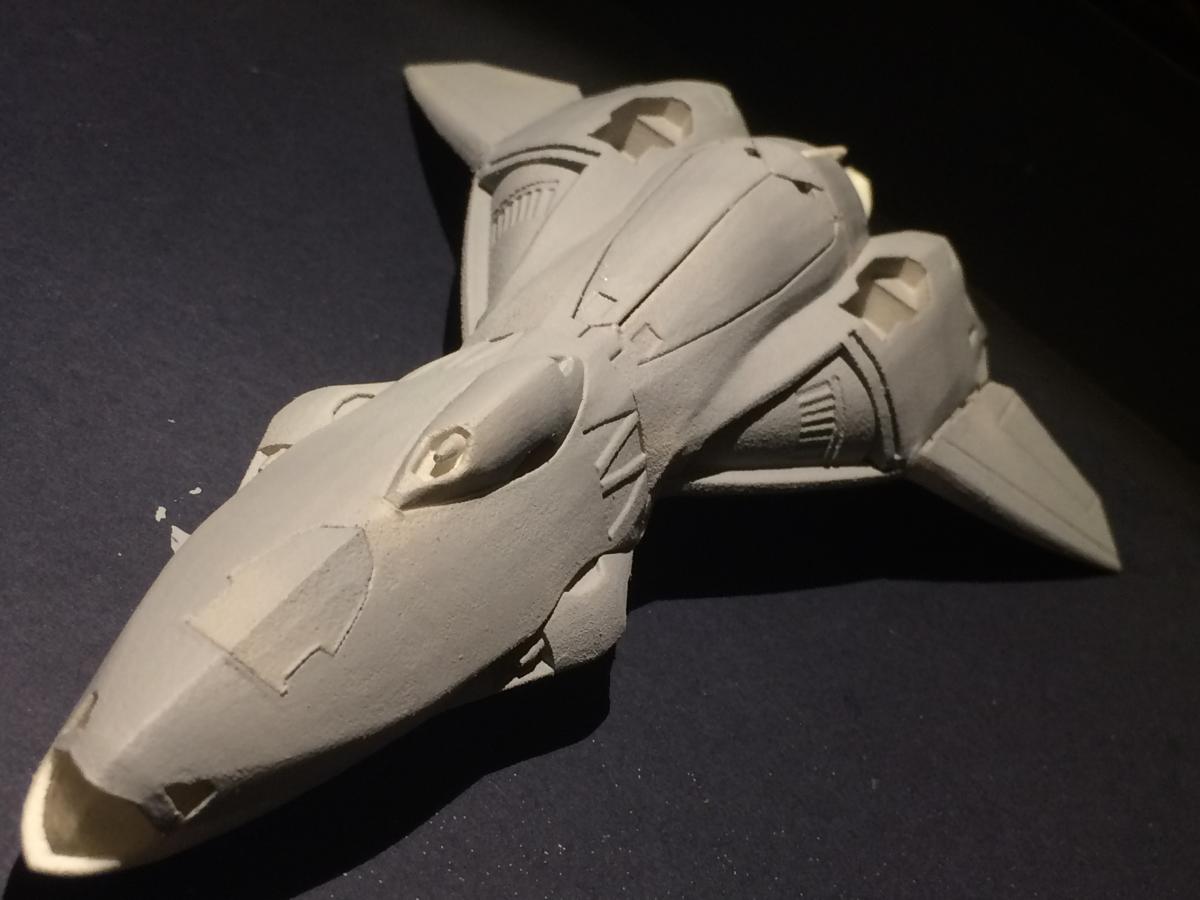
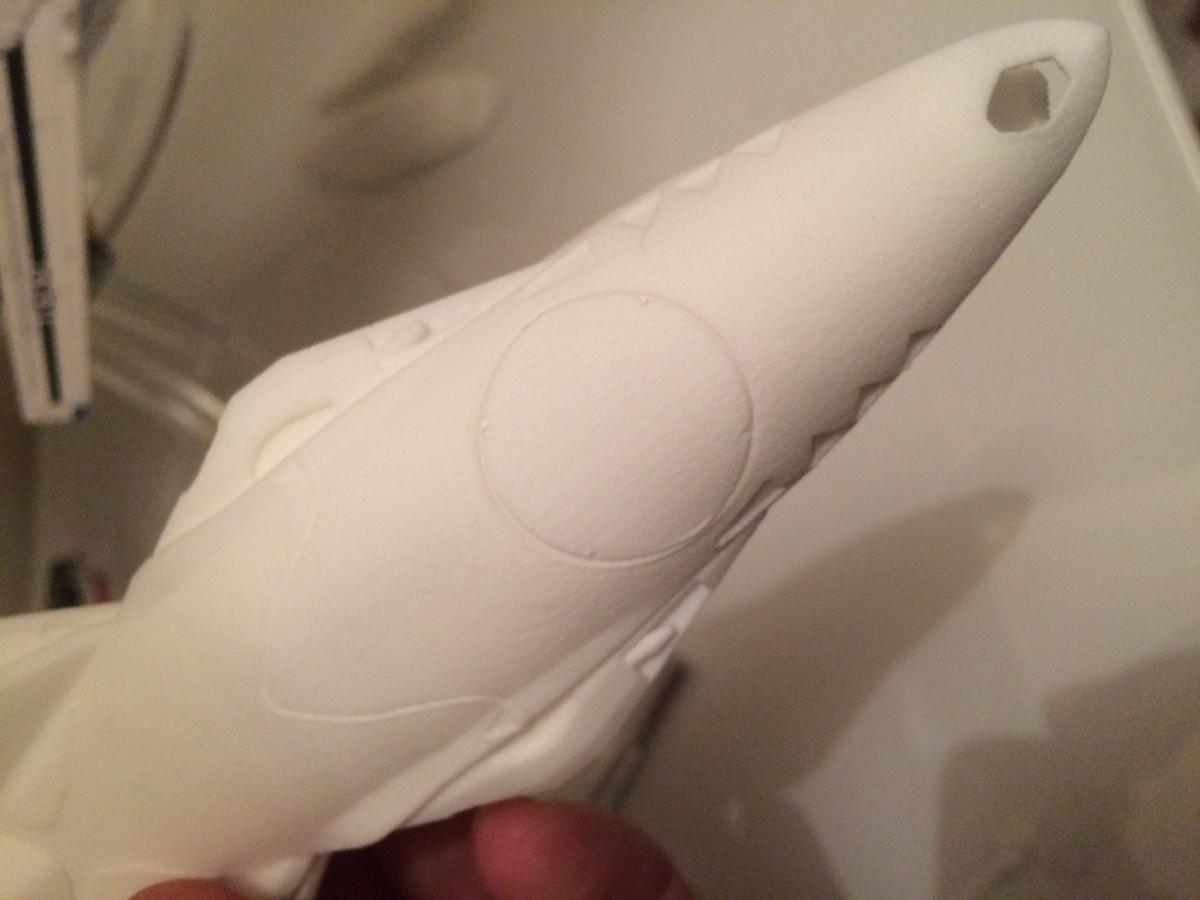
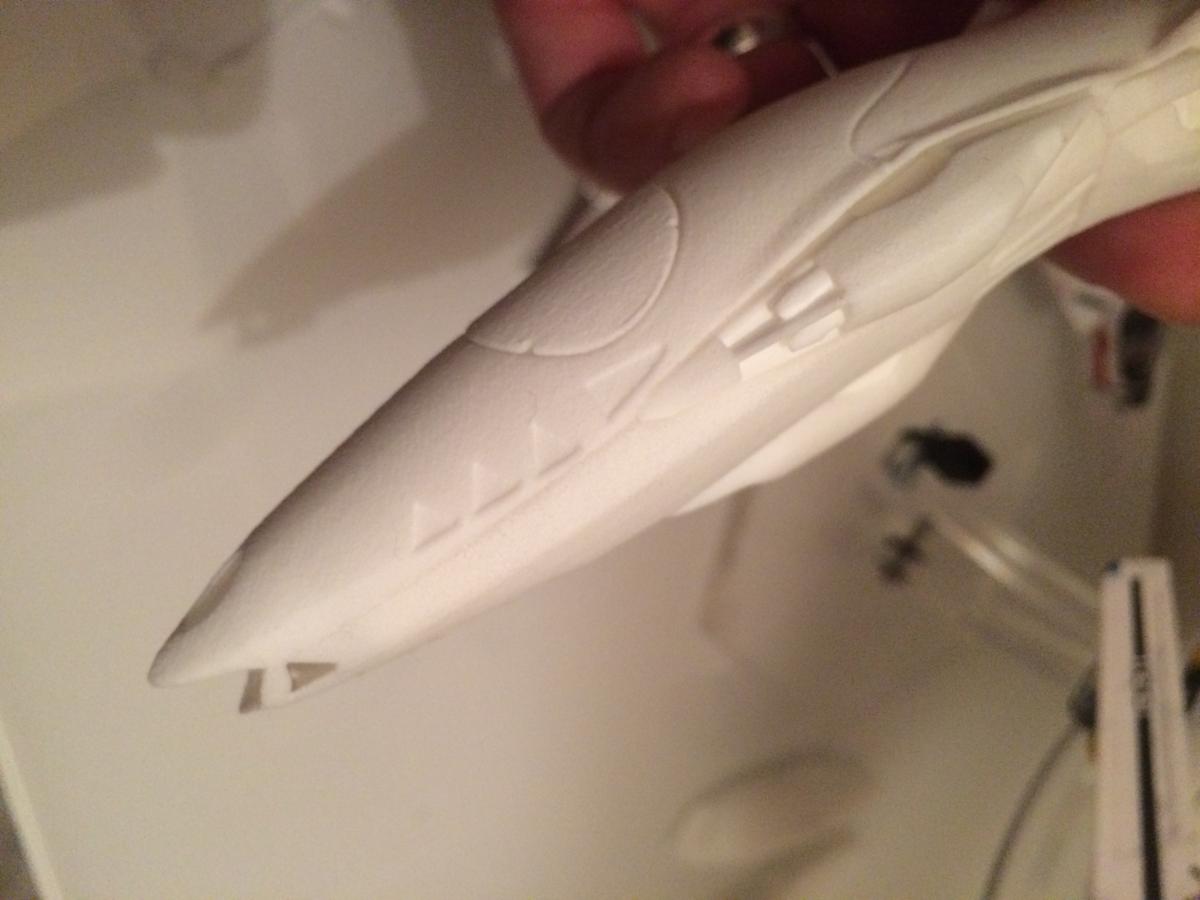
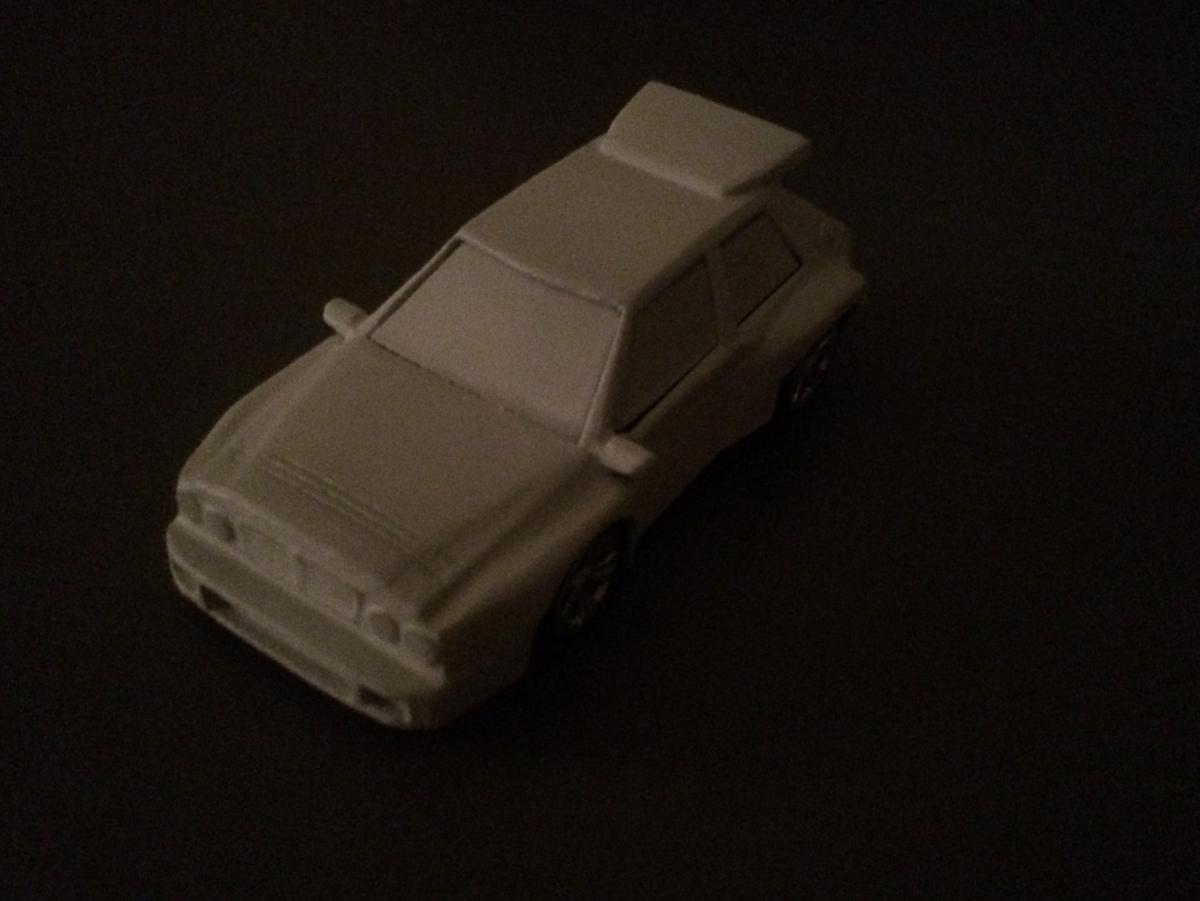
first primer layer and everything smooth out nicely.


-
Whoaa this head is really nice! I don't understand why Macross the Ride is still not exploited by a Toy company
-
Thank you all, this forum is an amazing place to gather ralents and anyone who wants to participate can help.
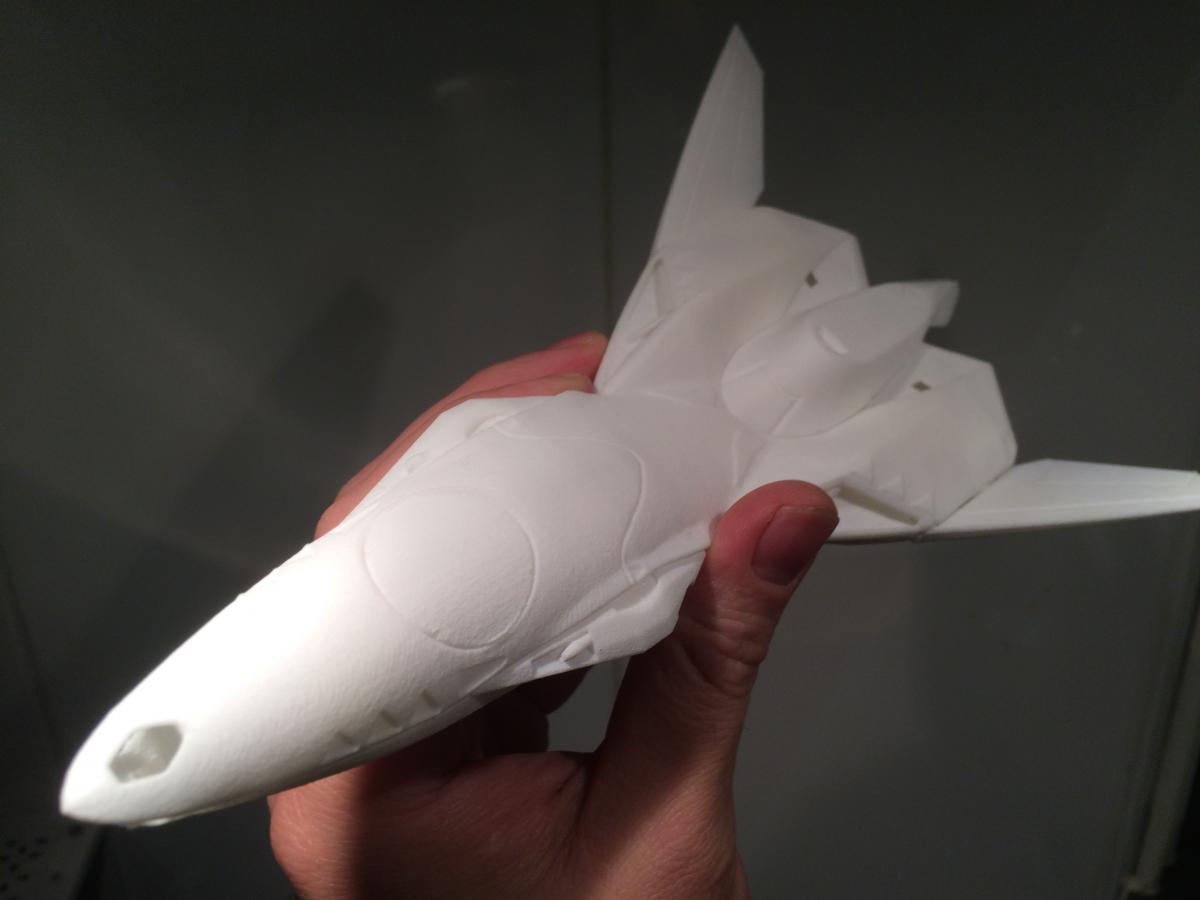
I wouldn't have made it that far alone that's for sure! There is still a lot to do until this X-9 is done, but now the toughest part is behind us!
-
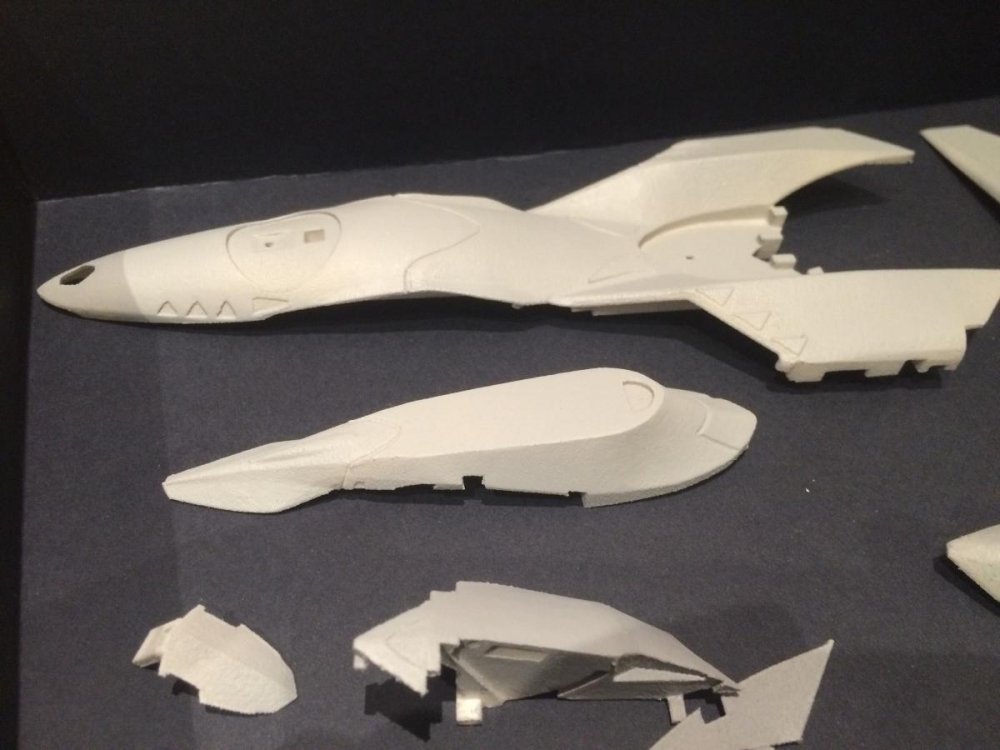
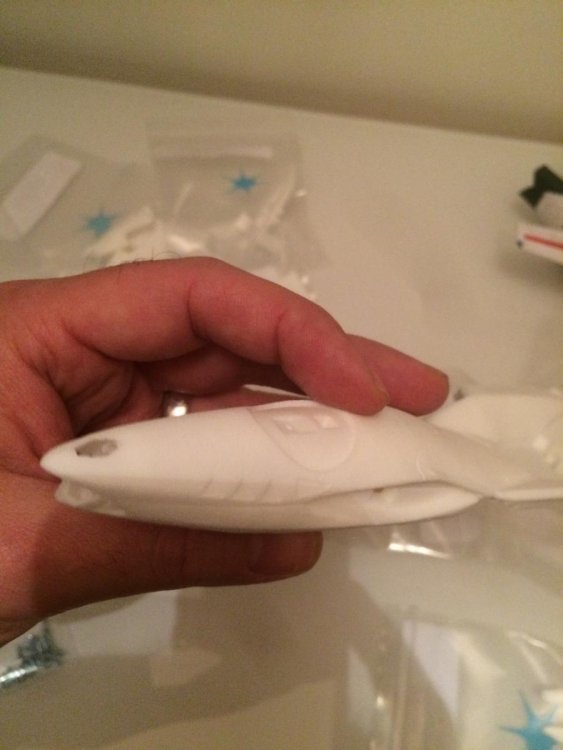
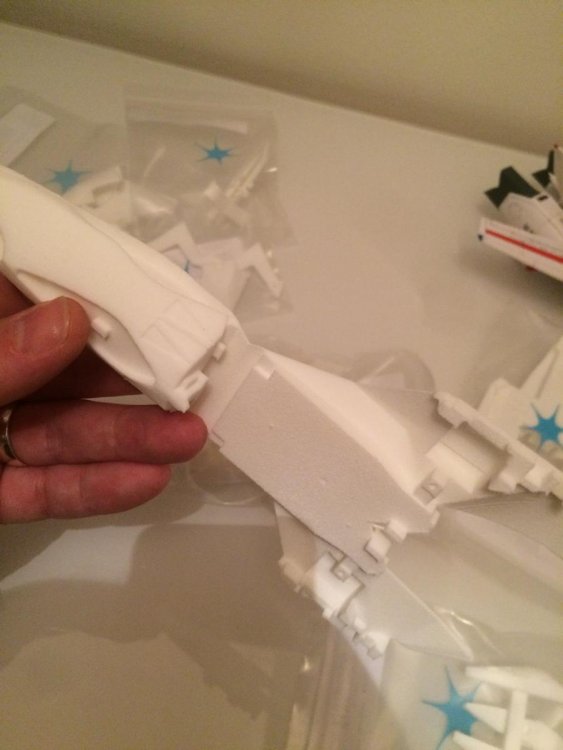
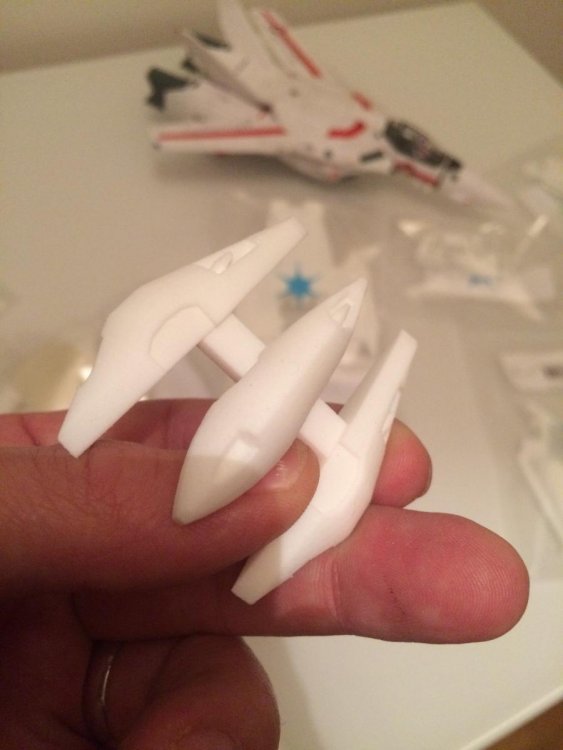
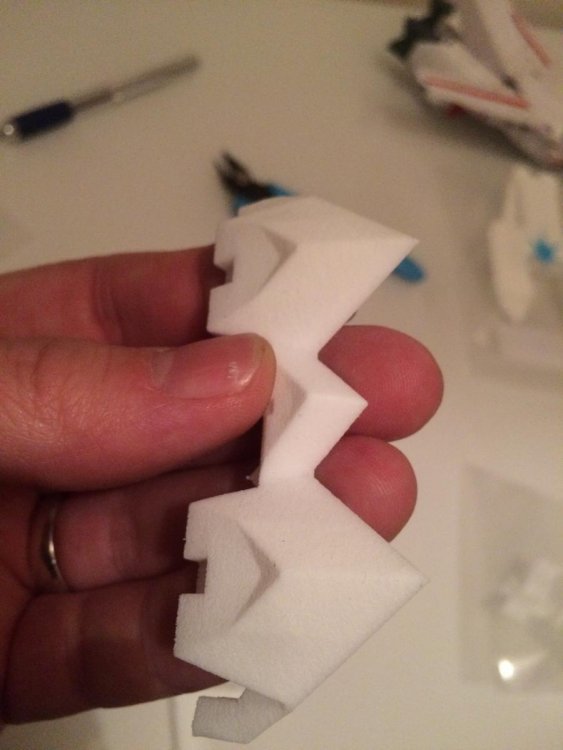
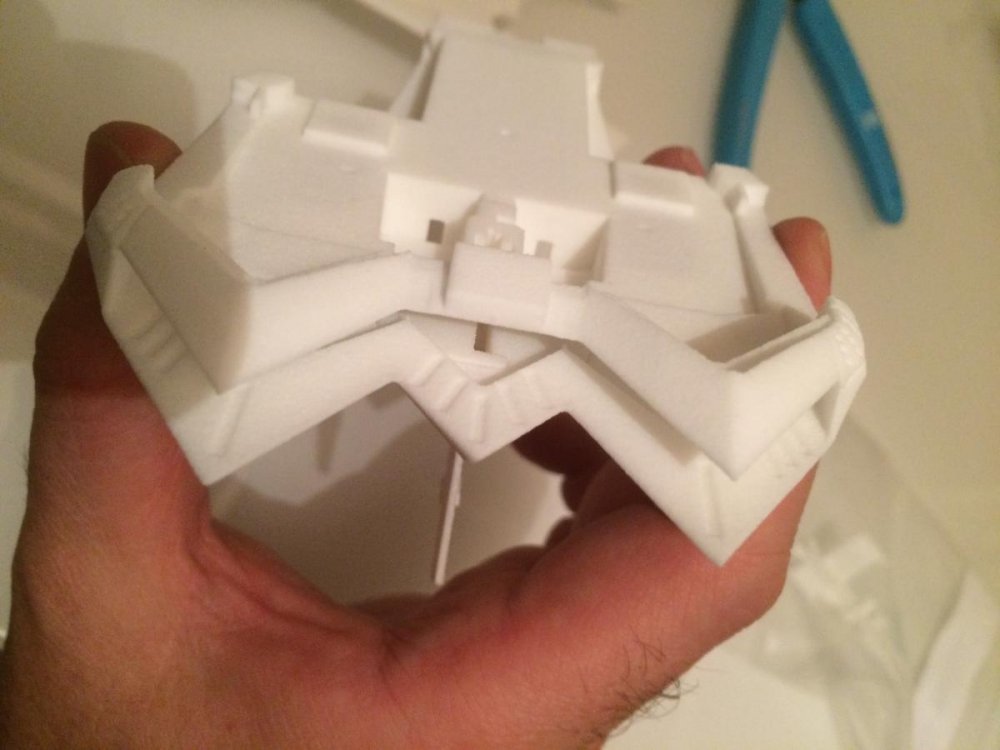
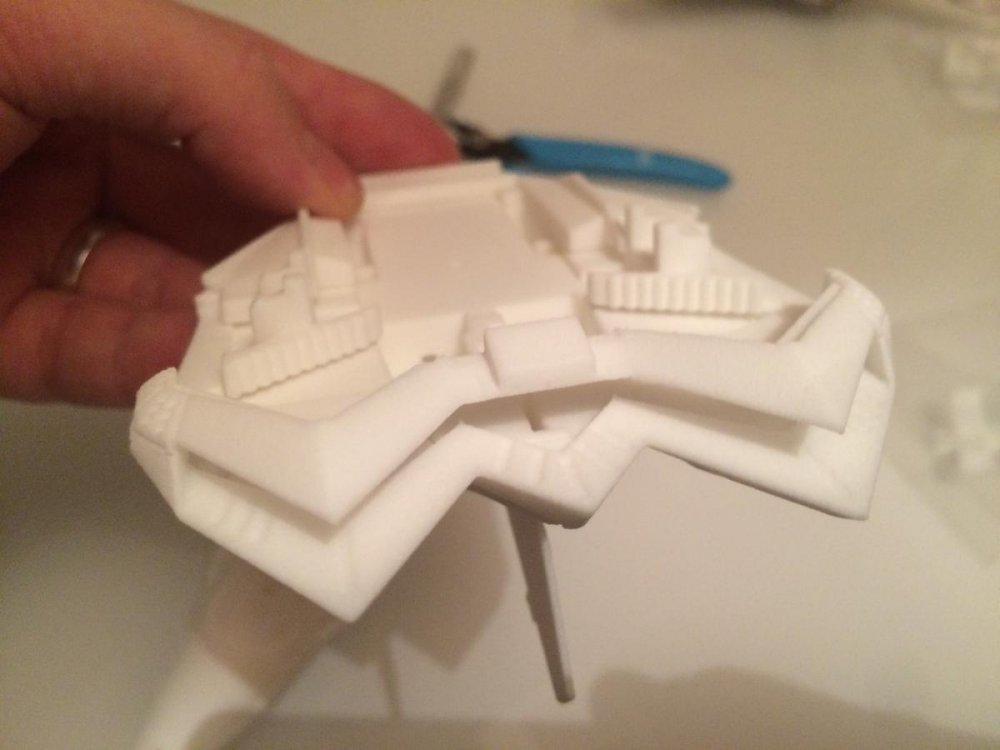
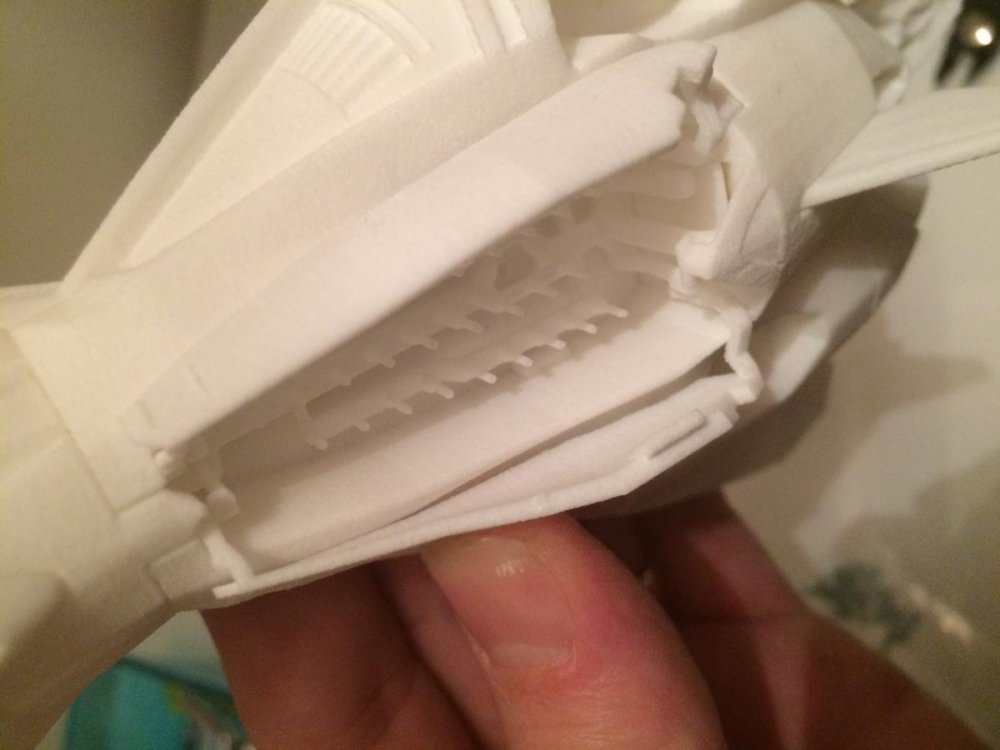
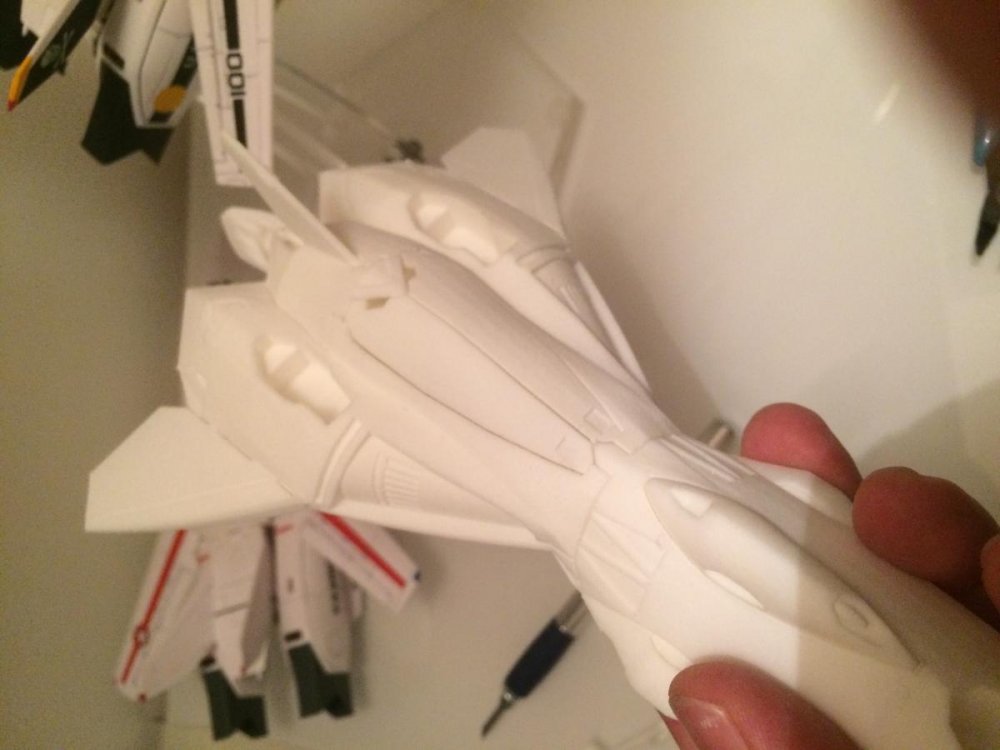
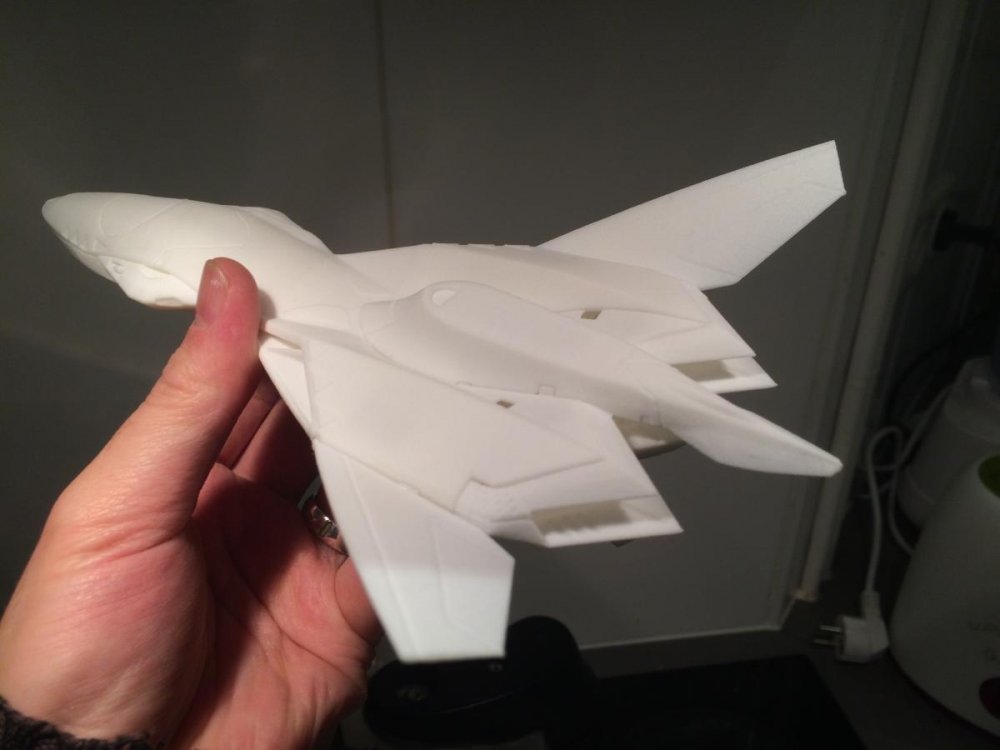
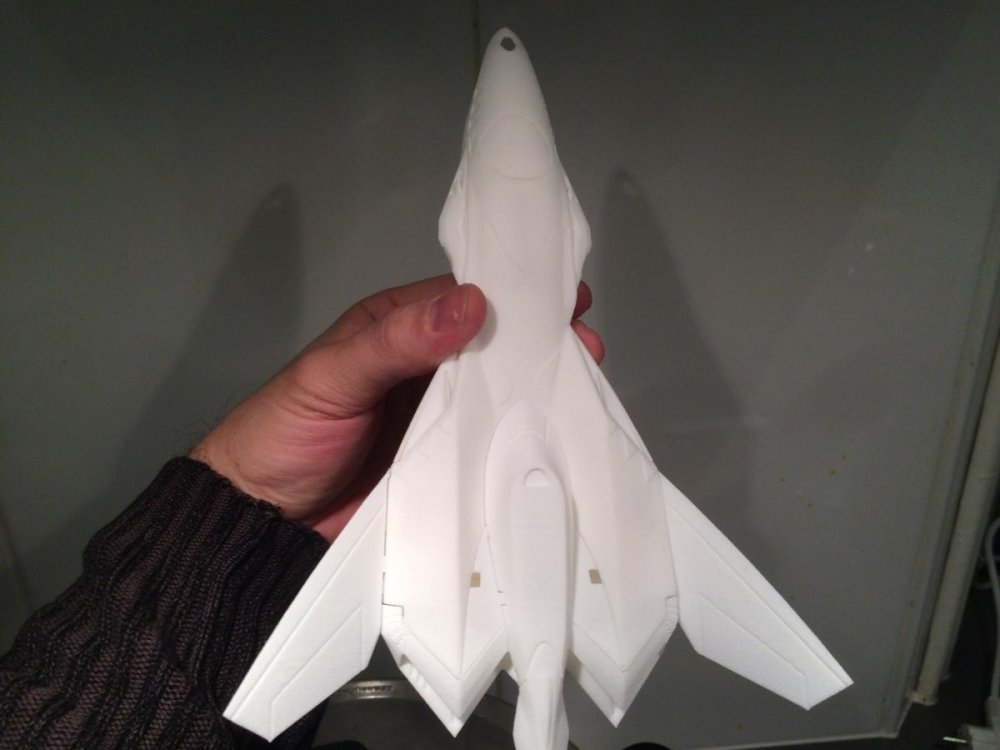
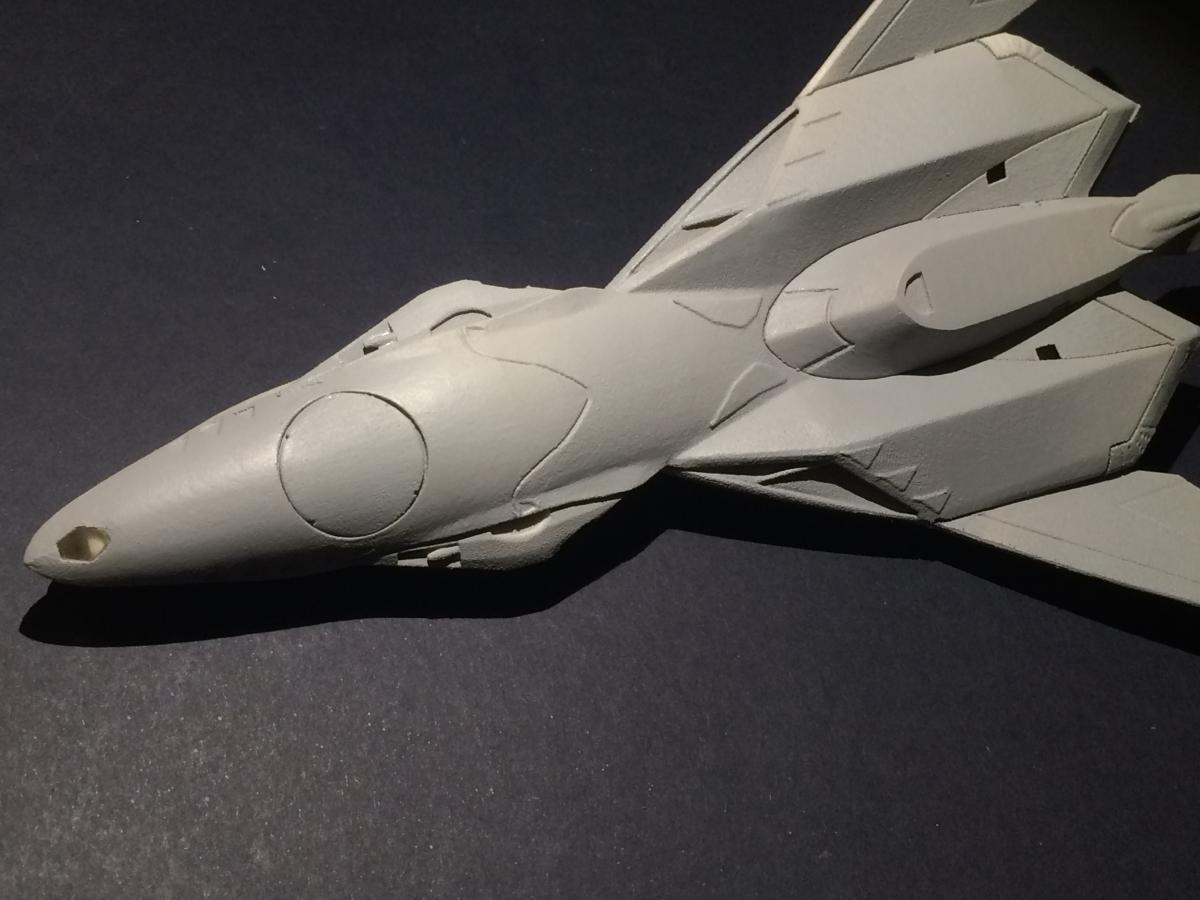
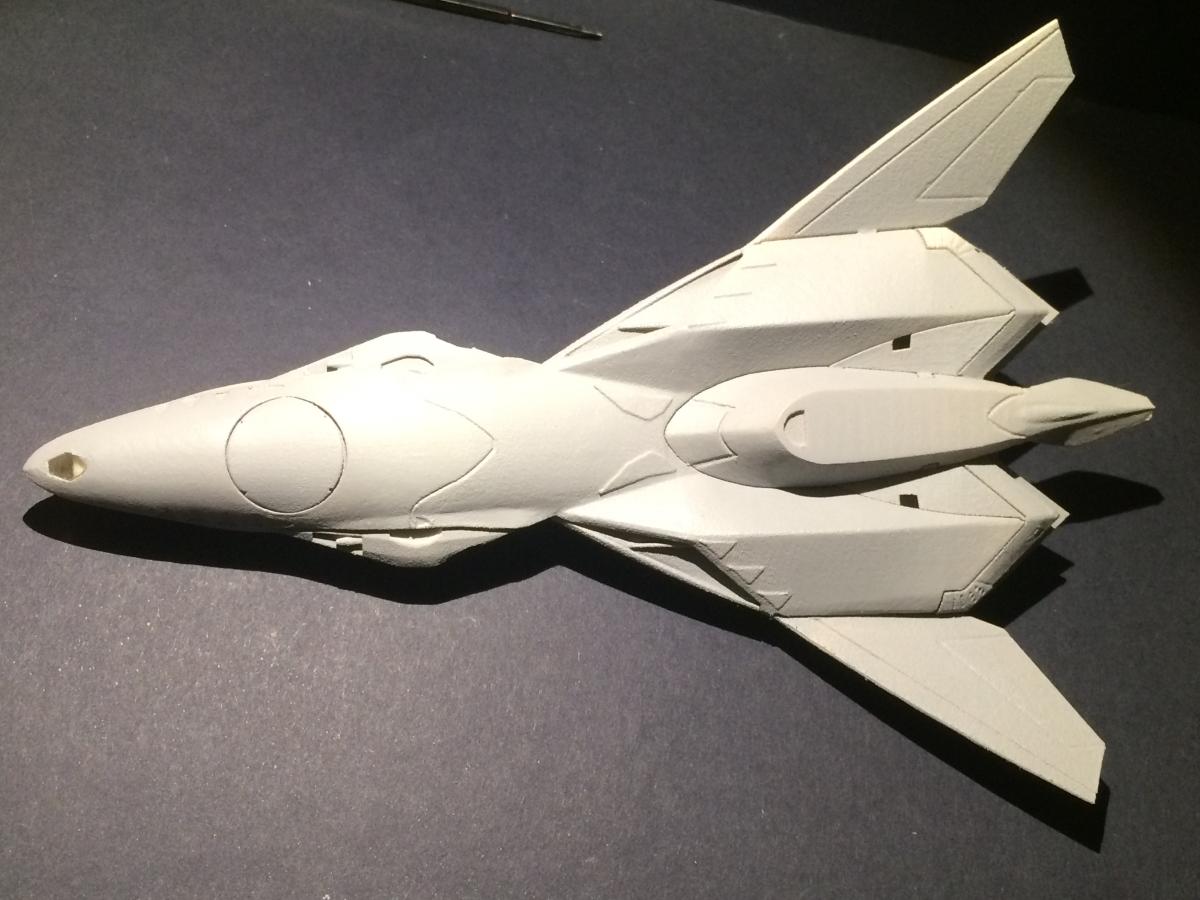
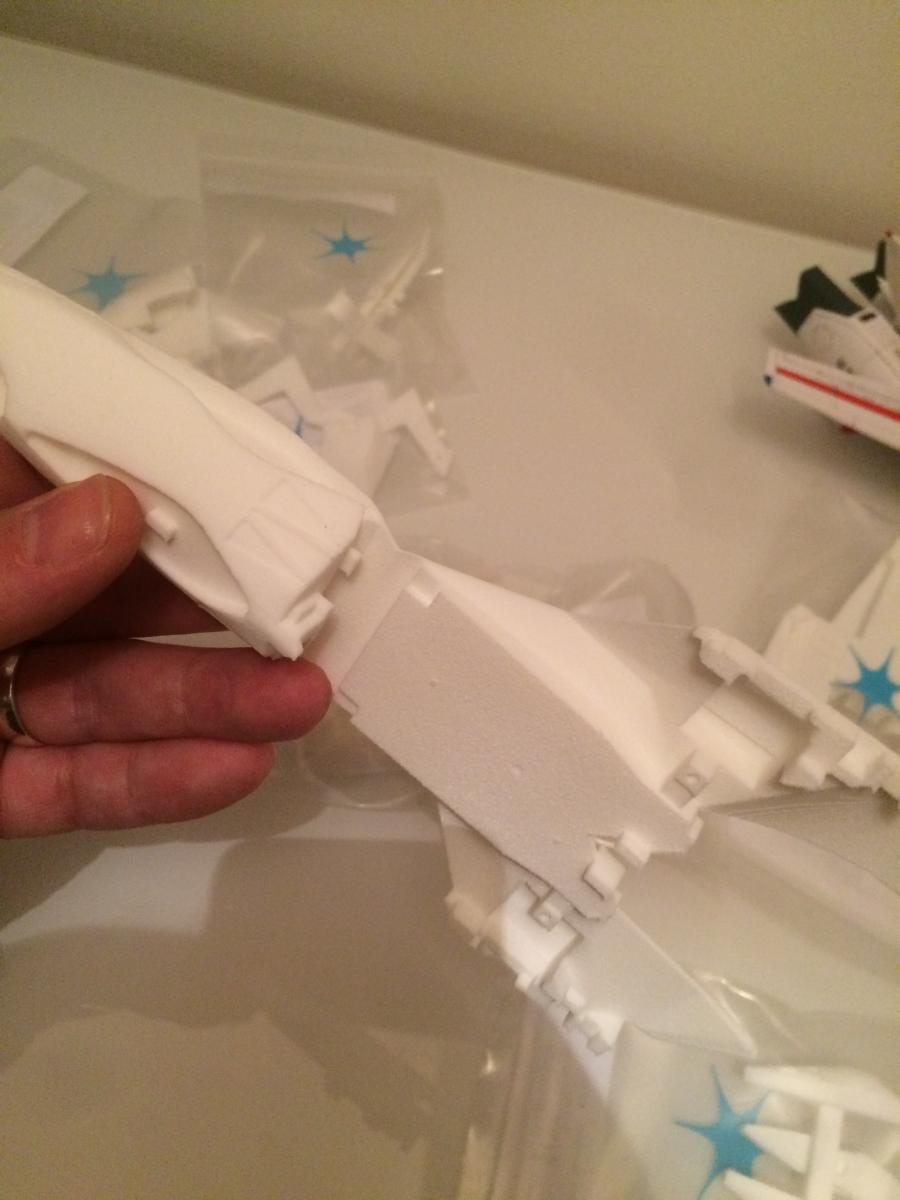
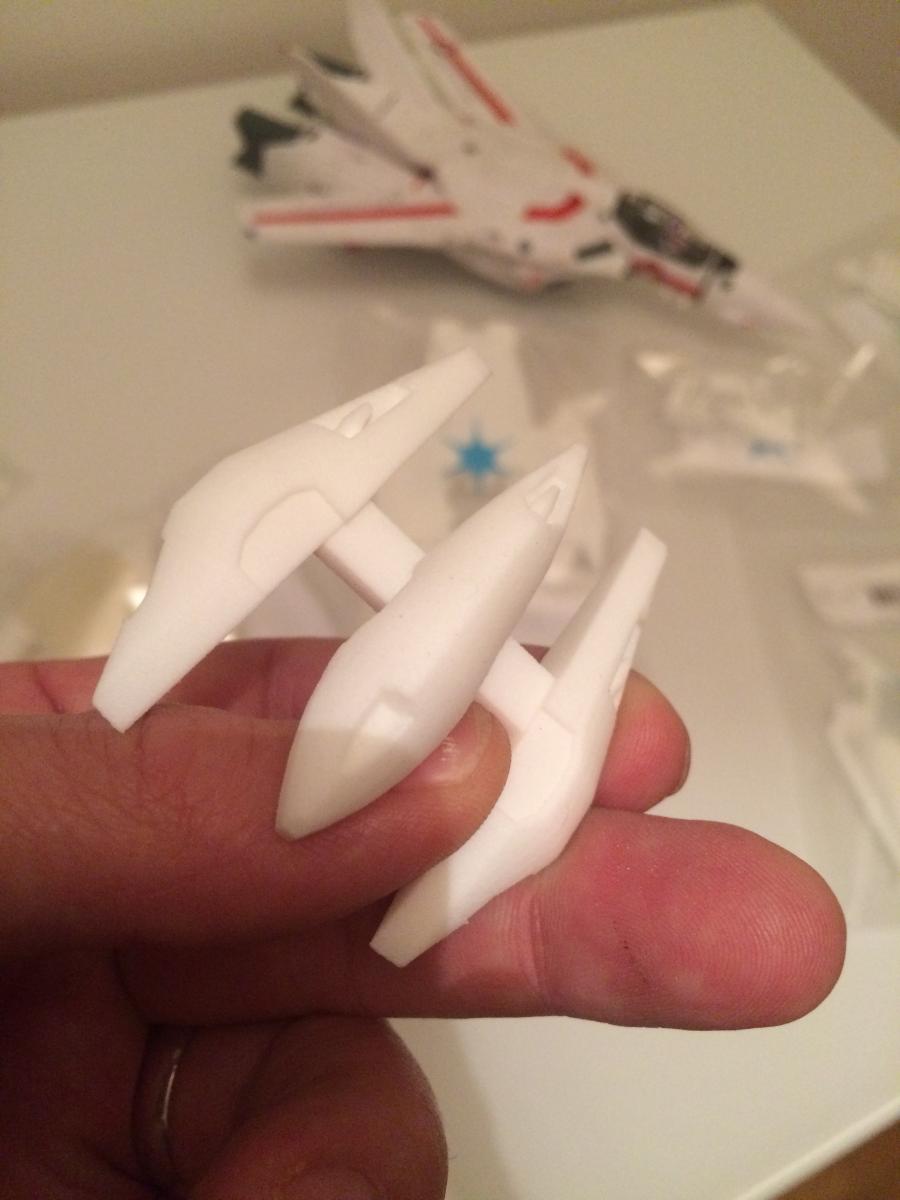
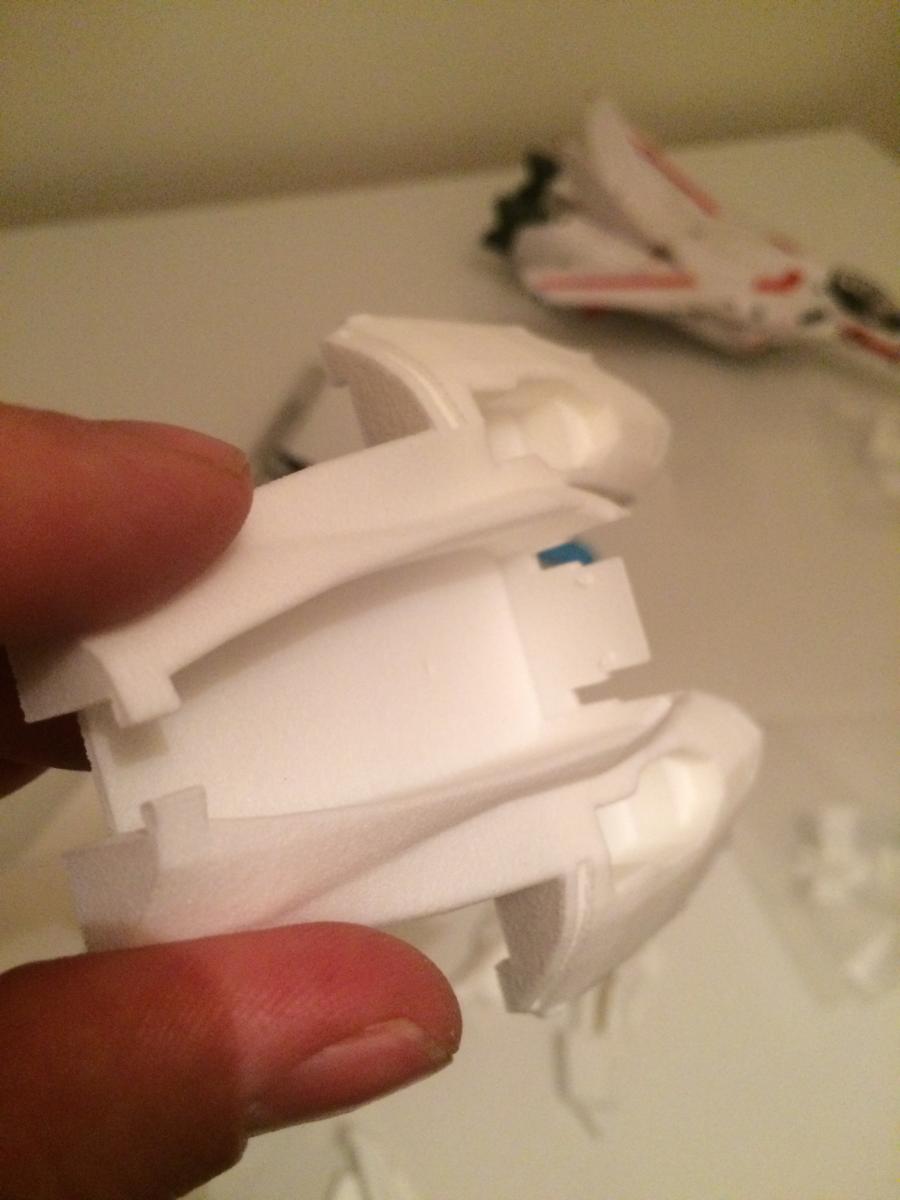
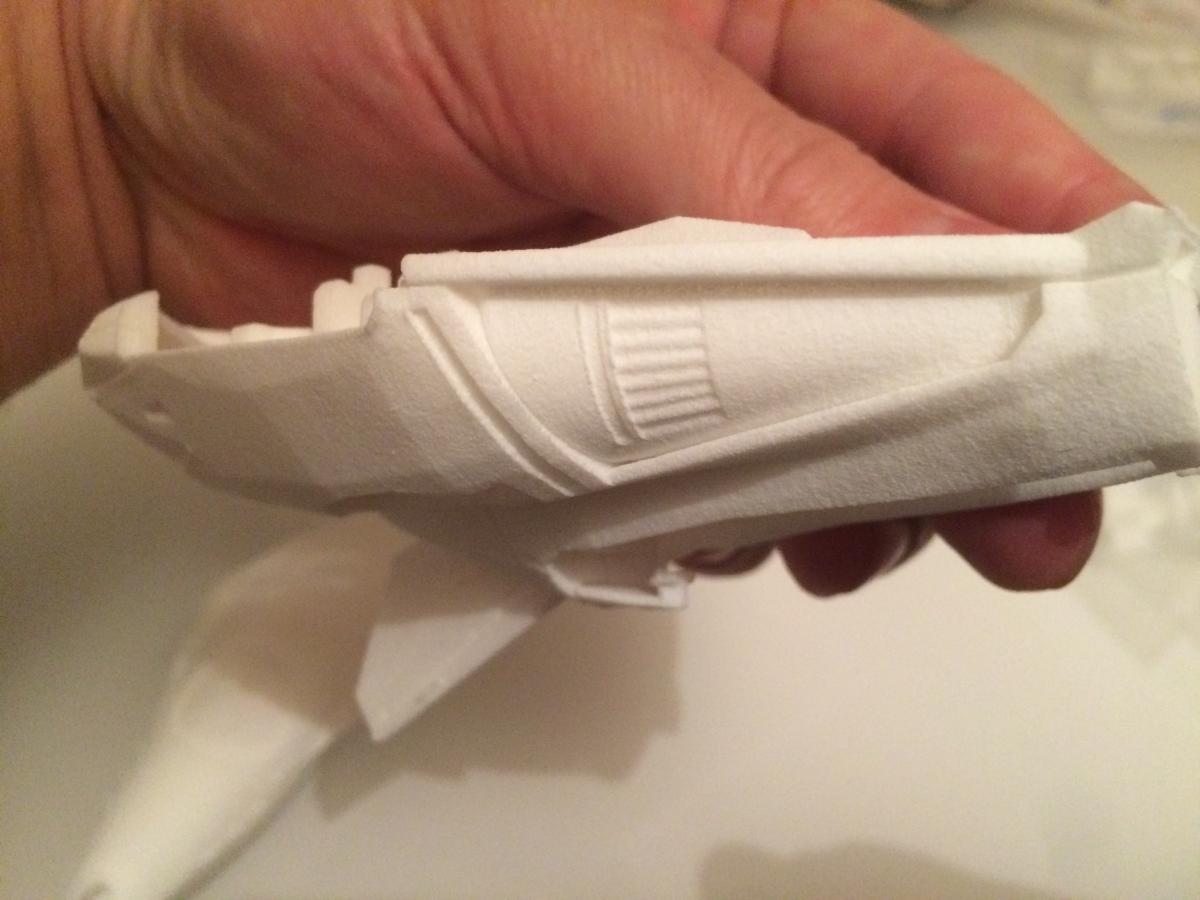
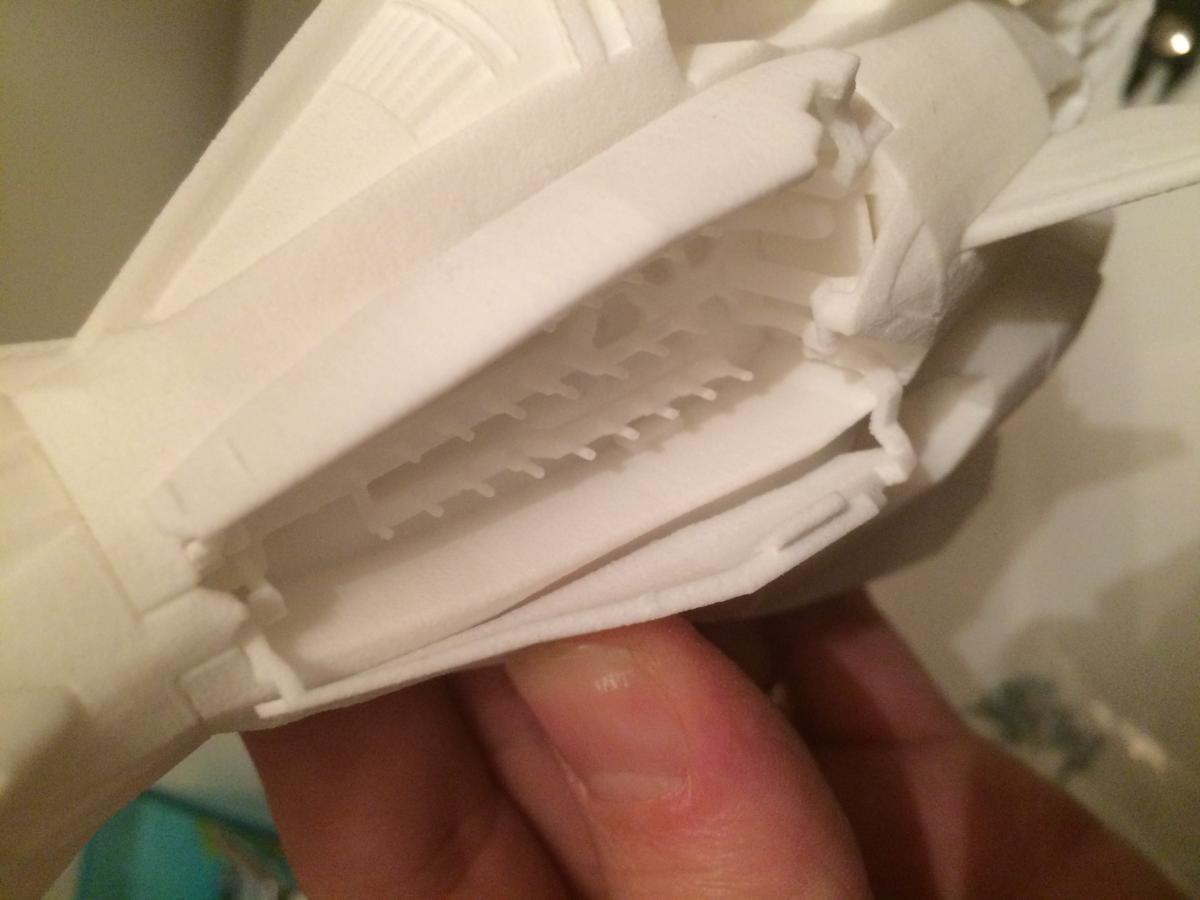
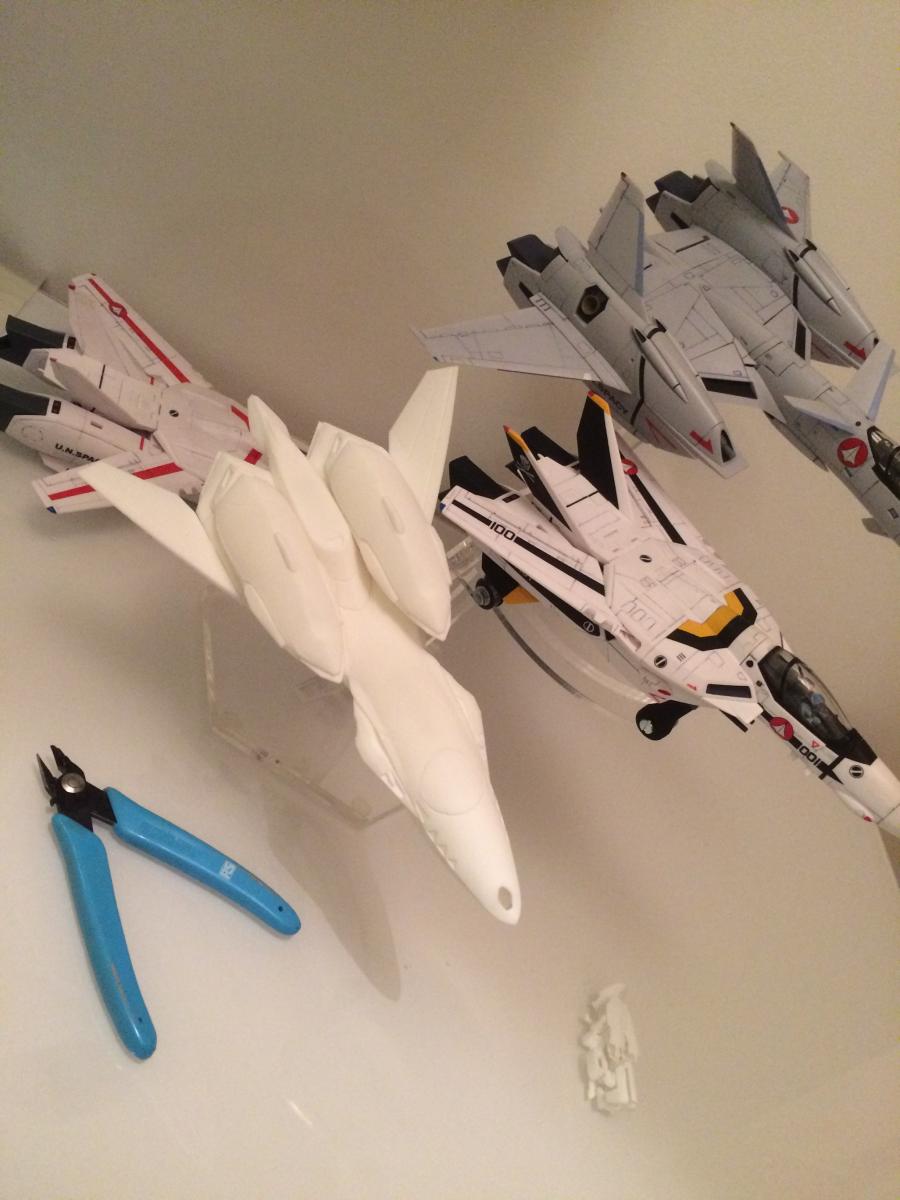
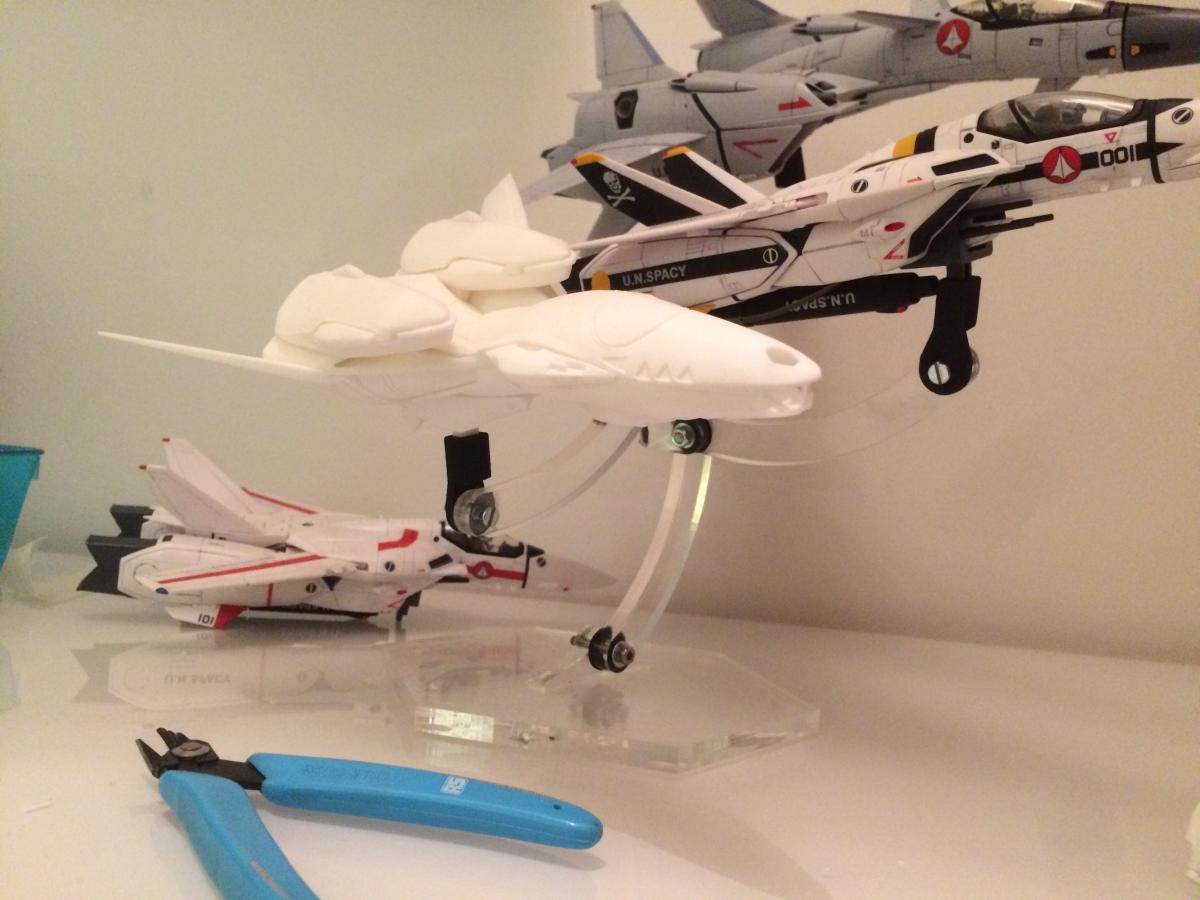
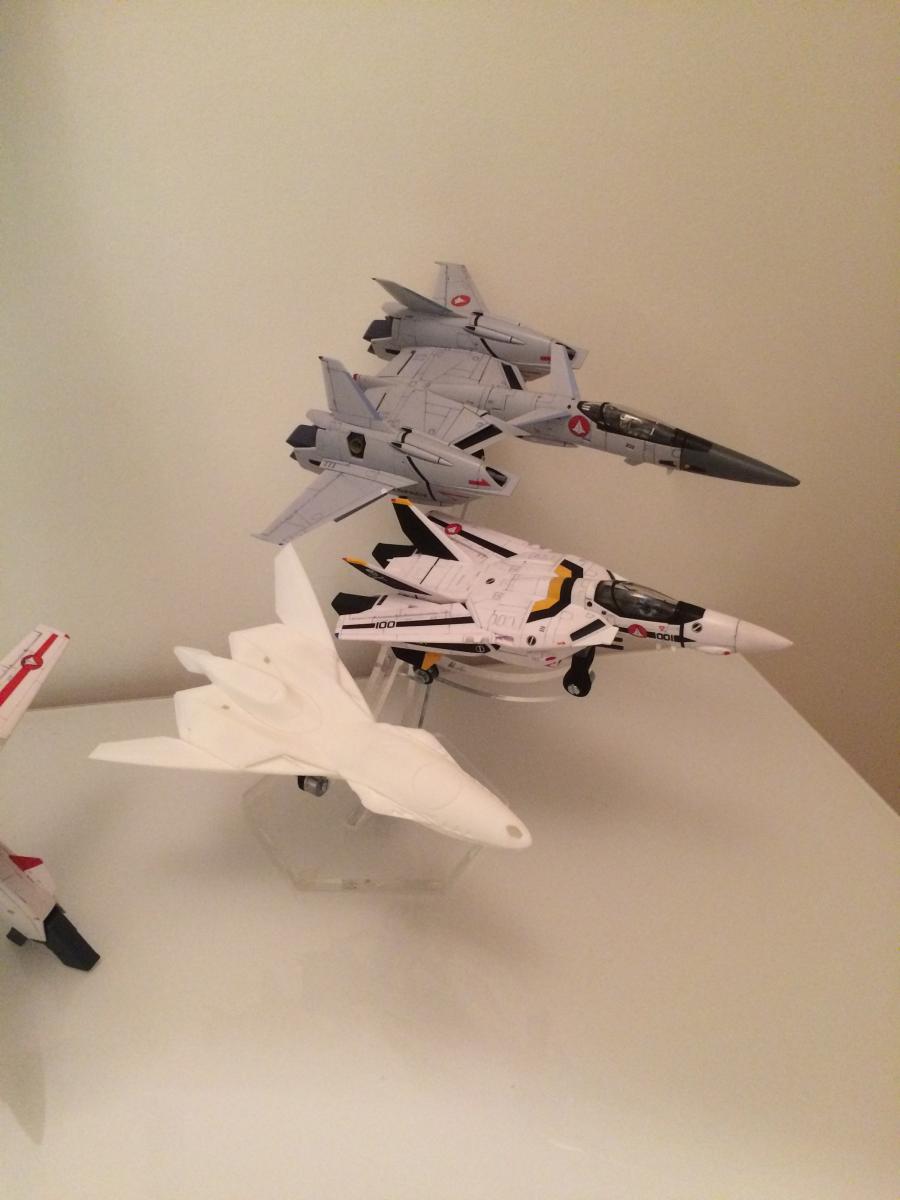
Most parts came through and perfectly fit.
I got rejected the metallic parts, I fixed their models and am waiting for the new ones, hopefully they come out nicely this time.
Additionally I am not very happy with the stand adapter, I will try to figure something out and fixing a few other thing if possible
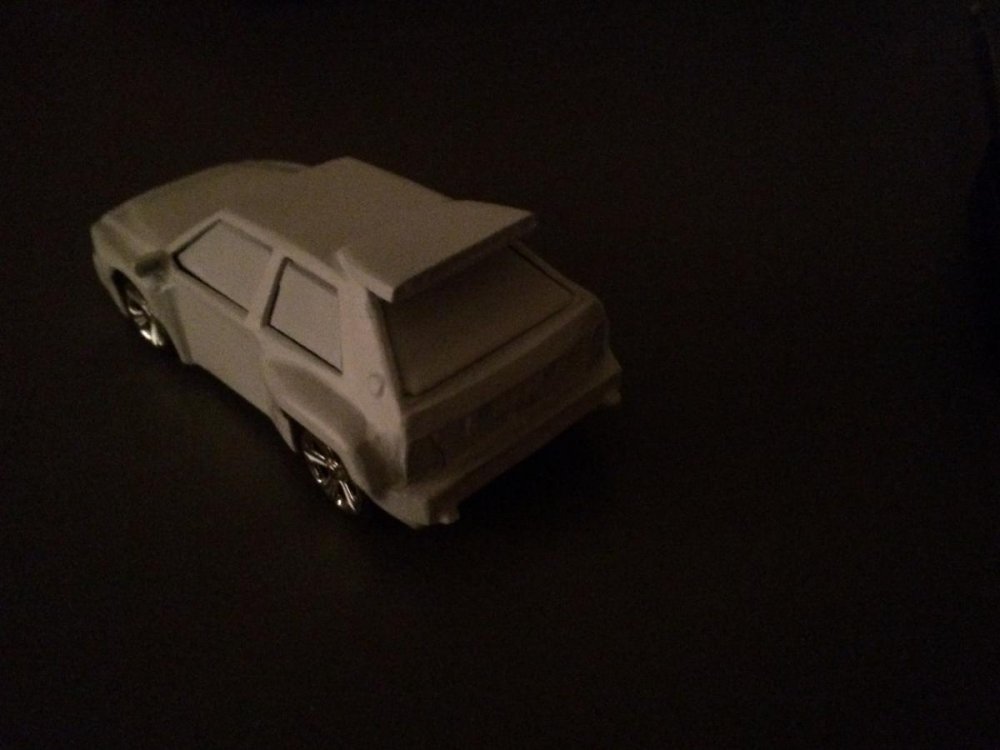
Pretty happy with the overall result though! I hope you will enjoy the first assembly as much as I did


-
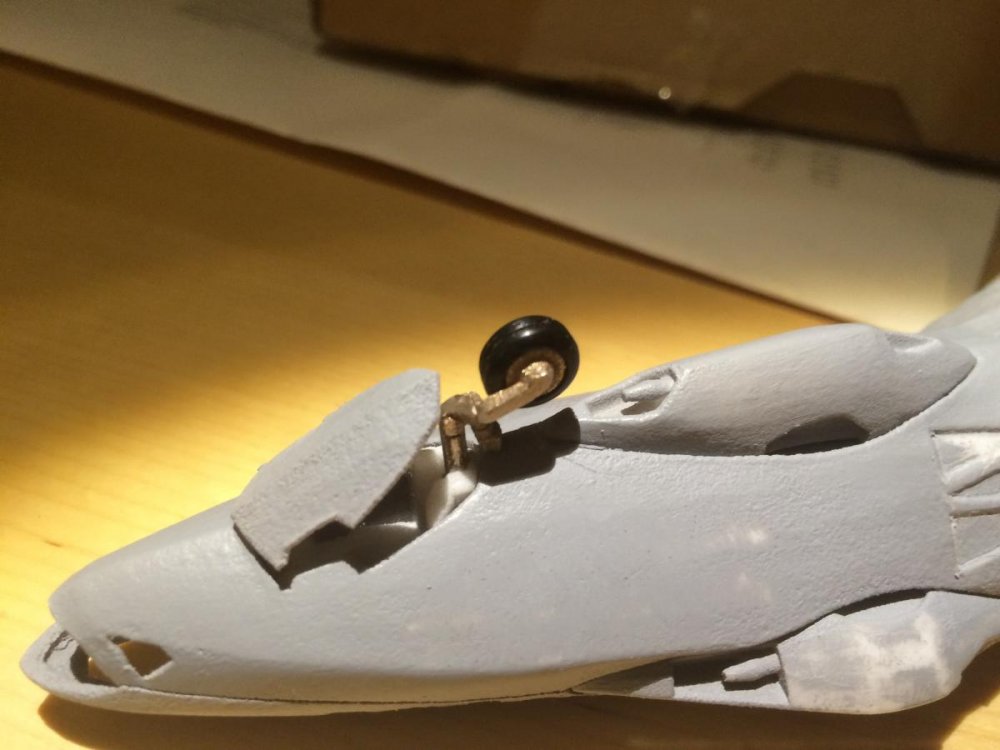
I don't think the gunpod is thin enough to fit centered under the vf-4g on its wheels.
-
Very inspiring Derex!
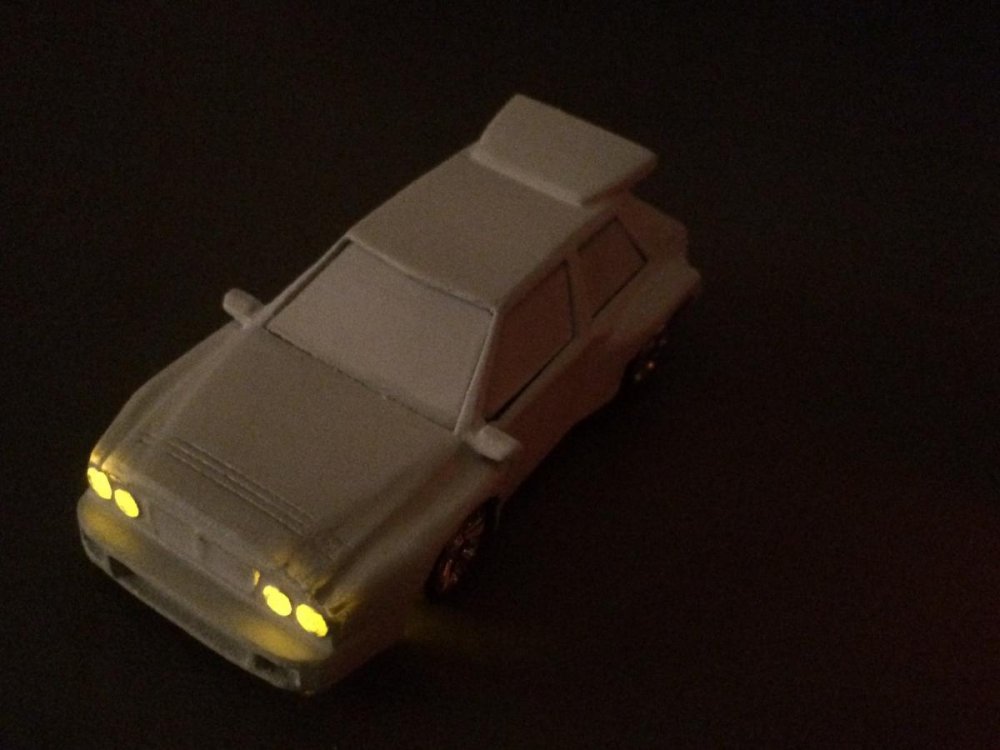
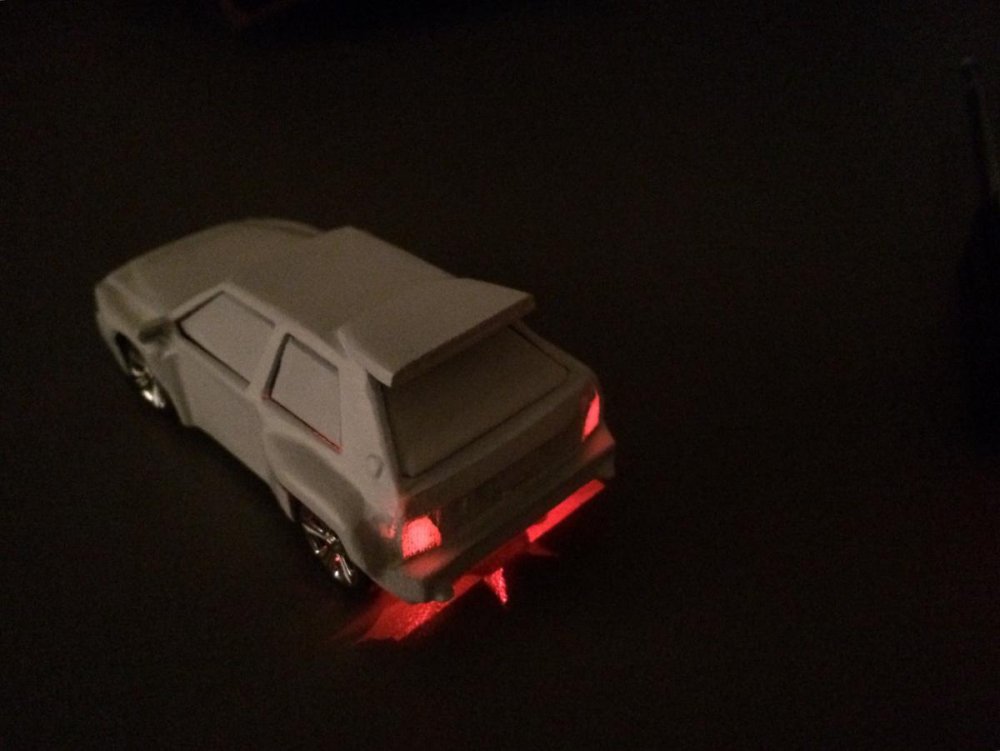
I am testing the lights tonight, and even if they are totally gadget I really like them!

-
-
Tamyia Priner sets in 24h, second layer is smoother. This model will need another polishing session before painting.
-
I'm holding my breath. Btw is it the last mold remaining to be done?
-
Getting first prime layer tonight on 1:60 Ozma's!
-
Indeed the head need painting, I am going with light brown all over it with small drops of glowing resin in different colors. So far I made the eye in glowing blue, I need to add glowing green and glowing red resin next time I make an epoxy mix. Then I would paint the rest with classic paint.
Not finished yet, so I mainly keep the head closed for the display
-
Is that what "tampo" means? I've seen it used a couple times around here in regards to toys, but I'm from a modeler background and the term doesn't see much use there.
Well I thought it was the correct word for decals.
What is the real meaning of "tampo" then ?
-
What does the paint on the inside look like without the florescent paint?
I don't understand, I used tamyia "fine white" primer first then brushed the fluorescent paint over it. So before the paint it was white. The paint itself is fluo pink, much like a stabilo/highlighter pen. If you light it with uv light, it goes bright pink then in the dark it glows dimmer and dimmer orange.
-
I can't wait to see one finished and fully tampoed
-
The figures and vehicles are on their own very hard to gather (I speak for European market)! Great prices and gorgeous diorama!
-
I could tell a lot of things were going on, keeping you busy. Take your time and enjoy being the first to handle the kit!


M+ ghost X-9
in The Workshop!
Posted
If they want to, they can send me a PM, I am totally open to all kind of negociation. But seriously, that would be dreamfull if Arcadia actually wants to make a toy from my design, I would be glad to help.