-
Posts
2605 -
Joined
-
Last visited
Content Type
Profiles
Forums
Events
Gallery
Everything posted by Xigfrid
-
-
Is it a VF-1 left fin (version2) ? If yes, I think you can source them from the unpainted kits, so you can try to post your request in the "Wanted" section, I have seen unpainted parts that have been traded there.
-
May an Arcadia employer come by and read you! I would love to pass my 3D file or the Master. Making such figures available and even making a few of these painted and assembled is very time consuming.
-
Spanner is right, we all are happy to follow your progress!
-
Dont waist your time with clearance! Sanding it once printed takes 1000x less time And yes it is better to keep all the groups and component of a part until you are satisfied with its geometry, then explode just before printing
-
Should be good as is. It needed to be a little bulkier than the original, but nothing that a little sanding couldn't fix http://www.shapeways.com/product/NU2UKP26V/missiles-pylons-for-vf-25-armor-parts You have a set of 2 pylons, if you want to try them, let me know if they pass the print-ability. They should without issue, but who knows with shapeways...
-
Your X-9 looks fantastic! Great job. Ps: your lower gun can be further pushed by approx 2mm up (the gun is a continued line of the lower shape)
-
I almost broke one also. It plied and hopefully I could put it back without breakage. Will have a closer look to see how easy it is to replicate in shapeways.
-
The darker red is obtained by mixing some brown with TS-85. The white kite is obtained from the white primer, masked with the supplied kite logo sticker, then airbrushing the rest of the part with darker red. The sticker is then removed before clear coat. I highly recommend to clear coat the primer before applying the mask, that would protect the primer from the strong glue of the sticker. If you want to apply a spray, TS-33 should be just what you are looking for this color
-
Yes it is. The color looks good, and I also love the feel of TS paints once dry! Thank you! Small update about the painted orders: in the next coming days I will assemble the landing gears and add some coat to harden the paint. That would take a few additional days, sorry for the wait.
-
I will try to take new pictures of the painting in the sun light, these one don't really do justice
-
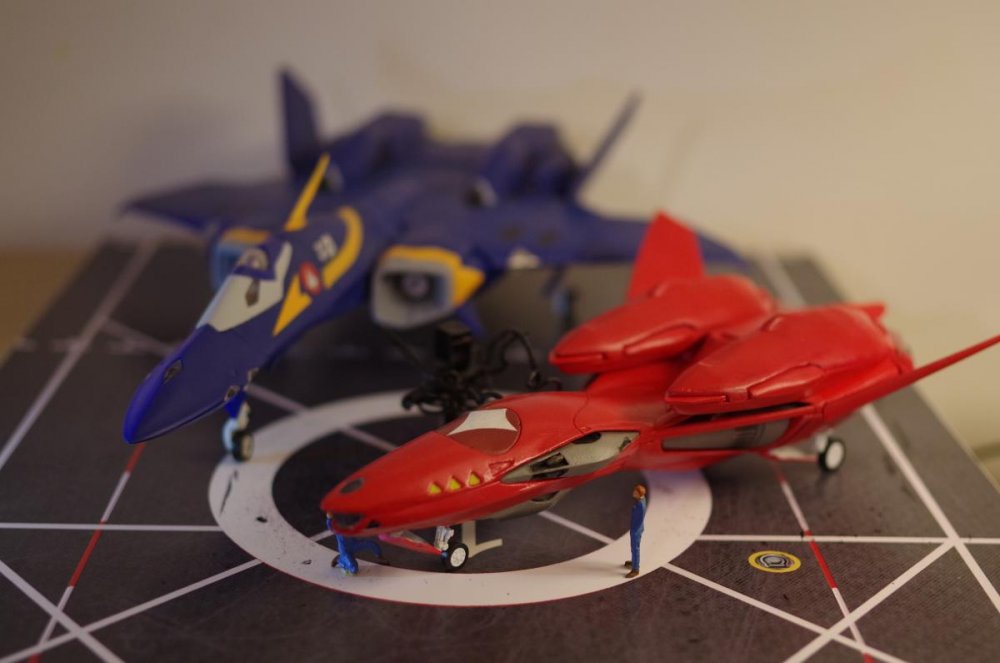
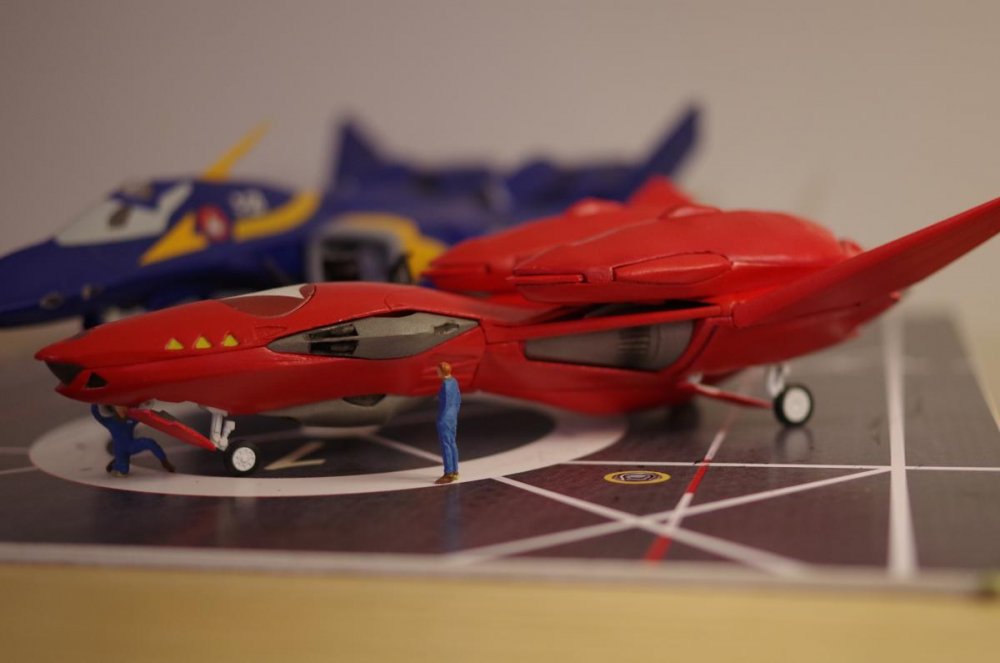
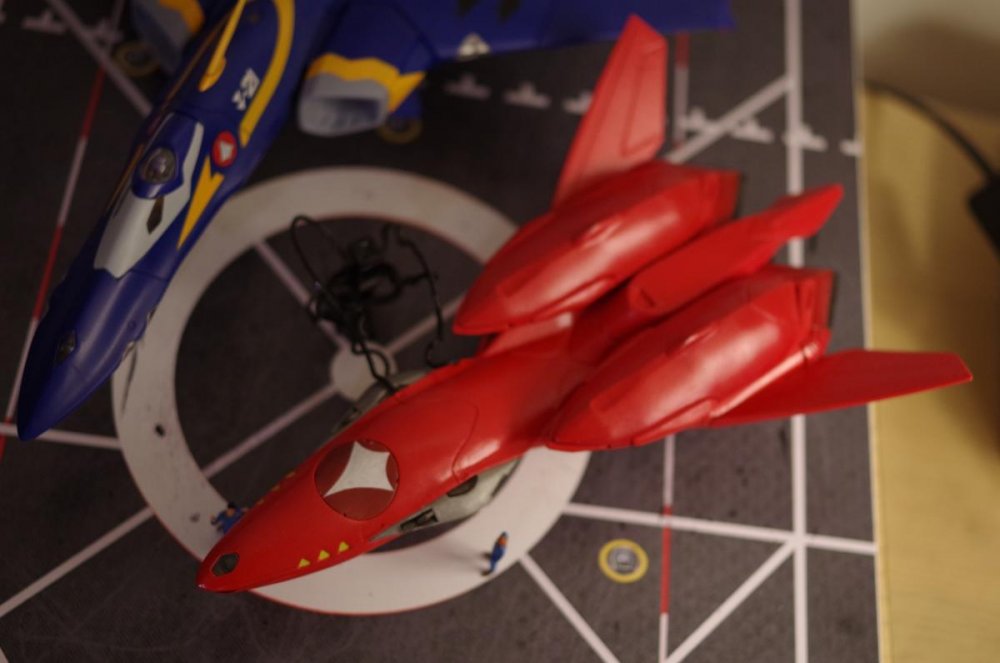
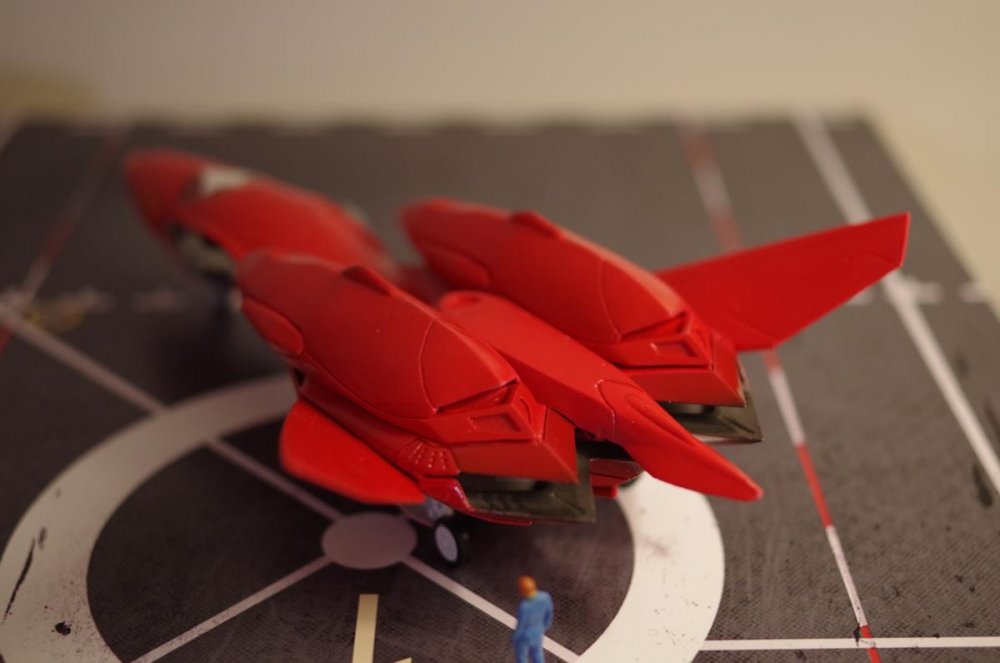
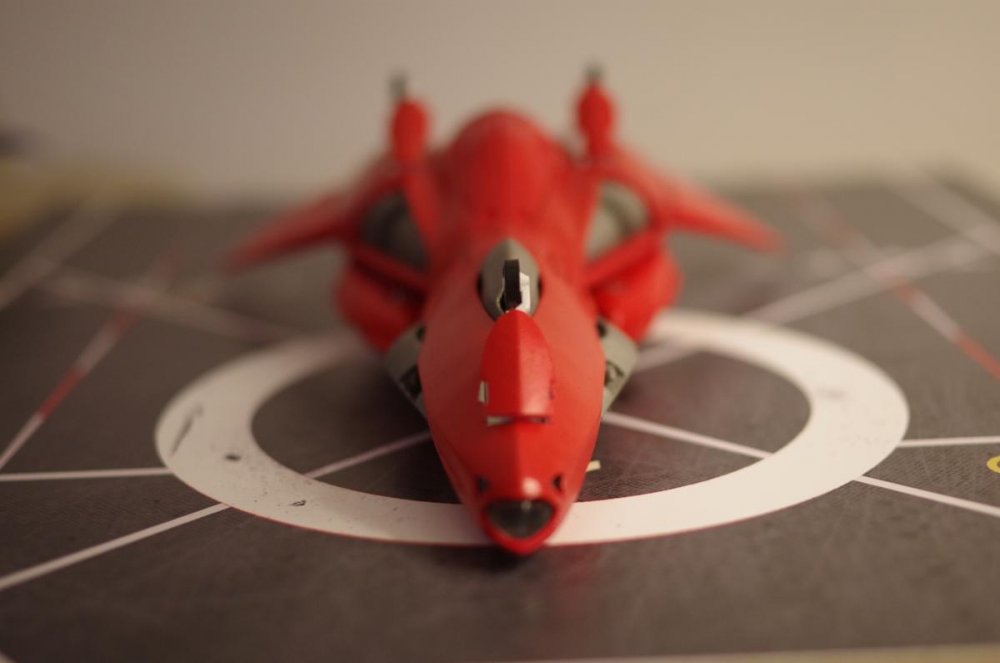
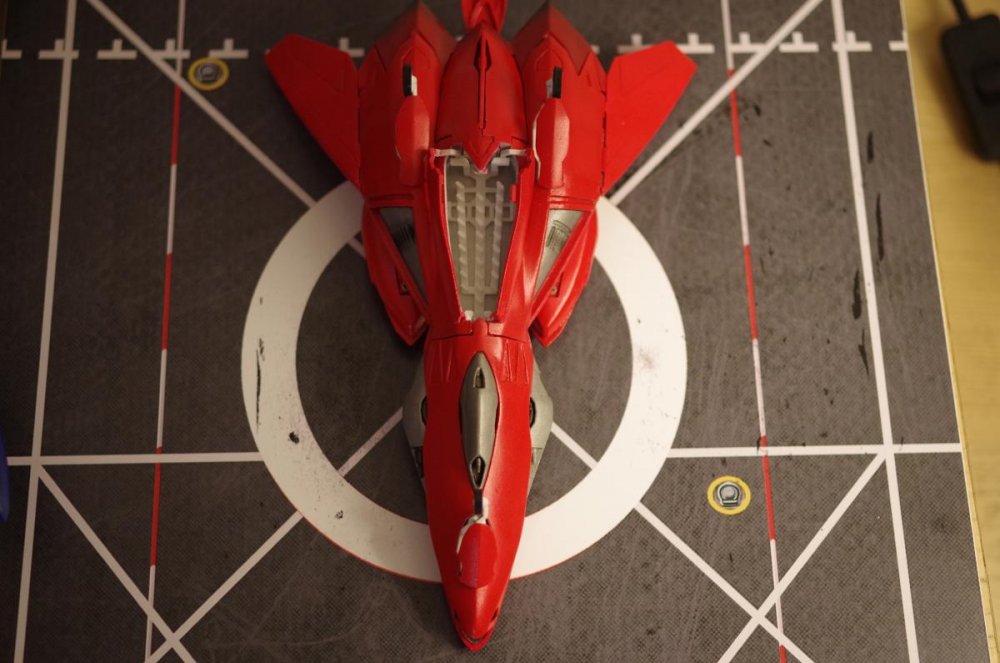
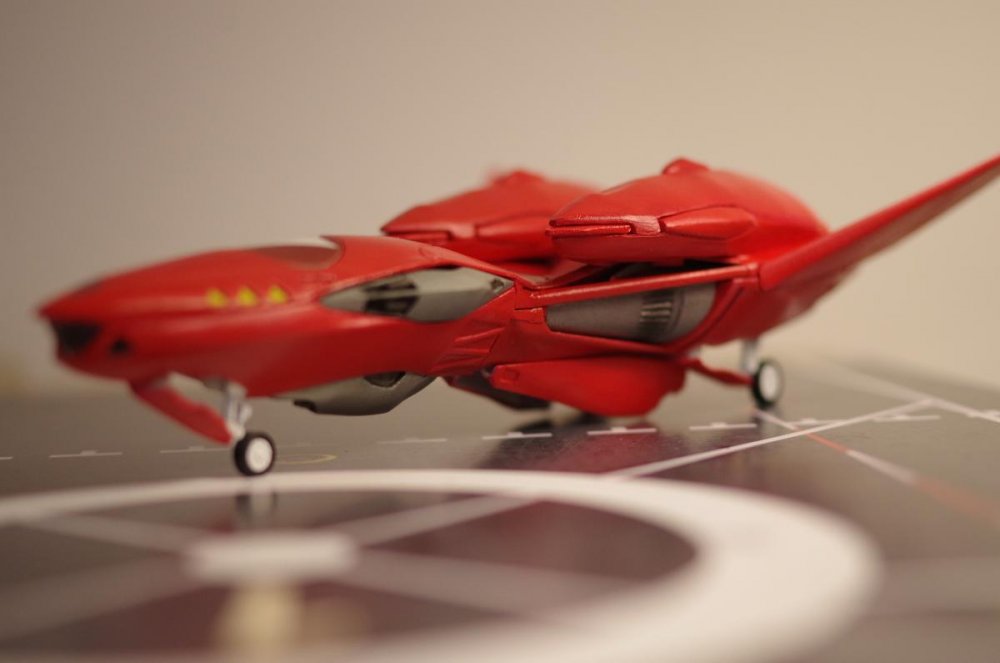
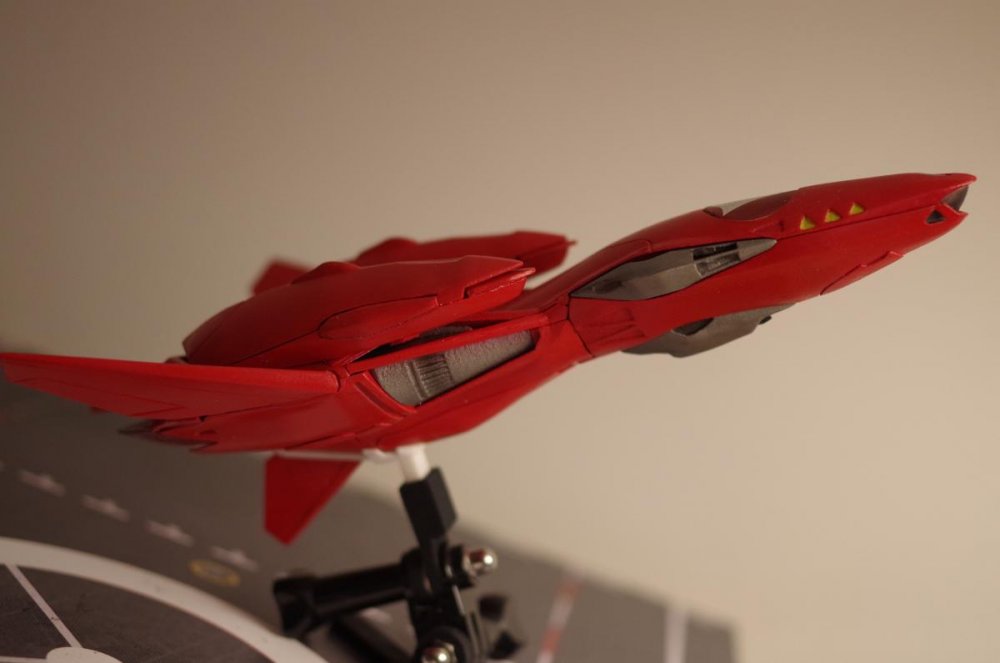
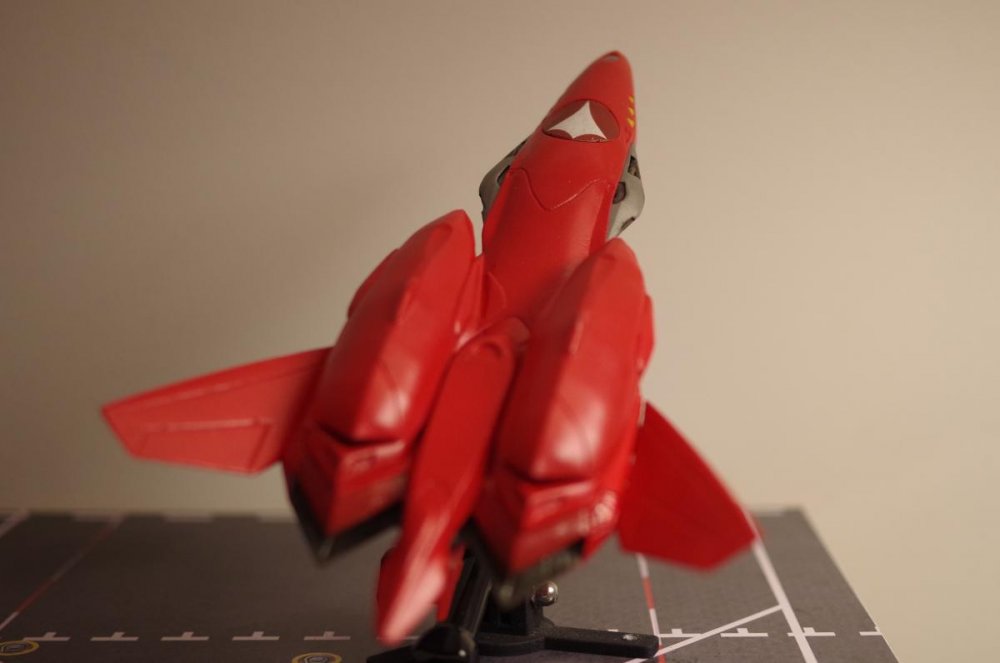
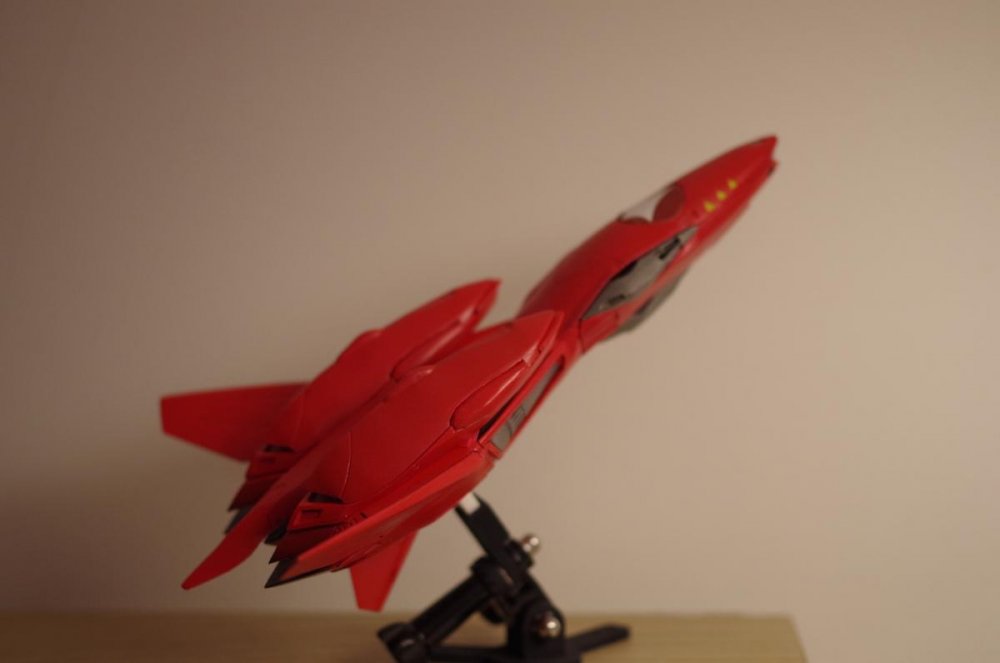
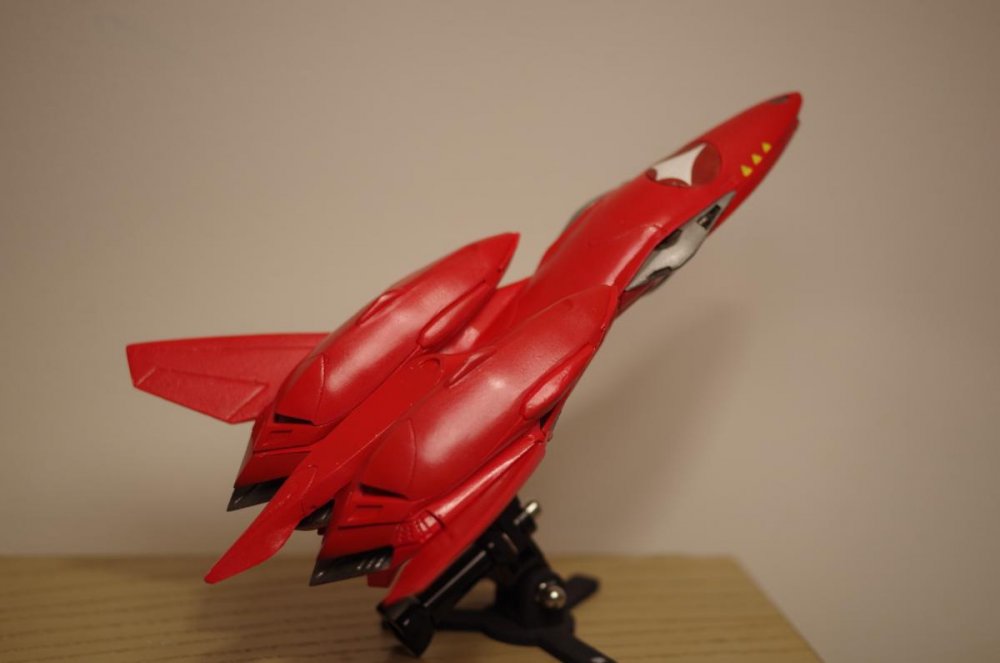
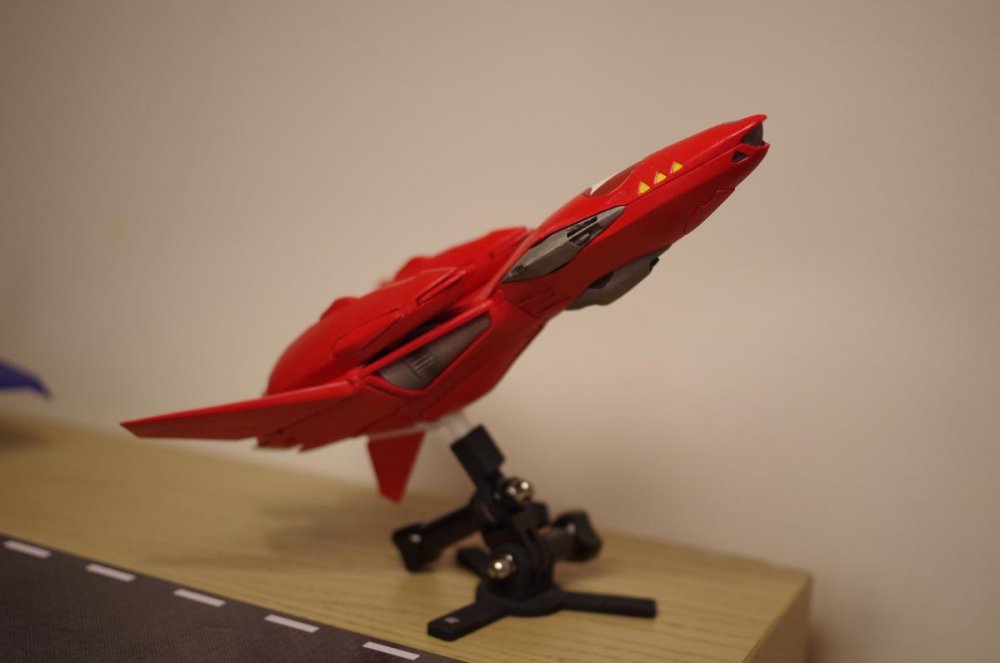
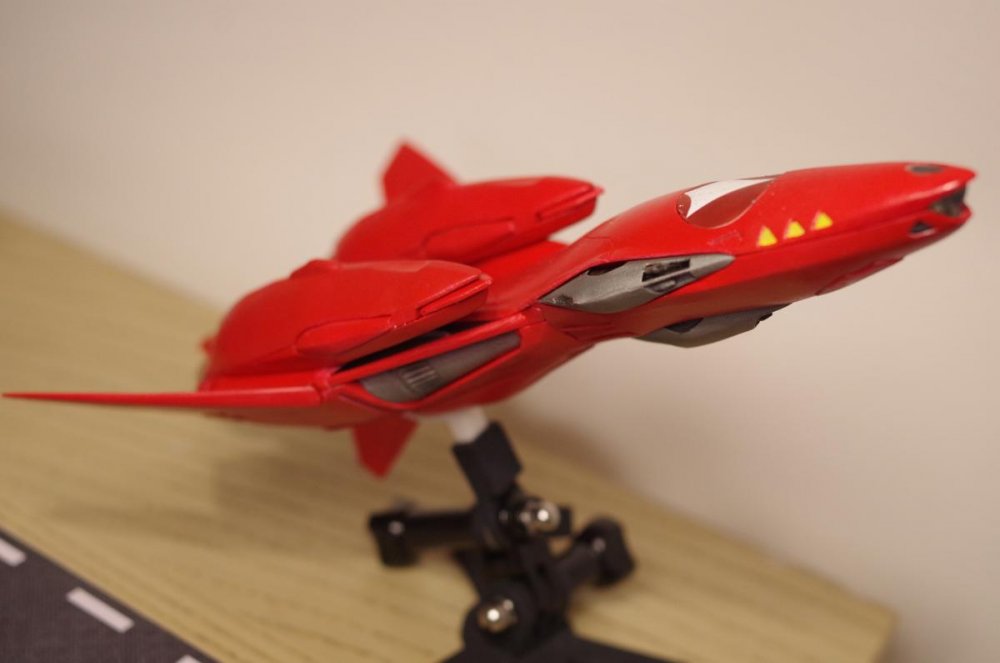
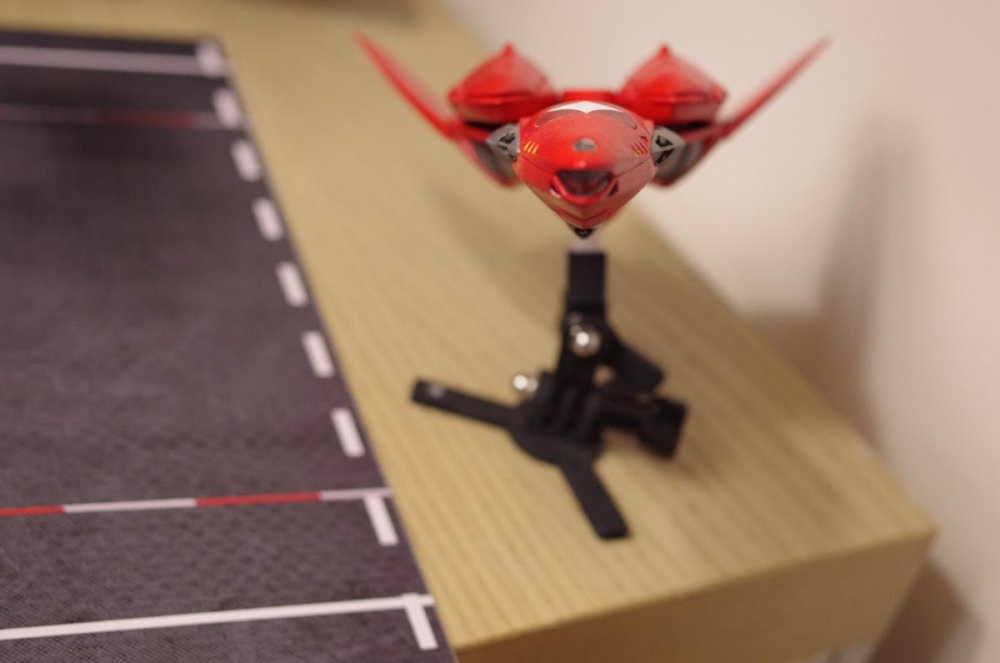
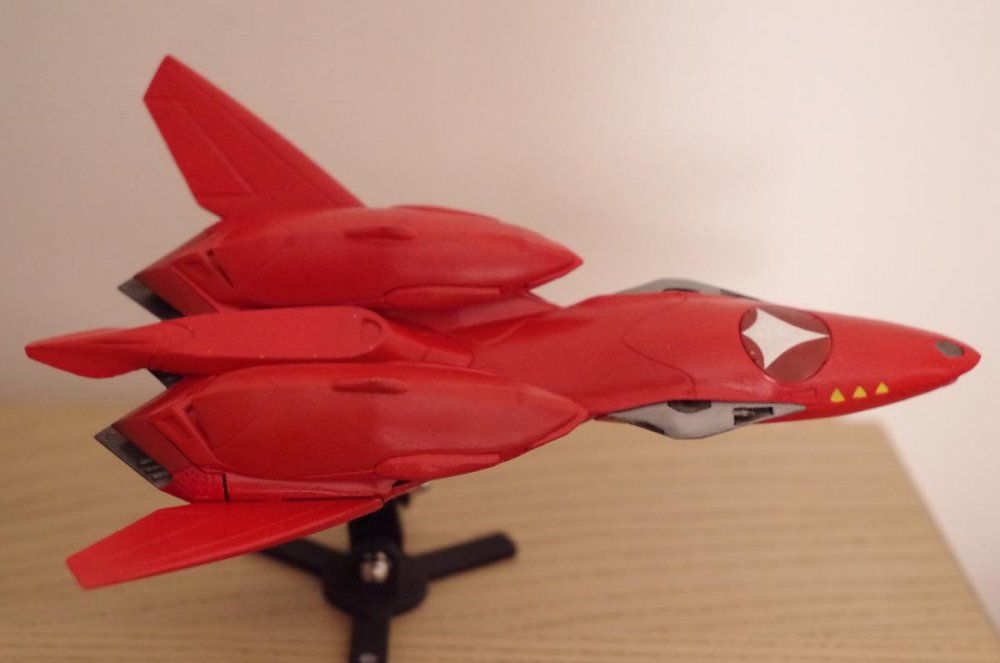
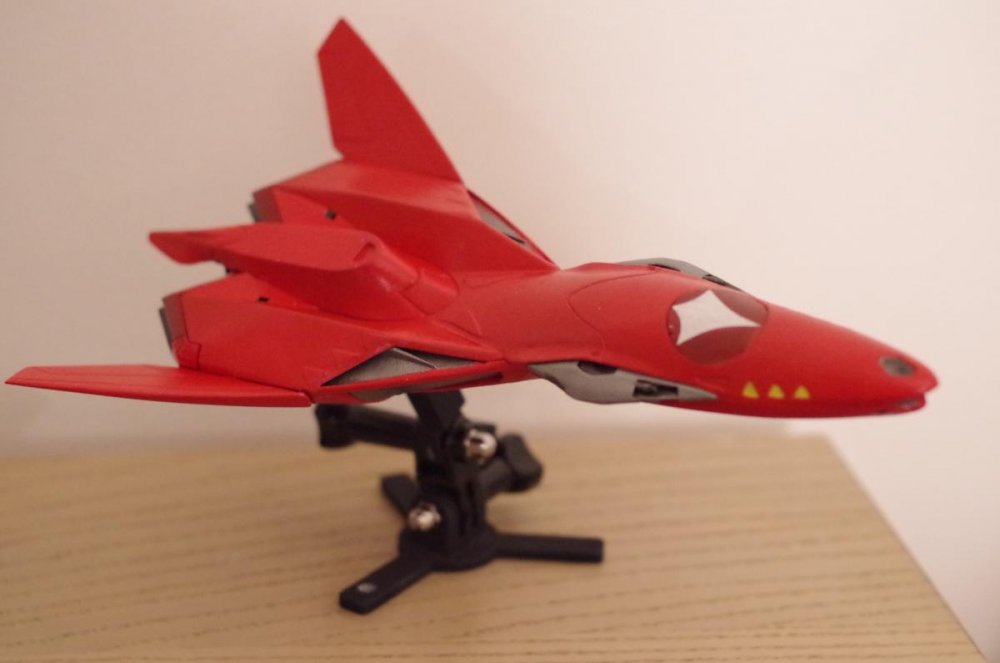
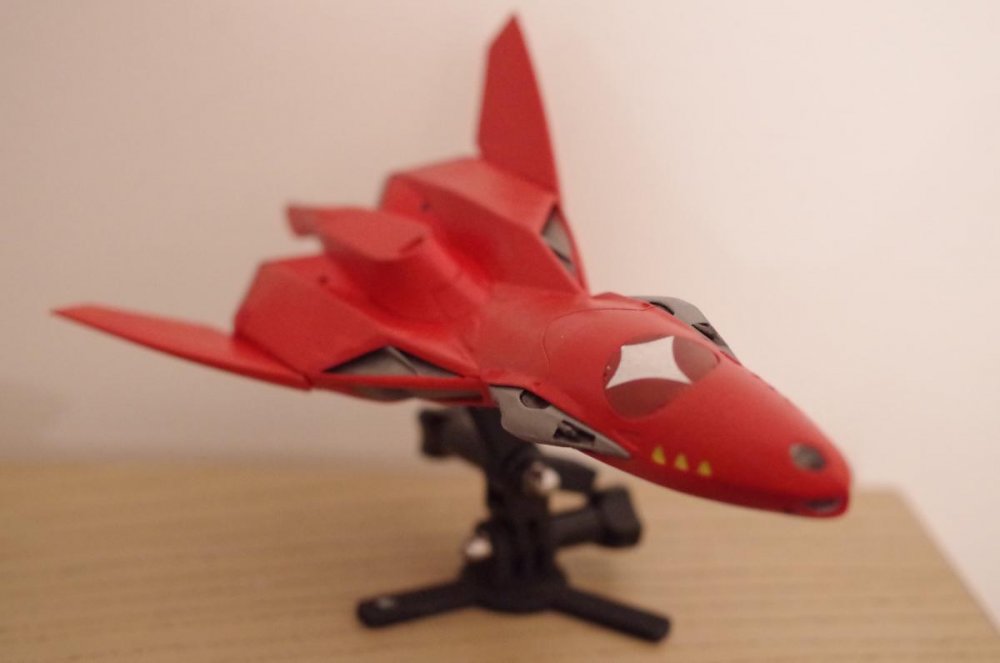
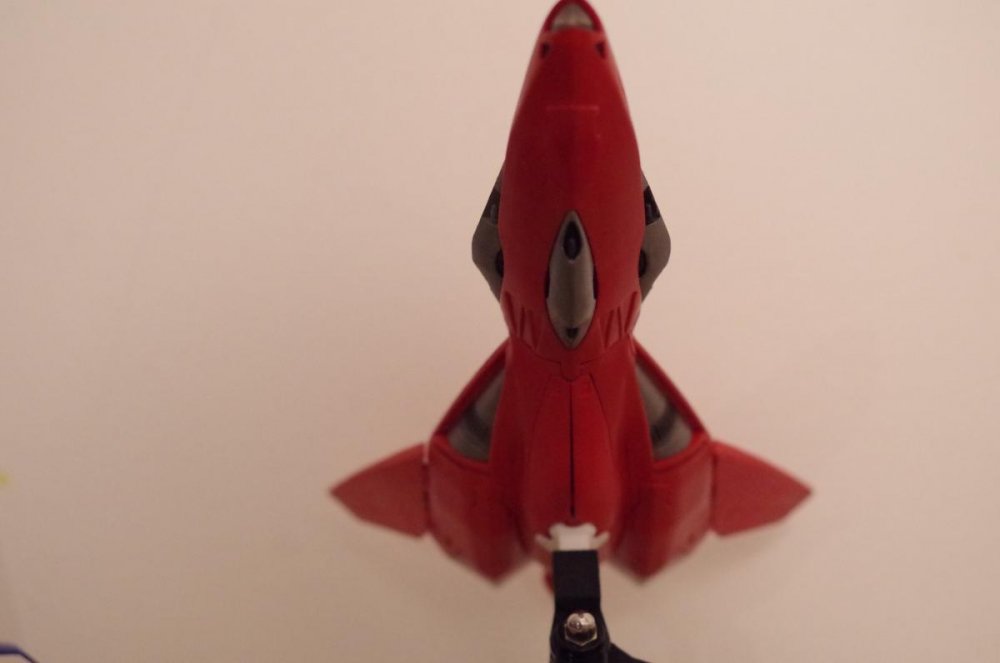
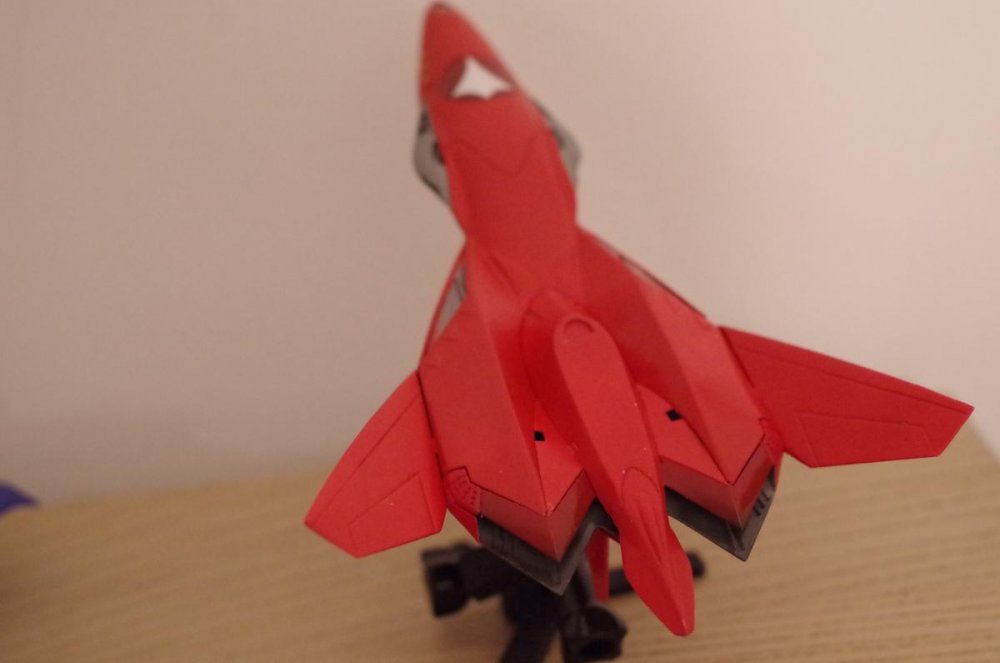
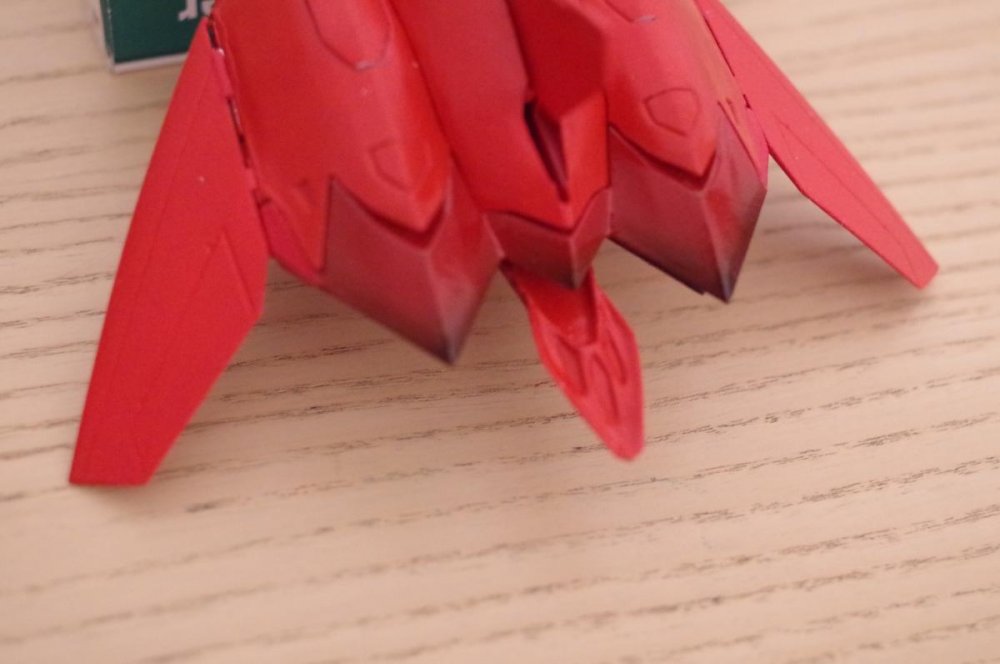
Hey Wmkjr, your ghost is getting some character with these black accents! Looking really great! I have received the painted Ghosts today, and assembled one to take a few pictures of it. 1) The plastic parts that hold the landing gear need some sanding and cutting to fit. Be careful with them when working them: Work slowly, step by step when adjusting! In particular the front plastic part that is a lot off the perfect dims. I don't know why, probably because the resin recesses more than 3D printing when curing. 2) the paint is not super high quality, and have some defaults: it cannot be compared to a Bandai DX or Yamato painting jobs. But I am really happy with them and I think they really worth it. I will let you judge them by yourself: Last picts to show that the rear reactors have been emphasized with a slight darker red than the rest of the body.
-
You are welcome to post here! I love your progress so far
-
You are talented!
-
Thank you for the tips, gonna rethink this custom
-
Love the boosters! That reminds me that I got the 1/60 boosters in my todo list.
- 8173 replies
-
- toys
- collectors
-
(and 22 more)
Tagged with:
-
I hope it will work! Anyway I also put a 4x version if it can help being a compromise. 4x set: https://www.shapeways.com/product/F9ZNA2QNL/clear-canopy-4x
-
I like this color too! I had a hard time to decide which one between TS-8 and TS-85. Also, i am sorry for the breakage of your clear part, but fortunately for you, the FUD material can be glued back together with 'Power Glue', it will be just like as new. I highly recommend this method. As an alternative, I have also put the part available on Shapeways, but you will have to sand it all the way again... I order them by 12x to reduce price, but it will be too much if you need only 1, so I put also a single canopy, but expensive though. Anyway it doesn't bother me to put both options. (You got 15% off on FUD orders this weekend) single: http://www.shapeways.com/product/7JD5XR4E6/clear-canopy-fud-v5?optionId=59292022 12x pack: http://www.shapeways.com/product/N5AFAHF5H/clear-canopies-v5-12x?optionId=59292112
-
Condolences for your old man. Did you only paint the Minmay VF-1 or have you used some stickers? The incoming Arcadia VF-1S just remind me how bad I want a Minmay guard custom!
-
You can put me in for a special wing! The resin got my curiosity and additionally the low visibility drone could benefit of the white base color
-
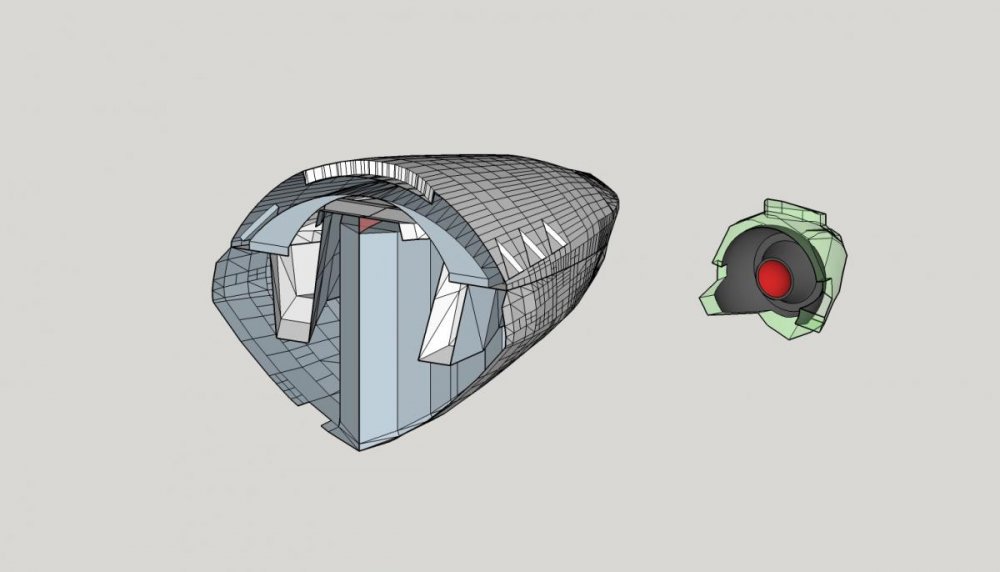
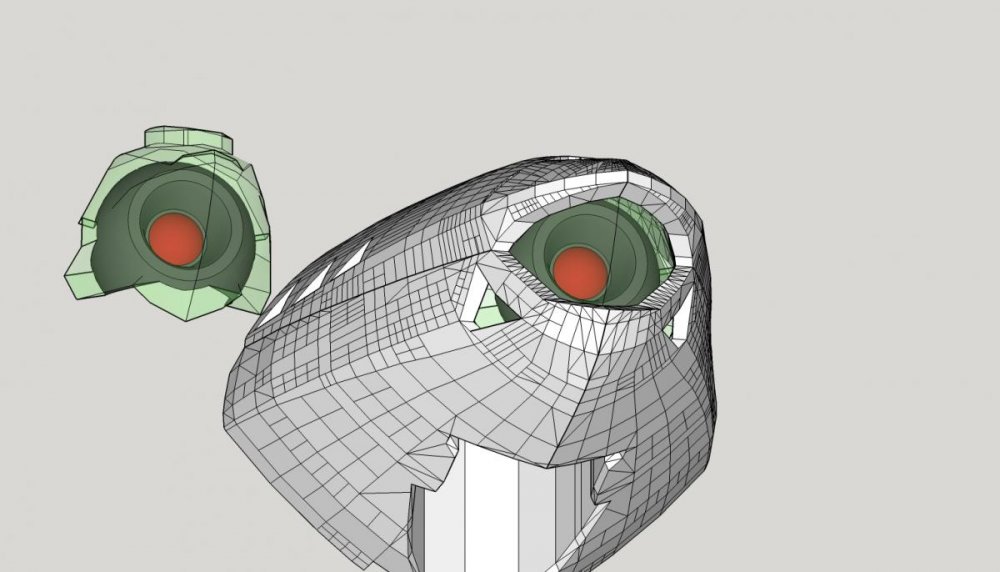
That's a pleasure! For enamel paint, sound pretty safe. The painted ghosts are using Tamyia TS spray which is supposedly "hotter" than enamel. The color chart is quiete simple, the main body use Mica red (TS-85 sprayed in a can then airbrushed), 5 canons in Gun metal + some black brushing, all the inside such as landing gears, missile bay is white. At the rear, the reactors have been tricky. I will have a few pictures soon to show the result! Looking really nice with its deadly friends Can't wait to see the built too! Everything is perfectly right, don't worry. The clear parts are exactly as you described them, clear on the visible outside areas: easy to refined with sanding/tooth paste brushing etc. Apply a gloss coat when satisfied with the finish. The interior is cloudy, and a simple gloss coat should make it less cloudy. But you don't really need to worry as this side is supposed to be painted so it represents the details of the eye. See ? Let me know

