-
Posts
2607 -
Joined
-
Last visited
Content Type
Profiles
Forums
Events
Gallery
Everything posted by Xigfrid
-
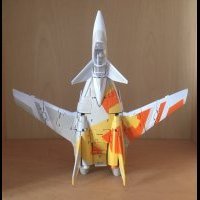
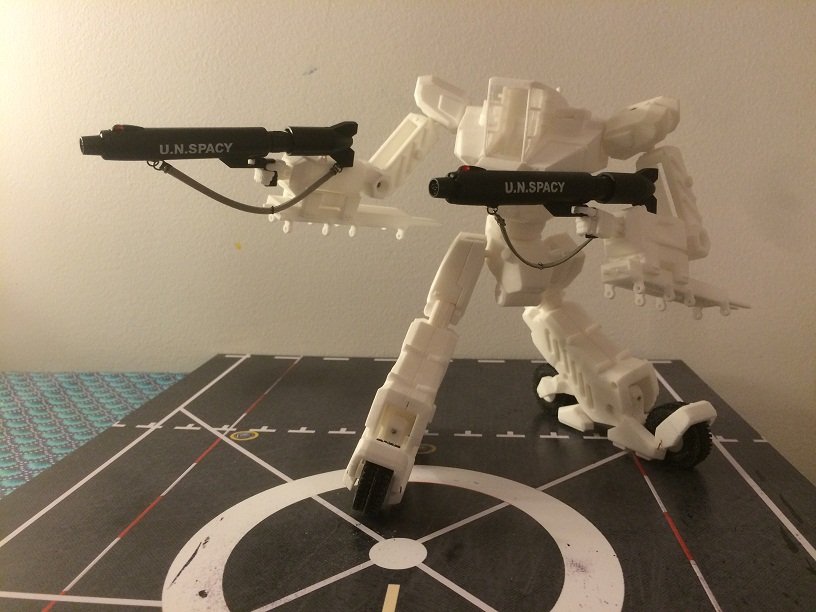
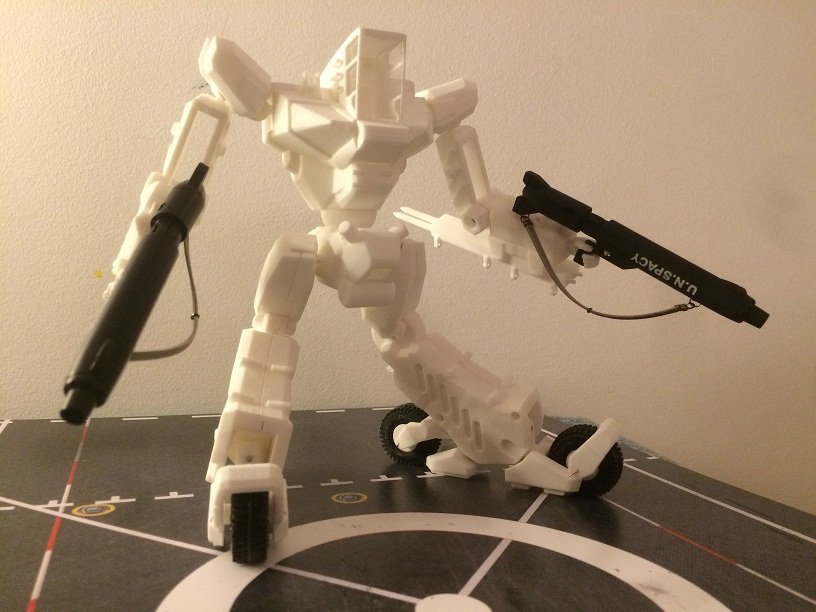
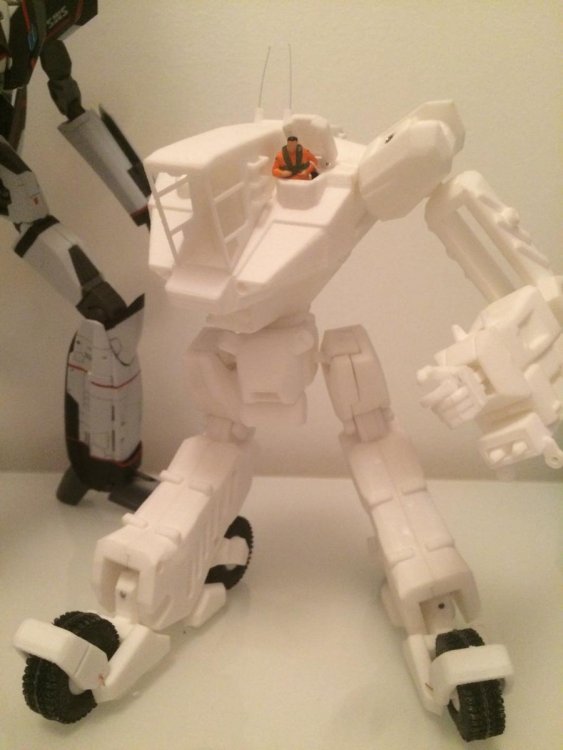
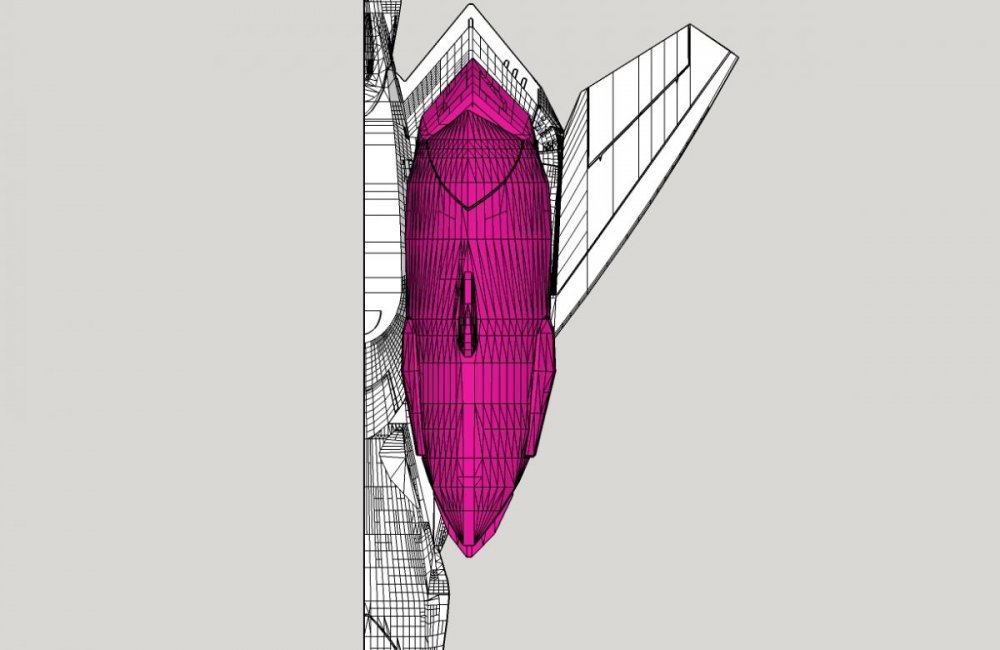
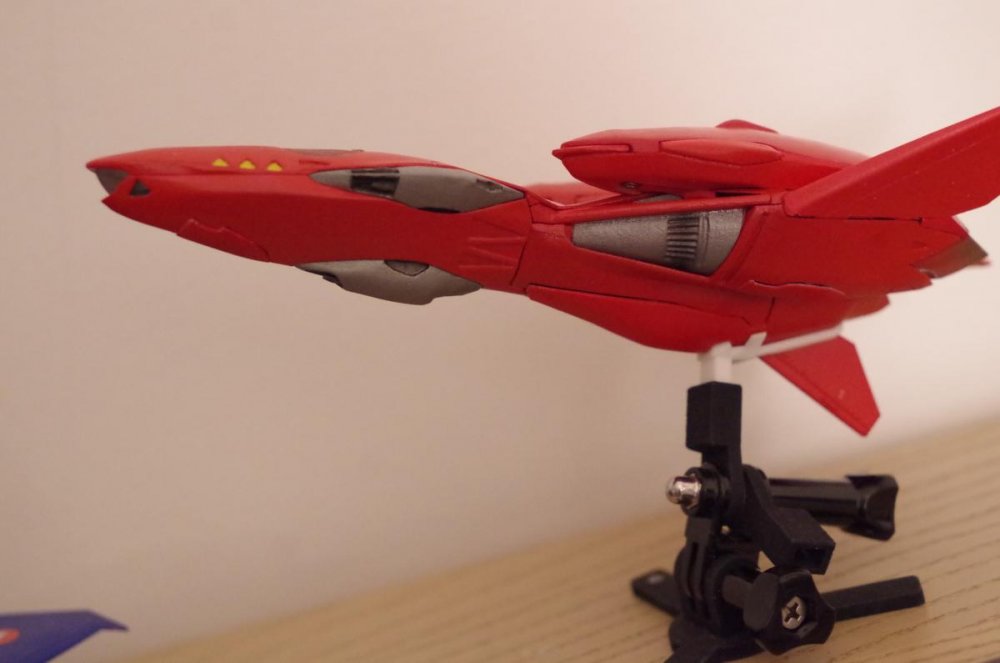
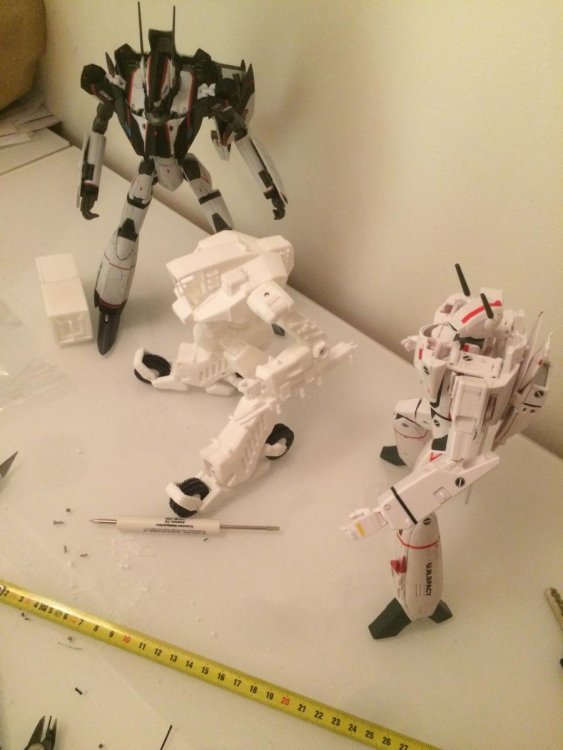
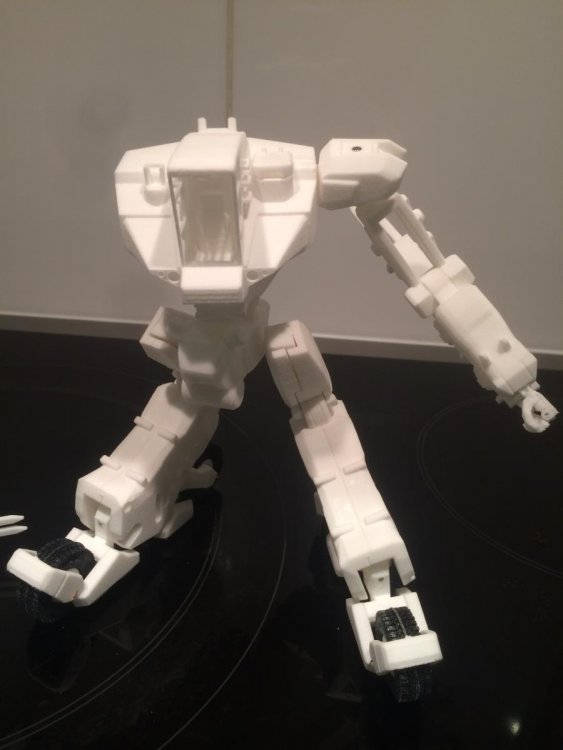
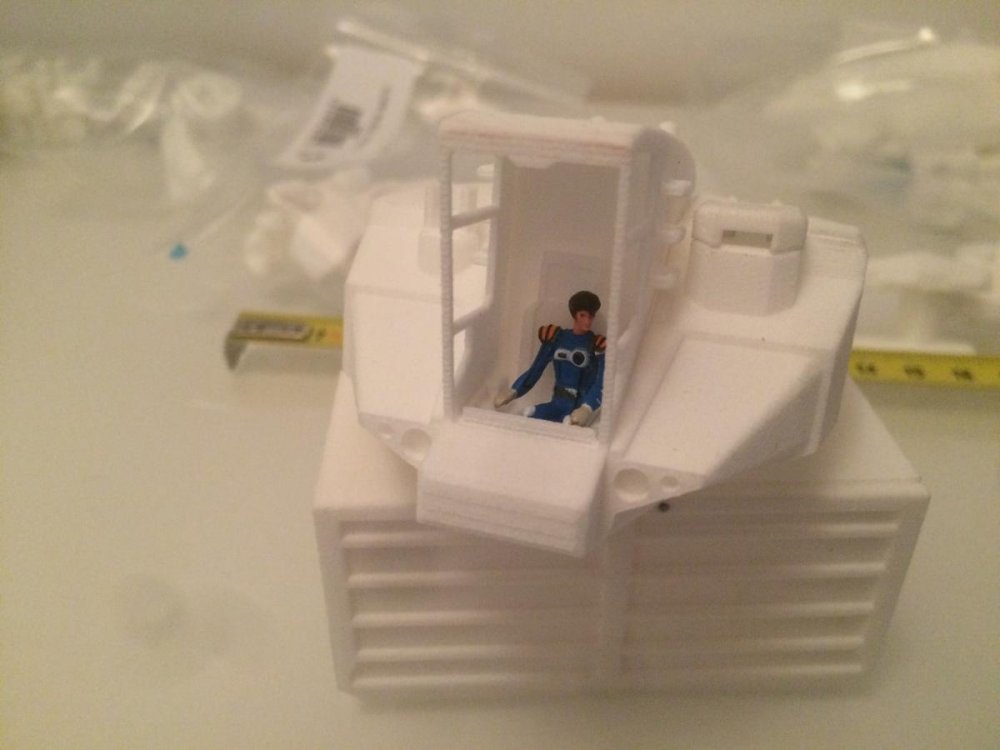
I have used mostly screenshots from the TV show ep01 mixed with a bit of the Cheyenne II line art. Thankfully there are very few complicated curves and most surfaces were flat. Designing it was very funny, specially because I tried to make the articulations sturdier than standard ones found in toys. This is some sort of test shot for the coming larger Vajra.
-
It looks so easy ... amazing skills really!
-
Great job derex, how do you chip out the paint ? I will probably try at some point to do the same on the Workroid. I plan to use the salt technique but if you got a much easier one, I would be glad to try it.
-
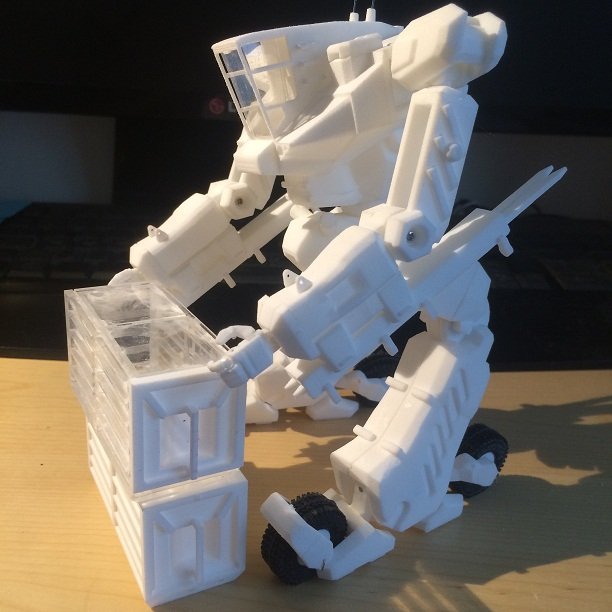
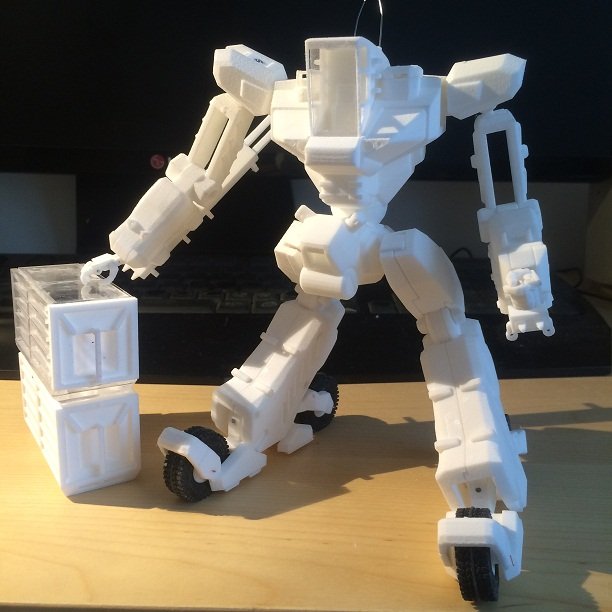
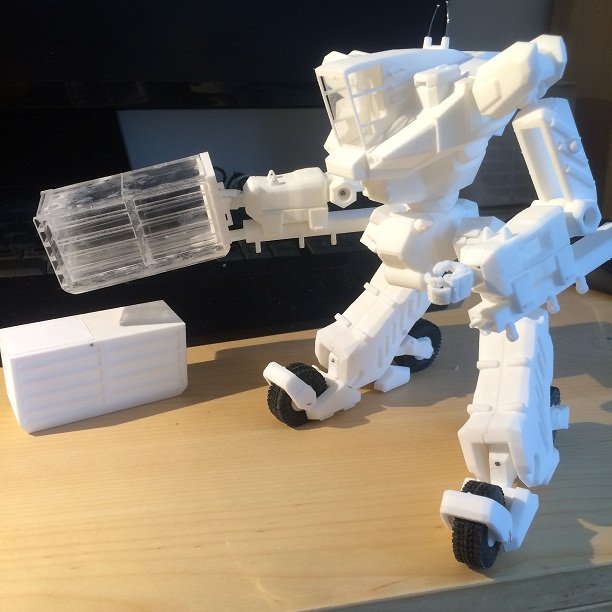
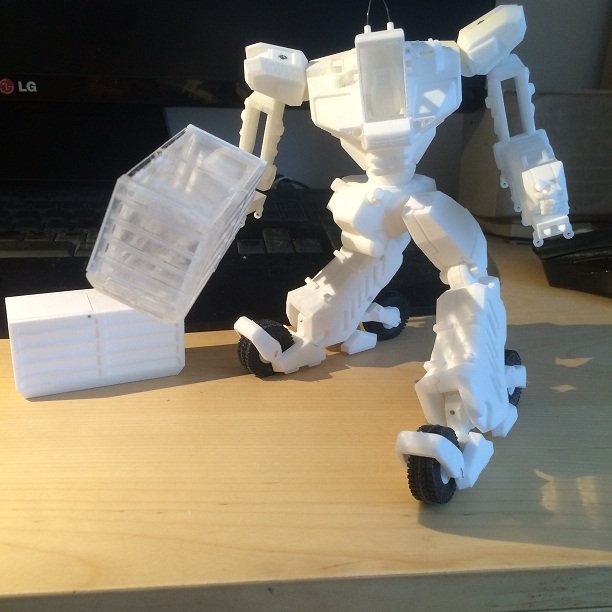
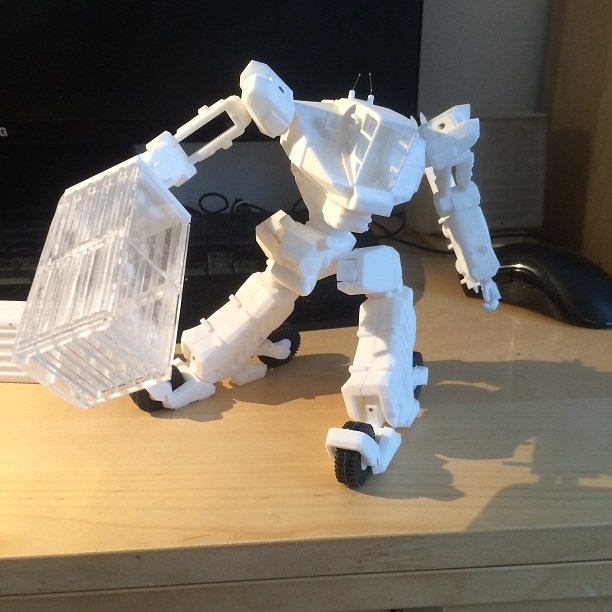
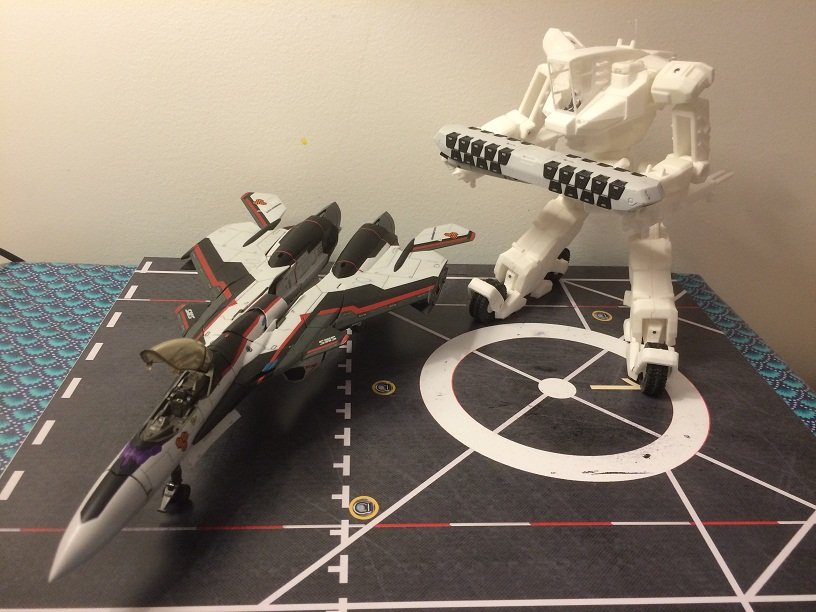
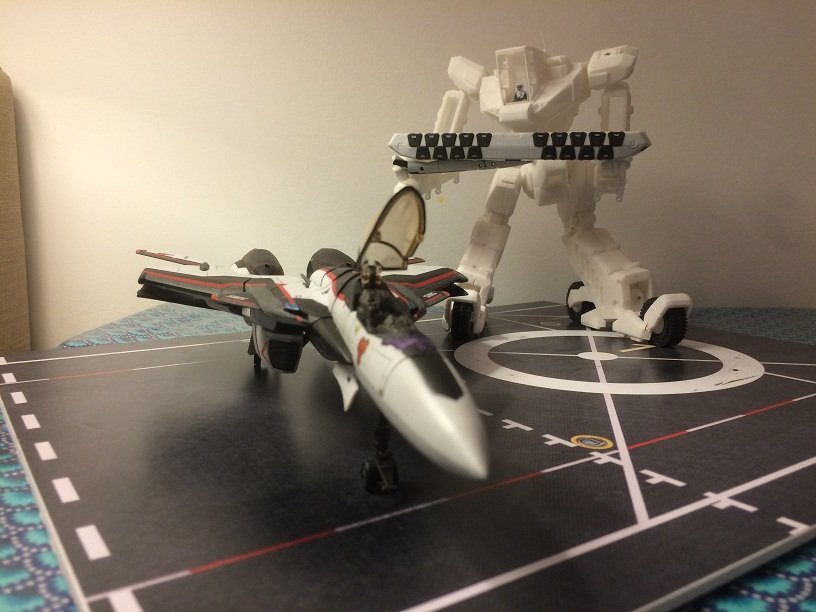
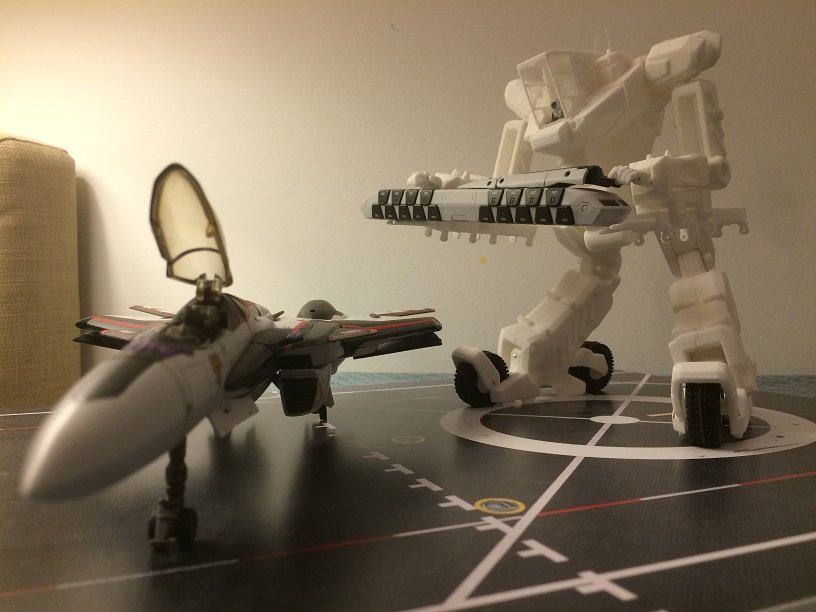
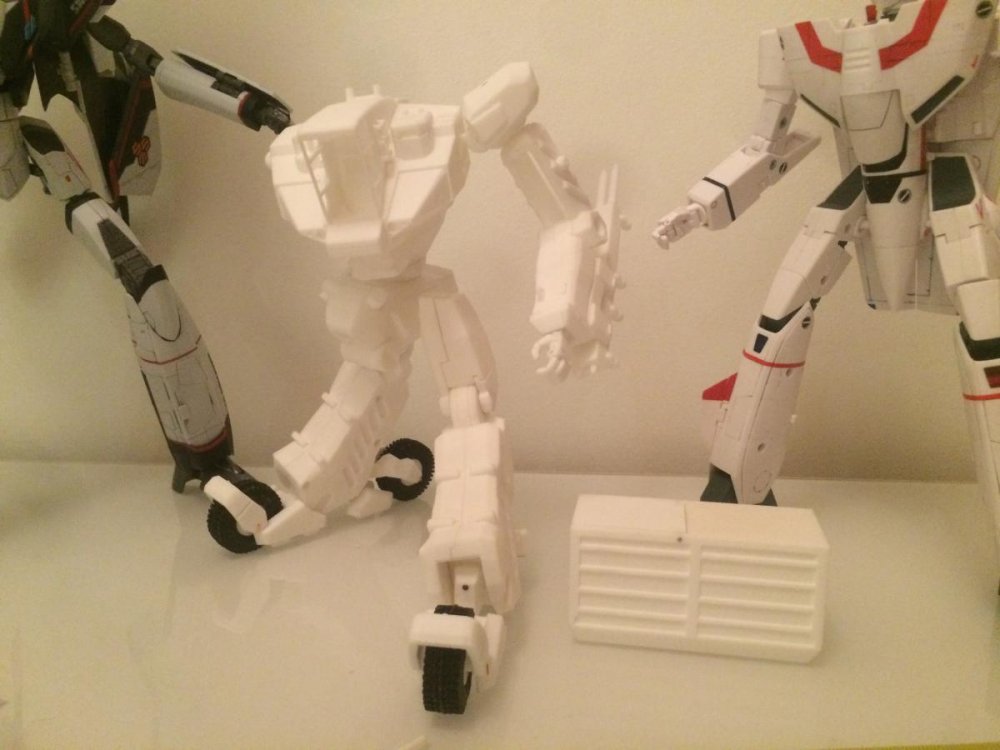
Speaking of it, I received the missing parts: shoulder, new front arm and decided on the paints: Tamiya spray TS-47 for the yellow and TS-38 gun metal for the grey parts. I will probably make use of different shade of primer (white or grey) to obtain the light and darker grey areas. I haven't assembled the hydraulic cylinders in the feet and hands because they would be a pain to remove before painting, I will keep them for the last moment. This workroid can do so much ! Handling cargos: Loading a VF-30 or VF-31: Fighting and... even replacing a Cheyenne!
-
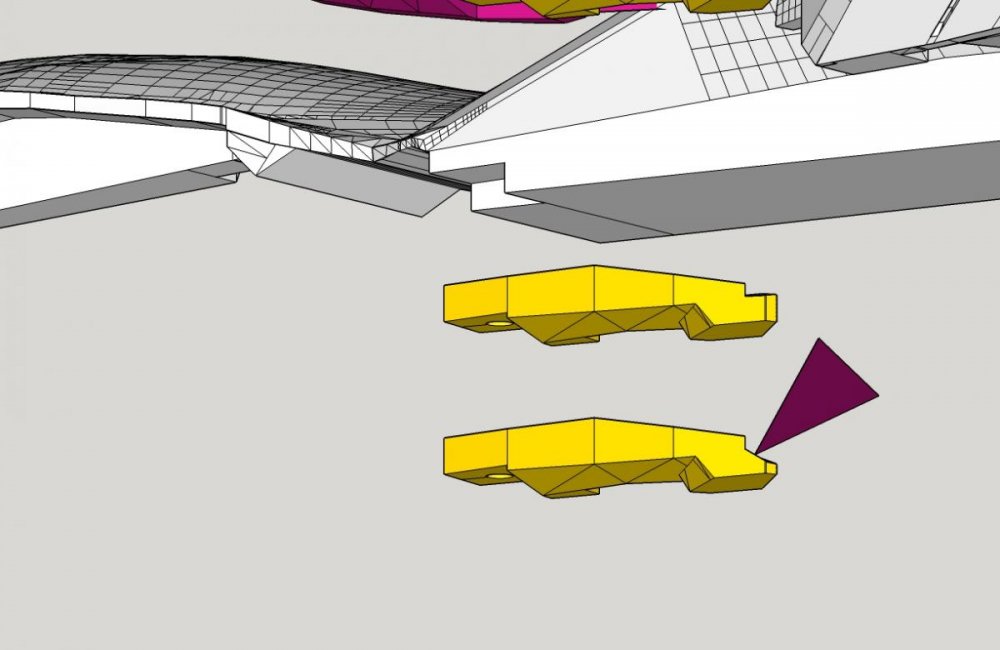
Received the new pylons today and I tested them quickly. They are much better now, perhaps a little too tight: I had to slightly sand the peg before inserting it into the armor part. Axelay leave me your address in PM so I can send you one FOC.
-
You MUST make a video of that happens!
-
Really nice from you to open a thread on this matter. I have a specific setup in mind for some time, perhaps it has already been done. I would like to make lightings for 3D printed parts, I imagined it could be done very easily by making pre-drilled holes in the models into which you can pass the optical fiber. Making this way allows the system to pass the fibers from a center point to any other position in the model, even through articulations. It needs several color light generators I presume. How small can be the control device, including batteries? How do we solder the fibers etc? Perhaps there is somewhere a tutorial for that specific setup?
-
Hi derex, your ghost is a real beast: the paint matches perfectly the official toys. Did you apply the belly decals ?
-
Yeah, thank you everyone for the patience. If it can helps, I believe this kit is going to be a Macross Plus beauty. In a way, I tend to prefer the Training drone lines over the Ghost-X9...The curves reminds me the Boeing 747 and seems almost pacifist where the Ghost is much aggressive.
-
Are you working with perspective camera? Or is it just for the screenshot? It is so much easier to trace lines with the orthogonal view, you should try it if you dont
-
I will be looking to your build!
-
Glad that you like it! I will soon receive the missing parts, until this moment I will swoosh it around and make some dynamic/ 1-handed poses!
-
After this review, I placed an order just to make sure that your sample was not a default. I just received it and as you said, it is a too far "OFF" the original dimensions. I have removed it from my shop until I fix the design. 1) The main tab needs to be enlarge and slightly recut= Easy fix. 2) The pylon extremities need to be angled a bit more, and to make it right that would some take time because I don't want others to test a faulty design. As soon as I fix the design and tested it I will make the model available again in my shop
-
Thank you guys! Concerning the Cheyenne, this Workroid shares a LOT of common parts with the Cheyenne. I made the design so that it is possible to upgrade the Workroid into a Cheyenne. -replacement of the current head part + reactor in the back -arms replacement -shoulders upgrades -feet upgrades But, I am not so into the Cheyenne compared to the Workroid right now (I loved so much the Workroid since its first apparition in Macross Delta ep01!) so I don't have plans to design these parts for the moment. Perhaps once I got this Workroid painted and buffed, who knows!
-
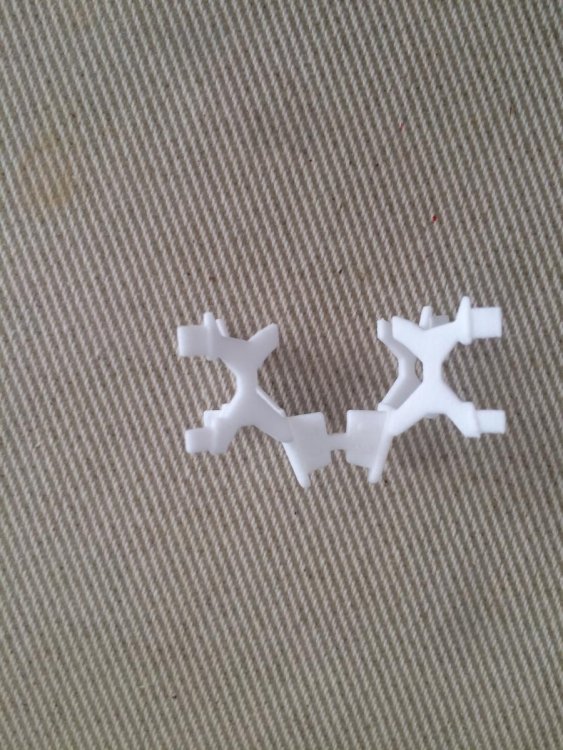
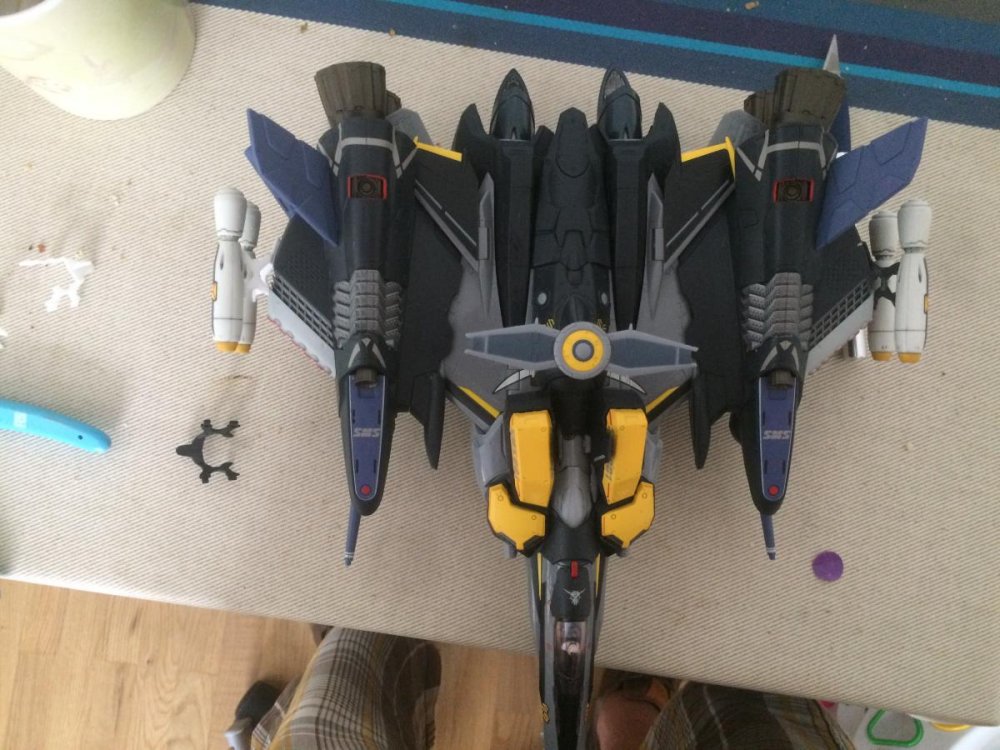
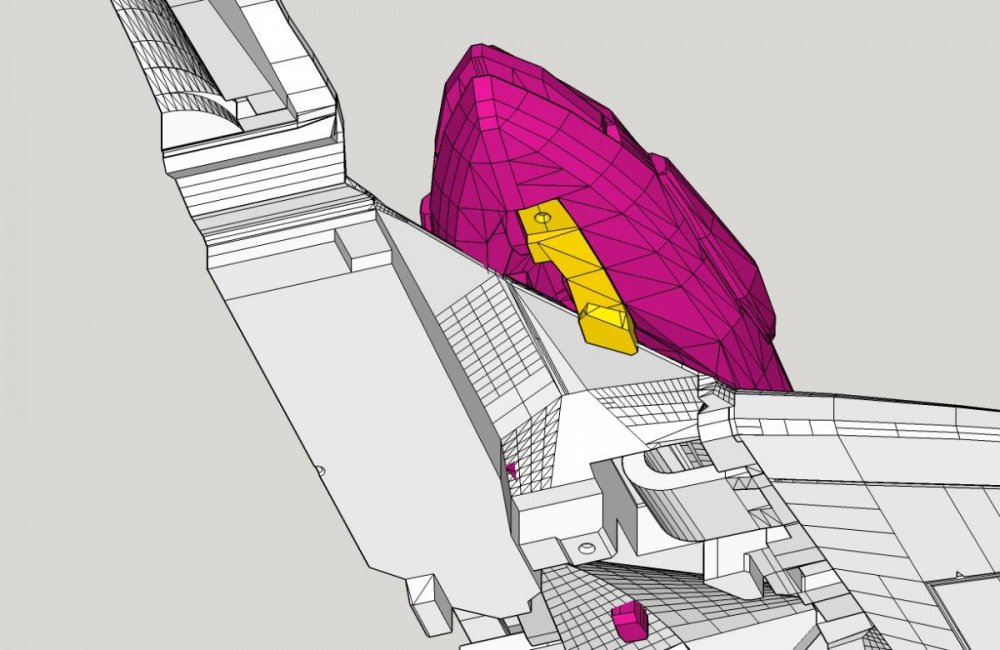
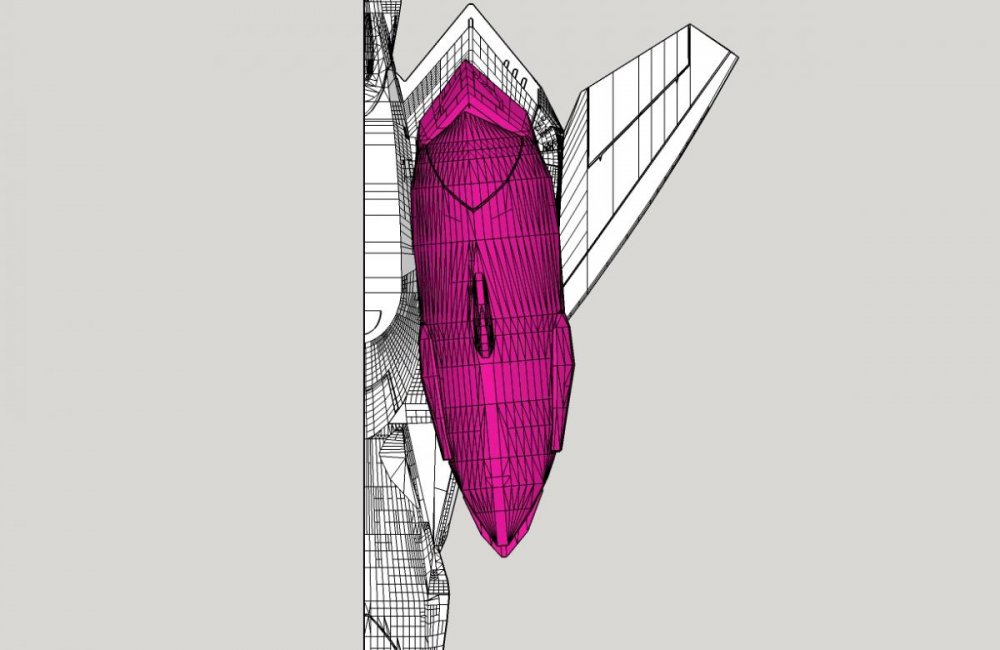
Seeing this part, it reminds me that I use to sand a bit the inner part of the "plastic" part. Please check the "sanding.jpg" Apart from that, everything look good. To insert the Supers, I usually begin to insert the front portion, with plastic part first on the angle of the air intake. Then I insert the rear hook into the hole, I use a flat screw to check that the hook get inside the reactors thruster correctly. illustrated as below: STEP 1 STEP 2
-
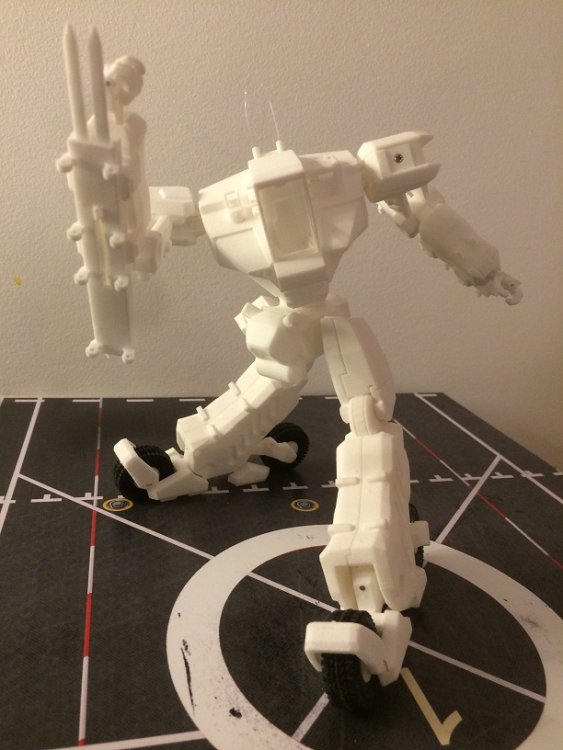
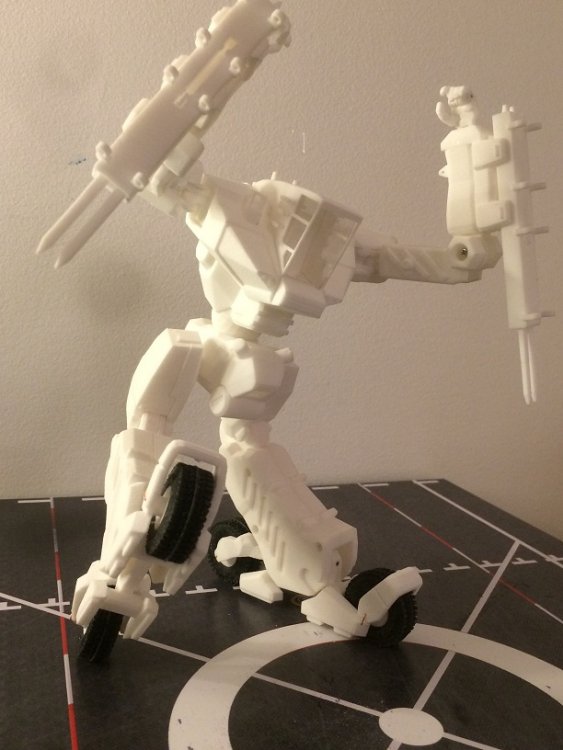
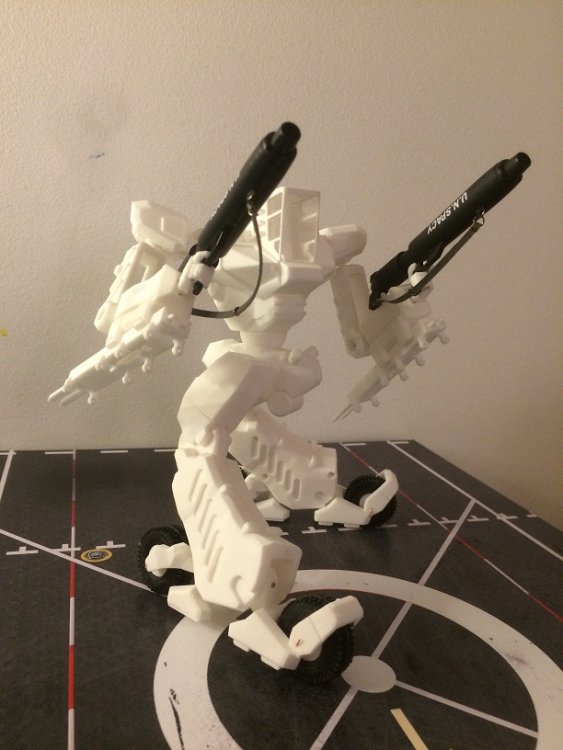
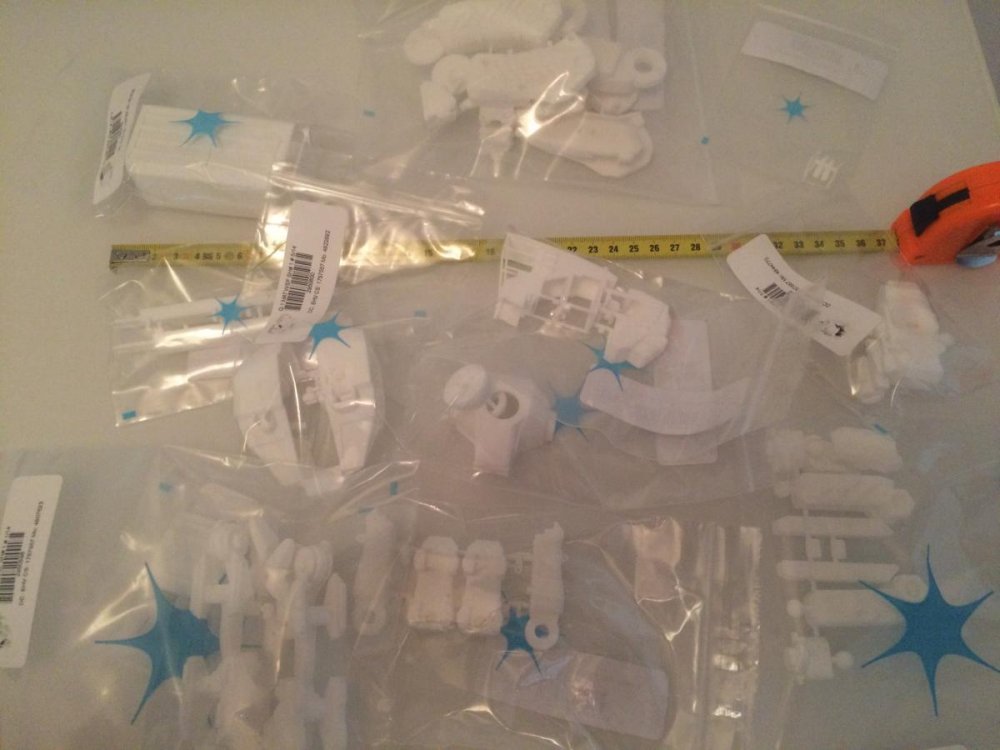
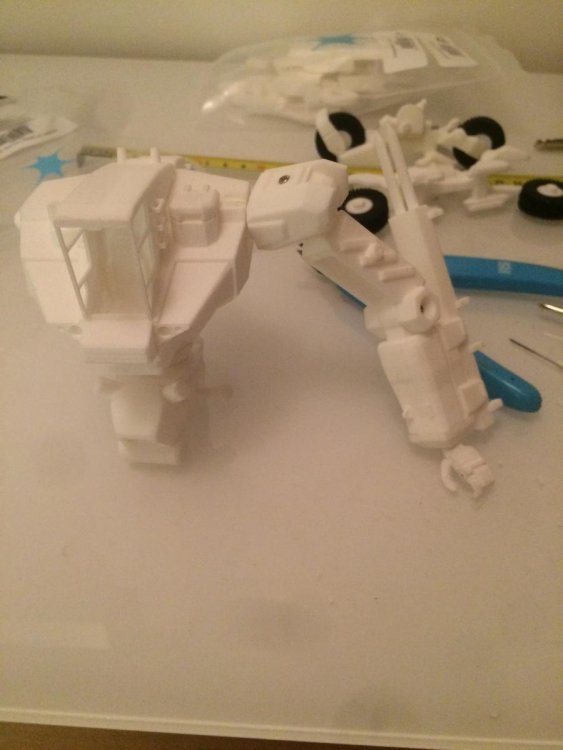
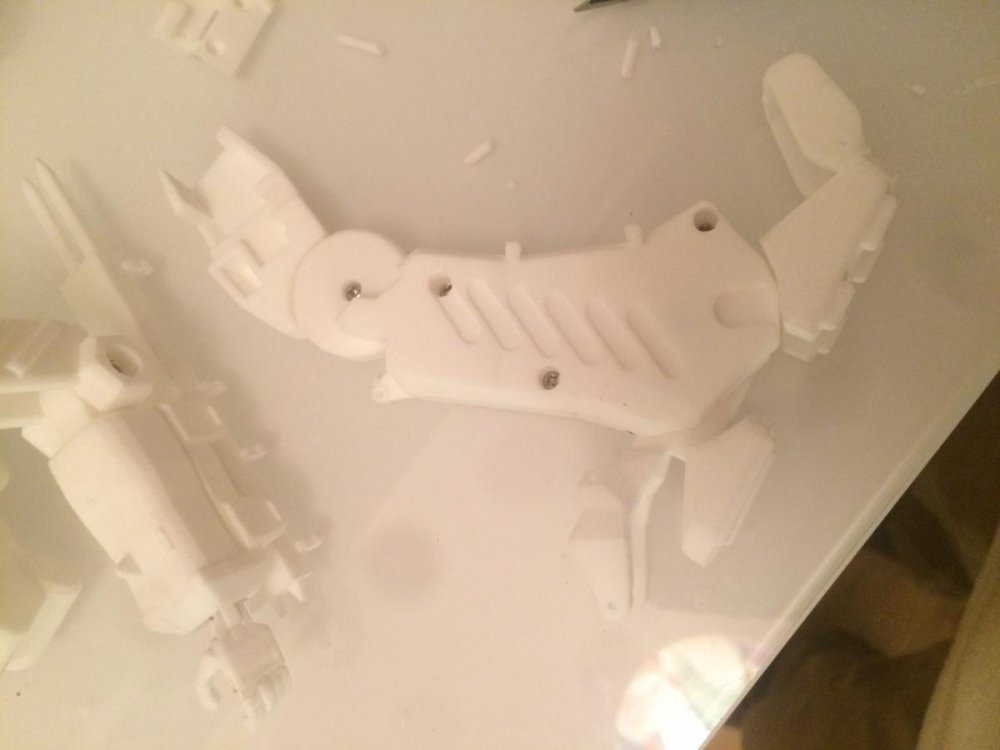
Unfortunately at this point I realized that a shoulder is missing, so it is uncompleted. Next steps: 1) I got to get the missing parts asap 2) assemble the hydraulic cylinders that reinforce the hands and feet articulations (2 caps are missing together with the shoulder) so I can't attach them 3) Priming, sanding x3 times before 4) Painting
-
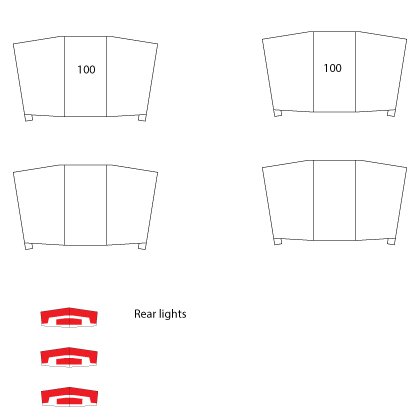
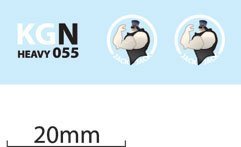
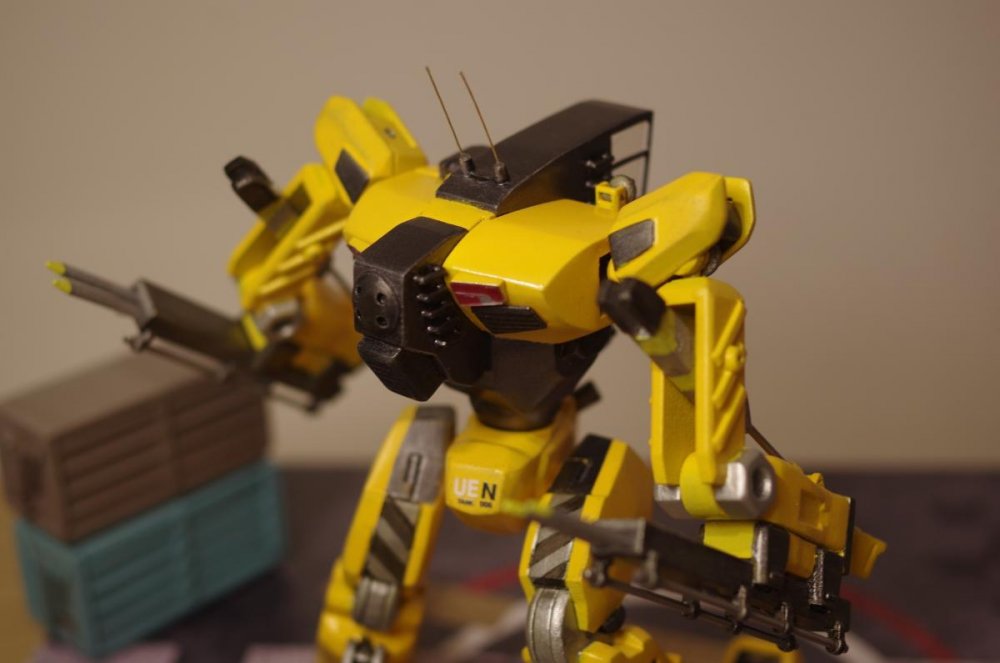
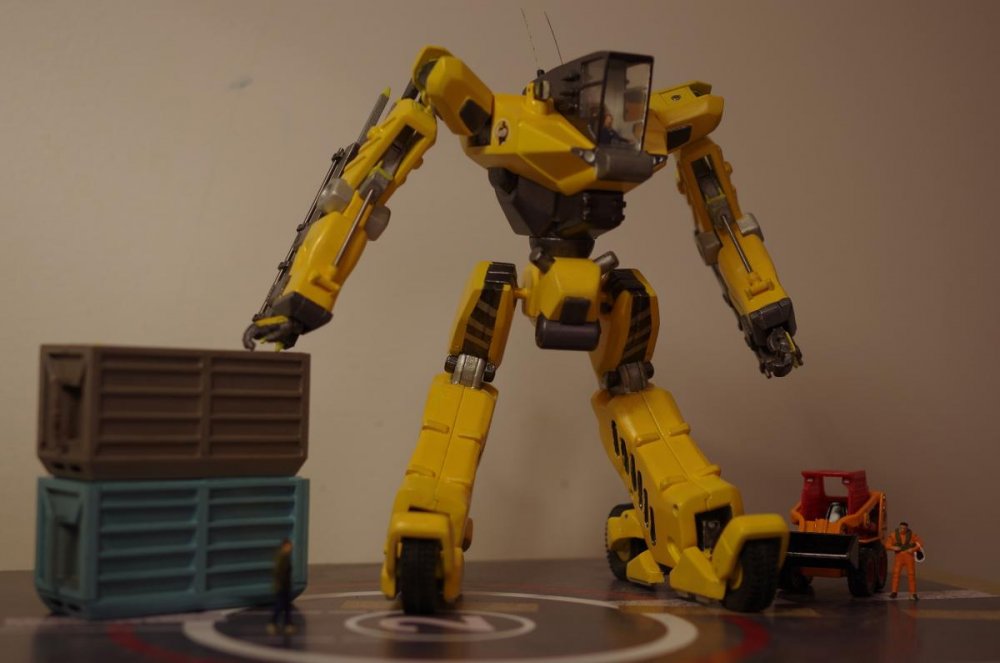
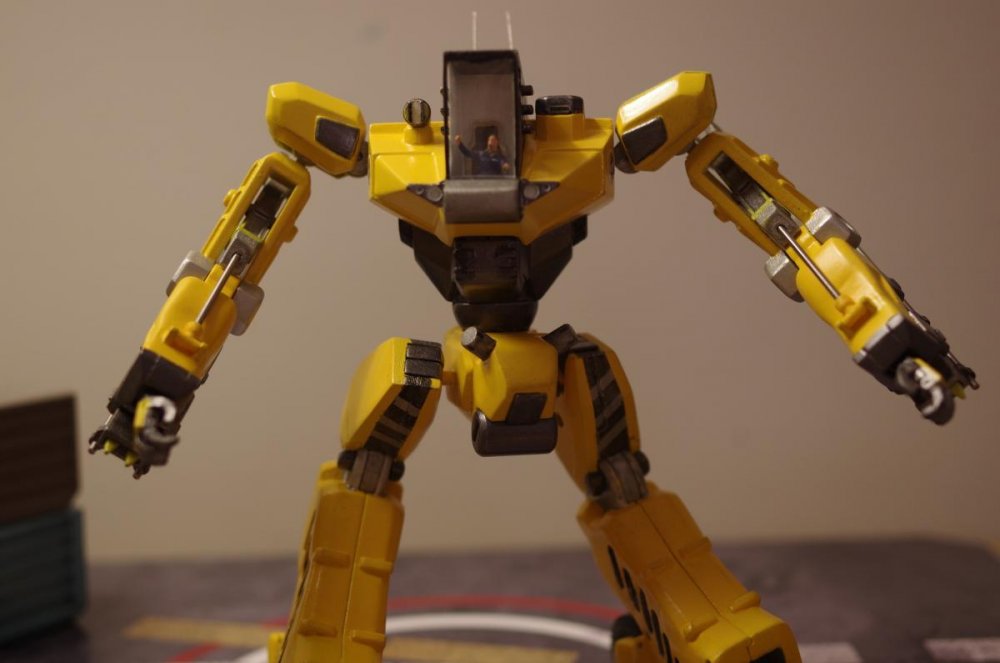
Latest update: -22th September 2016 First of all the Shapeways link to the 3D parts that can be bought: https://www.shapeways.com/shops/xigfrid3dshop?section=Workroid+1%3A60&s=0 Assembly Manual : https://drive.google.com/file/d/1B3OYMny22O9Qw7F6KAJ55-vc2wA2ZXuu/view?usp=sharing RUBBER TIRES: I made the wheels in 2 parts, one the center of the wheel in WSF plastic, the tires however were bought from a chinese RC car supplier. You can get all 4 tires for 6 USD here: http://www.banggood.com/Orlandoo-F150-OH35P01-KIT-Parts-Tire-Skin-4PCS-GA1001-p-985256.html Another rubber tires model: http://www.banggood.com/Orlandoo-F150-OH35P01-KIT-Parts-Tire-Skin-4PCS-GA1002-p-985260.html PAINTING: I have used Tamiya spray paint: TS-47 (Color code "Chrome Yellow") as a color base, Tamiya spray paint TS-38 (Color code "Gun Metal") for the dark/black aeras and Aluminum/Steel Acrylic Spray from Humbrol. I used black enamel paint to wash over the Aluminum and Gun Metal areas to give a great metallic finish. METAL PARTS: You will need approx 50cm of steel rod diameter 1.8mm for the arms detailling, the feet axis and the arms&feet cylinders. Also approx. 50cm of steel rod diameter 1mm for all the moving axis. SCREWS: I have used only one type of screw: round-head screws M1.7 x 6mm (such as: http://www.ebay.com/itm/M1-2-M1-4-M1-7-M2-M3-M4-M5-M6-304-Stainless-Pan-Head-Phil-Self-tapping-Screws-/171984976102?var=&hash=item6da215437f TRANSPARENT PARTS: you will also need this pdf file to cut the canopy and the rear light shapes from a transparent sheet: https://drive.google.com/file/d/0B5ZYBiTIPlbOcmZBX2gwVFVrOXM/view?usp=sharing STICKERS: I have used basic letter/number from water decals for the lettering on the Workroid, but I had to make the "Muscle Man". Here is the pdf file: https://drive.google.com/file/d/0B5ZYBiTIPlbOWmxhU2czV0ZNbU0/view?usp=sharing Pictures of completed project.

