
Xigfrid
-
Posts
2607 -
Joined
-
Last visited
Content Type
Profiles
Forums
Events
Gallery
Posts posted by Xigfrid
-
-
By the way, how do you create the sketchup 3D file ?
Do you use the 3-view drawing as reference ?
3-view is a must: it can prevent you to go off the dimensions or guide you to the perfect curves. Unfortunately there is no schematics for the for the Workroid so I had to make one from scratch.
-
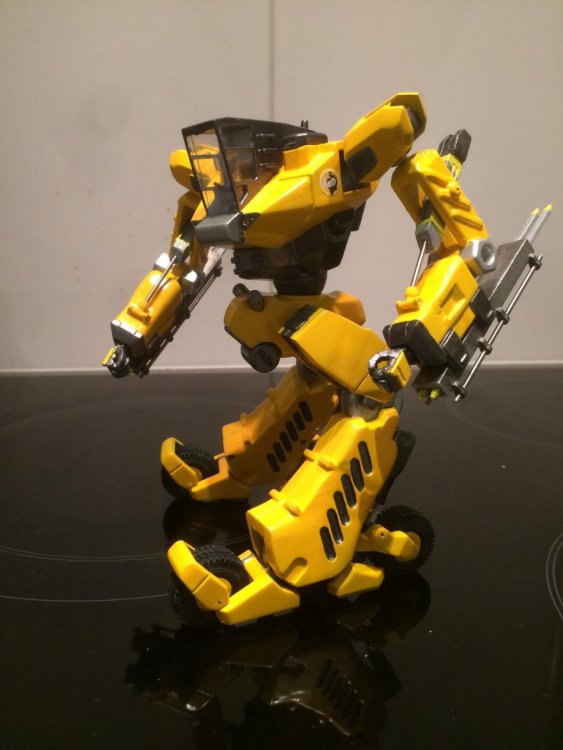
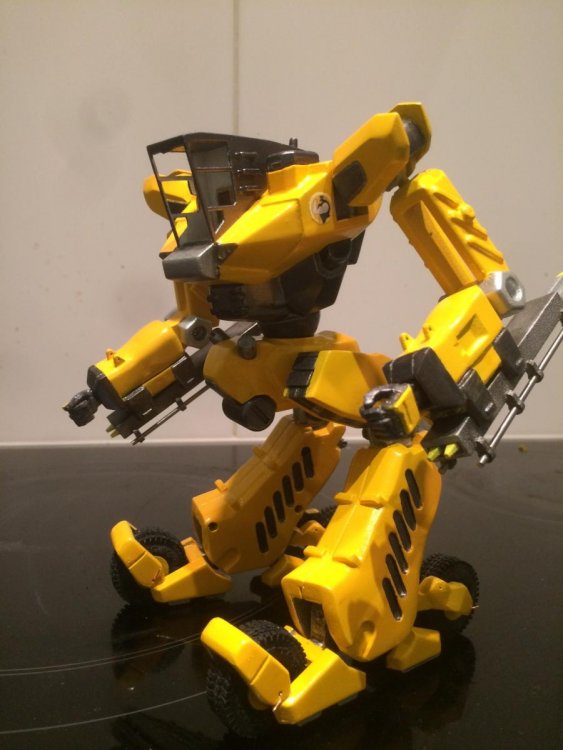
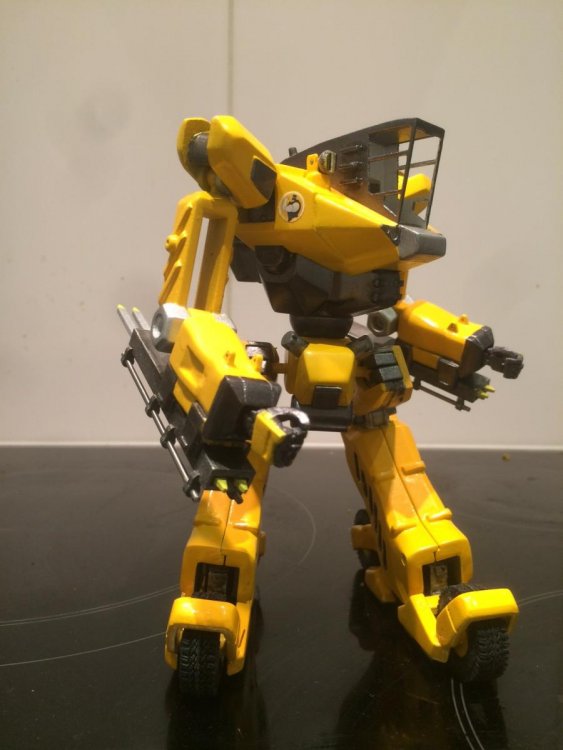
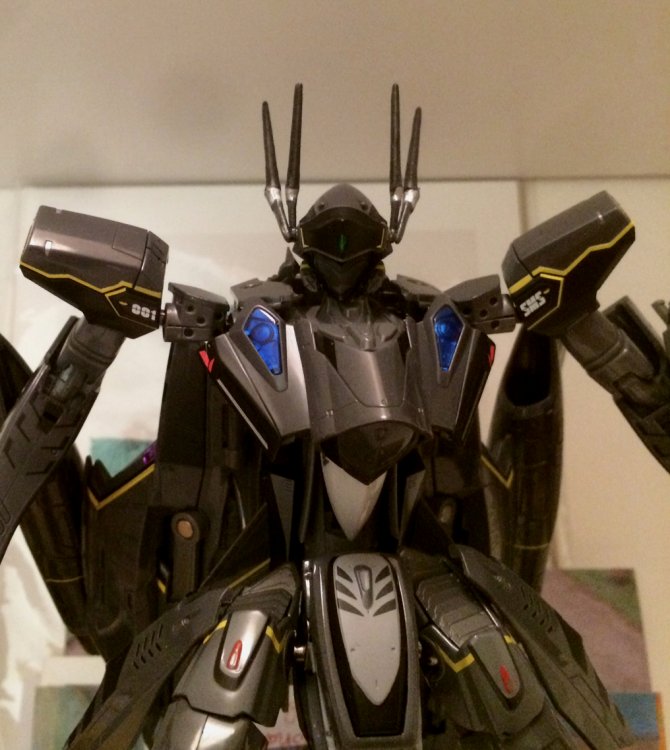
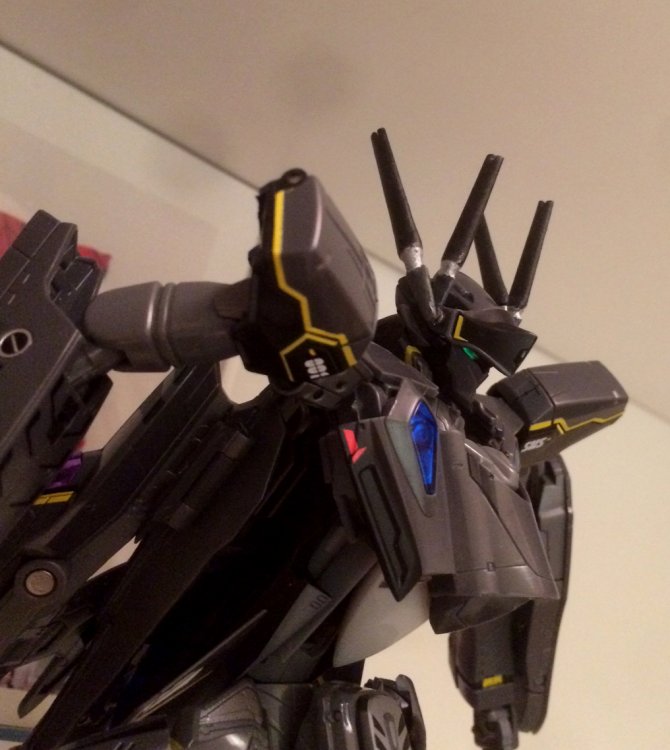
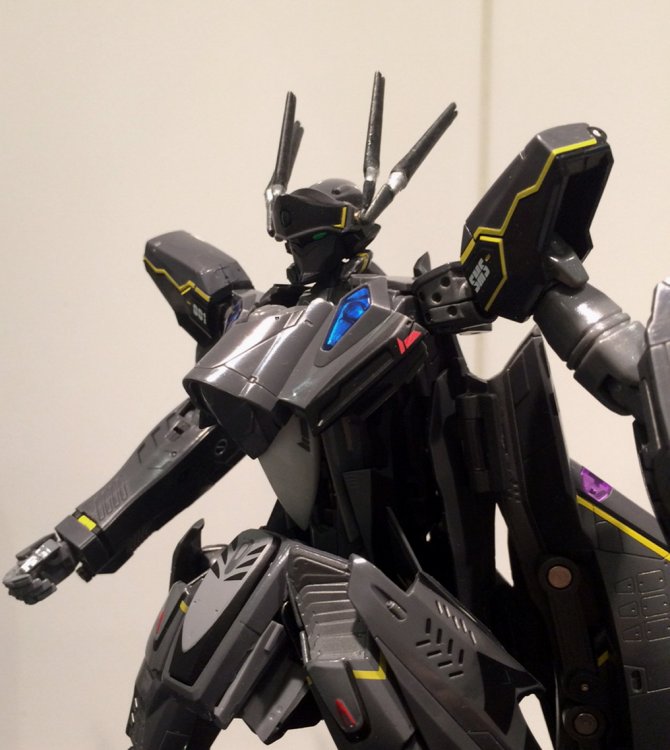
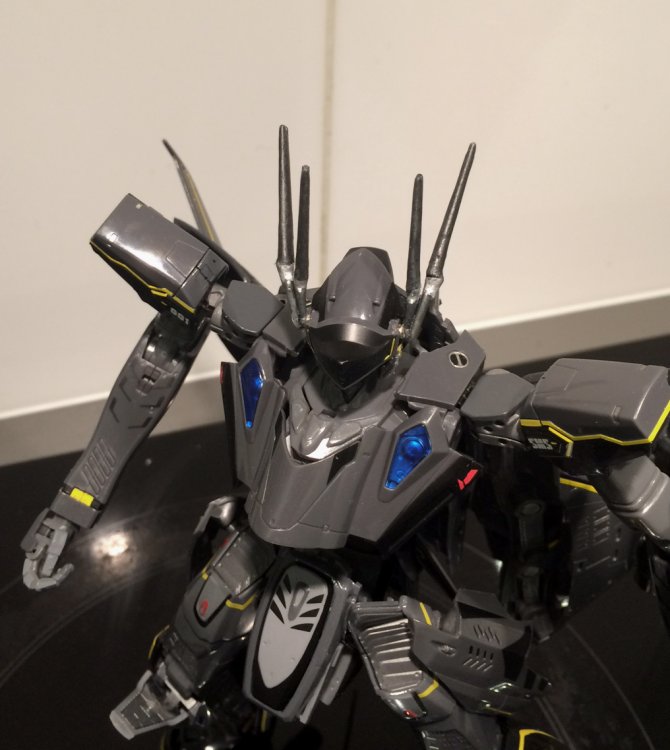
I must say thank to all the great comments and encouragement posts.
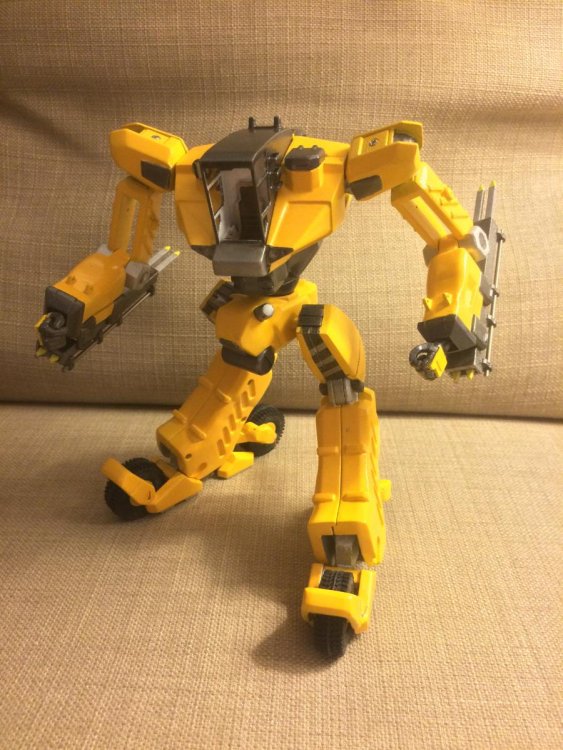
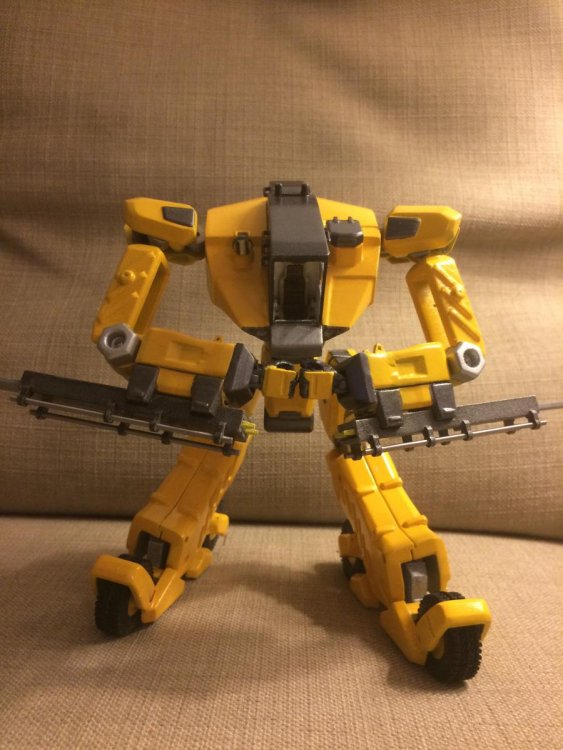
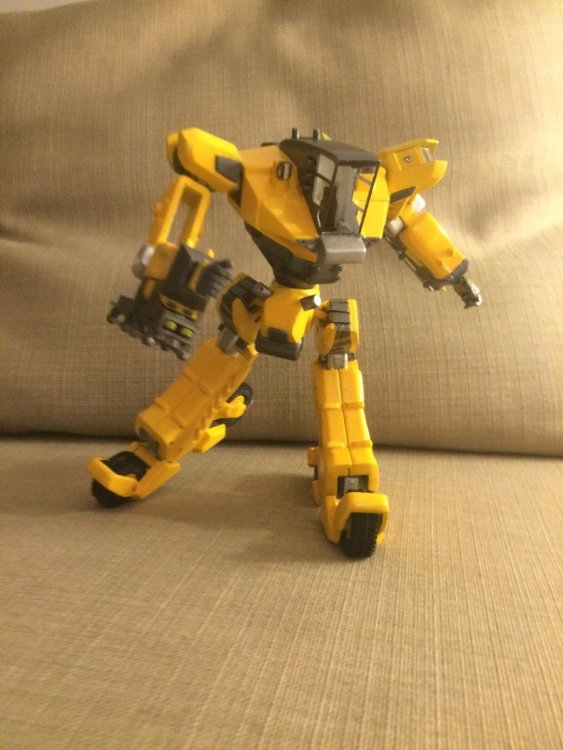
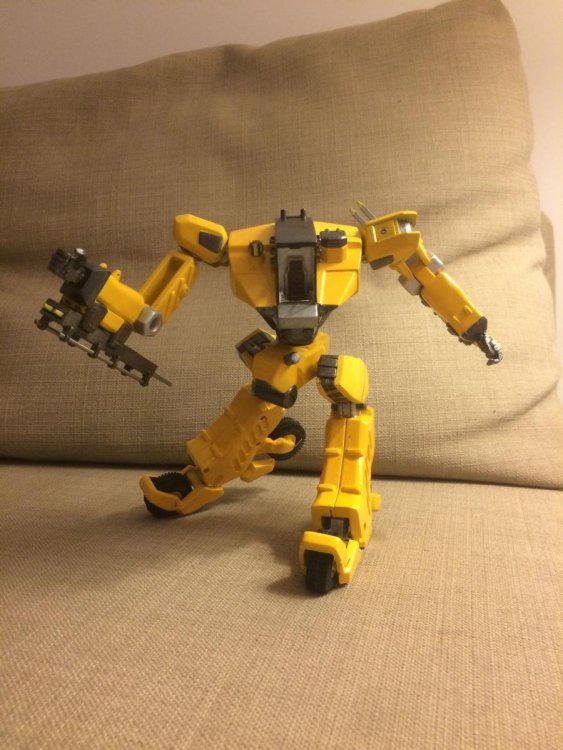
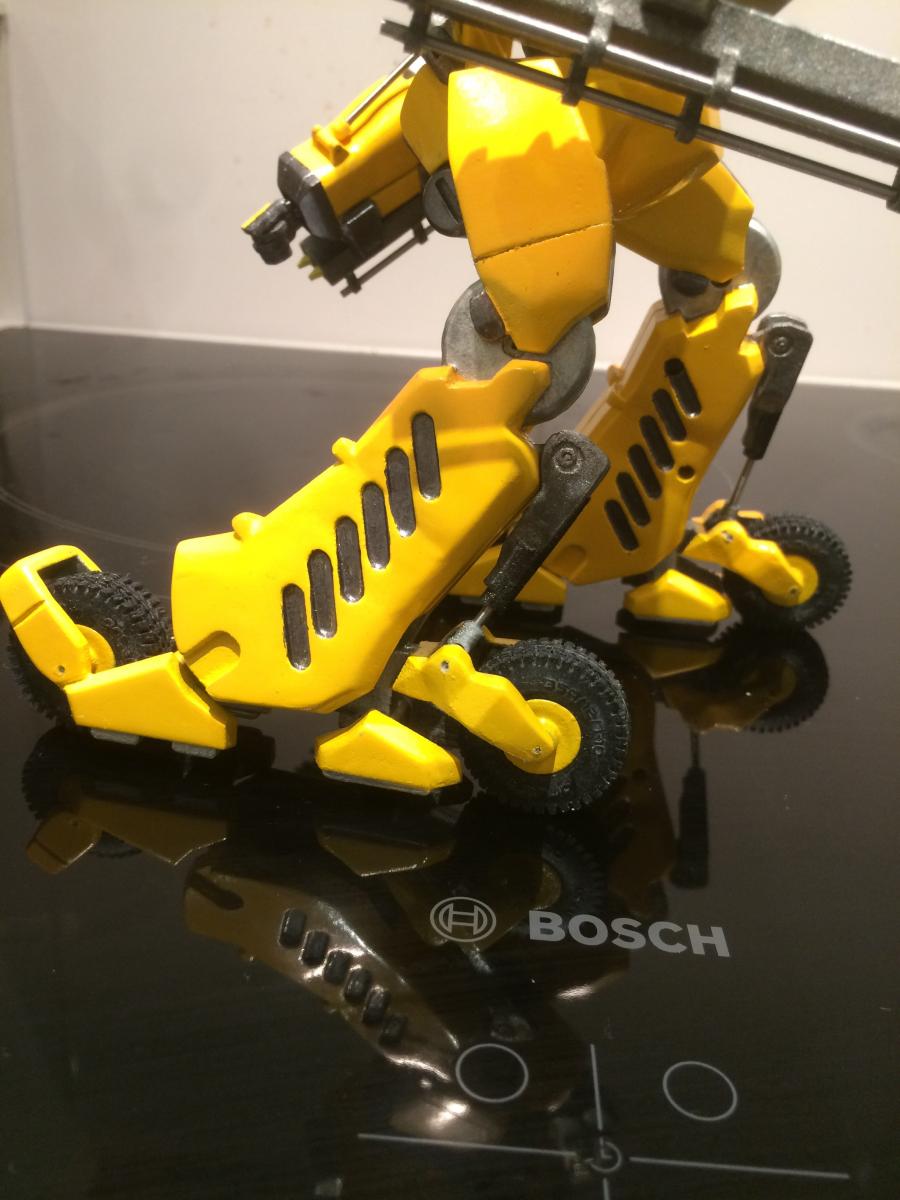
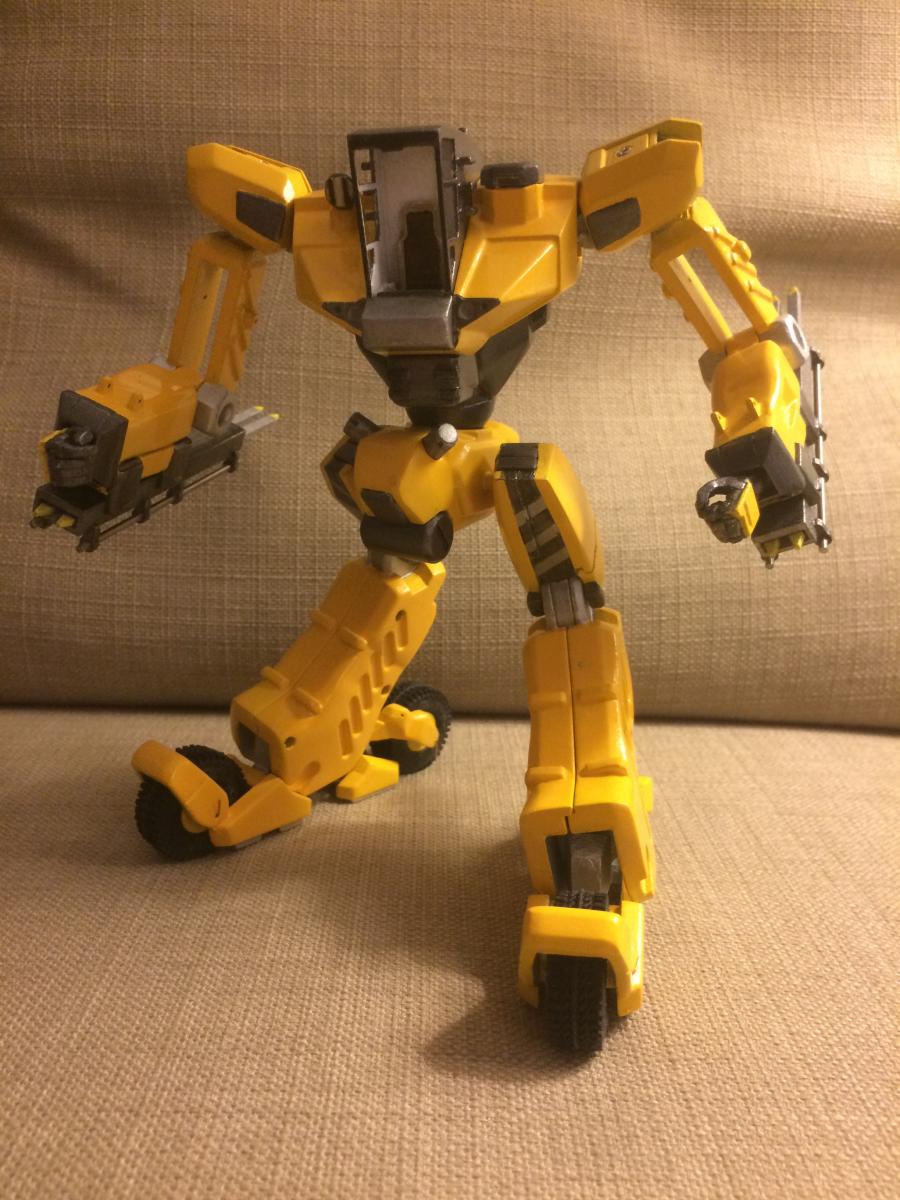
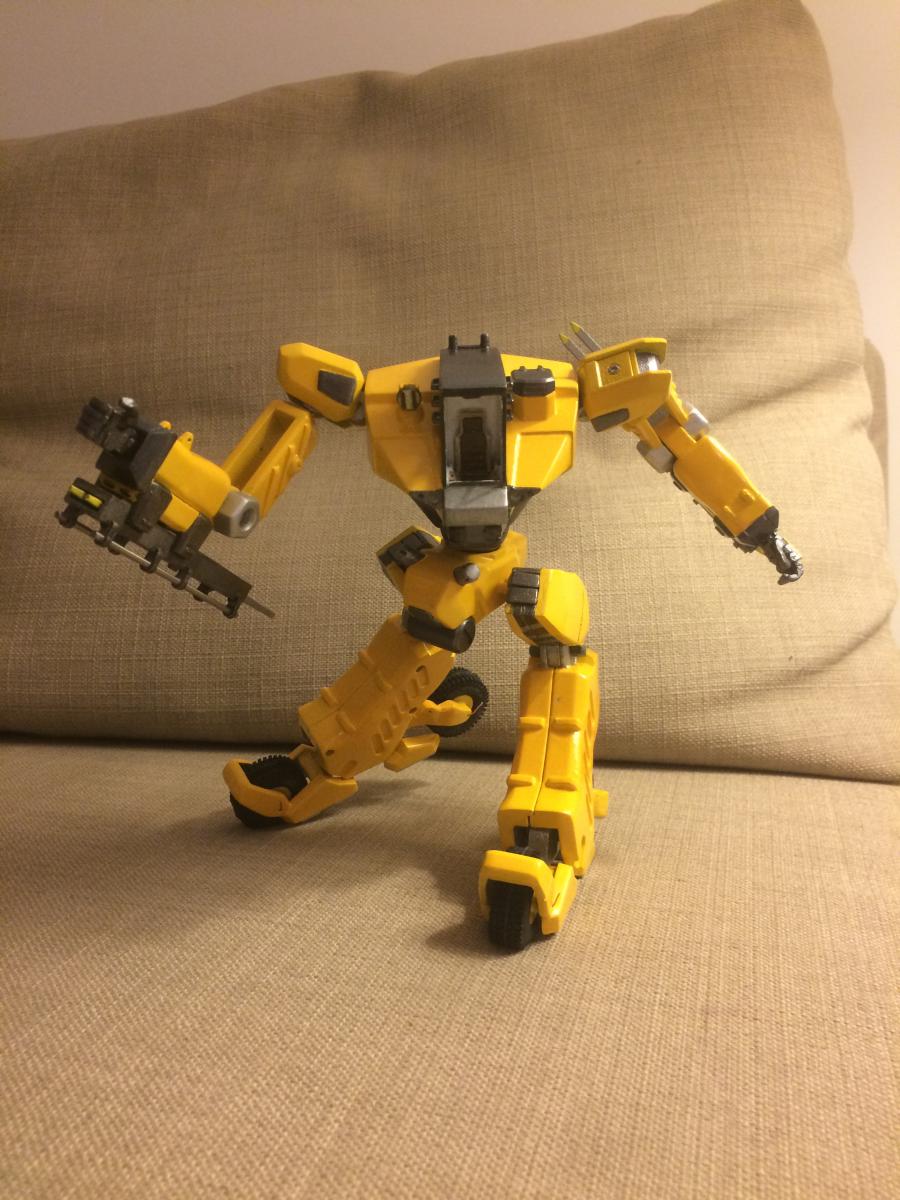
As the workroid is now considered done, I will try to make a photoshoot soon and I will update the 1st page with all the most important details of the built.
-
Very nice paints! these 25s really need more CF/low vis schems
-
Workroid heard lately that the bird human was back in delta!
Last bits of detailling on the rear...


-
Well for 2 usd, including shipping and 2 cr2032 batteries: it can be worth the disassembly!
-
Nice items! PM'd
-
Love it
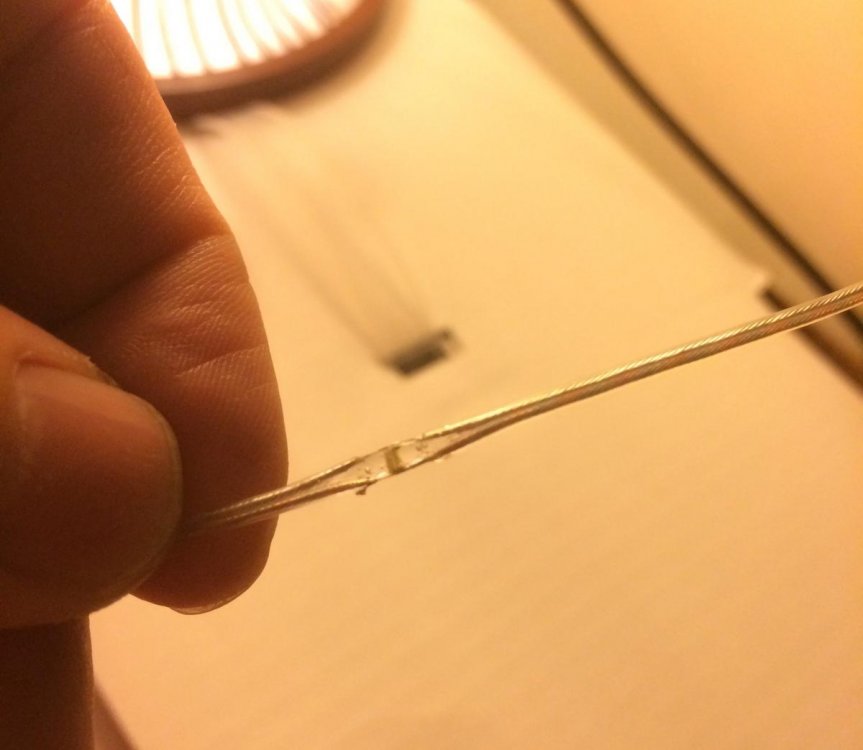
make the switch a magnetic reed switch.
That way its tiny AND you can hide the 1mm magnet on the underside of a peice of the model that can be "clicked" into place to turn it on, making the switch virtually invisible
That's a great option, but I am realizing that for the current projects I got, I will need to also make a coat inside the cage where the leds would be placed. That's something to be considered beforehand.
This might give you some ideas if you want pre-wired switches.
That gives some ideas, thank you!
-
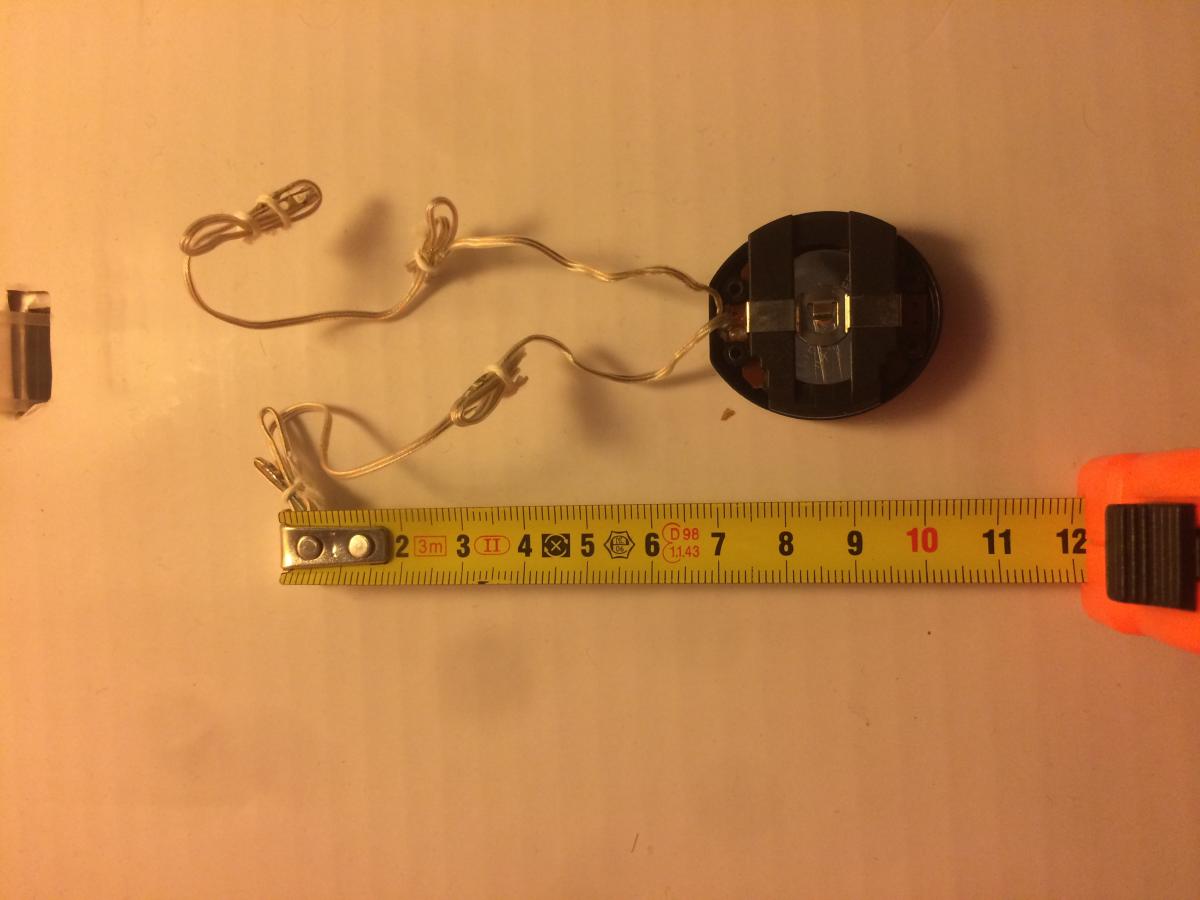
I received the luminous necklace today and dissembles it to its tiniest form. The power switch is a tad big (3cmx2,5cm) but the leds are just mounted on a pair of wires. The leds are basically PCB leds soldered directly onto the wires and glued in place.
This can be very nice setup if I can reduce the switch size, and reducing the dual battery cage to a single one

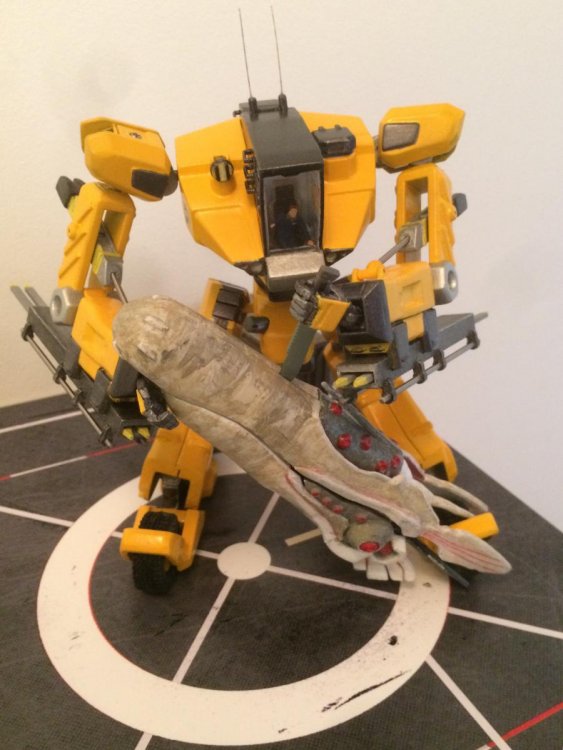
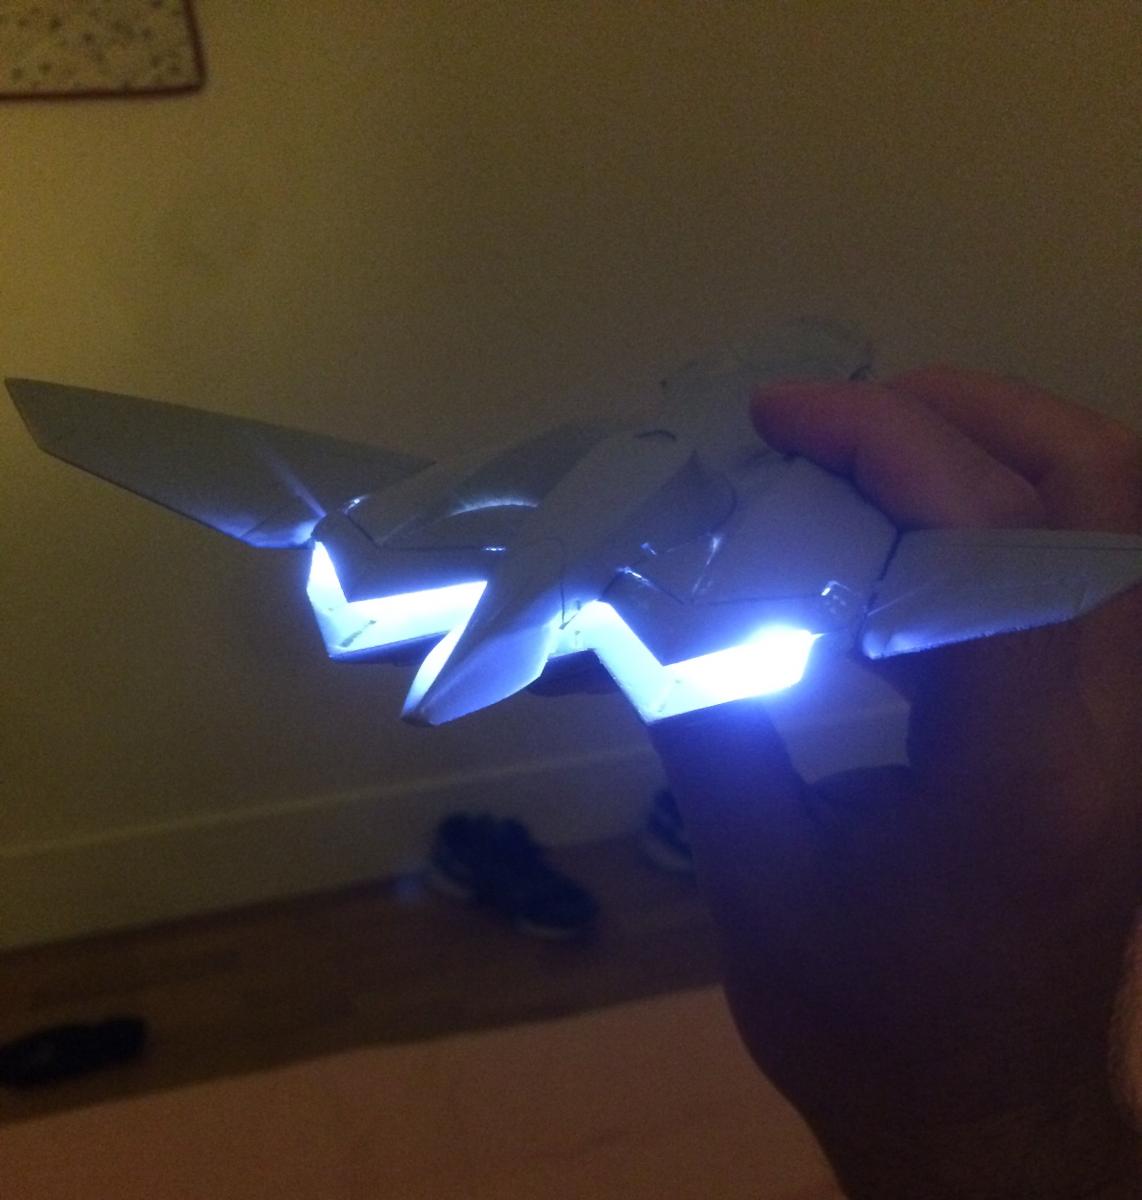
Test on my X-9:

On the workroid:
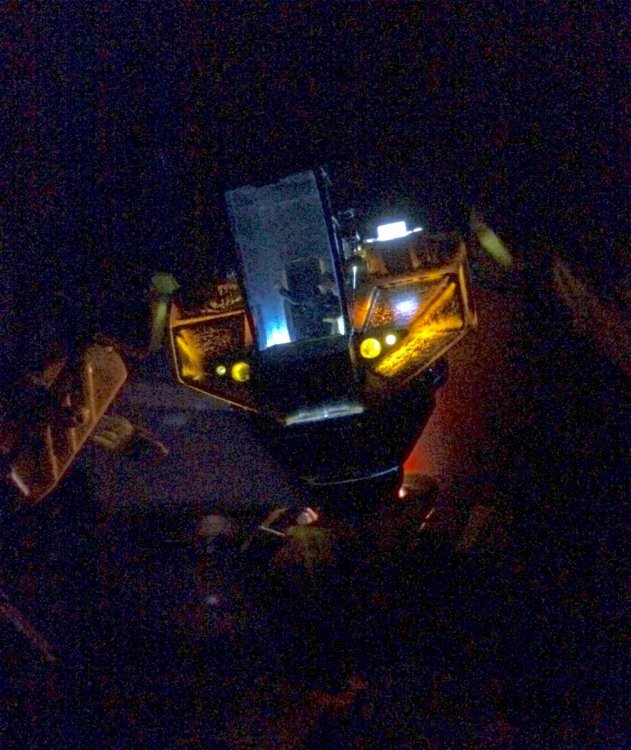
And sorry for the crappy pictures from my phone

-
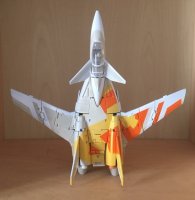
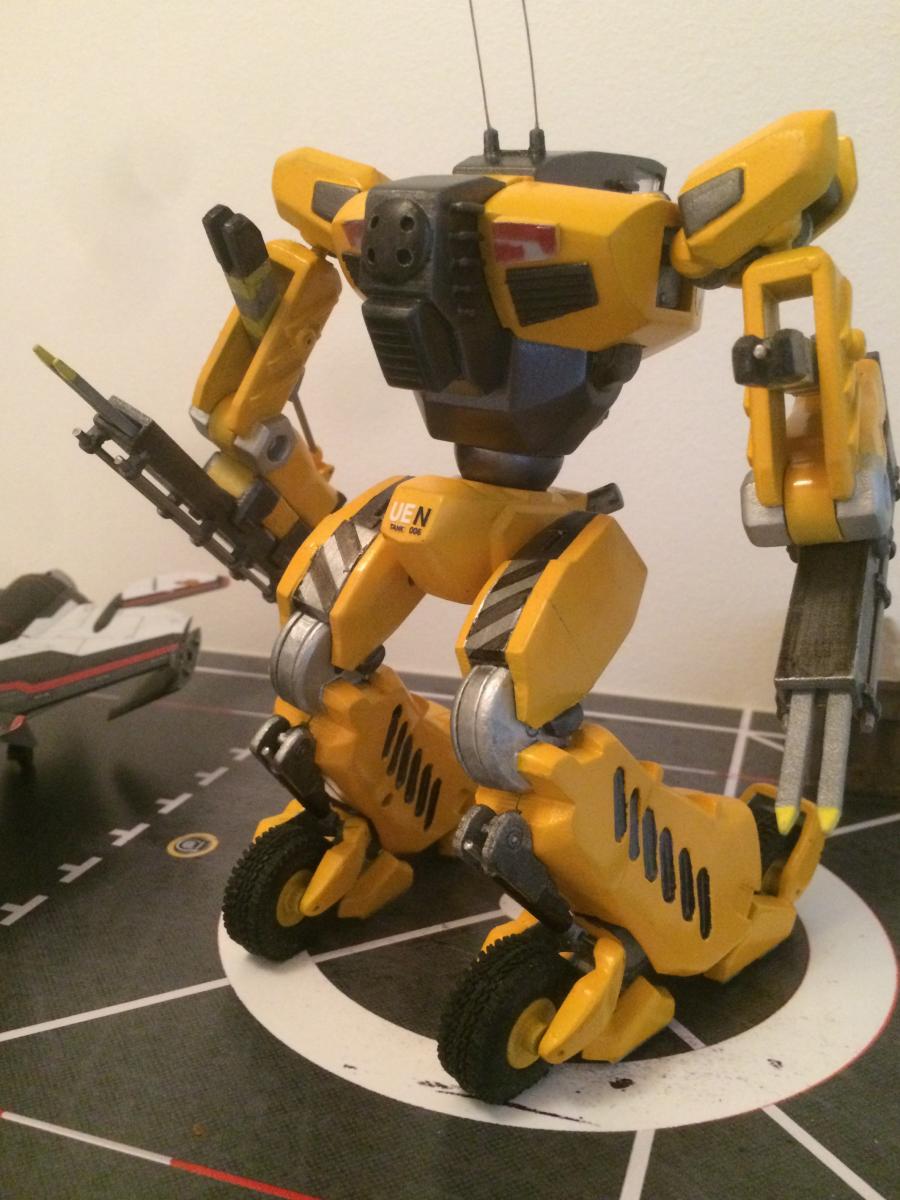
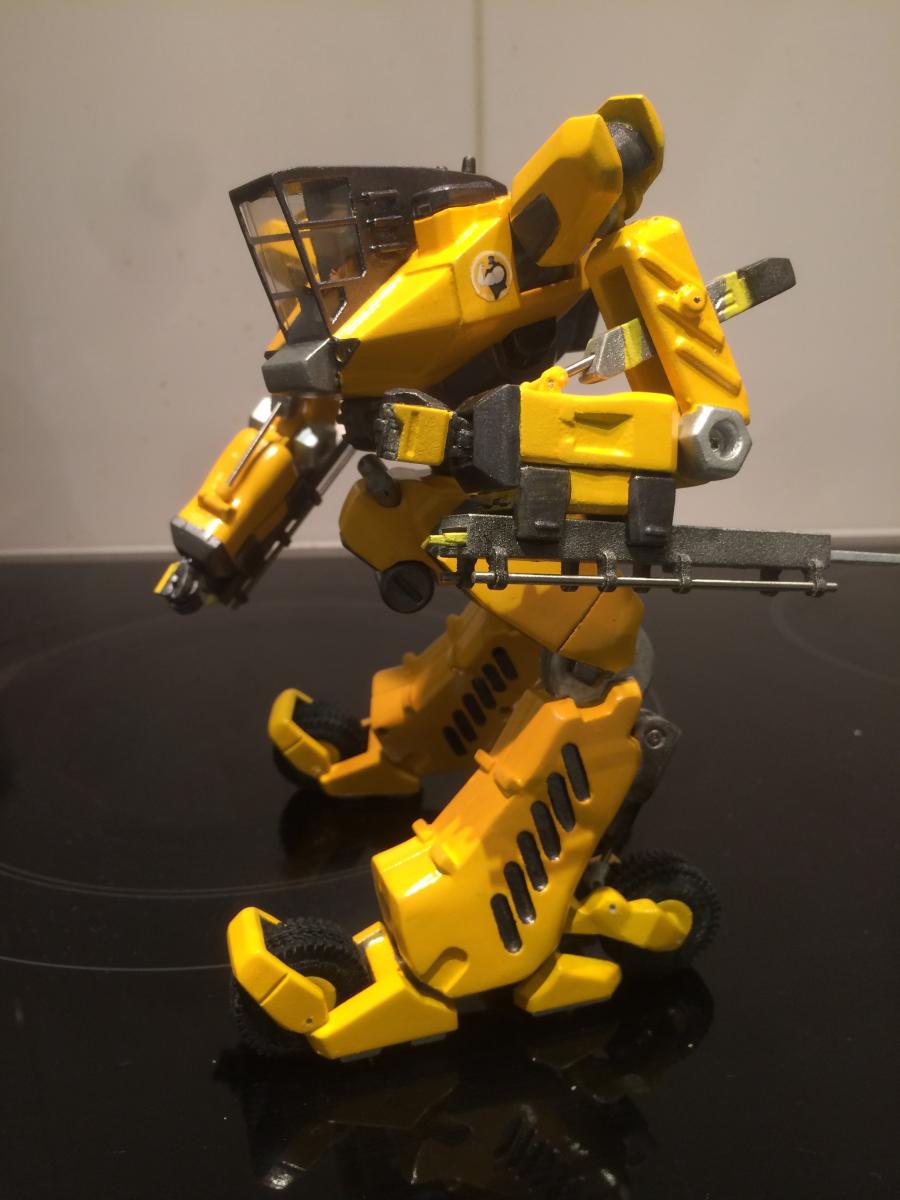
So little time tonight for the workroid... only a few updates: canopy installed,but I will probably cut another one later, and all 4 hidrolic cylinders installed: one for each arms and feet.


-
Thank you guys!
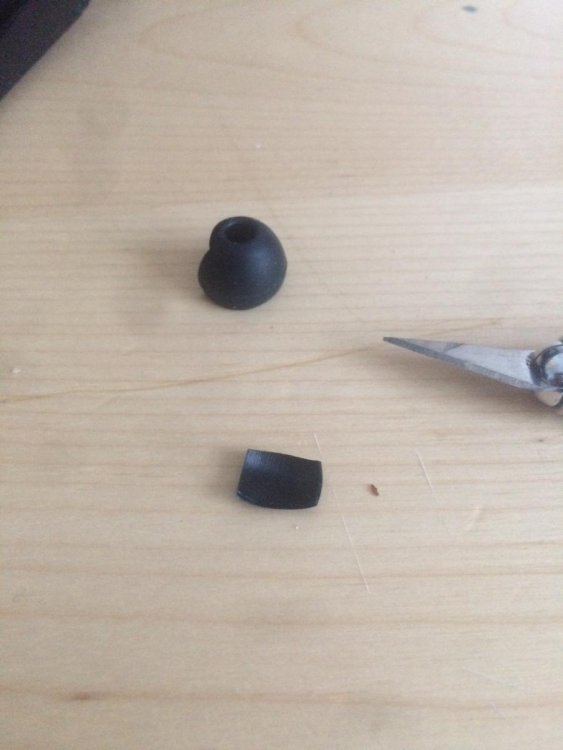
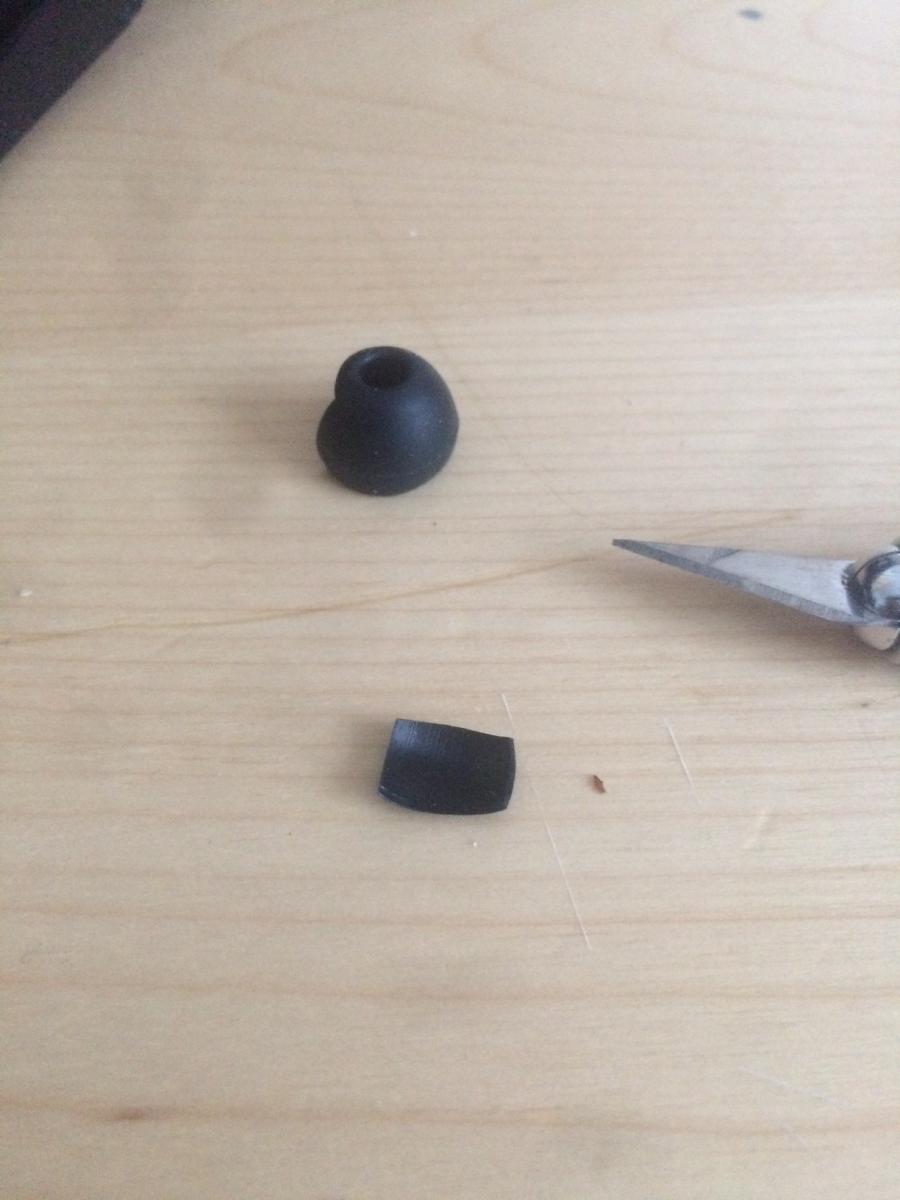
Found an old rubber ear bud lying, I used it to make the legs stiffer. Now the Workroid has a more "toy feel"... This works great!
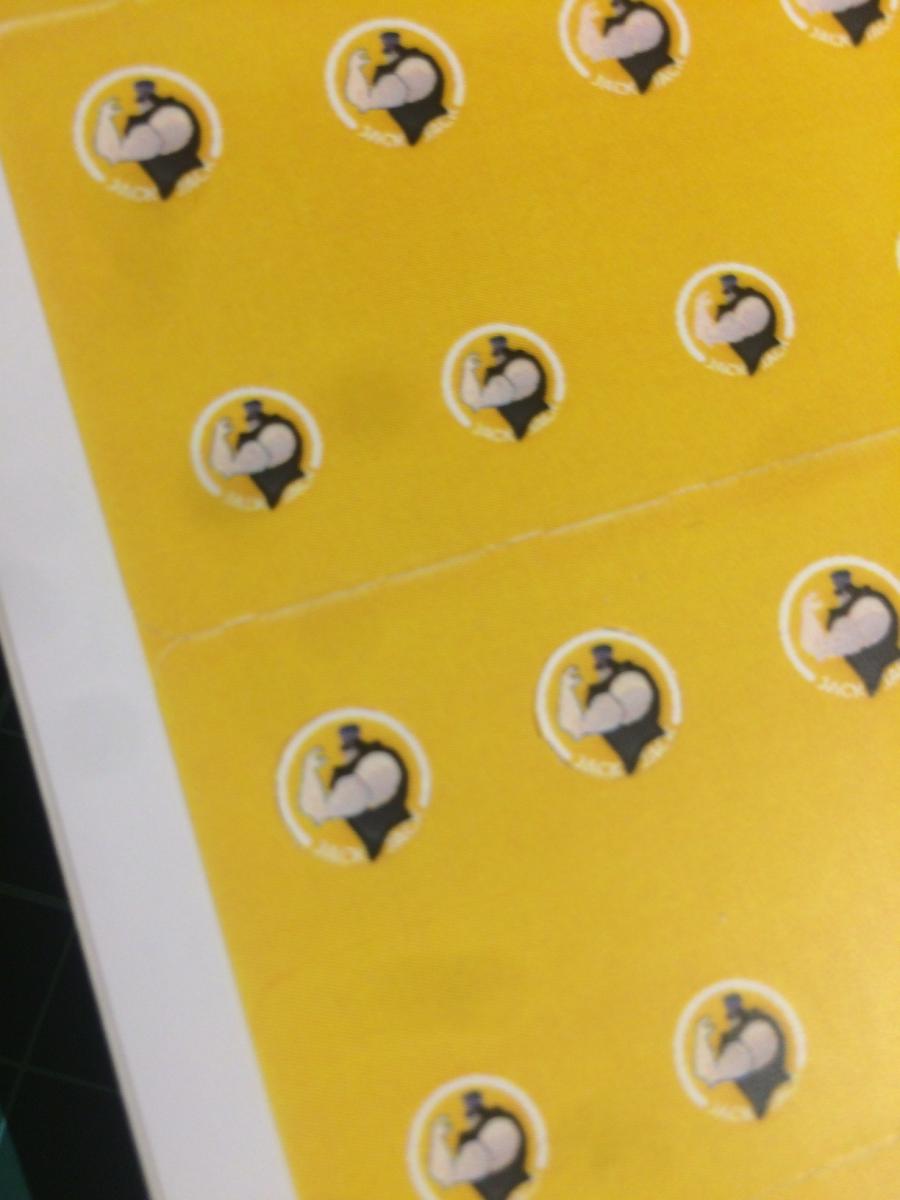
I also made the logo sticker and applied it:

-
Thank you: I am glad a VF-25 got repaired and is now kicking!
-
H U G E ! That's the only word coming to my mind.
-
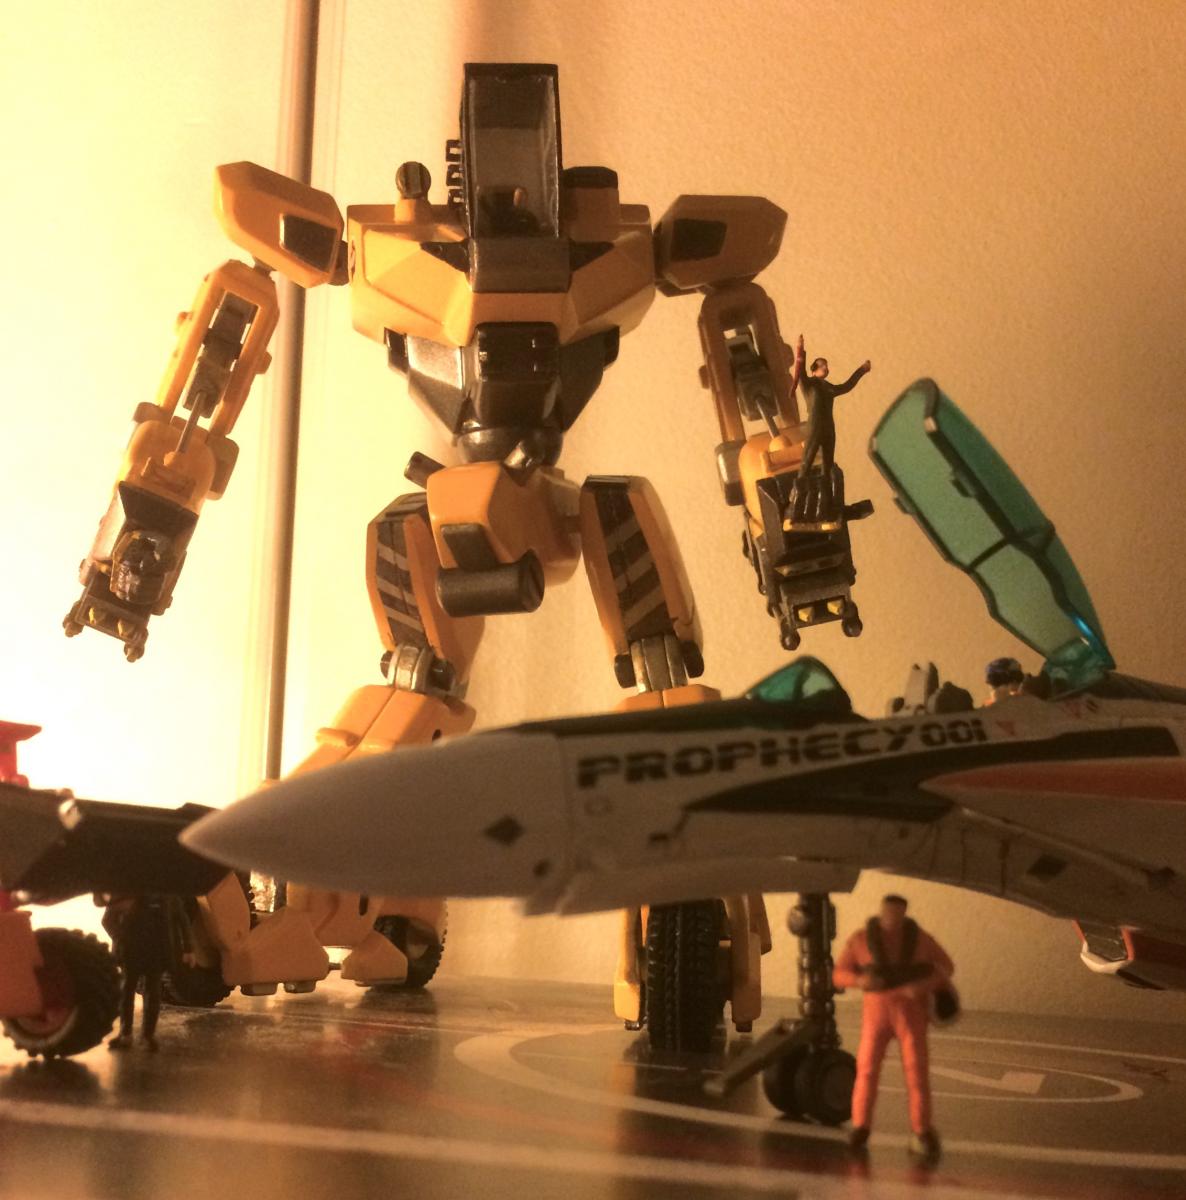
Yellow can came and I finished the yellow areas. I also added a few "aluminum" details.
Now, it's play time until everything dries completely so I can color the darker details other the light layer safely.

-
I finally got an Ozma and it received a new hair cut right out of the box! I am loving it

-
I've got 2 of the YF-19's by chance. So do they just fit on without any modifications?
Probably a drillbit would help but normally it fits out of the box
-
Is there a stand for this, Xigfrid? or some sort of attachment? There is a section on the kit for it, but will this work with the Yamato stands?
I've done about 17 of the intake housing pieces so far, and should have another two or 3 done tonight. Next up after these are done are primer coats, and I start sanding the "cockpit" section, or main body.
Yes, and it cilps on the reactor bottom, using the lateral/bottom flaps also. It works with Yamato's attachments as I always do (when possible)! Here: http://shpws.me/HN78
Keep the hard work!

-
But the good part of all this sanding would be all the happy guys here!
-
I have a set of his 1/72 Minmay decals and with a little bit of Microscale Liquid Decal Film on top they worked just fine for me.
Sure, but you need to paintbrush it to obtain a great result. If I could just cut the decals and apply them that would be better
-
Was it pointed out how the imagery of the Star Singer resembled the ruins in Macross Zero? I saw that pointed out somewhere and it's probably important or something. Though to be honest I don't remember, so maybe I'm totally off. Somebody help me out here.
Yeah it was in the 20th episode when they explained that the same markings were on the Vajra (that would have been contacted by the protoculture), the Macross Zero human bird etc... I think this is not relevant to us, but for people who would be new to Macross universe and the unified theory that explains how music can been used as a weapon.
-
You mean Roid. With Heinz dying his plans wont work. He keeps asking who the hell is Mikumo to be able to destroy the Protoculture structures. The chamber provides the answer, the Star Singer. Given her genetic memory Mikumo is likely cloned from a Protoculture Star Singer. Which means she has greater admin rights to the system than Heinz. With Mikumo infiltrating Windermere Roid has her where he wants. .
Thank you for the explanation RedWolf, I re-watch the whole episode to notice the first seconds, where the ep begins with Roid exiting the chamber and Xao discucssing with Theo about the chmaber being sealed. I don't know if you are right about Mikumo being the Star Singer, but that's probably how the scenario will lead us to.
-
I have been lurking at this for some time, the seller seems to have a lot of great decals, BUT I just don't understand why in the hell he doesn't seal the print himself ... ? If the decals were sealed, I would have bought a few from him already
-
I haven't seen anyone mentioning the previous episode ending (mission 21) ? Have I missed something in ep 22 ? Keith was supposed to have a revelation in the singing chamber about a new technology breakthrough during ep22 ...
-
Hi Tage!
Concerning the pilot, I haven't found yet a good material to print small details and being solid (FUD from shapeways would be too fragile). You probably can print a 1:60 pilot using a Resin 3D printer (DLP or SLA) with a special resin for strong and mechanical parts, if you got one around!
Otherwise, I would suggest that you source some 1:72 plastic pilots from model kits and custom shape the helmet with from green stuff or else. Bandai's pilots tends to be even smaller than 1:72 pilots!
-
its AWESOME!!
Is it 1/72 or 1/60 scale?
Unfortunately for your increasing collection, this one is 1:60...
Is this available through Shapeways?
Yep and at the same place as the others, or you can leave me a PM to discuss it!


MΔ Workroid
in The Workshop!
Posted
Too bad that the Workroid wasn't featured more in the TV show... Perhaps we will see more in the movie (if it ever comes)