
Xigfrid
-
Posts
2607 -
Joined
-
Last visited
Content Type
Profiles
Forums
Events
Gallery
Posts posted by Xigfrid
-
-
3D printing is the future!
-
Sculpteo is also based in the USA, I thought also that their US team was greater than the French one.
-
Generally there is still some wax there, you can use a small metal wire: insert it through the wax and gently go around. At some point the wheel will get loose.
Same goes for front wheel
-
Do you try to upload the DWG exported file from sketchup? this file is not good because the lines are not "connected": you don't have a continuous lines.
At this point, you can try to export a 300dpi jpg and have this jpg vectorized. I can make this step at work or if you have a photoshop, it does the vectorized contours automatically. Or certainly a few website would also do that.
-
Almost lol!
-
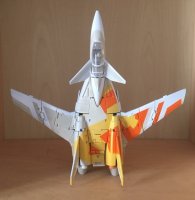
Hayate literally rolling around with his new valk!


-
Your guess is right Tage, I actually always make a triangle at the end of the bar pointing to a rotation axis, group them together so I can rotate the whole part without zooming in/out the axis.
The colors are just for the forum folks! I prefer to stay in the original color to avoid overlapping surfaces!
i made the legs, they need to be tighten a bit more, but for now, they are pretty stable and they can be posed!

-
Thanks a lot! I will probably stay away from these PS cans for now and wait for more colors in TS family
-
Great question, Salamander would you recommend the PS version (for translucent poly-carbonate) over the TS (for plastic) ? A few PS color are very unique.
-
Just saw this on Sculpteo. Since I've already tried it, I wouldn't recommend their 3D printing over Shapeways, but the Laser cutting should be fine and would suffer little concurrence.
https://www.sculpteo.com/blog/2017/01/11/sculpteos-laser-cut-metal-service-is-available
I can see how you can sandwich 3 layers of 1mm and making a super strong design... Only thing is to have the good design for the 3 modes...
-
I don't know if Jenius refers to my quick fix: http://www.macrossworld.com/mwf/index.php?/topic/39470-arcadia-yf-19-coming-in-2014/&page=169#comment-1246175
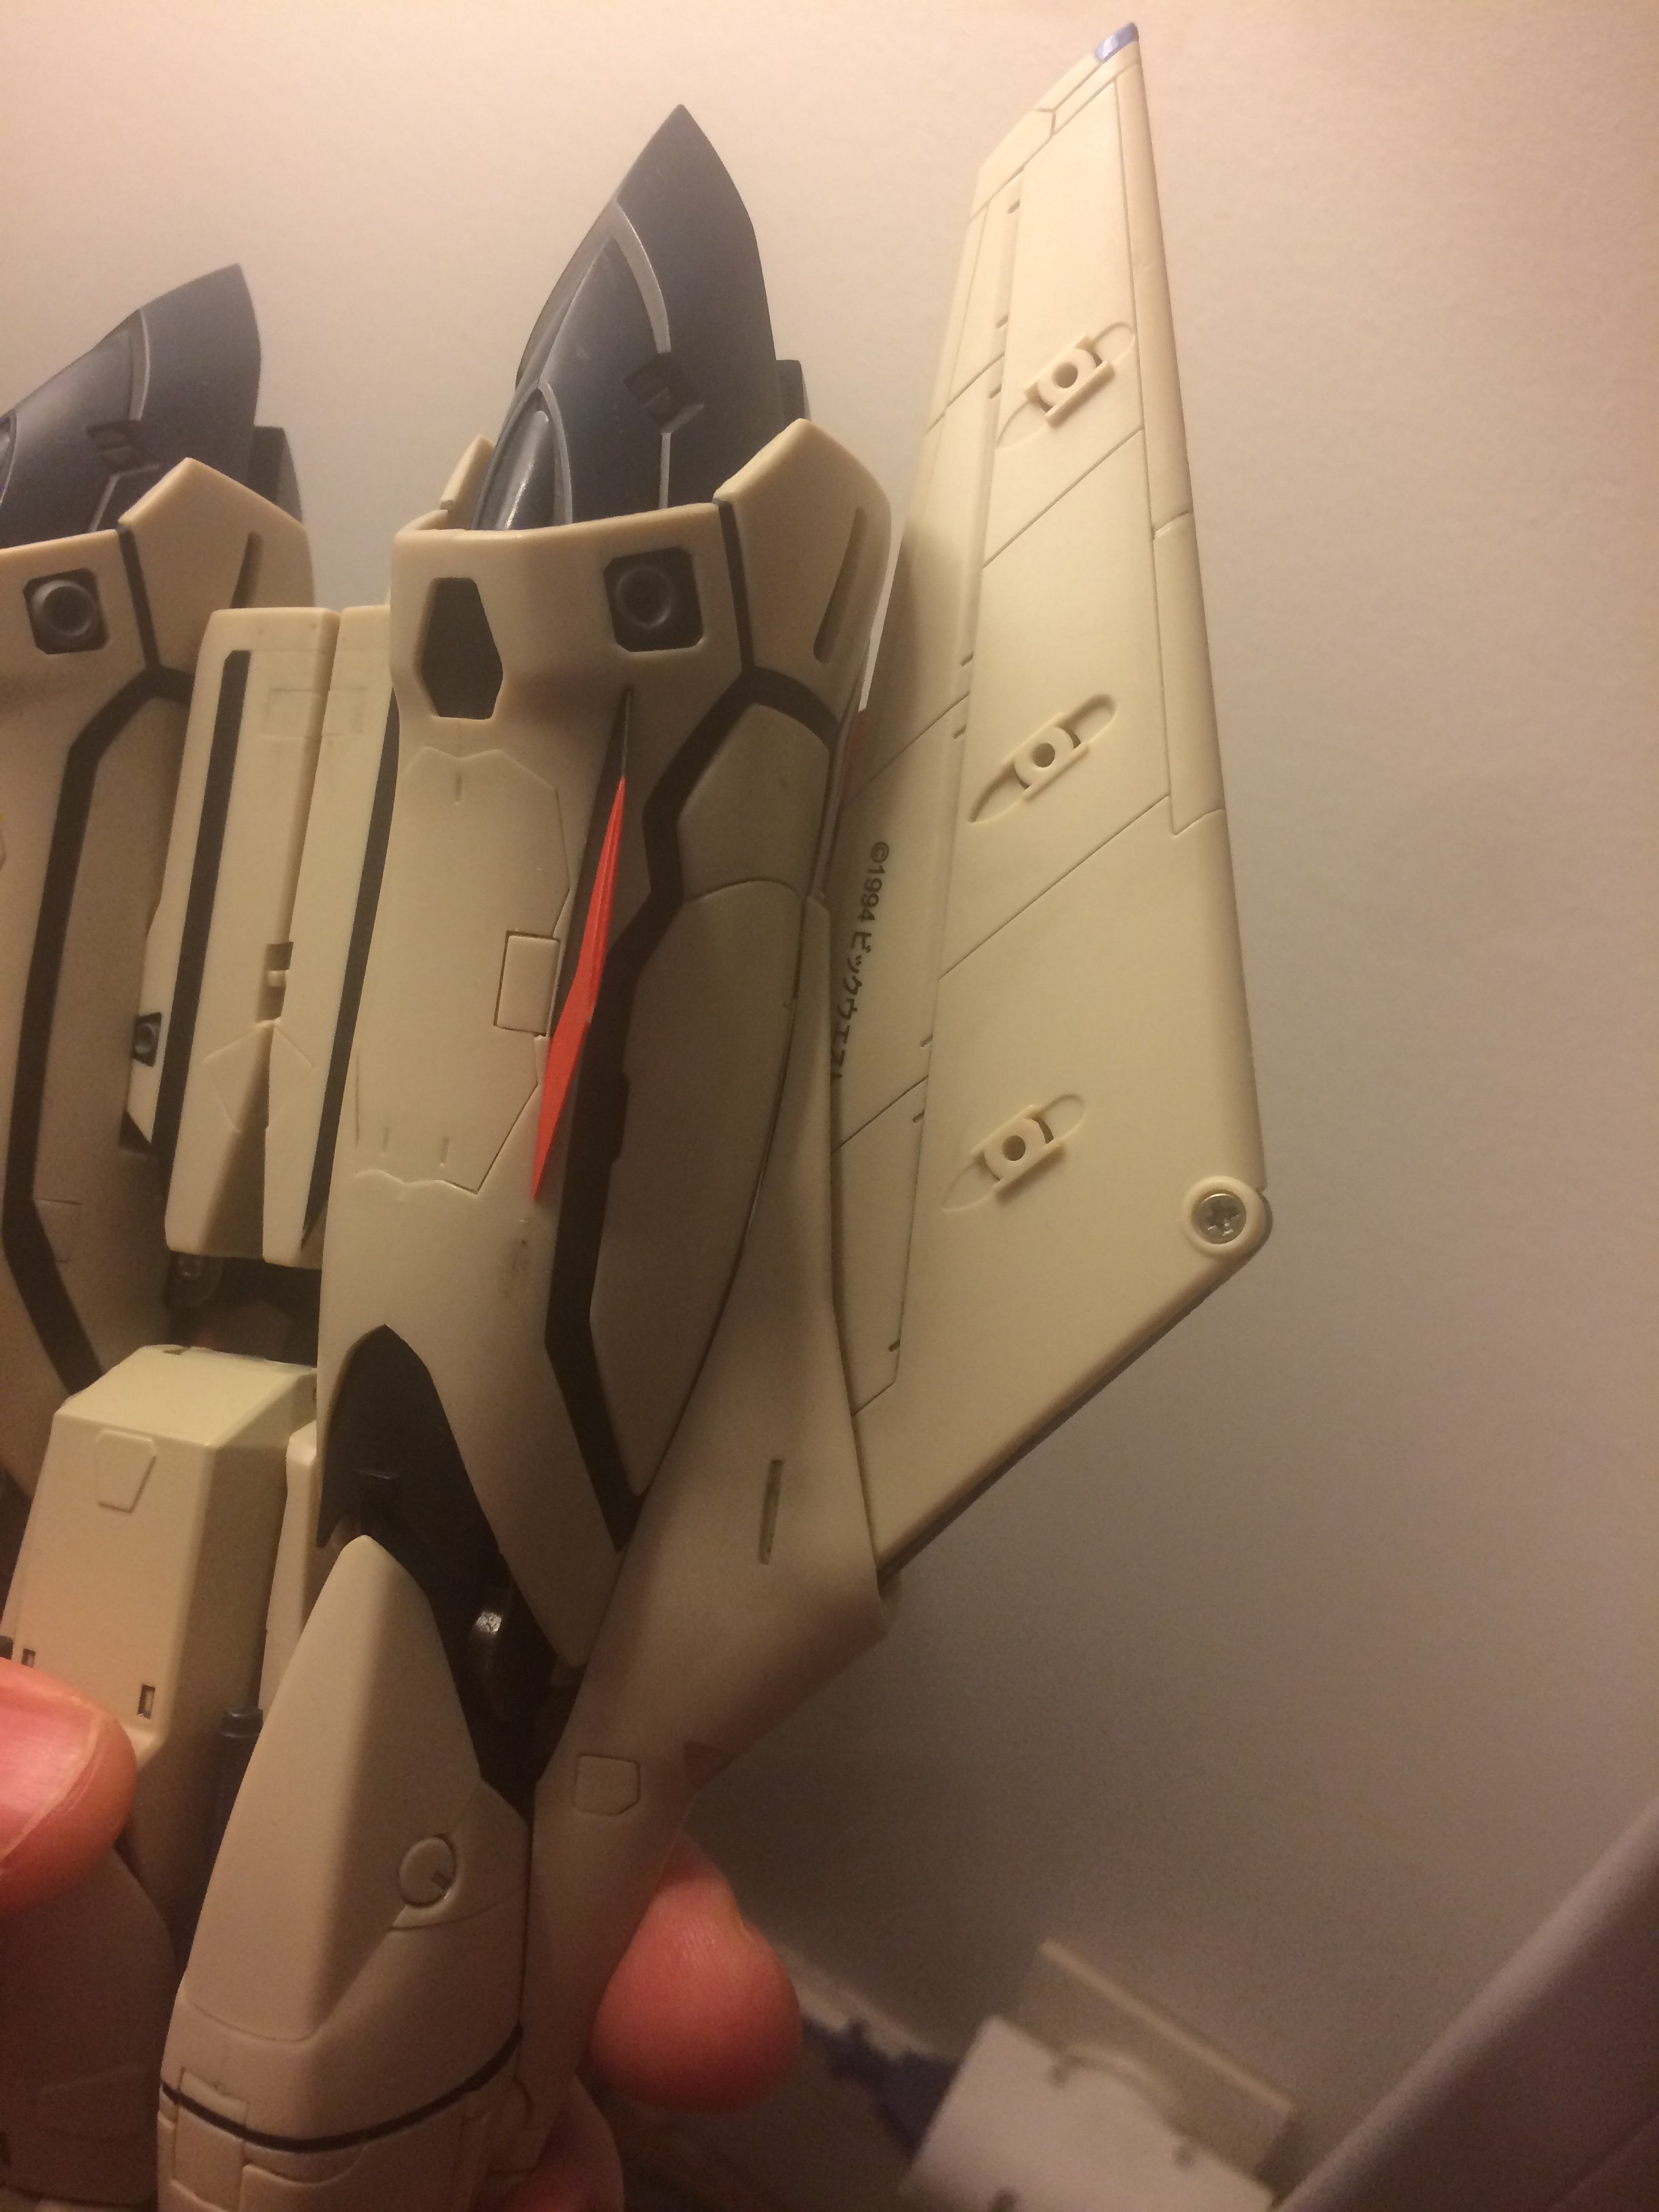
since the pictures are down, i just made new ones. As you can see, the tab helps the wing to stay in the good forward position, no change for the high speed mode since this one is very solid and it also doesn't interfere with the battroid mode.
But i really think that creating a mechanism inside could bring a more solid solution in the 3 positions and also restricting the movements of the wing that can look crazy in some positions...


-
2 hours ago, Chronocidal said:
I got to cutting up some scrap plastic tonight, and might have a fairly viable solution for the wing hinges.
Those are cut from roughly 1/16" sheet styrene, and very carefully filed to shape. The gray one was made first, before I realized I could strengthen the actual wing pivot by extending it to the rear, and it would still fit inside the wing when folded up.
End result? It works great. I sandwiched both those brackets together inside the wing and closed up the wing glove, and it rotates nicely, just like the original Yamato YF-19's wing. However, you can see I've got two copies here, and I actually went through one other before realizing that this might need to be made of thin metal. The original wing brackets were very finely shaped, and fit very tightly around the wing pivot points, which means the pivots were also really thin. Those little rings are fragile, and probably won't hold up to many transformations.
But they work, the bracket basically locks the wing pivot in the unextended pivot position, and lets the wing rotate back to fold in for battroid mode. The location may not be exact, but it's close enough for my taste.
I'm going to get a master pattern drawn up with measurements via caliper, and see if anyone wants to give it a shot with something a little better than styrene.
")
Congratulations to this!
So if I understand well, you loose the High-Speed mode with this modification ?
If you want a great result and more importantly cheap, I would go with acrylic laser cut. A lot of company offer laser cut from PDF or dwg files.
To make the drawings, the easiest way is to scan the part with a copier that can send a pdf file, then make it as a drawing and have a few dimensions checked manually with the caliper.
Can you take a few pictures of the results with the wing rotating ? I am still interested in making a version with the high speed mode.
-
I am sure that if you can gather enough to have a big order, then you can contact te seller and ask him to ship internationally.
Since the package will be a simple letter, it should be easy for the reseller.
-
And the last grip...
-
More...


-
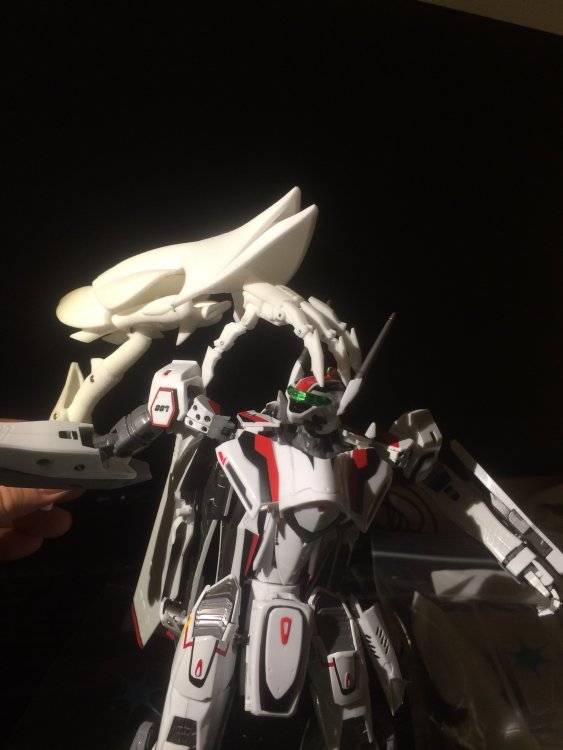
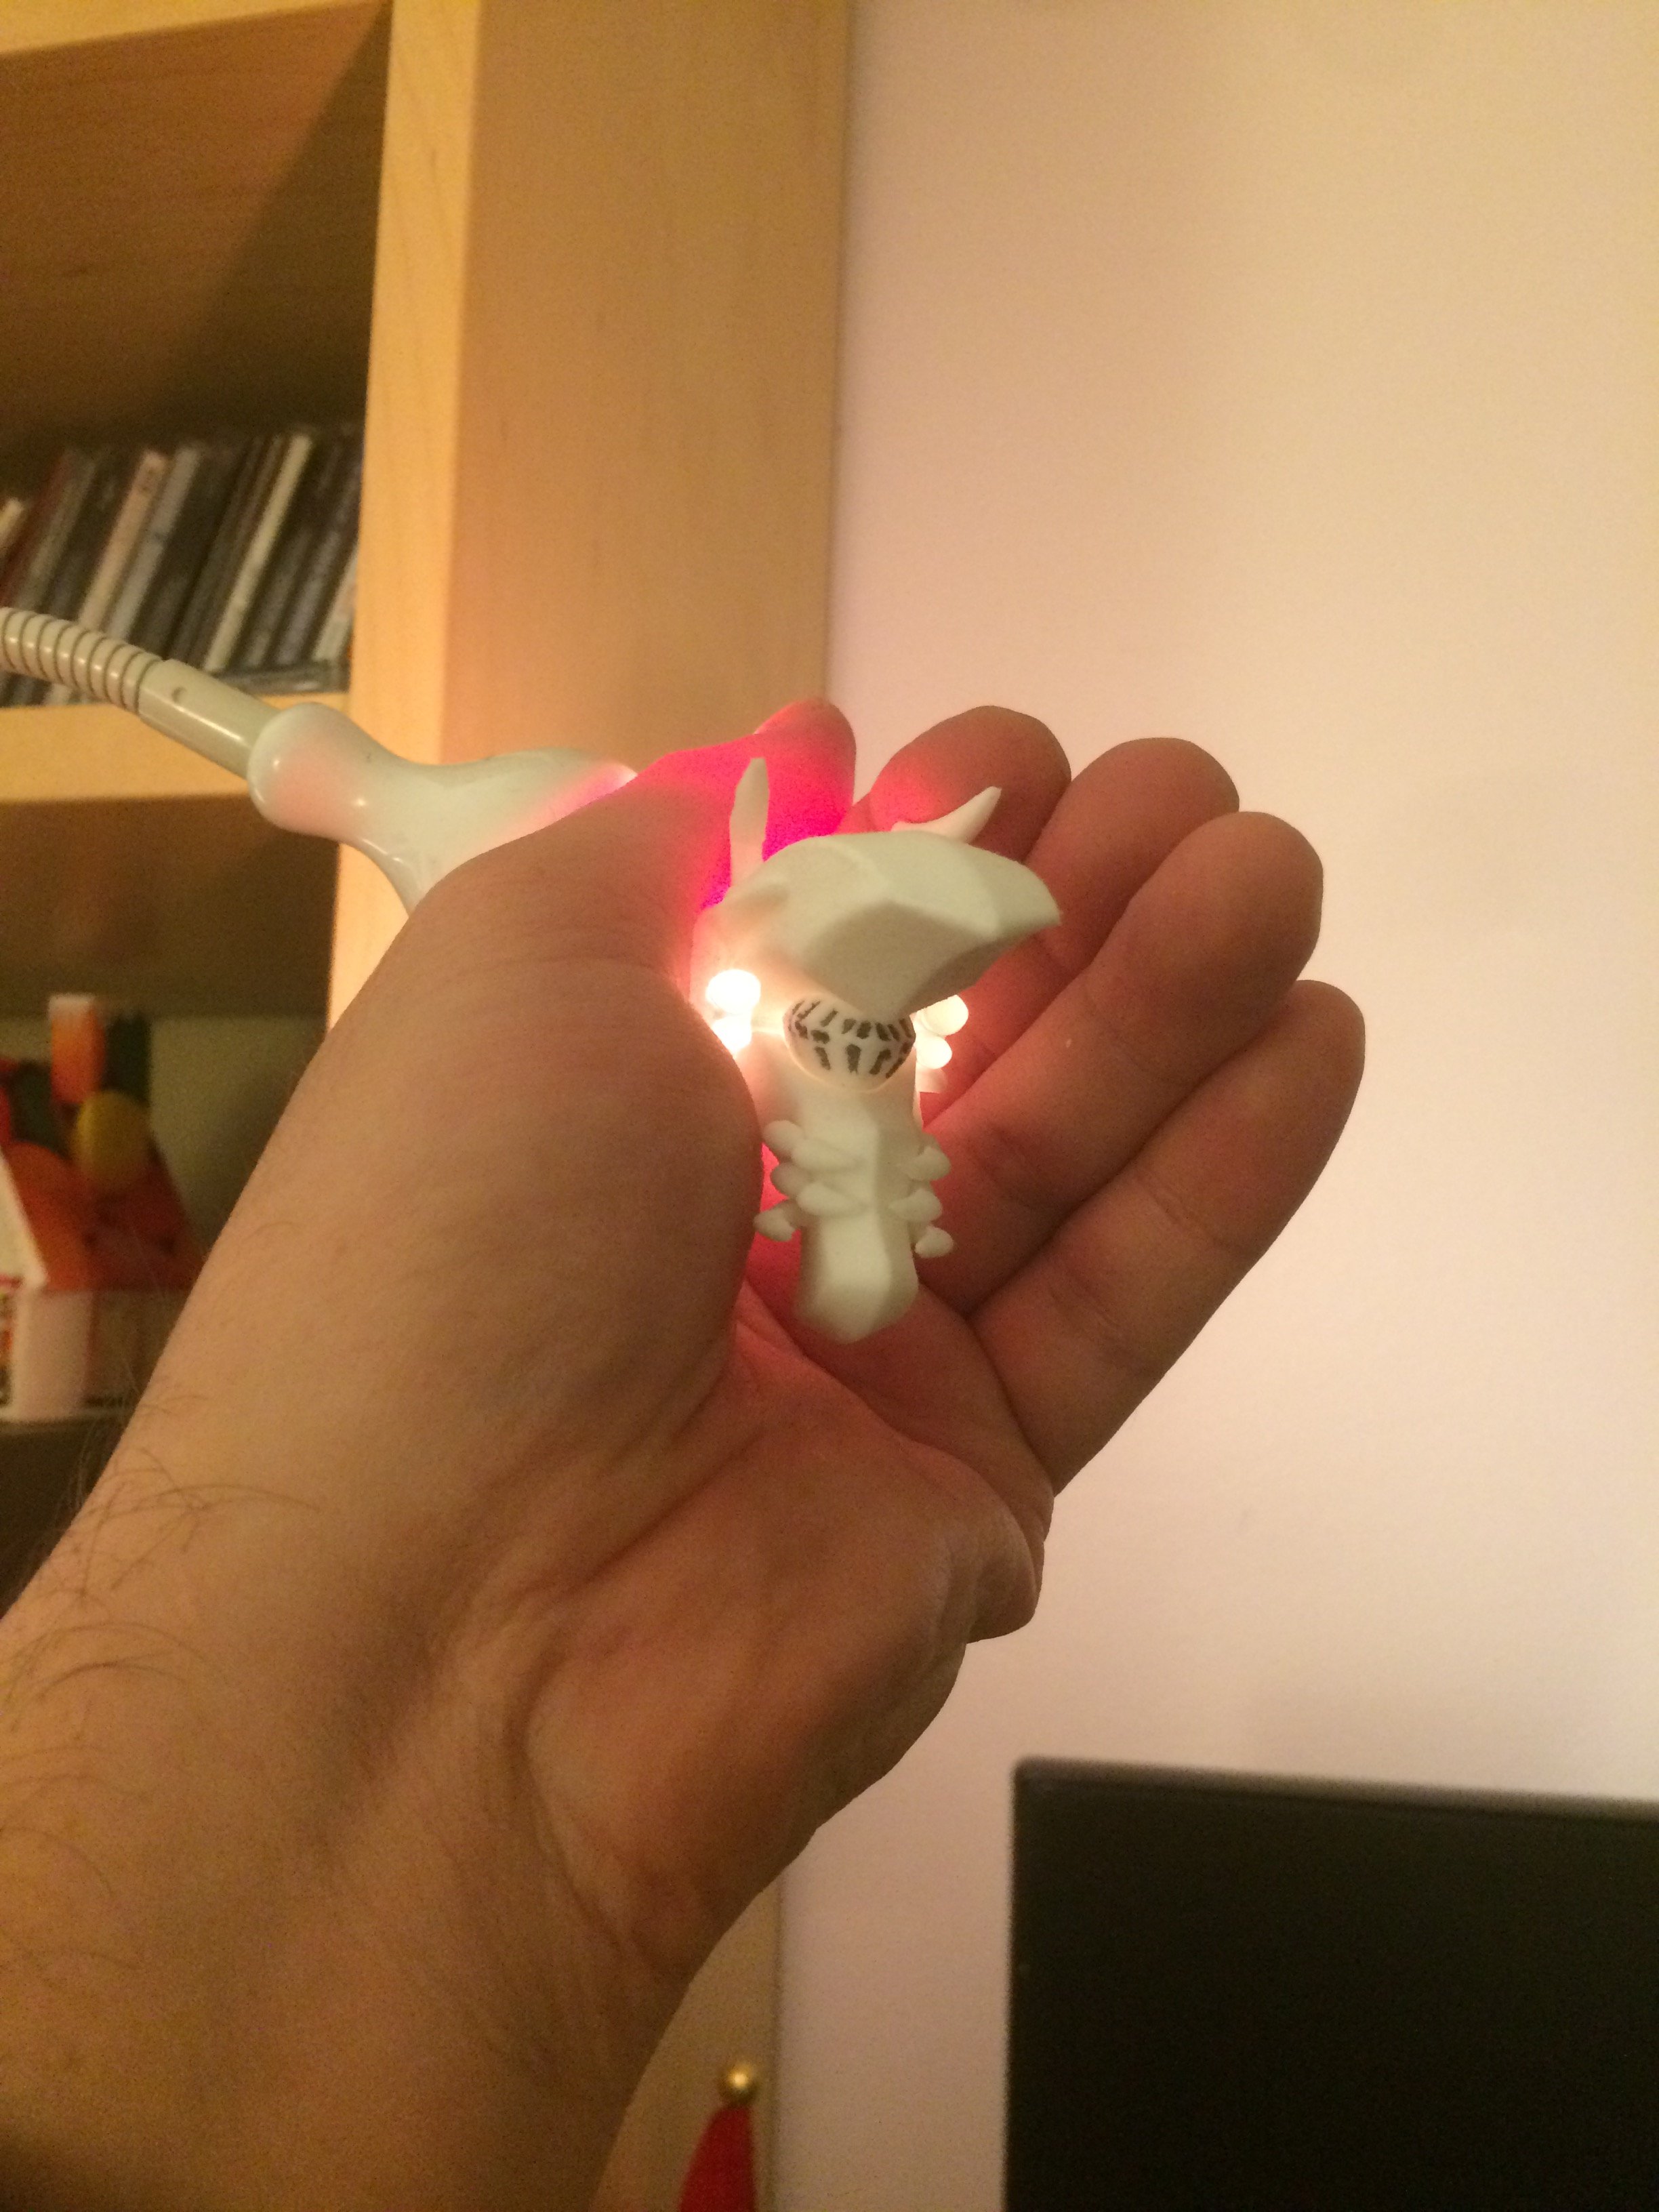
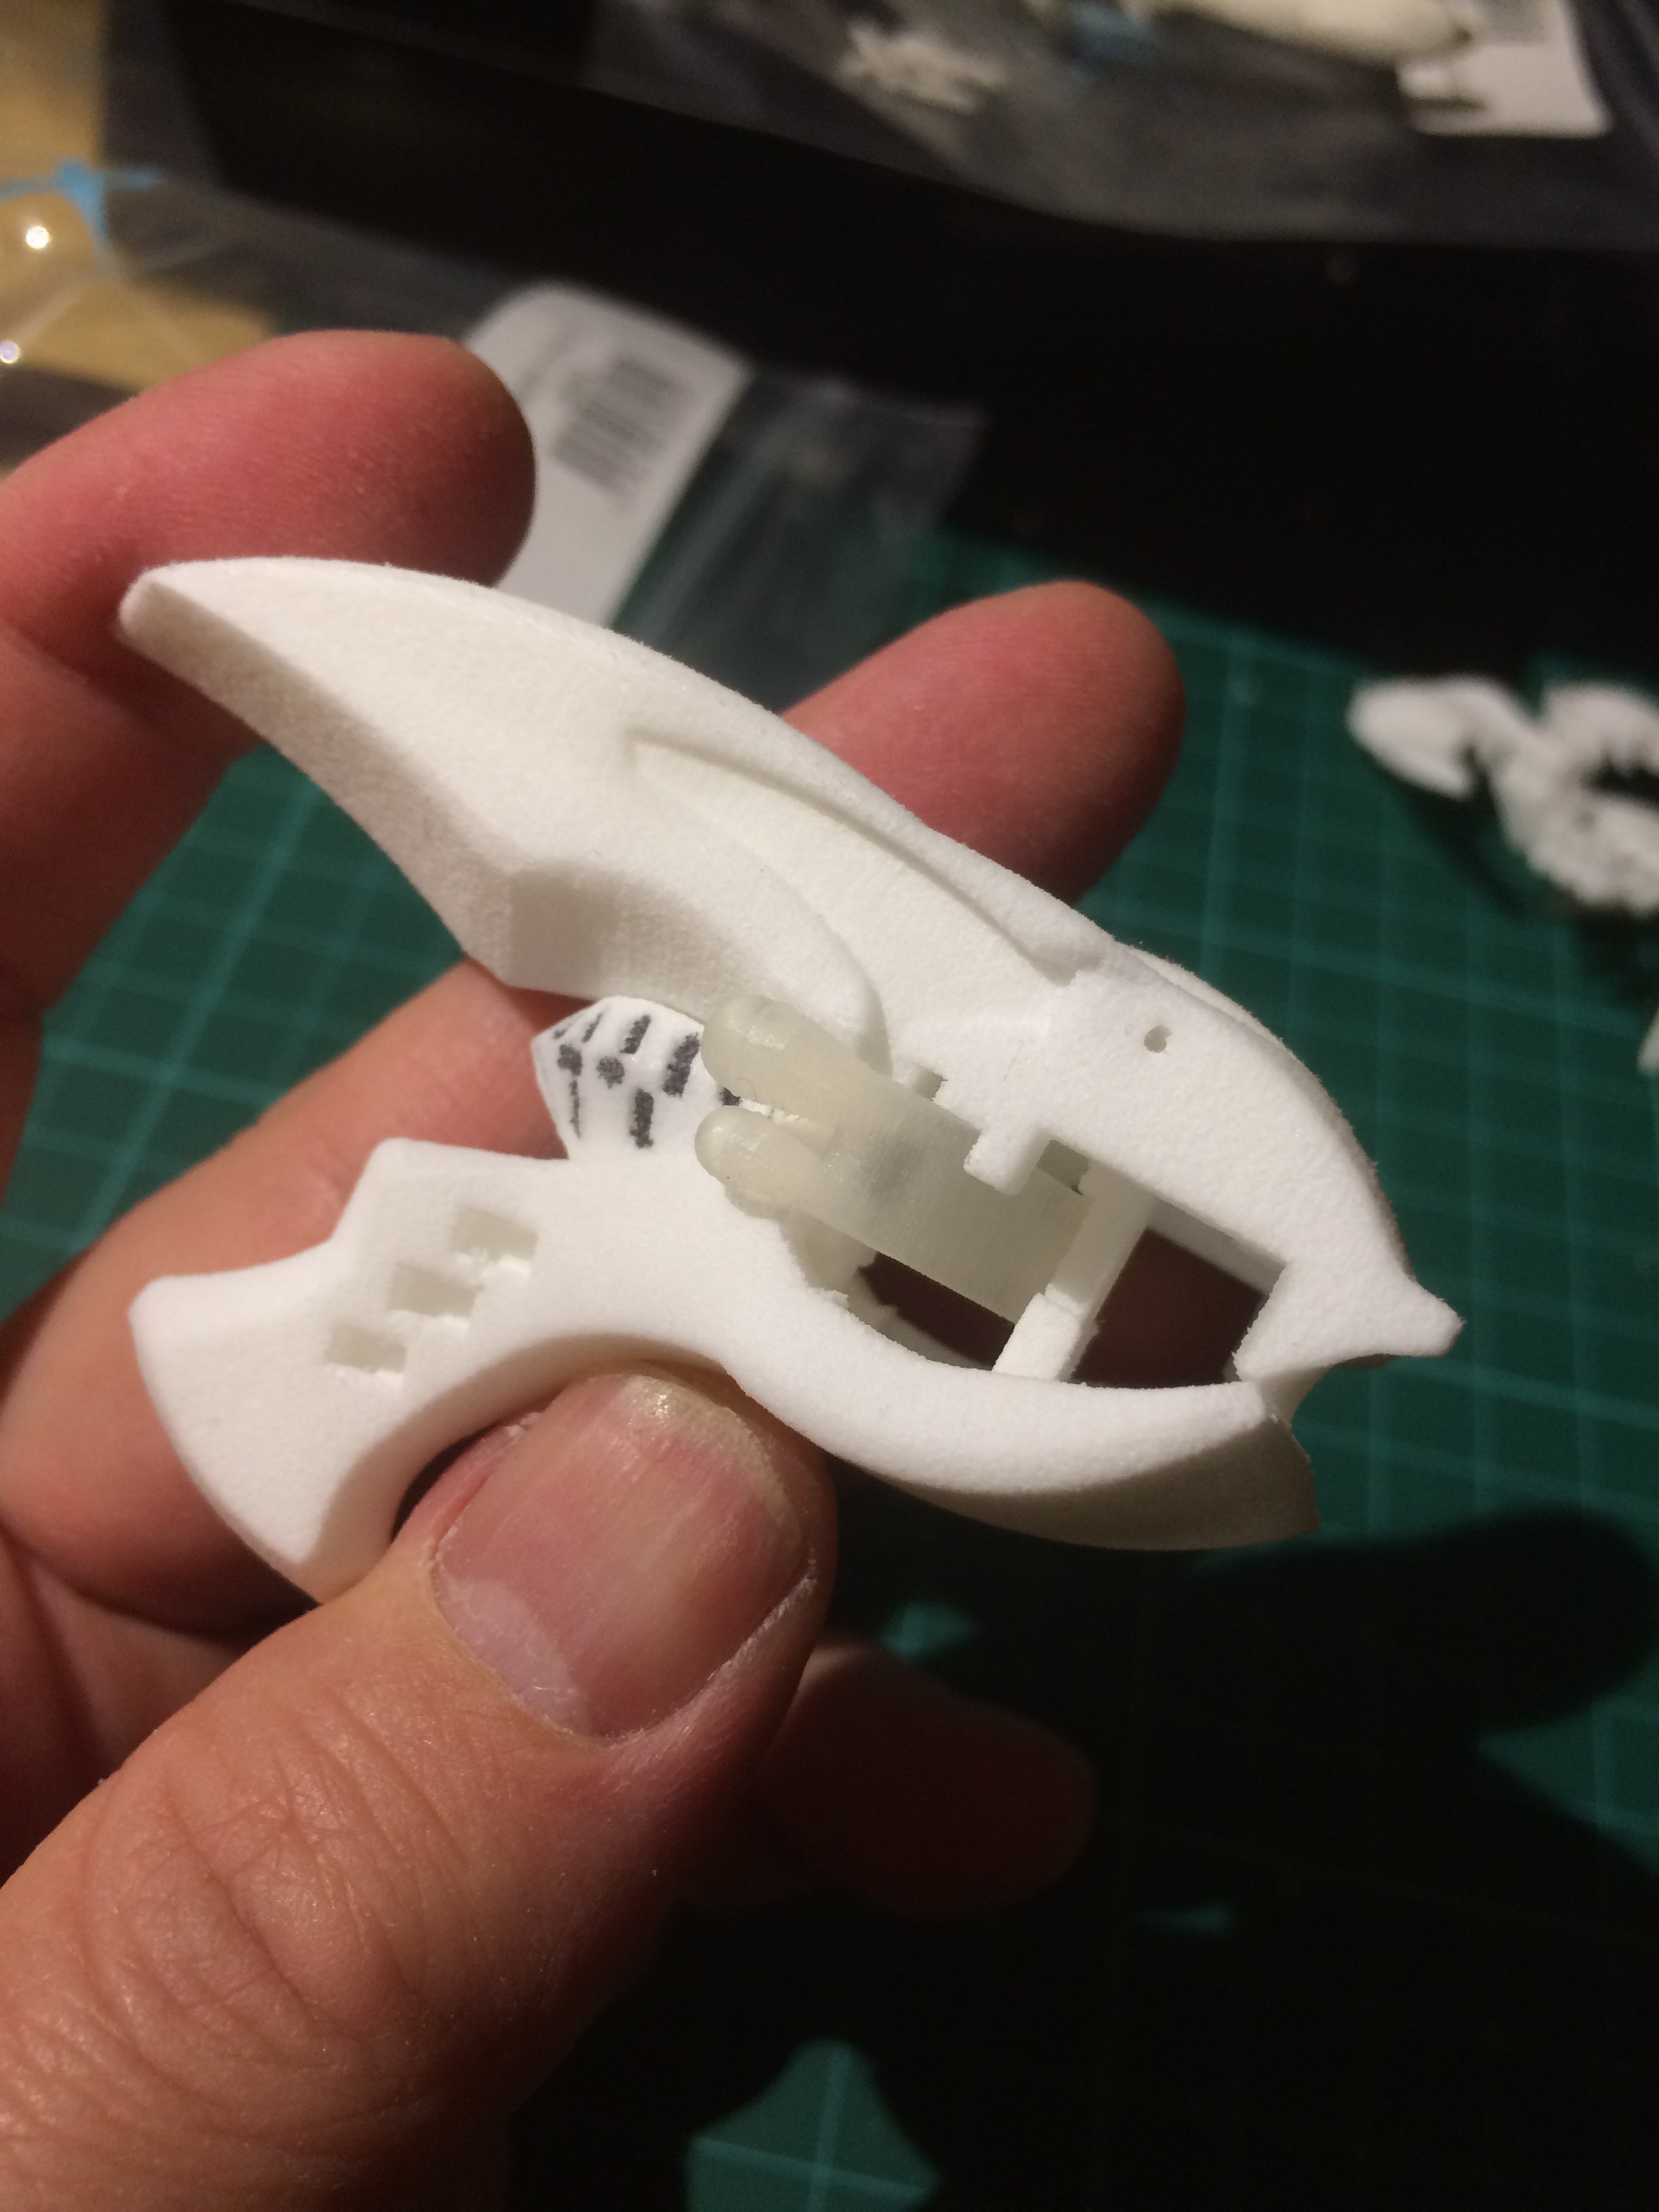
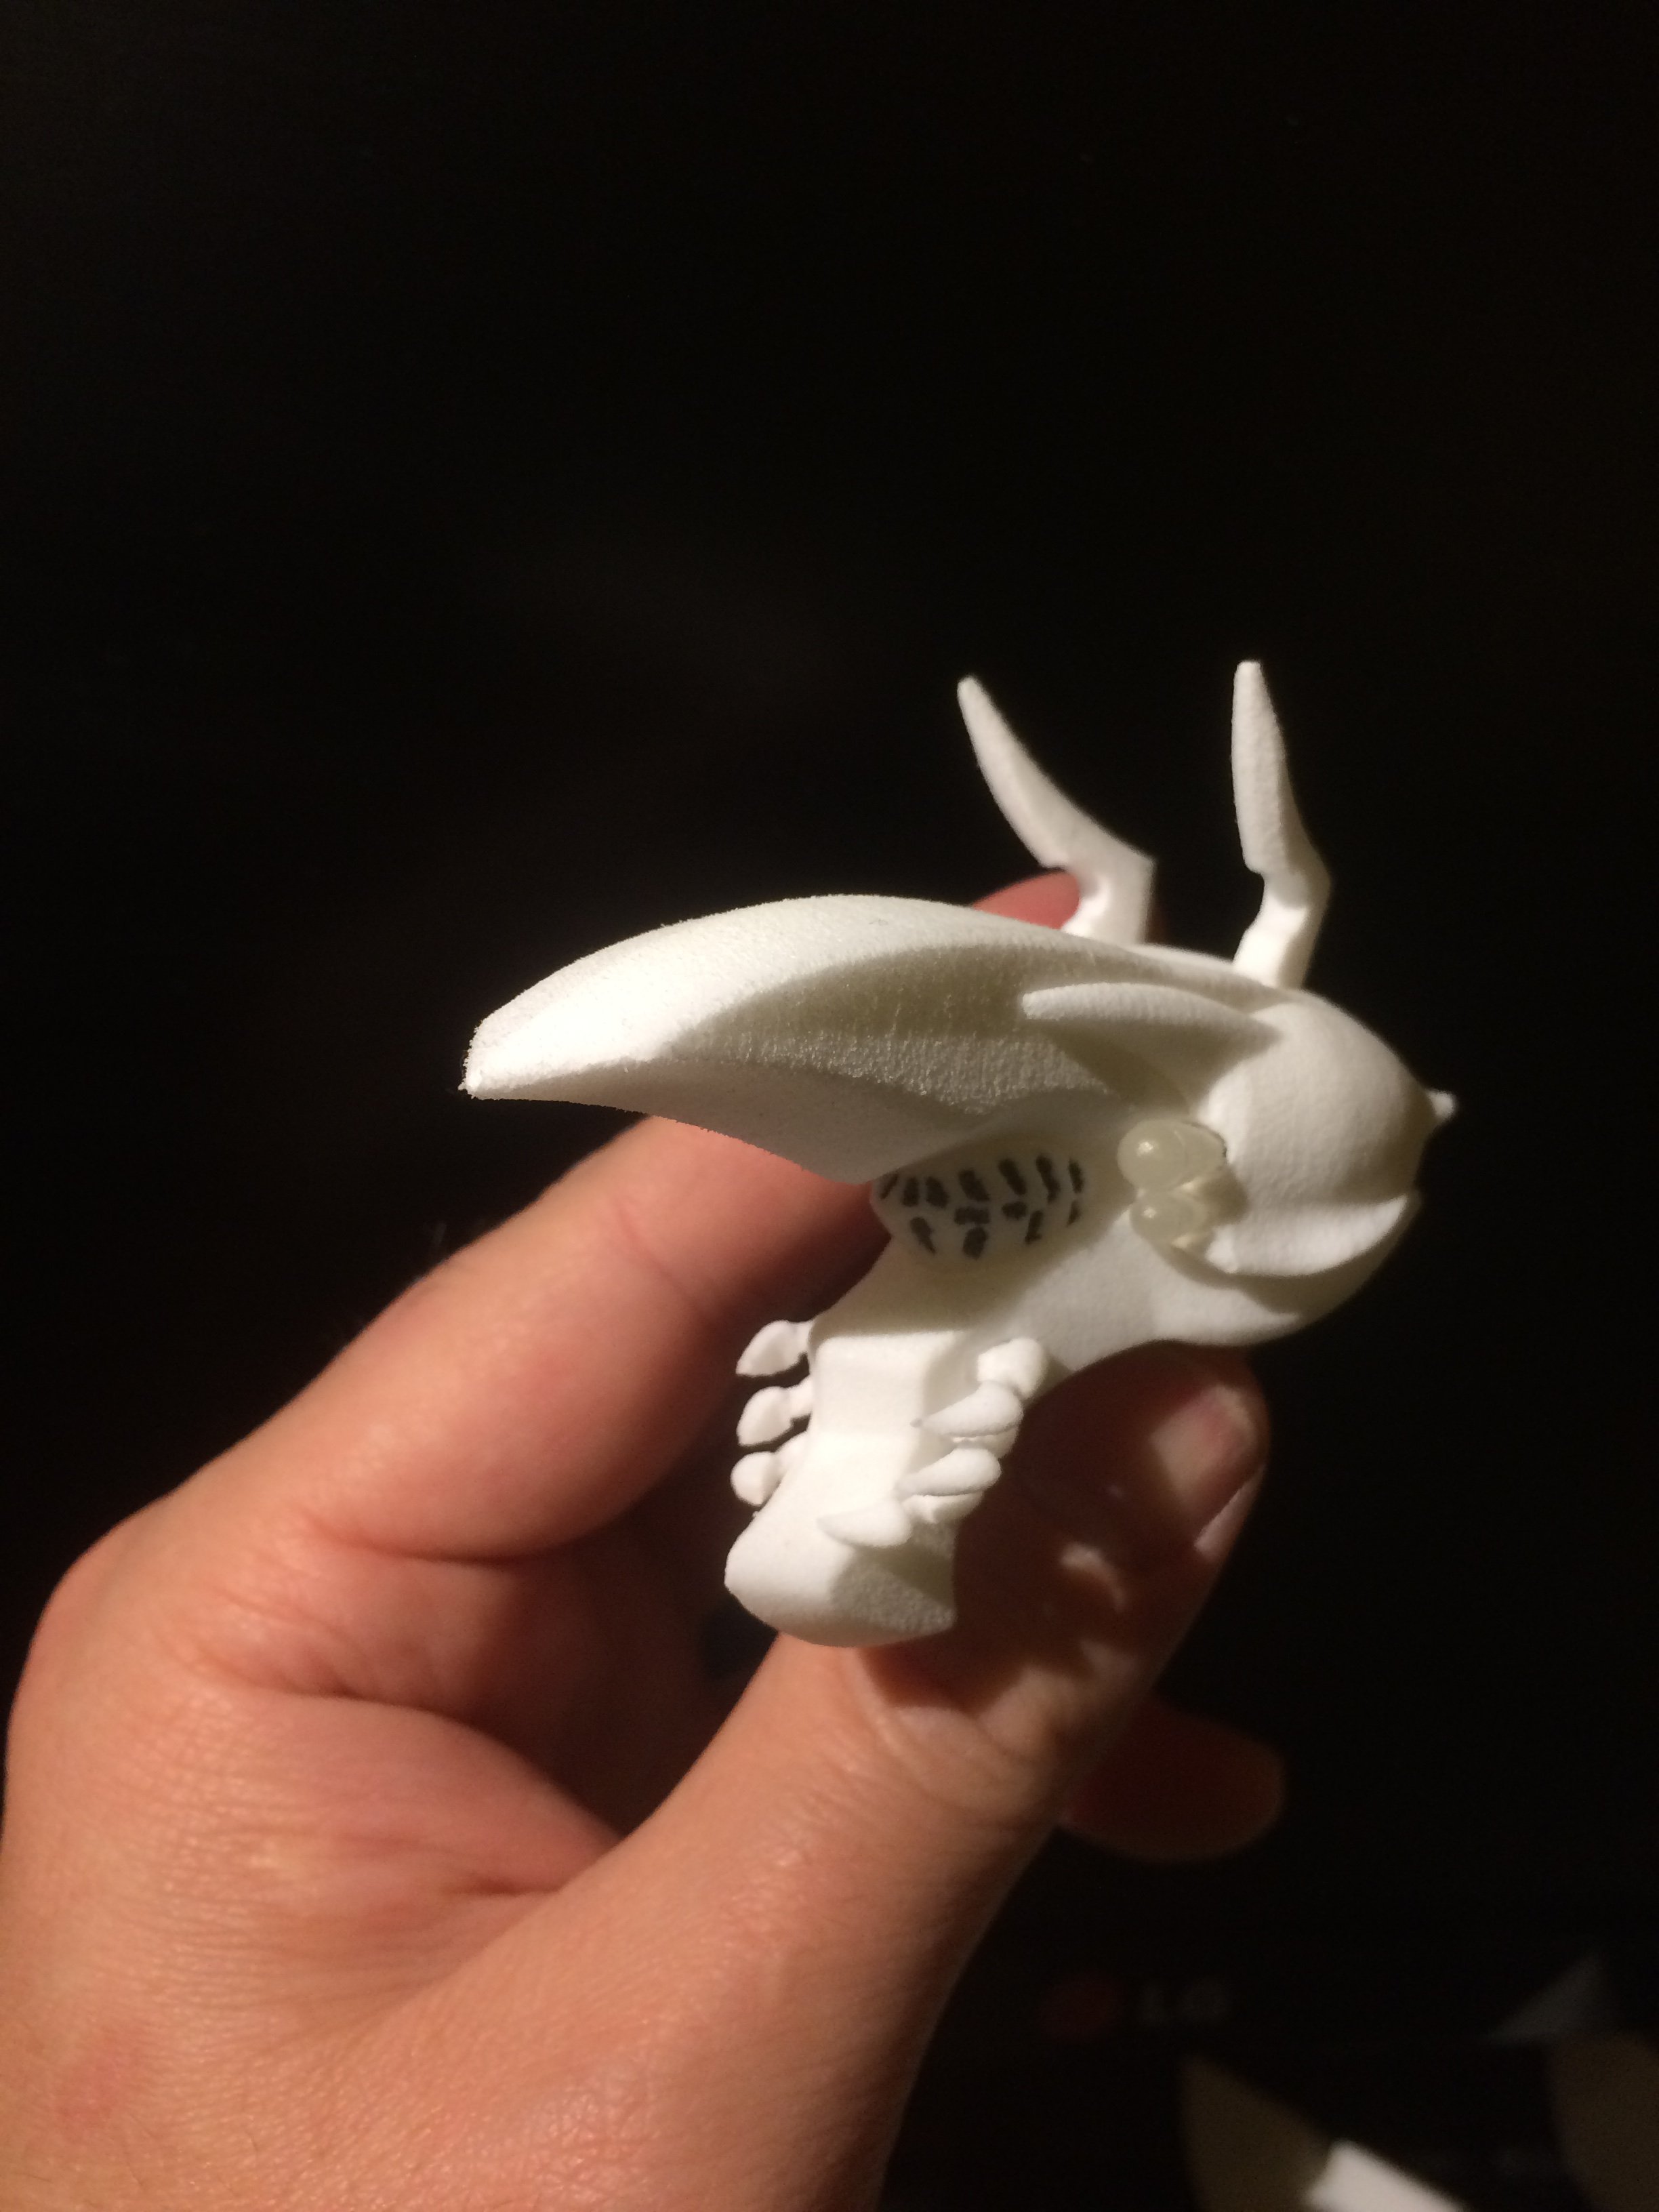
I received a few 3D prints today, and i have been utterly busy!
A few WIP pictures.


-
Your latest bug happens everytime you ungroup a "Soften Edged" group with its mirror or another group with juxtaposed plans. To avoid the issue, you need to cancel the softening before merging the groups.
-
I am so impressed by how delicate and detailed this king looks in battroid mode in particular.
-
Hi Arbit,
I am glad another bike and Sharon have found a house! I remember that I made the 1:60 bike a little smaller than the line art to make it match better the pilot size.
See on the photo the red-hair guy and the orange pilot are both 1:72 scale. They match up with isamu.
I don't own a 1:72 bike, I know there are a few out. So if someone can post a picture that would be nice. But honestly I really like the scale of the bike, if you look again at the "plus" episodes you will find that the bike should be as long as a car!
-
I know this bug, but unfortunately I don't have a true solution to fix it.
It's like if the origin of the "group" changes when you try to modify or scale a member or line in it. So every change applied to the group destroys the global geometry.
To fix it, you need to explode or make the whole group again from scratch.
Something to avoid this bug, is to reduce the axis change and rotations to this group.
-
I can't wait to see this one in DX form!
-
I don't know how realistic this can be made as a kit. I will think about it later !
-
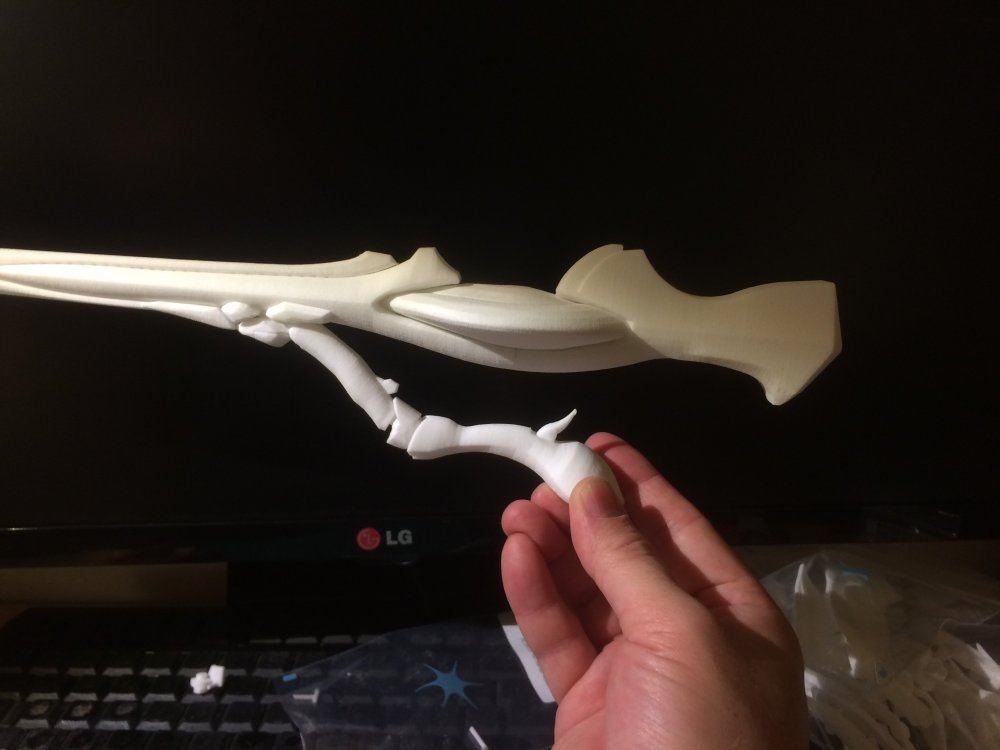
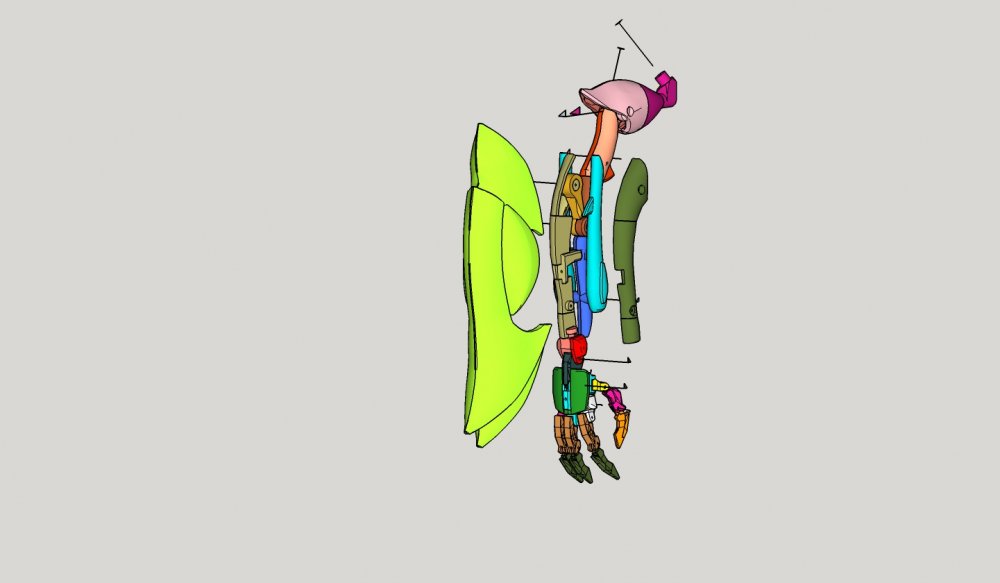
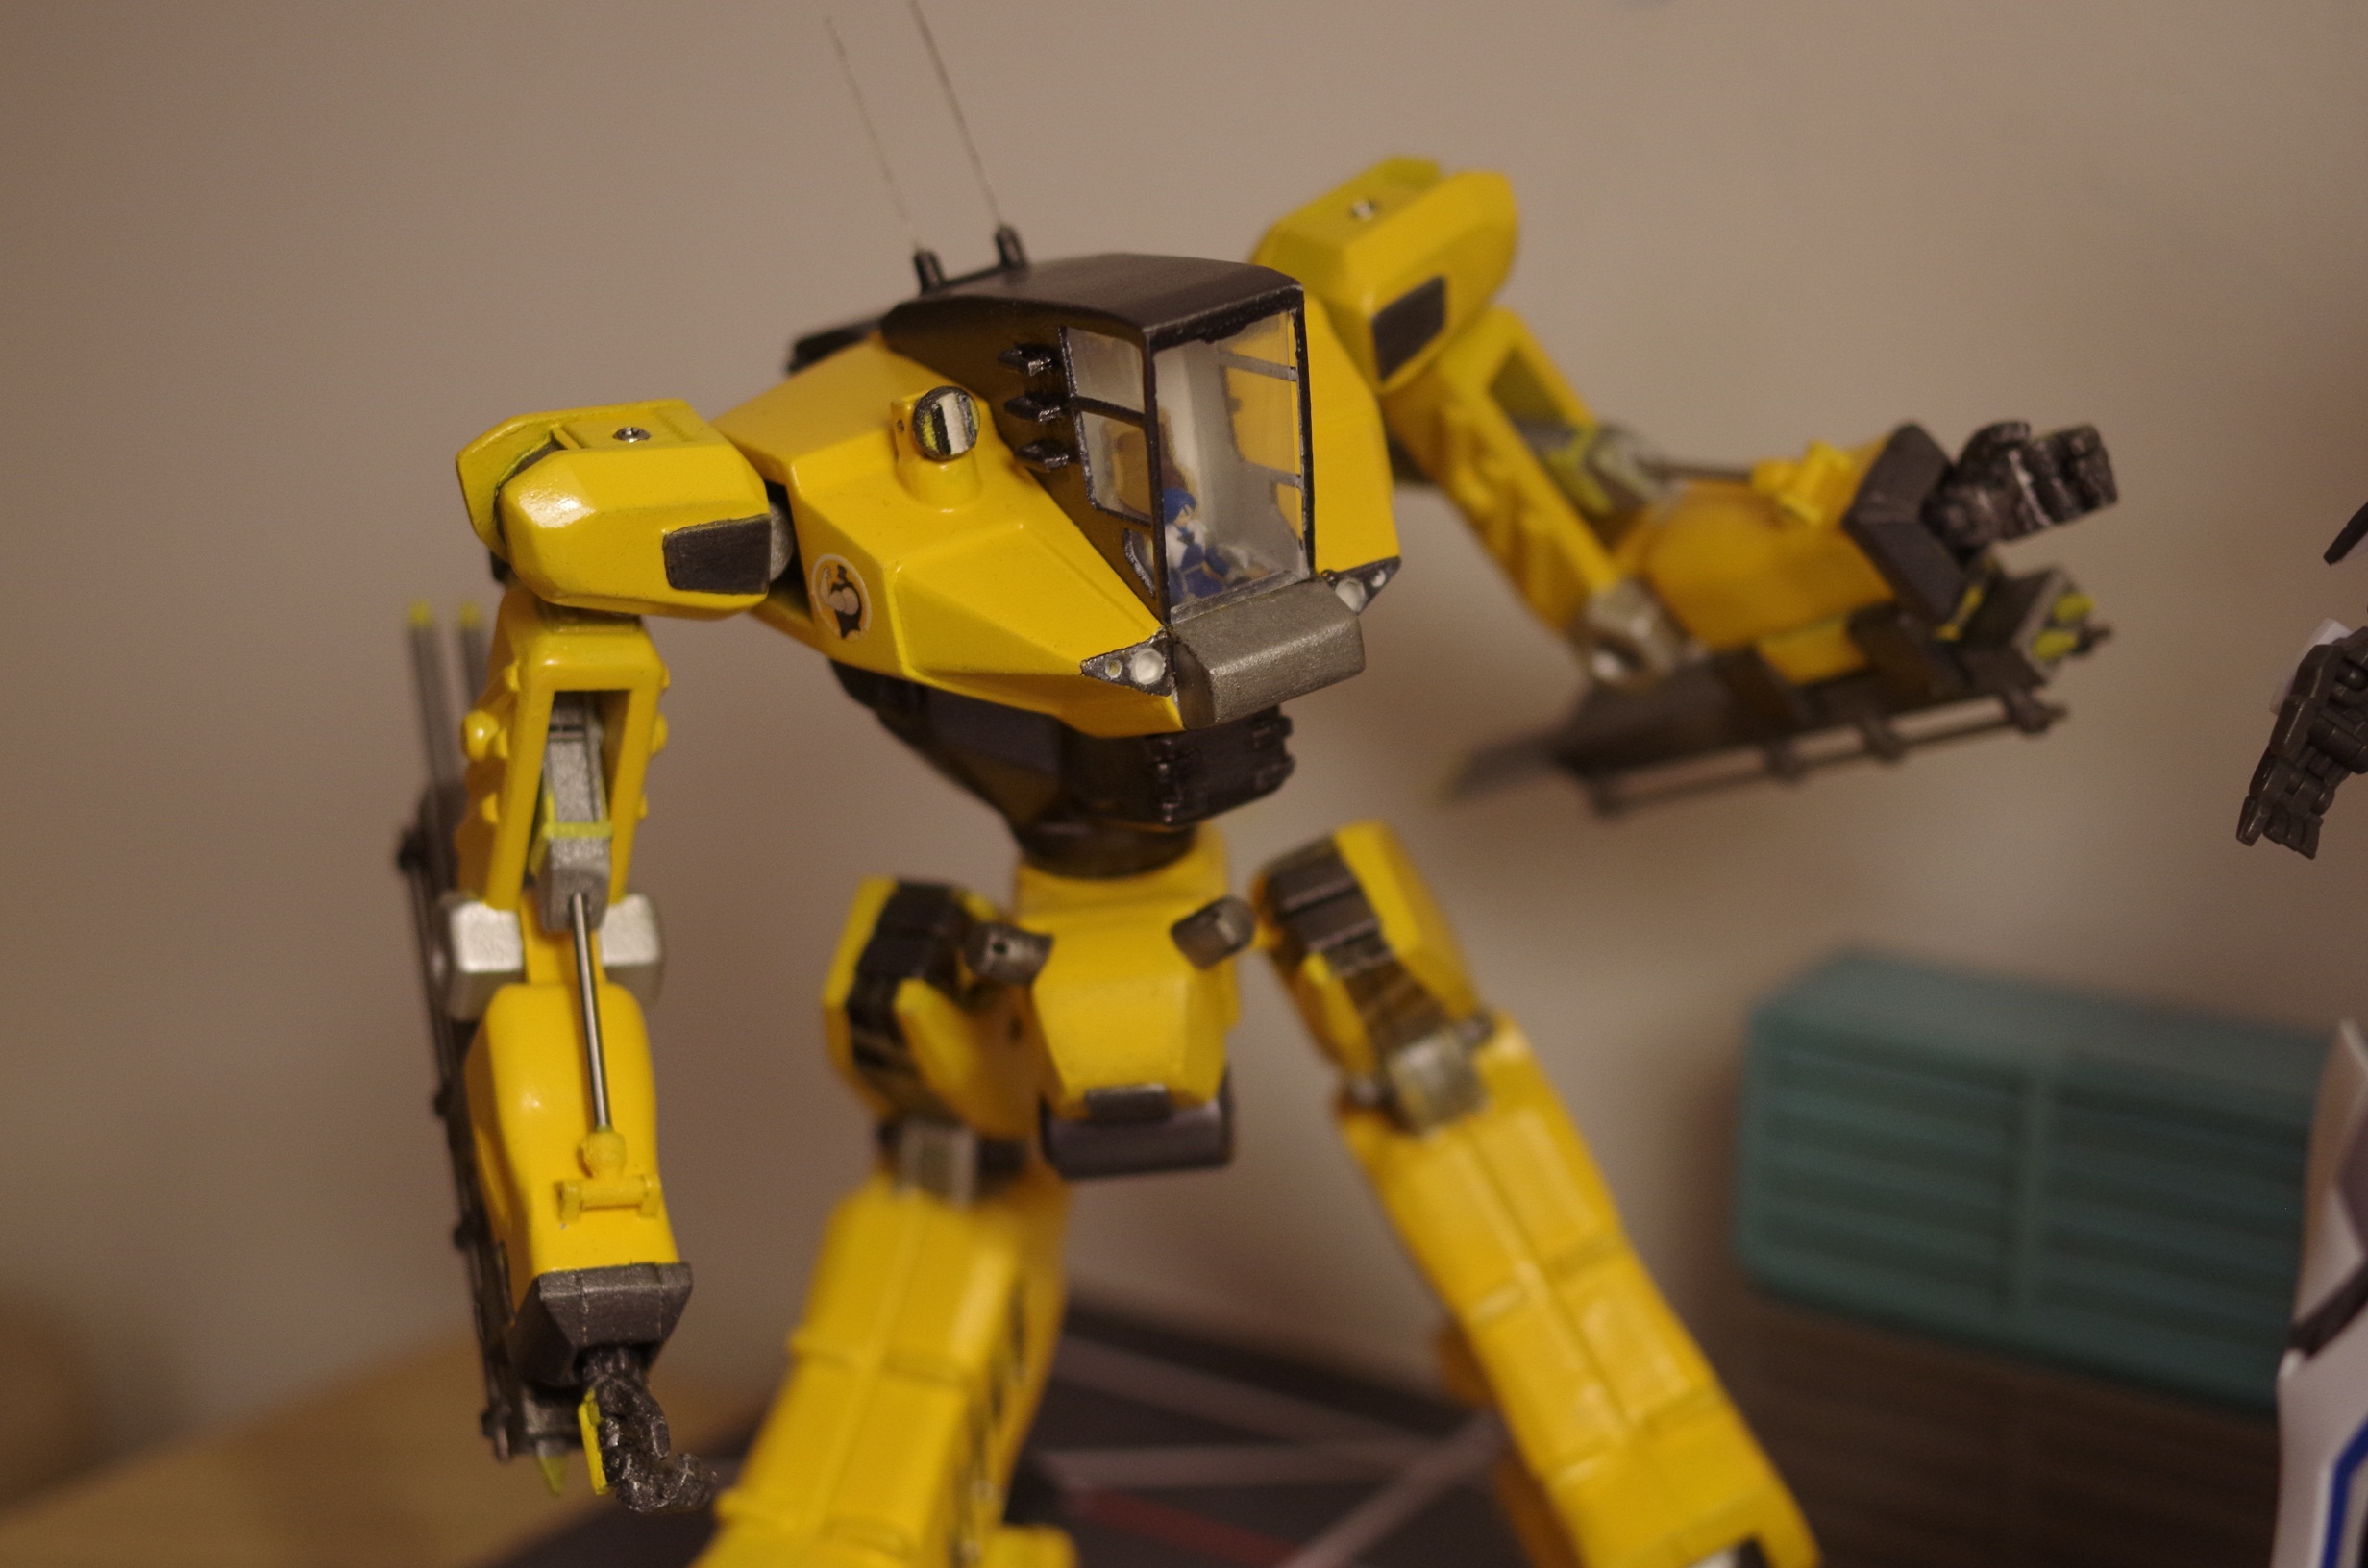
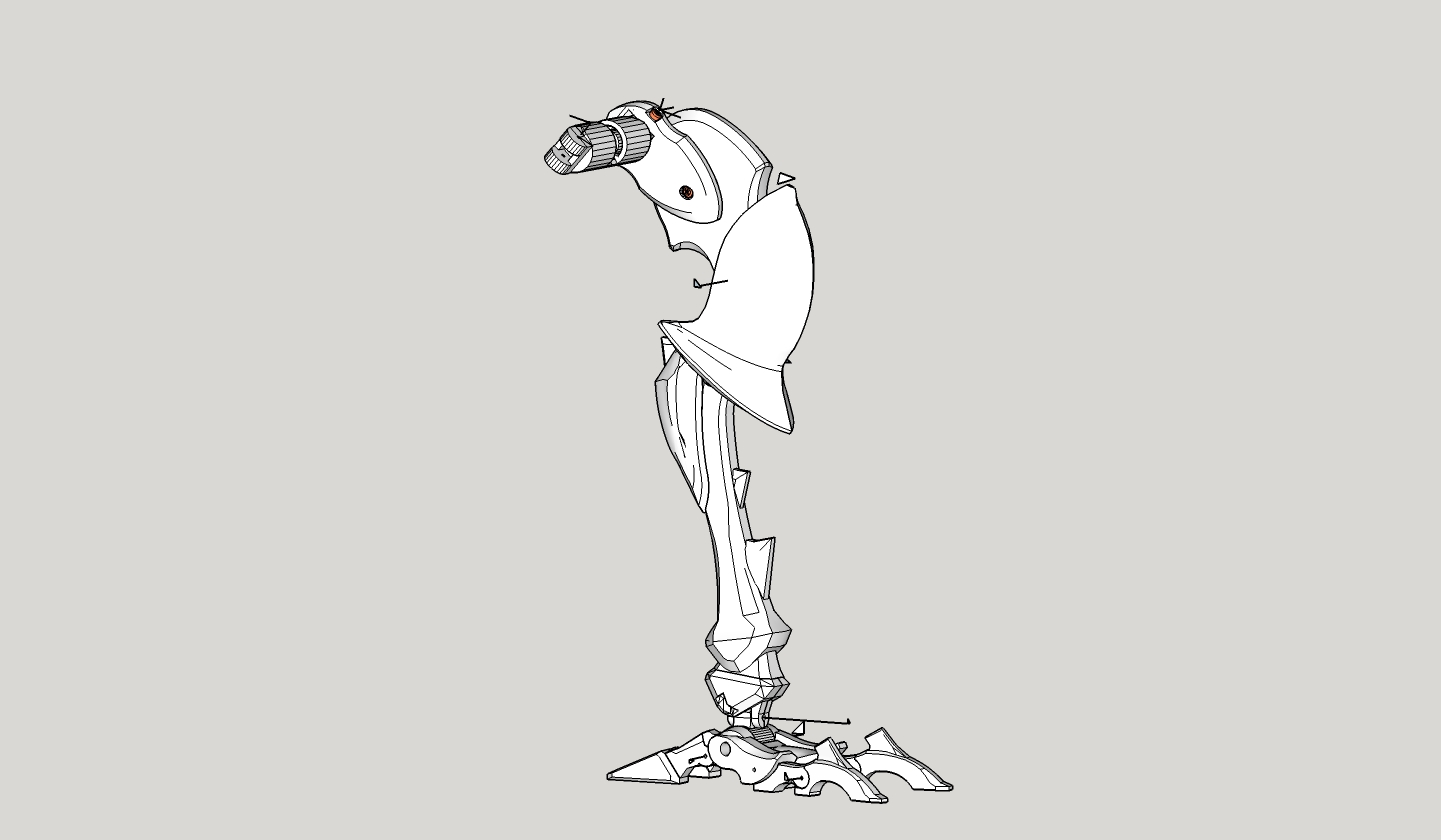
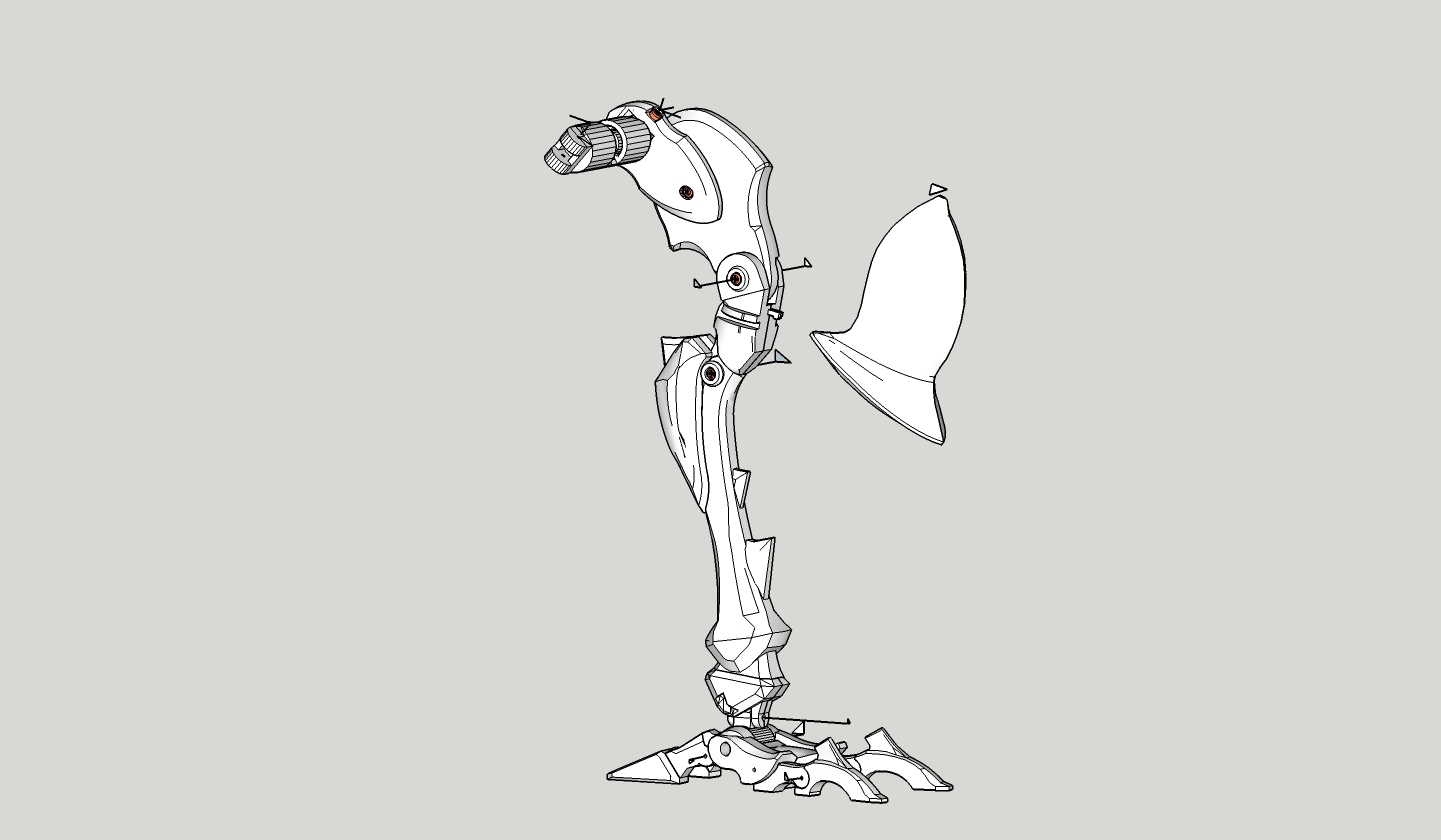
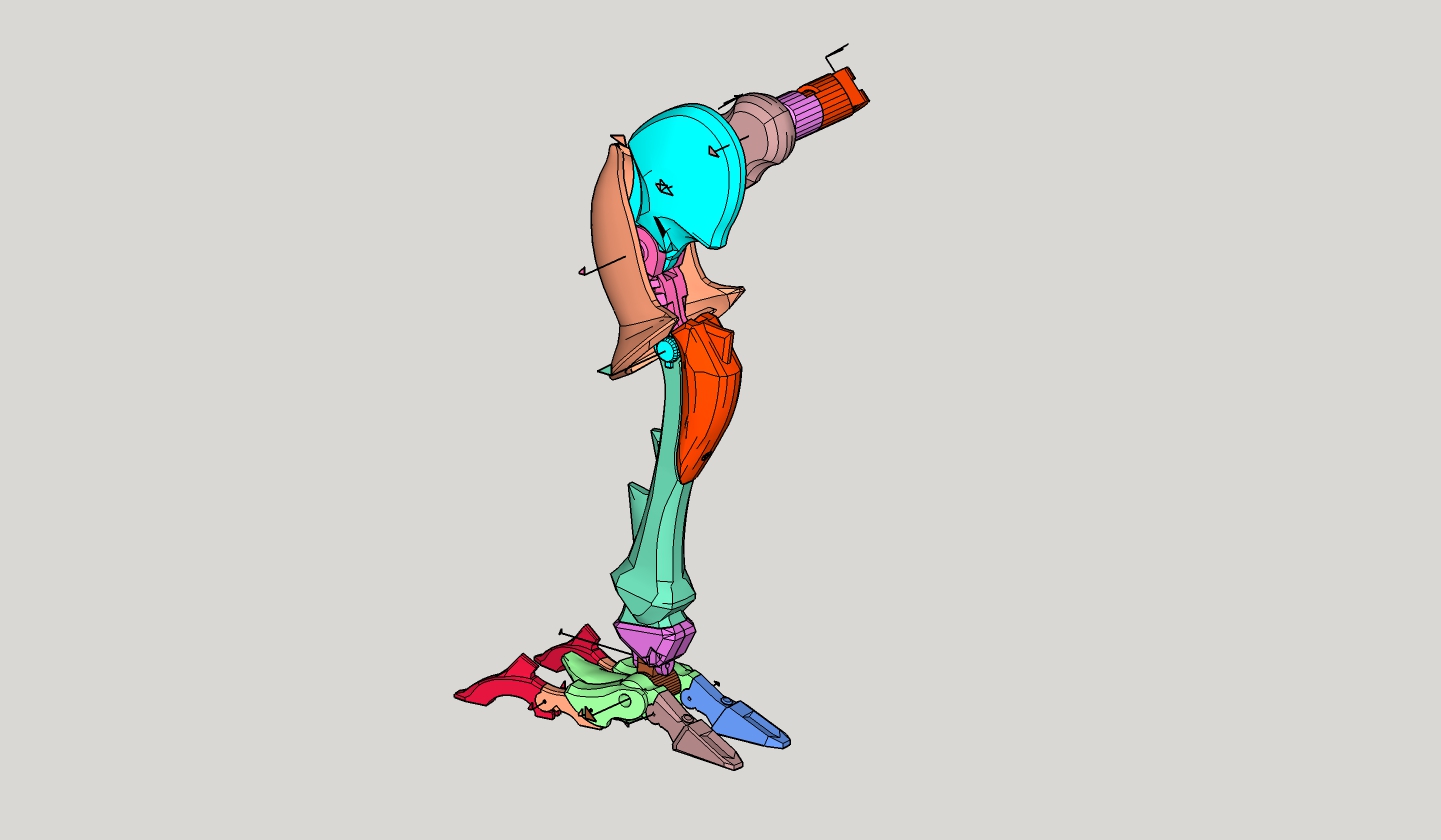
So far, I used the exact same hardware as I used with the workroid: M1.7x6mm screws, 1mm diameter rods for smaller articulations and 1.8mm diameter rods for structure reinforcing and a couple articulations
I had a good results with the Workroid, so I used that experience and tried to improve it a bit. At some point I gave up on using magnets. Everything has been sourced on eBay easily.
-
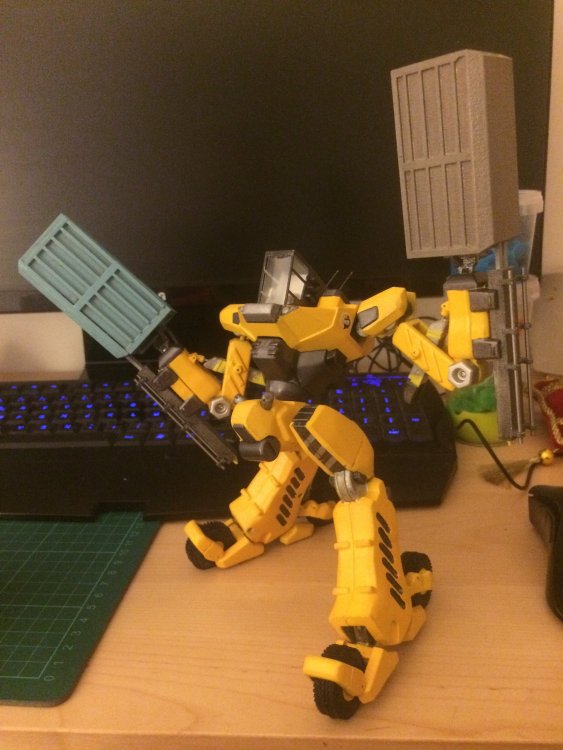
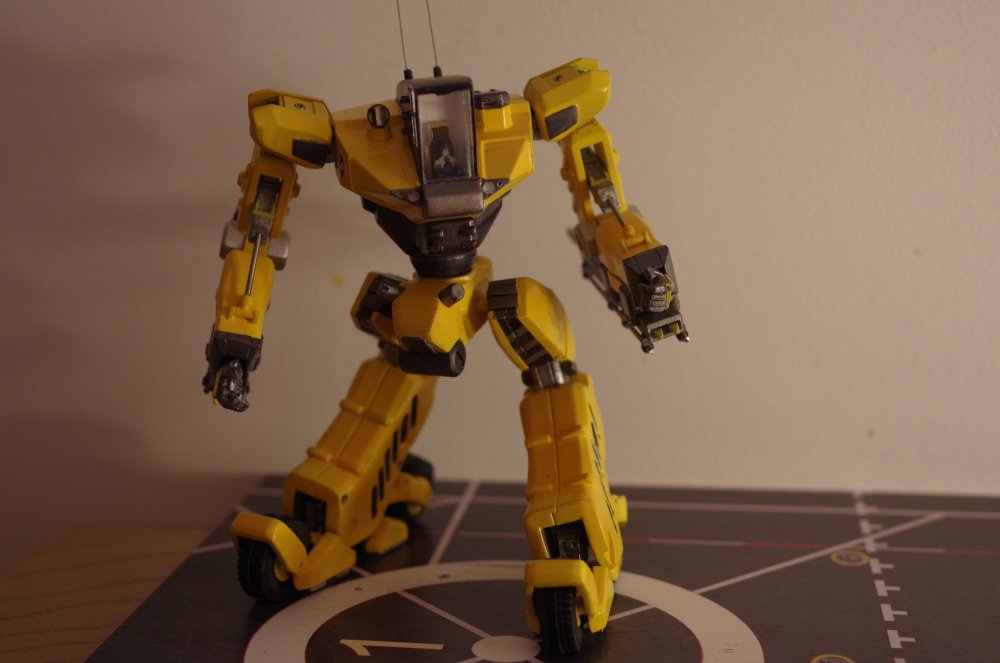
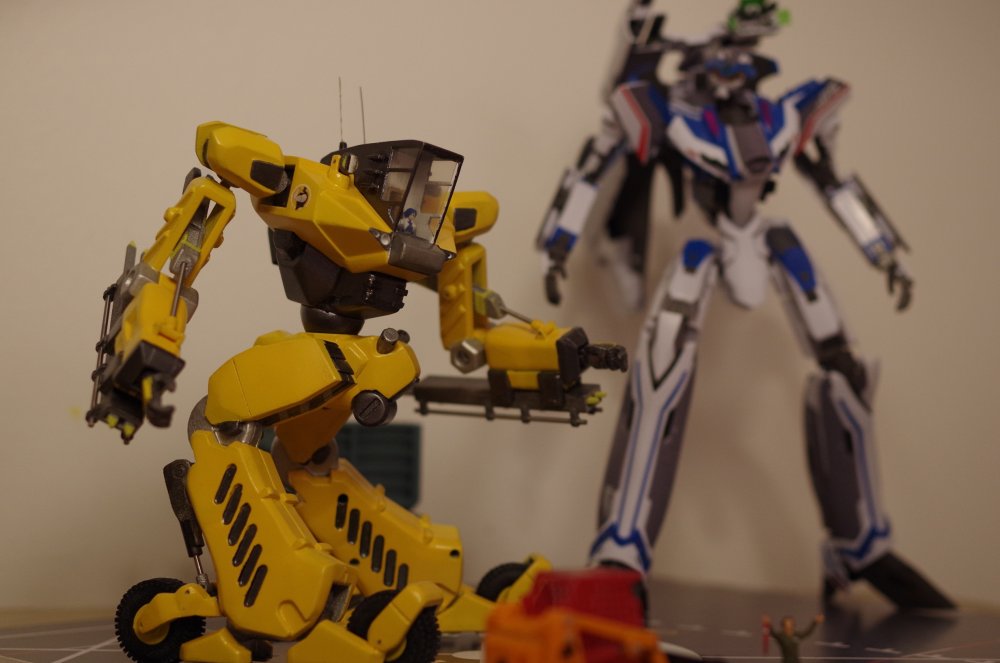
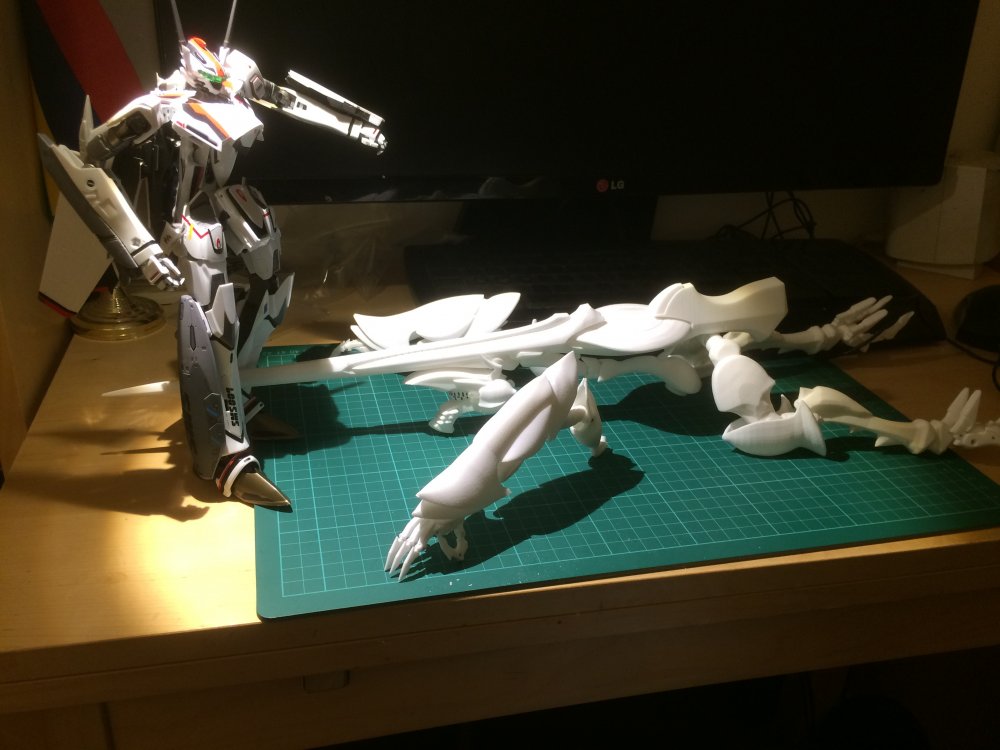
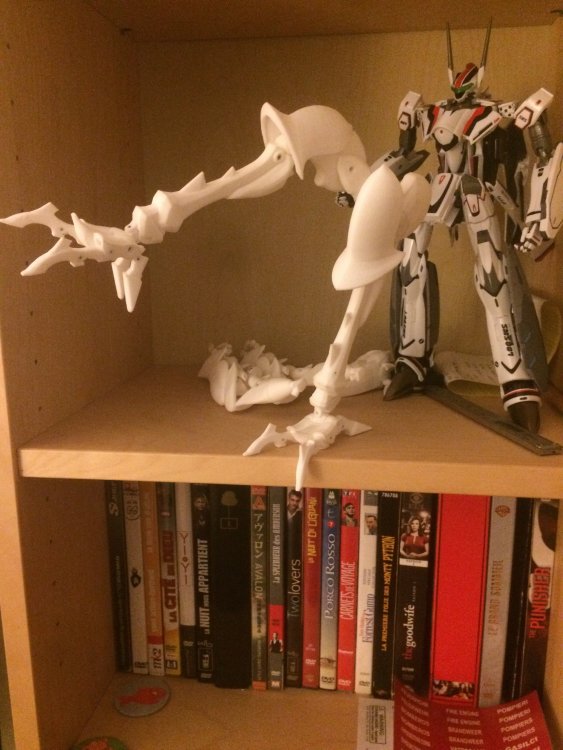
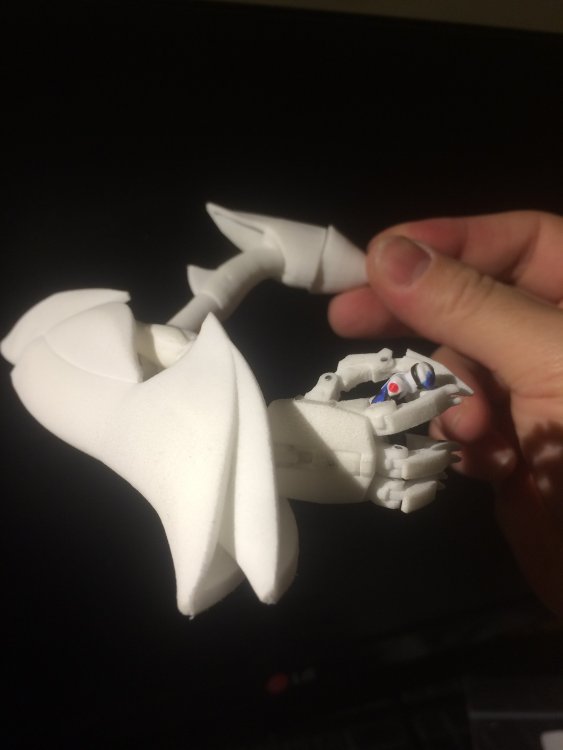
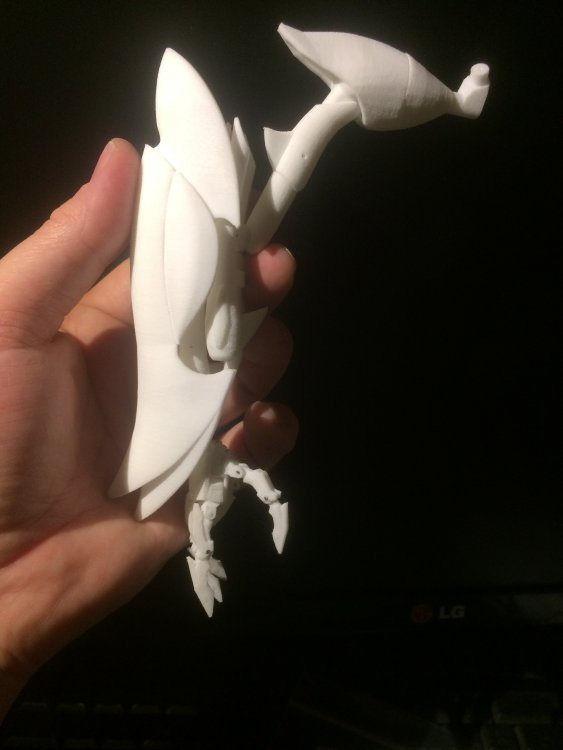
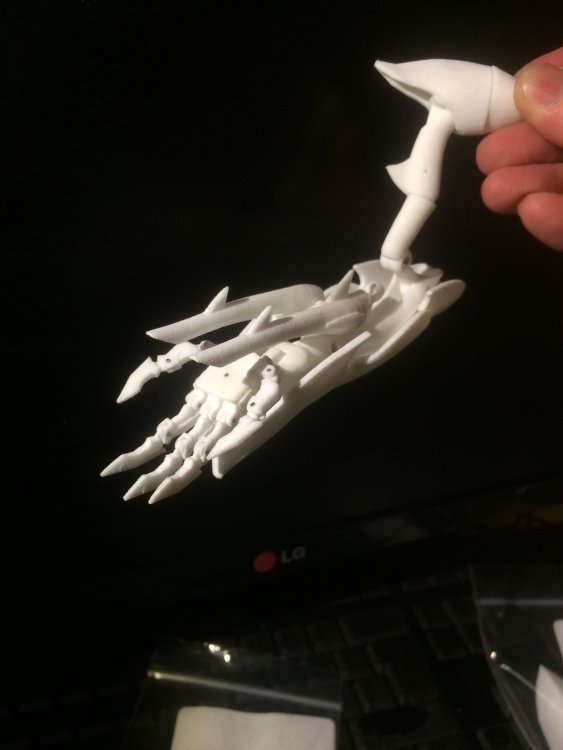
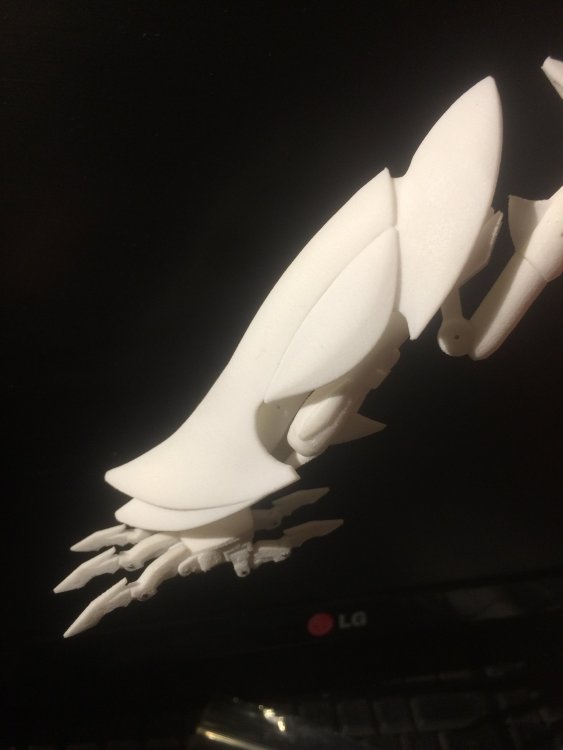
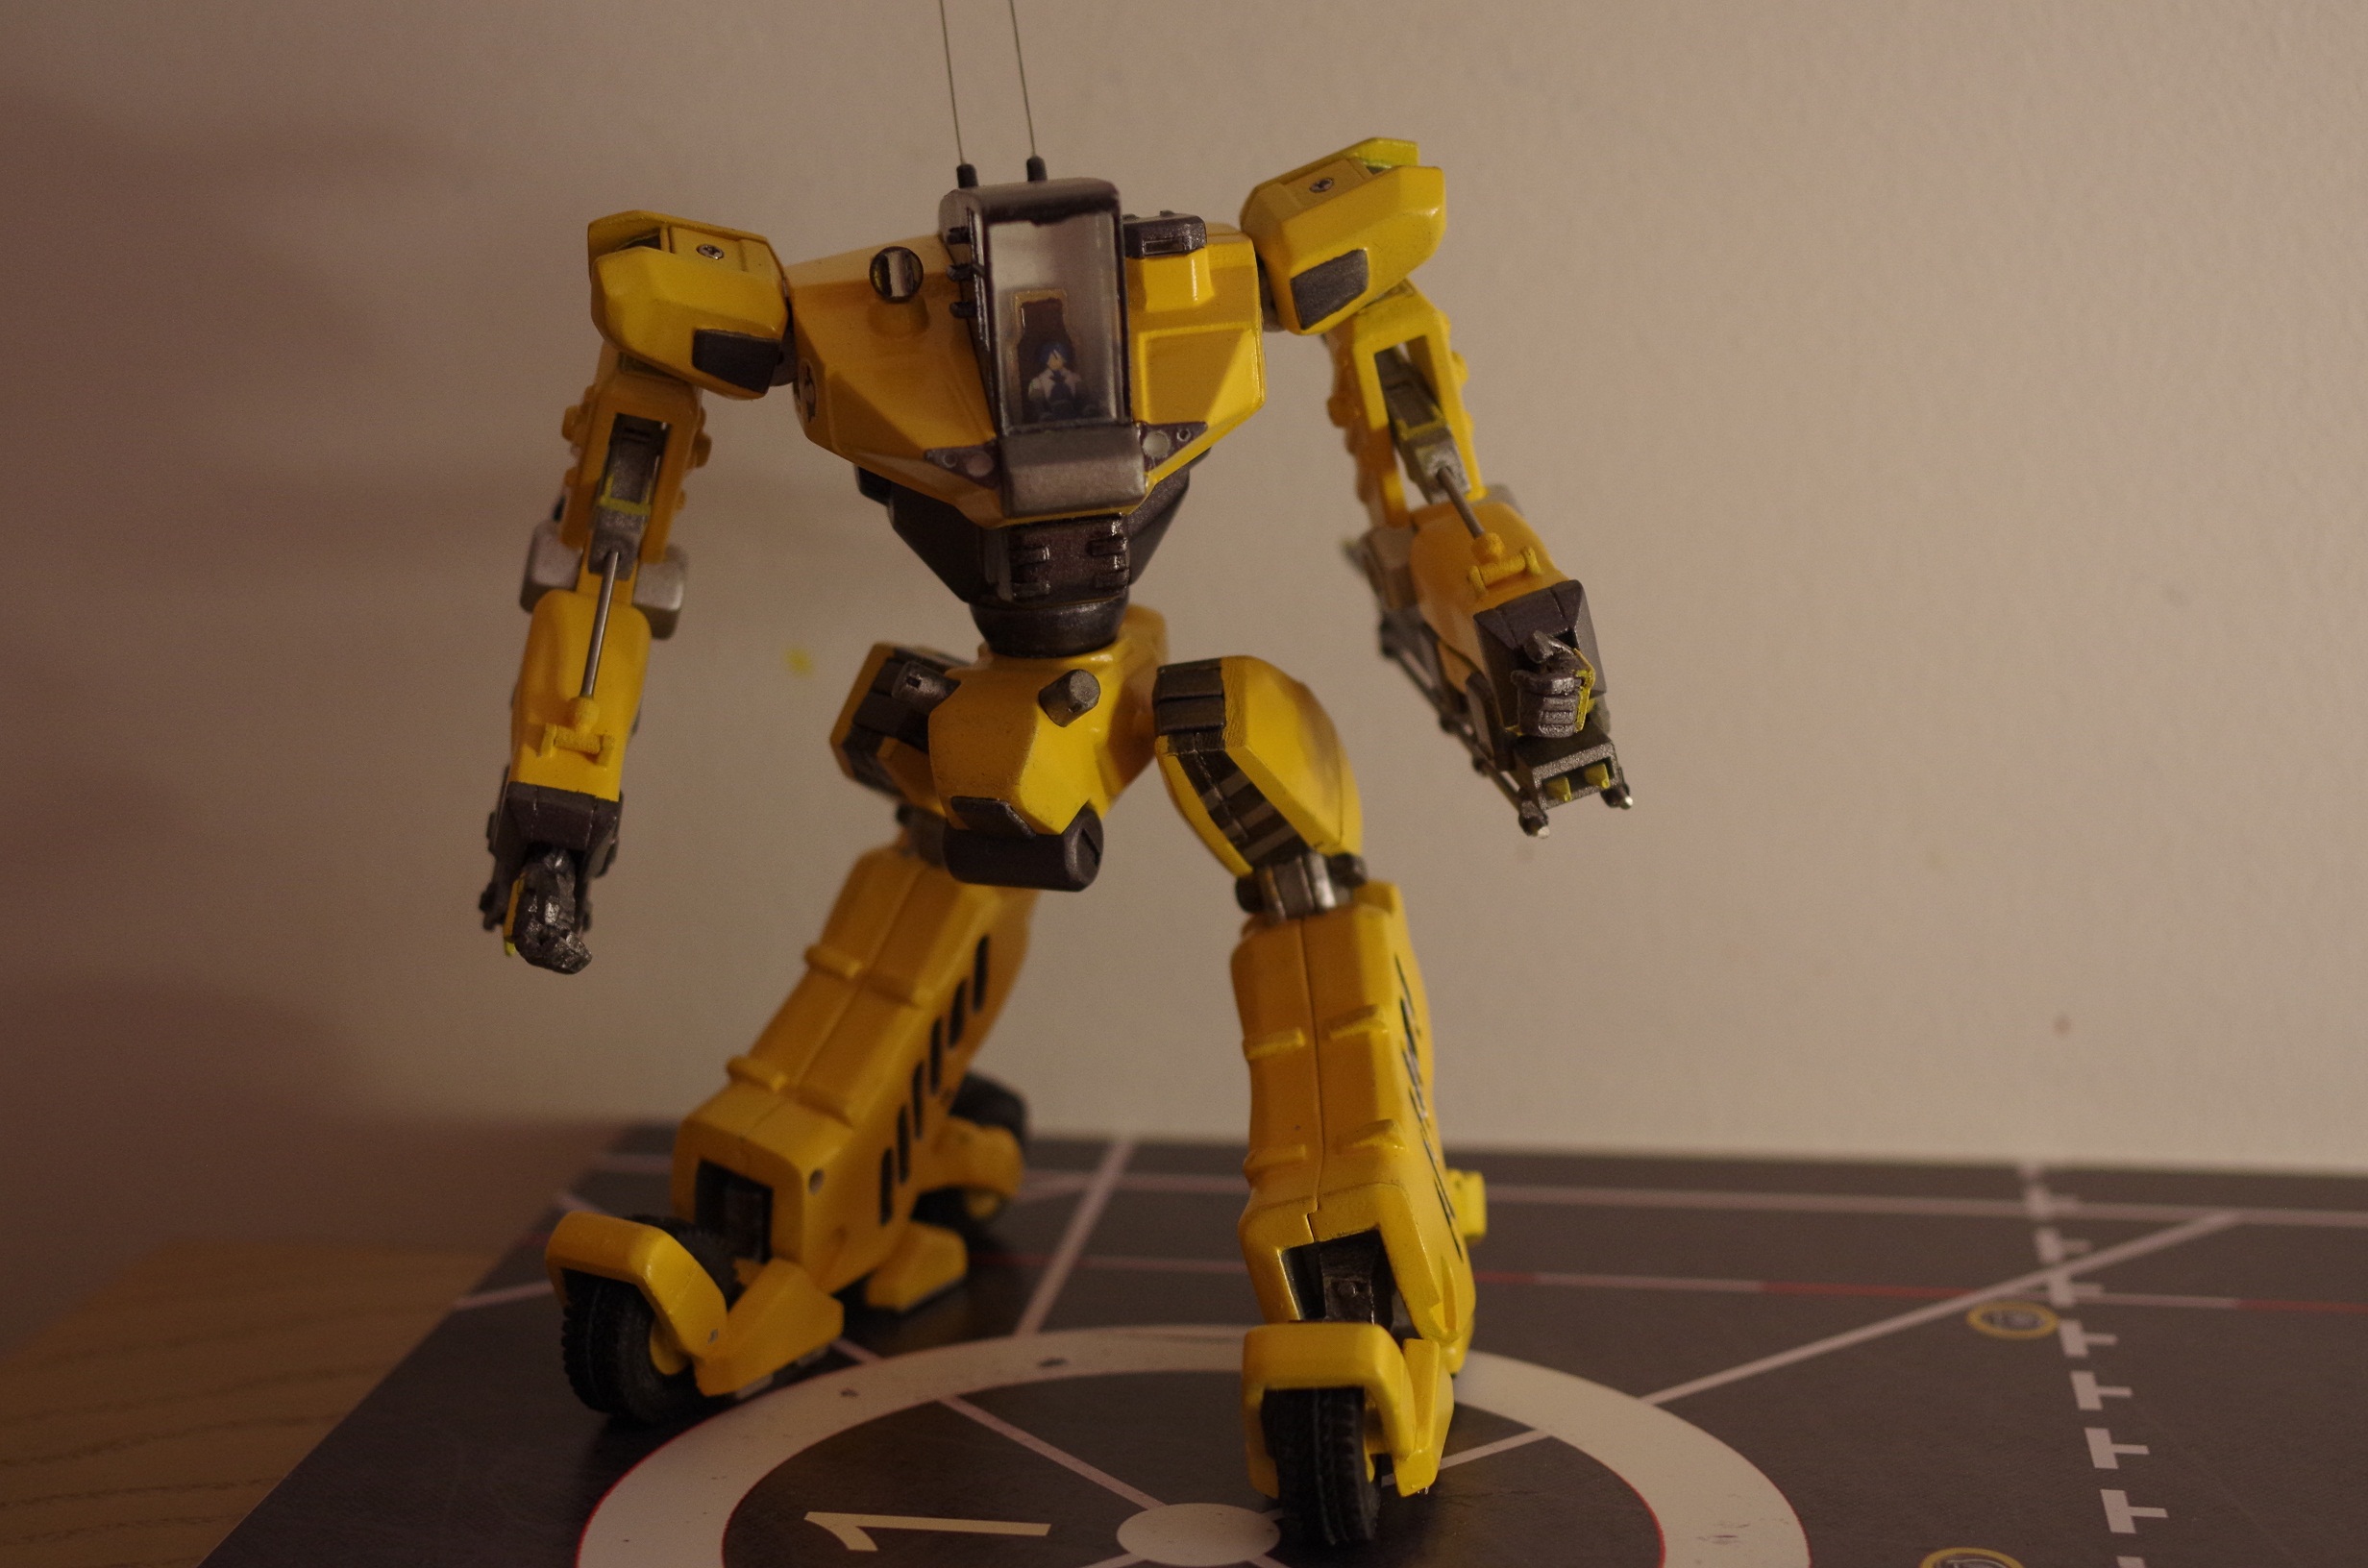
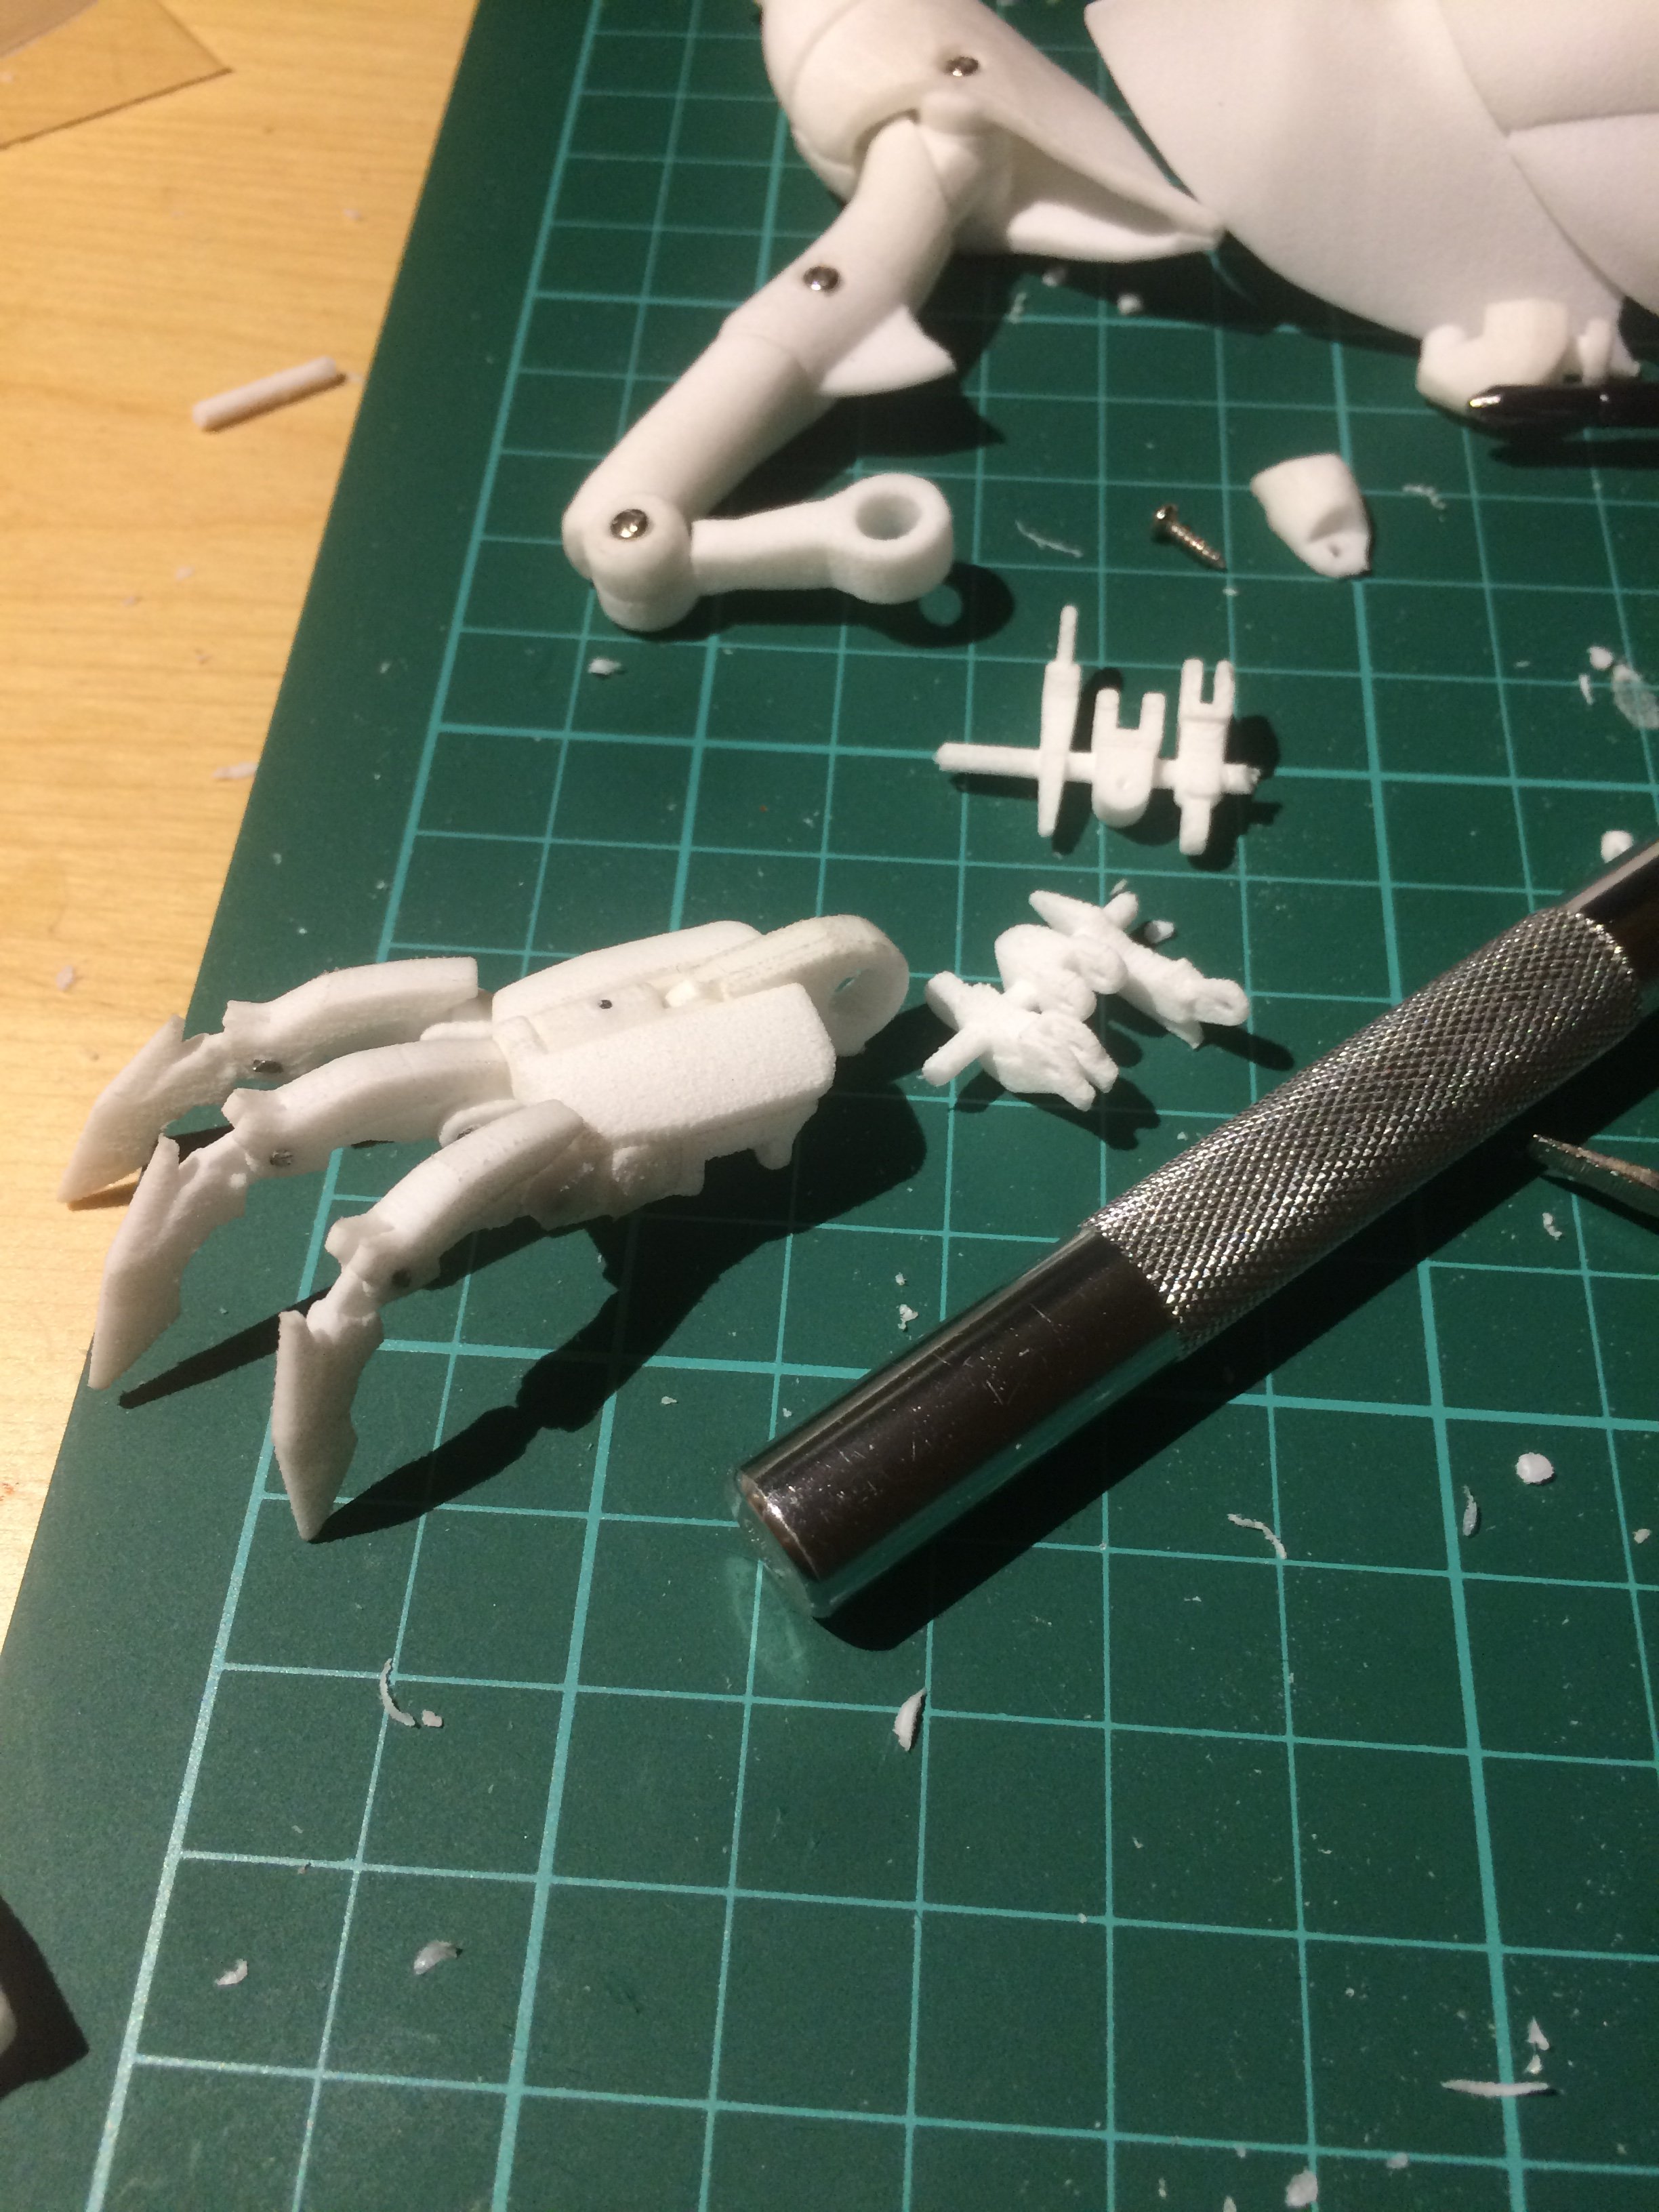
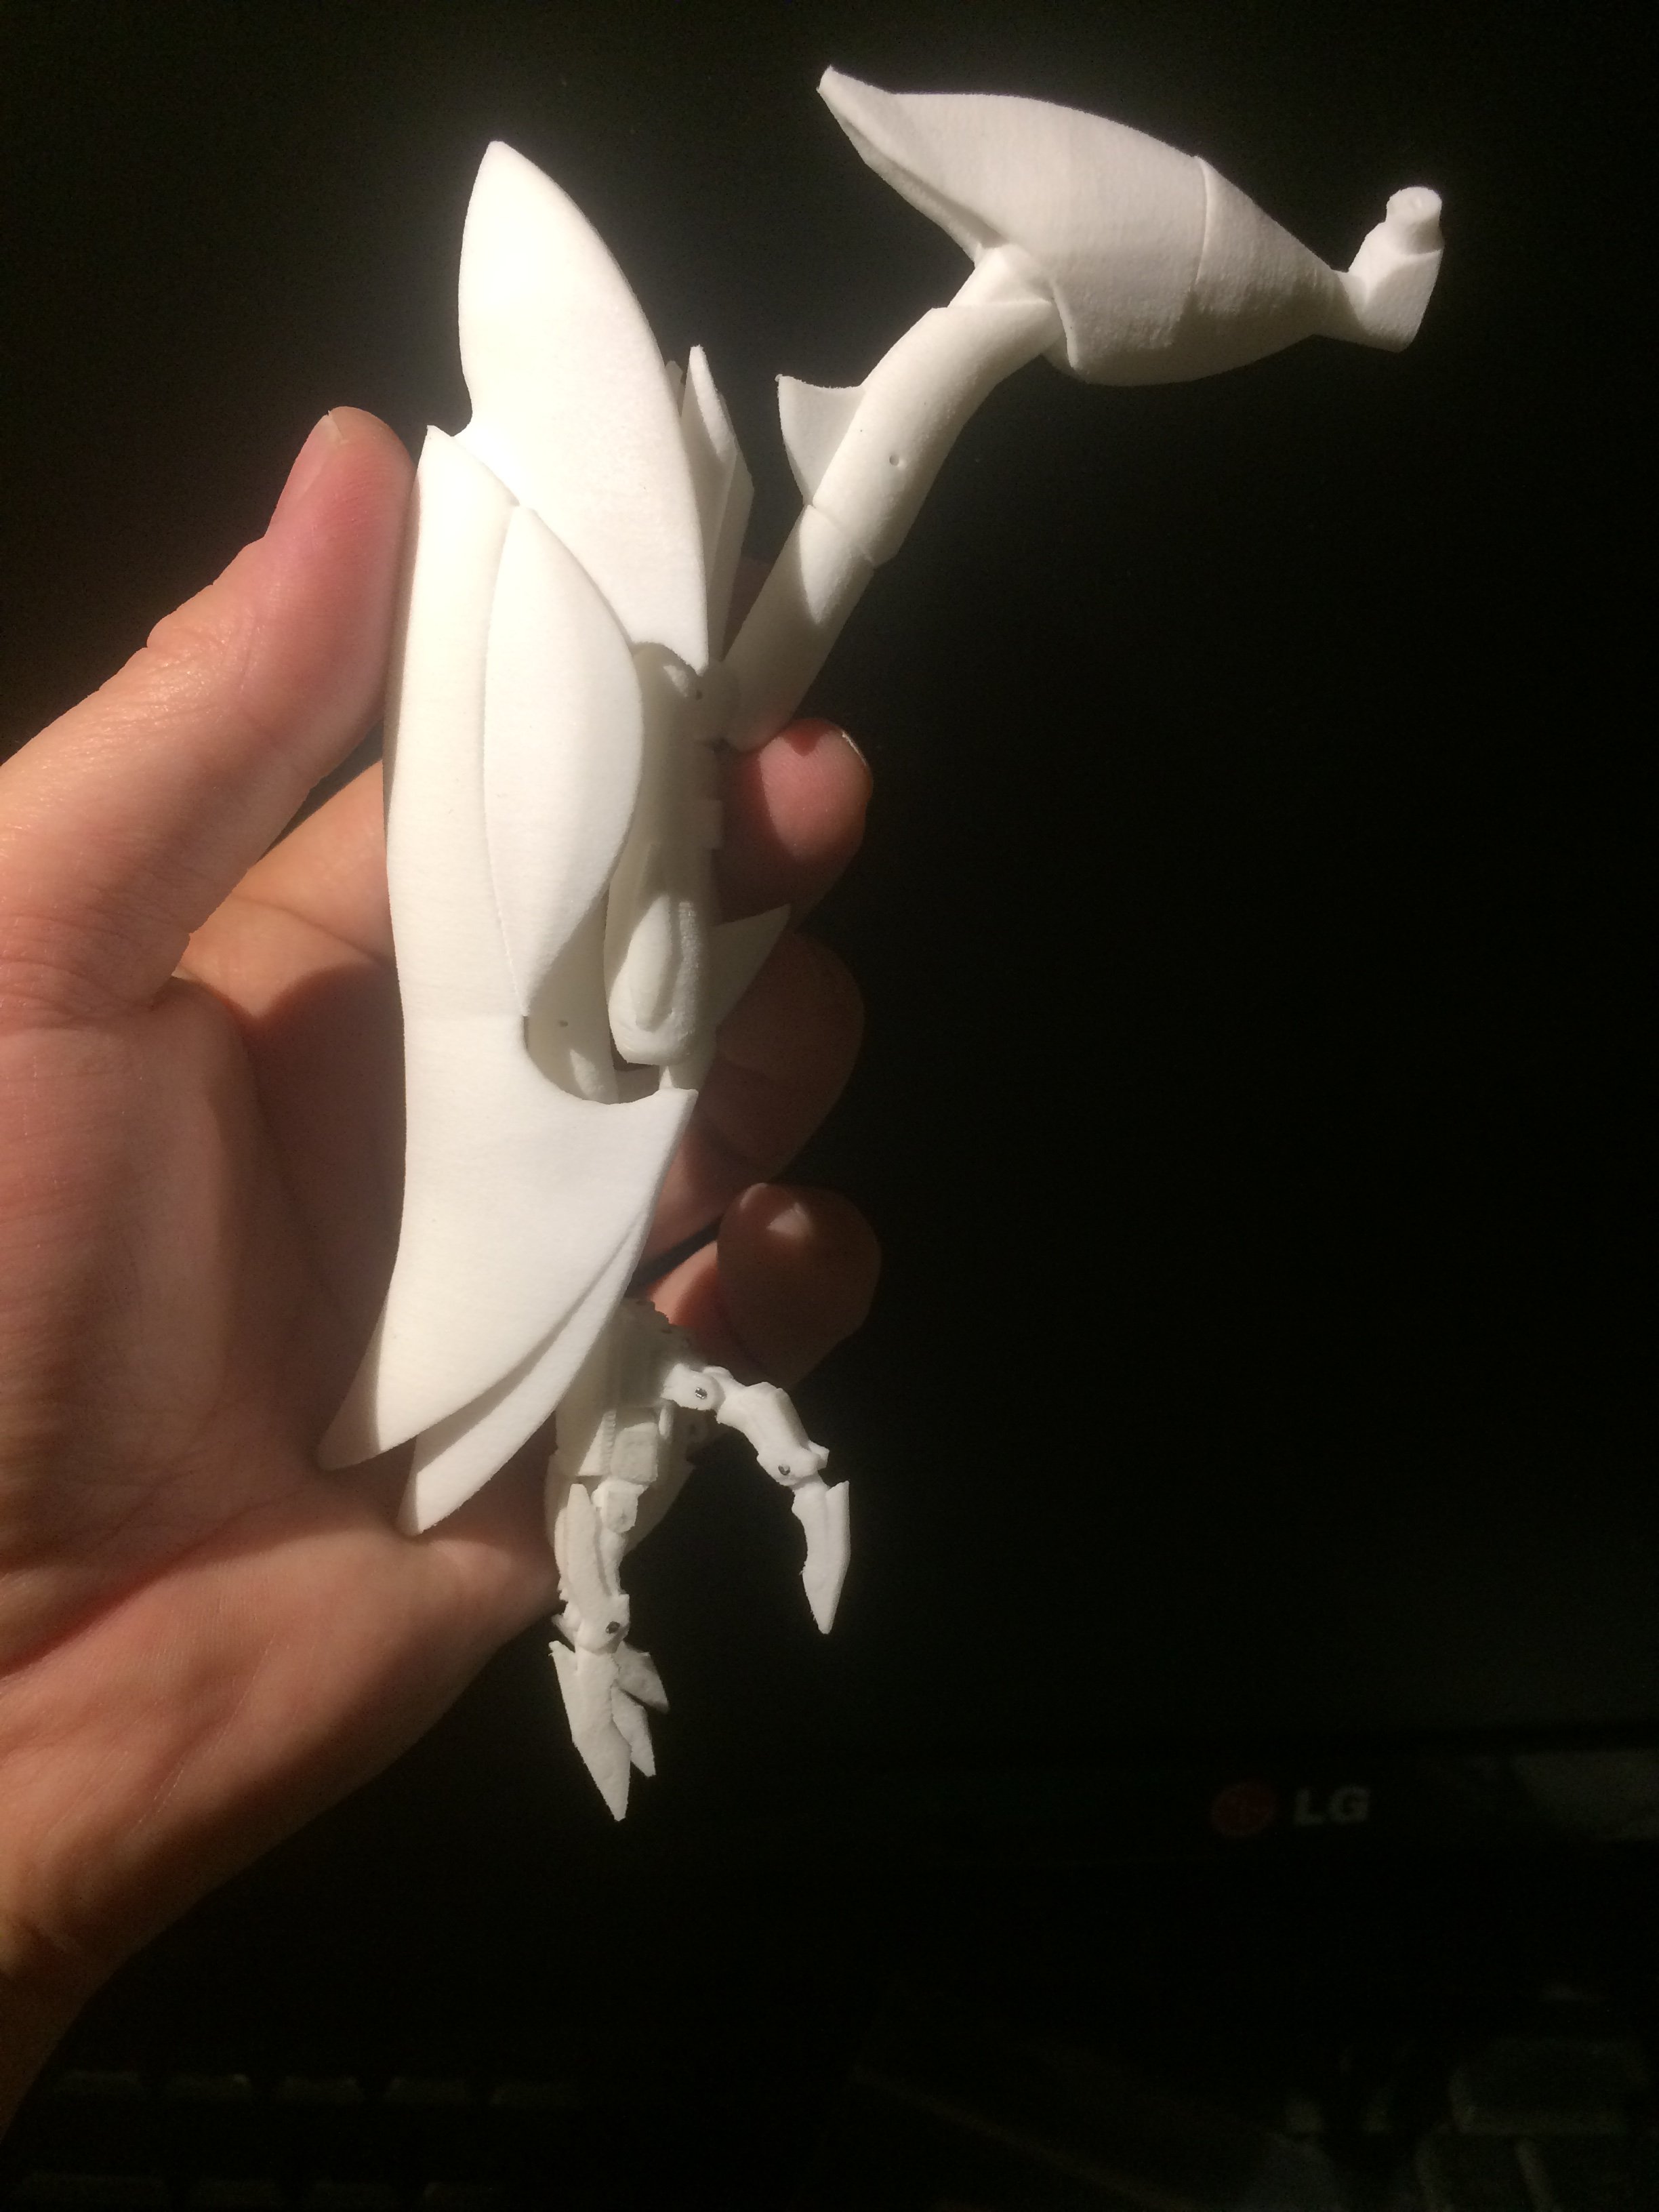
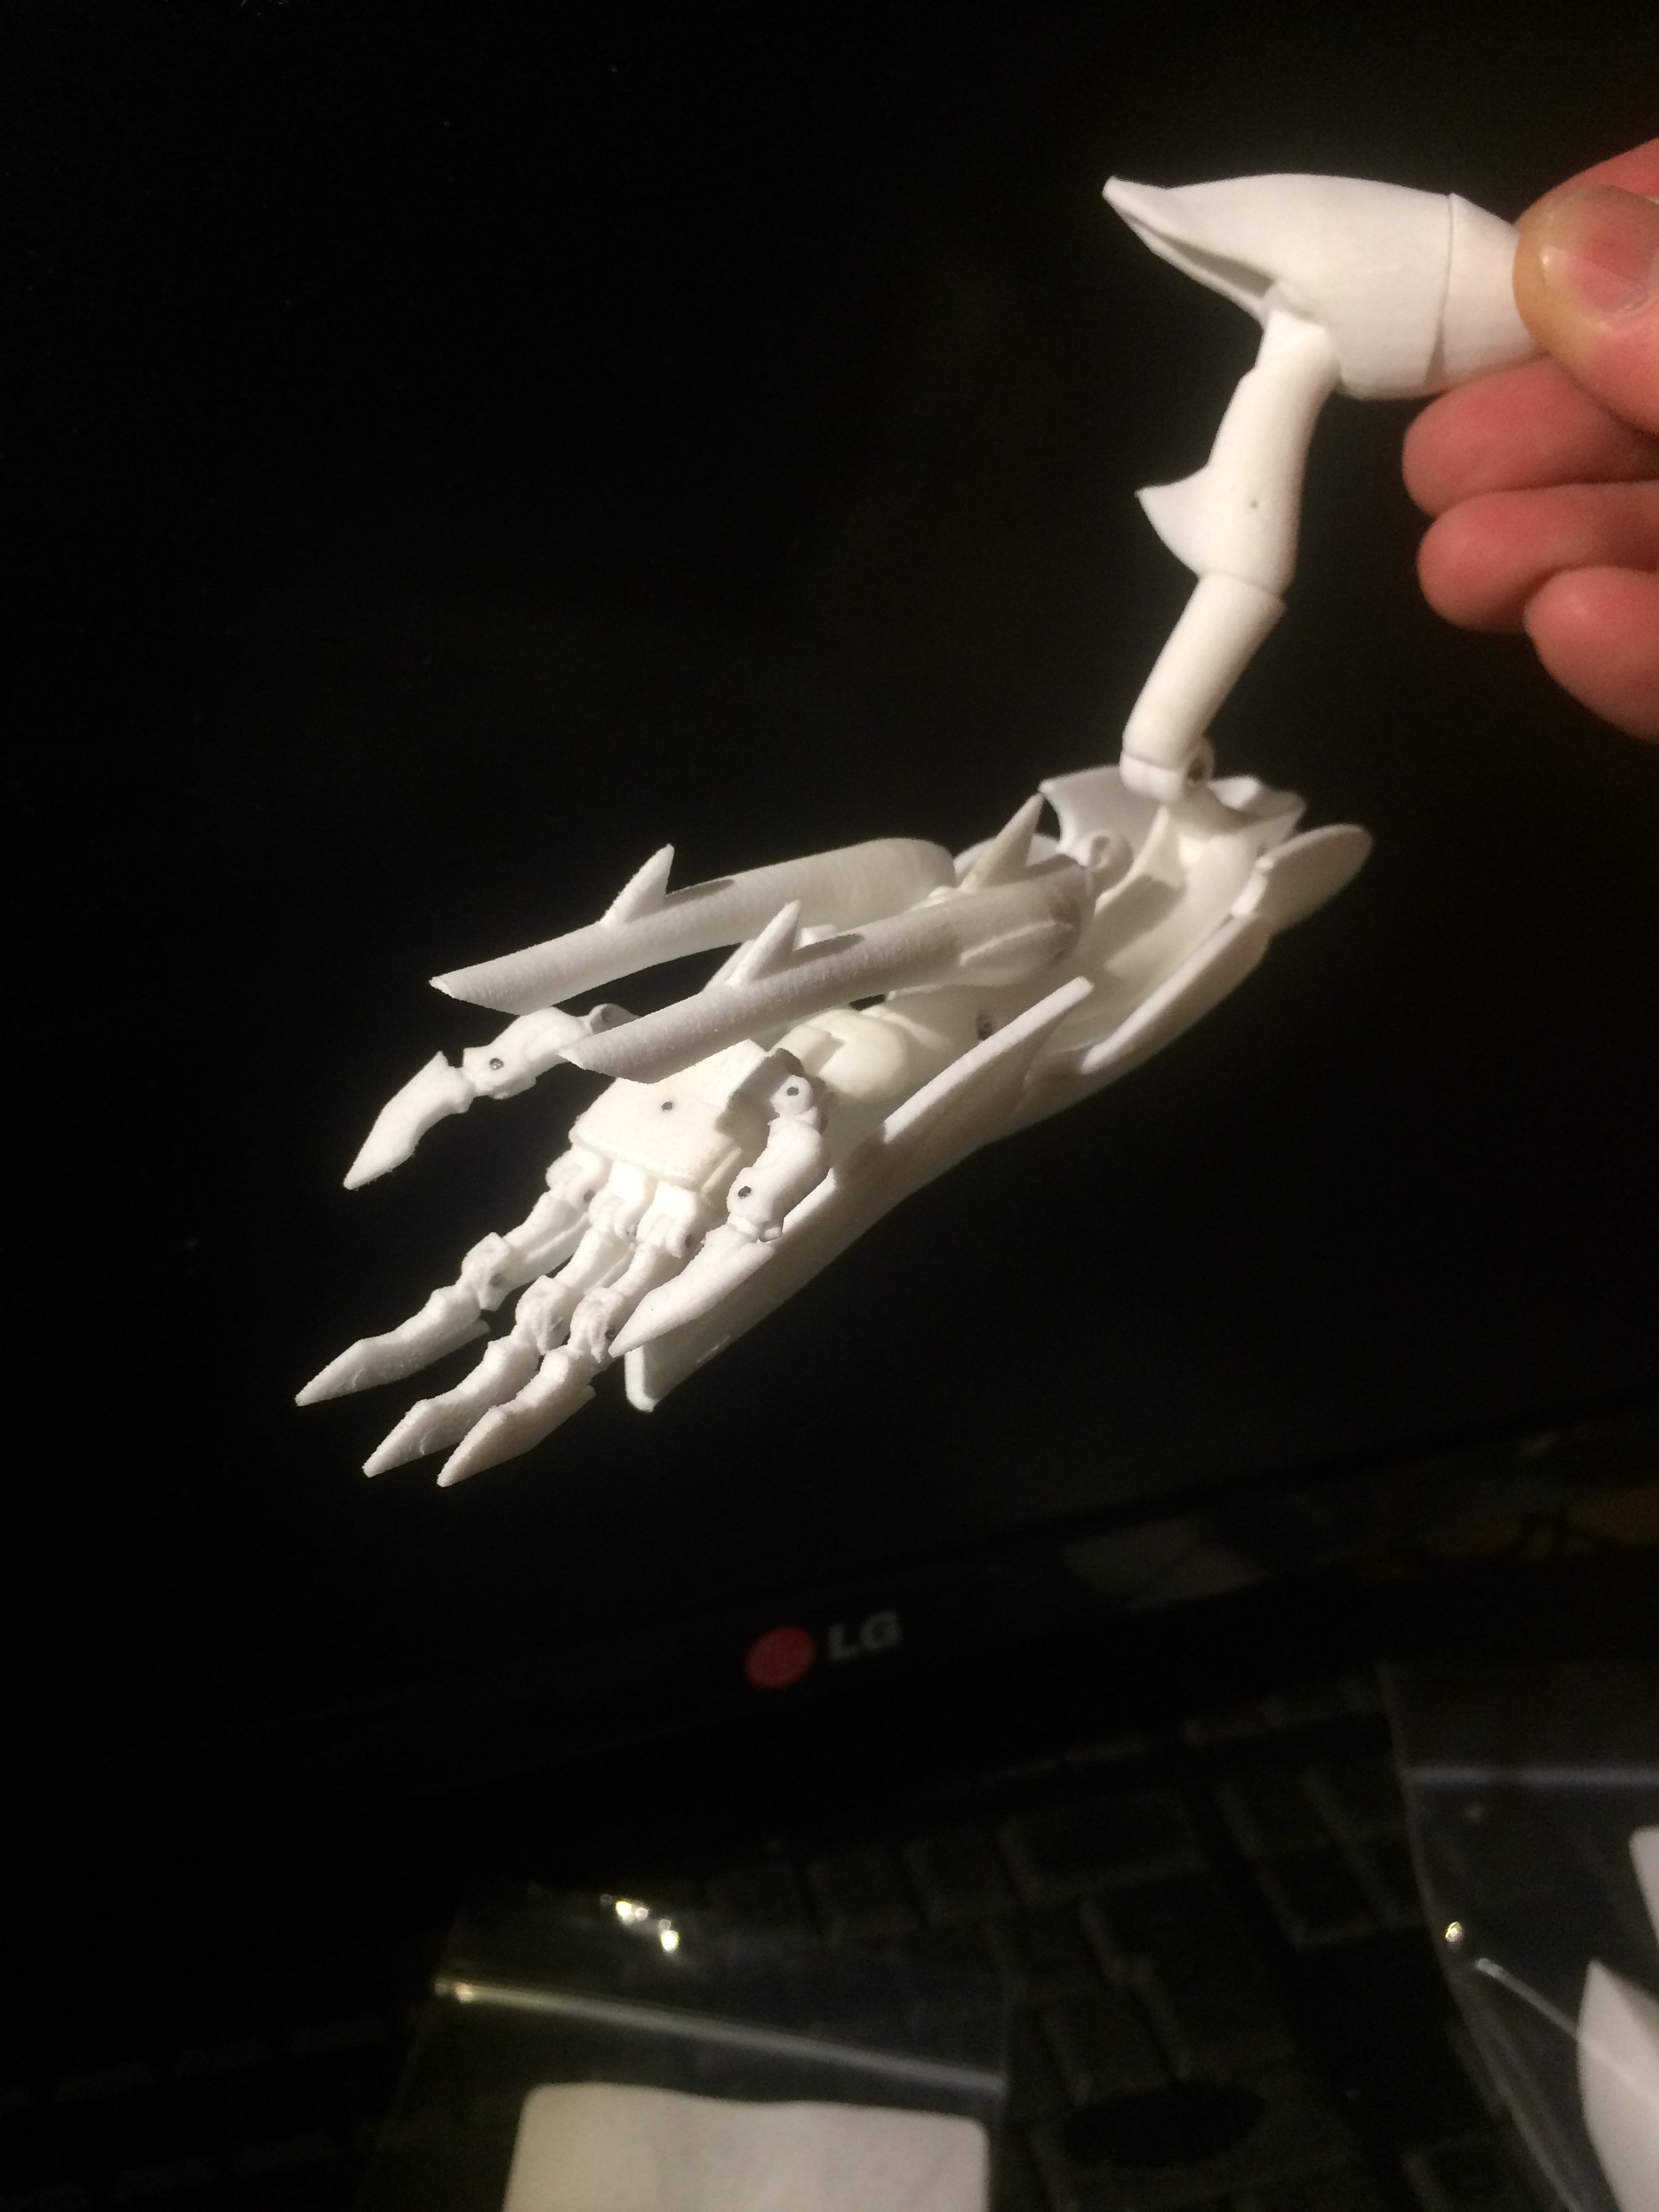
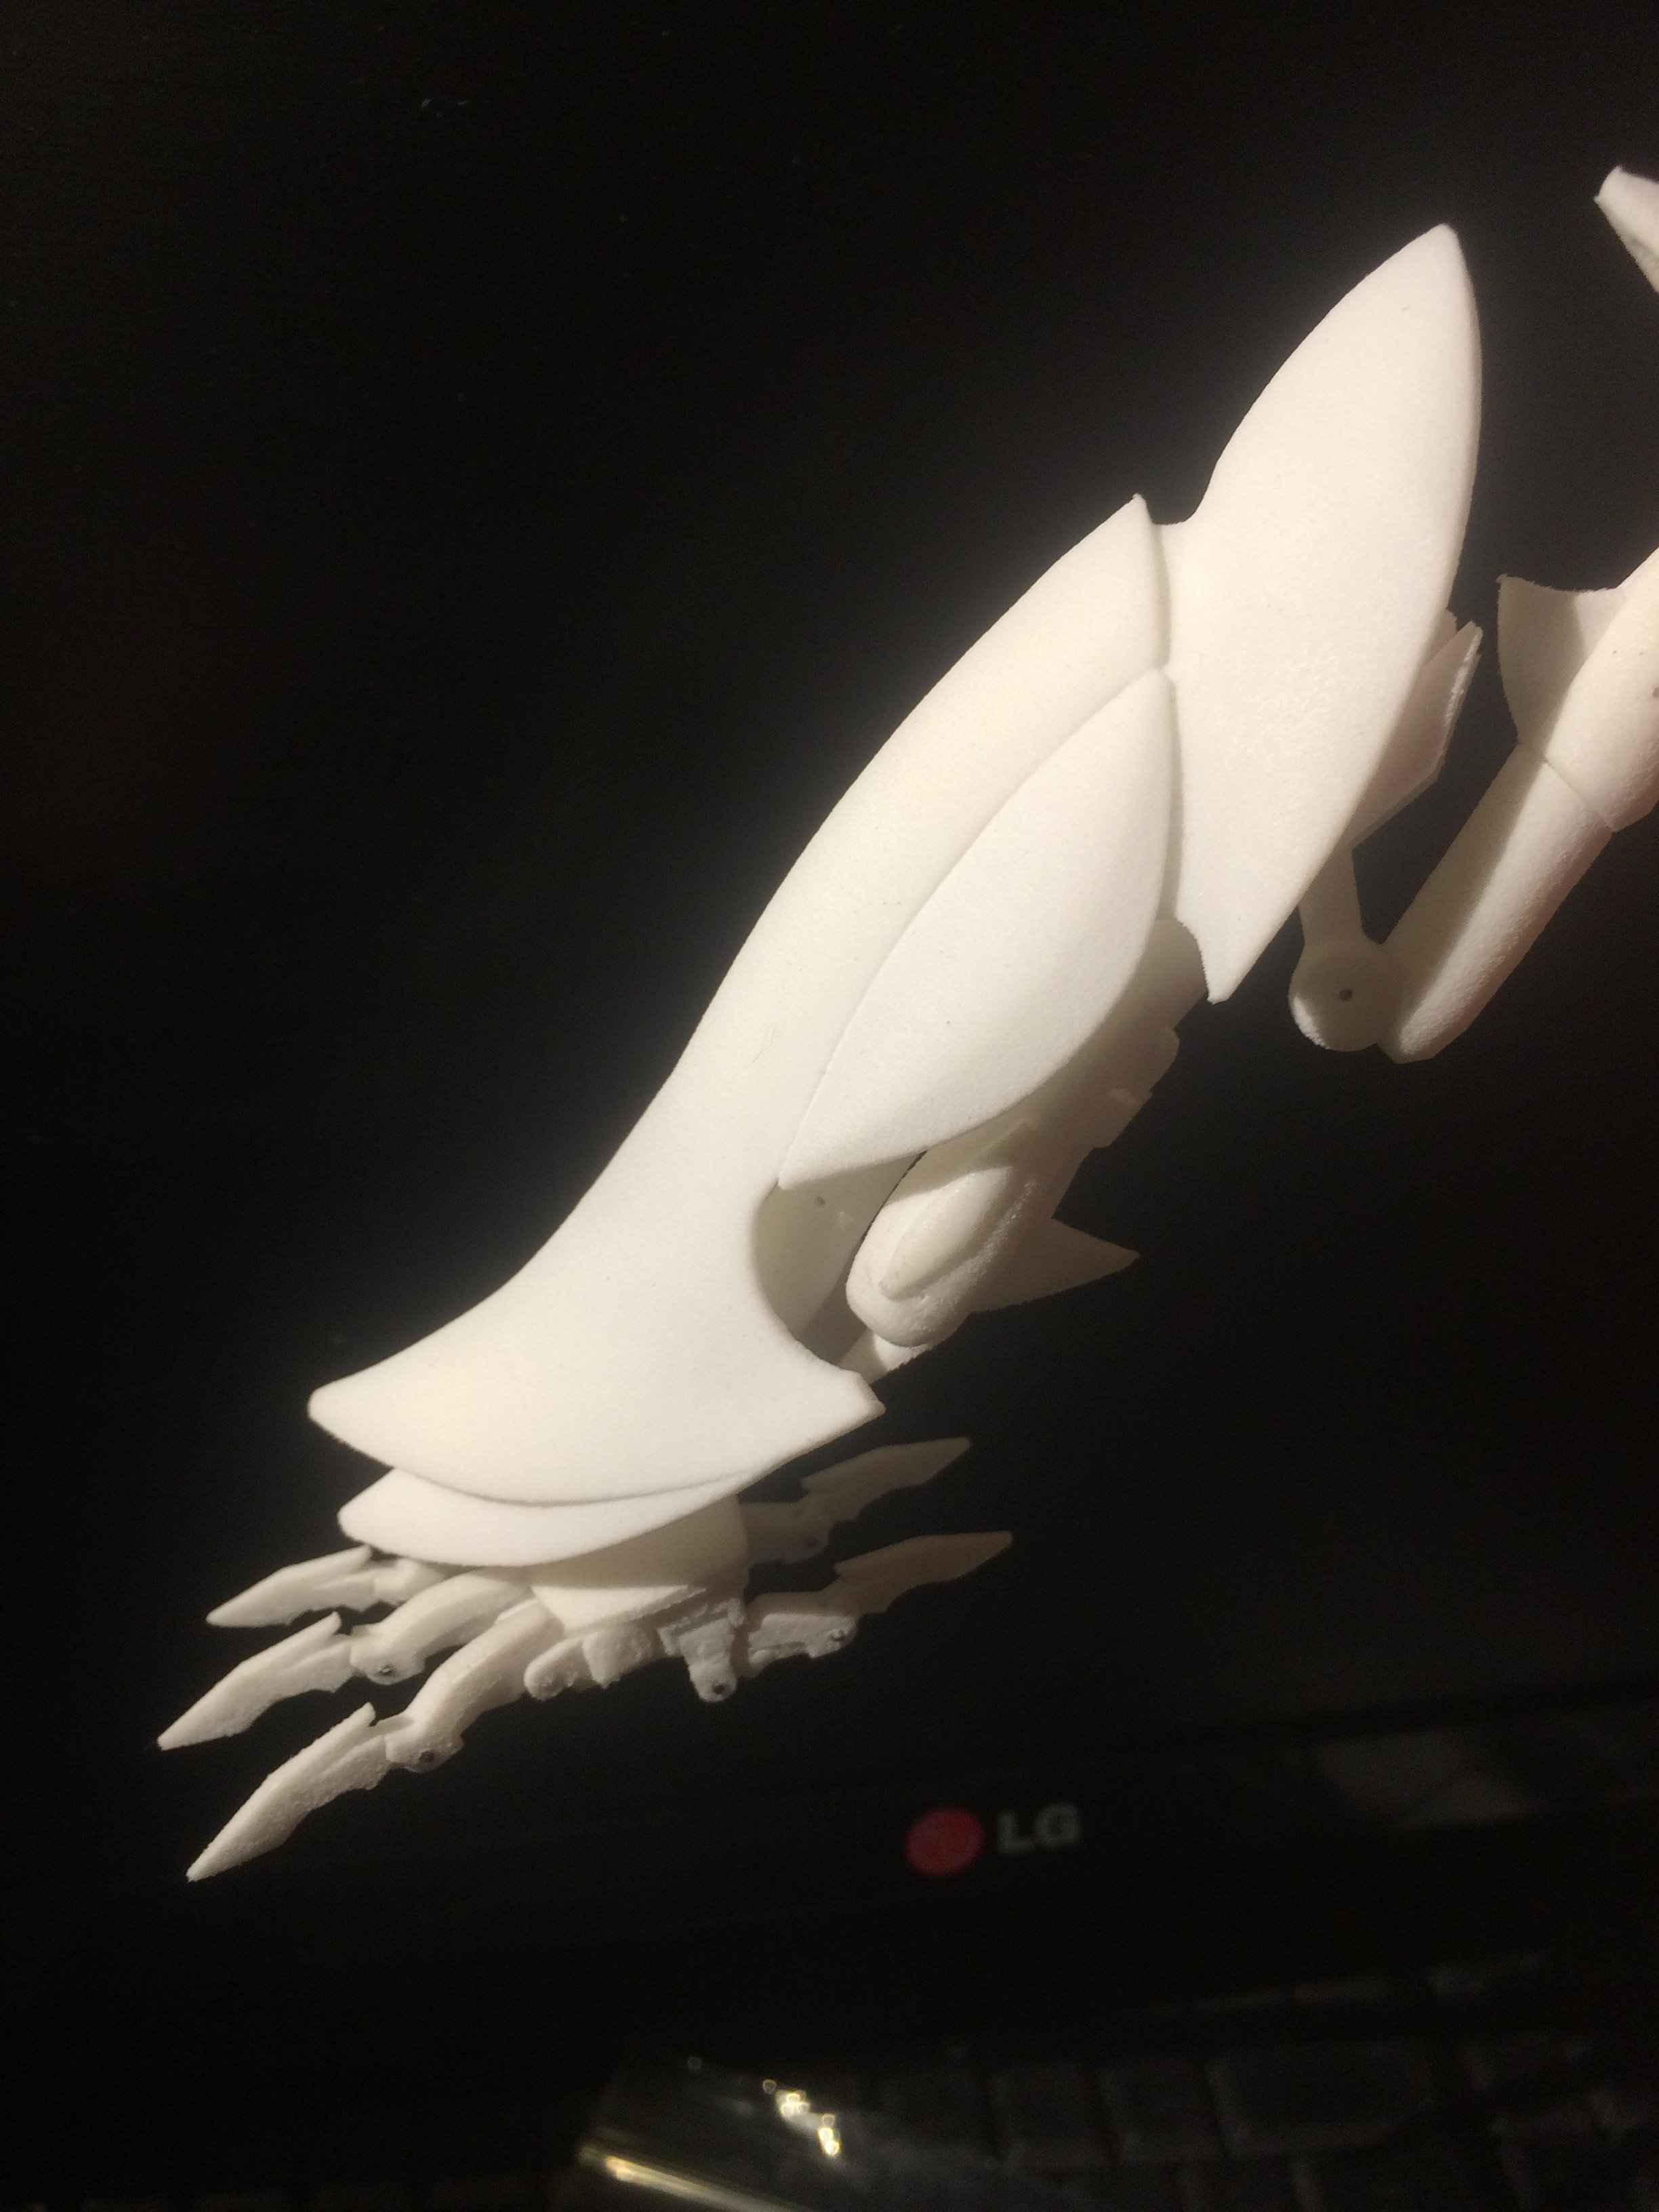
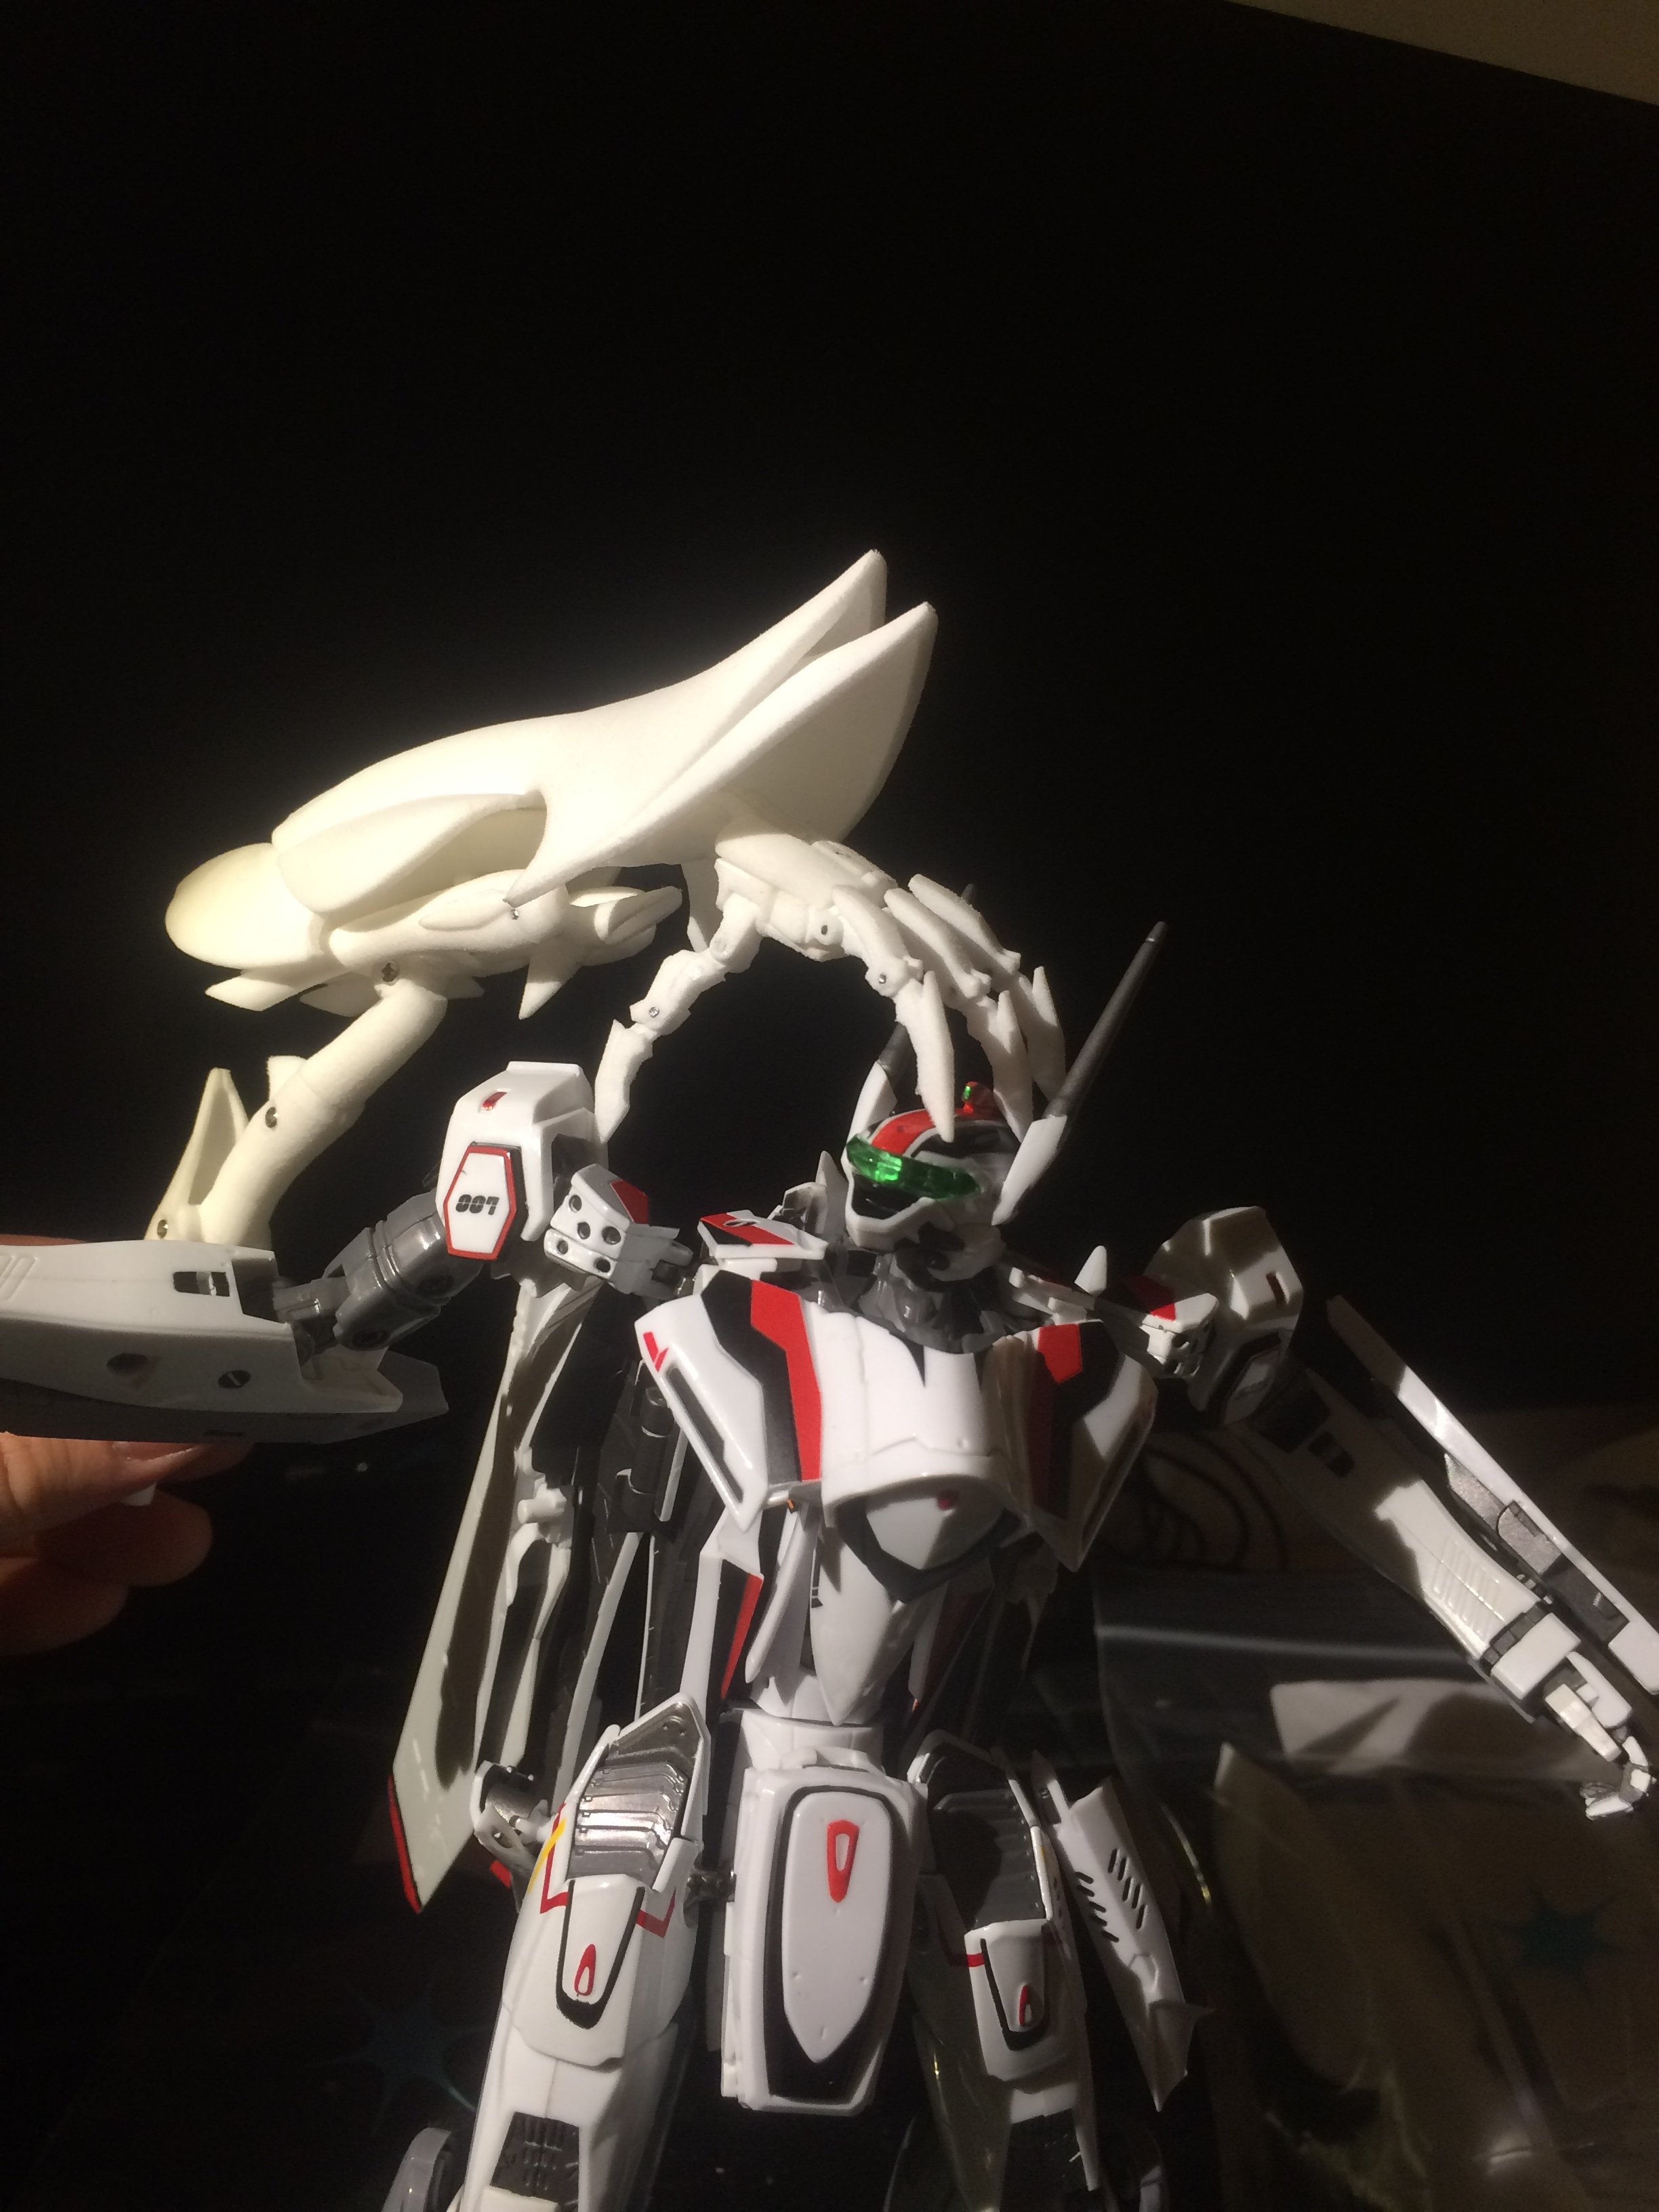
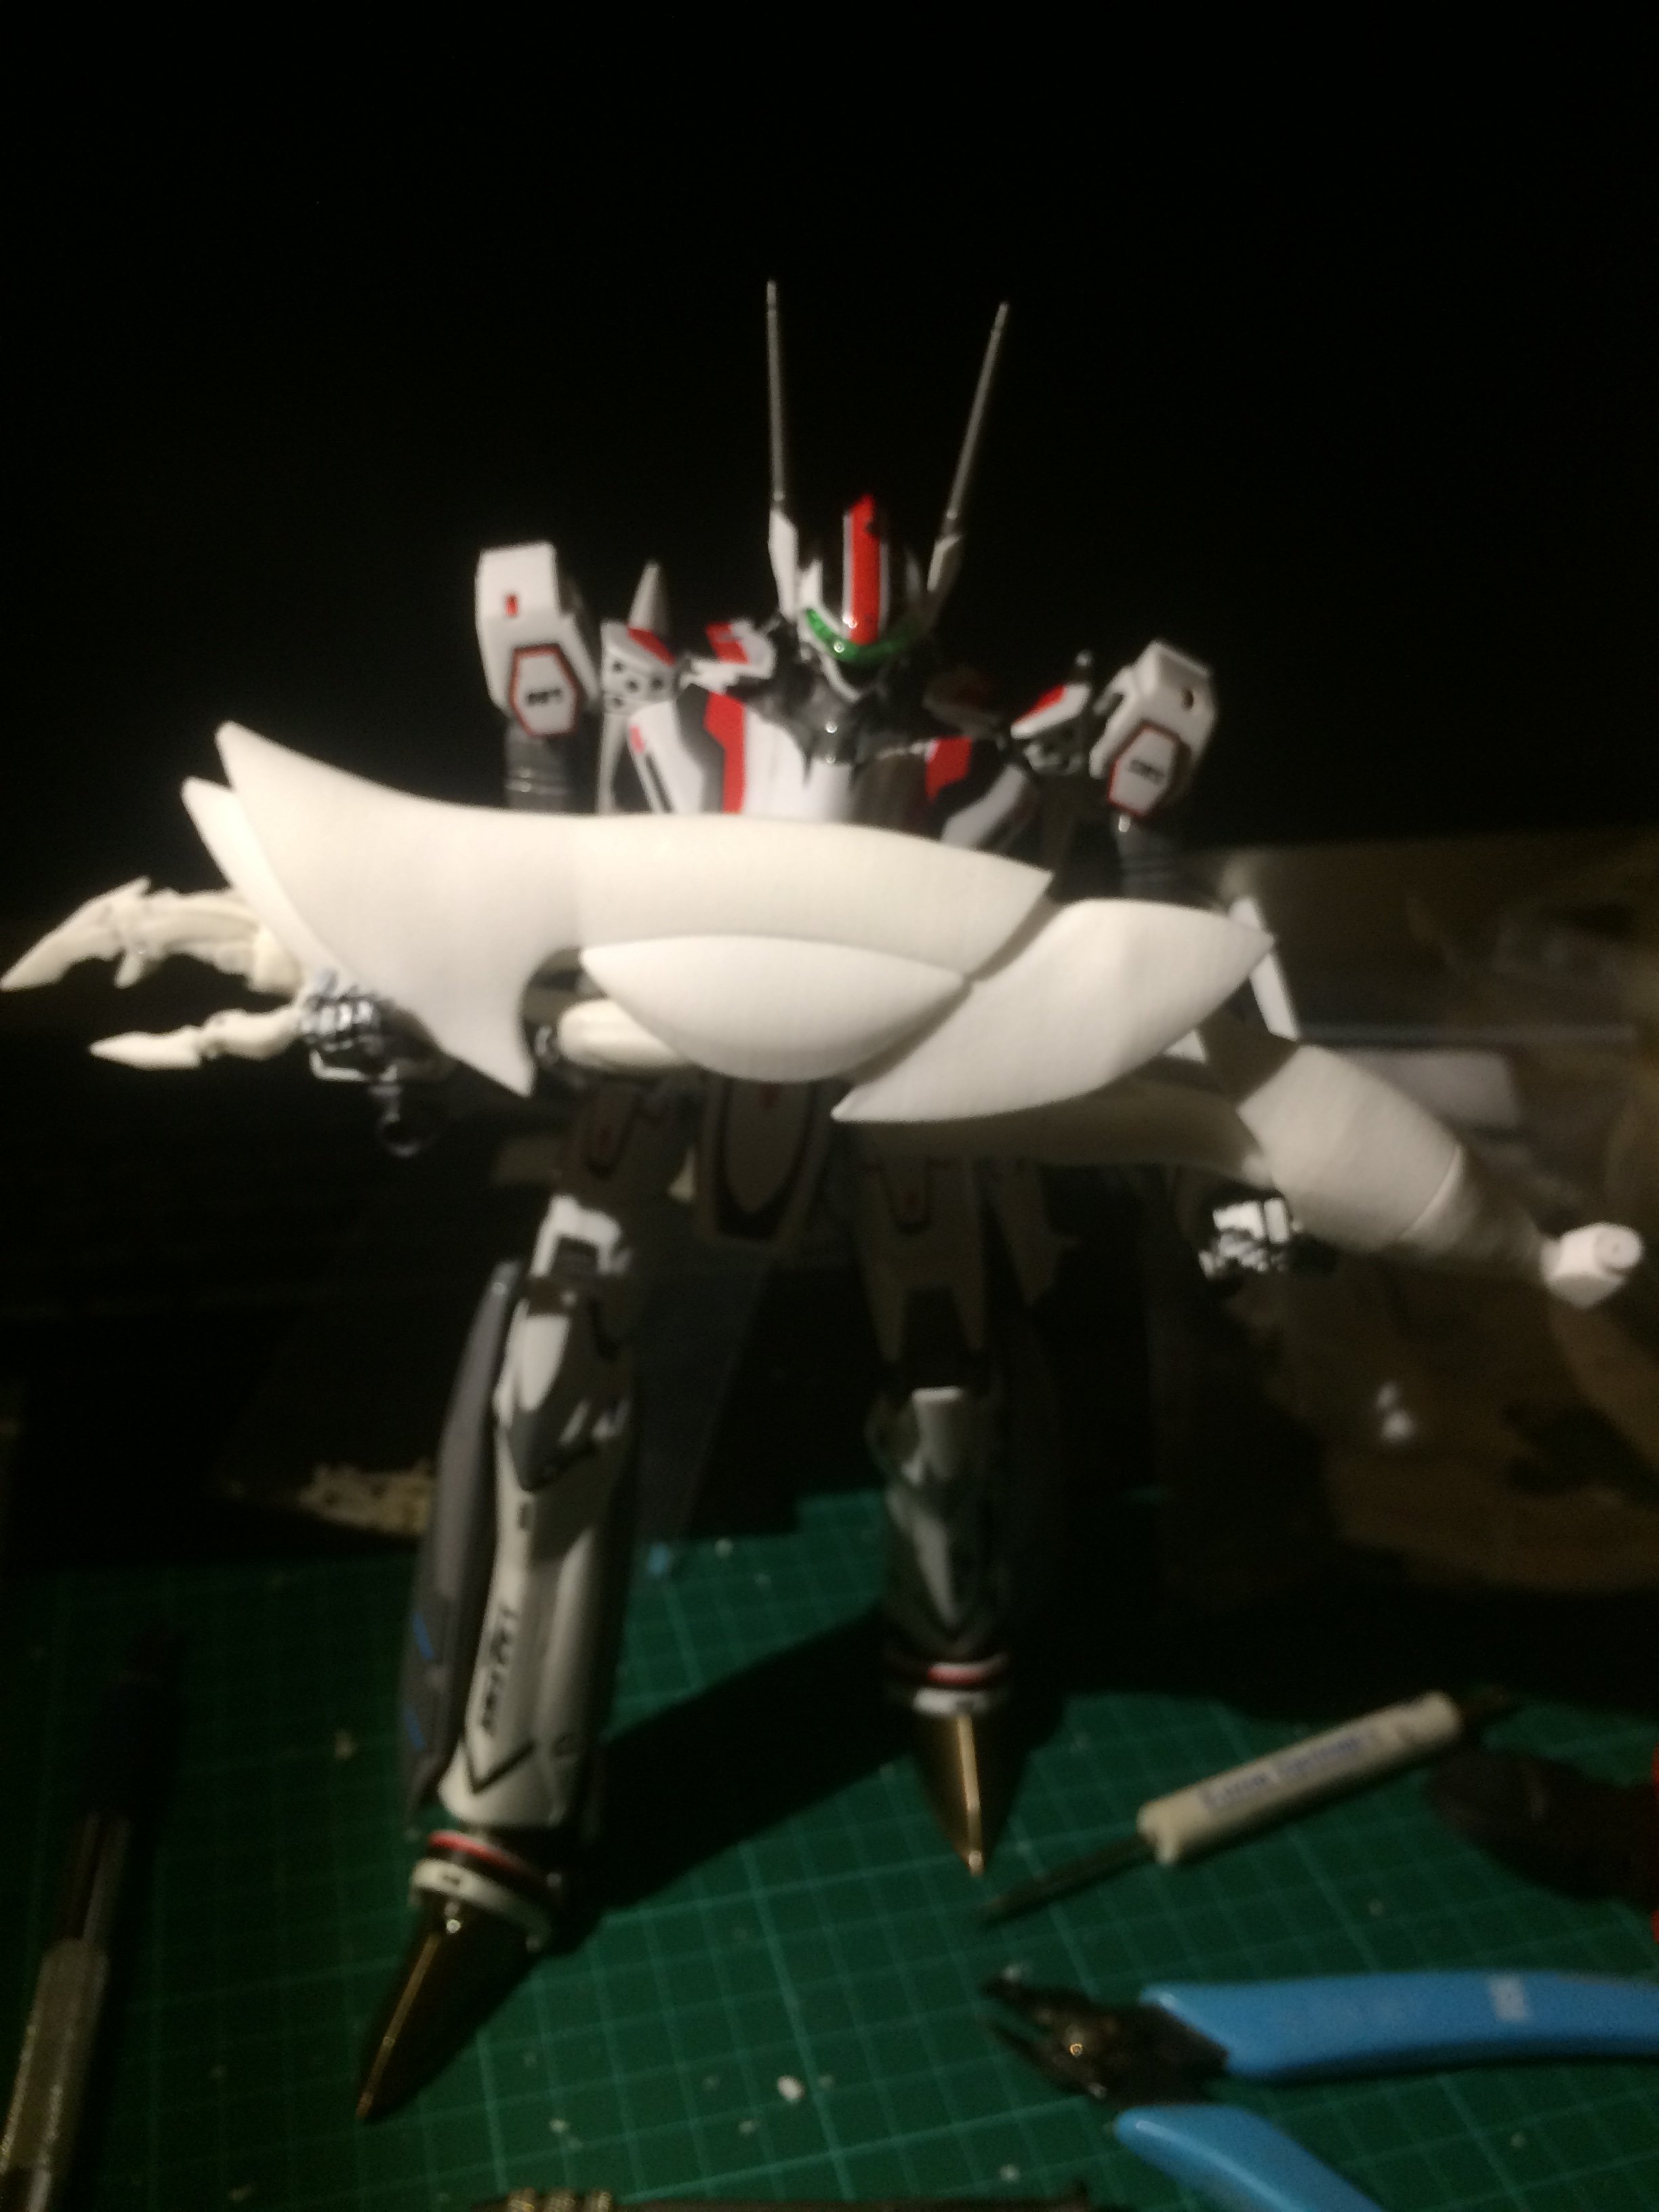
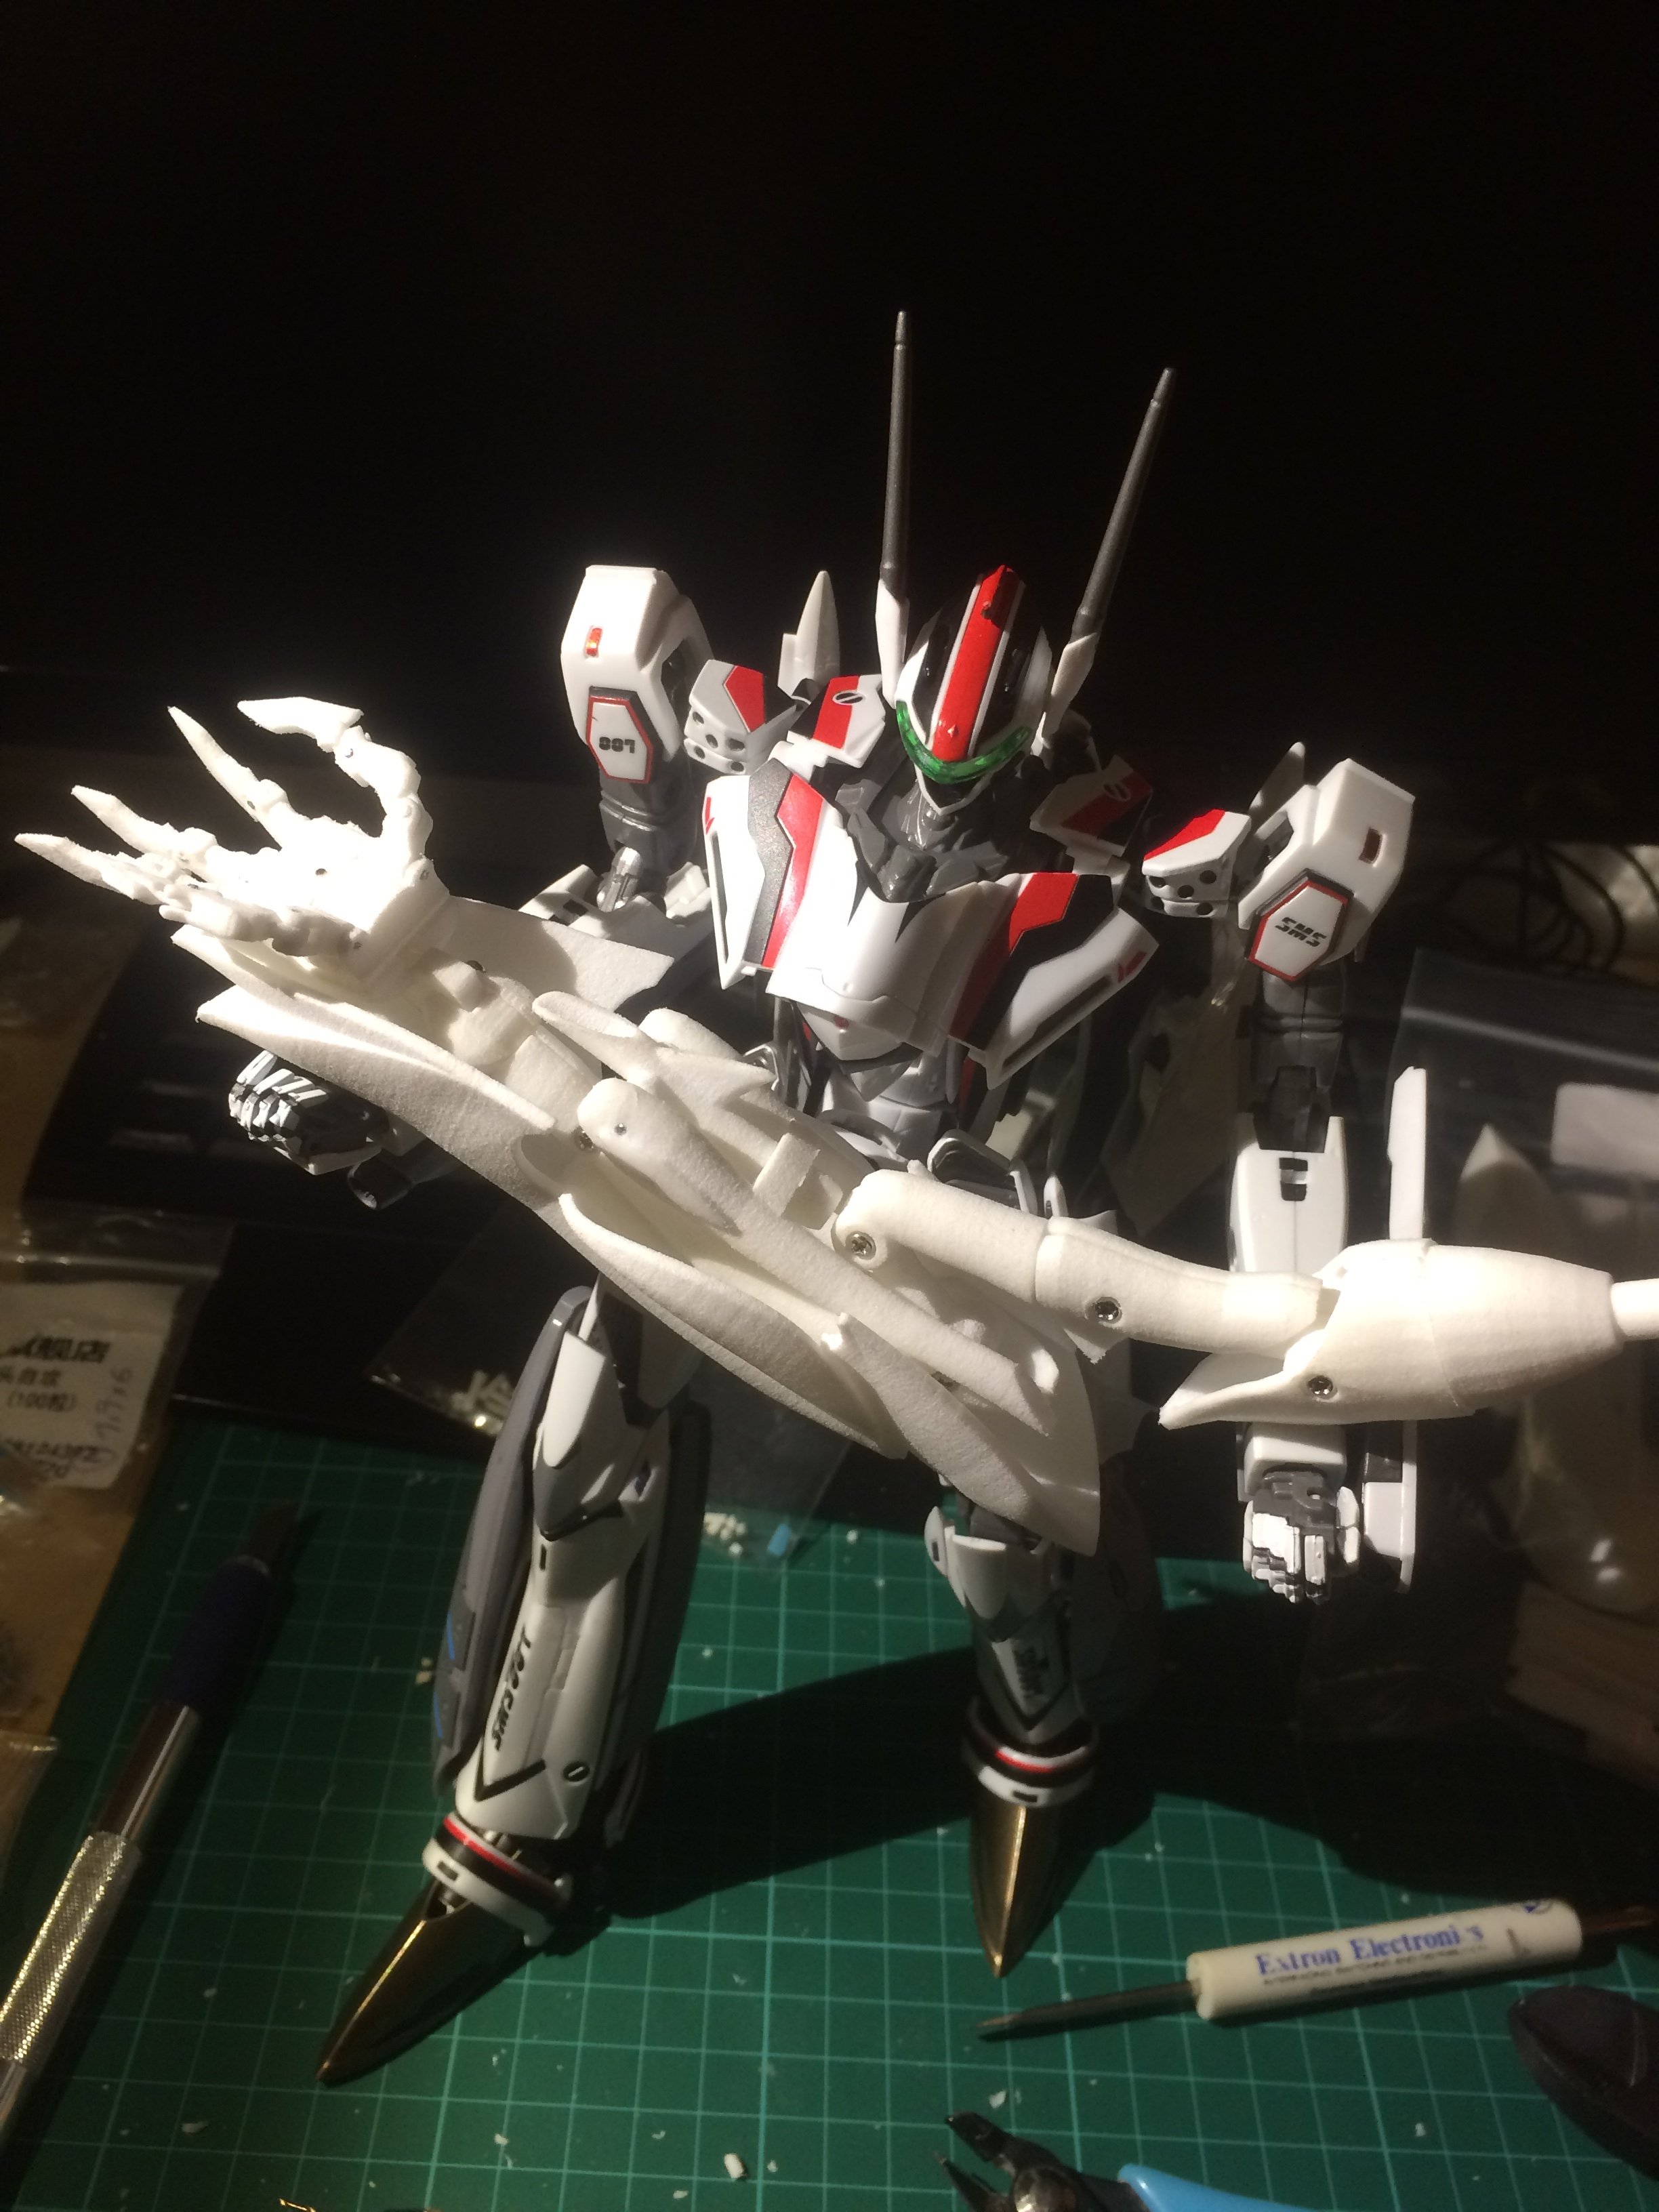
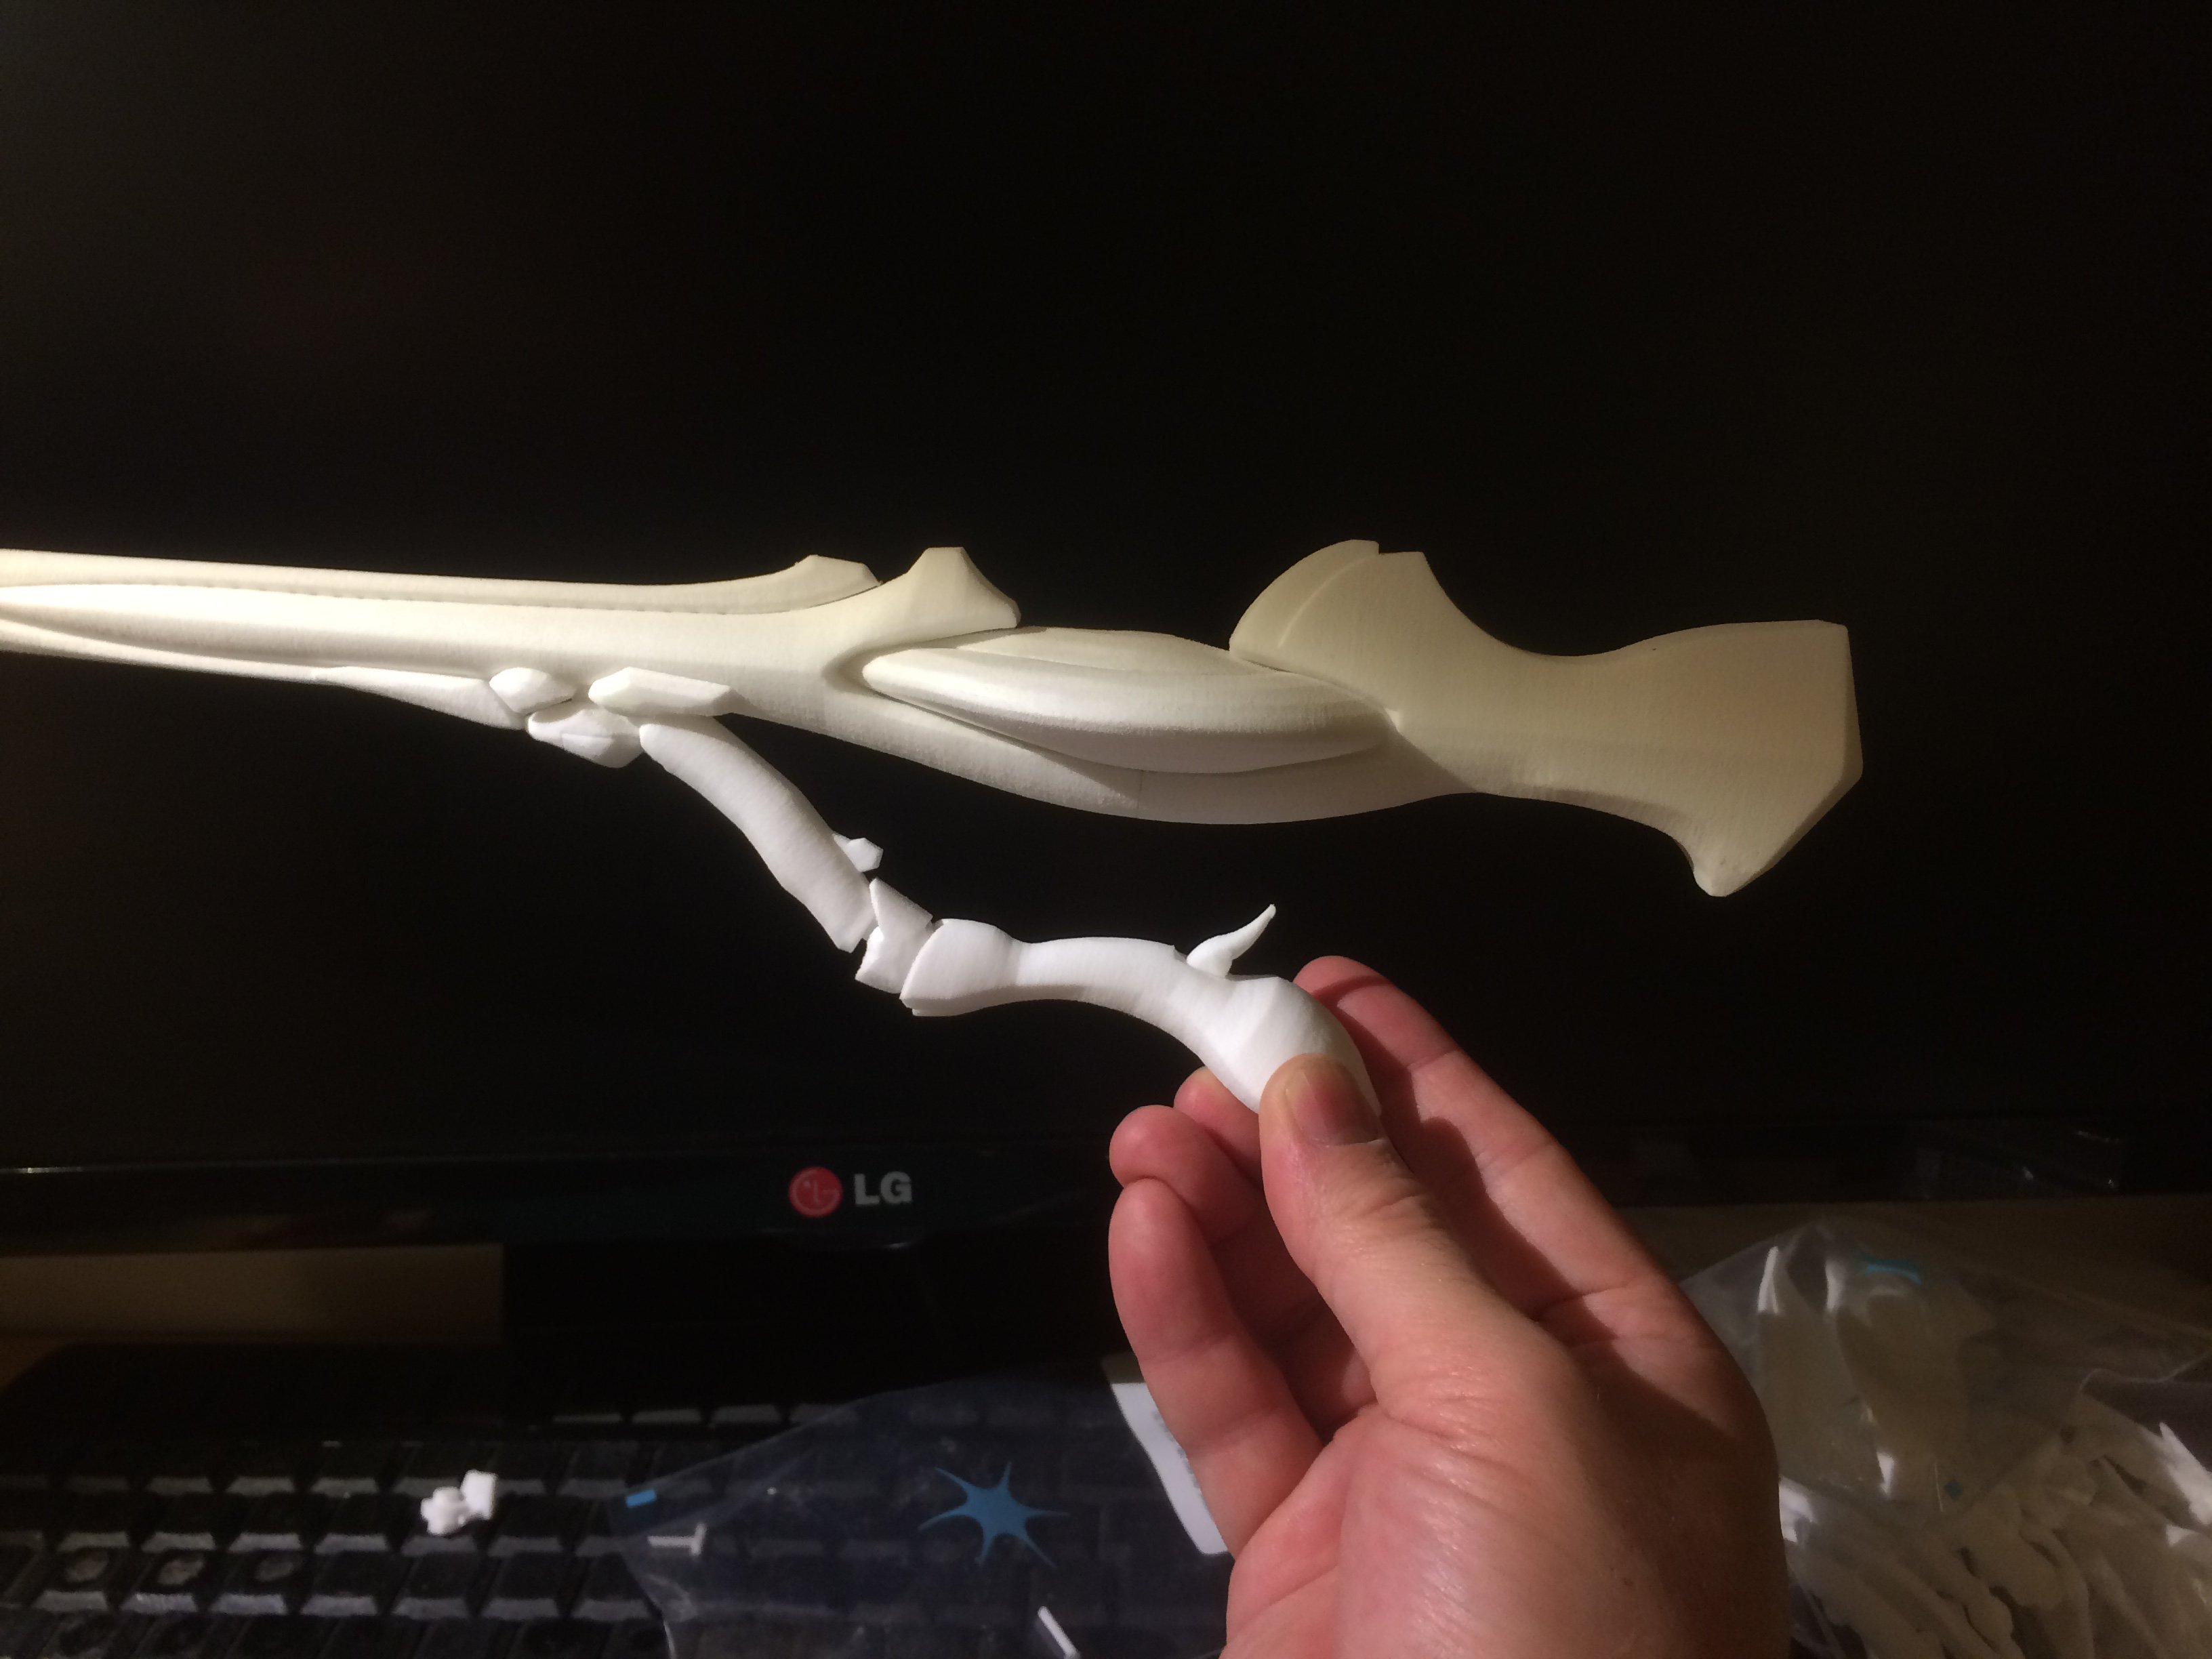
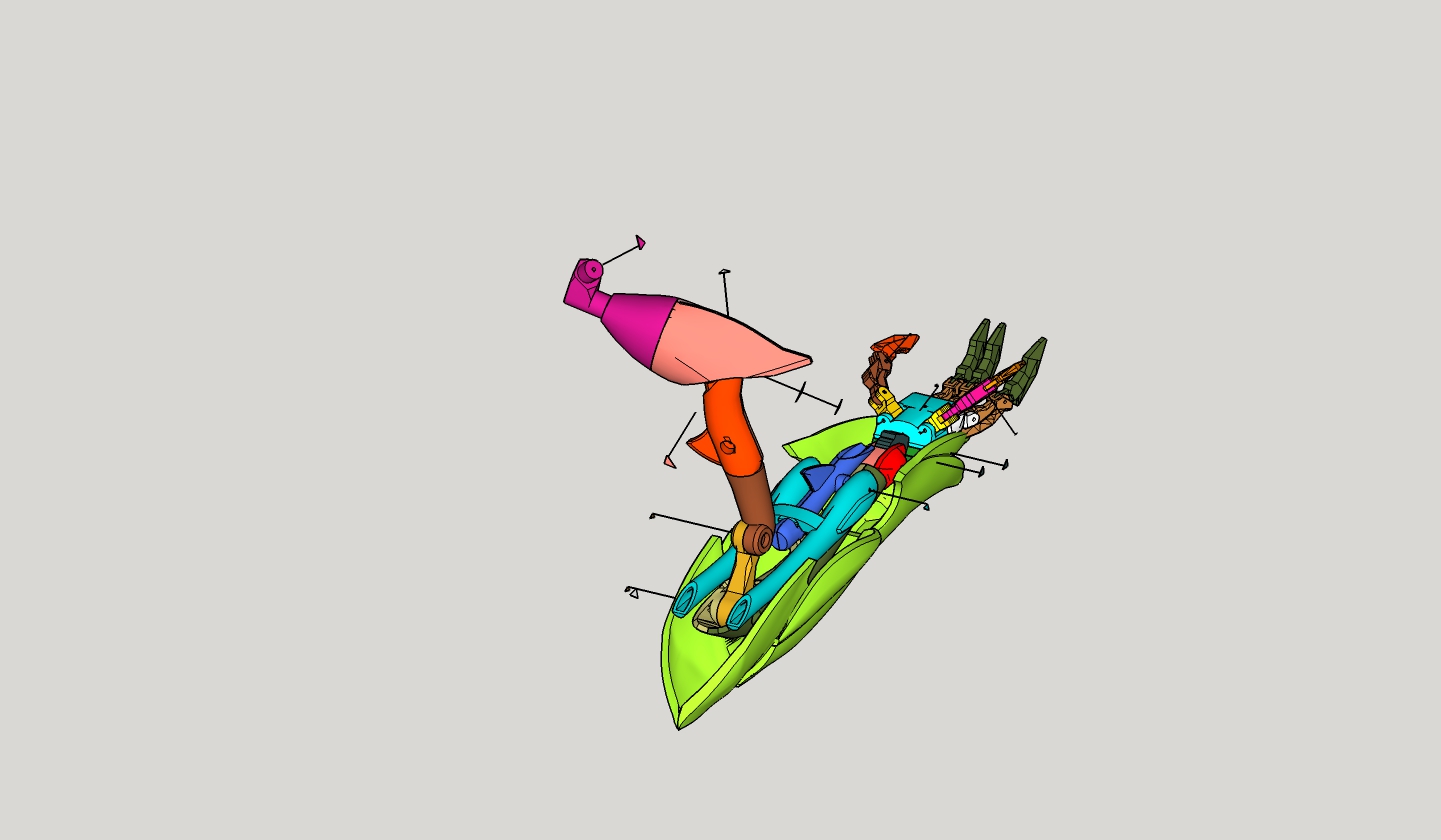
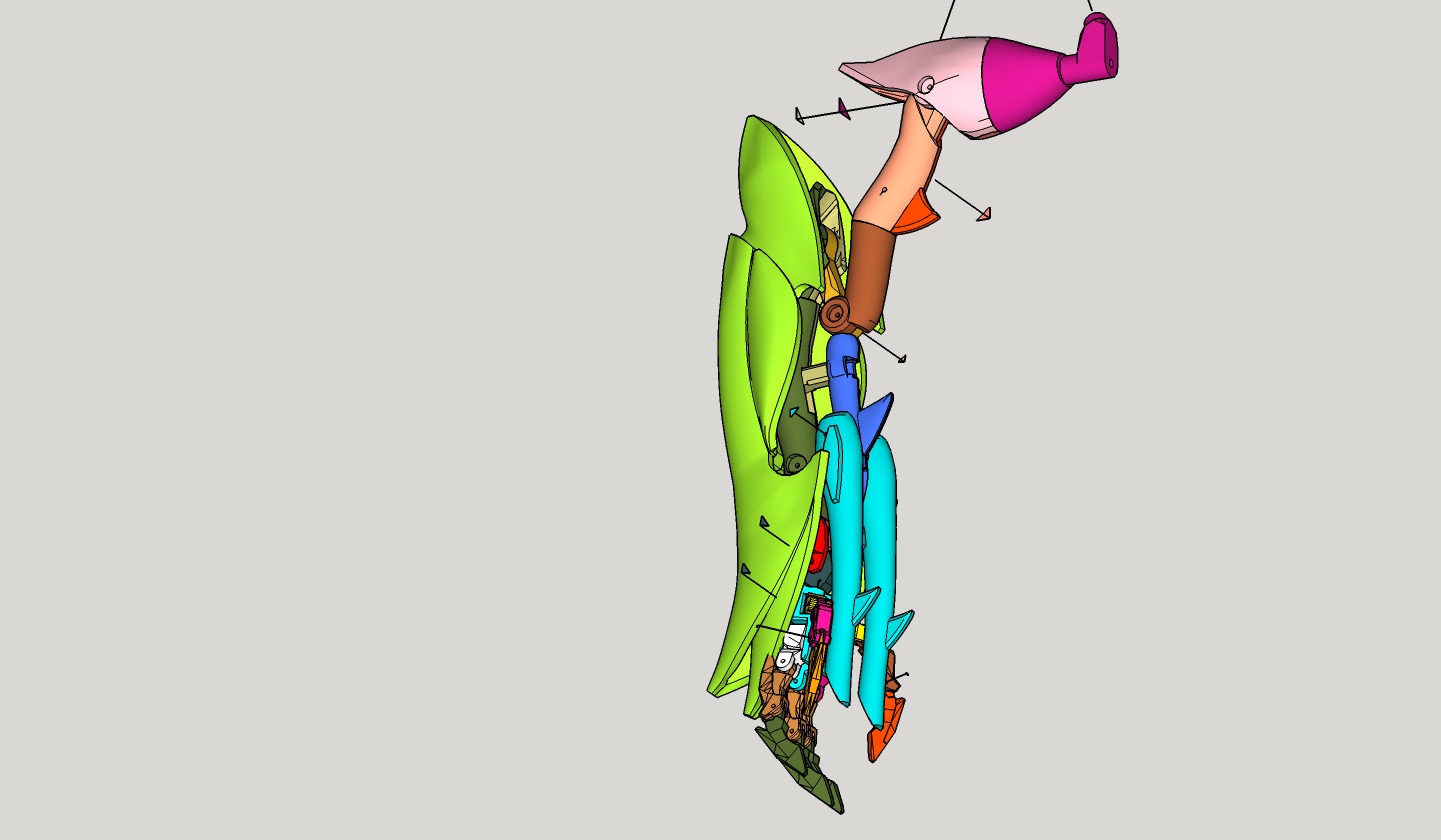
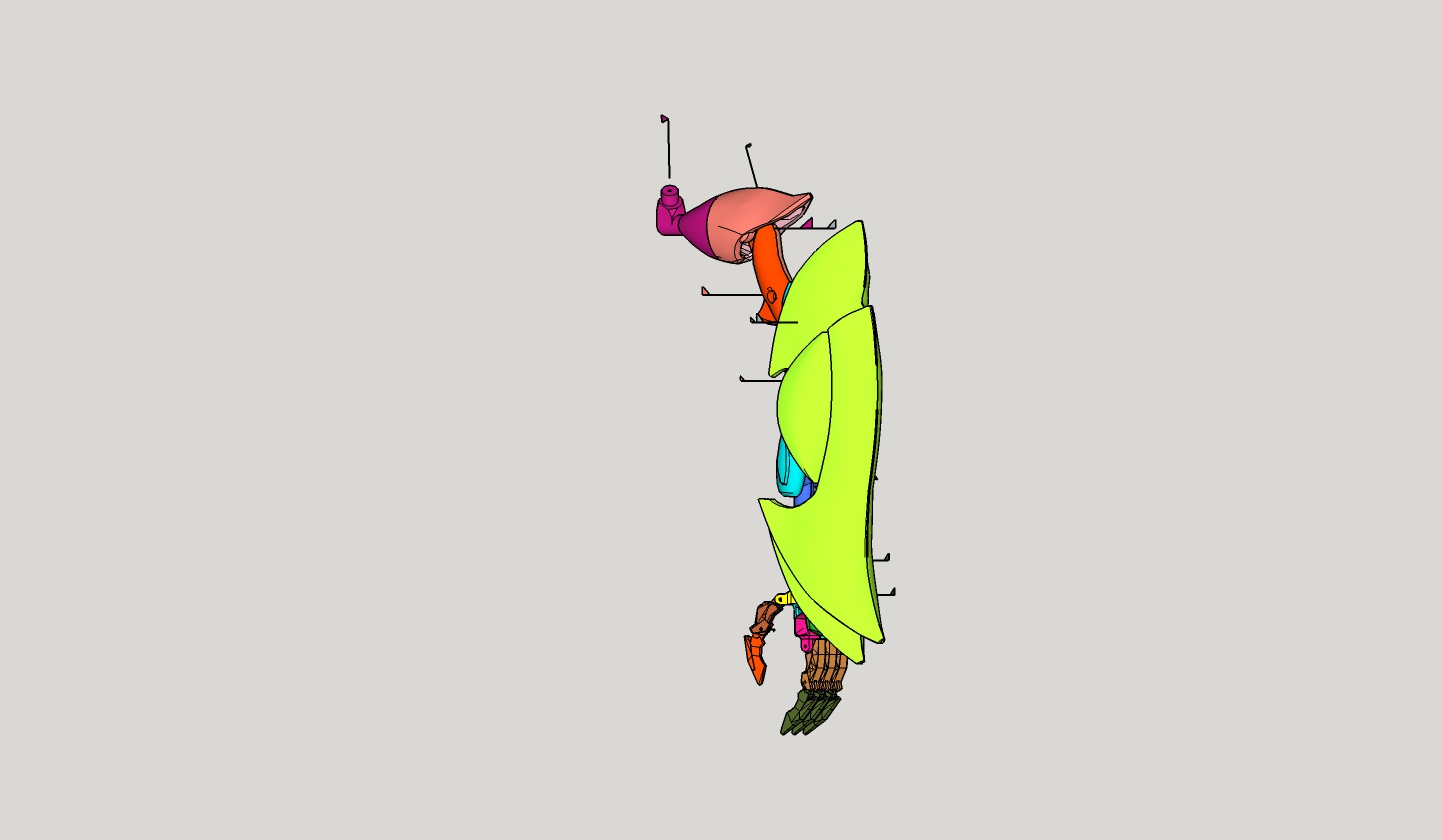
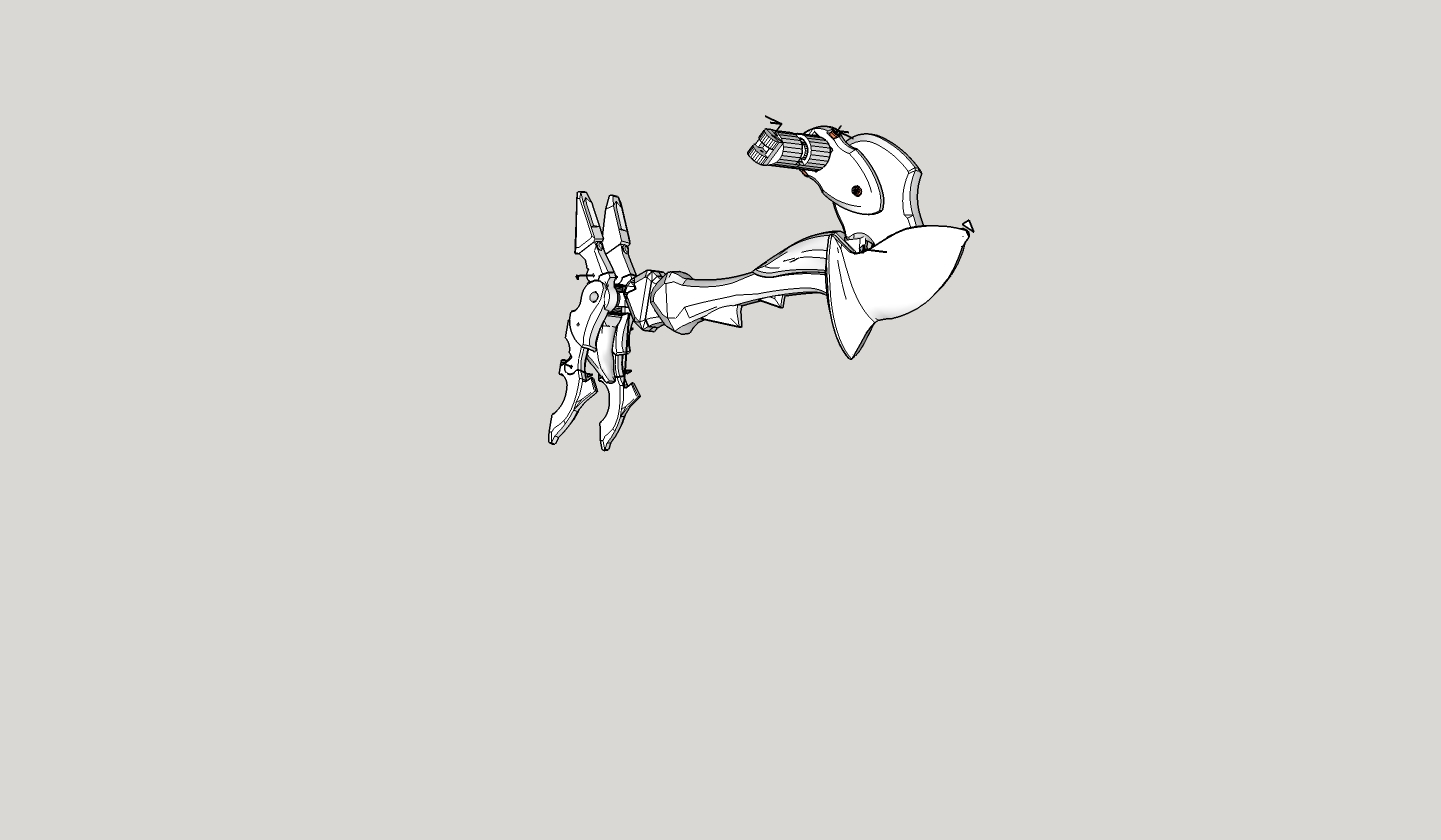
Just finished the front legs , this is what I call large hands. A great lot of articulations that I made as much sturdy as possible by using a tightening screw for each.
The rear legs are more classic, still many articulations but not as many as the hands !


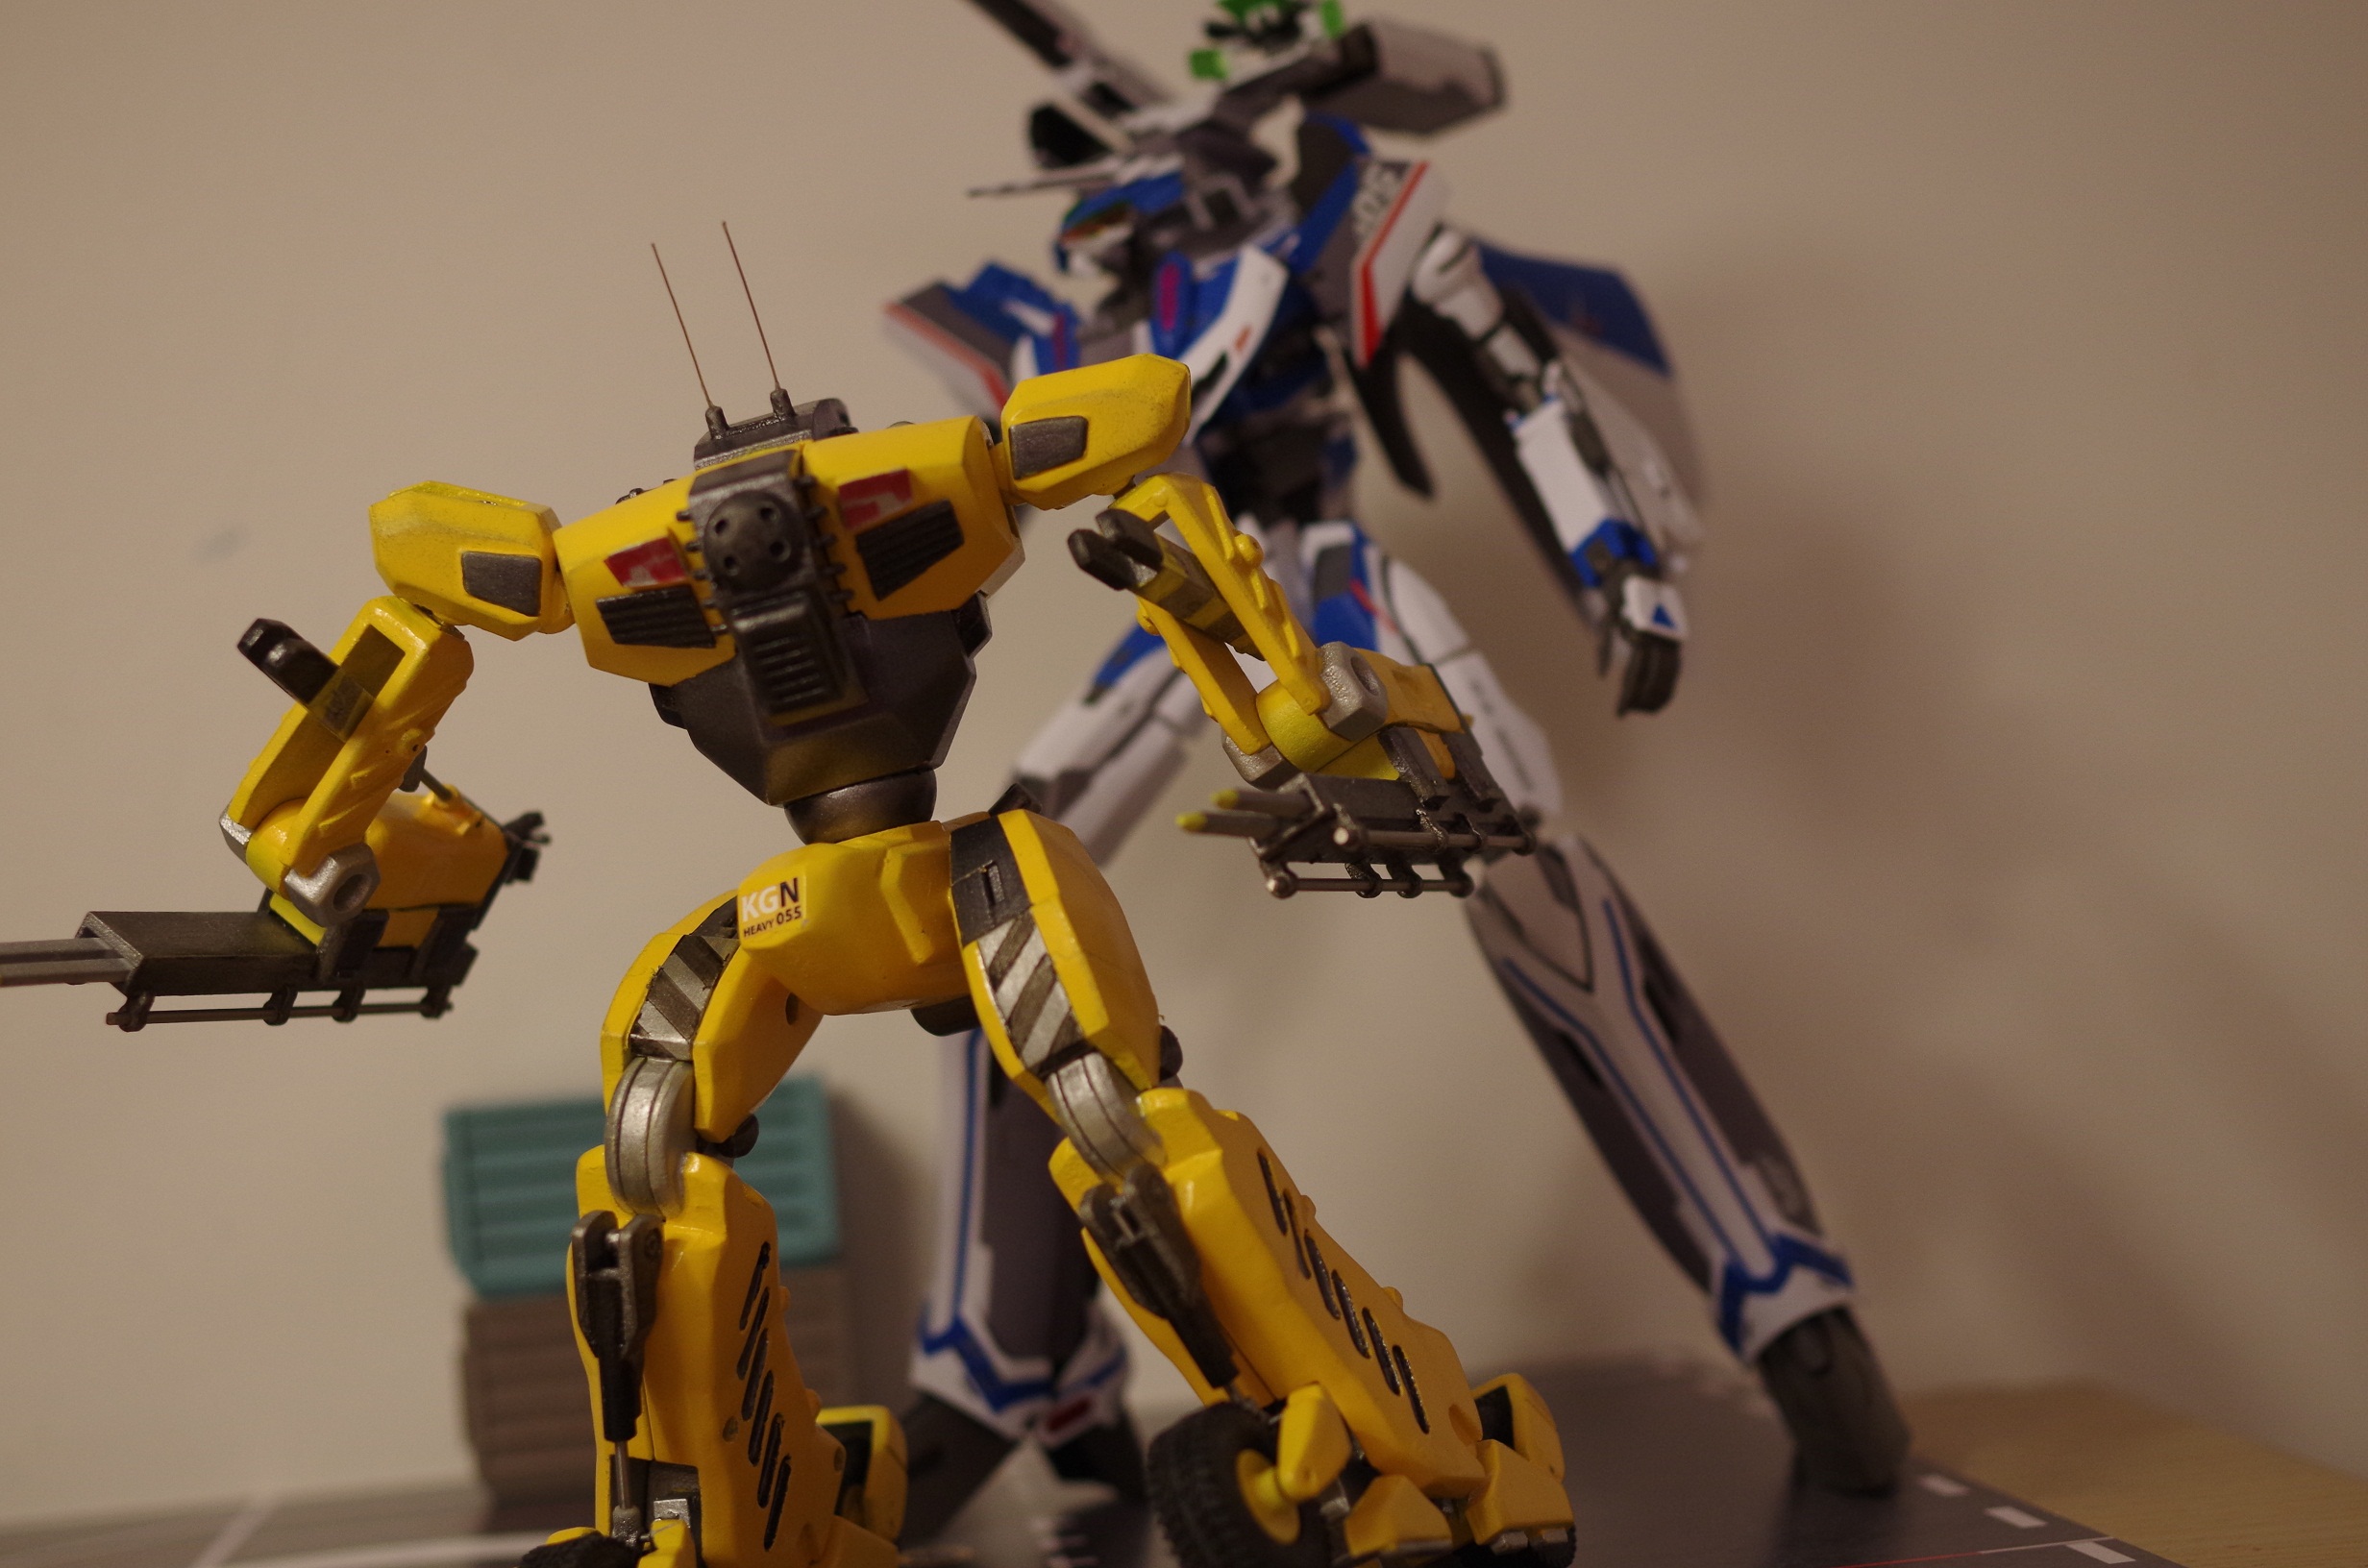


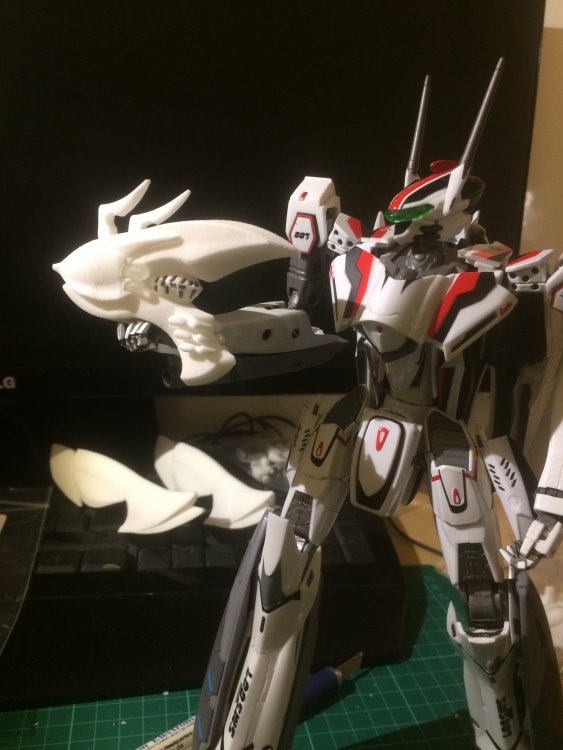
1/60 VF-5000 3D Printing
in The Workshop!
Posted
It looks fantastic! About the hole in the arm, they don't seem that deep aren't they ? If they are less than 1.5mm deep, they won't be really visible once painted, trust me!