
Xigfrid
-
Posts
2607 -
Joined
-
Last visited
Content Type
Profiles
Forums
Events
Gallery
Posts posted by Xigfrid
-
-
This is more like cream, and I love it milky
-
7 hours ago, Seto Kaiba said:
Was there something in particular you wanted to know from those? I've read them, though I haven't published a translation of same because they're in print still
Do you mean there is a translated version in print somewhere?
"the Ride" had cougth my attention in the late and when I tried to catch on the story, I couldn't find anything. I know there is a triangle love story and that at some point there is an attack but that's pretty much what I know. I have bought the 2 books but unfortunately there isn't that many illustrations and I cannot decode it from Japanese
So basically if you can give me a summery, with as much details as possible I would be really happy, just to know how much the ride can influence on Frontier story line and with the next Macross.
-
I have ordered the dual reaction missiles pylons from shapeways since I also noticed that they were missing from the super pack. So I will take pictures of them soon.
I guess Bandai will include them in the "audio super pack"
-
For those who want less accuracy but more fun, I found this kit which has very similar to Macross shape missiles. You should be good putting (gluing) these on any pylon single/dual/triple considering a little sanding.
Hasegawa x48-3 kit
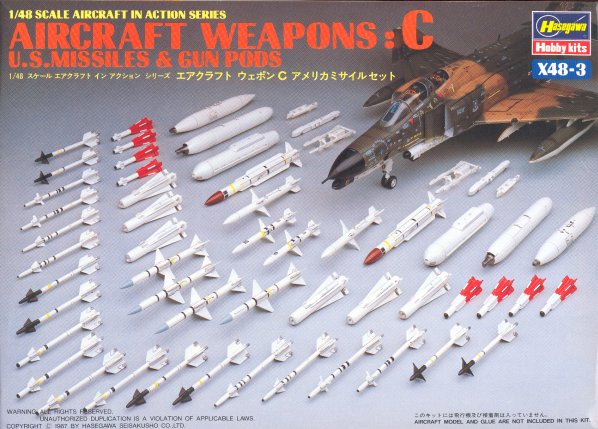
or the Hasegawa X48-2 also looks familiar

-
Yeah that's pretty amazing how much the Japanese people can read. It's like if they read as much as we watch TV.
-
Capt is still around, unfortunately he've quit making these resin kits. You still can follow his work, on analog watches, on Facebook.
However, he sold most of his resin masters to Macross enthusiasts so you still have hope of a redition, if you want more info, you should leave him a PM or contact him on FB.
-
Who would ever want or think about a 1:20 valk seriously? There must be some crazy folks in Max Factory or someone there lost a bet.
-
Sketchley, I have to thank you a thousand times for your translation, I have been struggling to find Octo / Oktosu / Octss info and your work just save a lot of my time!
Since I am at it, do you eventually have readen the Macross the Ride novel books ?
-
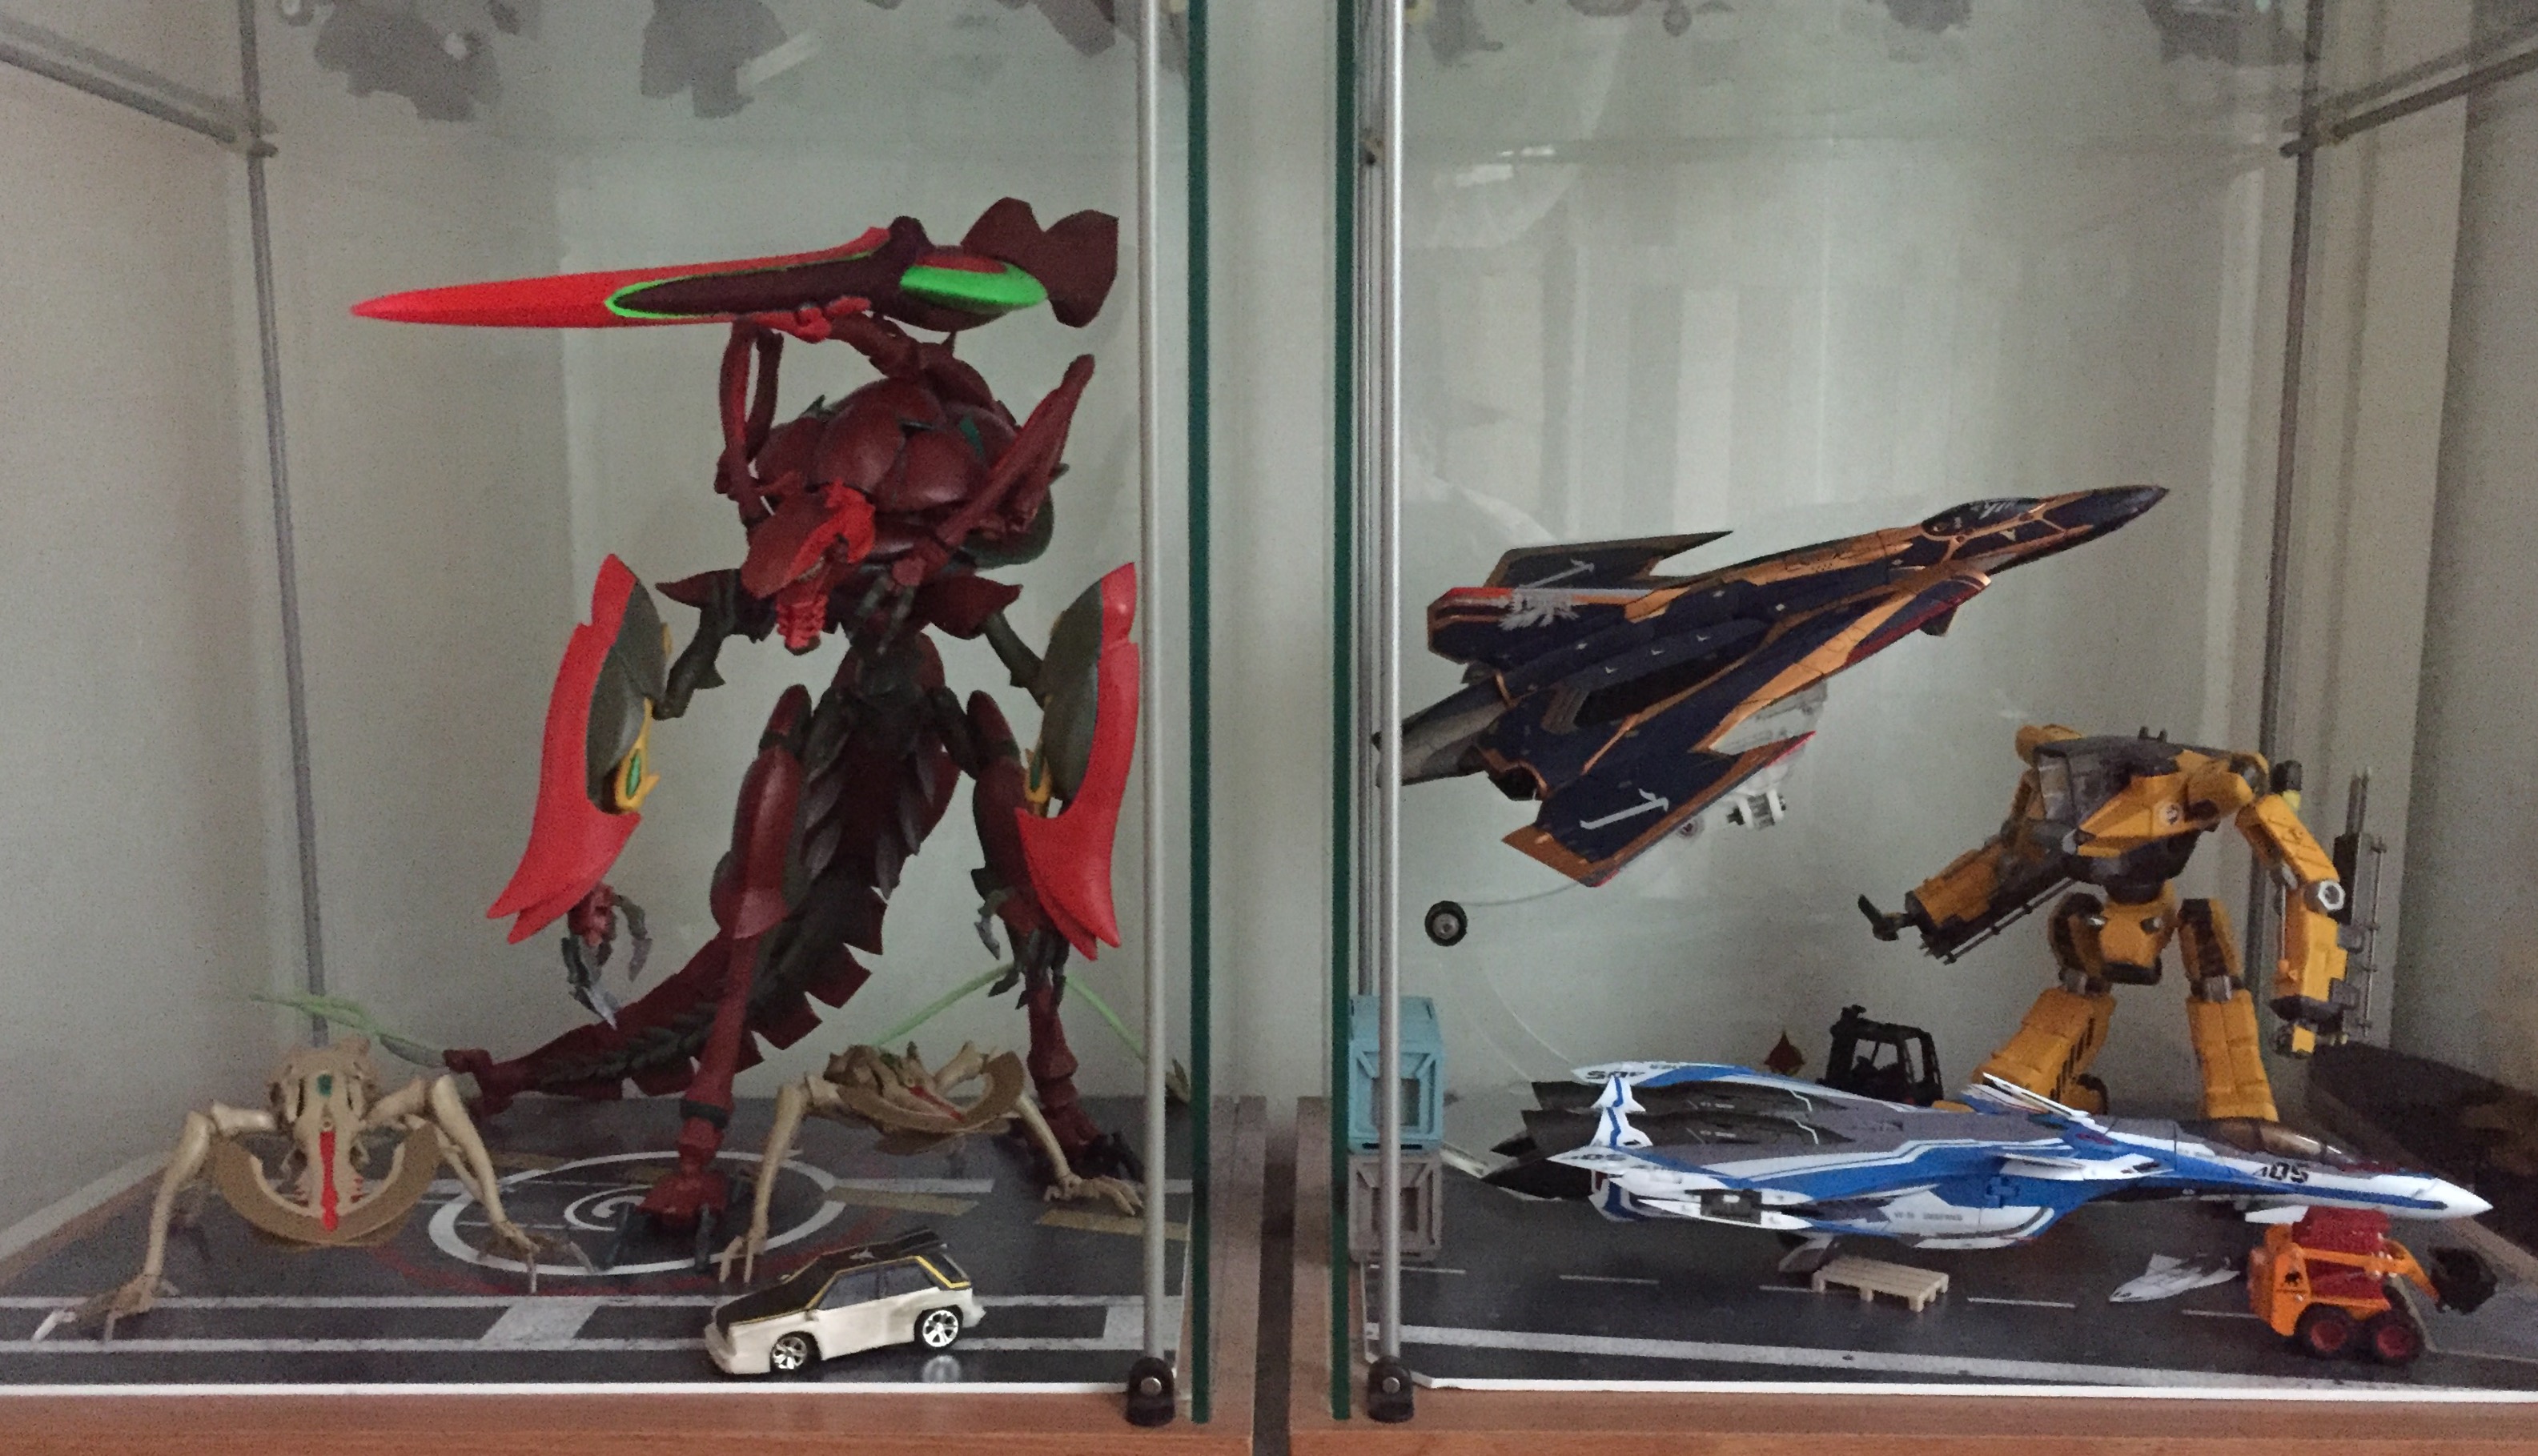
We need a bigger detolf...
-
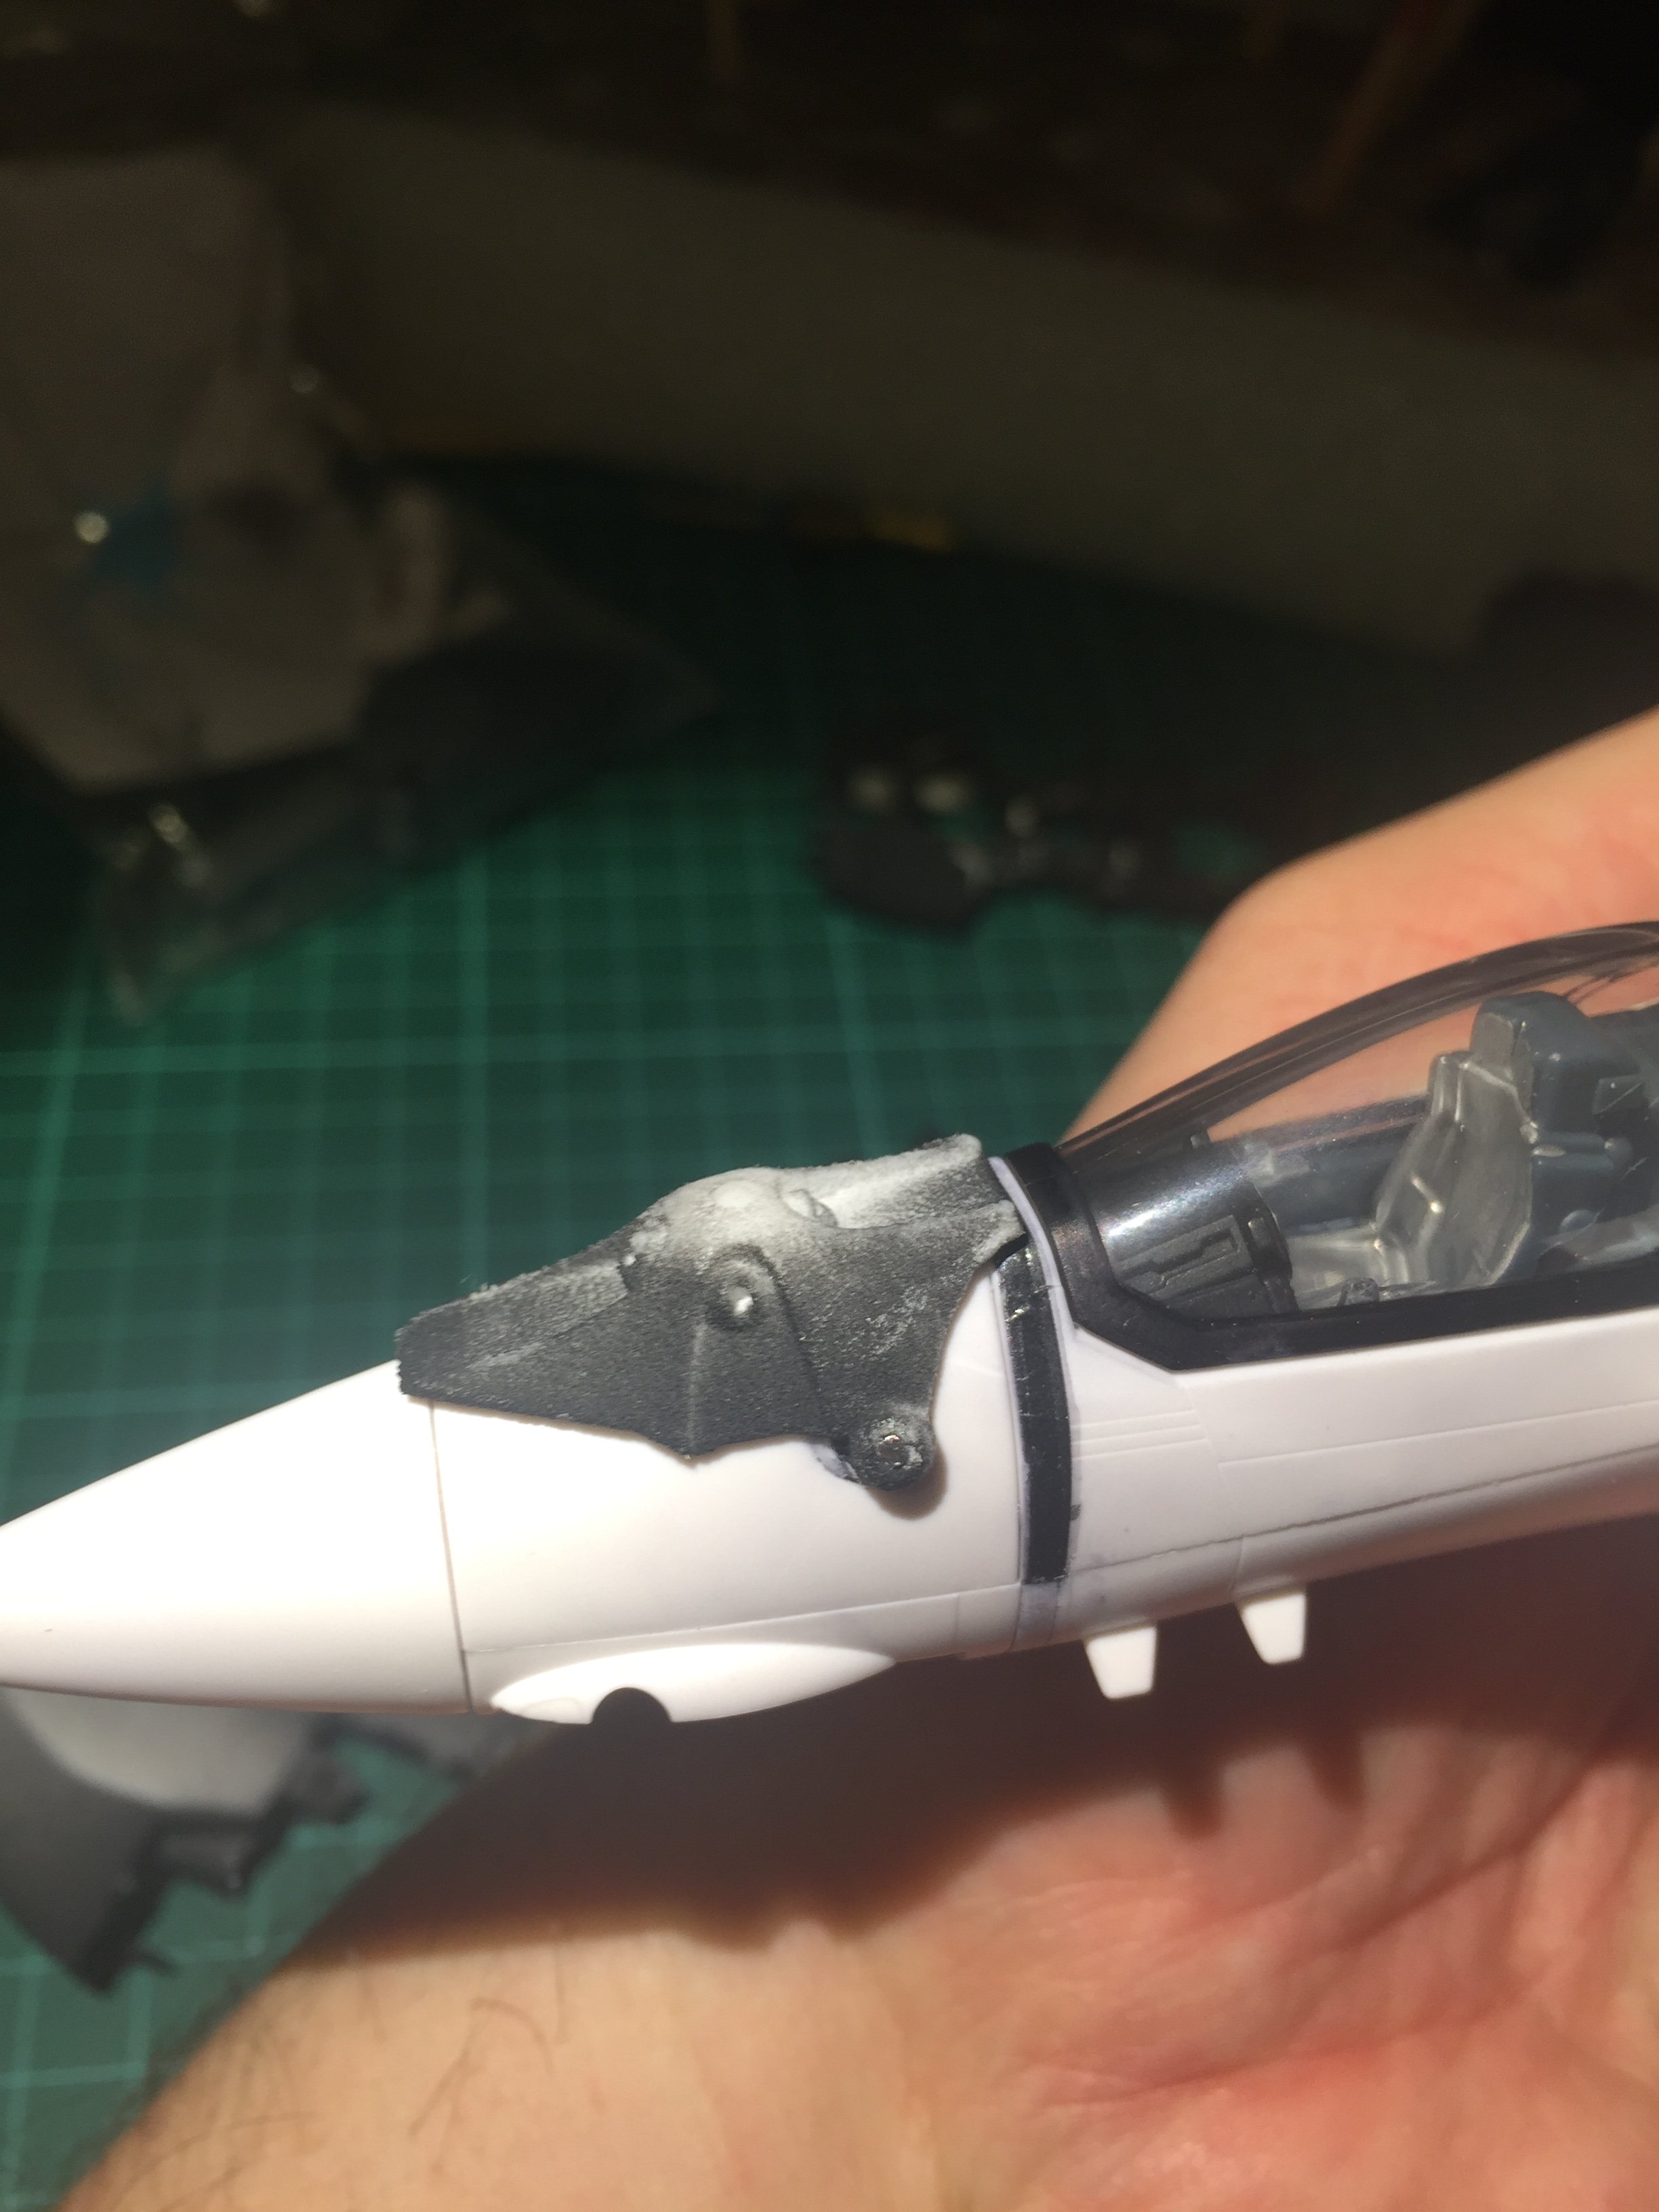
I didn't know this use of the wood filament. Interesting. If you use shapeways, you will see a huge boost in quality of print for sure, just make sure to make best use of the print orientation. This nose should be printed vertically, not horizontally!
-
The lighting is better than the original though!
-
Most of us would have bought them if bandai made them, probably the Vajra budget went right into the renewal.
-
That looks nice!
-
You know you do too much customs when you can make an entire detolf floor with customs...

-
5 hours ago, Nyankodevice said:
are those parts available for purchase?
looks very good
")
Thank you! I have a few parts already available in my shop, the one I was entirely satisfied with already. Since the last parts needed a few changes I have the updated models coming soon, so I can confirm that everything works flawlessly.
4 hours ago, valhary said:I can't wait to see the complete conversion

Soon hopefully!
-
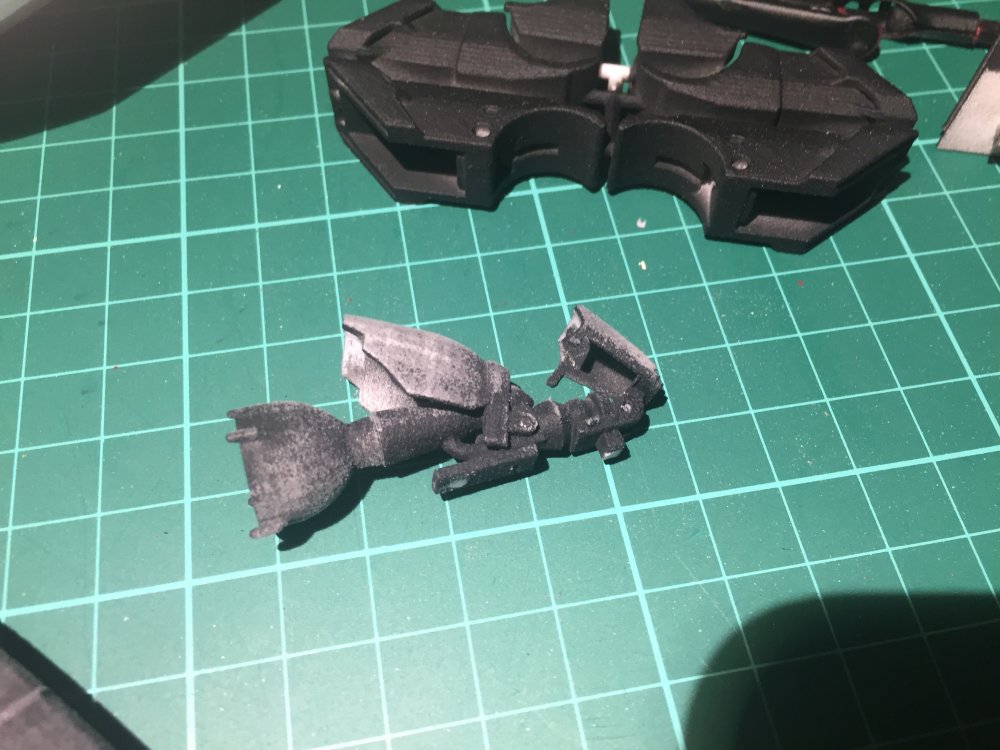
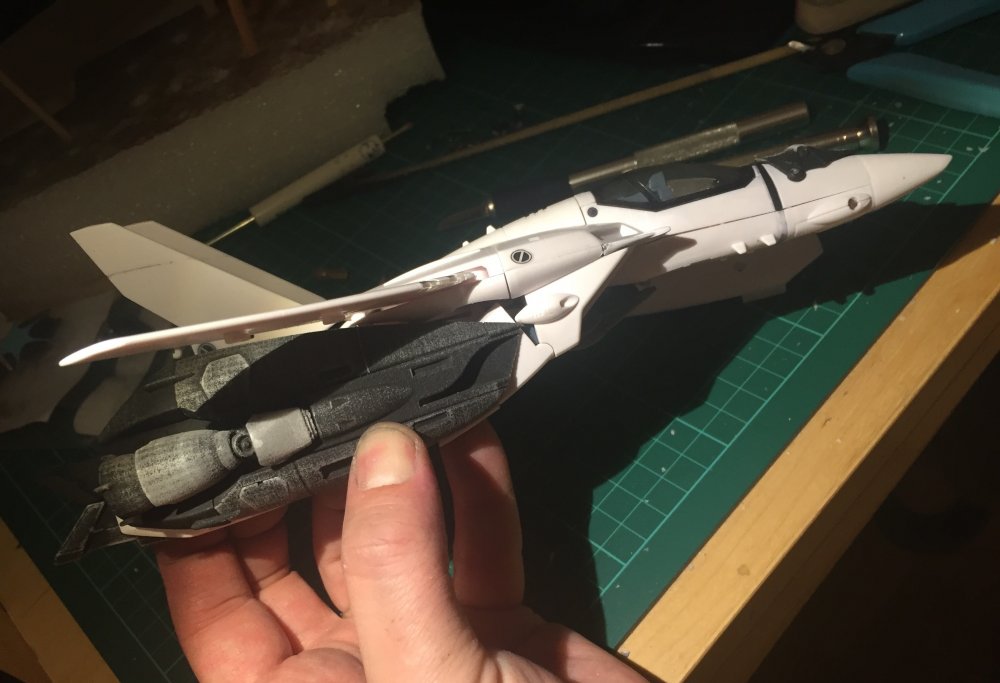
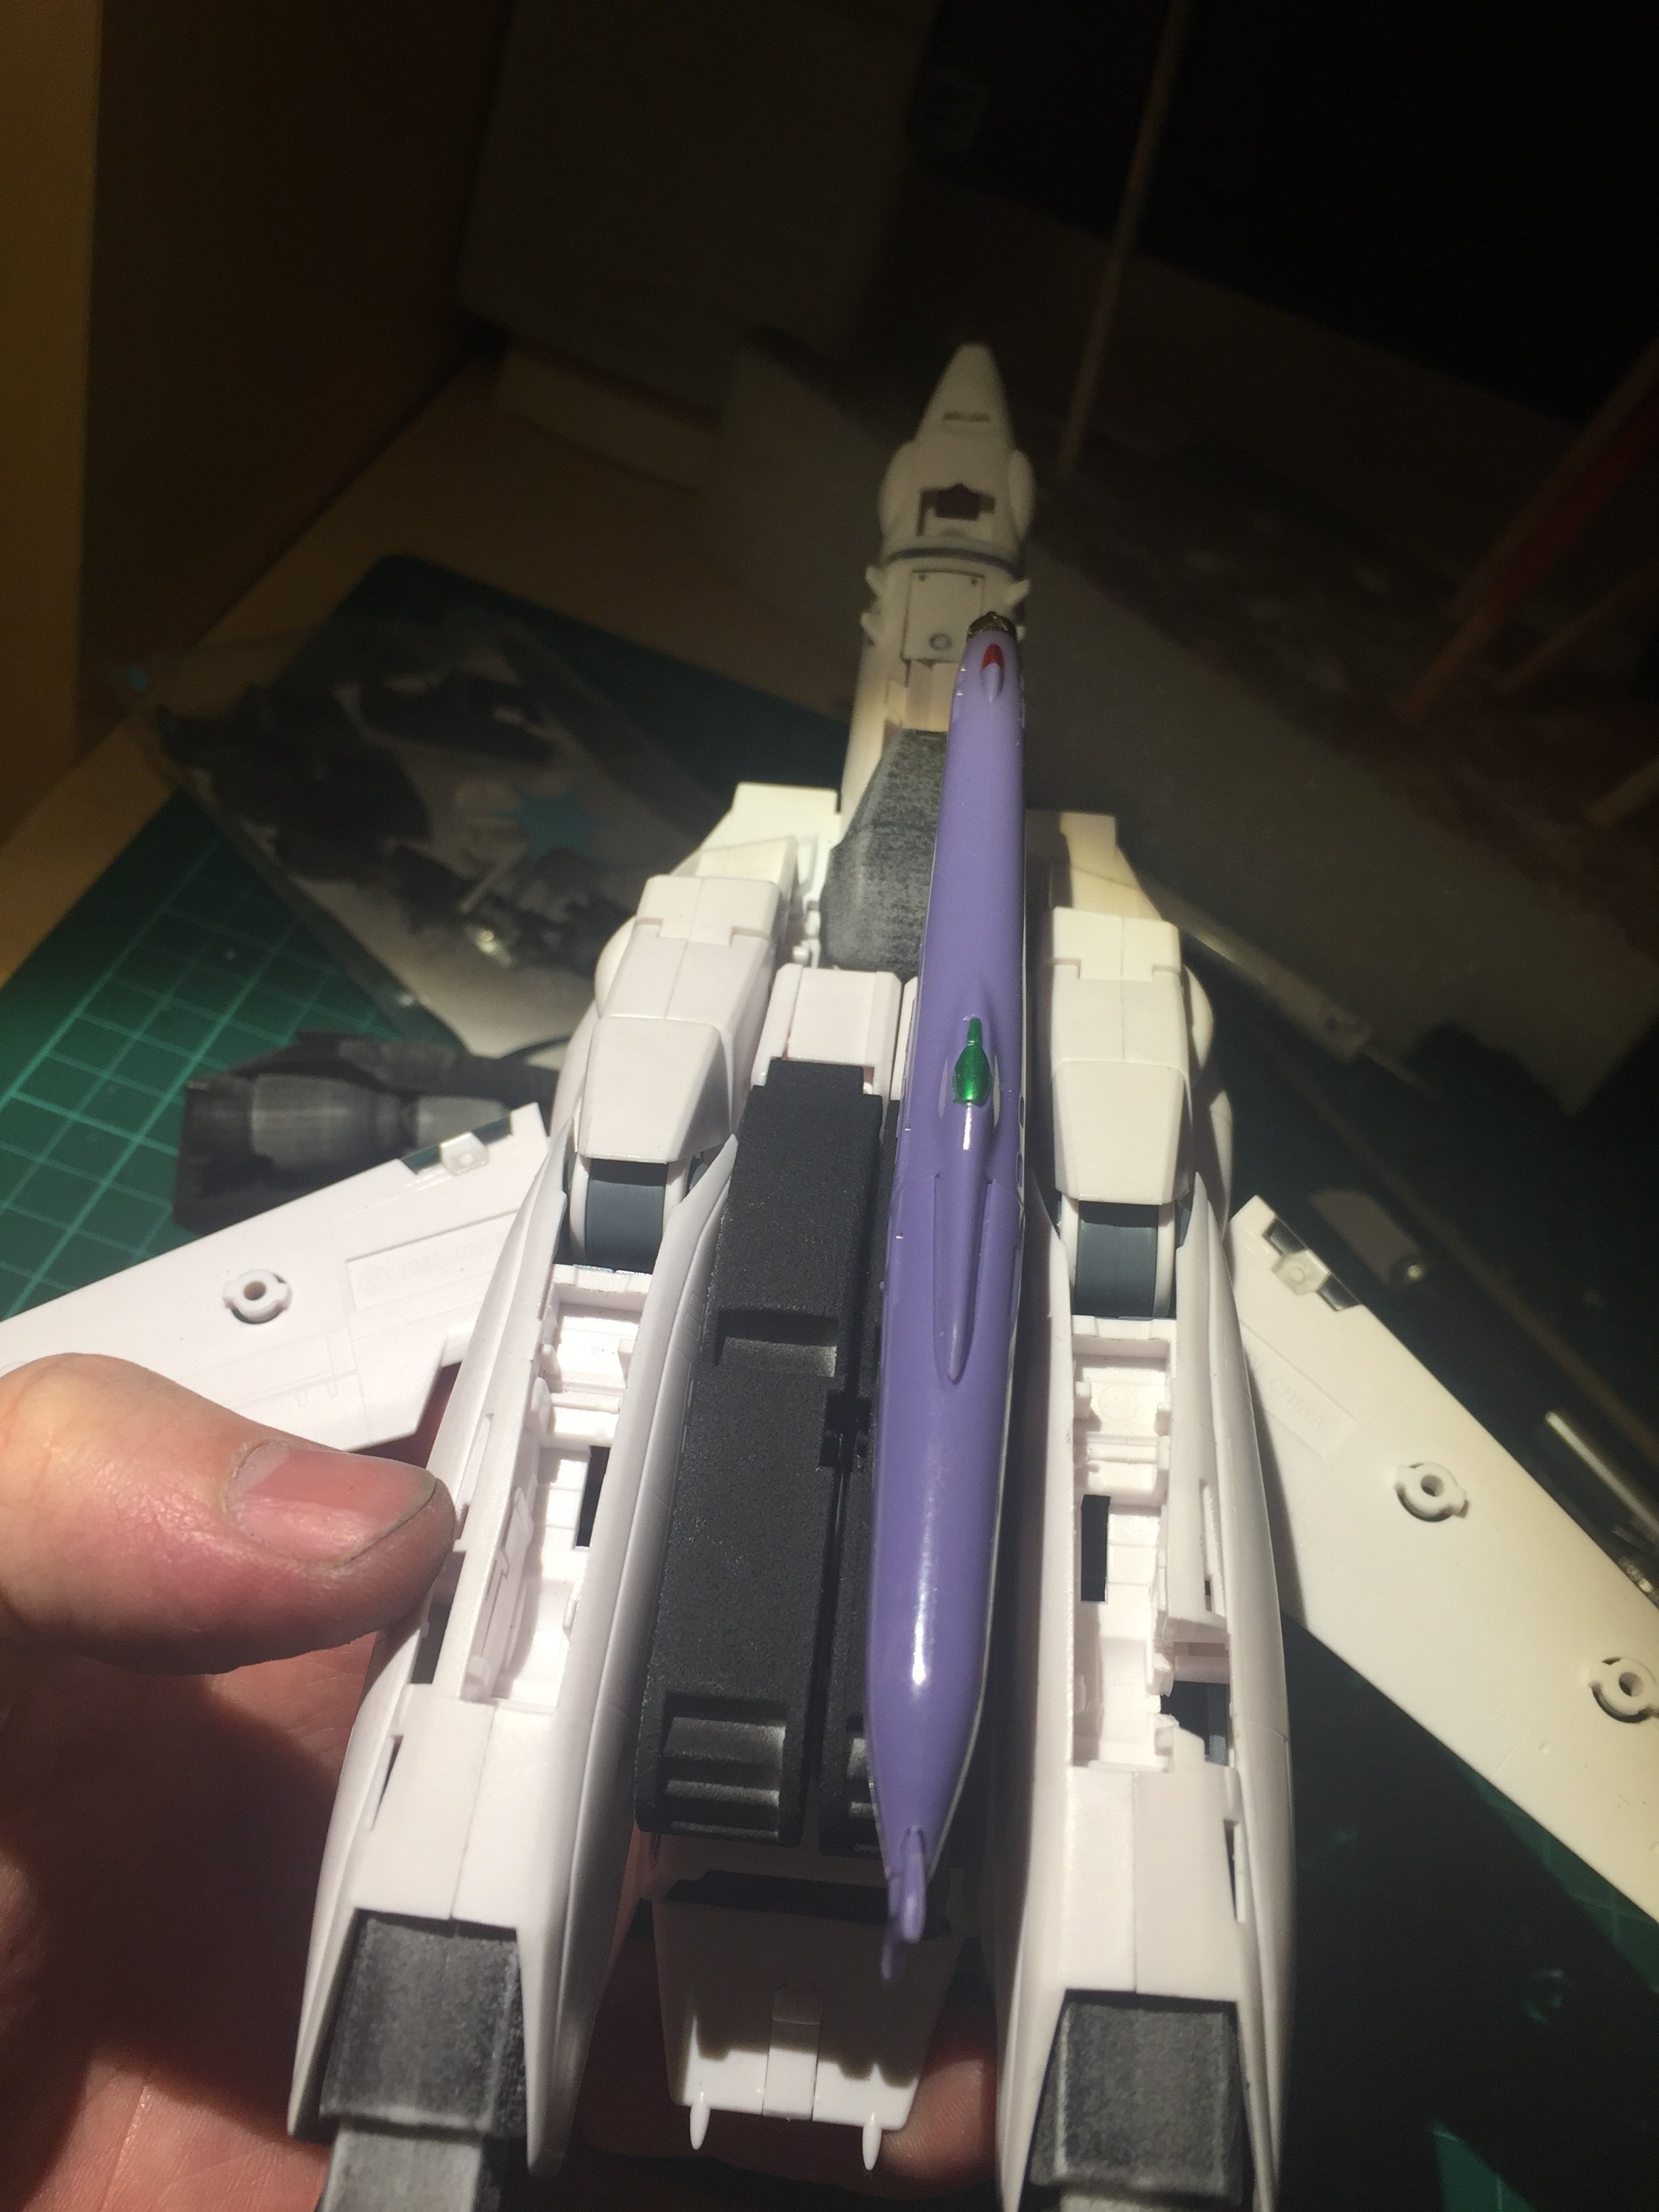
I have fixed all the current issues, and also made a few changes to the 3D files. Now here is only the chest amor plates to modelise, I think I got the solution by replacing the whole back plate and make a new one with the plates already in there.

-
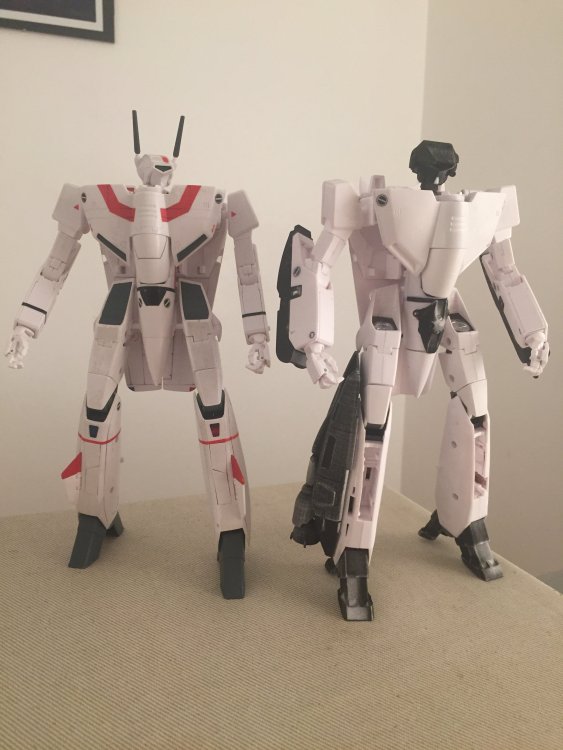
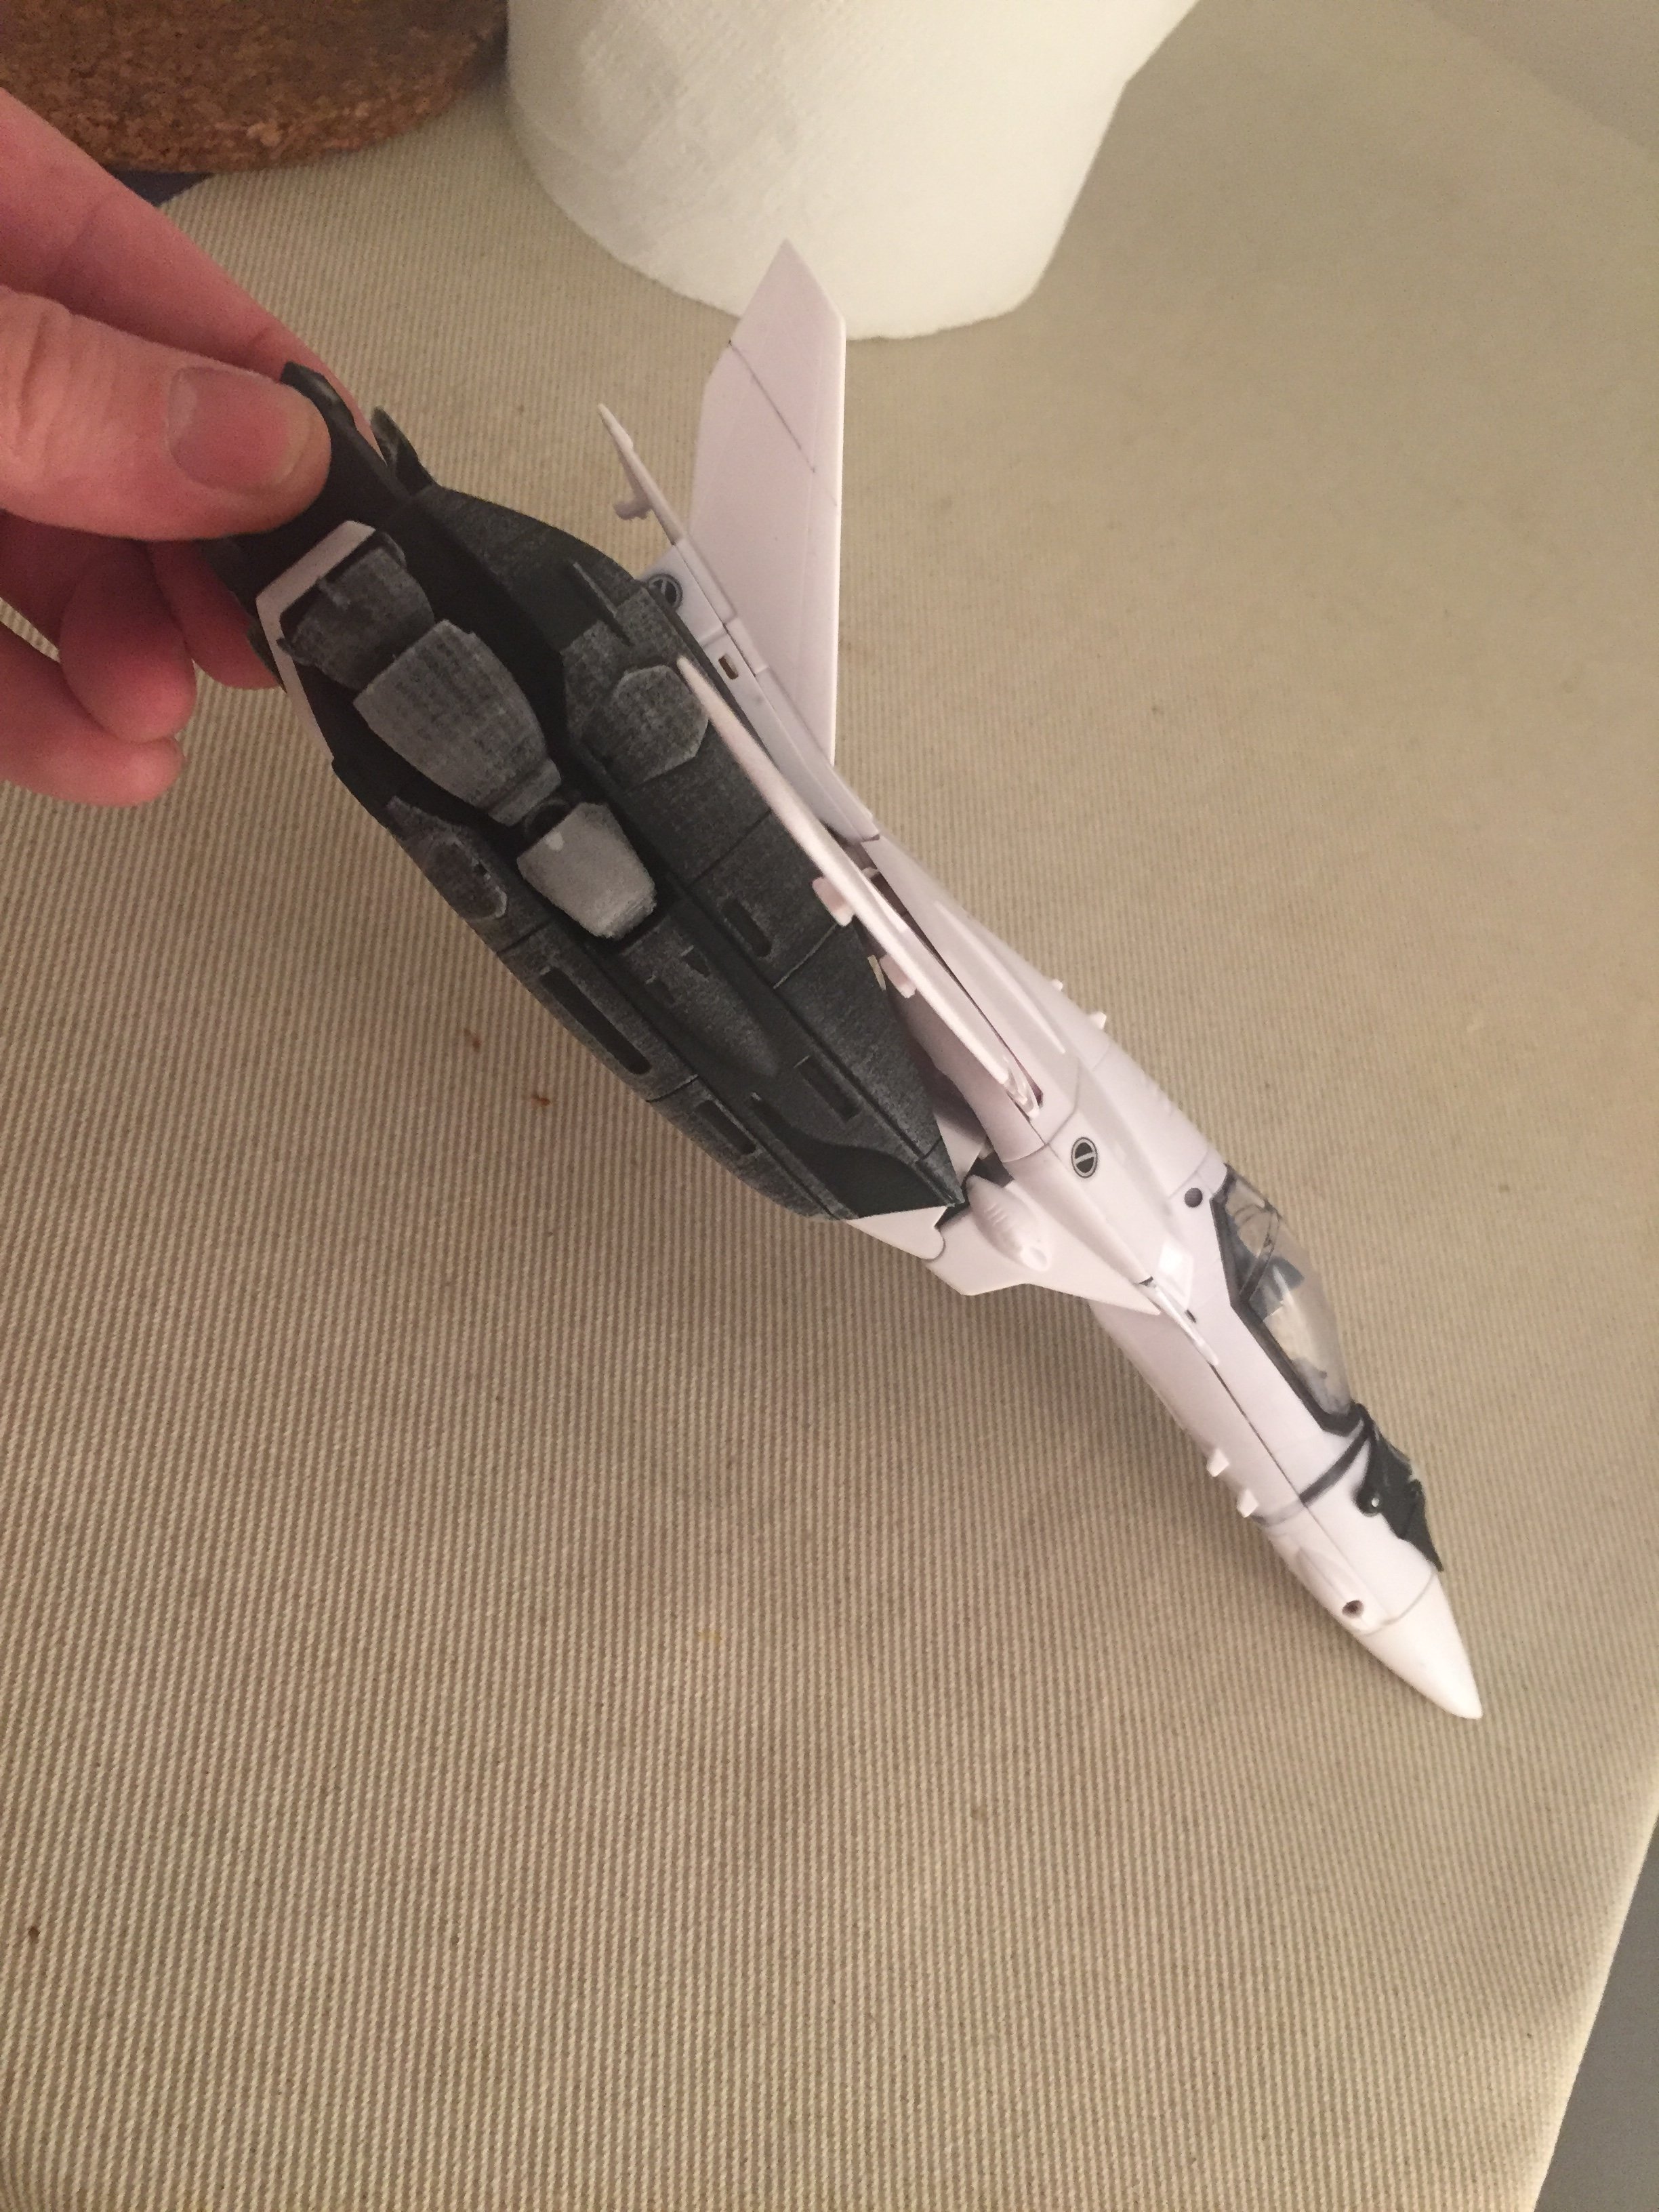
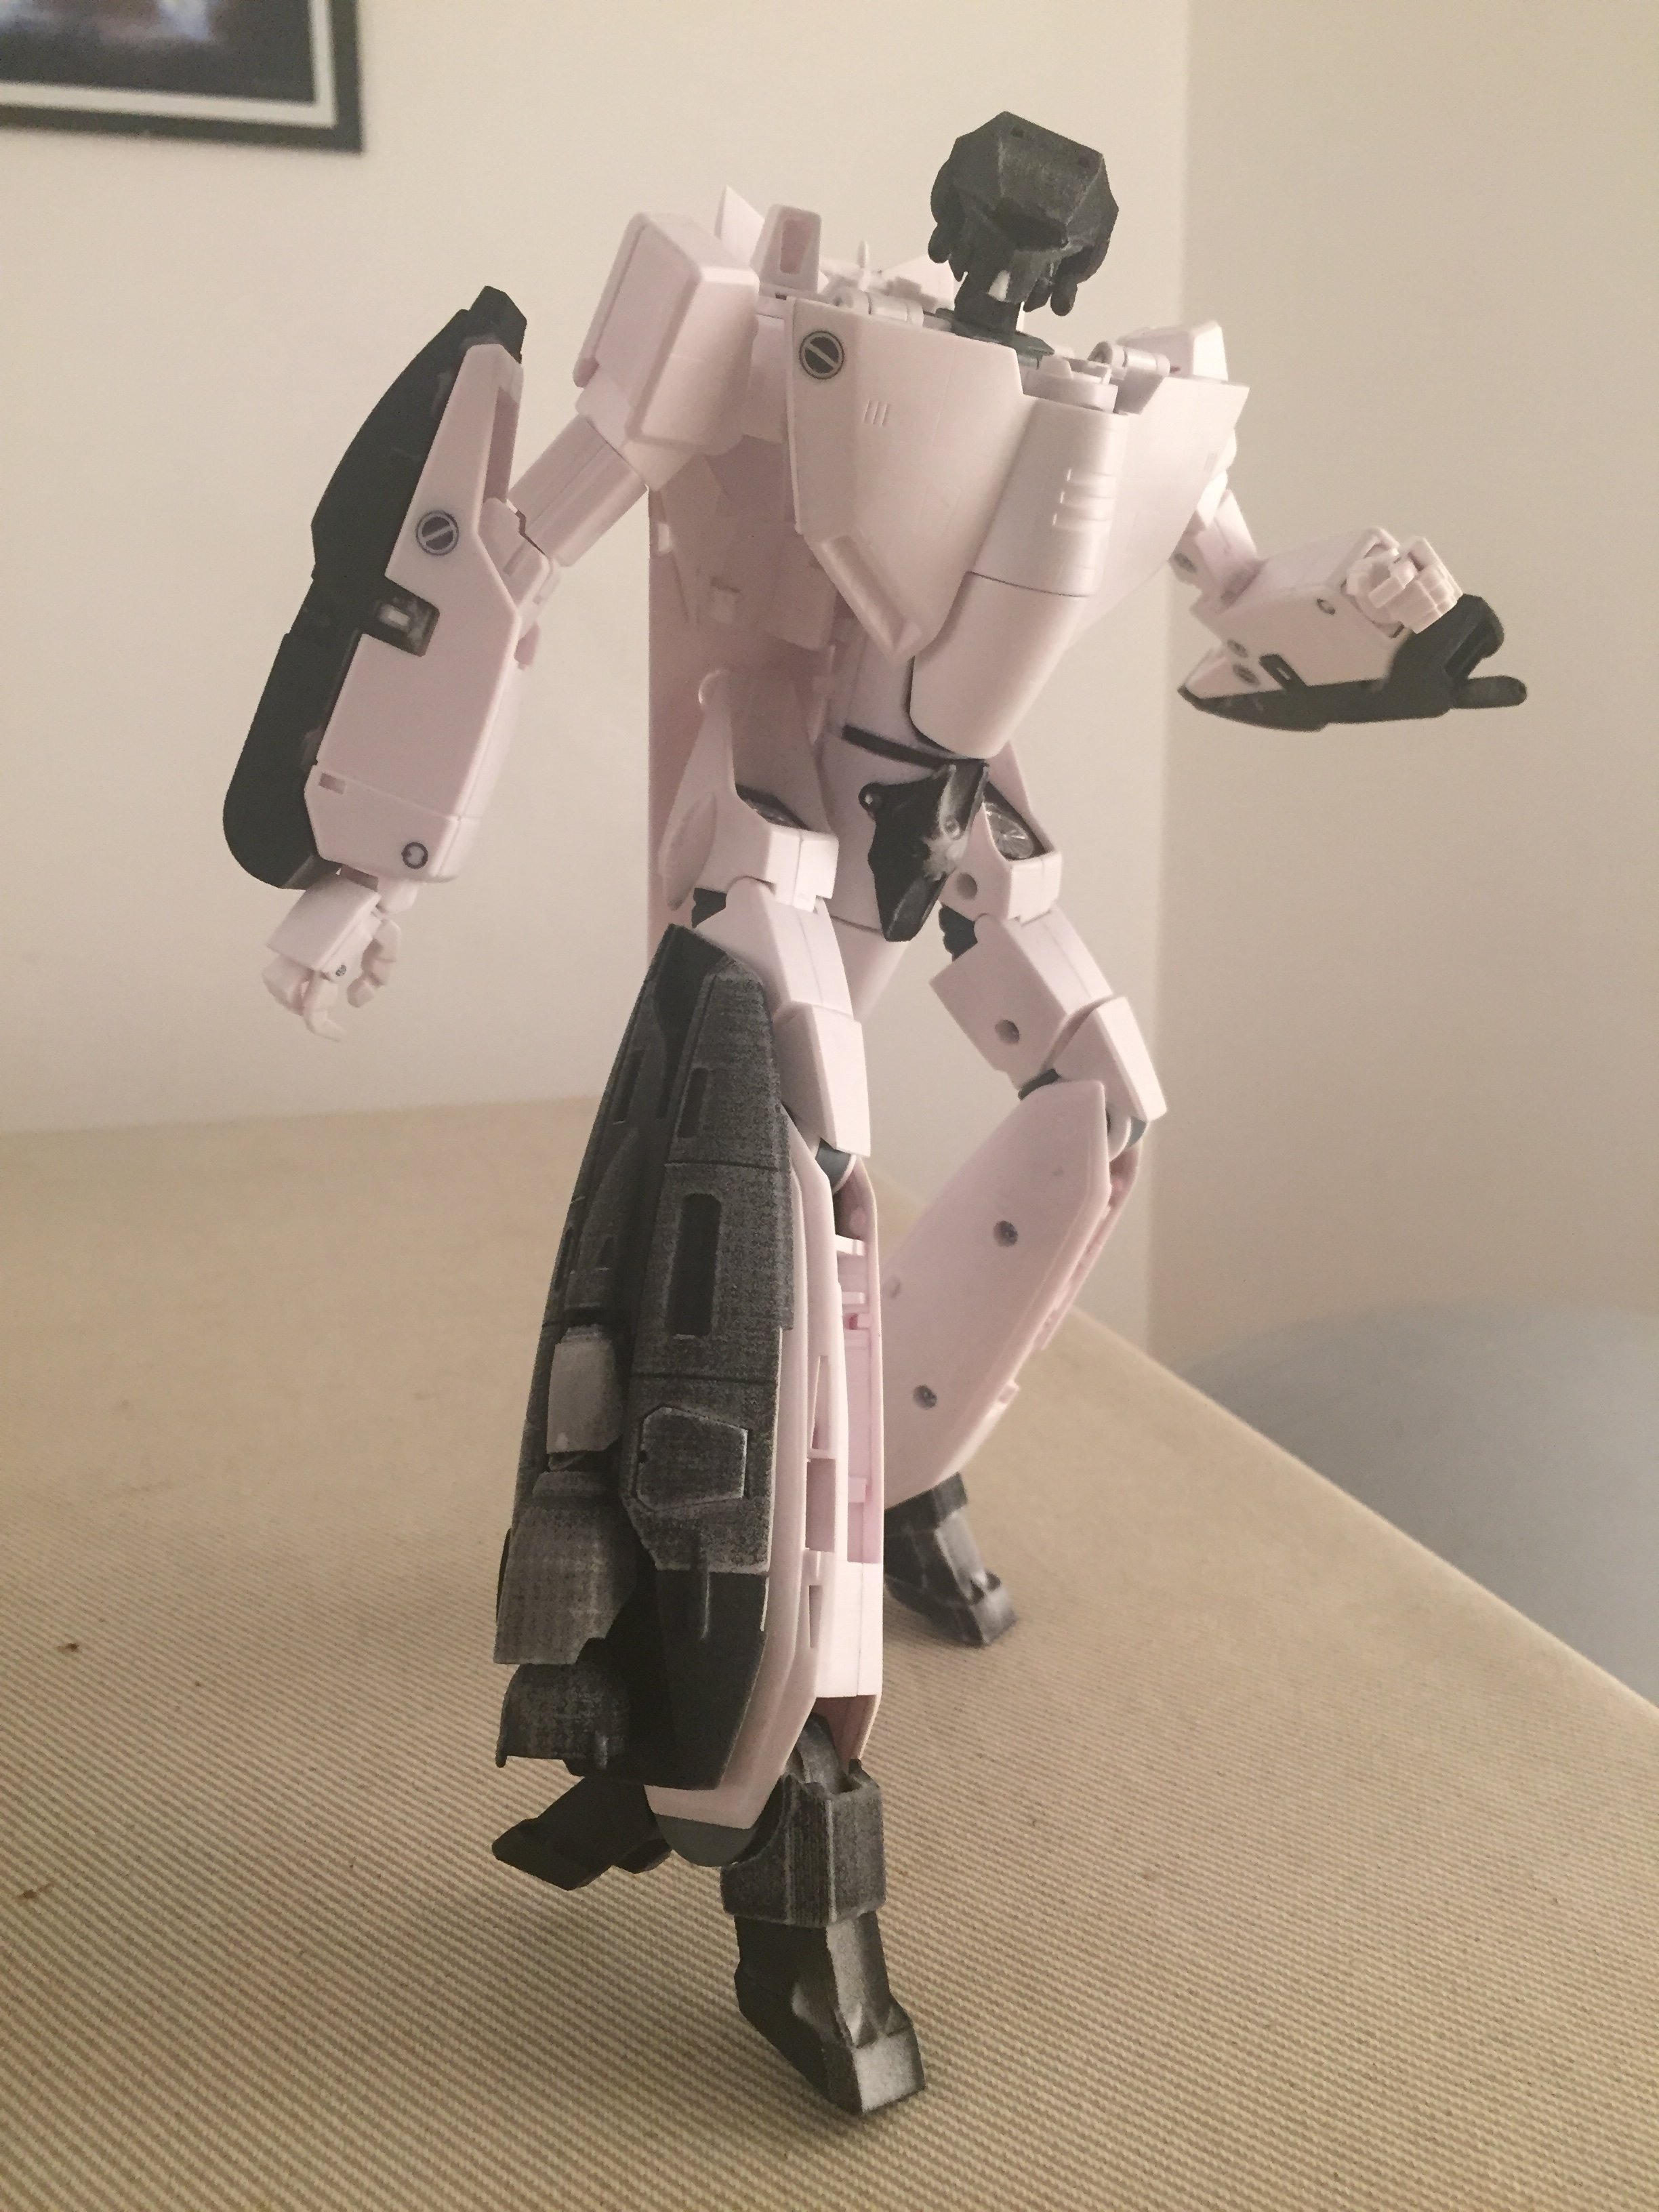
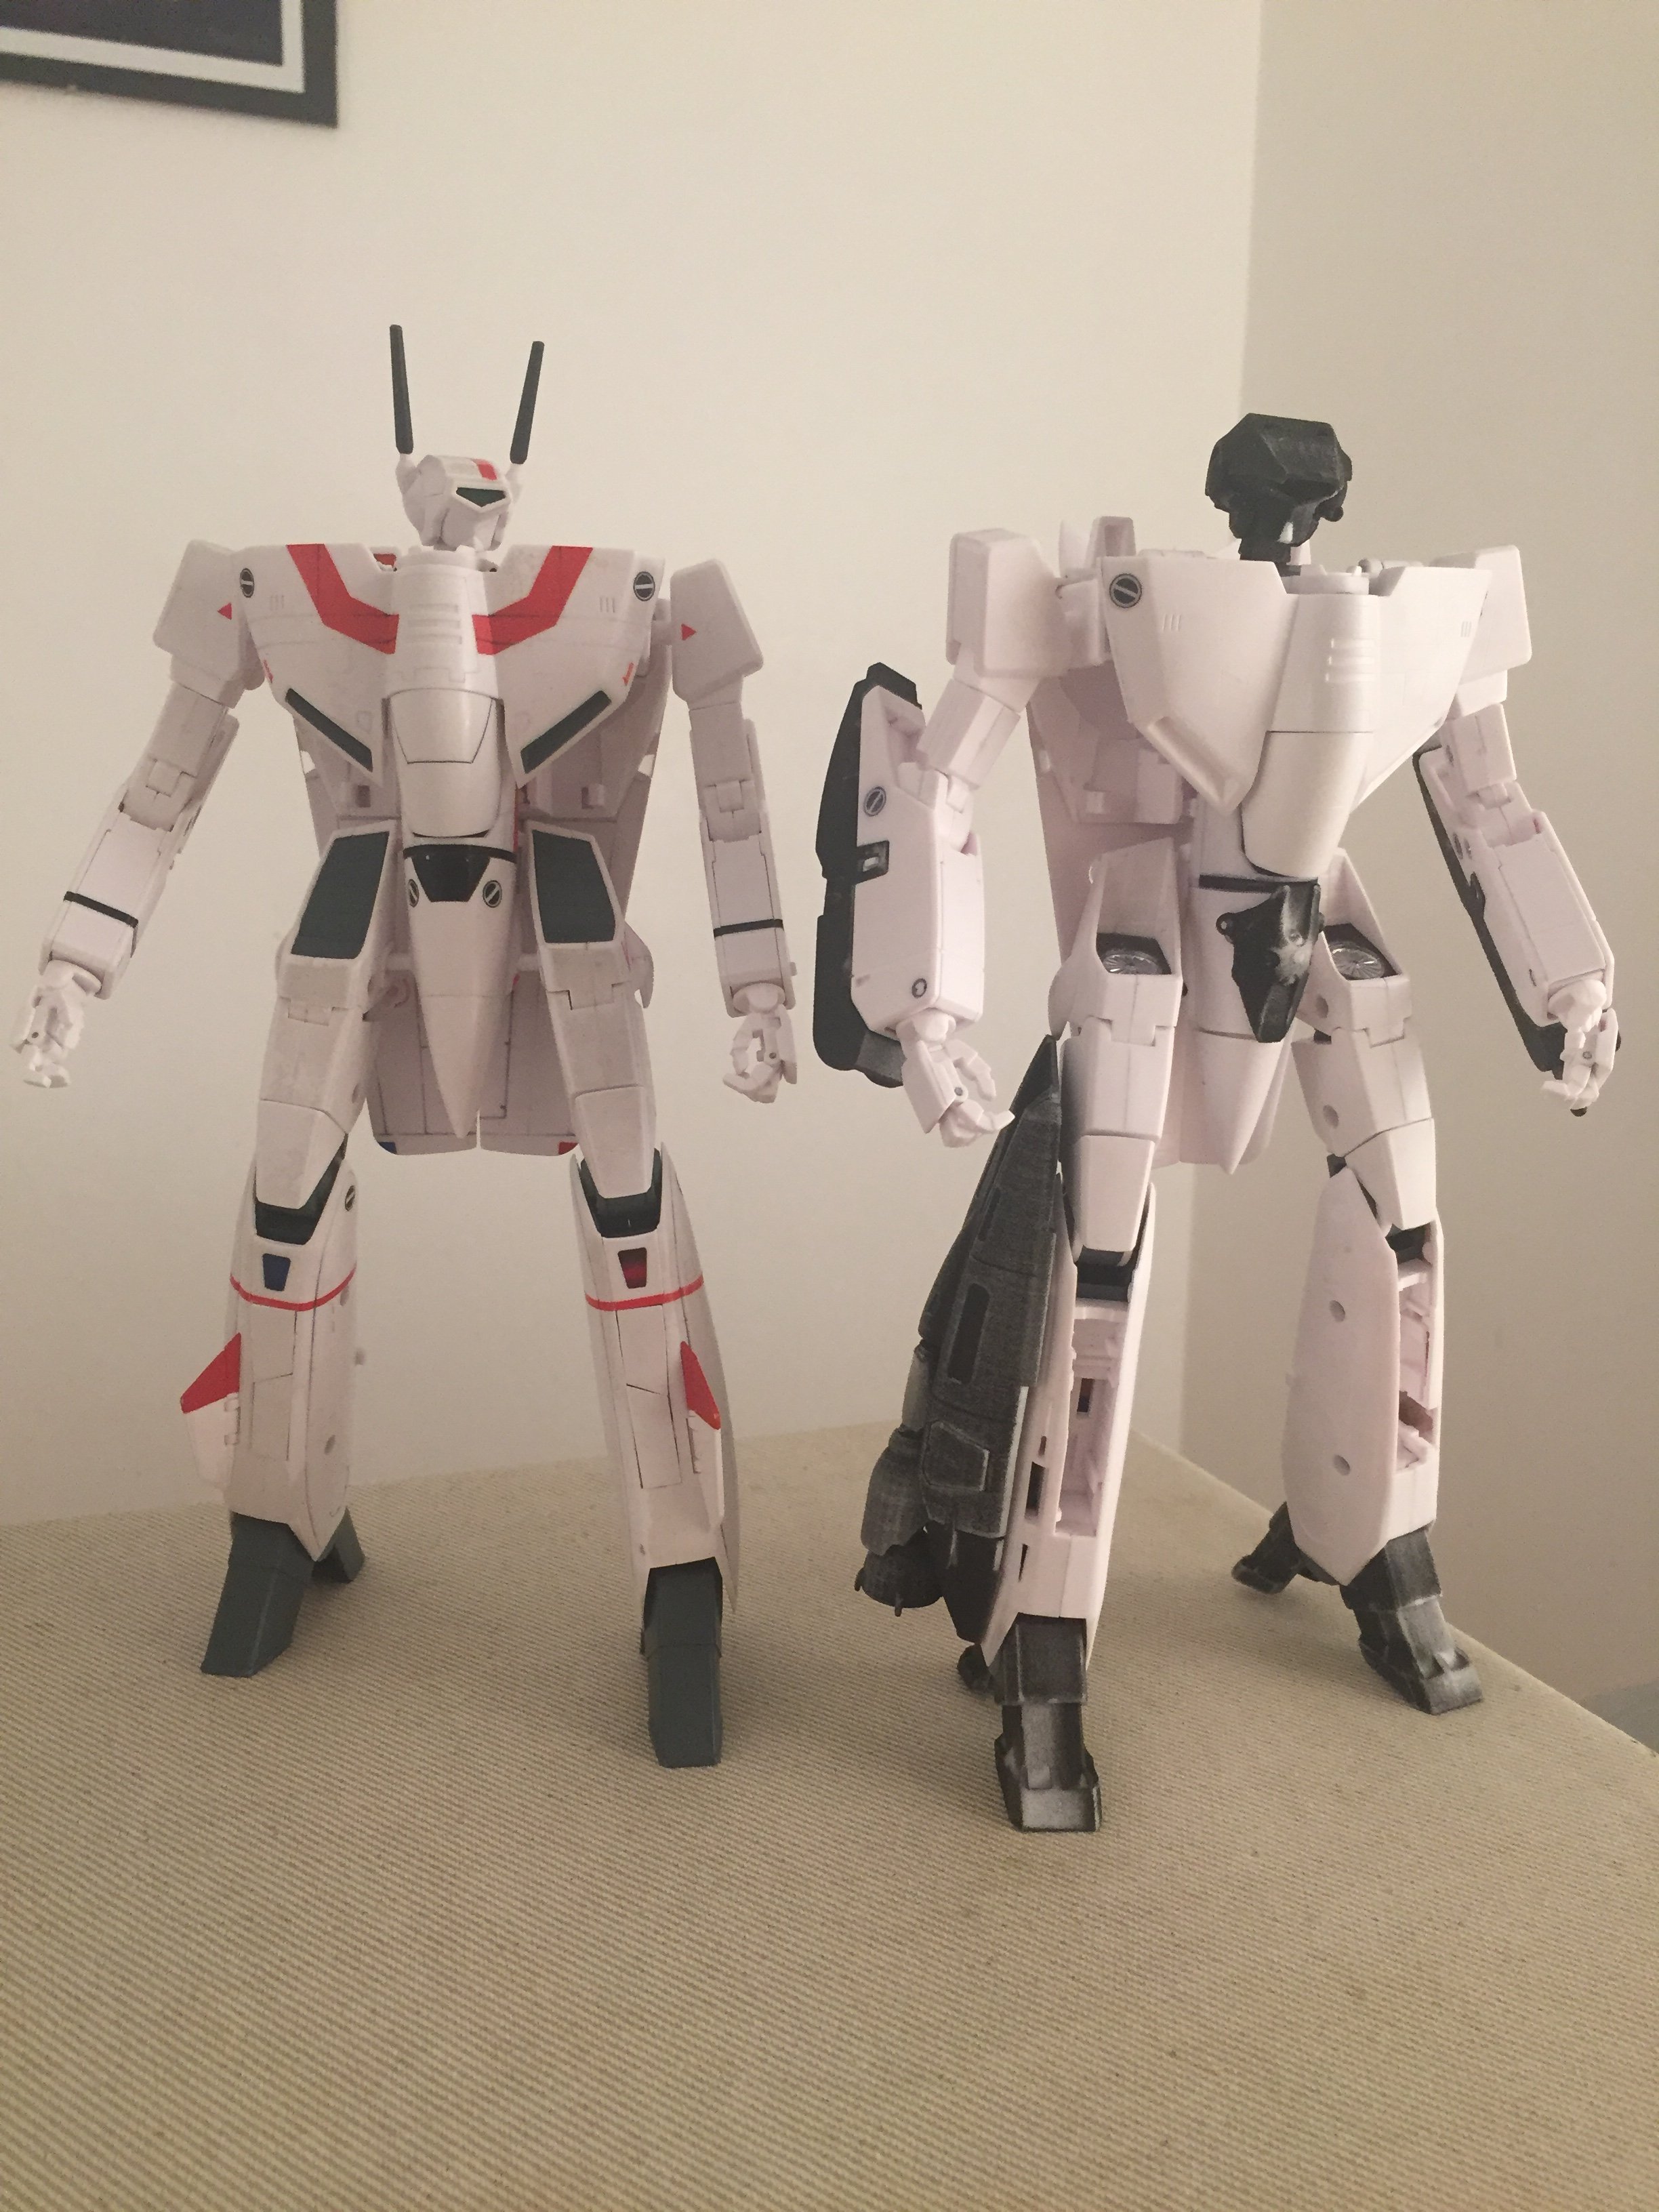
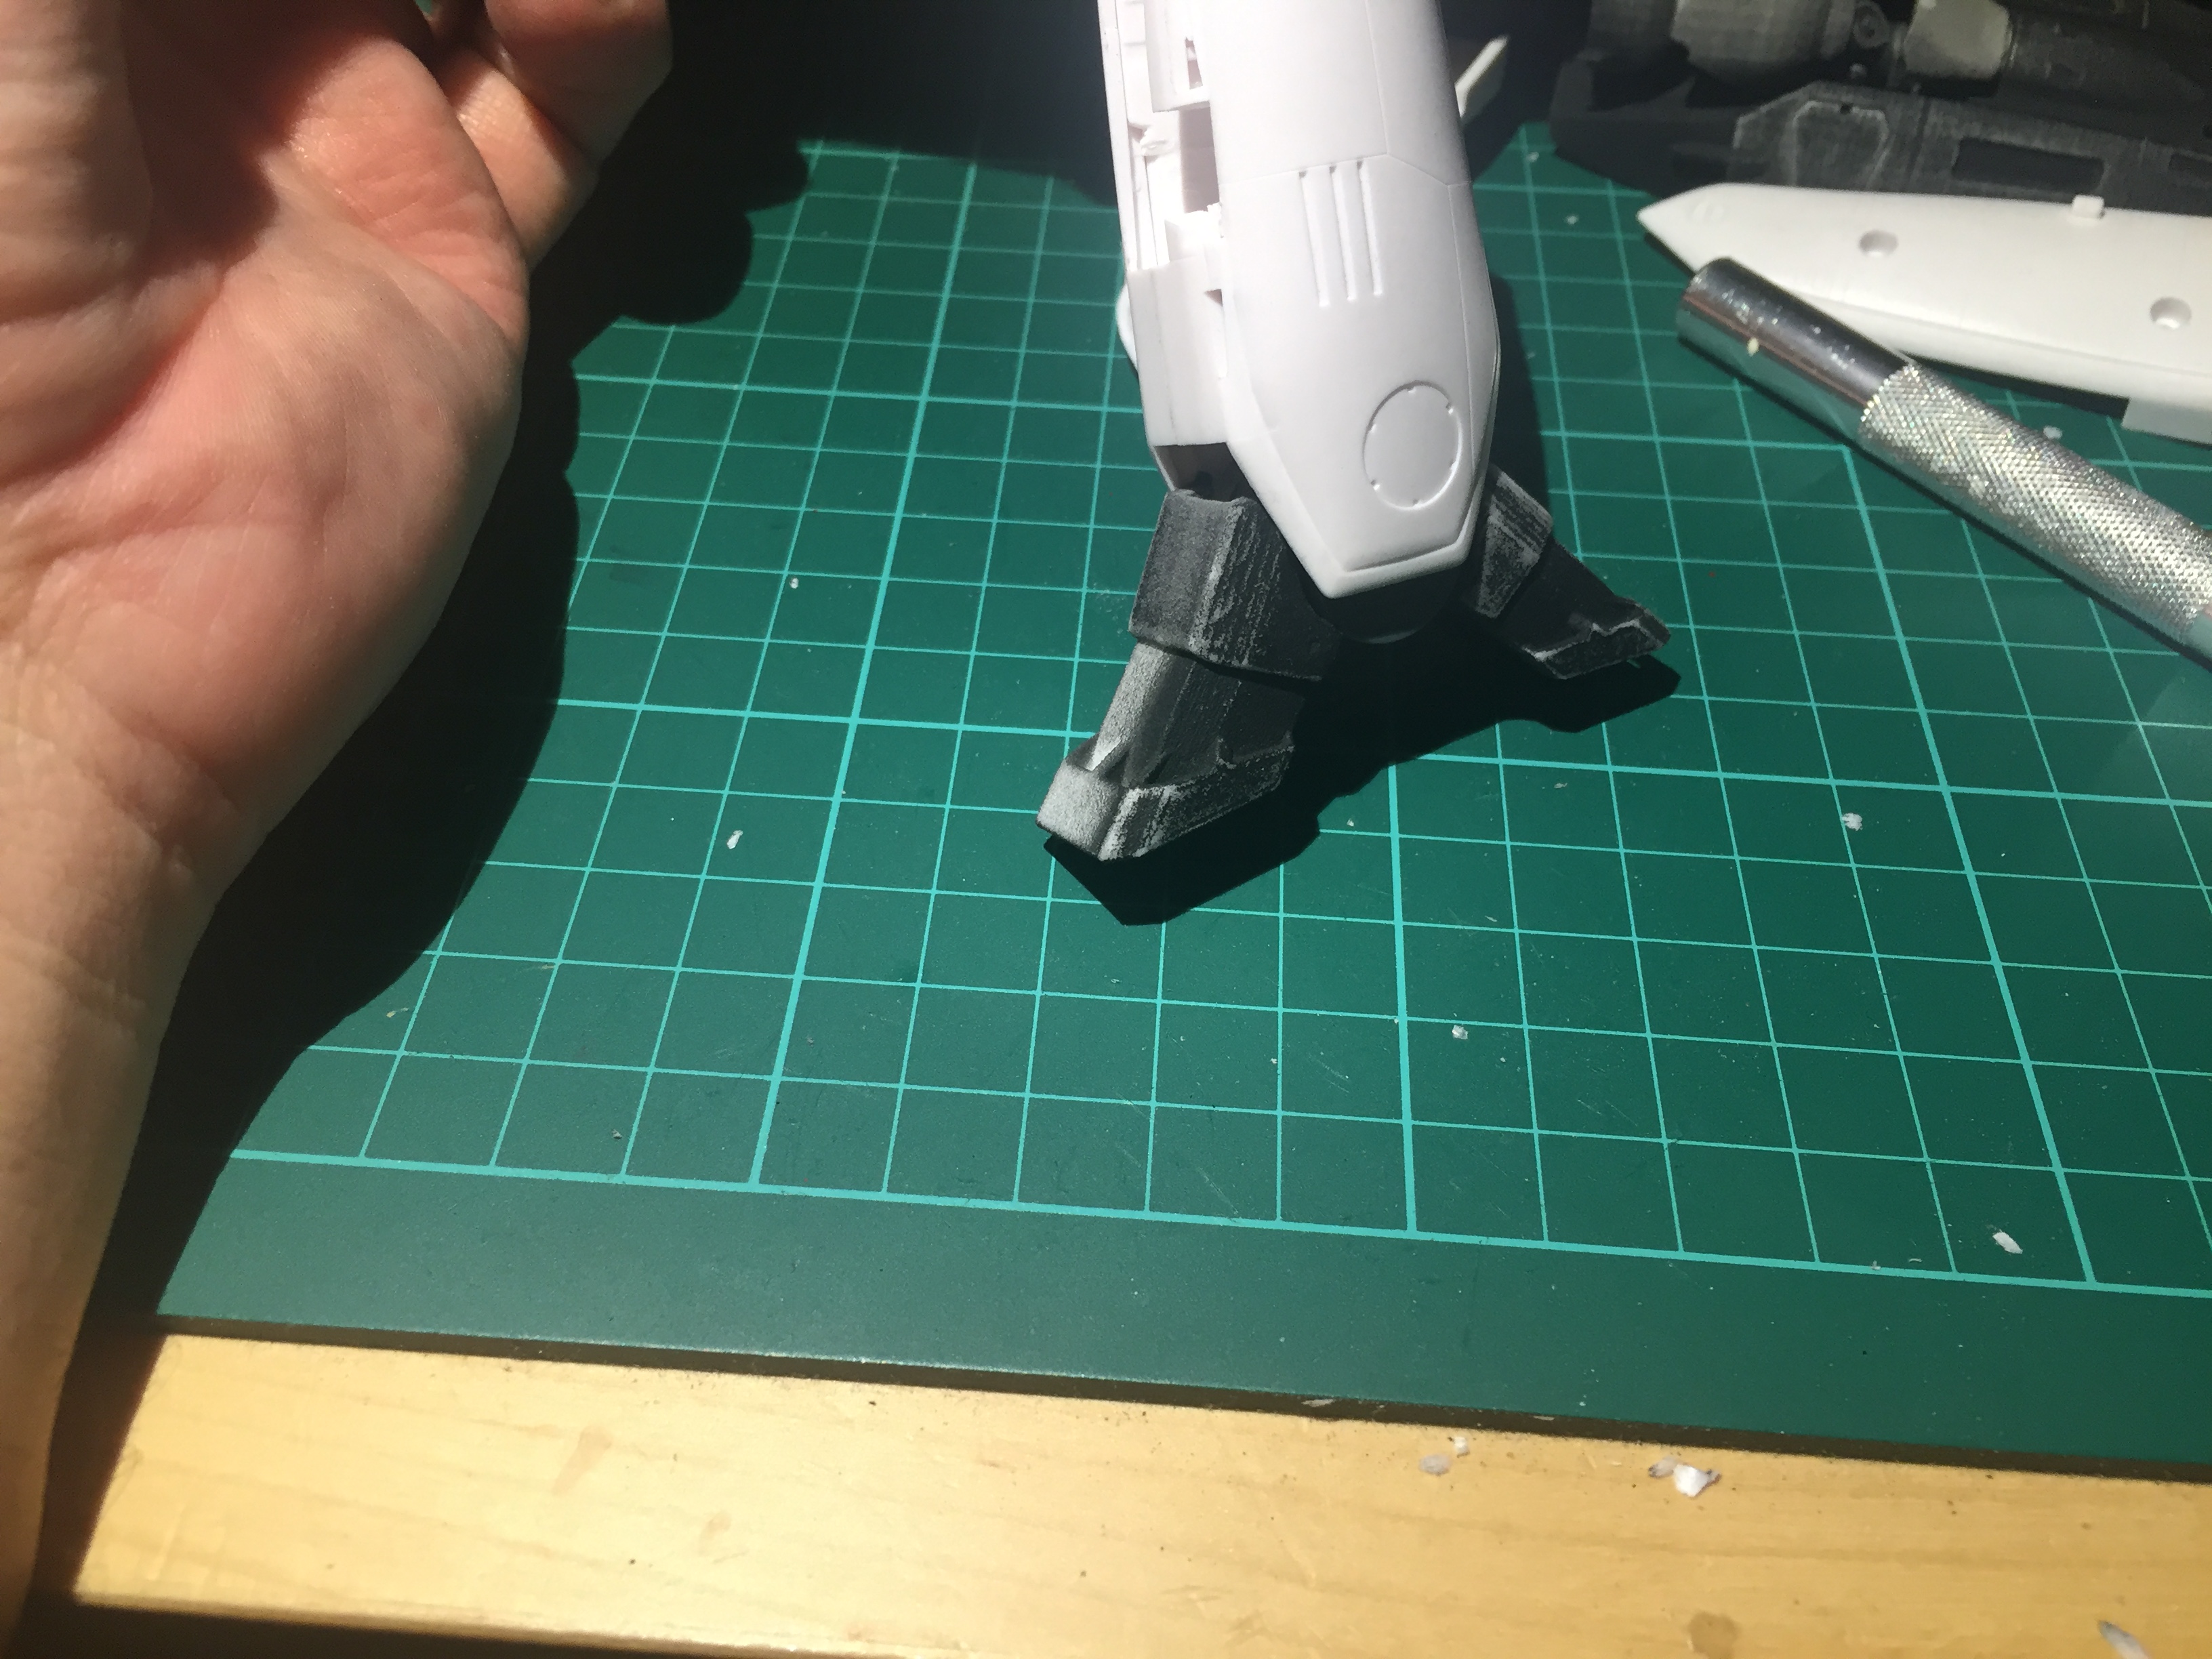
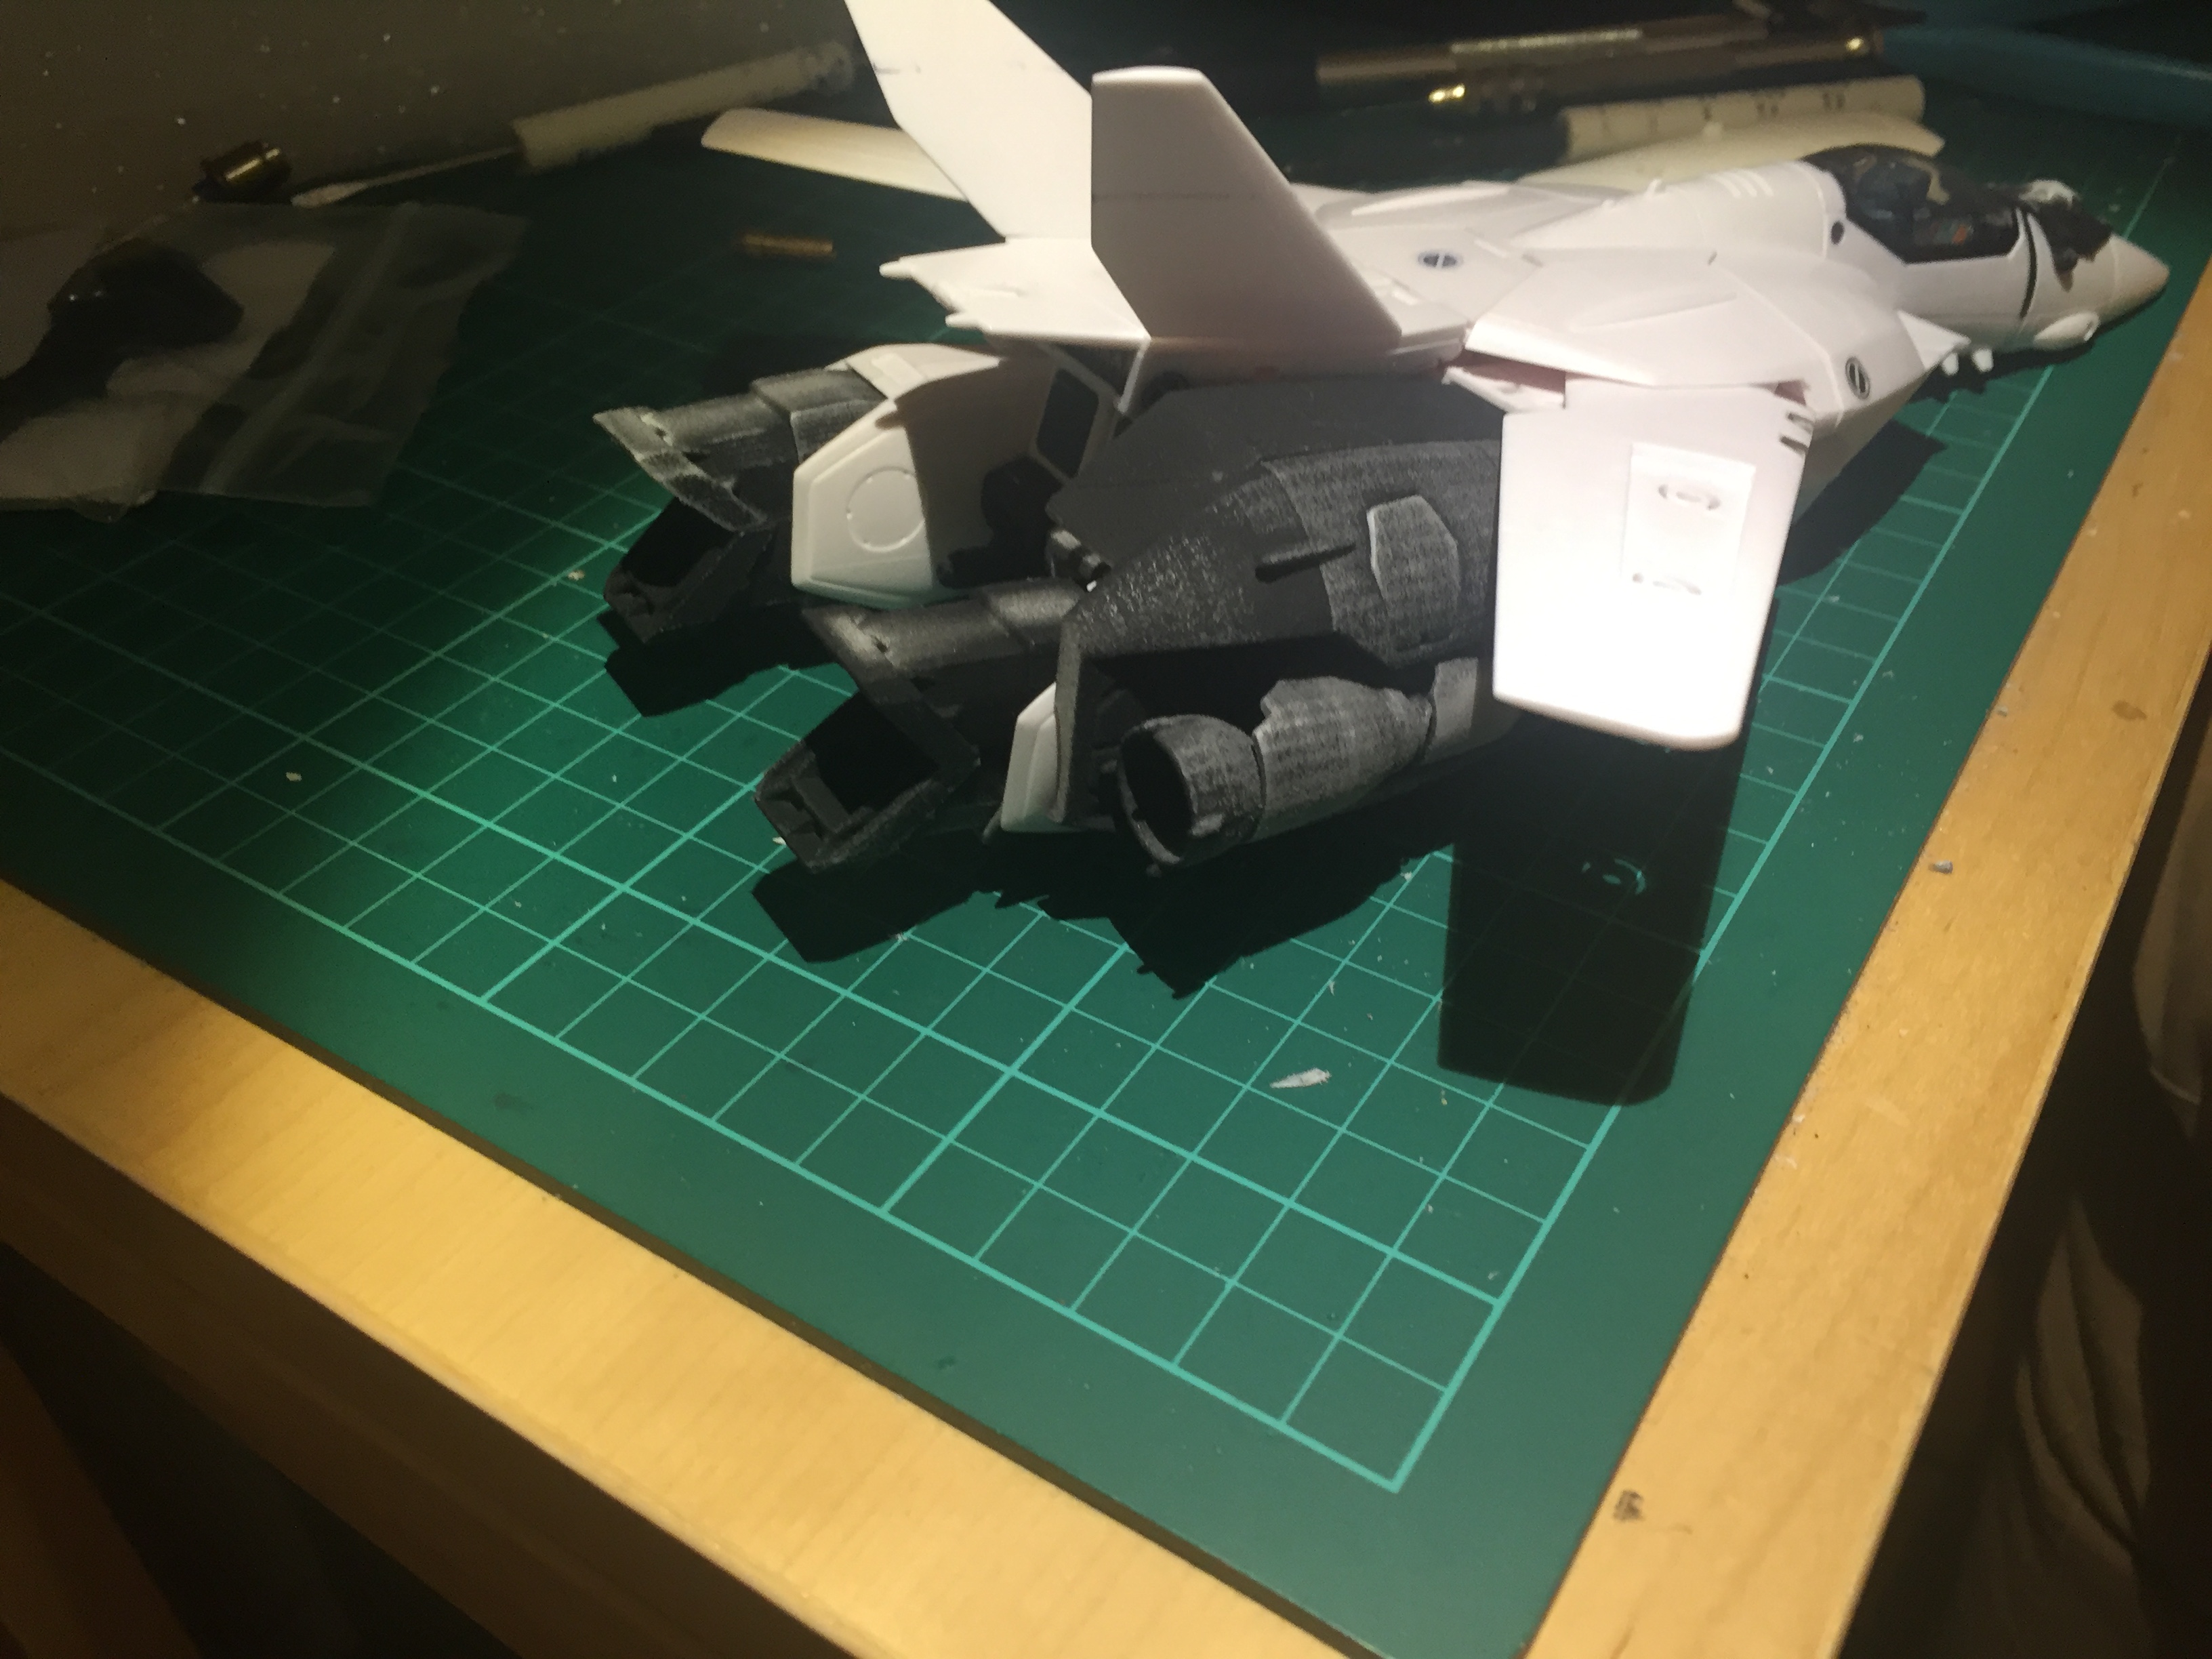
Pretty happy with the arm super parts now, they hold both the VF1 and VF-25 gunpods.
I totally messed the supporting piece of the legs super parts though, but nothing to worry much, since the fix is pretty easy.
The feet are tricky, I guess that they will need to be glued to be firmly attached to the mechanism.
I made a slightly smaller head, the transformation to battroid is far easier now, but somehow the head looks small when taking pictures. But in reality it looks as big as the 1j head. Weird!


-
Added in first post the link to download the tatoos mask / prints.
-
Inverted, you are correct!
-
That's a mission for ChaoticYeti! A 262 and 31 adapters to display them reversed!
-
Saburo, these shots are amazing! I really don't like fixed figures in general but these blend very well with this perspective.
-
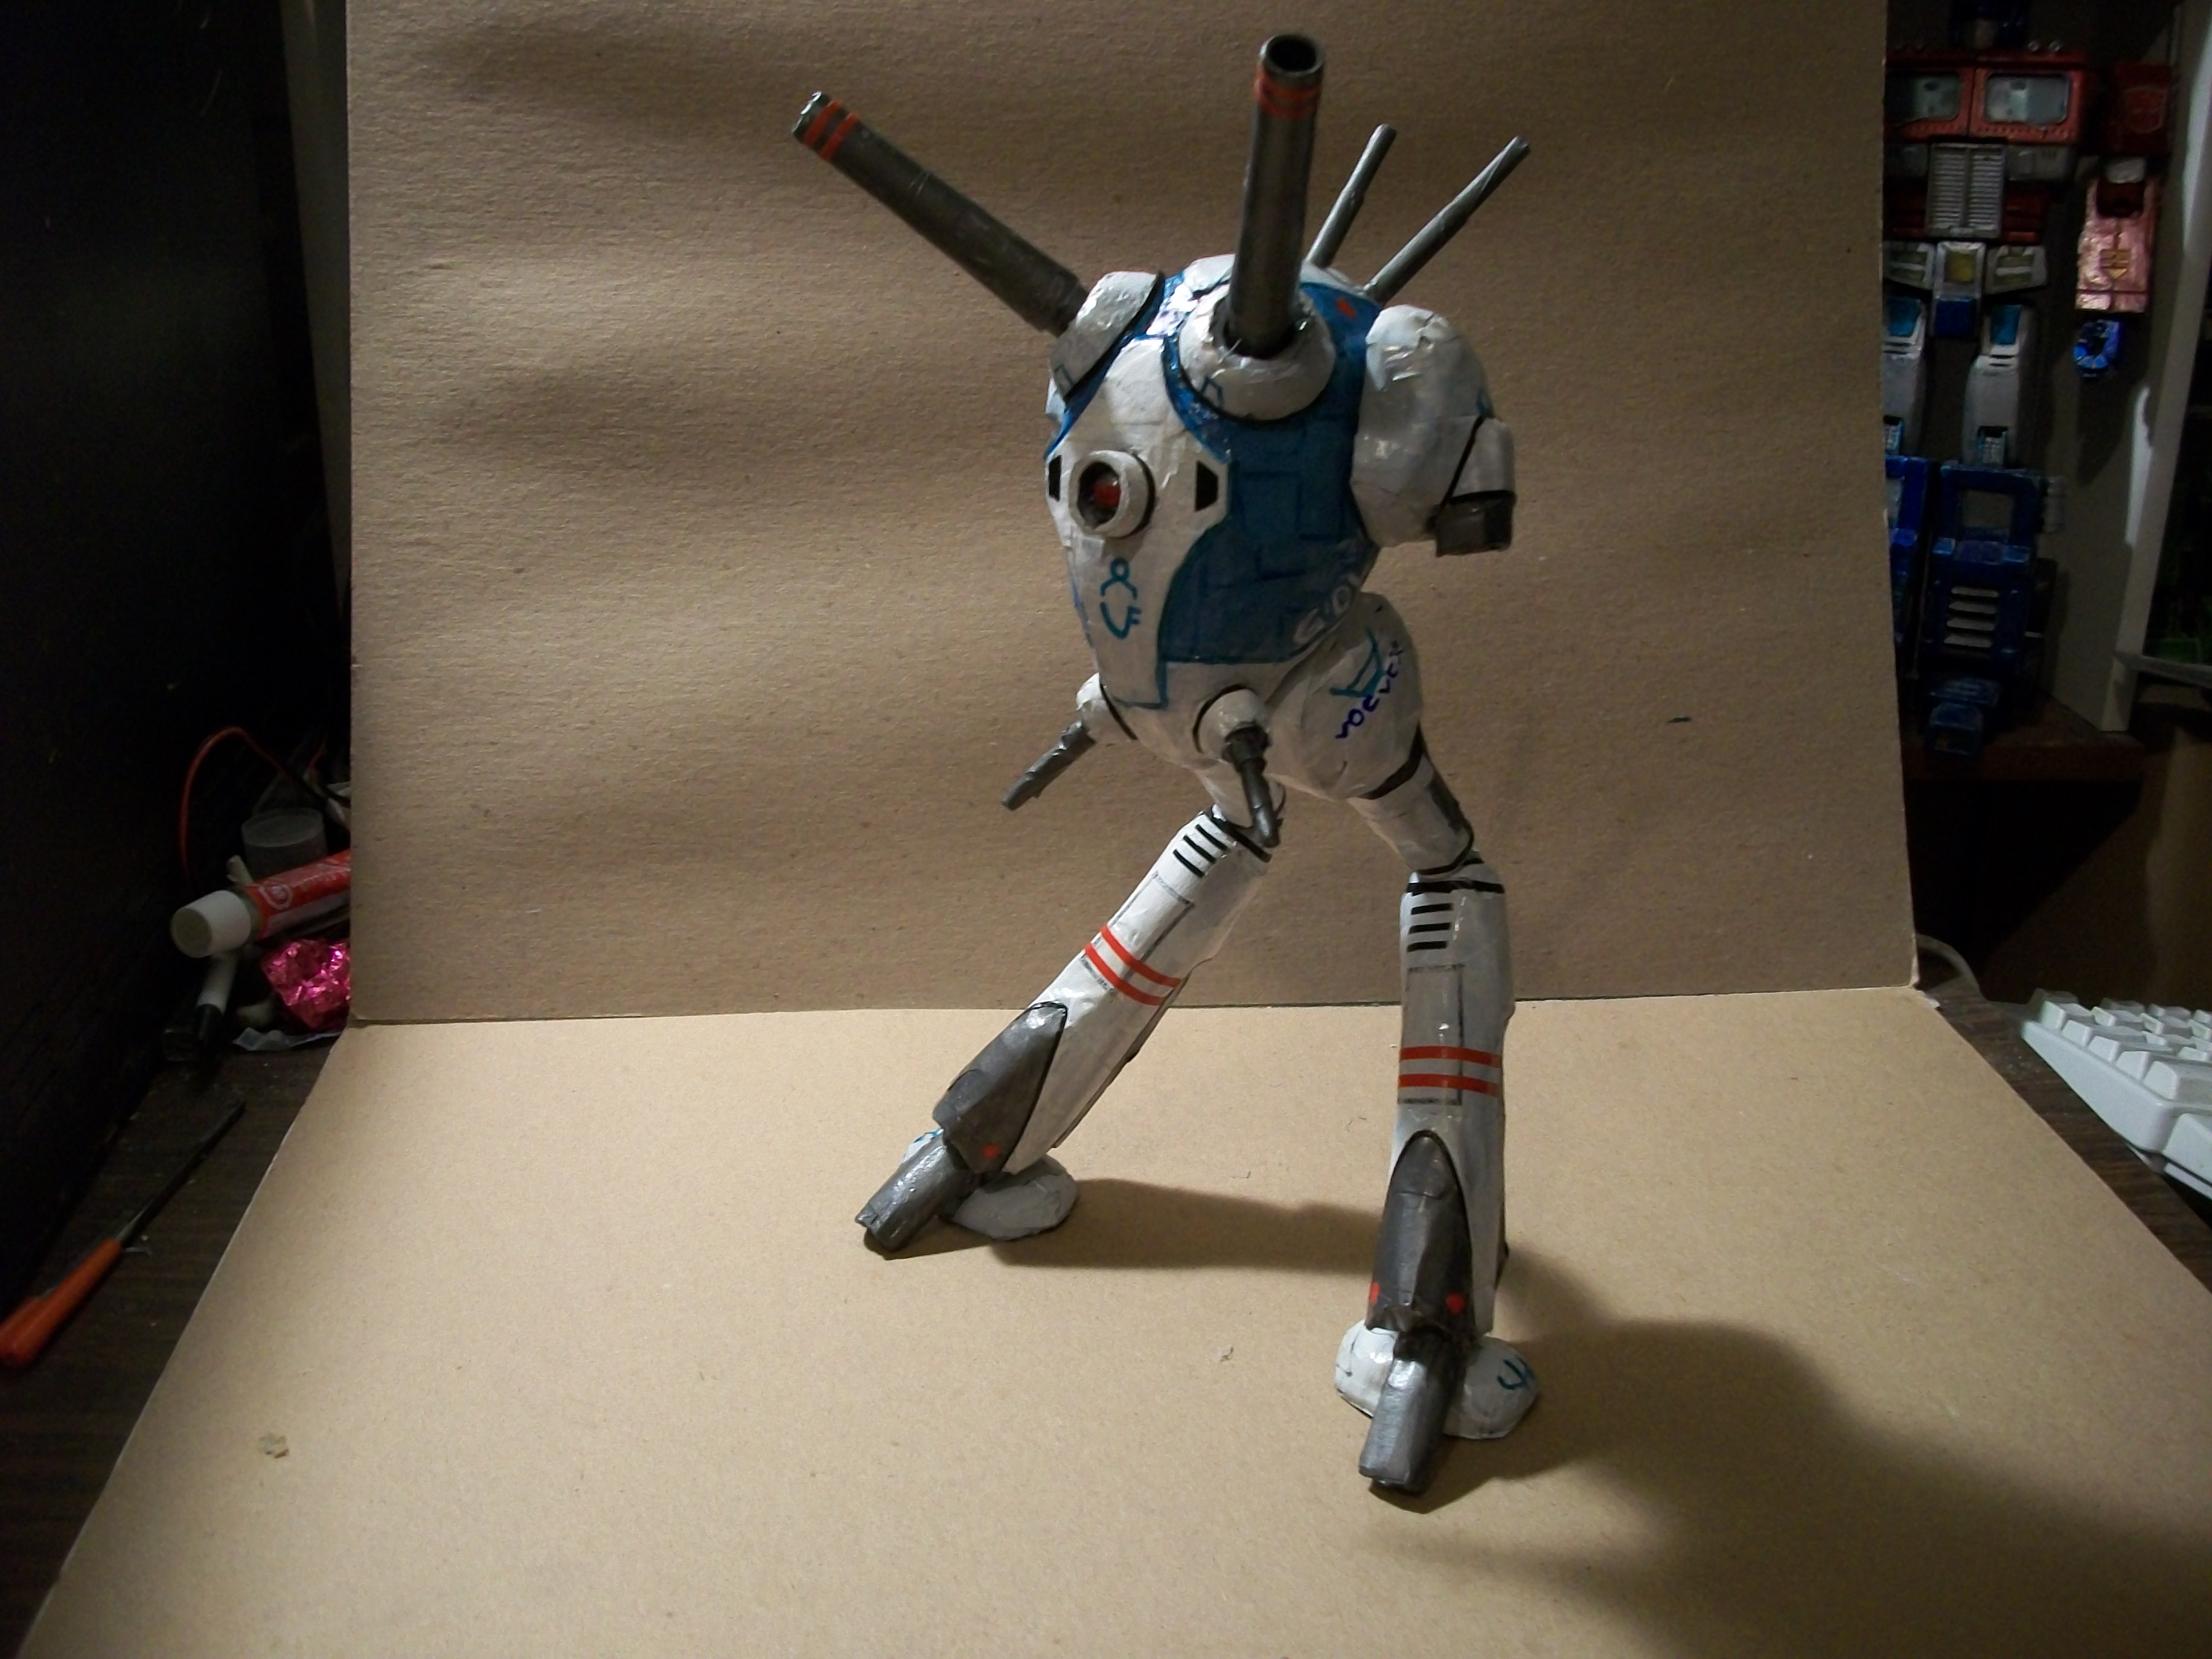
31 minutes ago, pengbuzz said:
Well, it still needs some mods (gotta redo part of the top "gun turret" as mickeyg suggested, as well as add/ modify a few other details), but here it is in paints:

Not bad for a ball of masking tape and Styrofoam on a couple of pieces of PVC pipe, huh?
Stay tuned folks...
Wow, and you know what, I am more amazed by the paint details. It looks like the "tatoos" are stickers, or did you paint them ?!
Something I am wondering, if you added in the process the appliance of a white putty layer, you could have clean surfaces and they would be strong enough to be panel lined on top of that. Considering how fast you finish your scratch builds, that should be a small delay in the process
-
Hey spanner, I don't have any 48s if you can have a few picts or measurements, I can try to make a 3D model. But I don't think WSF is the best solution, a replacement from an old/broken VF-1 would be best I think
-
That part can be made of printed steel, polished steel probably would be best choice. I would really want to avoid dismantling my 21 so if you can take precise measures with a caliper, I can make the model


Macross Translations, and more
in Movies and TV Series
Posted
Thank you Seto Kaiba for the detailed story summary on "the ride". I still have a few questions but I think I can gather the details from the existing Visual books translations.