
Xigfrid
-
Posts
2607 -
Joined
-
Last visited
Content Type
Profiles
Forums
Events
Gallery
Posts posted by Xigfrid
-
-
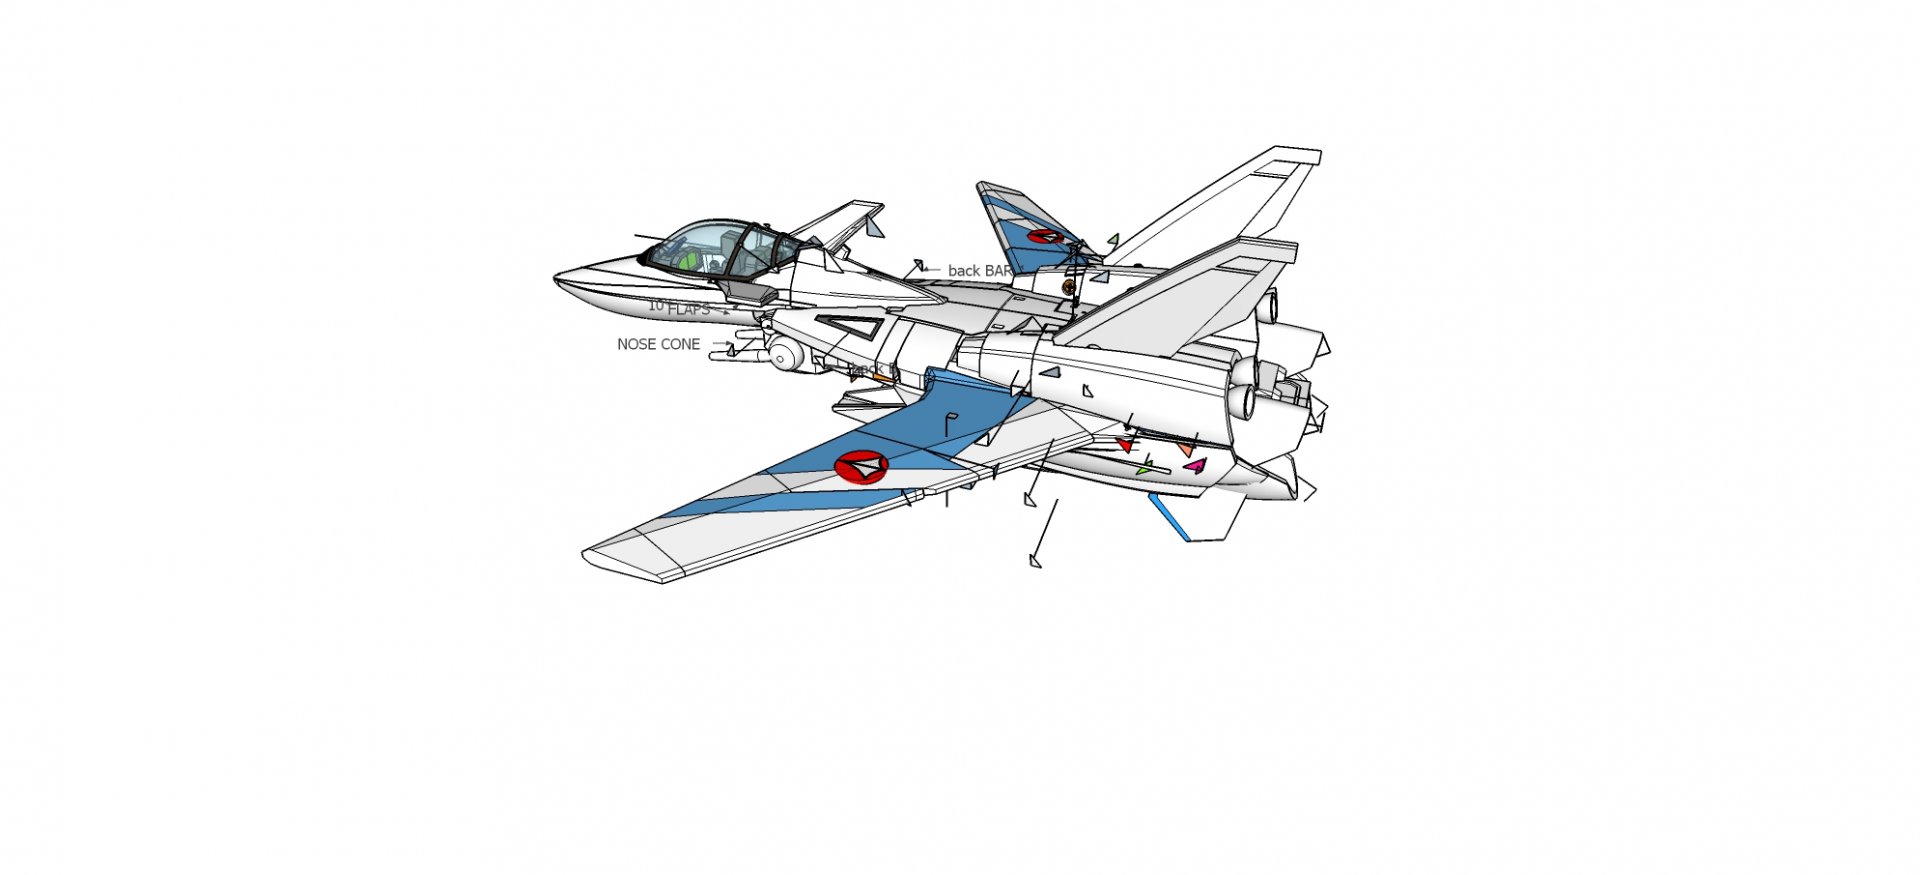
Well in fighter and gerwalk the 2 first portions of the wings are self sustained (as described in the line art) and the last portion is less critical and should be easily handle with a simple pin
The wing design is not finalized yet, because I keep it for the last moment. My favorite solution would be using magnets for fighter and battroid modes but I have a few alternatives such as using pins with an elastic or copper wires.
But i am very confident that it will be easy to have them straight.
-
Considering the small size, I hope around 150$, but the there are 2 parts to be printed separately: the clear canopy and the seat+interior details. These can rise the price significantly.
I will be able to tell once I begin to upload the parts at shapeways.
-
Hi guys,
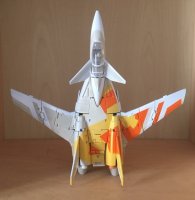
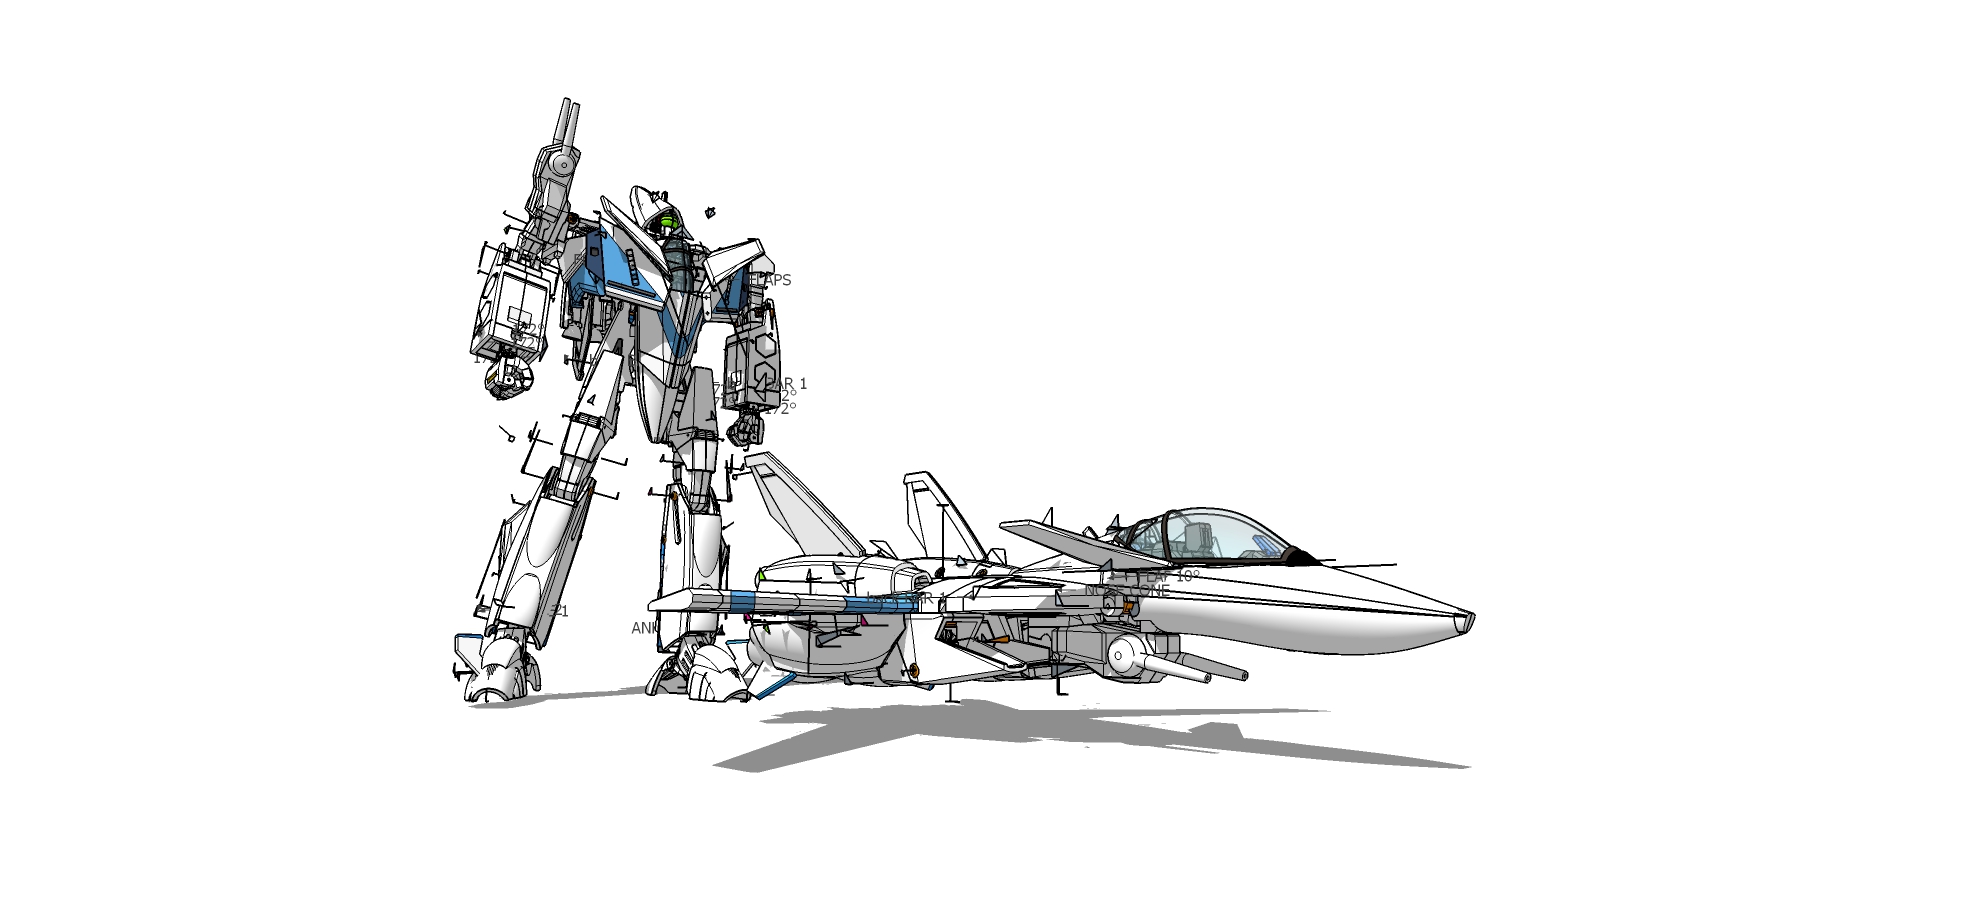
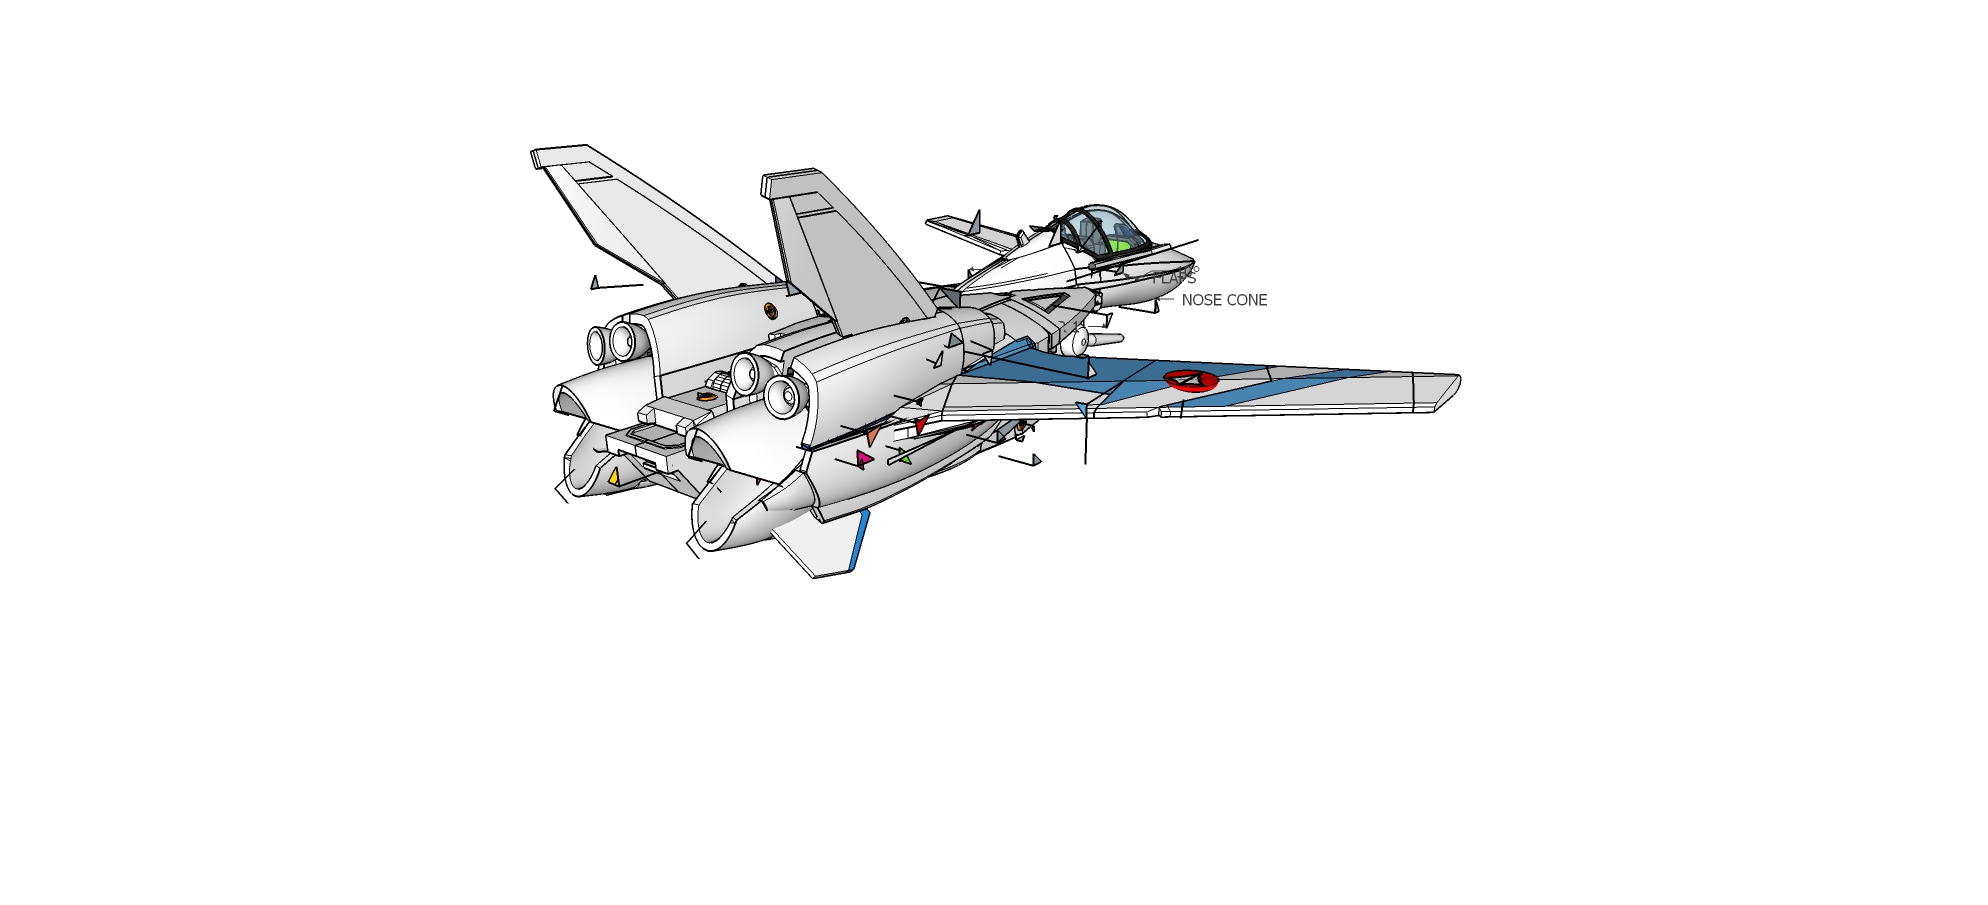
I have been busy last days (couple months... in fact) with a very challenging design from Macross Delta: the VF-9, aka Cutlass. This is a small fighter designed to support the VF-1 in mission. Guess what ? It is even shorter than a VF-1.
I tried my best to make a great looking transforming toy in all three modes for the 1:60 scale, printable in WSF (SLS nylon powder). So far, I am pretty confident that I will soon have something printable.
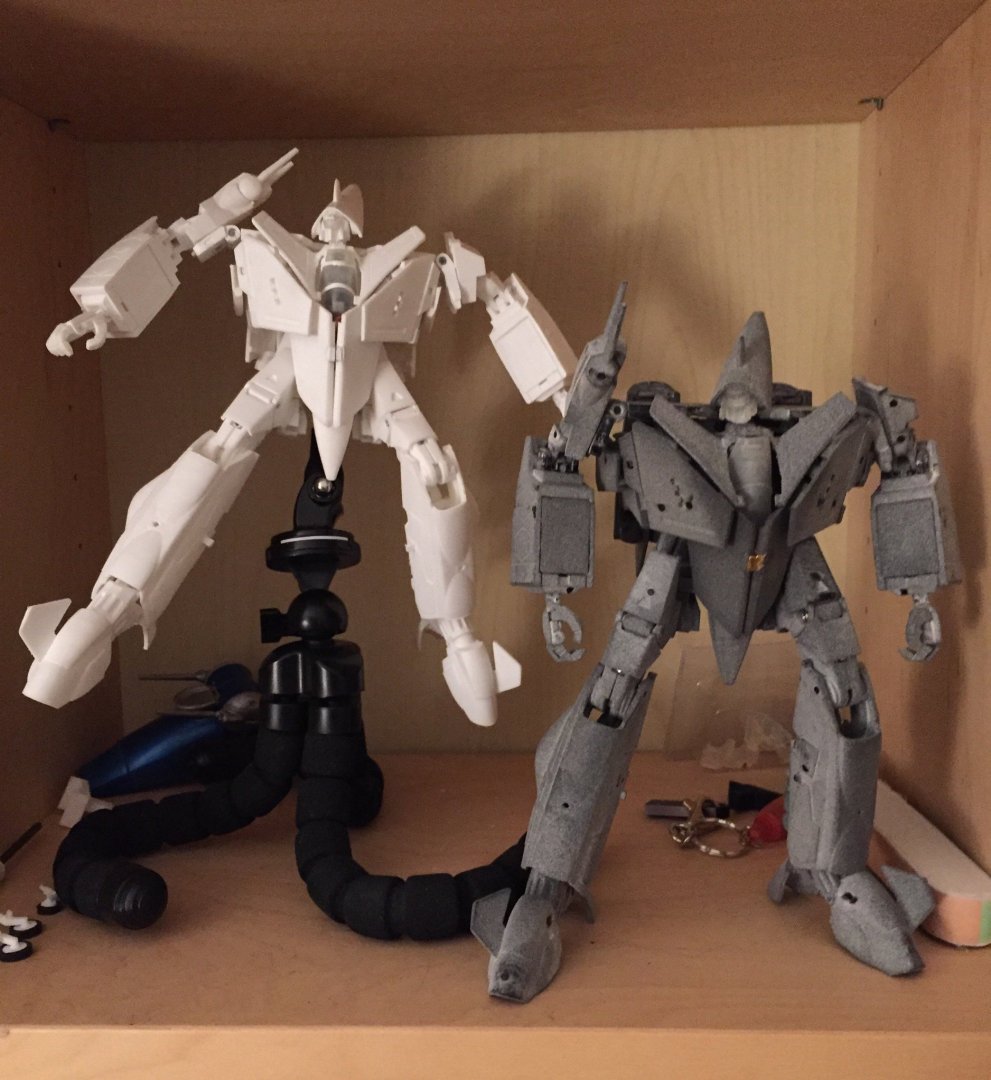
The battroid mode should have sufficient articulation to compare with an Arcadia VF-1, I just hope all the joints will be tight enough.
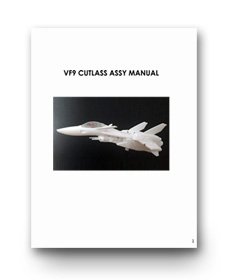 Assembly Manual is now available here
SEPTEMBER 2108 UPDATE
Transformation video is ready at youtube:
Link to the upcoming addons and upgrades for my VF-9:
https://www.shapeways.com/shops/xigfrid3dshop?section=VF-9+addons&s=0
This section will contain the options and upgrades available for the VF-9 such as:
-optional landing gears
-display adpaters
-Nose fins (version 3)
-set of spare parts
-future GunpodAUGUST 2108 UPDATE
Link to download the 3D printed parts:
https://www.shapeways.com/shops/xigfrid3dshop?section=VF-9&s=0
NB: The removable Wheels, Display stand adapters are optional. The Canopy can be printed in Smooth Detail Plastic and sanded to be so-so clear, it should be printed by a resin printer in clear resin and it will be clearer and stronger.
I recommend US residents to contact EXO, member of this forum also known as Plastic Cretins on Facebook, who can print in clear resin the following parts. You can PM me for his email too.
-clear Canopy for 5$
-female pilot 2$
-male pilot 2$
-battroid head 2$.
For other countries you can try www.3dhubs.com. And you will need the STL 3D file of my VF-9 canopy.My absolute short list recommended tools:
-Modeling Sprue cutter: cut the sprues effortlessly in seconds
-Modelcraft knife equipped with a "rounded blade" (like this one) : best blade shape to remove the remaining plastic from sprues in 1 cut, instead of a lot of sanding and buffing
-Pin Vise with 1mm drill bit : just to make sure that the pre-drilled holes for the screws and pins are perfectly clean.
-strong, yet small screwdriver:sometimes I can use tiny places to insert the screws, so the screwdriver shaft should be 3-4mm diameter max (magnetized preferably!)
-flat plier to insert the pins
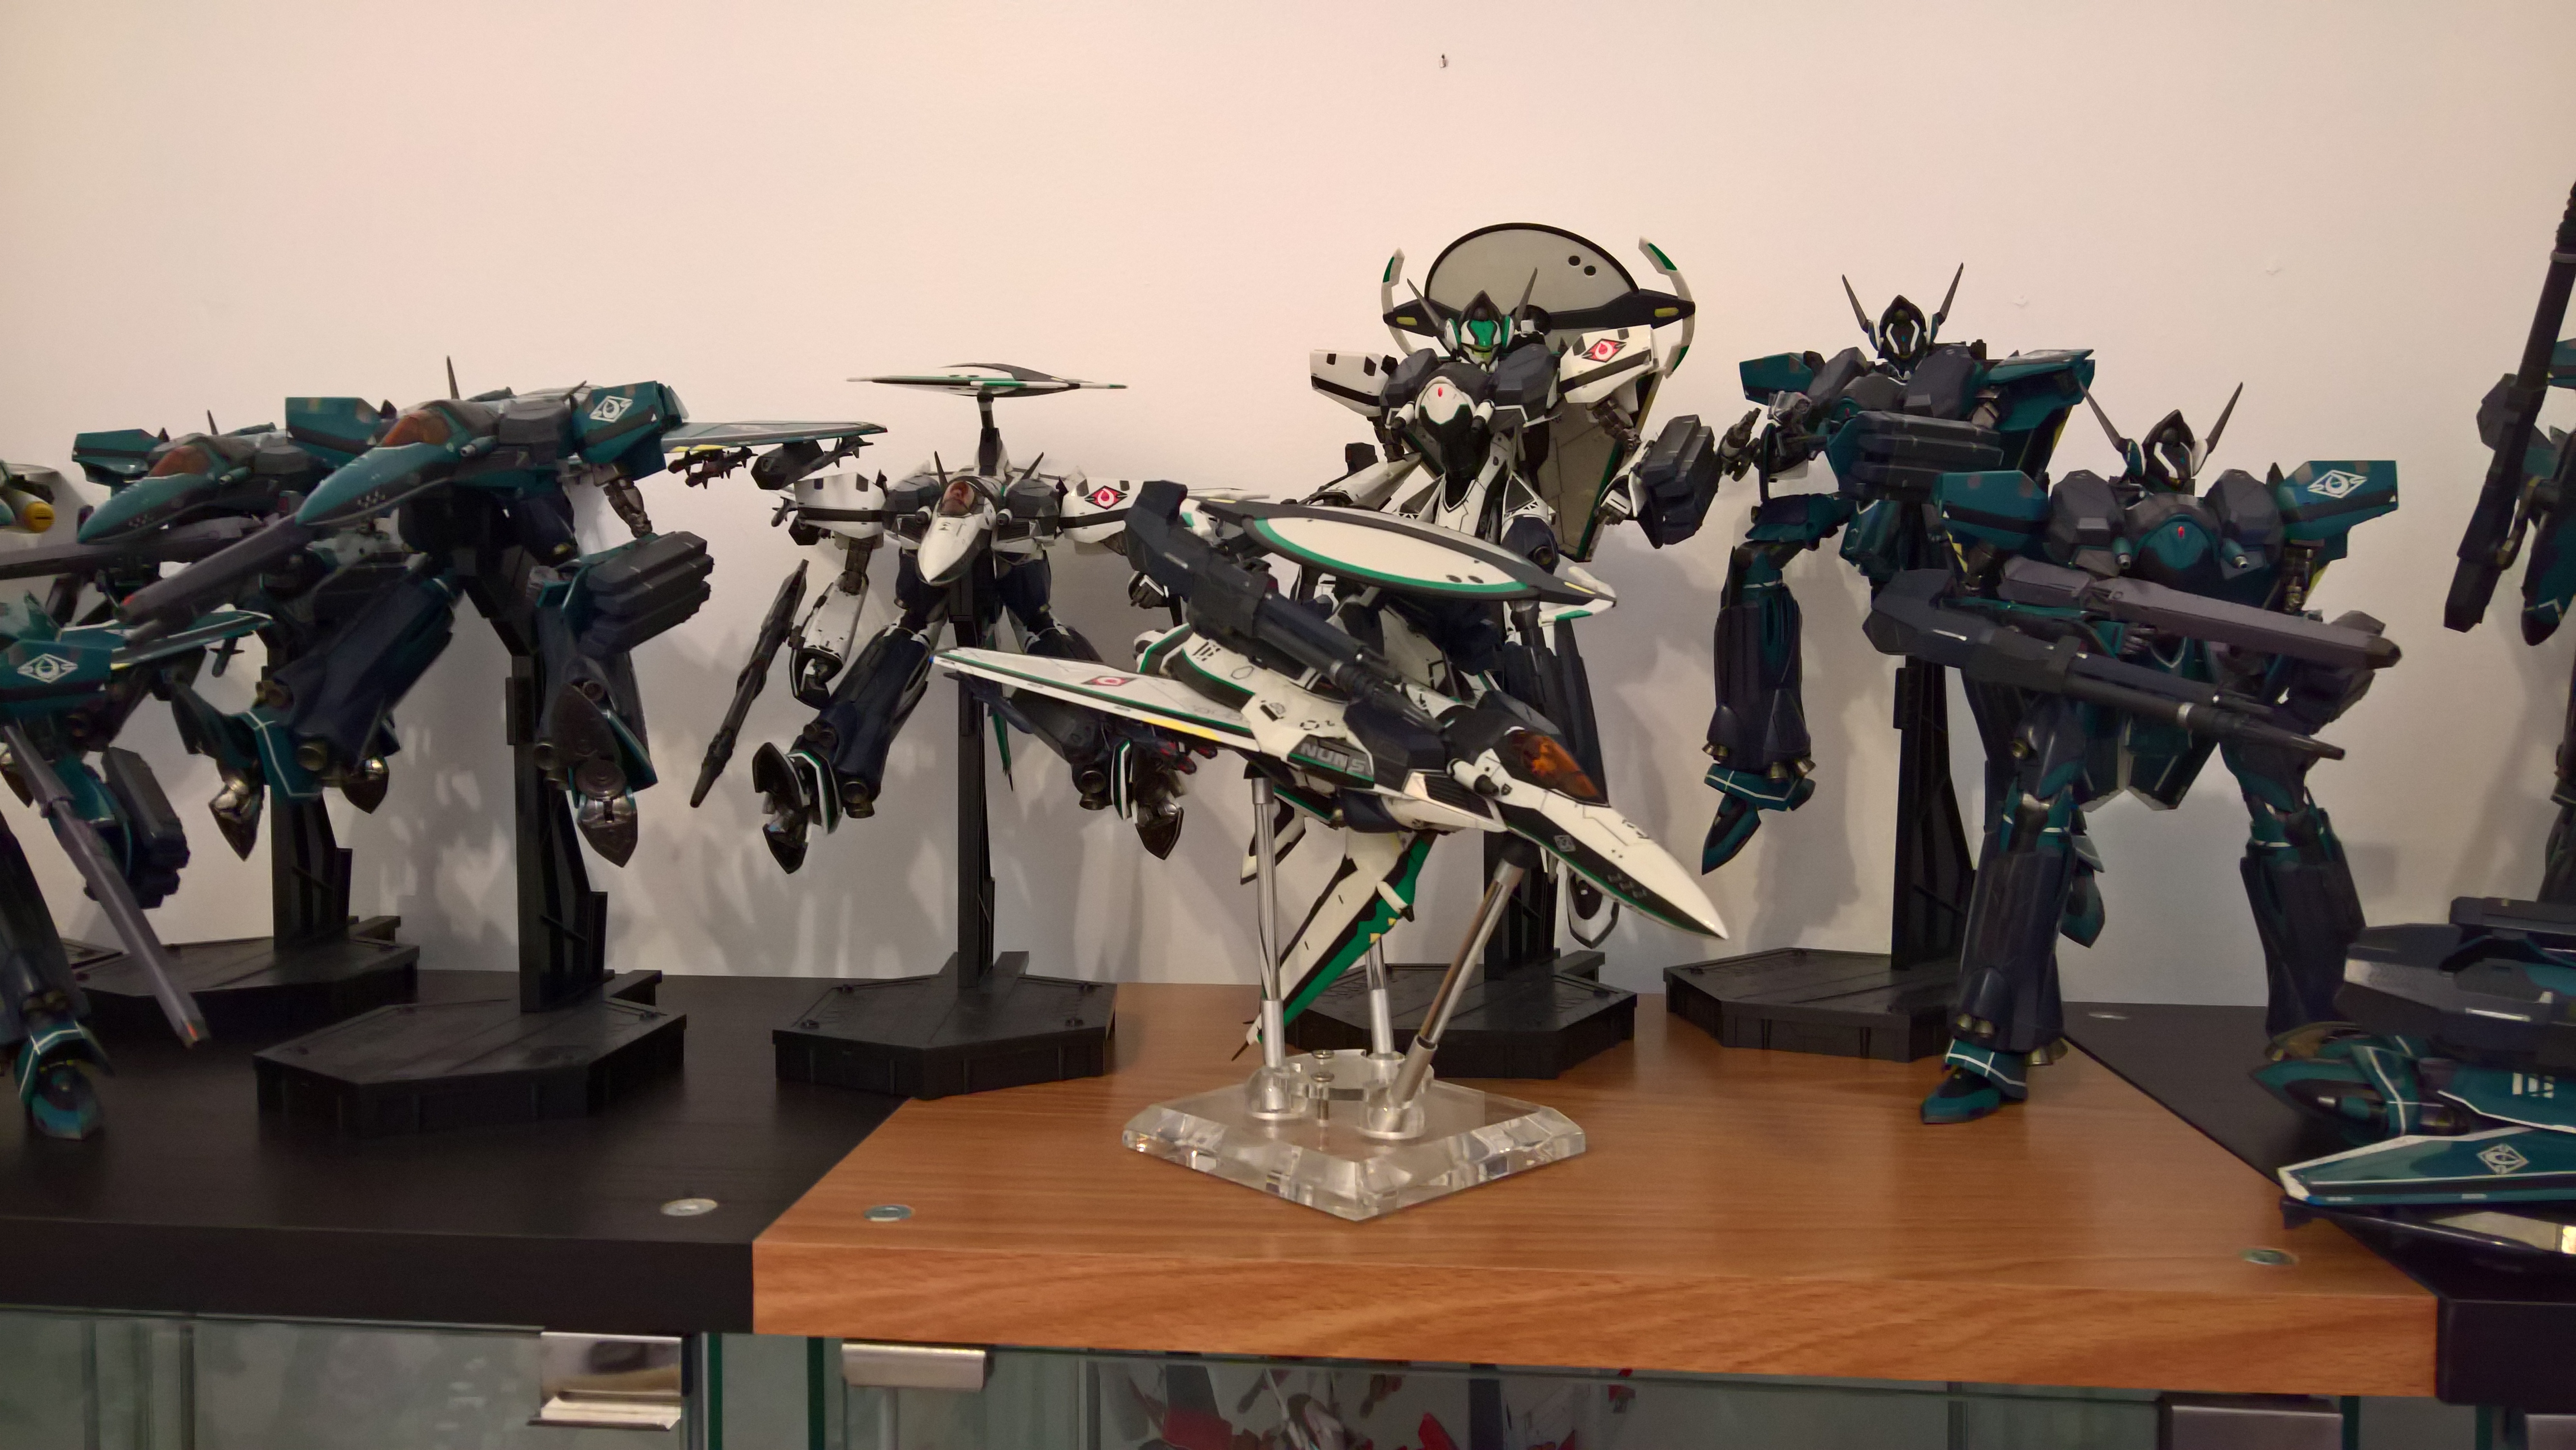
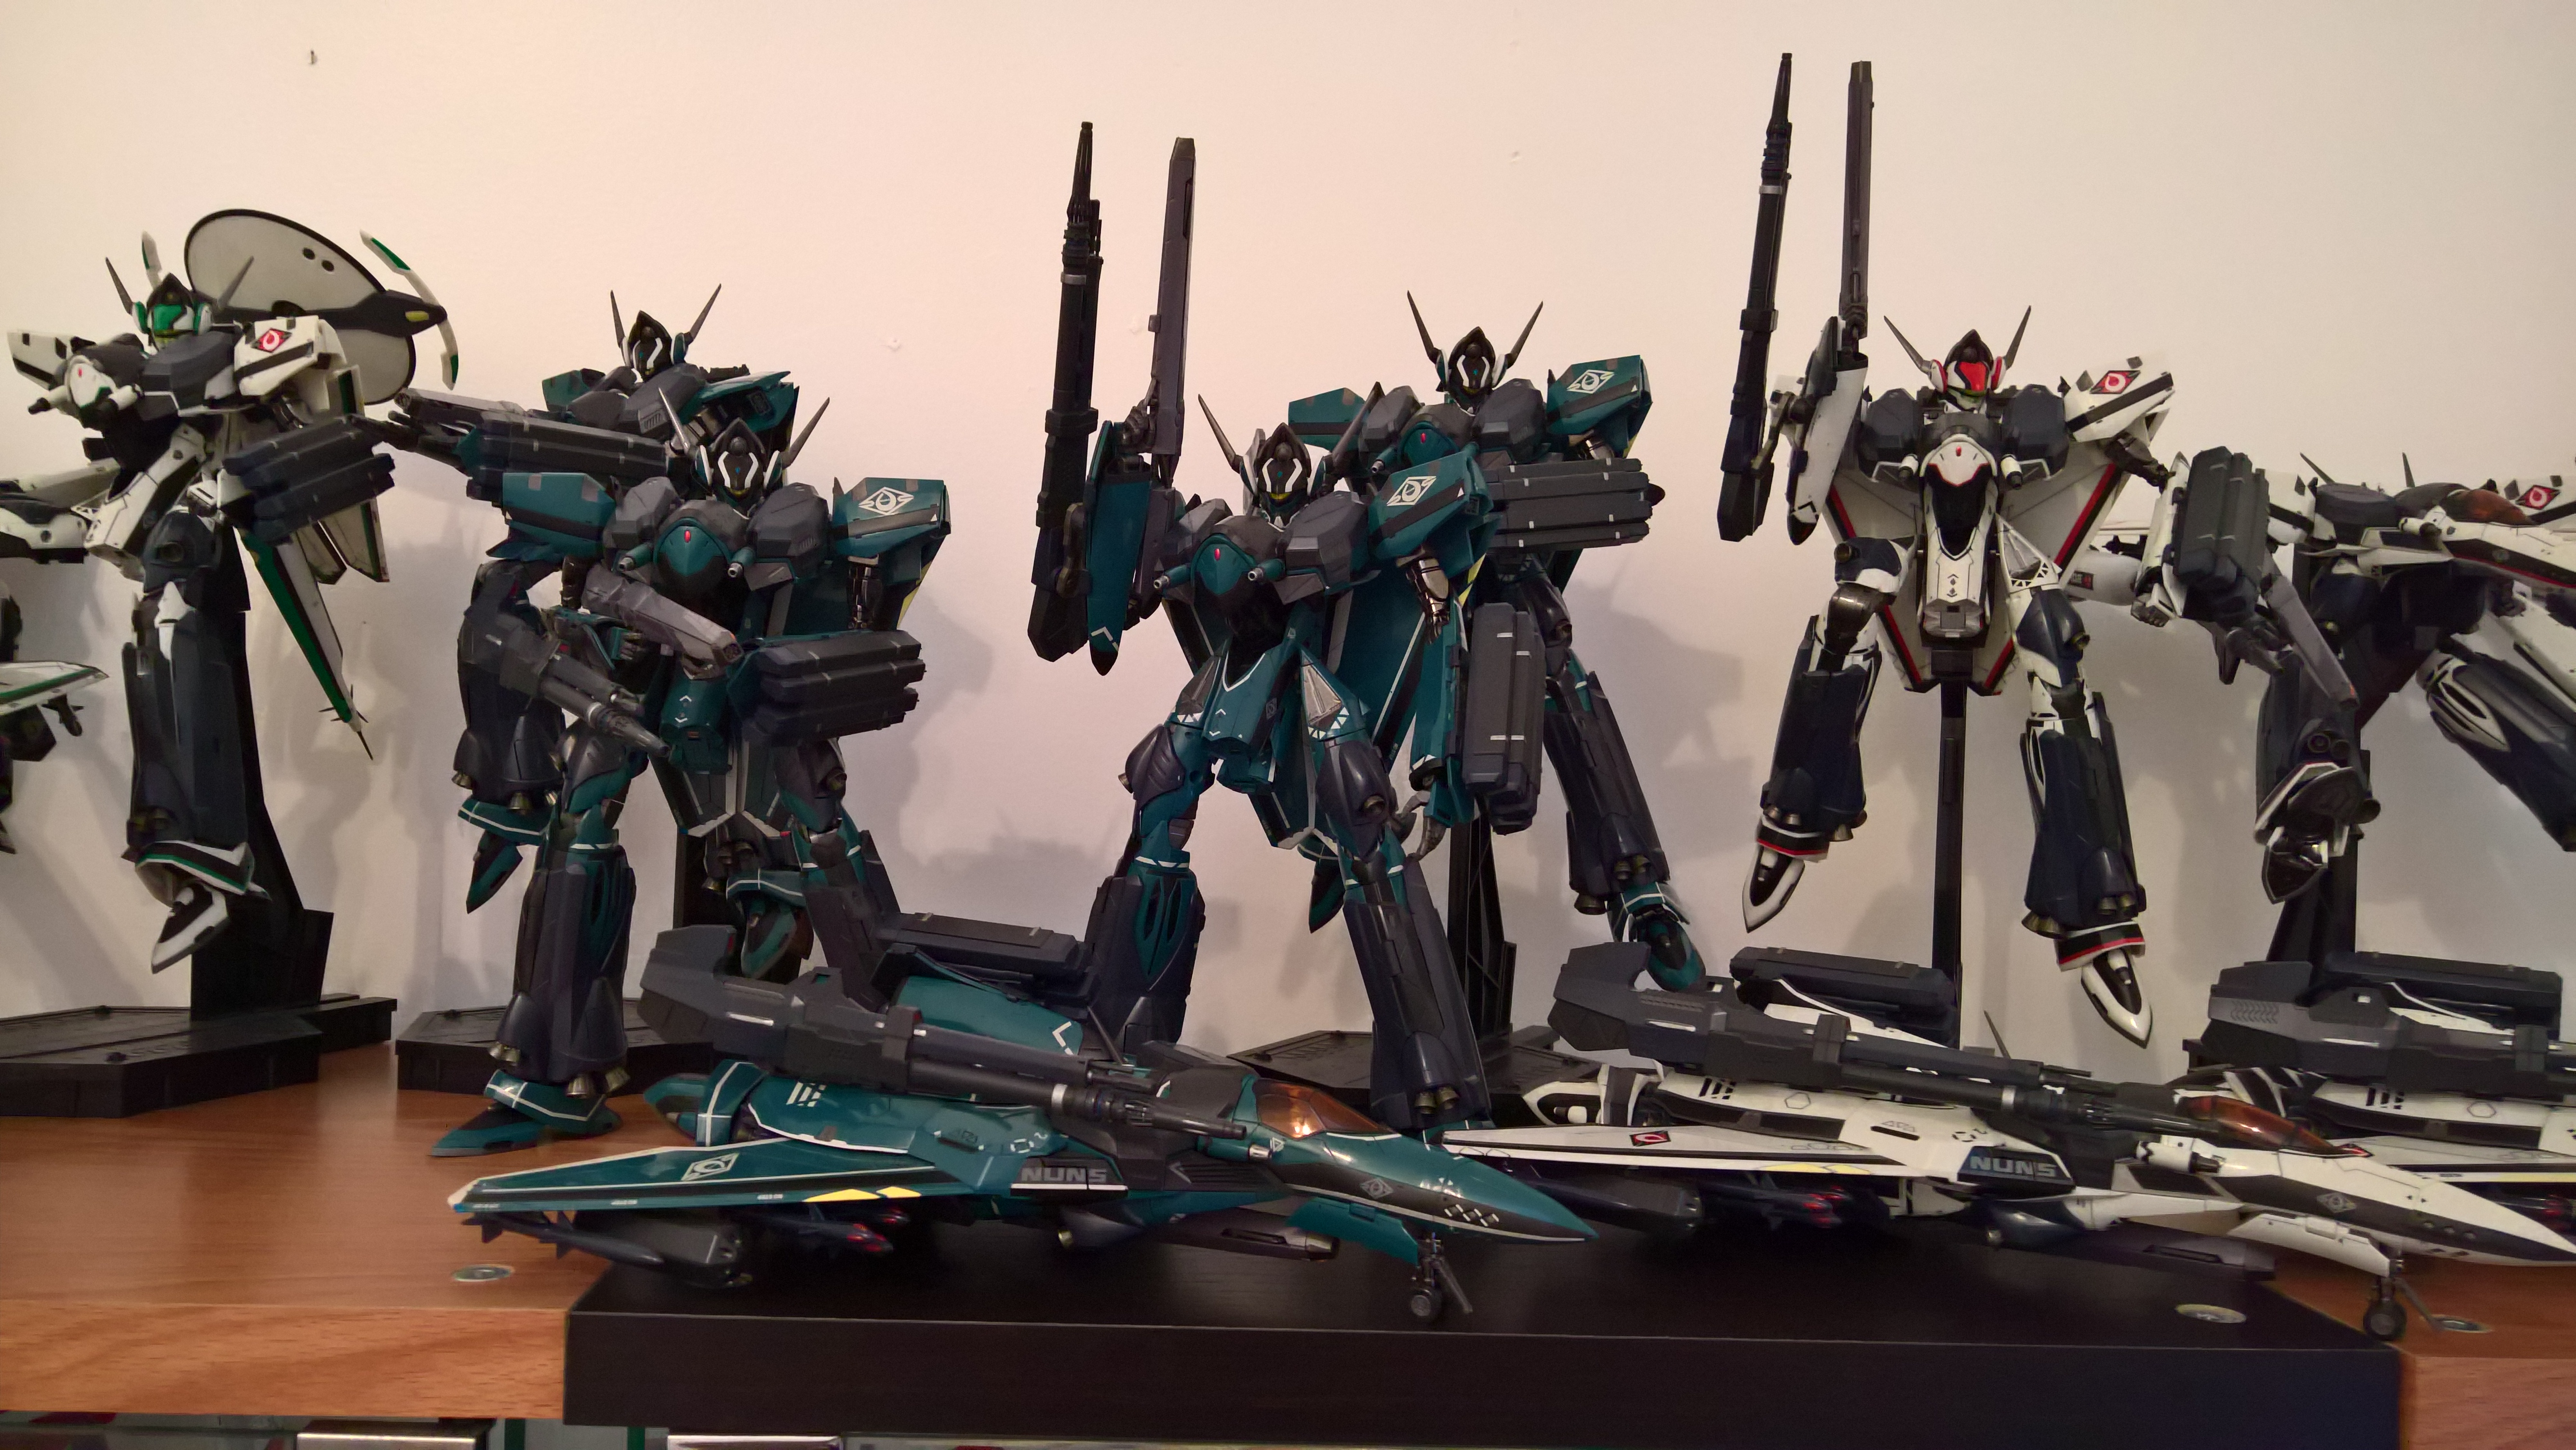
-6-steps nail buffer : I use this to gently remove the excess of material if some parts don't sit flushA few pictures !


-
Hi @Sildani, I know that @Sanity is Optional is working on a clip to hold the 25 gunpod, perhaps he can try if it holds the 171 gunpod once done ?
-
Hi @Mommar, if the second print is far worse than the first you should send them an email about it with pictures. They will reprint it for you if the defect is obvious.
-
Thank you both for the instructions, I will try to get some time to assemble and paint it but I have been very busy lately with 3D modeling.
-
It looks like it would be a big add on ! I am looking forward for the 1:60 ones
")
-
It looks like the back of the head that snapped off when you tried to pull it out. I don’t know if it is supposed to detach or not though but no big deal anyway just glue it back
-
That ET VF-2SS looks really awesome now, very nice job!
-
Yep, I have tried to sand earlier, perhaps 12h is enough to have the primer dry when it is hot. But everytime I waited about a day, the primer was completely dry and firm, that’s really easier to sand and also better to wet sand.
-
8 hours ago, Duymon said:
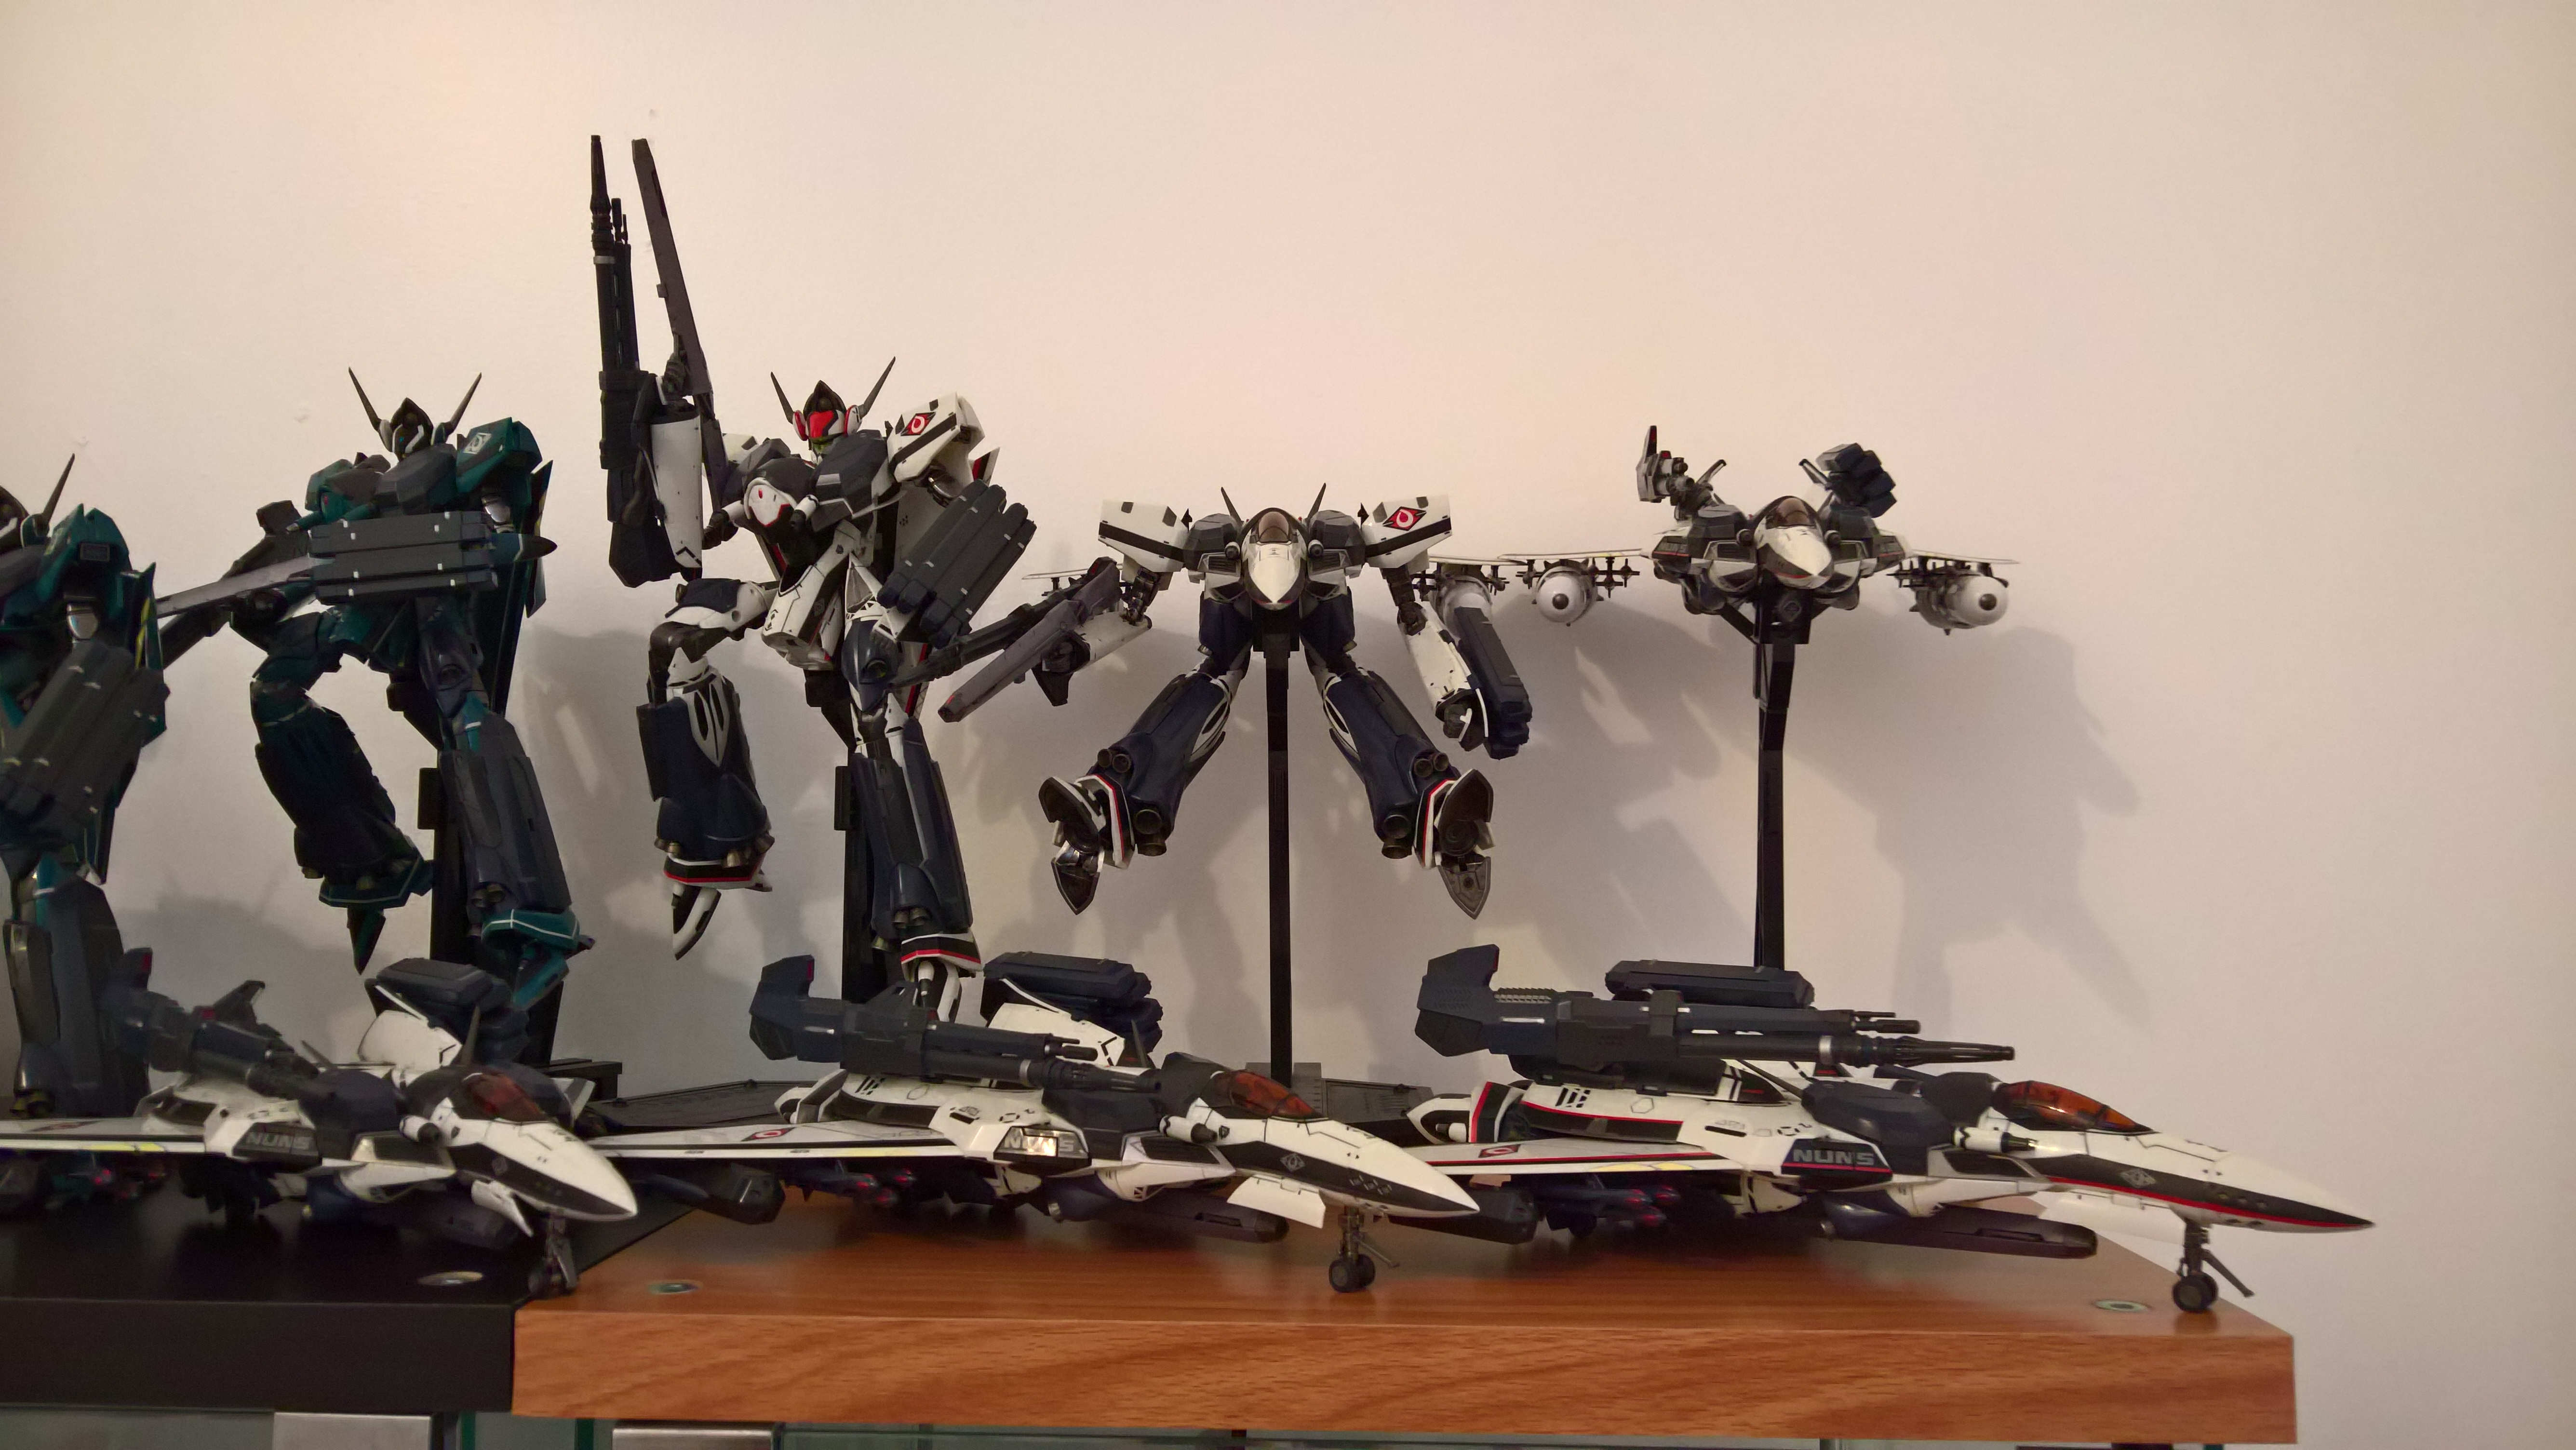
Cleaning Complete O_o

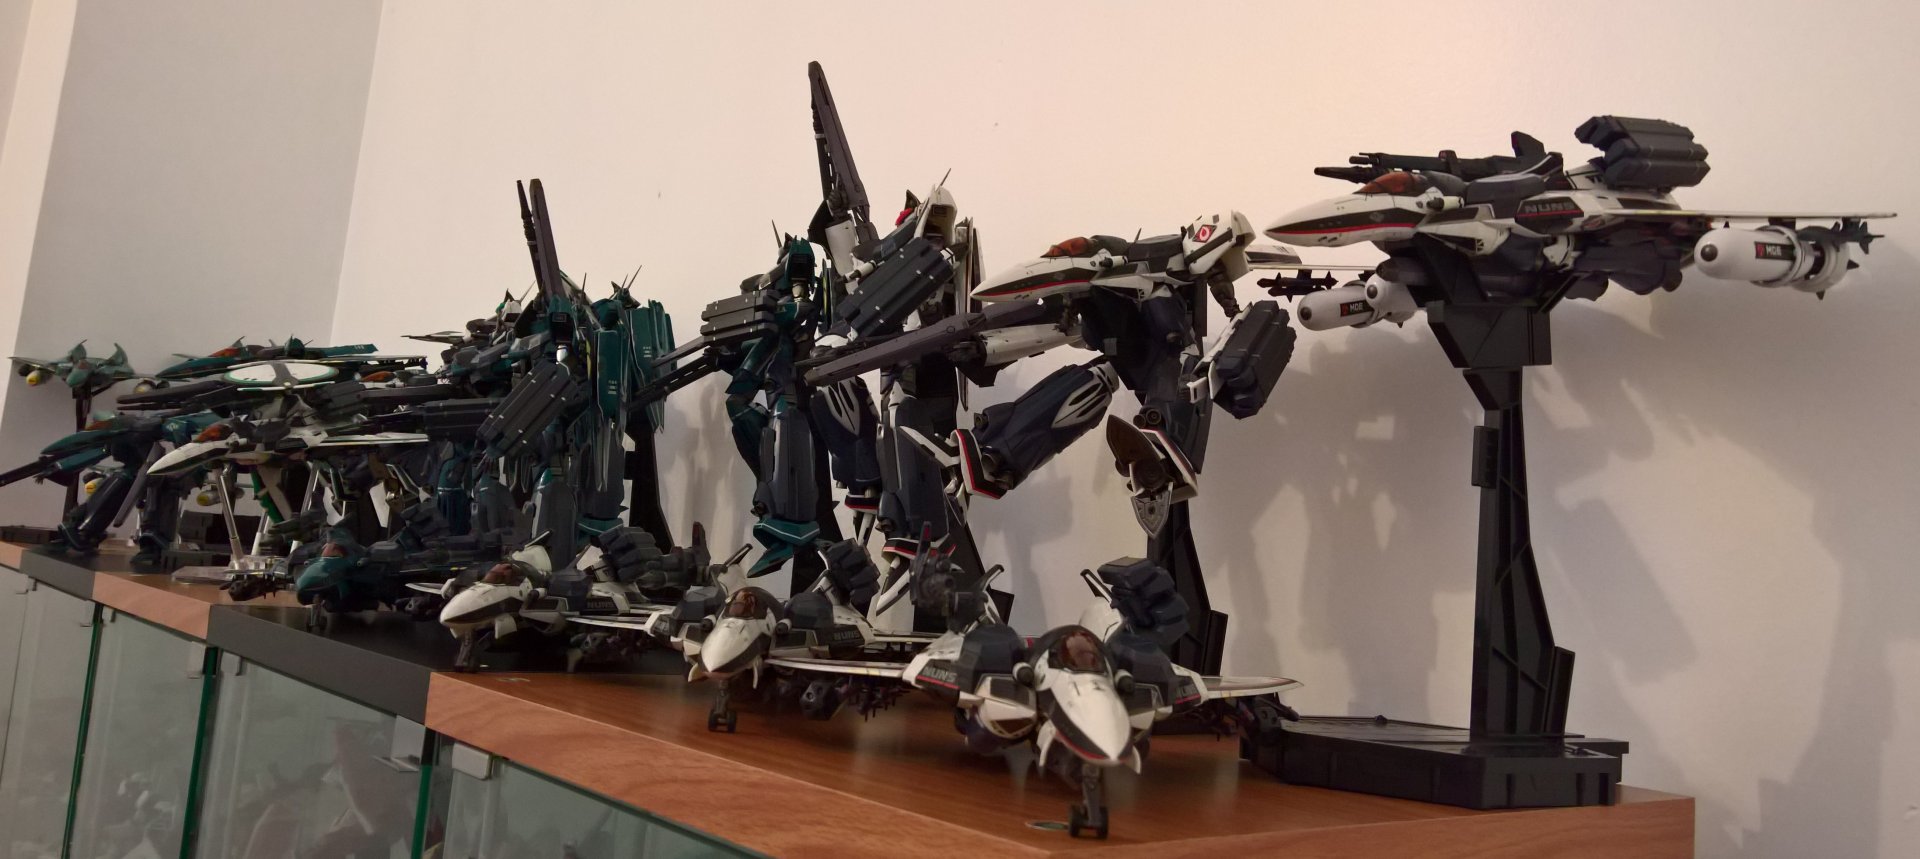


That’s Truly an amazing 171 collection!
-
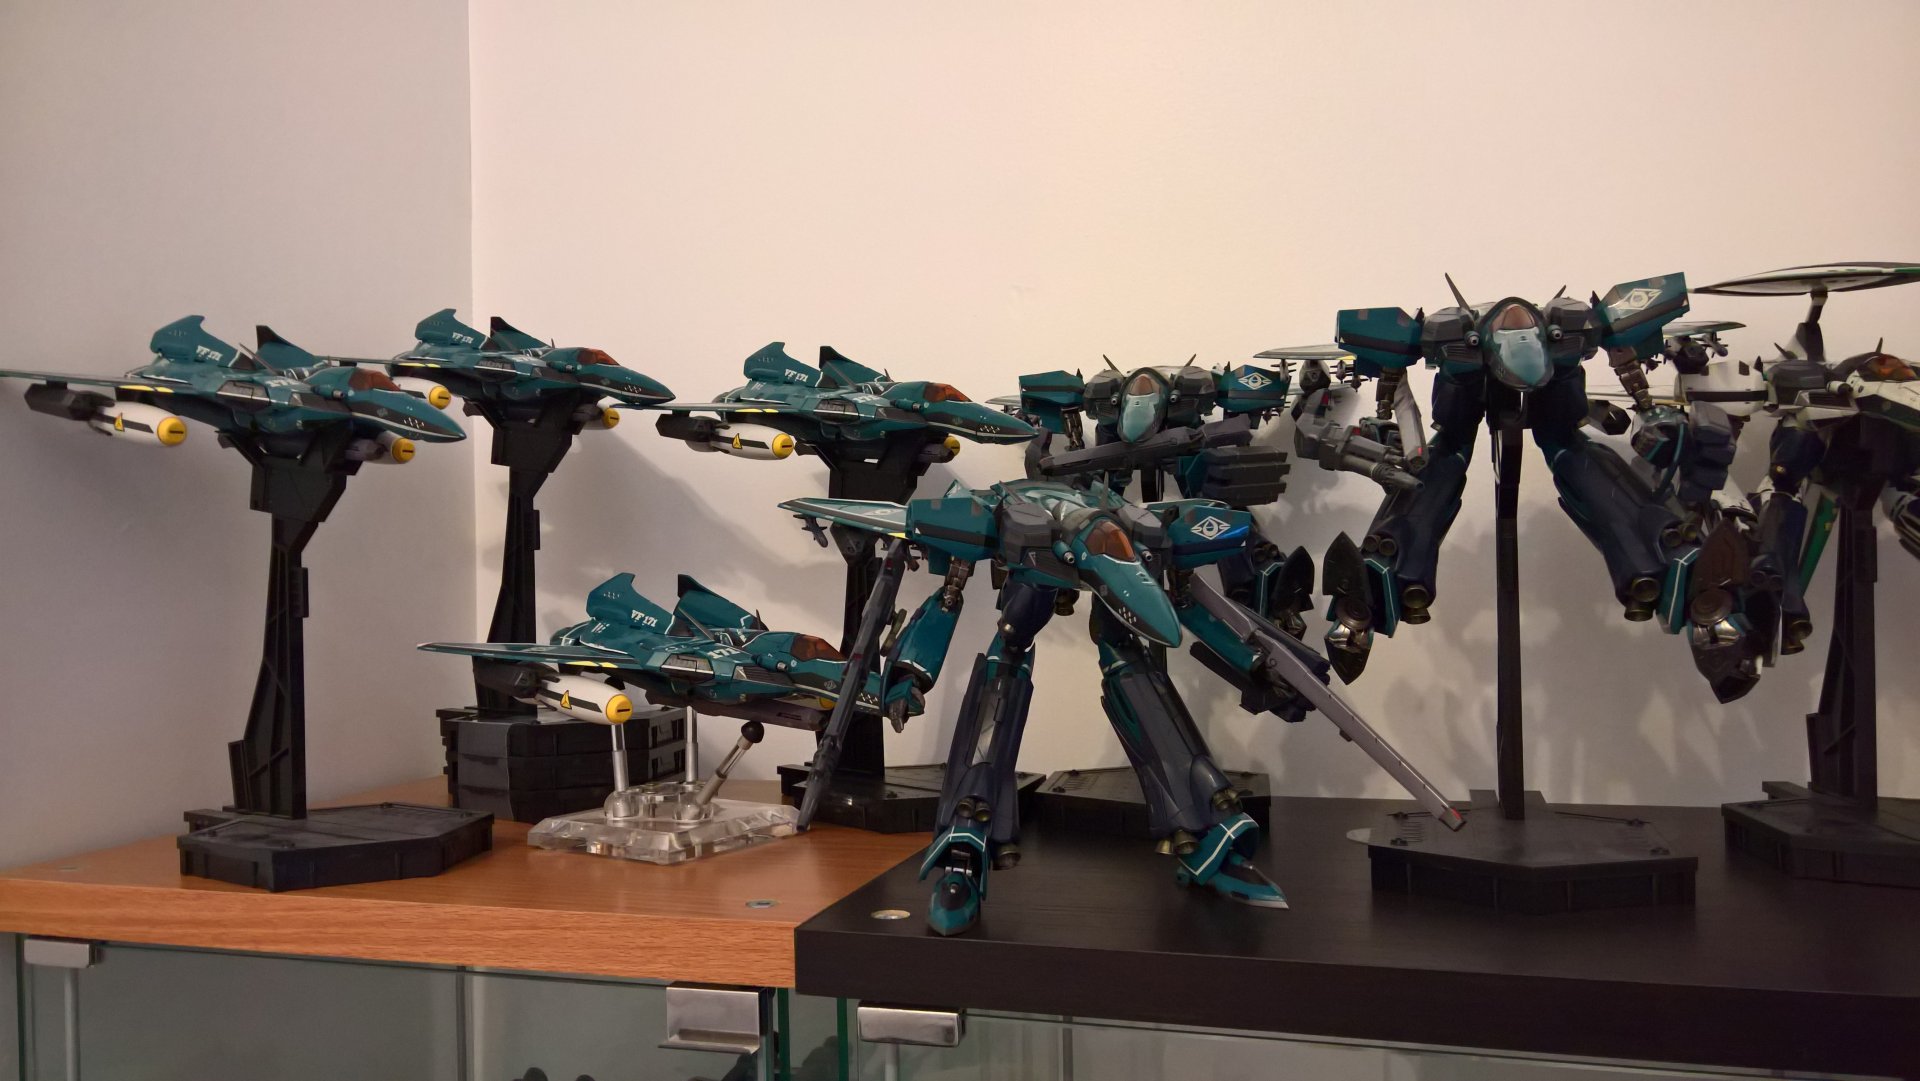
Nice customs, I love the pain schems too.
i can’t wait to see them assembled and in all modes.
-
YES @Mommar: You should prime all the surface of the model at a time, I think it is easier when mounted on alligator clips, because you spray them and keep them on the clips when drying.
BUT I have a limited amount of alligator clips (and patience to spray a lot of clips individually) so I keep the maximum of missiles together so I can spray, dry and sand them altogether. Sanding the missiles on their sprues is manageable if you torn the sprues a bit.
After the third primer pass, you will probably remove the missiles out of the sprues, sand them carefully and add the final paint layer then detailing with clear canopies and done.
-
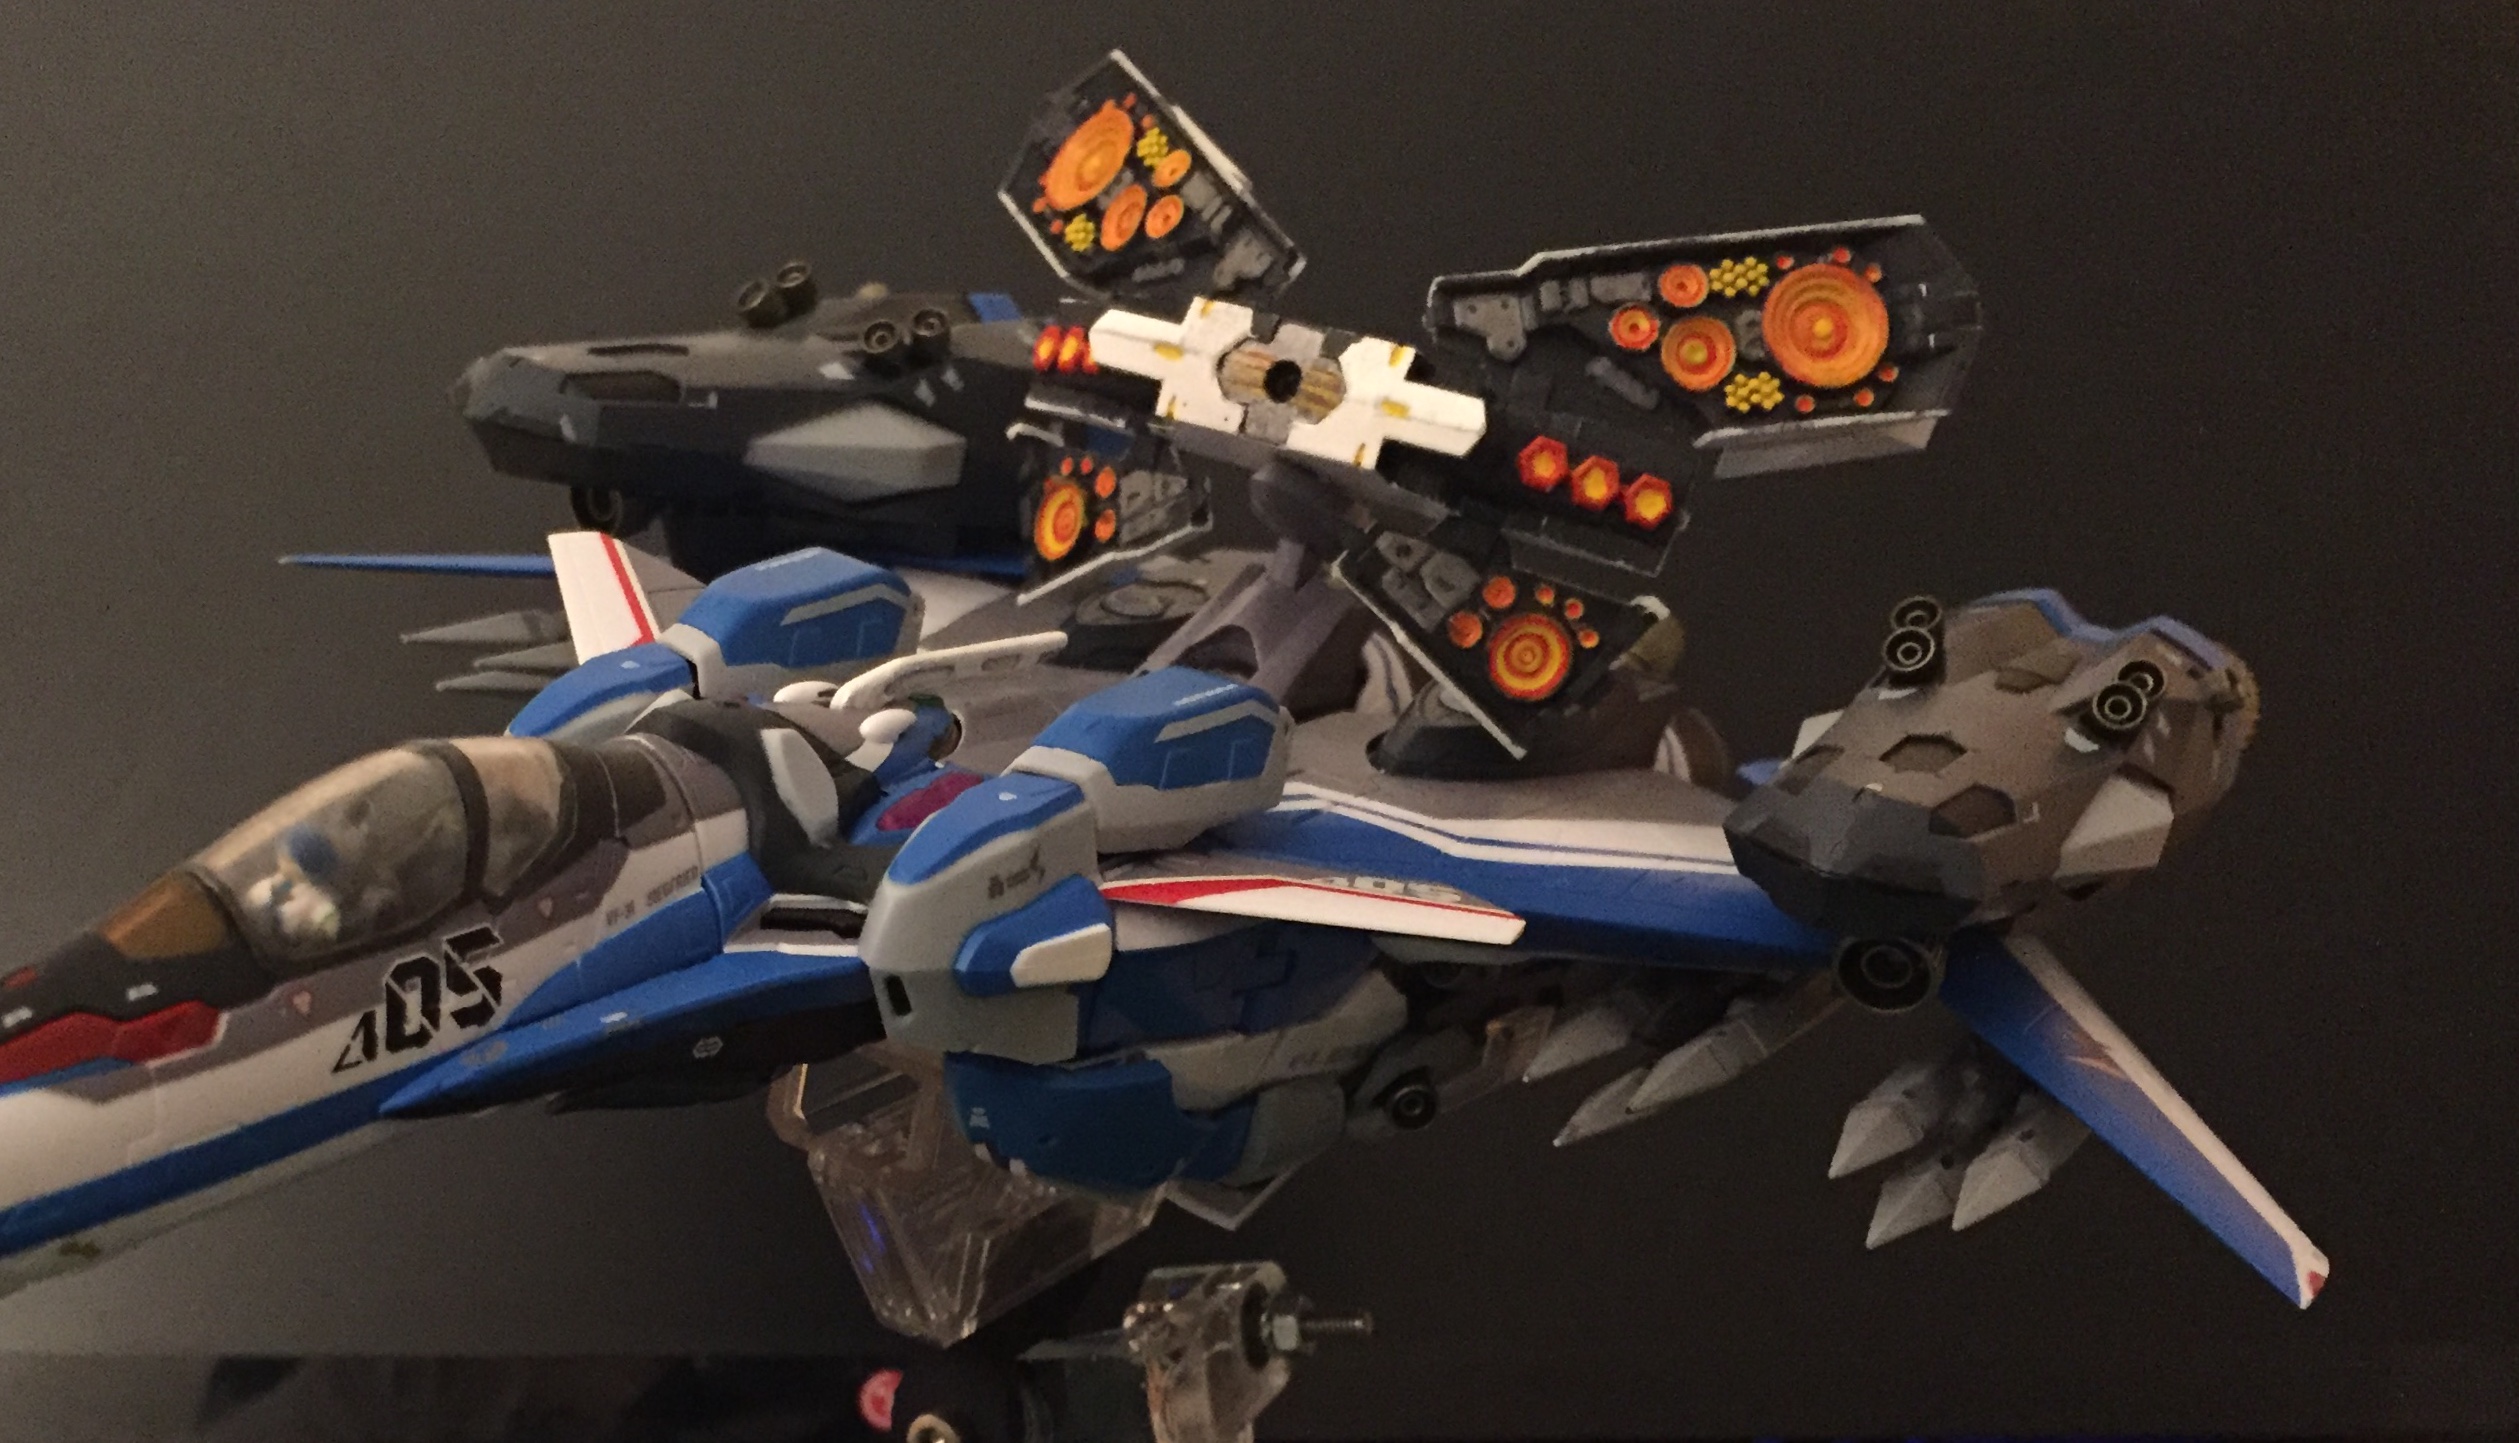
Wow amazing finished valk! There is some nice engineering in it, with so little visible screws. You should be proud
-
-
Wow times flies... i can’t believe I had this pod on the bench for 2 months. I had time to paint it, minus the reverse side that need to be color-matched with Arad’s VF-31S. I will do that once it will arrives.
I am pretty happy with this version.

-
17 minutes ago, Mommar said:
Awesome. I guess I’ll be the first to order.
You are!
-
5 hours ago, valhary said:
well is going to be a long way after finished the 3D model I try printed and hope the magnets can hold the weight the missile pods otherwise the drill will have to be the alternative
Since the leg armor is a recast, you should just drill, screw and glue the missile boxes.
Are you making opening latches?
-
On 25/04/2018 at 12:10 AM, Mommar said:
I have no idea what I’ll do once I get them. I really have no time to spend and my buddy is a fantastic miniatures painter but he’s never prepped or sanded anything like this before.
Despite your dislike for the missiles I really appreciate the fact you're willing to put them up. I need to figure out how to design stuff like you do anyway. One, so I don't have to ask somebody else to do it, two, because I know have a few ideas for my own.
Hey Mommar, I am sure your buddy would love to sand these, this is really an easy task, it just takes a lot of time between drying phases.
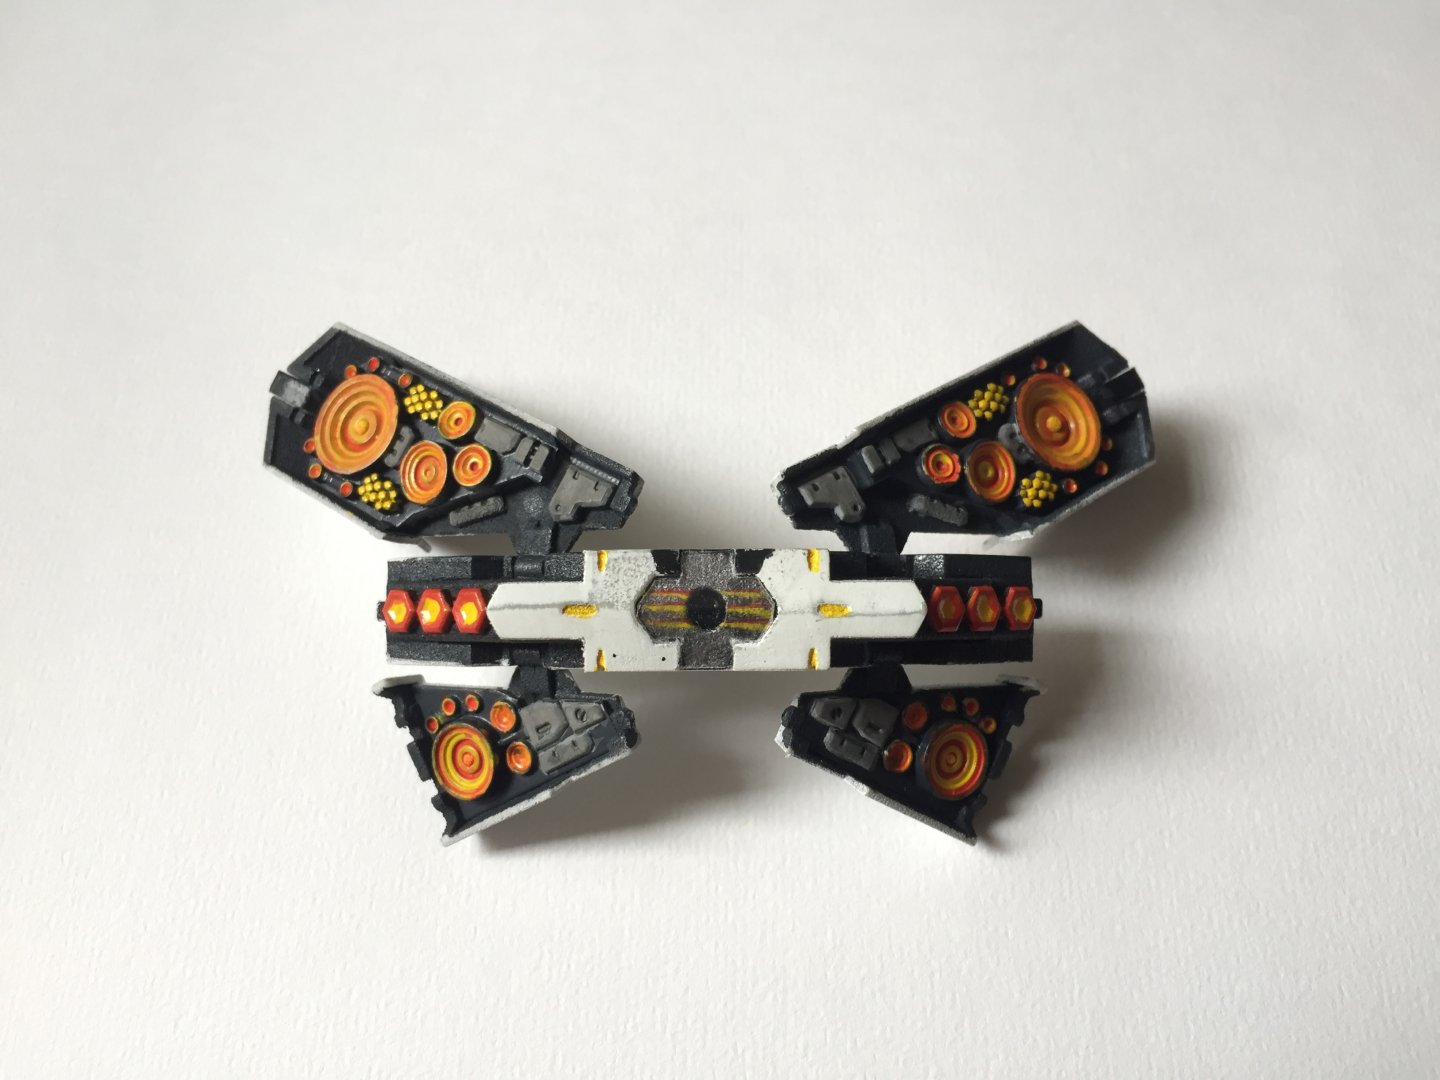
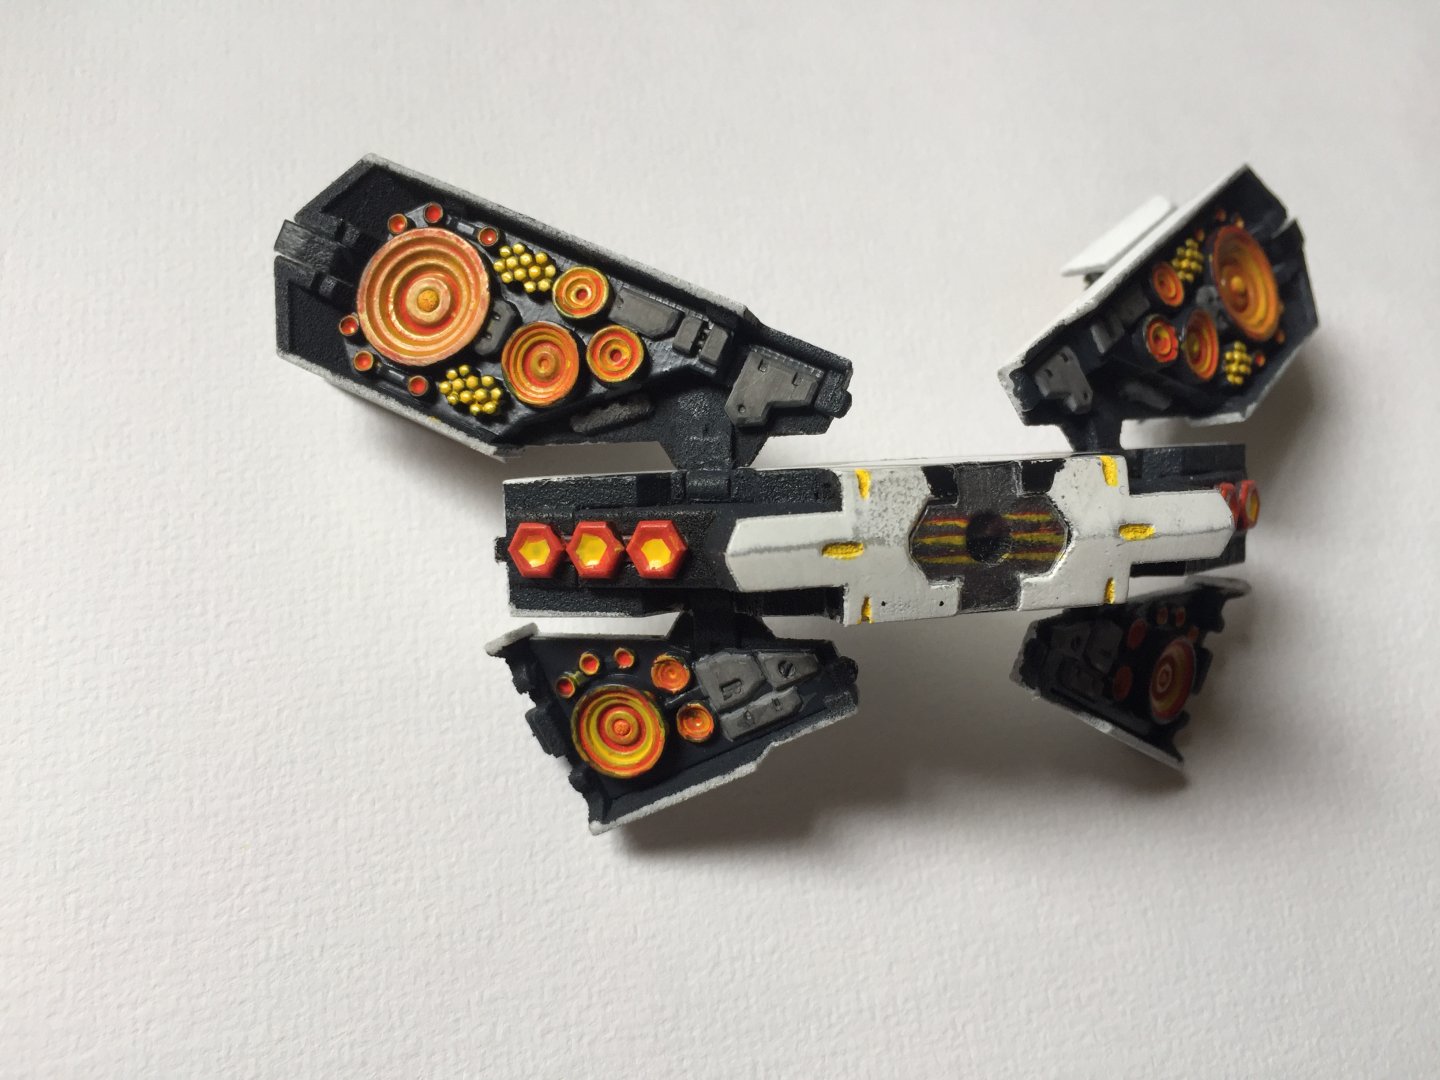
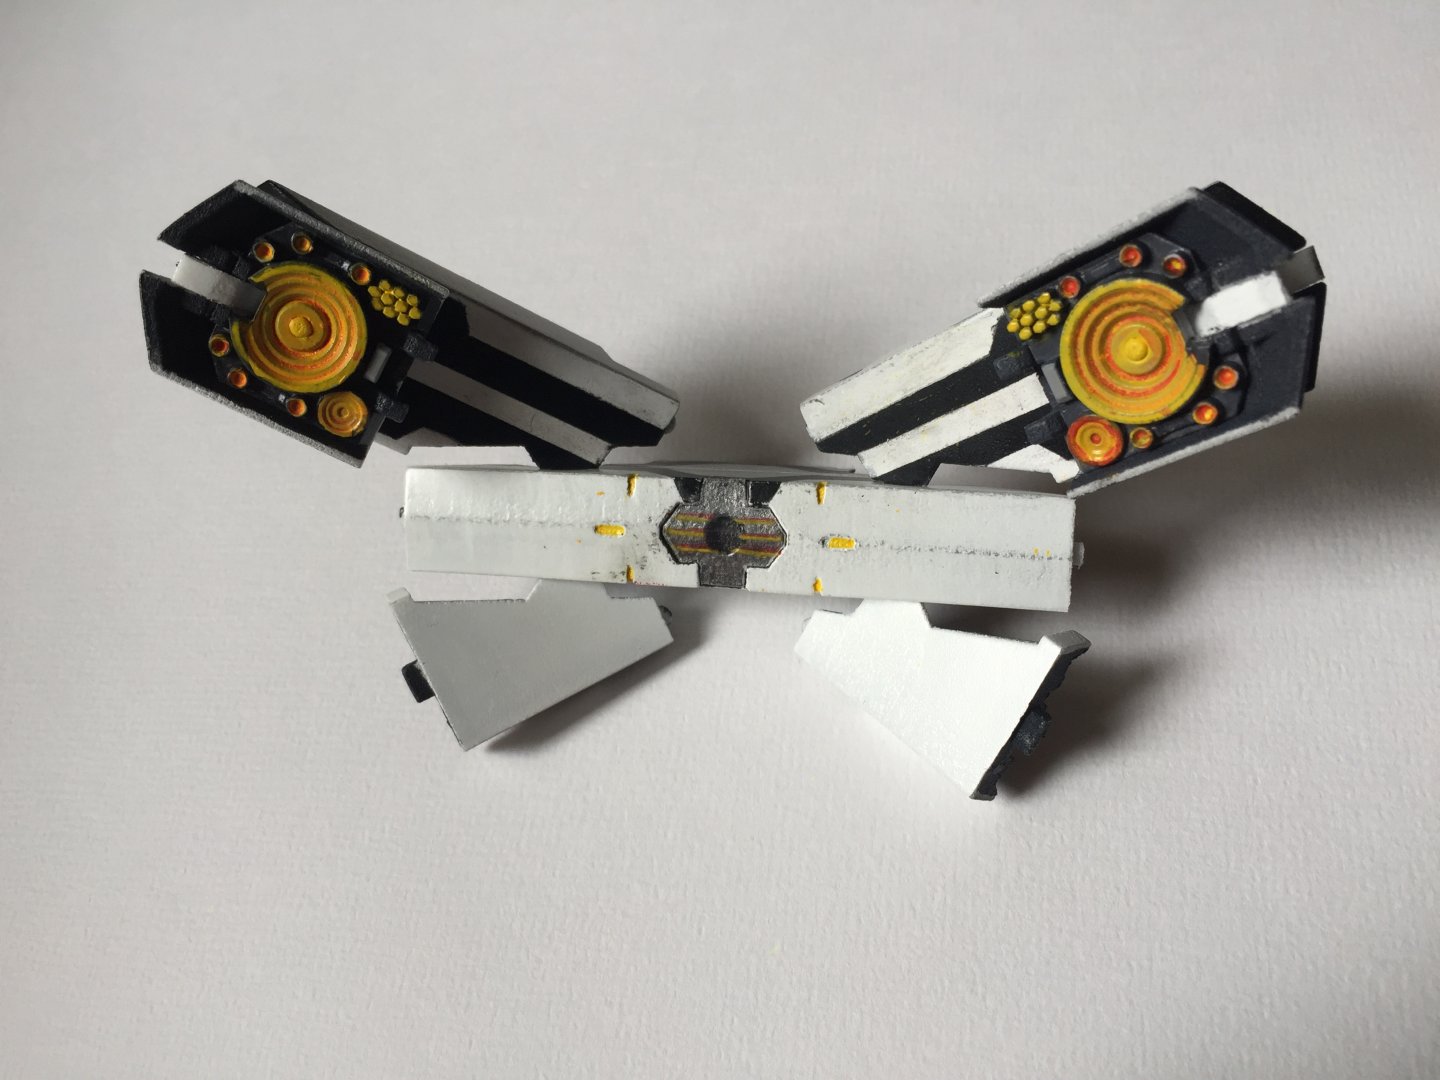
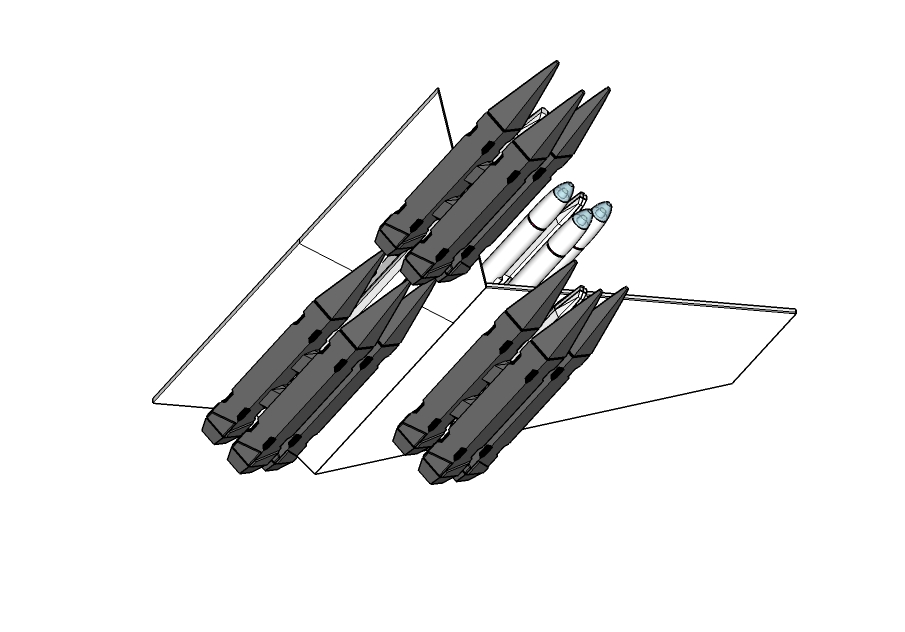
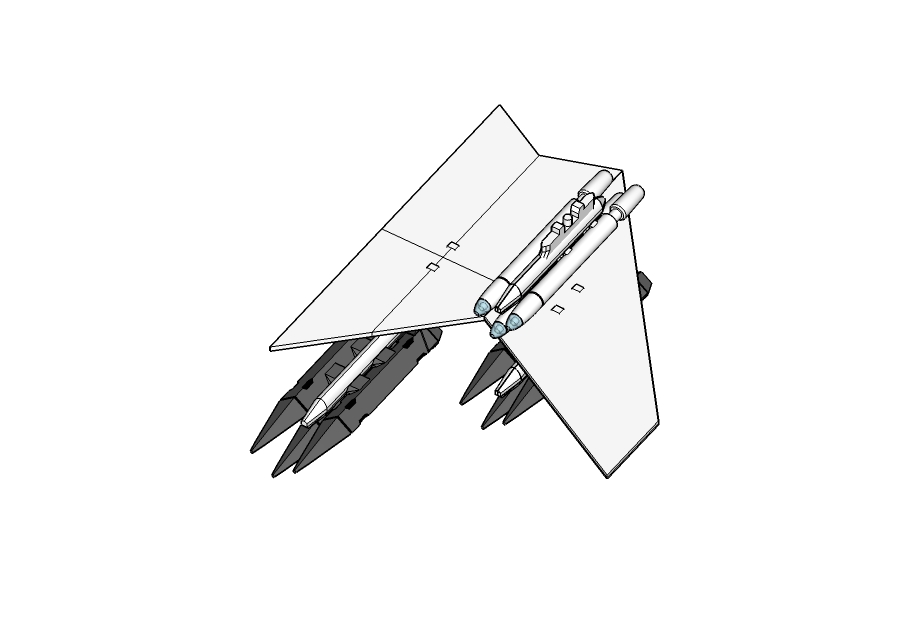
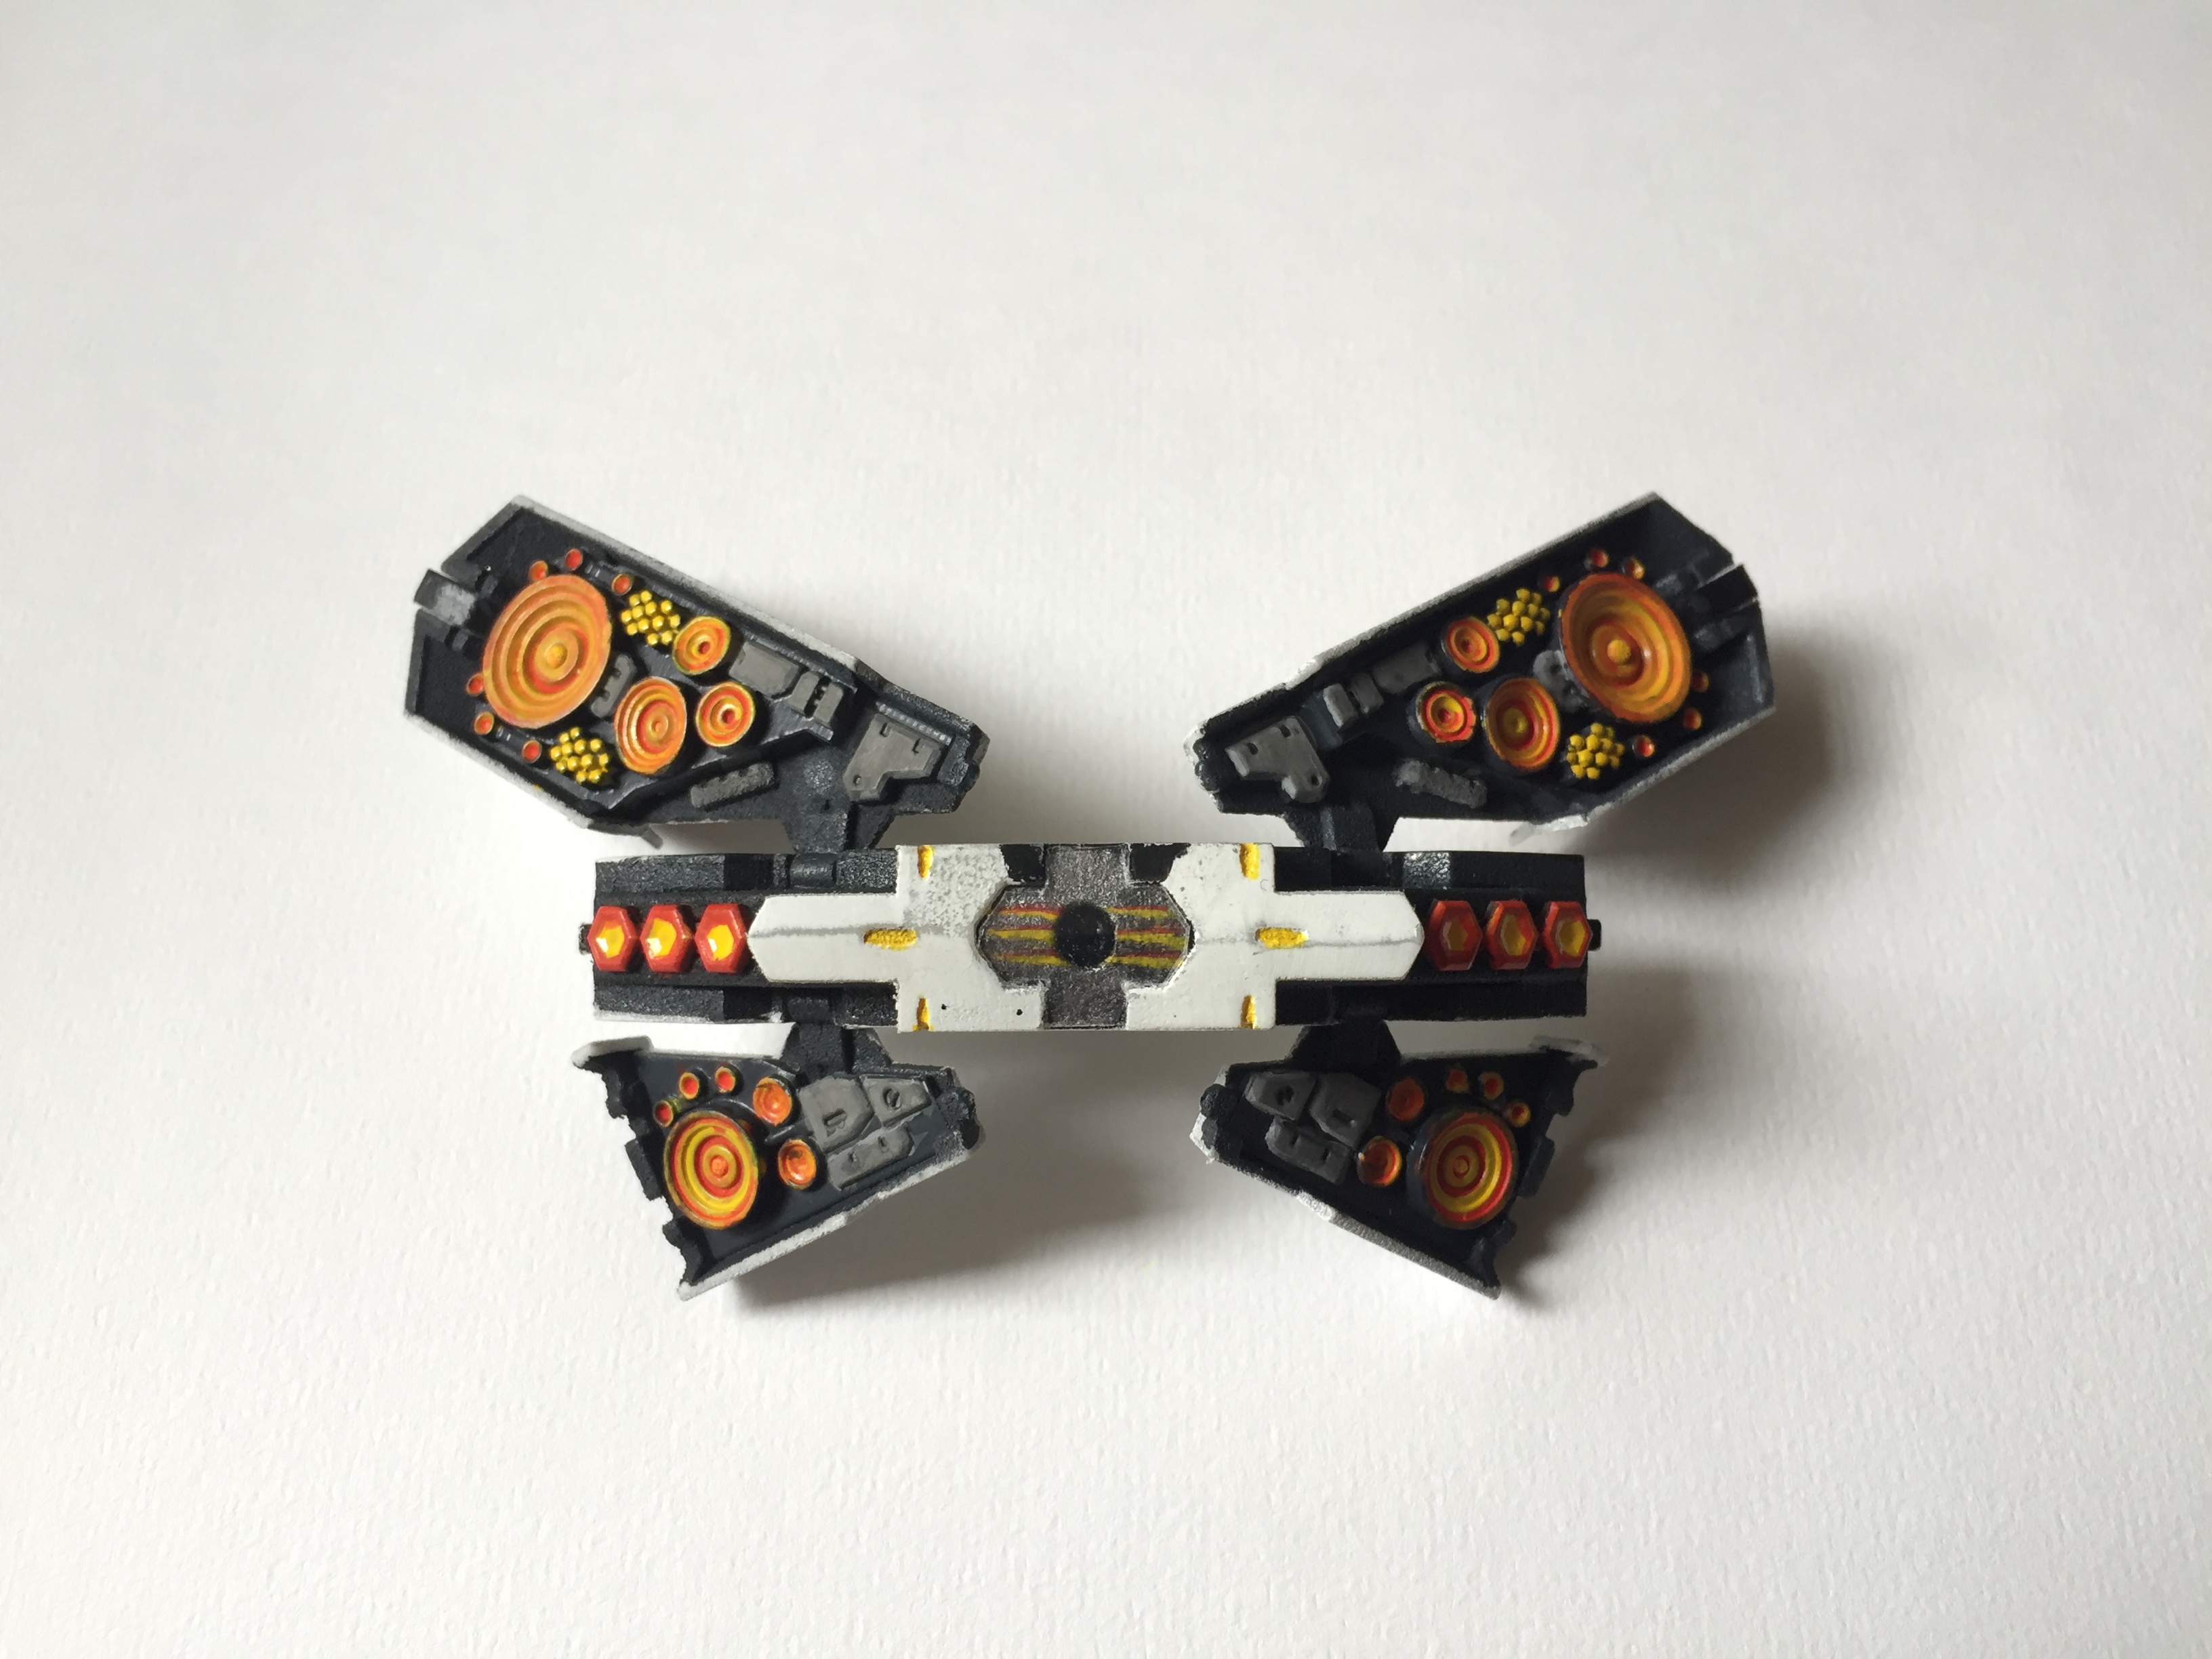
Here are the AMM-112SQ! They are slightly thicker than described in the Master File because I wanted them to match my previously made TMM-201. They should be a ton easier to prepare than the AMM-101 and they can be displayed on dual pylons too!
Hey, our community never have enough 3D modelers, go on
-
I wished AE was first, and too bad for NY, at least they will learn the lesson for screwing us on the 31A!
-
1 minute ago, PsYcHoDyNaMiX said:
On Paypal, select the transaction, report an error, select the error (I listed 'other' and stated I ordered from the wrong site). Worse comes to worse I'll just have to call up my cc company and tell them to pull the funds. I accidentally ordered from the wrong site at 430am when I rolled out of bed for the mad rush, lol.
Be carefull because the first message you fill in paypal interface will go to the vendor.
-
thanks for the replys guys
-
I panicked too, ordered at Nin-Nin first, then one with CDJ. How bad is it to recover the money with Nin-Nin if they don't deliver ?
-
Well not exactly, my order was only 10 away from the latest shipped order and now it seems being skipped by NY... refreshing my mailbox again...
France is not a common destination though


MΔ - VF-9
in The Workshop!
Posted
@Urashiman I am glad to meet you because I have been using your paper model a lot for the panel lines. I have also tried to use your model (orthogonal projections) as reference because it was almost identical to the latest line art but it didn’t really took into consideration that the VF-9 is a very small plane so even if the true line art is very streamlined, I couldn’t use it to scale well with an Arcadia VF-1.
And from there I had to trick the dimensions even further to obtain a good looking battroid
you HD model looks really good! I am sure if you finish it and print it in FUD (High détail plastic) it will look incredible together with an Hasegawa VF-1, keep the hard work if you can afford it.