
Xigfrid
-
Posts
2607 -
Joined
-
Last visited
Content Type
Profiles
Forums
Events
Gallery
Posts posted by Xigfrid
-
-
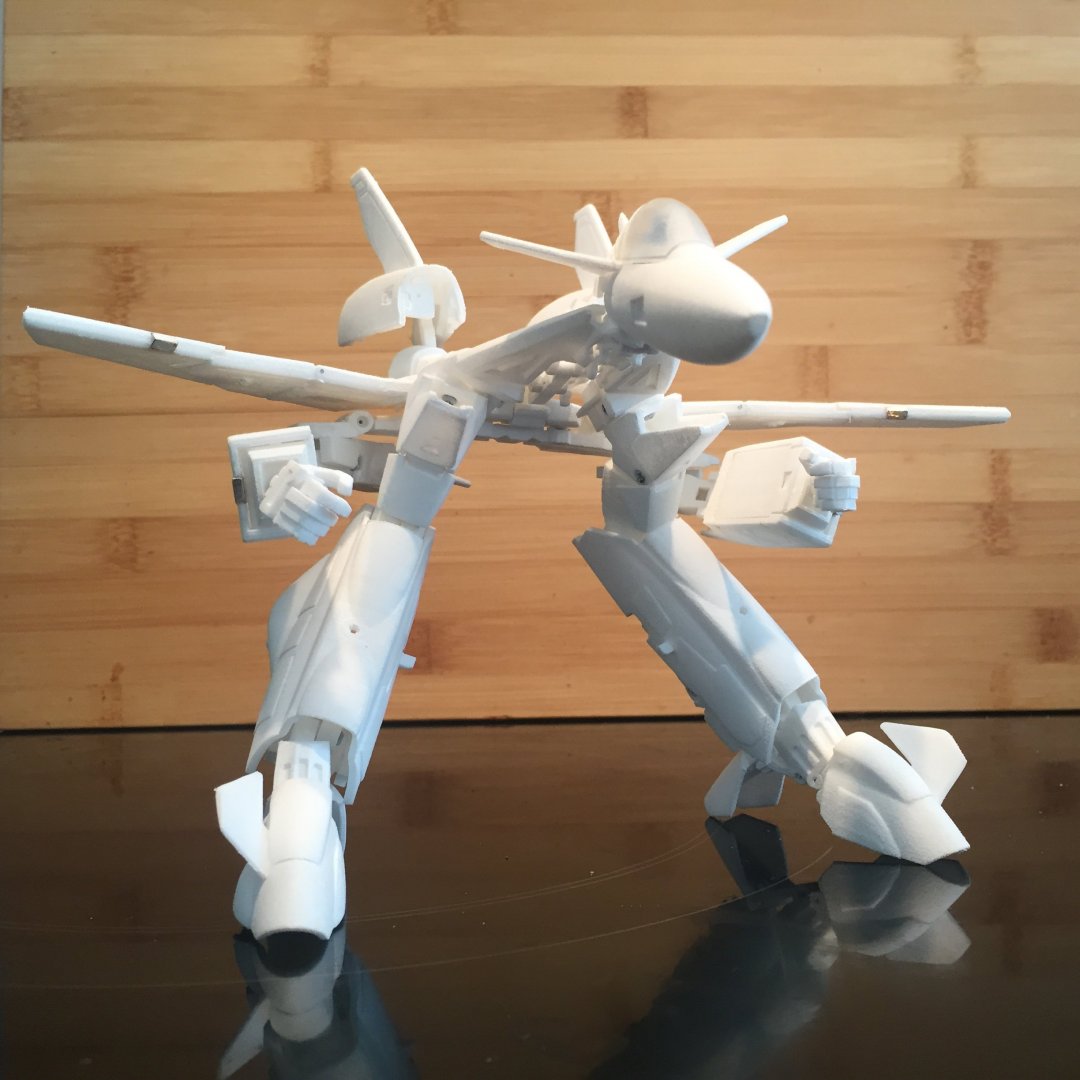
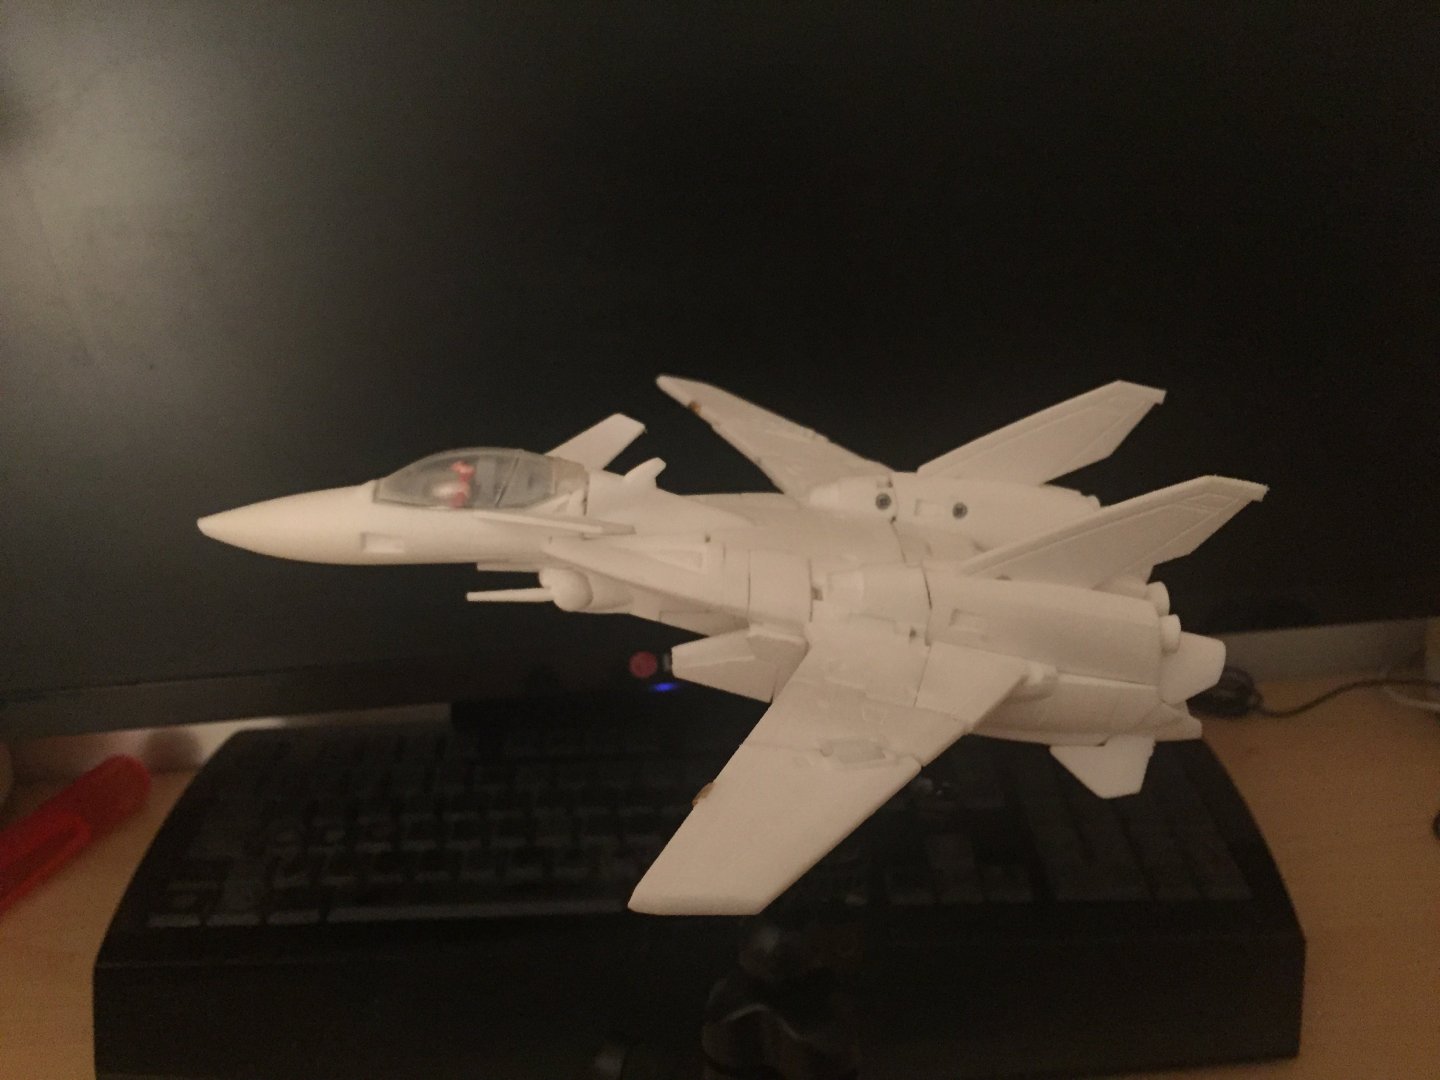
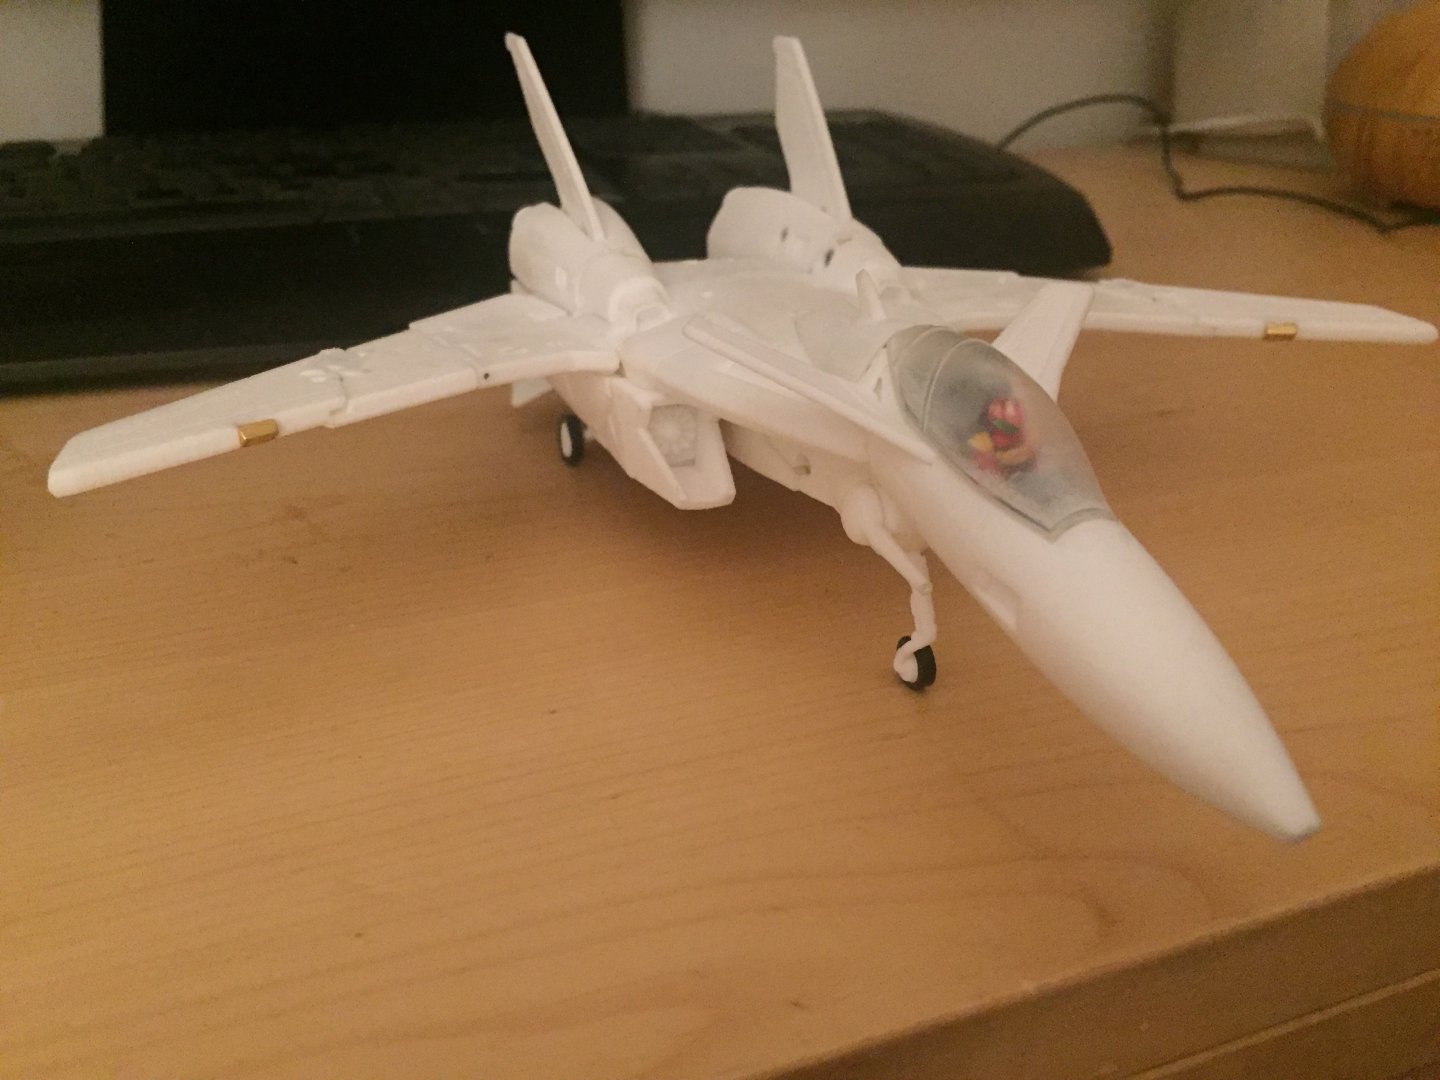
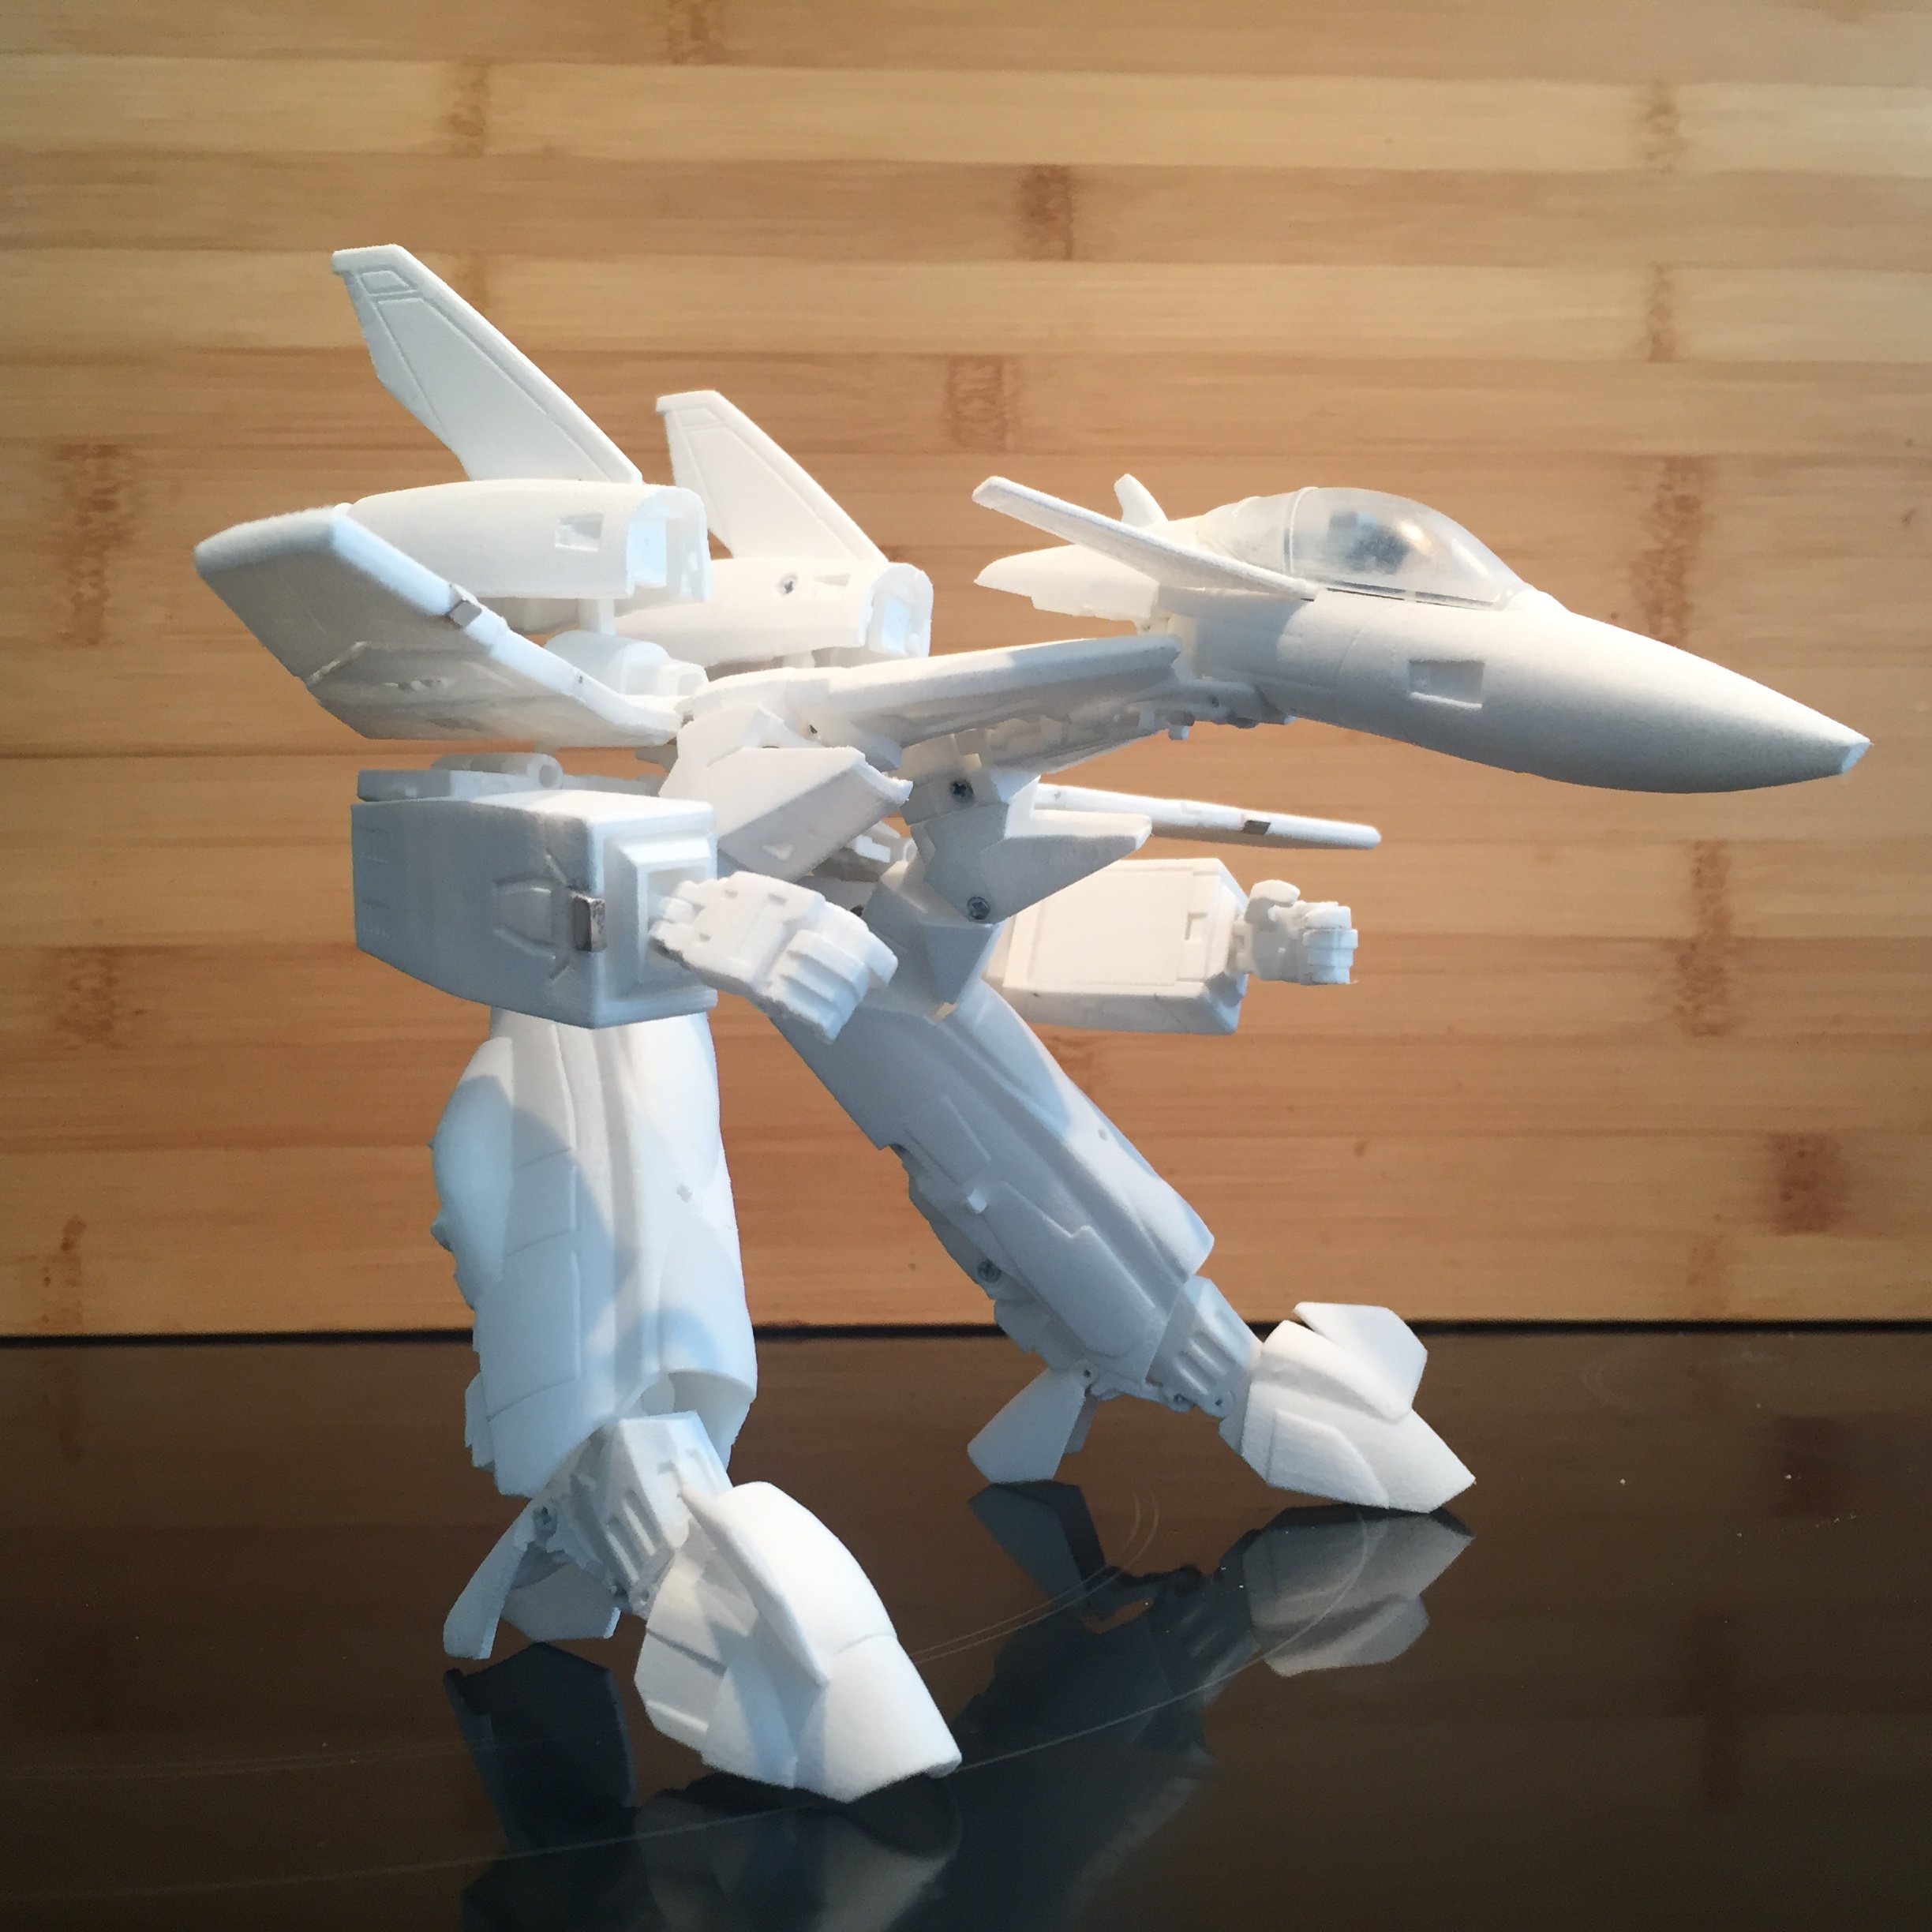
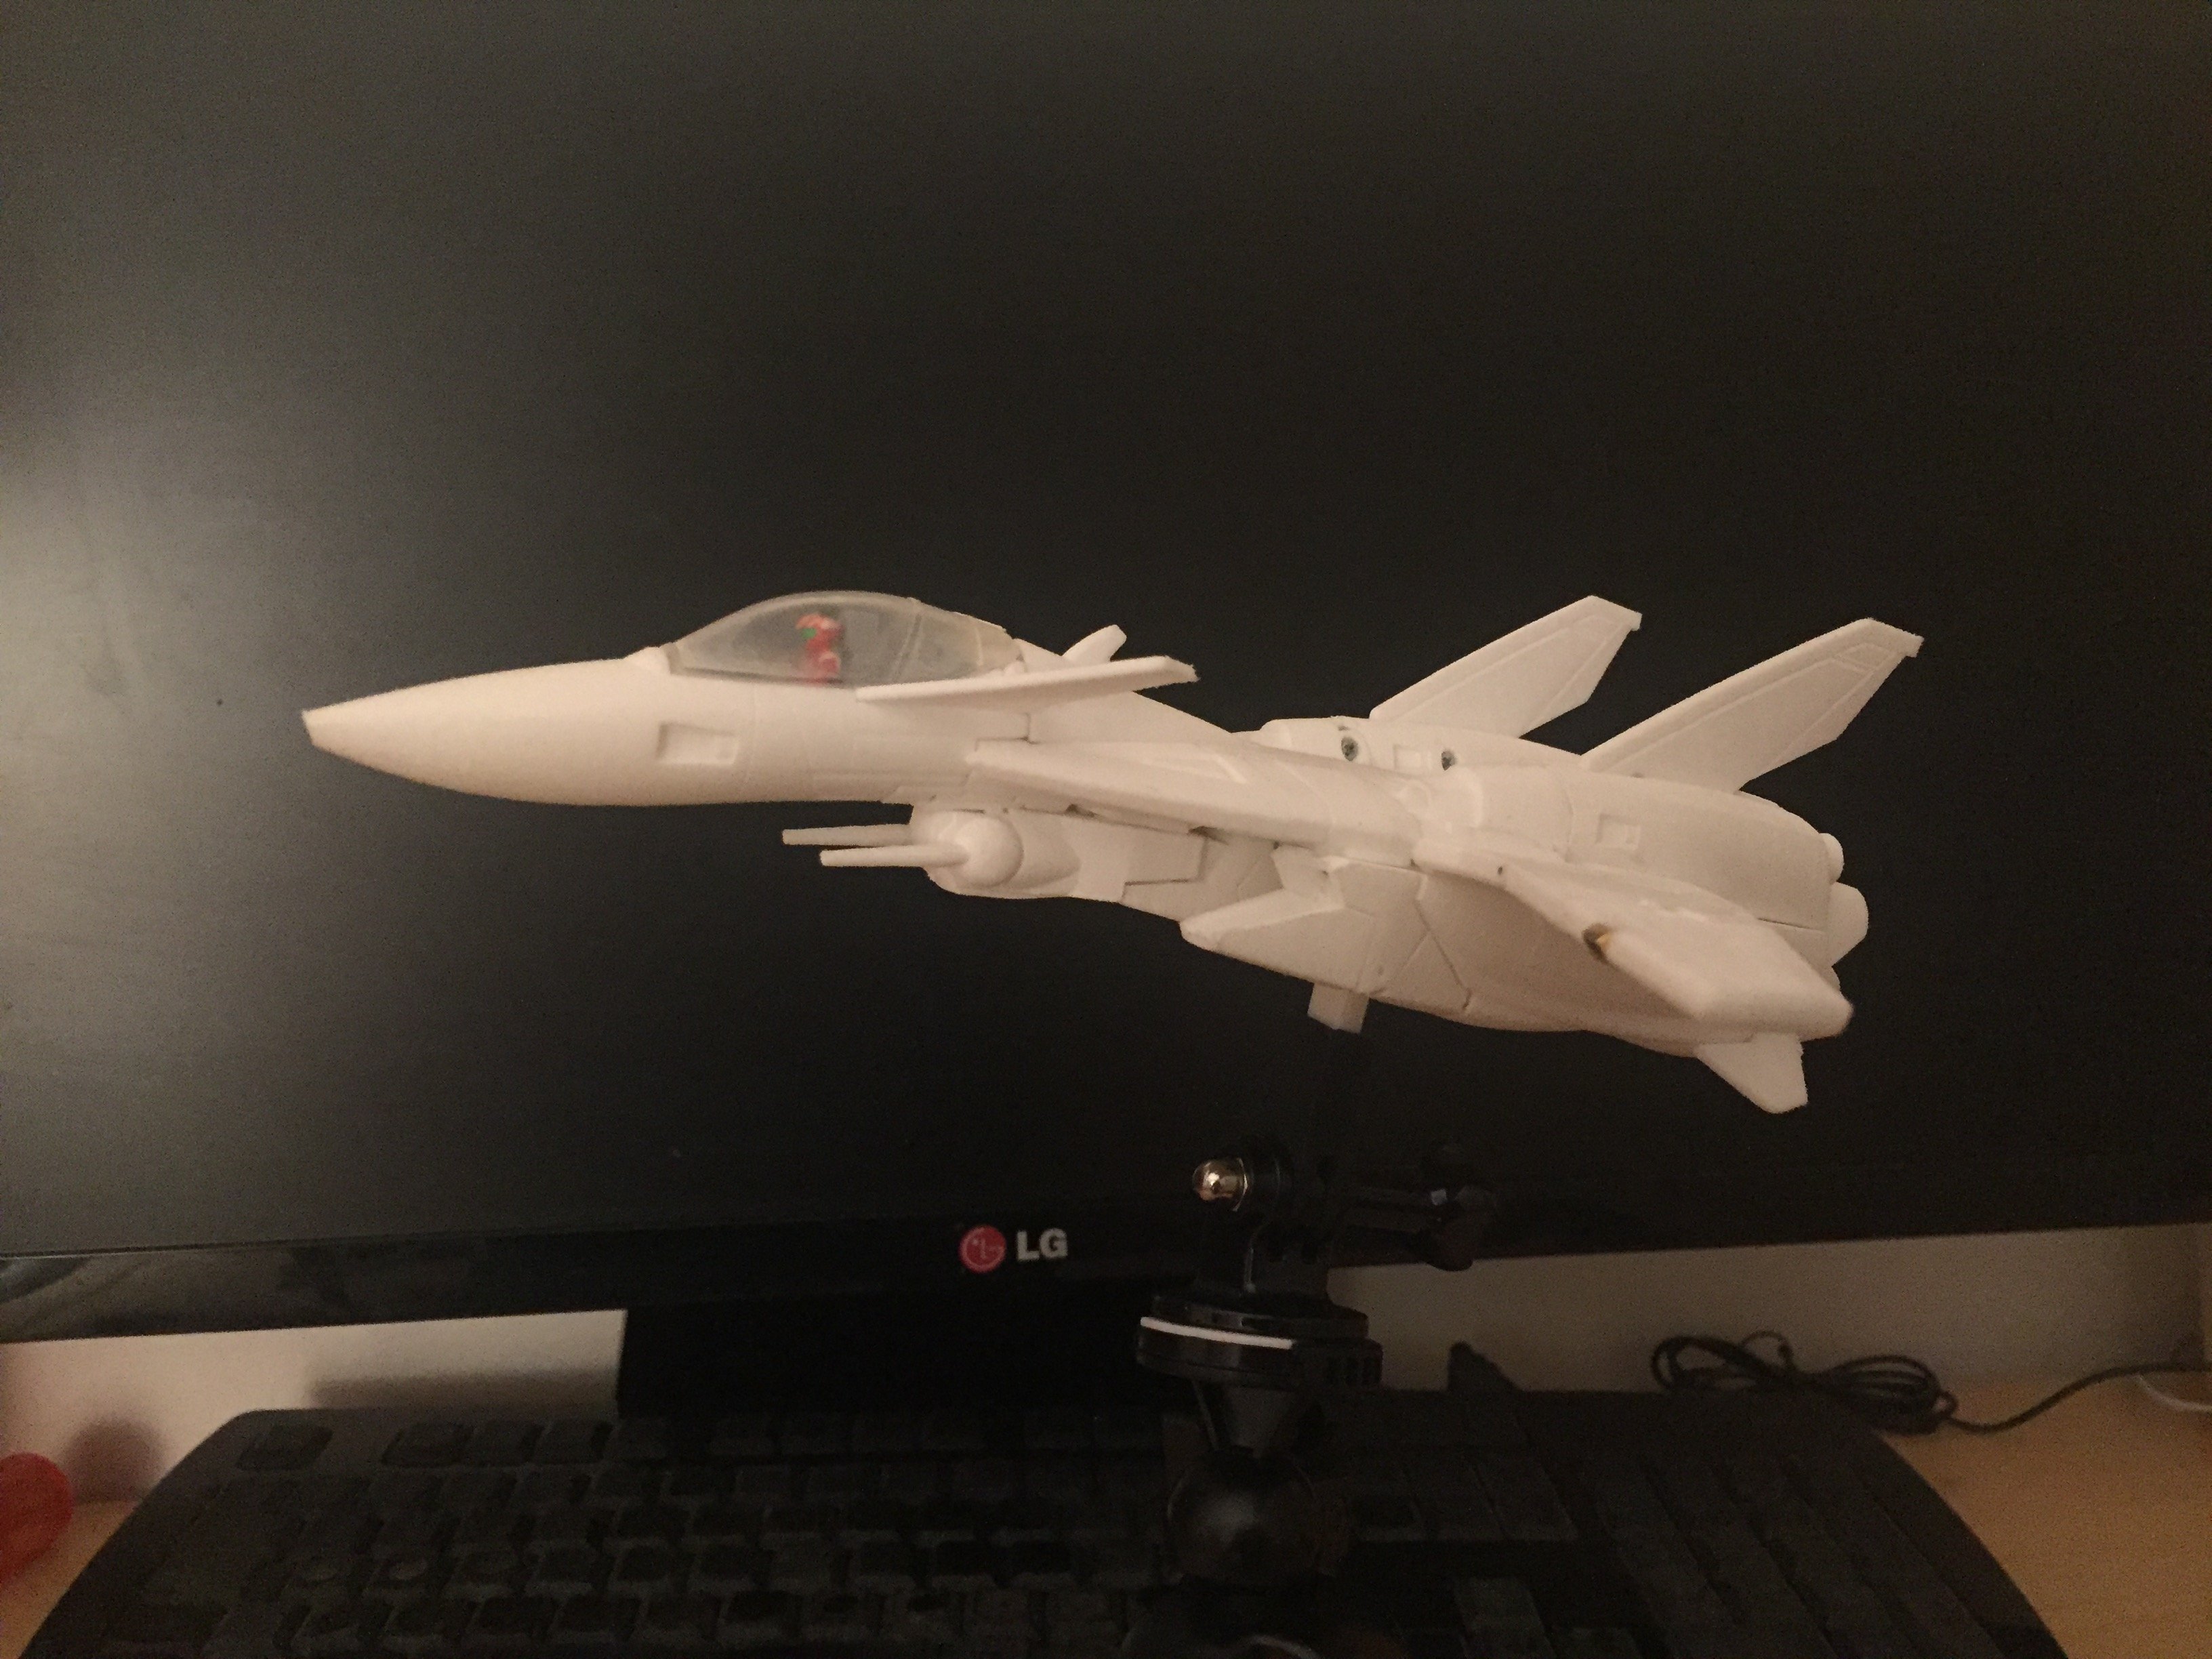
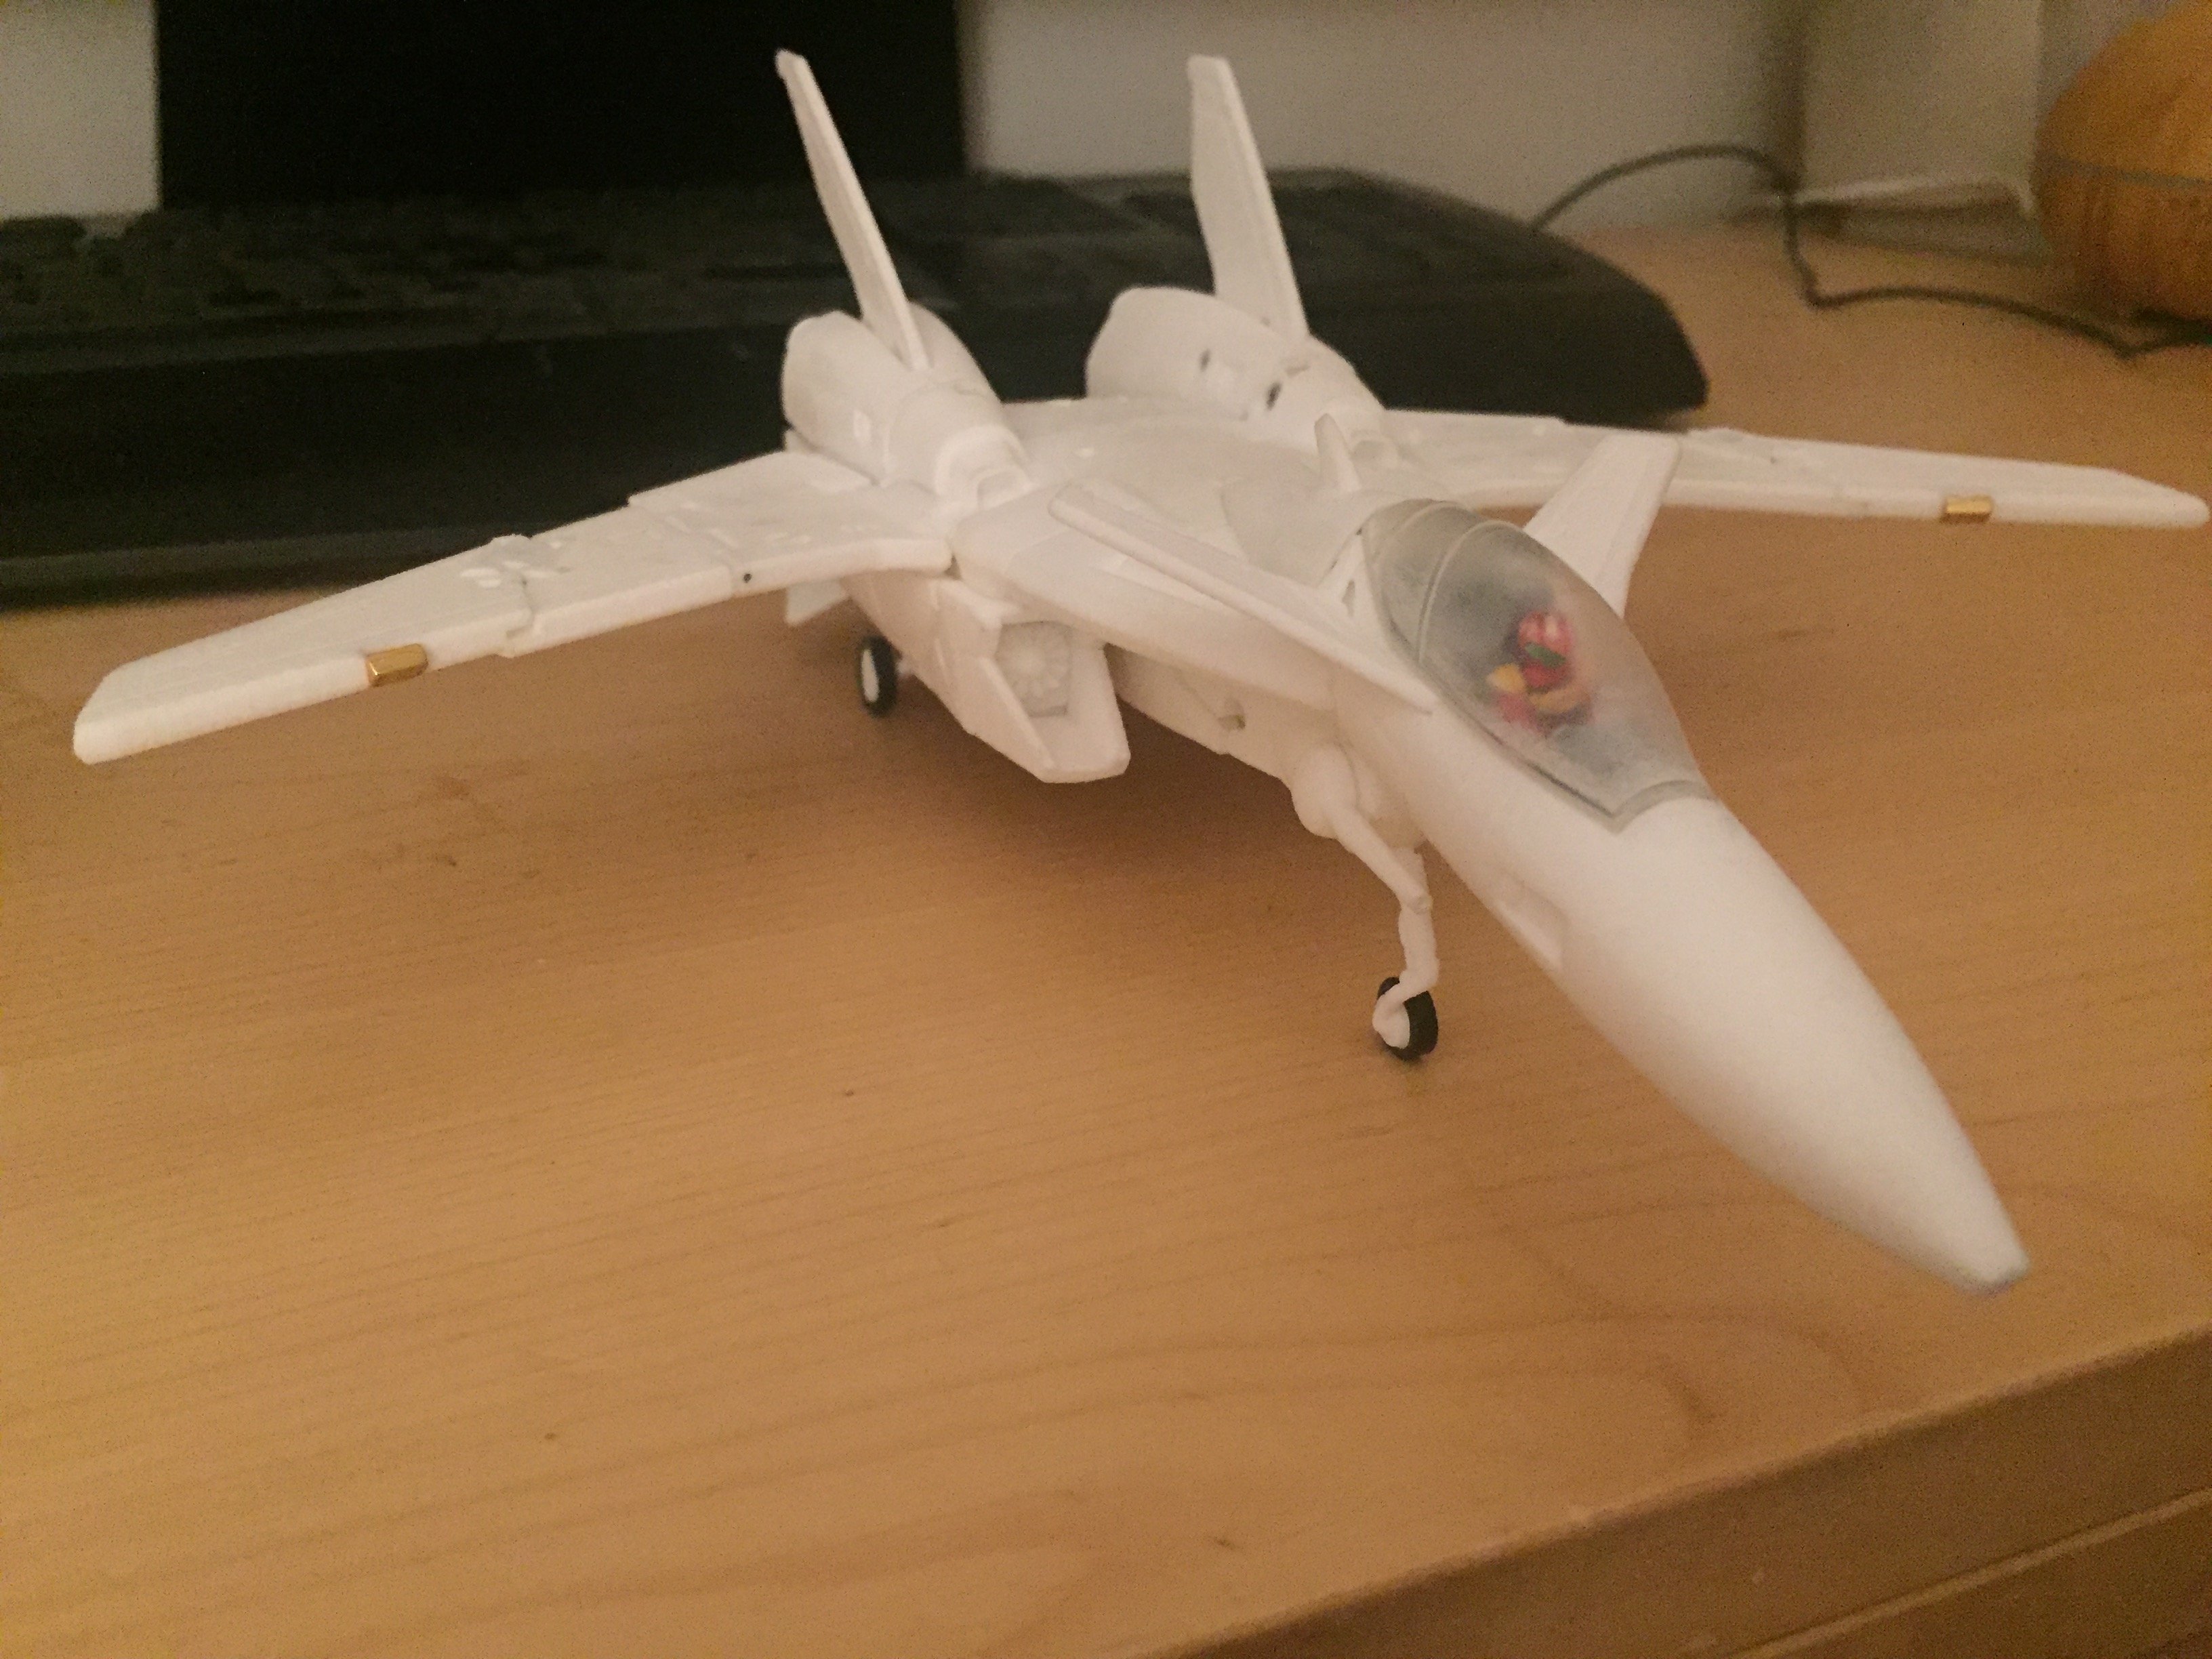
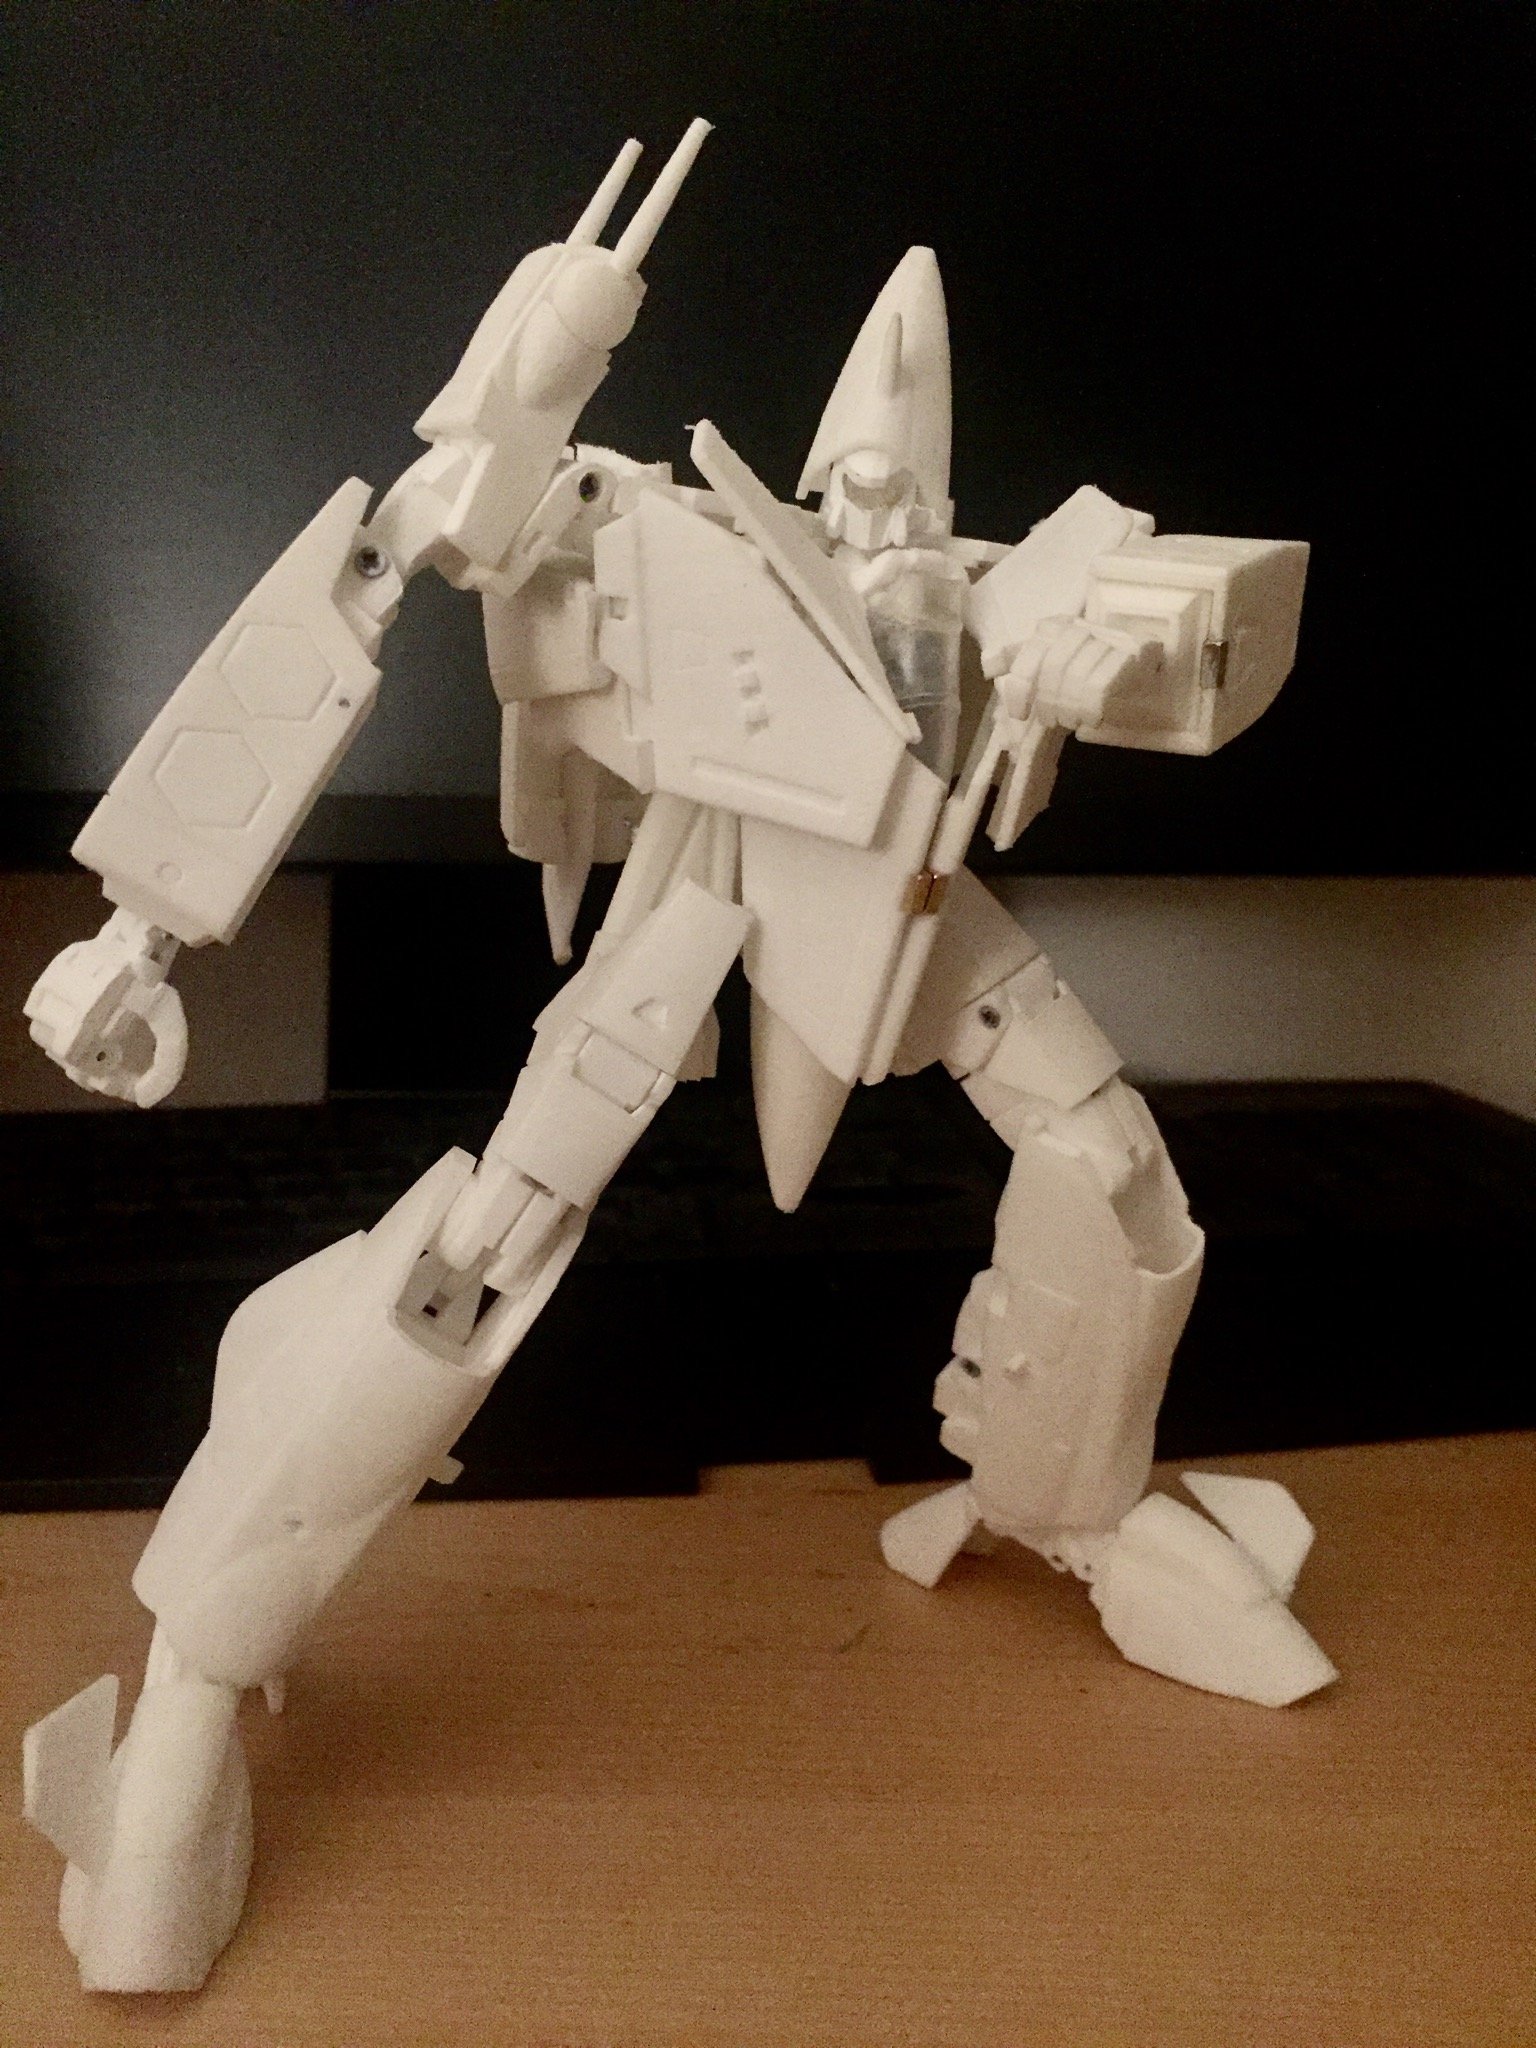
Concerning this model, my main issue was to make a great design for battroid and fighter modes. I would say this is something like an artistic job. Then I made the simpler way to transform everything back and forth between the two modes, this is an kind of engineer job.
Surely during his process, I didn’t had second thoughts of using the full possibilities of SLS printing, but still you can make most of the parts in a single mold, and a few remaining parts will need to be exploded in two halves and be glued together during assembly.
After the first prototype, I had to make a deep Quality Check job because of wrong proportions and bad lock mechanisms. And then the second prototype which i think is a really great result.
I am sure there is a lot of room for mechanical improvements but in terms of global design and articulations I am rather satisfied by it !
-
I recently made these 1/60 pilot figures for my Vf-9 model and they also fit the Arcadia VF-0. They are also available in 1/48 scale as male and female pilots.
If you want several pilots, I can make a personalized pack with the exact amount of figures you need, and that will reduce the global cost drastically.
They will probably fit Hasegawa pilot seats but if you want to be sure, you can take a few measurements of your pilot and I will check that on my models.
Here is the 1:60 DYRL female model printed in clear resin.

-
Hey guys, you will make me blush... btw I AMM glad you all like my models
")
-
5 hours ago, no3Ljm said:
Got these today.

Figure Oh No.246

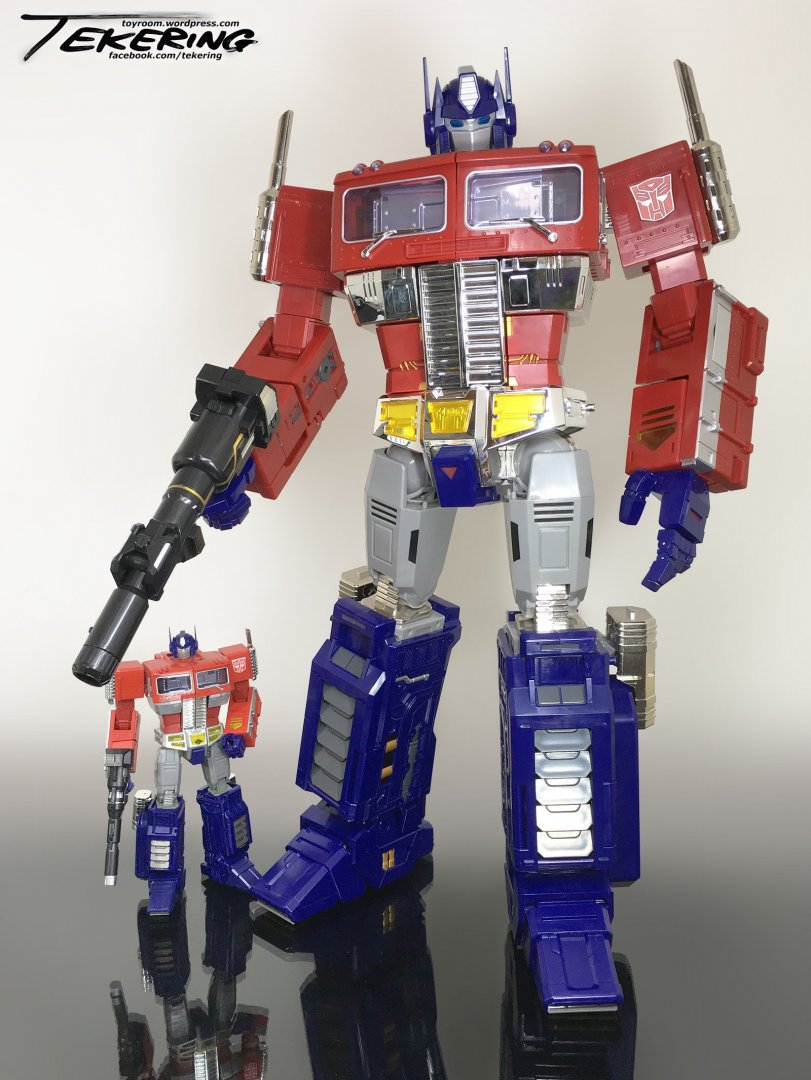
That makes me wonder if a crazy 3P manufacturer would do over-oversized VF-1 one day, a la Atlas Optimus Prime.
Credits to @tekering for this blowing mind picture!
-
8 hours ago, Chronocidal said:
So I just realized how different the canard shape is from the early version. Is that to fit better into place in battroid mode?
Also, you know the next step, right? Retractable landing gear!

Yes they are a bit different because of the new wings' folding shape. Now that you mention them, they can easily be straitened in a new version, or printed in SLA/DLP resin to obtain better surface details.
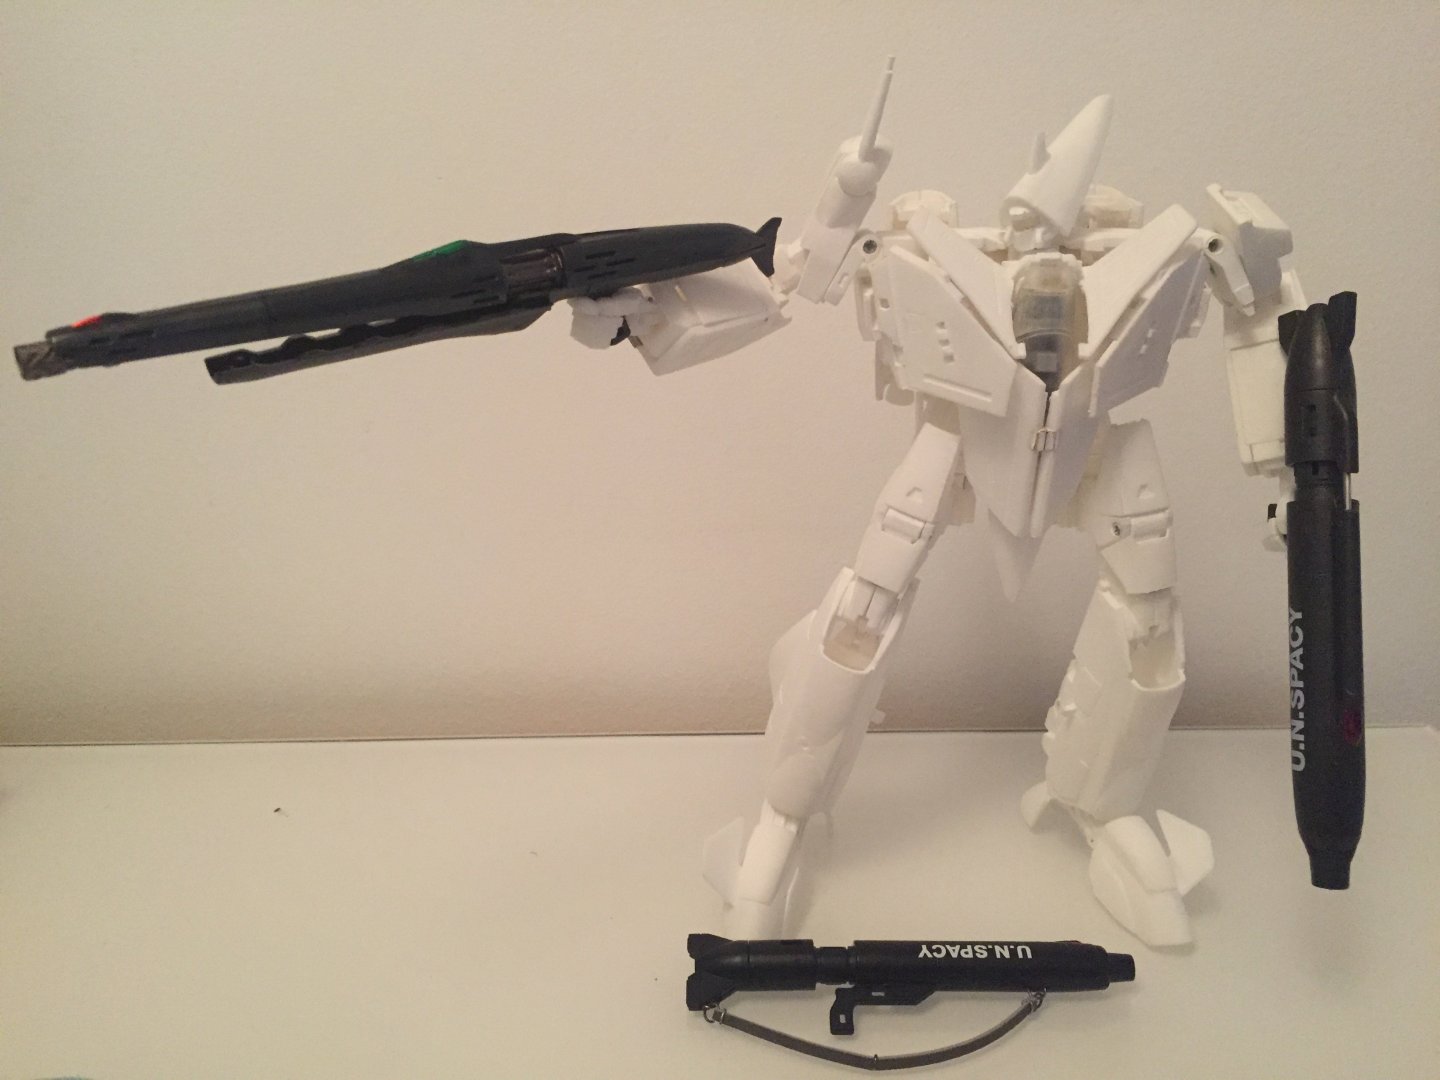
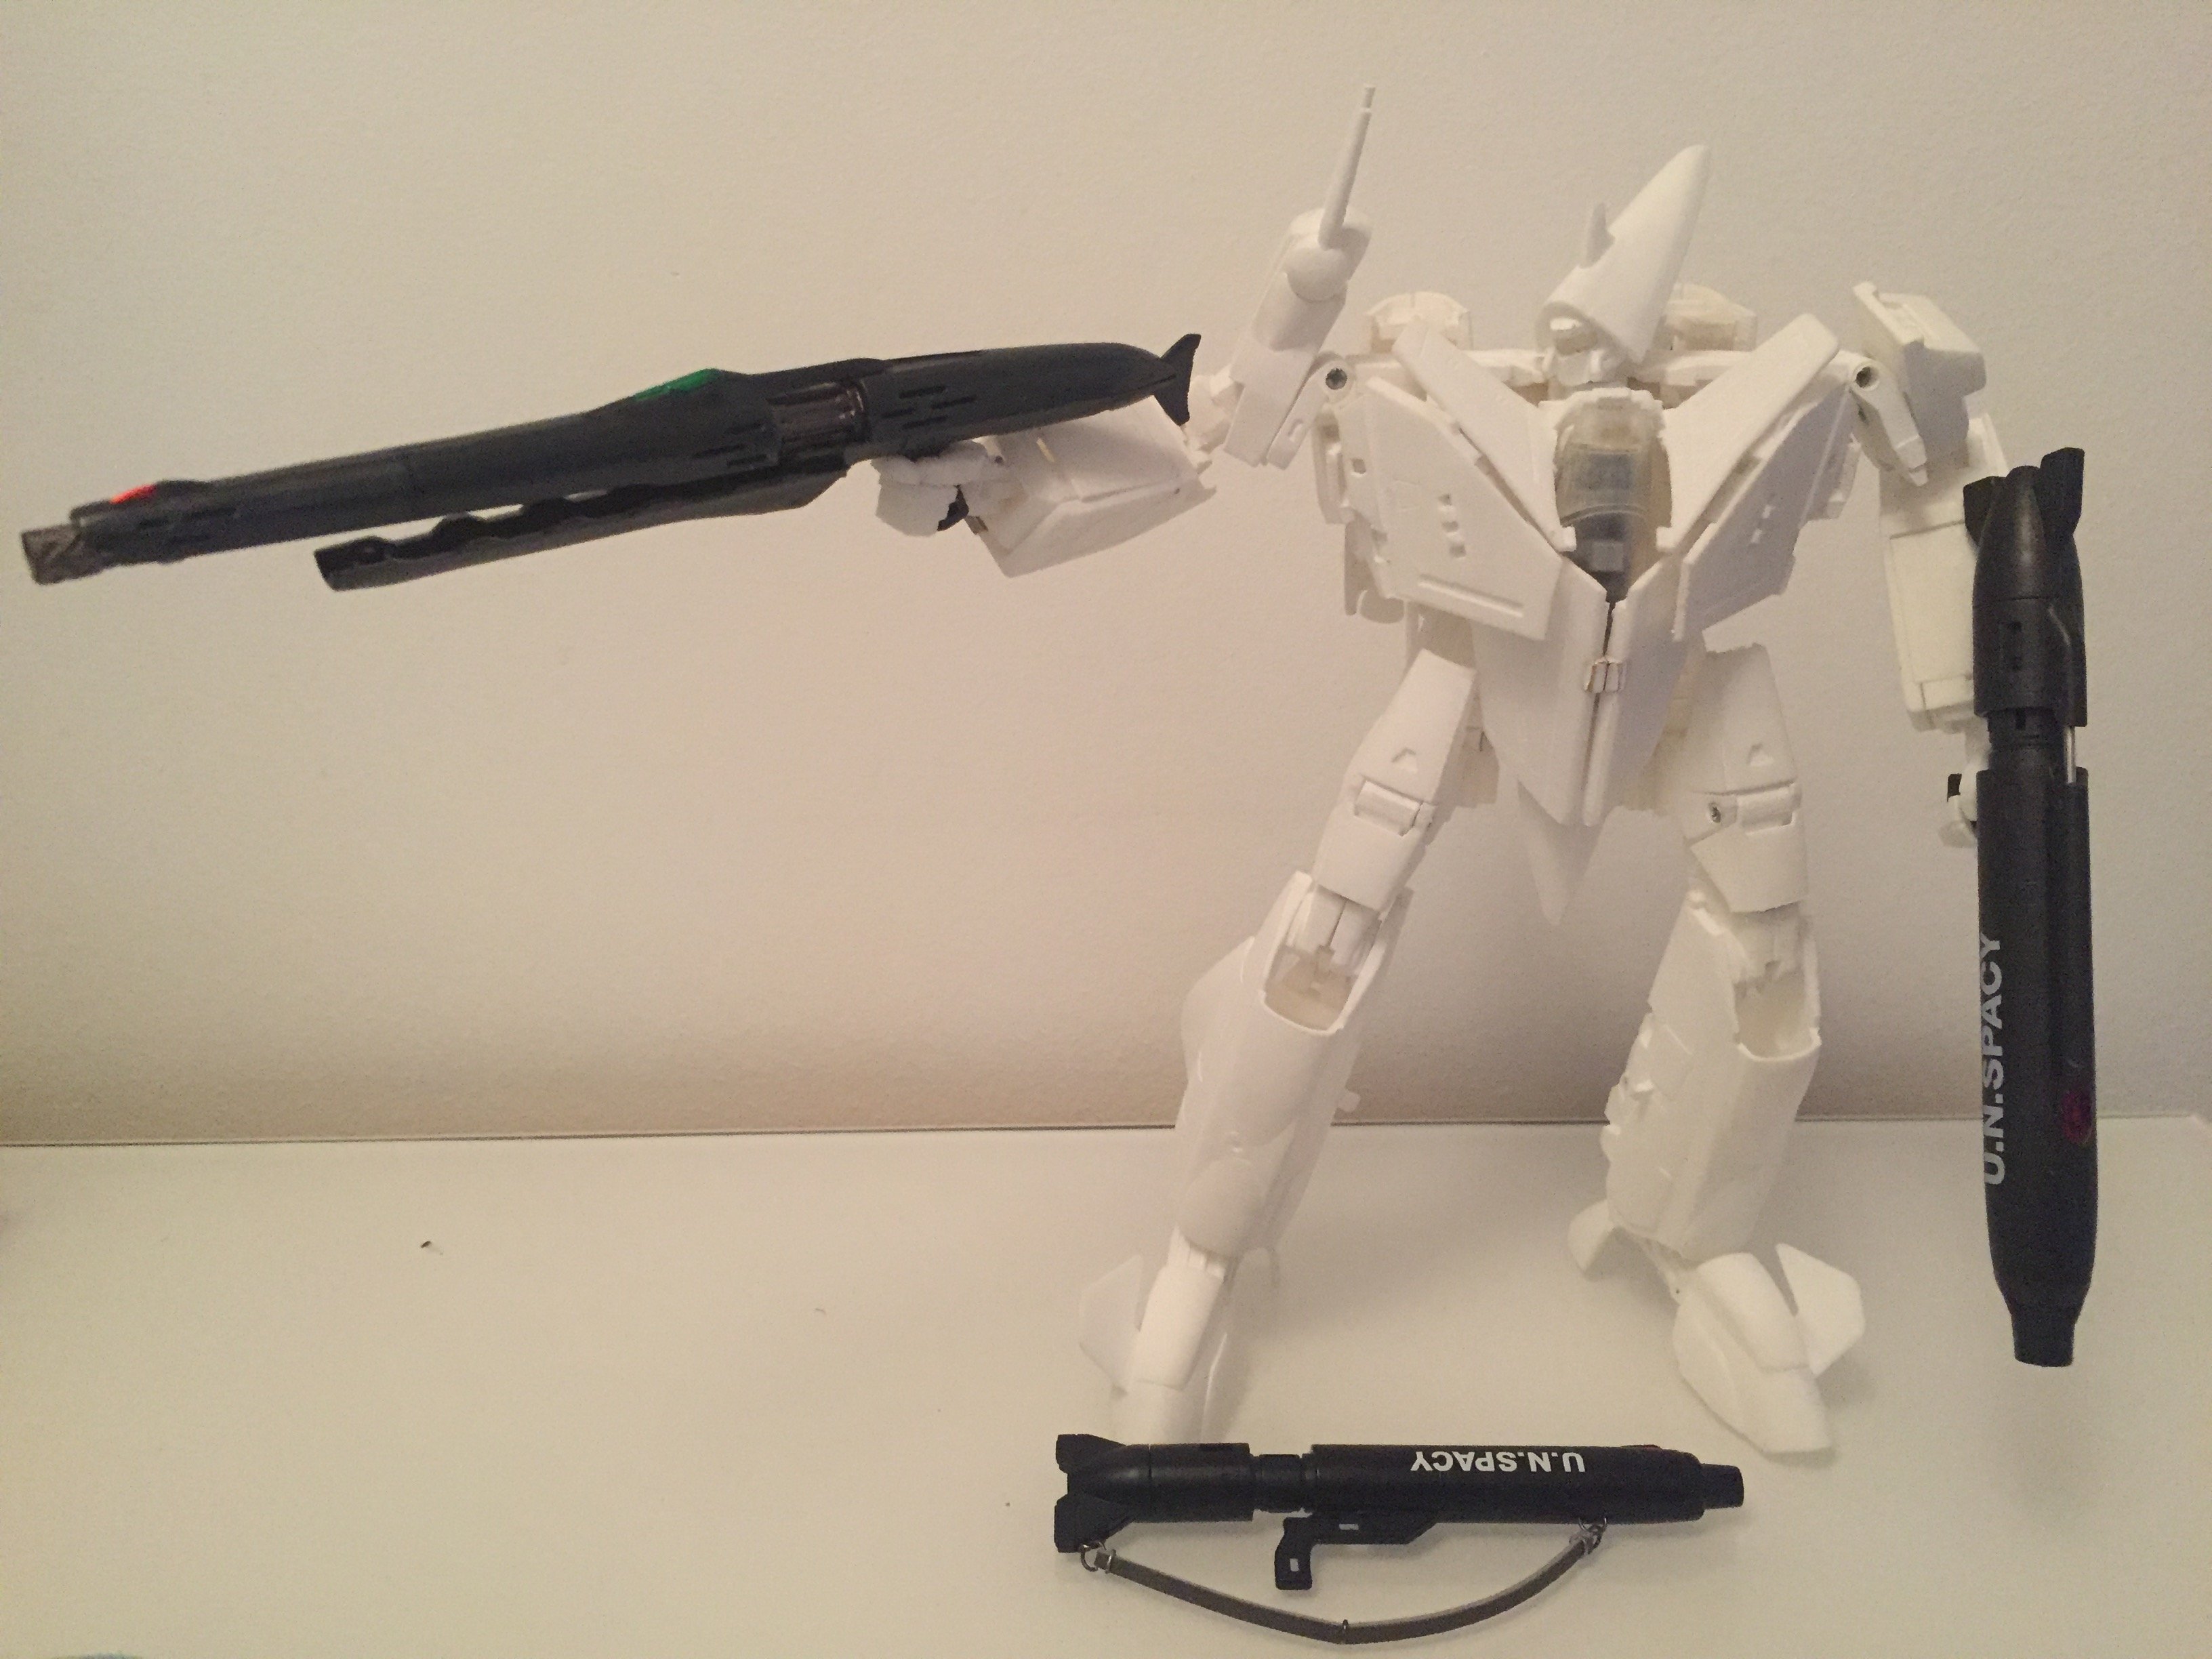
My next step is the Gunpod.
Landing gears ... hum that's quiet a challenge so I promise I will give it a try at my 30th sold VF-9 !
-
1 hour ago, eggy99 said:
The VF-19 Adv had really nice deep panel lines, so I expect the YF-19 will be the same.
It allowed for some really nice shading on my weathered VF-19 Adv.

I need to take a better set of photos of this. Currently this bad boy is wrapped in bubble wrap from the office move last year.
Hey, isn't your neighbor's Evangelion figures that we can see ? I really need to know what kind of job is yours :)
-
12 hours ago, wmkjr said:
Is there any official reference pics of that VF-9's gunpod in fighter mode?
In the game you can fire it in fighter mode, this is kind of official I think. Just like @valhary posted, the gunpod is located under the arms in fighter mode. I have already placed 2 magnets at this location that are meant to hold the gunpod.
I have no excuse for not making it except that the gunpod is large and would add even more to the price.
-
57 minutes ago, valhary said:
now just we need the gunpod

Choose your favorite! 25, 0 or 1’s?
-
I have had a slightly different process for mine:
1) I have assembled the whole valk, sanding the plastic directly a bit the rougher surfaces with a 6-steps nail buffer
2) Apply white primer layer in fighter / gerwalk mode wait 24H to dry3) transform to battroid and apply another white primer layer, let dry 24h
4) quick sanding with dremel 60 grit disc (Low speed - light pressure on the tool)
5) same with dremel 240 grit disc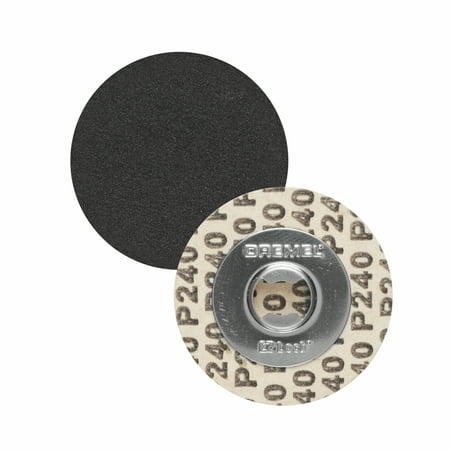 (Low speed - light pressure on the tool)
6) thorough sanding with dremel 120 grit EZ472SA detail abrasive brush
 (Medium speed - standard pressure on the tool)
Most surfaces are almost good. I will next apply another prime layer, but ignoring steps 4) and 5) and use the brush used in step 6). And then go to paint.
-
For the gerwalk lovers

-
Yeah the result is amazing!
@Jasonc sorry i thought I already have the link to buy the rubber, here it is : https://m.ebay.com/itm/New-Mini-Solar-Powered-Robot-Racing-Car-Vehicle-Educational-Gadget-Kids-Presents/232802492355?
these are the same tires I used for the X-9 so you can use them if you have spare rubbers
-
One day we will be able to print perfect toys in color ! But yeah for now, this is a real pain to deal with the Standard plastic.
Thankfully, until now, a lot of my customs didn't need to be perfectly prepared, such as the Vajras or the Destroids. This one, will need a lot of sanding, just like the X-9
-
Exactly same question for my VF-9 ... I am planning at least 2, one would be fixed to fighter mode in Milia theme with a teenage Mirage on board as seen in Delta, the second, I am hesitating between a low viz (grey/dark grey/white) or the orange/white training VF X-10
-
Pre order is opened now! Two sets to choose:
https://fext-hobby.myshopify.com/collections/owl-one/products/1-60-owl-one-armour-pre-order
https://fext-hobby.myshopify.com/collections/owl-one/products/1-60-owl-one-armour-set-b-pre-order
-
-
230$ is counting the clear canopy from Exo, add 3$ for the plastic landing gears and another 2$ for rubbers. Screws price really depends where you buy them.
-
Around 230$, not counting the screws, pins and optional accessories such as landing gears, FUD canopy and stand adapters. Nor time, paints and tools!
-
Thanks @Jasonc! You should check the legs and arms 3D models too
")
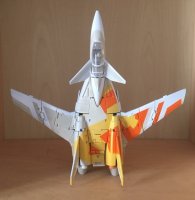
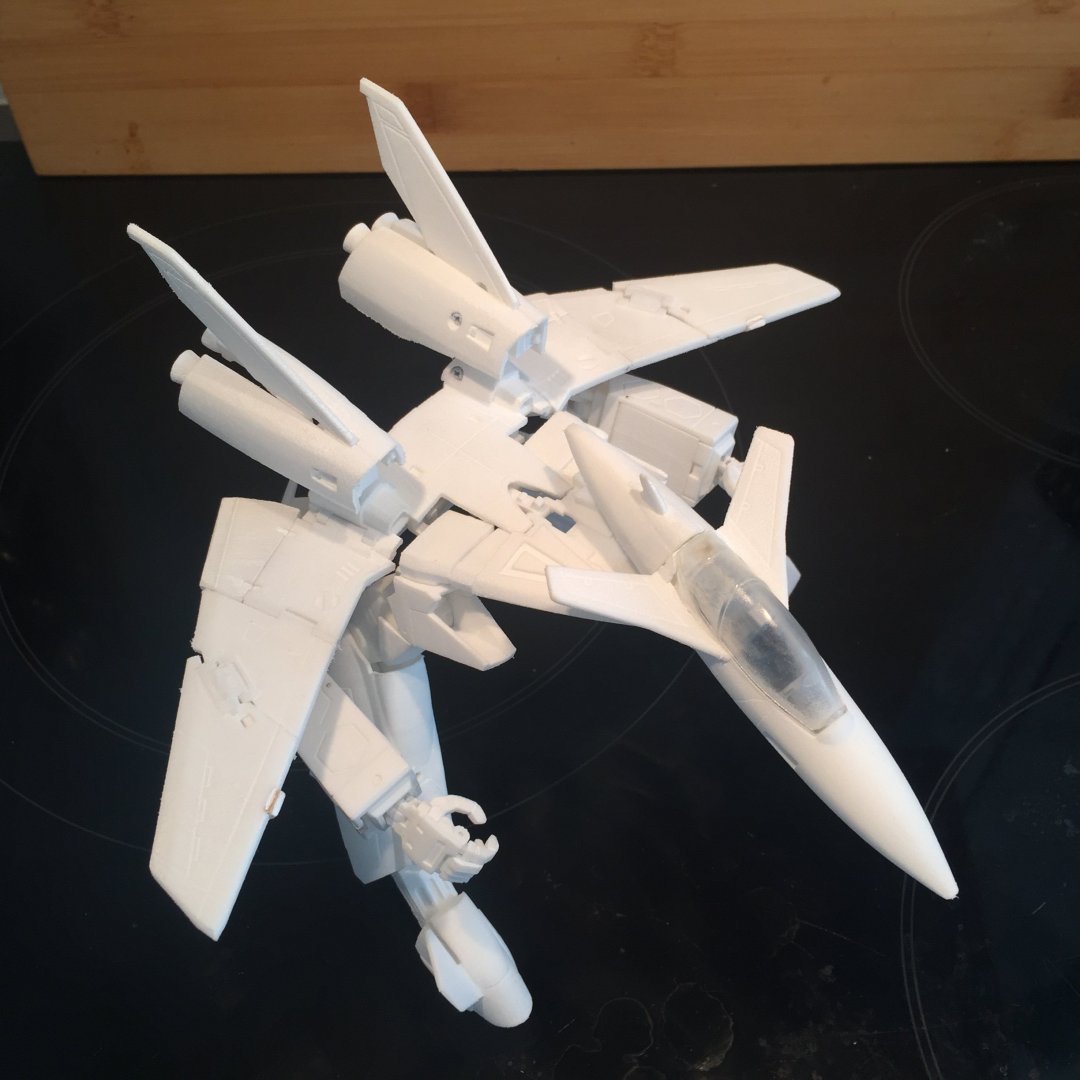
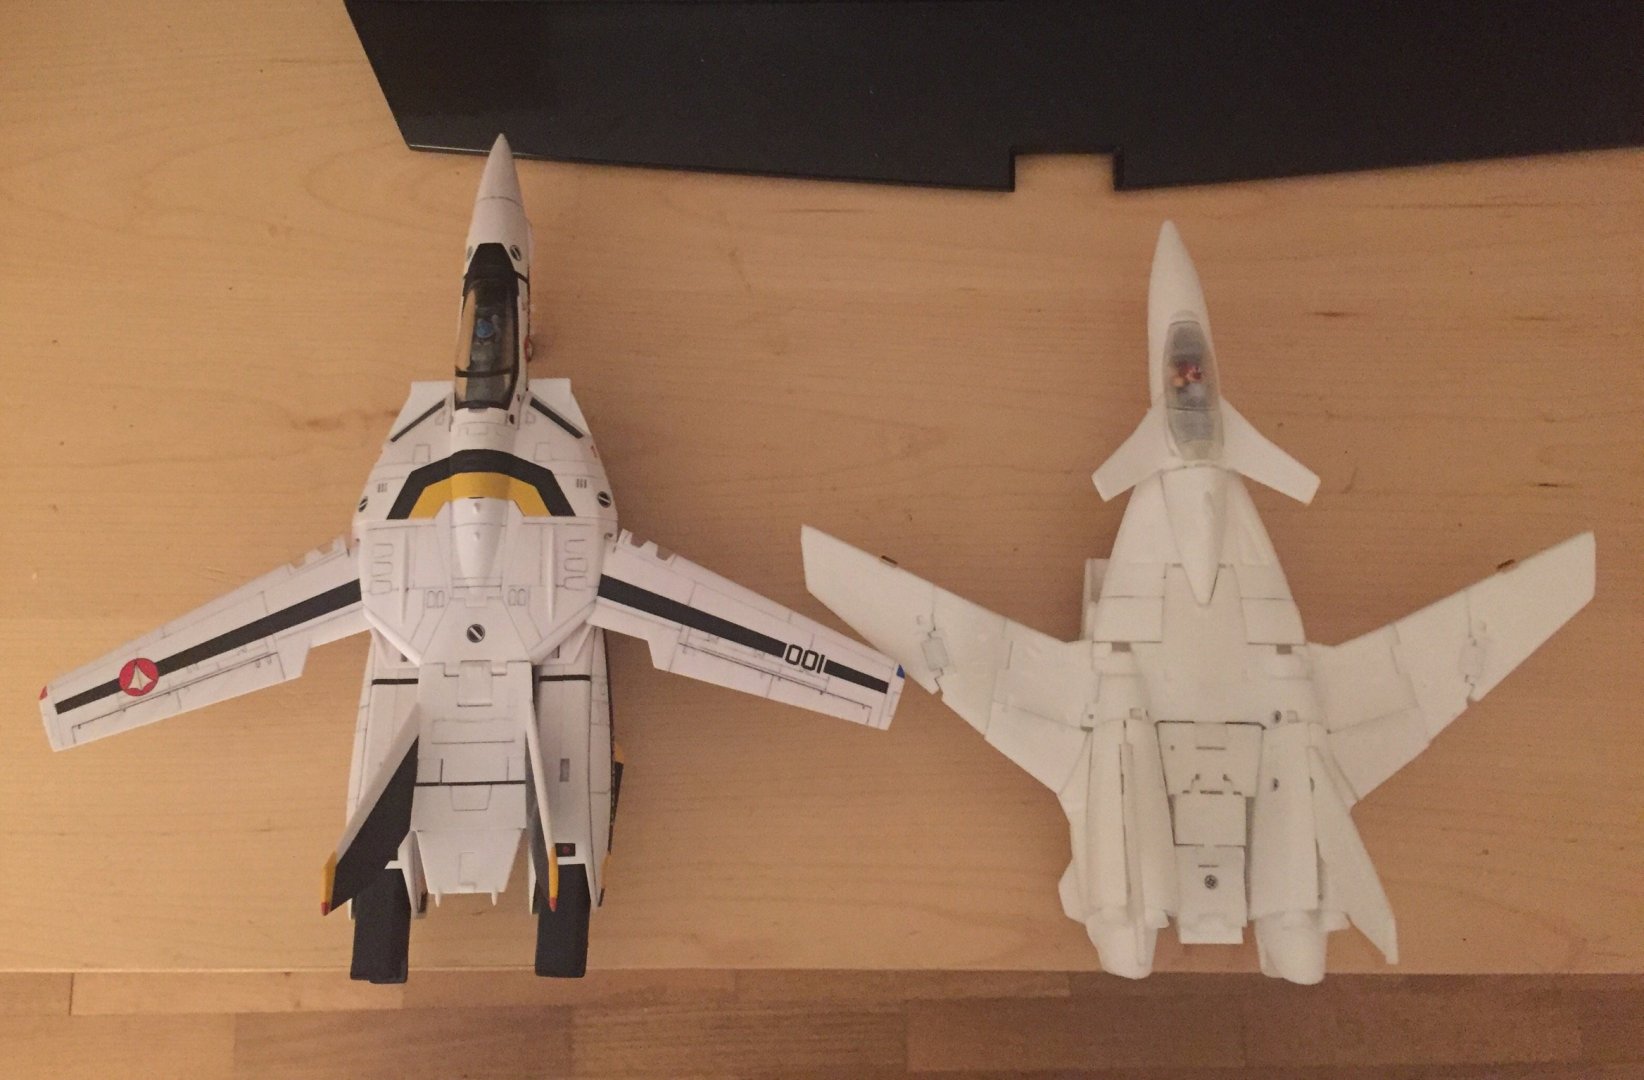
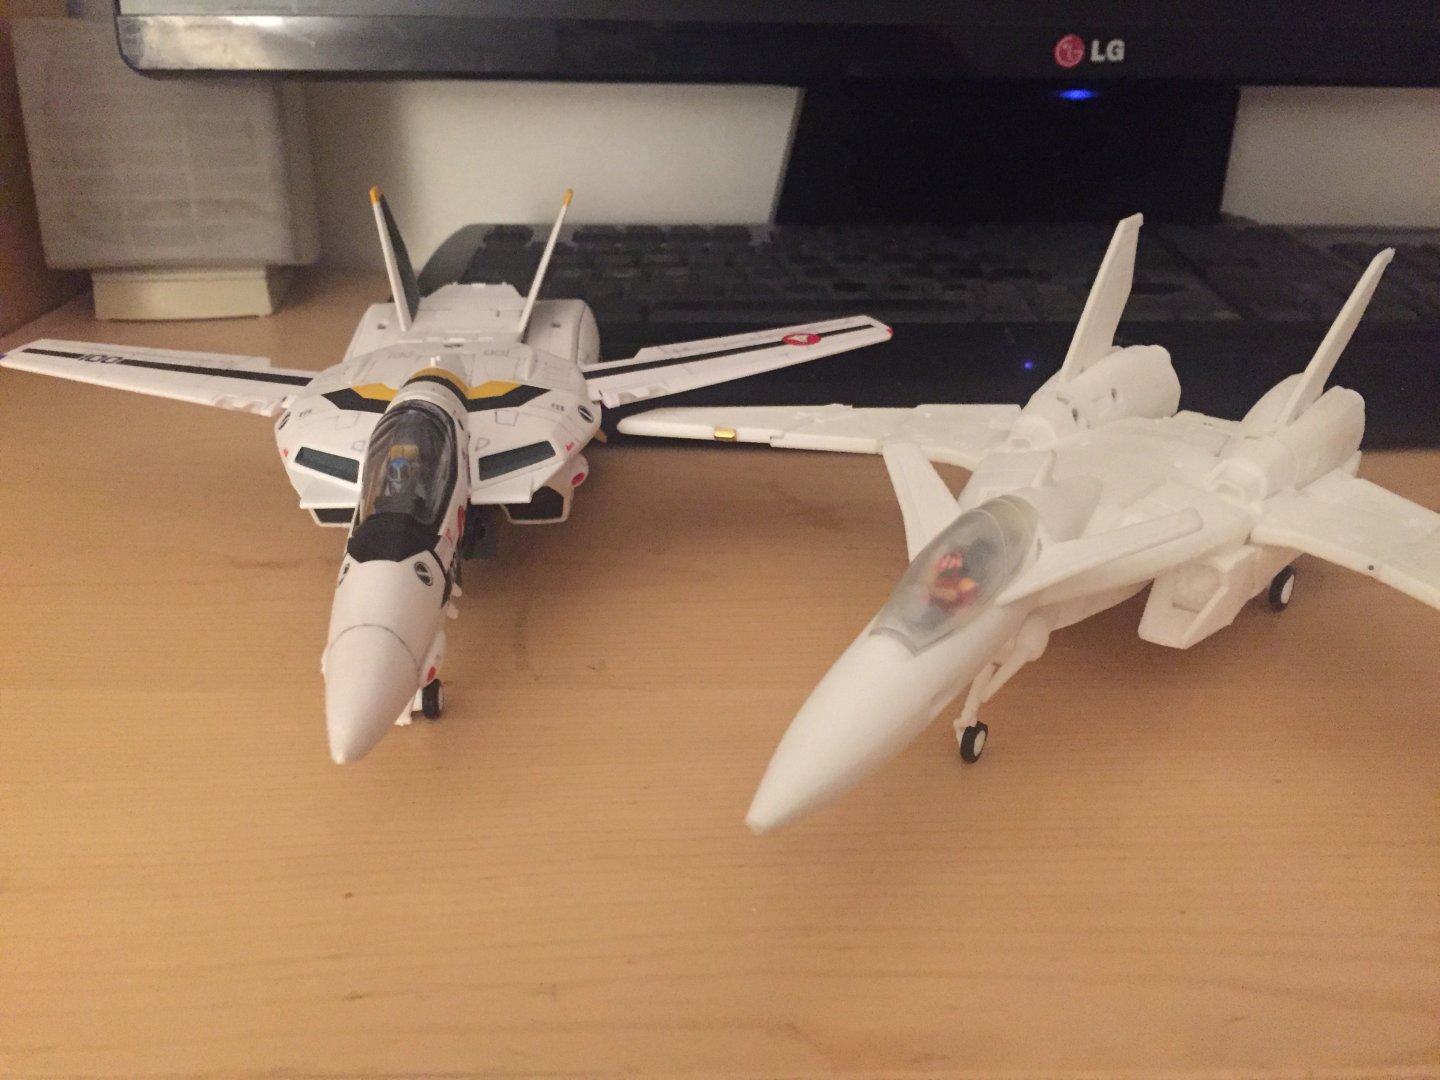
Was Kawamori a Star Wars fan? This VF-9 can transform in the Alliance logo!
-
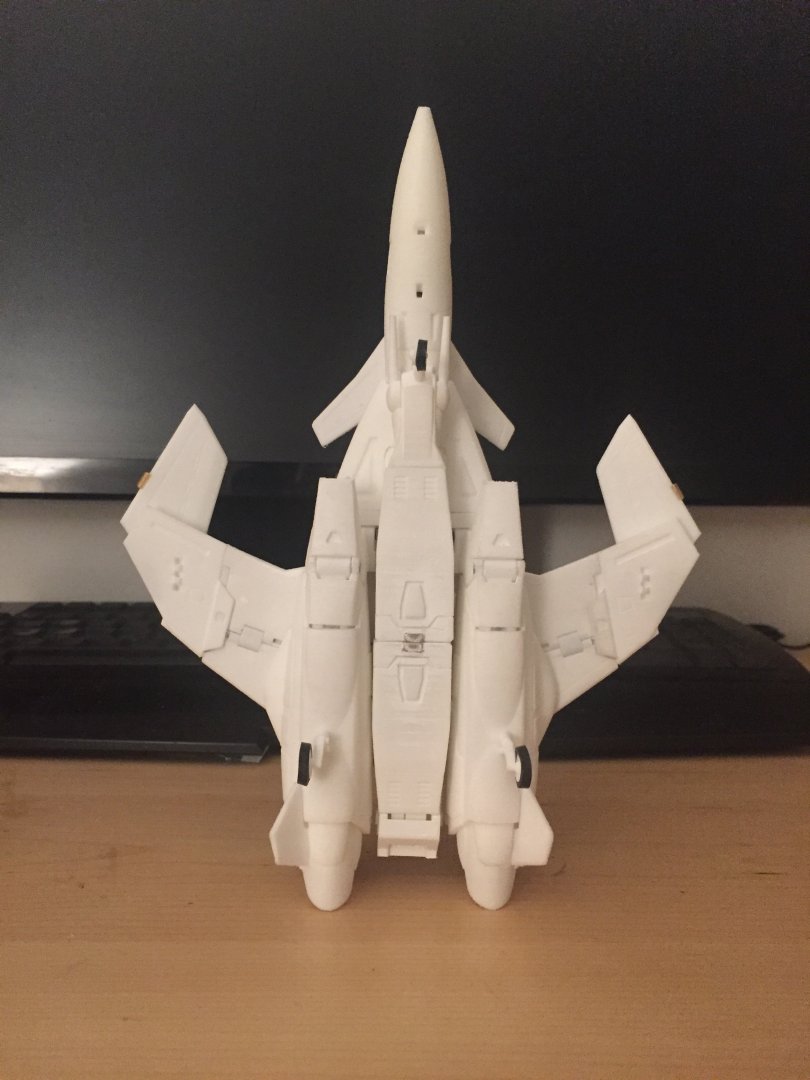
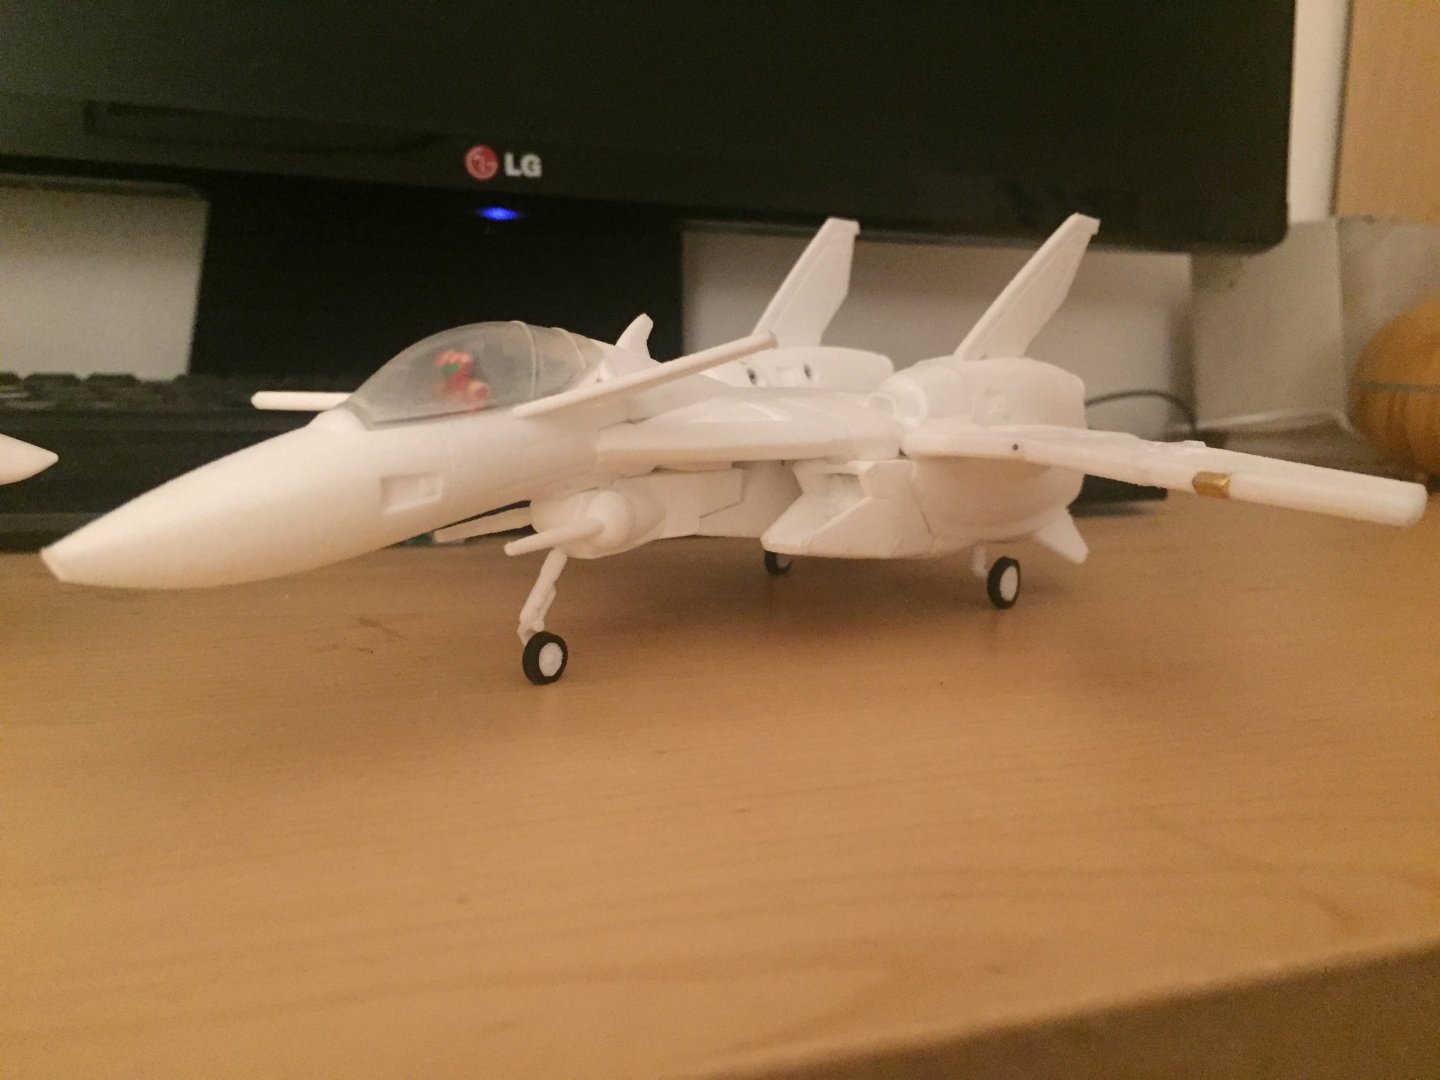
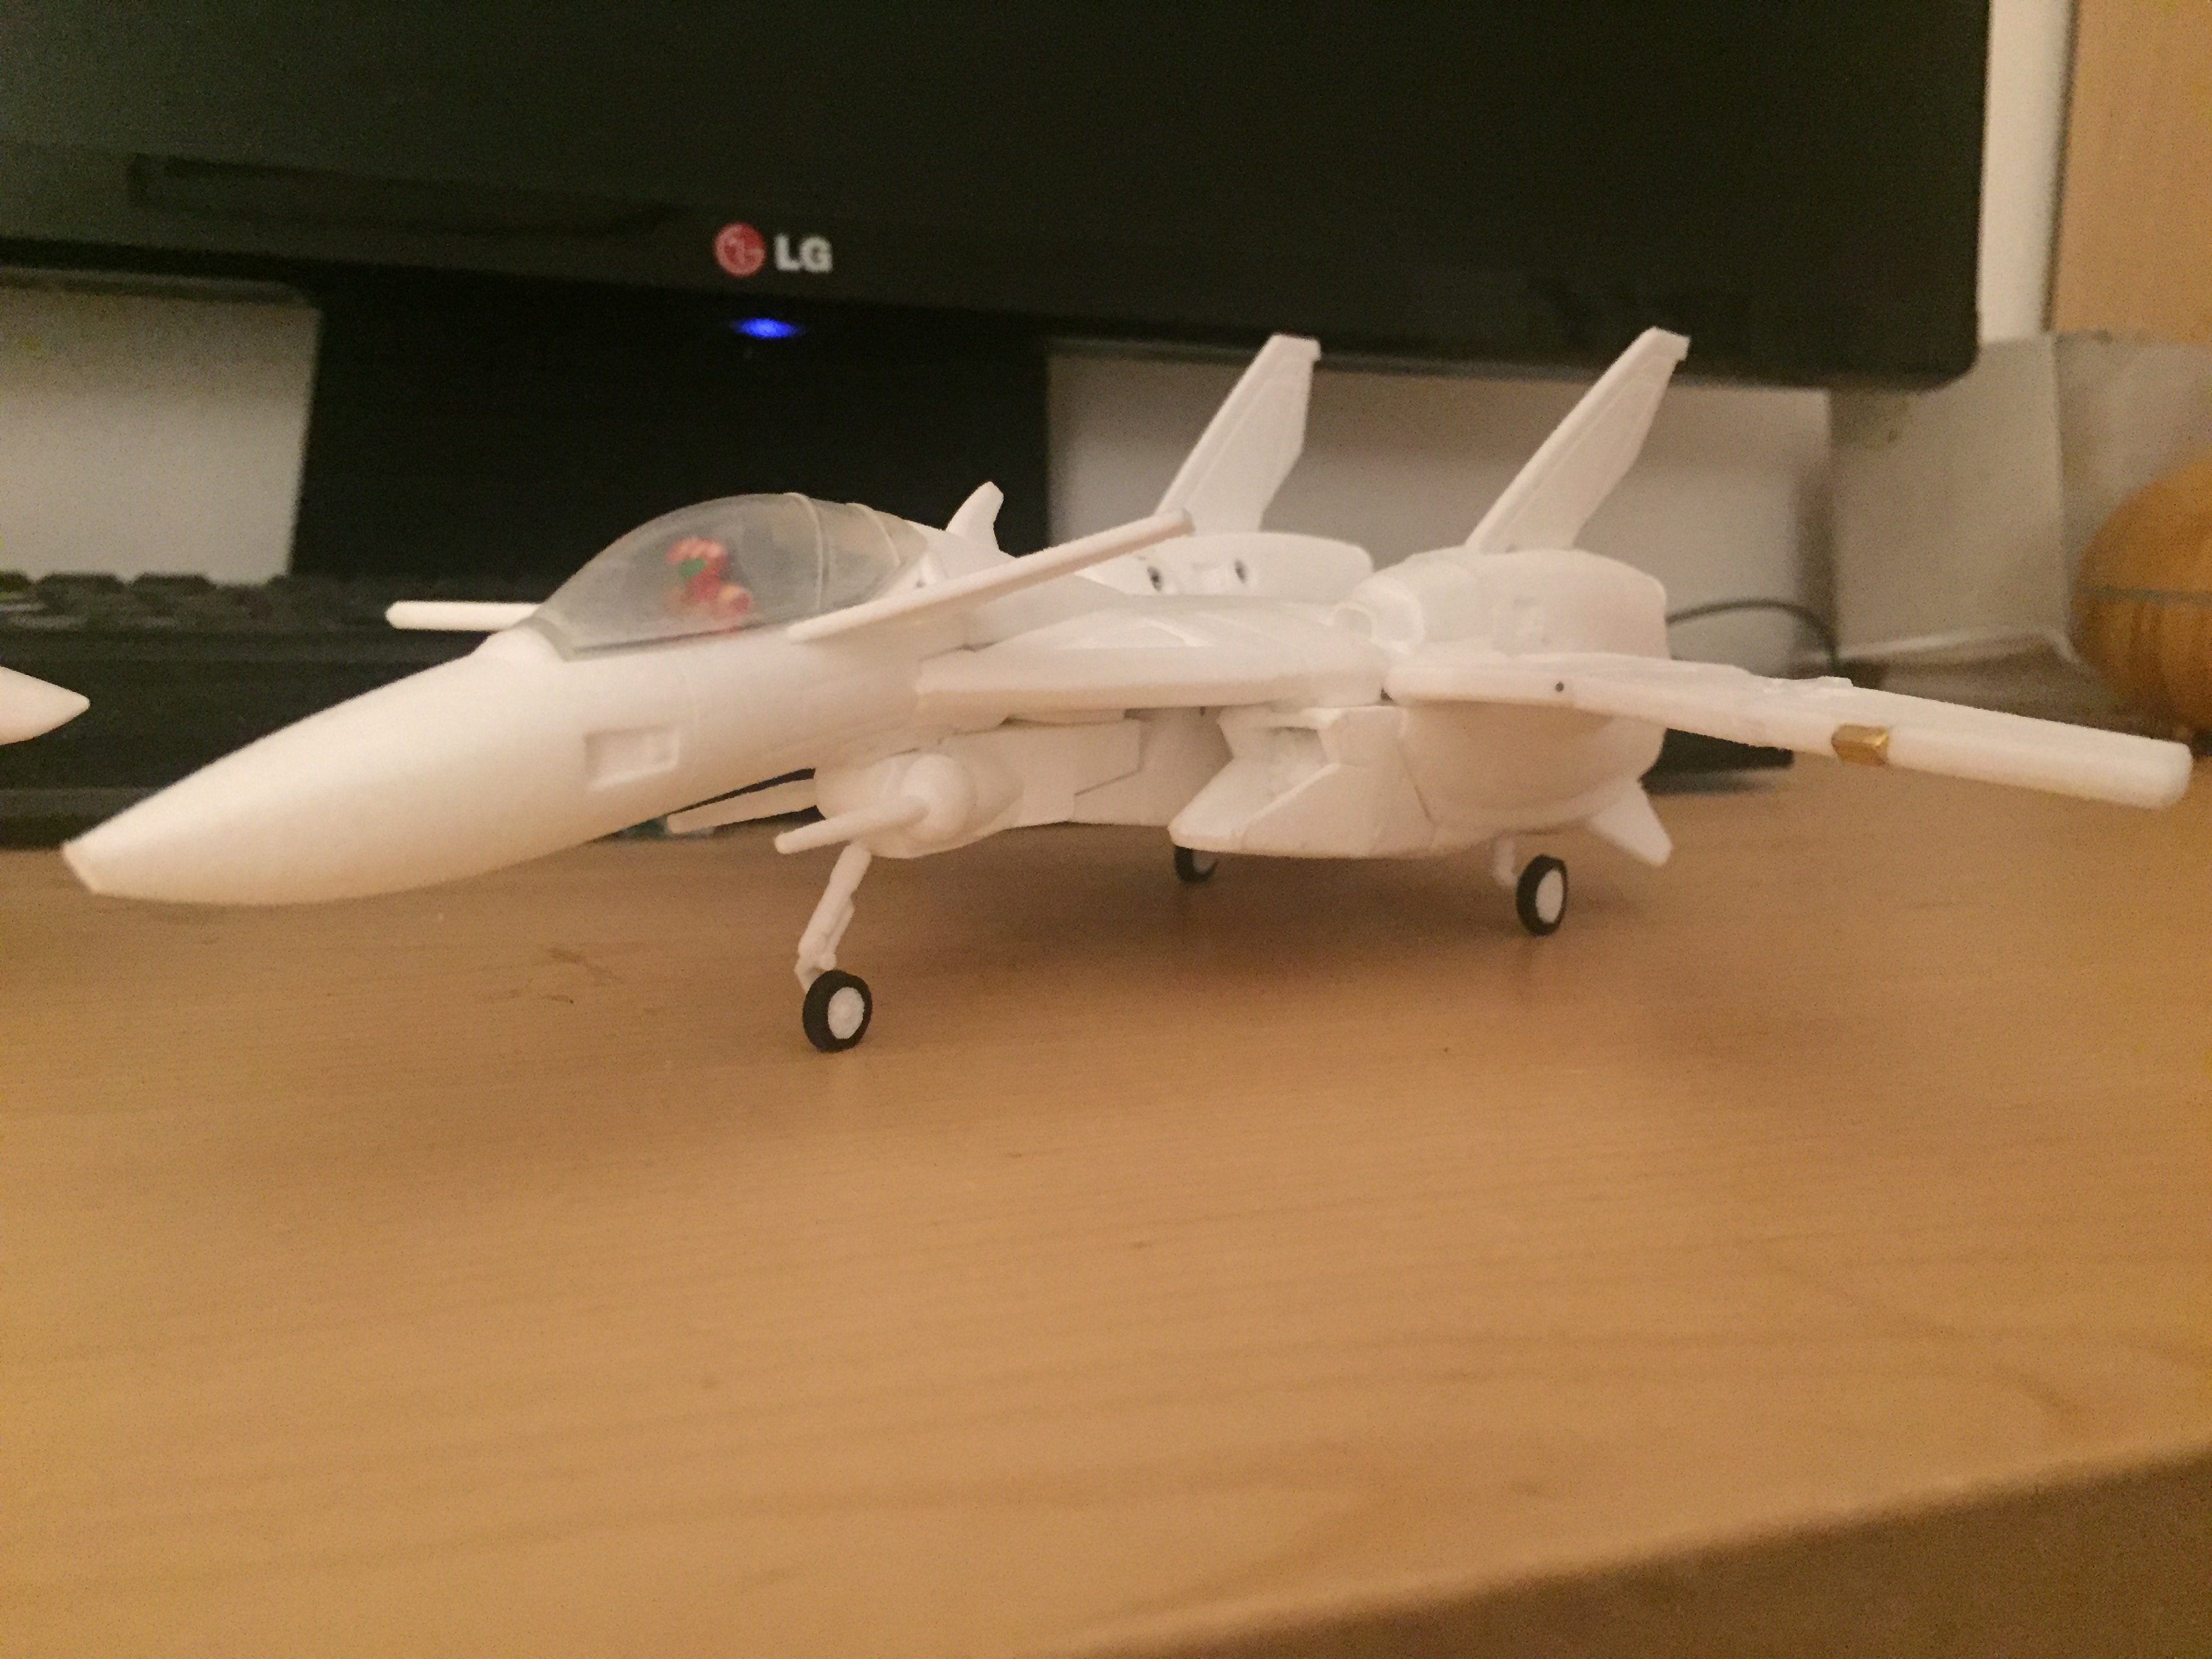
Had more time tonight to check all the tabs and firmly closing the fighter mode.
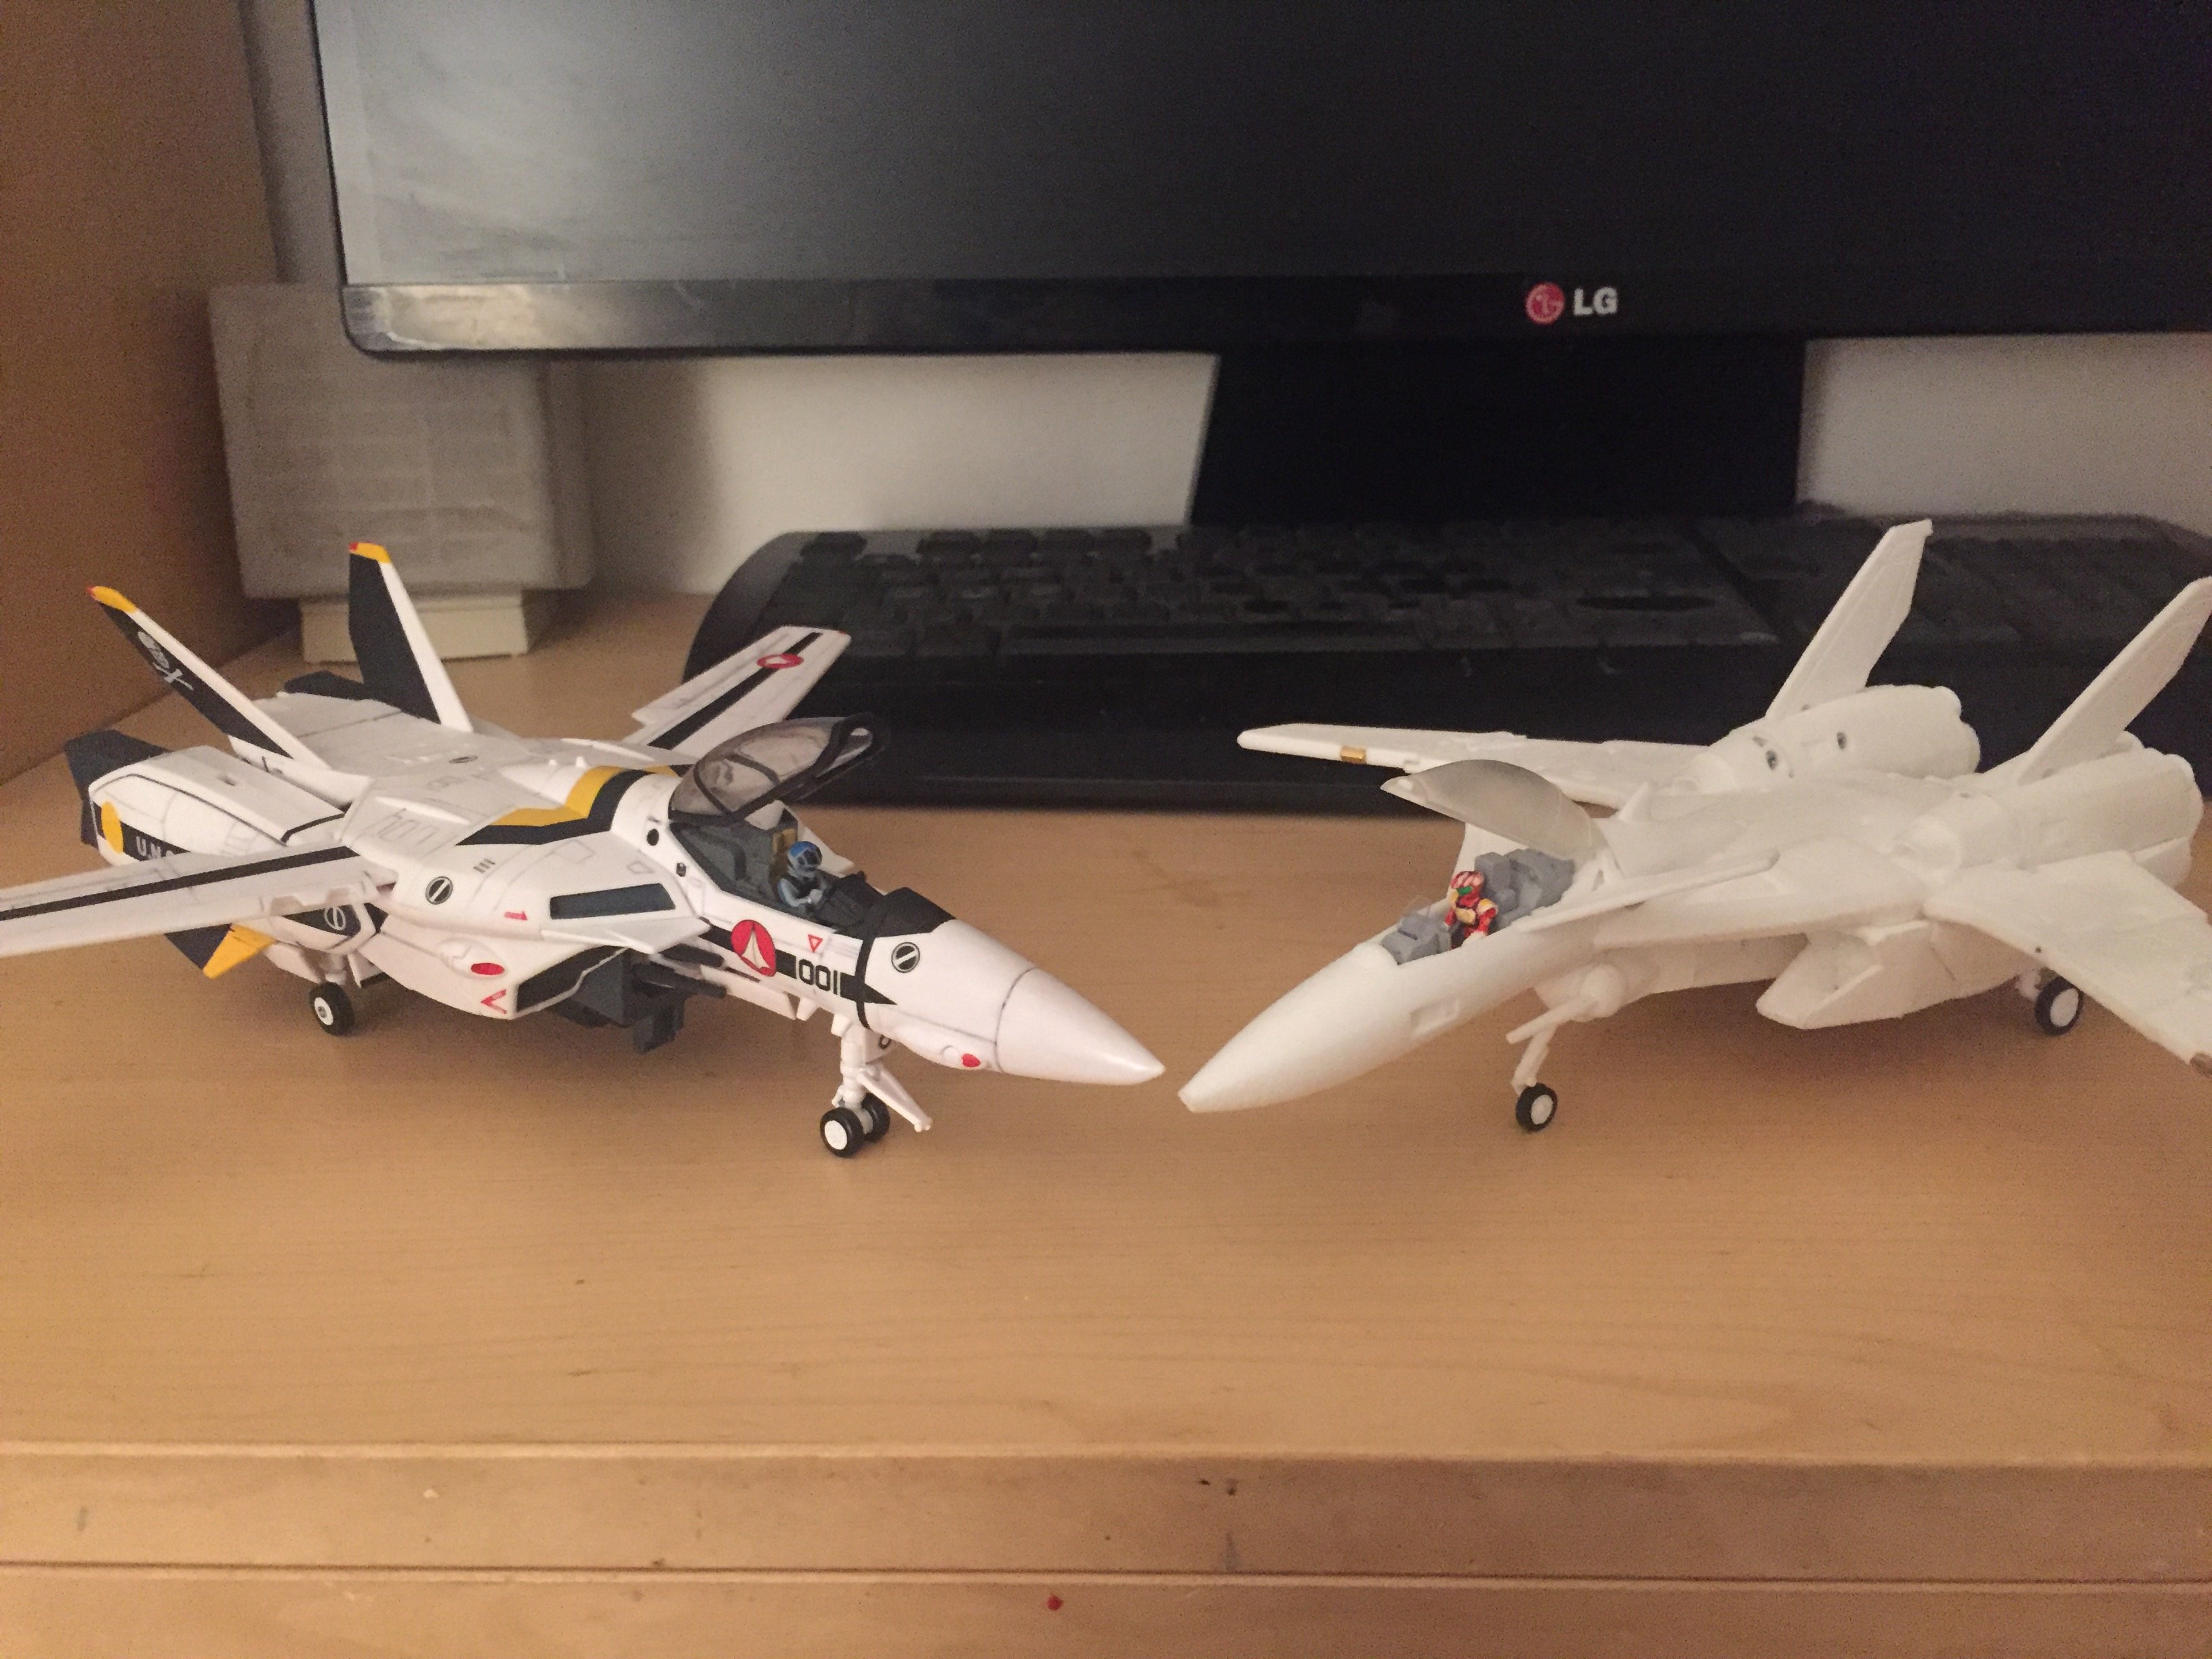
A few comparison pics with Roys VF-1S


-
You executed this custom perfectly, the VF-1X++ is my favorite VF-1 and yours is just awesome !
-
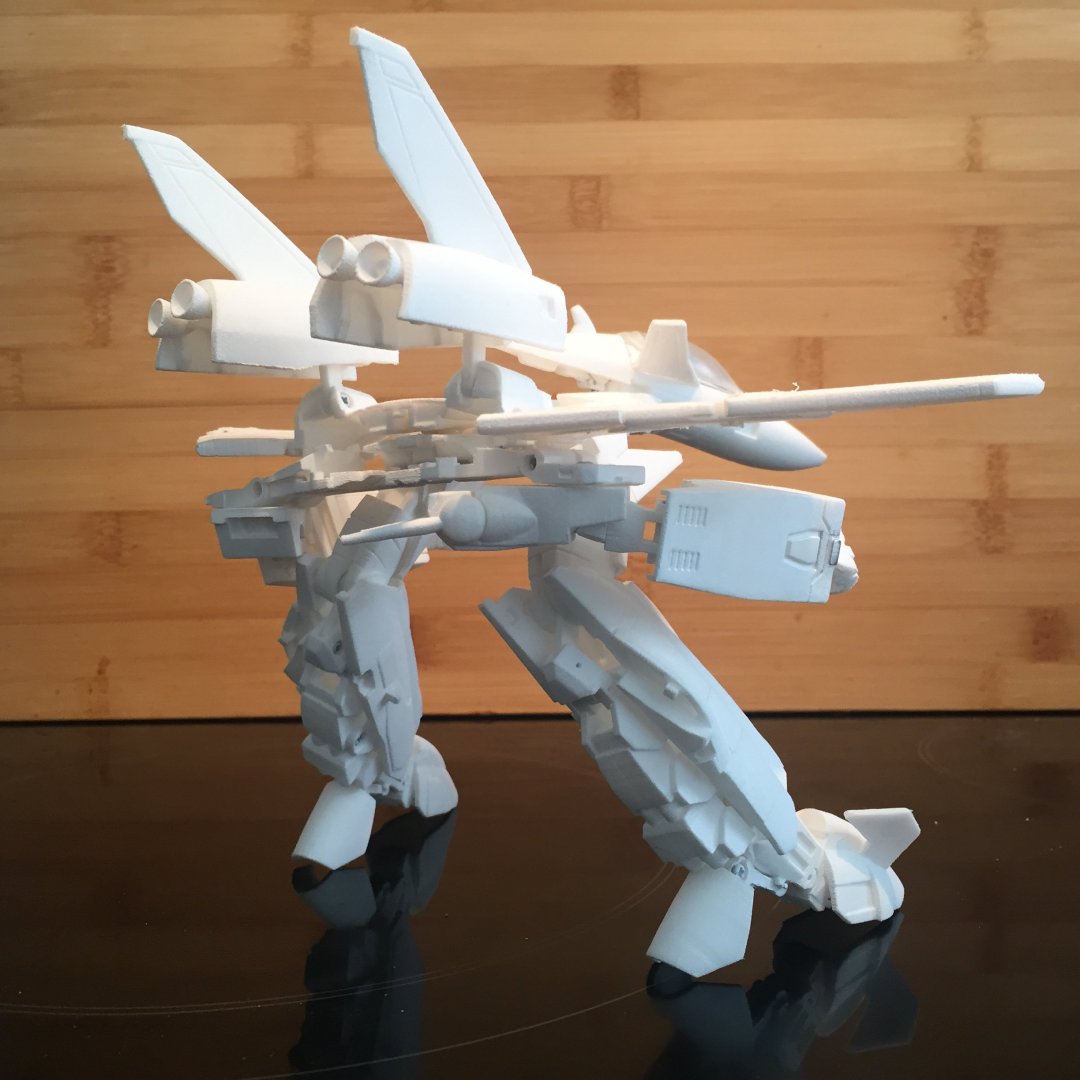
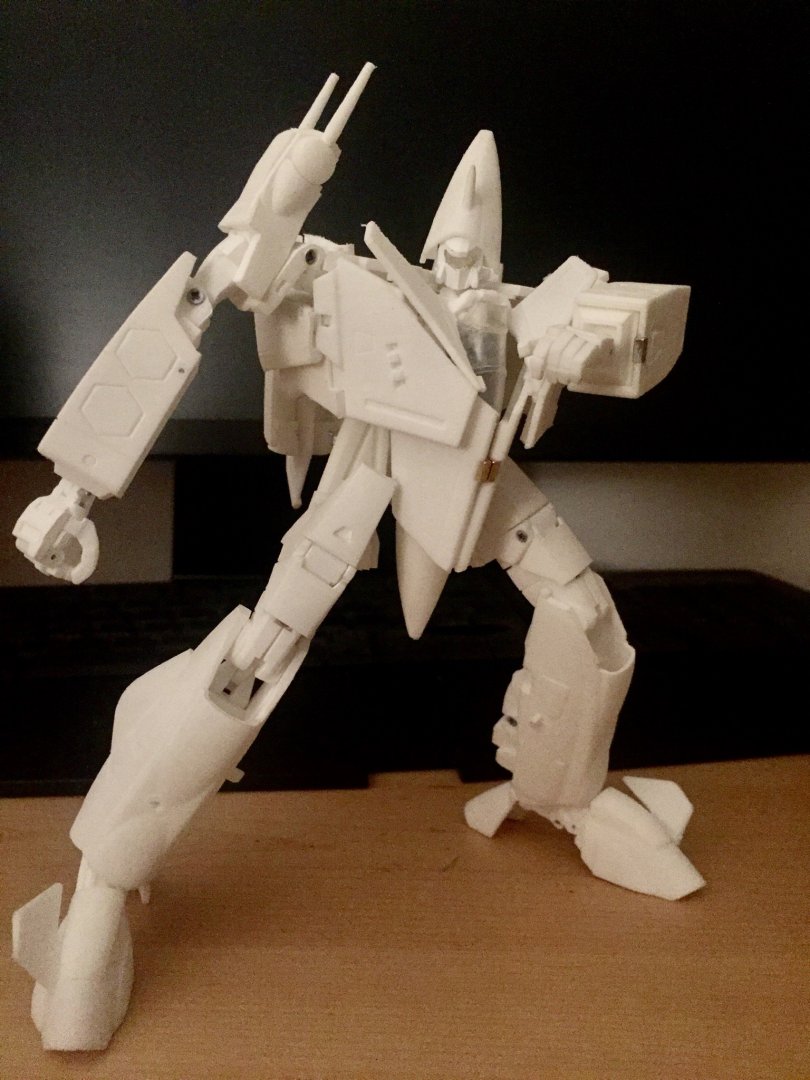
This is a great joy to transform it twice a day and trying to find nicer poses.
-
Since I am at it, here is my absolute short list recommended tools:
-Modeling Sprue cutter: cut the sprues effortlessly in seconds
-Modelcraft knife equipped with a "rounded blade" (like this one) : best blade shape to remove the remaining plastic from sprues in 1 cut, instead of a lot of sanding and buffing
-Pin Vise with 1mm drill bit : just to make sure that the pre-drilled holes for the screws and pins are perfectly clean.
-strong, yet small screwdriver:sometimes I can use tiny places to insert the screws, so the screwdriver shaft should be 3-4mm diameter max (magnetized preferably!)
-flat plier to insert the pins
-6-steps nail buffer : I use this to gently remove the excess of material if some parts don't sit flush -
@DarkArchon3000 I am sure you will not regret the standard plastic. To be honest, the professional plastic is more detailed and will save you 1 sanding/primer pass, so in the end the two accumulated makes the end result sharper.
BUT (always one) Pro plastic printing direction cannot be determined, in general Shapeways use the same print direction as Standard plastic when specified, but if for any weird reason Shapeways choose the wrong direction you may have very bad print lines compared to the standard plastic with optimum print direction. Sorry if I am too technical.@arbit I wouldn't call me pro until I can earn a decent living from it ;p I still have hopes tough !
Last time I ordered the screws and pins from the same guy regan0331
PINS: M1 length from 4mm up to 12mm and M1.5x20 (http://www.ebay.com/itm/M1-M1-5-M2-Bearing-steel-Parallel-Pins-Dowel-Pin-Cylindrical-Positioning-pin/172272460618?)
SCREWS: always choose "steel", any other material for the screws would end with broken screws bits in the plastic which are a pain to remove.
Flat head : M1.7 x 6mm, M1.7 x 8mm and M1.7 x 10mm (https://www.ebay.com/itm/M1-M1-2-M1-4-M1-5-M1-7-304-Stainless-steel-Cross-Countersunk-Flat-Tapping-Screws/182023547921?)
Round head : M1.7 x 6mm, M1.7 x 8mm and M1.7 x 10mm (https://www.ebay.com/itm/M1-6-M1-7-M2-Stainless-Steel-304-Phillips-Cross-Pan-Round-Head-Tapping-Screws/172205389532?)I am not sure if I used the round head 8mm or 10mm, in the doubt you should buy all of them considering the price.
-
Thanks all fo the support
Additional info for the US residents, you can also order from EXO (aka Plastic Cretins on Facebook) in clear resin the VF-9 Clear Canopy for 5$, the male pilot 2$, the female pilot 2$ and the battroid head 2$. He also makes a lot of 3D models of his own, that I highly recommend.


MΔ - VF-9
in The Workshop!
Posted · Edited by Xigfrid
That's looking promising Jasonc, I am also curious to see how it will look like once casted. Here is how my Shapeways canopy looks like, and I am receiving soon a 3D printed copy in clear resin that will be much easier to work with.
@Raptor One I wasn’t a fan of the VF-9’s Gerwalk but now that I have transformed it a few times, I surprisedly dig the gerwalk look. -except for the official awkward heel position, I prefer to the the heel in the standard feet position-