tekering
-
Posts
4294 -
Joined
-
Last visited
Content Type
Profiles
Forums
Events
Gallery
Everything posted by tekering
-

Consolidated Megazone 23 Toy/Model Thread for 2017-2018
tekering replied to RavenHawk's topic in Anime or Science Fiction
The absence of any Bubblegum Crisis motoslave or Mospeada ride armor in that display is utterly deplorable.- 822 replies
-
- 1
-

-
- megazone-23
- toys
- (and 2 more)
-
The Transformers Thread (licensed) Next
tekering replied to mikeszekely's topic in Anime or Science Fiction
Okay, I'll admit I have less than no interest in the Bayverse Constructicons, but your review piqued my curiosity... ...and I'm shocked to learn that those massive tires -- Scavenger/Demolisher's defining feature -- having nothing to do with their alt. mode? What initially struck me as a lazy, half-assed robot mode design is now virtually incomprehensible. -
The Unlicensed Third Party Transformers Thread
tekering replied to slaginpit's topic in Anime or Science Fiction
- 9558 replies
-
- 1
-
-
- fans toys
- mastermind creations
- (and 19 more)
-
Kids Logic Robotech MiniTech (Miniature Technique) Line
tekering replied to no3Ljm's topic in Anime or Science Fiction
At the extremely awkward 1:285 scale, what else could you possibly use them for? -
Sadly, the transformable toy is quite profoundly lame. The upcoming Revoltech figure has much better proportions, but doesn't transform.
-
For the same reason the gerwalk was, of course. 'Cause it's Robotech!
-
The Transformers Thread (licensed) Next
tekering replied to mikeszekely's topic in Anime or Science Fiction
MP-47 certainly won't supersede "Willis" on my Masterpiece shelf, but I'd happily display it in vehicle mode alongside FansToys' figure in robot mode. -
STAR WARS Merchandise Episode - 2
tekering replied to Black Valkyrie's topic in Anime or Science Fiction
Apparently, some people still prefer Kenner's vintage line to modern Hasbro figures... ...although I really can't imagine why. -
They expect to release three new figures in the next six months? I'll believe it when I see it.
-
Another failure for MEP, then. Maybe next time. They have the resources, they just need a better design team.
-
Especially considering there are only three countries in the world that don't use the metric system: Myanmar, Liberia, and... I keep forgetting the other one. The media tends to focus on the extremes, and present those extremes with such regularity as to normalize them. Allow me to correct some common misconceptions: Japanese people are not well-educated. They spend a lot of time in school, but the system of education is fundamentally broken. Technologically-speaking, they lag behind the rest of the developed world, and still rely heavily on the postal system, fax machines, and rubber stamps for approval. Anime is virtually unknown, unless it has been broadcast on network television for over a decade (or was animated by Studio Ghibli). Kaiju actually cause much less damage than Toho movies have suggested.
-
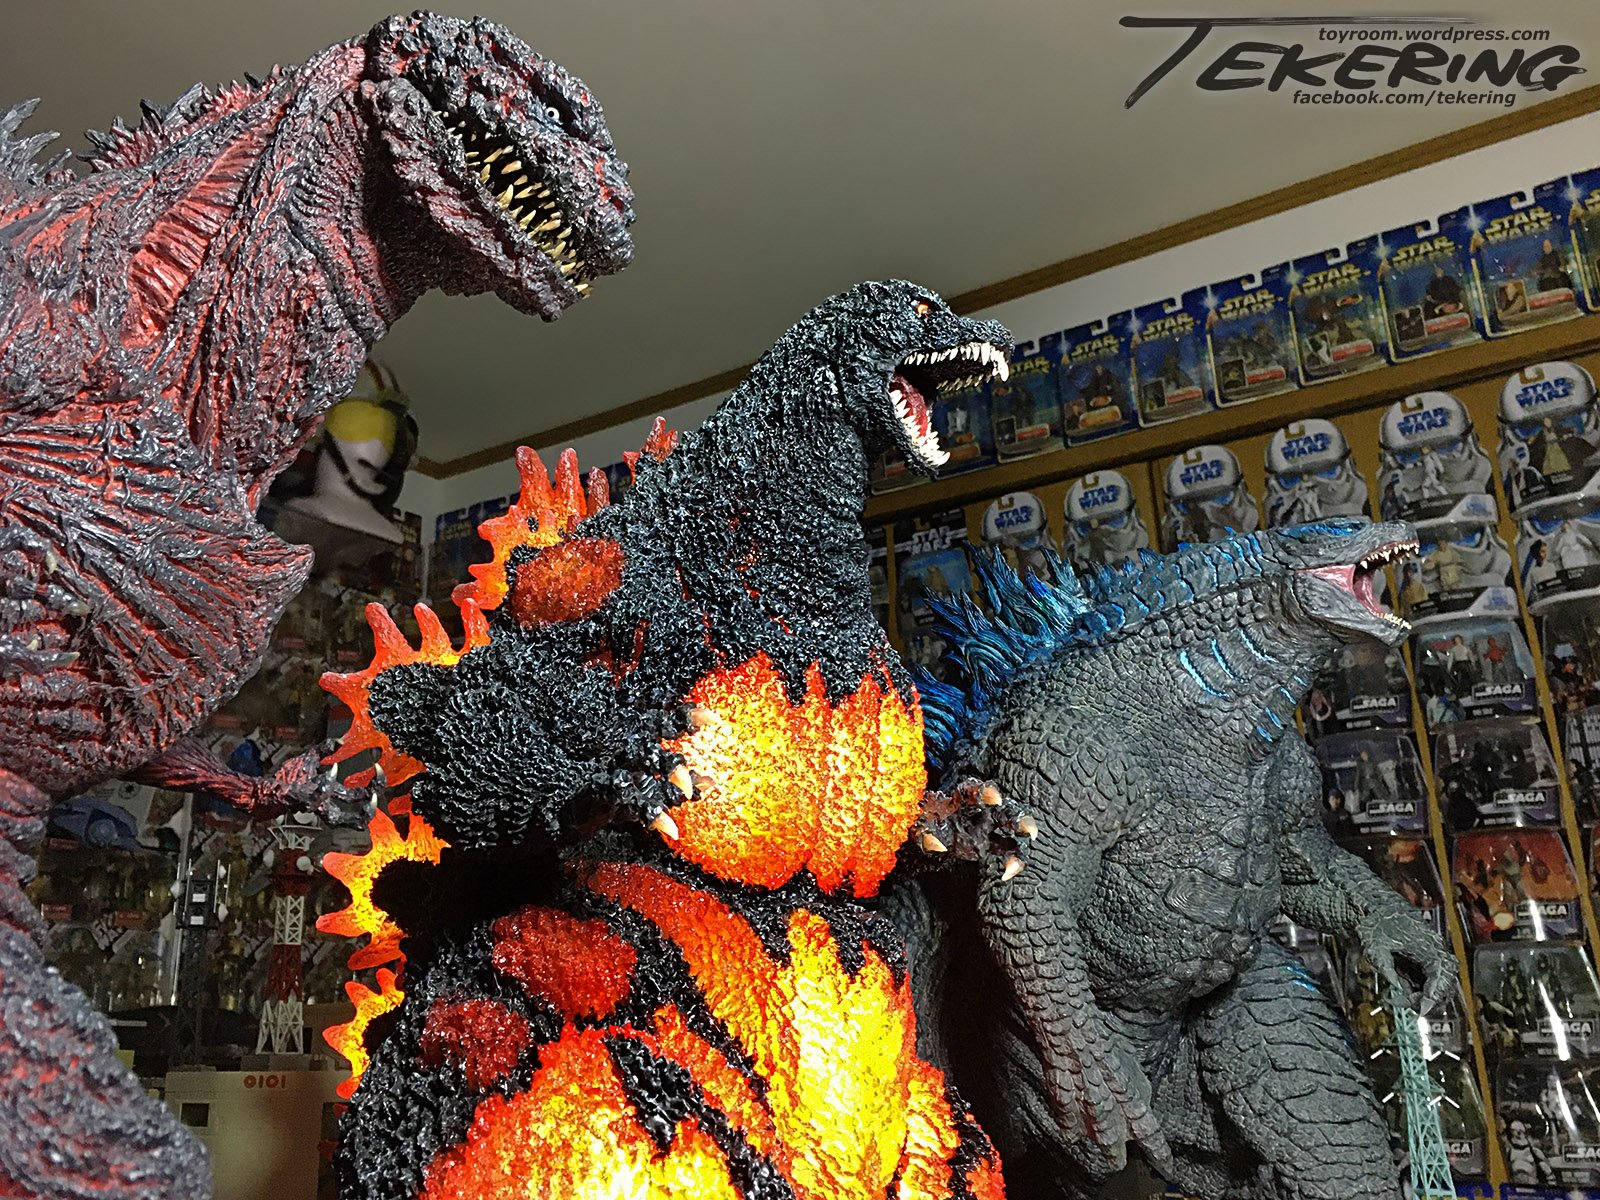
Yes! I finally managed to secure a pre-order for the Spiral Studios KOTM King Ghidorah. Now I need to buy a bigger house to display it in.
-
Bolt’s Blt comp entry#1 Neo Grade VF1 Armored Valkyrie
tekering replied to Bolt's topic in The Workshop!
I think you'll find Amazon.jp can be very much like eBay, in that third-party sellers can and will charge whatever outrageous prices they want to.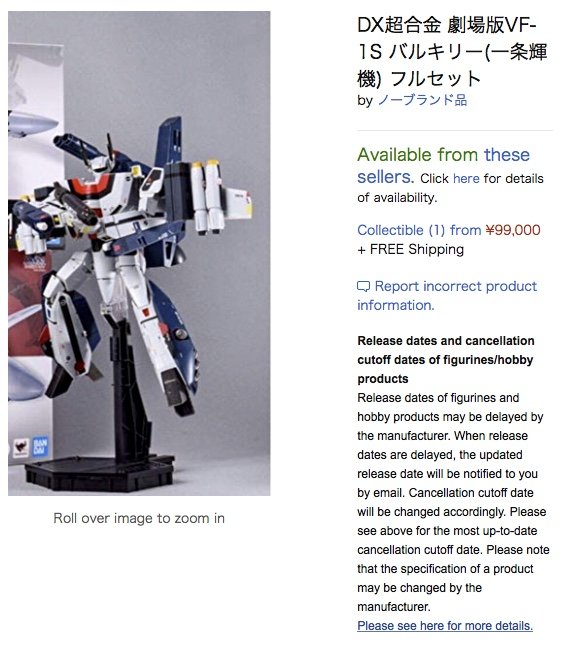
-
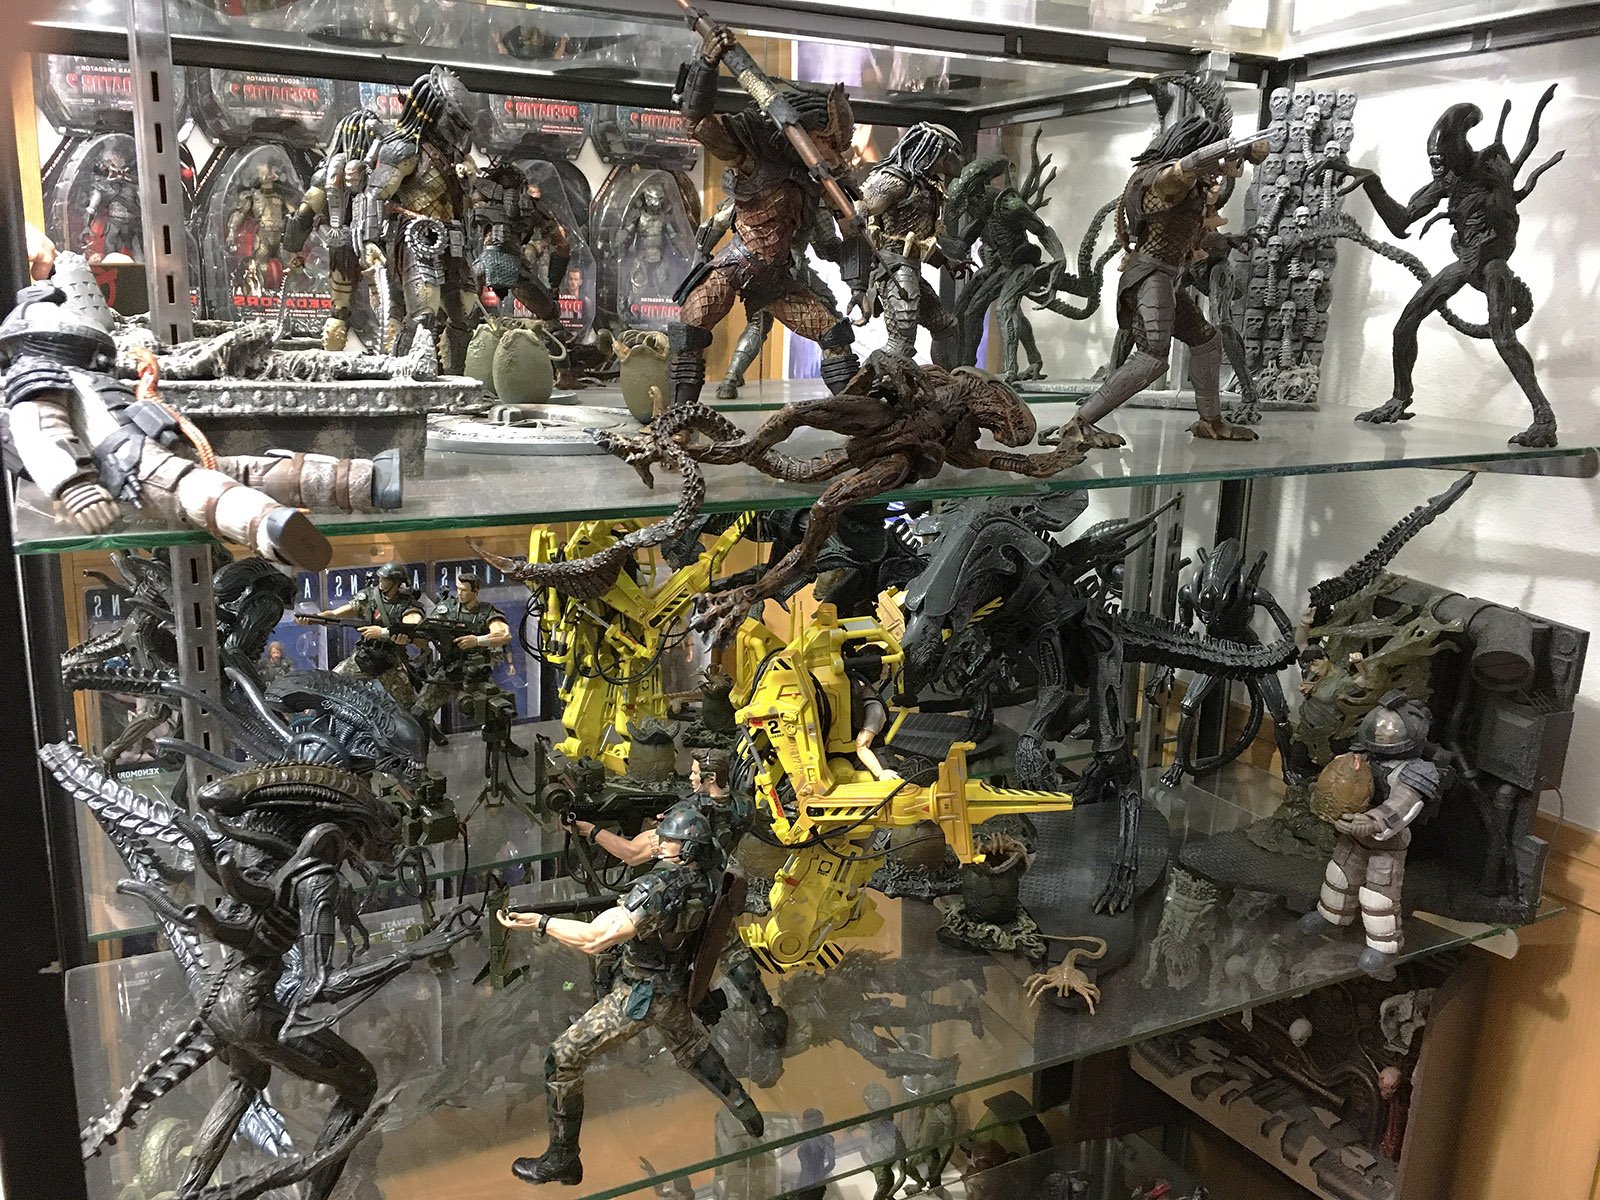
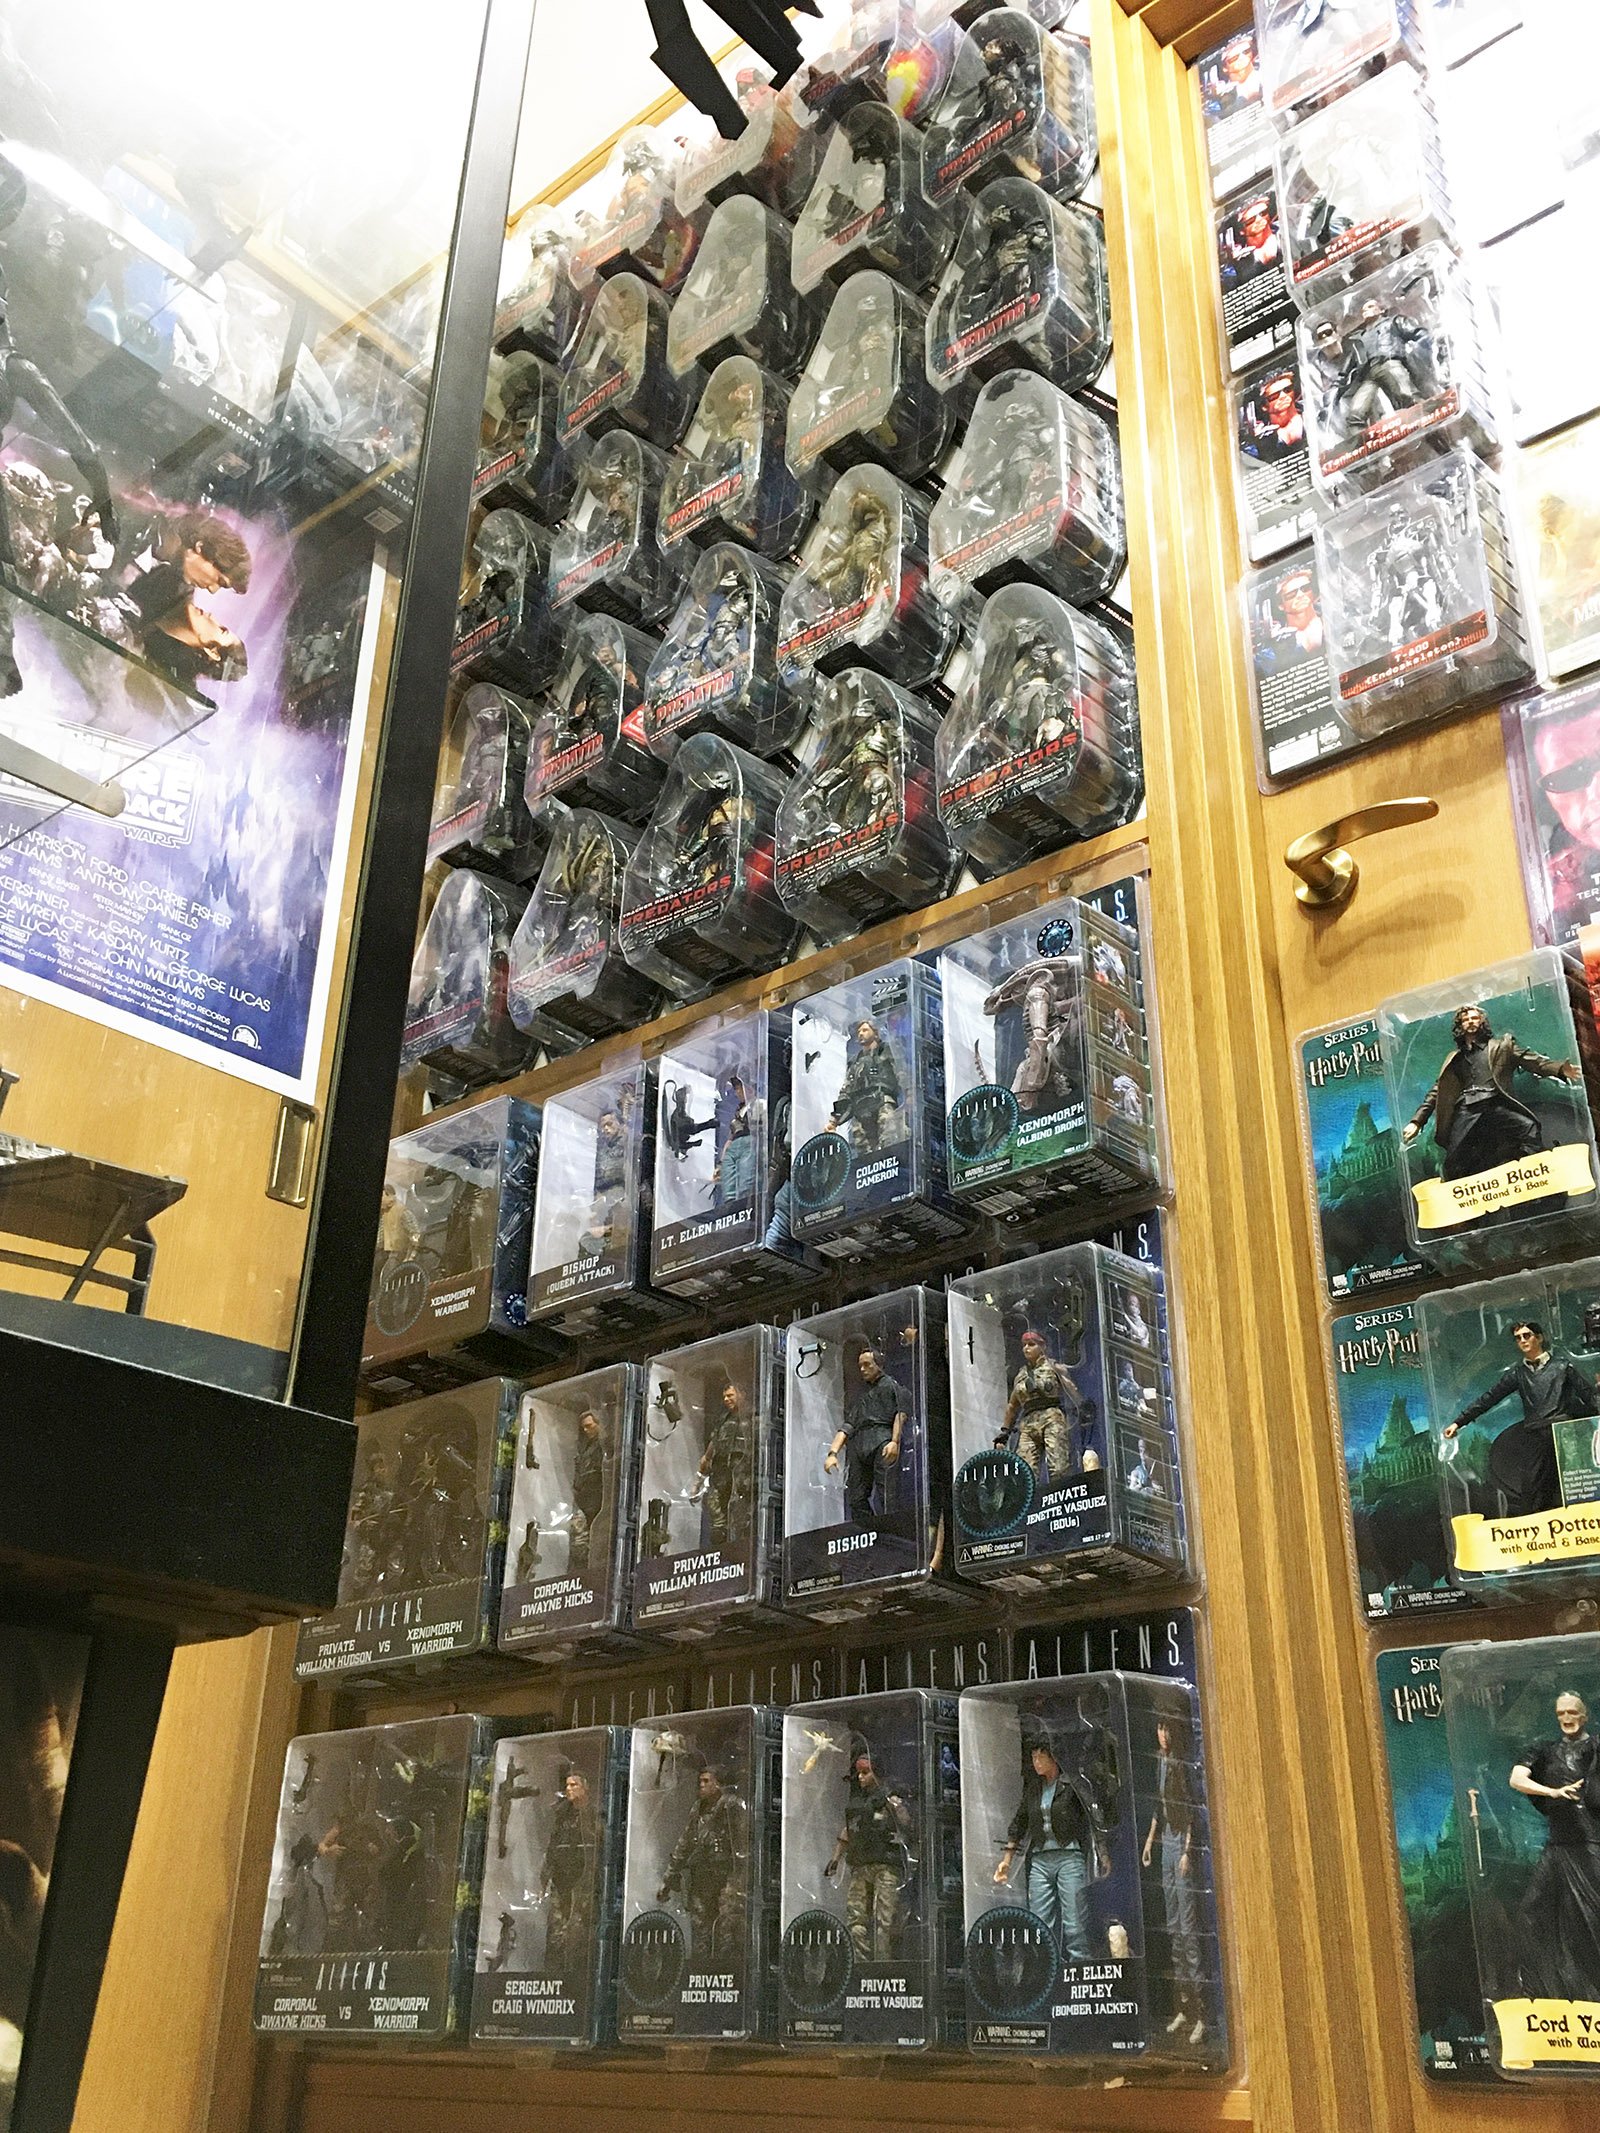
The Alien/Predator/Aliens vs. Predator Thread
tekering replied to VT 1010's topic in Anime or Science Fiction
Will this be another Kenner homage figure, then? -
The Unlicensed Third Party Transformers Thread
tekering replied to slaginpit's topic in Anime or Science Fiction
In that case, your top three options are all third-party, and all will cost less than half what TakaraTomy's latest Masterpiece goes for: Magic Square MS-01, "Light of Freedom" Transform Element TE-01, "OP Leader" the v.2 MP-10 knock-off Like Mike, I have a slight preference for Magic Square's Prime... but honestly, they're all great figures, and I'd rather have two different versions than buy two of the same figure. -
The Alien/Predator/Aliens vs. Predator Thread
tekering replied to VT 1010's topic in Anime or Science Fiction
Yes, you do. You certainly do. Yeah, I tend to keep my NECA stuff packaged... but McFarlane, Aoshima et.al. usually get opened for display.


-
I've never seen pre-orders go on sale.
-
Wow, that's an incredible figure. Looks just like the source material. I think the source material looks ridiculous and stupid, but the figure does a fantastic job of capturing the look!
-
The Unlicensed Third Party Transformers Thread
tekering replied to slaginpit's topic in Anime or Science Fiction
Didn't know about the trailer. Makes it a lot harder to pass up "Archenemy" now. Thanks, as always, for the stellar review.- 9558 replies
-
- 1
-
-
- fans toys
- mastermind creations
- (and 19 more)
-
Urotsukidōji actually predated AKIRA by over a year... and being a "hentai" title, was produced, distributed, and marketed in a significantly different manner than the mainstream theatrical distribution AKIRA enjoyed. It's difficult to compare the two.
-
Your most recent Macross or toy purchase! General thread.
tekering replied to Gakken85's topic in Hall Of The Super Topics
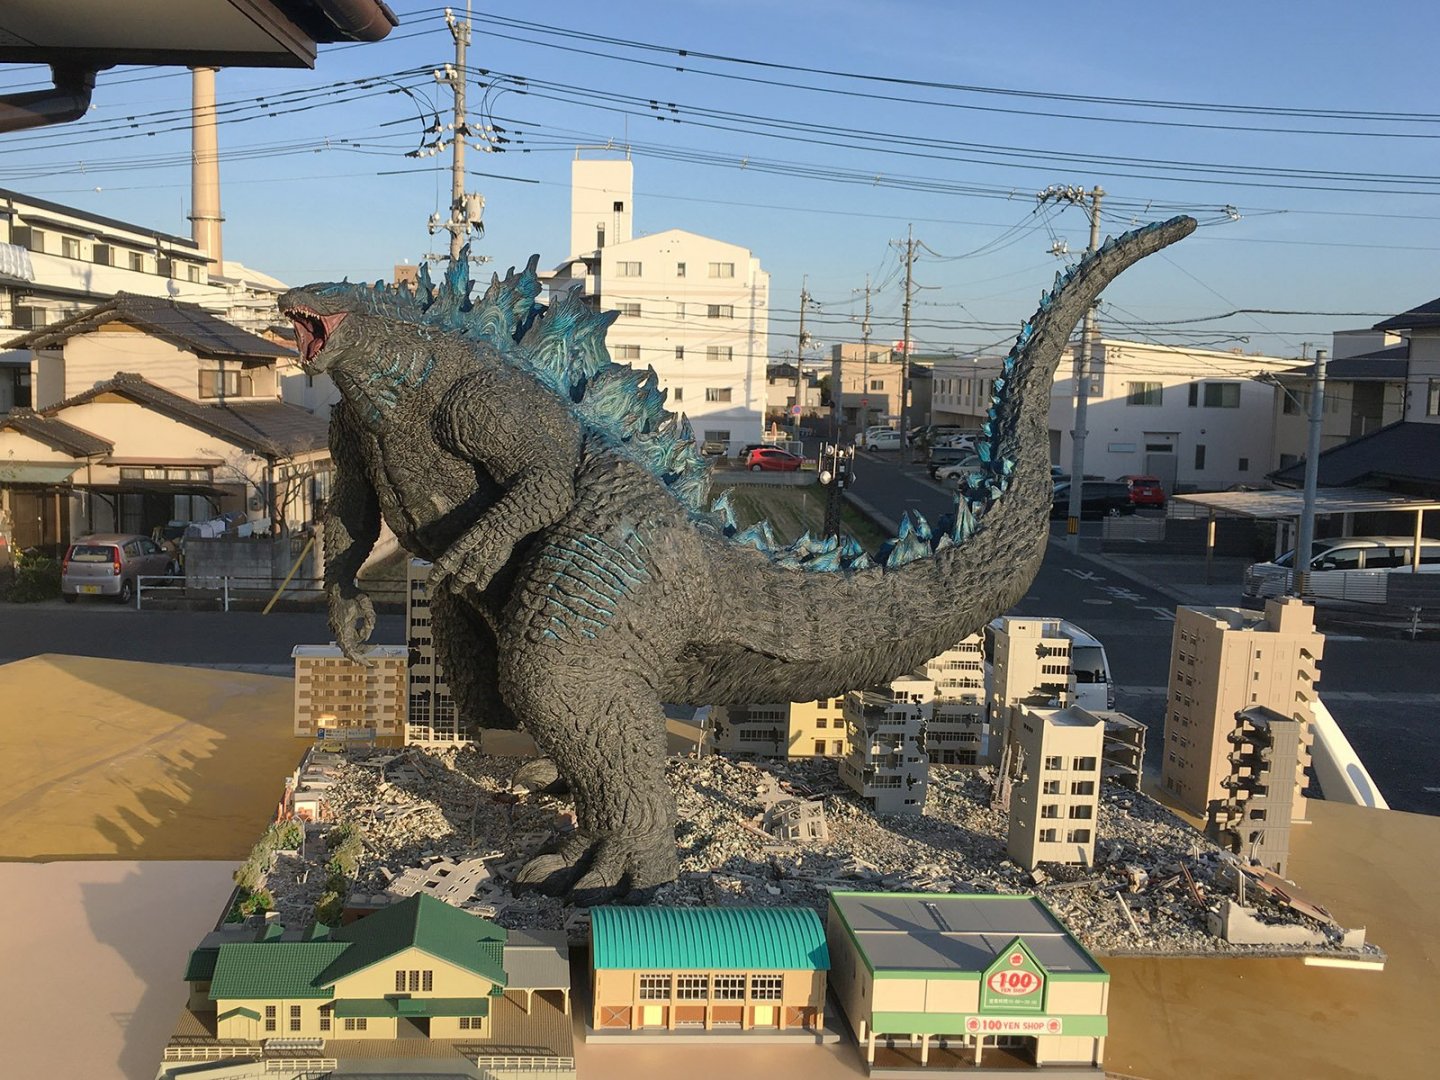
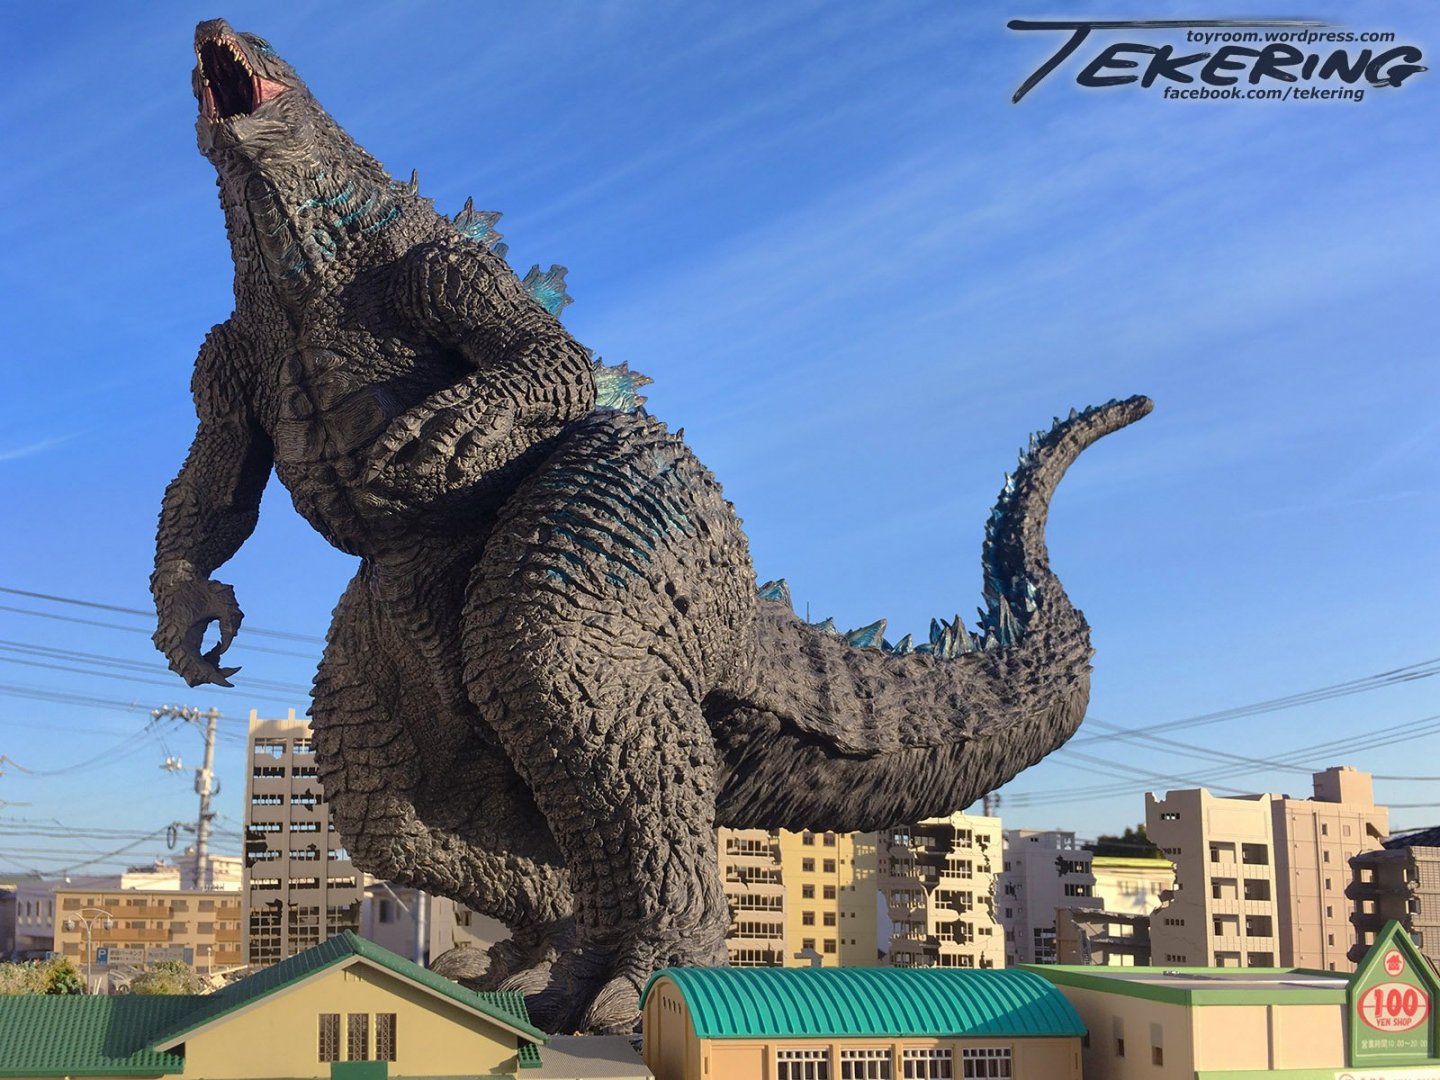
So, how do you like your Godzilla? Hero, or villain? Japanese, or American? Classic guy-in-a-suit, or modern CGI?
-
The Mandalorian - Star Wars webseries from Jon Favreau
tekering replied to SMS007's topic in Anime or Science Fiction
"This is not The Way."- 1438 replies
-
- 1
-
-
- star wars
- the mandalorian
- (and 10 more)
-
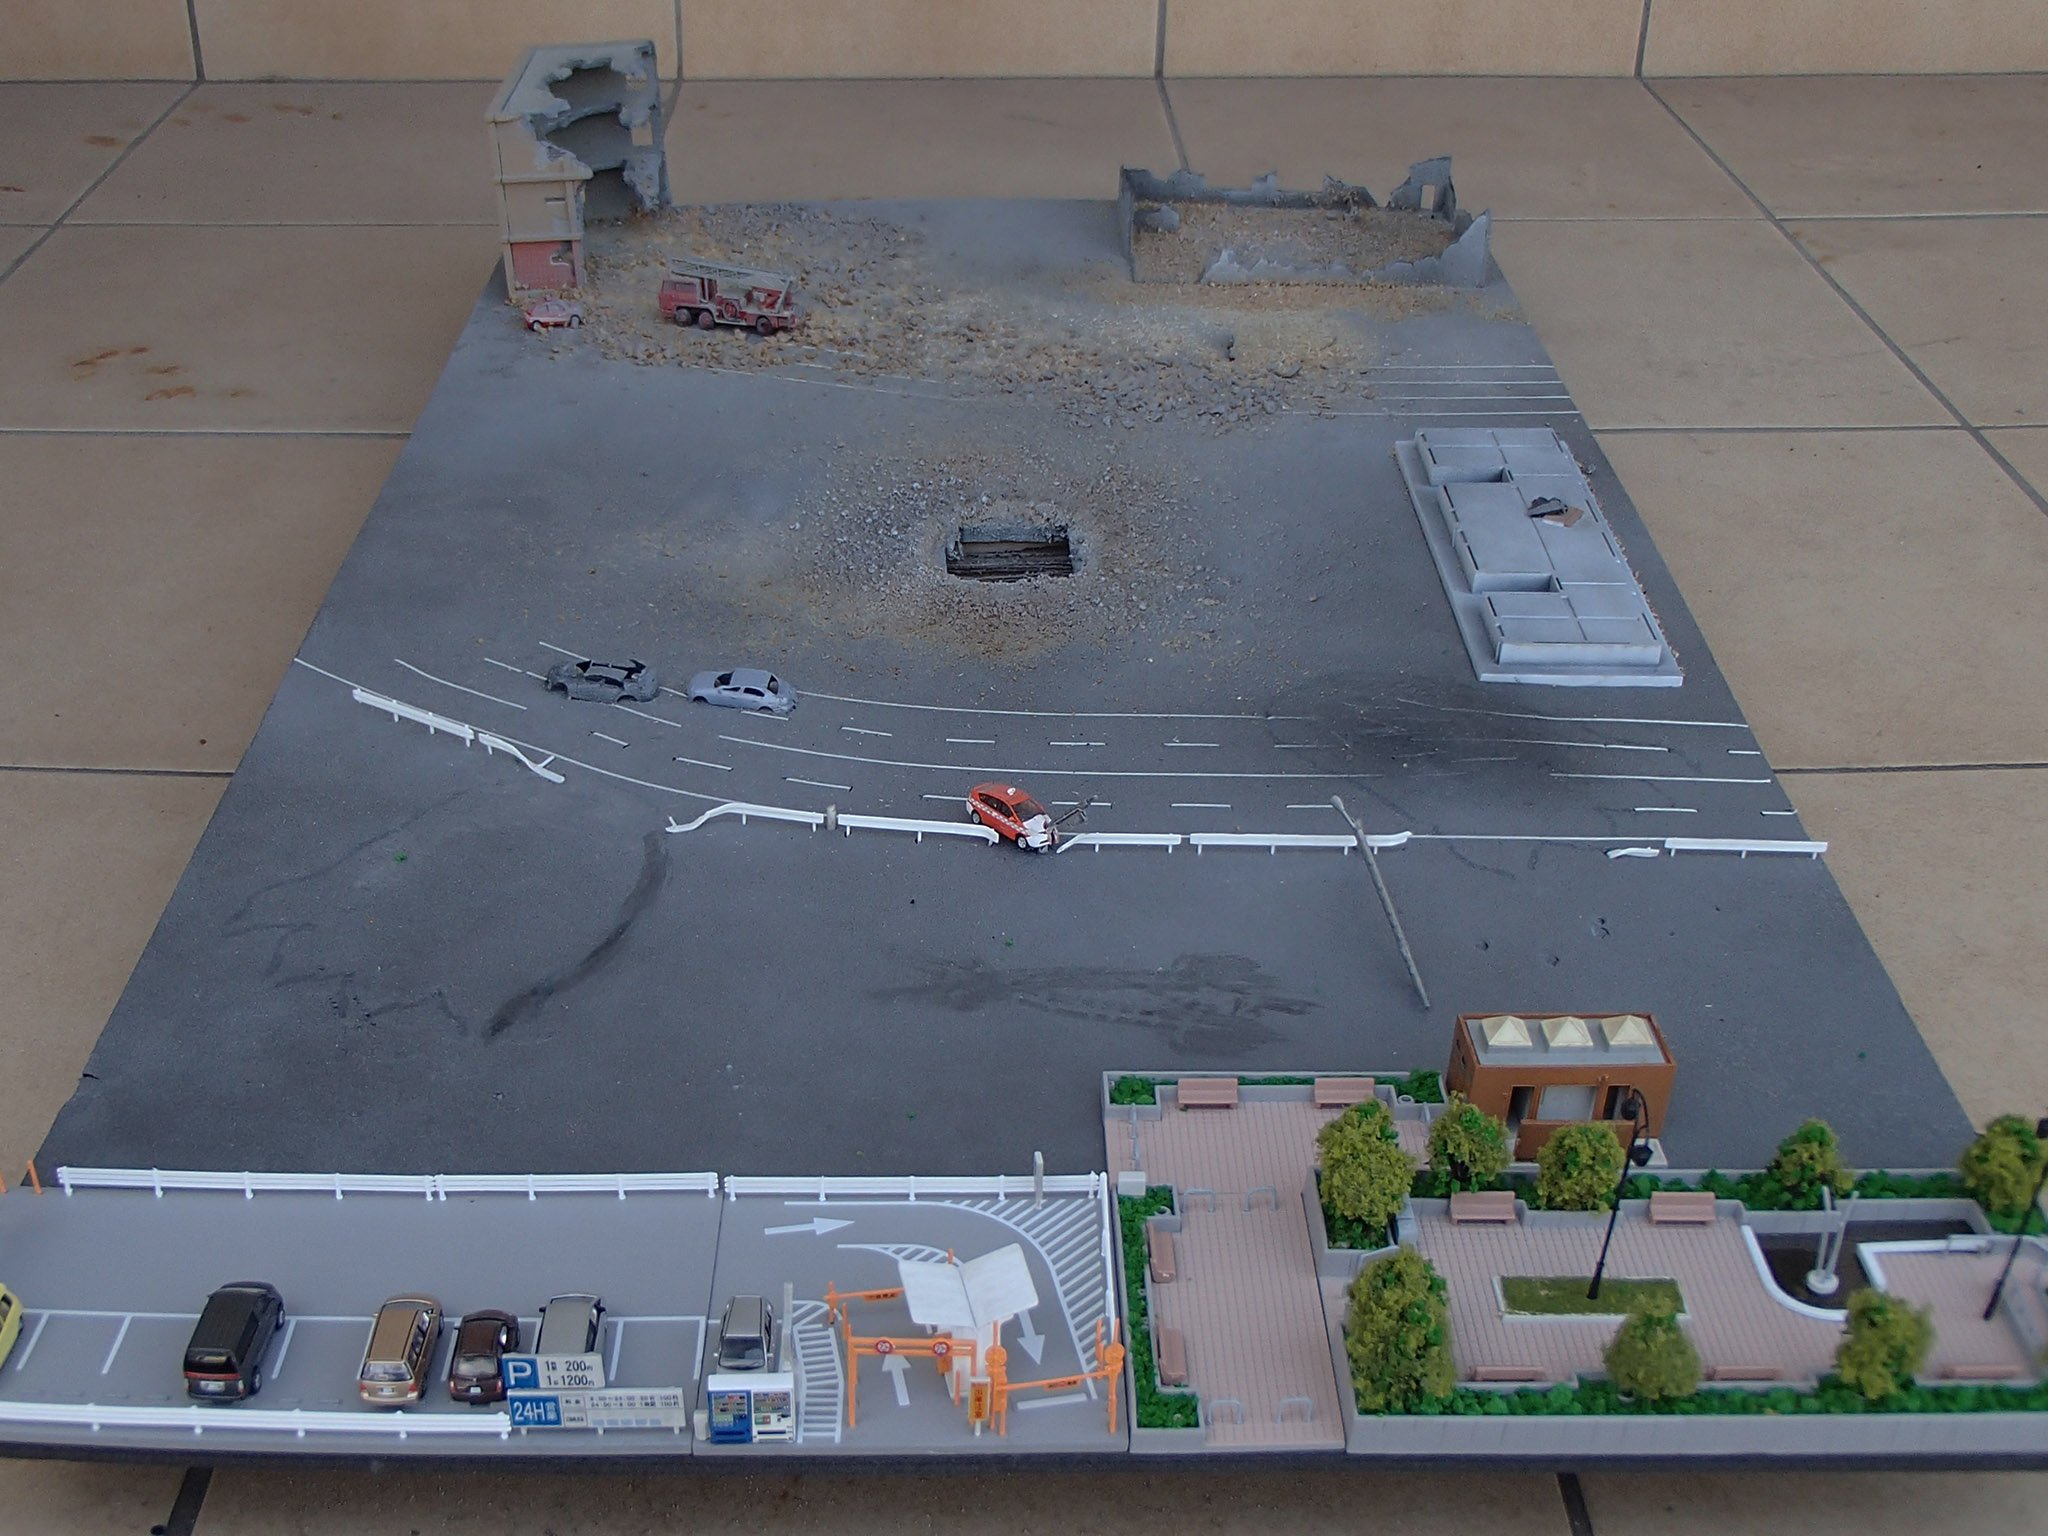
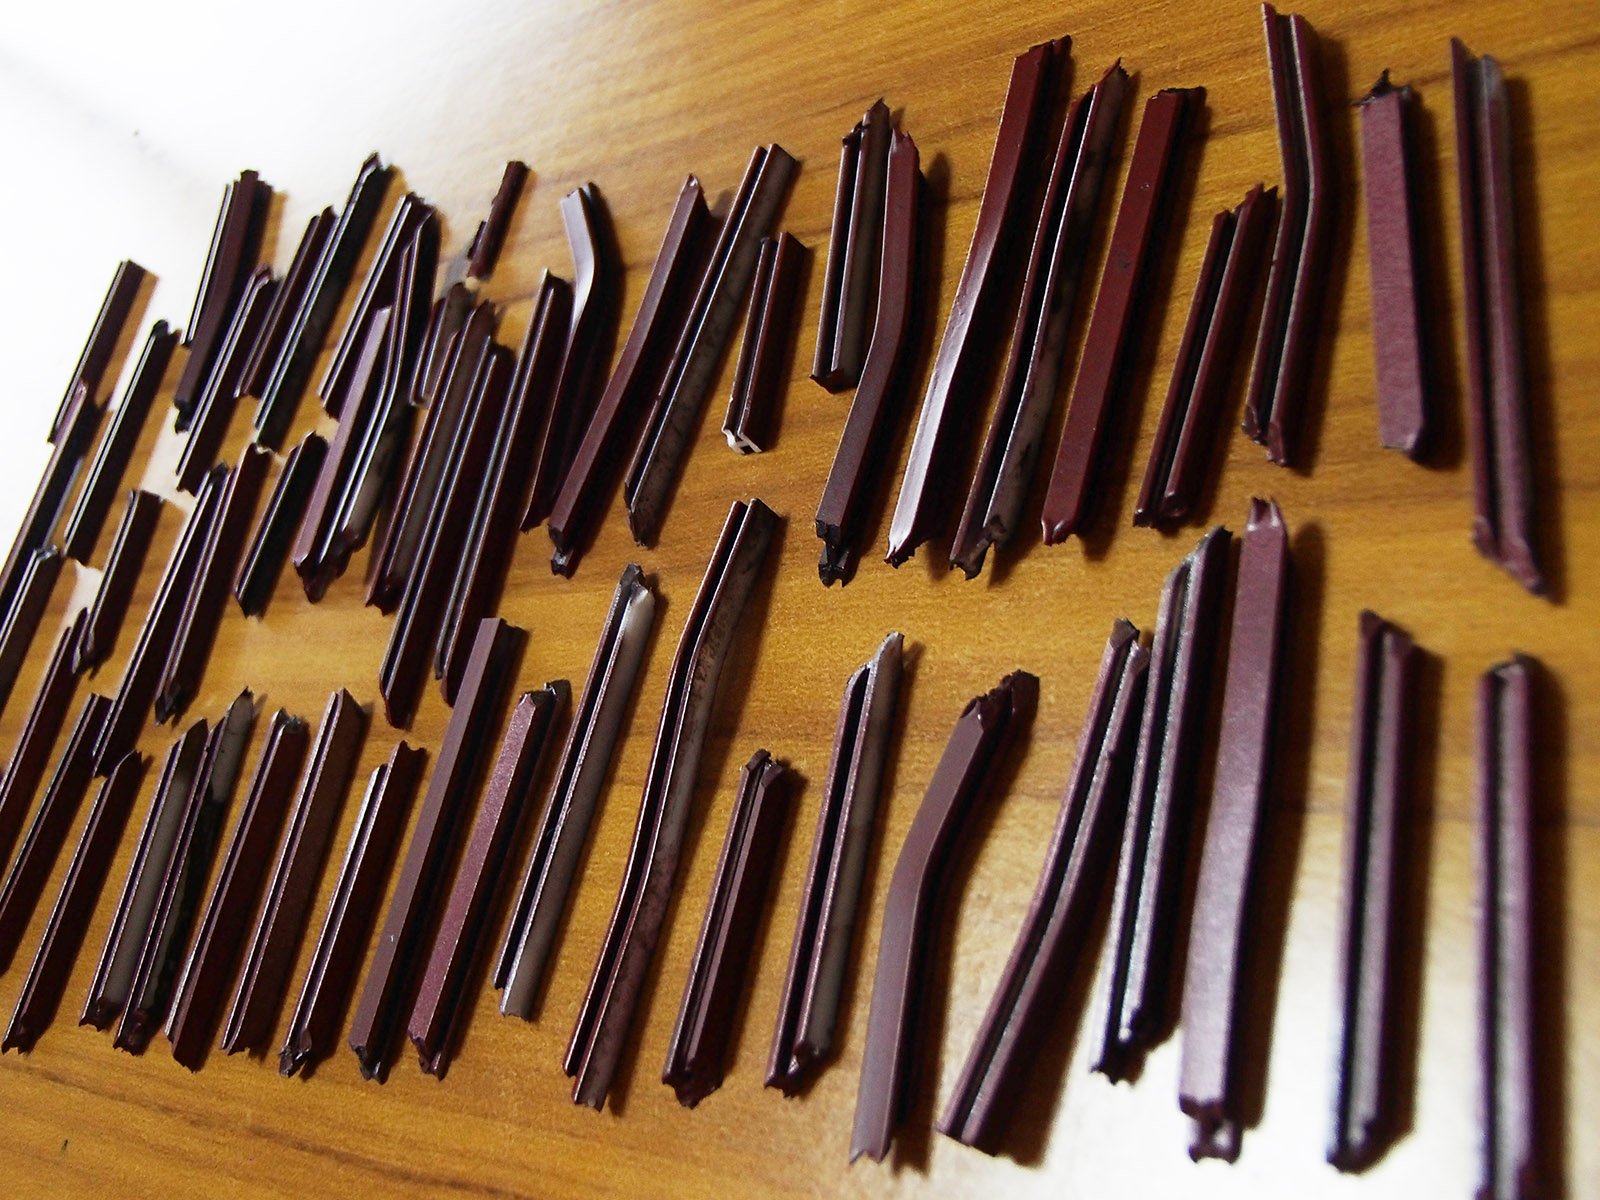
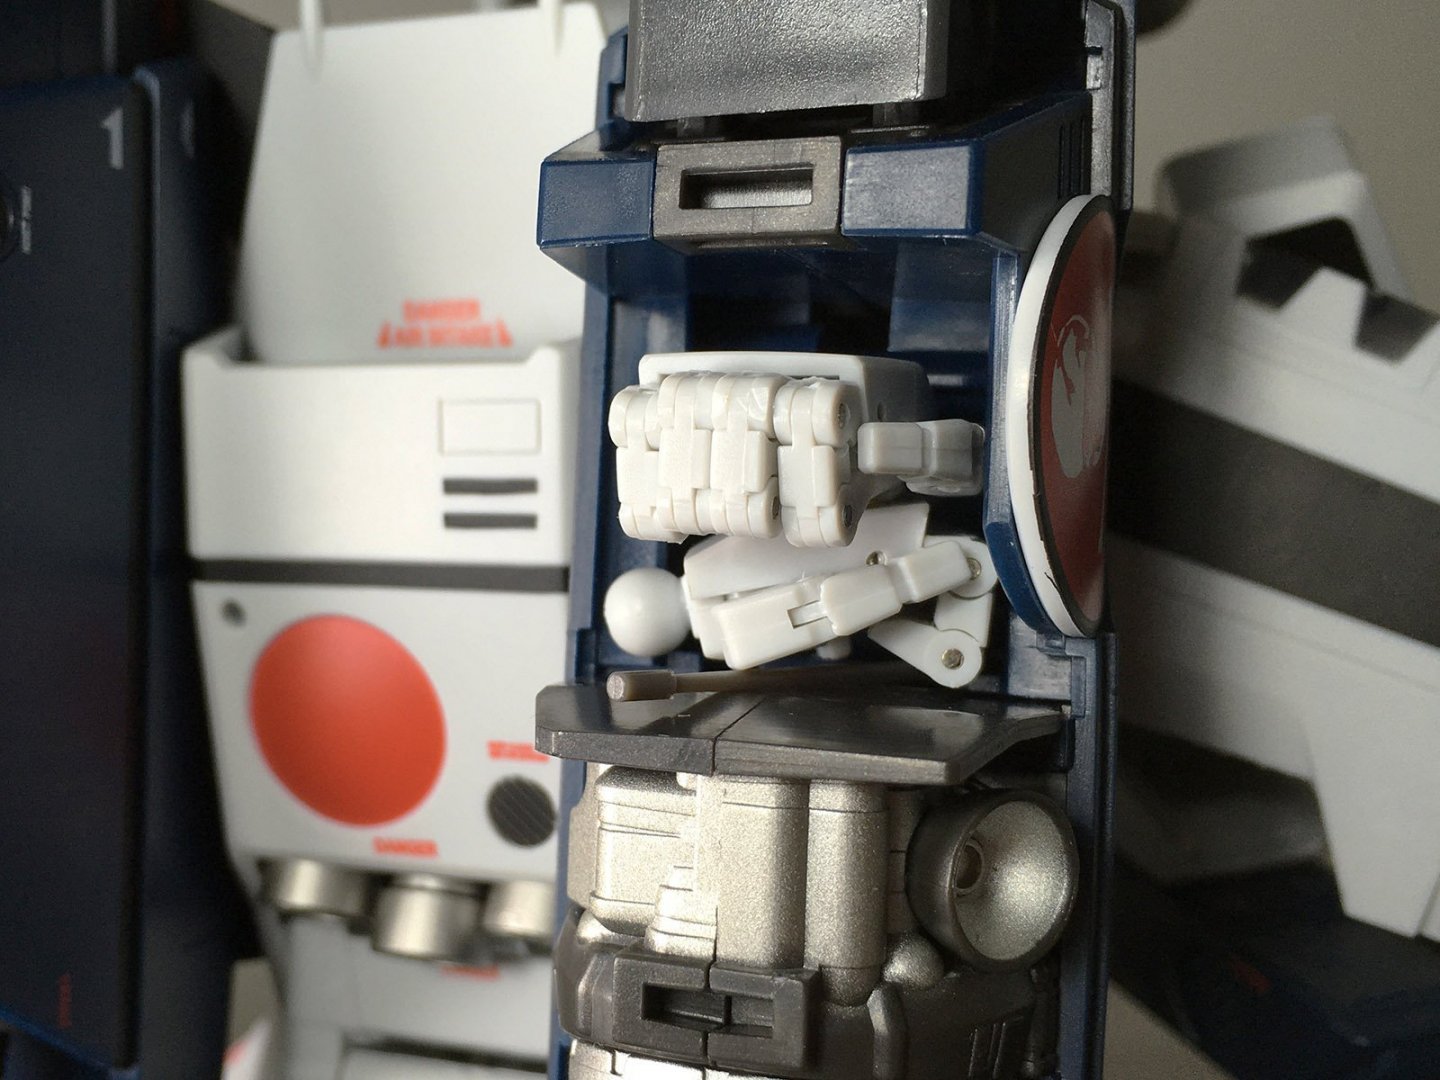
Parts storage.
-
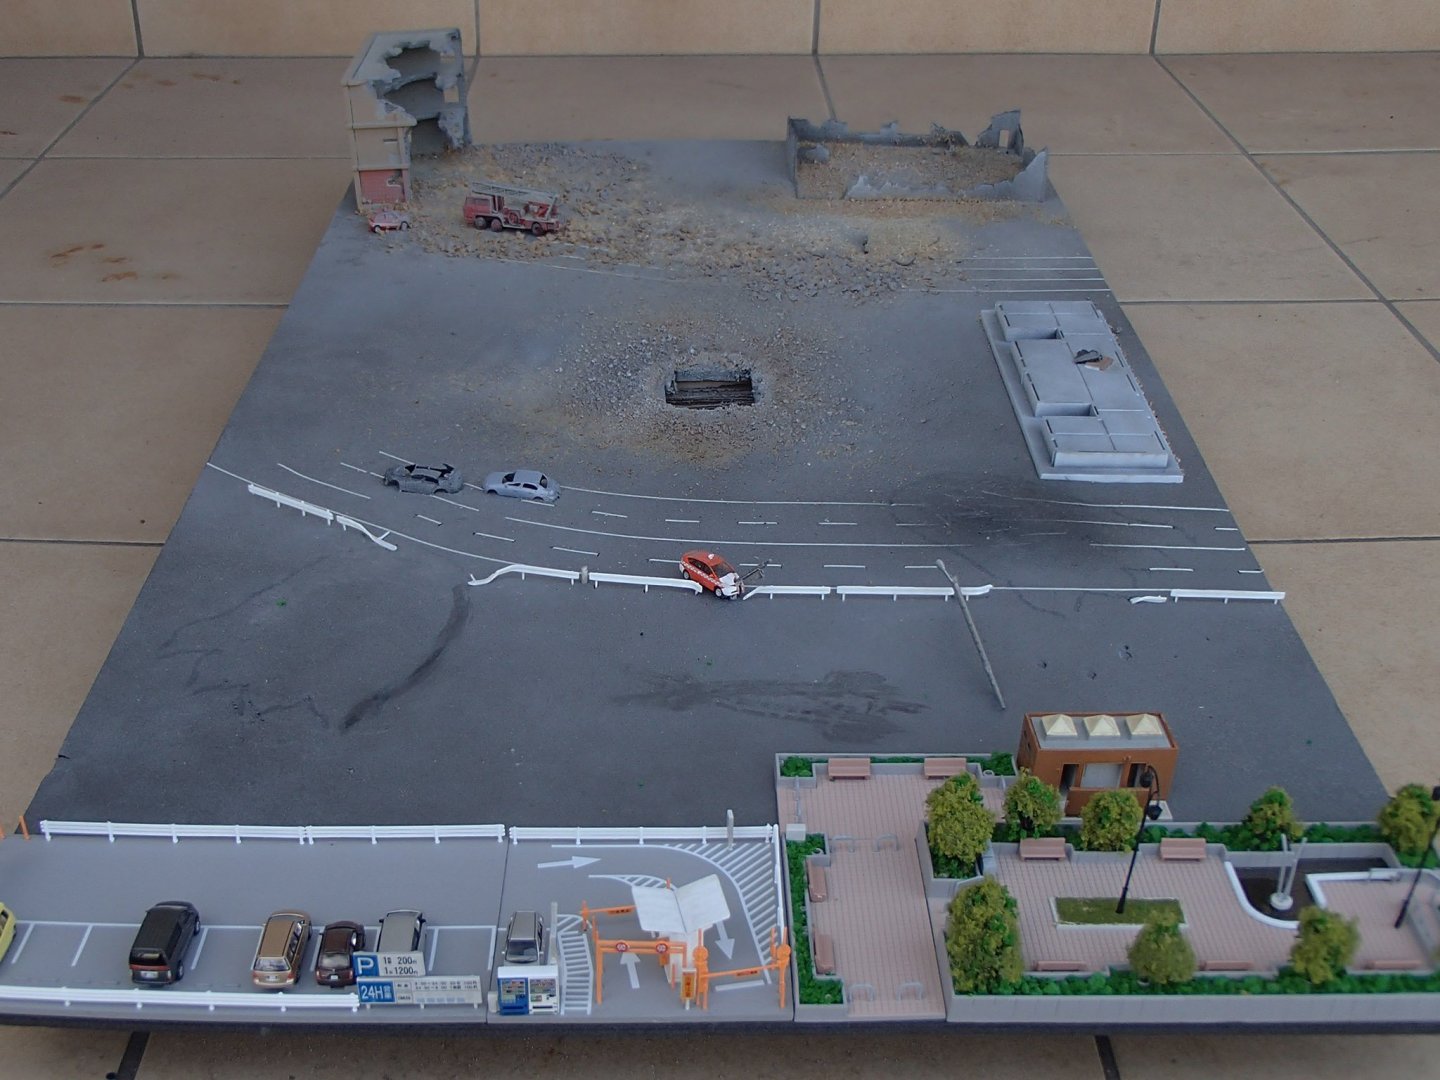
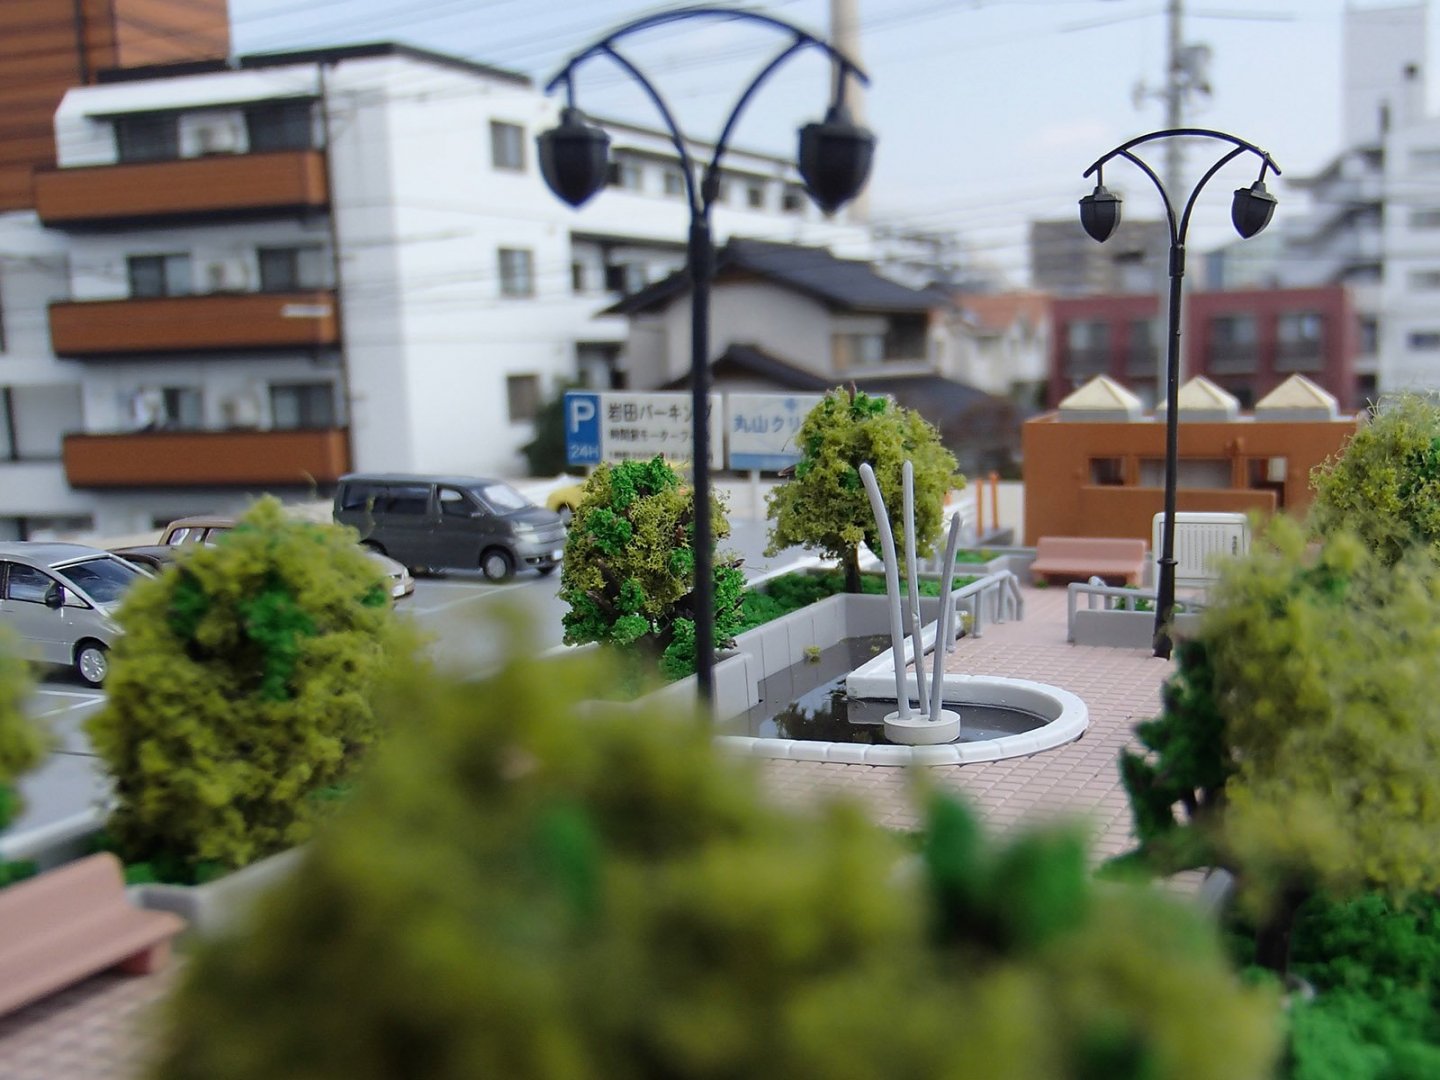
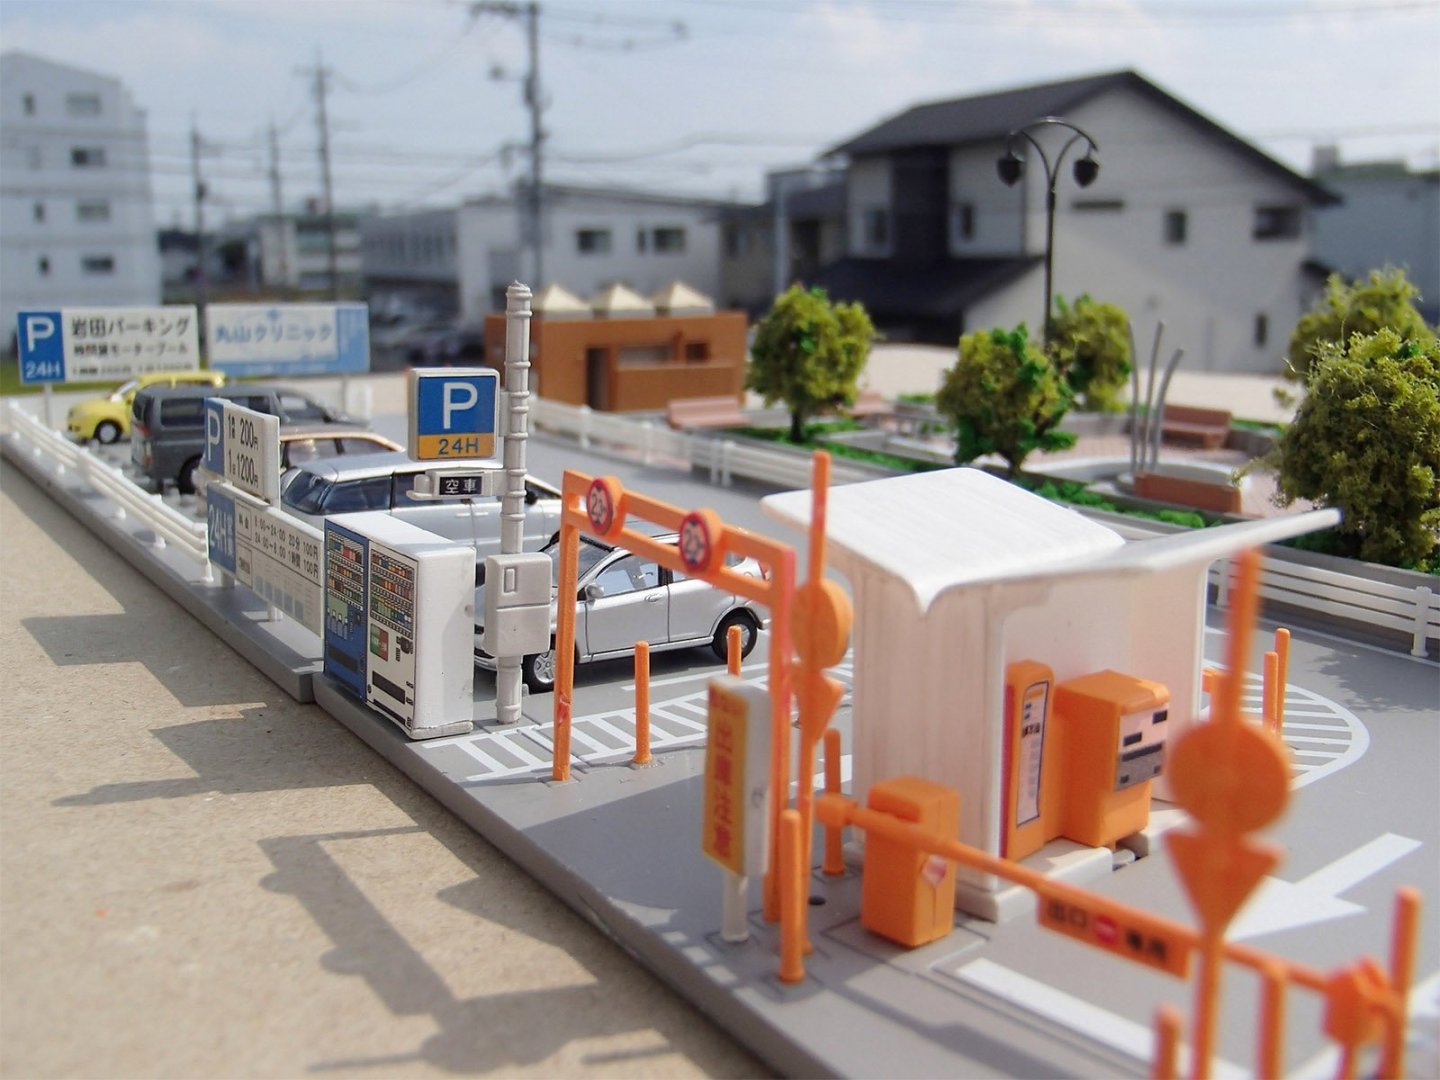
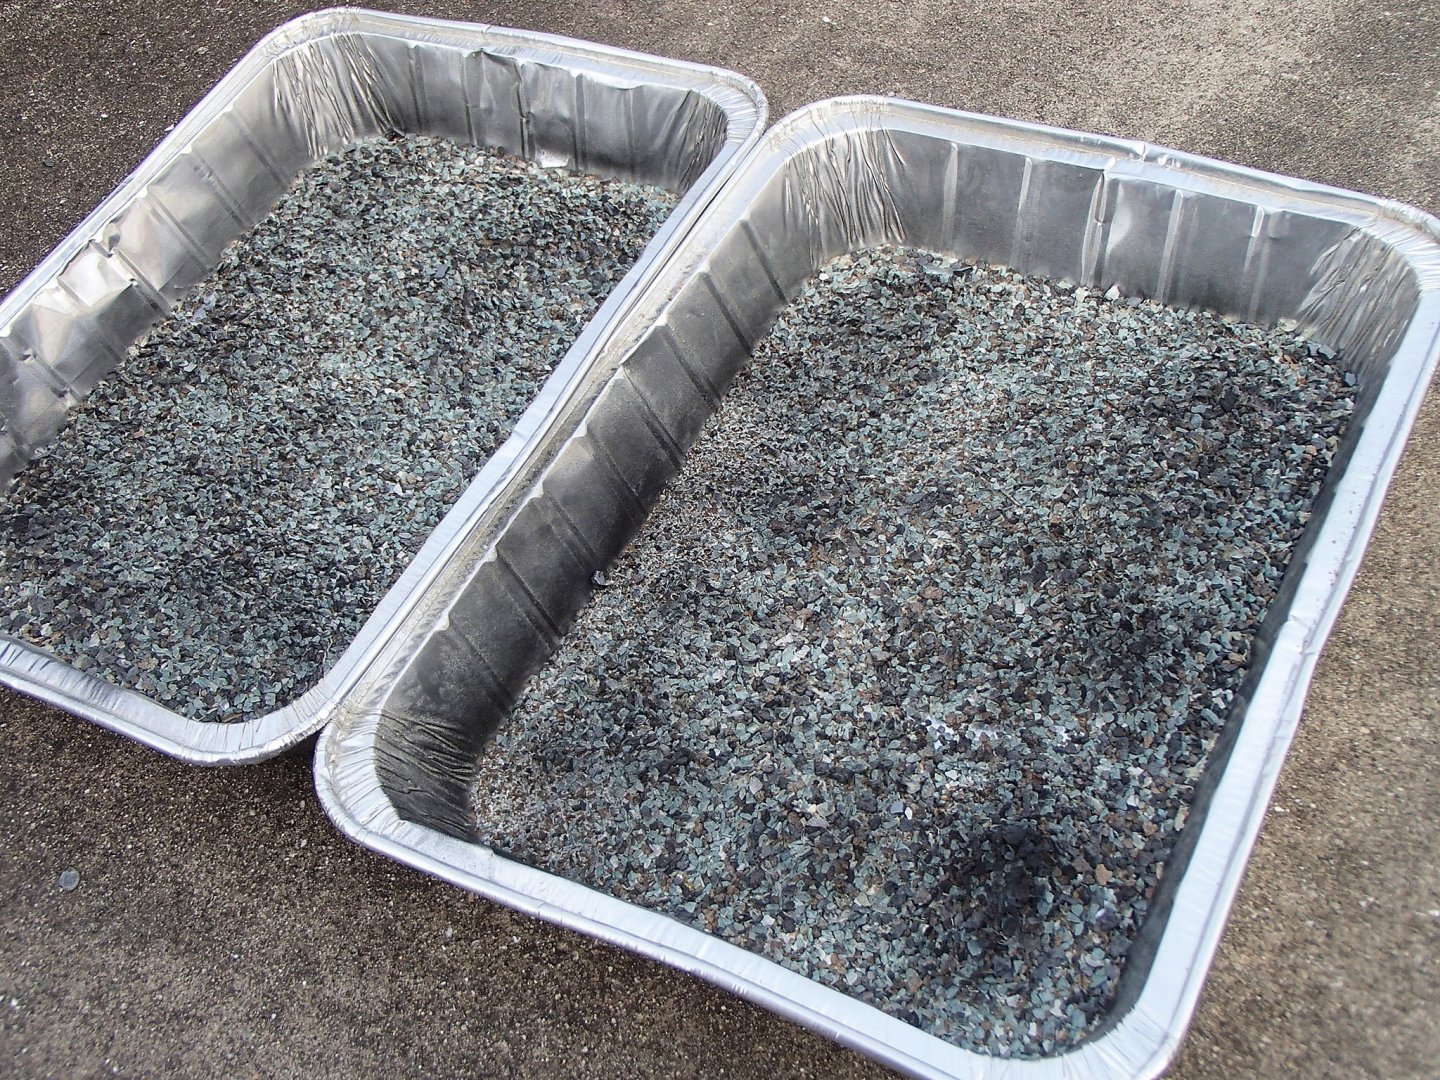
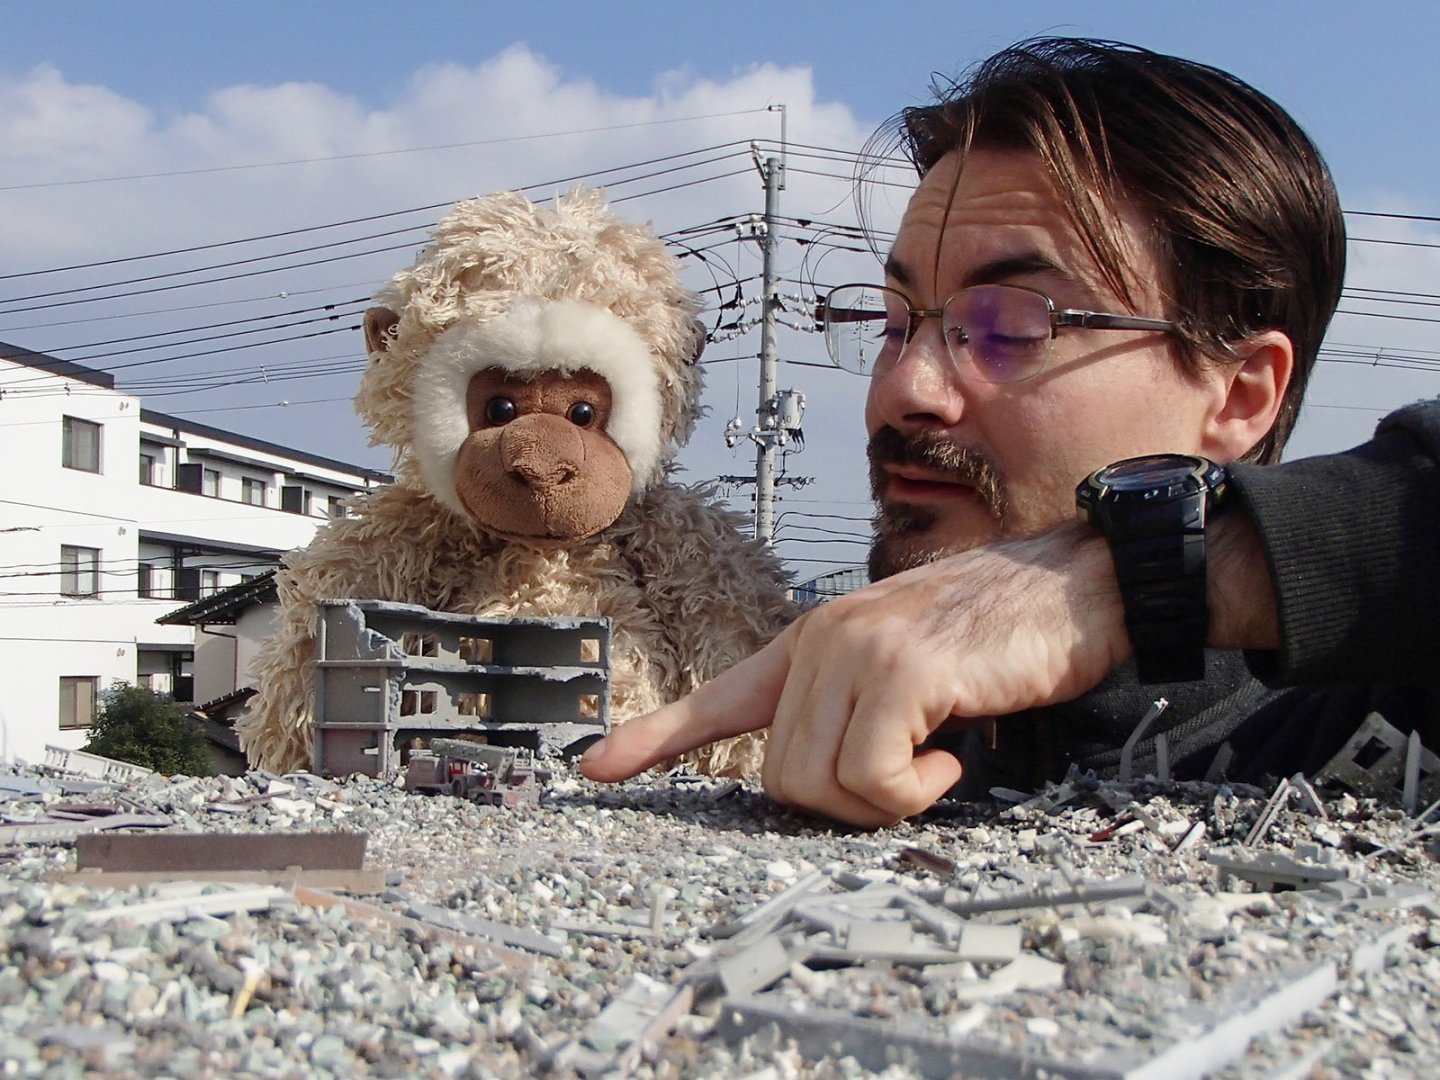
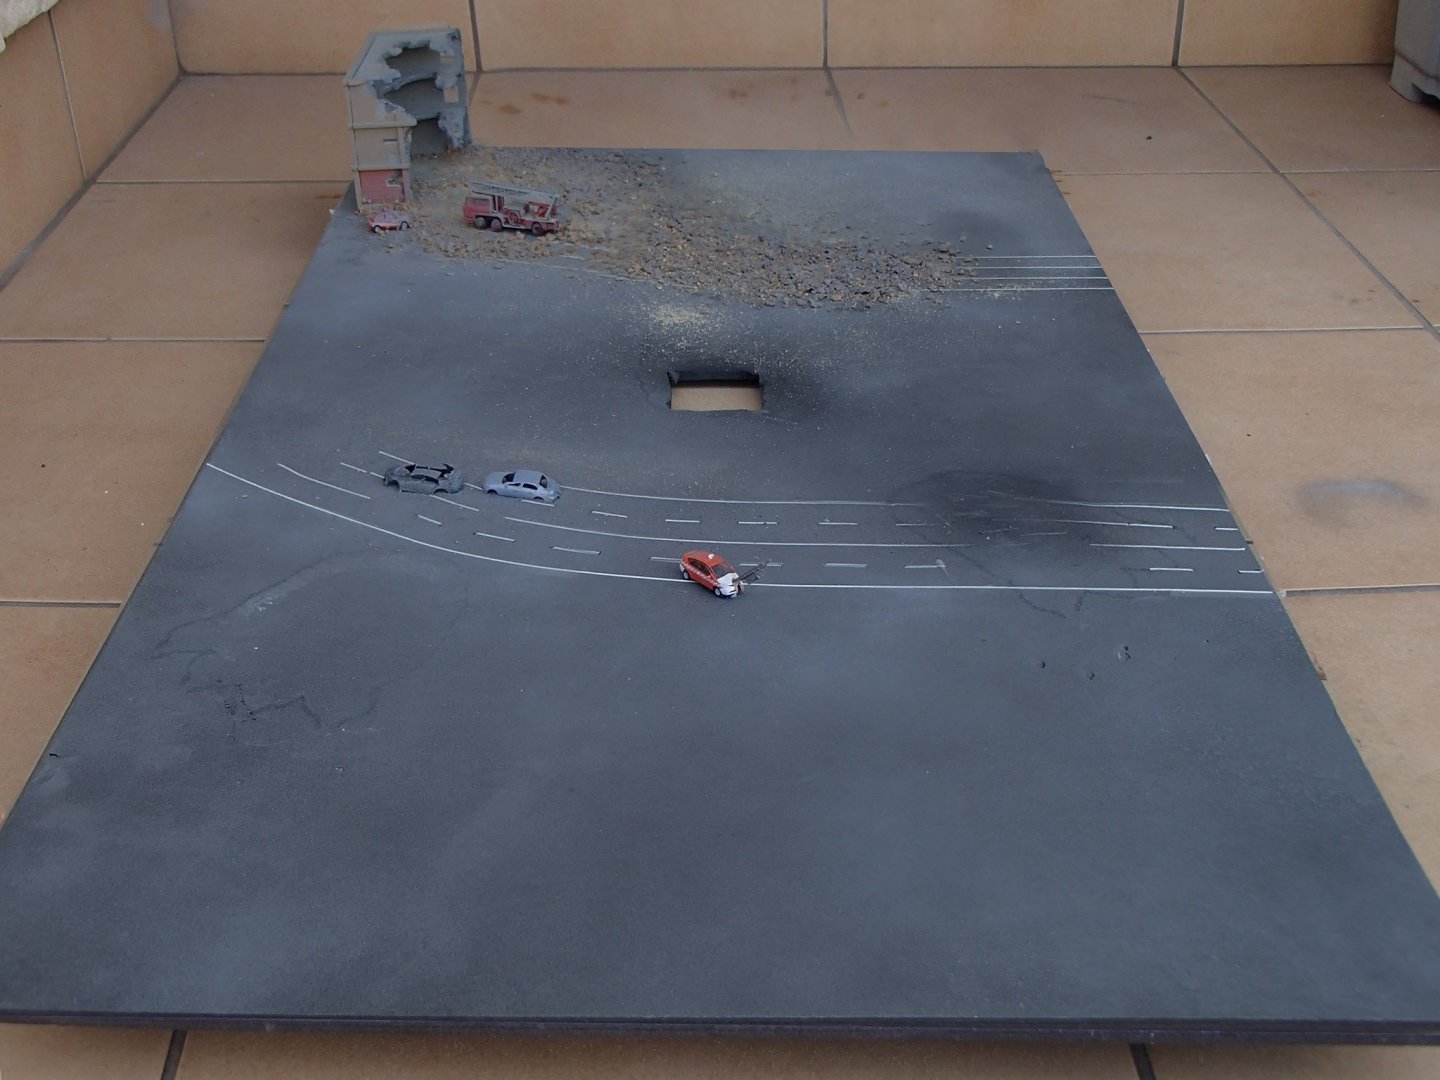
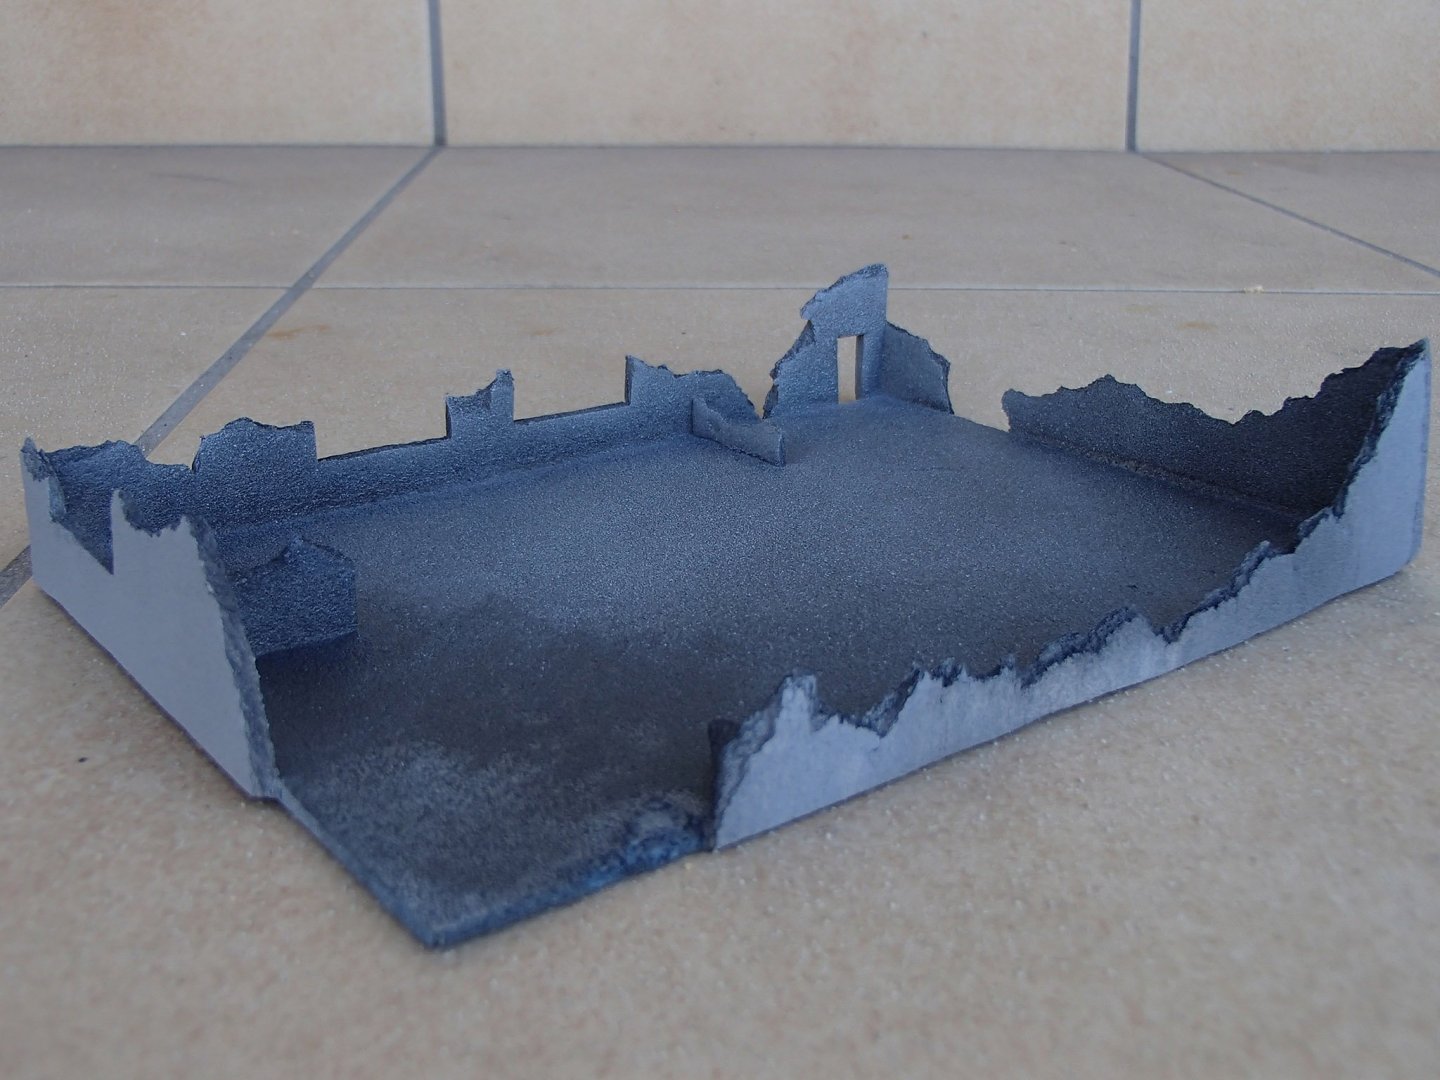
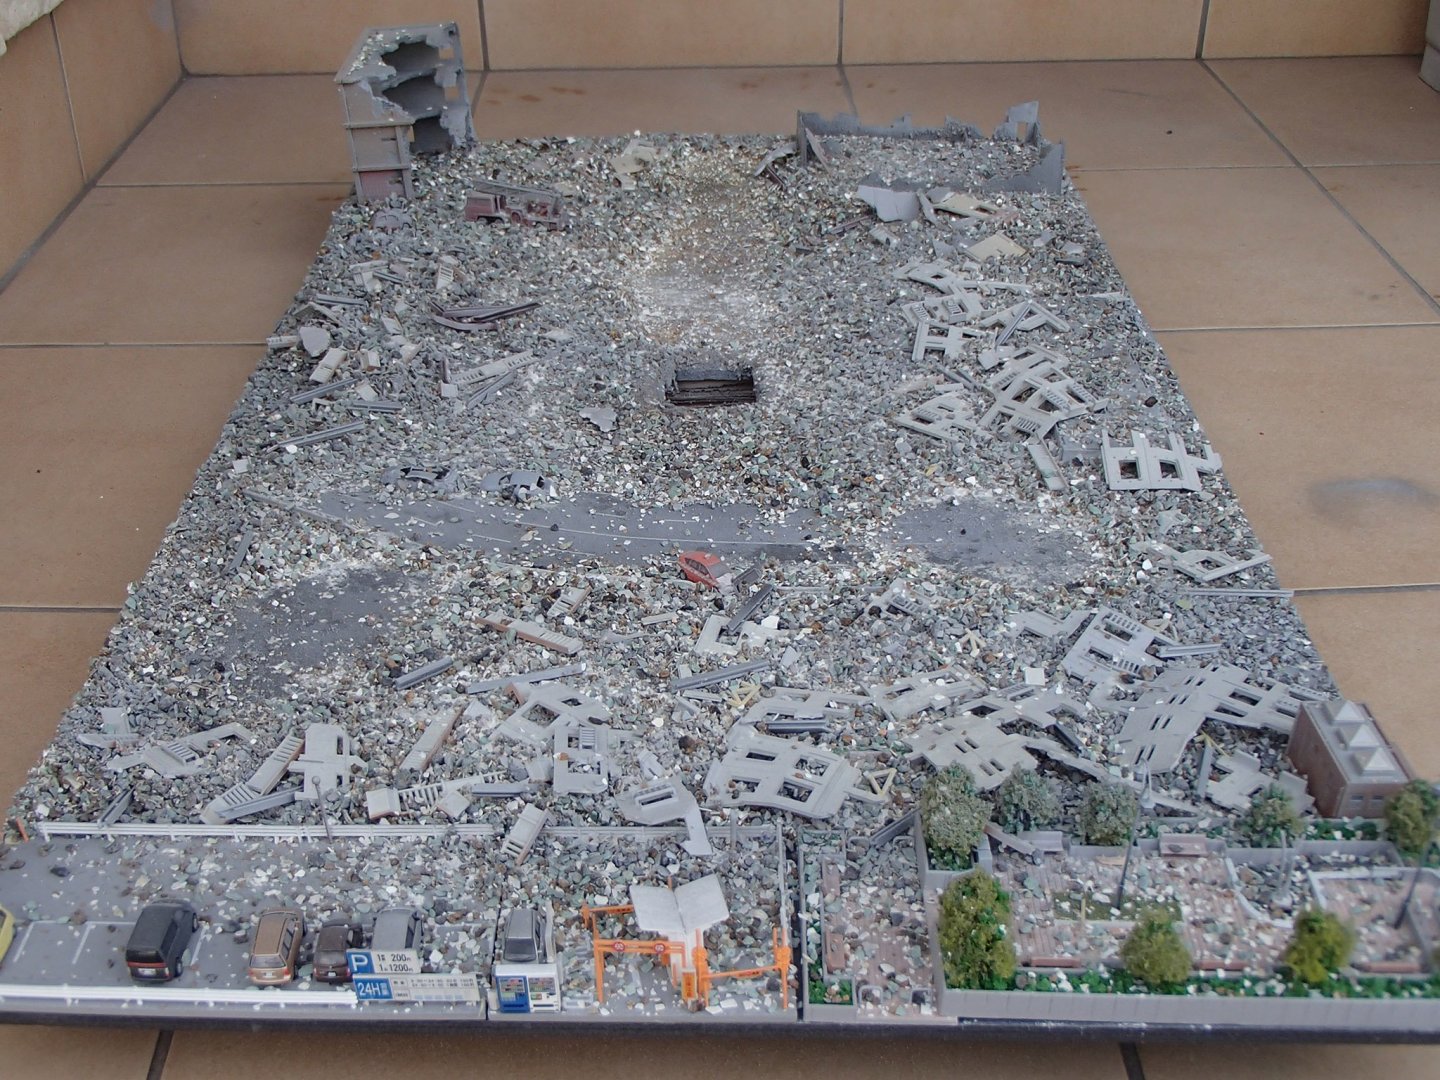
You guys are too much fun. Sure did. I started with a foamcore base, and a few trashed vehicles... ...built the foundation of a burnt-out building... ...and added a couple N-gauge train accessory sets. Then I got some cheap gardening supplies: Crushed, mixed, and painted them up: Added some miniature steel beams: ...and trashed the place. Finally, I added a few surrounding buildings and set it up on my balcony. N gauge is 1:150 scale.


-
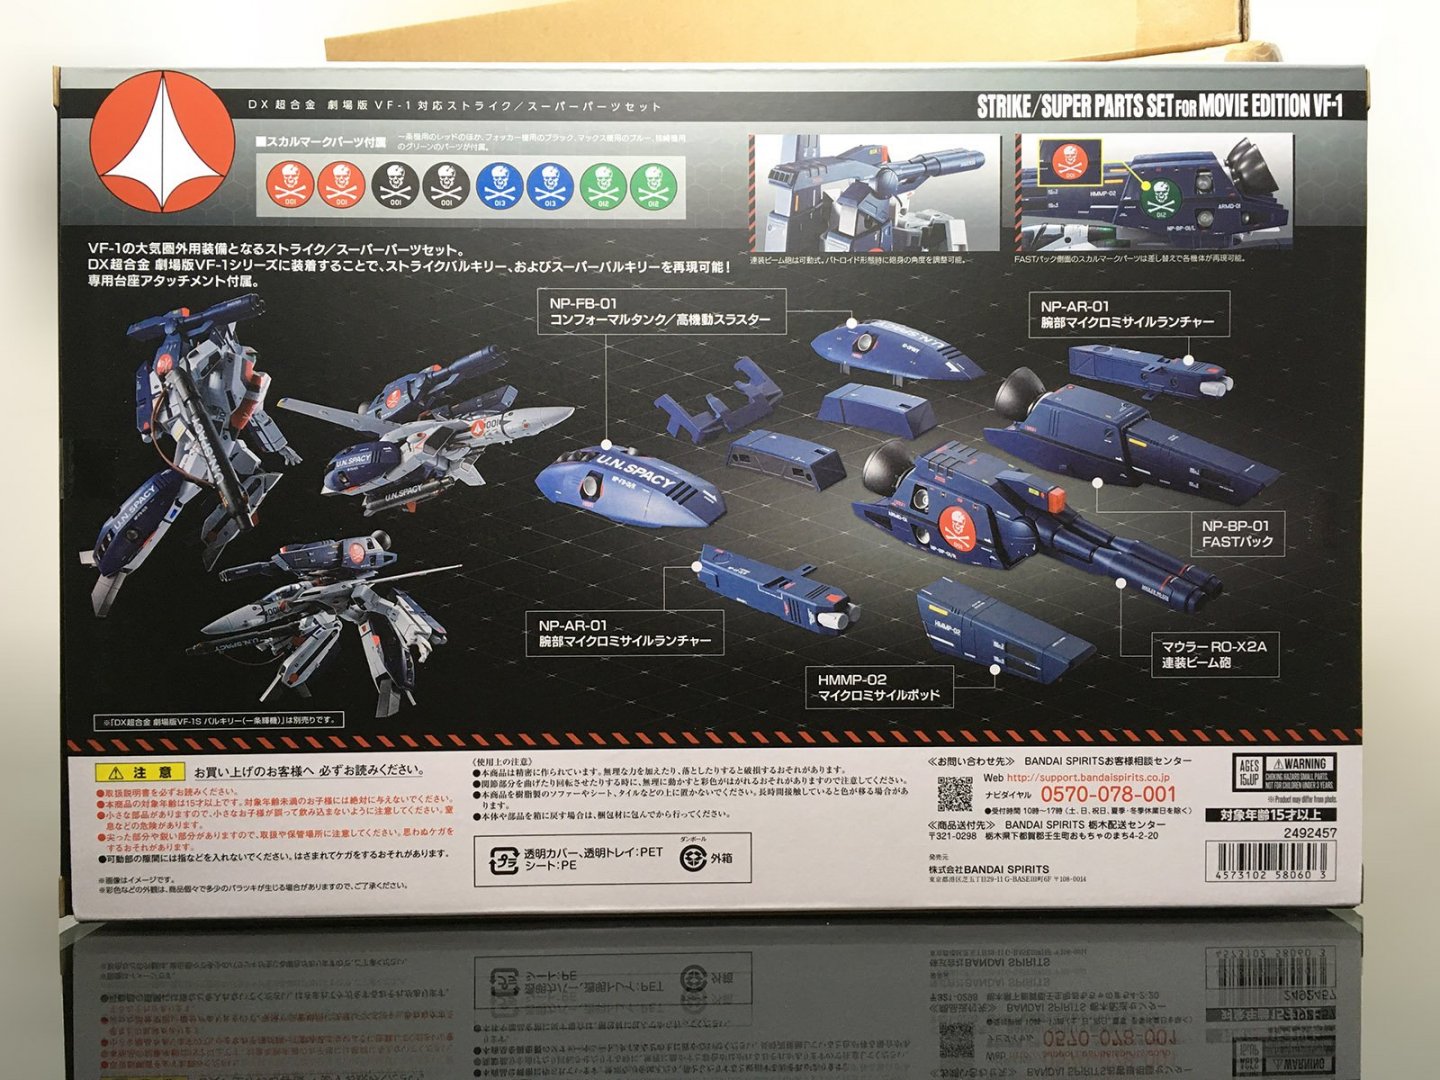
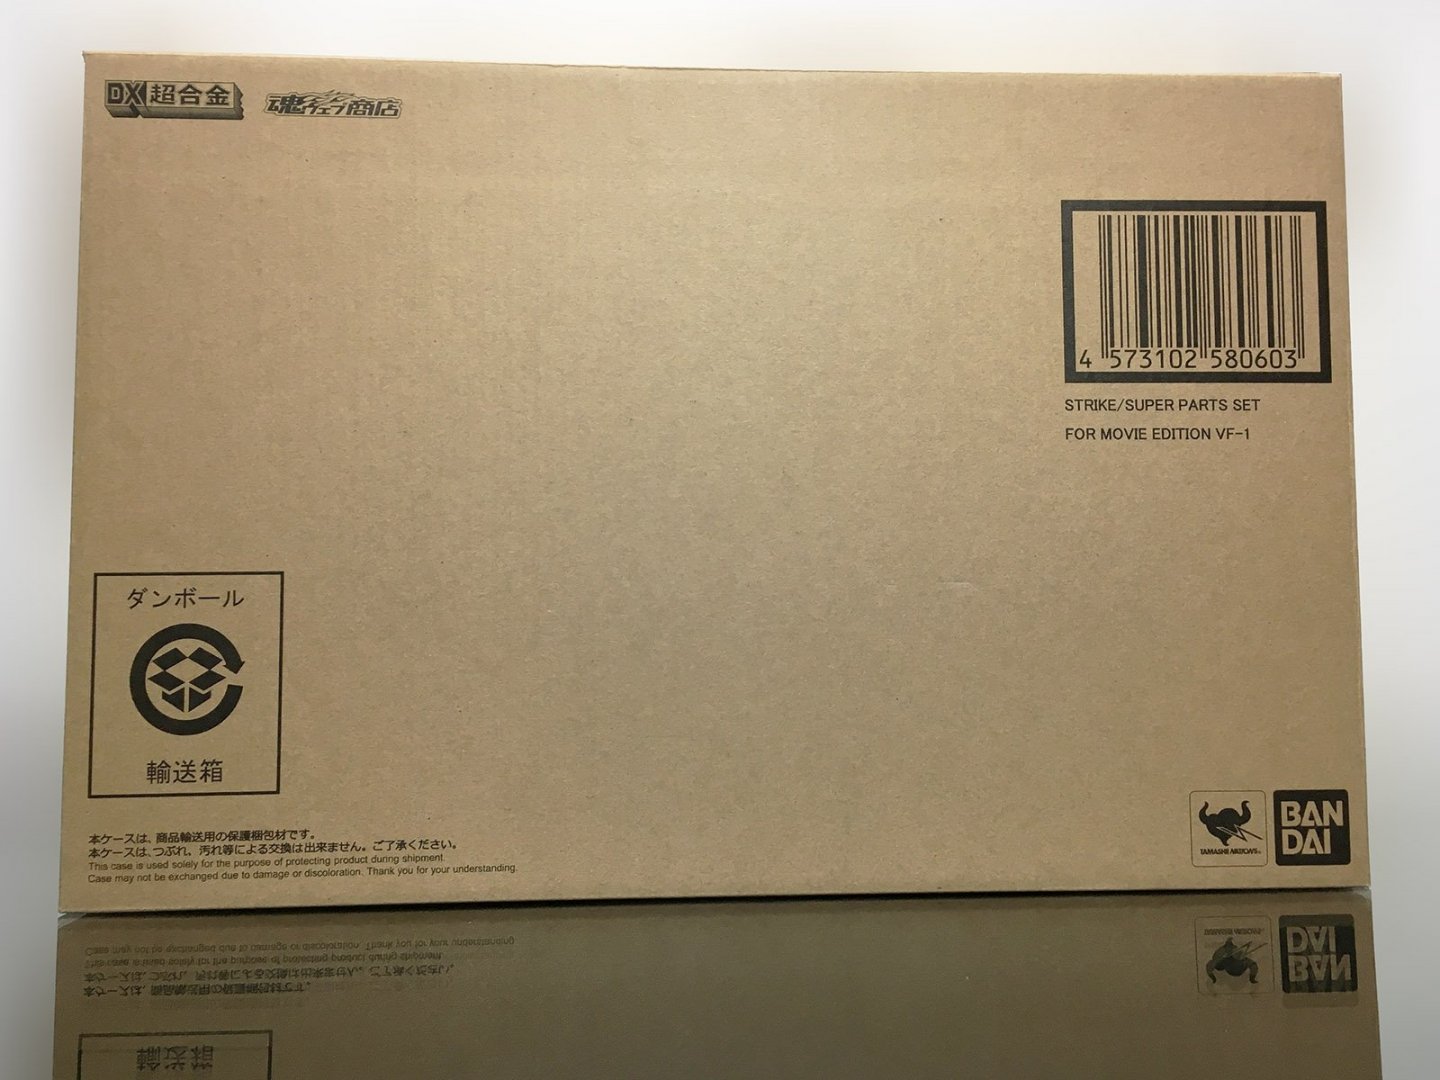
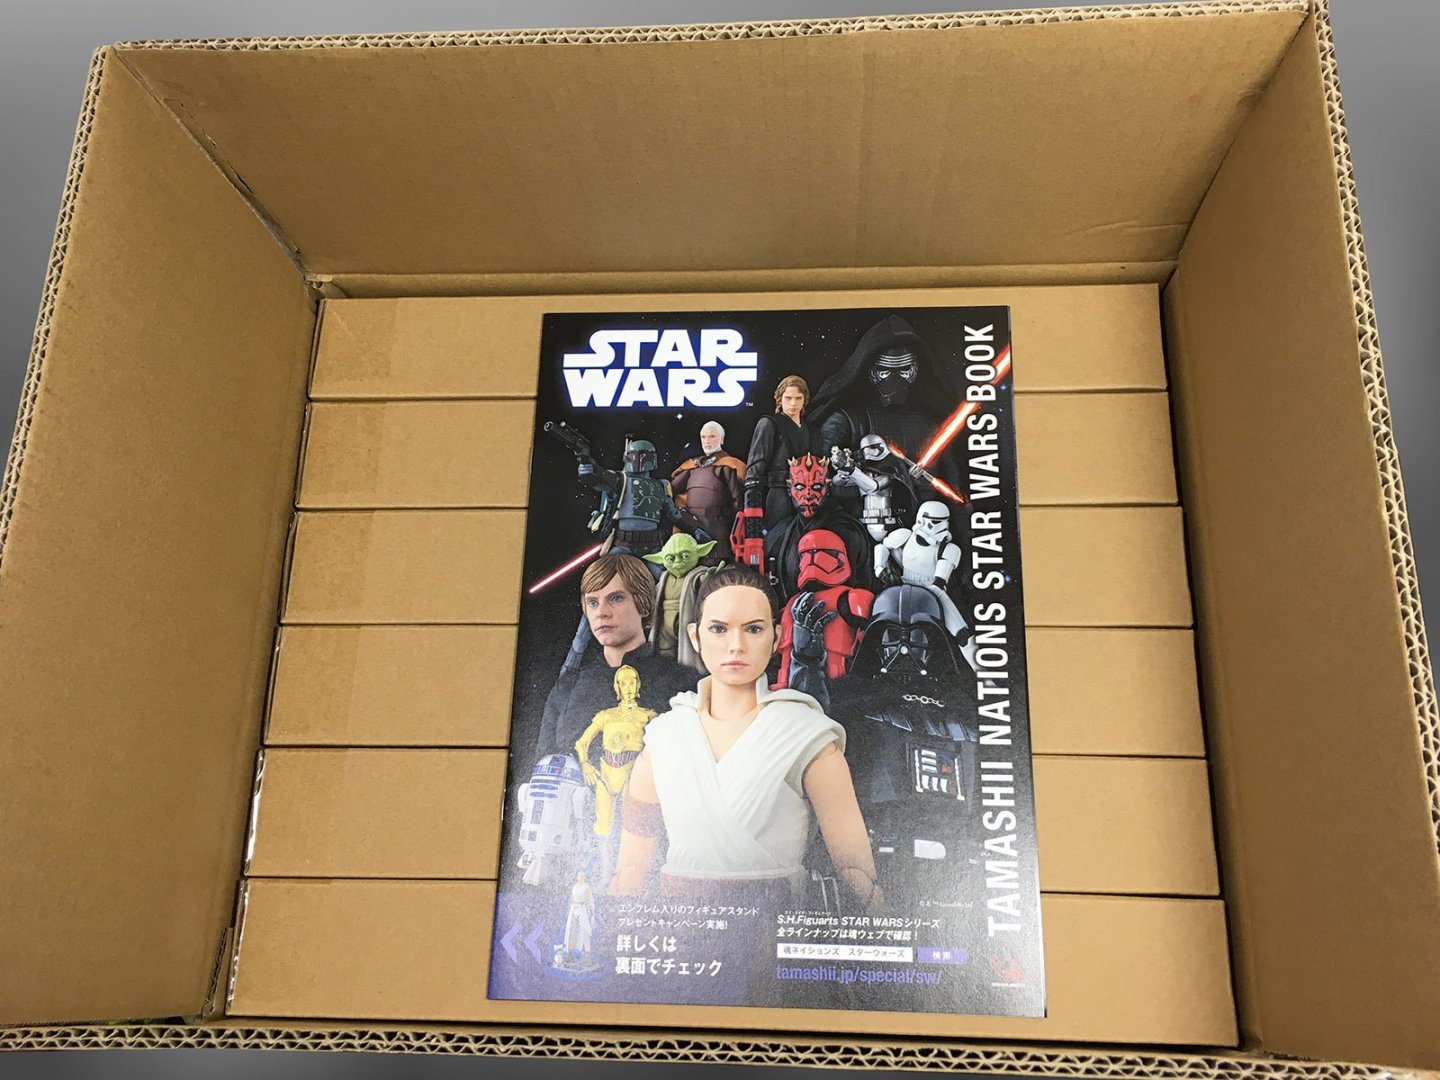
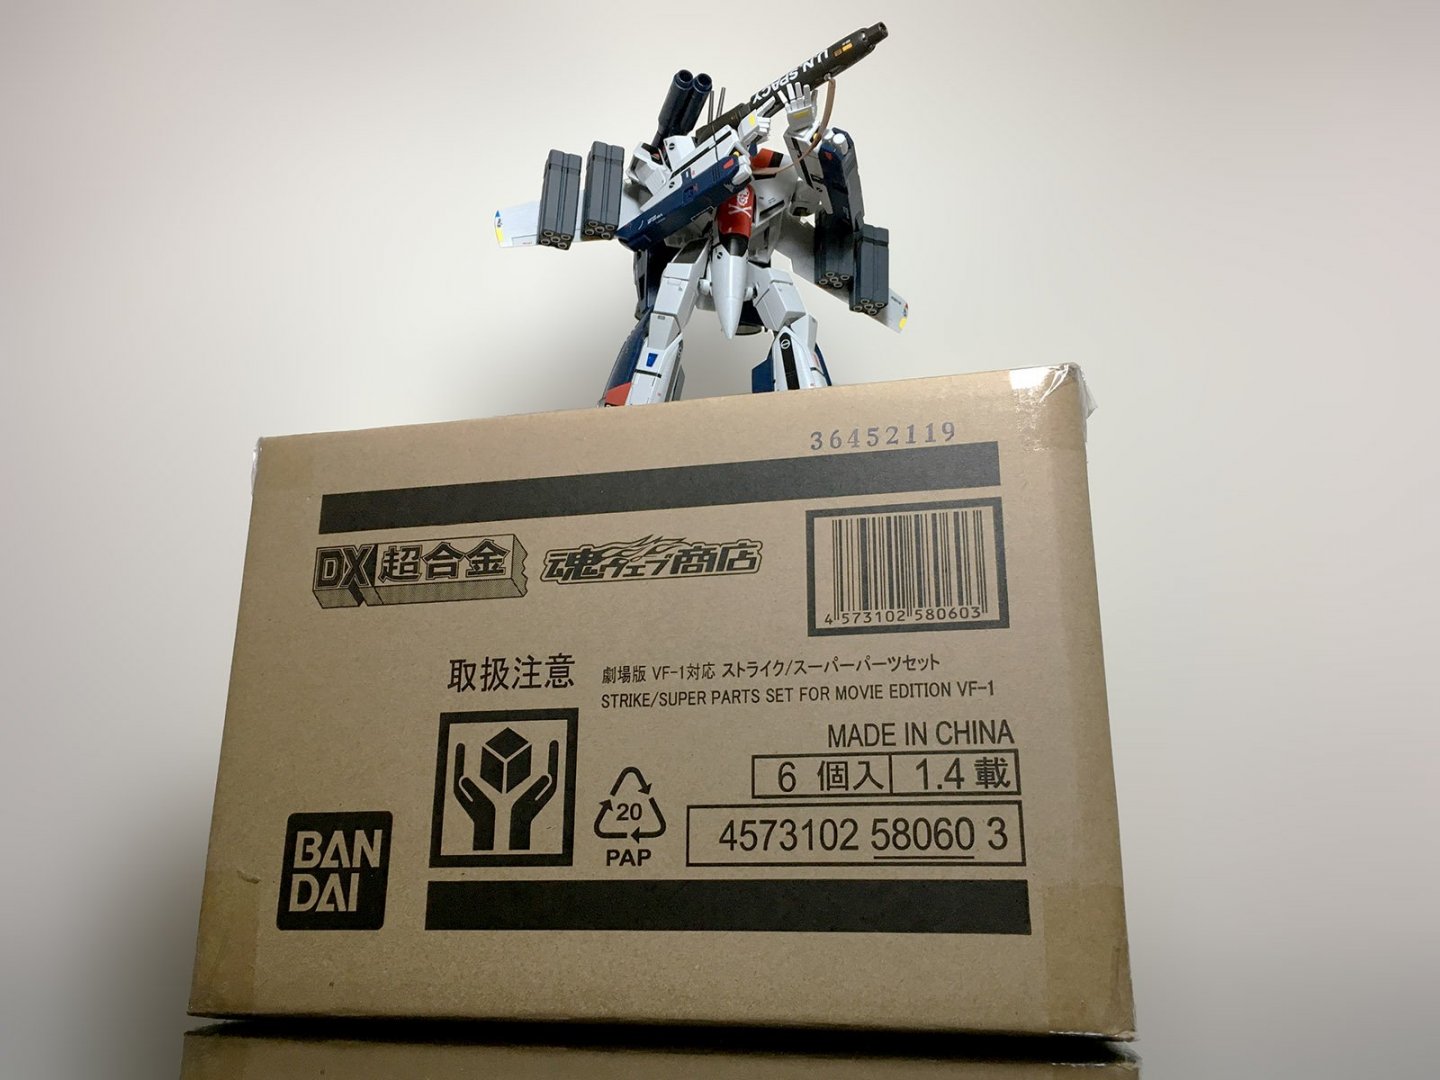
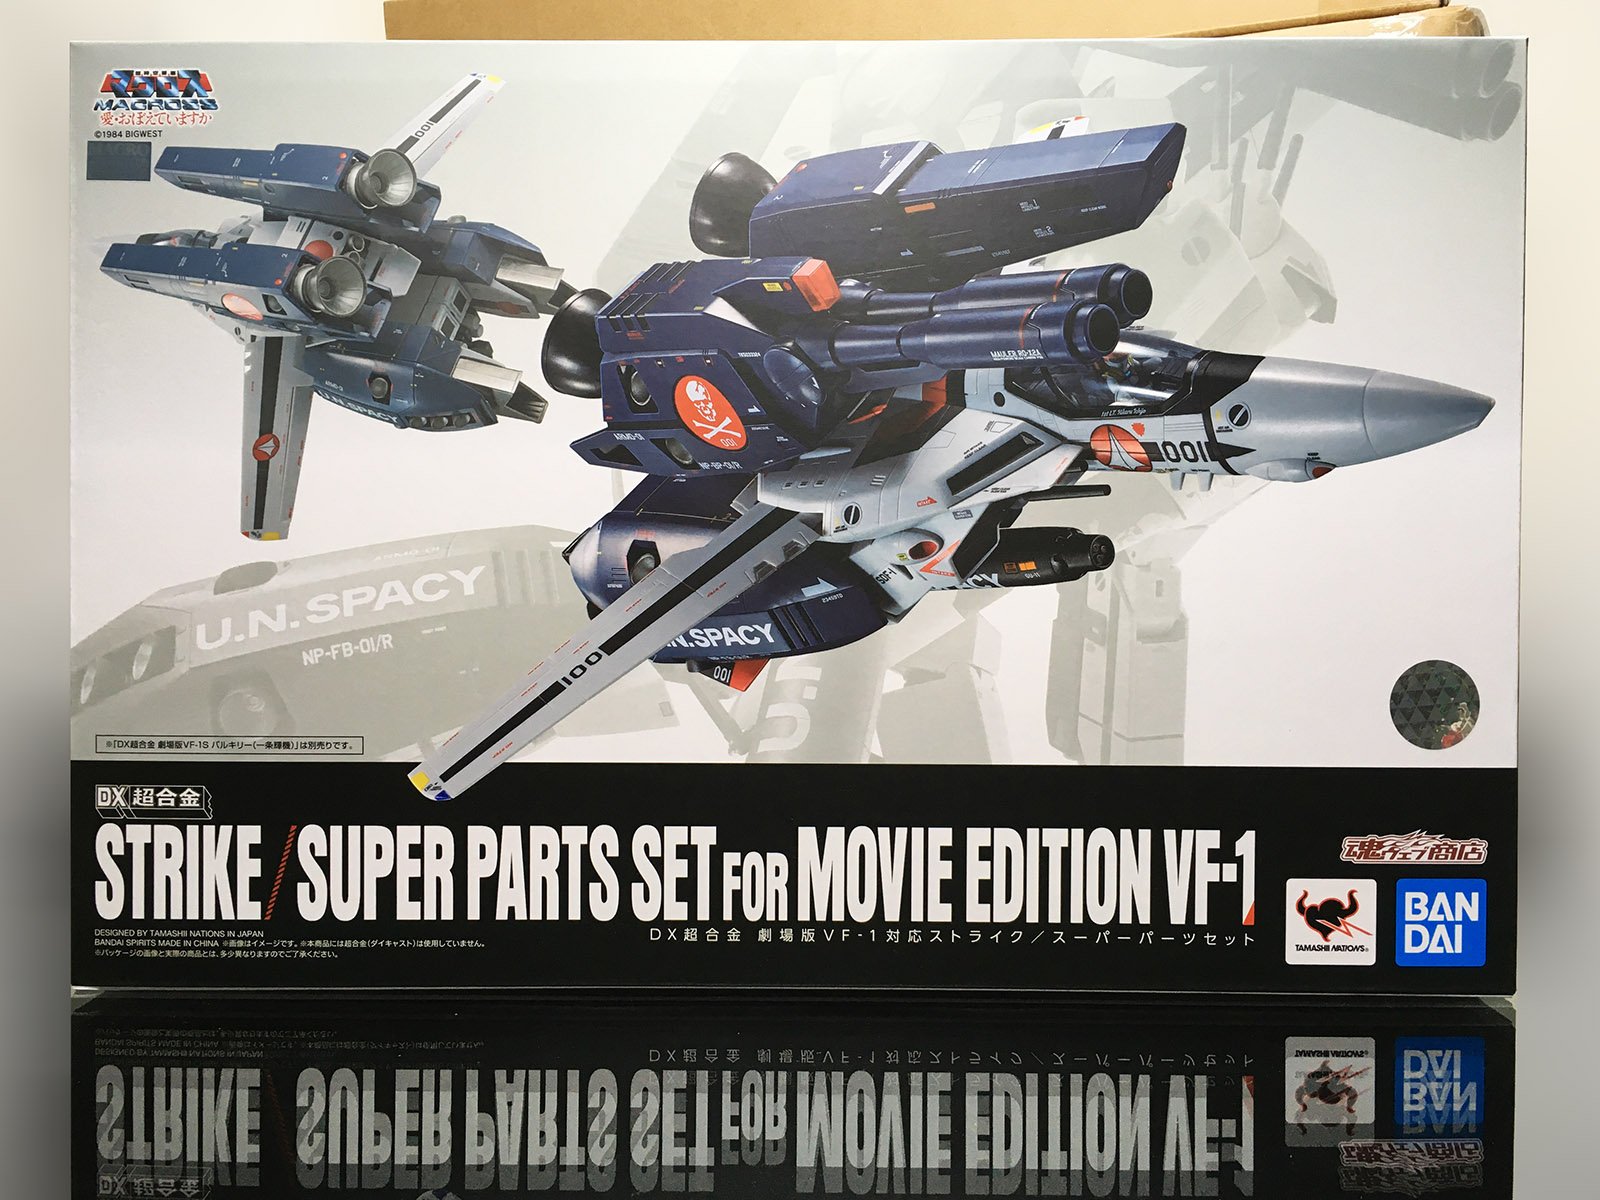
Which box? Mine came in three. The shipping carton contains six sets... Each set has its own nondescript TWE box... ...and each box contains an inner package with images of the Valkyrie and accessories. Man, I sure wish I'd been alive back in your day. I grew up in the '80s, with Transformers, GI Joe, TMNT, and Centurions.