Rock
-
Posts
408 -
Joined
-
Last visited
Content Type
Profiles
Forums
Events
Gallery
Everything posted by Rock
-

Macross Delta Zettai Live!!!!!! - Available on Blu-ray Sept 28, 2022
Rock replied to Marzan's topic in Movies and TV Series
Is the Hot Topic Walkurie a digital idol group like Sharron Apple? -
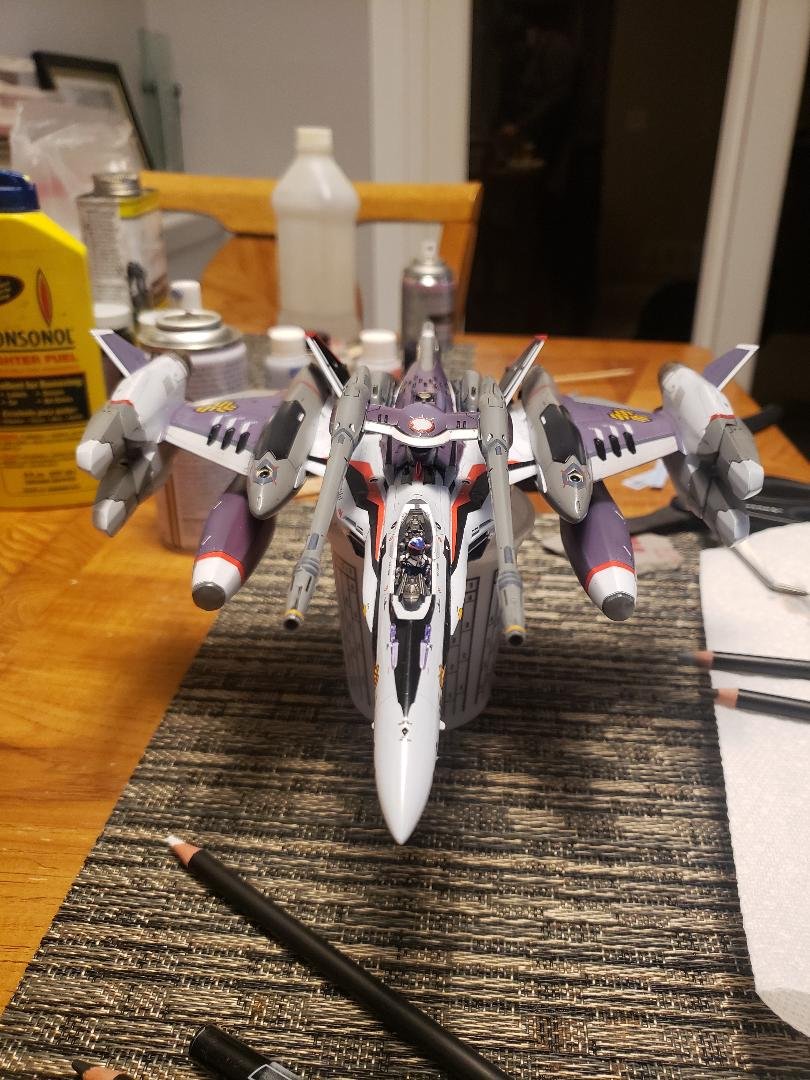
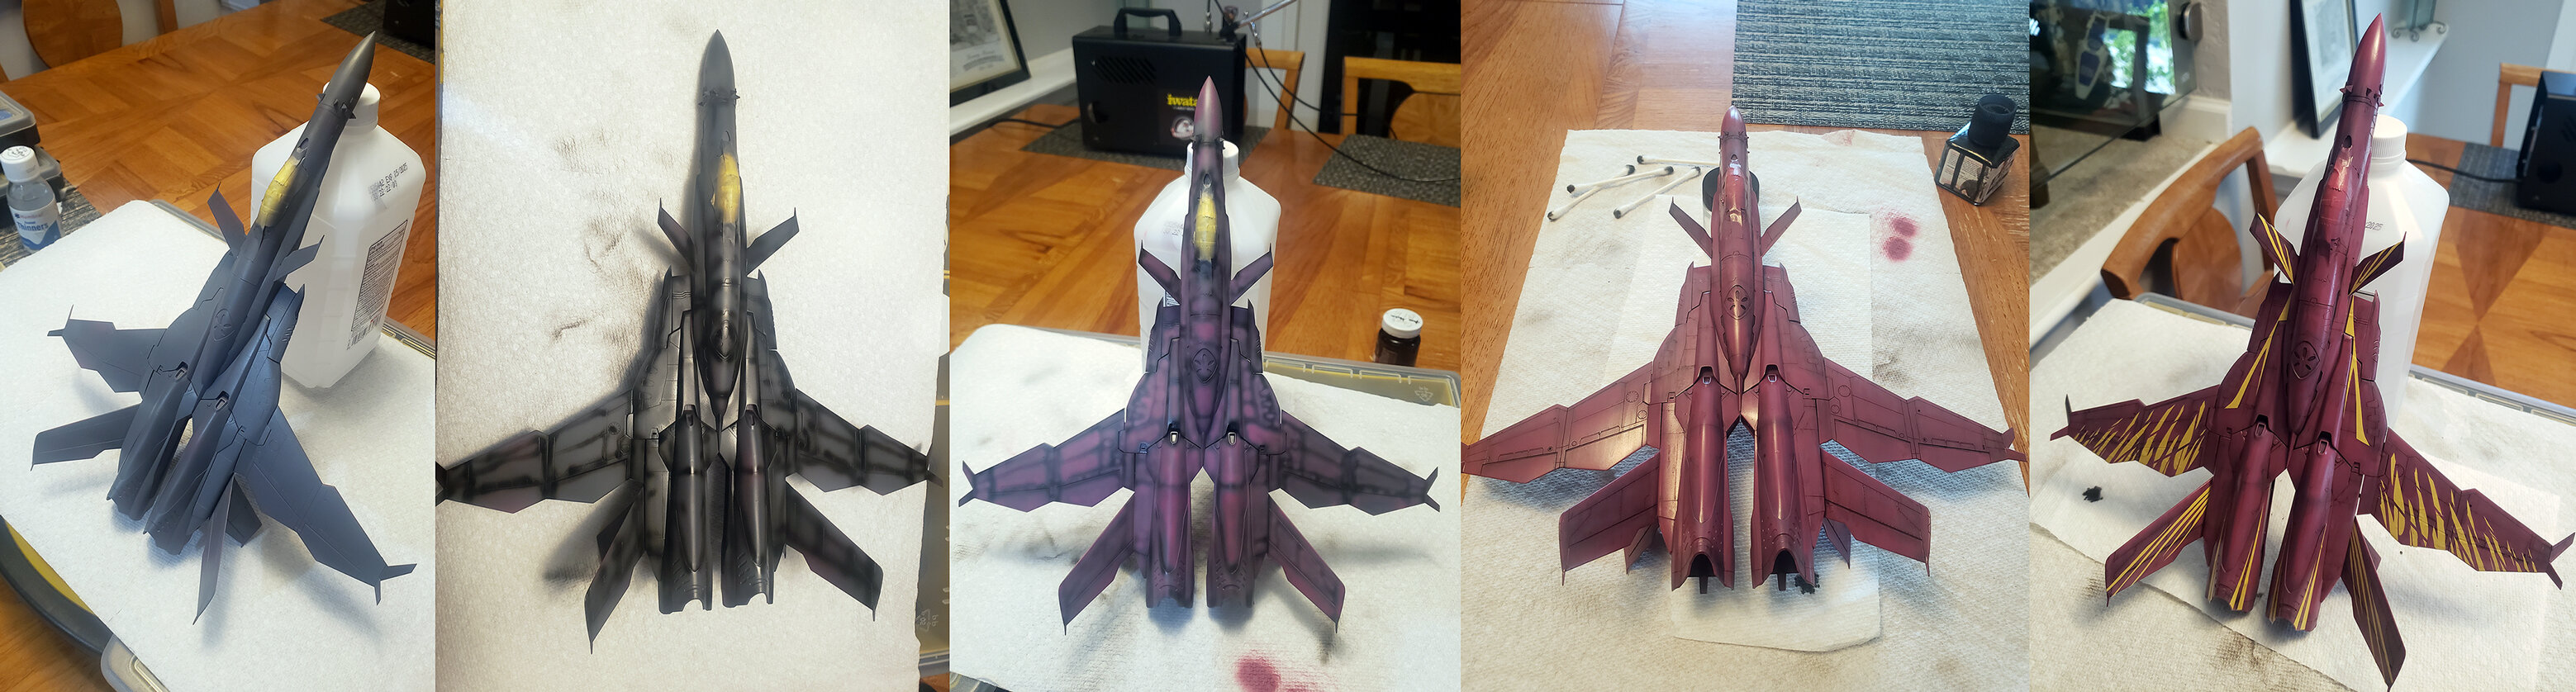
Cannonball run last night into the morning. Gotta love the ability to work fast with lacquer paints! Gray 1500 Surfacer+Mr. Color Black Shaded with Alclad II Gloss Black Base Preshaded with an AK Paint mix of my color + white Dropcoated with my AK Interactive Paint mix color. (Red06+Blue11+RotRed66+White04) Topcoated with Alclad II Aqua Gloss Dirty Washed with Tamiya Panel Line Accents + Black Artist Oils. Topcoated with Alcadd Aqua Gloss Decals!
-
zzinto
-
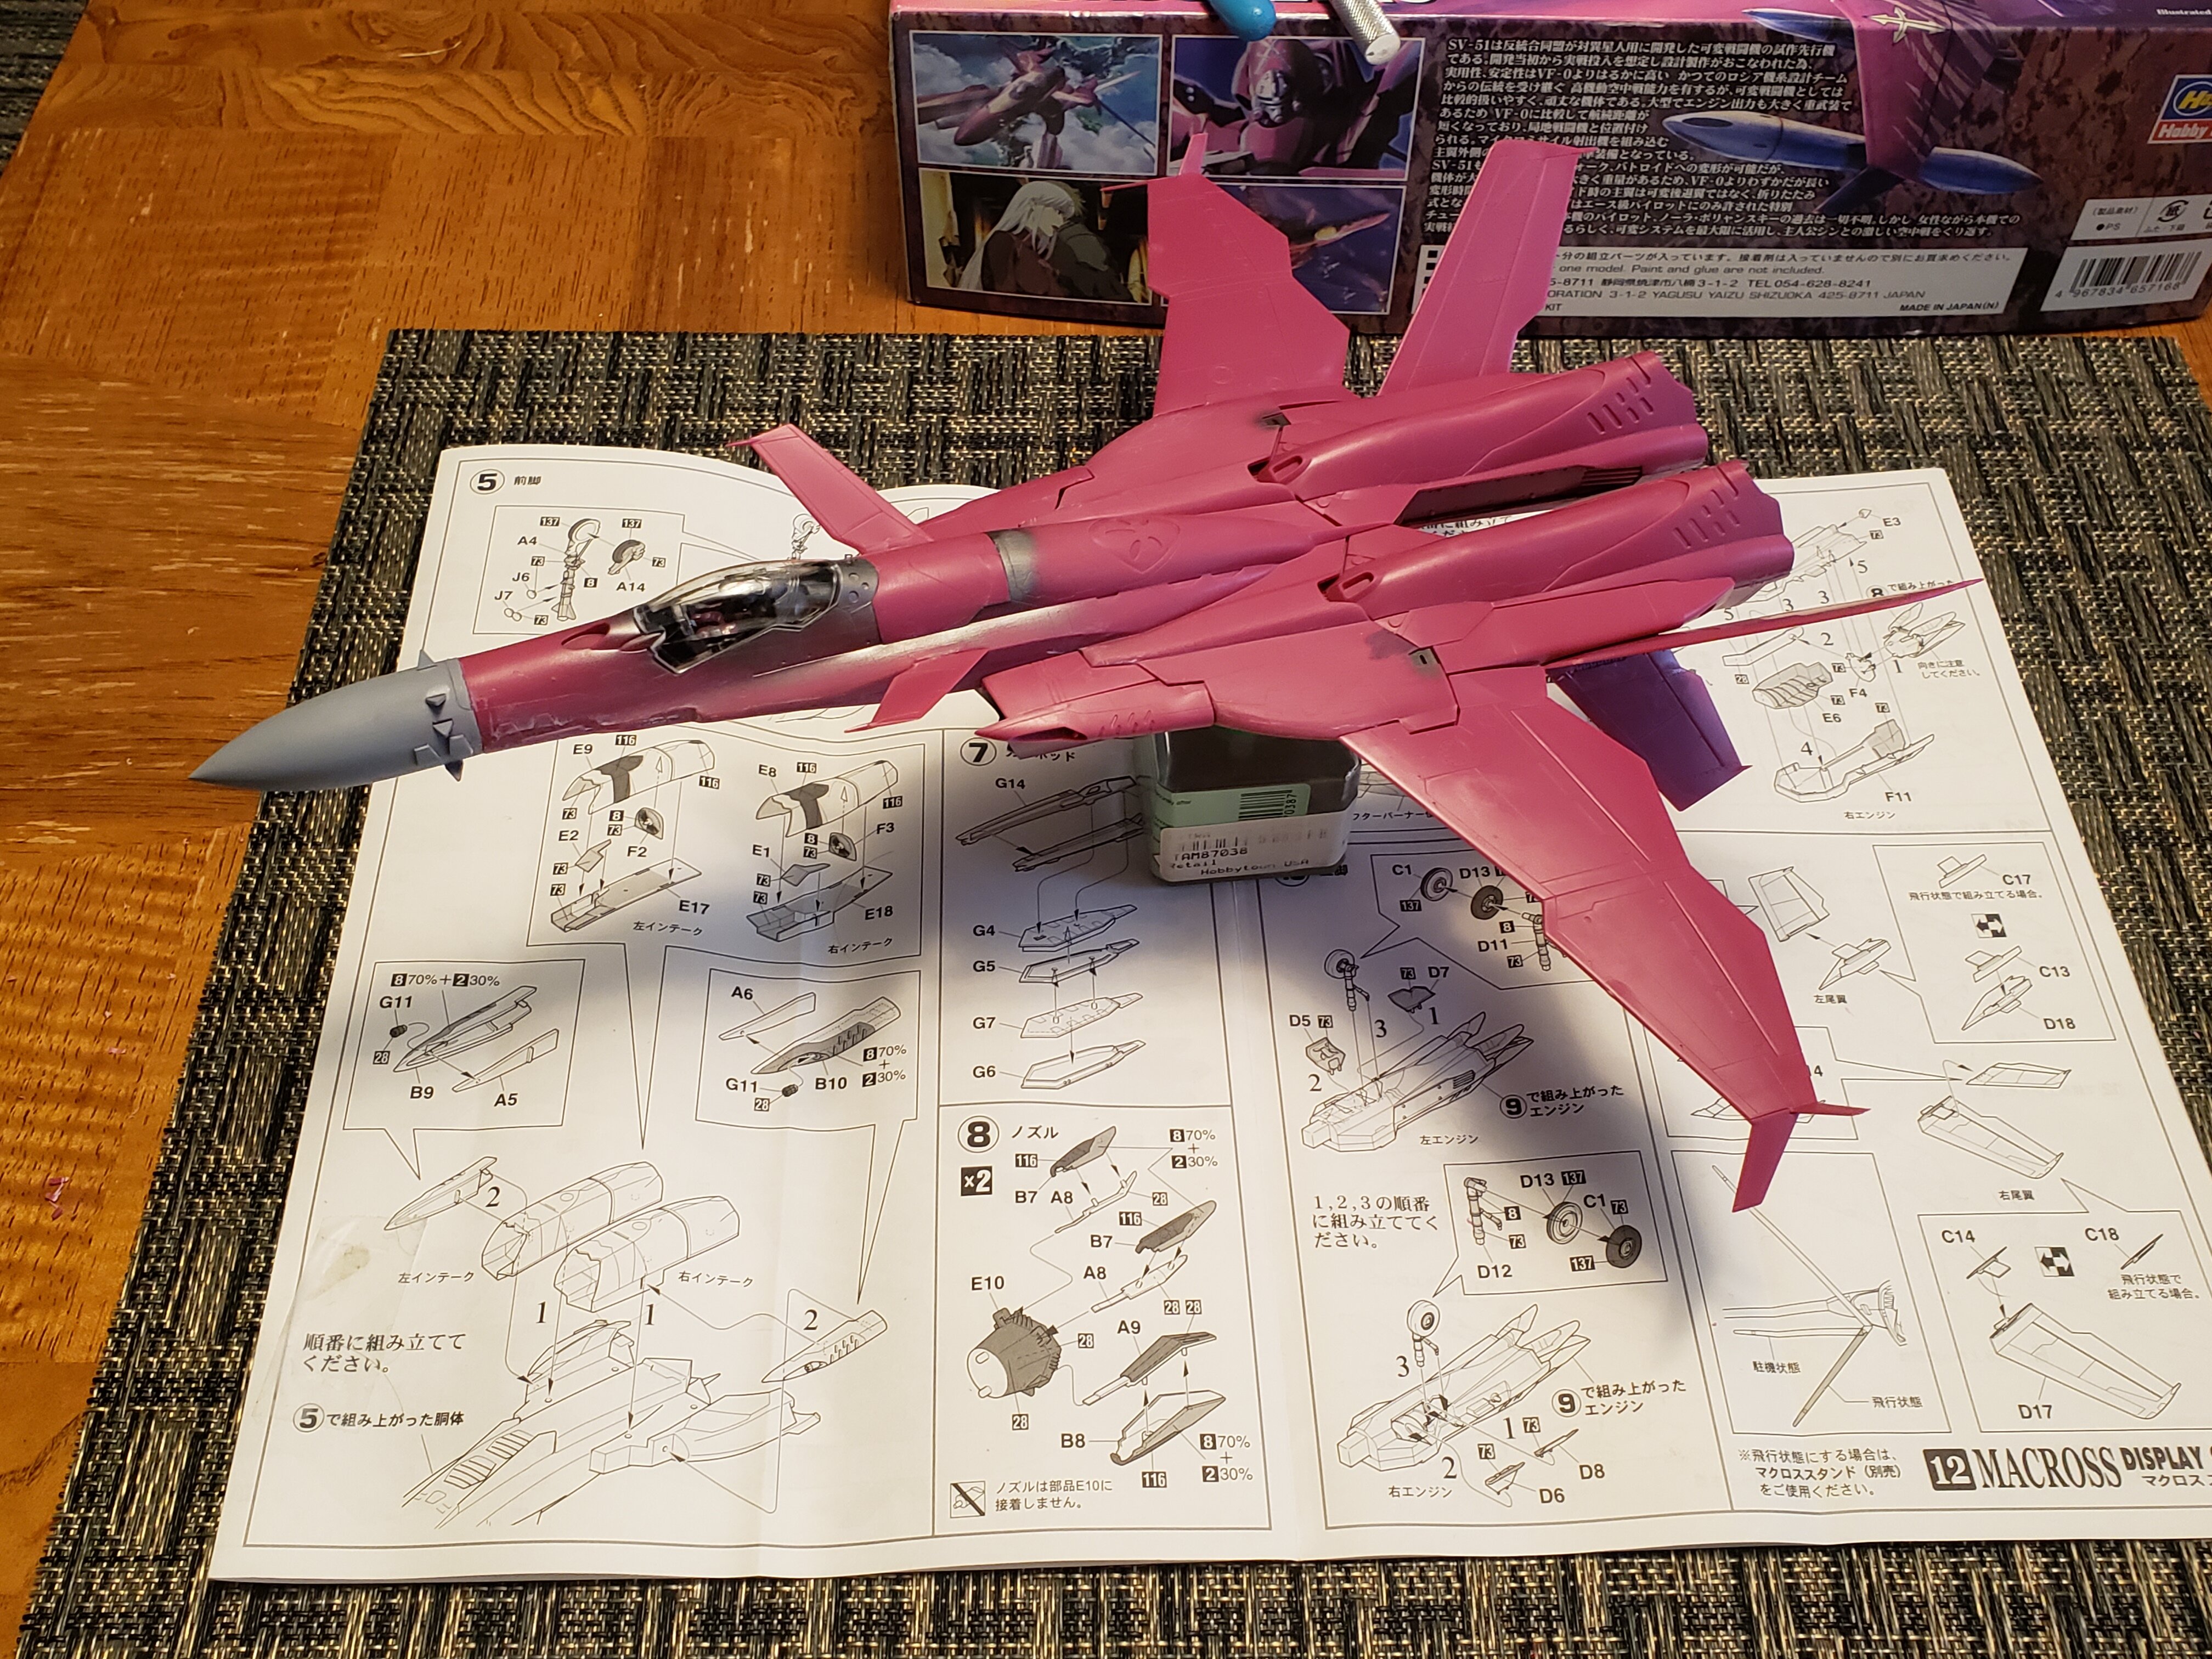
Not unless the decals become a disaster, (it's an old kit that has been sitting.) I wouldn't mind trying to airbrush some candy orange over the top of them to give it some variation opposed to flat yellow. I haven't had much luck lately trying to mask over decals that have been sandwiched in between clear coat. Even pre-tacking the tape, I've manage to pull them off on the last few builds. So far she's primed. The hurricane blowout from the east has given me nothing but rain today to work in... 😕
-
Hope for in paint this weekend.
-
Yup from WF 2014-15 from Frameout Models. Haven't seen an original on YJA in years and the webshop has been closed for some time. FWIW I'm pretty sure the GKM recast doesn't require the Bandai kit if you go that route. I do know the conversion kit could (with a little bit or work.) Homes (http://inventive.web.fc2.com/index.html) did an amazing job modeling the kit and is one of the only few examples I know of outside of the resin kit.
-
In an attempt to clear out some big boxes in the basement I brought these old kits back into the daylight after 10+ years to finish them. Just need that "I finished a kit" high to ride into my next clear valk project which will be a first time experience! Trying to match the paints to what I mixed long ago should prove interesting...
-
Anyone have a good site for grabbing these? Finally expanding the display cabinets and am wanting to get my valks off action bases. The original site has been dead and I'm getting redirection maleware warnings.
-
Gundam Show Thread - MSG thru GQuuuuuuX
Rock replied to Black Valkyrie's topic in Anime or Science Fiction
Nah. It just has that element much like how Banager/Unicorn was able to use NT magic to send the MS engines back in time (he disassemble them in EP7.) The time travel bits were blown up way more than they exist. That being said plot armor and NT magic are globbed into the movie making it an eyeroll. NT's story is simple, just badly told. They cherry-picked the good elements from the Novel MSGUC: Phoenex Hunting which takes place during Unicorn, moved it to after 0096. They then added in a new Gundam, Zoltan and used to to wrap up why pychoframes aren't used in UC beyond making the story quite a bit more messy. -3 Children predict a colony drop and are hailed as Miracle Children/Newtypes. Only the girl Rita is actually. They as children enter the newtype labs. Michelle is rejected and cast out. -Rita is used as a trial pilot for 02 Phenex. It shows some newtype power shinanigans before breaking free going rouge. -The other Miracle Children Michelle a free-agent and Jona an EFSF pilot join up on a mission to hunt the missing Phenex. It was last rumored to be in Side 6. -Jona doesn't want to kill Rita/Phenex though NT-D on his Narrative Gundam does. -When the get to Side 6 they are attacked by Neo Zeon reminiants led by Orochimaru... er, Zoltan a rejected Full Frontal/Char clone who was also there for the 03. -They all do battle. -It's revealed that Rita died and her soul was absorbed into the Phenex Gundam. -Eventually Banager shows up, saves Jona and he can finally board the Phenex. His broken necklace is put back together through time travel magic while he is in the cockpit. -NT/Force ghost story happens. -He then destorys the Neo Zeong II/Sinanju Stein. -Jona is thrown from the cockpit as NT magical wings envelope everything bad and make it disappear. Joan has all-seeing/newtype/time-travel flashback. -He is rescued and the Phenex flies away into space. -
-Realize it is just where you stopped painting but, I really like the unpainted/white fades on the abdomen. I kind of reminds me of the underwater light refraction effects modelers used to do on the old Hygogg builds. Kinda fitting for the Neptune's name.
-
No Pilot.
-
The 'Hey look at this really cool model build I saw' post
Rock replied to Shawn's topic in Model kits
-
Any chance of anything for the Shizuoka Hobby Show?
-
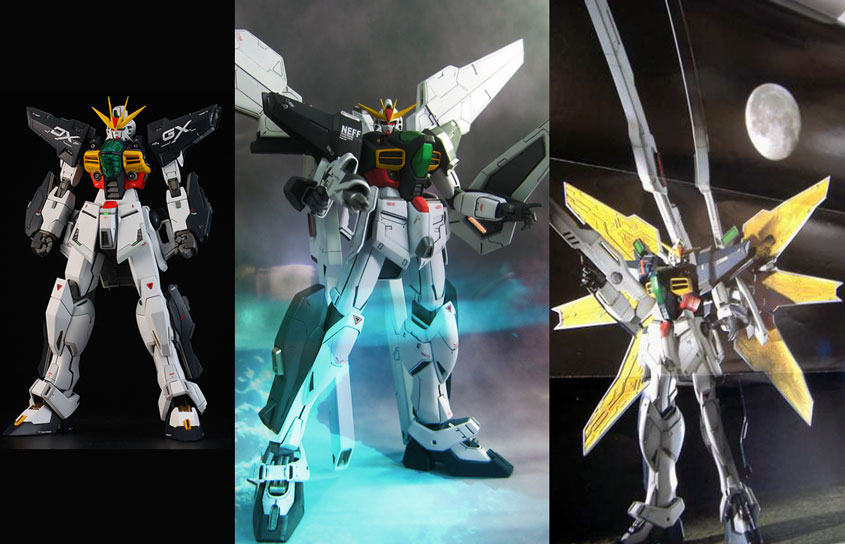
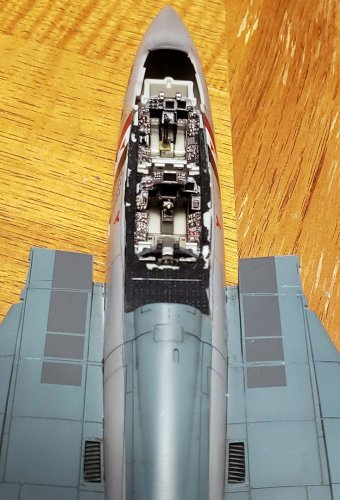
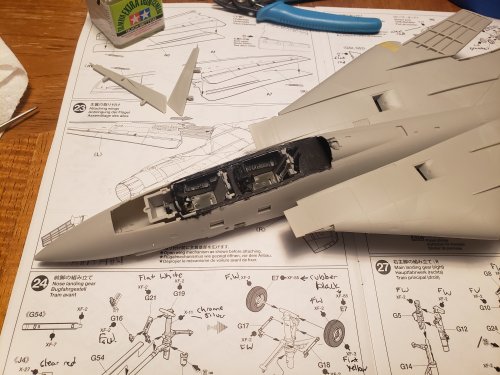
I only have 2 saved builds of the kit from a decade ago or so. It just has that wonky 90's kit look that doesn't age well for me personally. Almost every pic of the kit is from the top down so it is hard to show just how odd it is. Next to someones newer HGAC modelkit scaled up for reference. Not terrible but enough where it will require attention. -- Got my Tomcat (and other) bits in from Russia this weekend. A nice slap to the face with a $62 USD customs fee on top of the already expensive shipping. The Quinta Studio 3D decals are pretty slick. There are essentially 3d printed colored plastic details printed onto decal paper. First time trying them. I now know that I need to first remove the existing details completely to get them to lay flat, trim them a bit to help contour and make sure to do this process well before gluing the cockpit and body halves together. Will let the glue cure and attempt to blend in the white bare raised edges a bit with some paint. Should be fine for a closed cockpit... open cockpit will need a lot more work... I'll be more prepared when I get around to my smaller Flankers. I won't post the resin pilots and ejection seats I bought... they are pretty awful castings. I can't even tell a difference on the seat itself from Tamiya's minus some seat belt details... live an learn

-
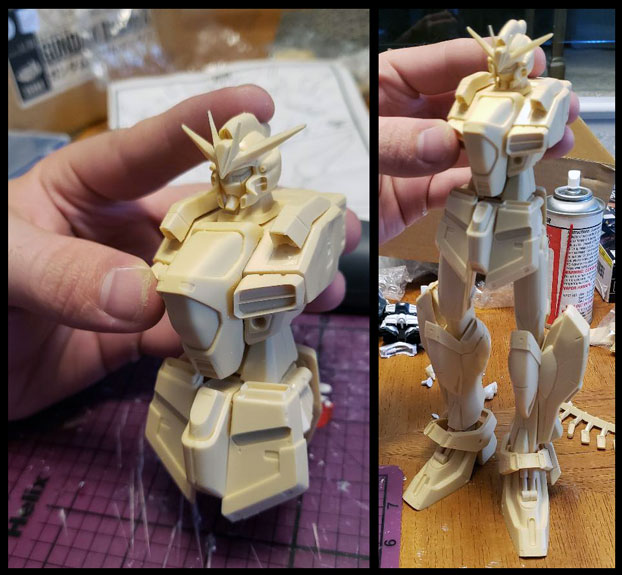
Tomcat's cockpit parts and decals have been in customs for 2 months now... from Russia with love~ Been in quite the slump for the past few months anyways with hobby and life and haven't done anything but spring-time repairs. Yesterday got a bit of a splash of inspiration when cleaning the basement and decided to start pinning/fitting my Atelier Sai Double X that evening. I'm not sure I'll go much further as the old girl is a mess. The Legs seem to be 1/60, the waist 1/100, the torso 1/72 and the head smaller than 1/100. I'm not sure I have it in me to correct it. I think buying the old 1/100 HG would be a good start as that would bump the head size up... but man- I have got to quit making everything into 5 kit donation project.

-
Most inkjets will do better by telling the printer your printing onto glossy photo paper and selecting the best print quality at a minimum 360dpi. ig your jusy doing stripes you can grab white decal paper instead of transparent too.
-
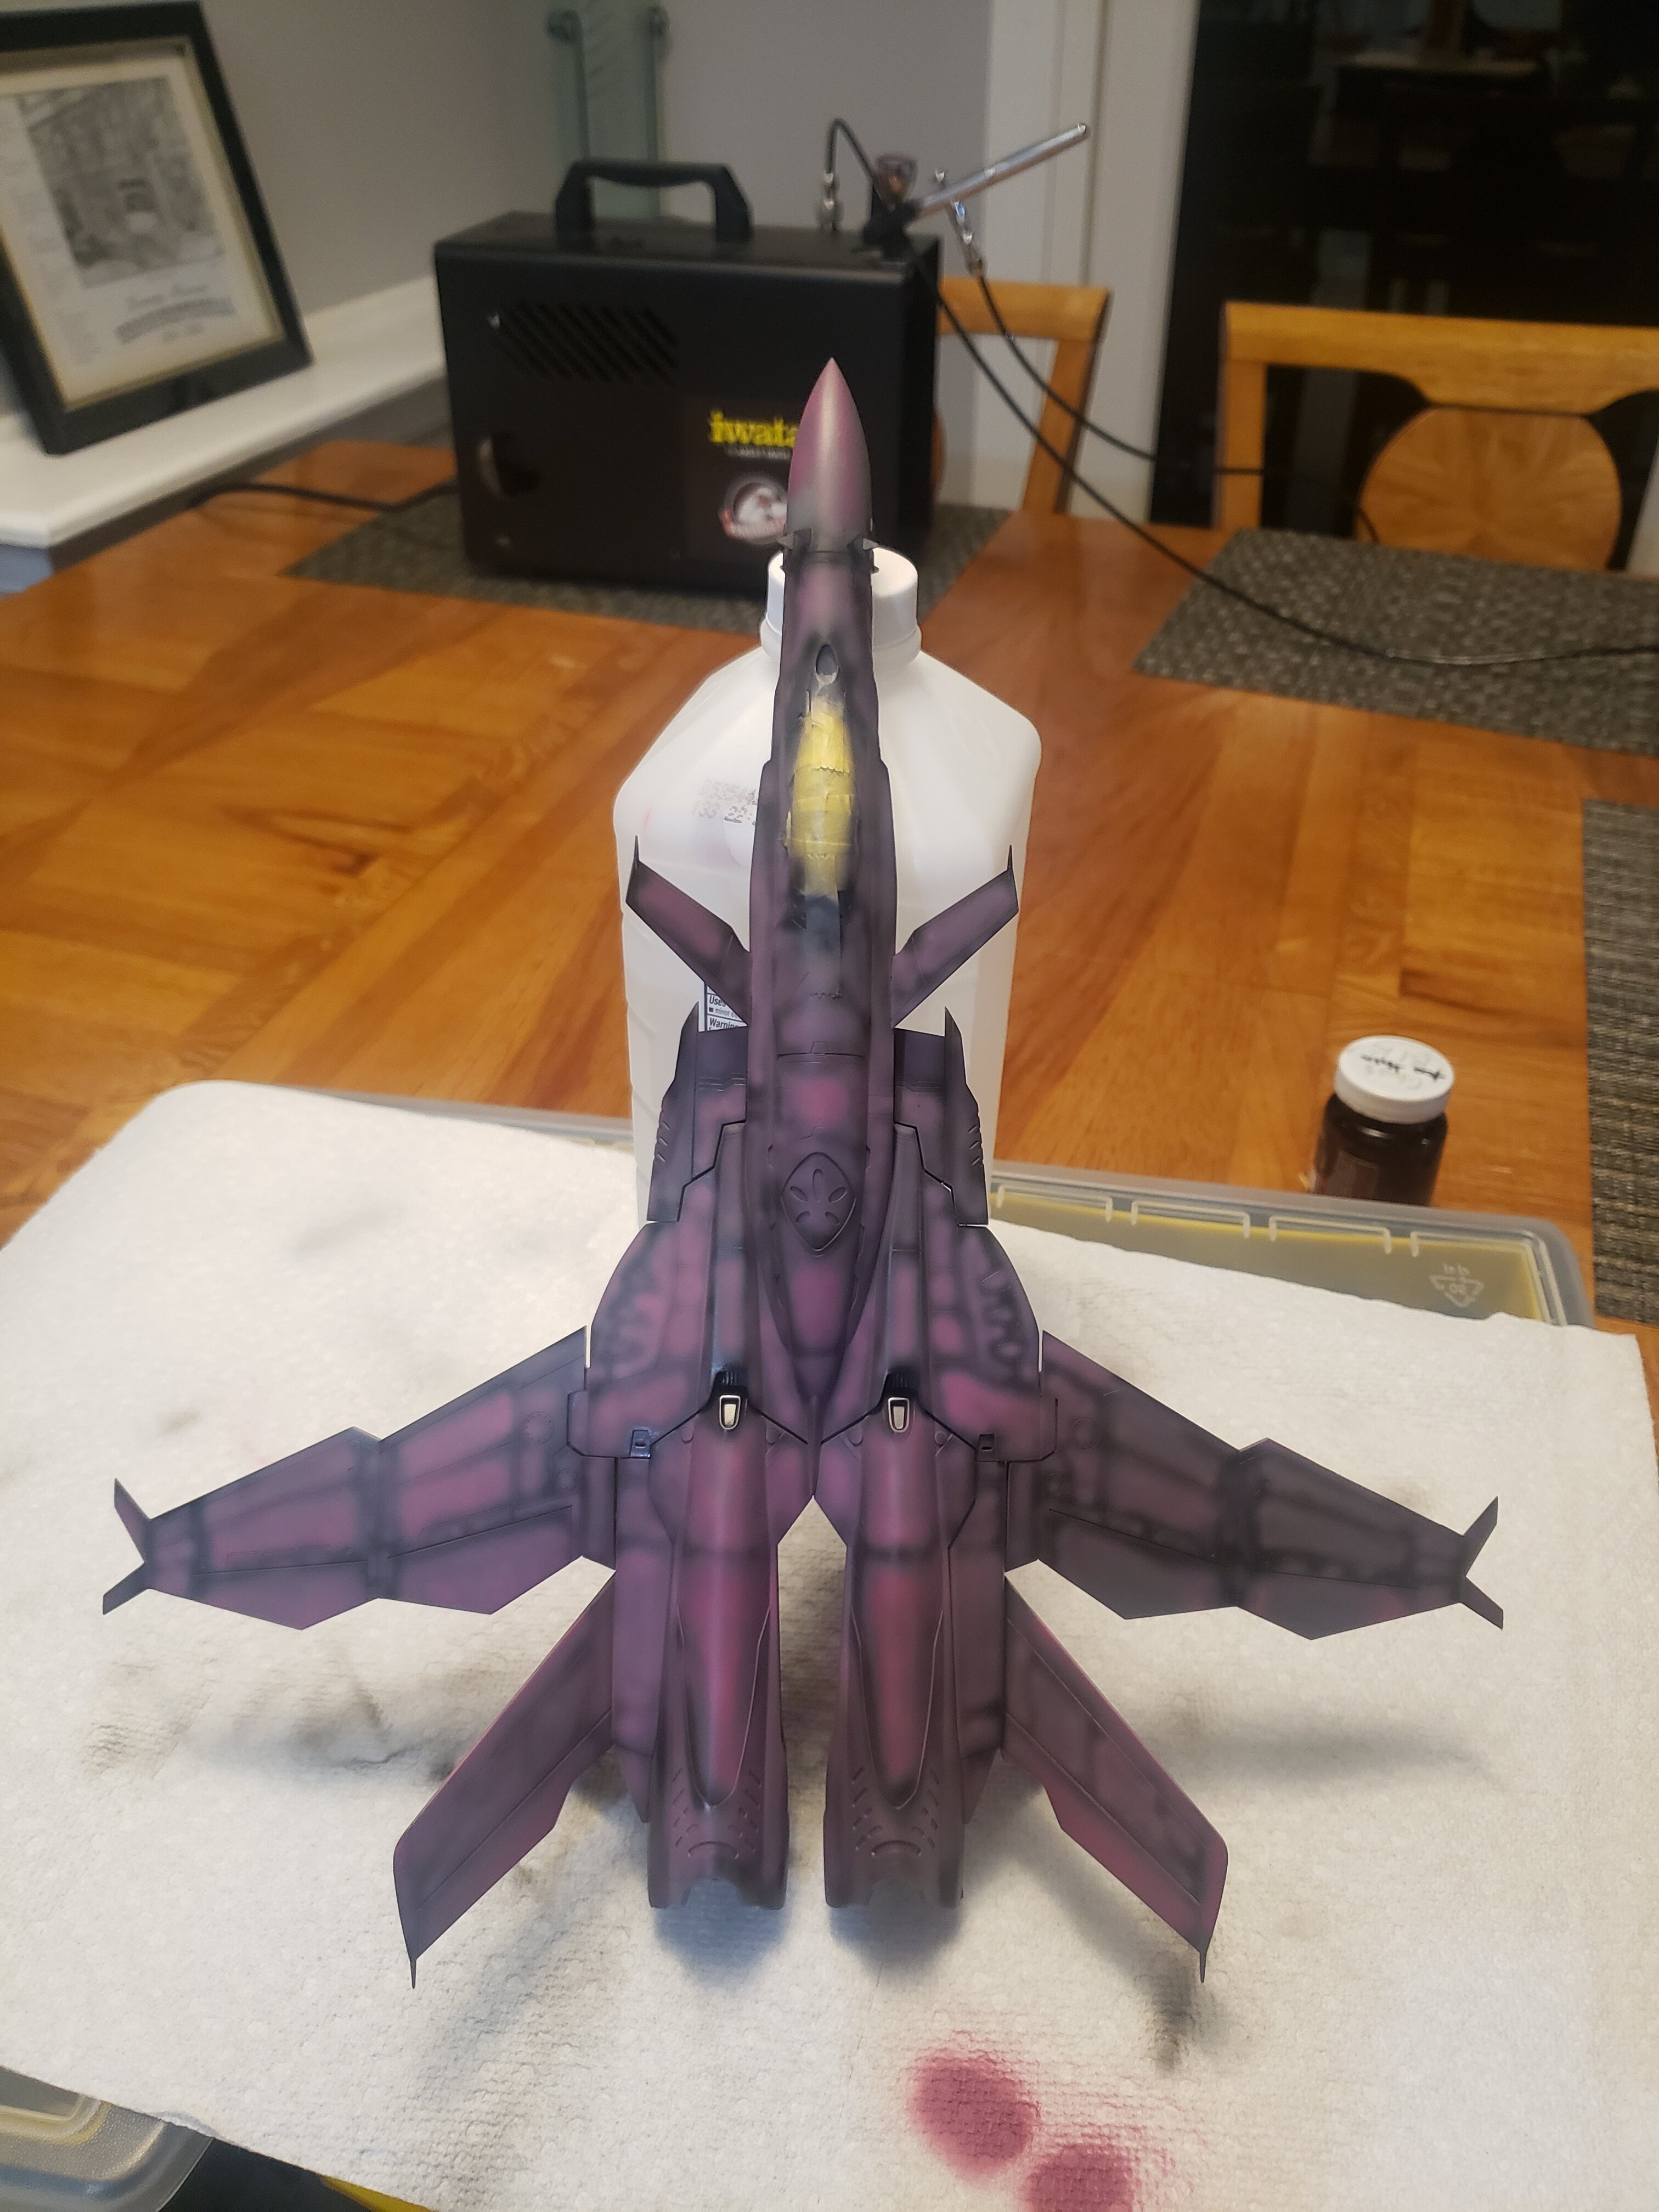
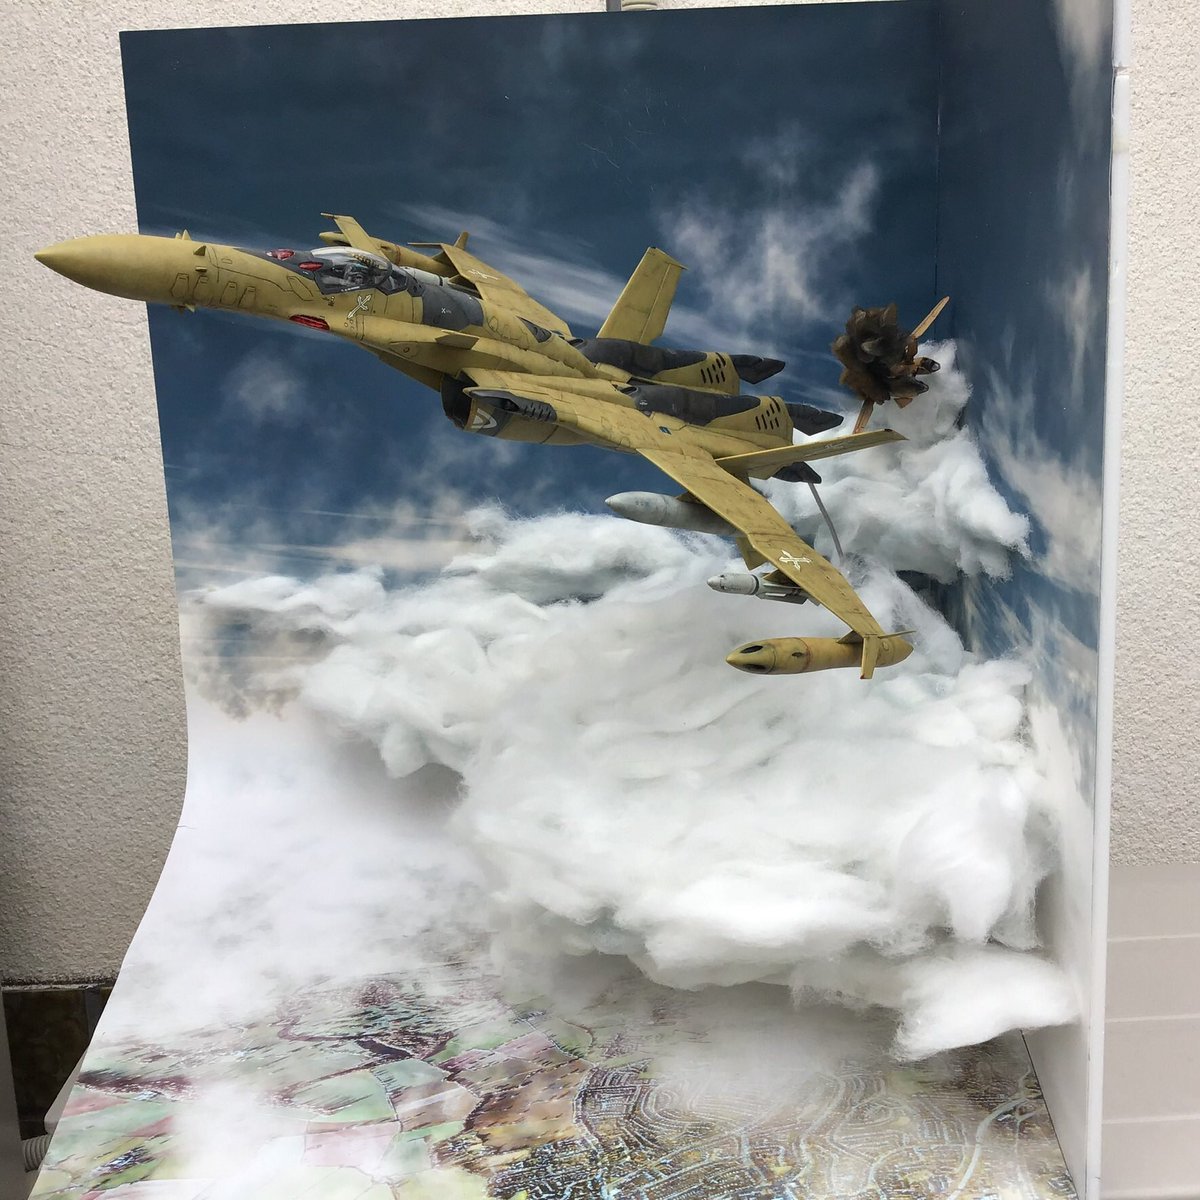
Preshade and wash went smoothly. Decals and off to the dirt and grime!
-
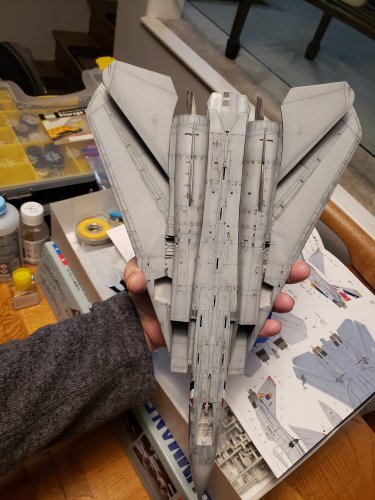
@Convectuoso There is a fixed resin fighter form conversion for the 1/72 Bandai vf-25f. Your still going to have to paint stripes though. Tamiya's 1:48 F-14D Tomcat. Had I known this kit was this amazing- I'd have grabbed some resin and metal bits to detail her up. I might have to grab the F-14A too for an open hatch build.
-
The 'Hey look at this really cool model build I saw' post
Rock replied to Shawn's topic in Model kits
-
That was the original plan. I'm not sure it works for the S-Gundam though. The resin parts are much smaller than the MG kit creating a bad look. It might be more favorable for an Ex-S as the smaller torso and head are really needed on the original MG. I grabbed the 1.5 MG earlier this year to maybe see if that creates a better look. I used to have a link to Barber's Ex-S build of the MG that was done in the Fix Figuration portion/styling. In that he significantly increase the shoulder size to create the look in height and width. I may have to figure something else out as it is quite daunting to do so with the MG's transformation throughly intergrated into the early frame.
-
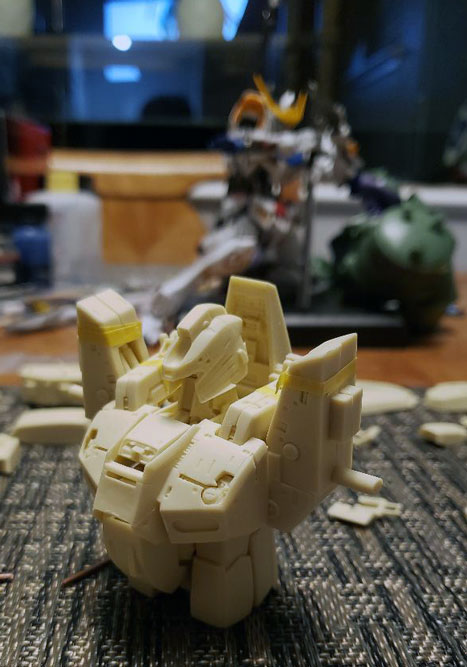
R, I've started on the mini EX-S last week too! I'm just noticing that the backpack of the 1/48 is of the S-Gundam [Bst] configuration given the 4 beam cannons. The alignment mark on the back piece make me think this is literally a digitally up-scaled kit from a 3d model. It has taken some tricky pinning on mine to get everything solid and still modular enough to easily remove for painting and cleanup. -K

-
"Oh I'll just see what everyone is building in this thread..." -21 new pages of posts. -1 hour later... Hot damn guys! Covid is slowing any of you guys down! The kits look great! I really want to join you but, summer time brings house and yard projects. :/ Hurry up and snow already!
-
The 'Hey look at this really cool model build I saw' post
Rock replied to Shawn's topic in Model kits
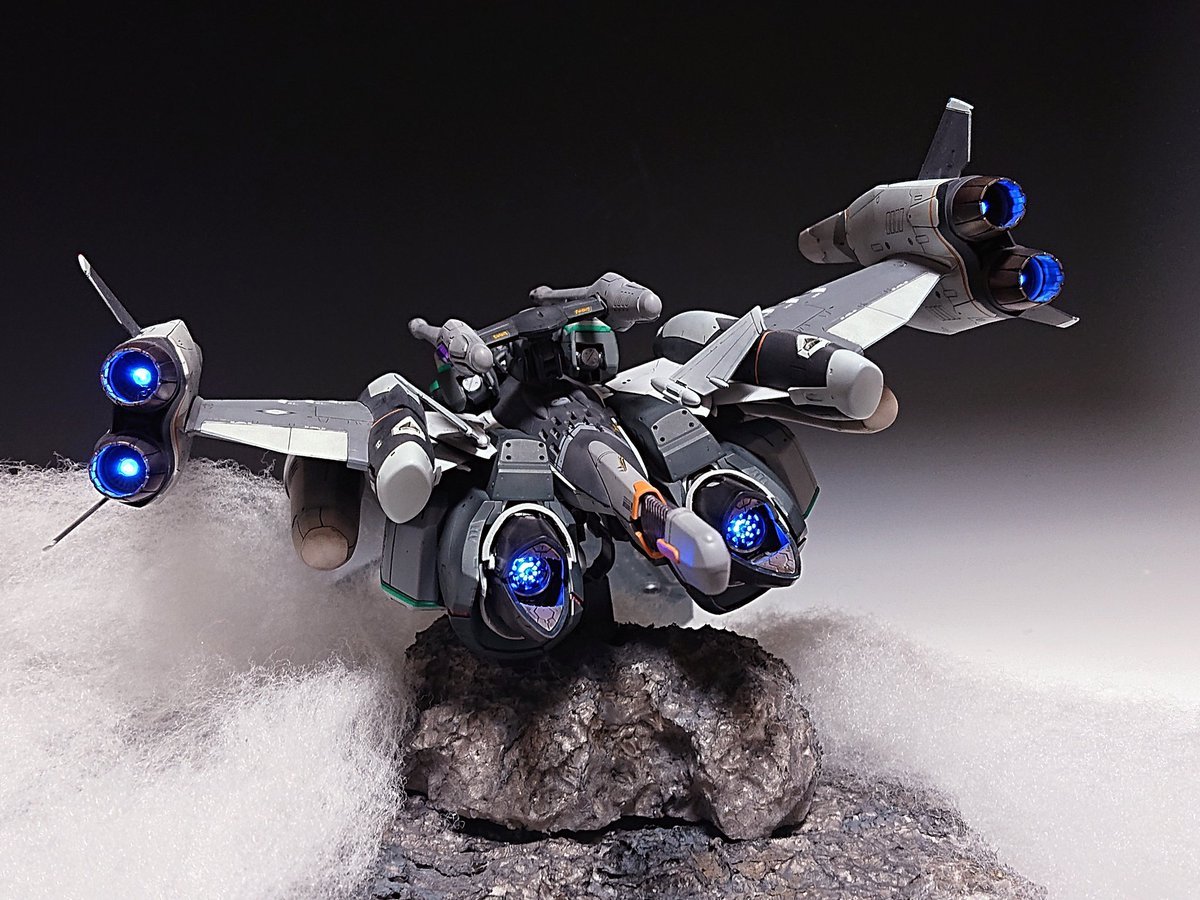
An armored-tornado and a pretty sweet diorama!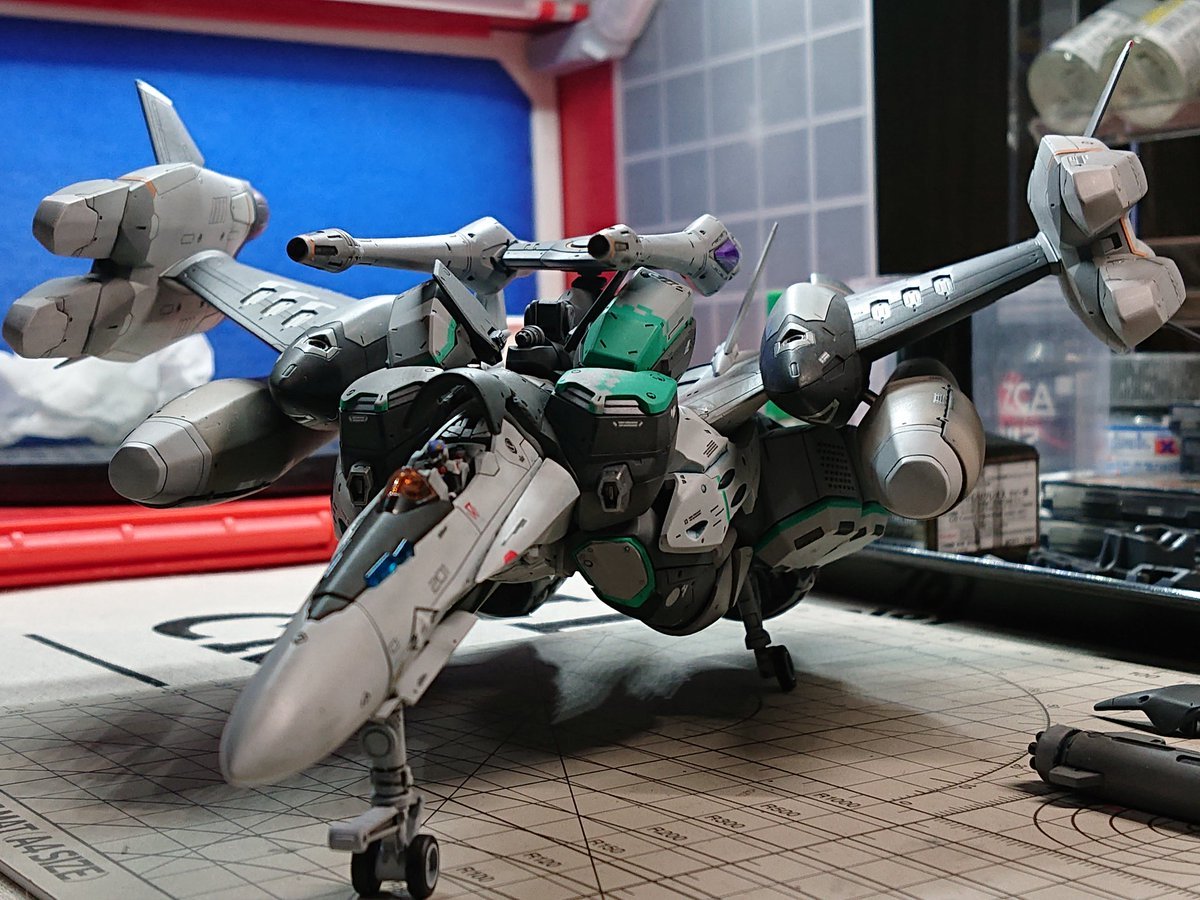
-
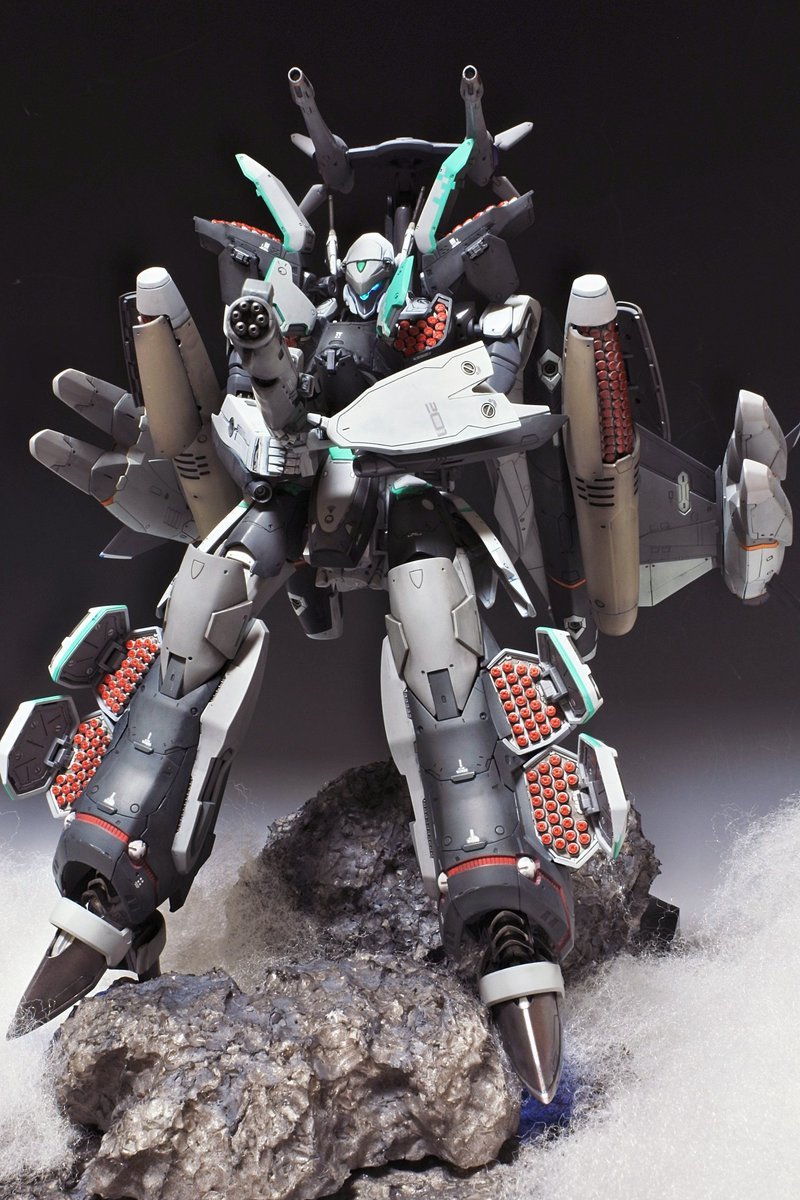
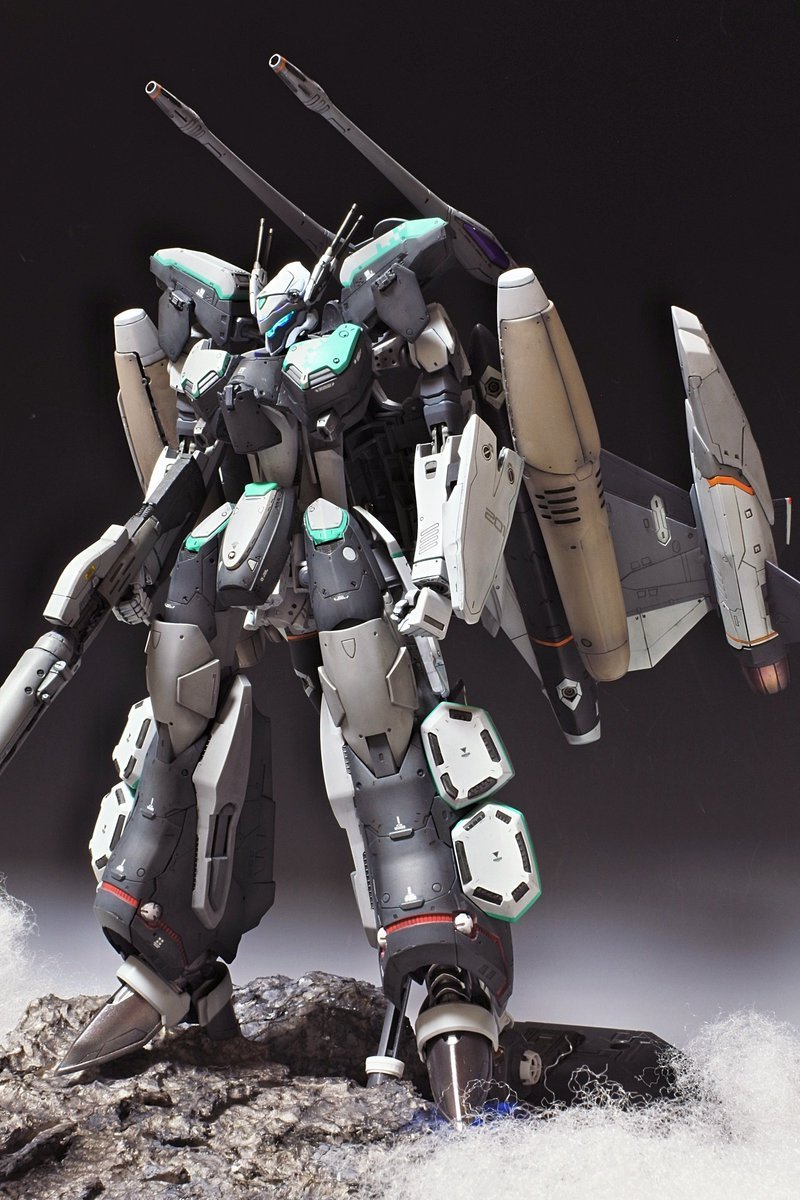
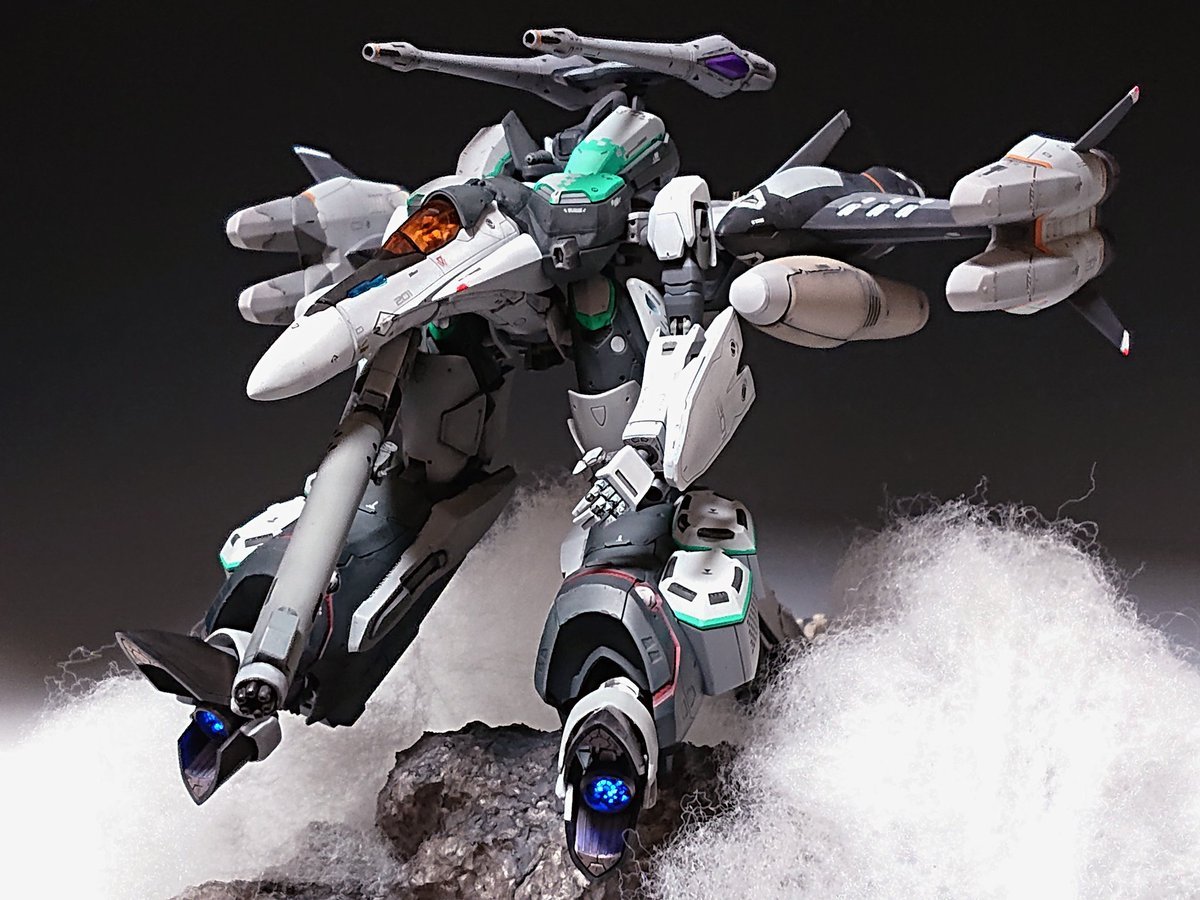
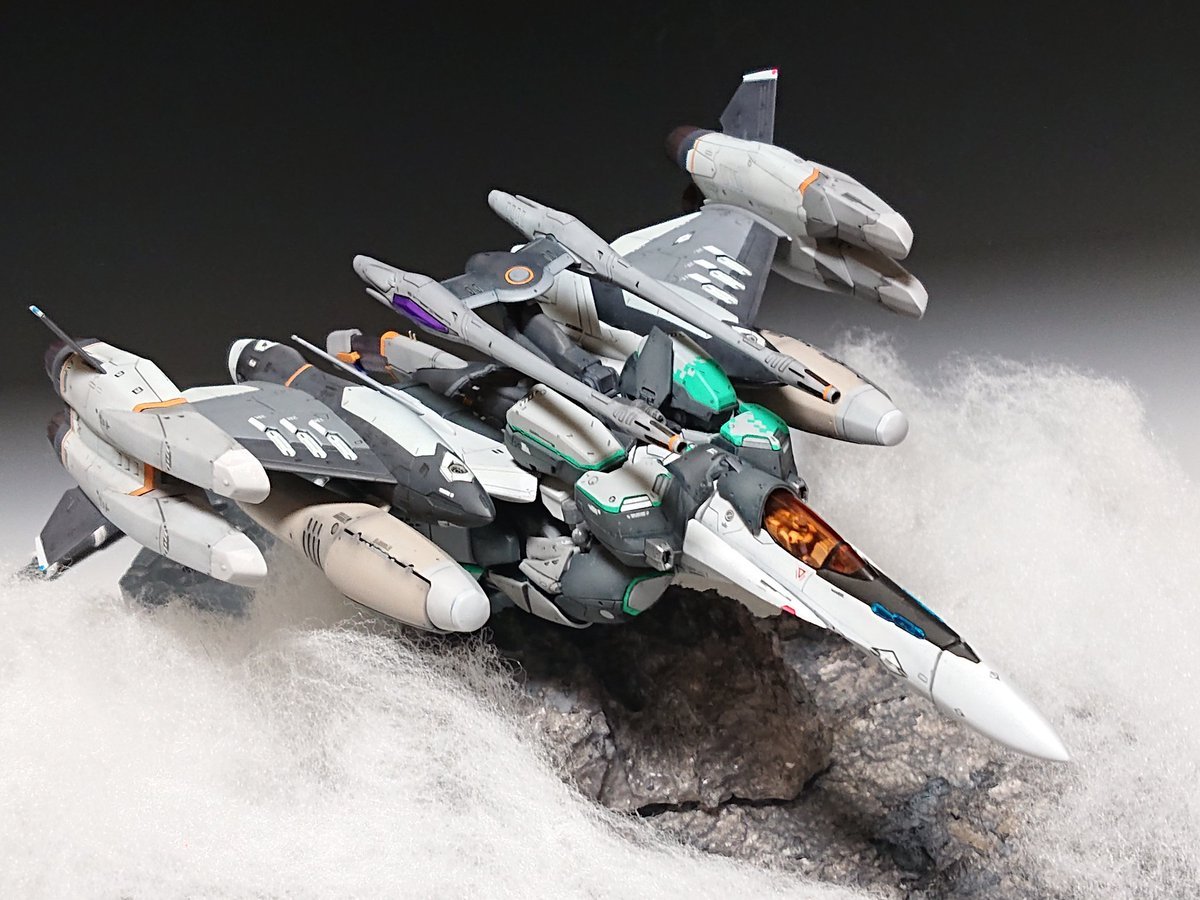
Bolt’s Blt comp entry#1 Neo Grade VF1 Armored Valkyrie
Rock replied to Bolt's topic in The Workshop!
There is actually not that uncommon to see the NeoGrade kit pop up on Yahoo Japan Auctions. Presently only the Yellow-Sub version is running though. I just with Shopping Mall Japan wasn't closing or I'd snag it. -
Wasn't able to finish even with the extra hour. Topcoat, canopy framing and weathering is all that remain.