

derex3592
-
Posts
8929 -
Joined
-
Last visited
Content Type
Profiles
Forums
Events
Gallery
Everything posted by derex3592
-
Yeh, I just pre-ordered one. If this is the way they are going to go, more like the Bandai model kit route, I want to support them fully! Whatever gets us a GLAUG and QRAU!
-
Dear Bandai... Your stands SUCK. Sincerely, EVERYONE.
-
I guess I'm gonna have to pre-order one of these to try it out.
-
The Matrix Resurrections (What is The Matrix 4?)
derex3592 replied to TangledThorns's topic in Anime or Science Fiction
those are great pics of both of them. -
That's fine and dandy with me! Bring on the set of two!!!
-
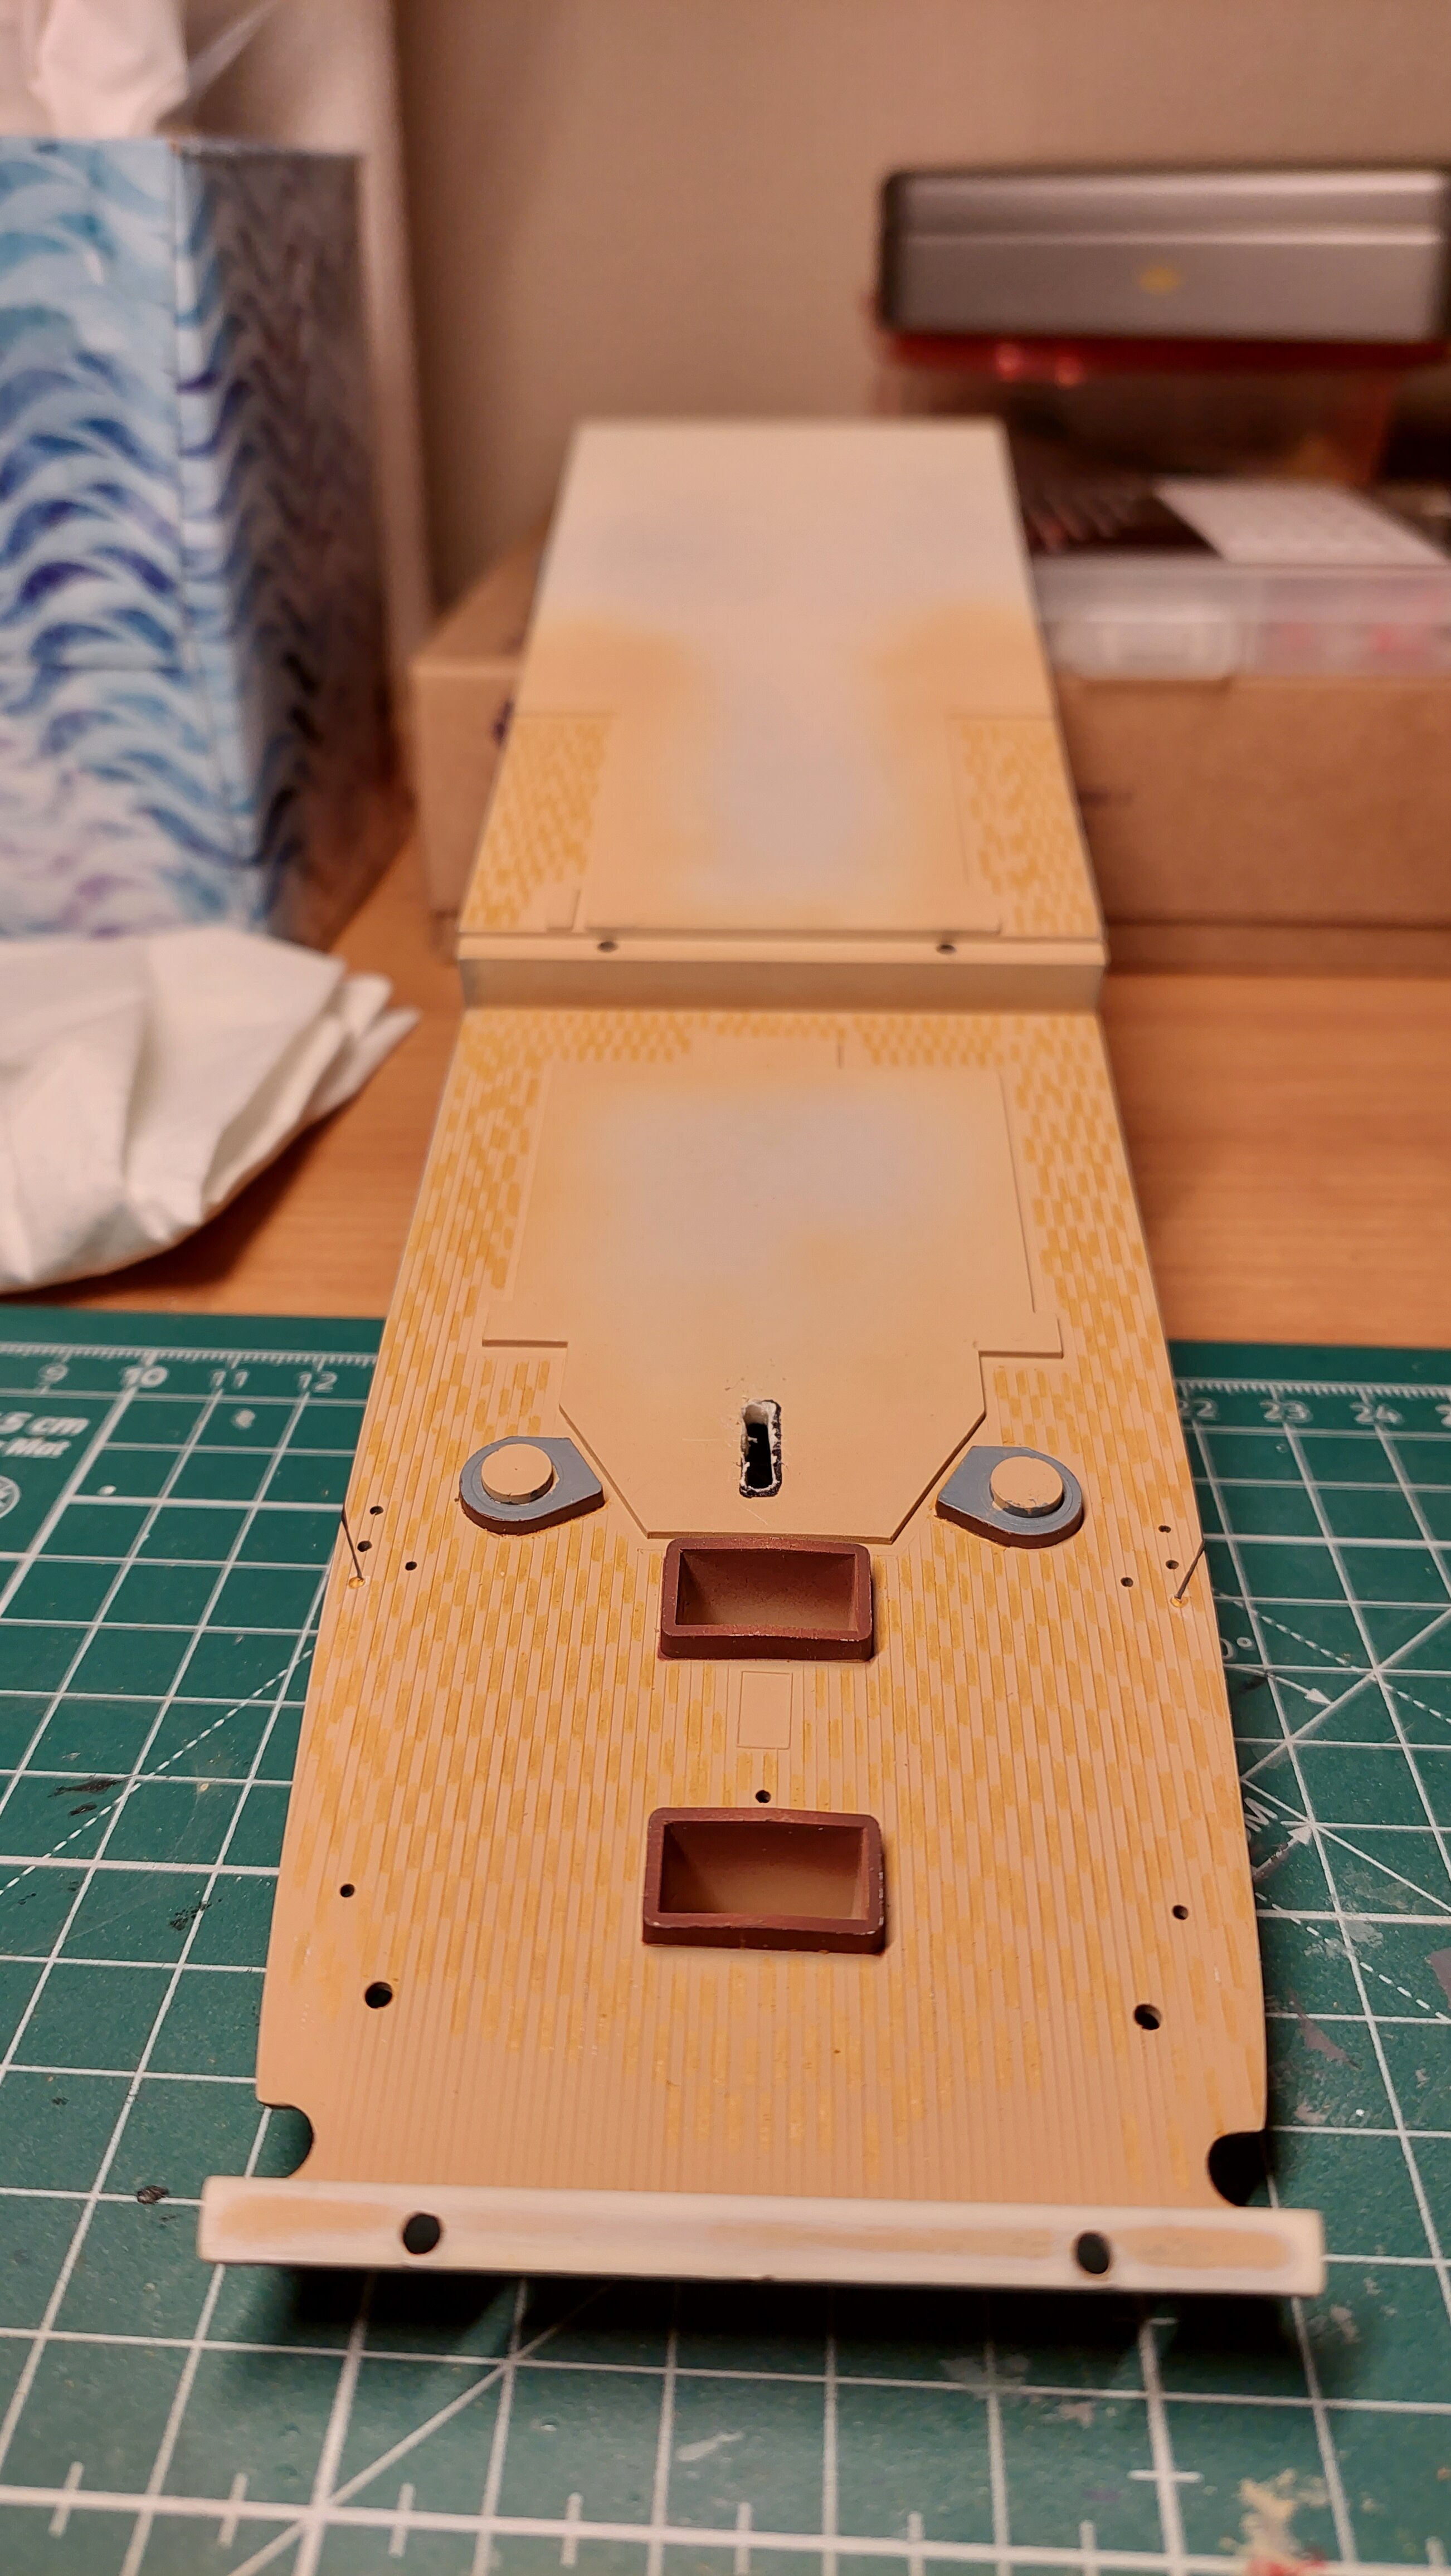
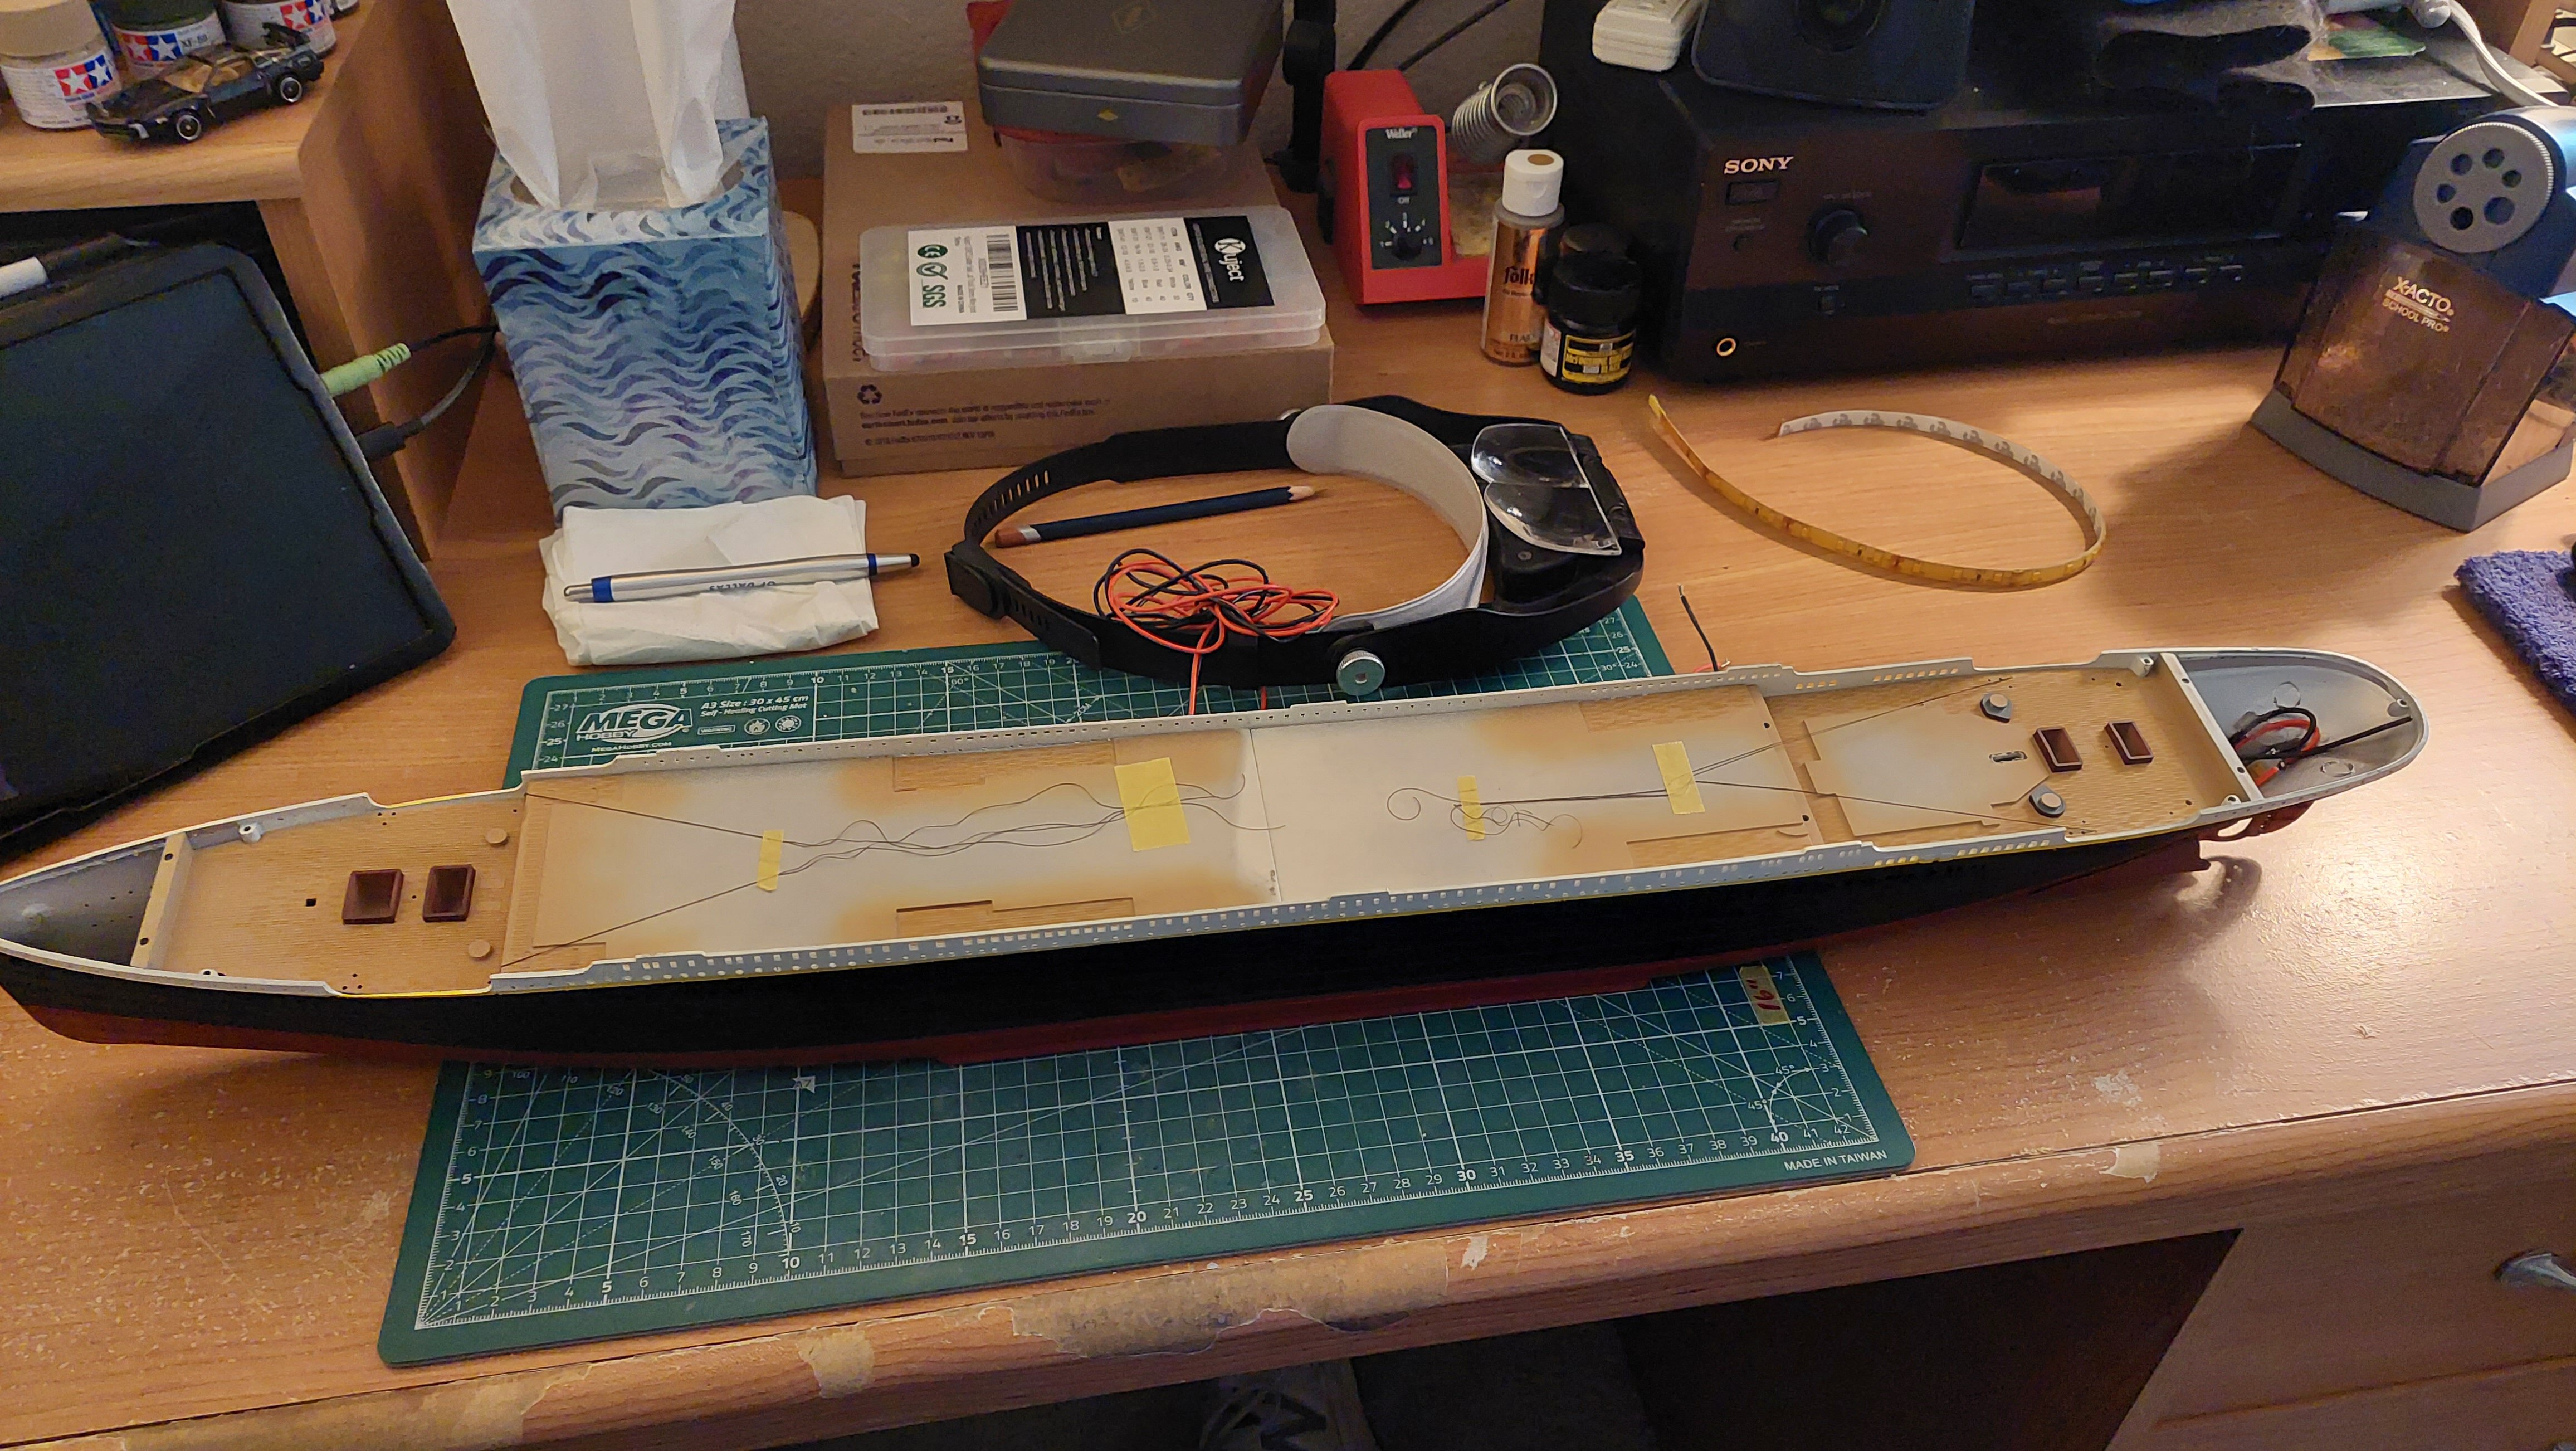
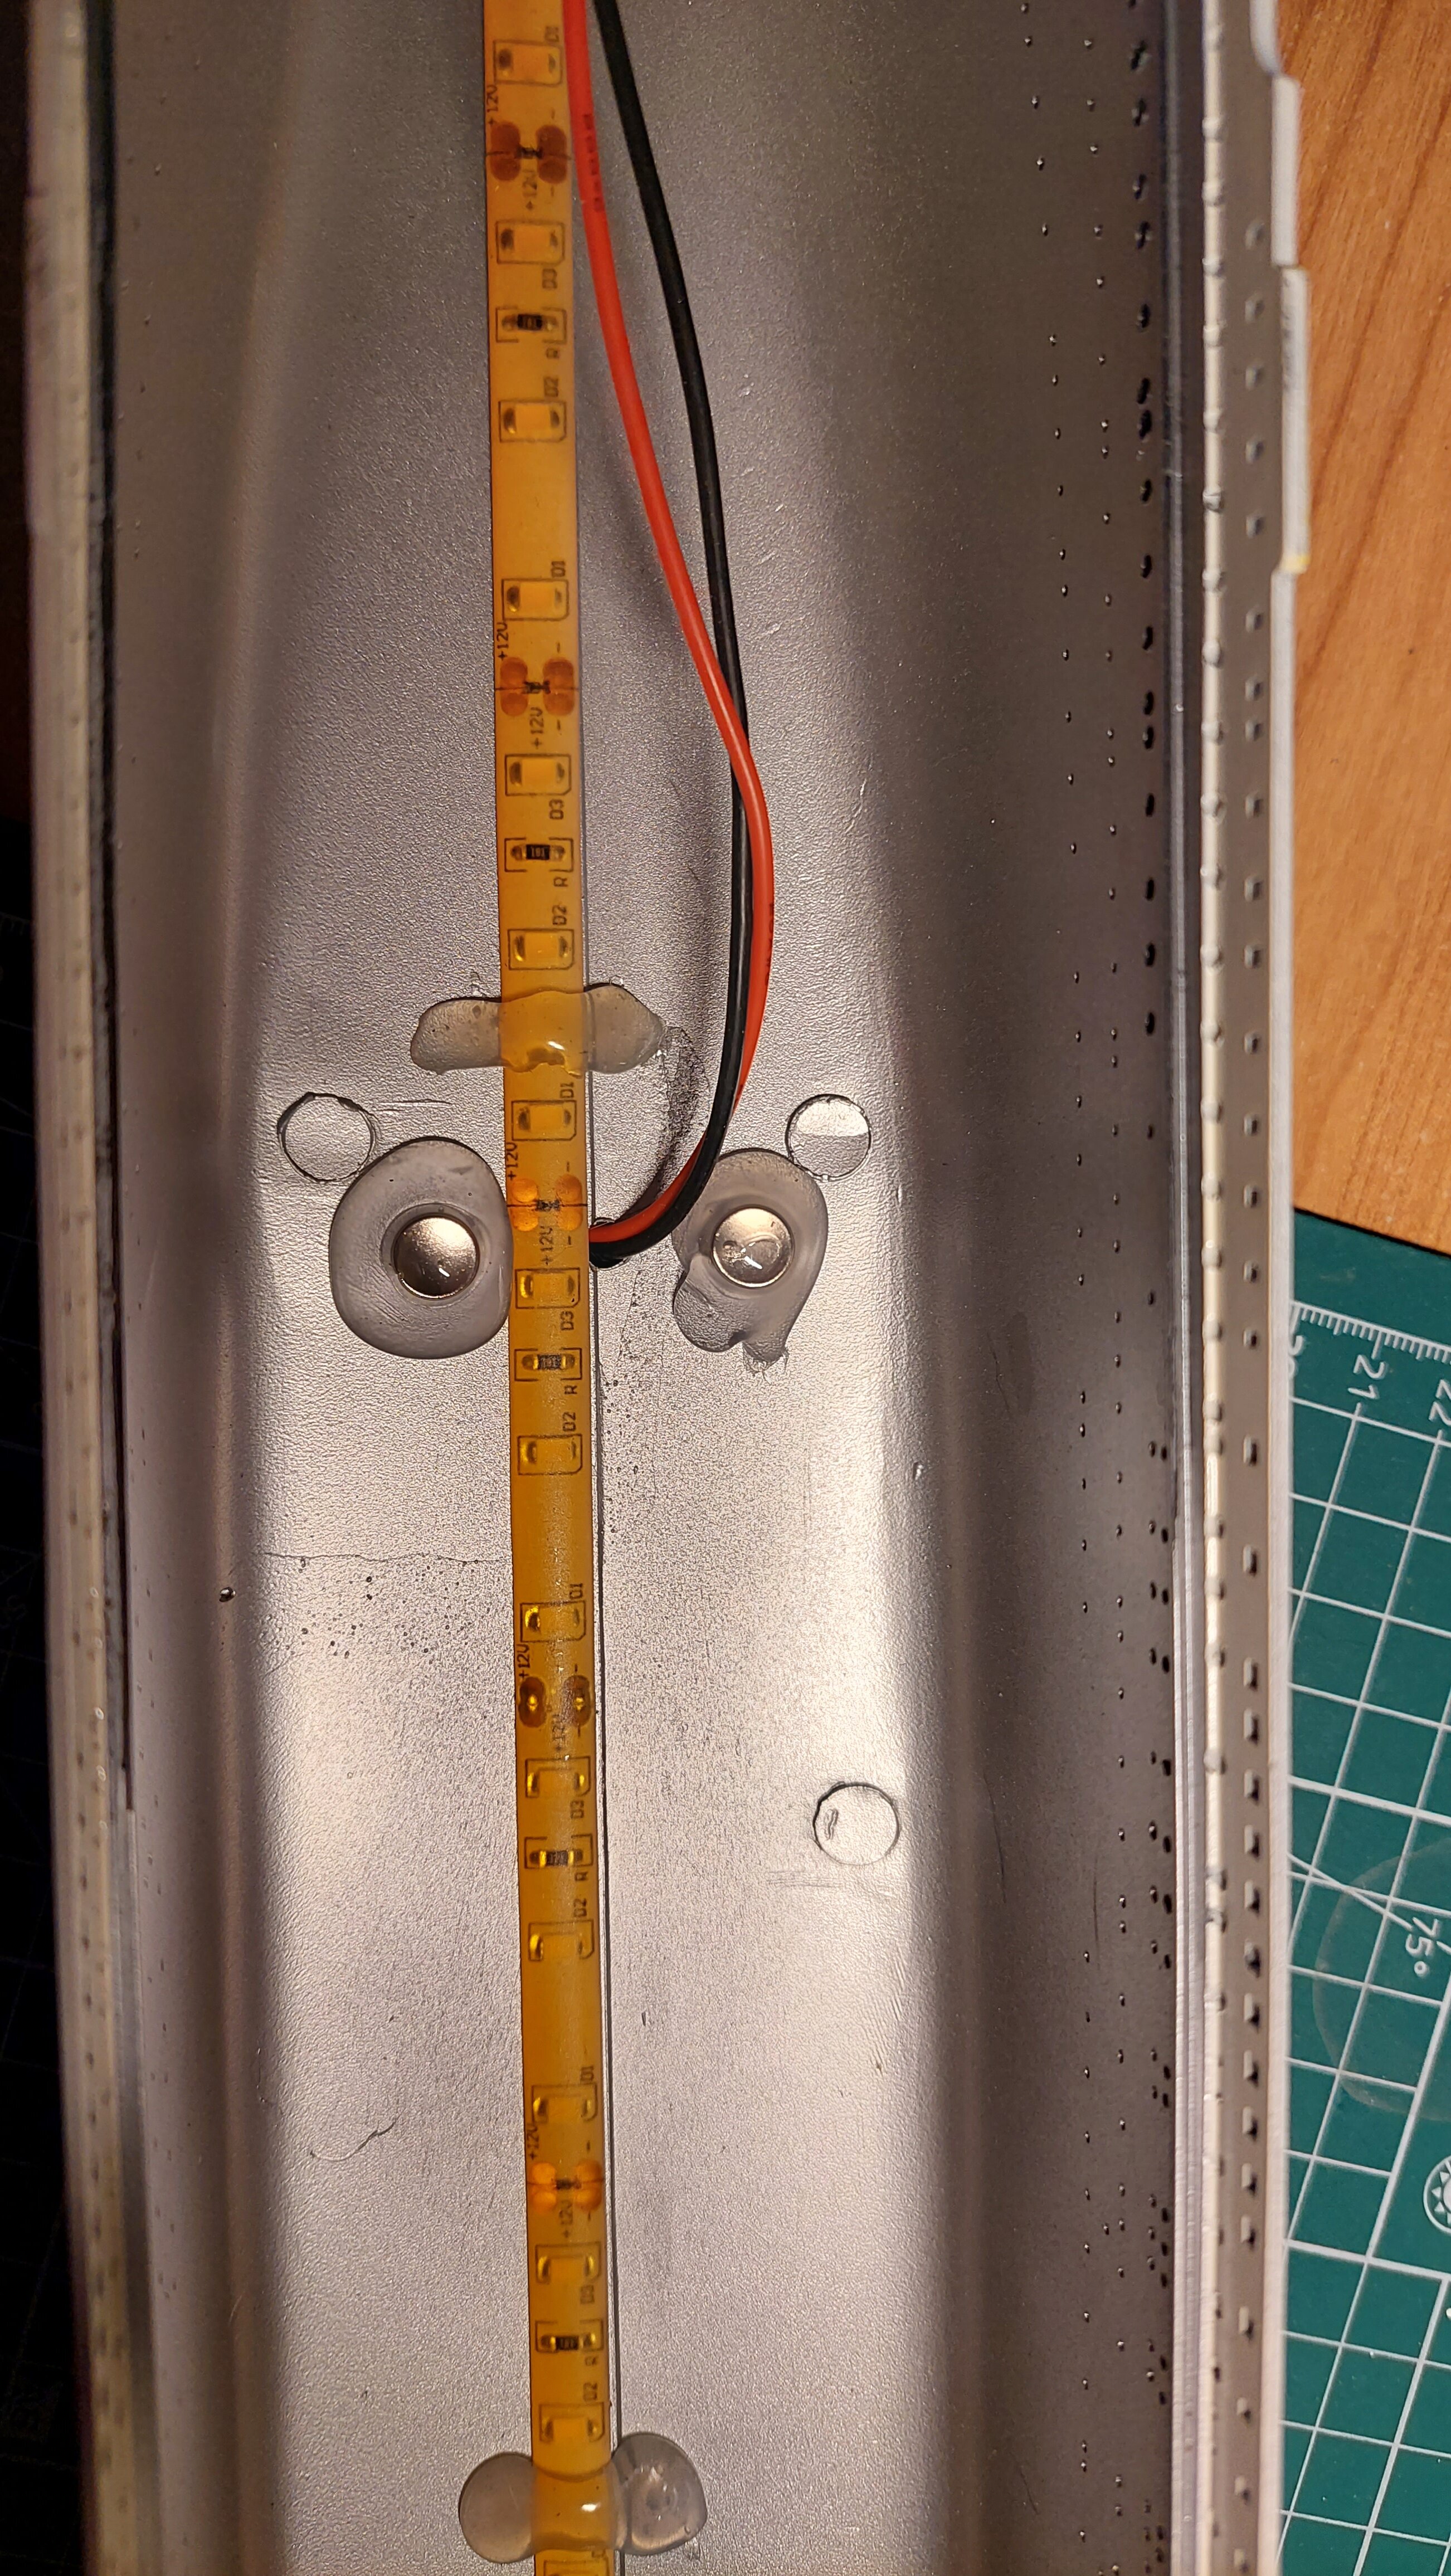
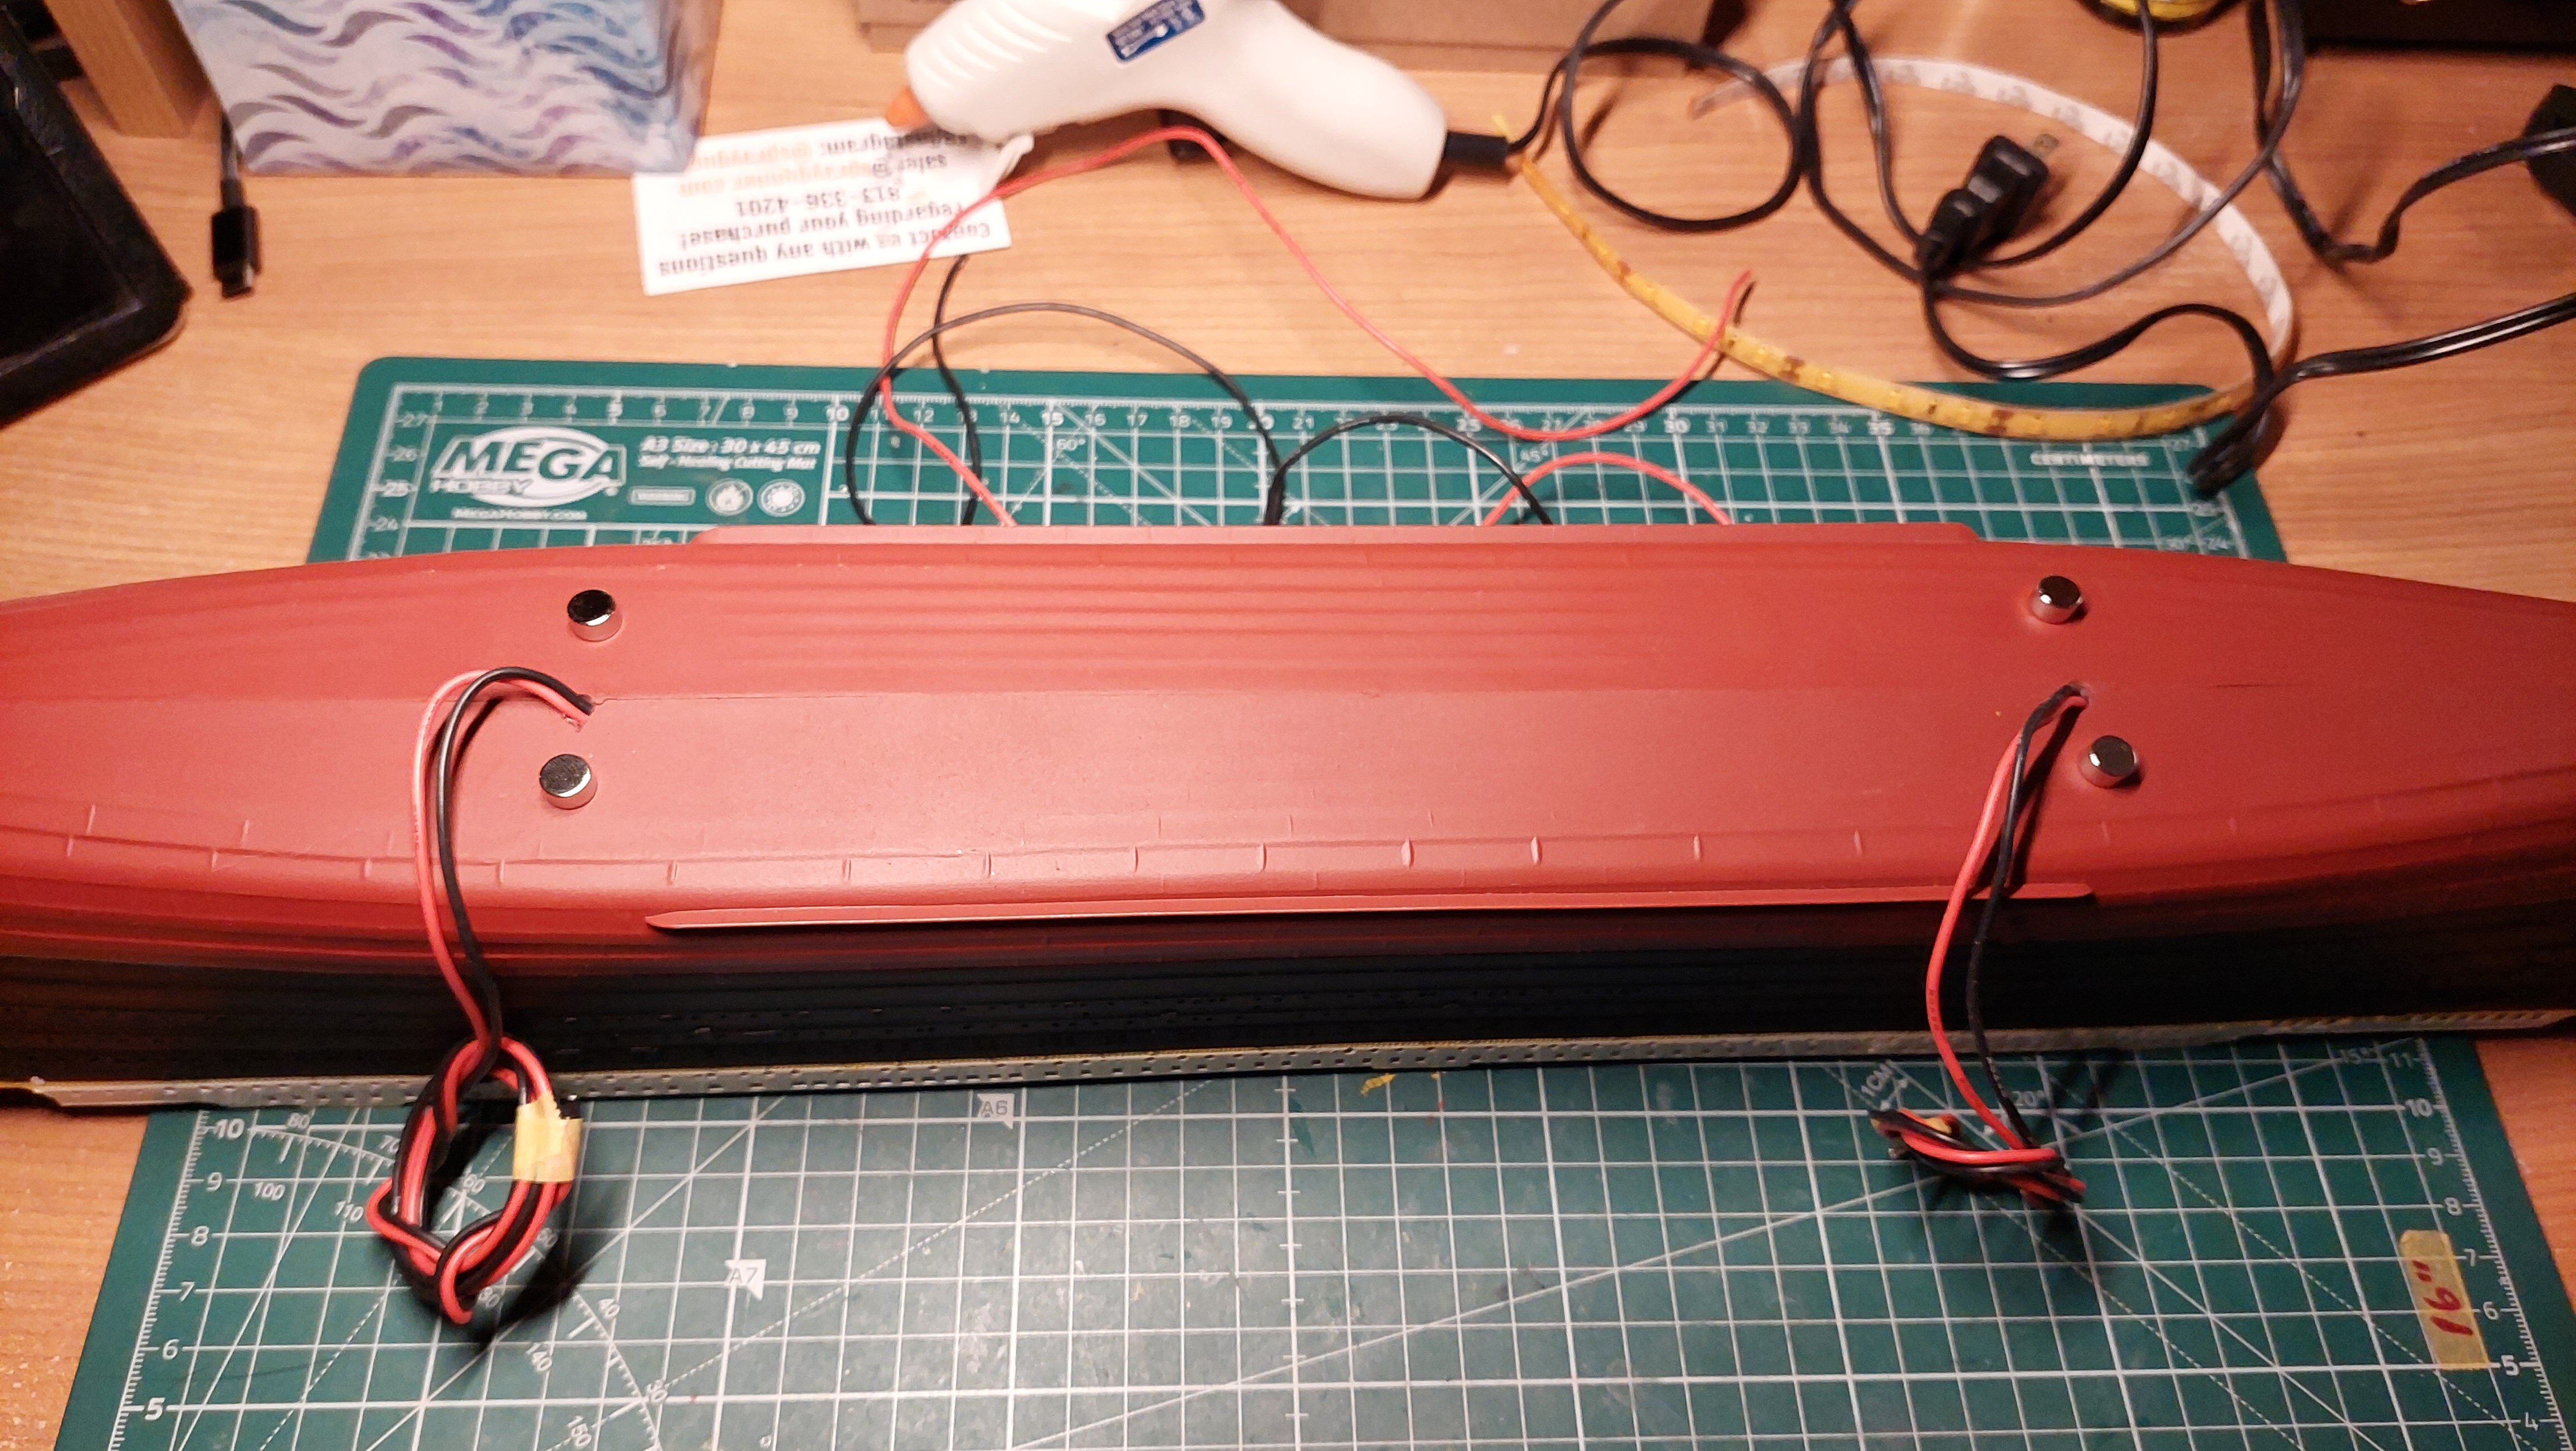
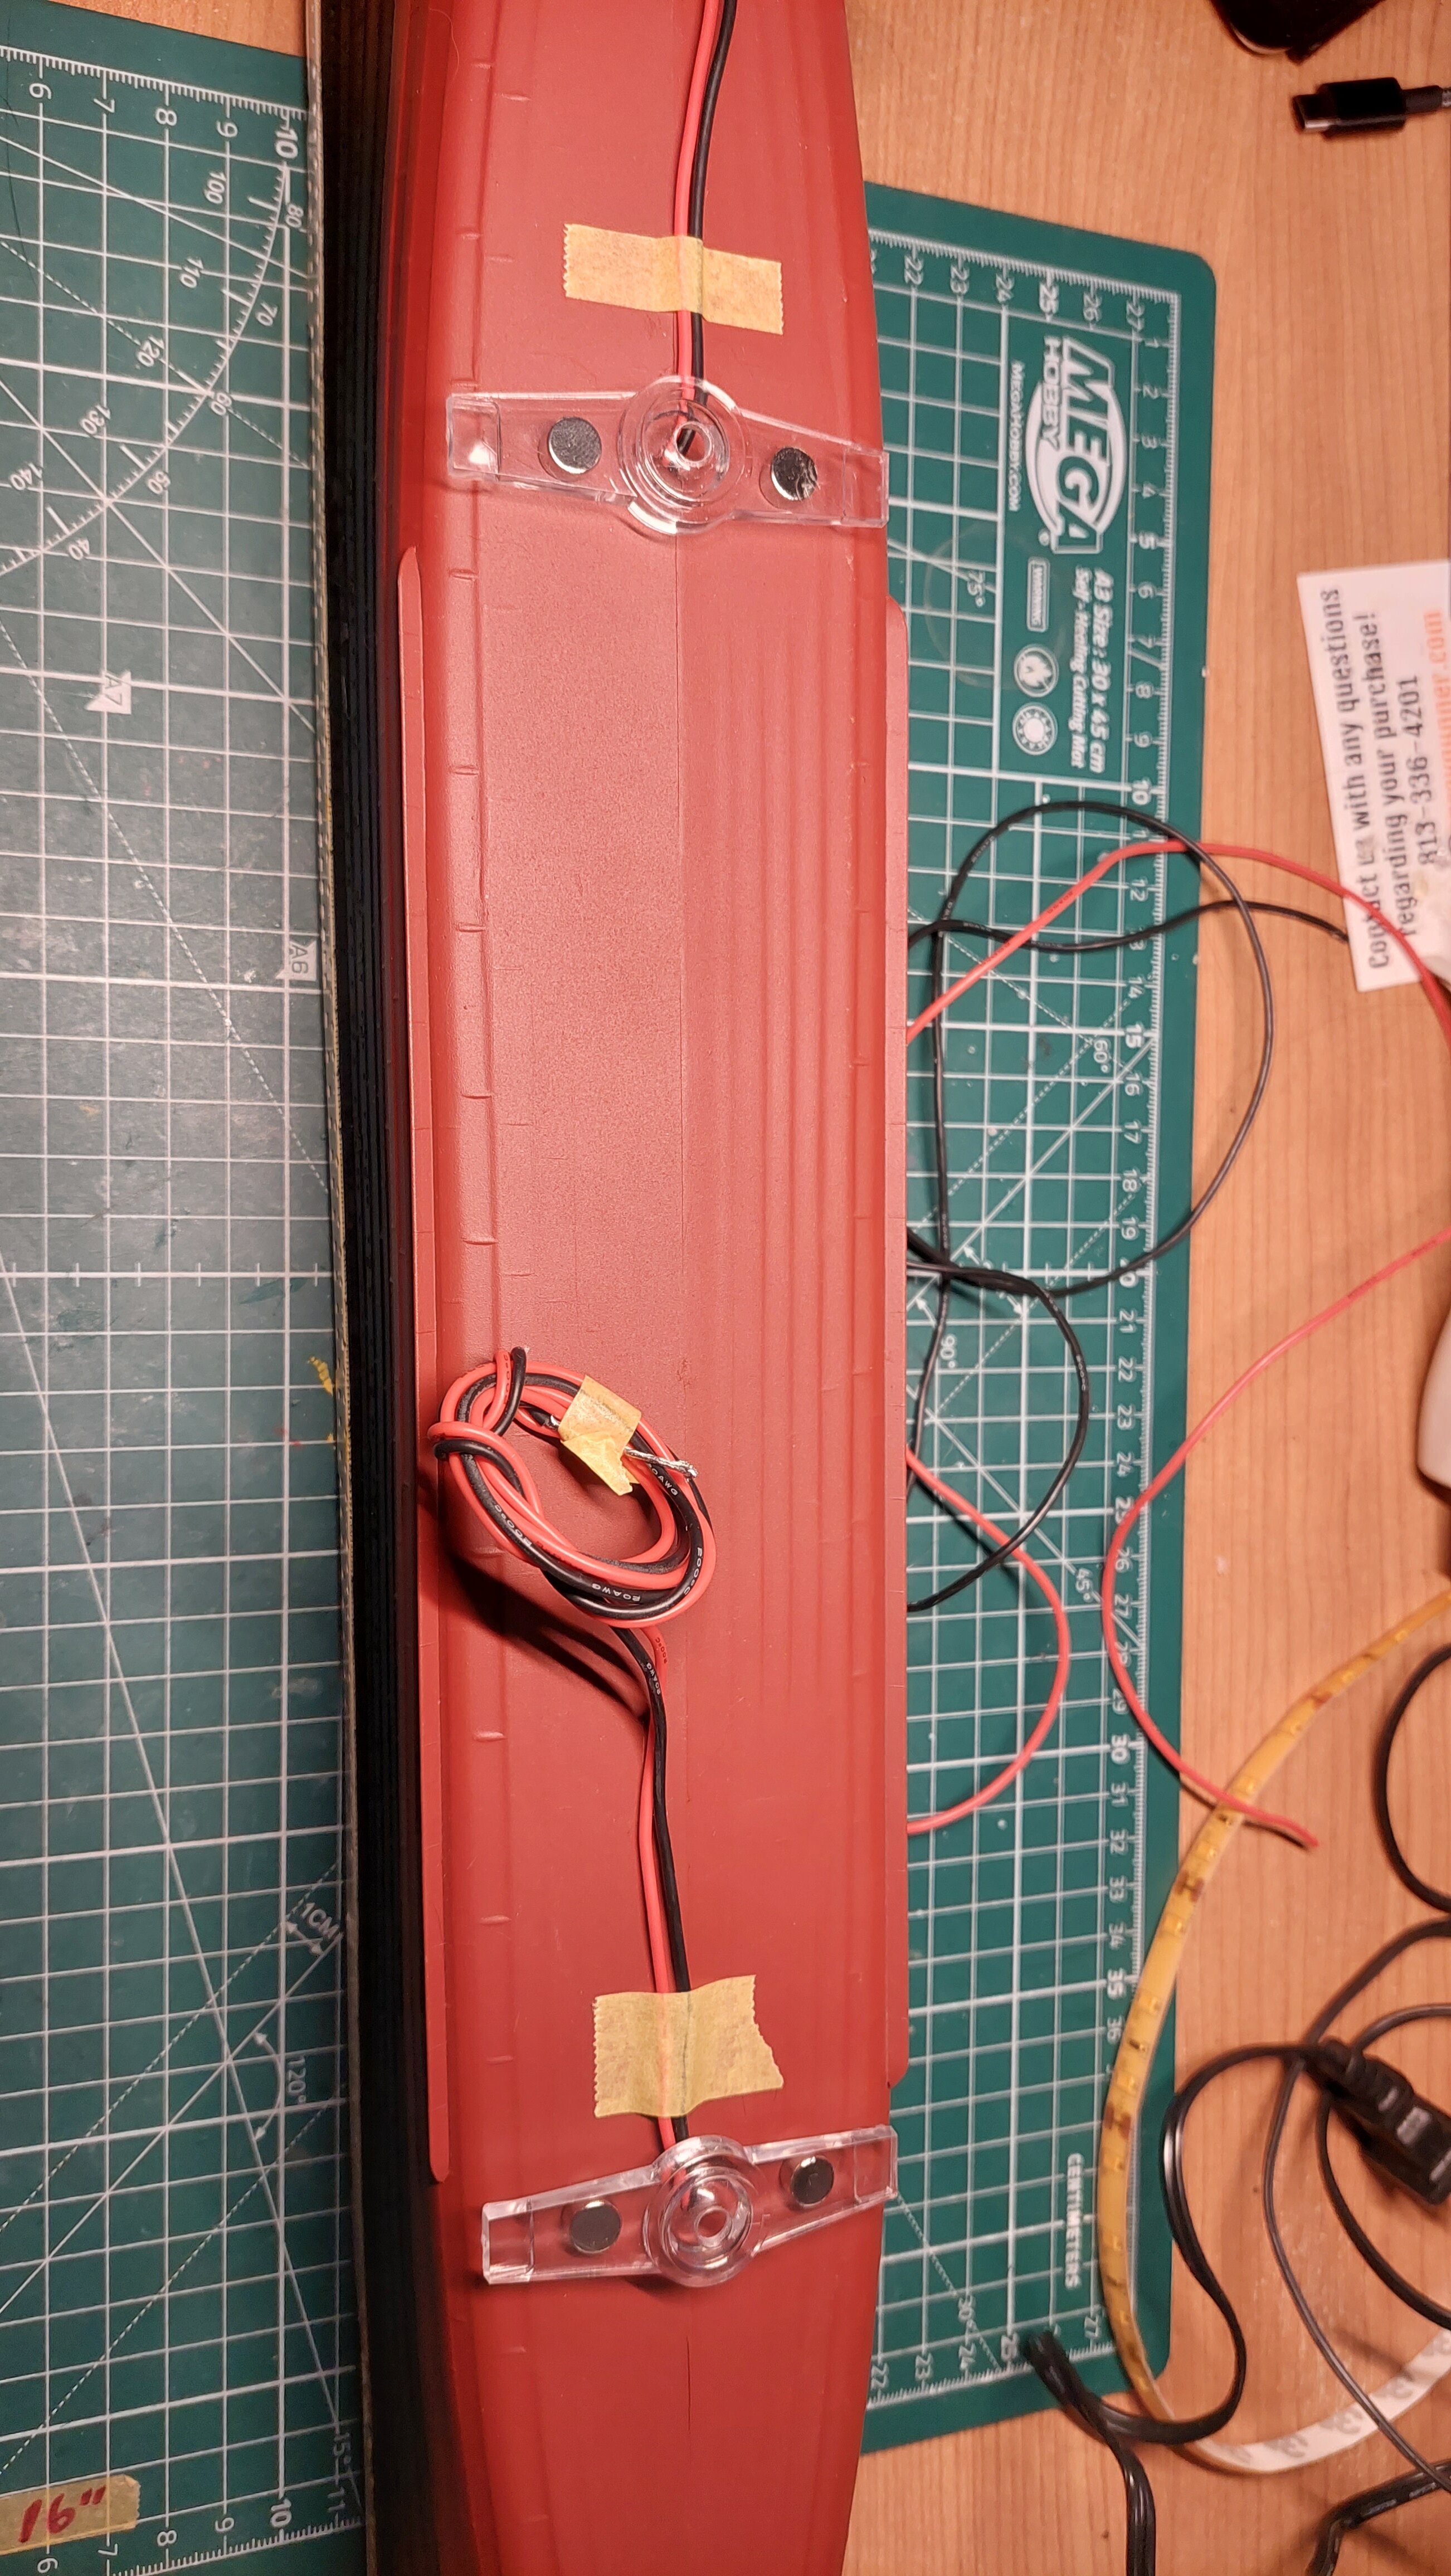
Titanic update! Was out of town for a nice 75 hour work week last week, then Thanksgiving hosted by us here at our house and then getting all fall and Halloween decorations put away and getting Christmas stuff out.. PHEW... soooo model bench time hasn't been much of late... But anyway! Few things to share.. Main deck coloring wooden planks by hand...DONE. Magnets for holding ship to craptastic base from the 70s, DONE. Benches, all cut from sprue and painted along with all the winches for the decks... DONE... First few rigging lines that attach to main deck.. DONE.....Stay tuned!
-
Wife and I watched Red Notice on our new 4K TV. It was very much a "turn off your brain and enjoy it" movie. Pretty fun actually, I'm in for a sequel.
-
@Mog- COOL shot and poses. I have those 3 as well and need to get them all together on a shelf somehow!
-
@Mommar - I'm worried about my HM-R Regults now hearing that... I've had them in the completely squated down legs folded up like they are in a hanger position for years now, I'm afraid to try to stand them up!
-
Fixed that for you @sqidd
-
Just pre-ordered from BBTS. MAN, that was better than sex.
-
WOOOW...10 hours later and I logged into BBTS, click, click BOOM! DONE! OMFG! HOW EASY AND GOOD DID THAT FEEL AFTER ALLLLL THESE YEARS!!! THANK YOU TO WHOEVER FINALLY MADE THIS A REALITY! Now......where's the PO button for Max's 29???!!!
-
Having sold all my 29's a few years back to pay off some CC and wedding bills, I miss them so I am tooootally down for this!!!
-
1/8000 Nupetiet-Vergnitz Double Impact Finish !!!
derex3592 replied to varitechs's topic in Model kits
WOW!!! Amazing work! I have the Scale Solutions kit and I love it! BRAVO on the open main gun firing one, that is just SICK!!! -
Wow! All great news if it all comes out eventually!!! 😁
-
It's really Thor in a former life or timeline. He's un-killable. DUH.
-
Yeh, me neither, sales might have ended I guess. Maybe they'll run more around Xmas
-
@Chronocidal Try this link - Star Trek Collectibles & Memorabilia | Eaglemoss Hero Collector
-
The Alien/Predator/Aliens vs. Predator Thread
derex3592 replied to VT 1010's topic in Anime or Science Fiction
Maybe, but I'm still gonna buy the snot out of it! -
ALL so freakin cool @arbit!!! Little black dress is workin for me!!!
-
🤣
-
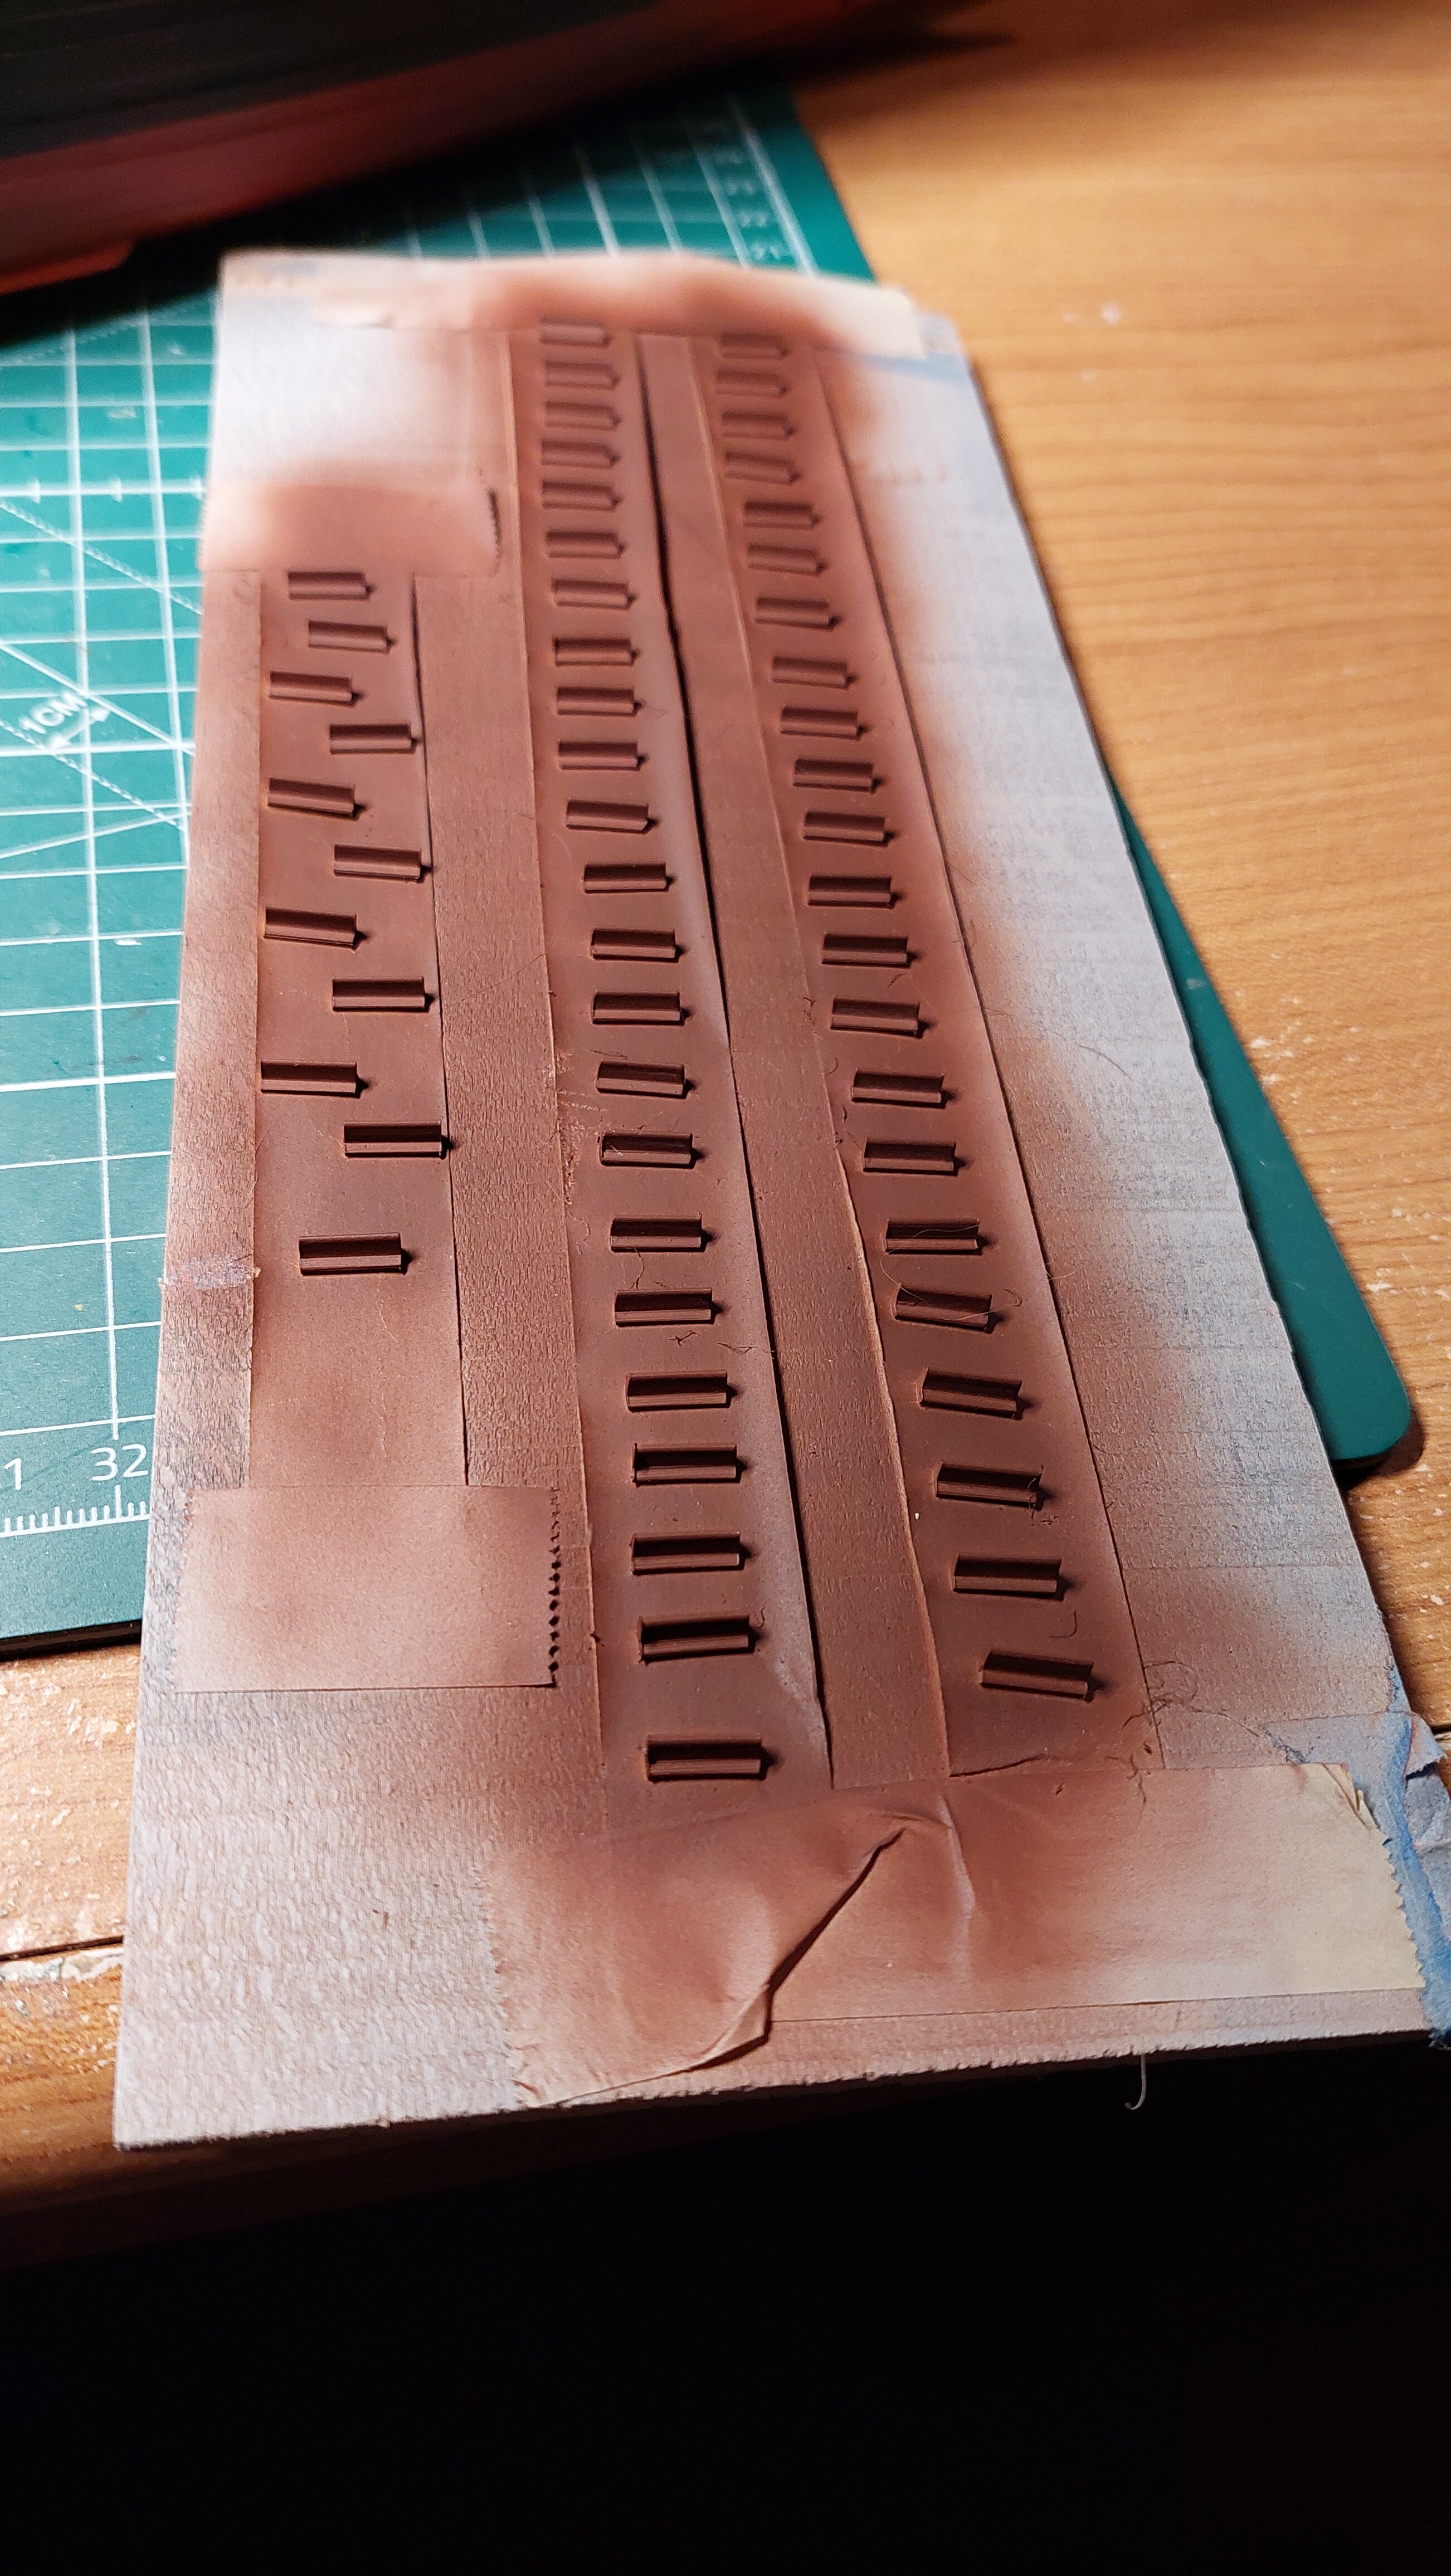
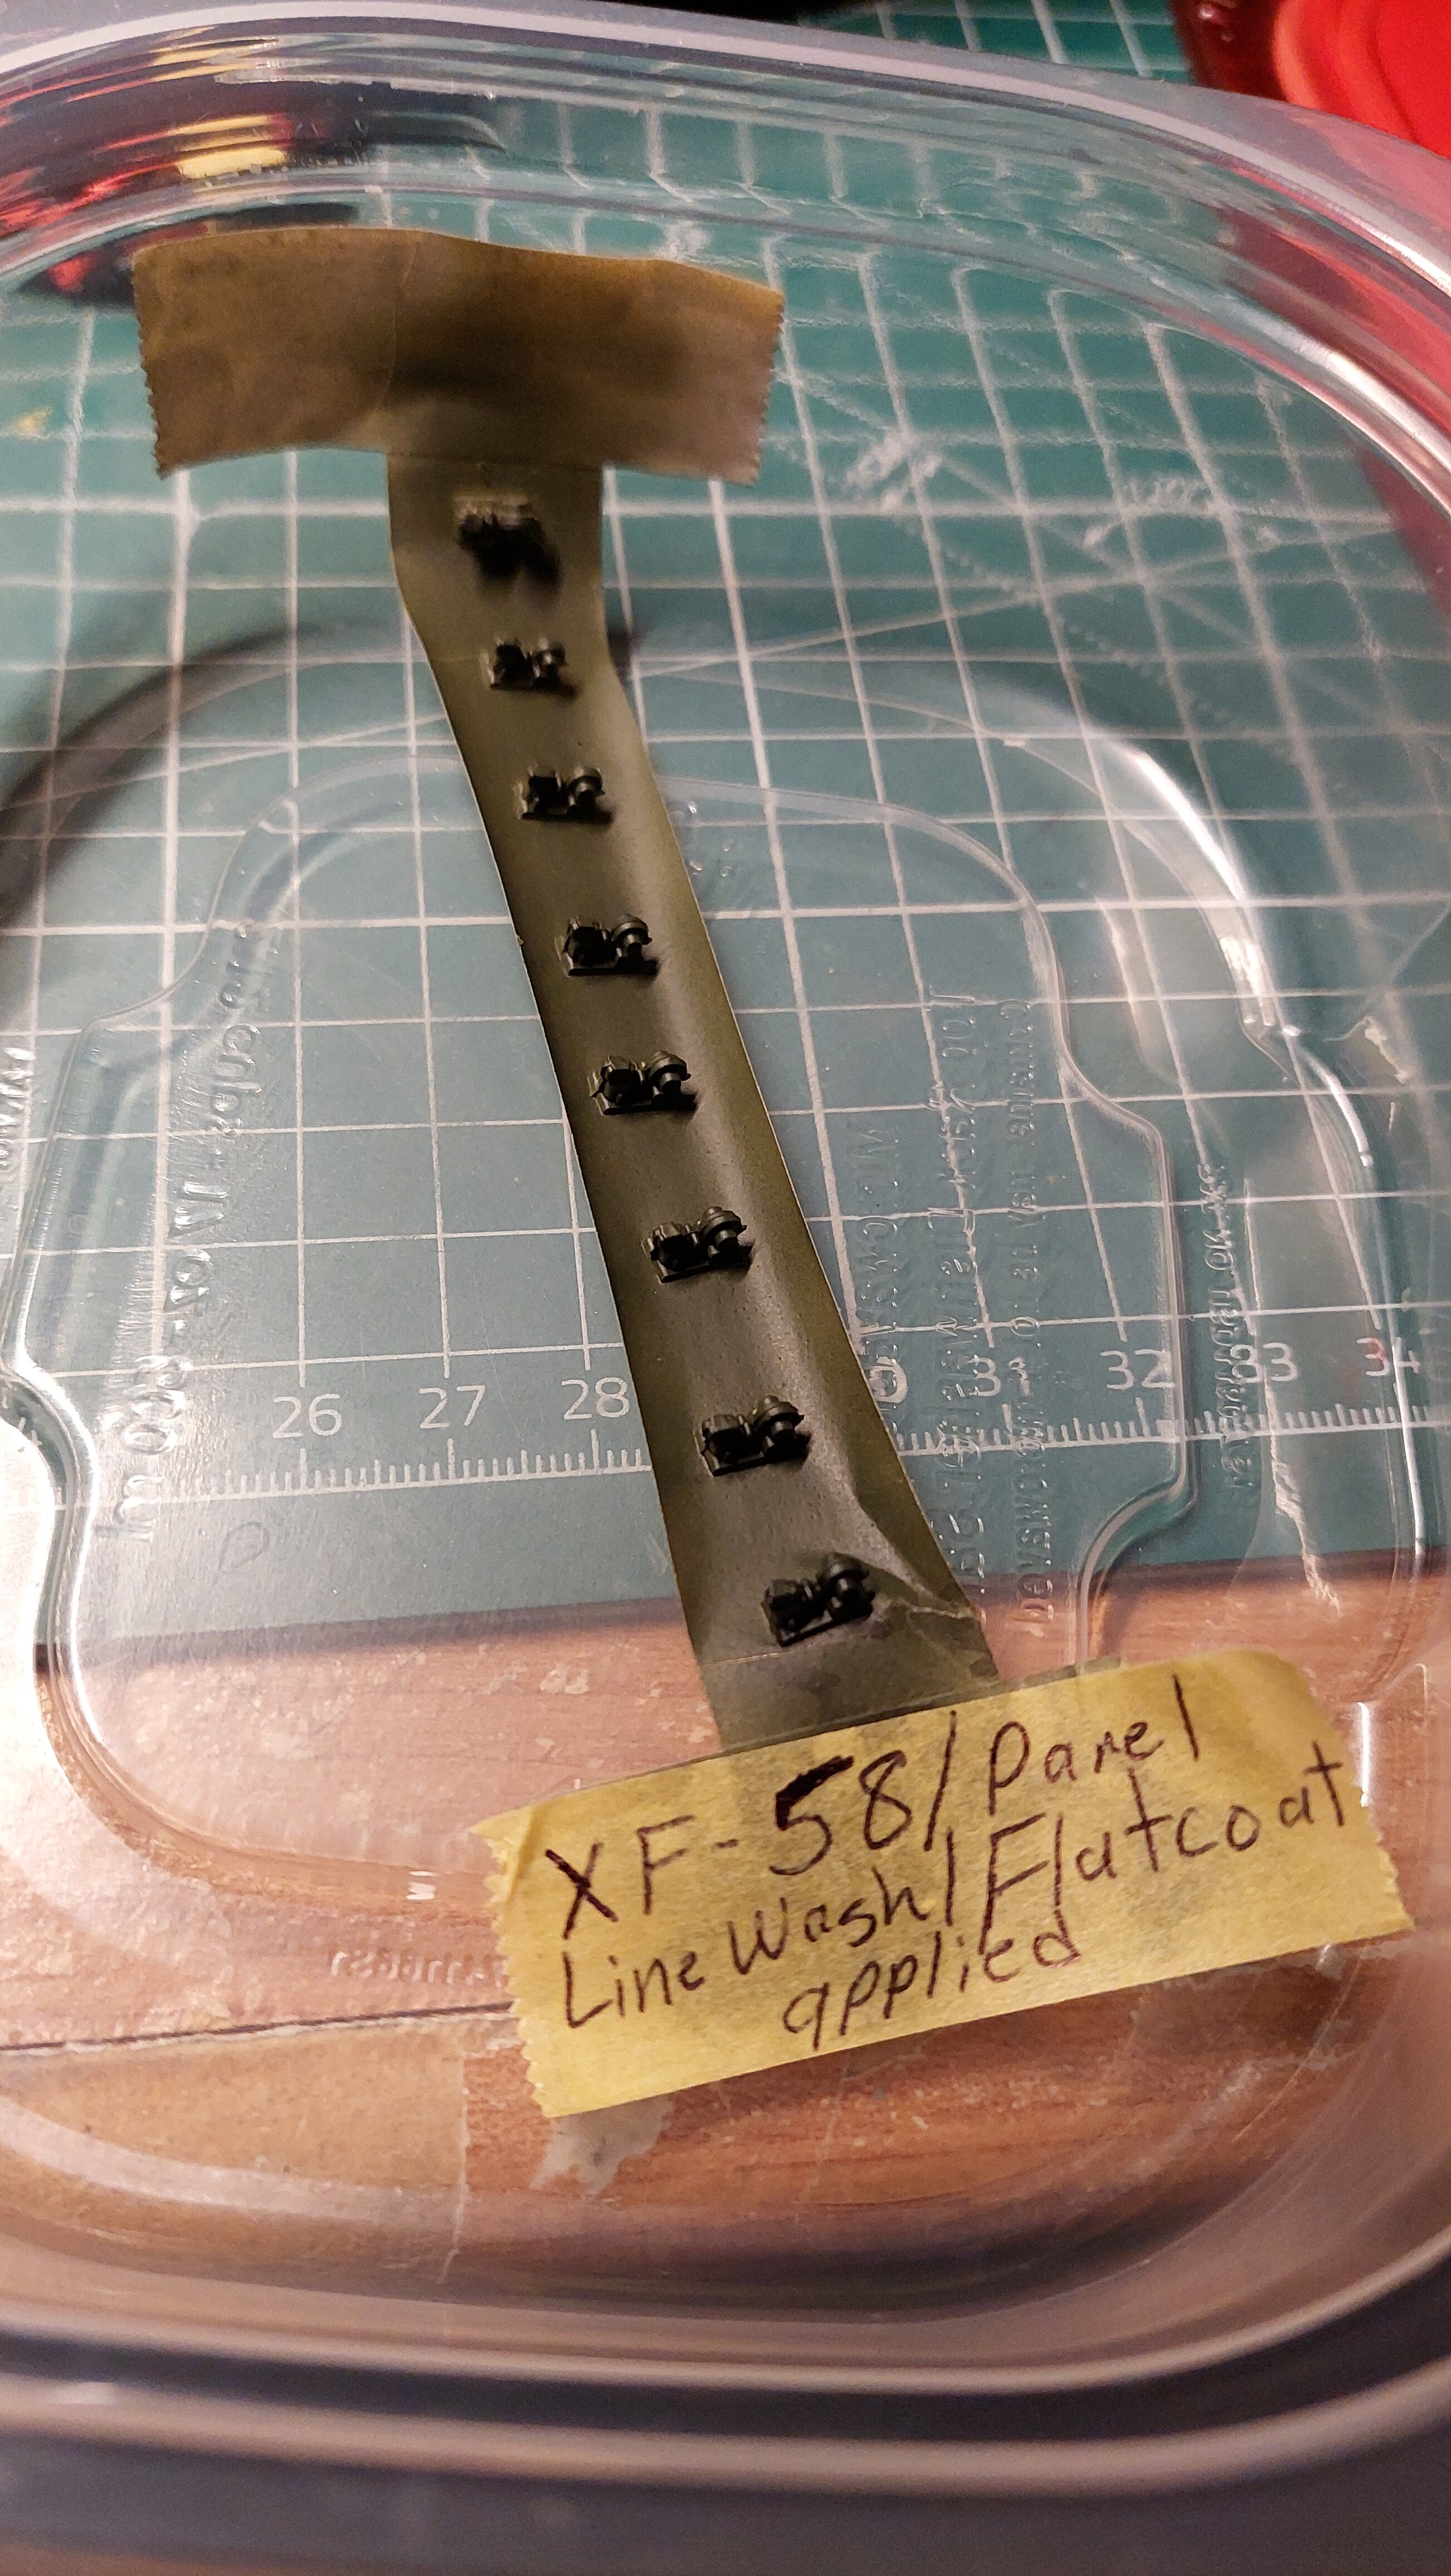
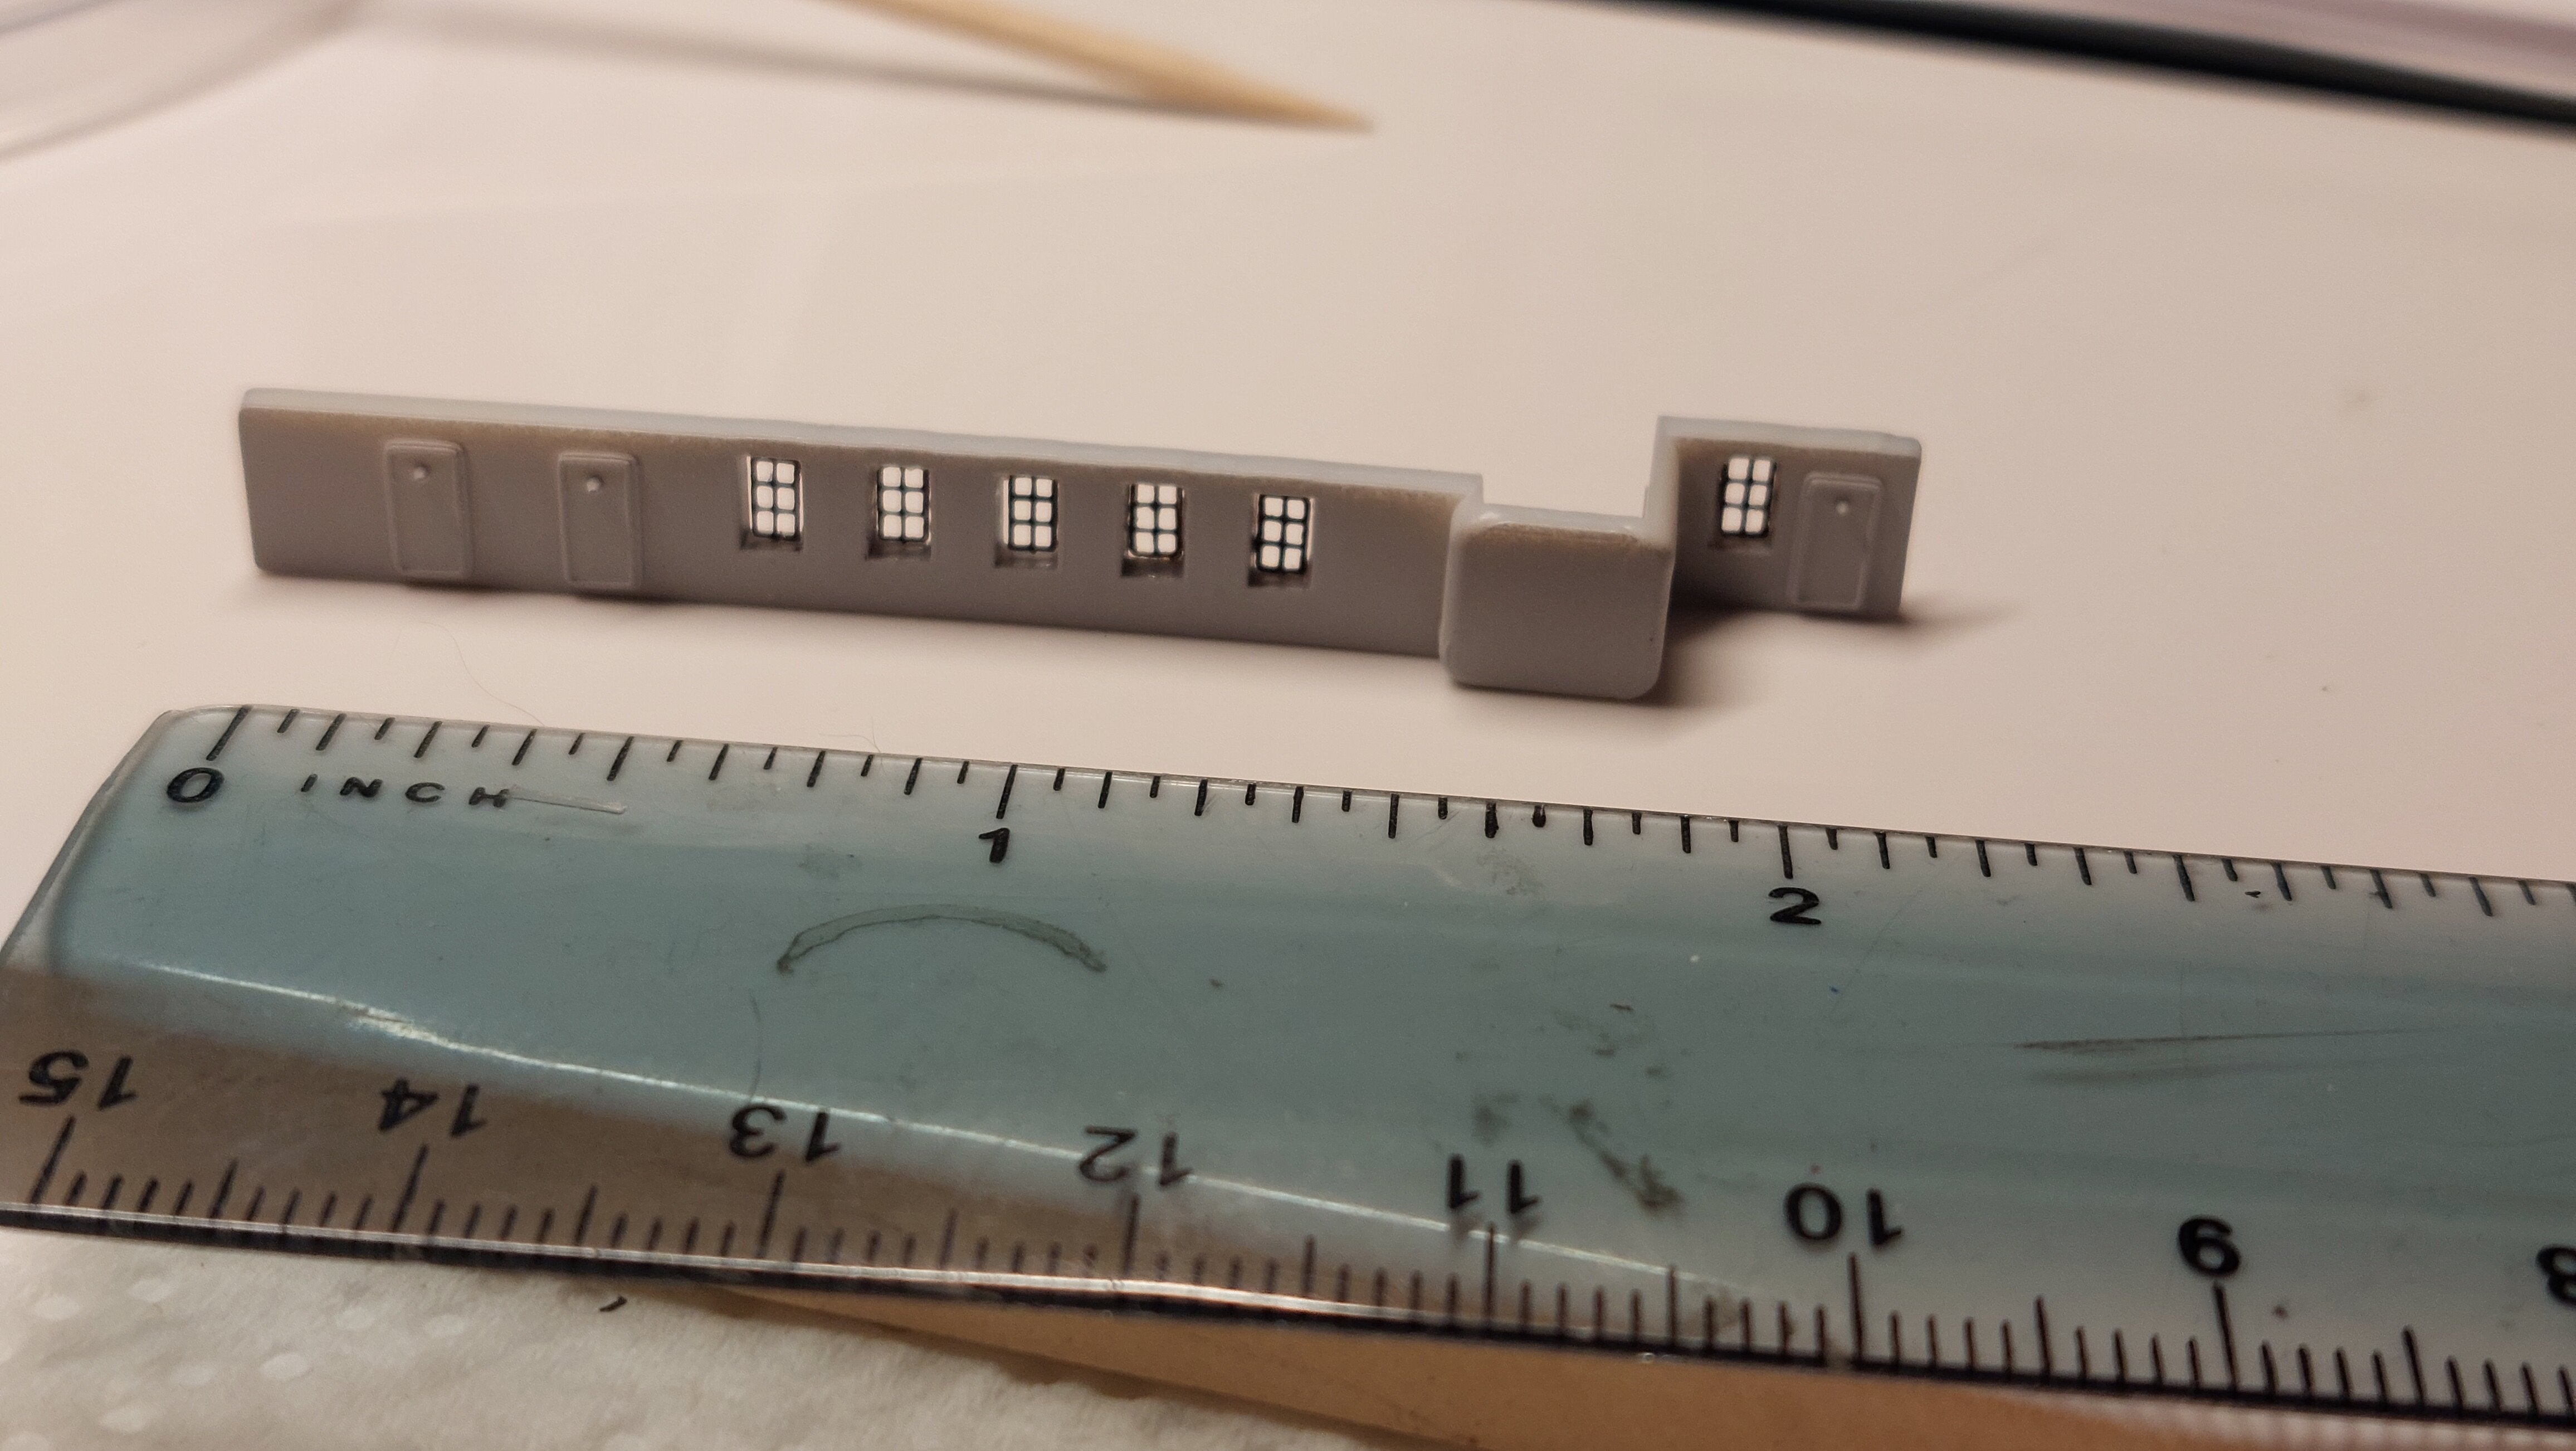
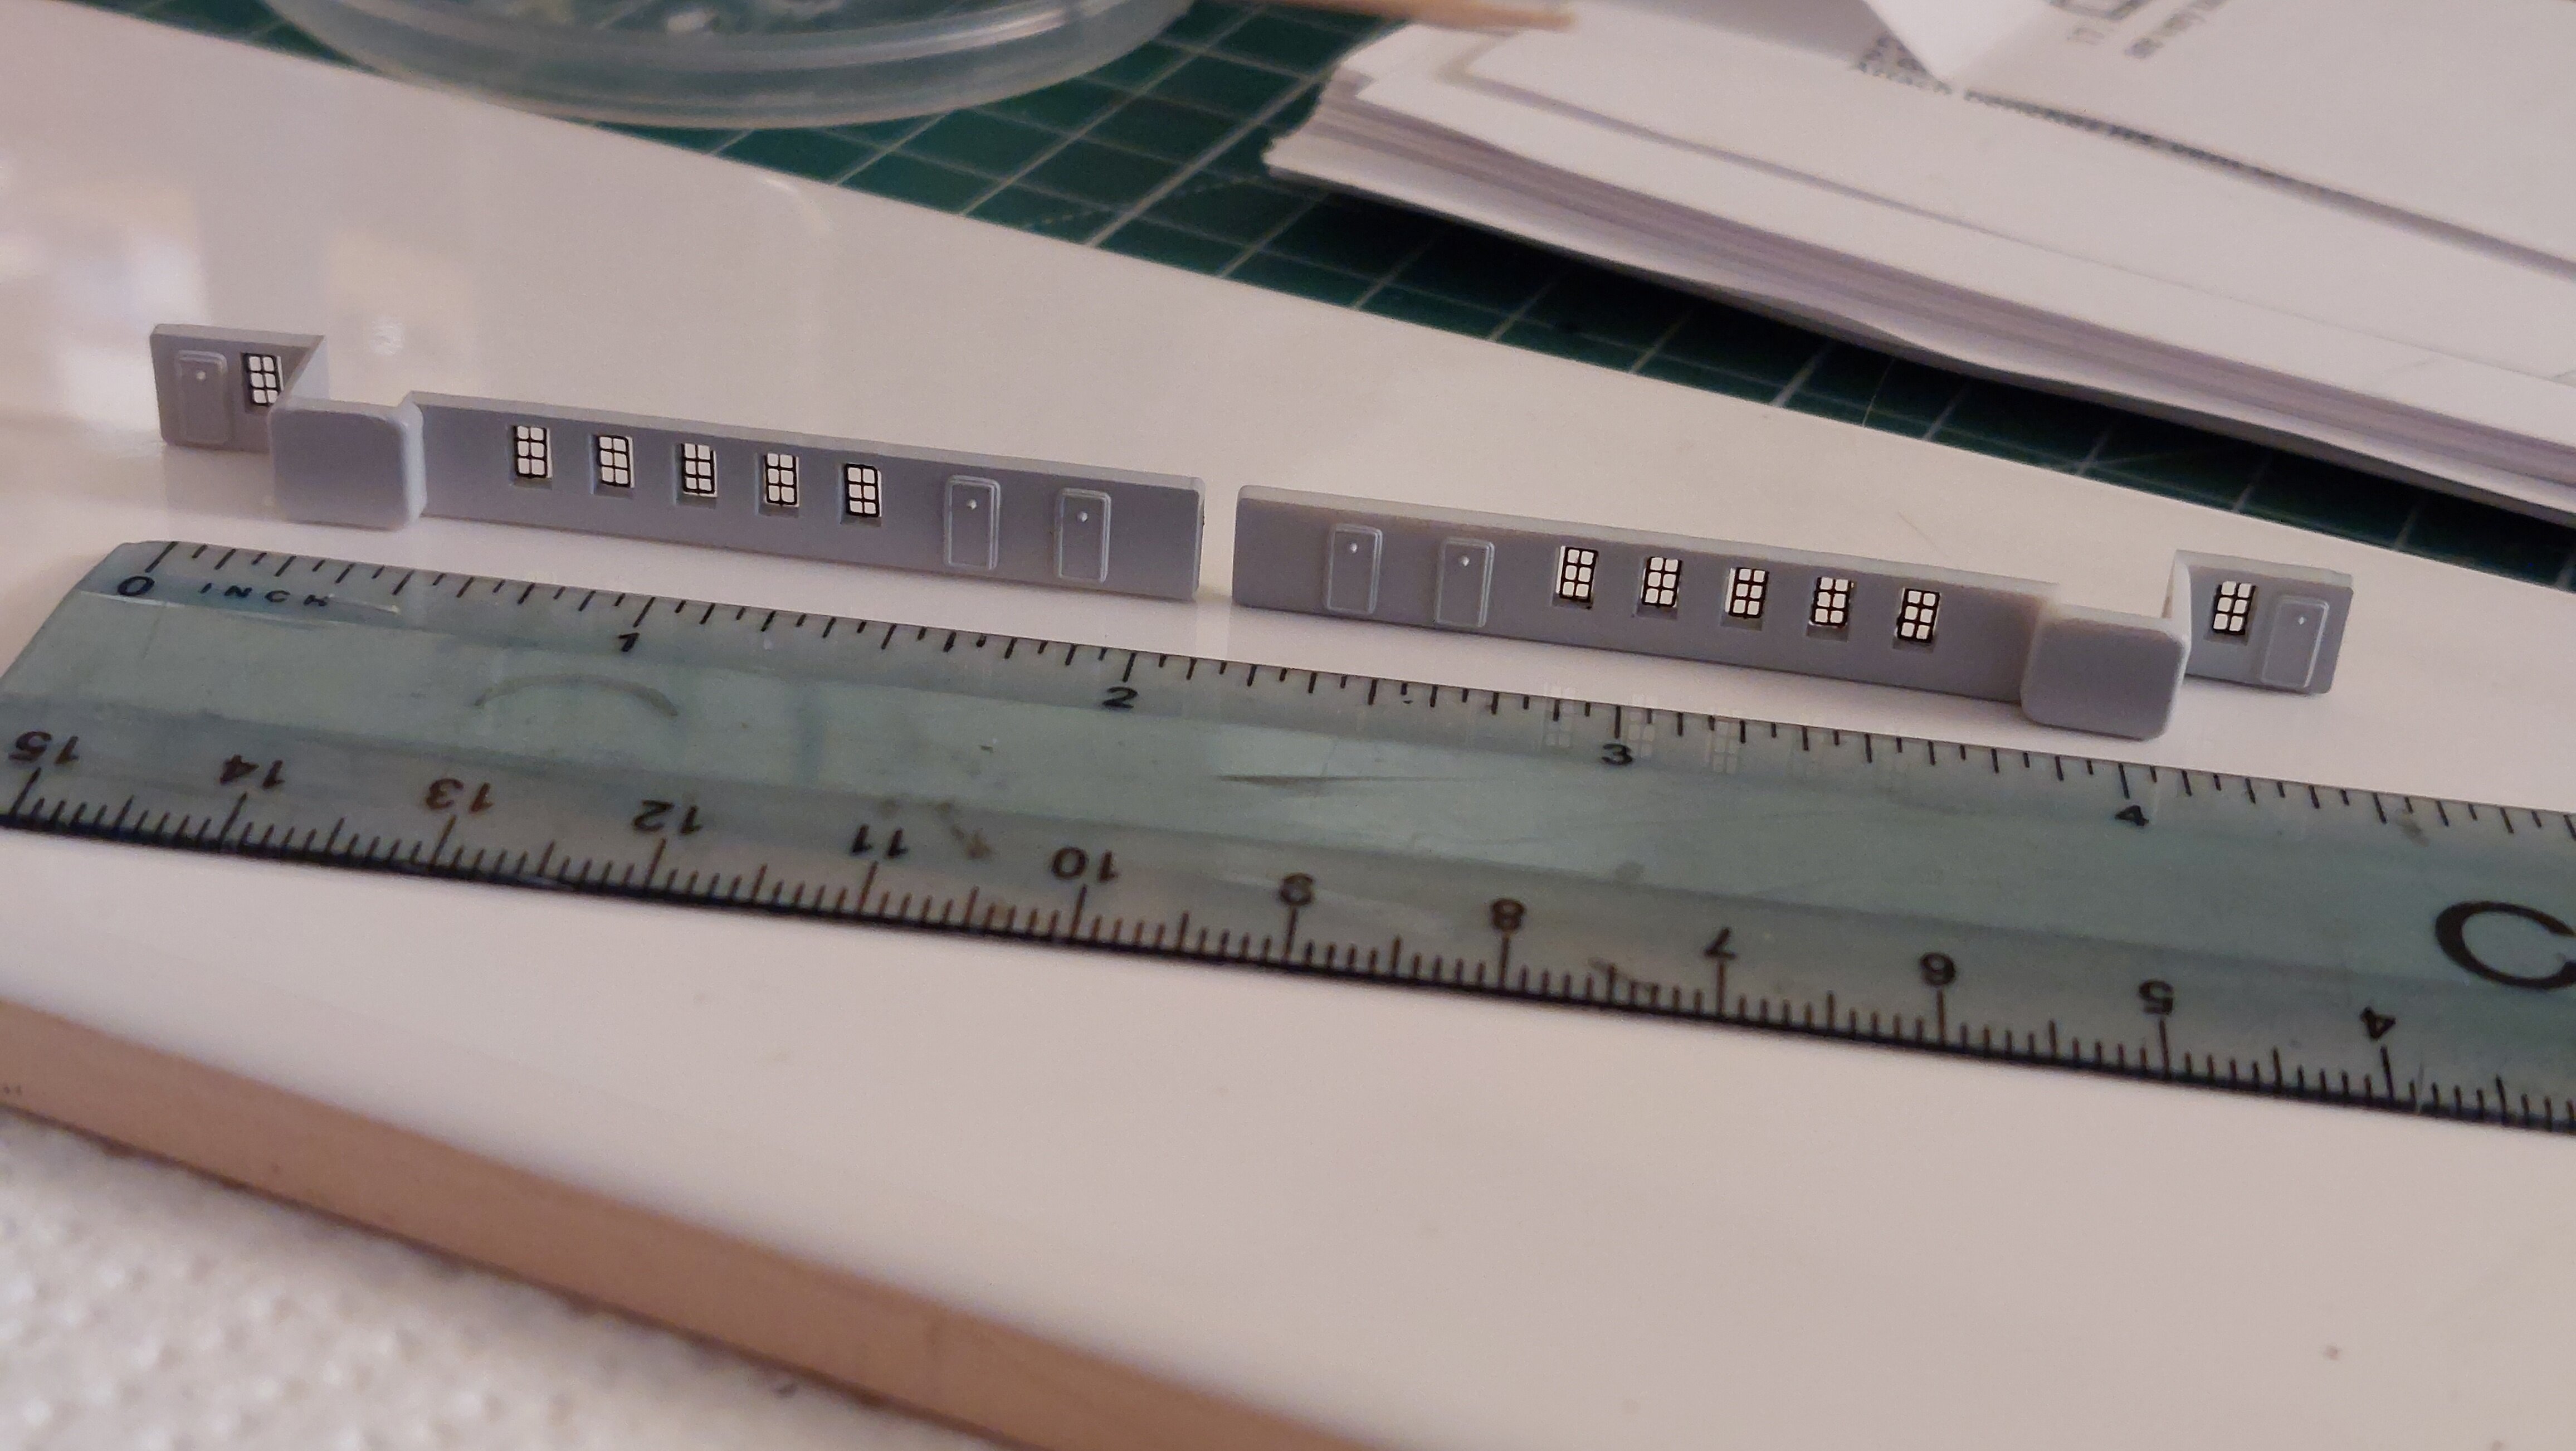
This morning I proved to myself that I CAN do microscopic Titanic photo etch window frames....and these are some of the smaller ones... Took about an hour to do these 12... But I like the result! Painted brown on the PE tree before installing. Onwards!

-
@wm cheng OHH MY!!!! That Eagle looks amazing!!! GREAT job! @Rock Your 51 looks great! I can't even imagine painting and decaling that kit!
-
uhhggg...wanted those figs SO bad!
