-
Posts
817 -
Joined
-
Last visited
Content Type
Profiles
Forums
Events
Gallery
Everything posted by Urashiman
-
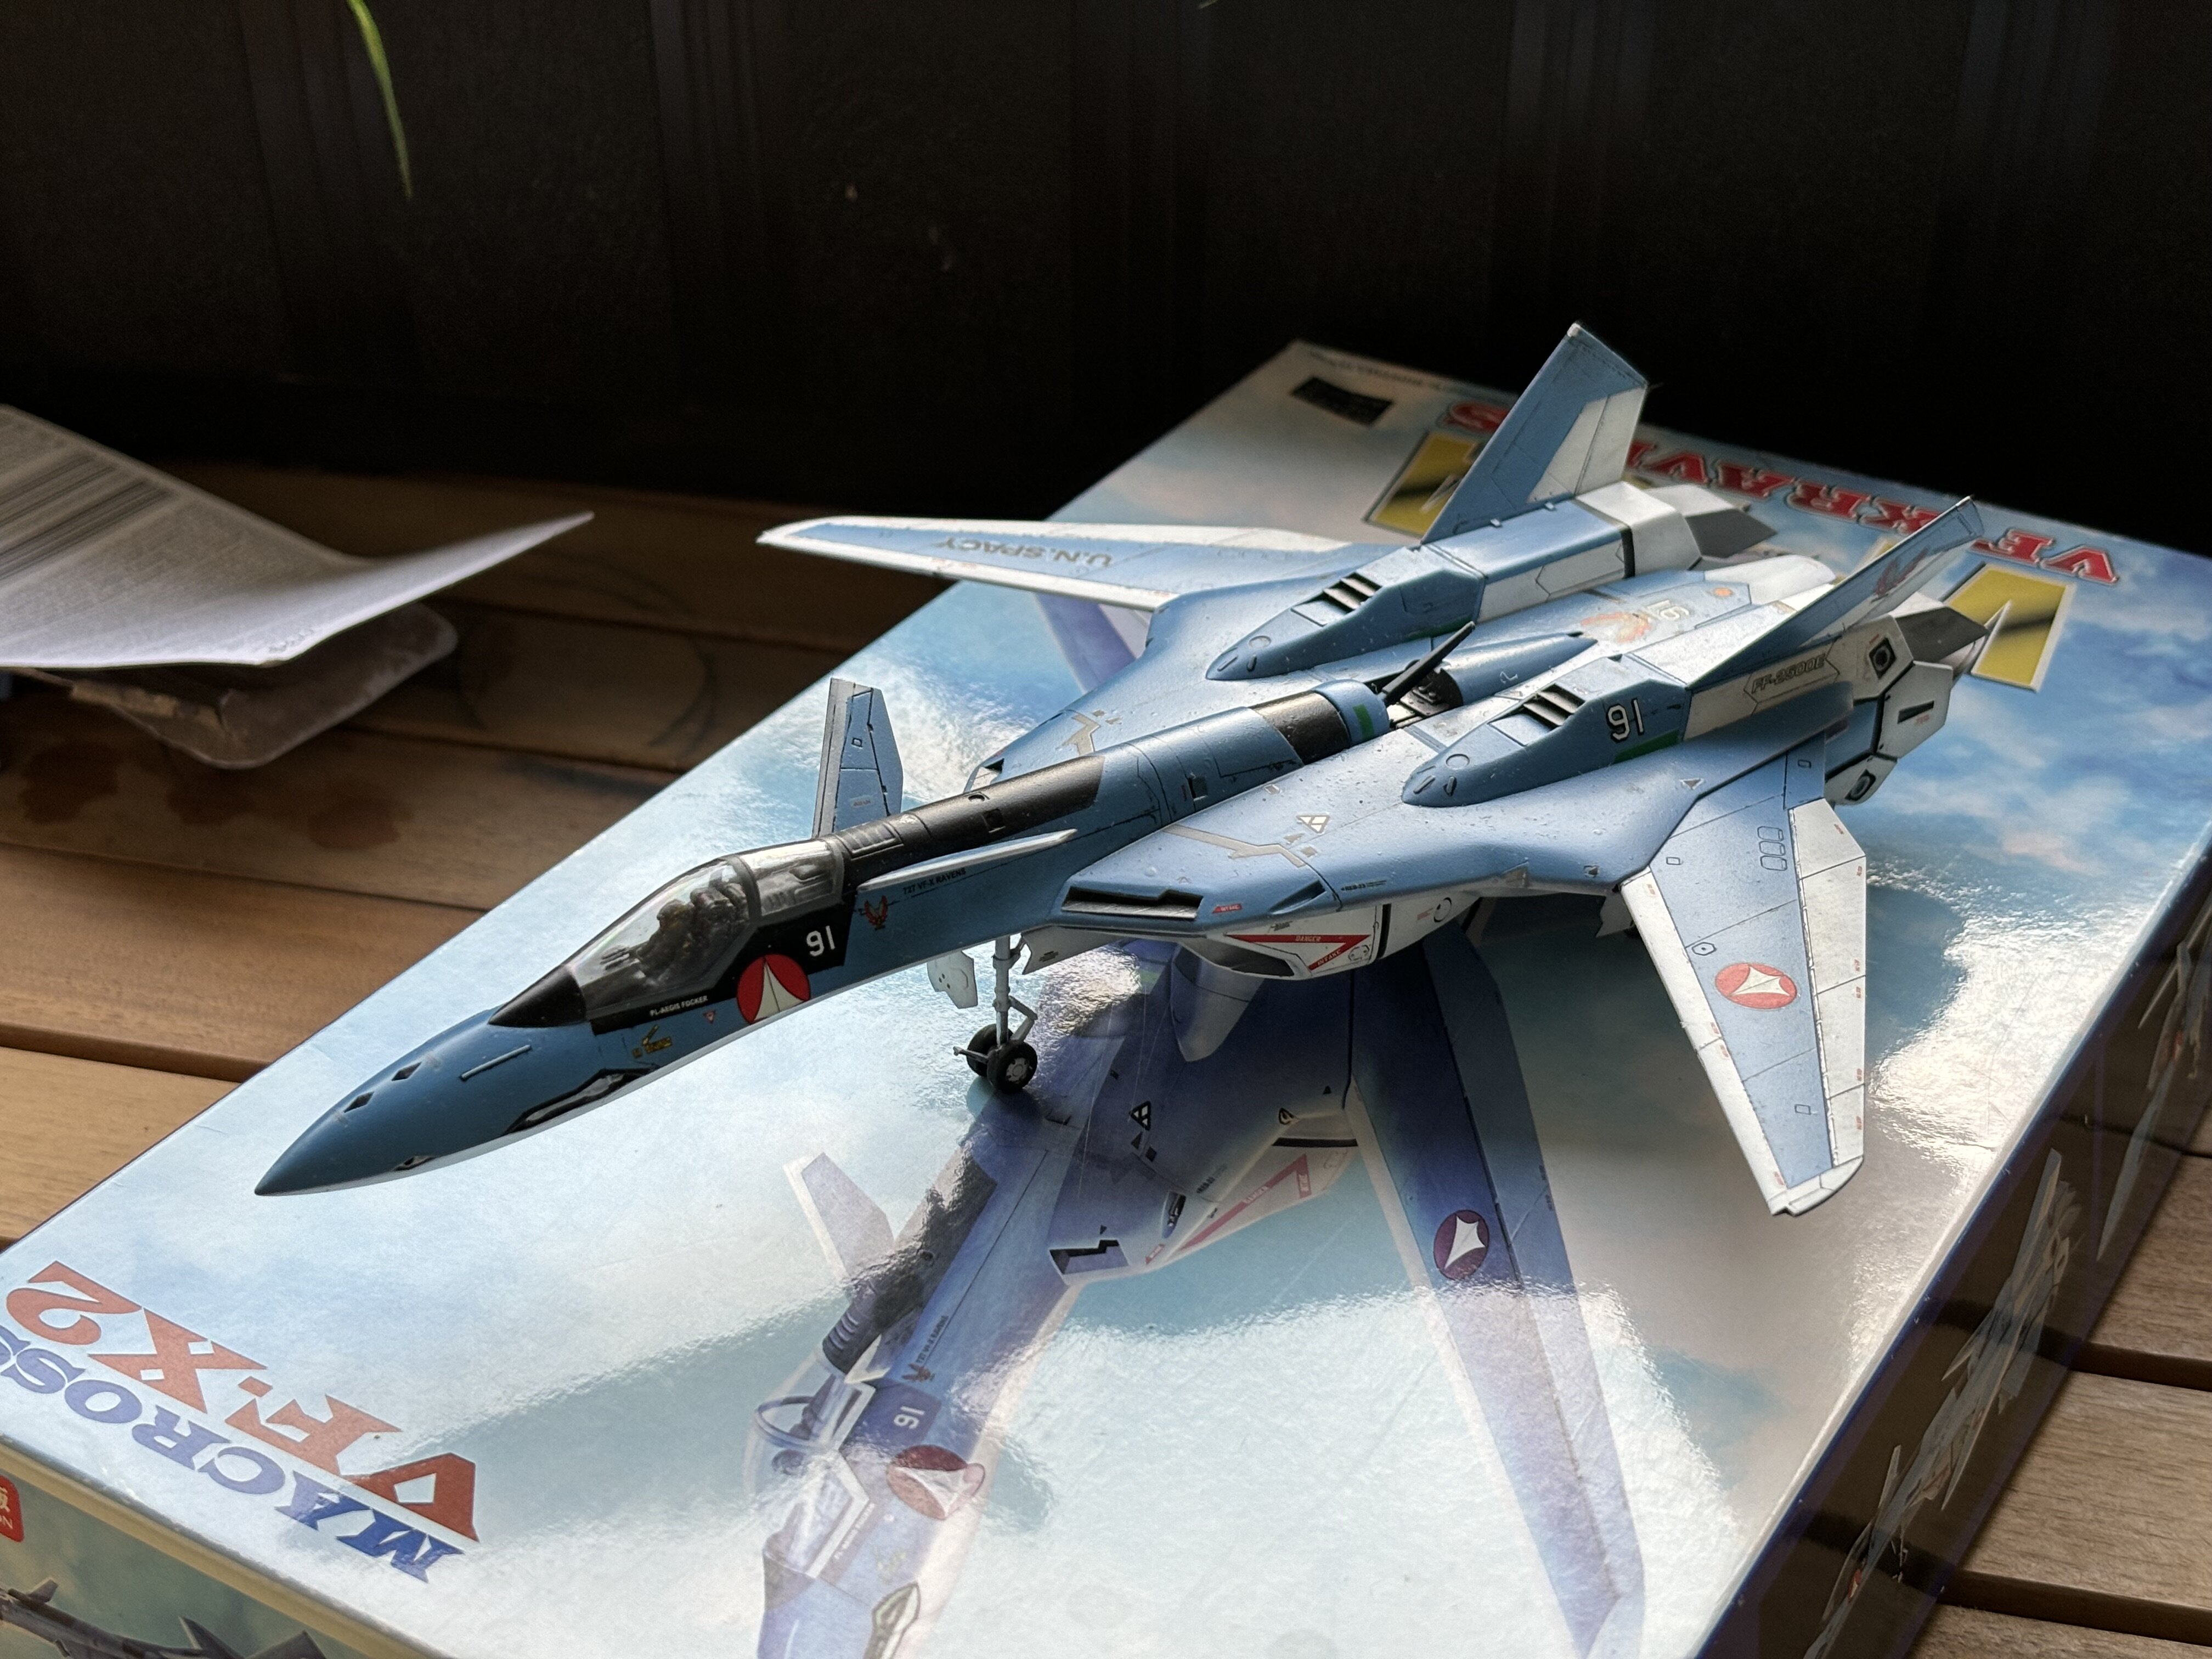
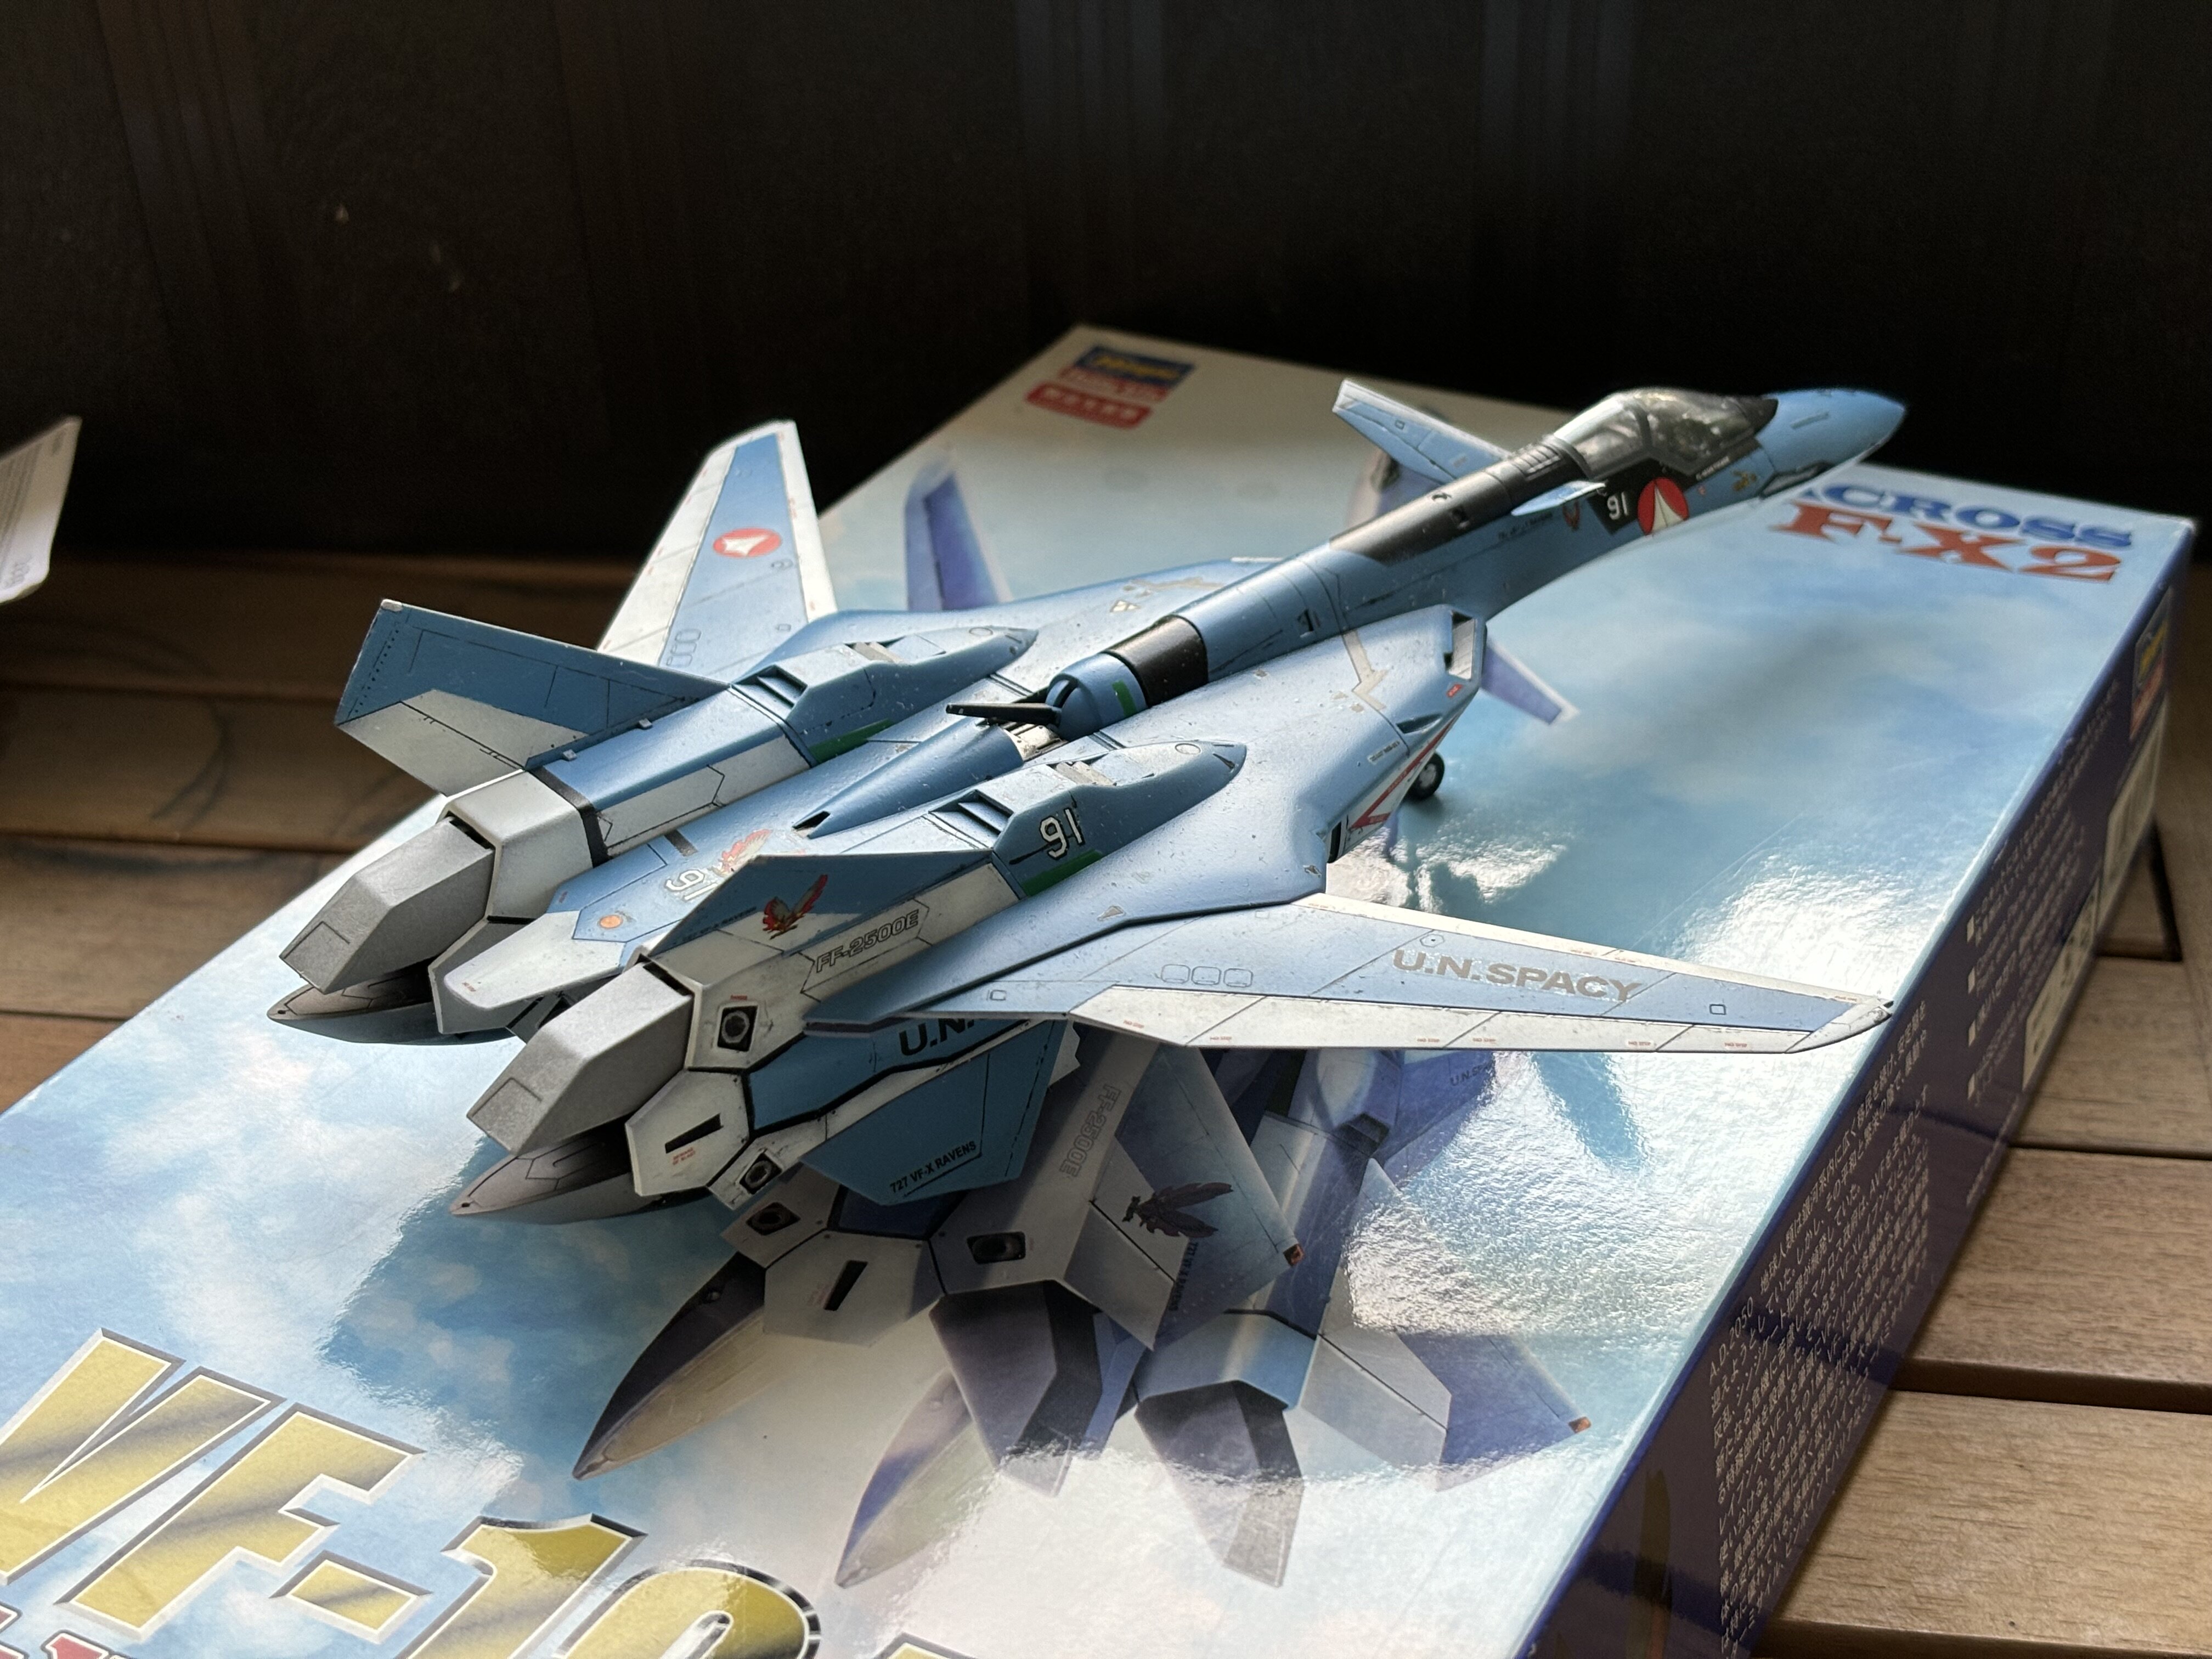
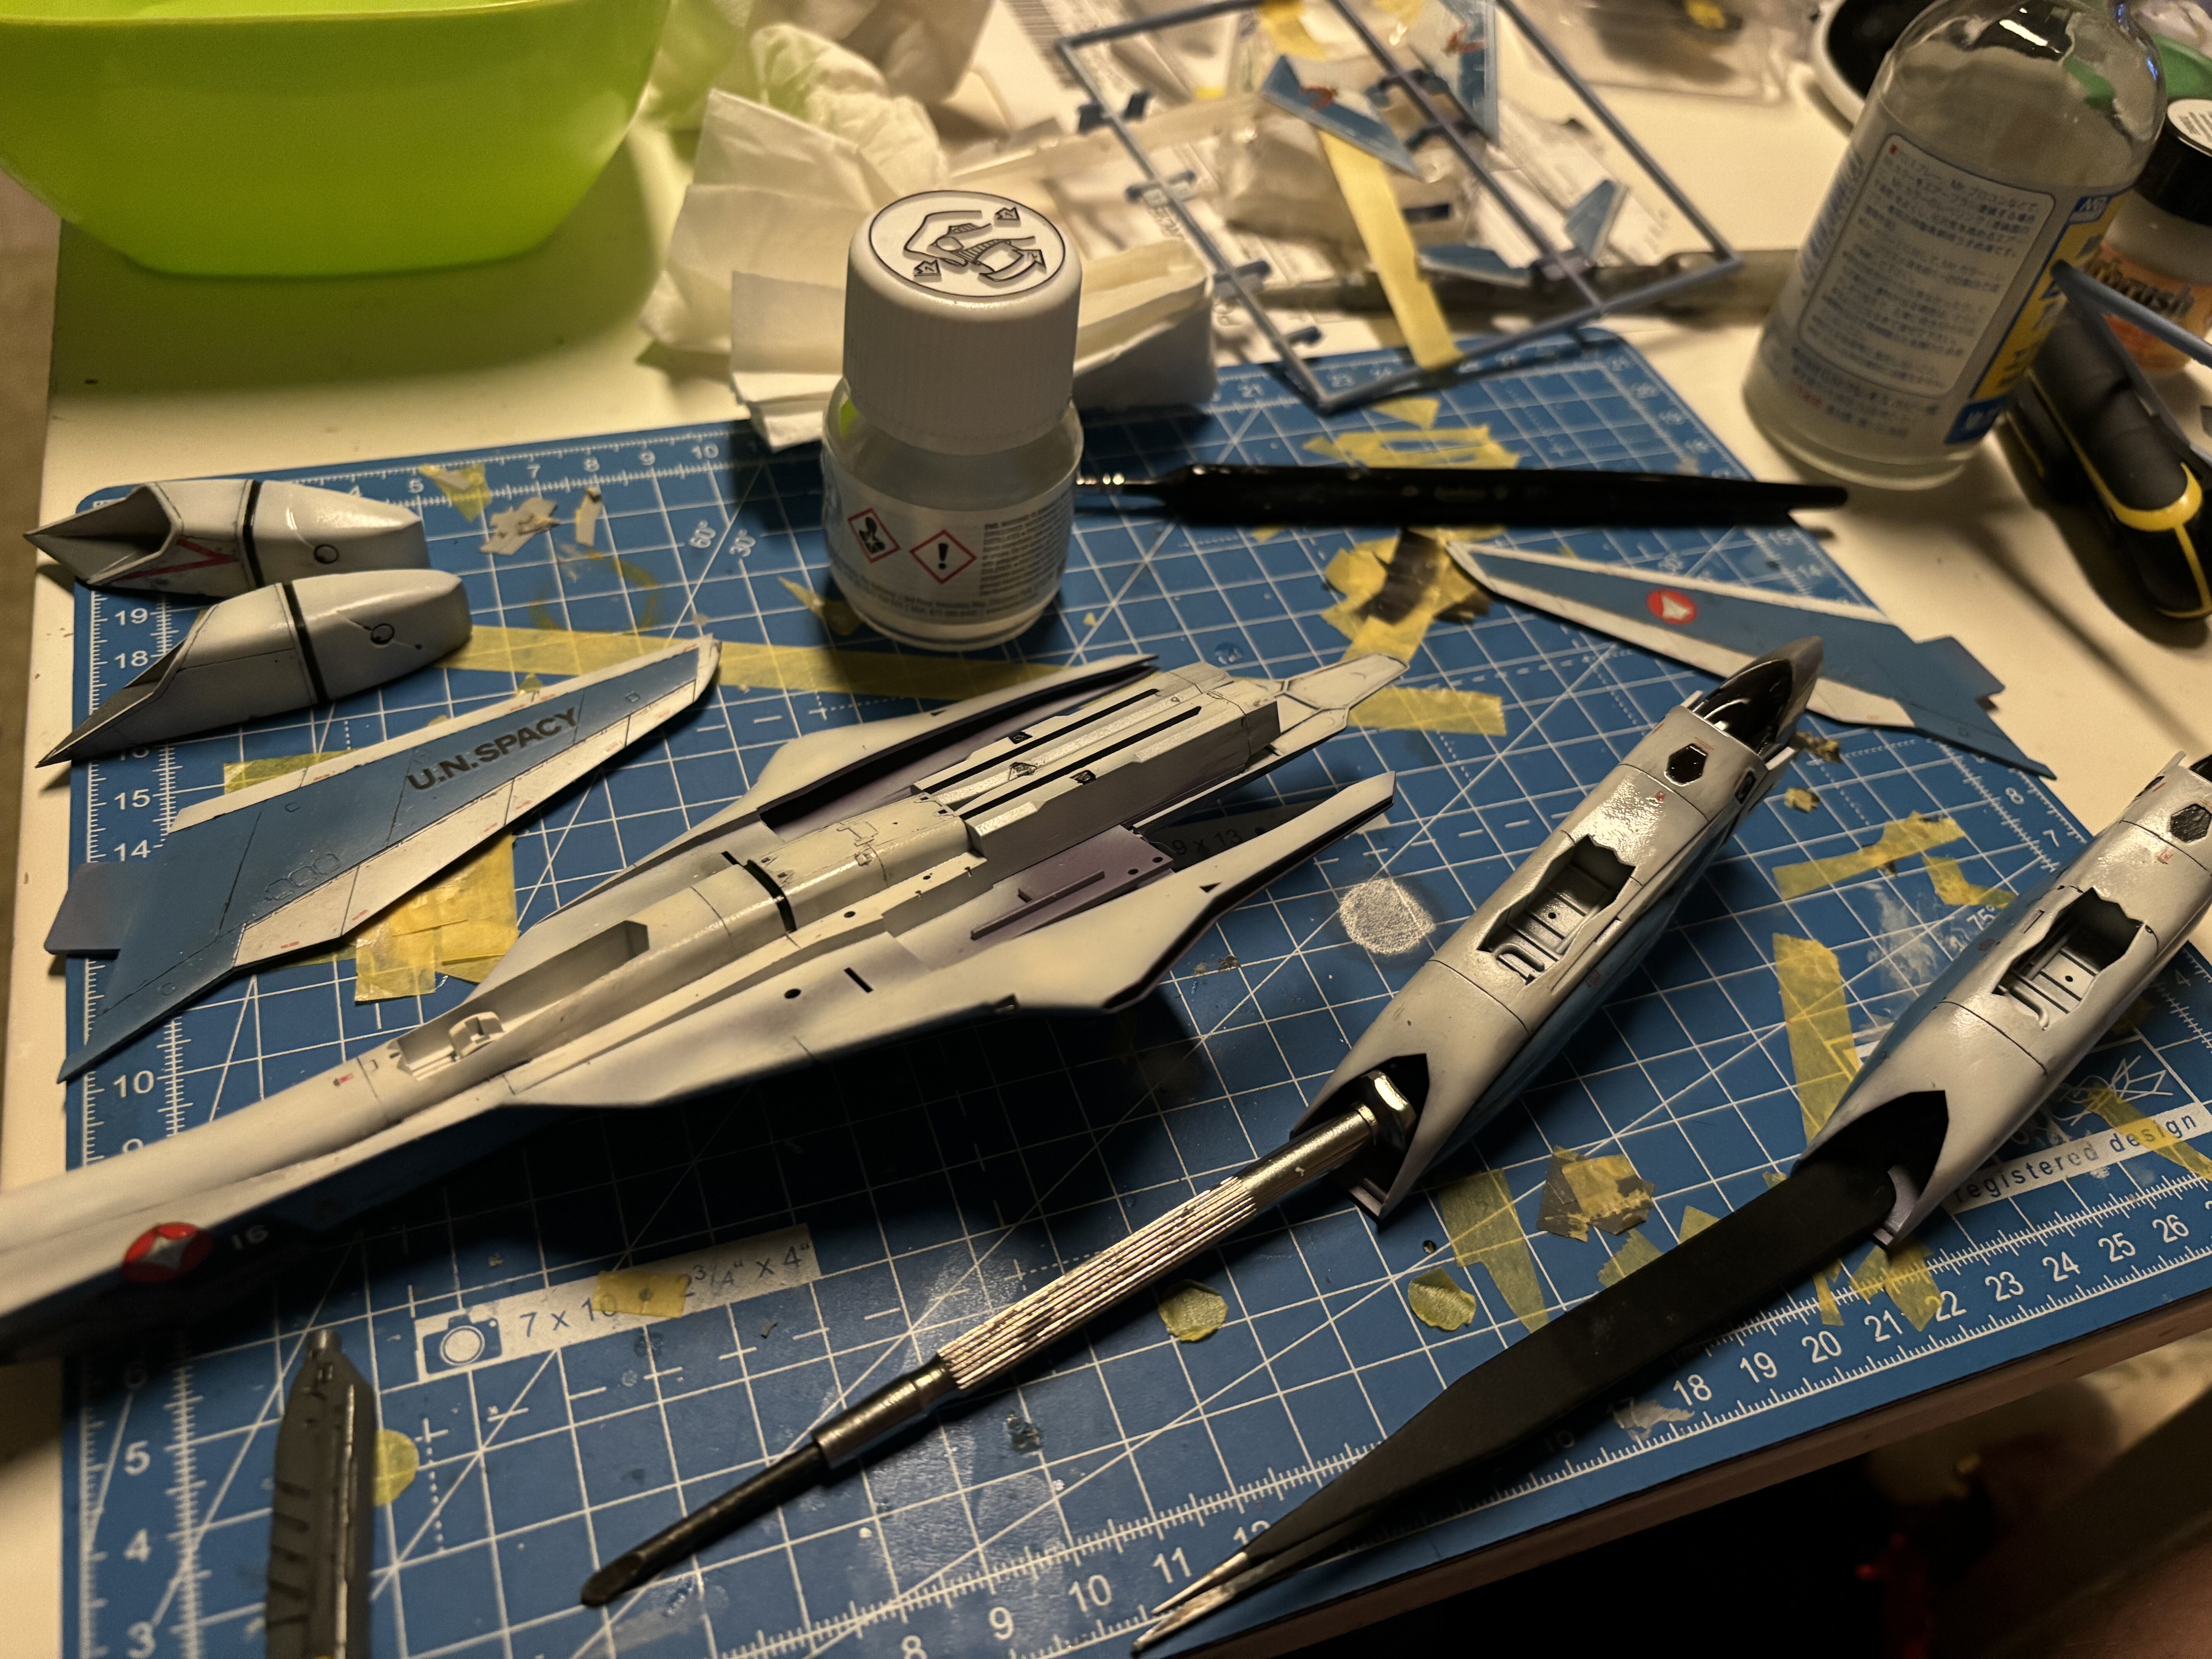
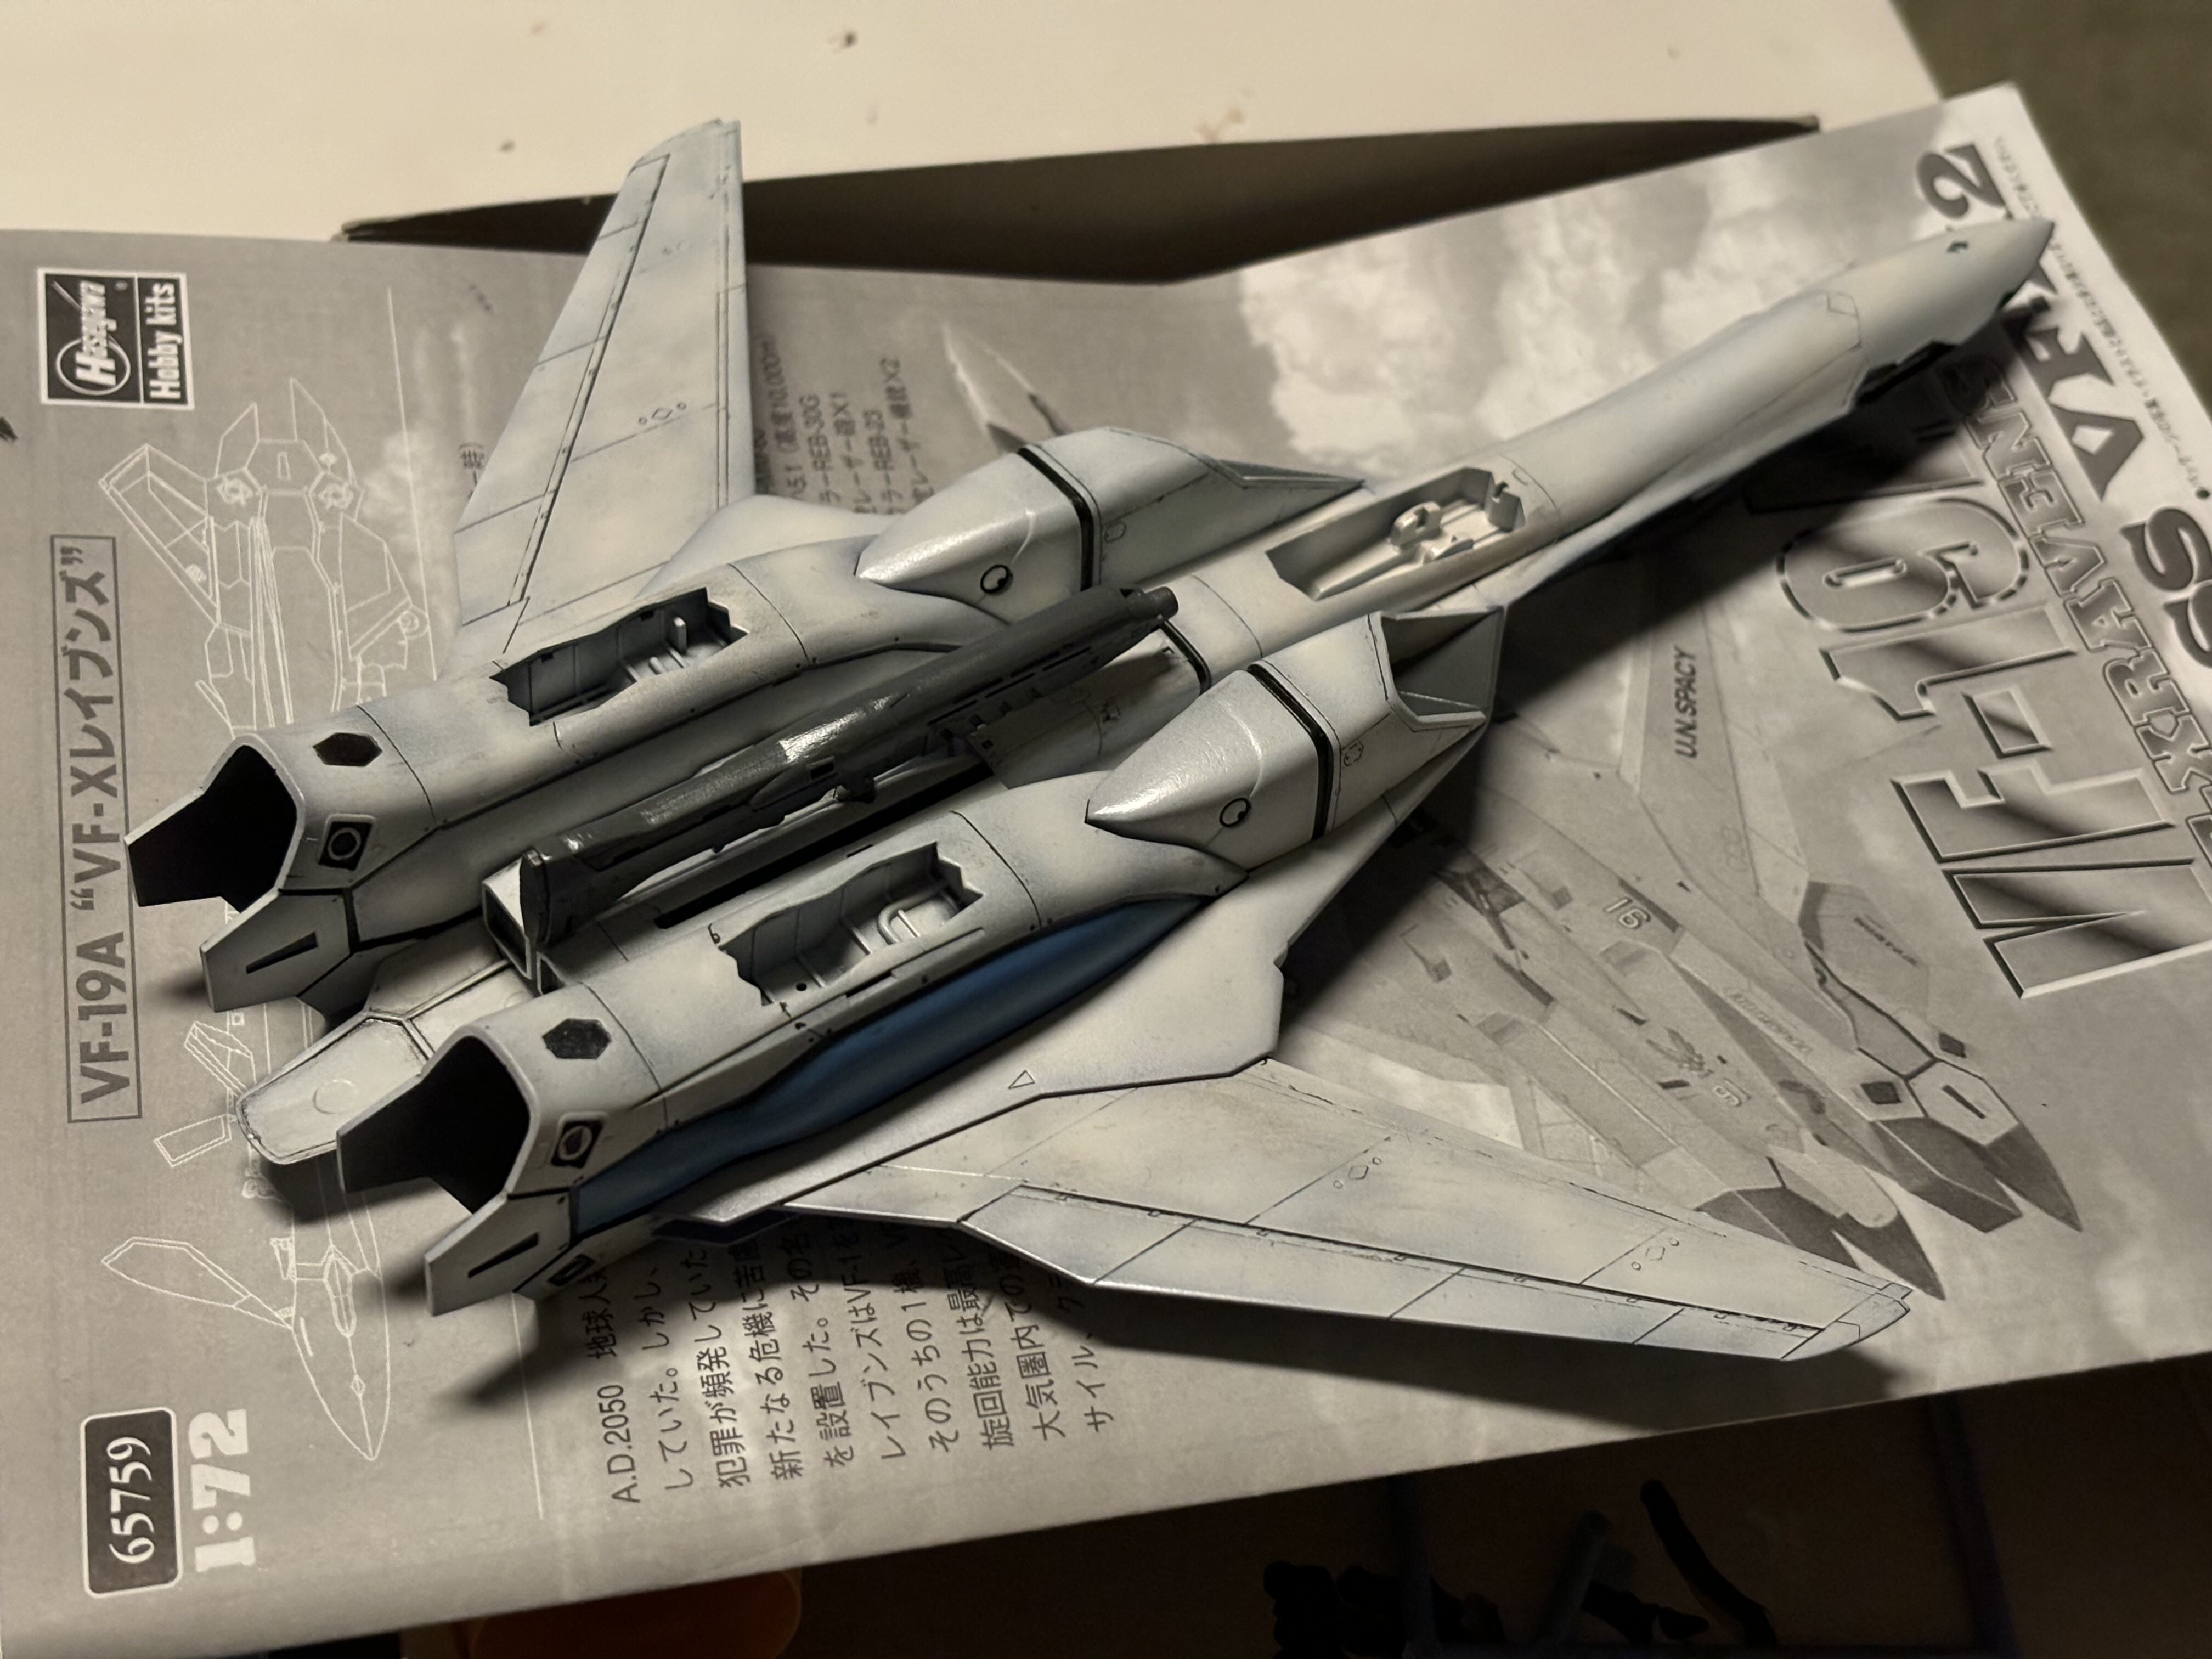
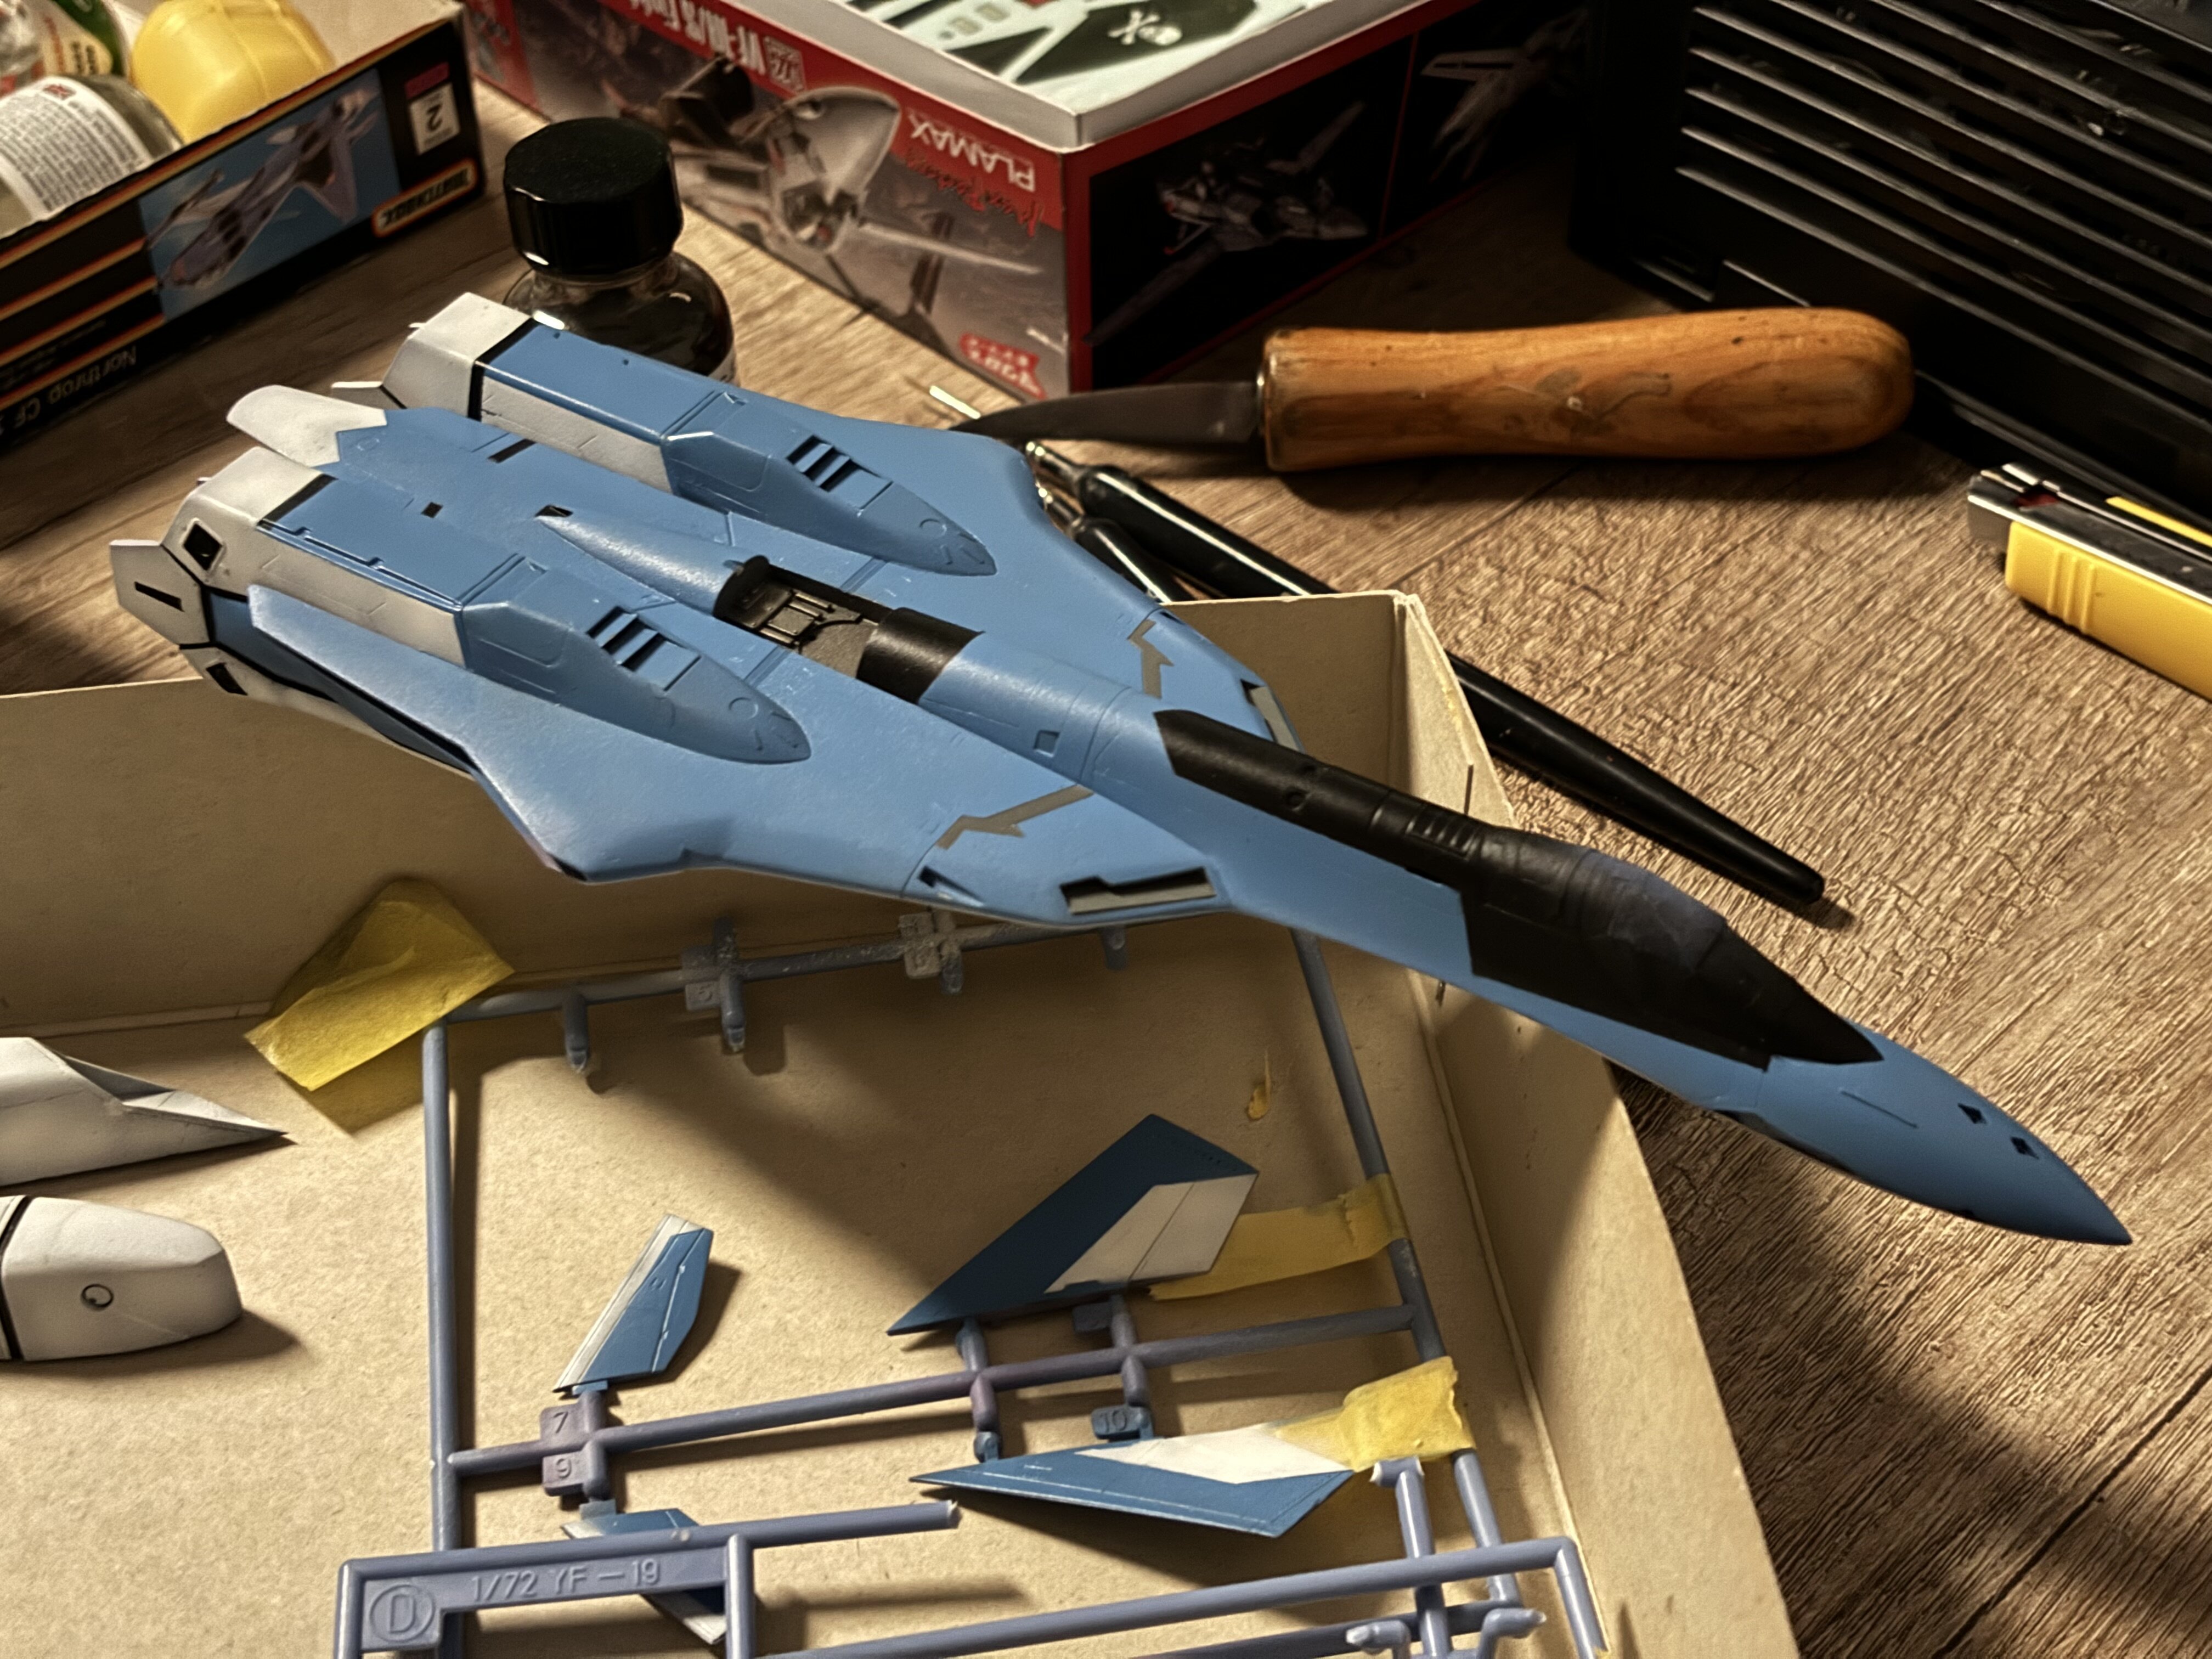
@SteveTheFish nice builds! @Rock Defo the 5grand VF-1. VF-19A almost done. Only some clear parts missing and the small barrels left and right. Not my best build, but I am satisfied. Edit: and done. Second kit of April done. It was a long journey though… Maybe I‘ll get a better picture tomorrow.
-
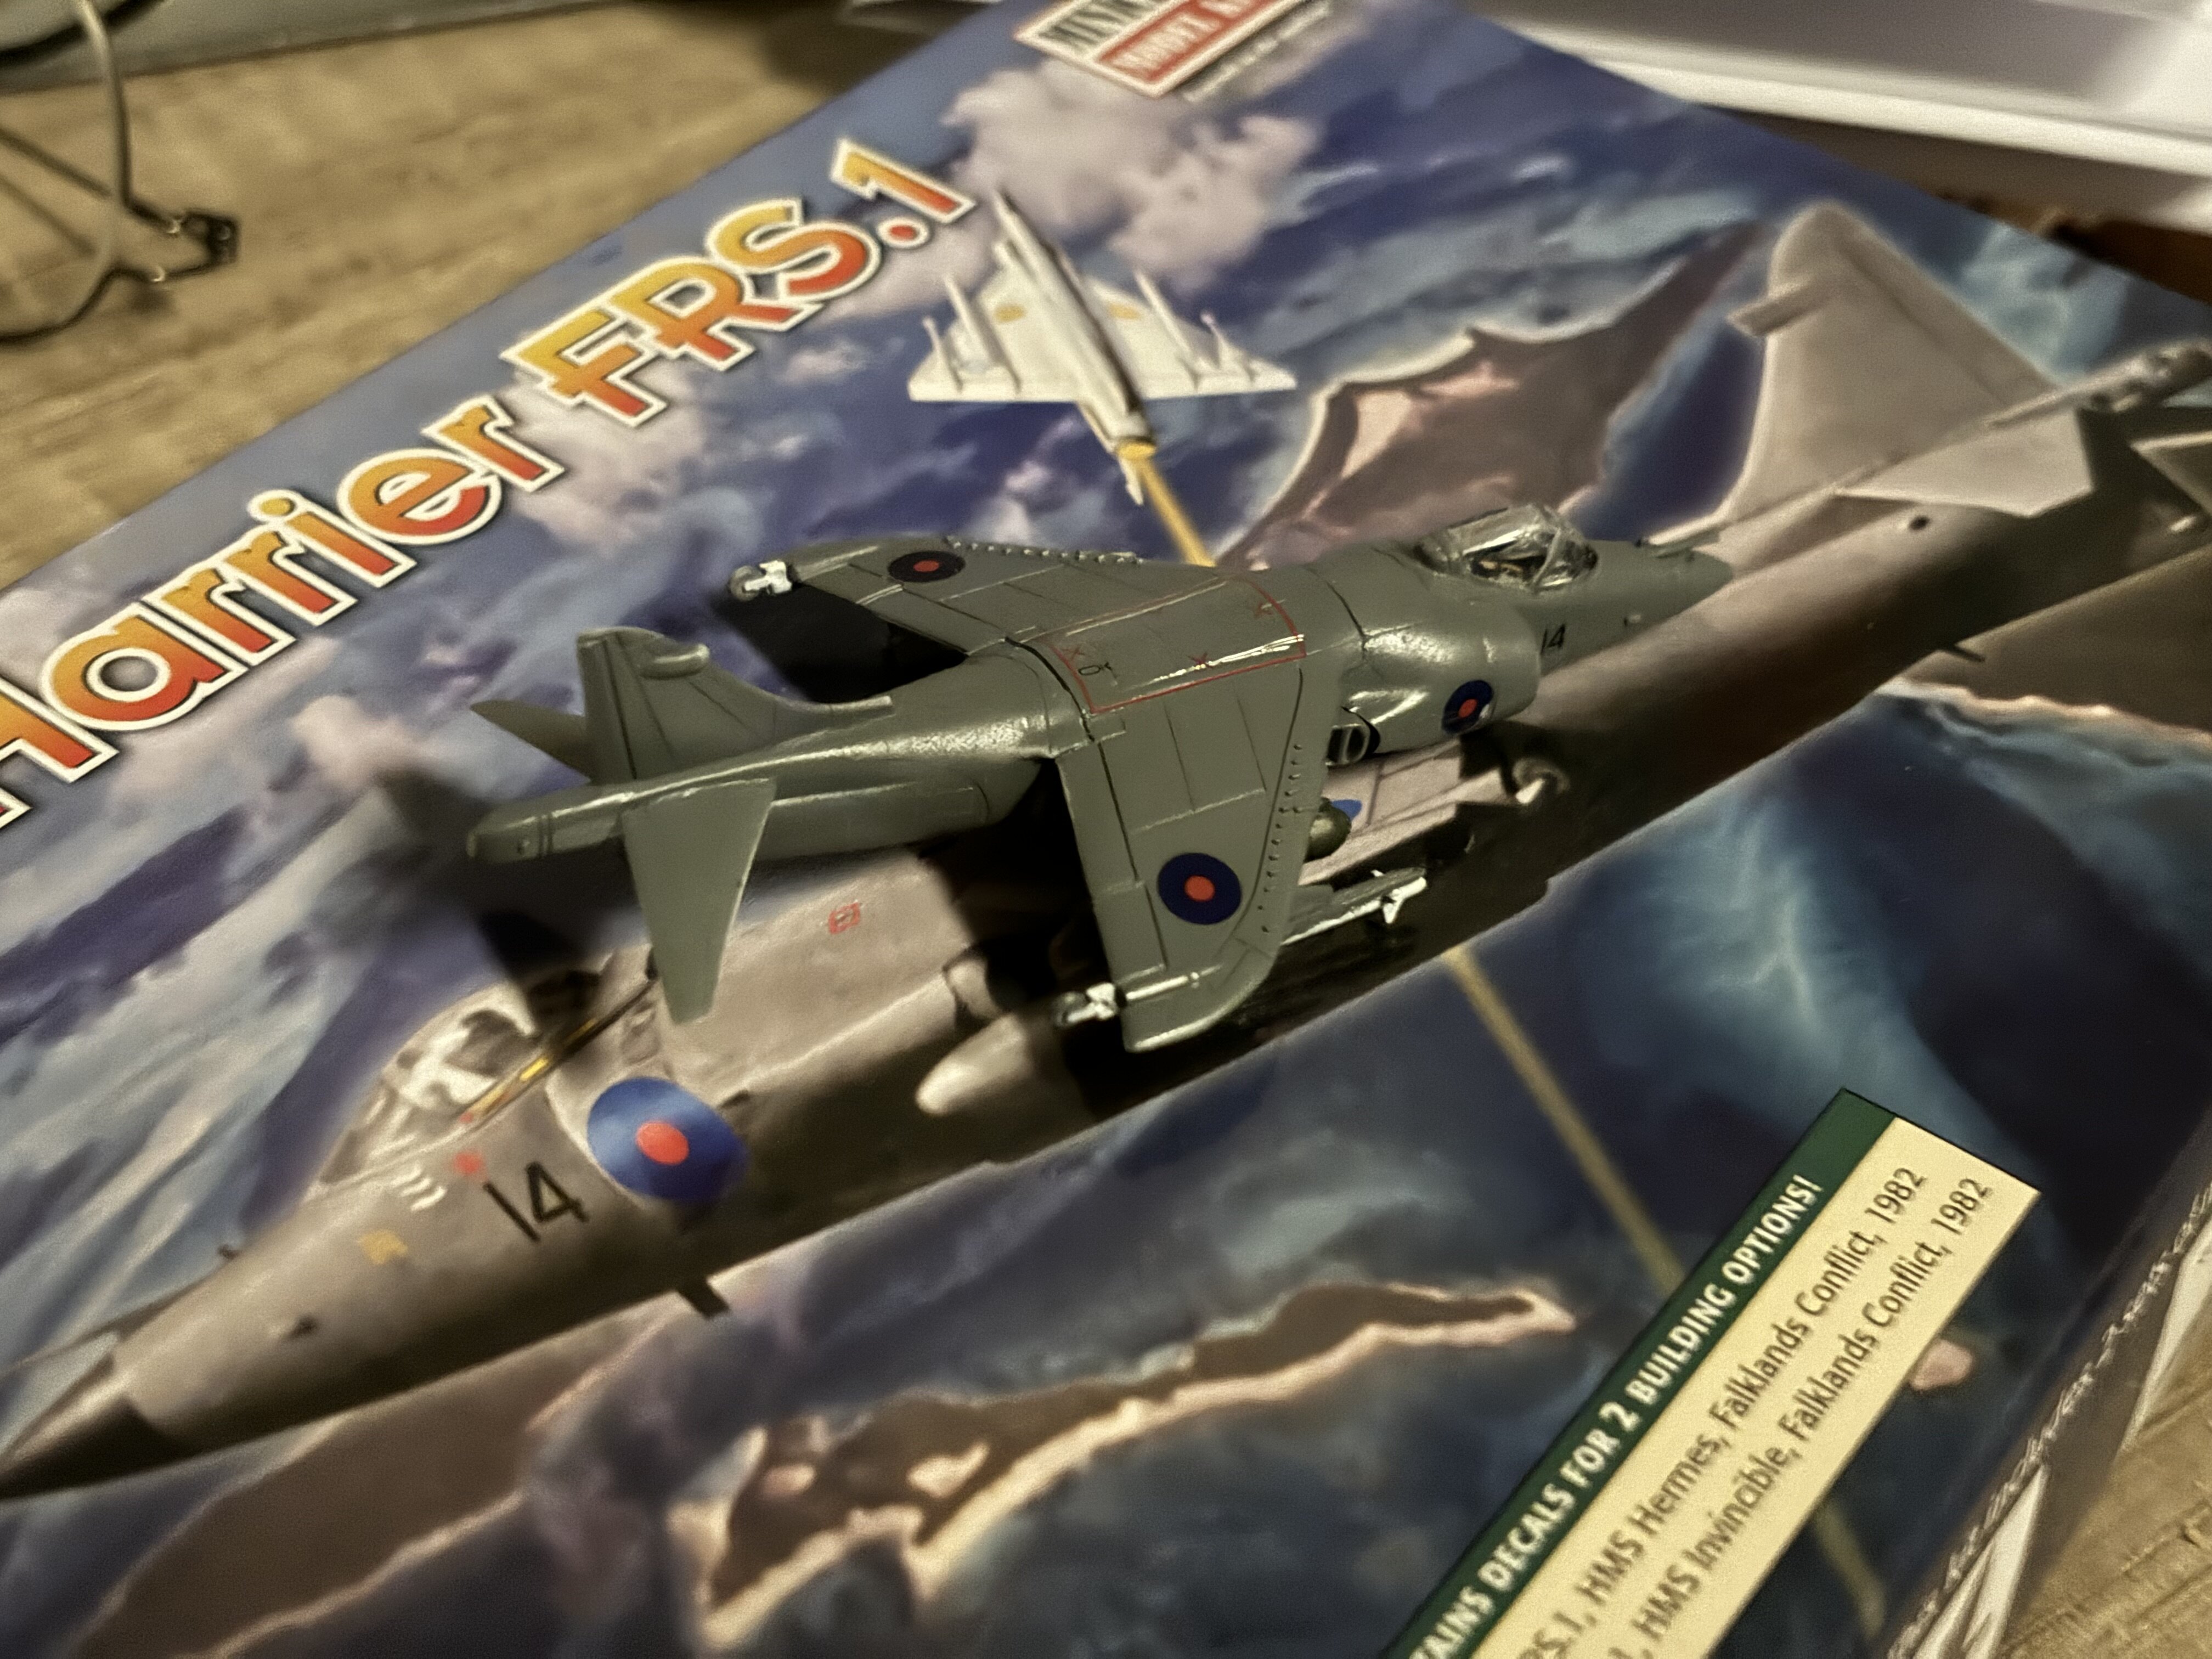
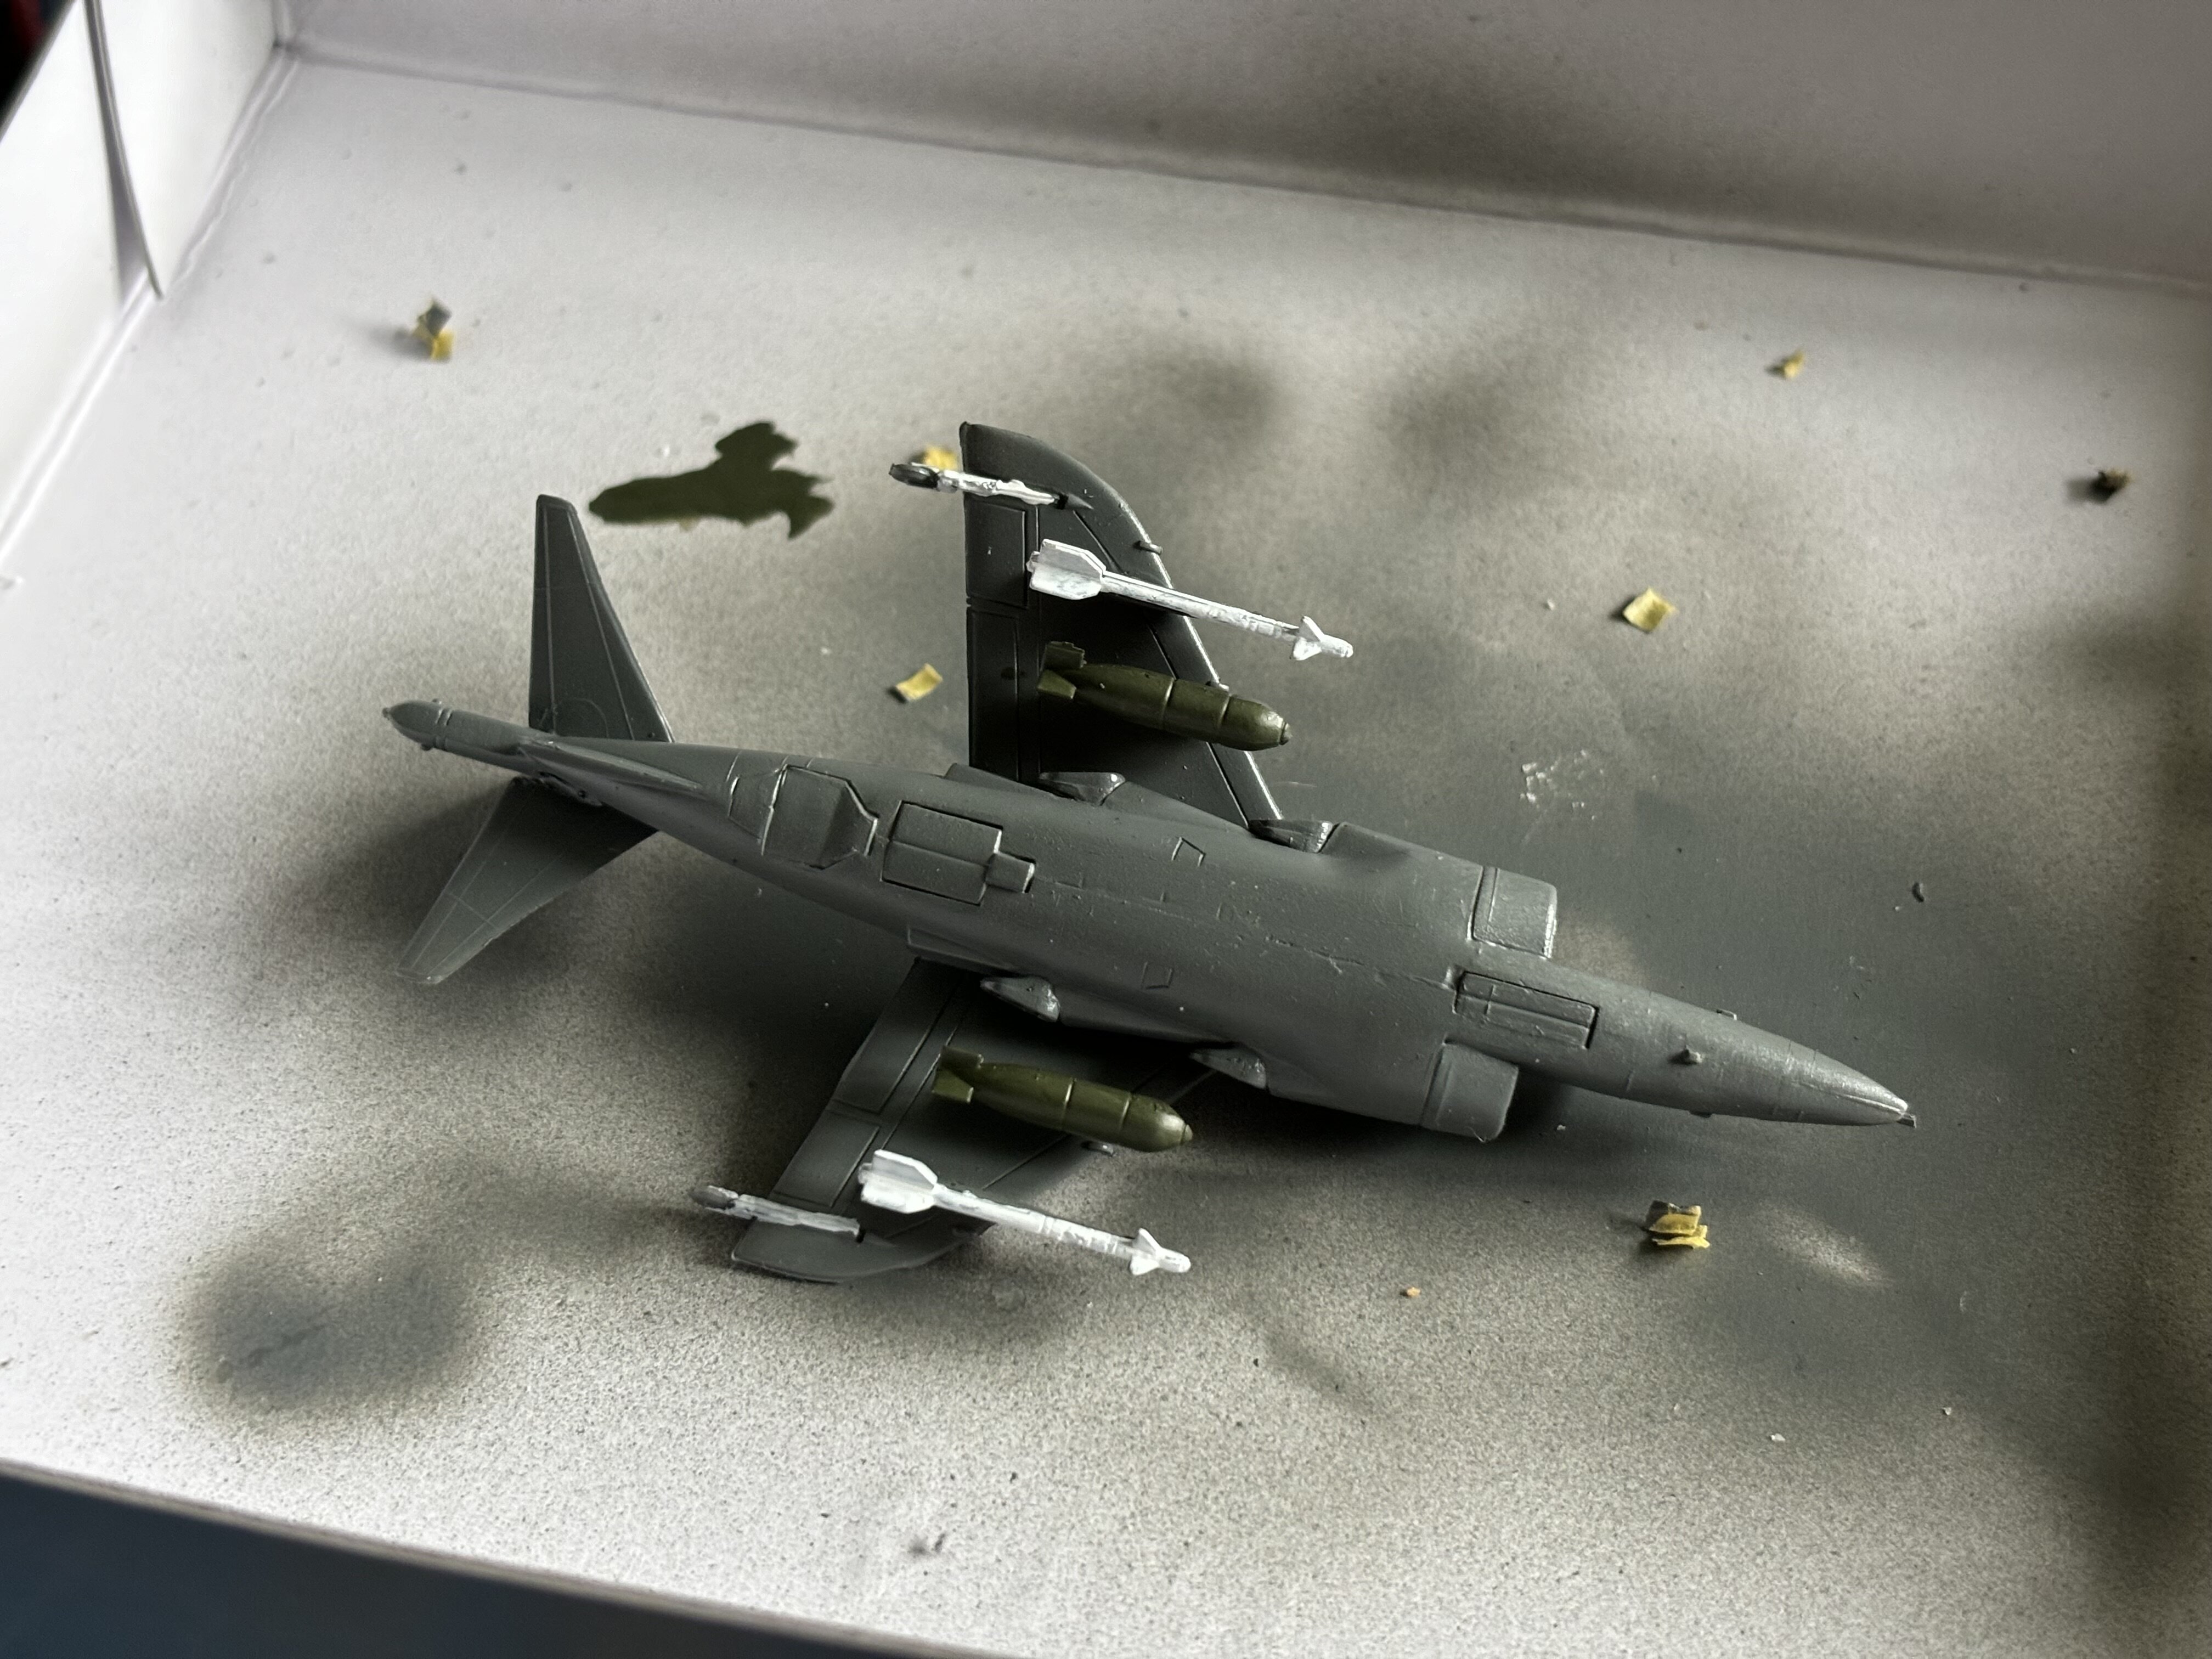
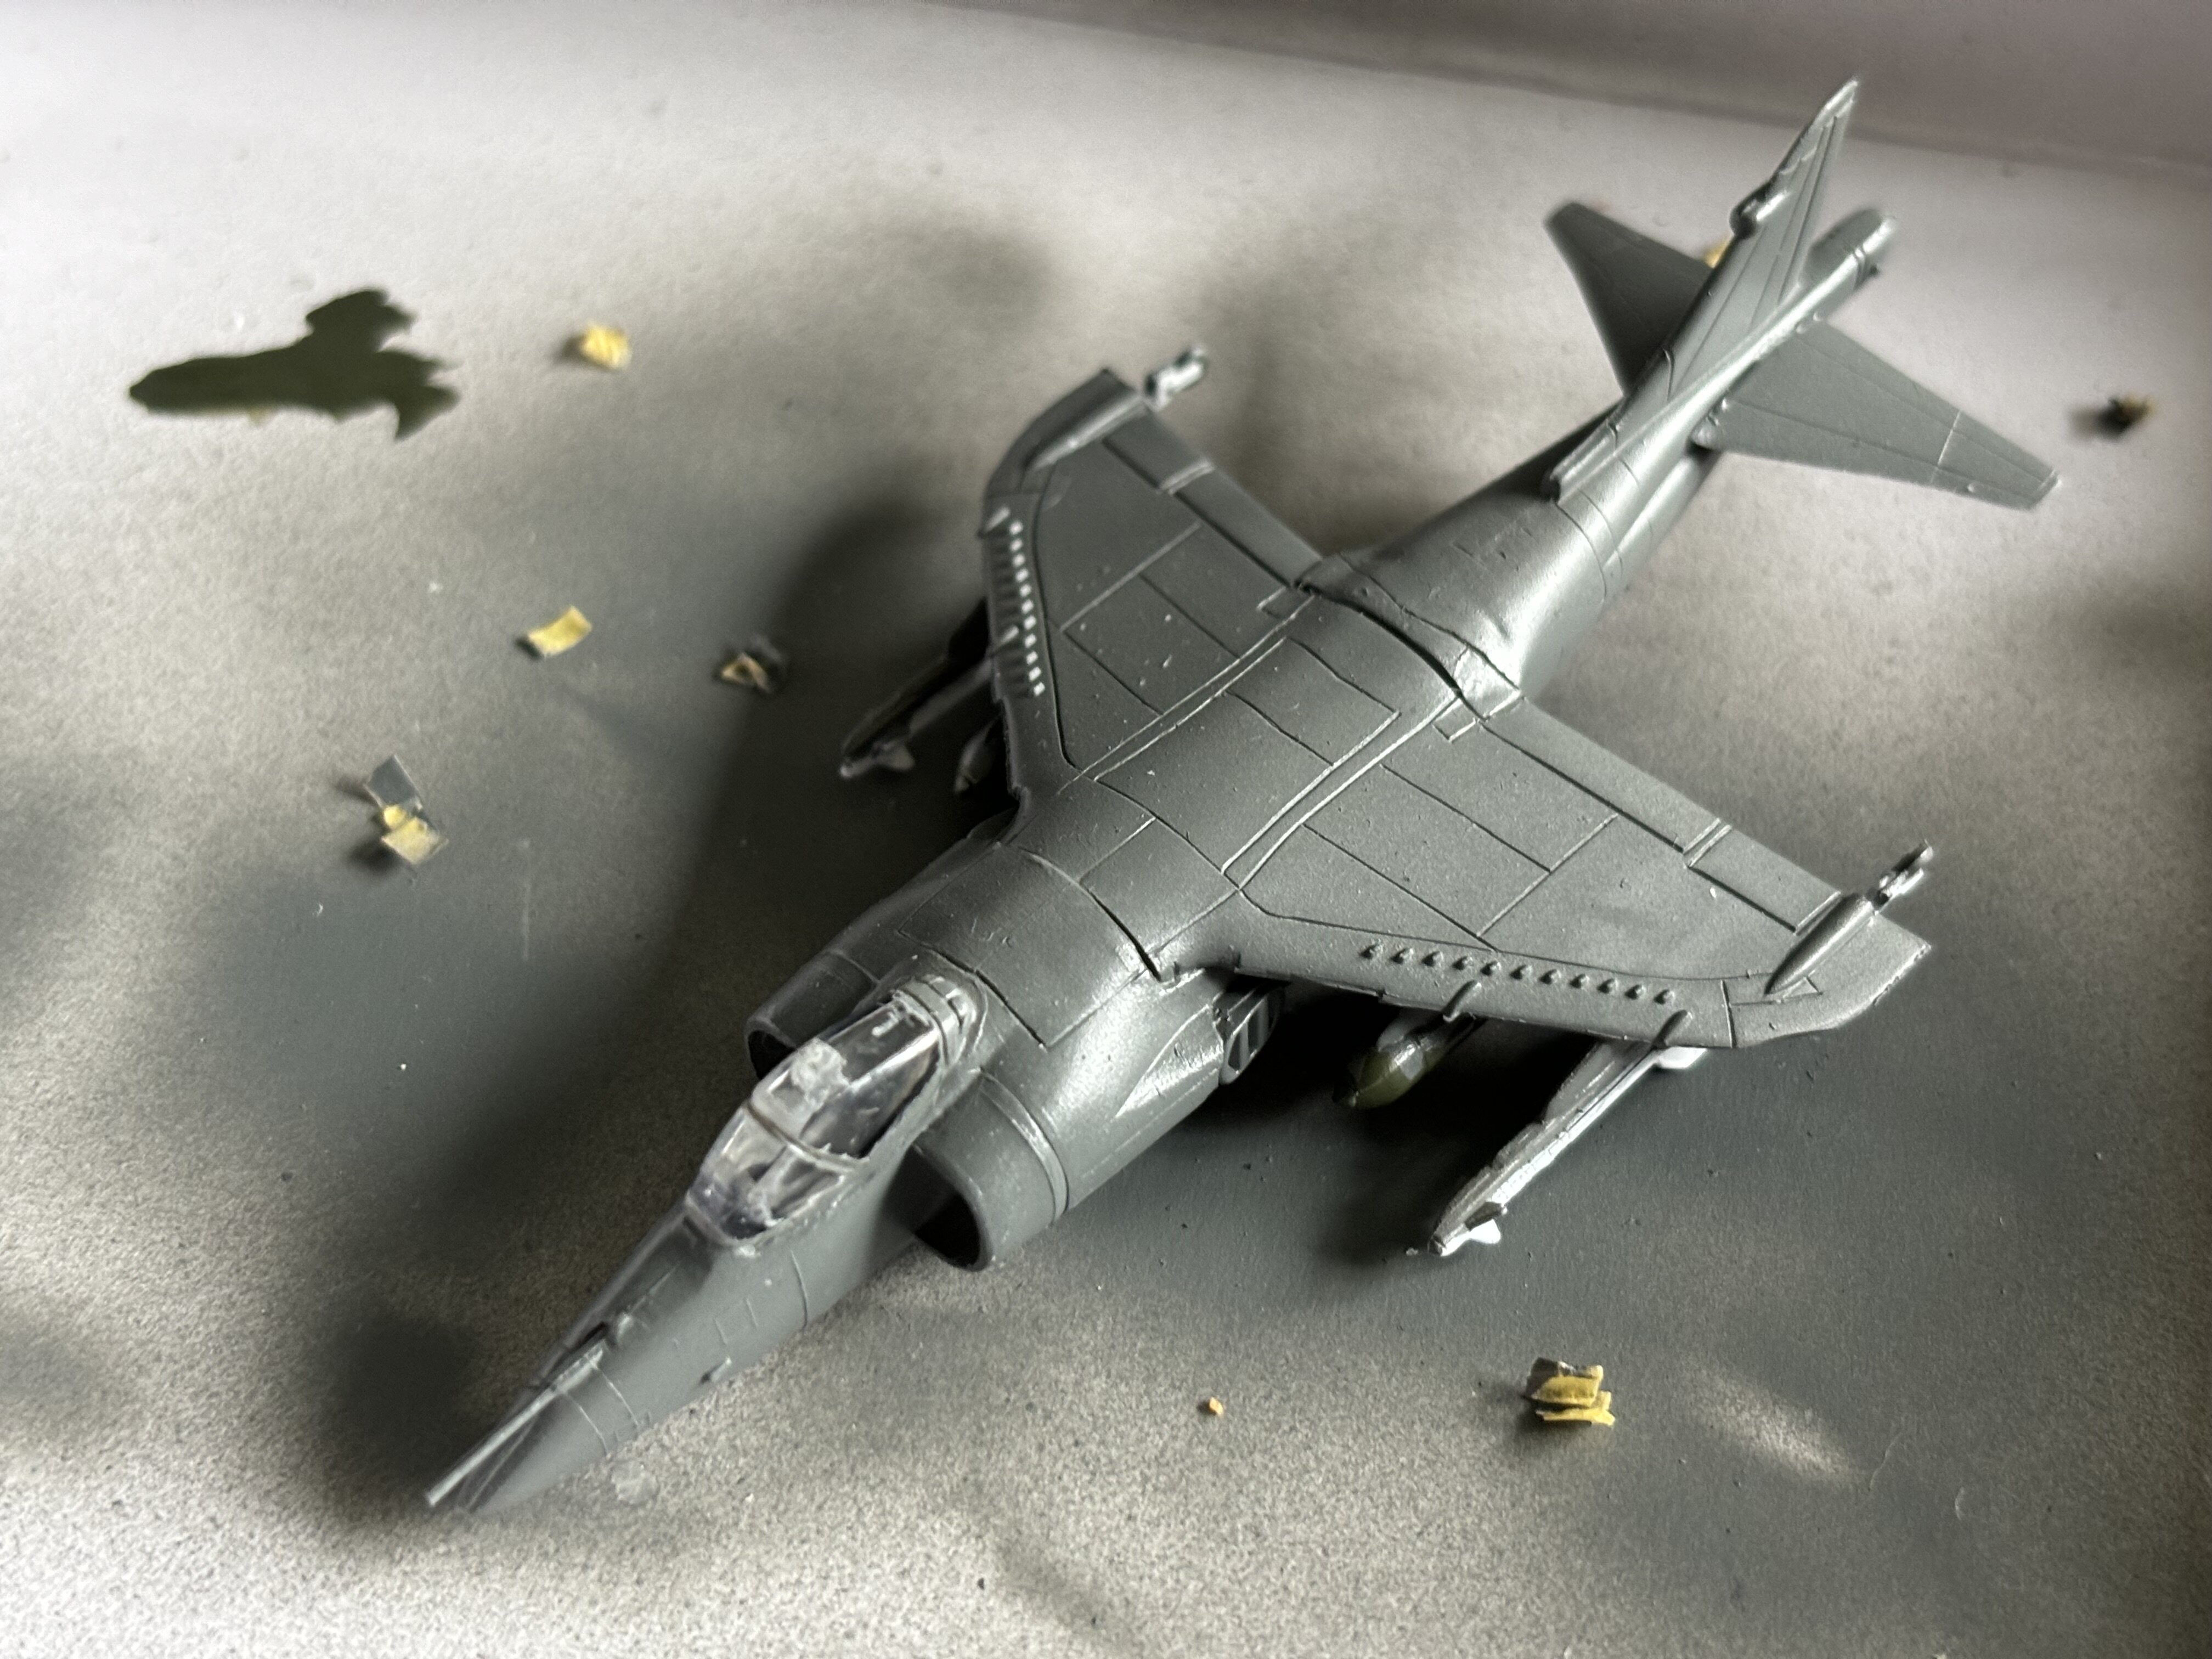
Yeah… the Harrier is super small. And done btw. First kit of April So far I finished at least one kit per month this year. the vf-19a is on the finishing line. I sealed it. The coat needs to cure and then I will glue the pieces together.
-
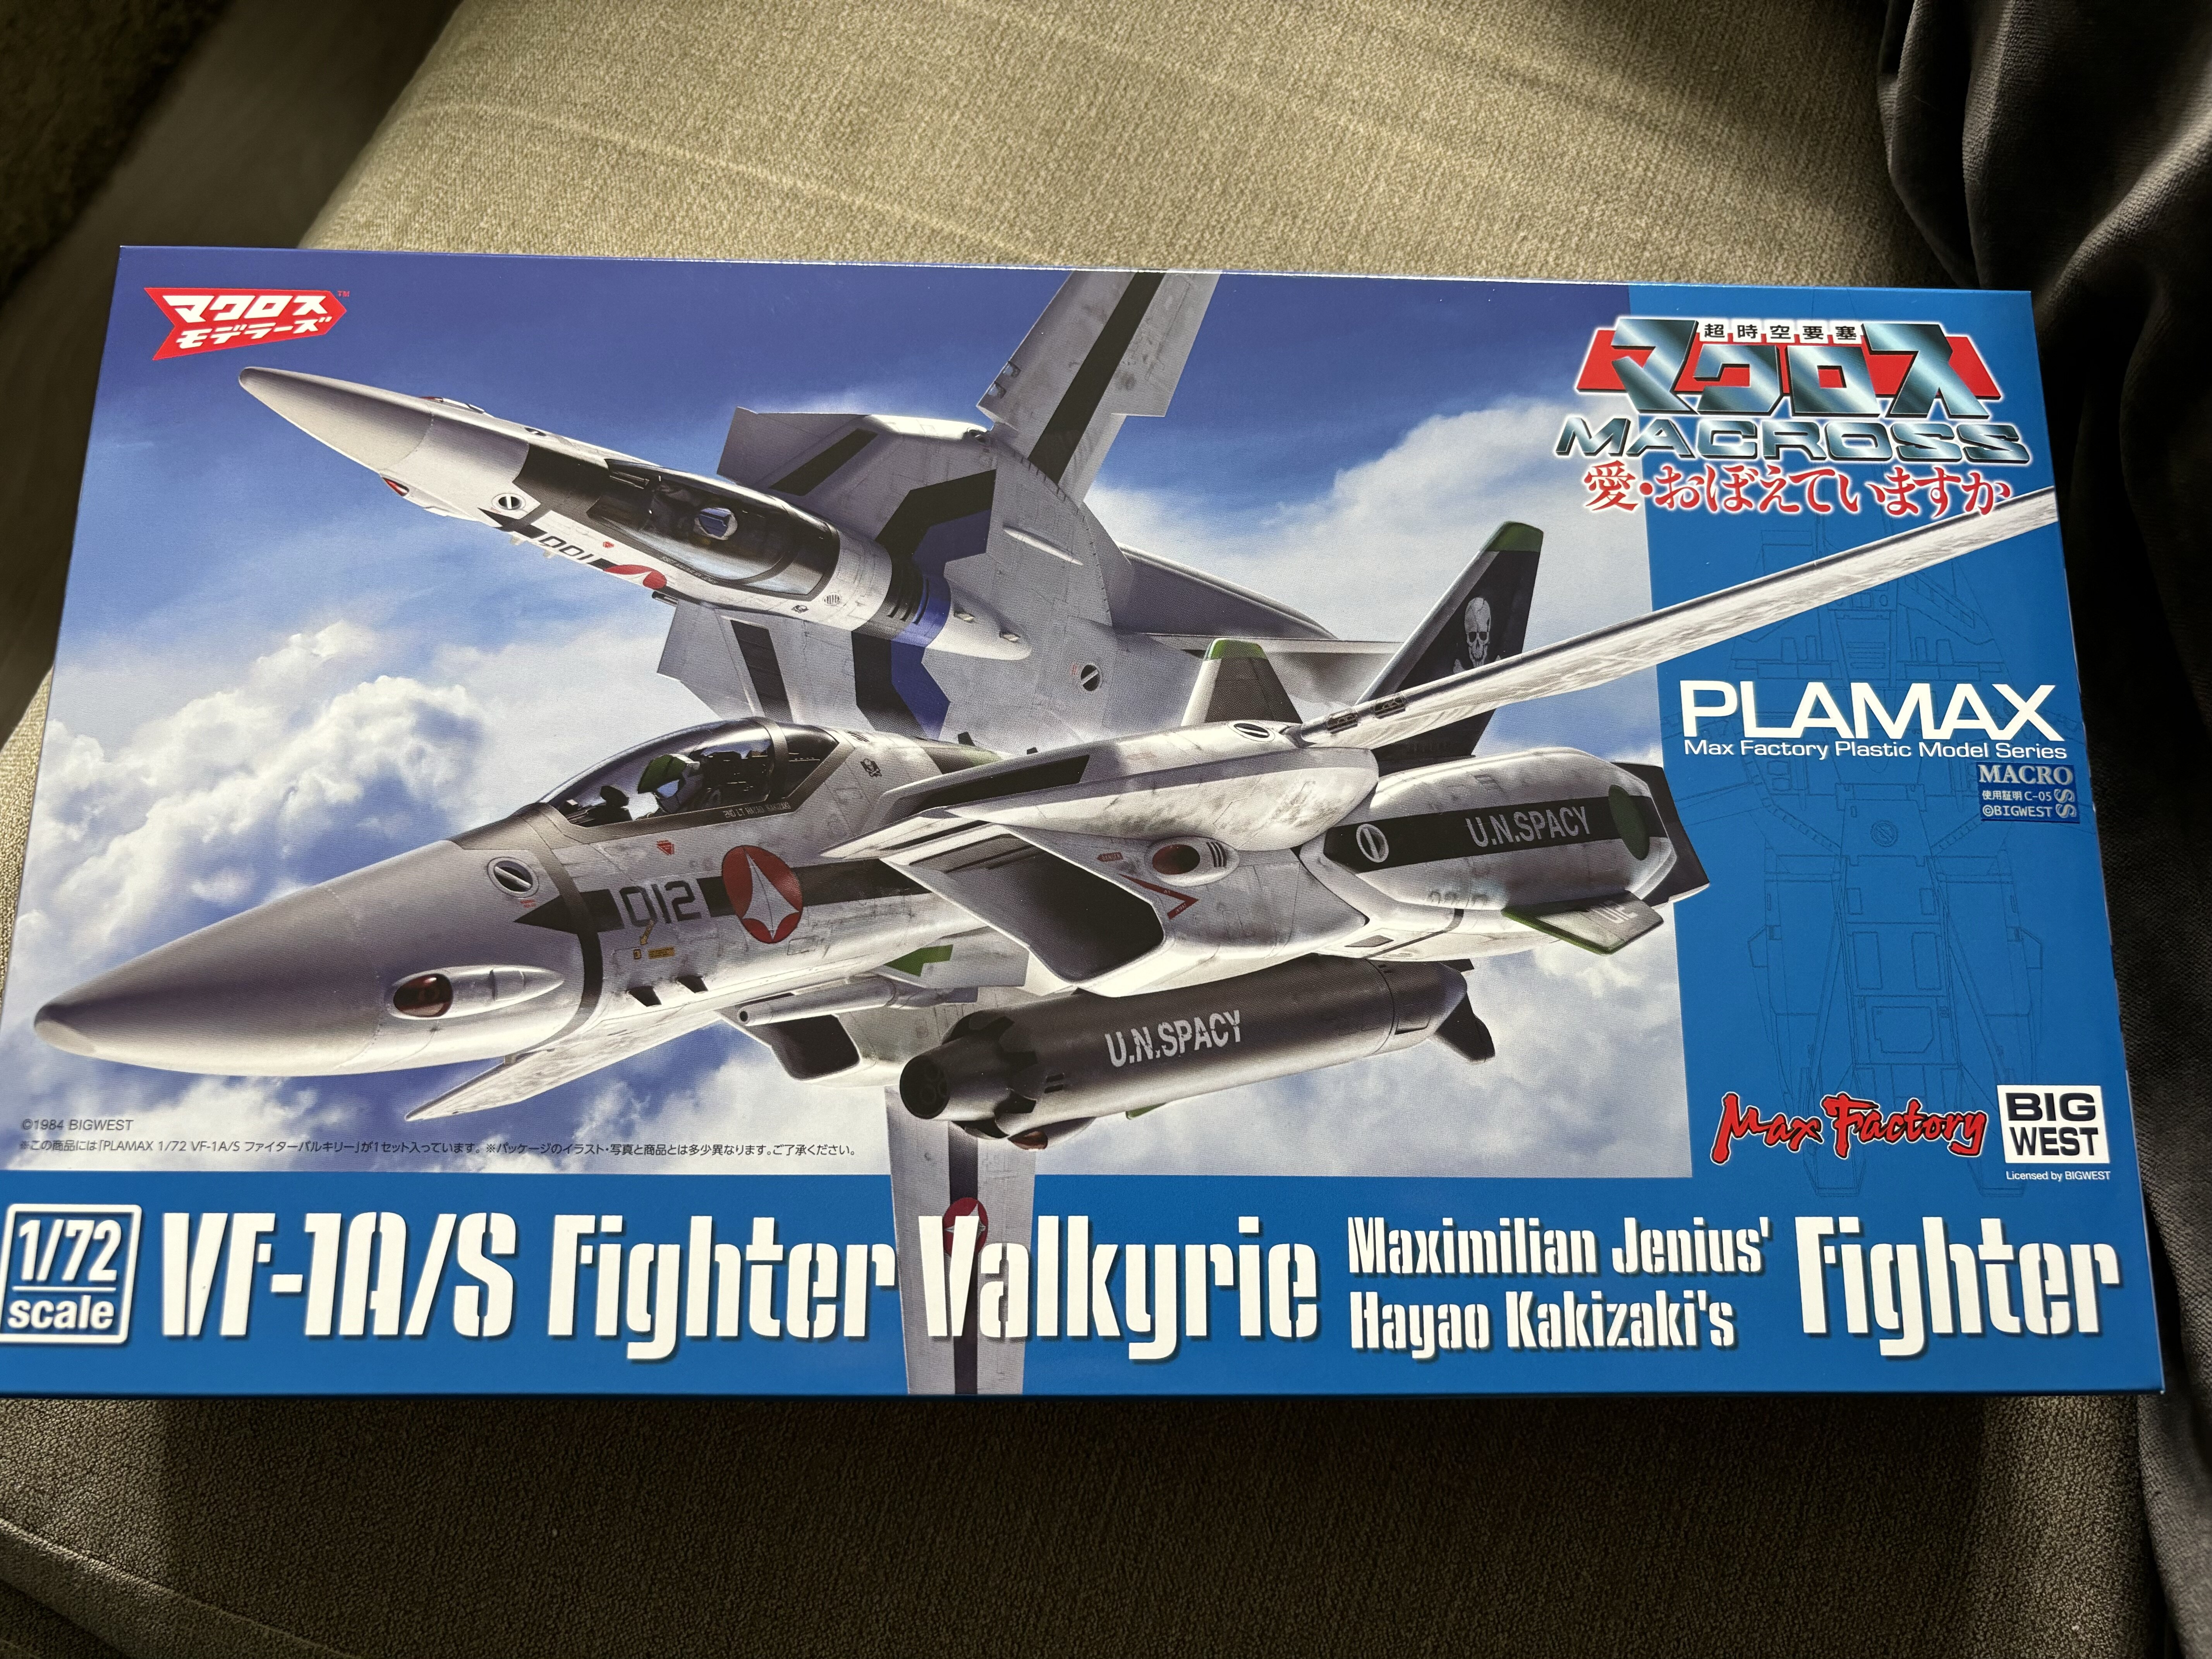
That is dark man… but, yeah. I expected that as well. I have a kakizaki Hasegawa VF-1 already. Was thinking of a simple DYRL Max theme this time.
-
-
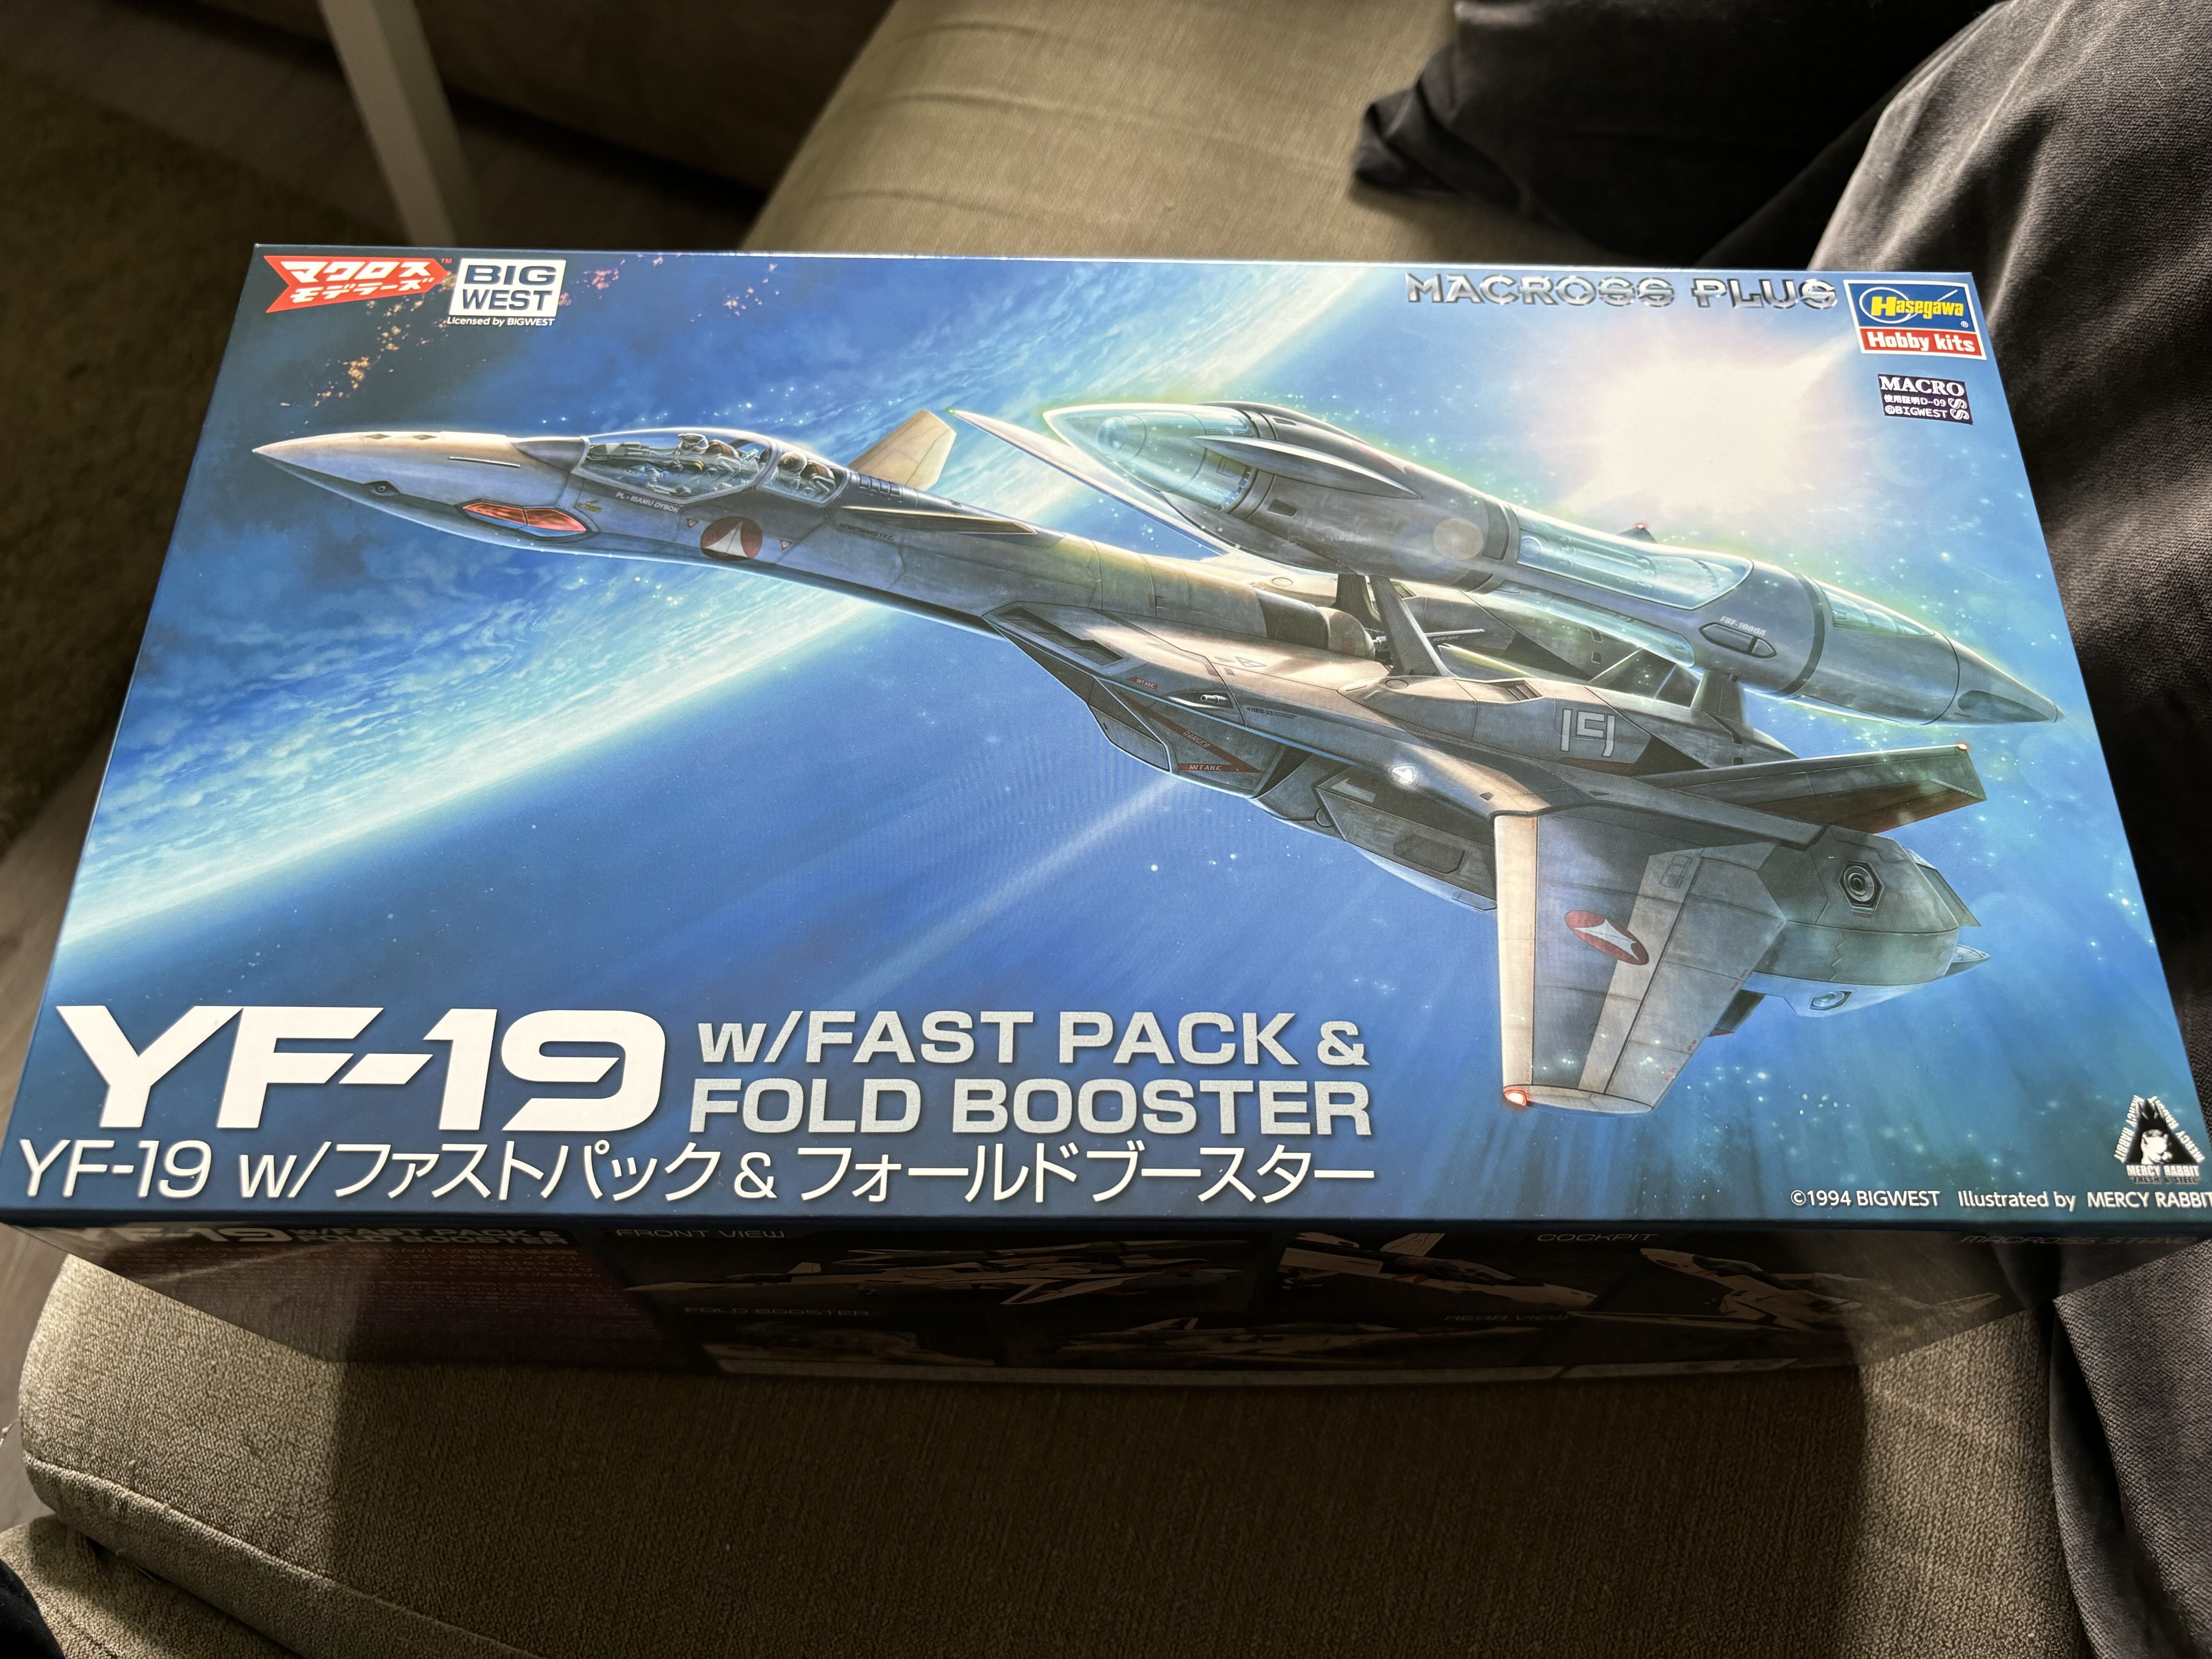
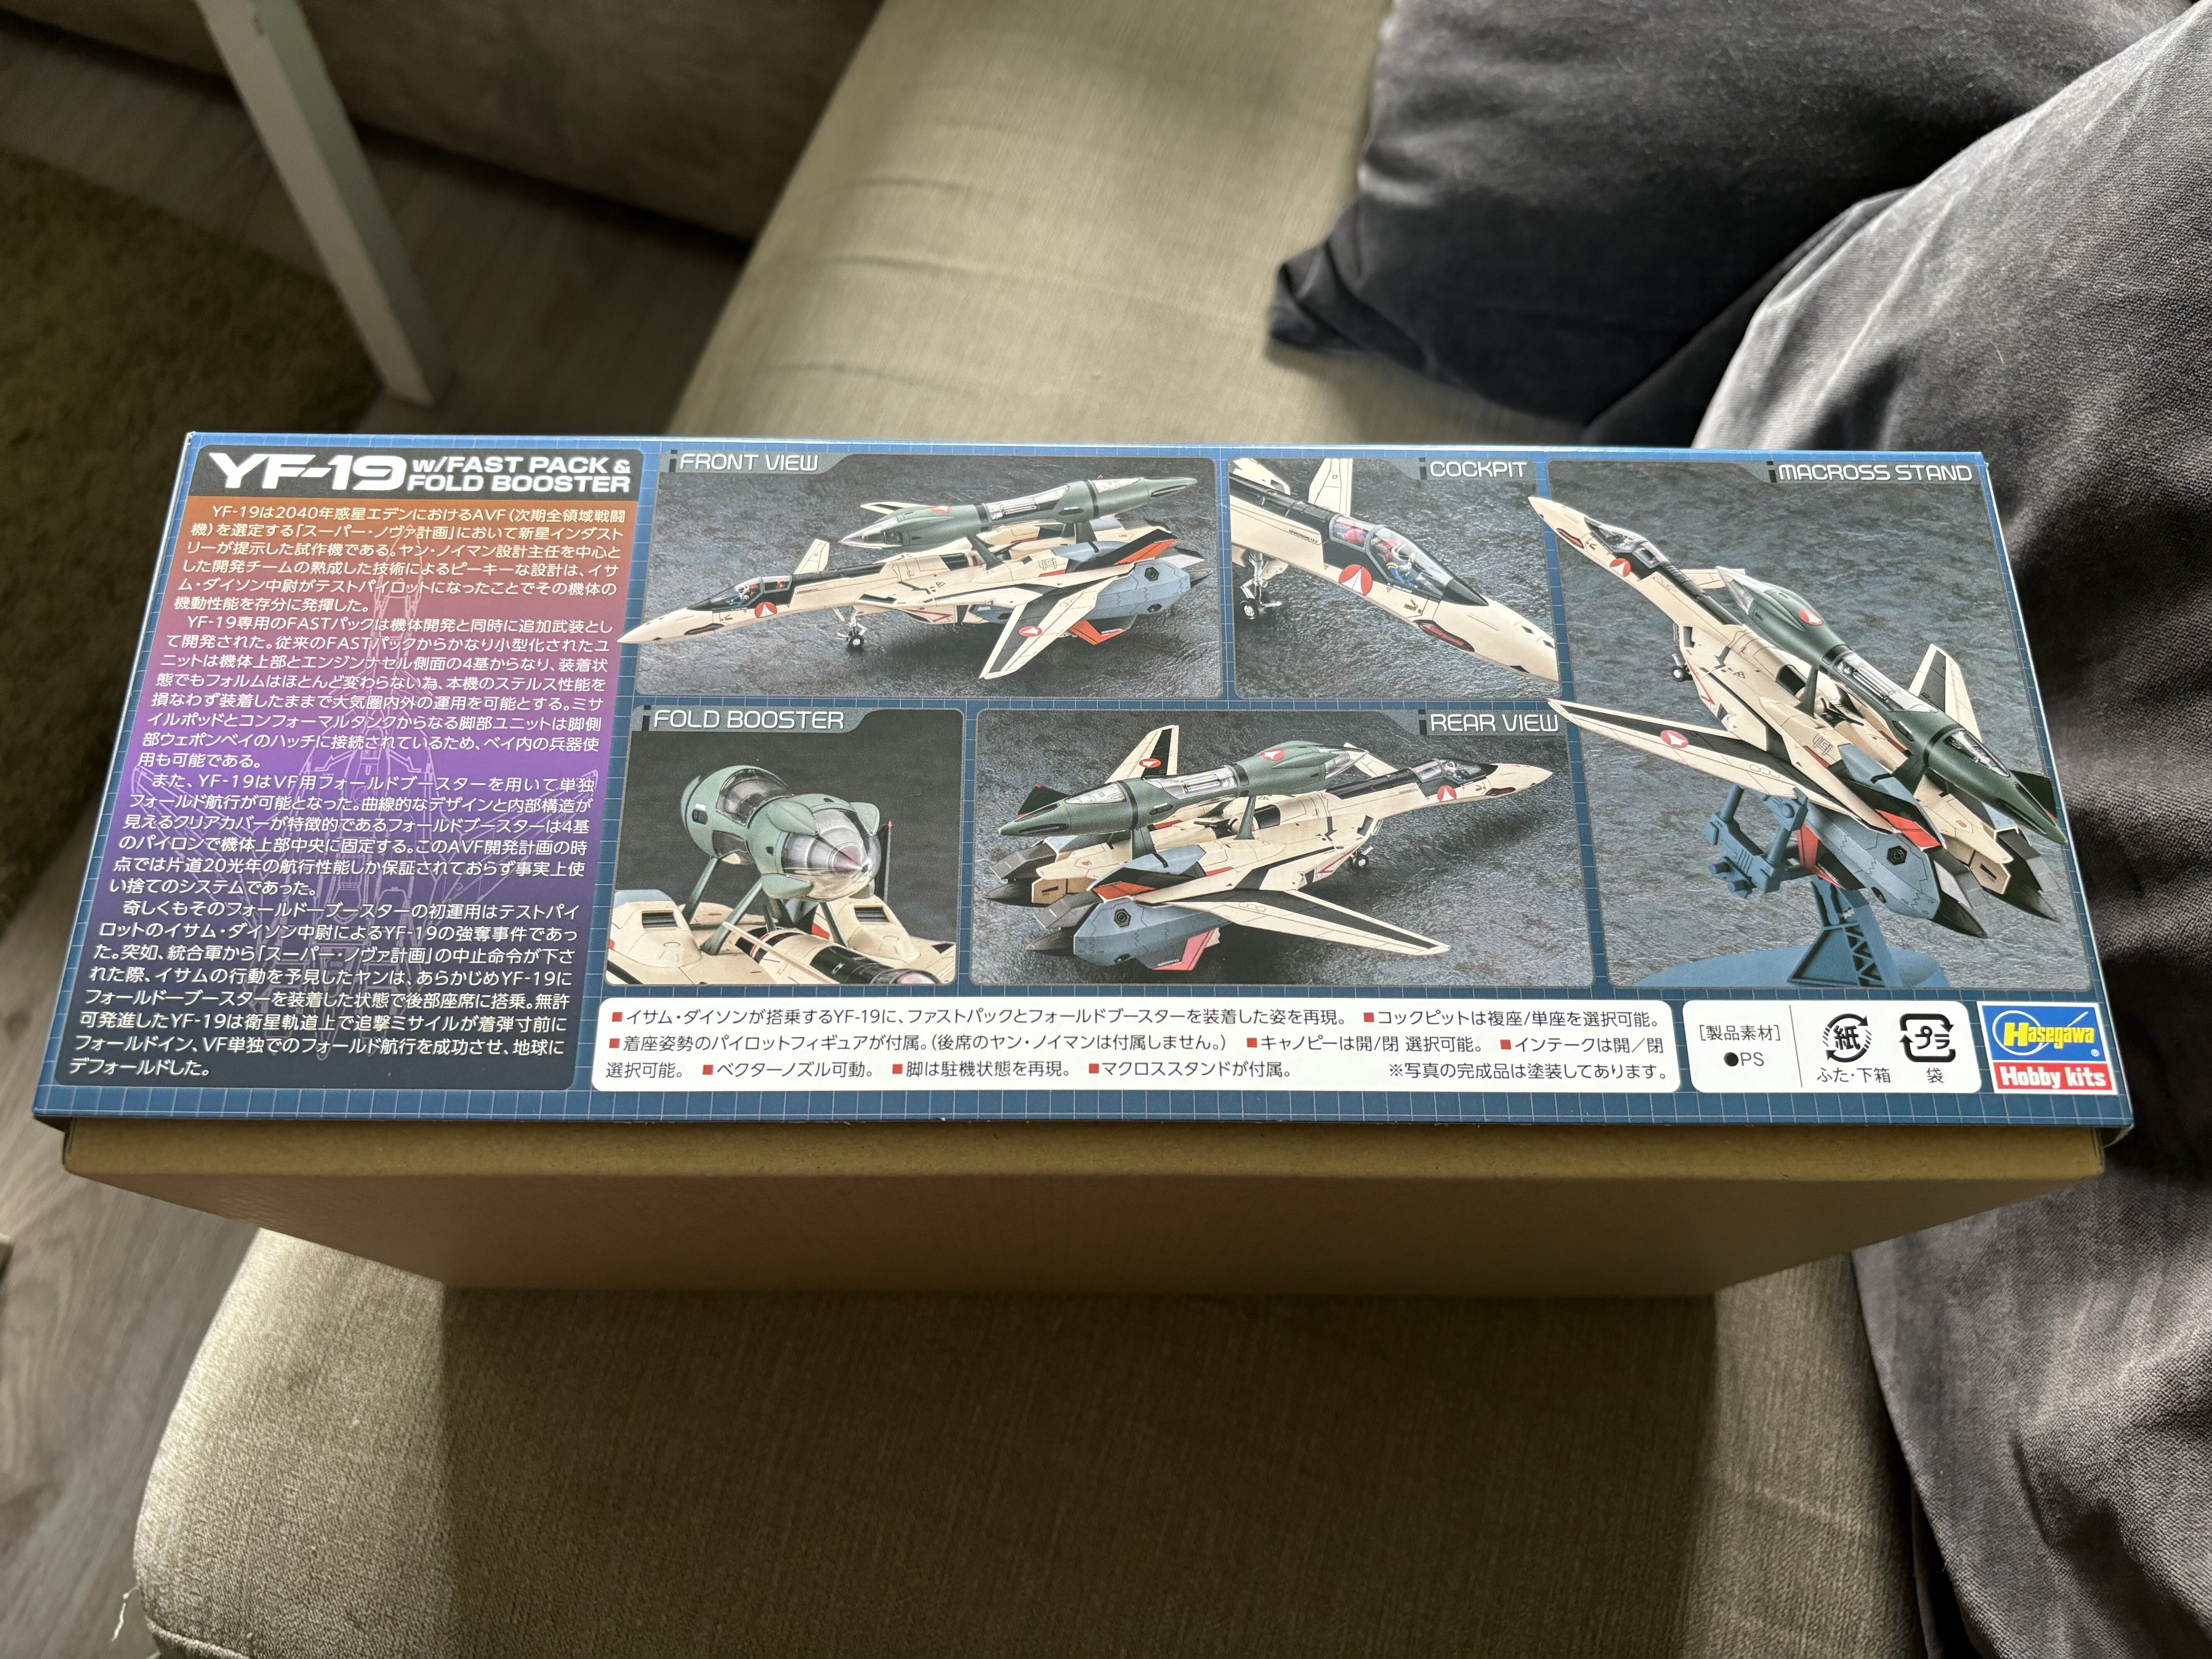
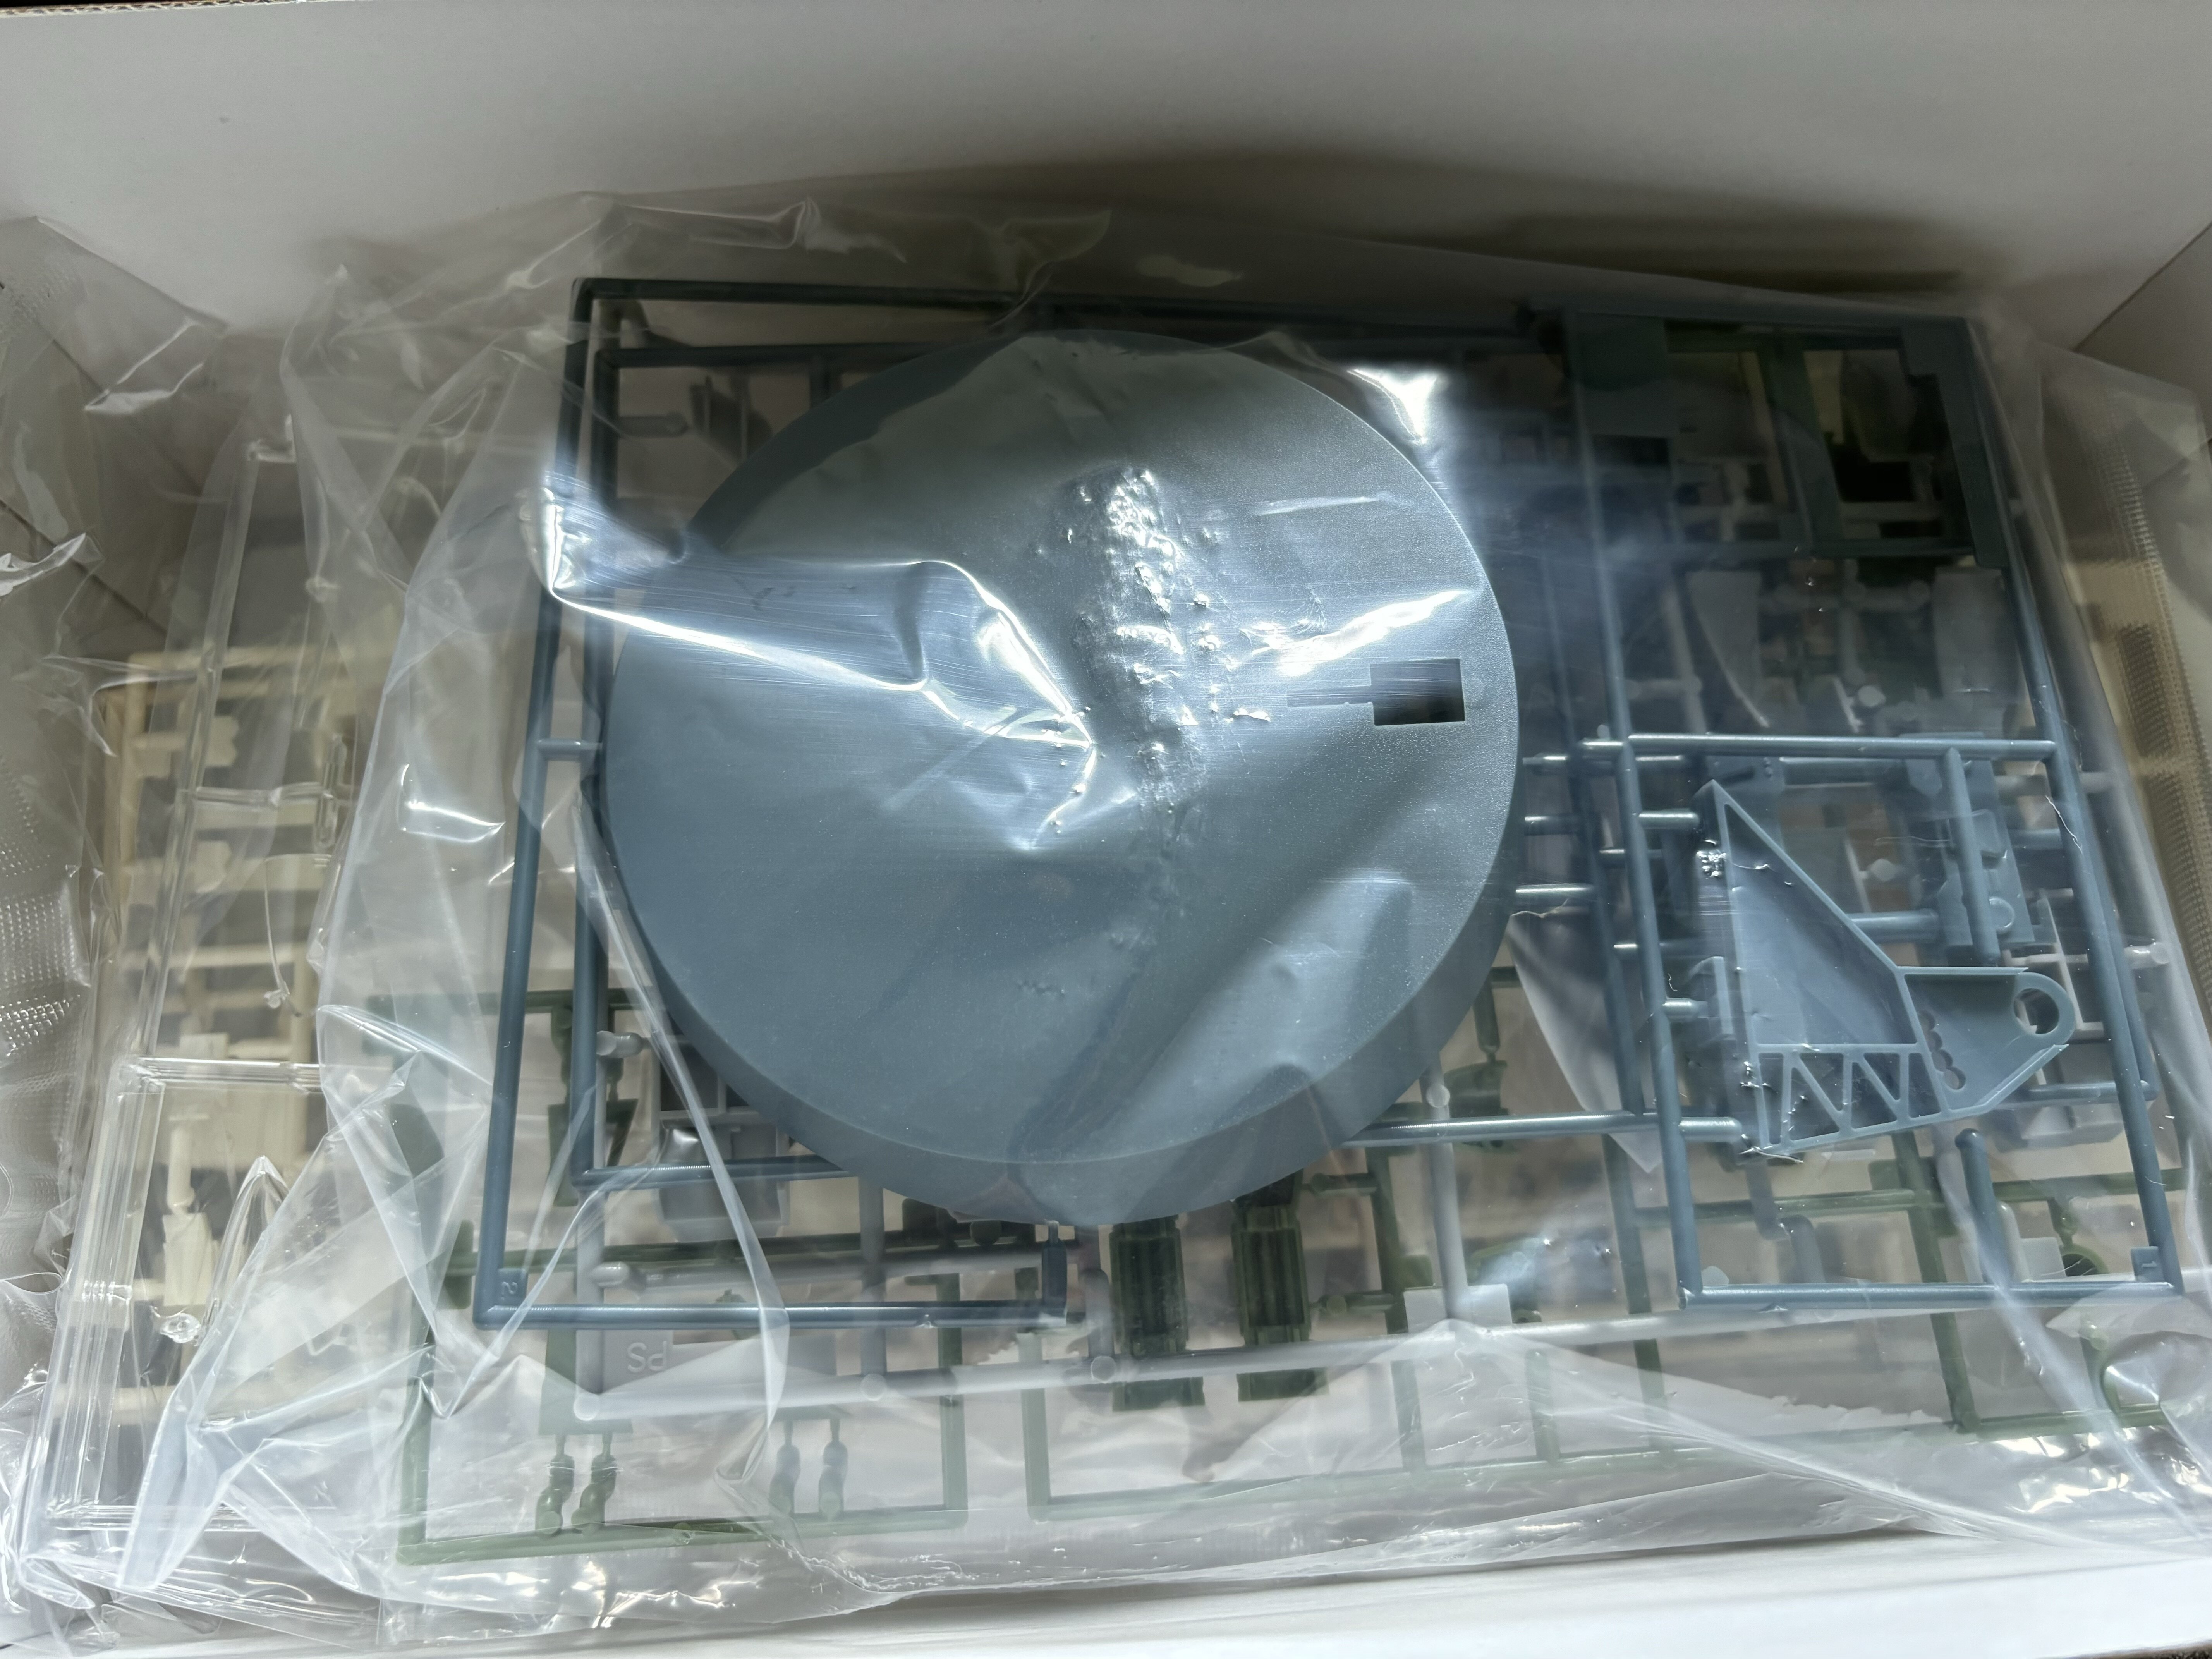
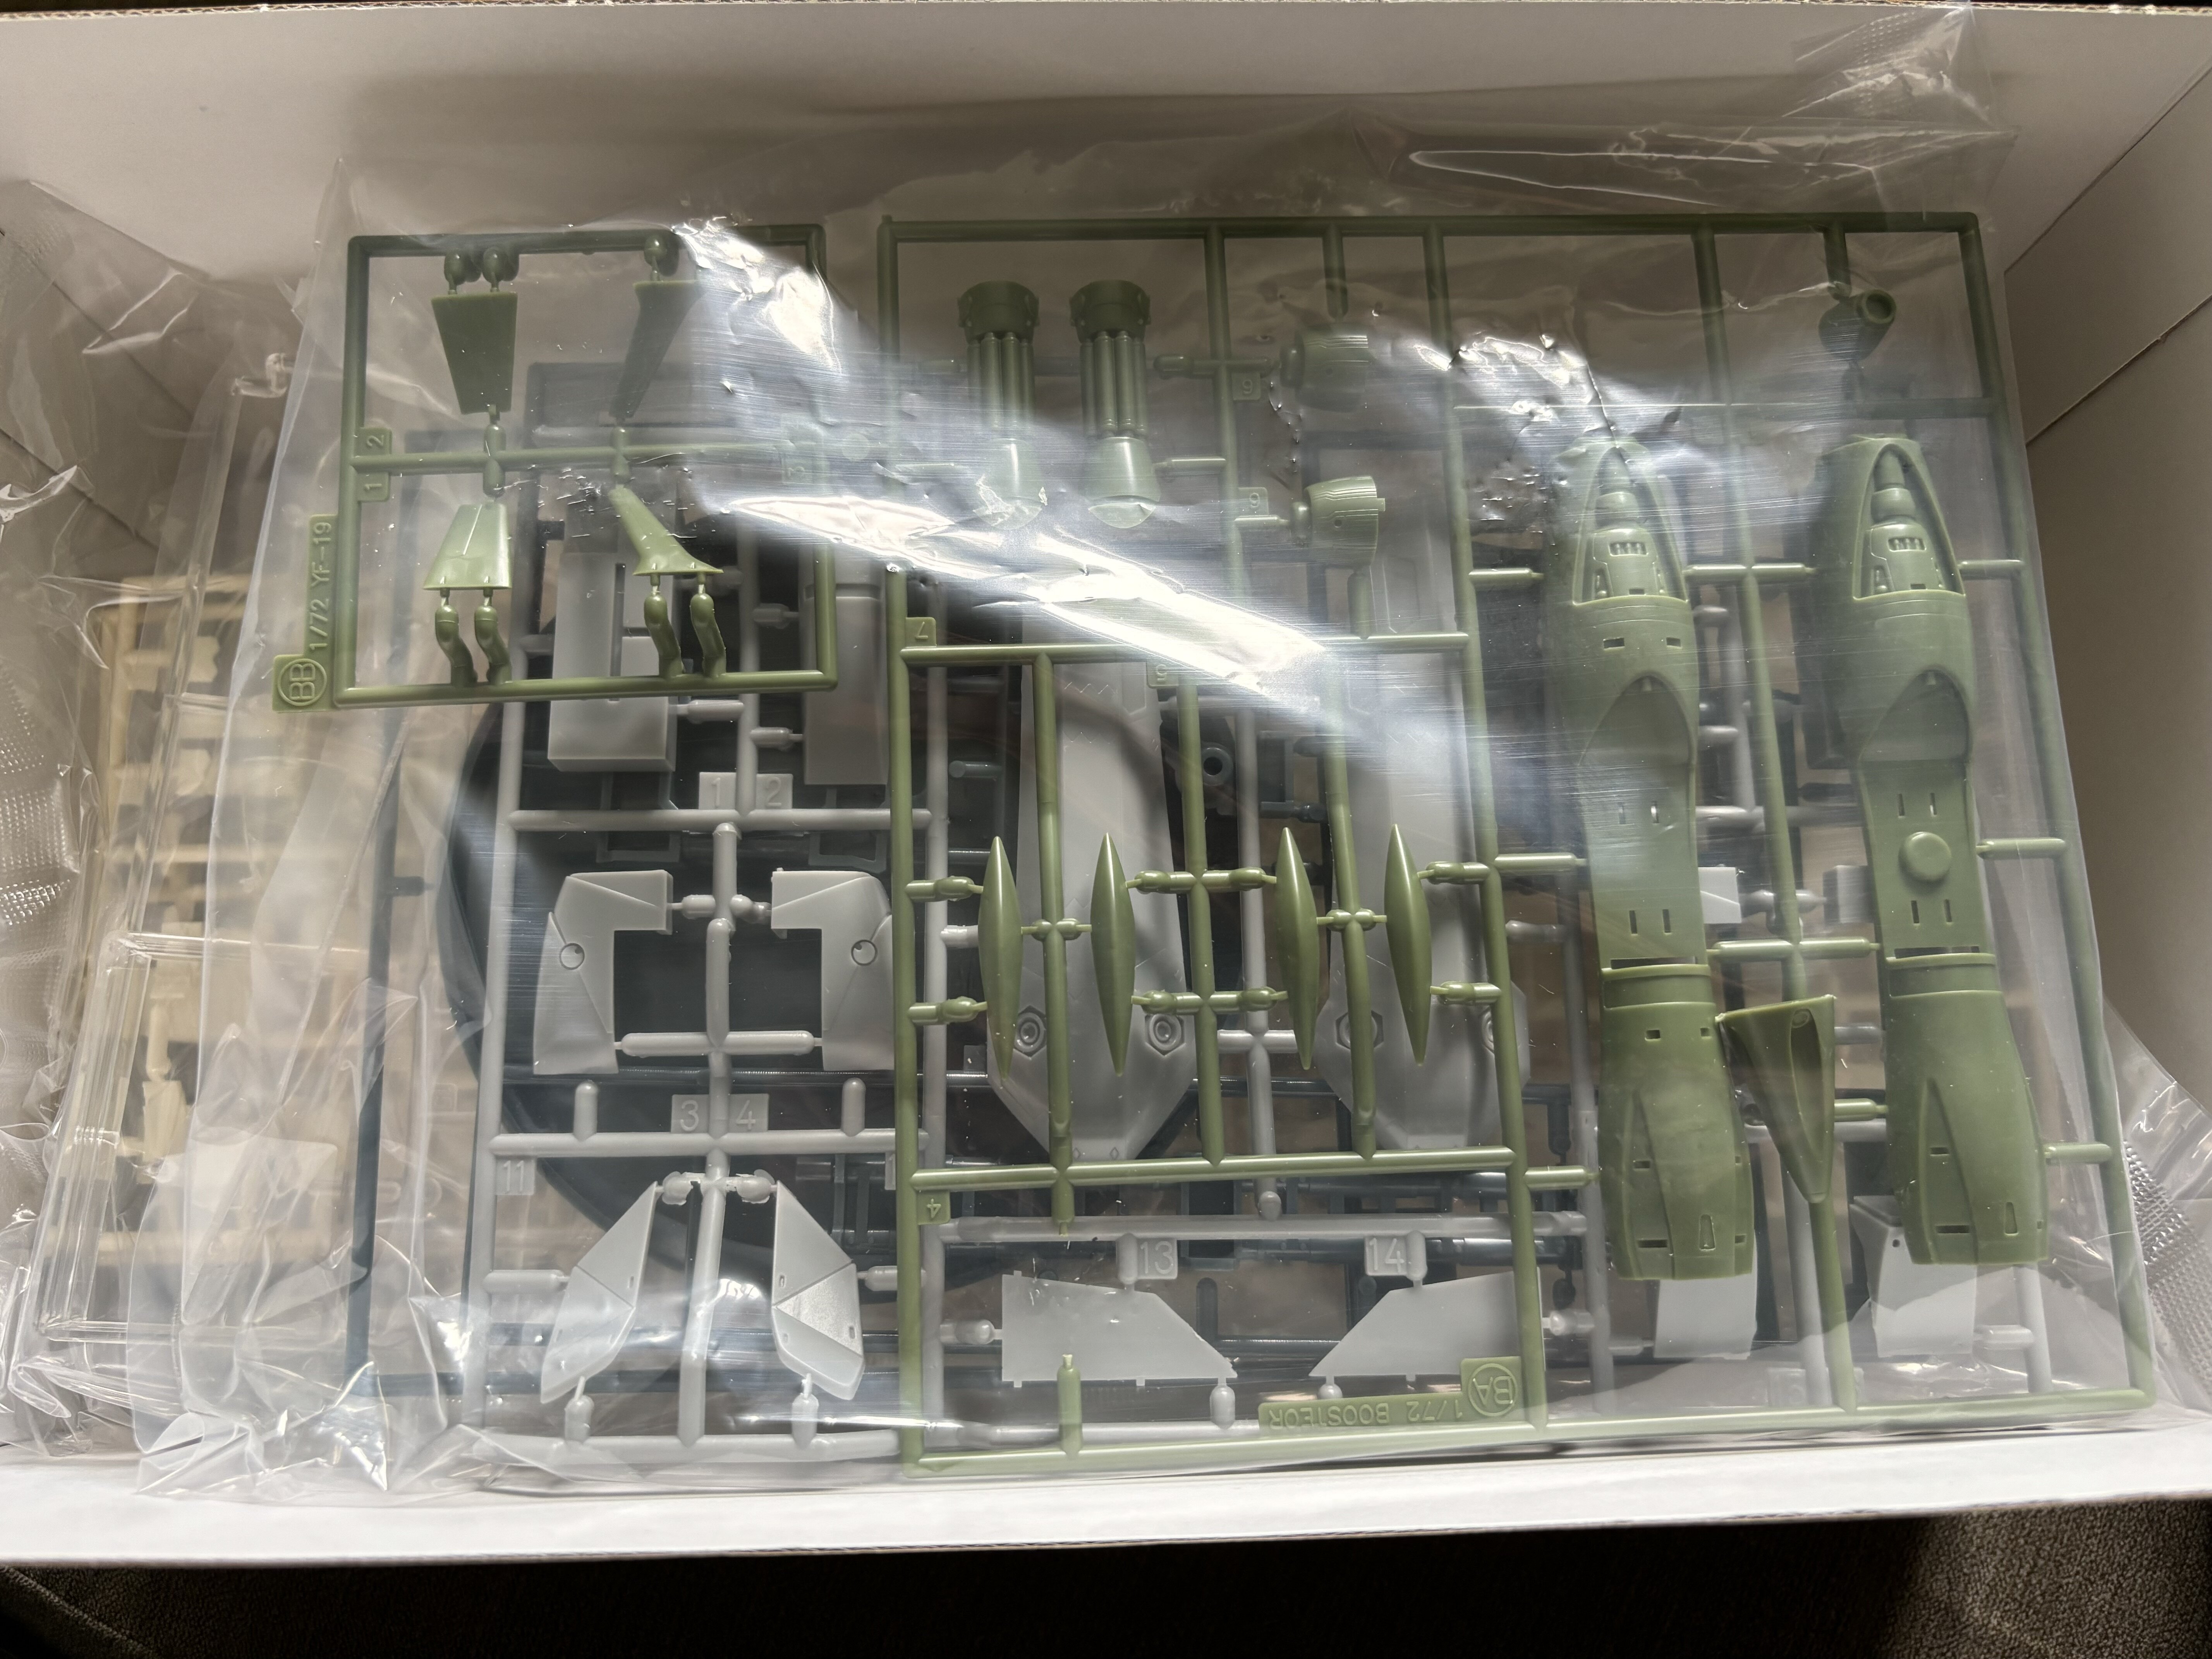
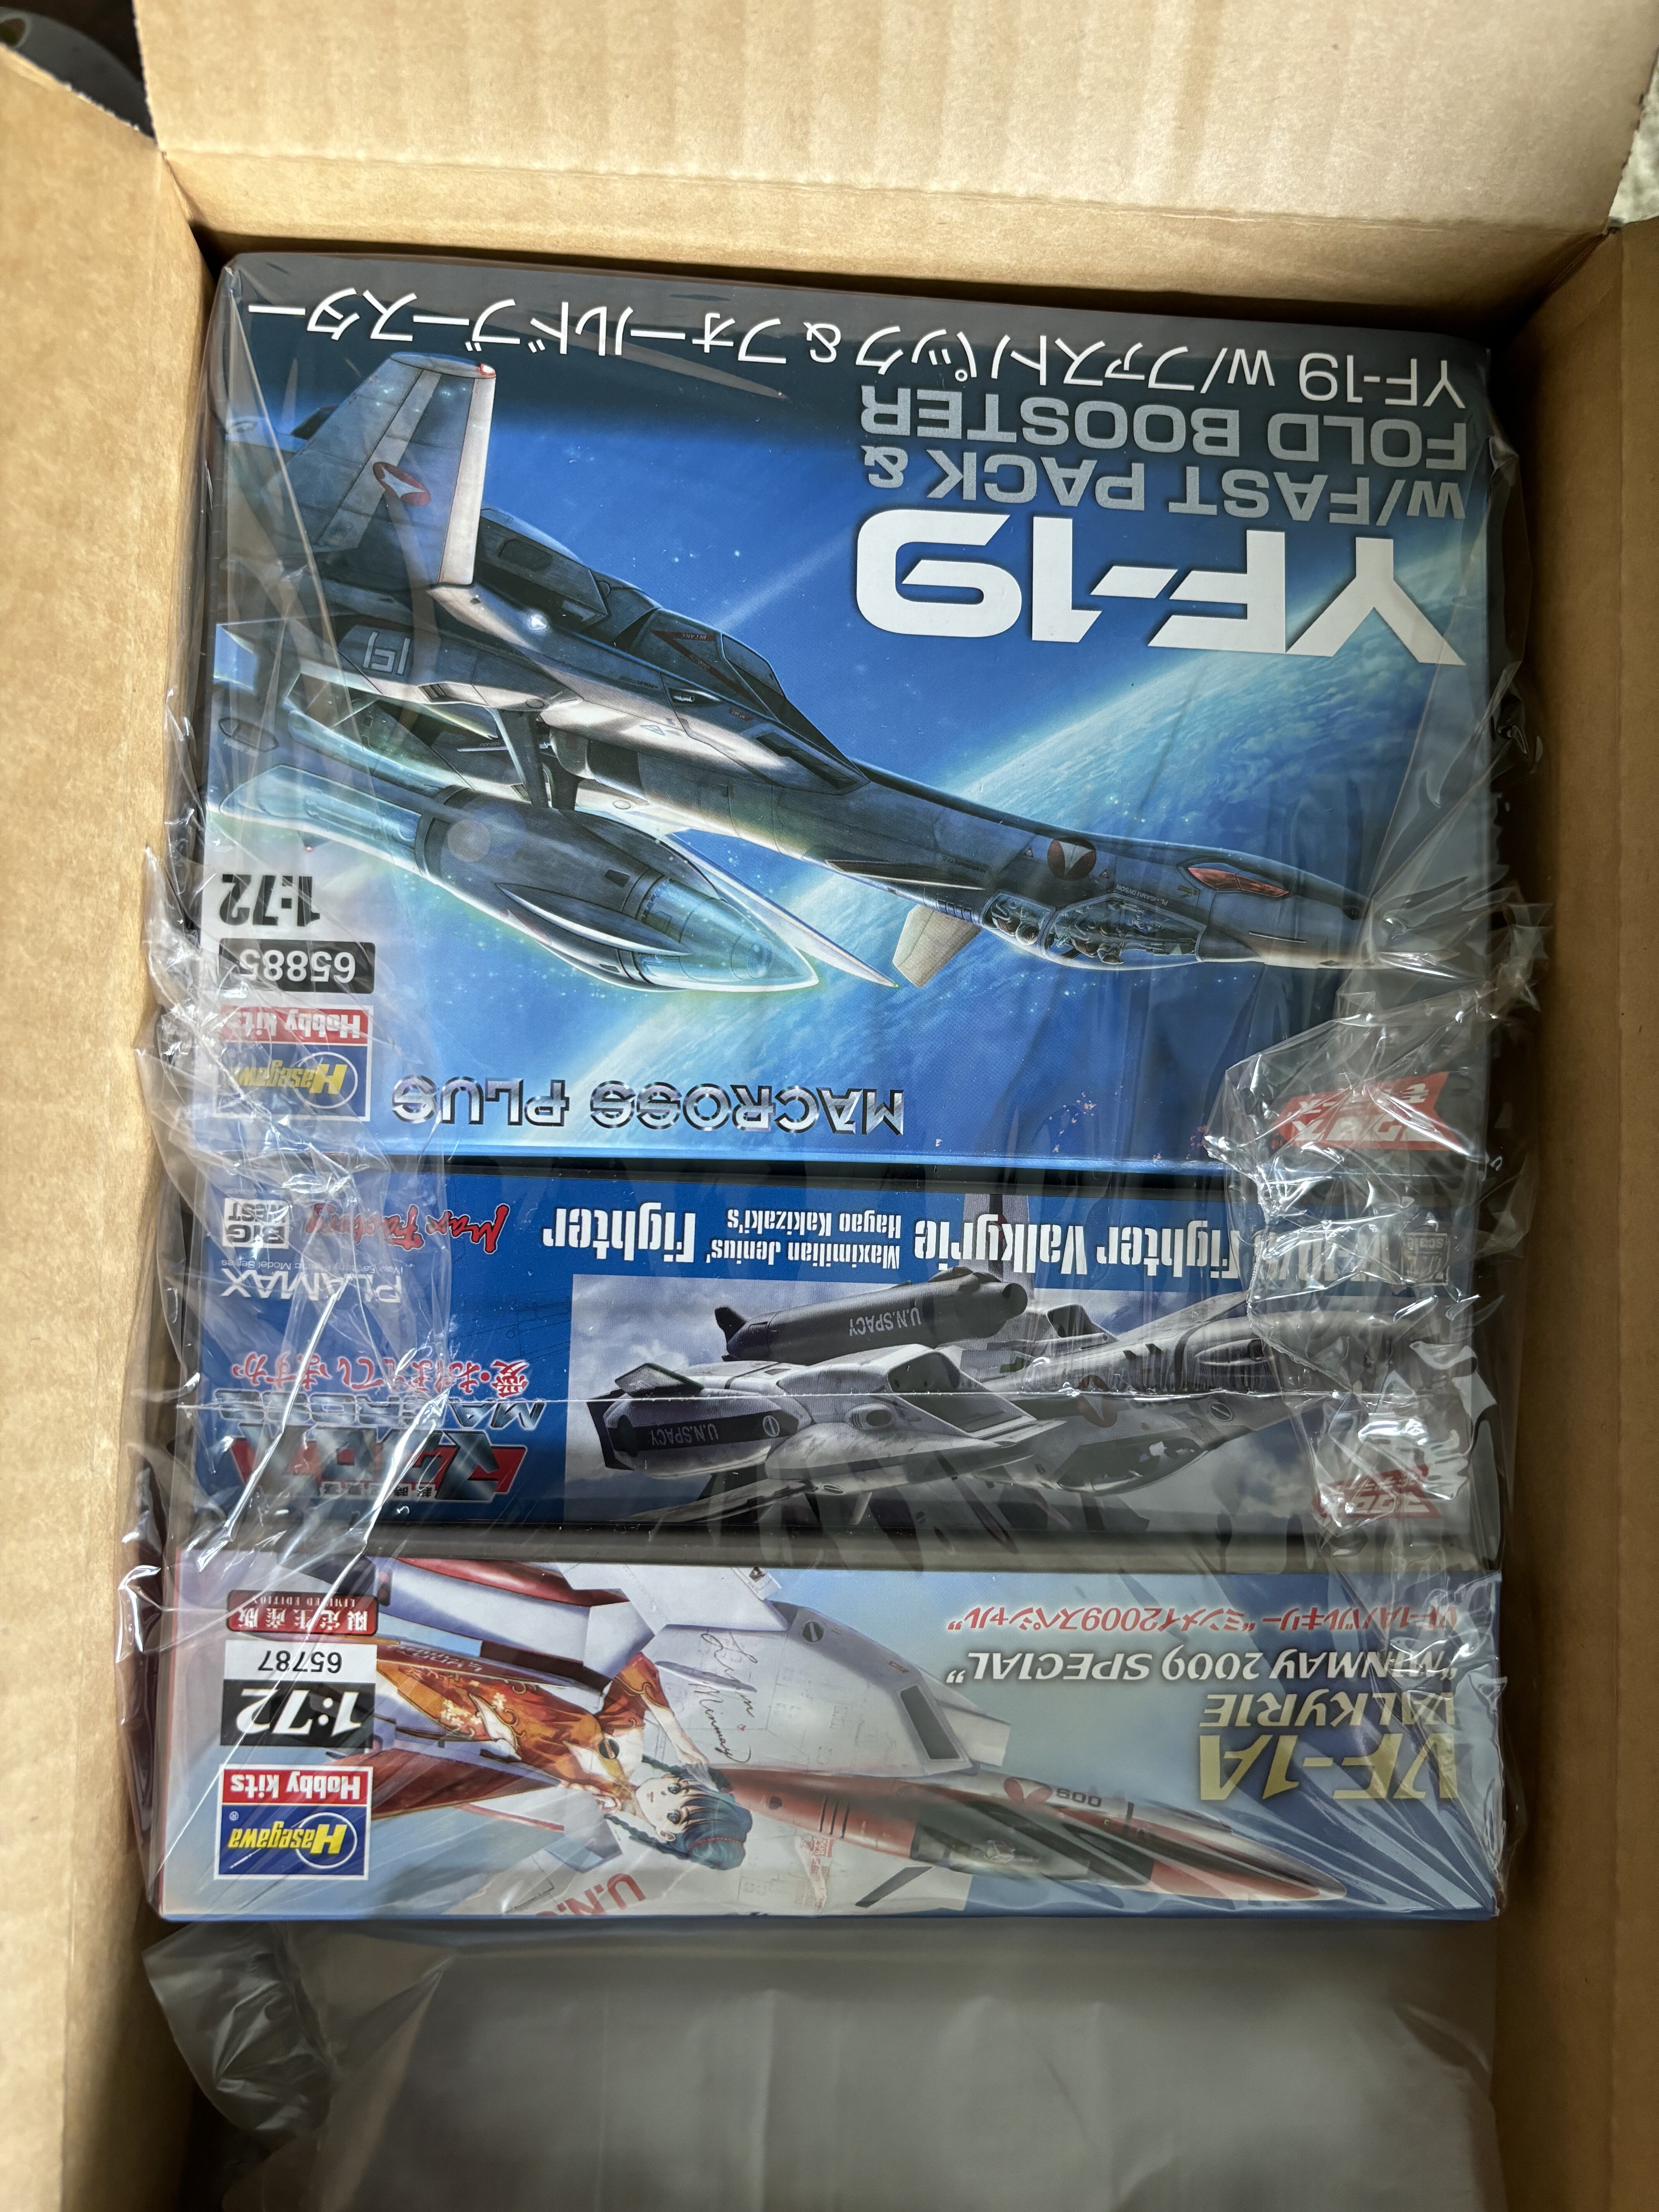
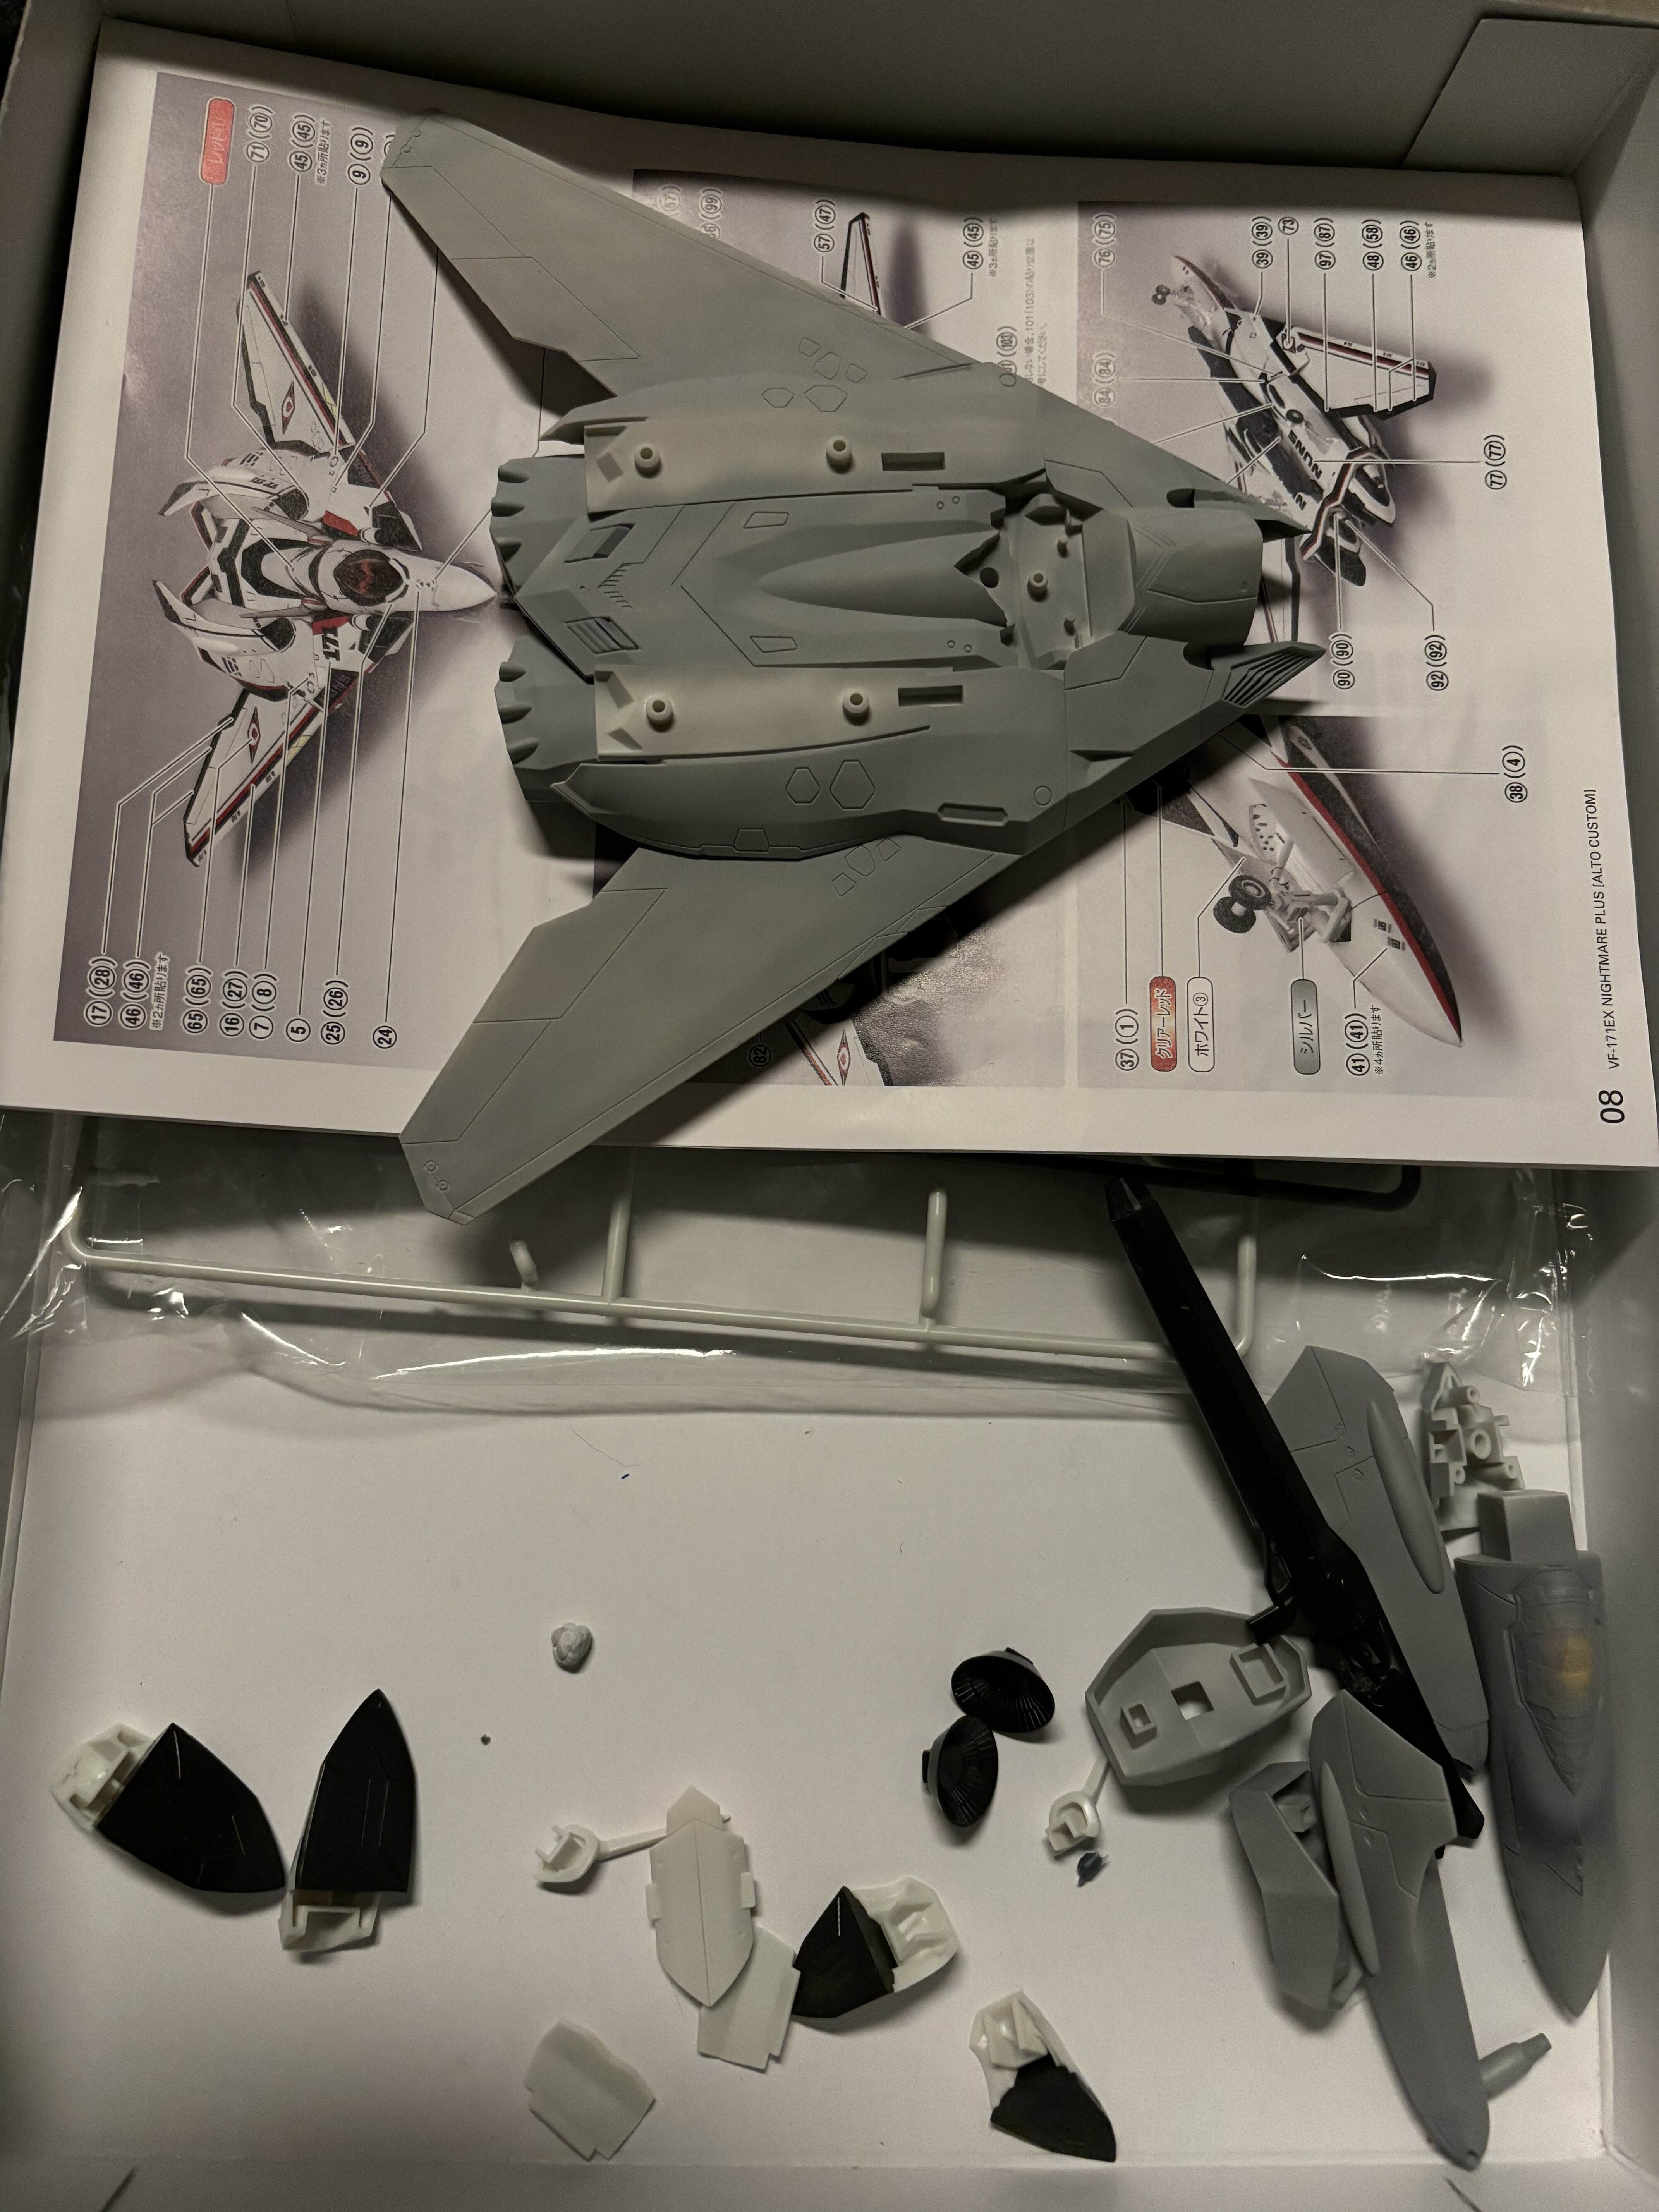
Had this in the mail today: And yes, it has the Macross Display stand in it. here the fold booster parts and FAST packs.
-
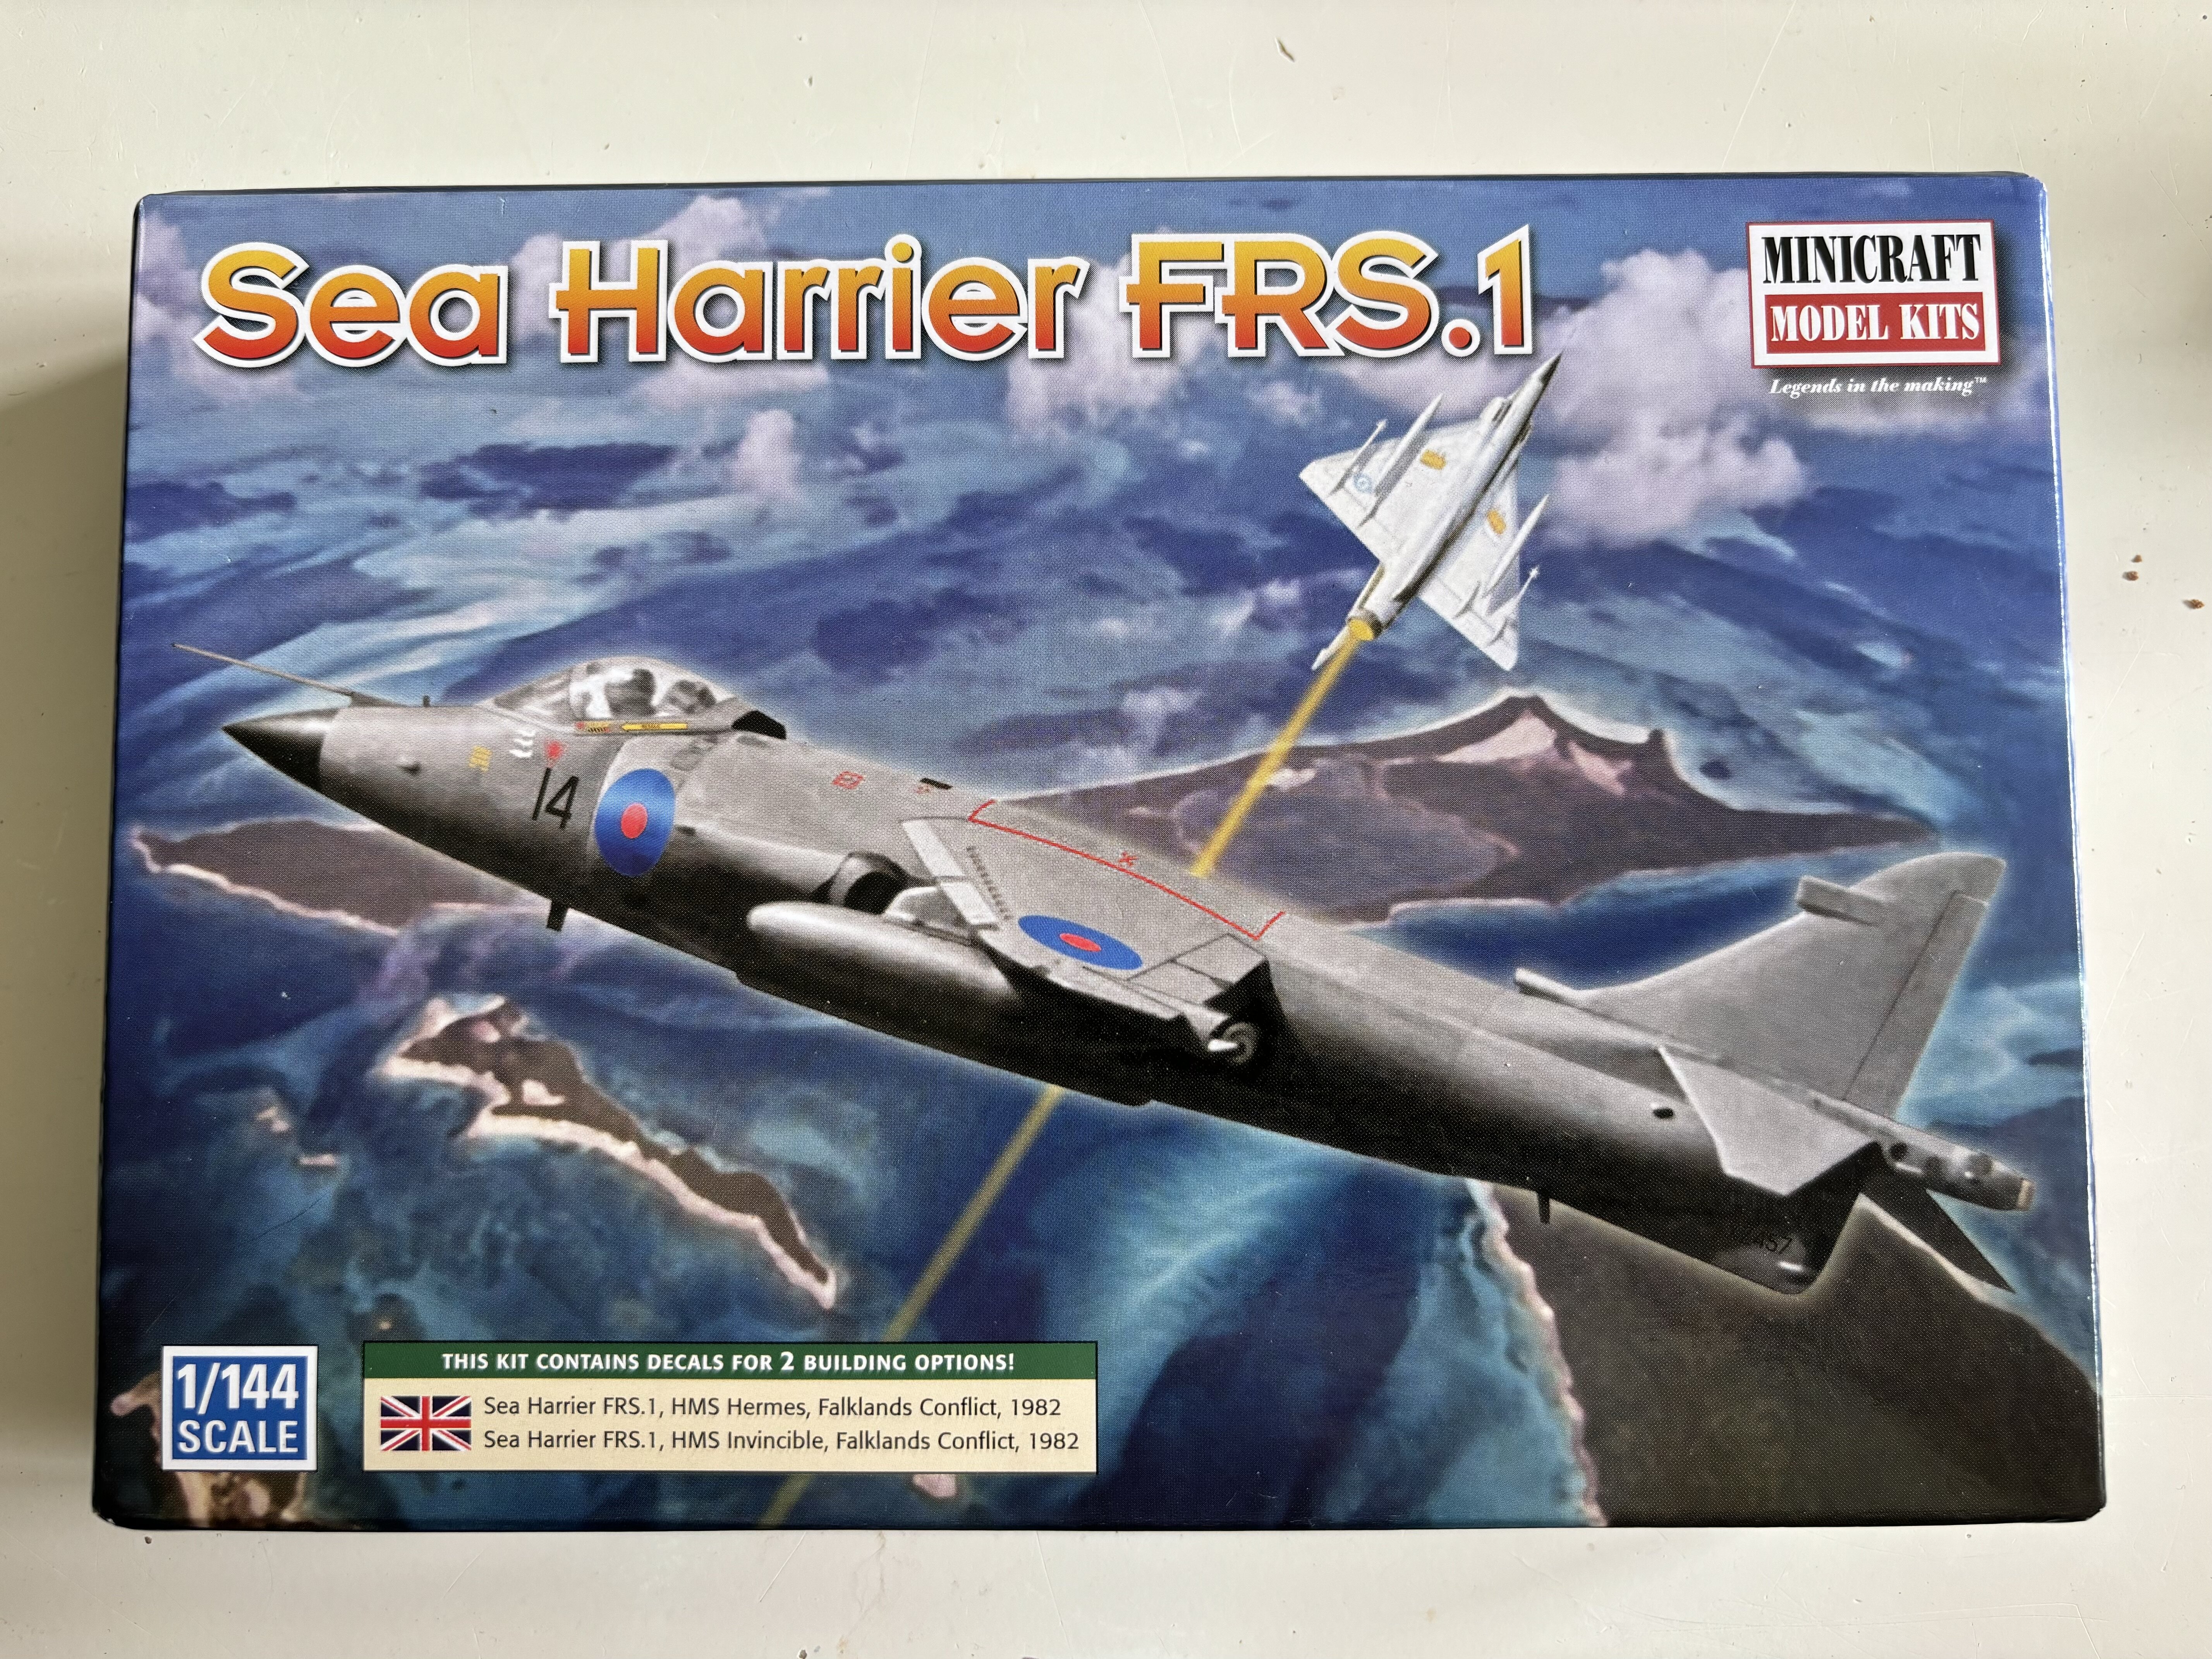
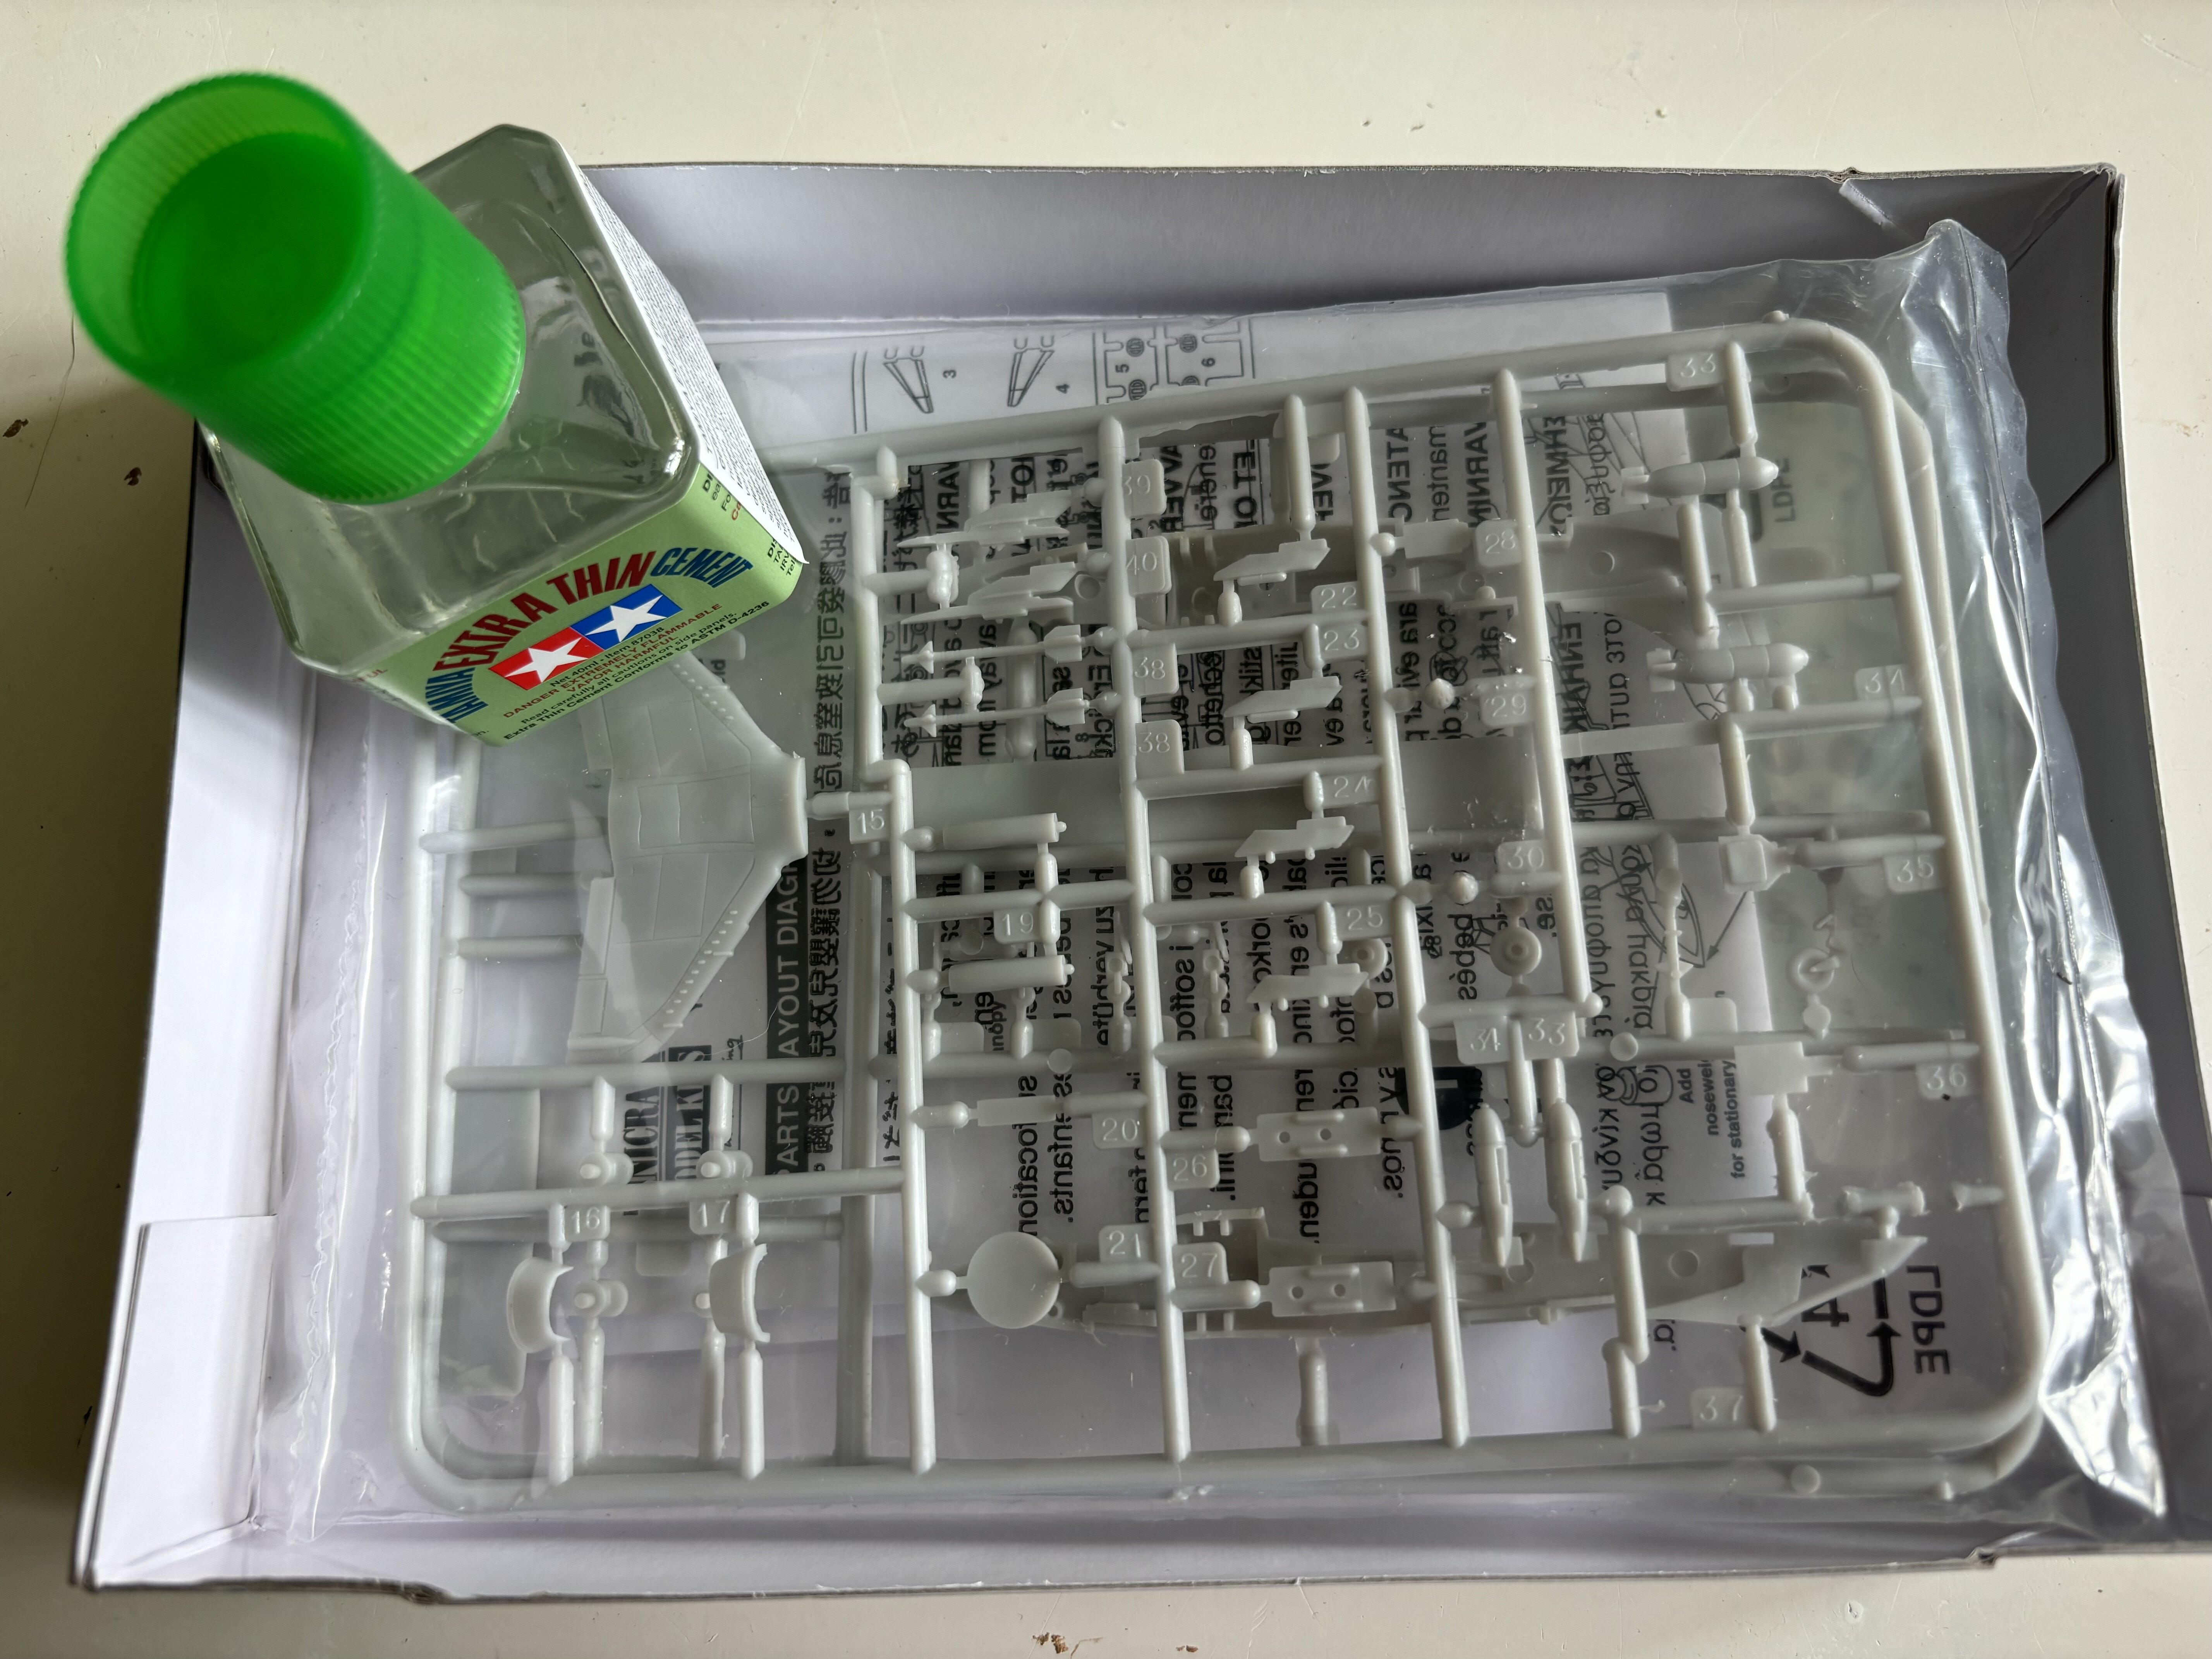
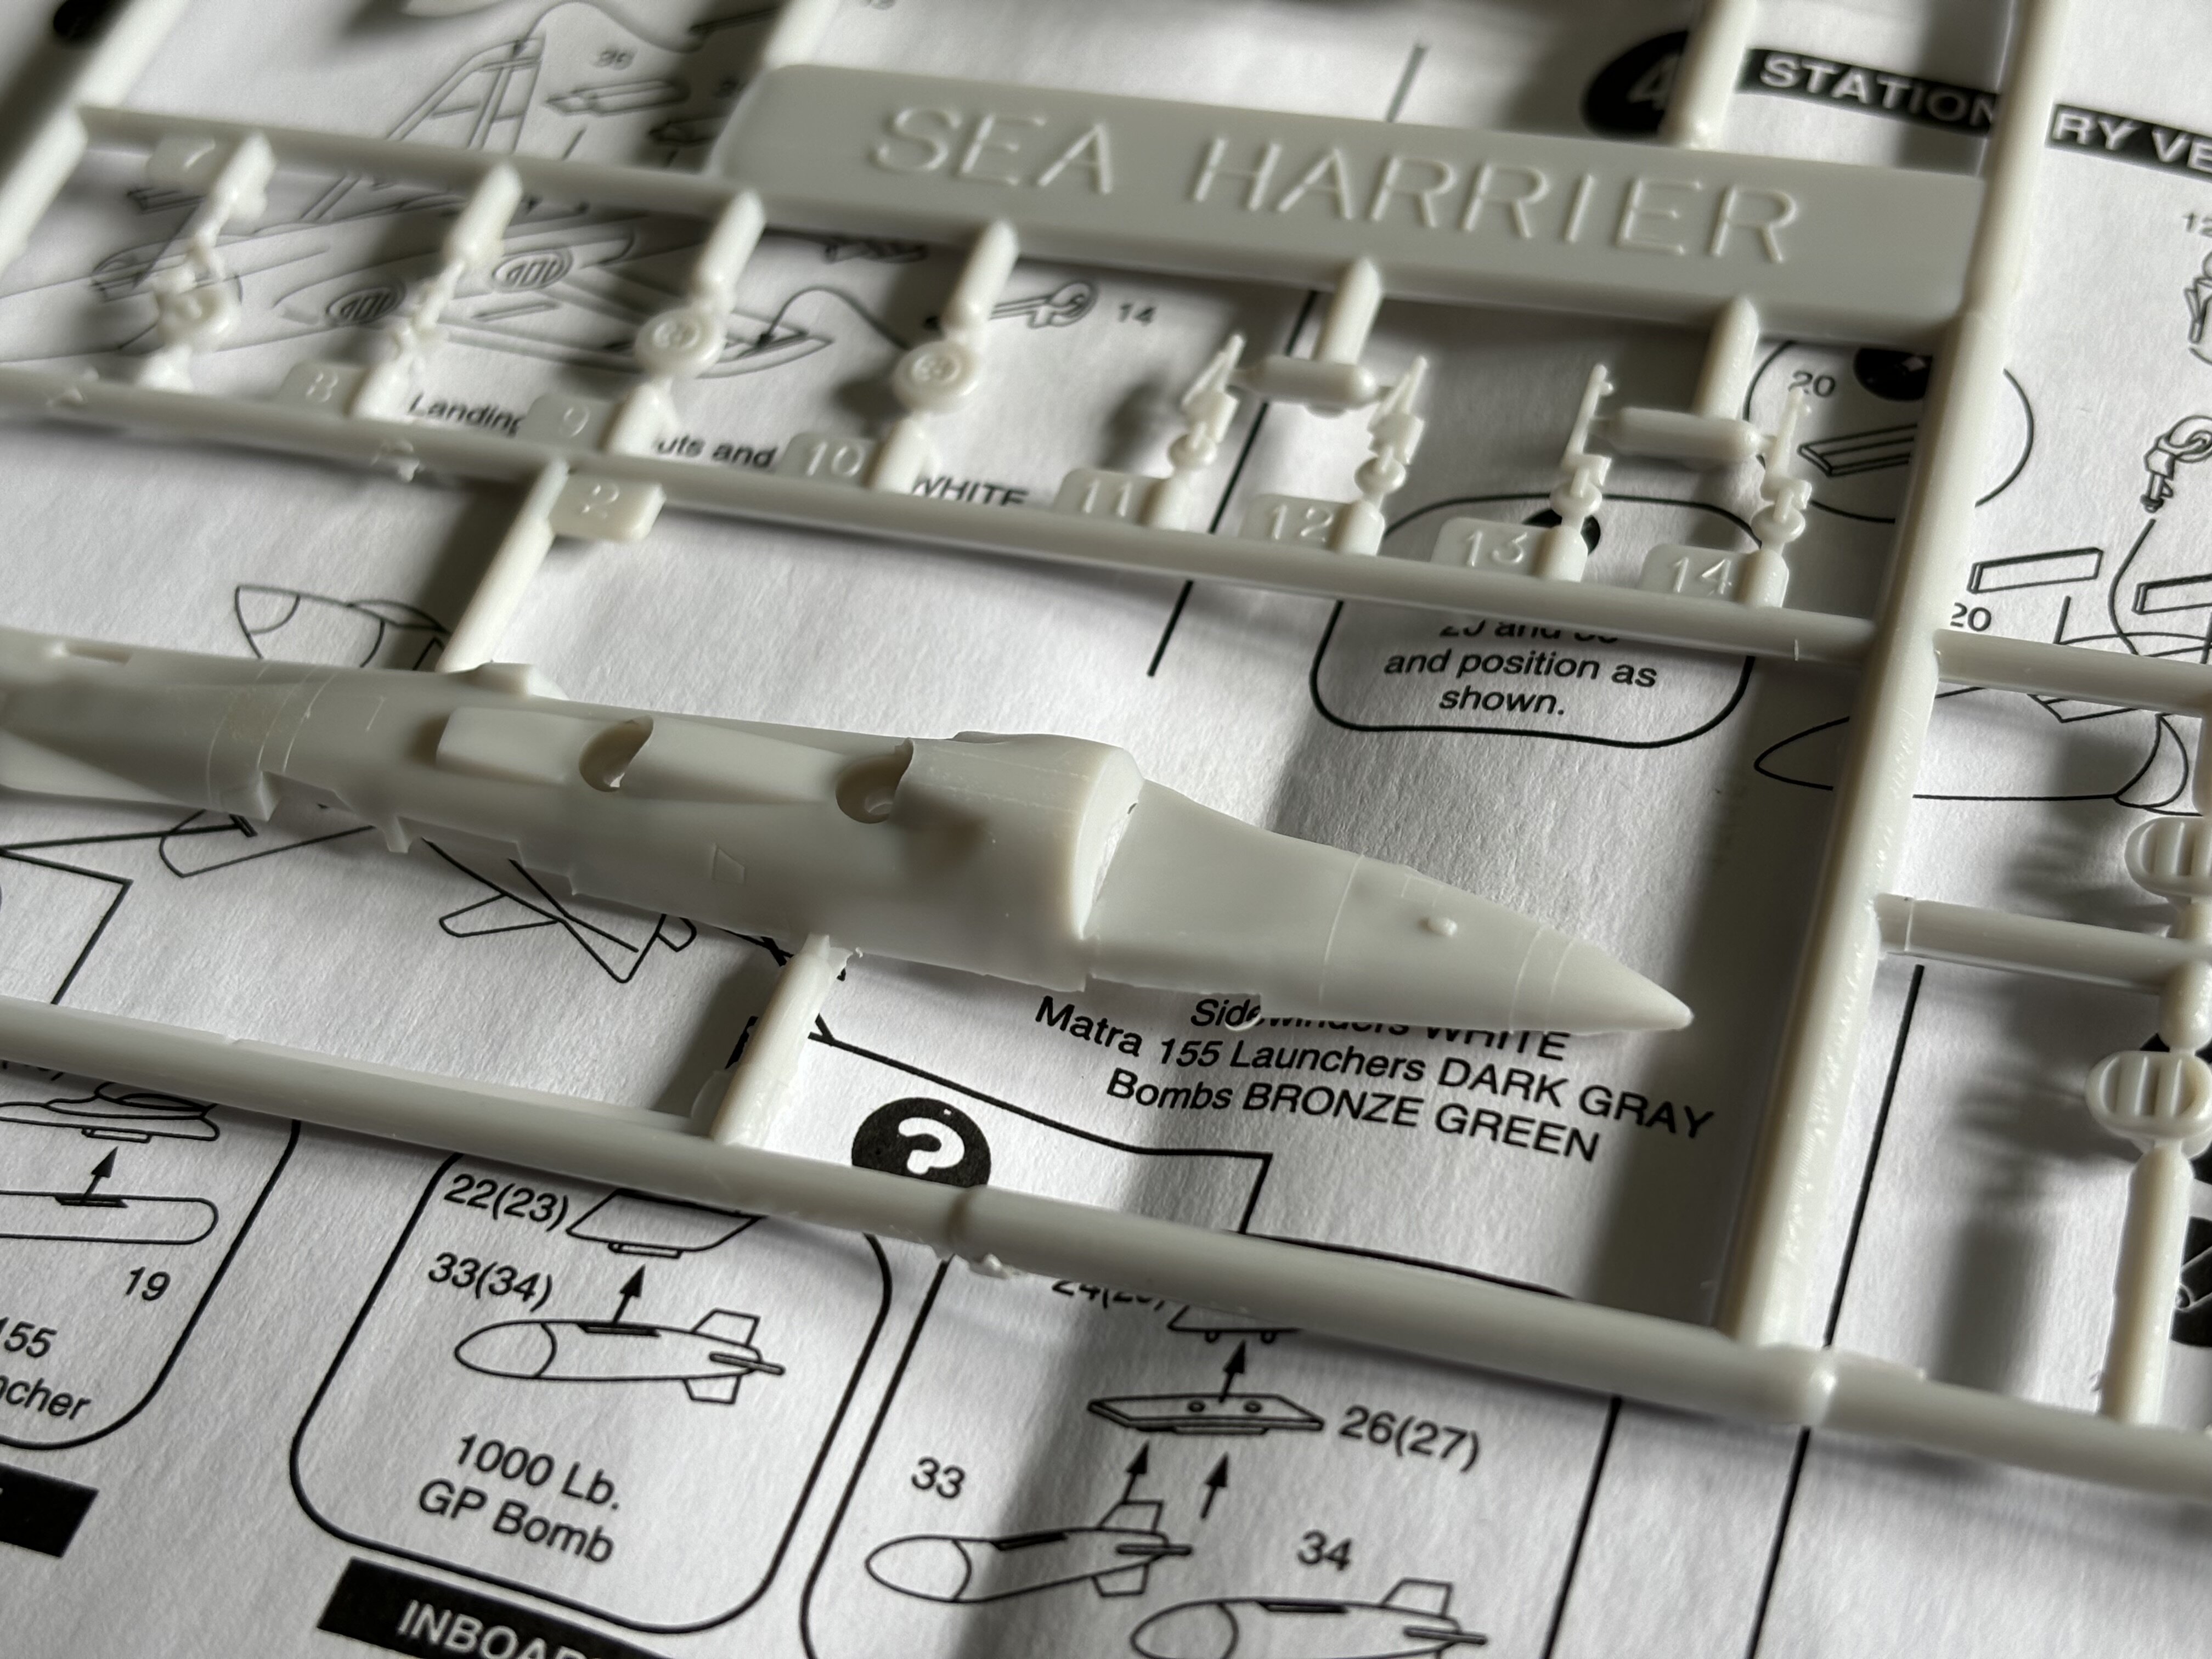
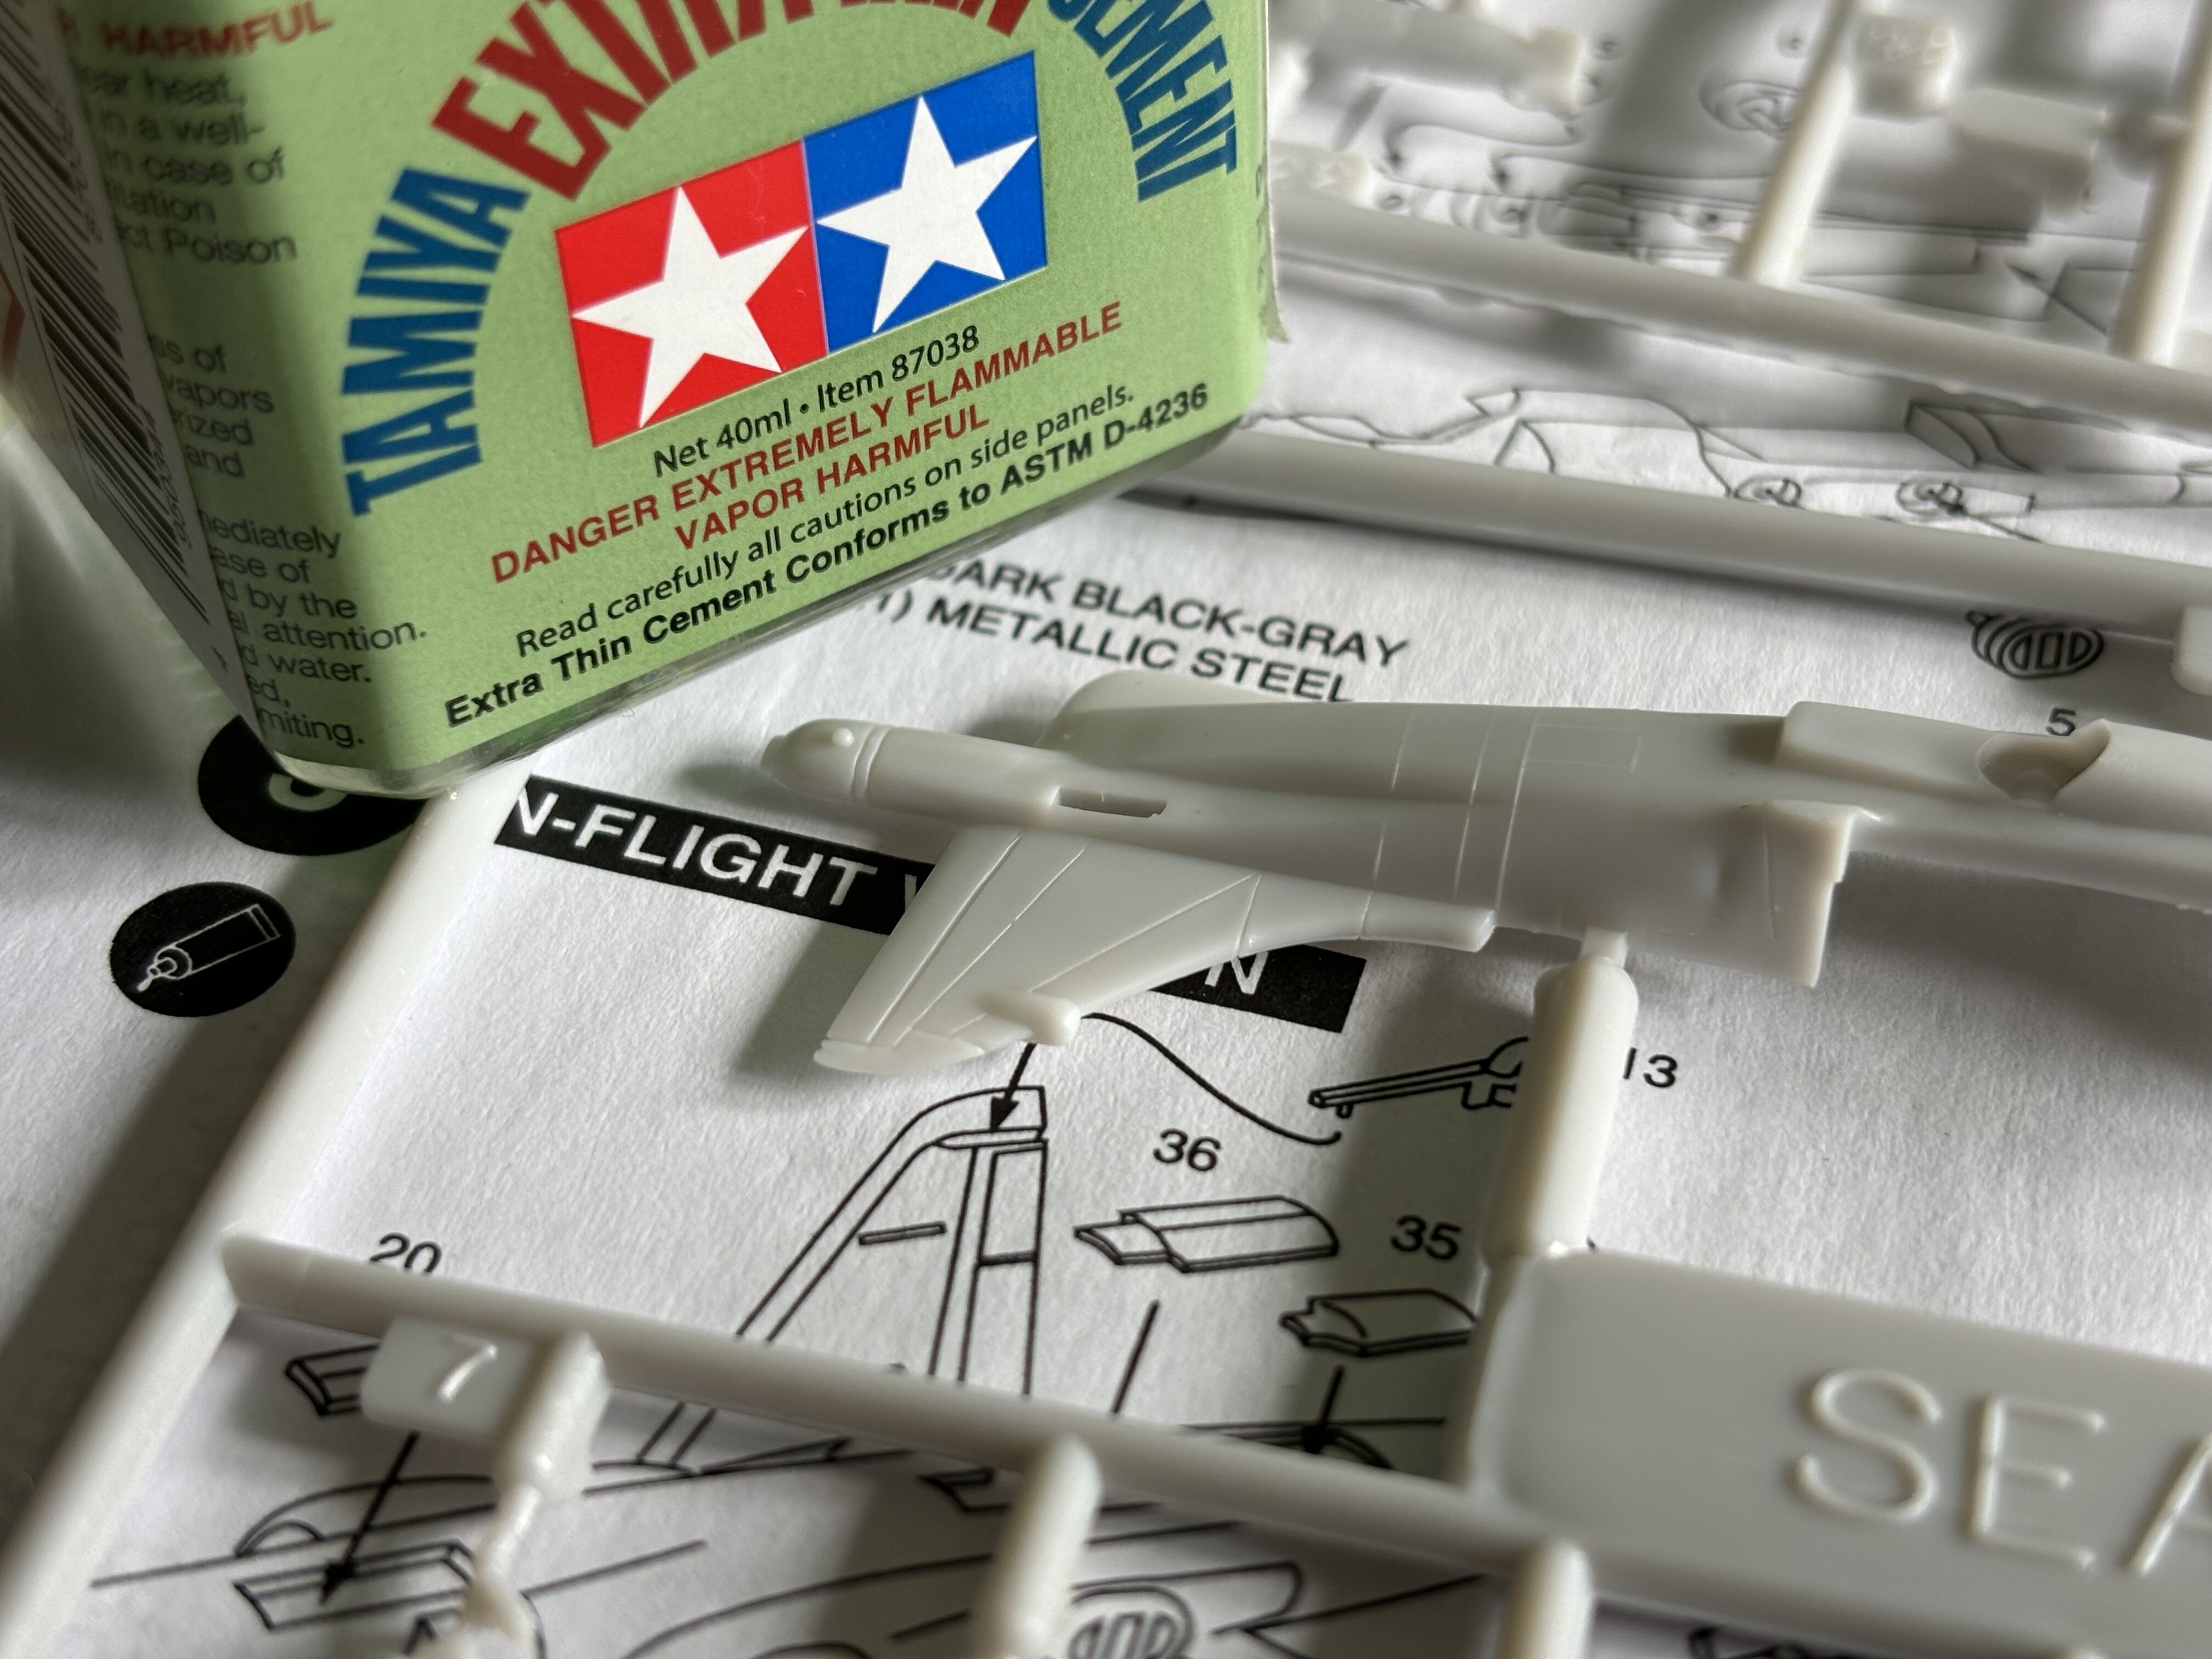
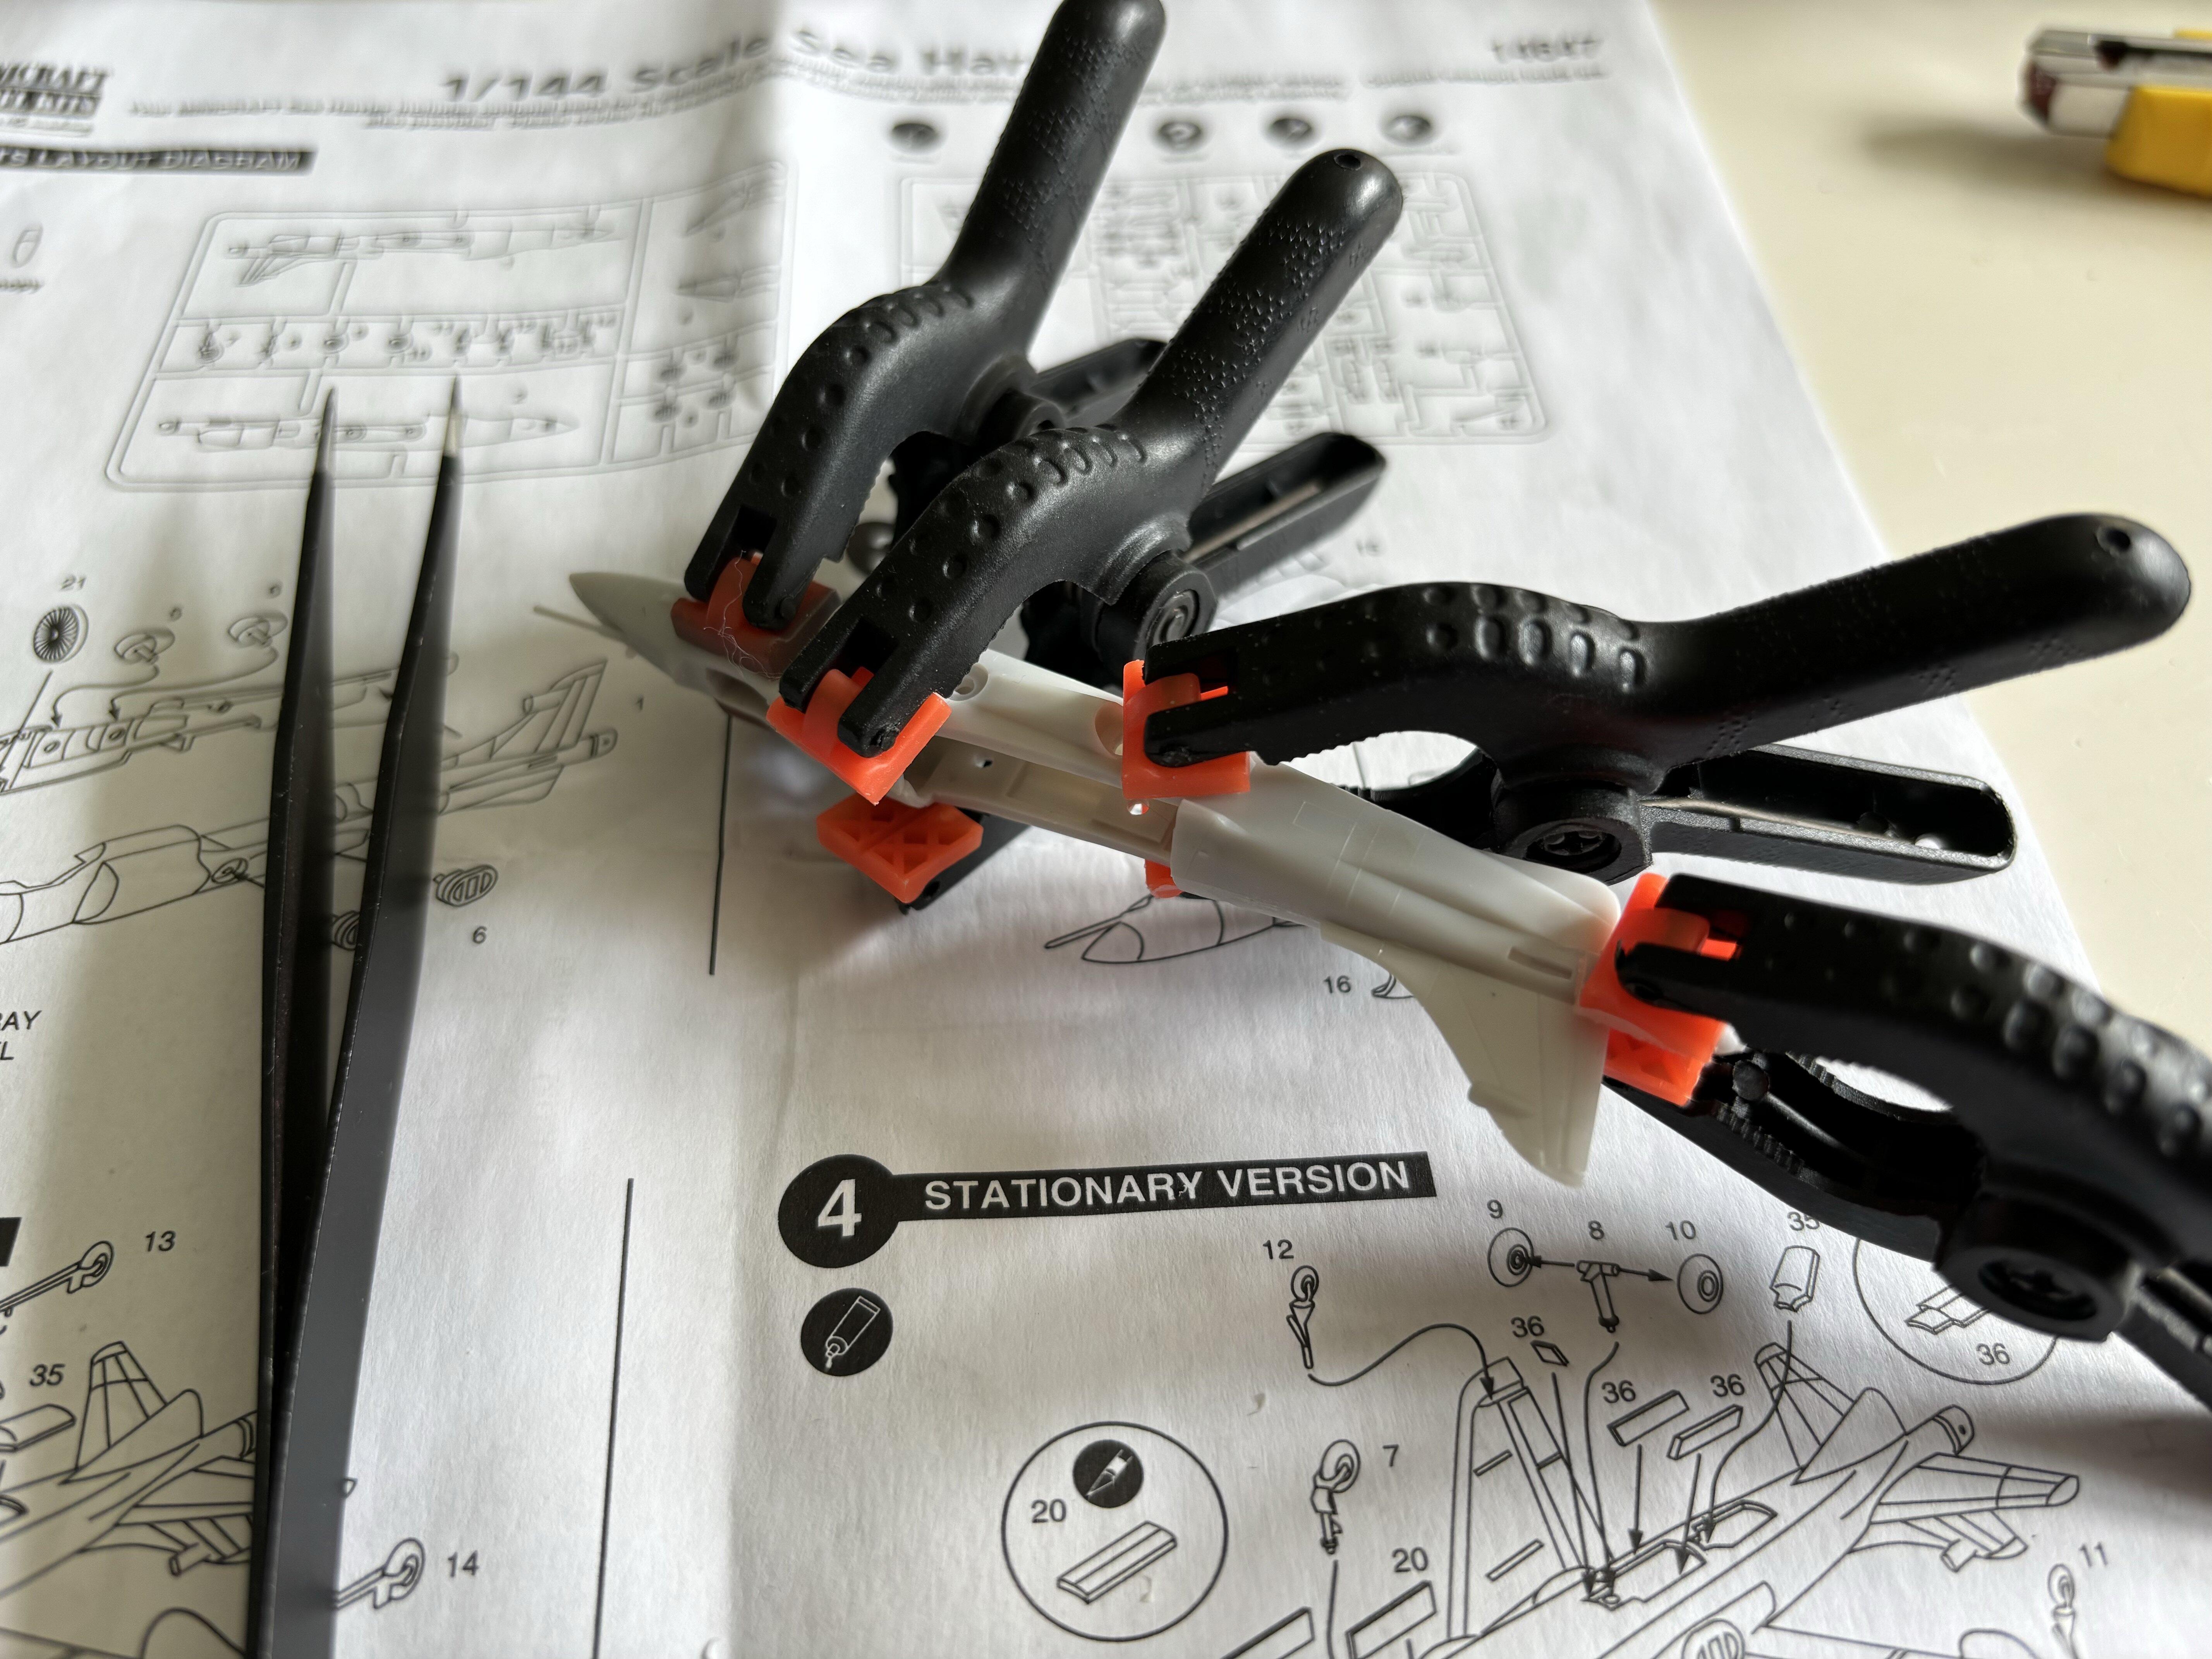
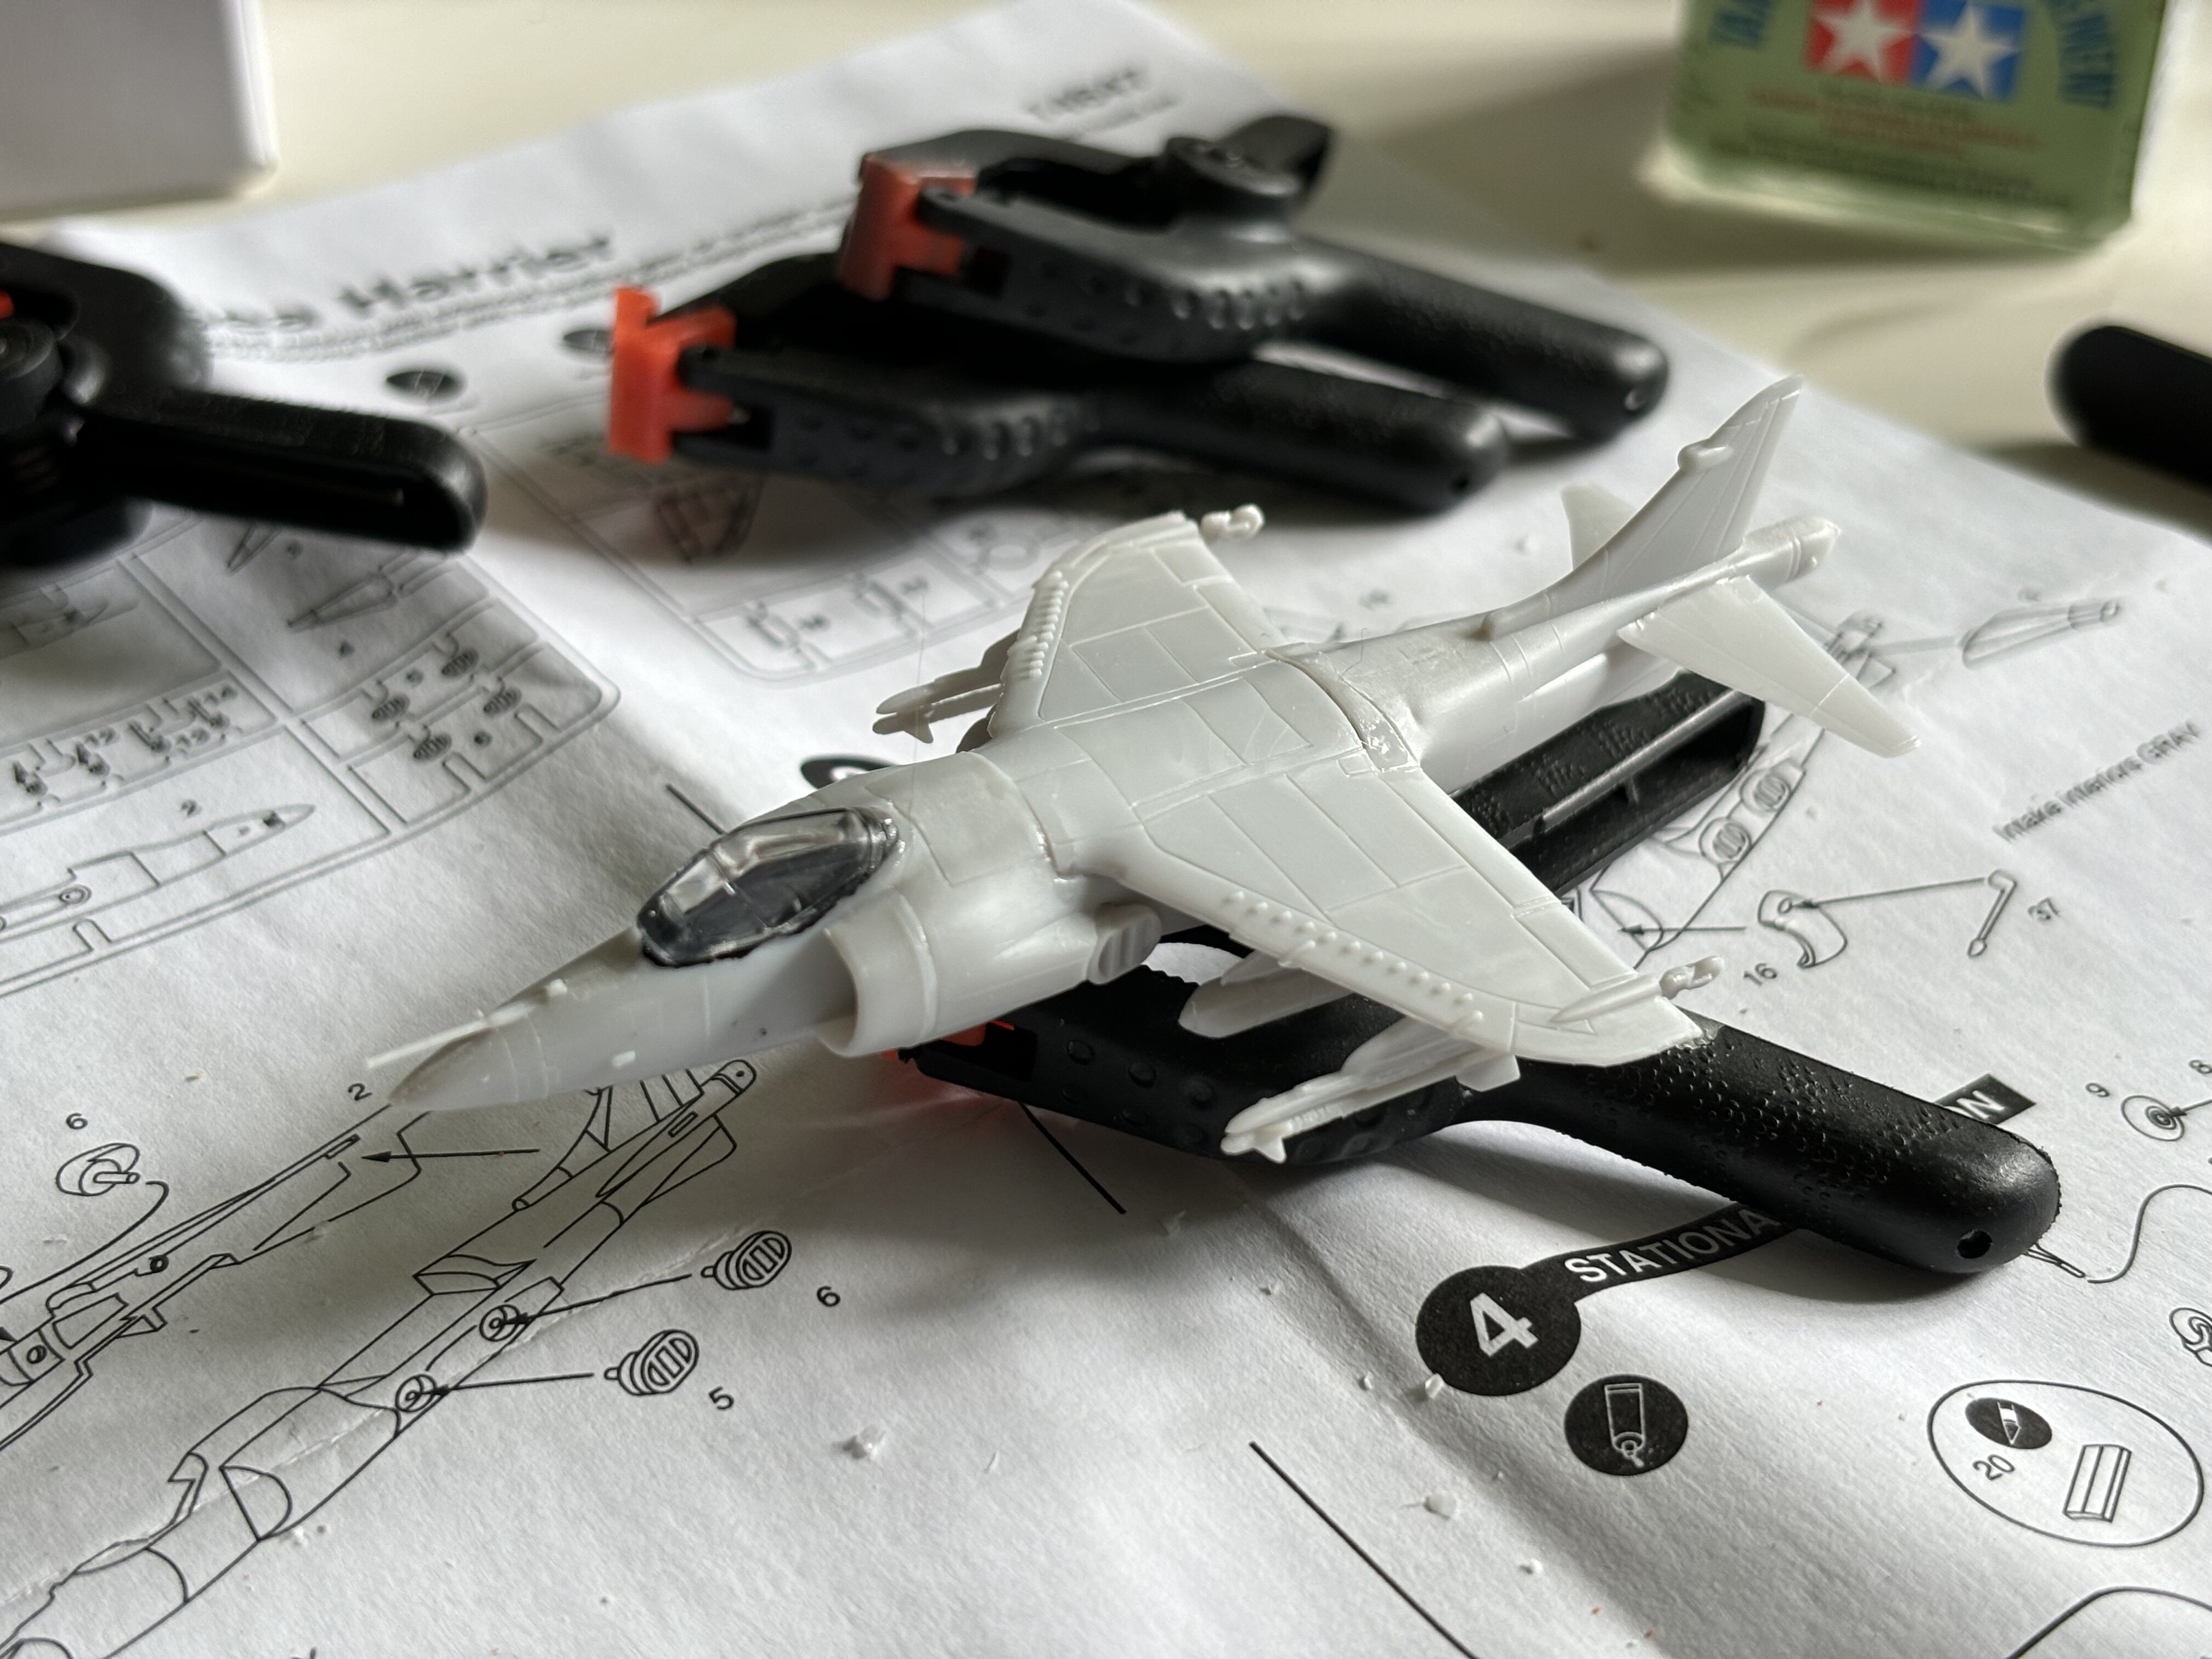
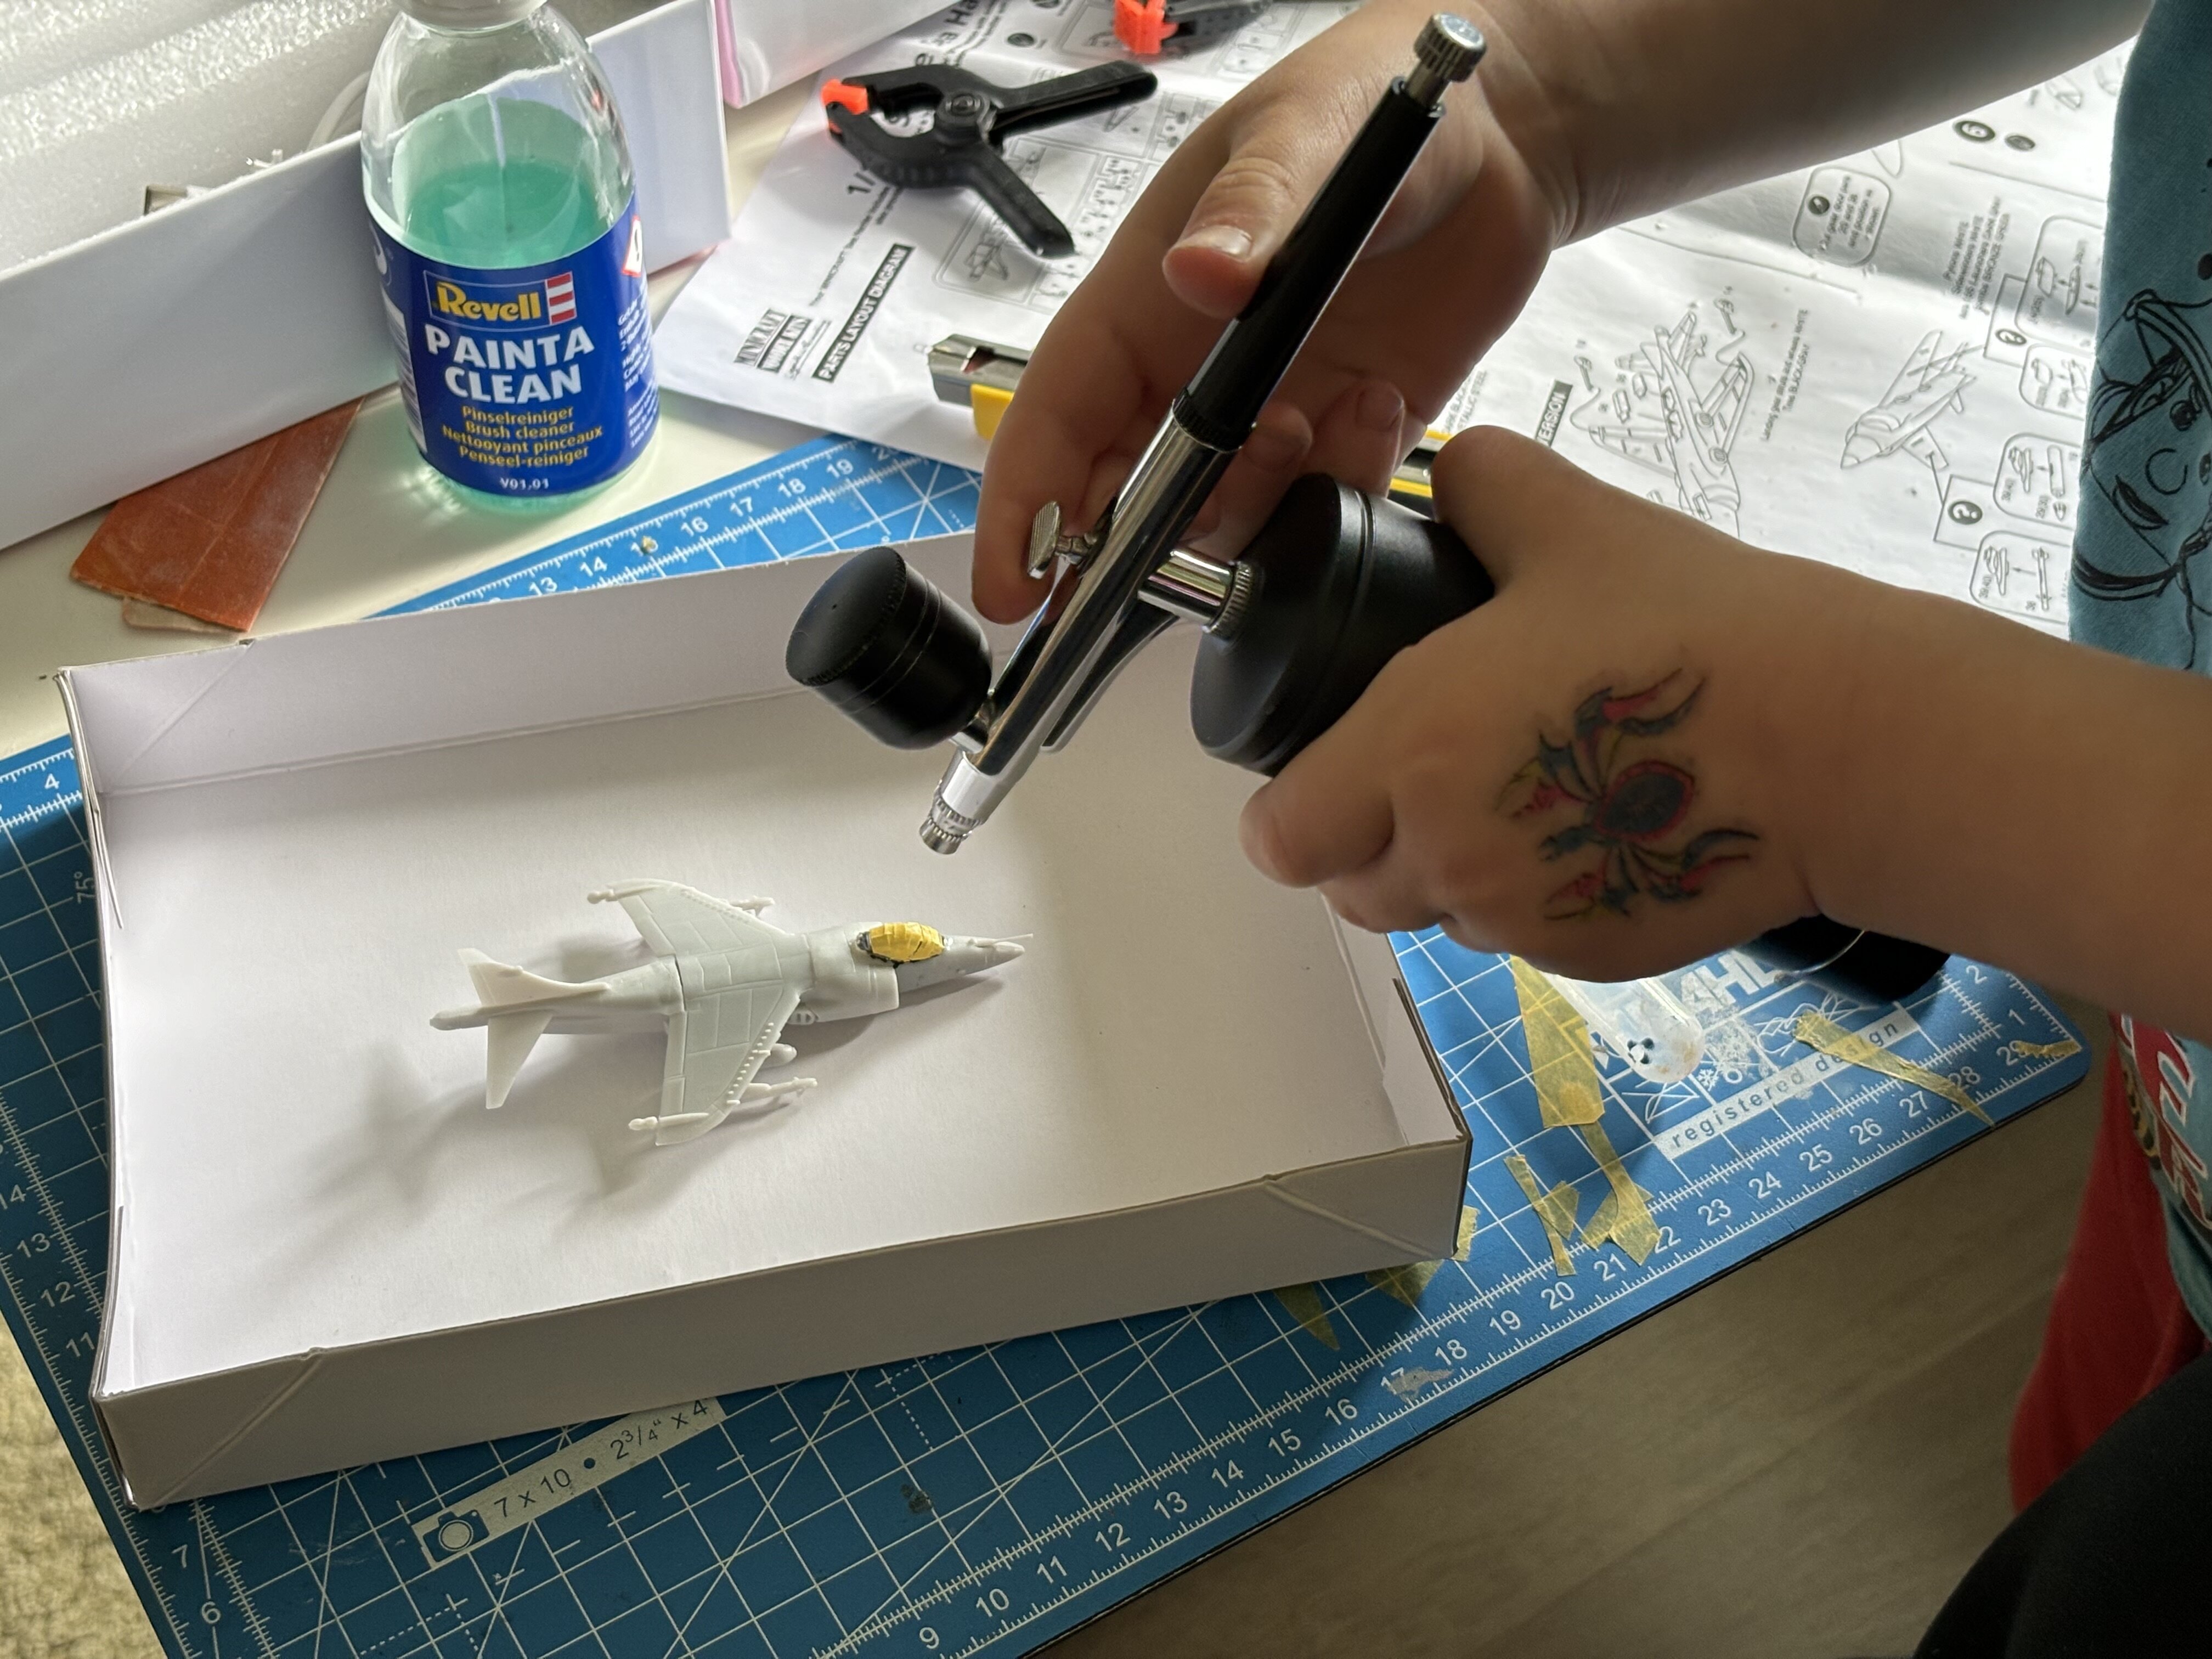
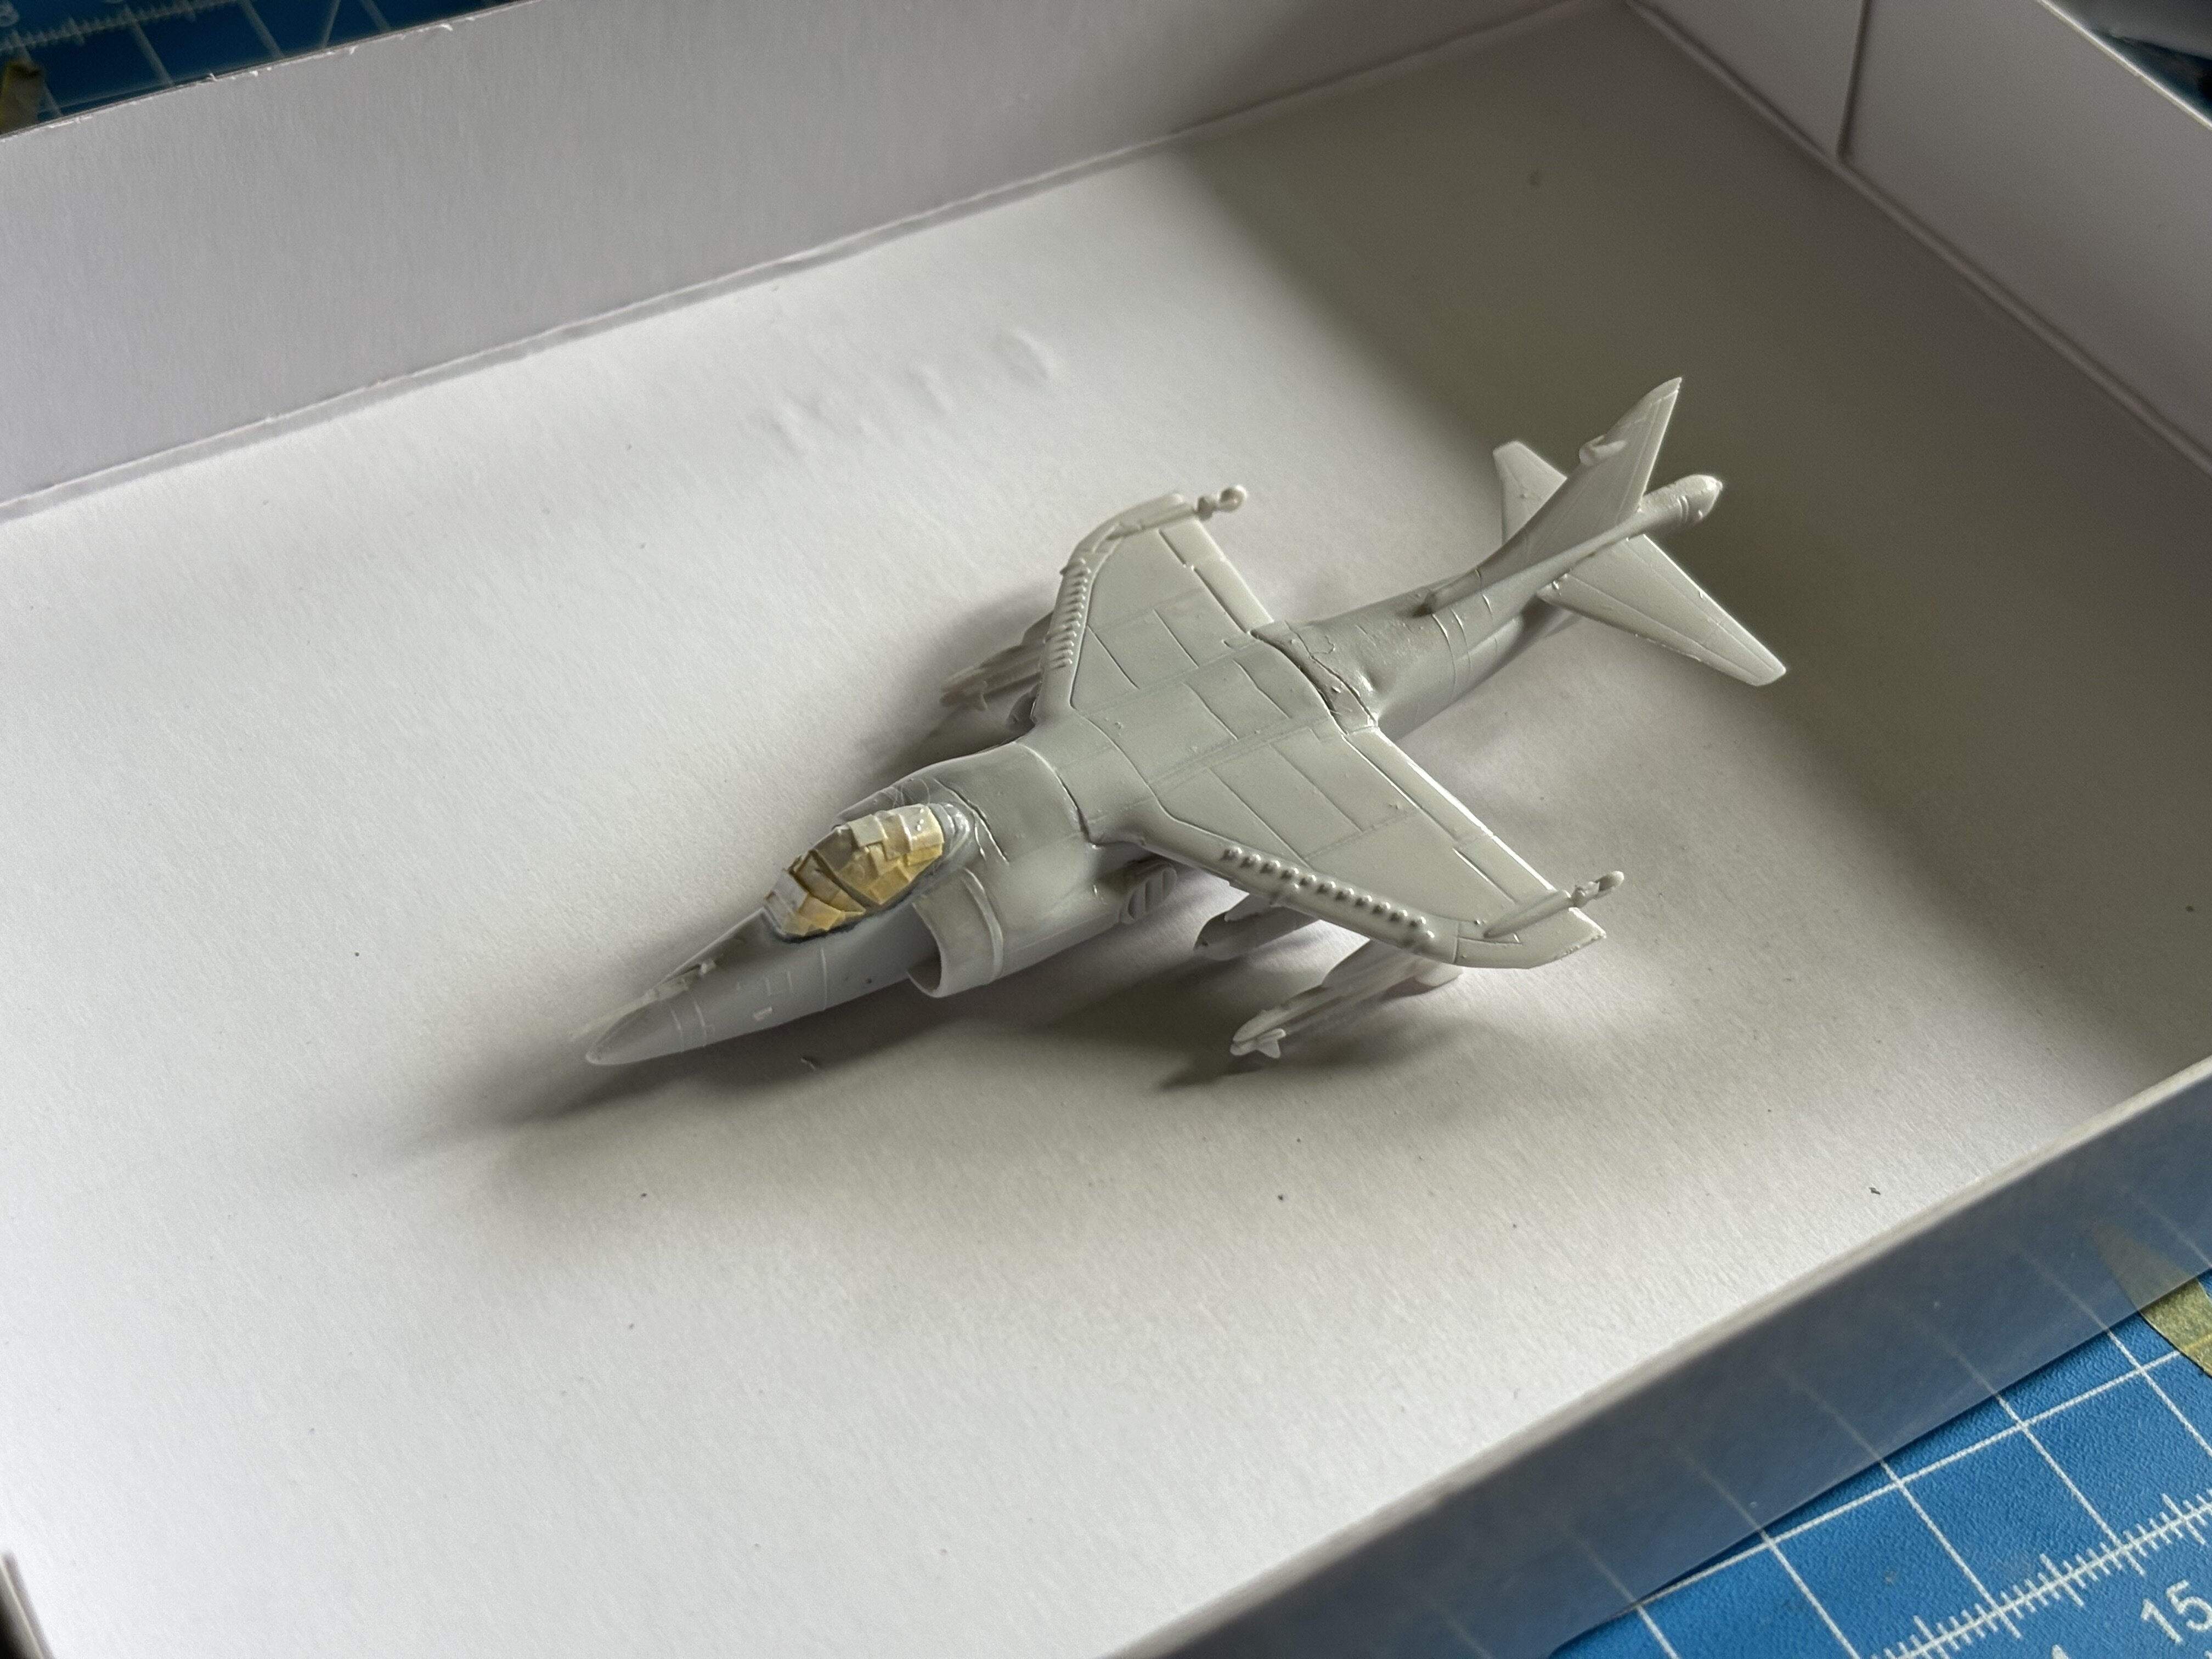
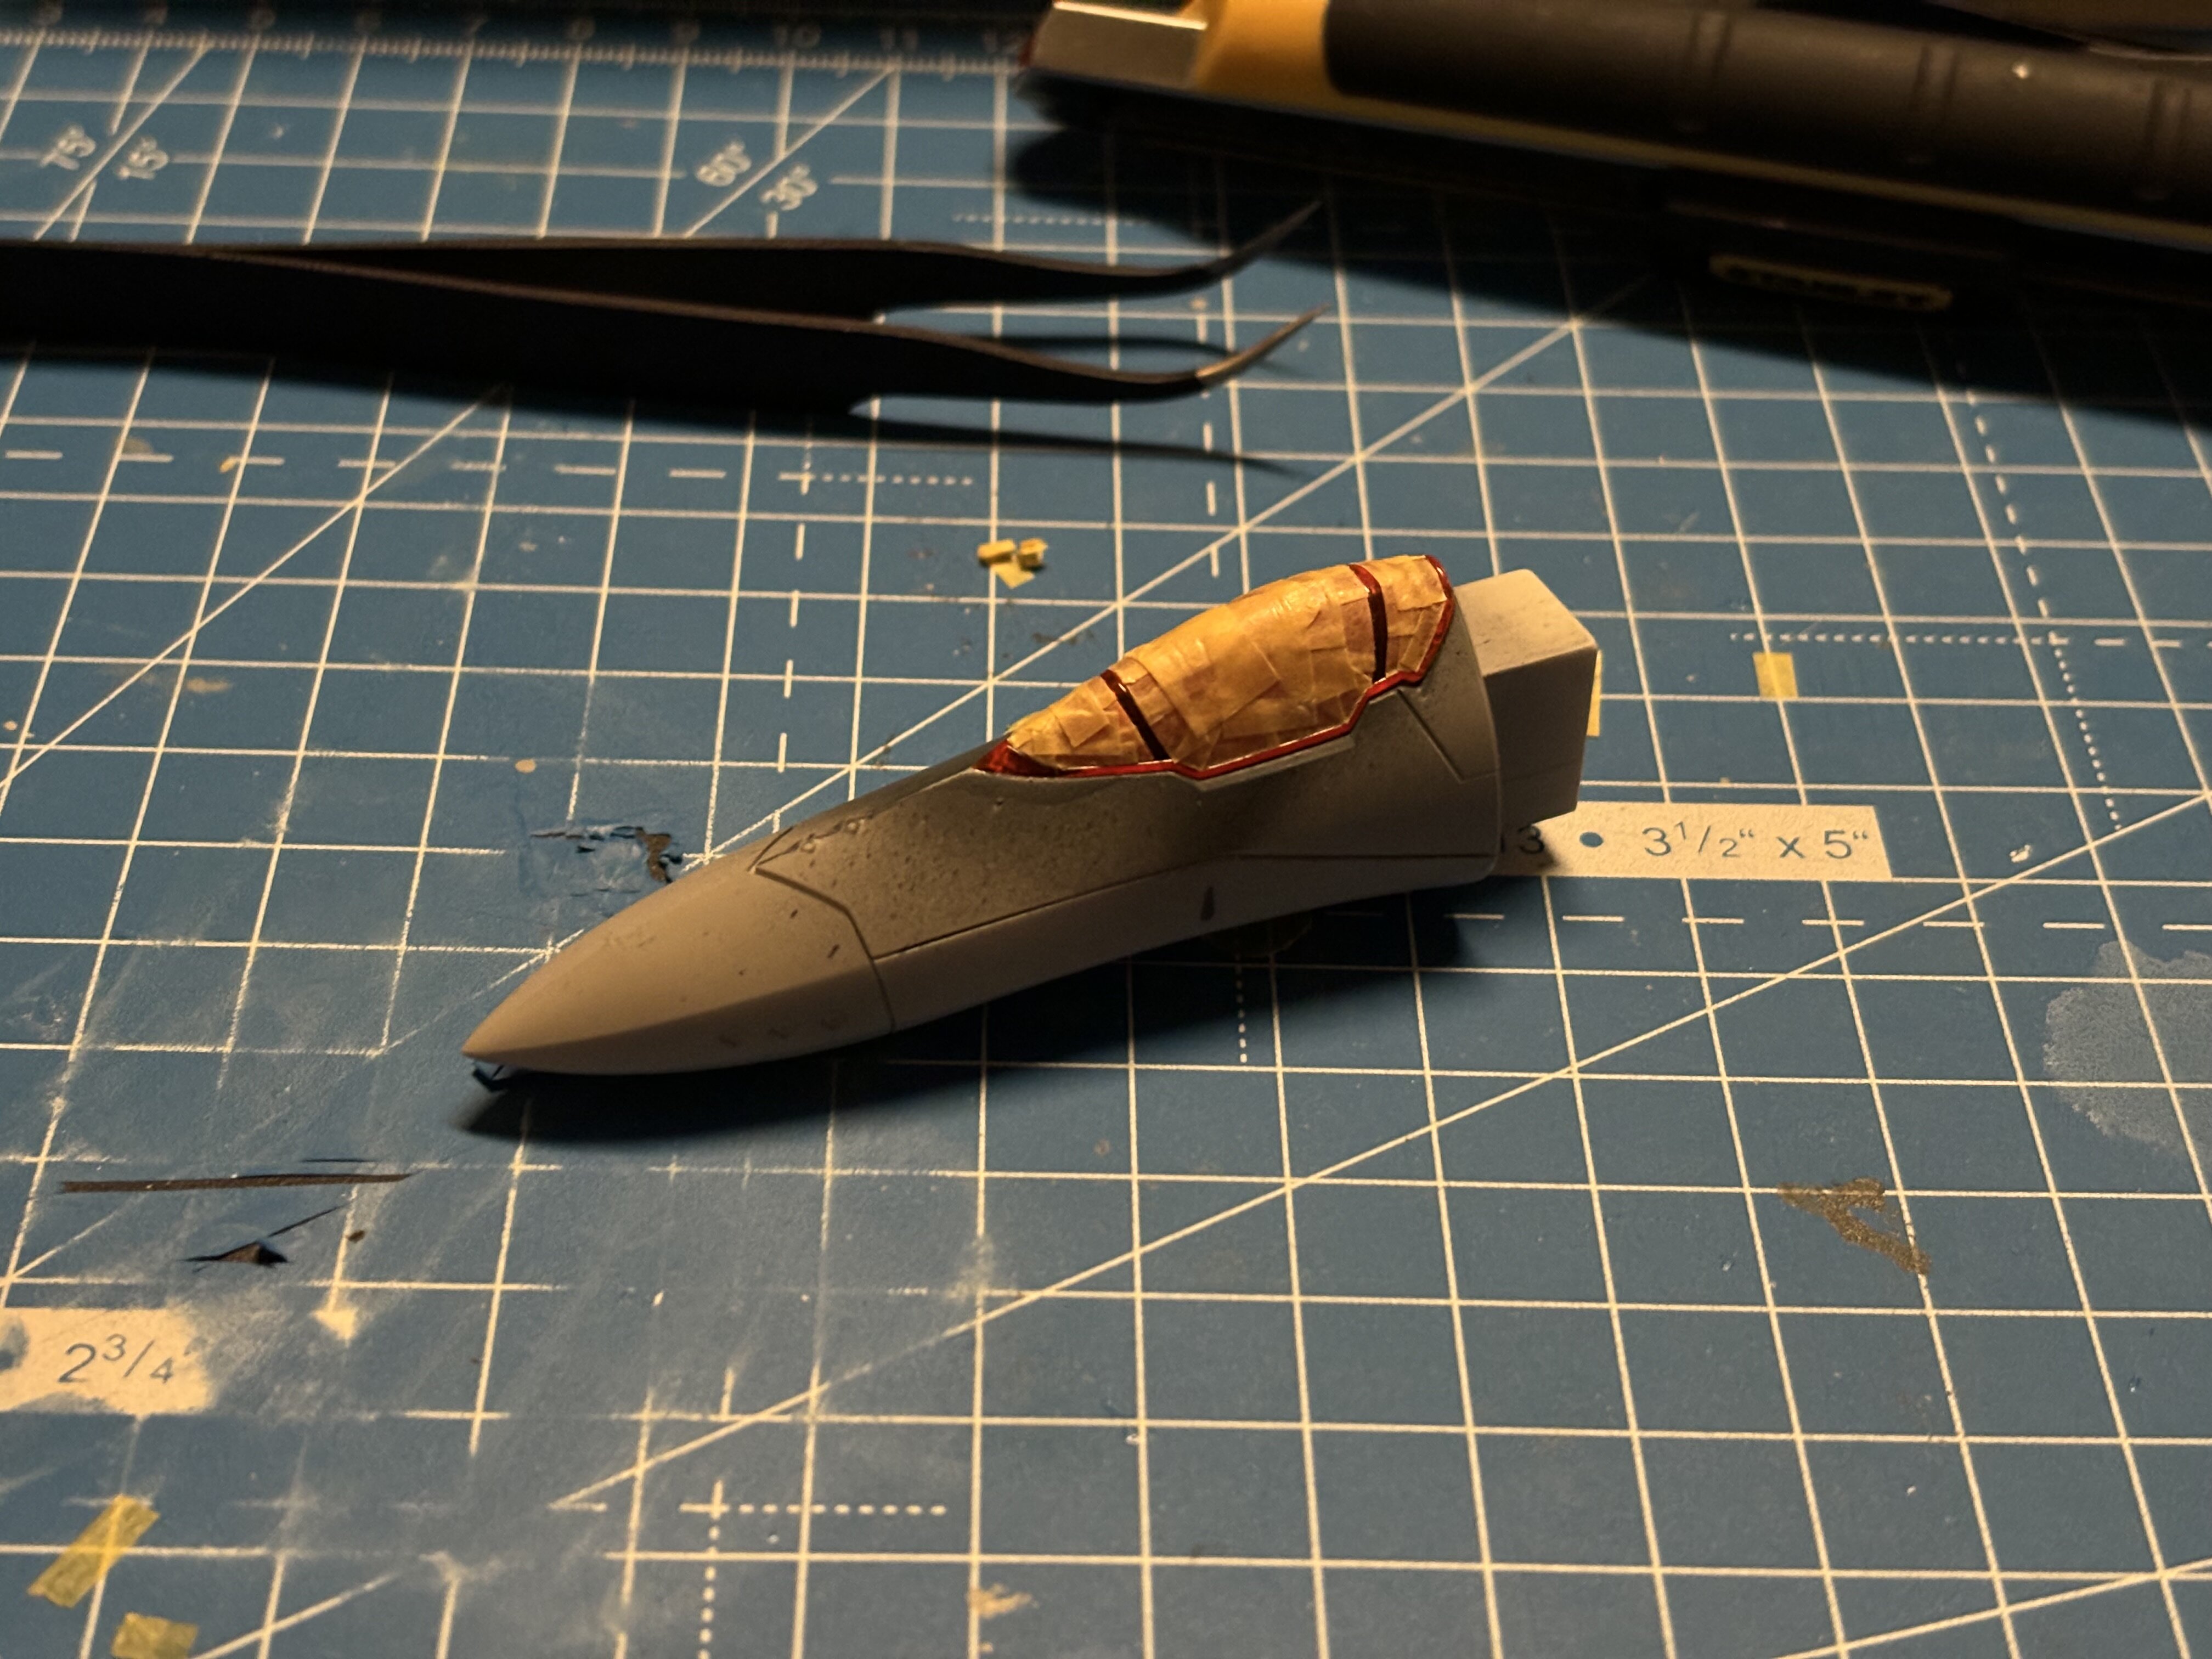
Went to the hobby store with the kid again. We got this: I never build a Minicraft kit before. So I was eager to try it. Looking at the UK flag I was expecting a pile of rubbish. BUT, it was okay. The kit is super small, it has some nice details. The quality is mediocre. There are seems everywhere. CLAMPS! The raw build. The kid wanted to help mask the canopy. he did a few patches. Then he wanted to Airbrush the primer as well. And almost done: While building this, a box arrived with new stuff
-
-
-
@Rock great one! I started panel lining mine and am reminded that I should have recarved the VF-19A panel lines. Stuffs not sticking properly, but sticking enough to give a nice effect.
-
... but I wonder. If I cut that one up and rebuild it in fighter mode, would it look like the Hase YF-19? This one looks a bit... (no fat shaming here) bulkier, or is it just me?
-
mhmm ... okay. Well, the VF-171EX Armored Version and the YF-29 are in the pipeline.
-
Nope ... real. I expect even more Macross stuff from wave now
-
-
yeah ... the illegible is hard to read, but the katakana here is "sensaadoomu", so sensor dome?
-
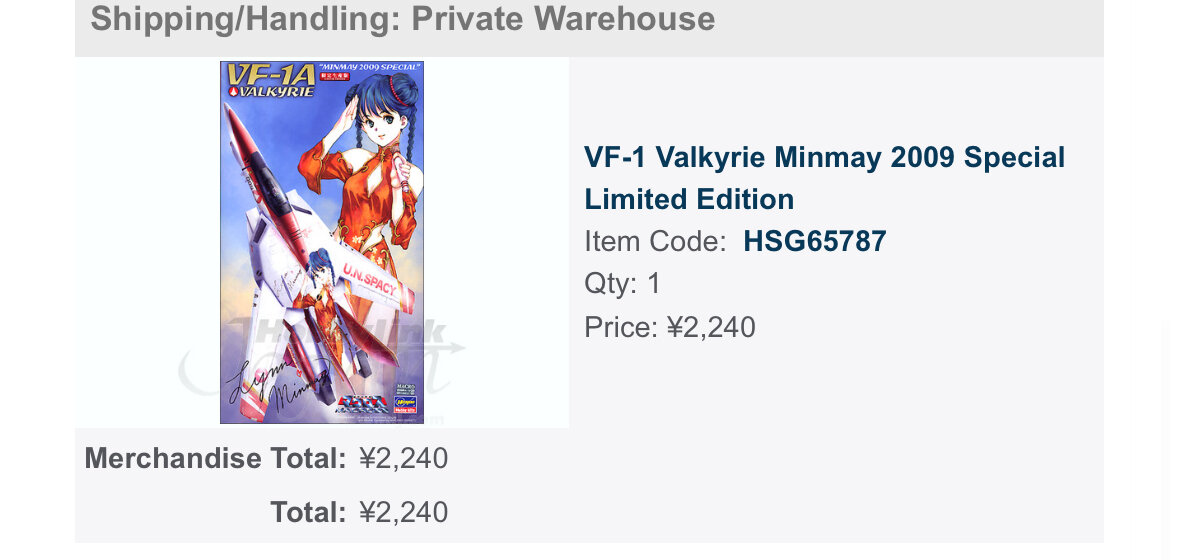
Got my confirmation from HLJ. YF-19 with booster ships tomorrow
-
yep ... but the turpentine got through it too easily and killed everything. There are also other crazy methods when it comes to decals. 1. Gloss coat 2. Apply decals 3. Gloss coat 4. Sand decals, and carefully sand off the clear decal carrier foil 5. Gloss coat again result: no small edges around the decals. downpoint: it takes ages, so I am not doing it. haha
-
I‘d do that too, but I am super horrible at washing. Last time I did that killed my decals.
-
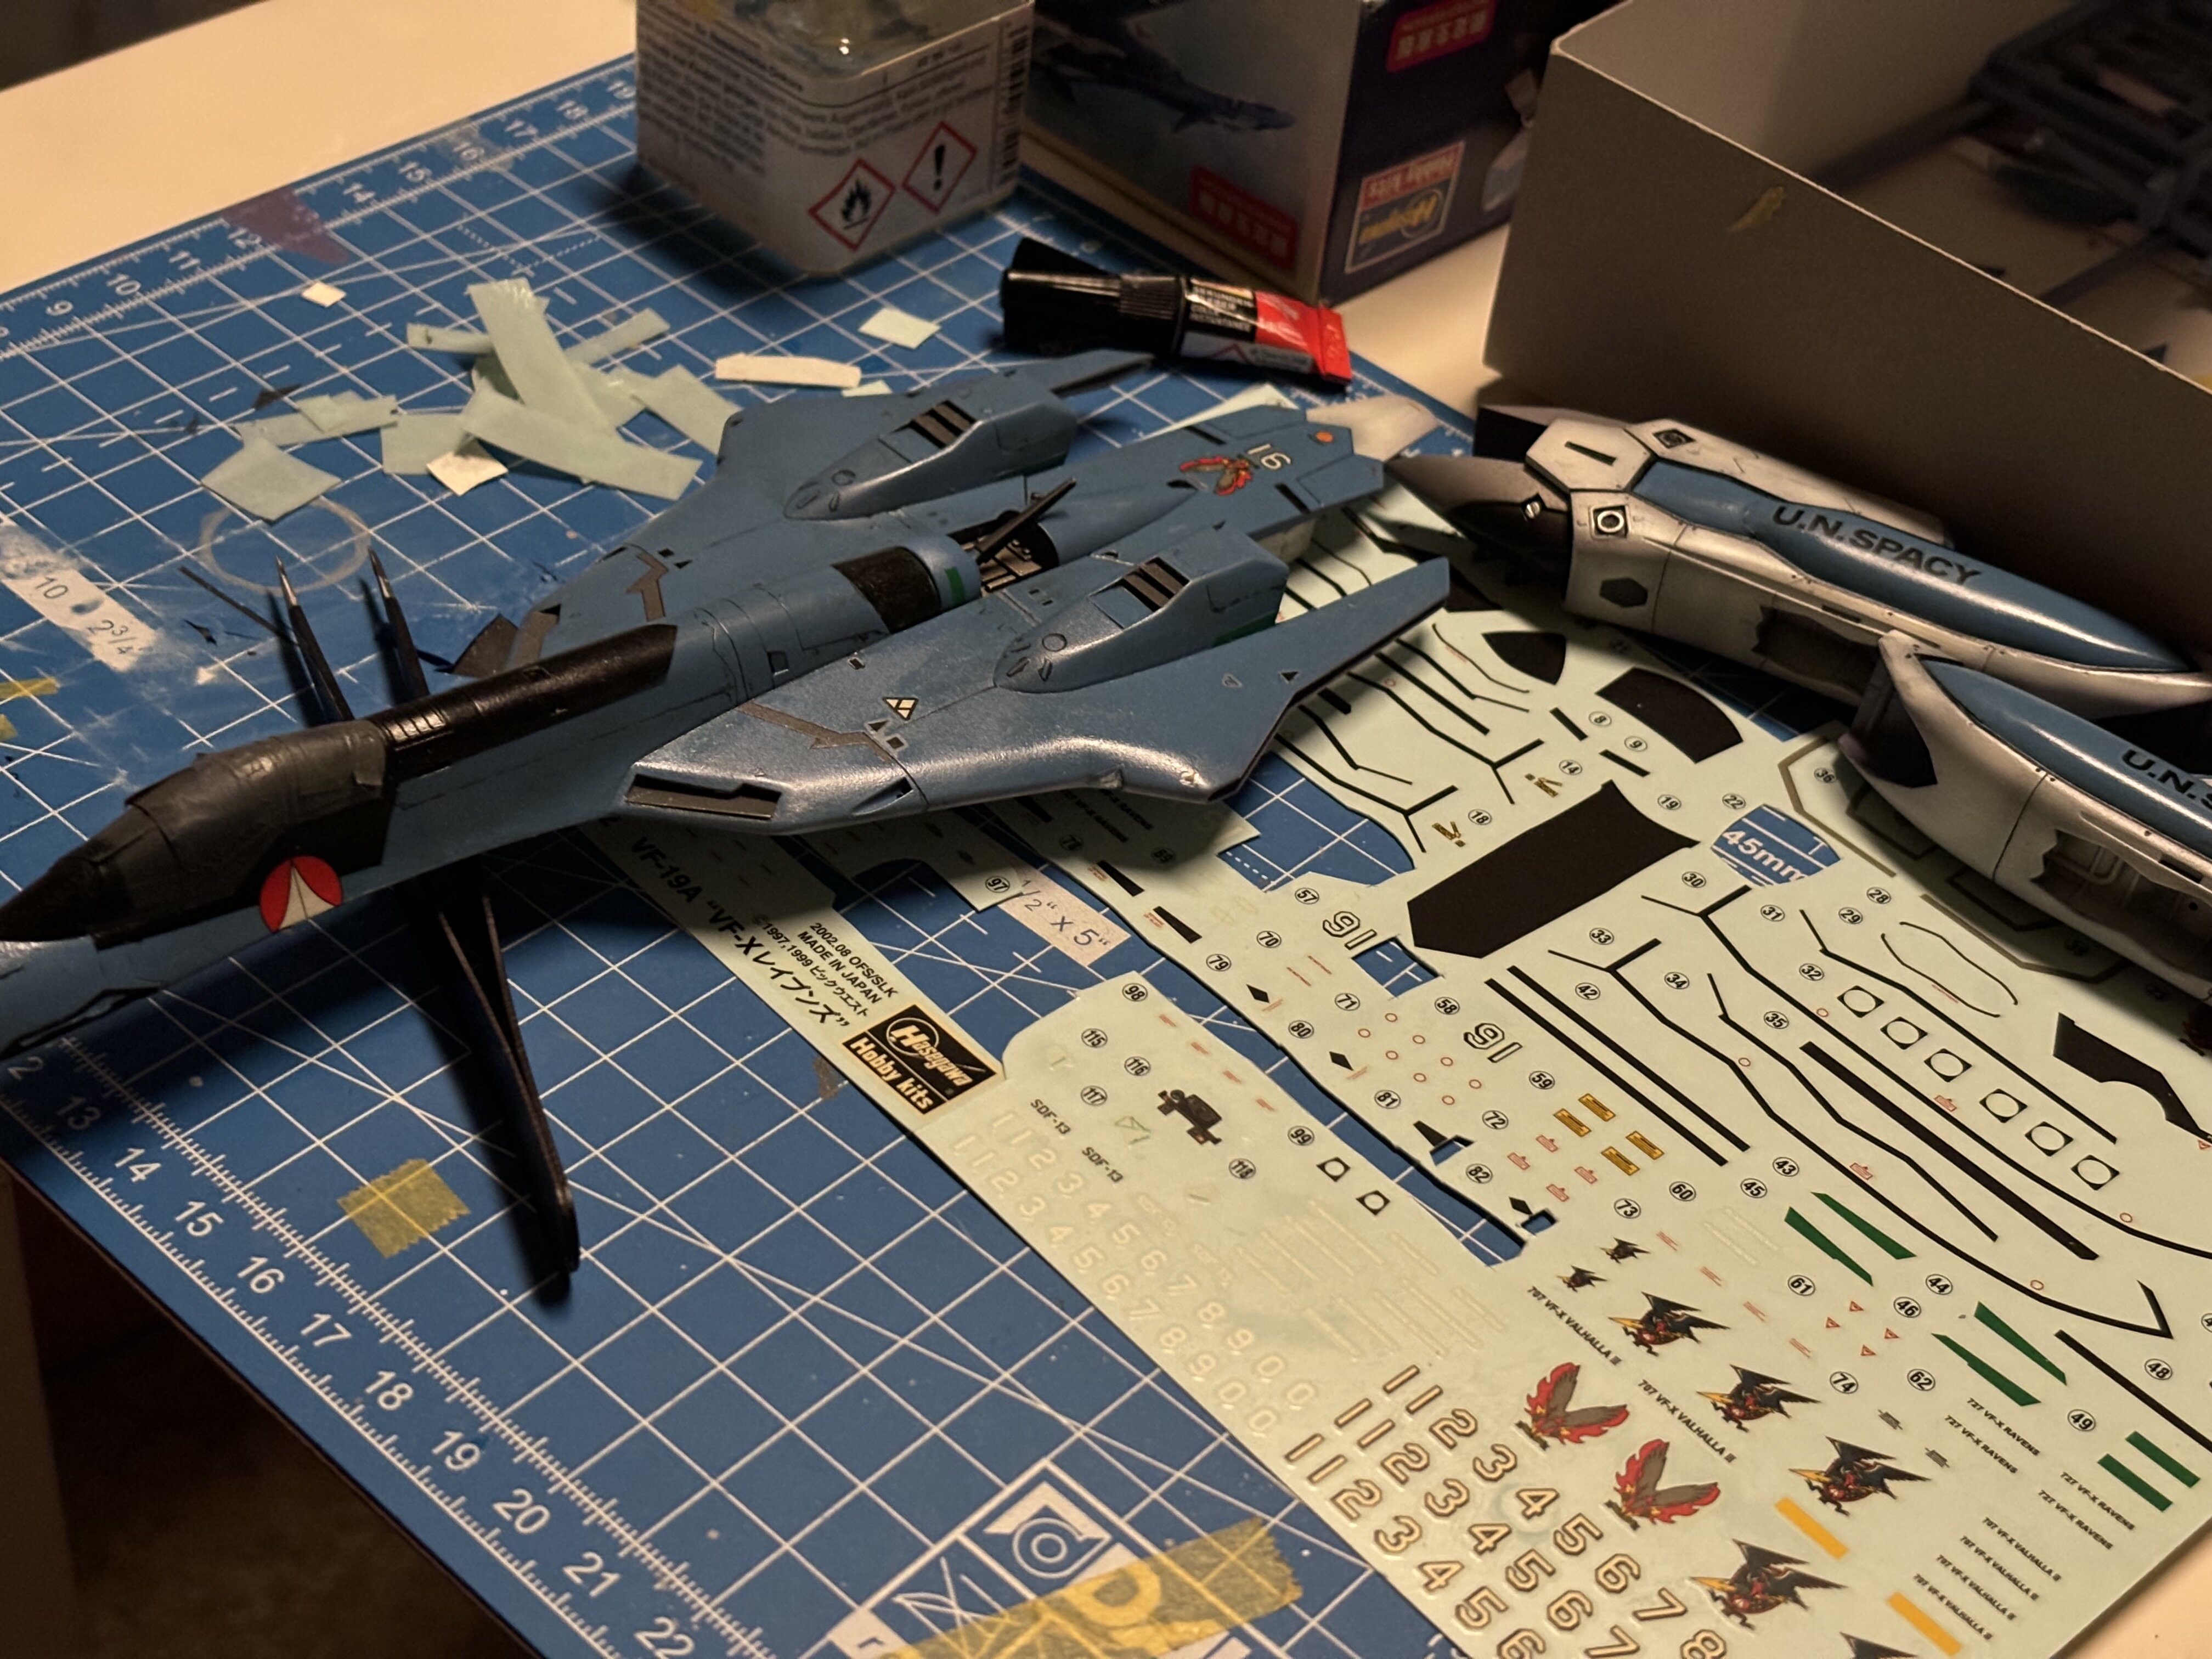
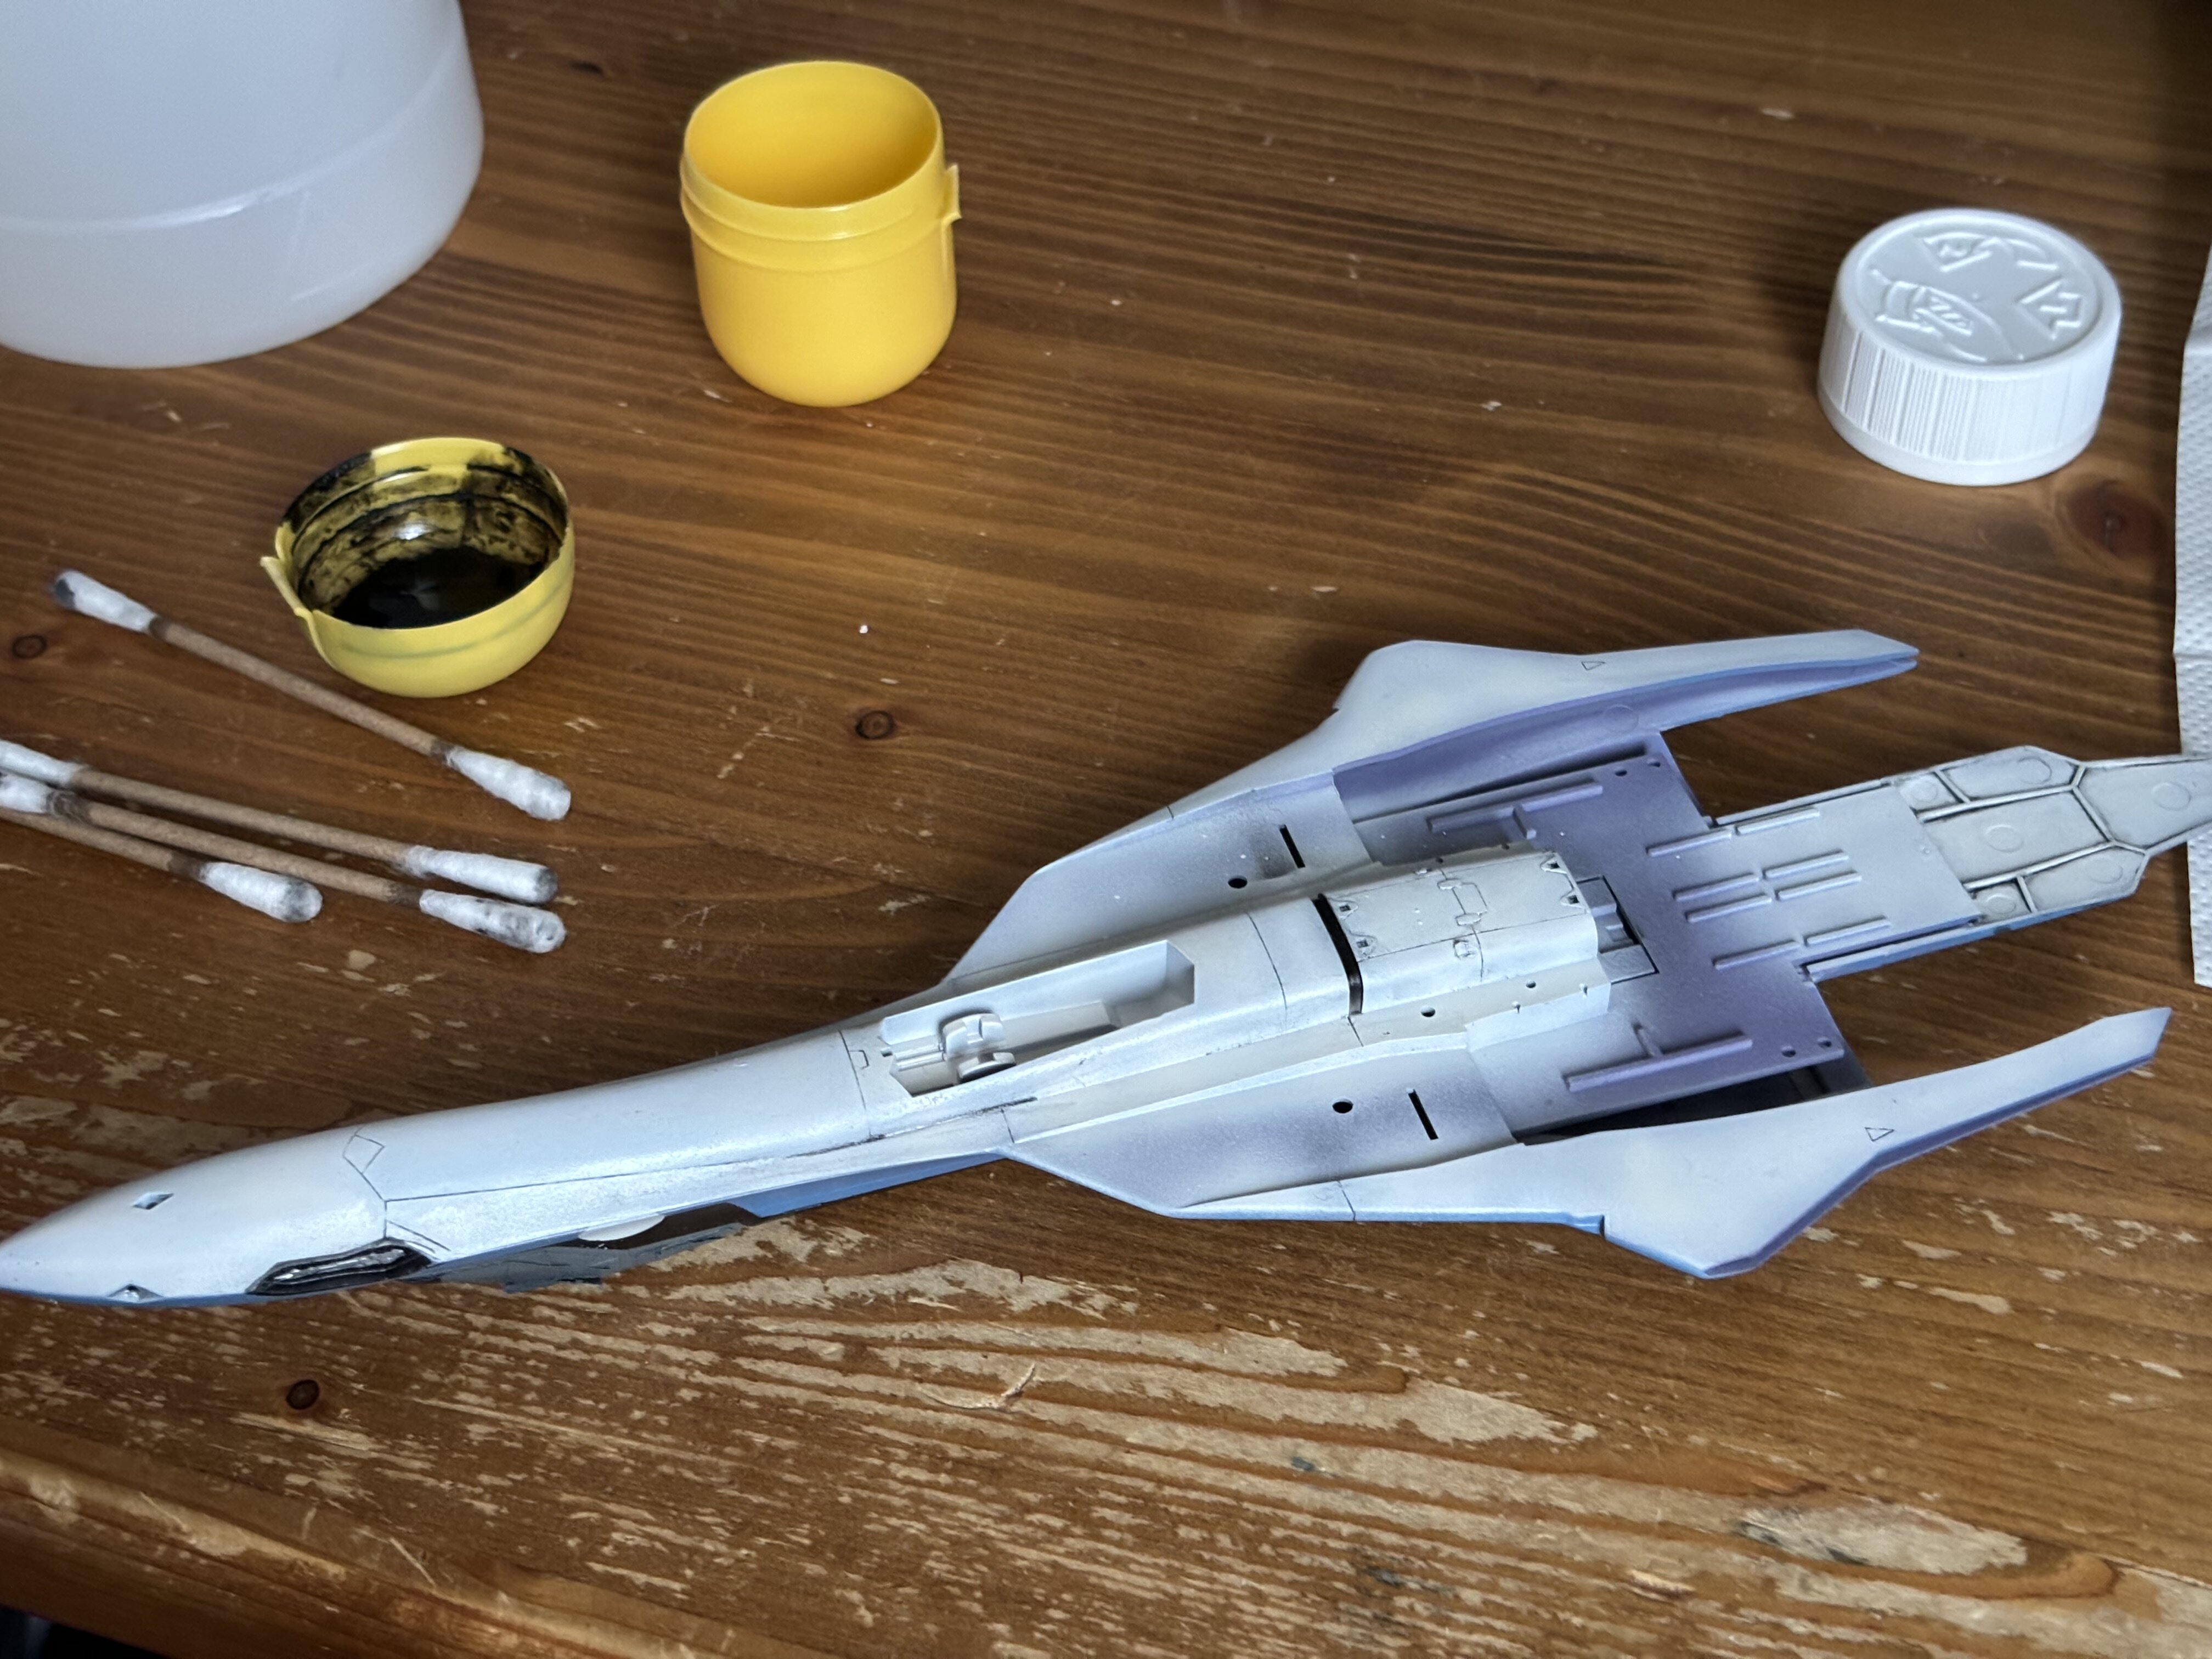
Yeah. It has been declared accessible for the scion. He likes it. Now on to the VF-19 front. Paintjob done, gloss coat applied. Now it needs to cure for 24 hours. Then I can oil color wash it. Then decals after the wash.
-
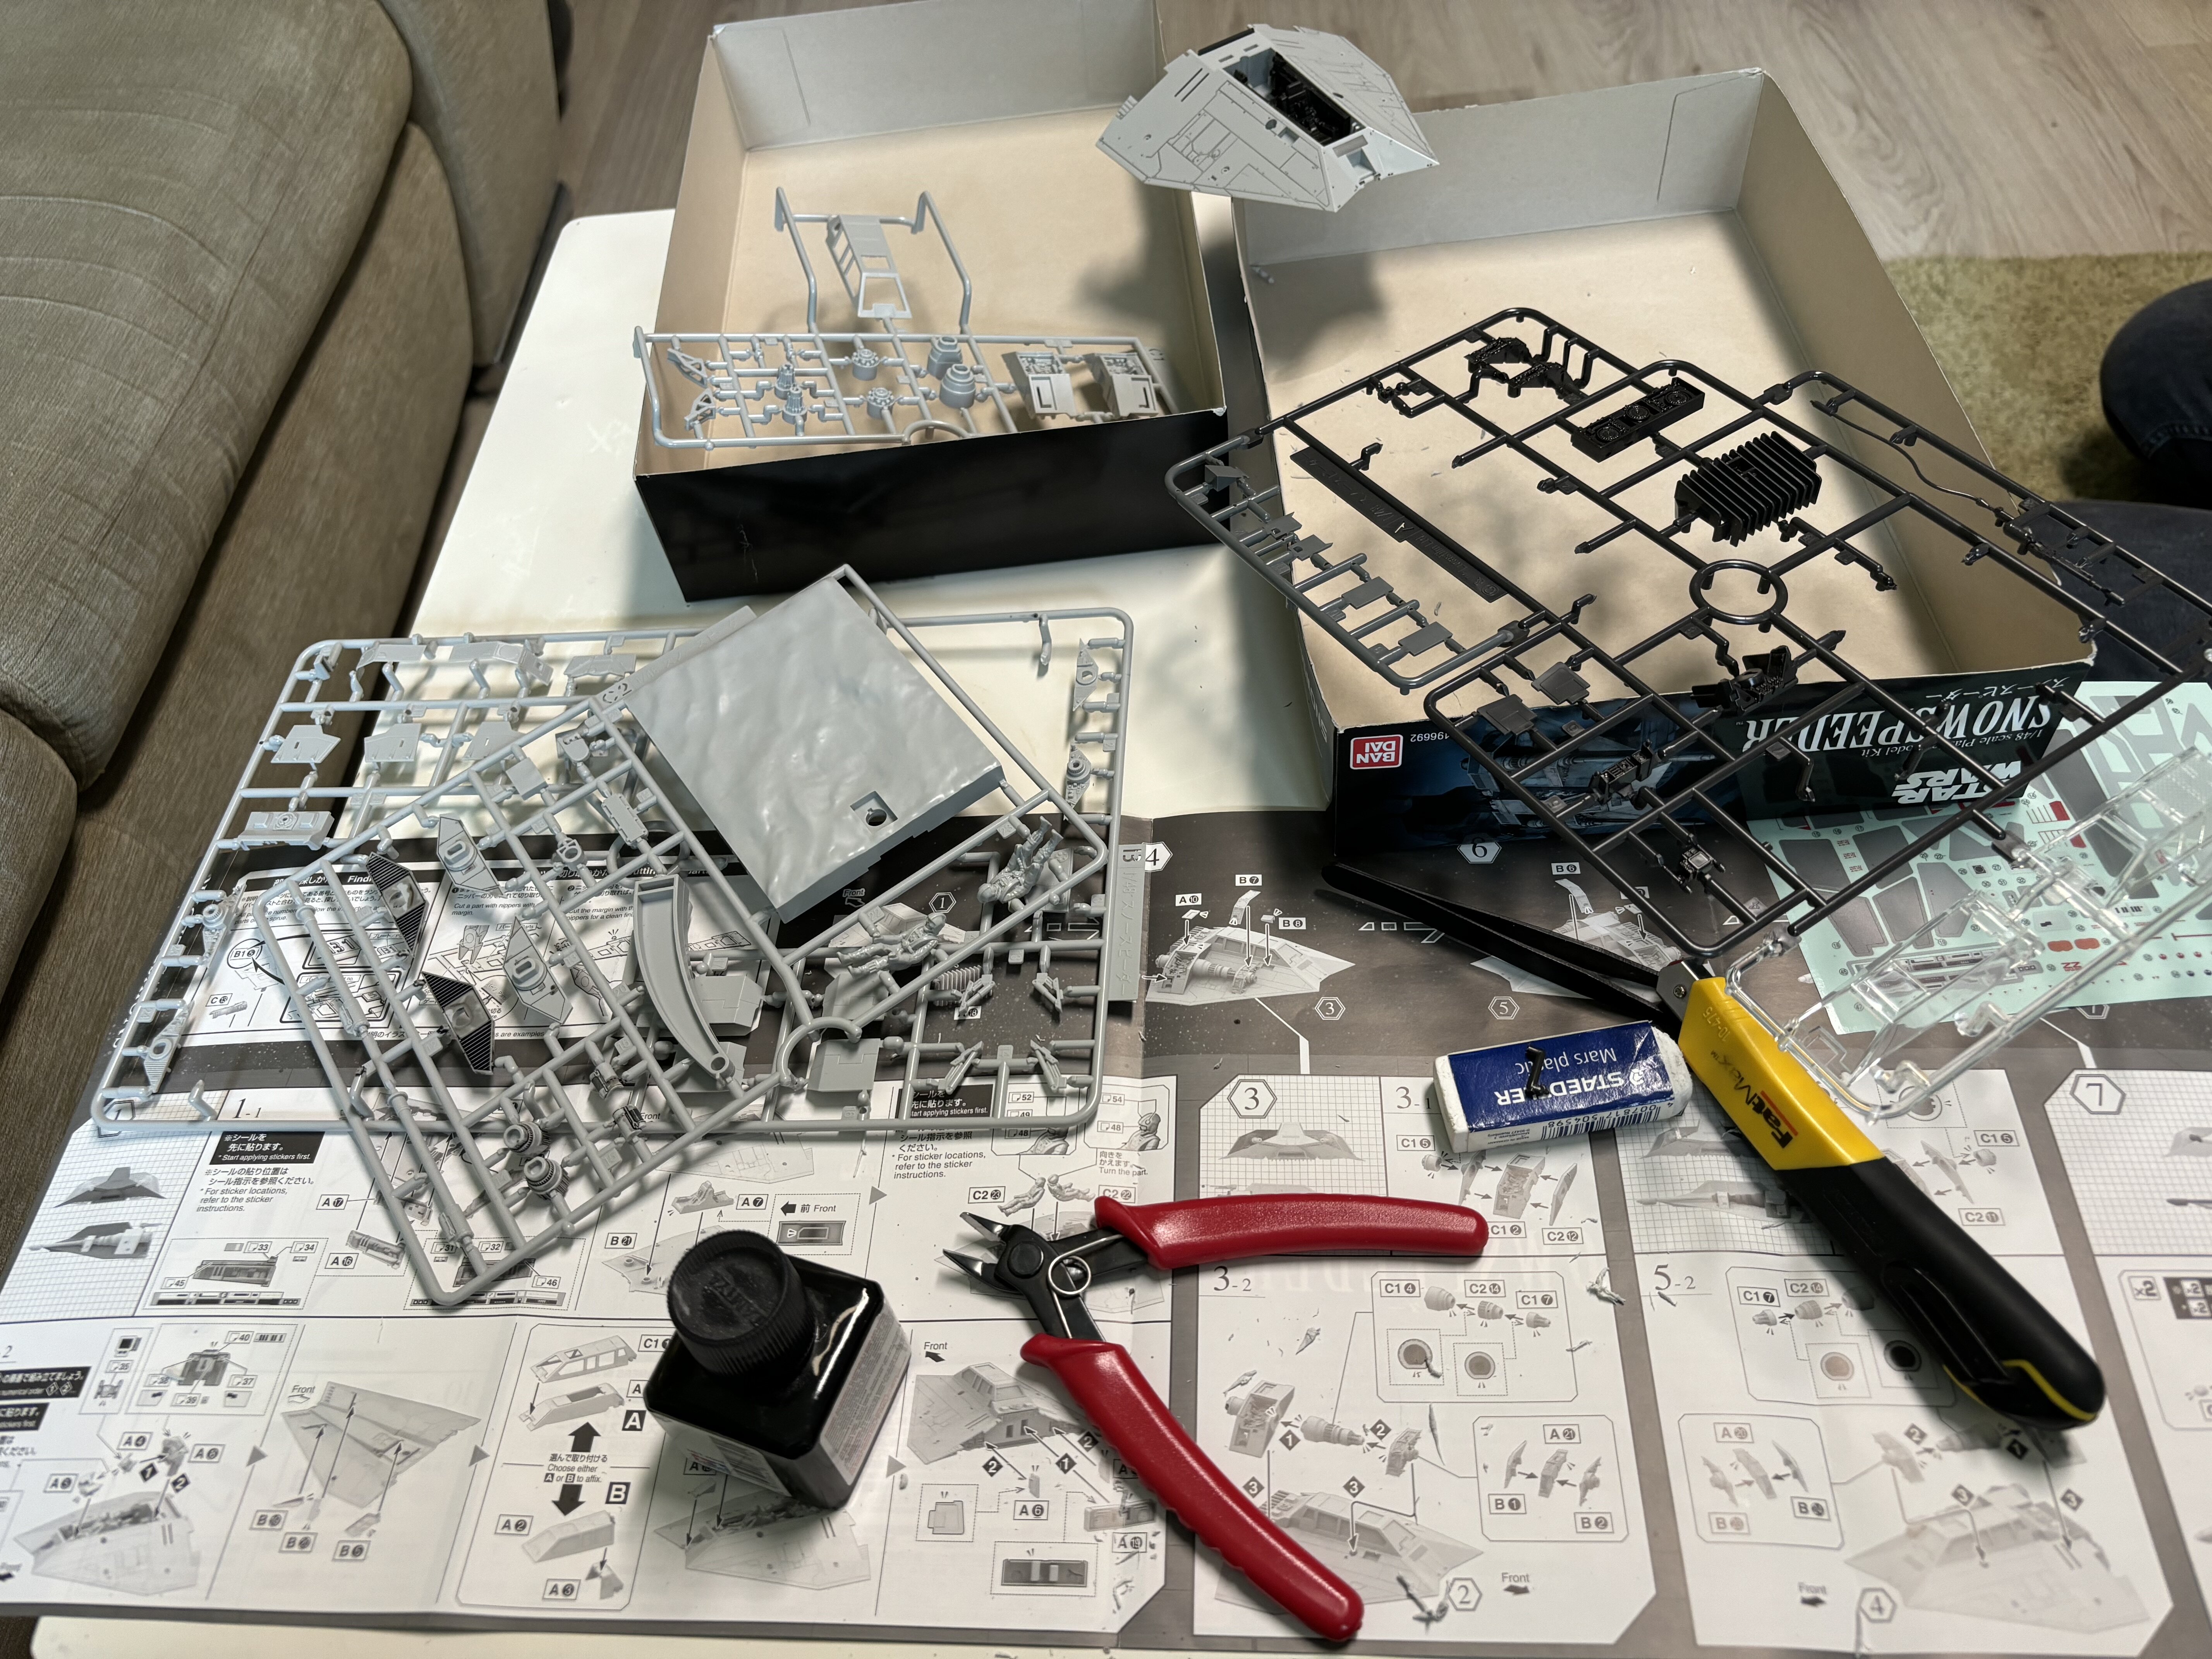
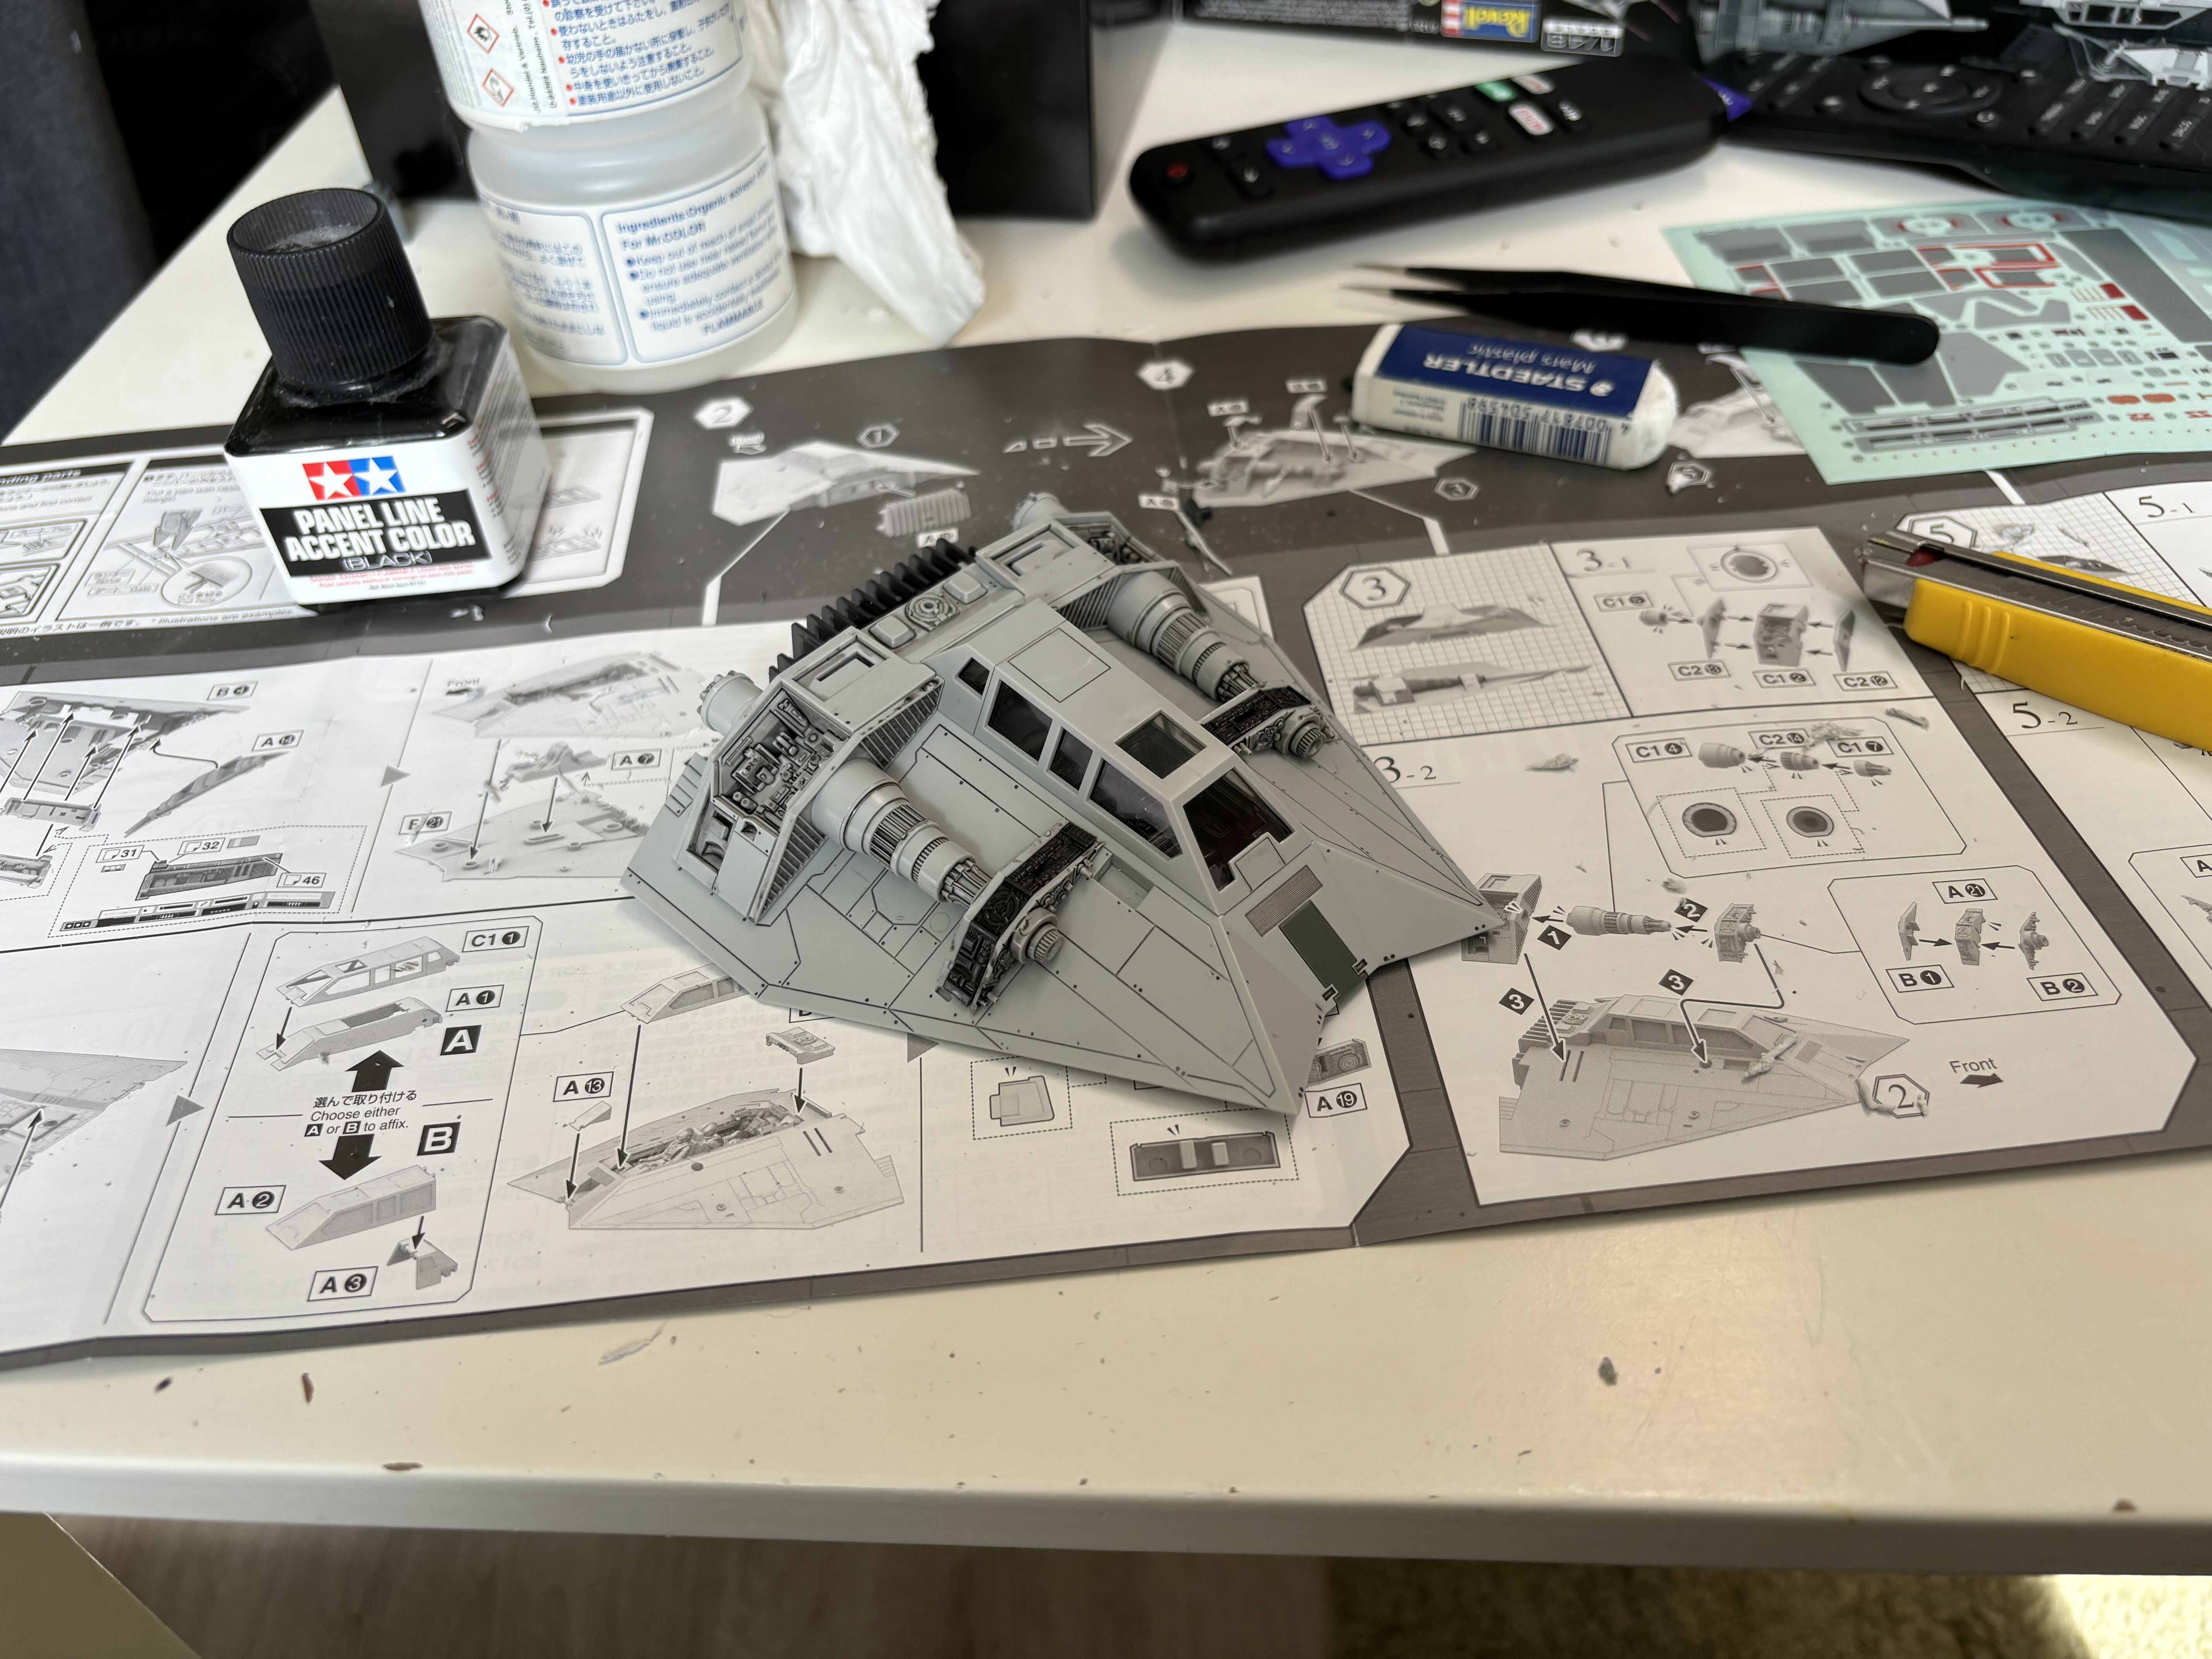
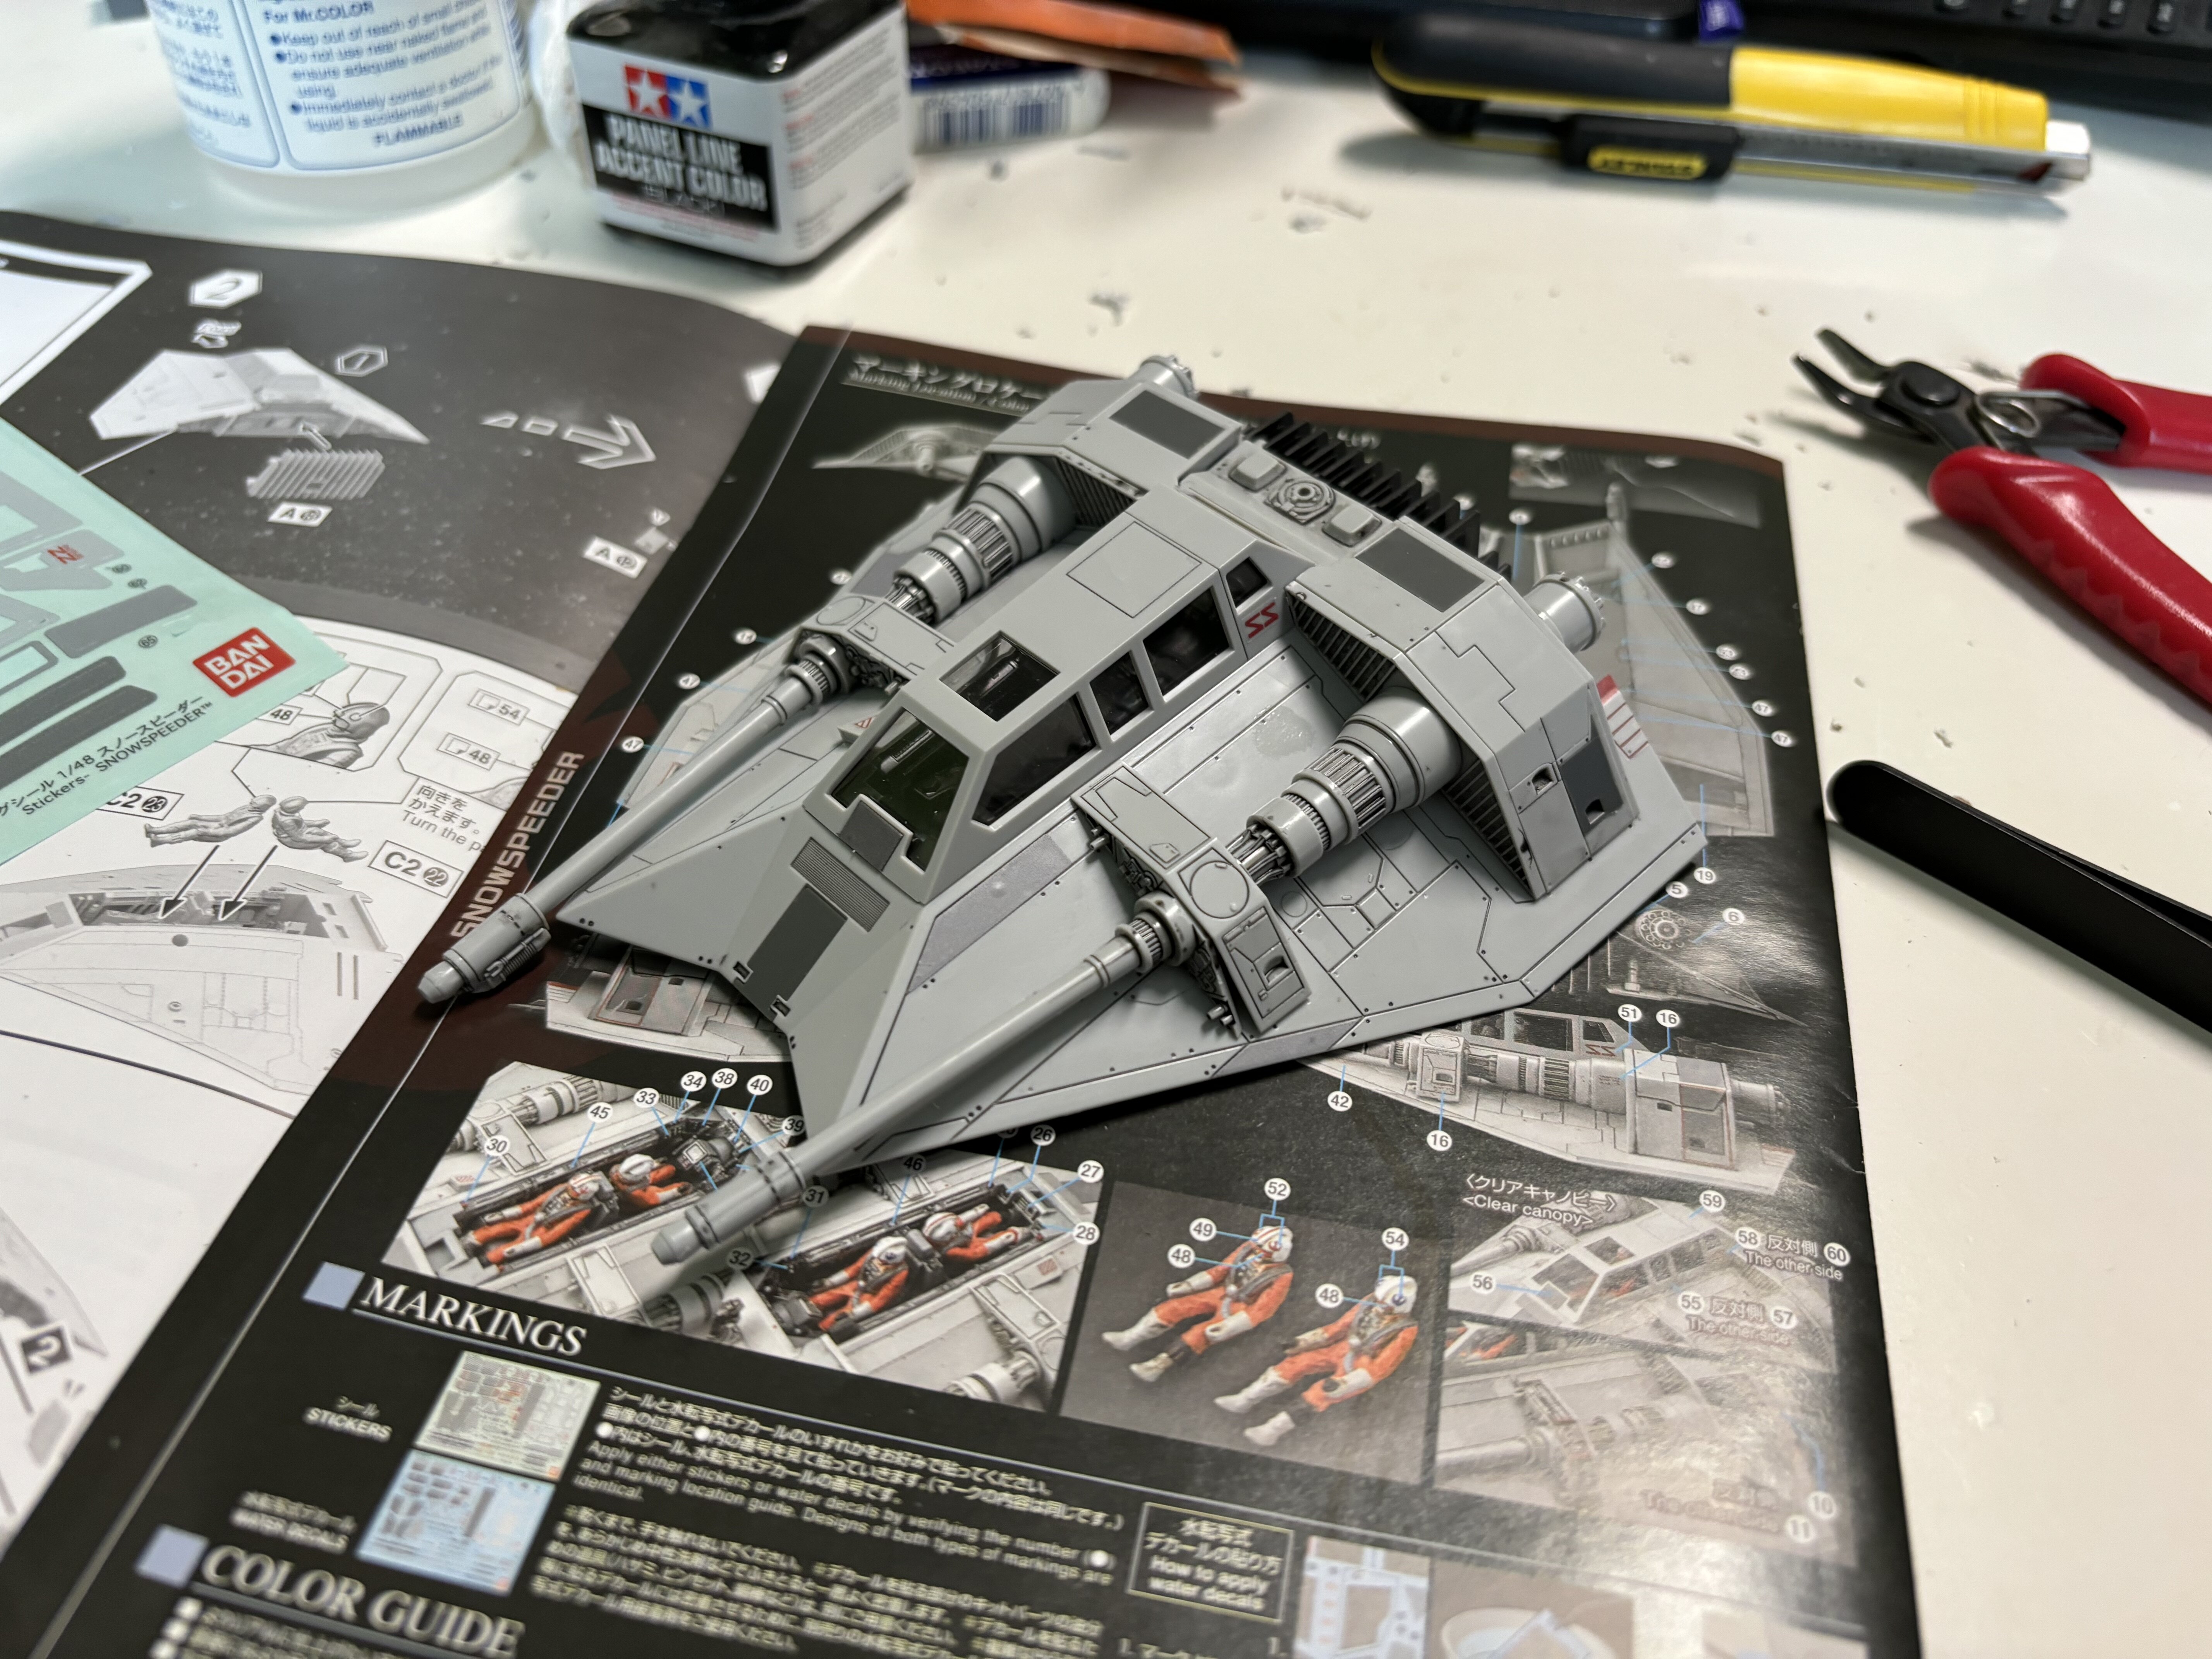
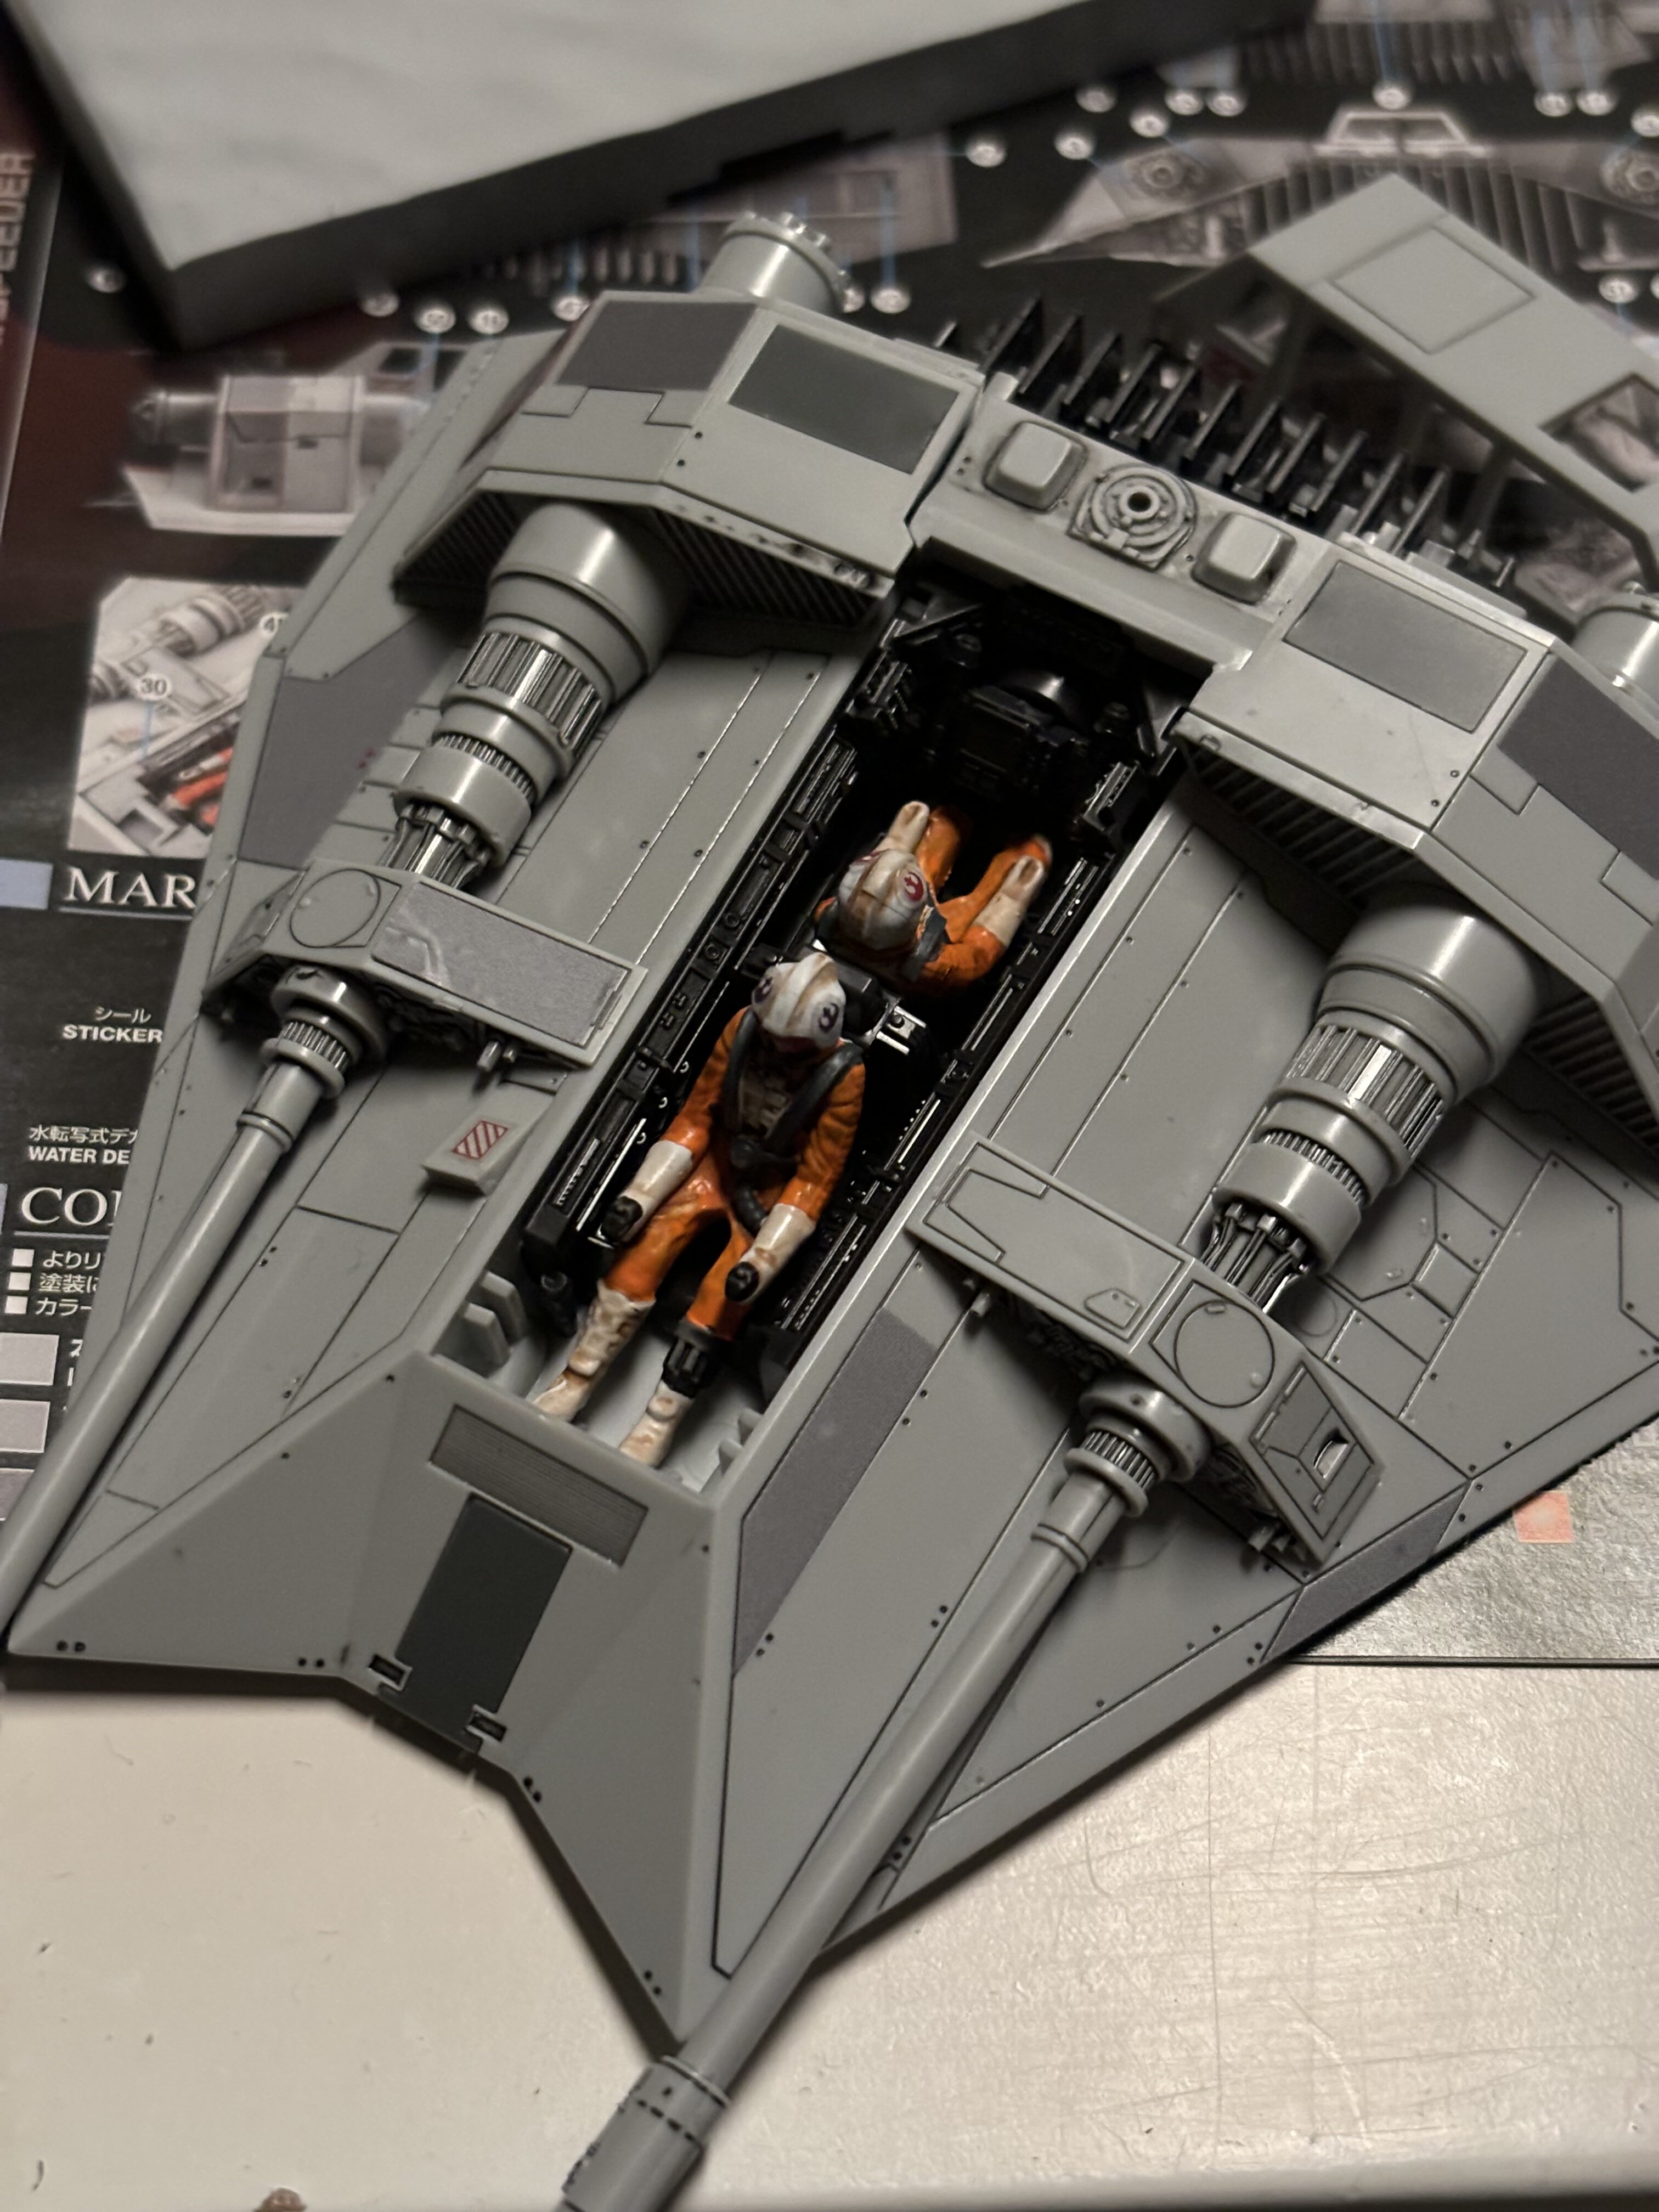
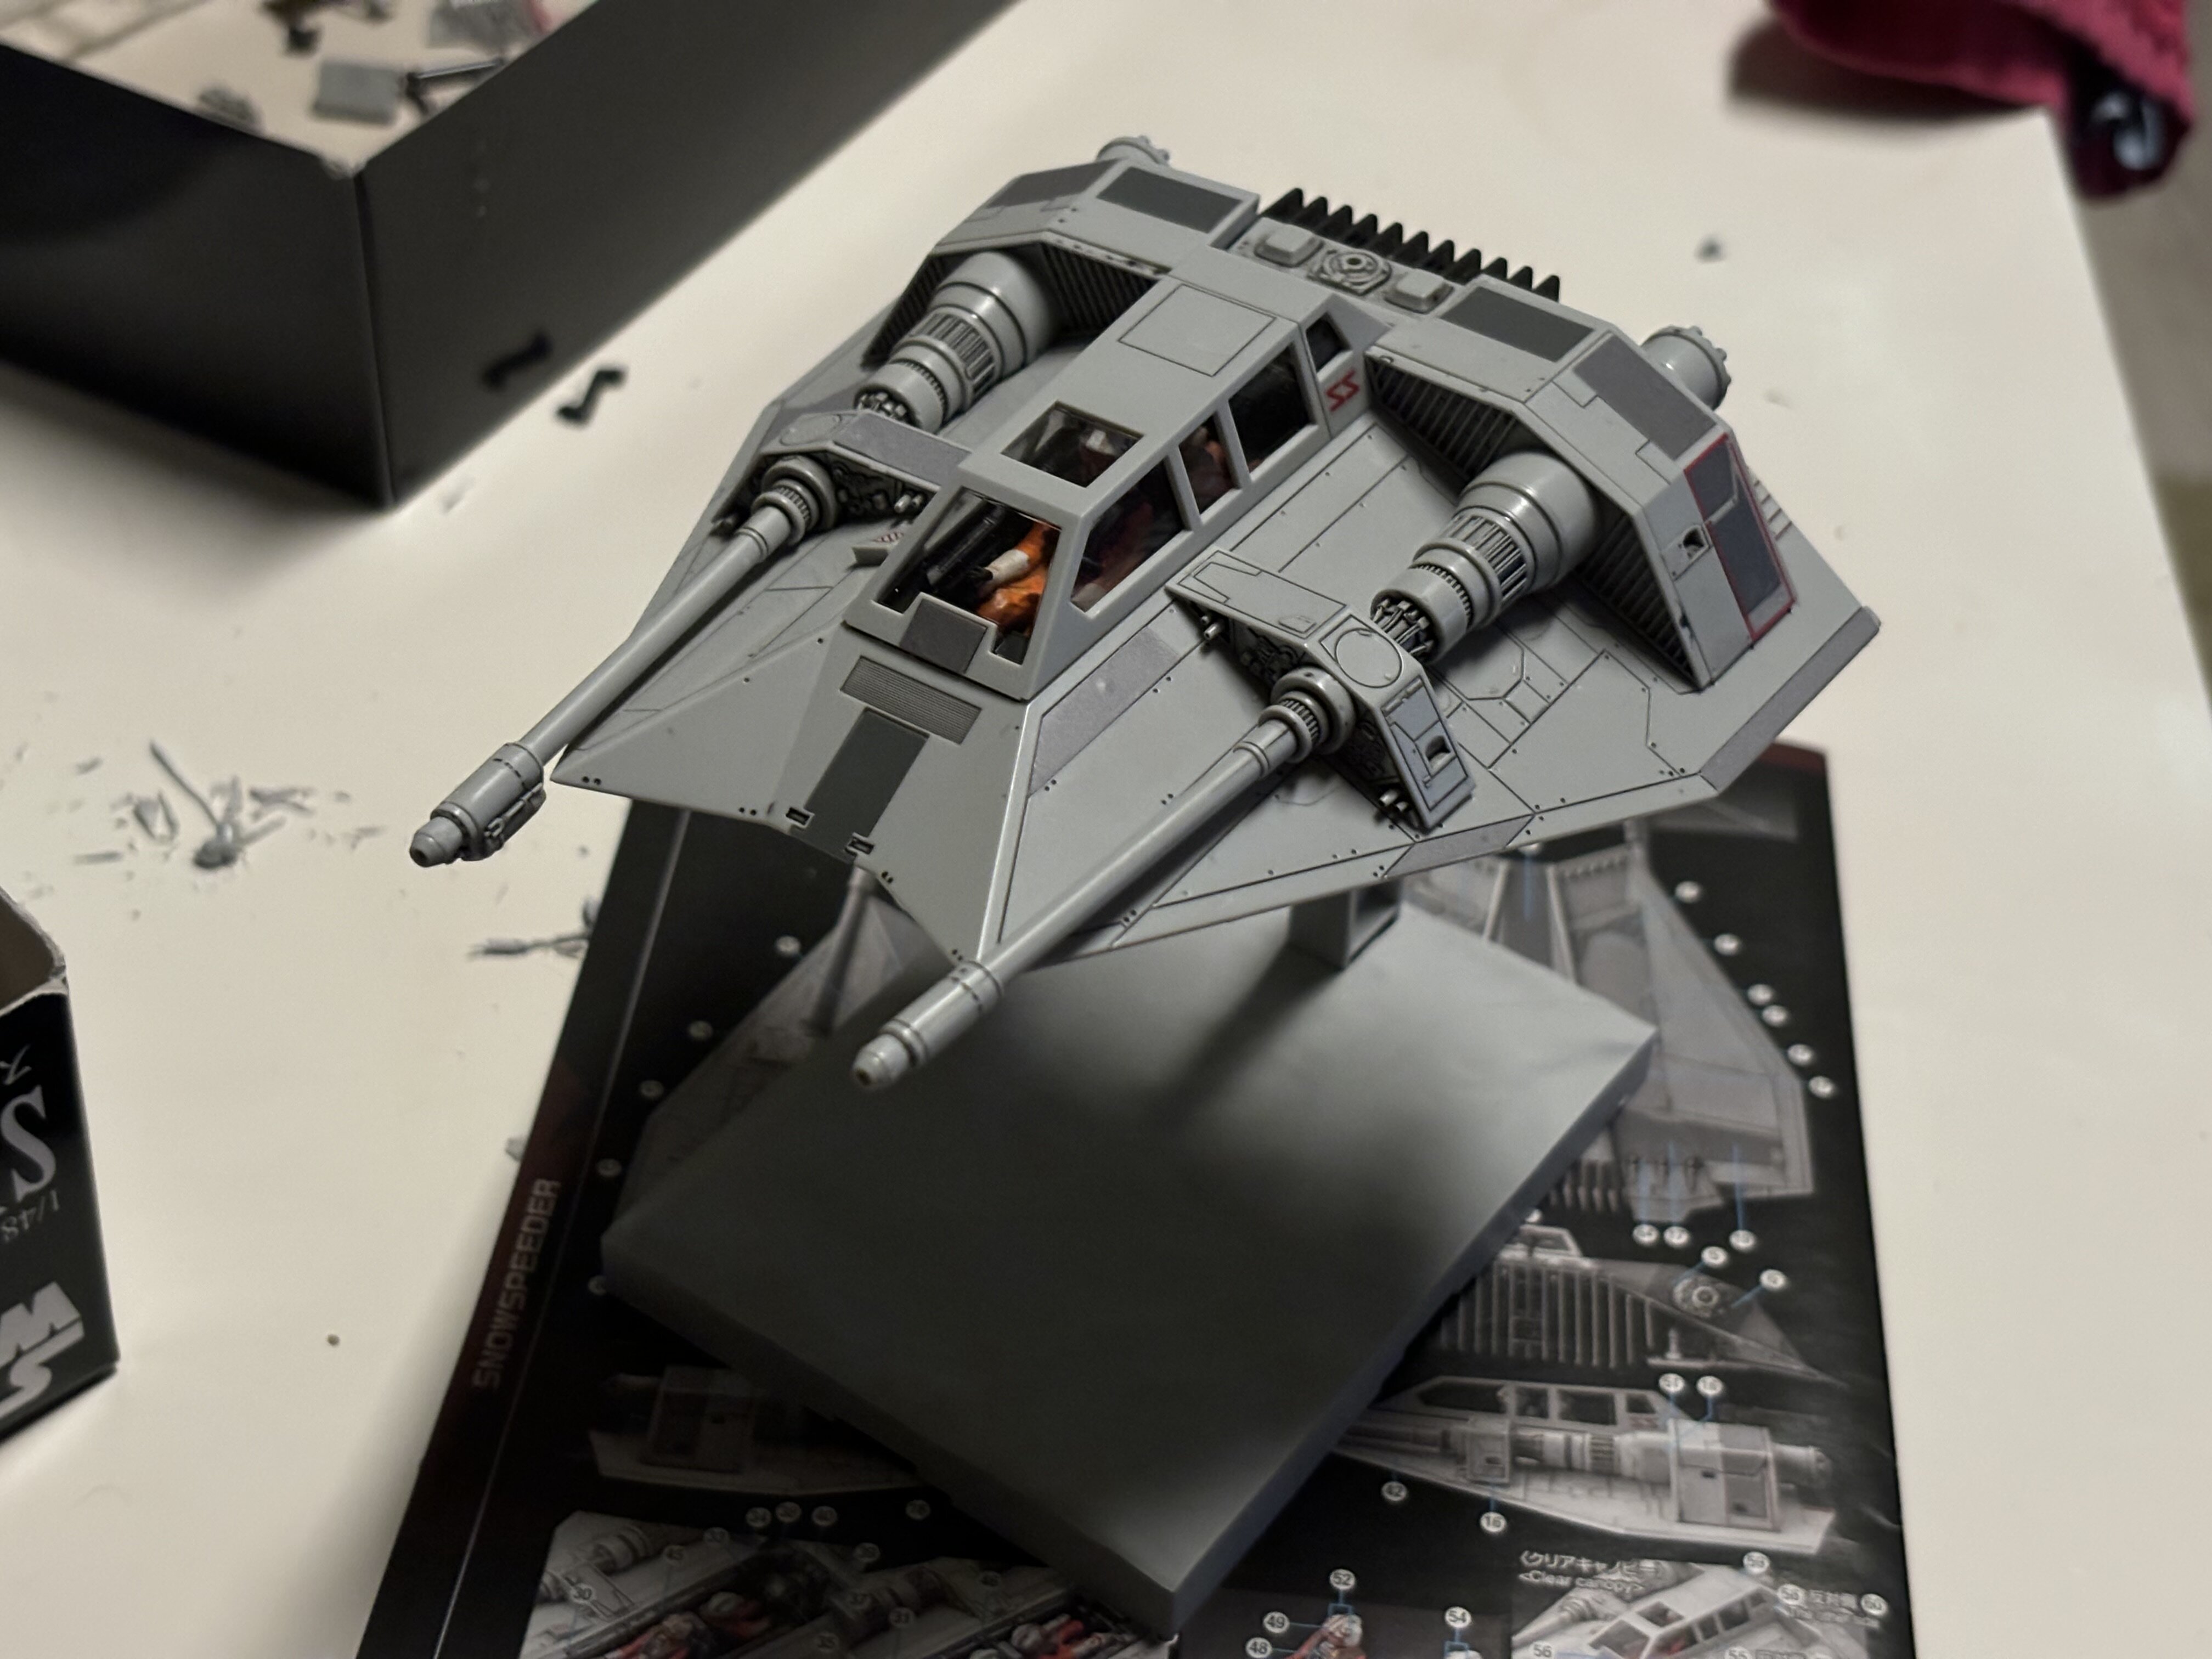
@MechTech pictures were taken from around 1-2 feet away @Thom I built one of these not too long ago Another quick build today. I don’t think I‘ve finished that much kits in such a short time for long. A star wars kit. Haven’t build one in years.
-
Those intakes look familiar… Thanks a lot! I mean, from far it doesn’t look too bad. But I ordered more…
-
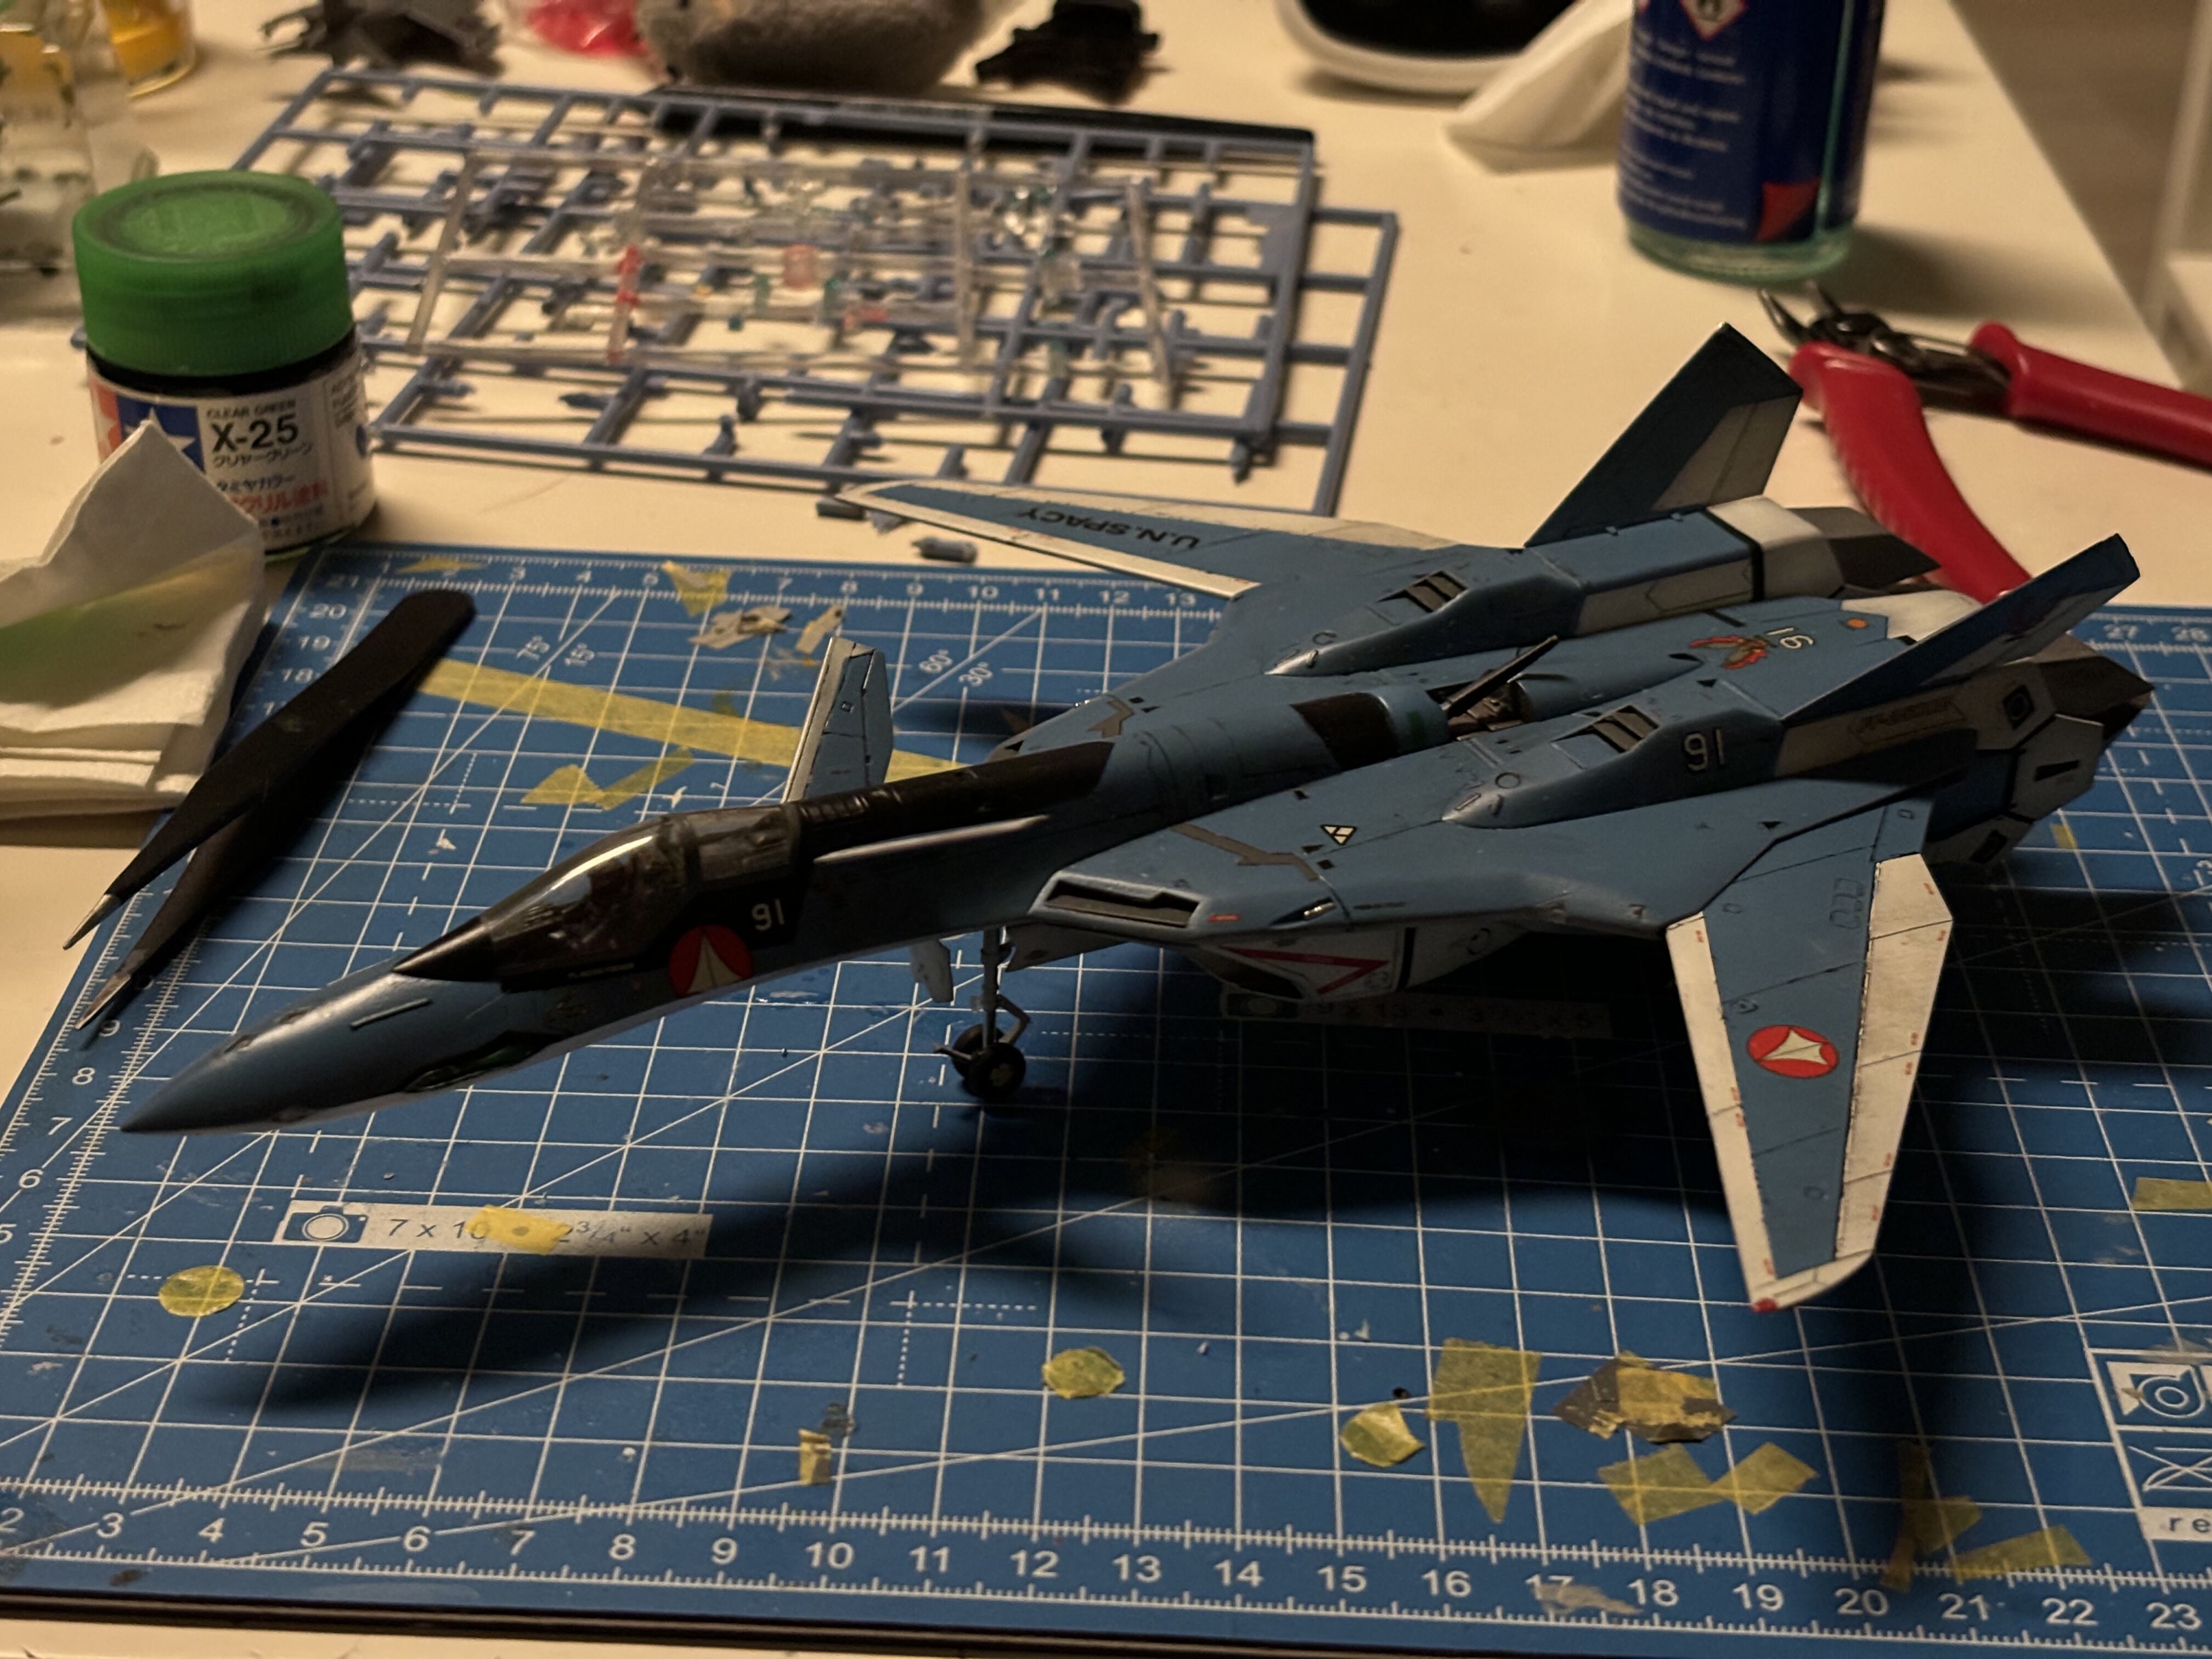
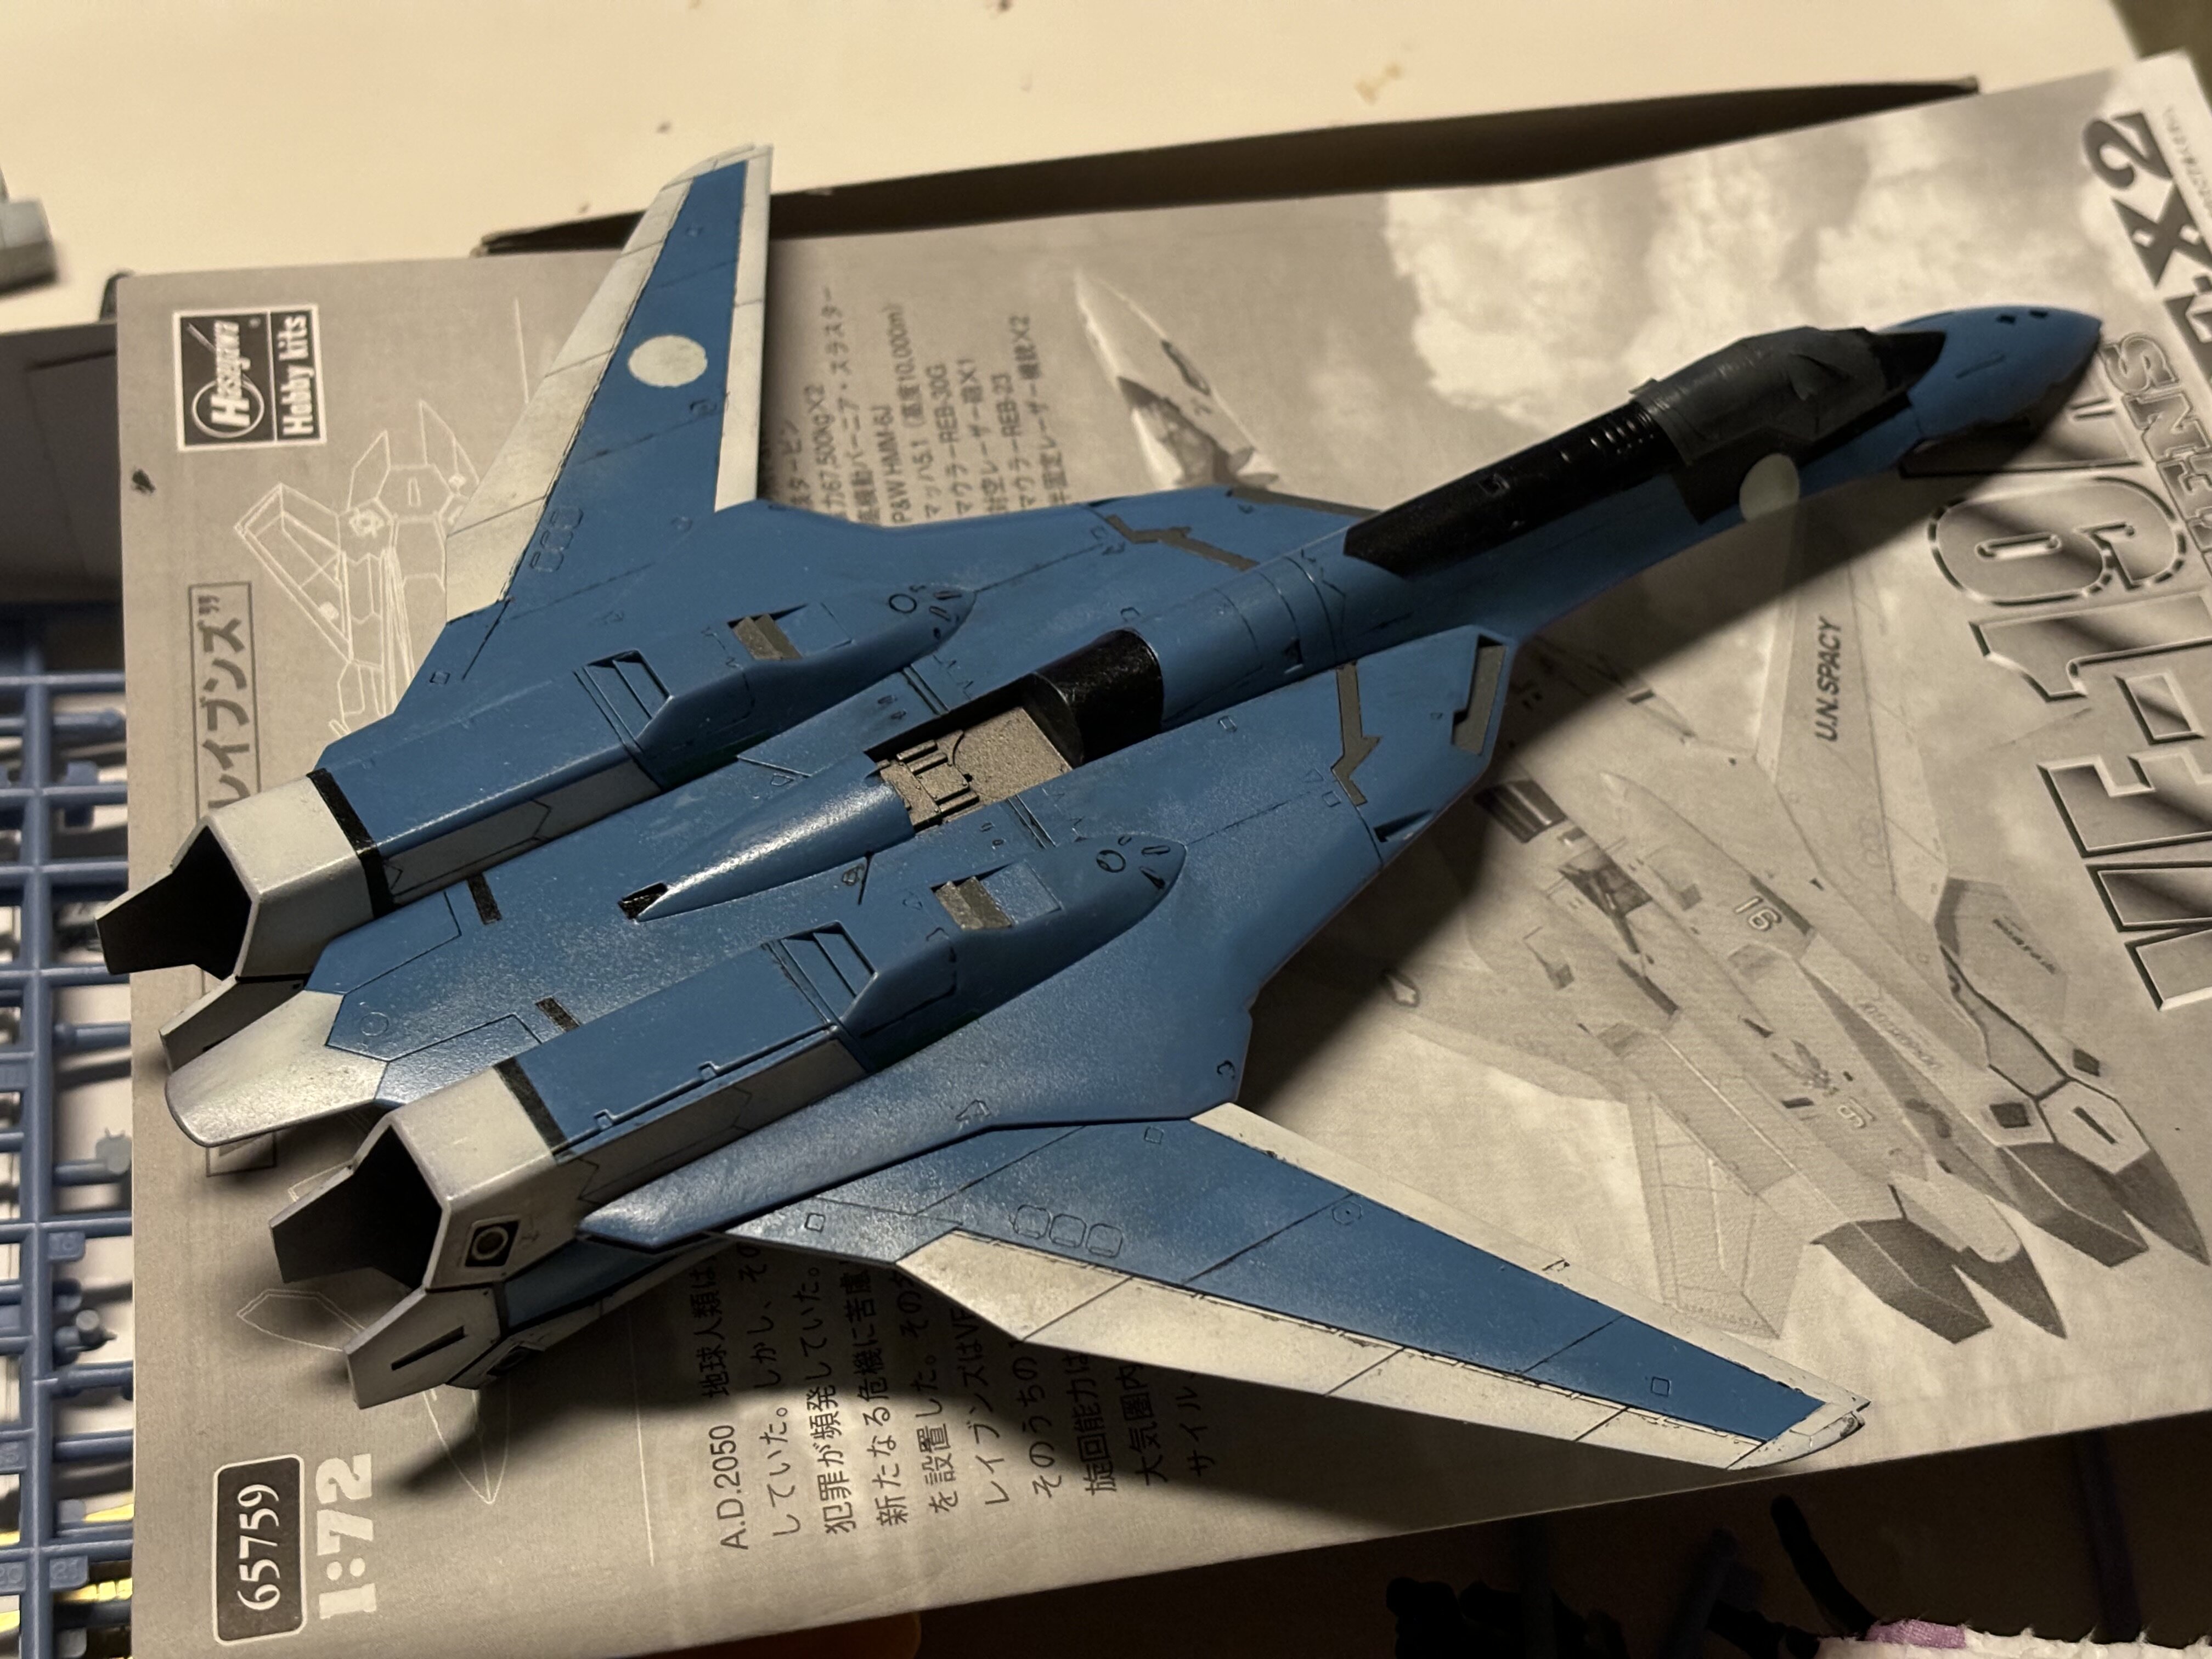
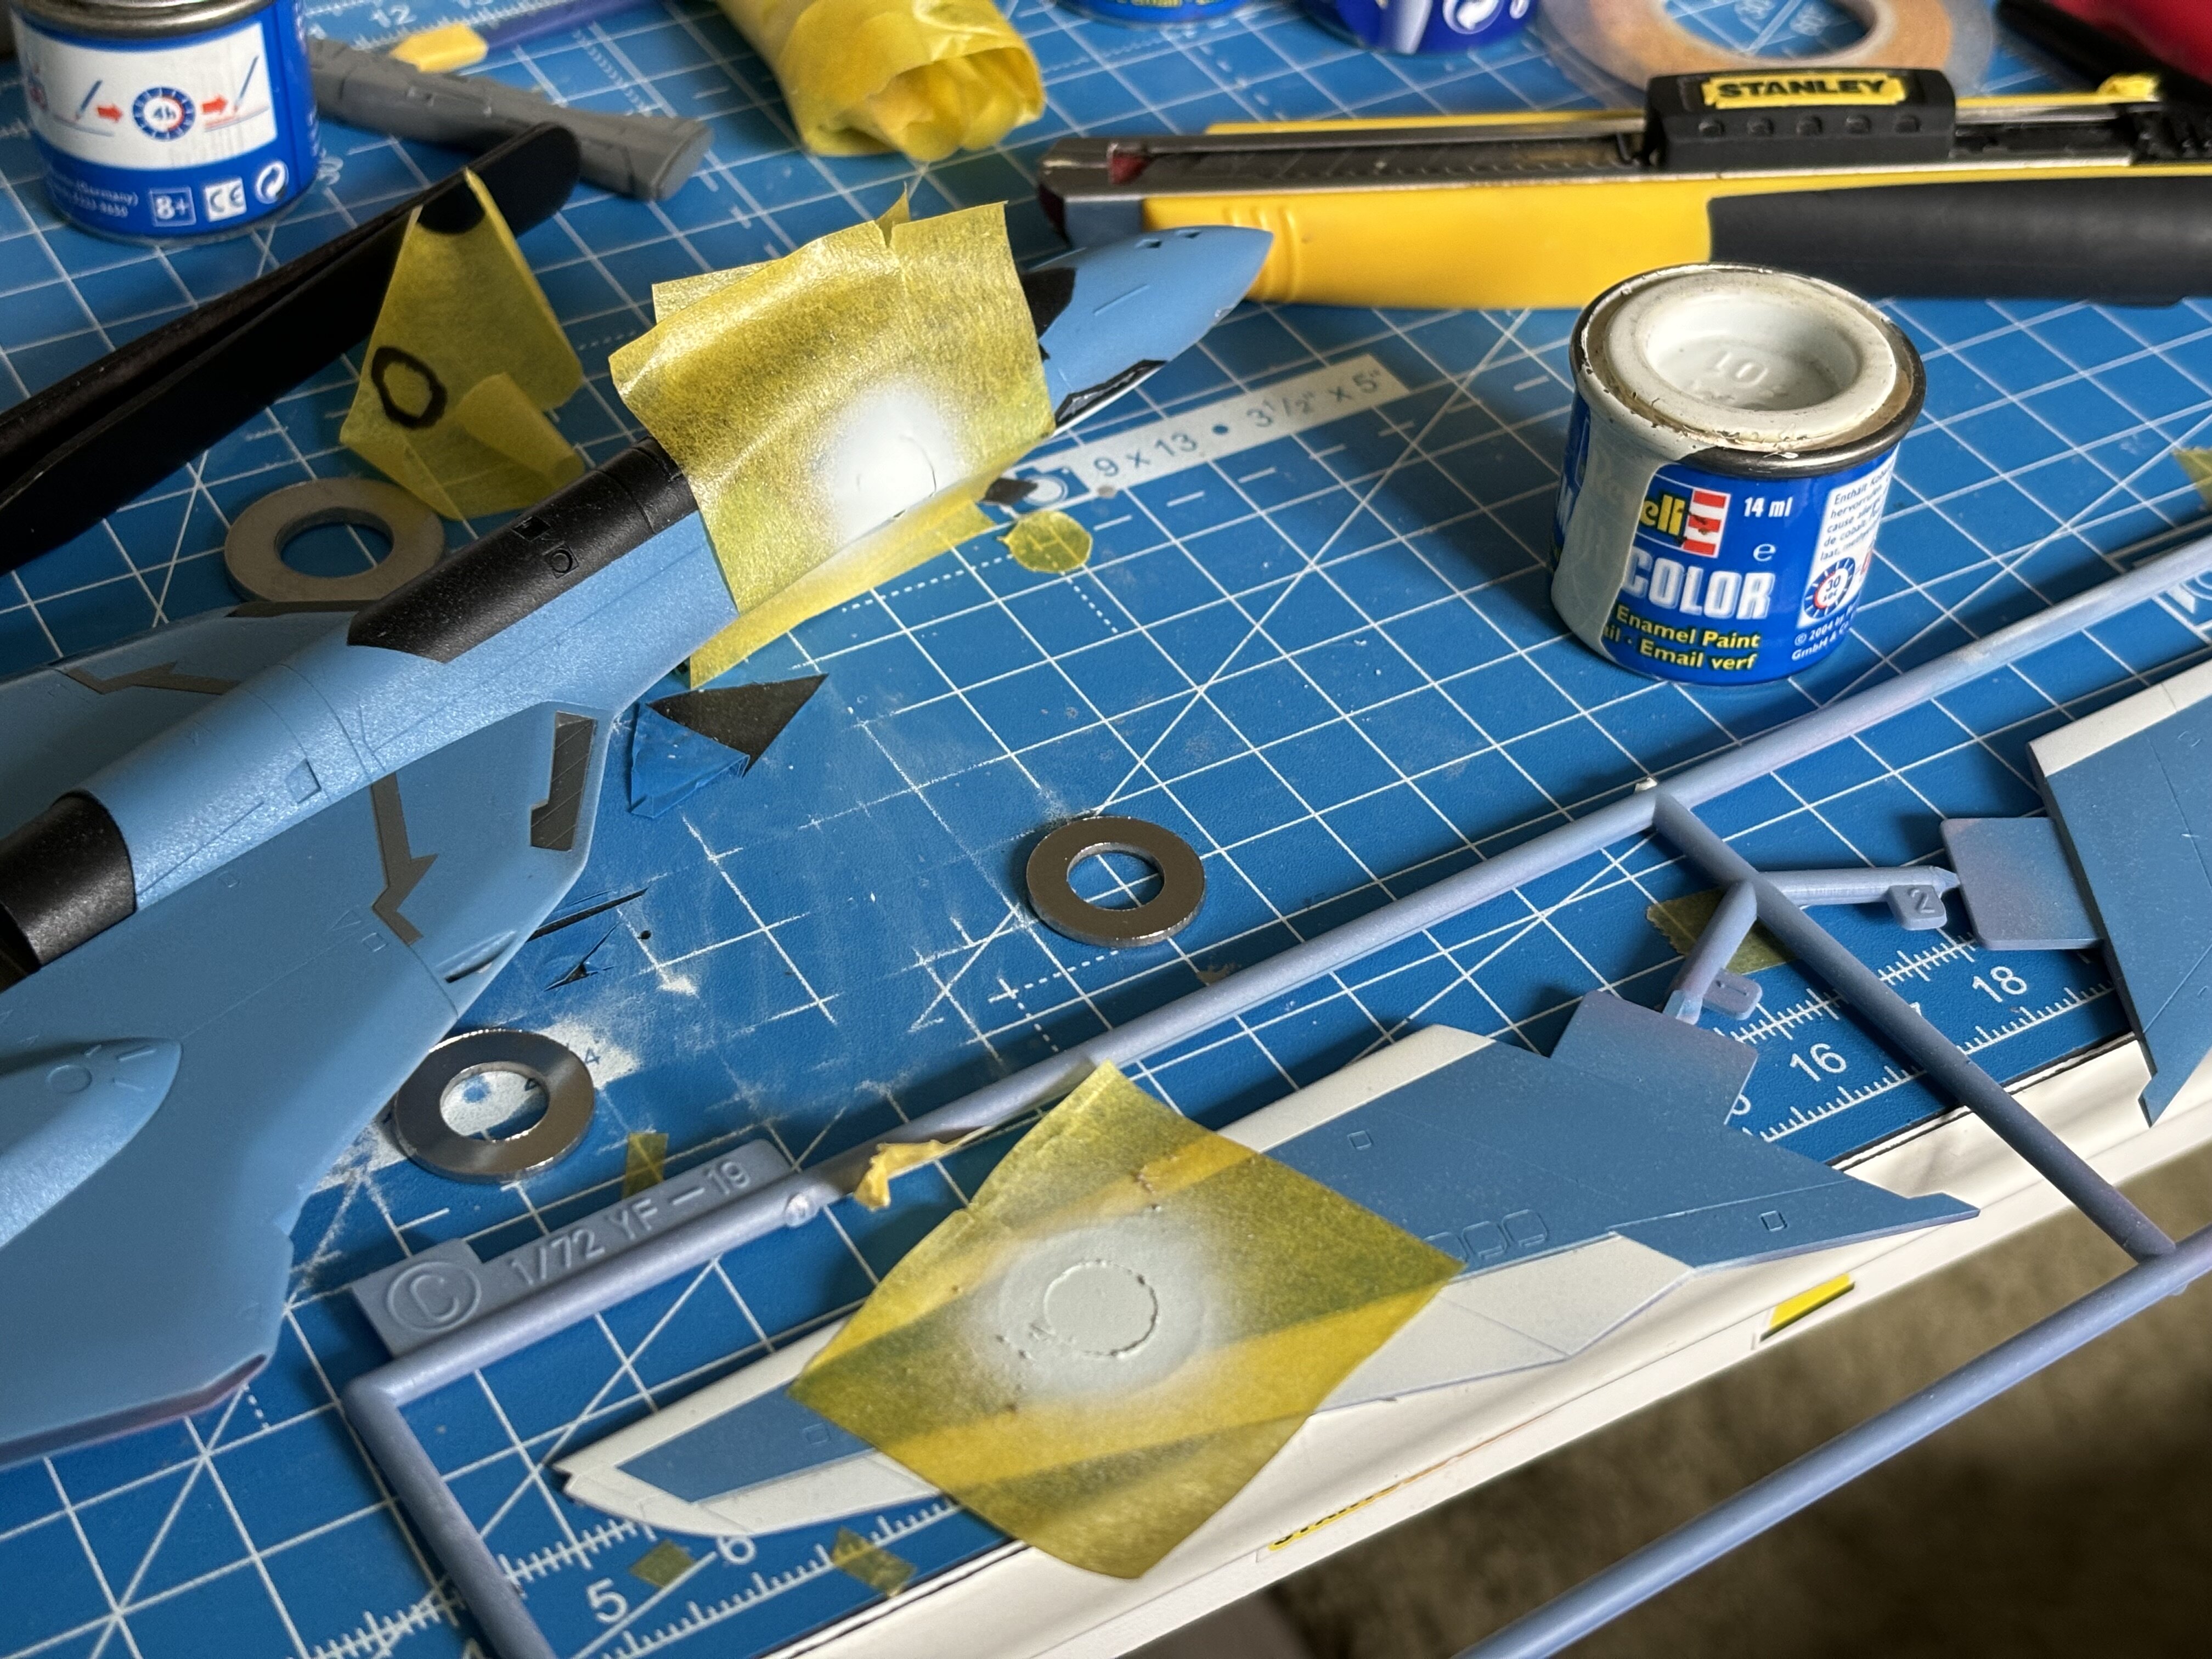
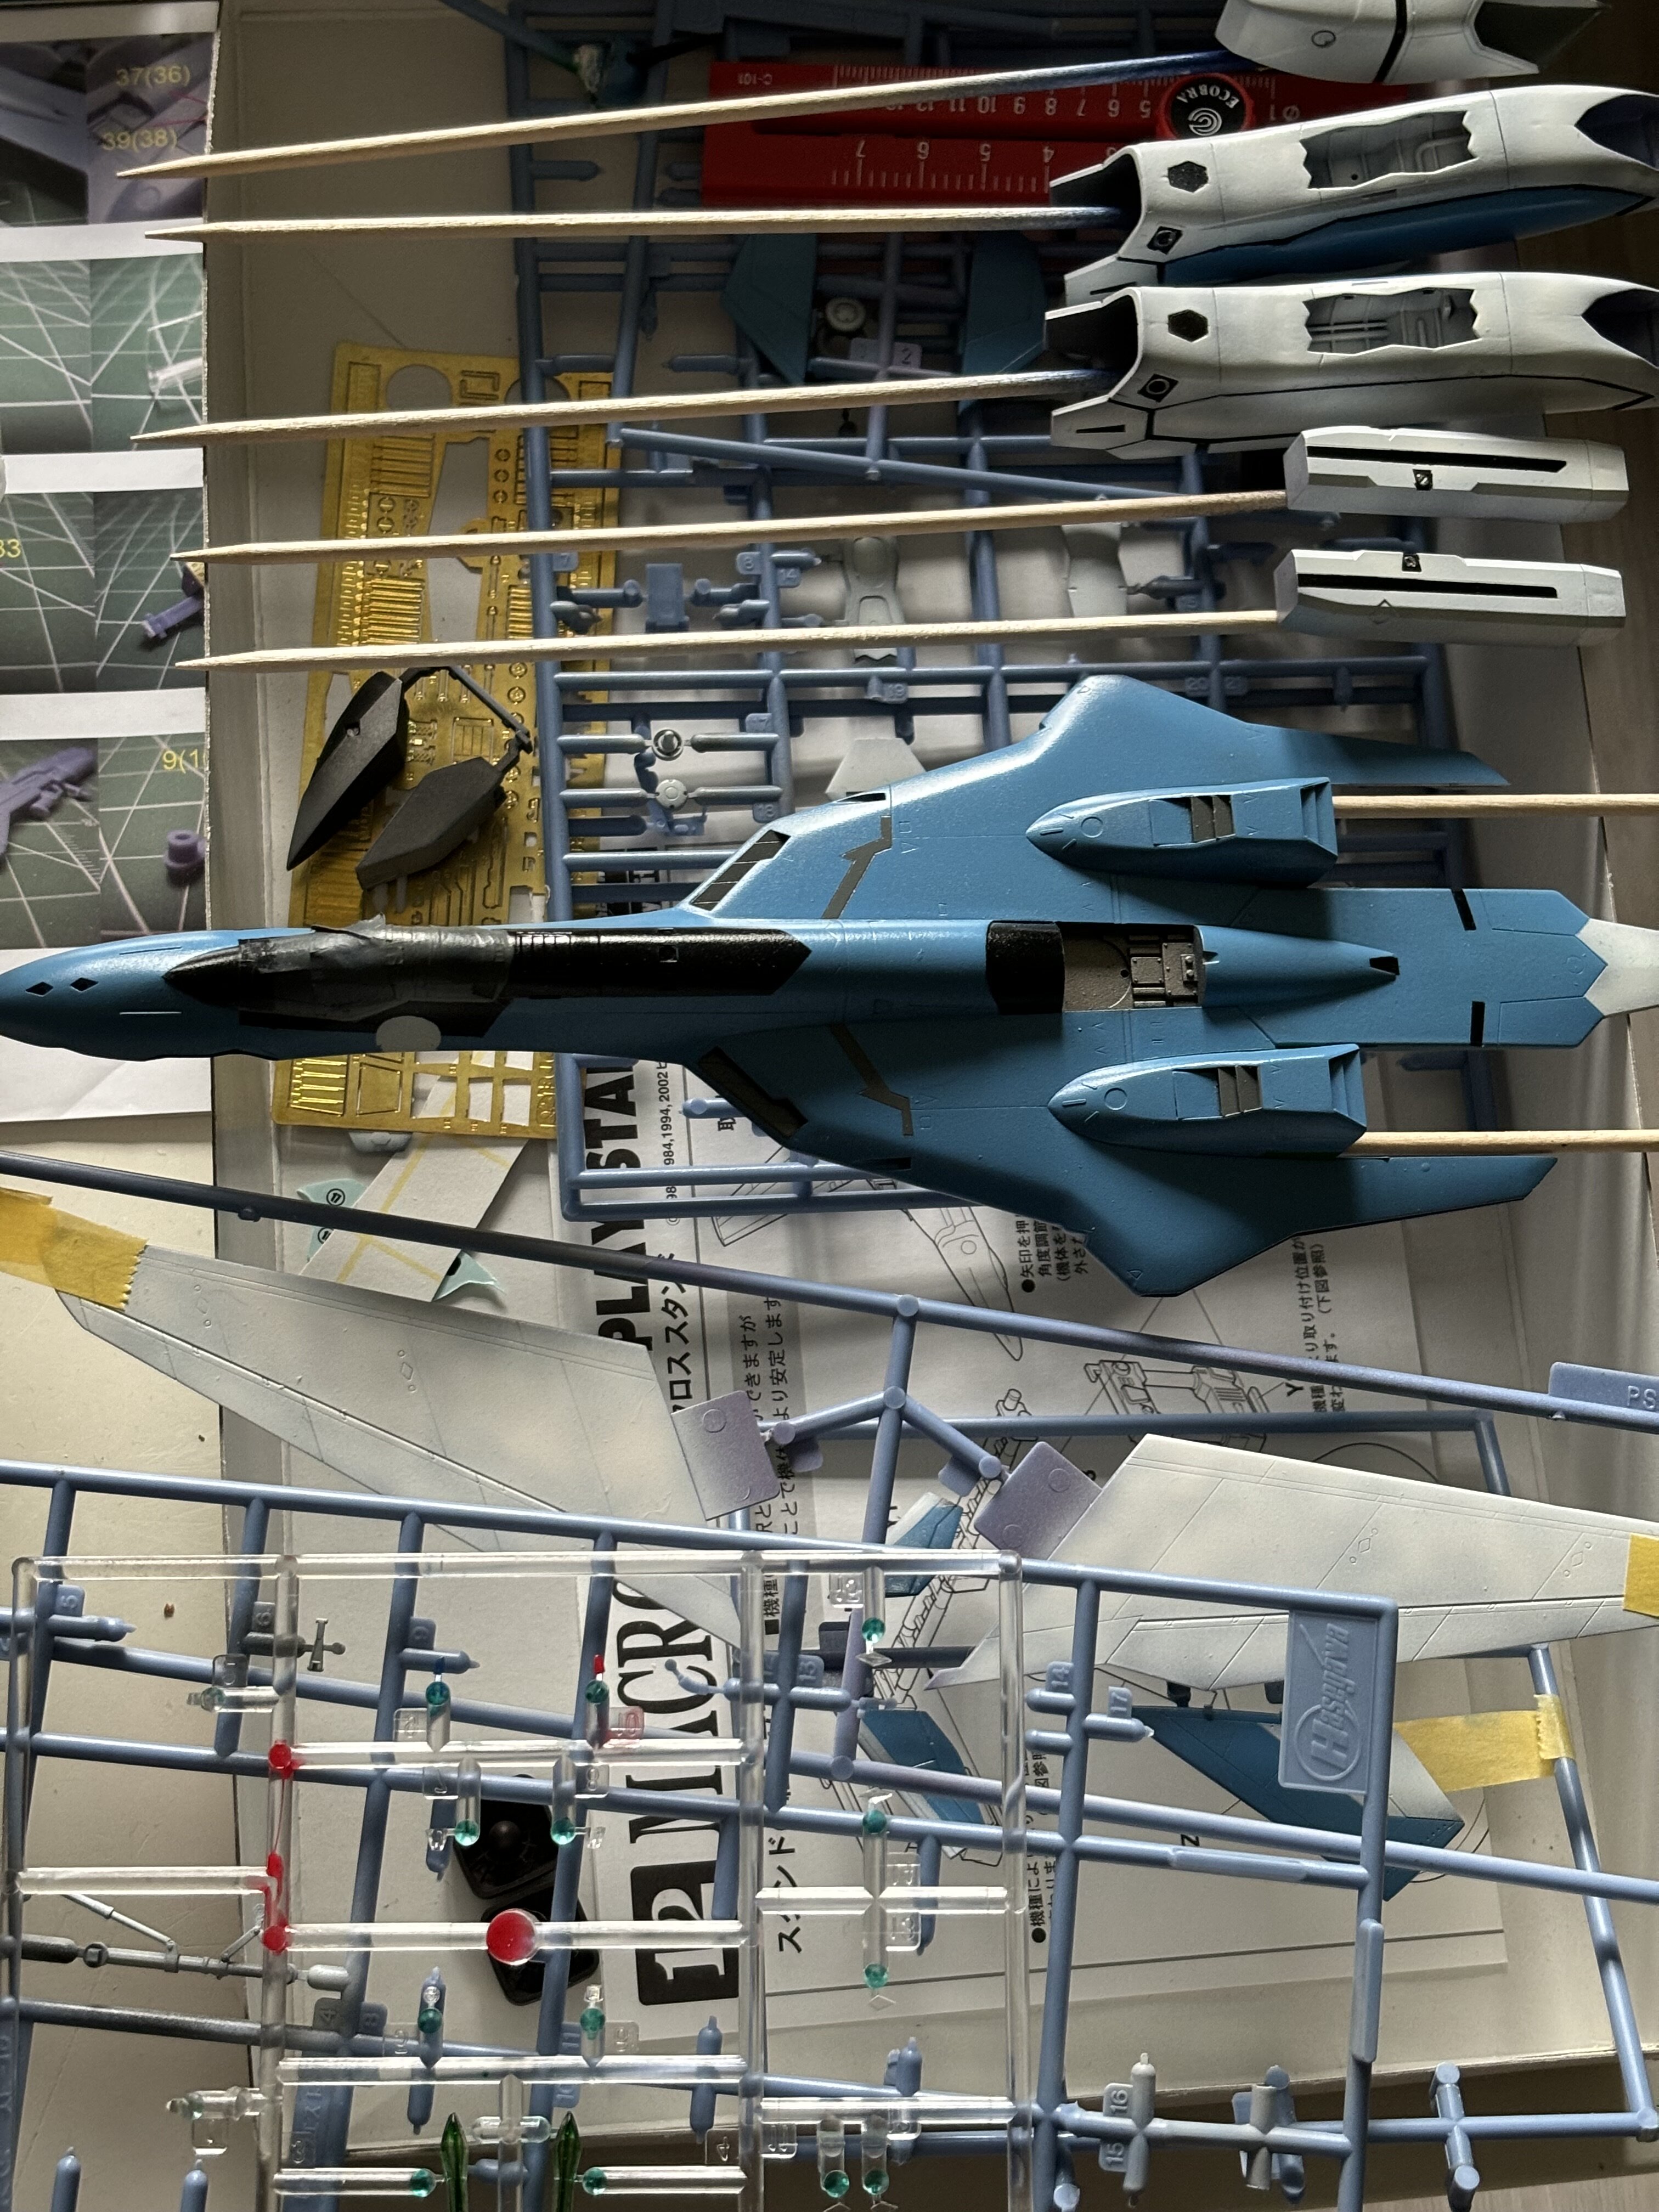
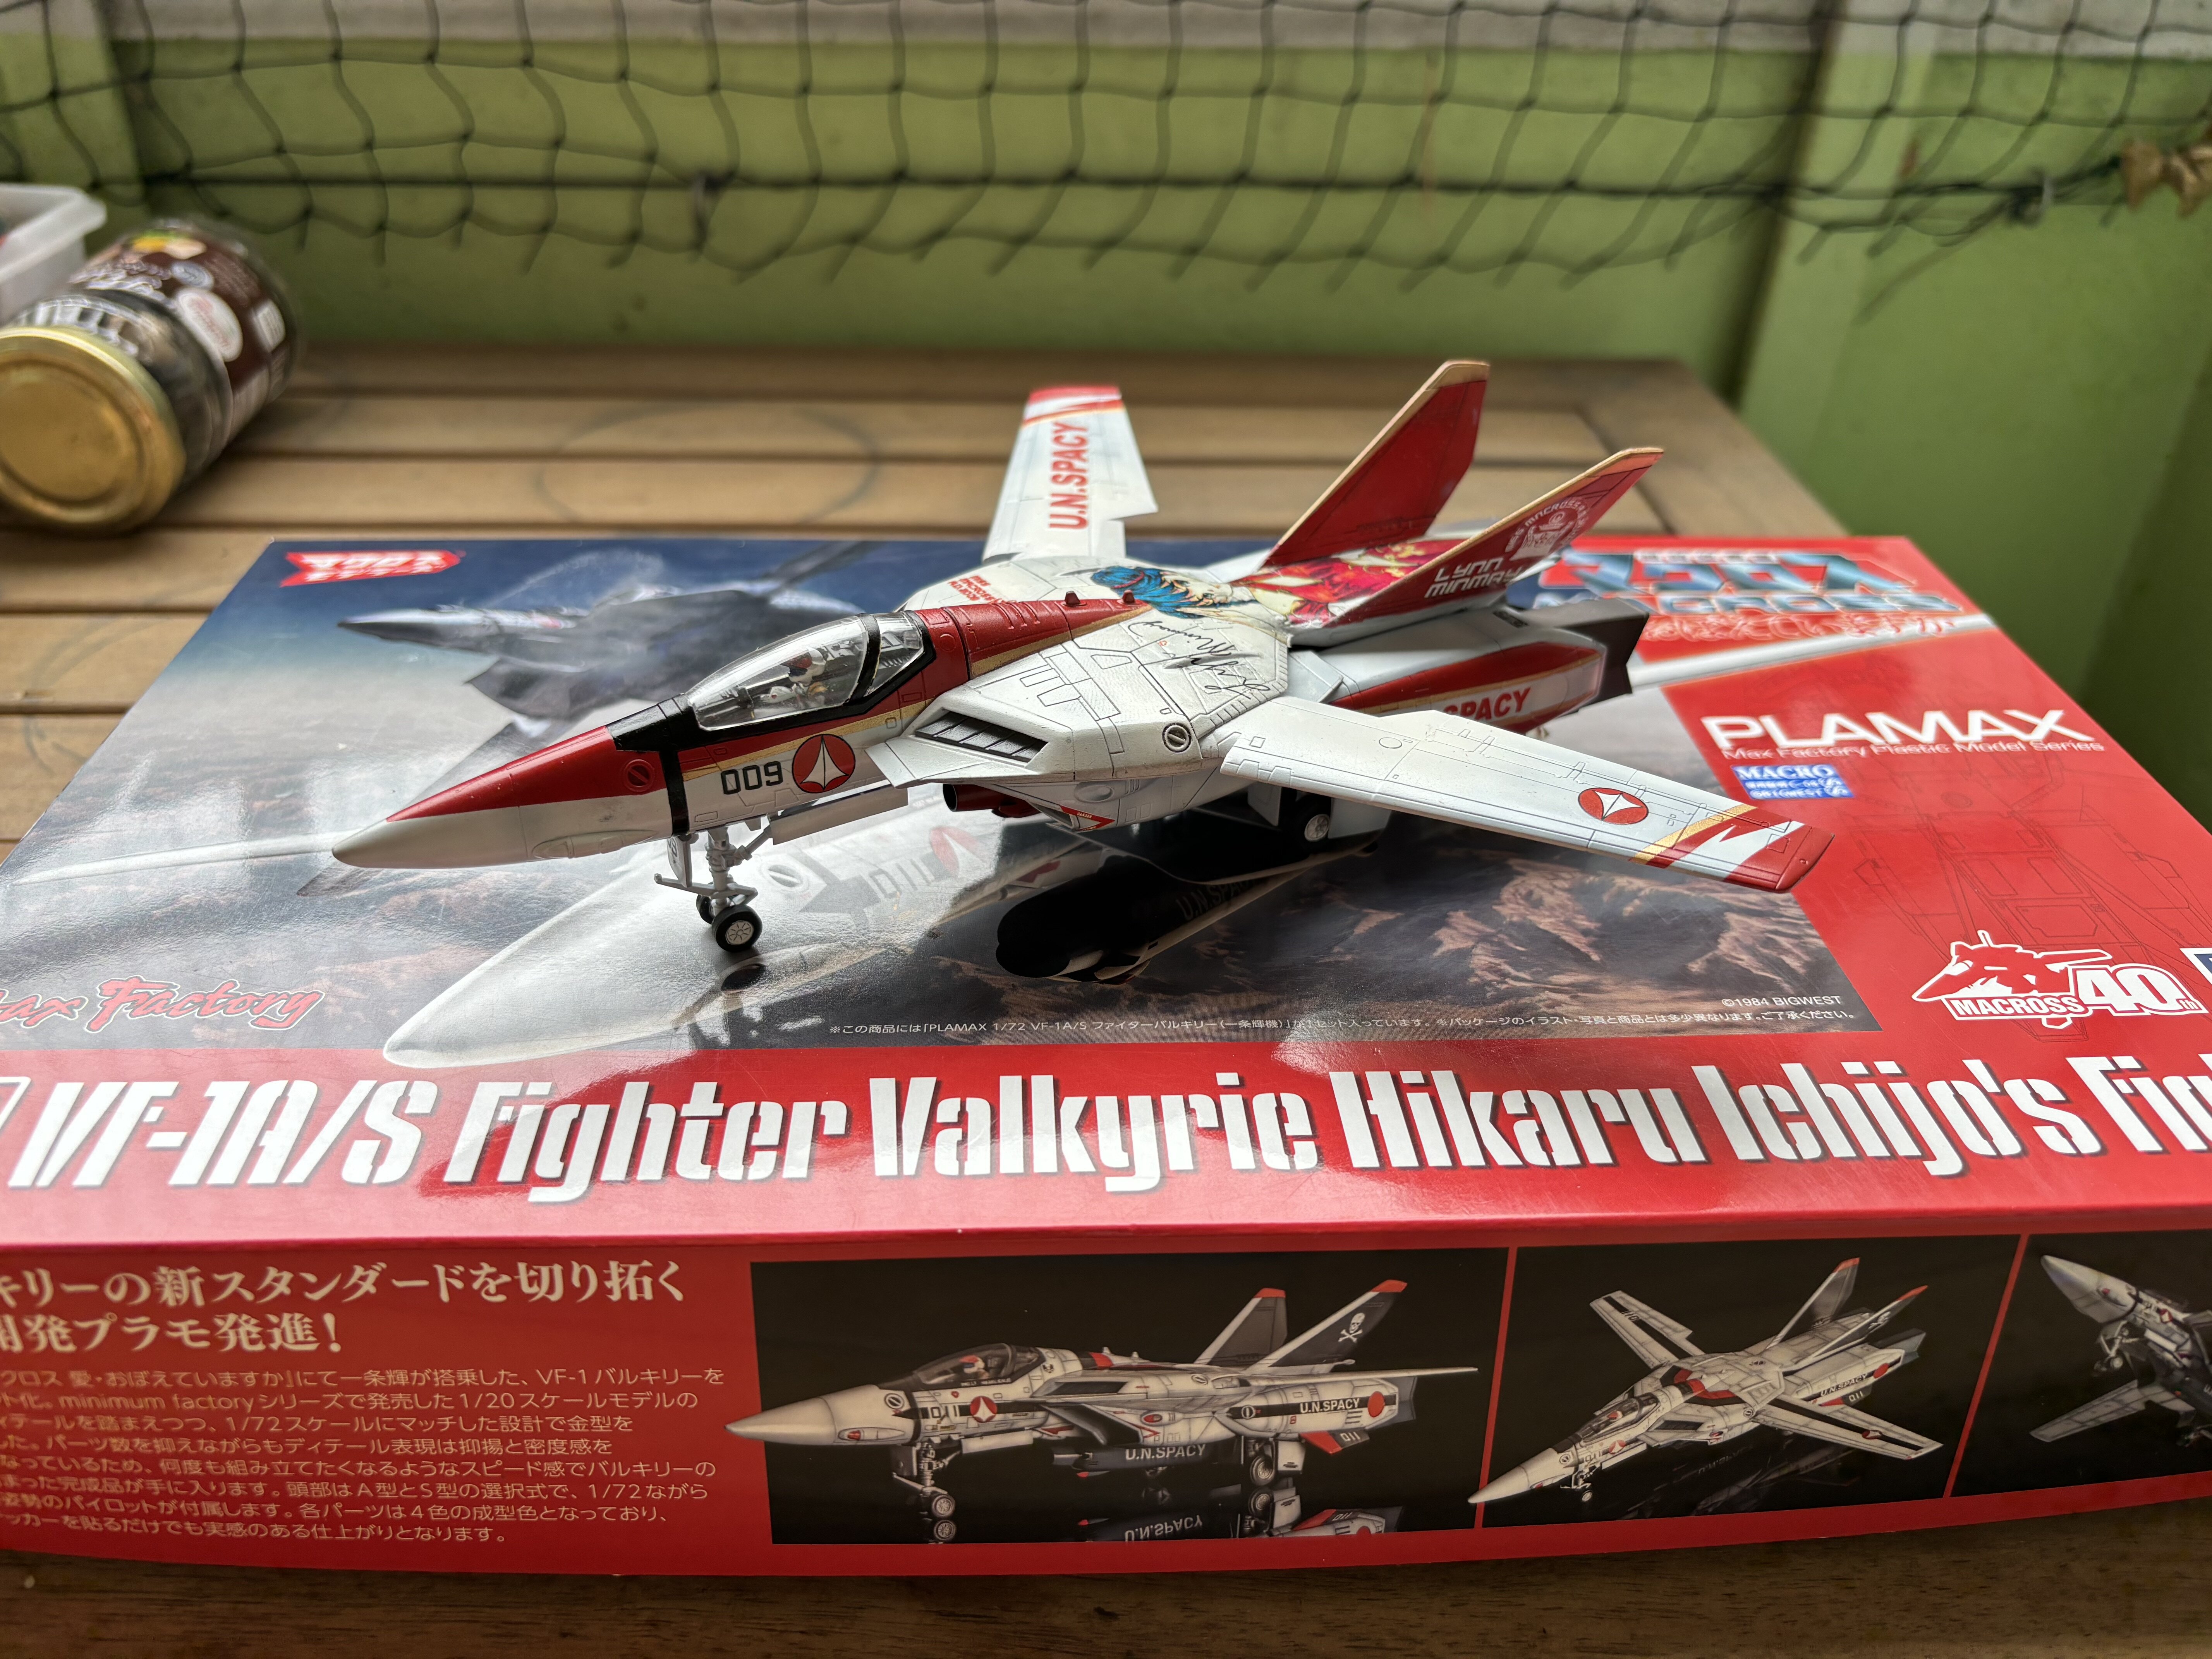
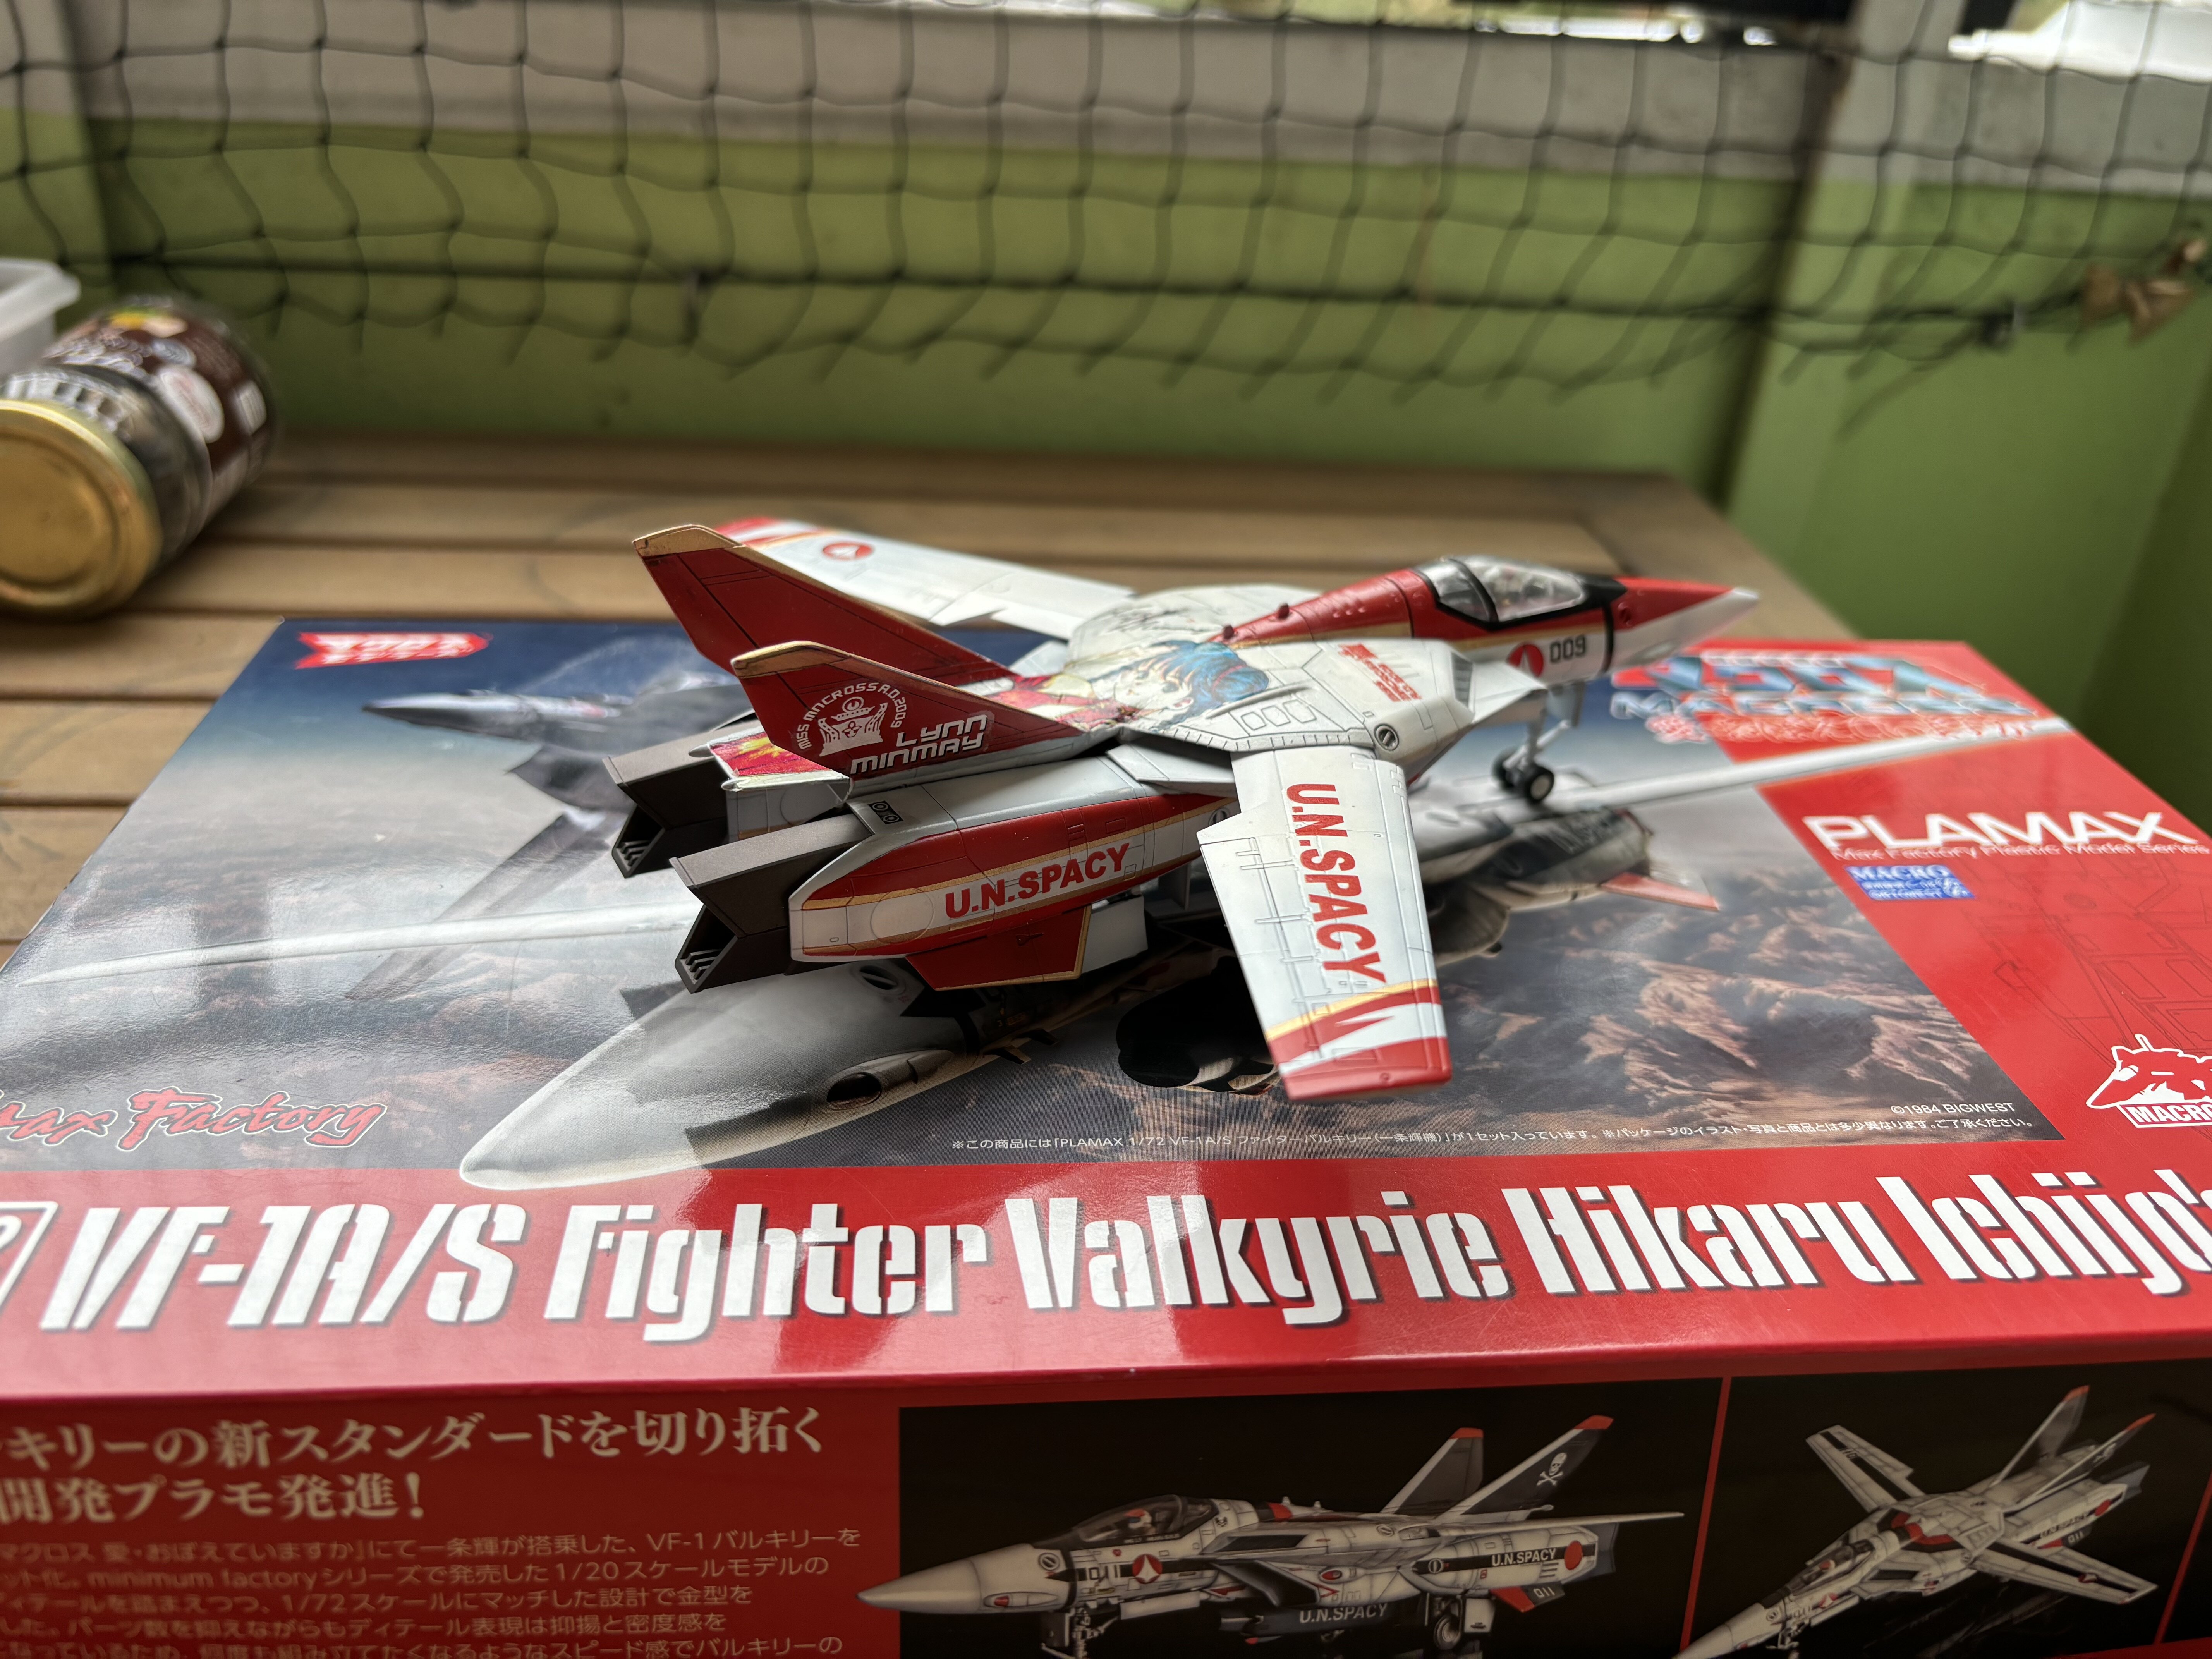
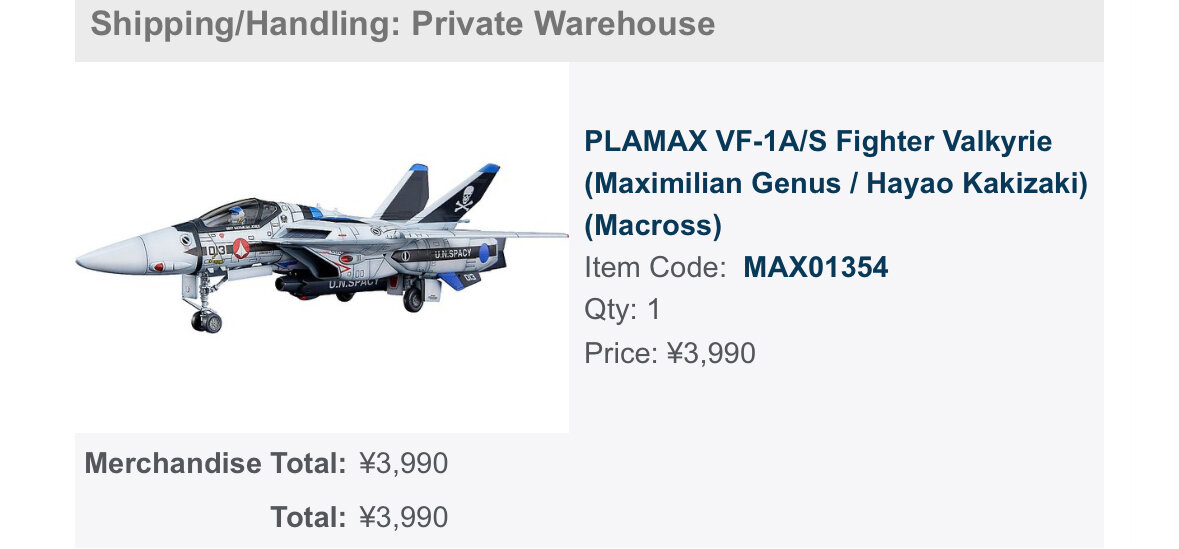
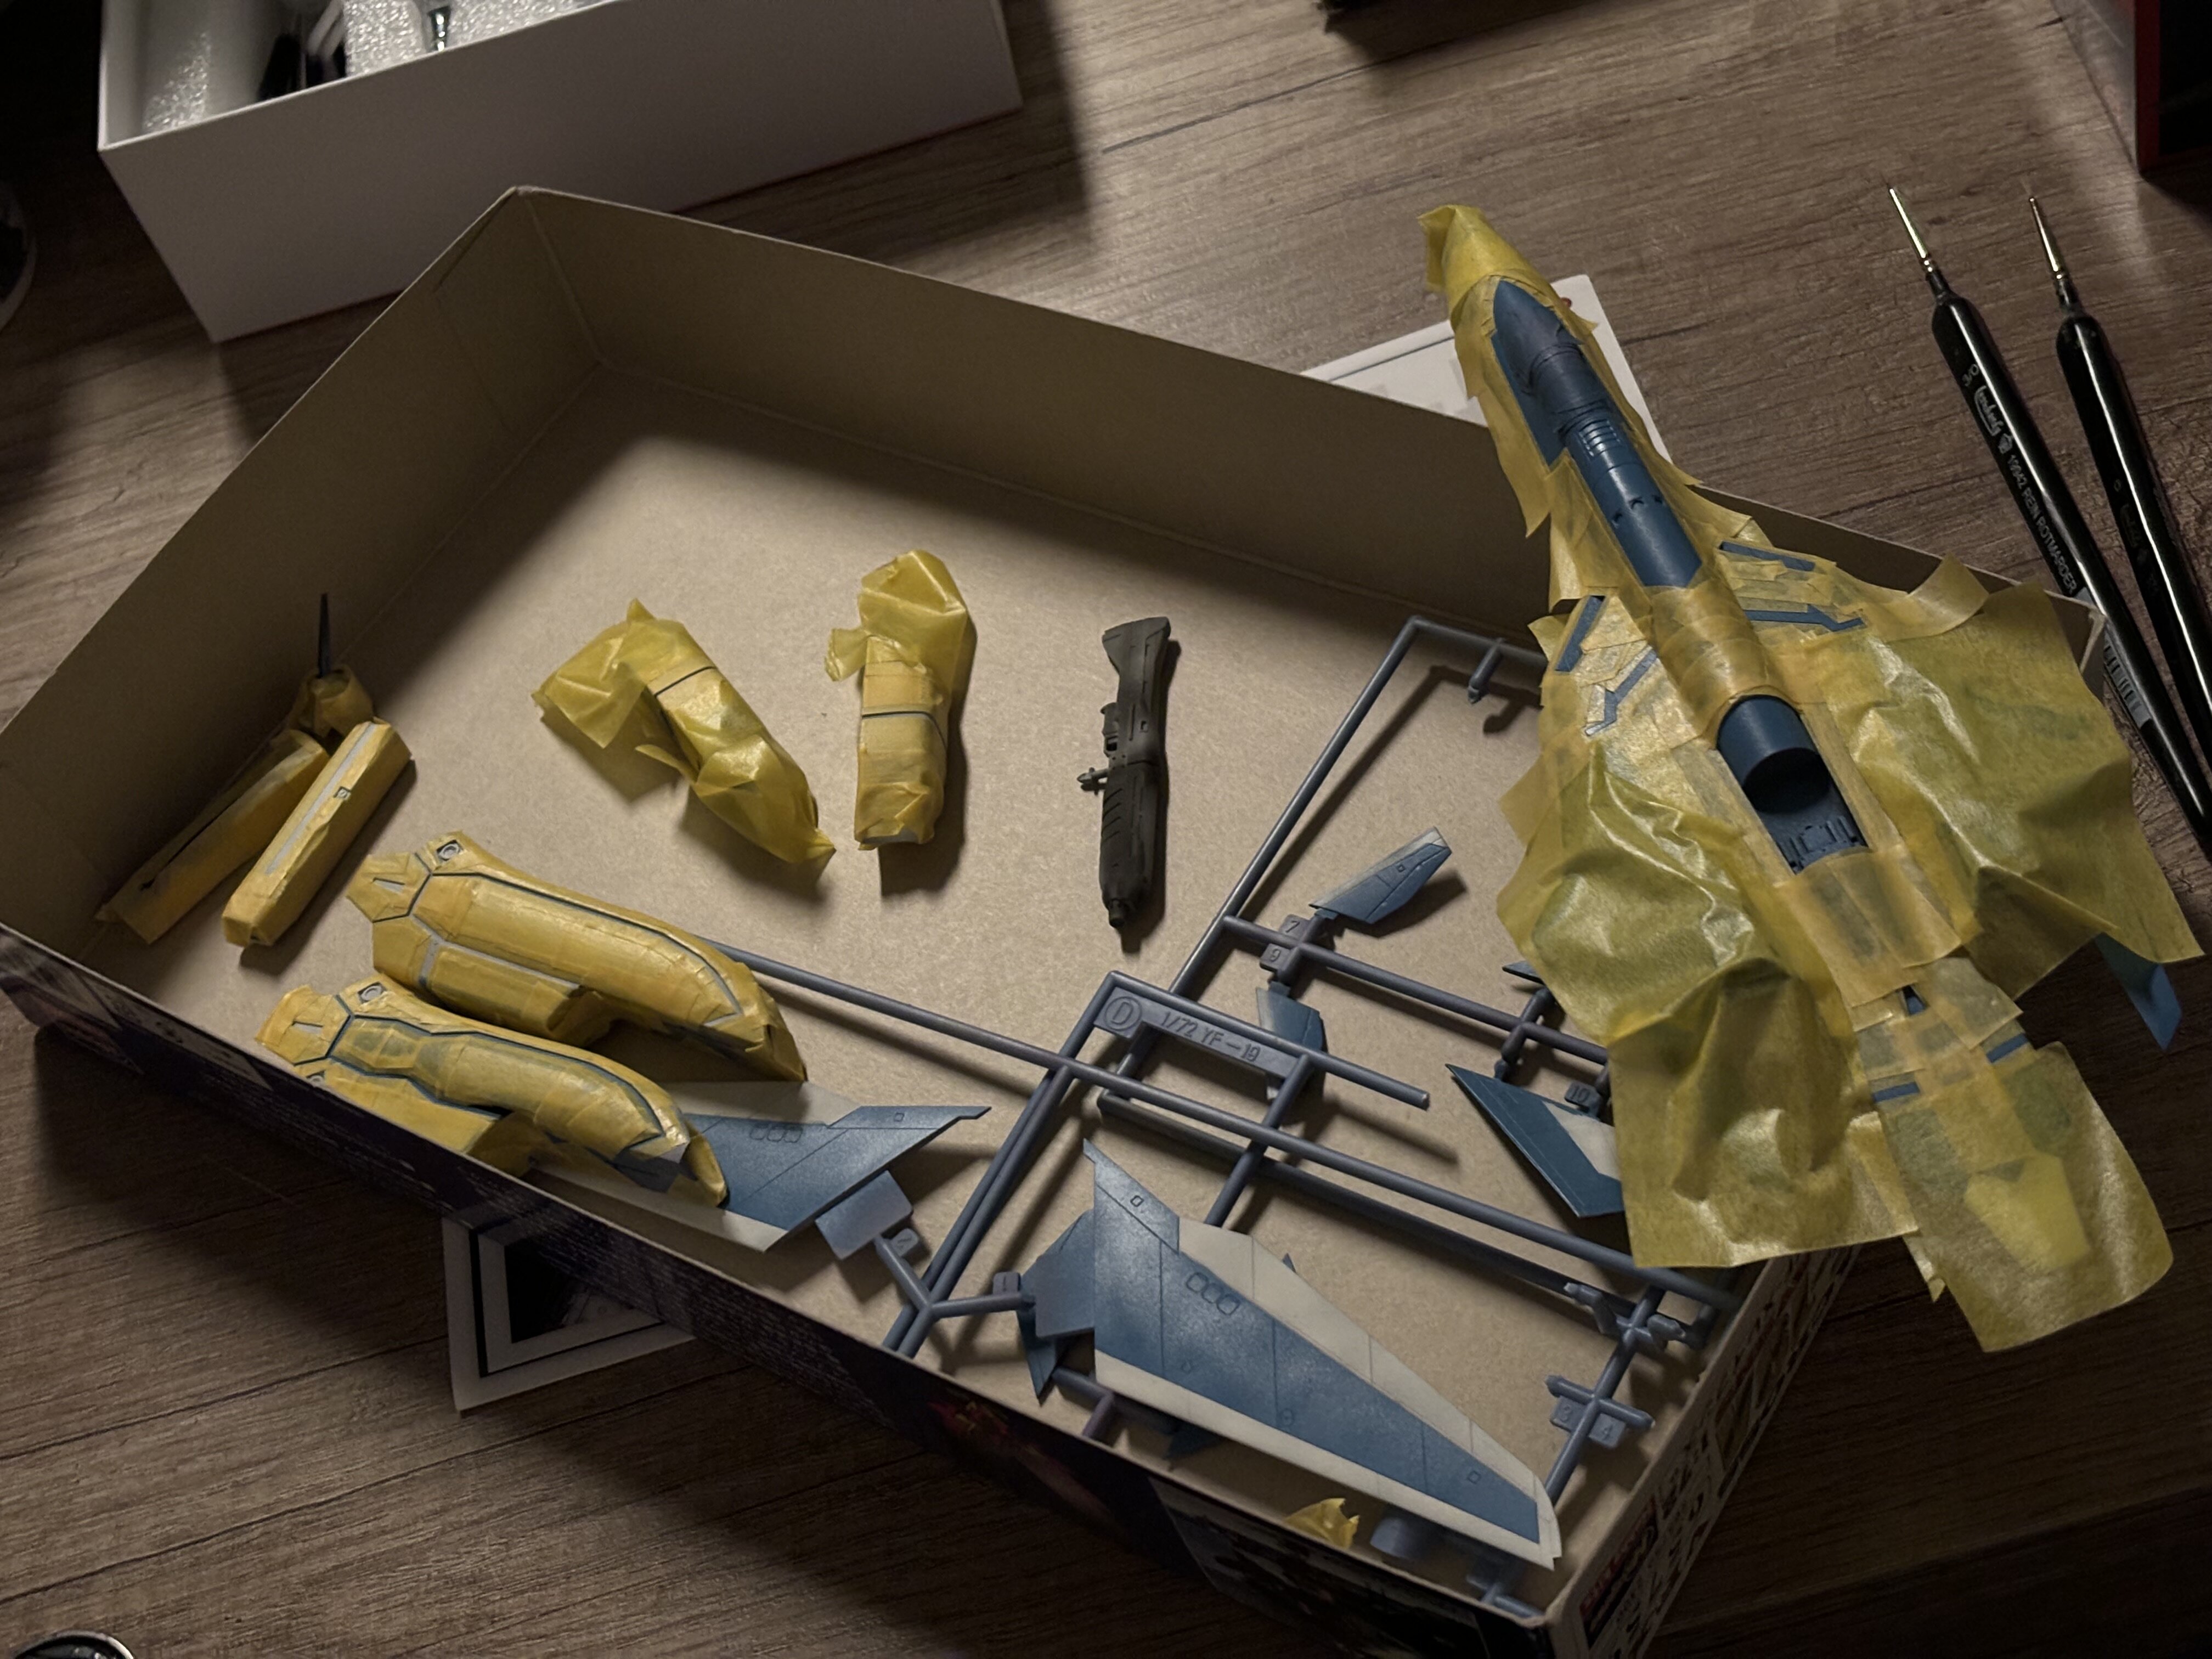
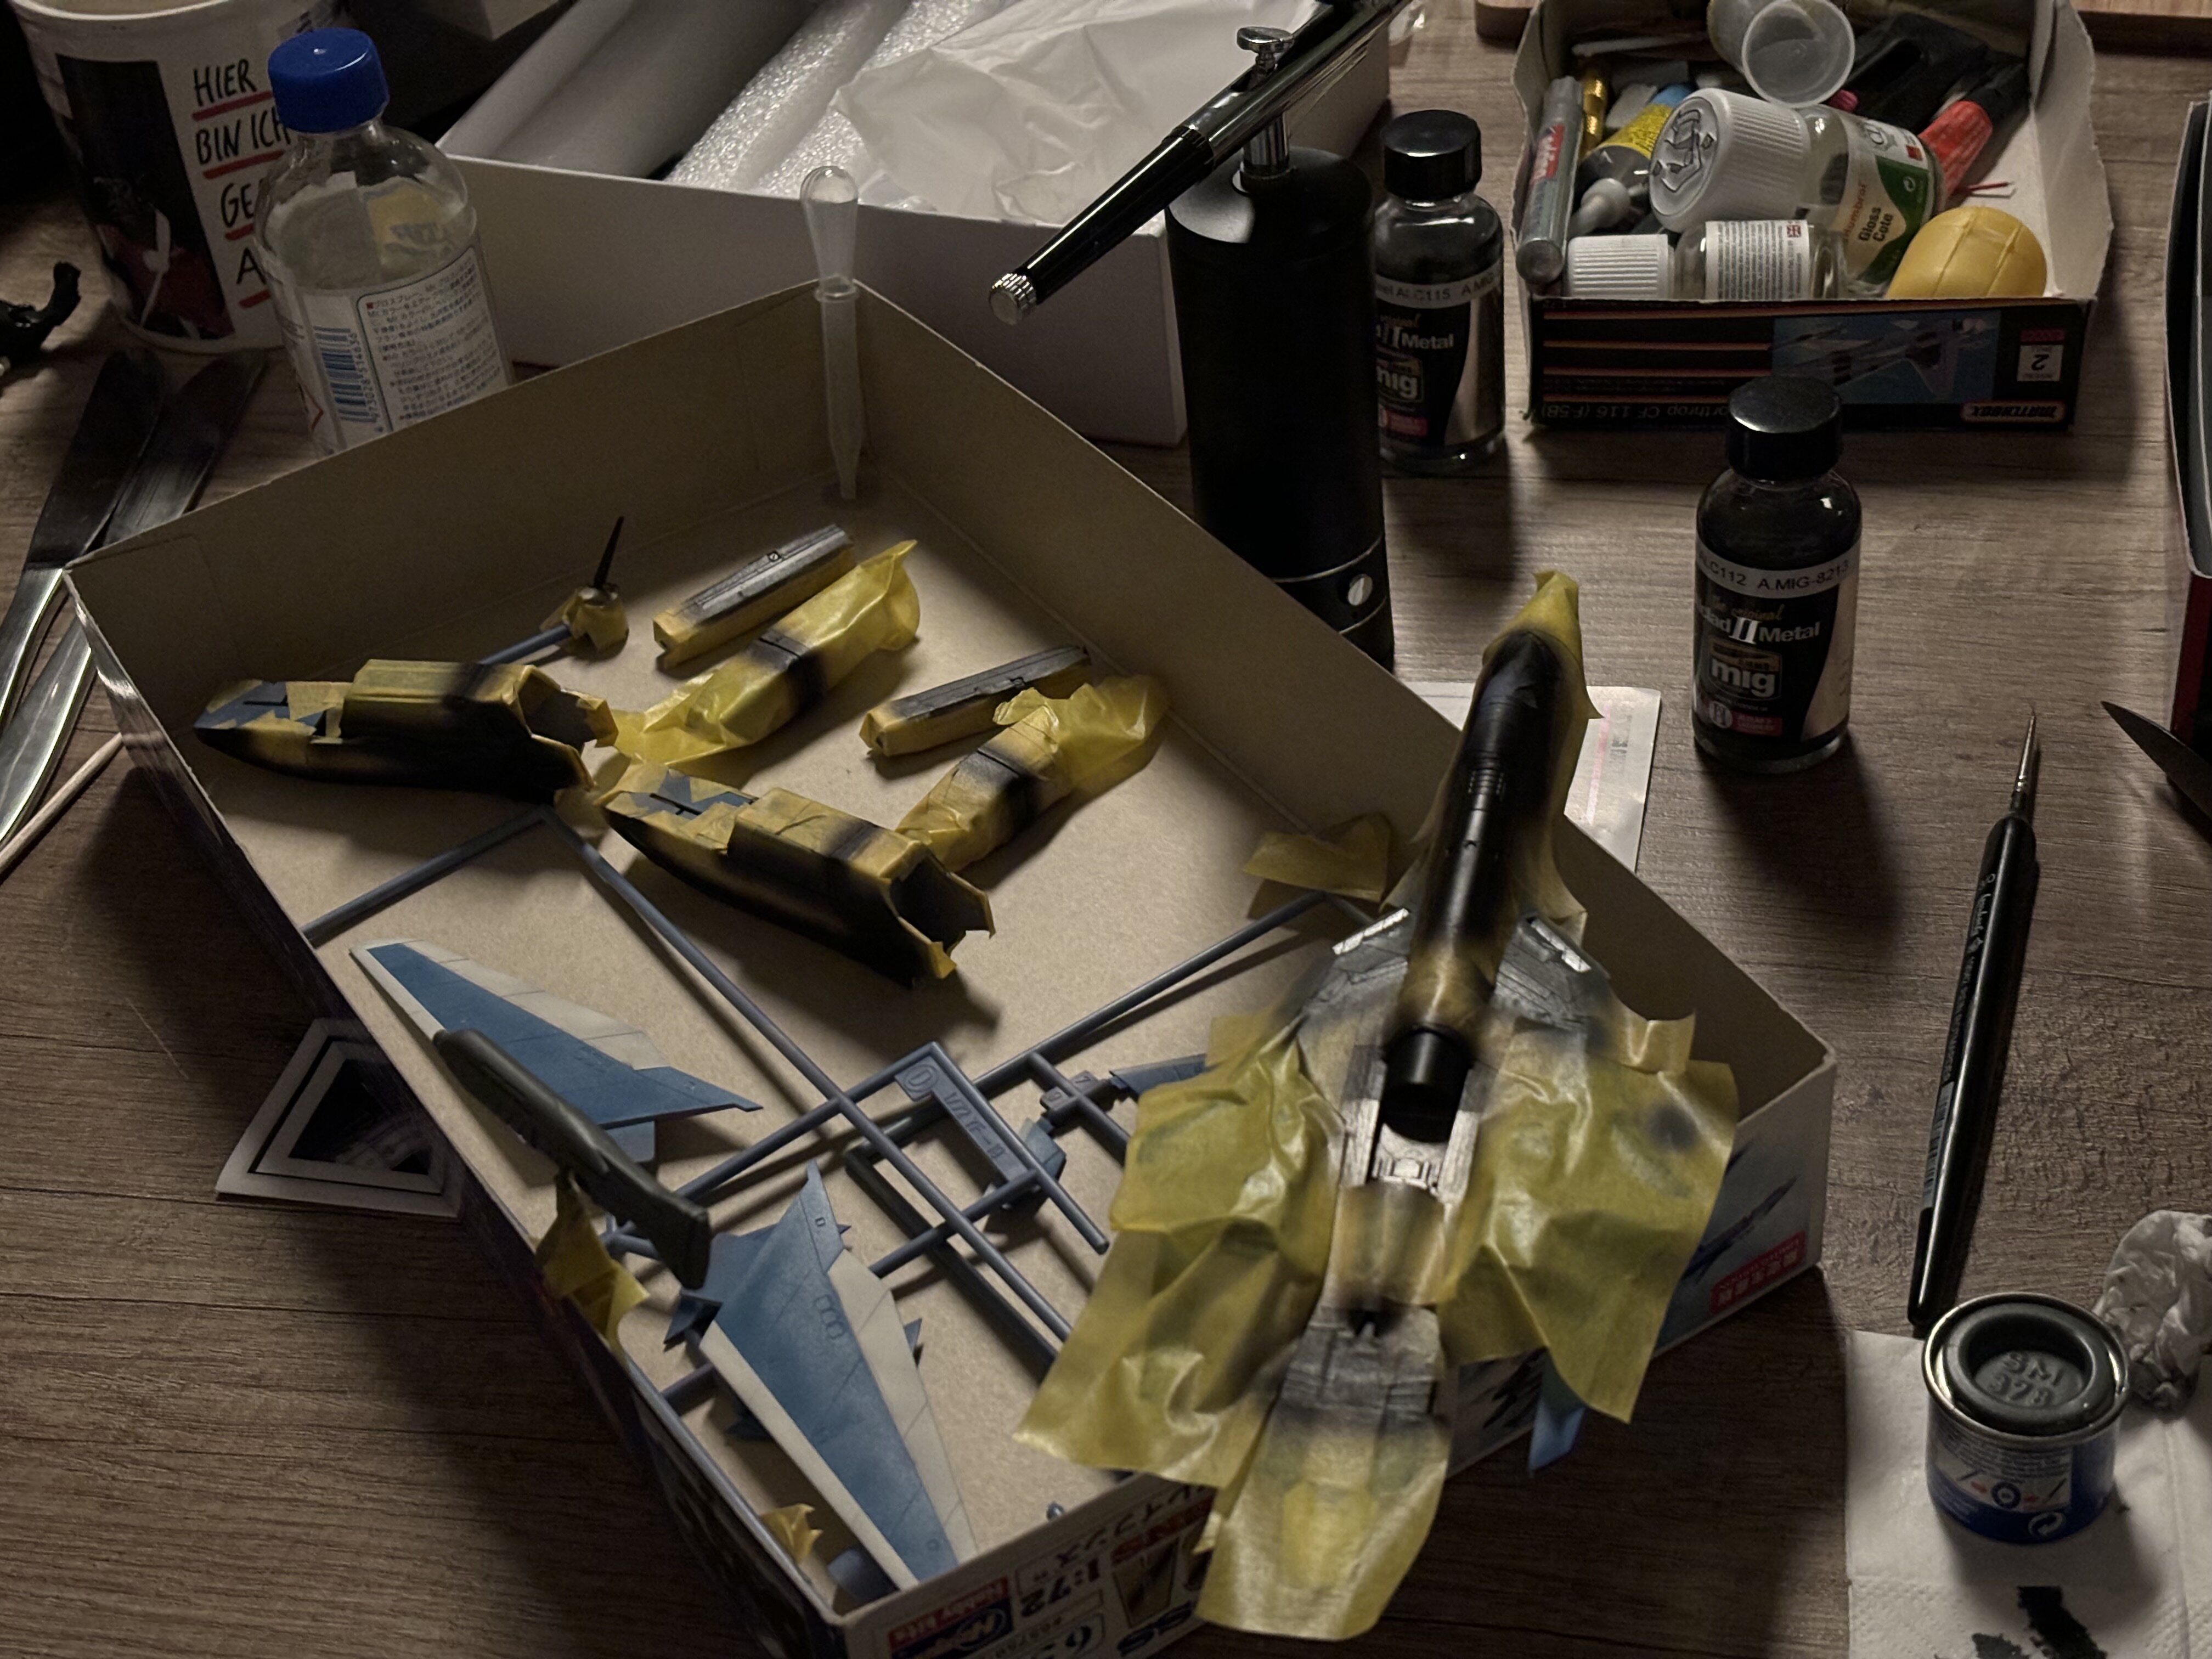
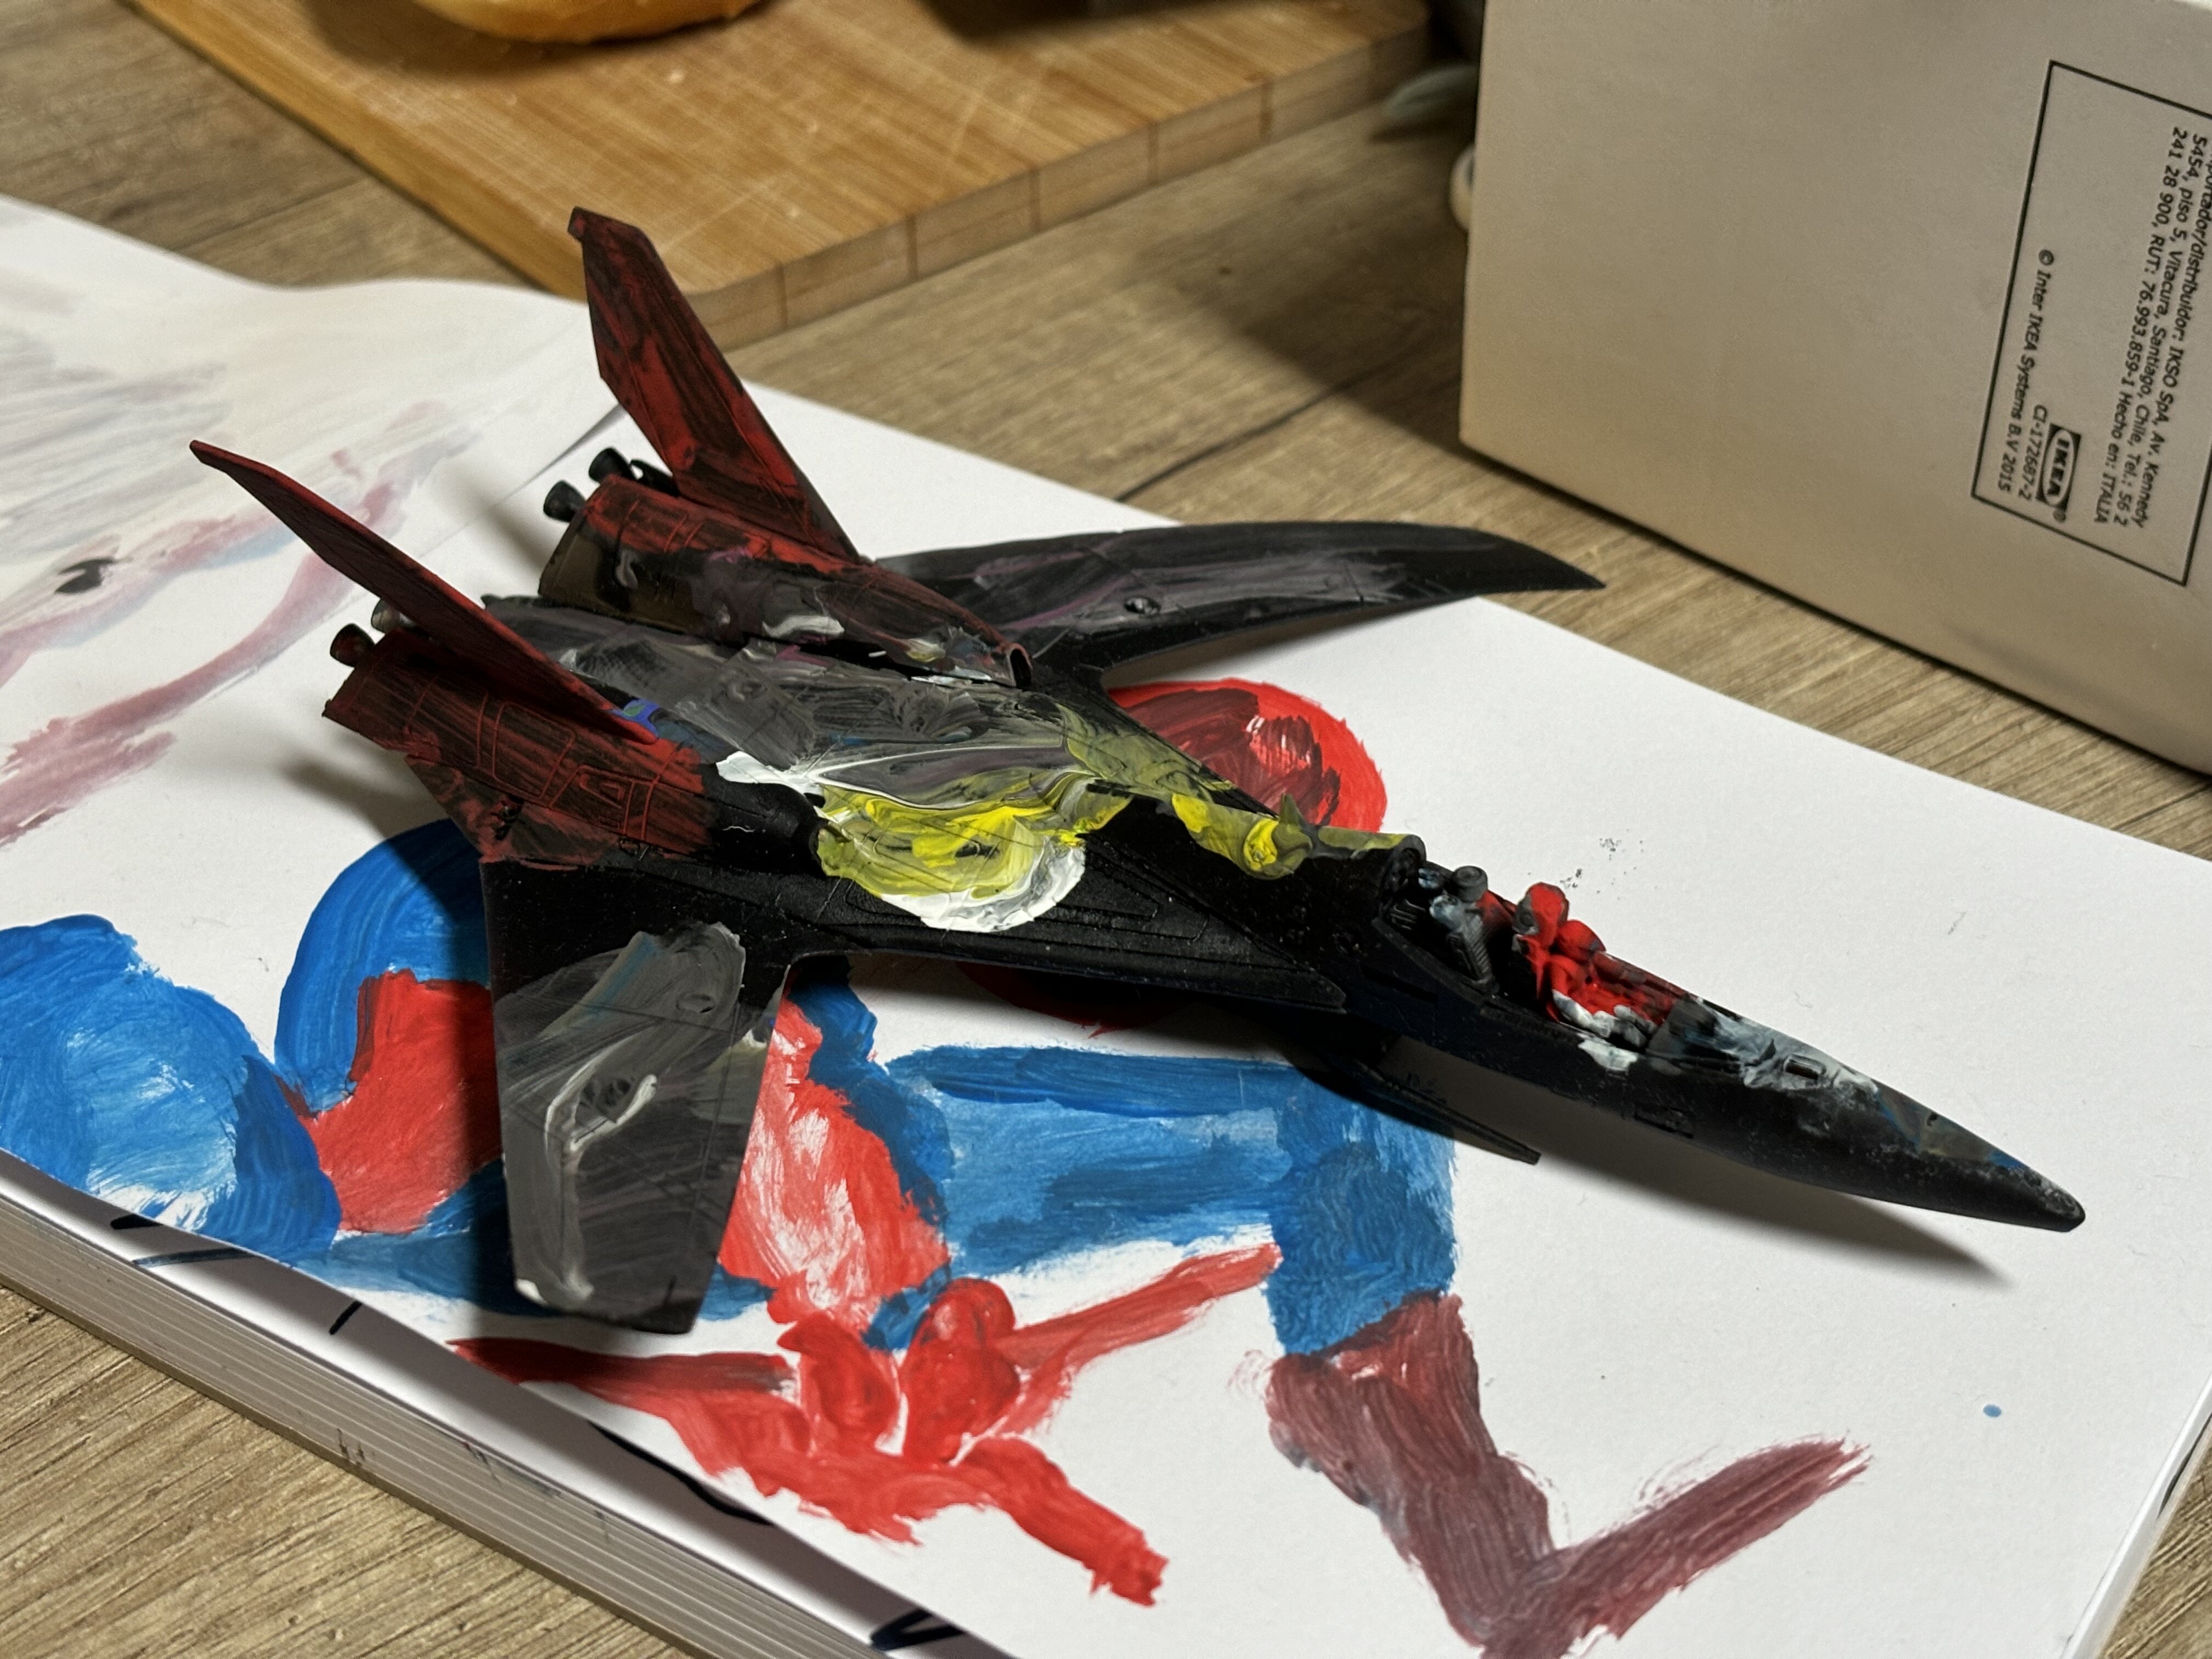
I decided to work a bit on my backlog. VF-19A. Masking masking masking: Airbrush airbrush airbrush: Peeling peeling peeling: YAY! I decided that I am done with the PLAMAX VF-1. Botched… too man fingerprints and messed up paint job. I ordered a new one and will try again. No pictures as it is too embarrassing. The kid will have a new toy haha.
-
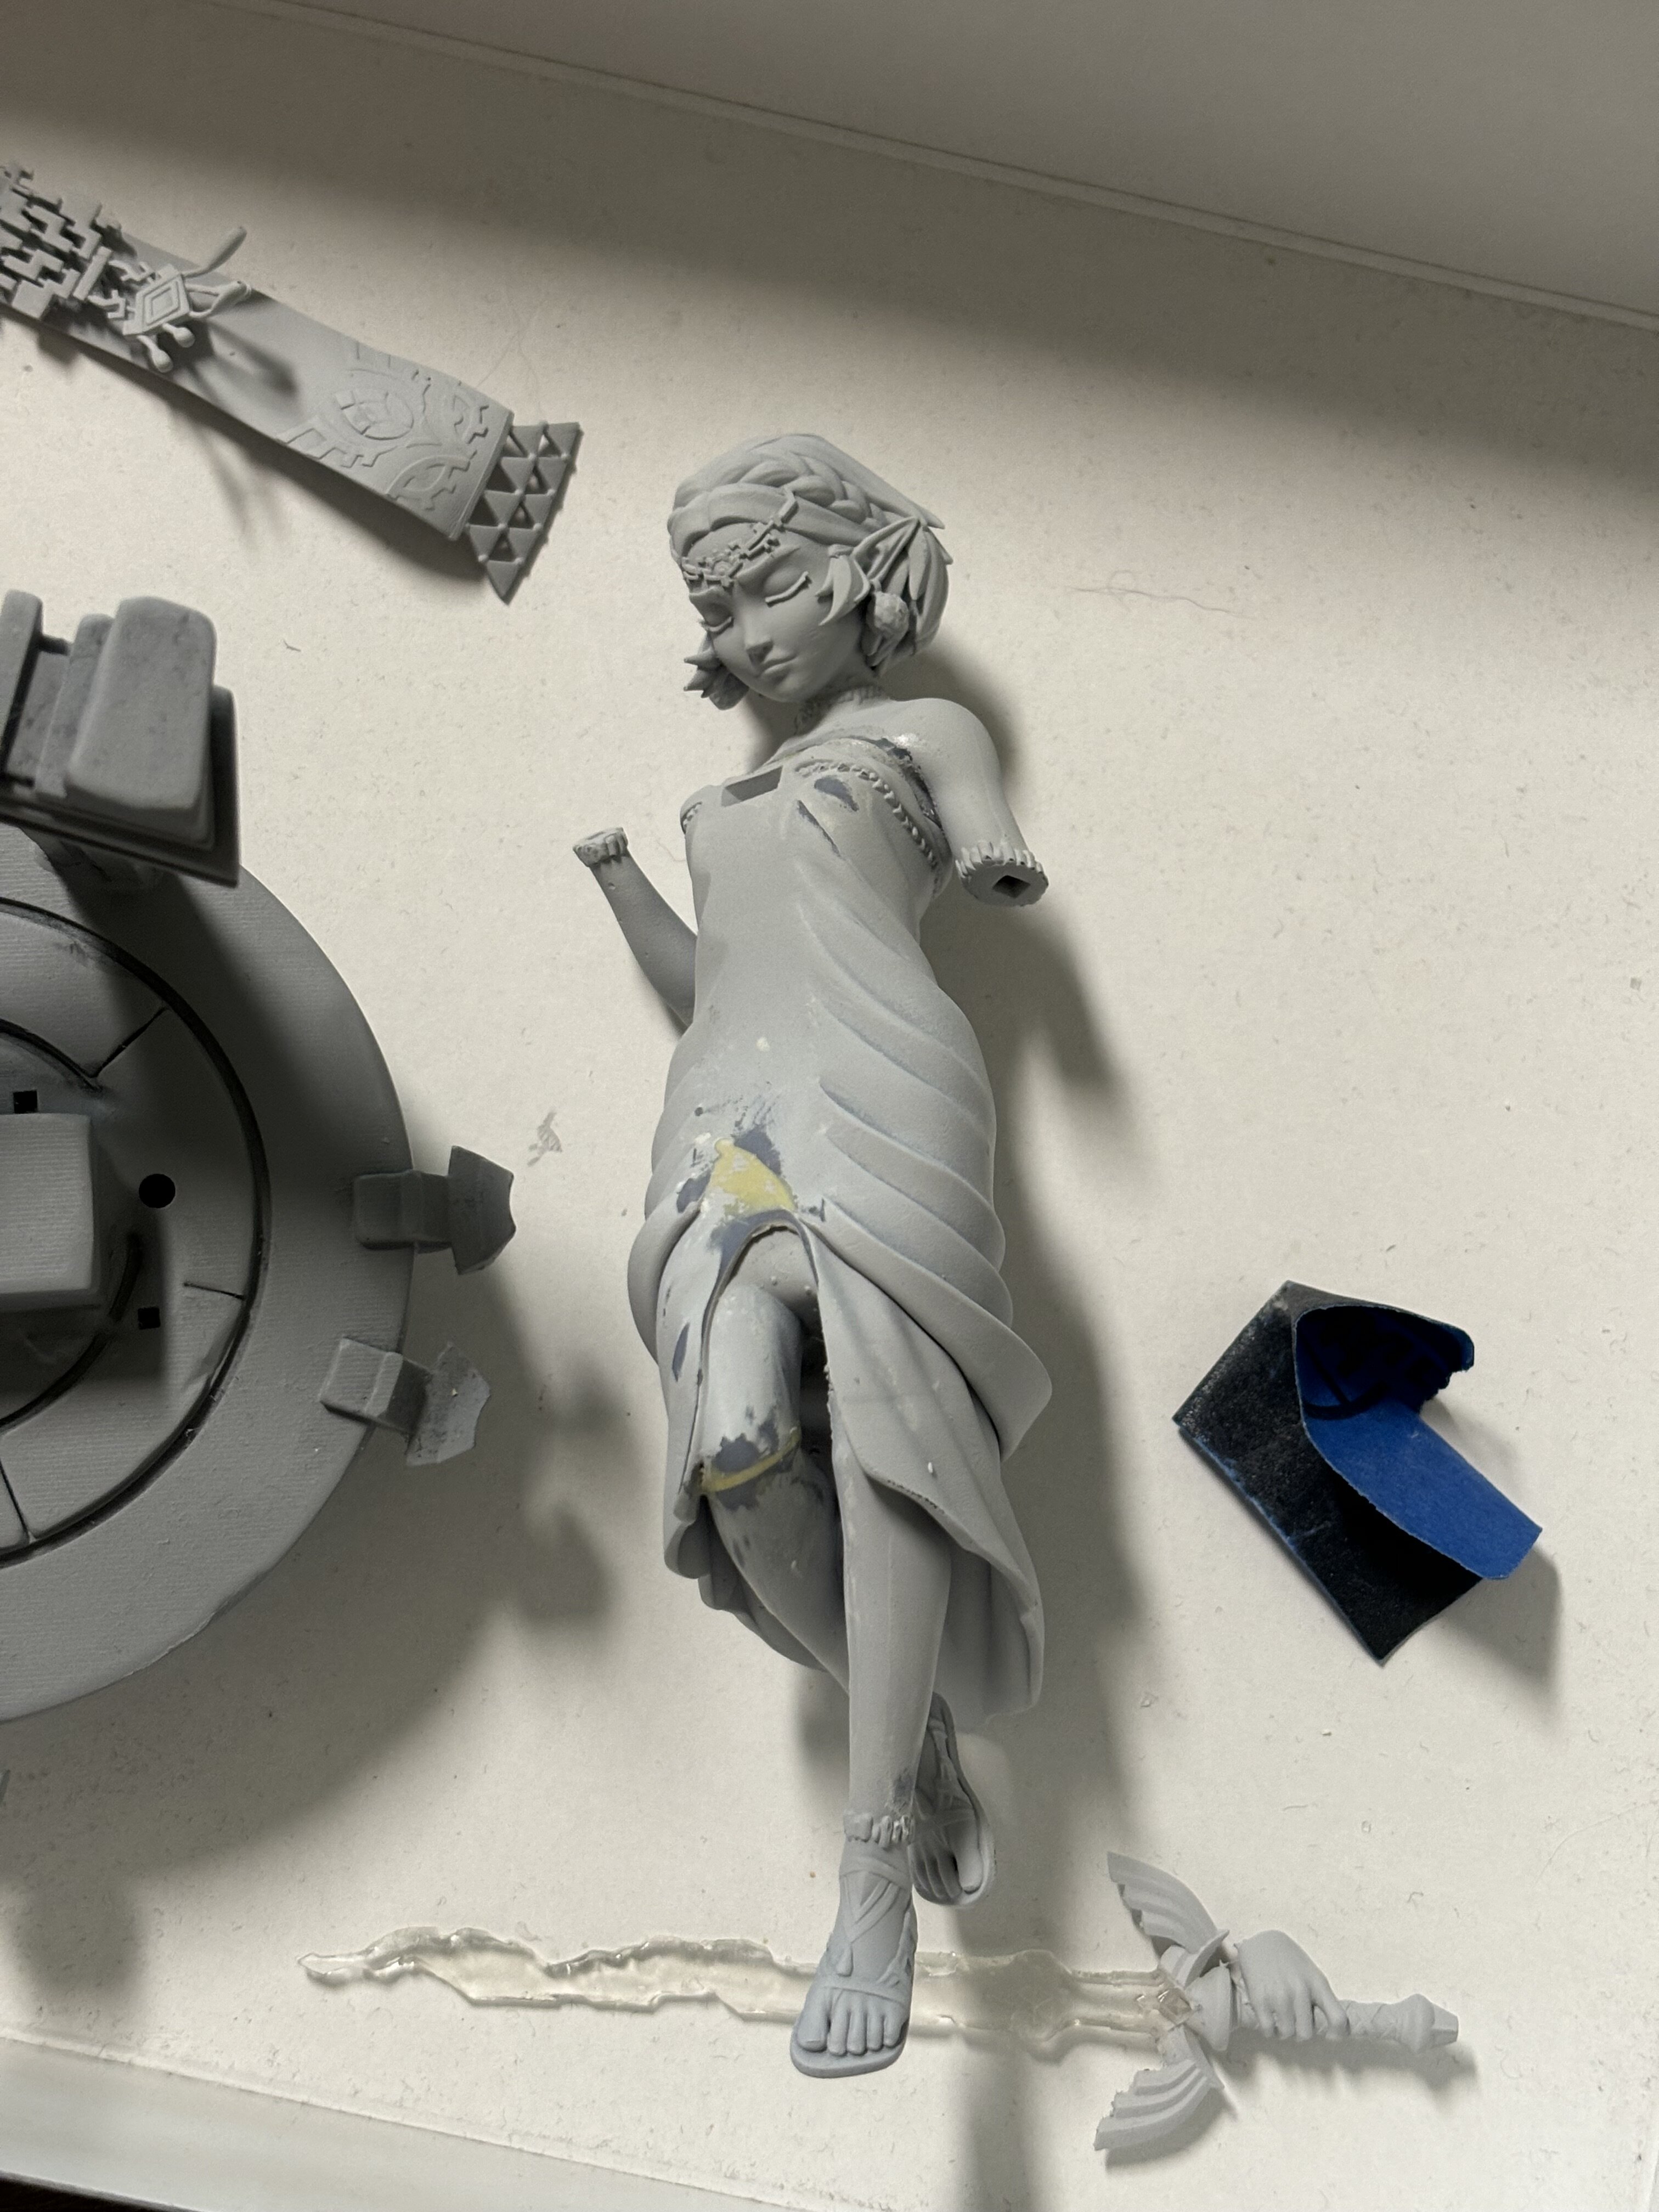
@Thom Thanks - the kid is trying haha. My wife is going to paint that figurine. I am only good for priming and sanding hahaha. @pengbuzz oh, that comes along pretty well!
-
-
Yeah… just flakes off. So I am not going to use it for model building.


