
Urashiman
-
Posts
764 -
Joined
-
Last visited
Content Type
Profiles
Forums
Events
Gallery
Posts posted by Urashiman
-
-
man ... can't wait for mine. It'll hopefully be in my hands on Friday
")
-
2 hours ago, Raikkonen said:
Rick 🤣
Blasphemy!
-
Ordered the VF-1J battroid. Checking is on 1999 made me like „mhmm… I wanna build this“.
-
1 hour ago, no3Ljm said:
Wow. Individual finger joints.

Again, this is a 1/60 scale and not 1/48, right? He looks big.
")
Nope, 1/48. he stated that somewhere in the beginning.
-
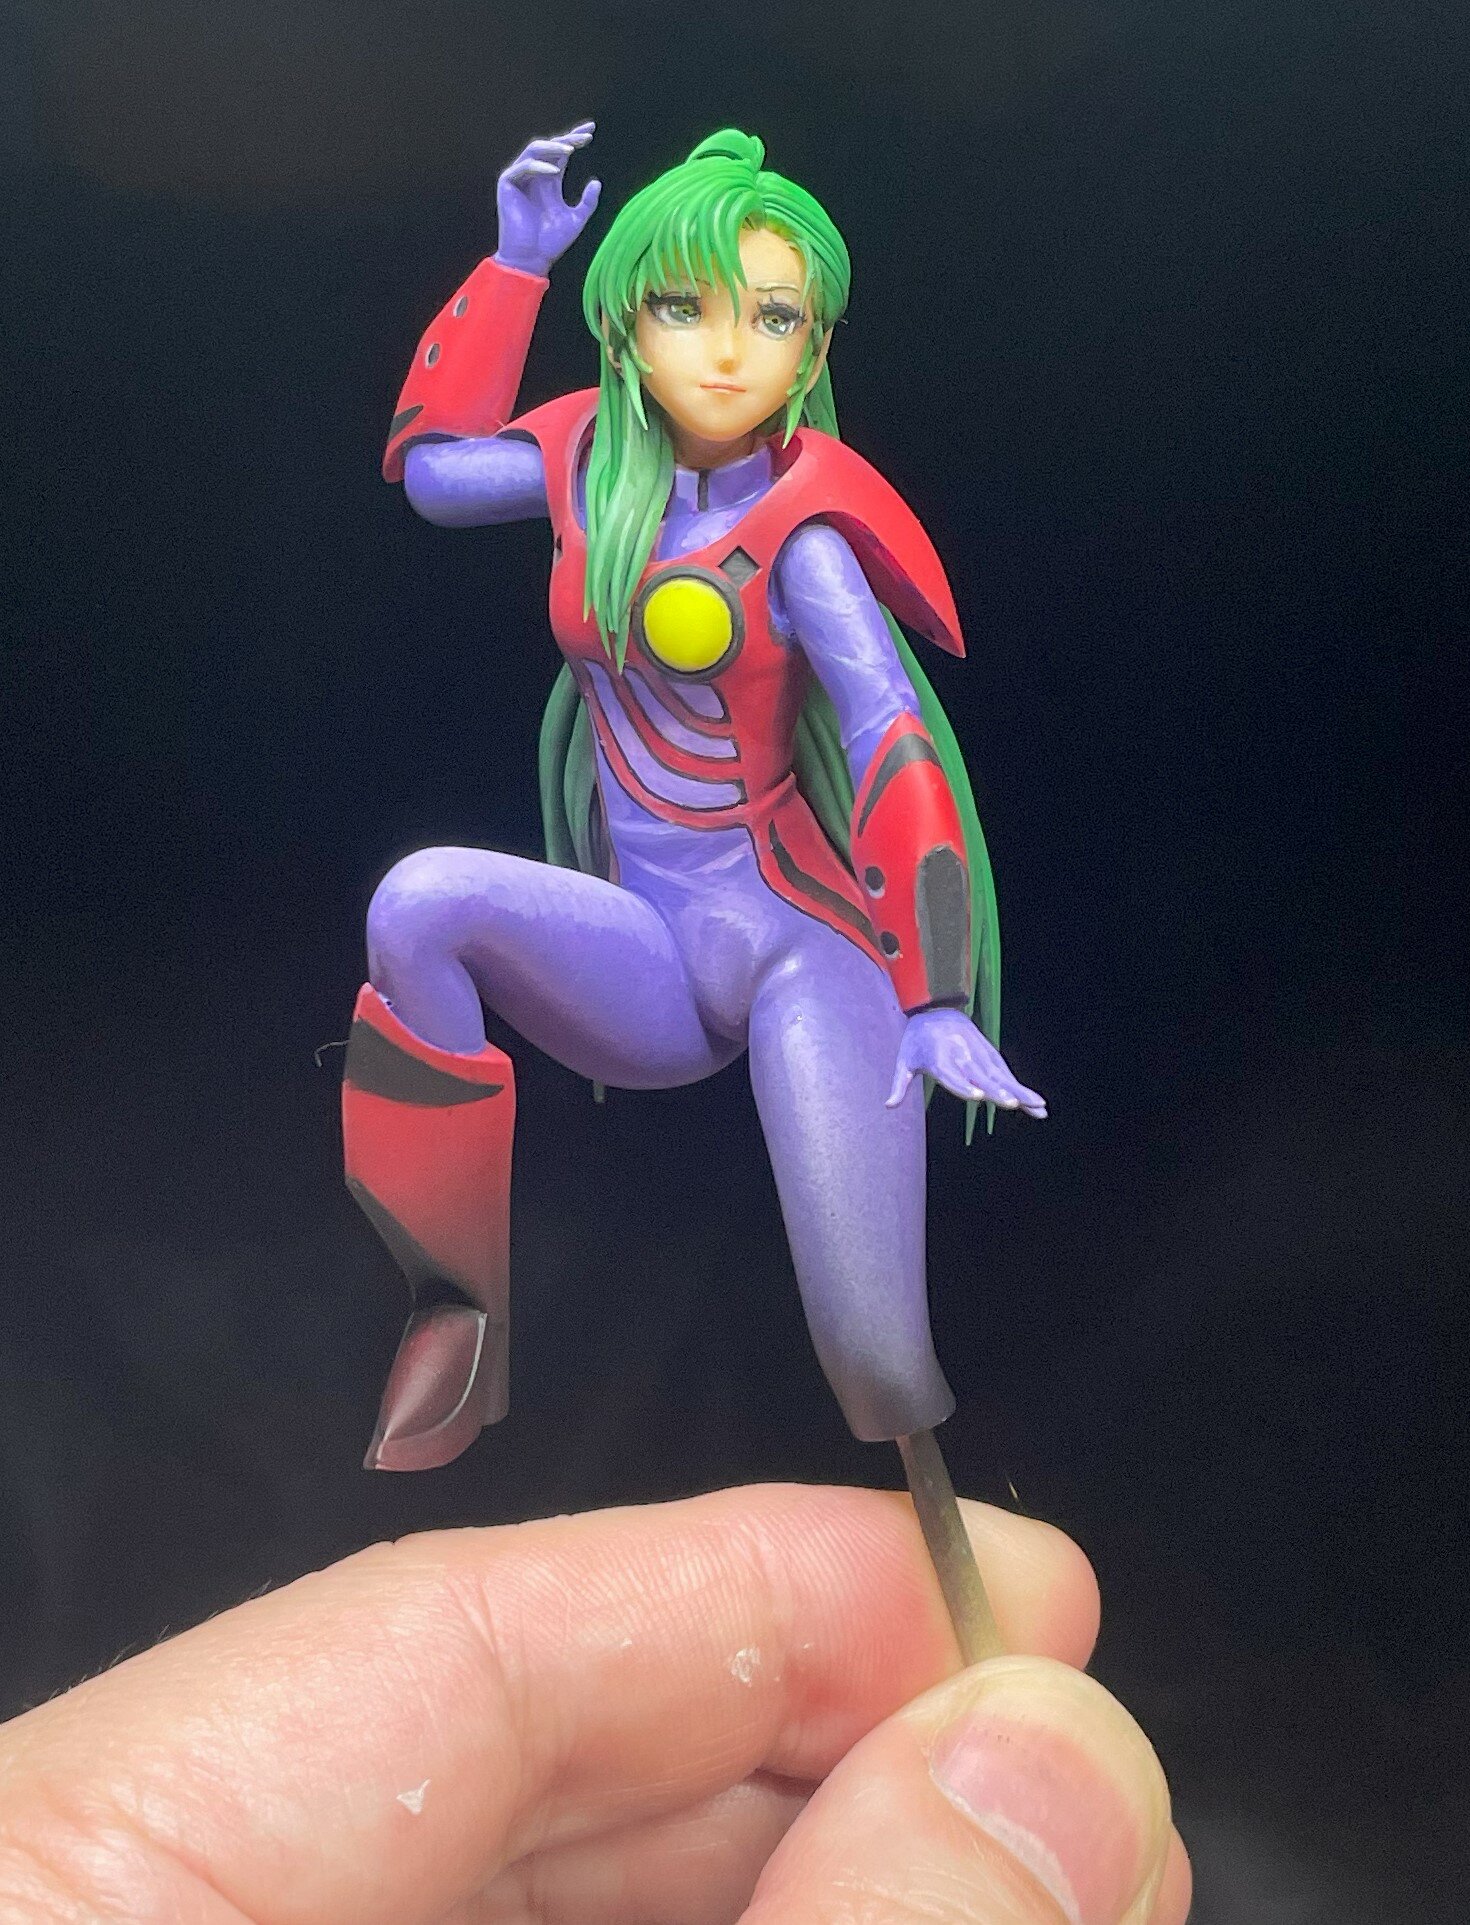
16 hours ago, MKT said:
What some people can do with FIMO is just mindboggling.
-
Still nothing… the suspense! I cannot bear it!
-
9 hours ago, pengbuzz said:
More like just holding you in a pattern buffer tank until the authorities can arrive, then materialize you in the back of the police cruiser.
pff.... not to the police cruiser, straight into the station man
-
8 hours ago, Thom said:
@Urashiman Will like to see how the stenciling looks under the full paint.
Well, not much to see apparently…
maybe in normal sunlight. I‘ll check tomorrow.
edit:
mhmm, shines through a bit.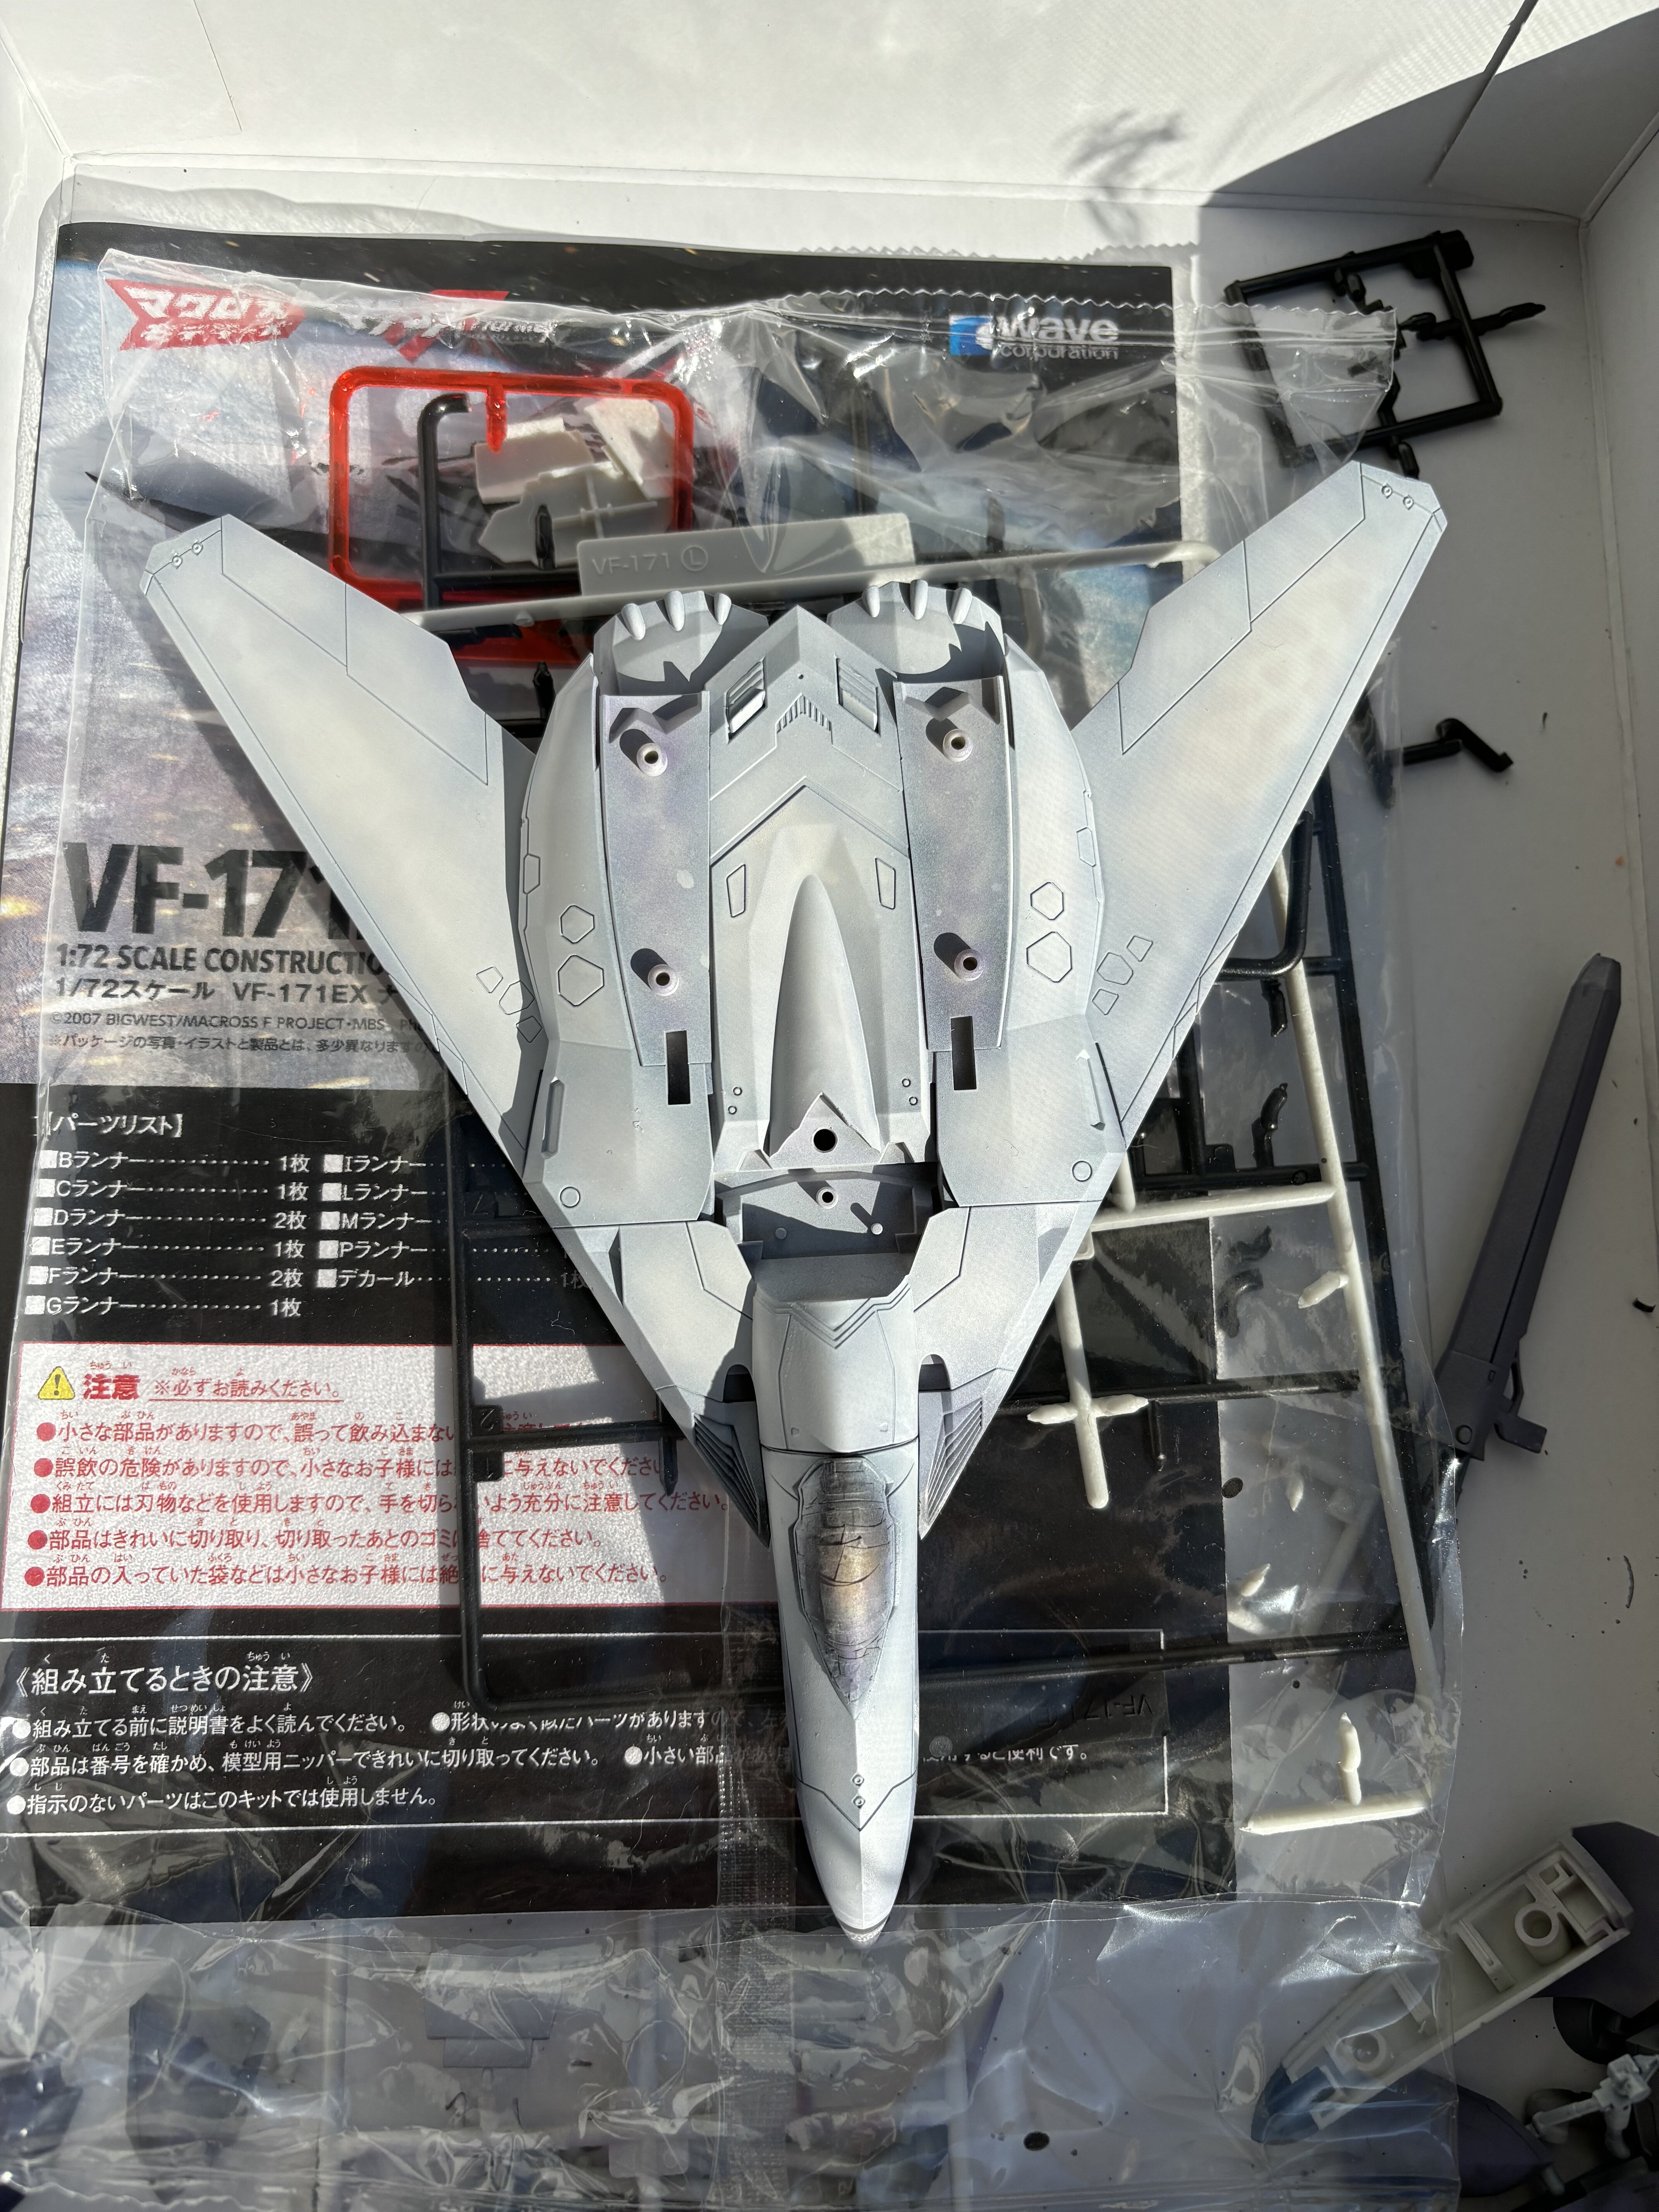
-
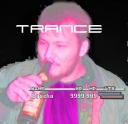
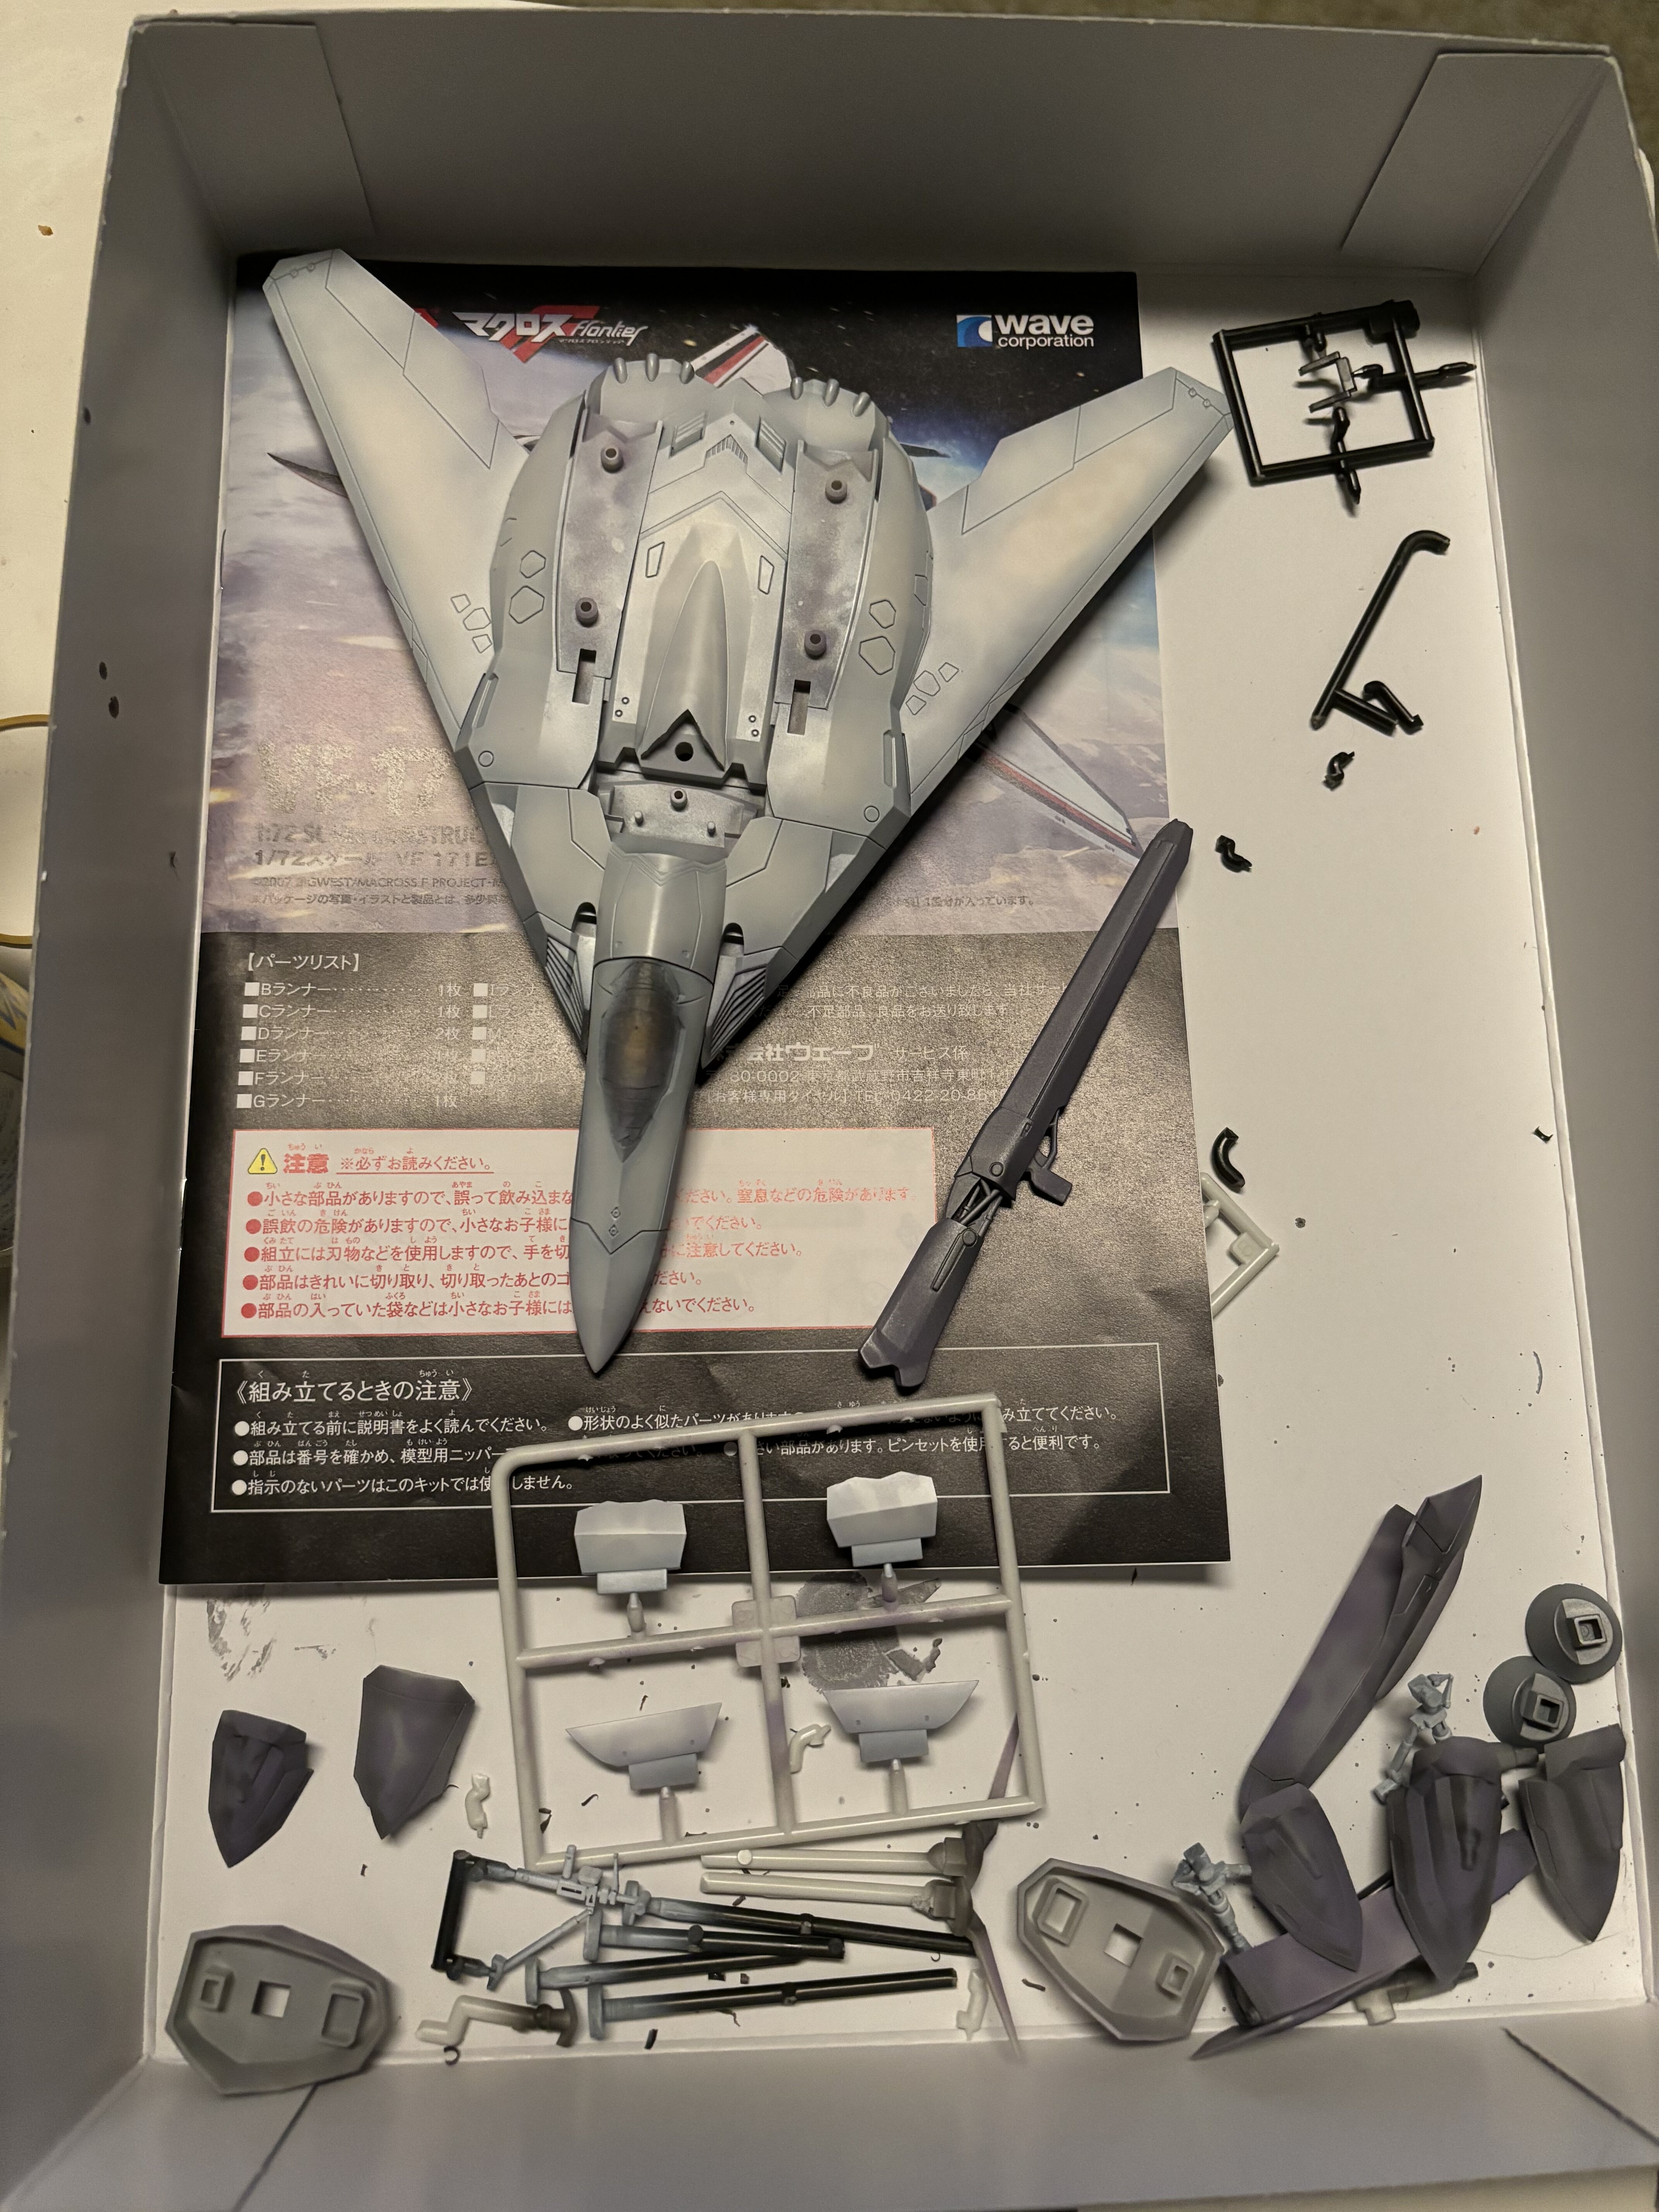
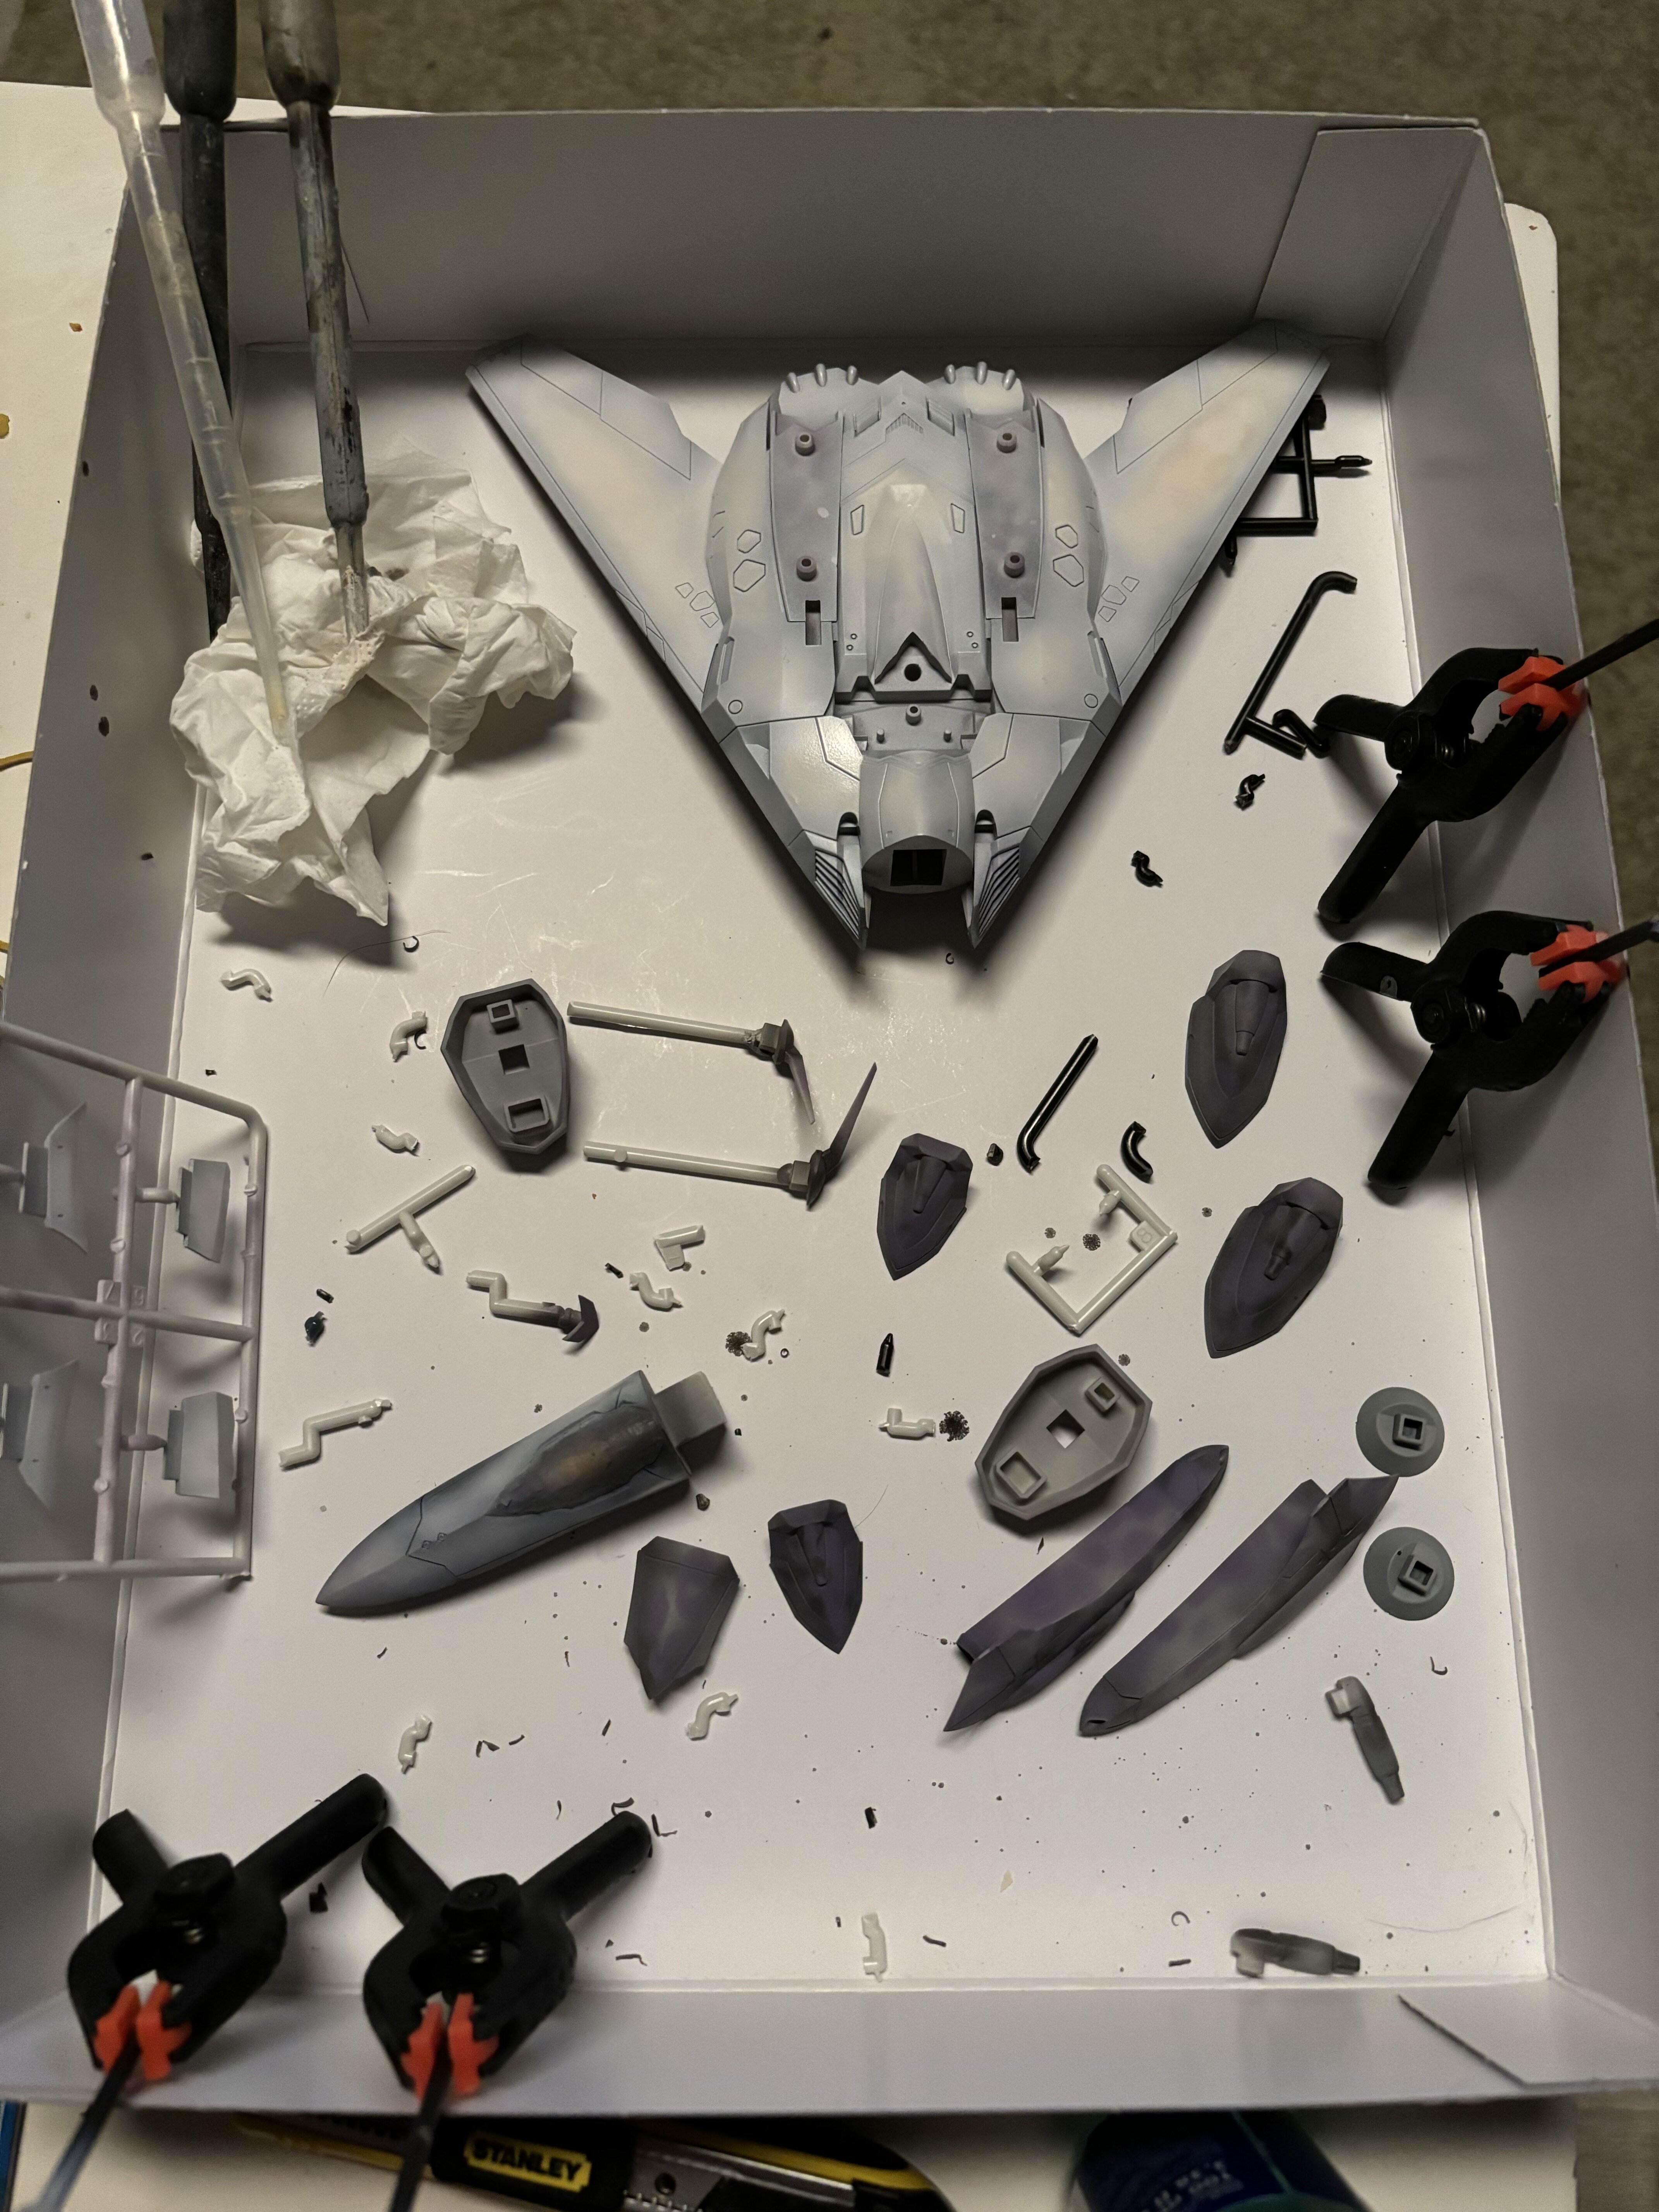
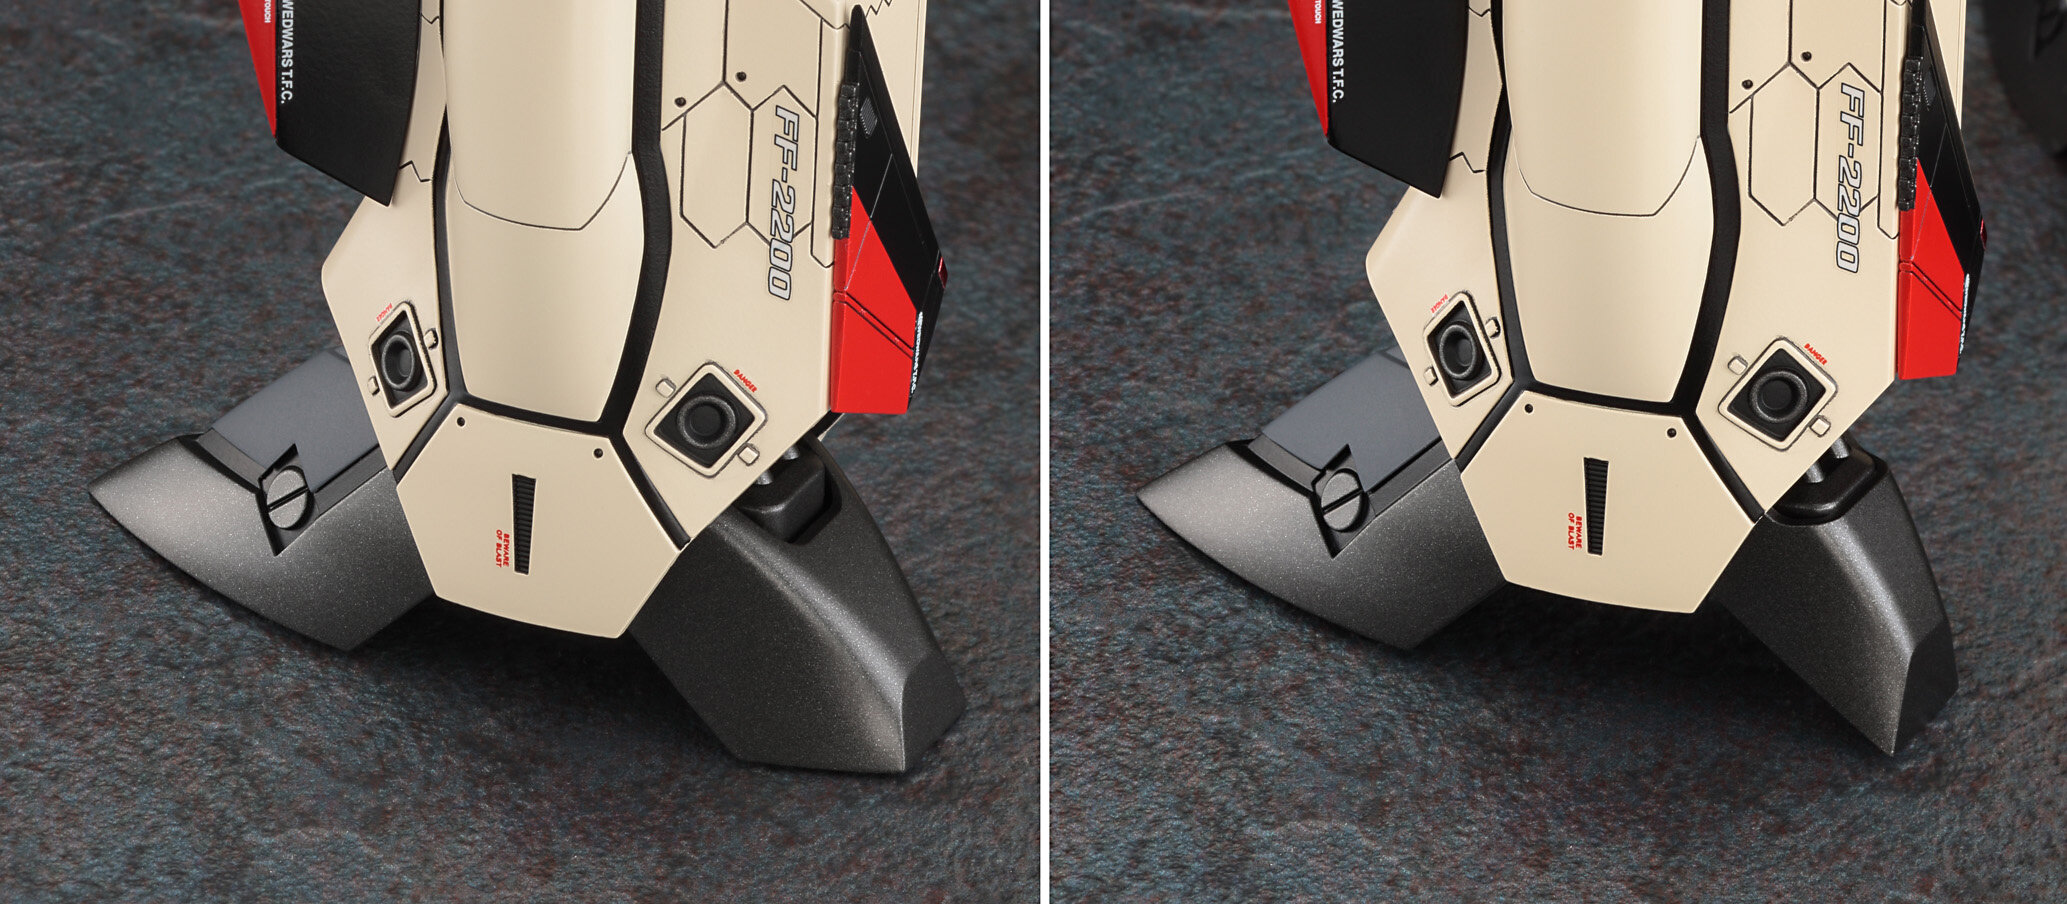
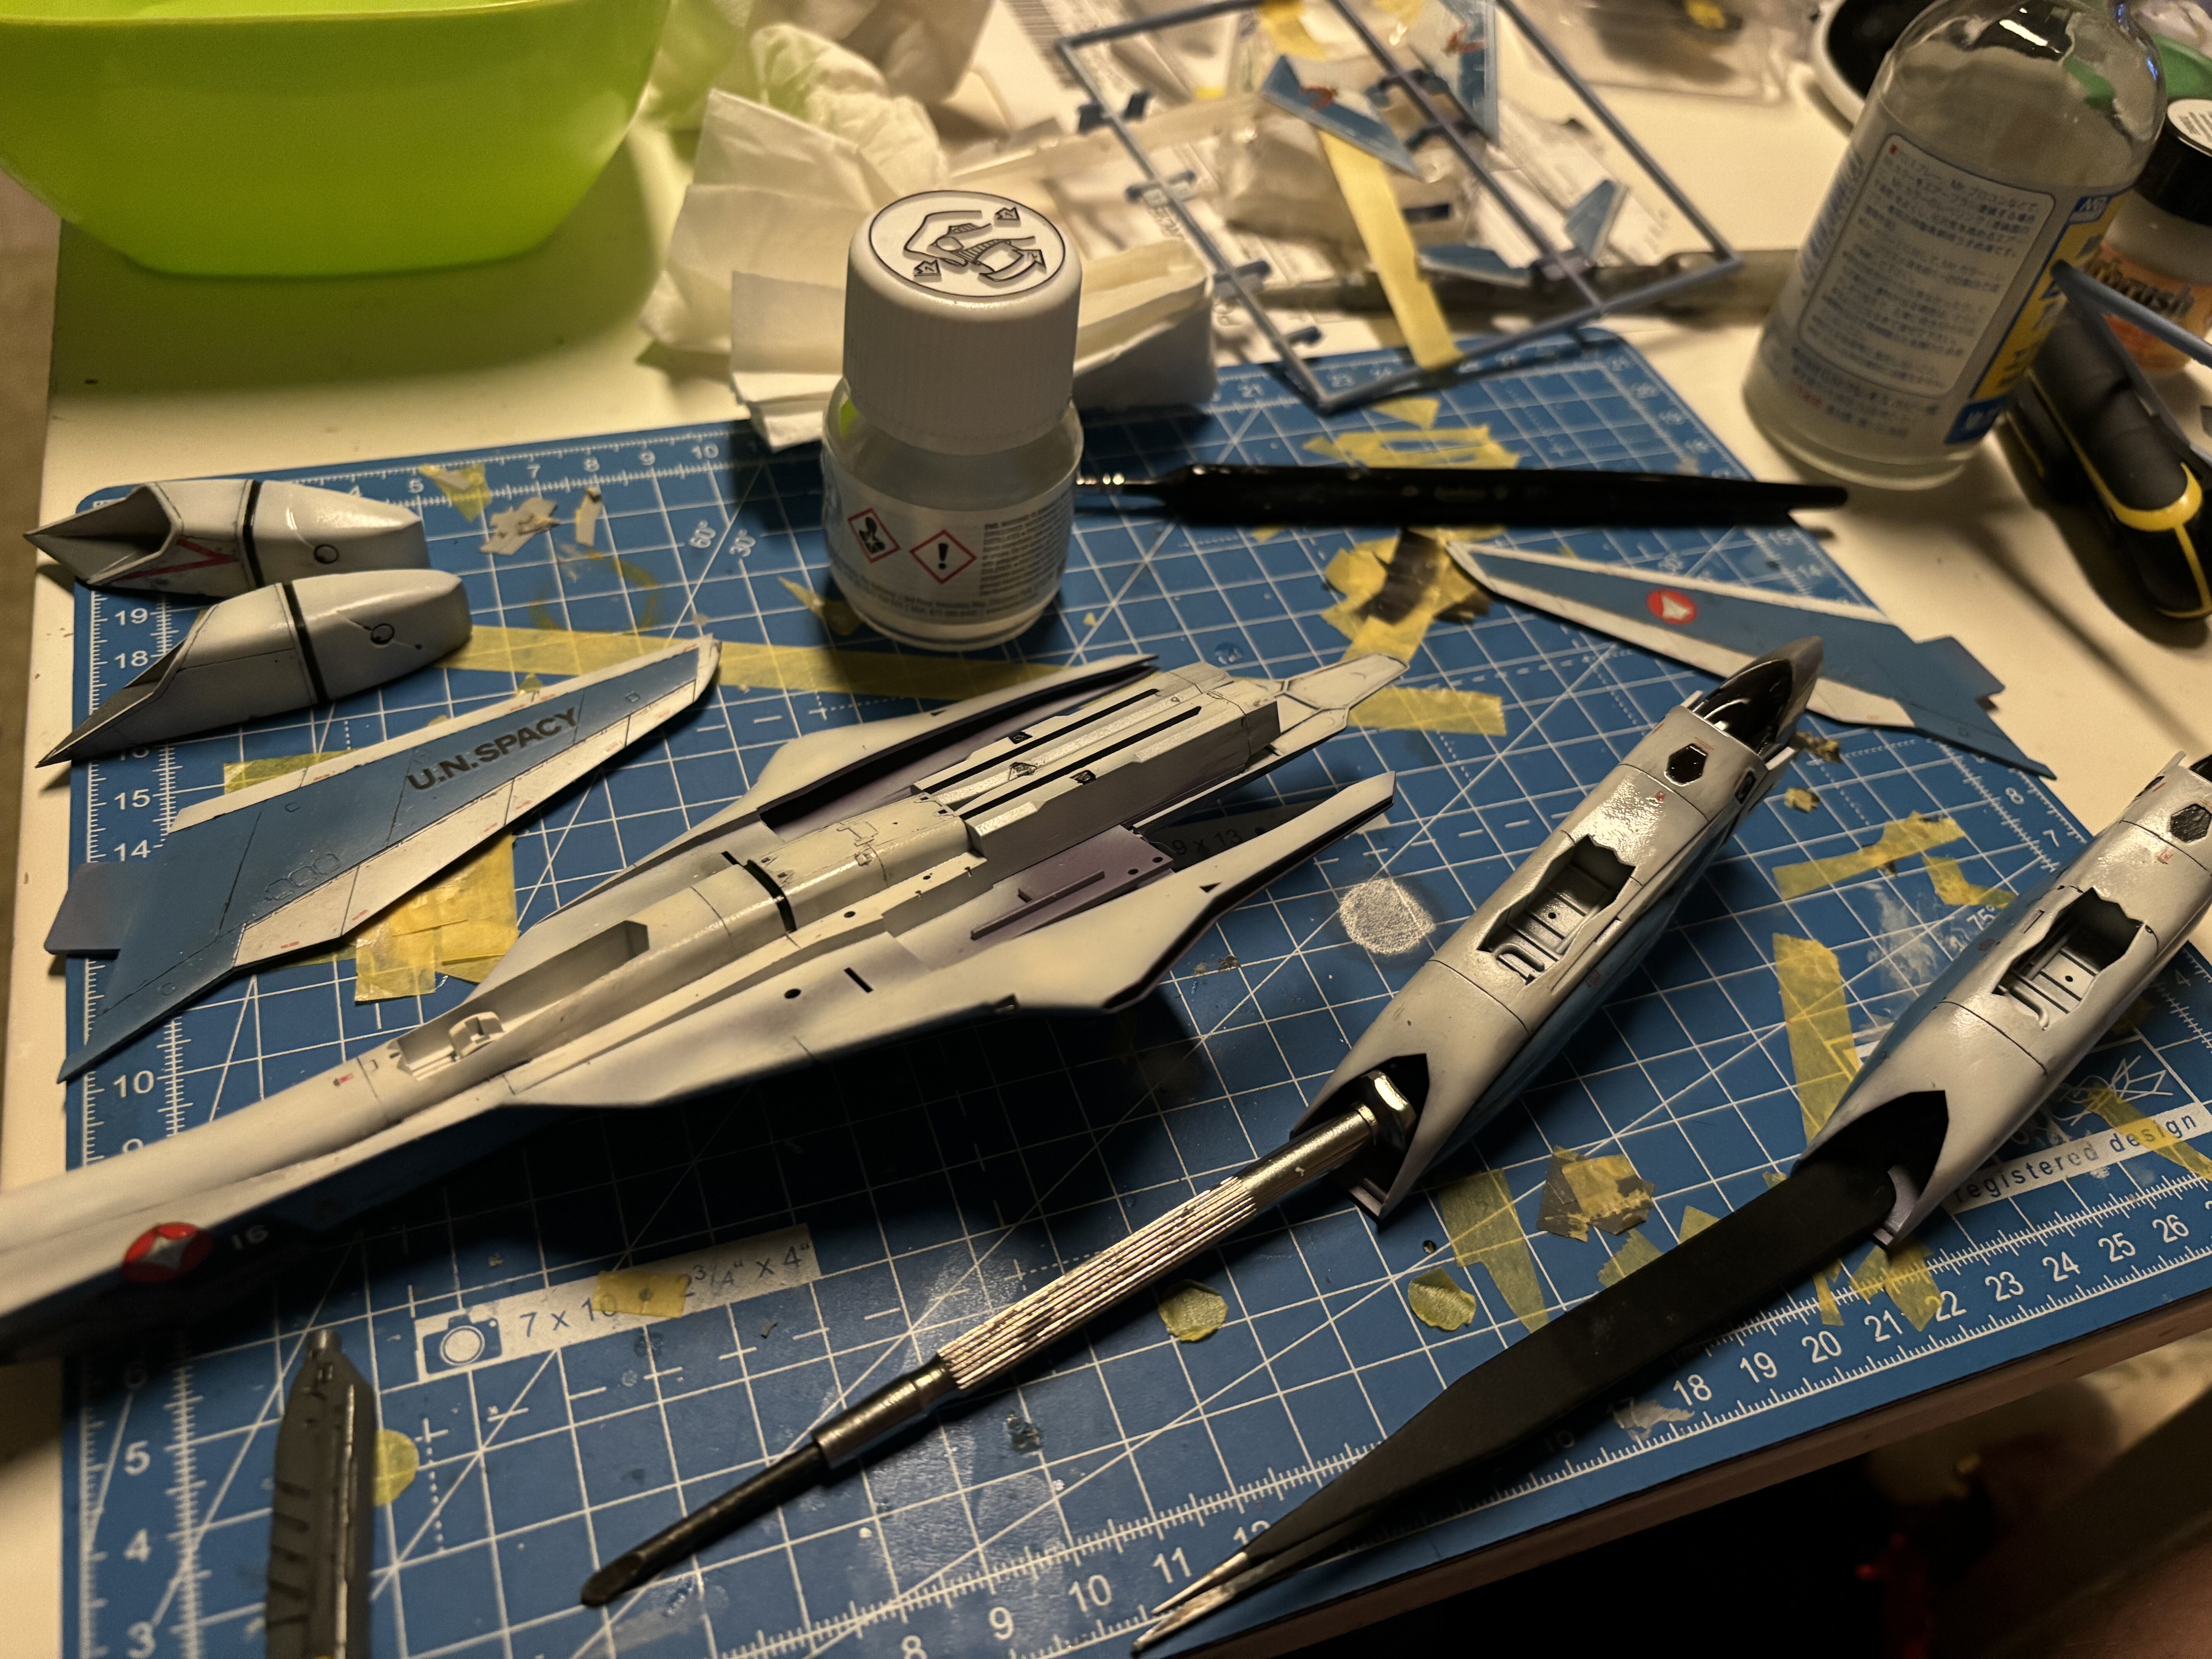
Time to airbrush the VF-171 again. I got some cheap stencils to try.
everything is pre-shaded already. Some purple leopard pattern here and there. Let’s see how it works out.
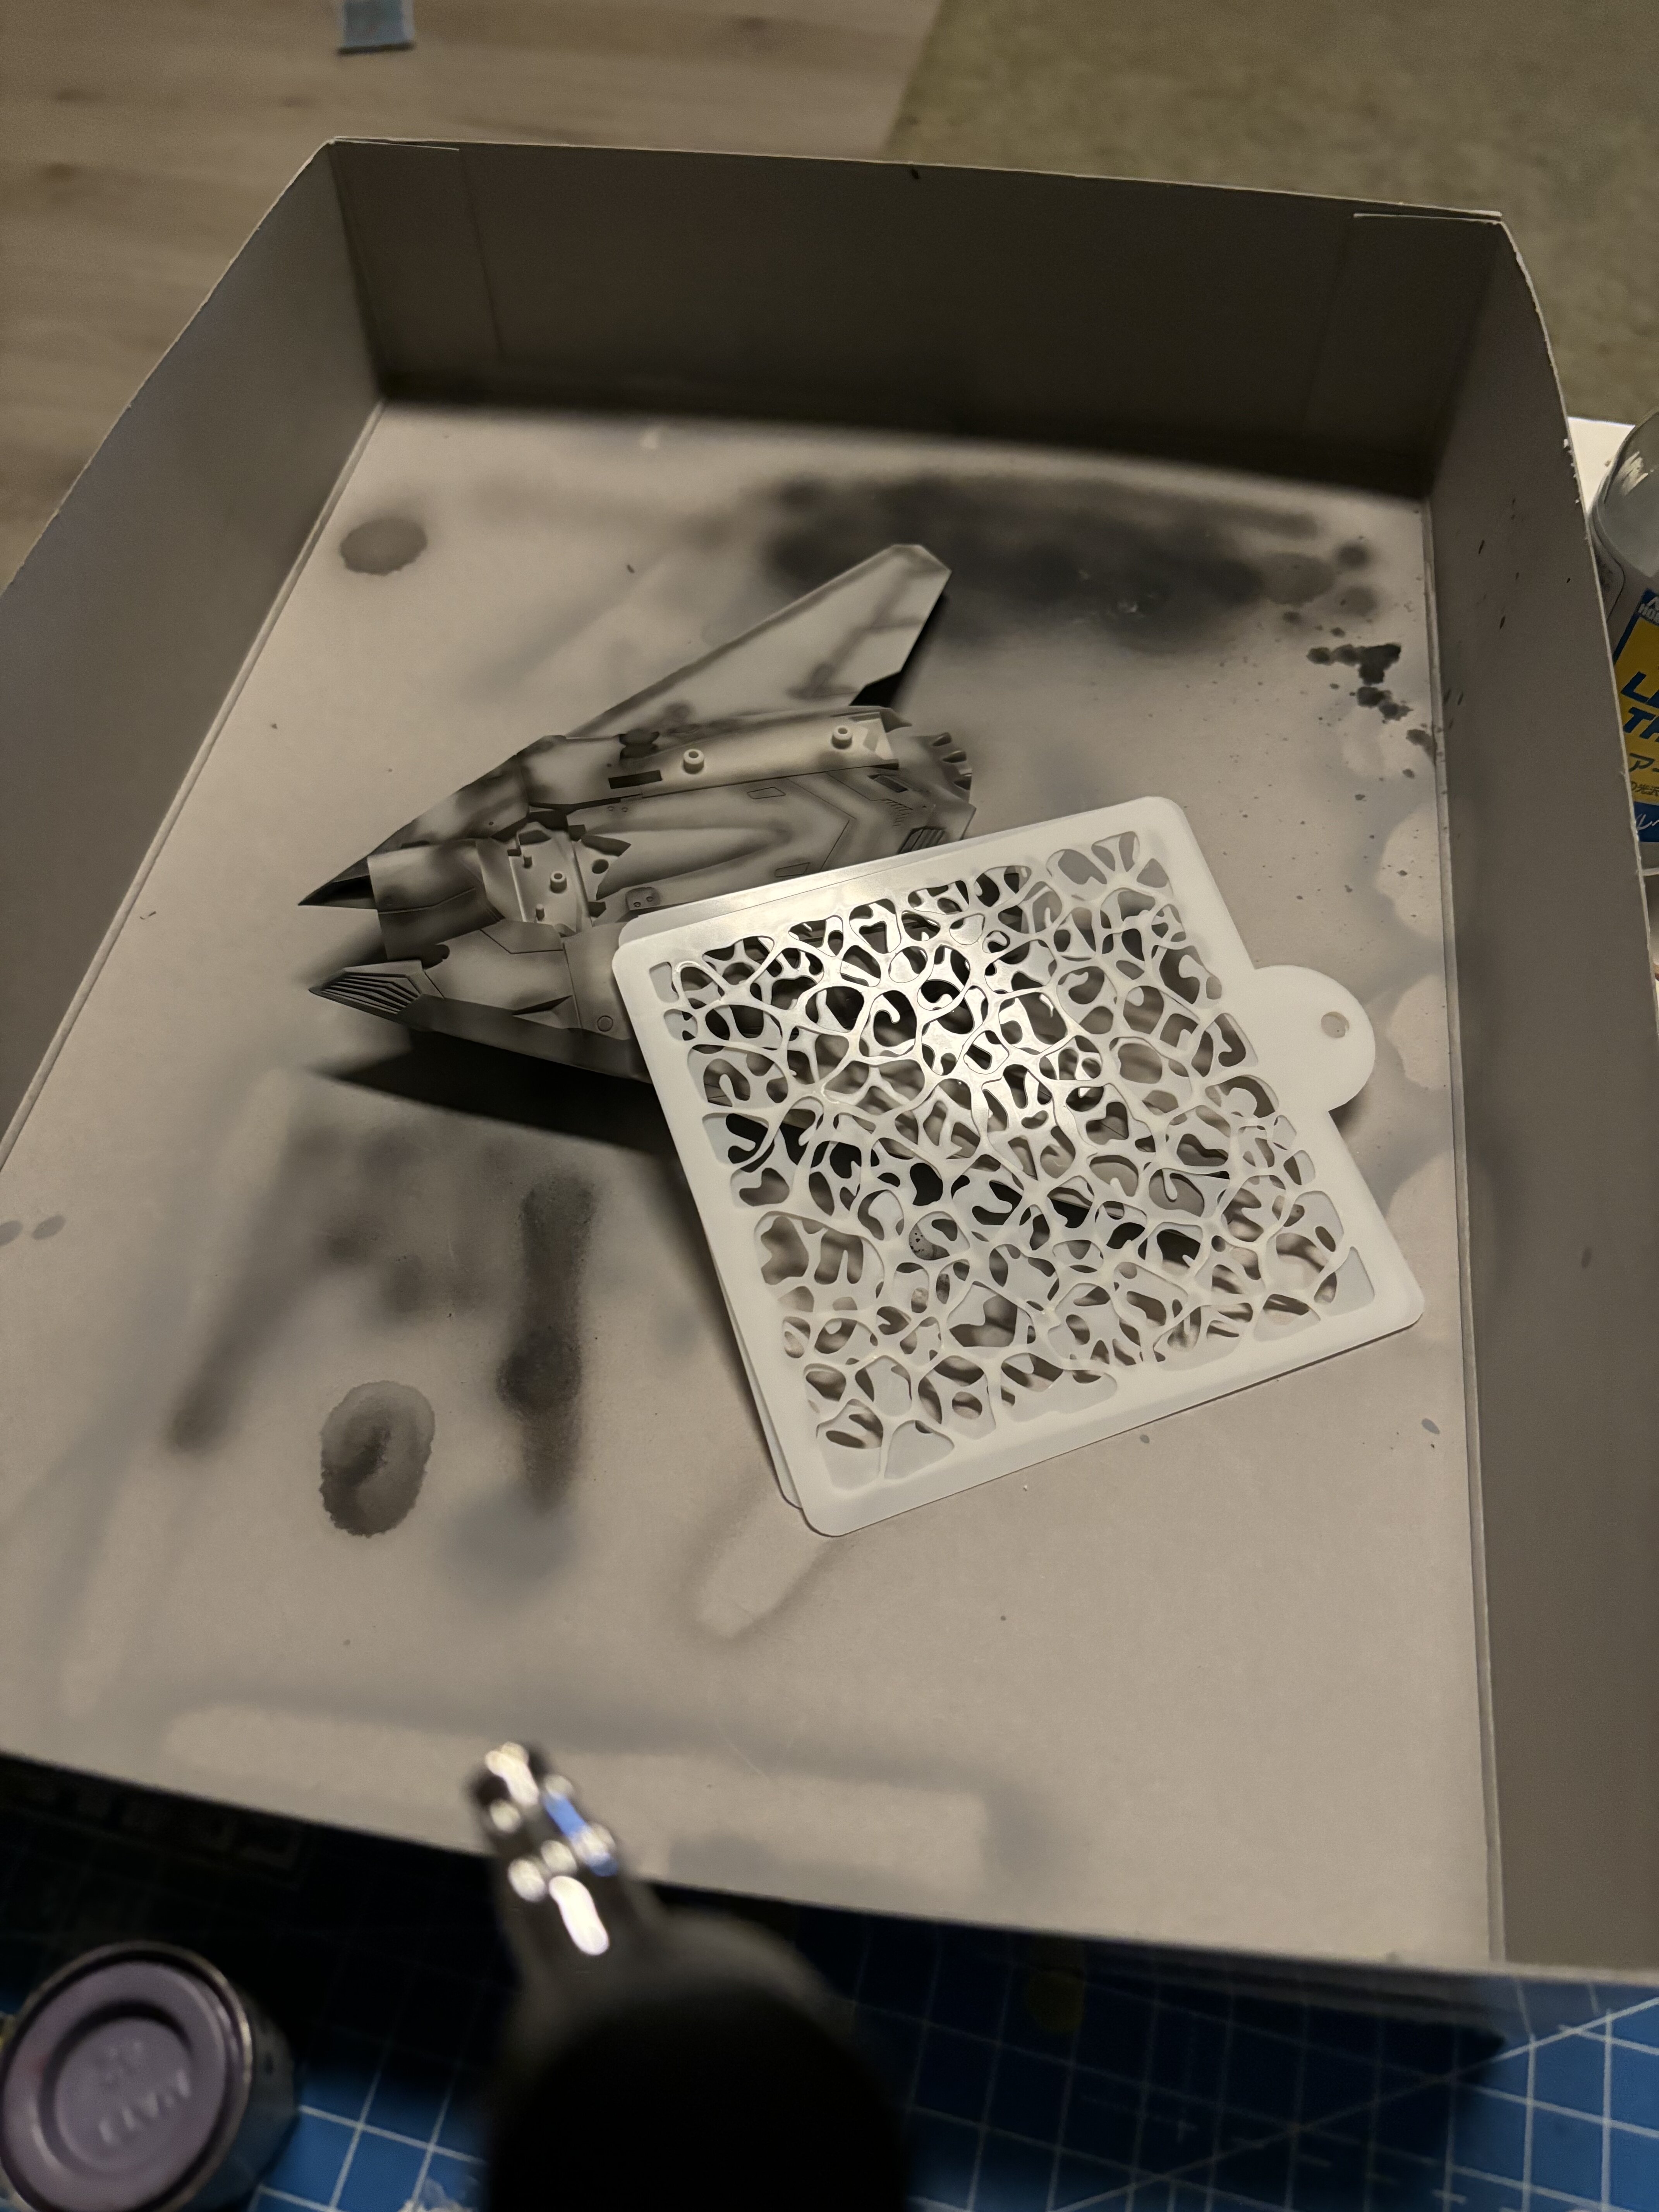
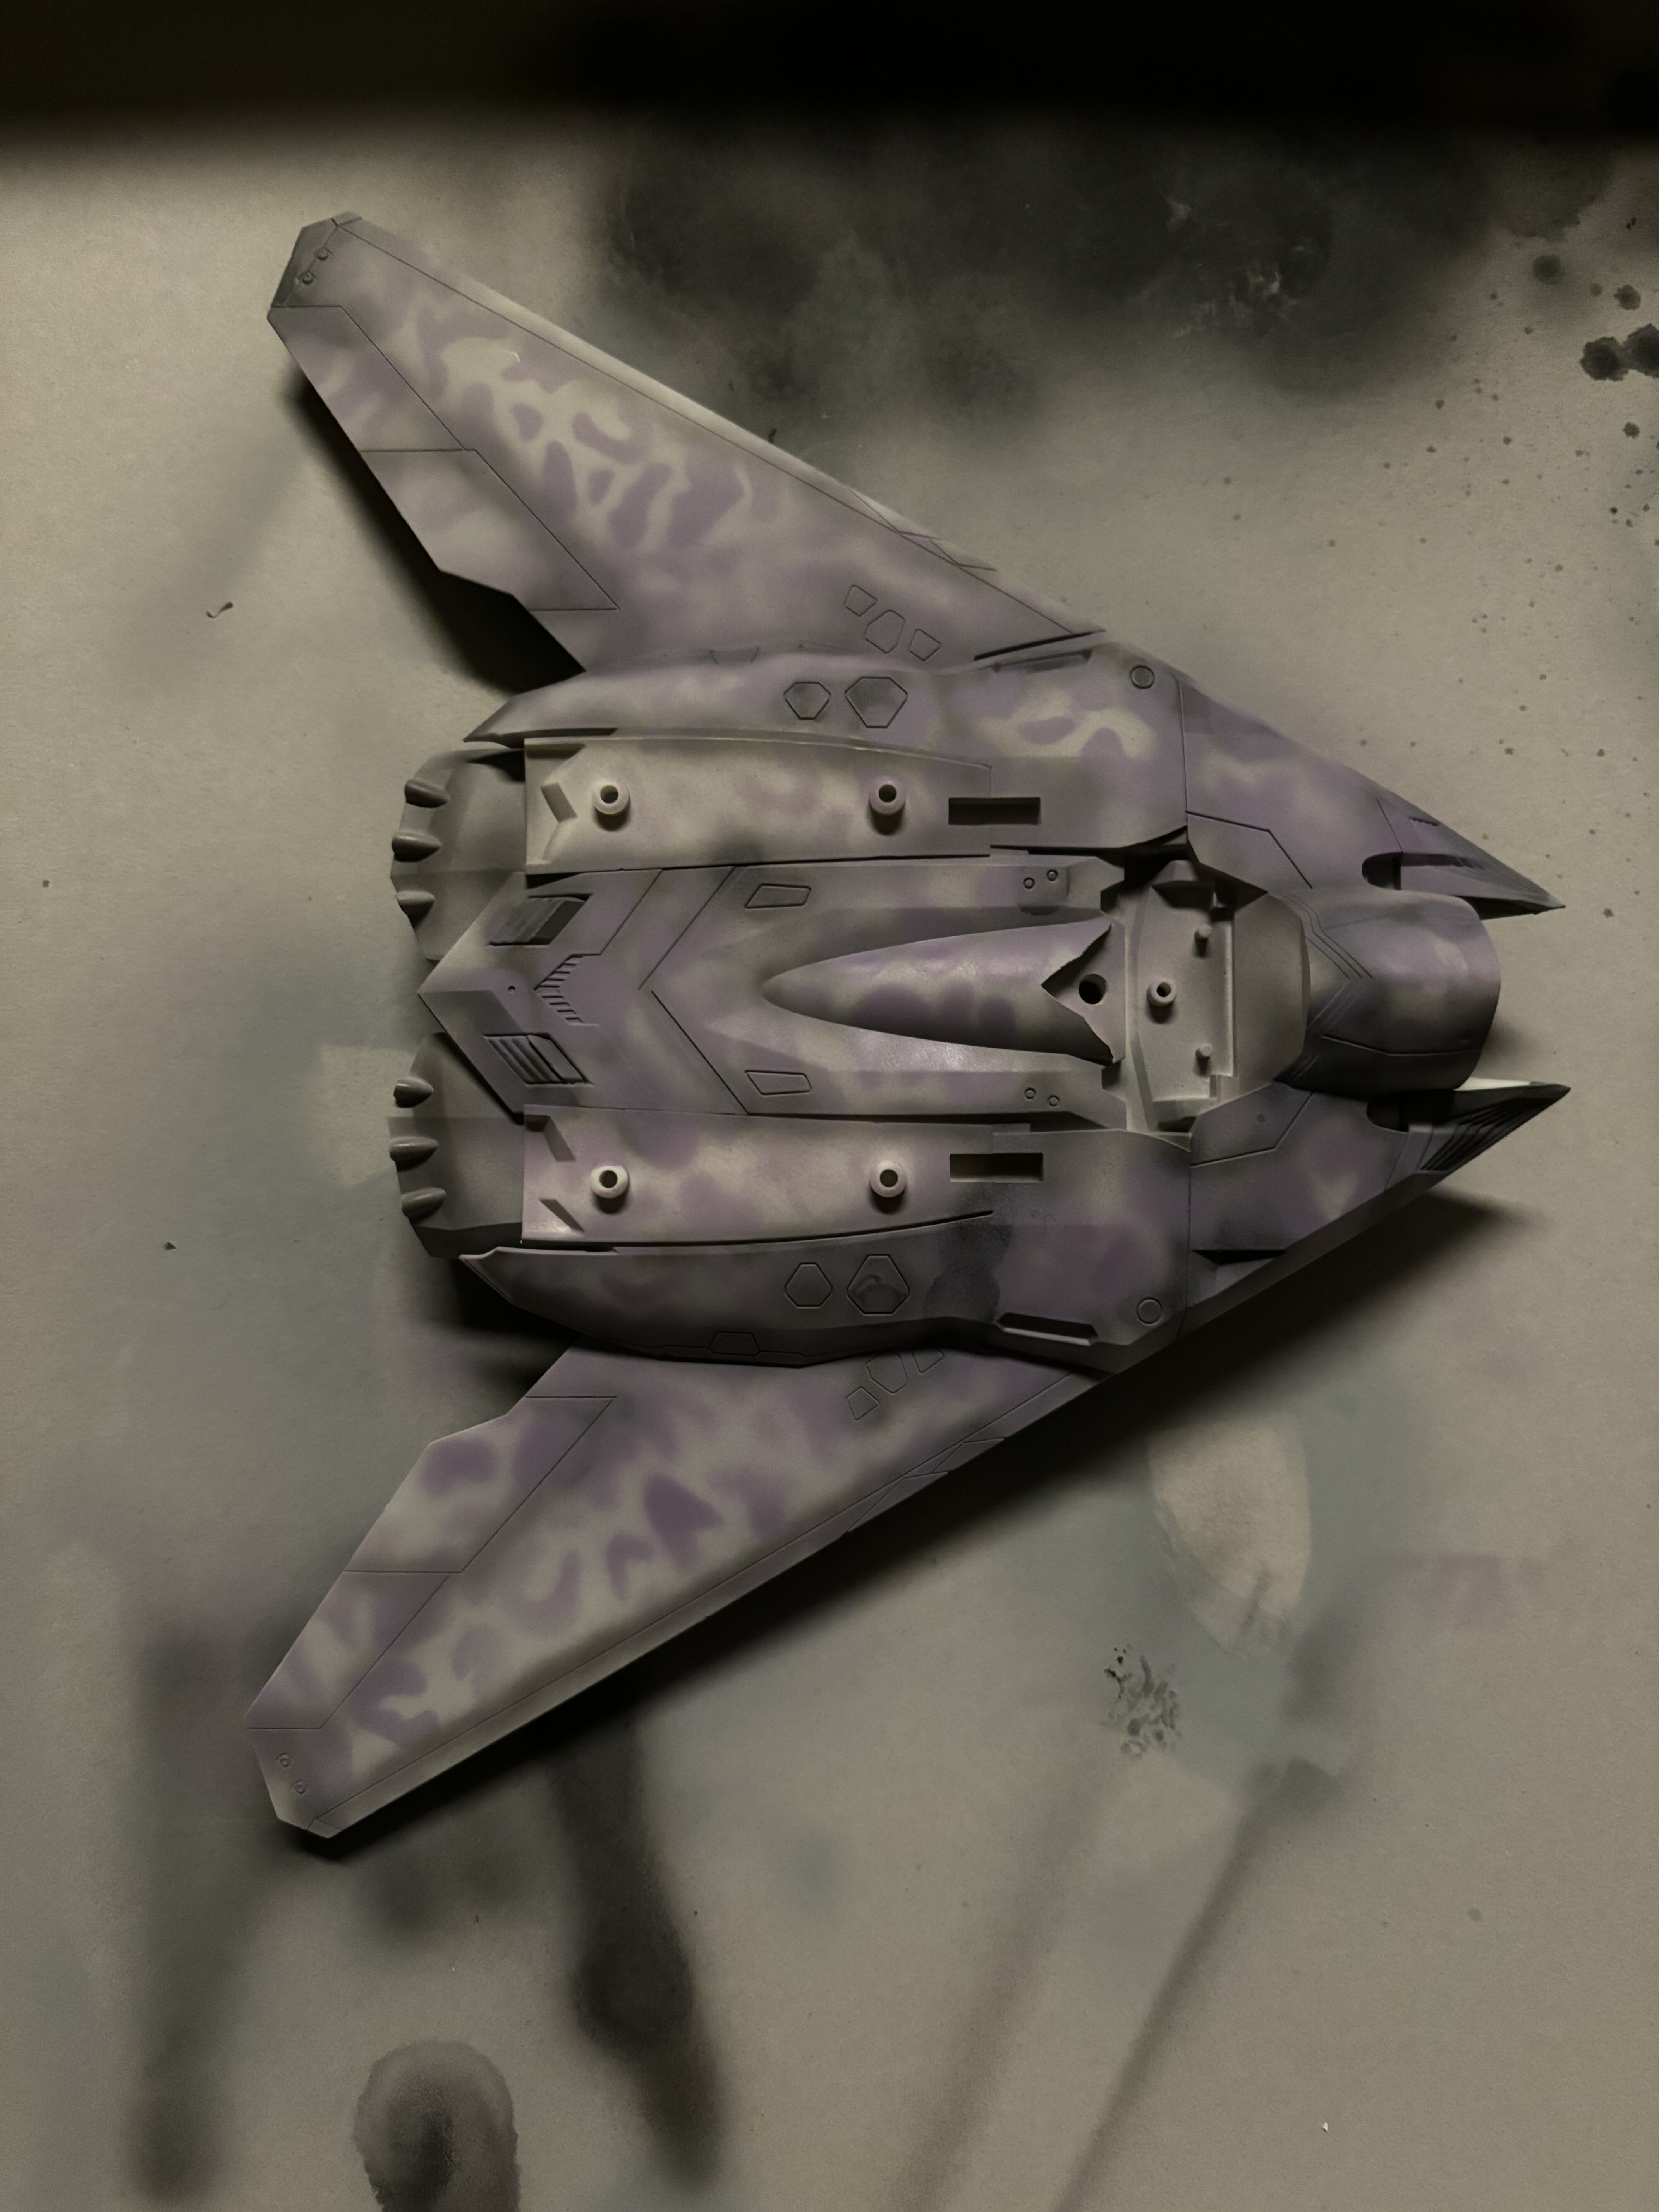
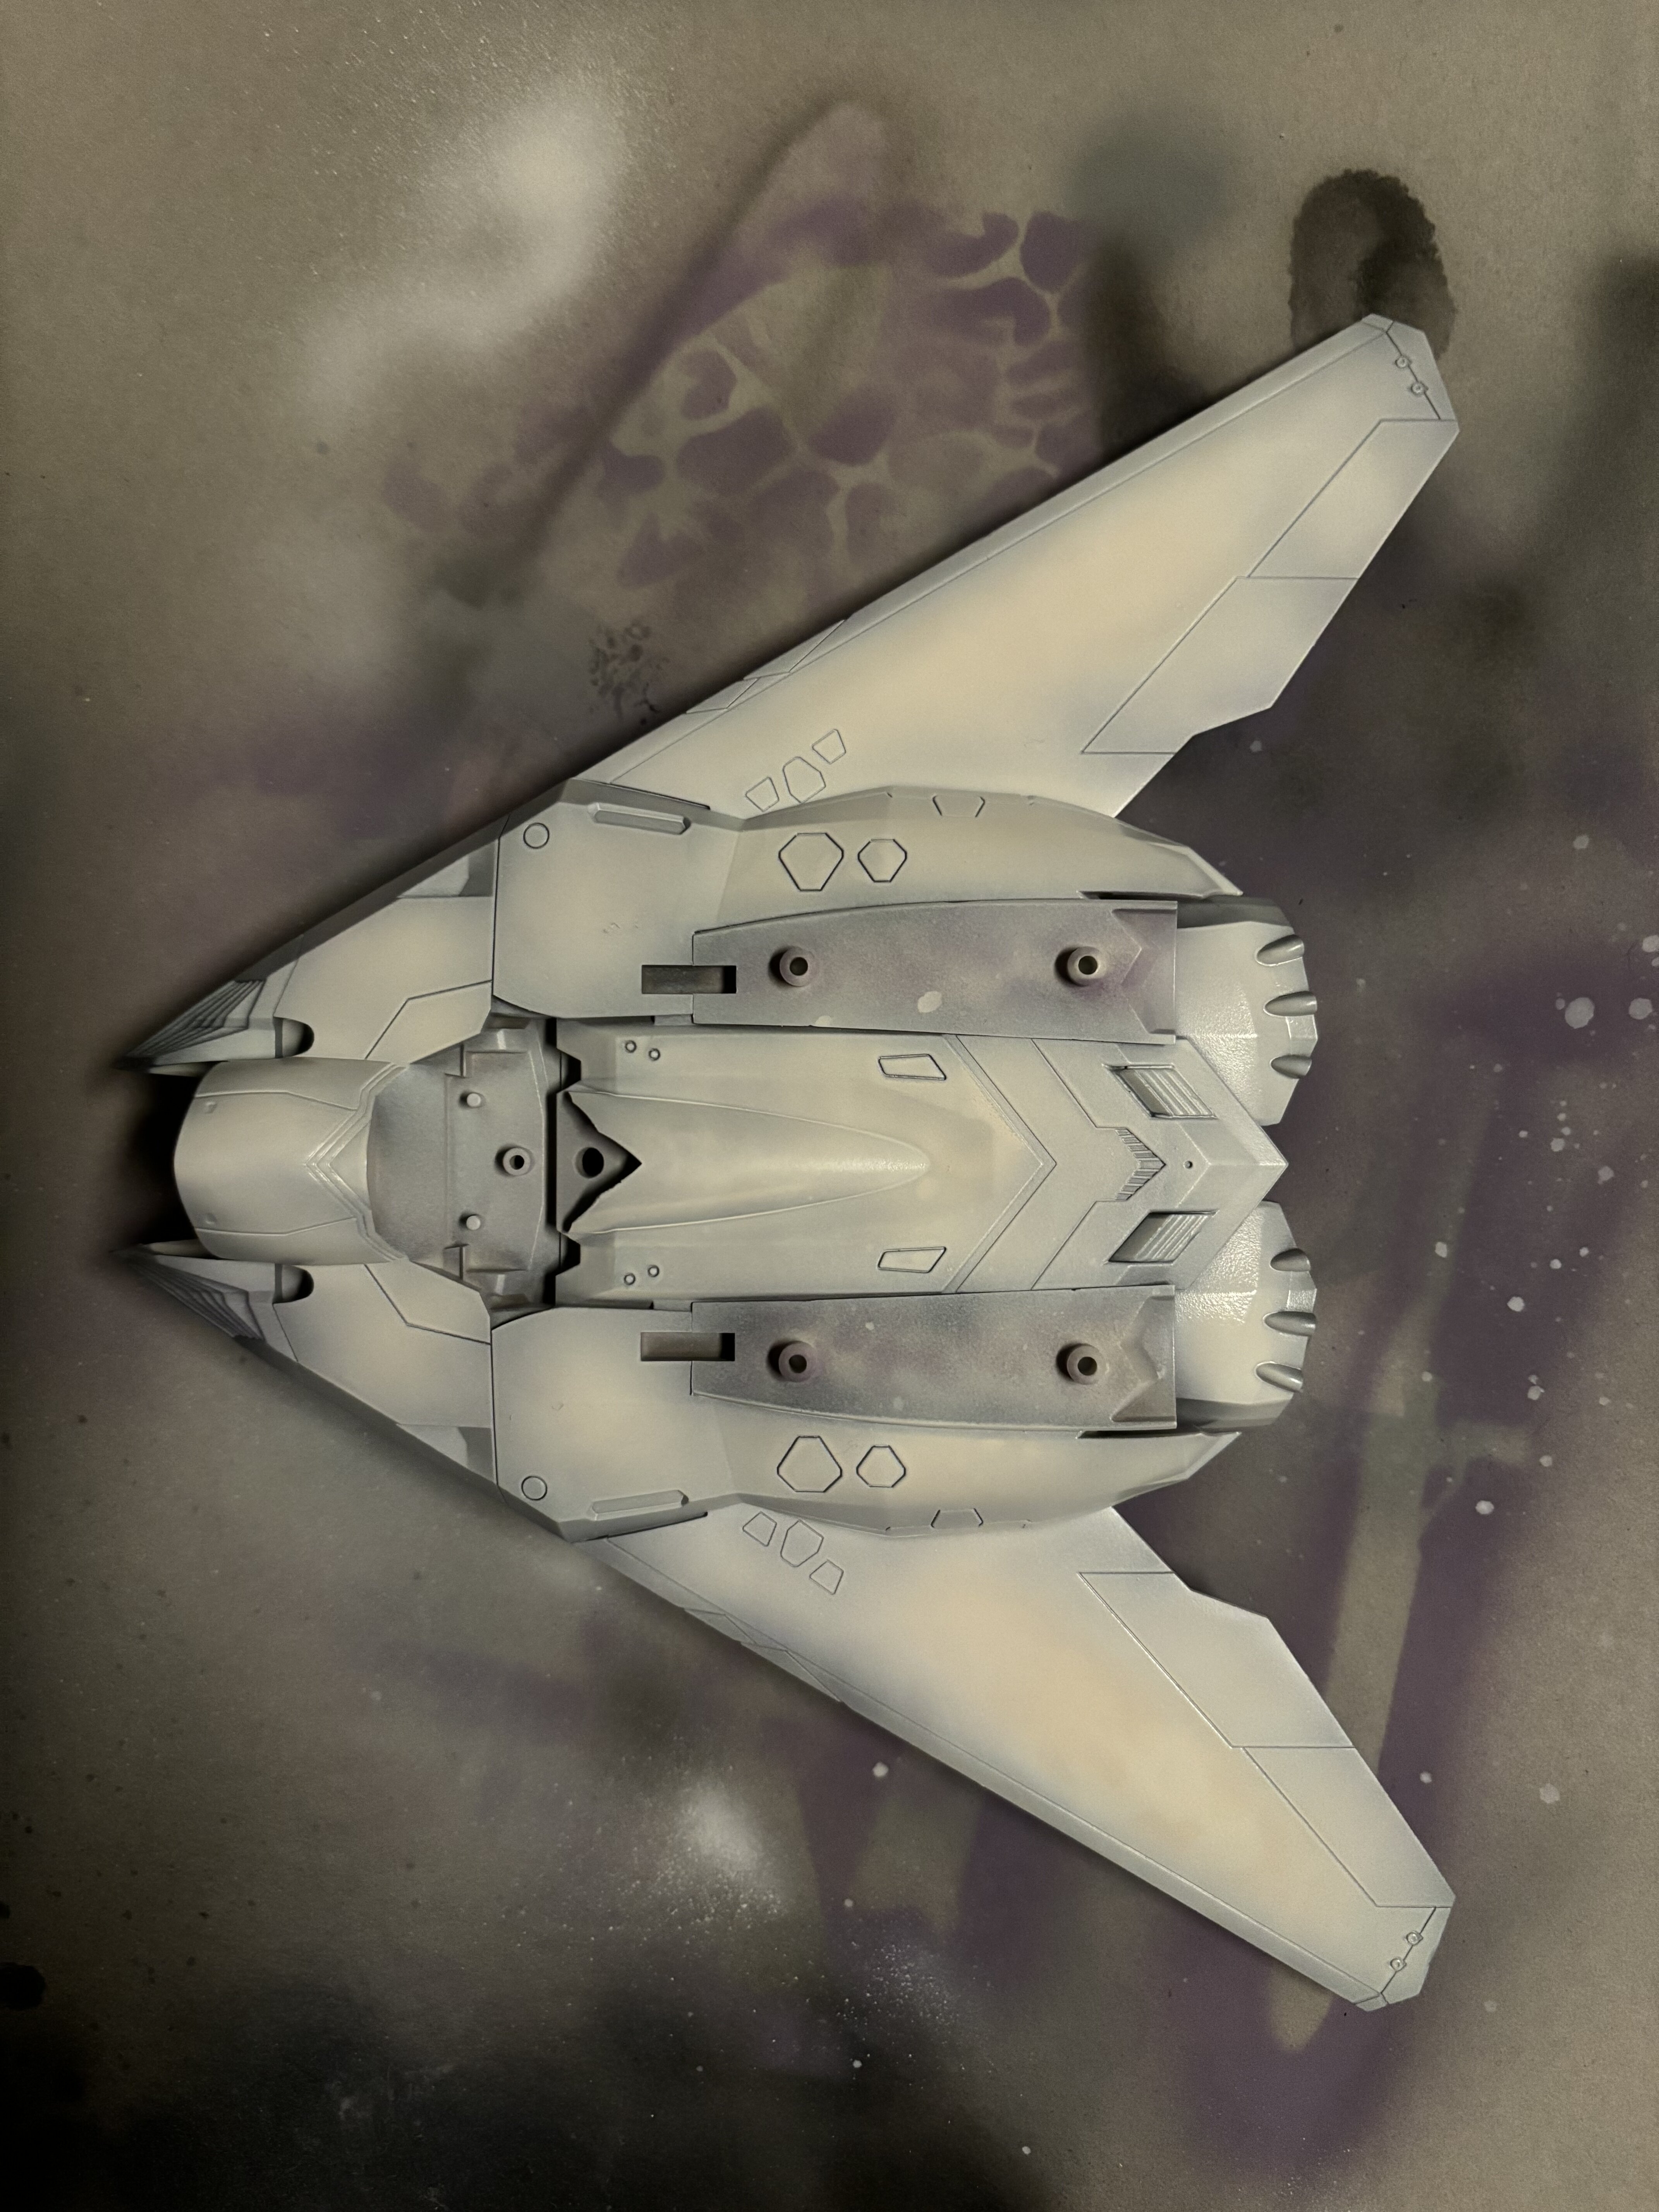
not too bad, I think.
after a while, the airbrush decided I have to stop as the charge was empty. Since I got that thing, stuff goes on faster than usual
-
11 hours ago, no3Ljm said:
New promo photos for 1/72 YF-19 Battroid. Looks good.

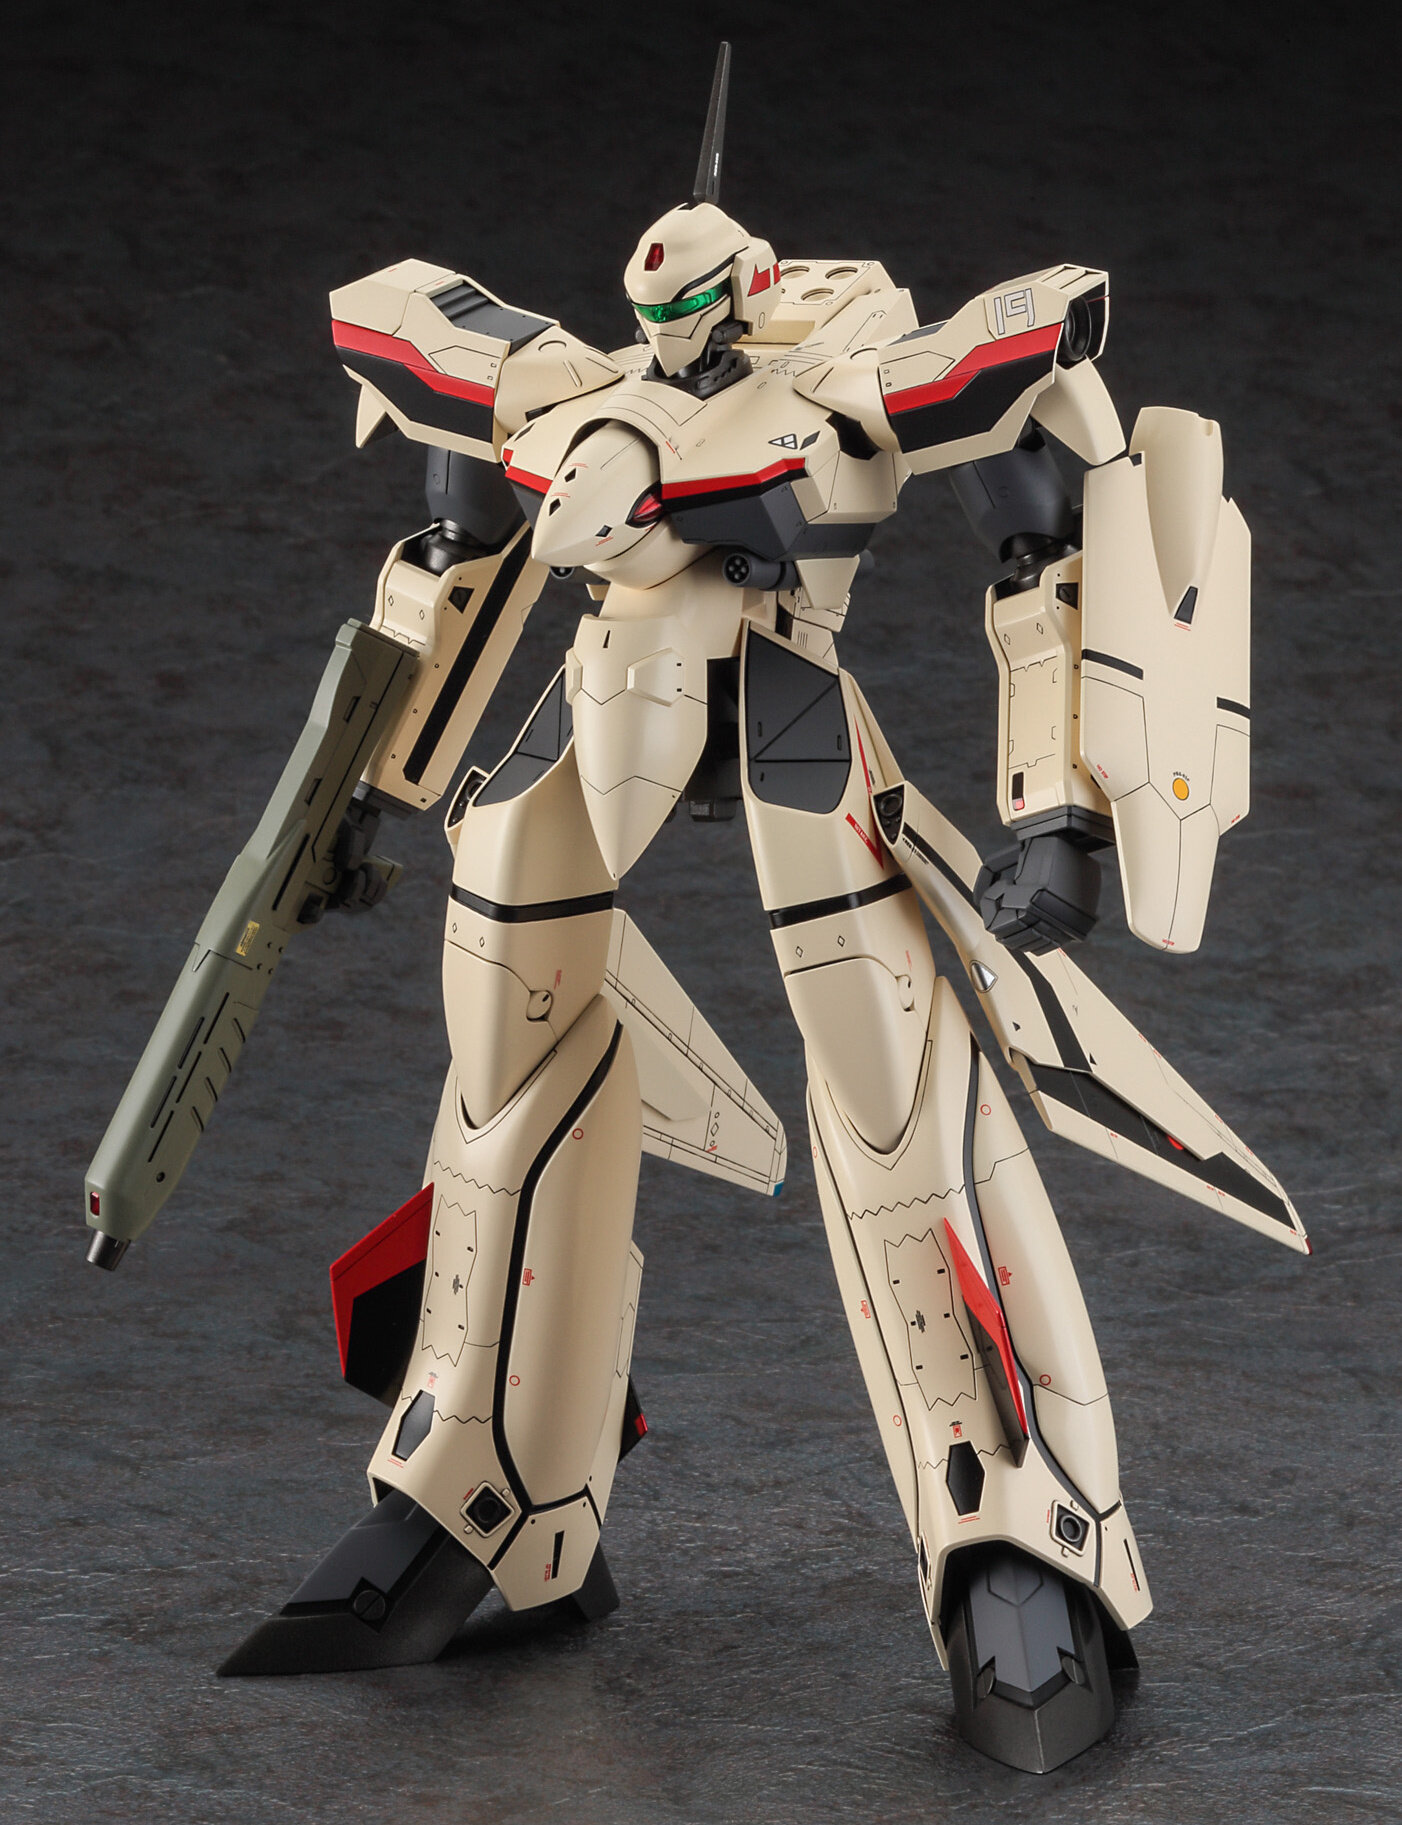
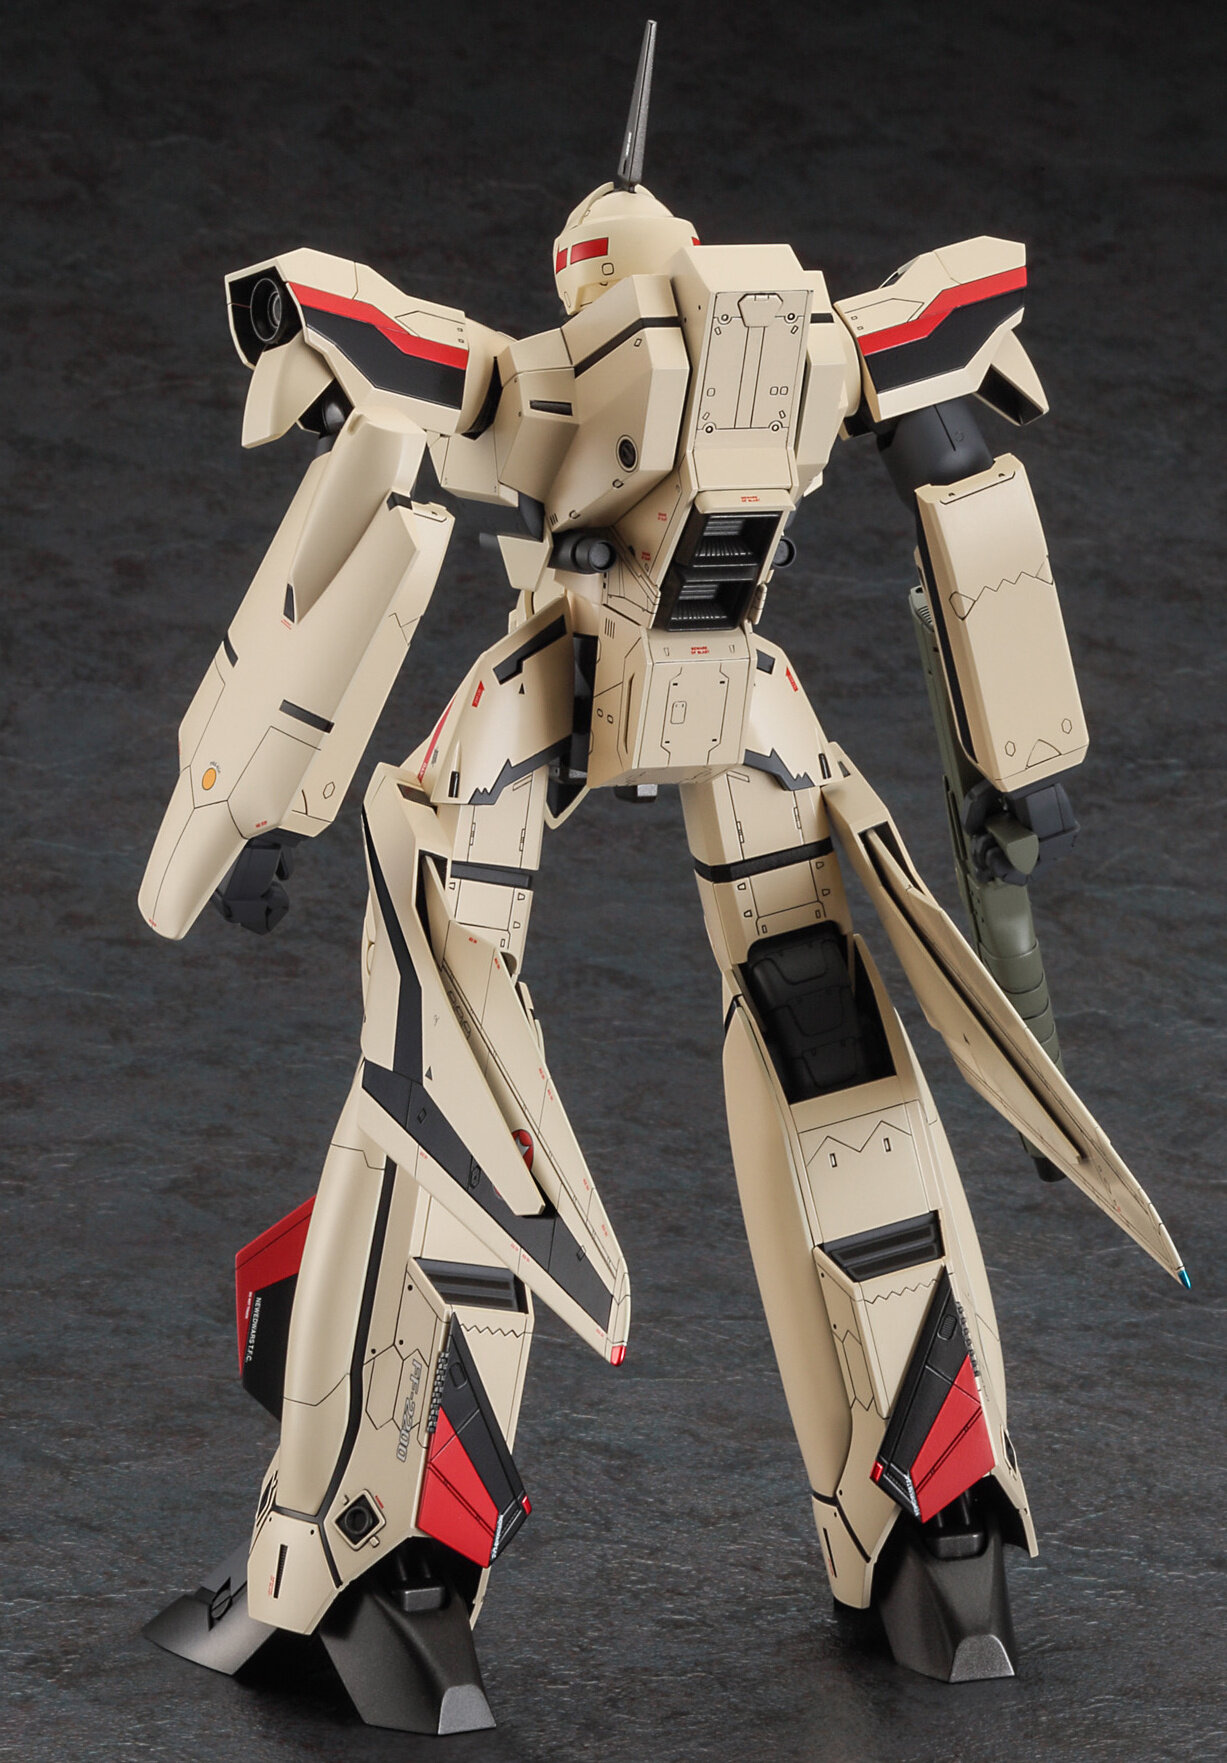
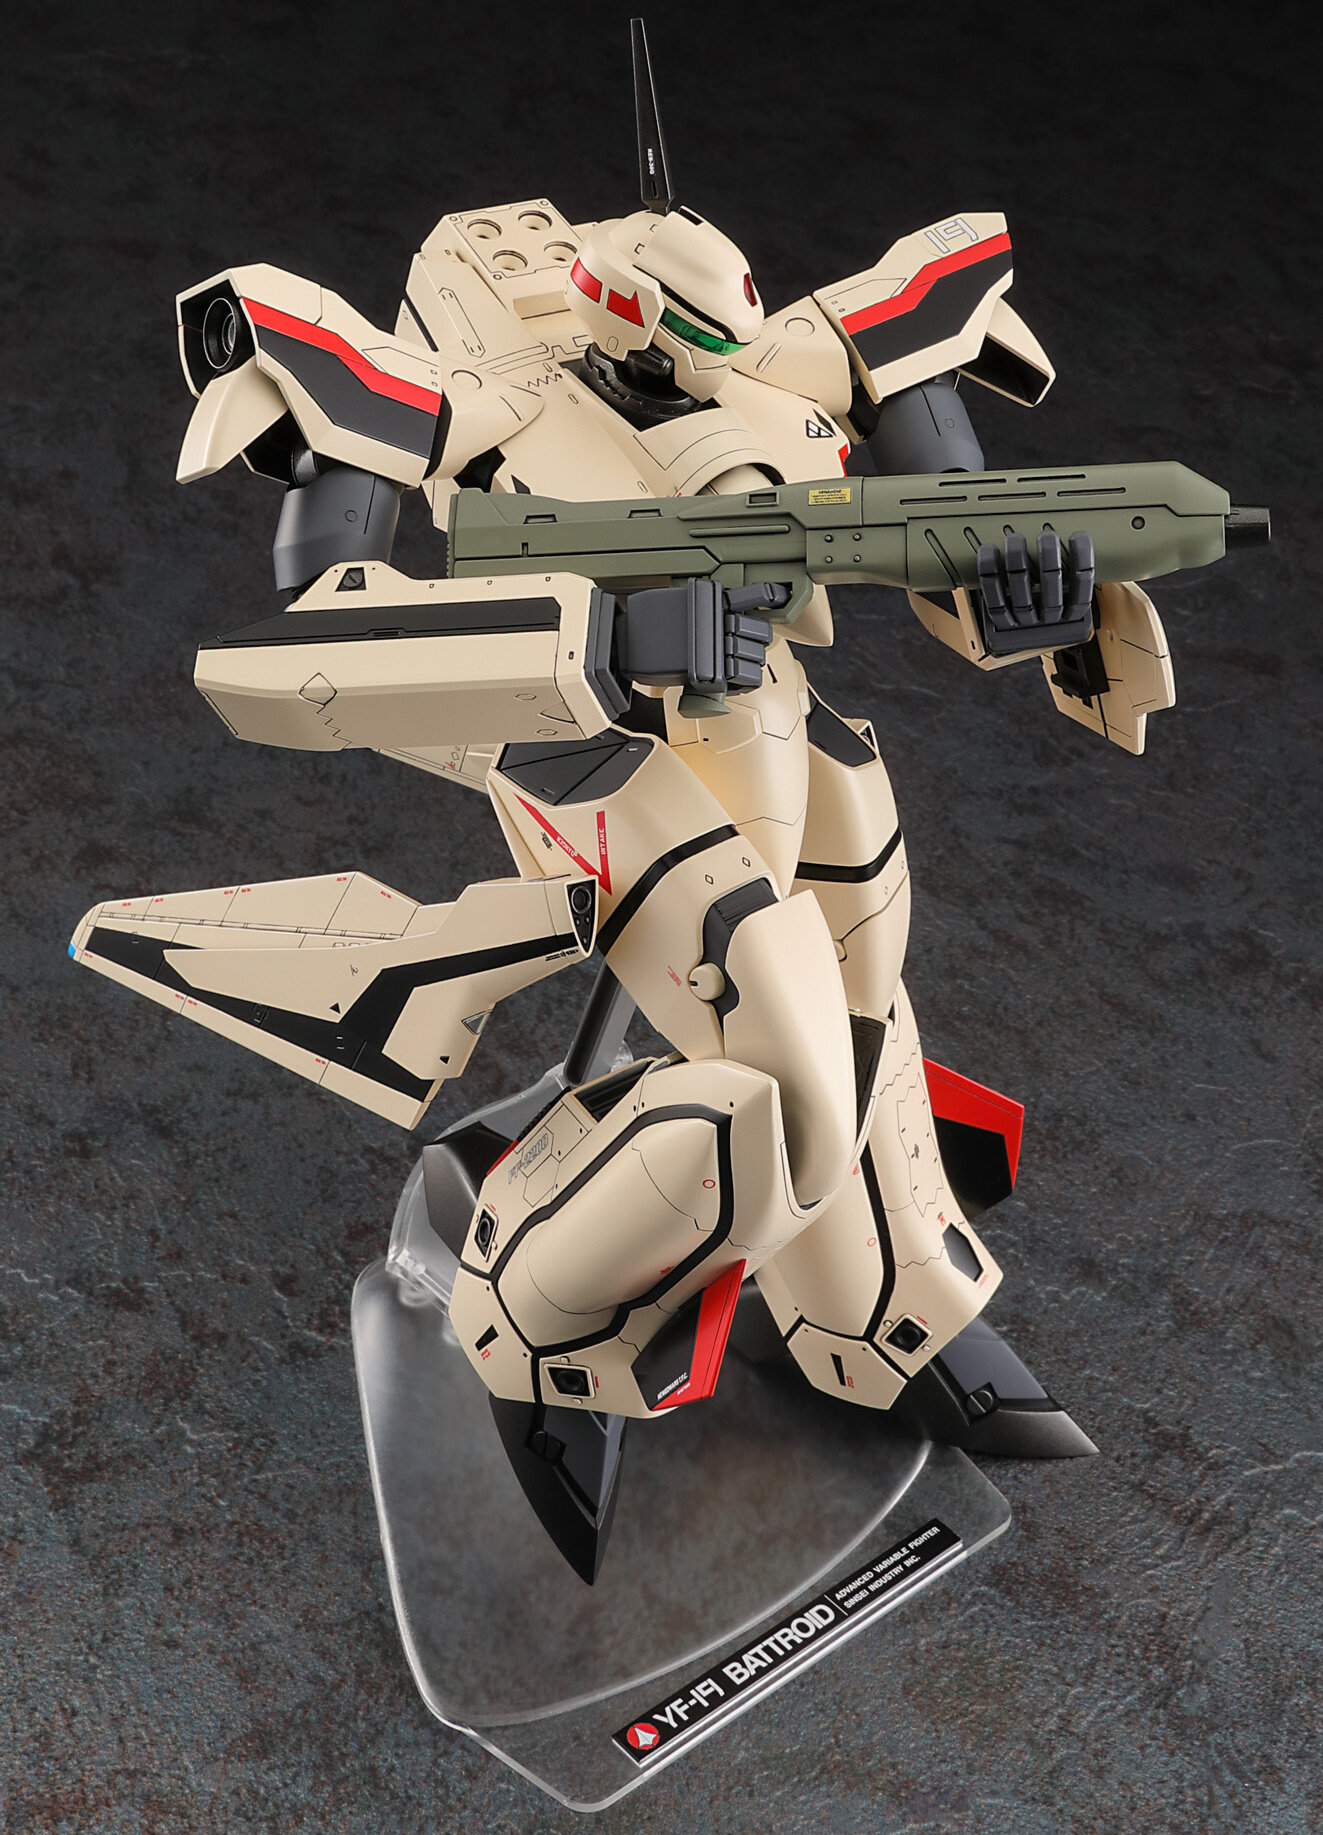
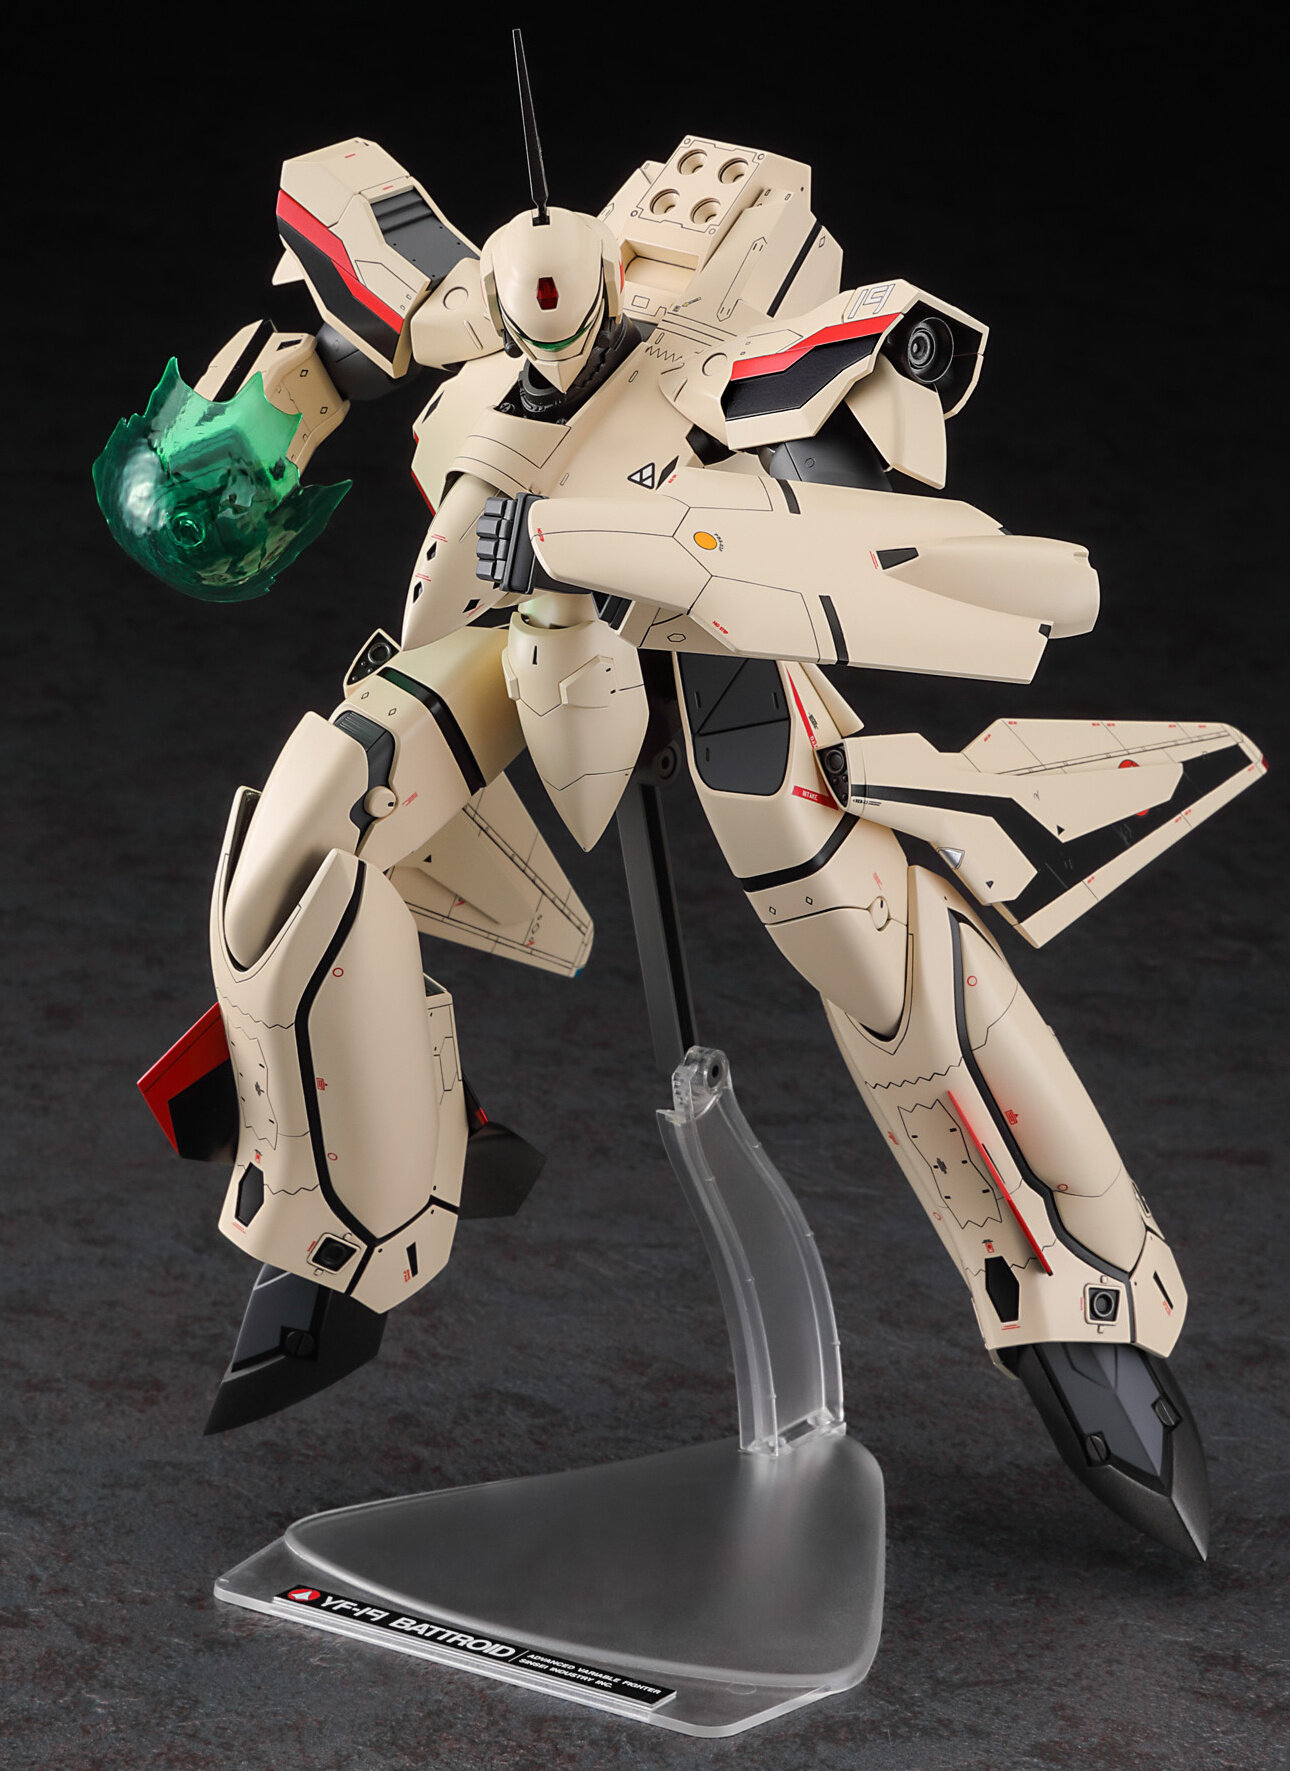
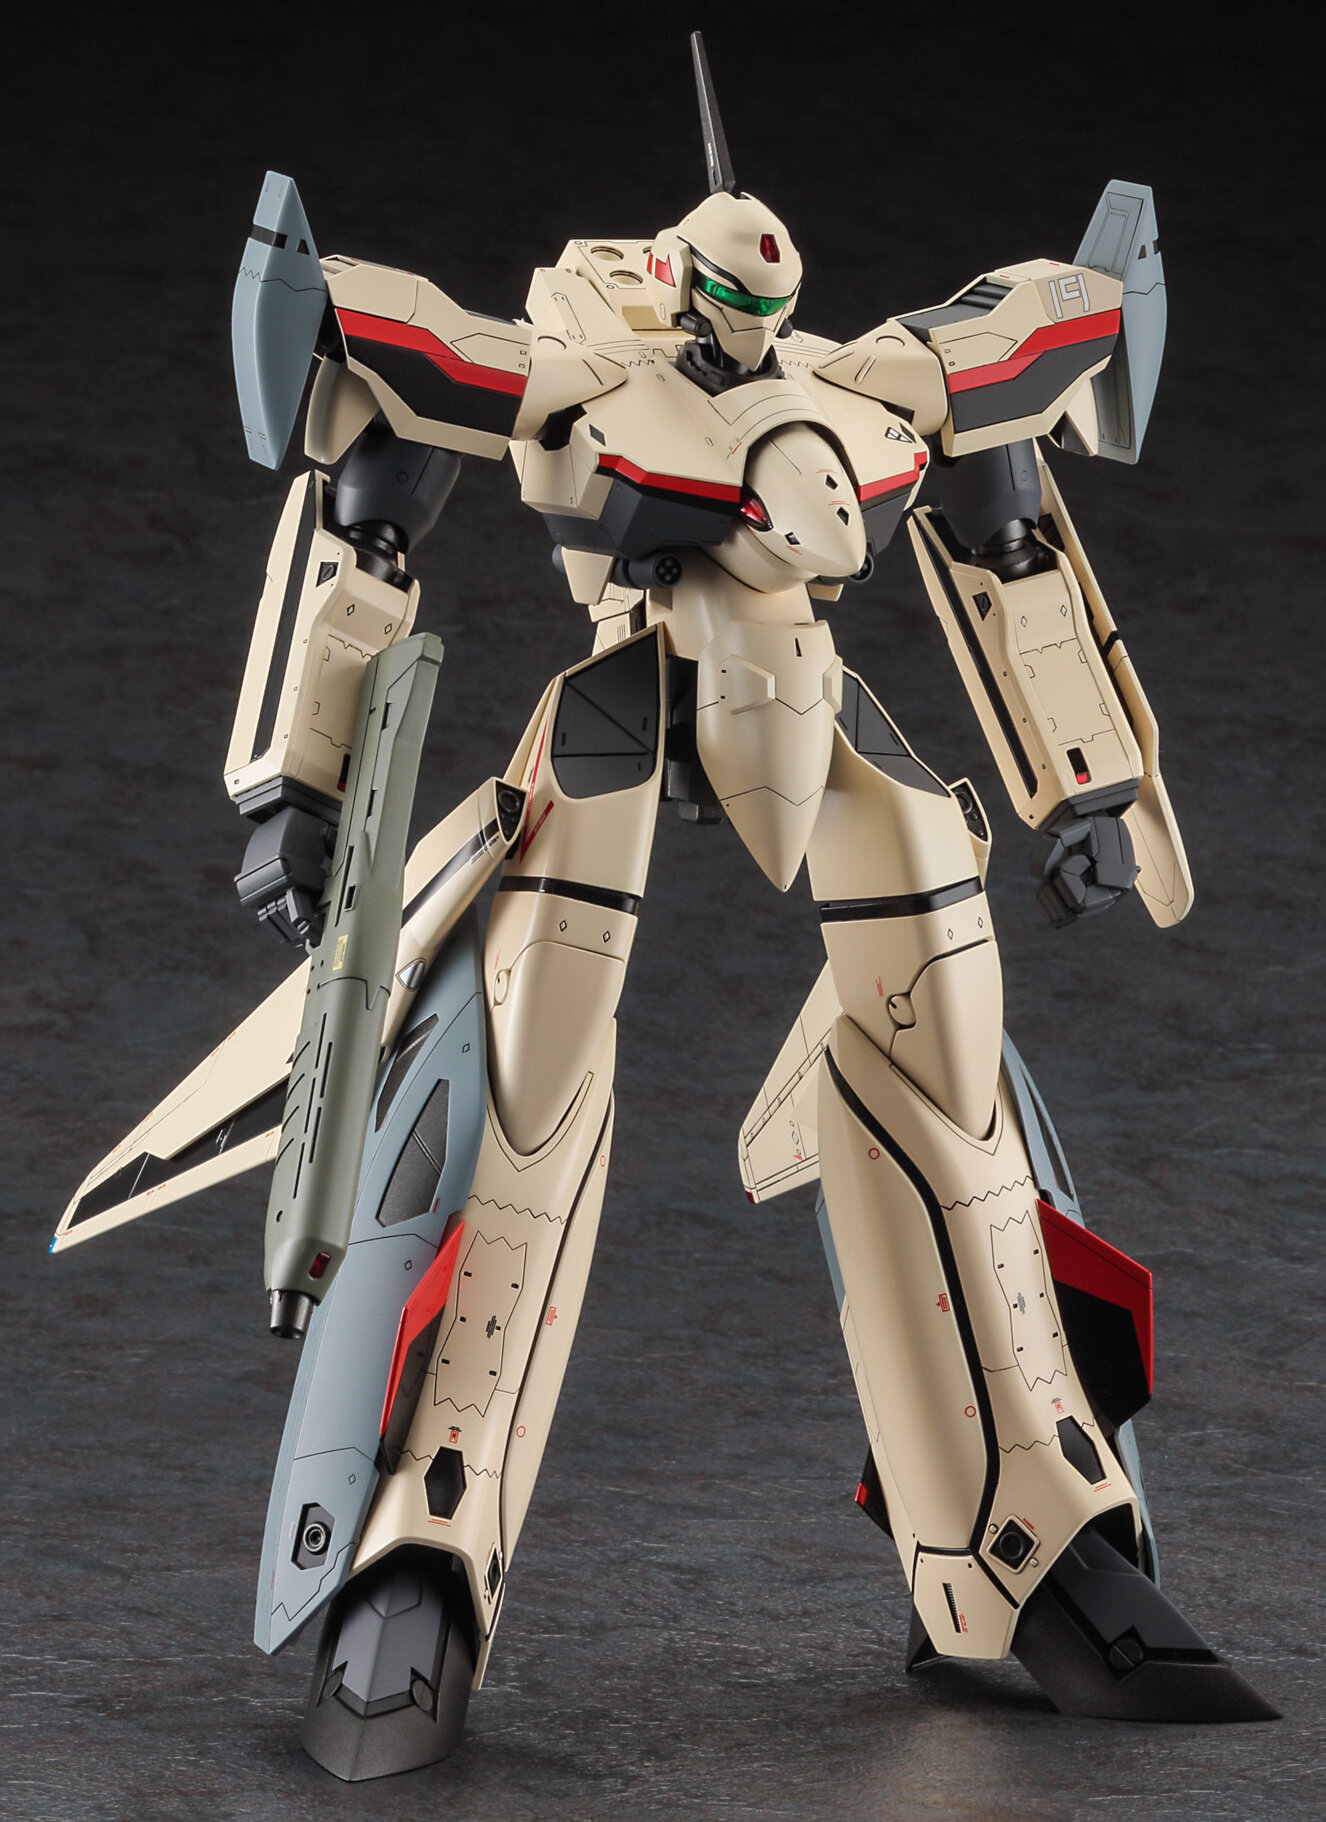
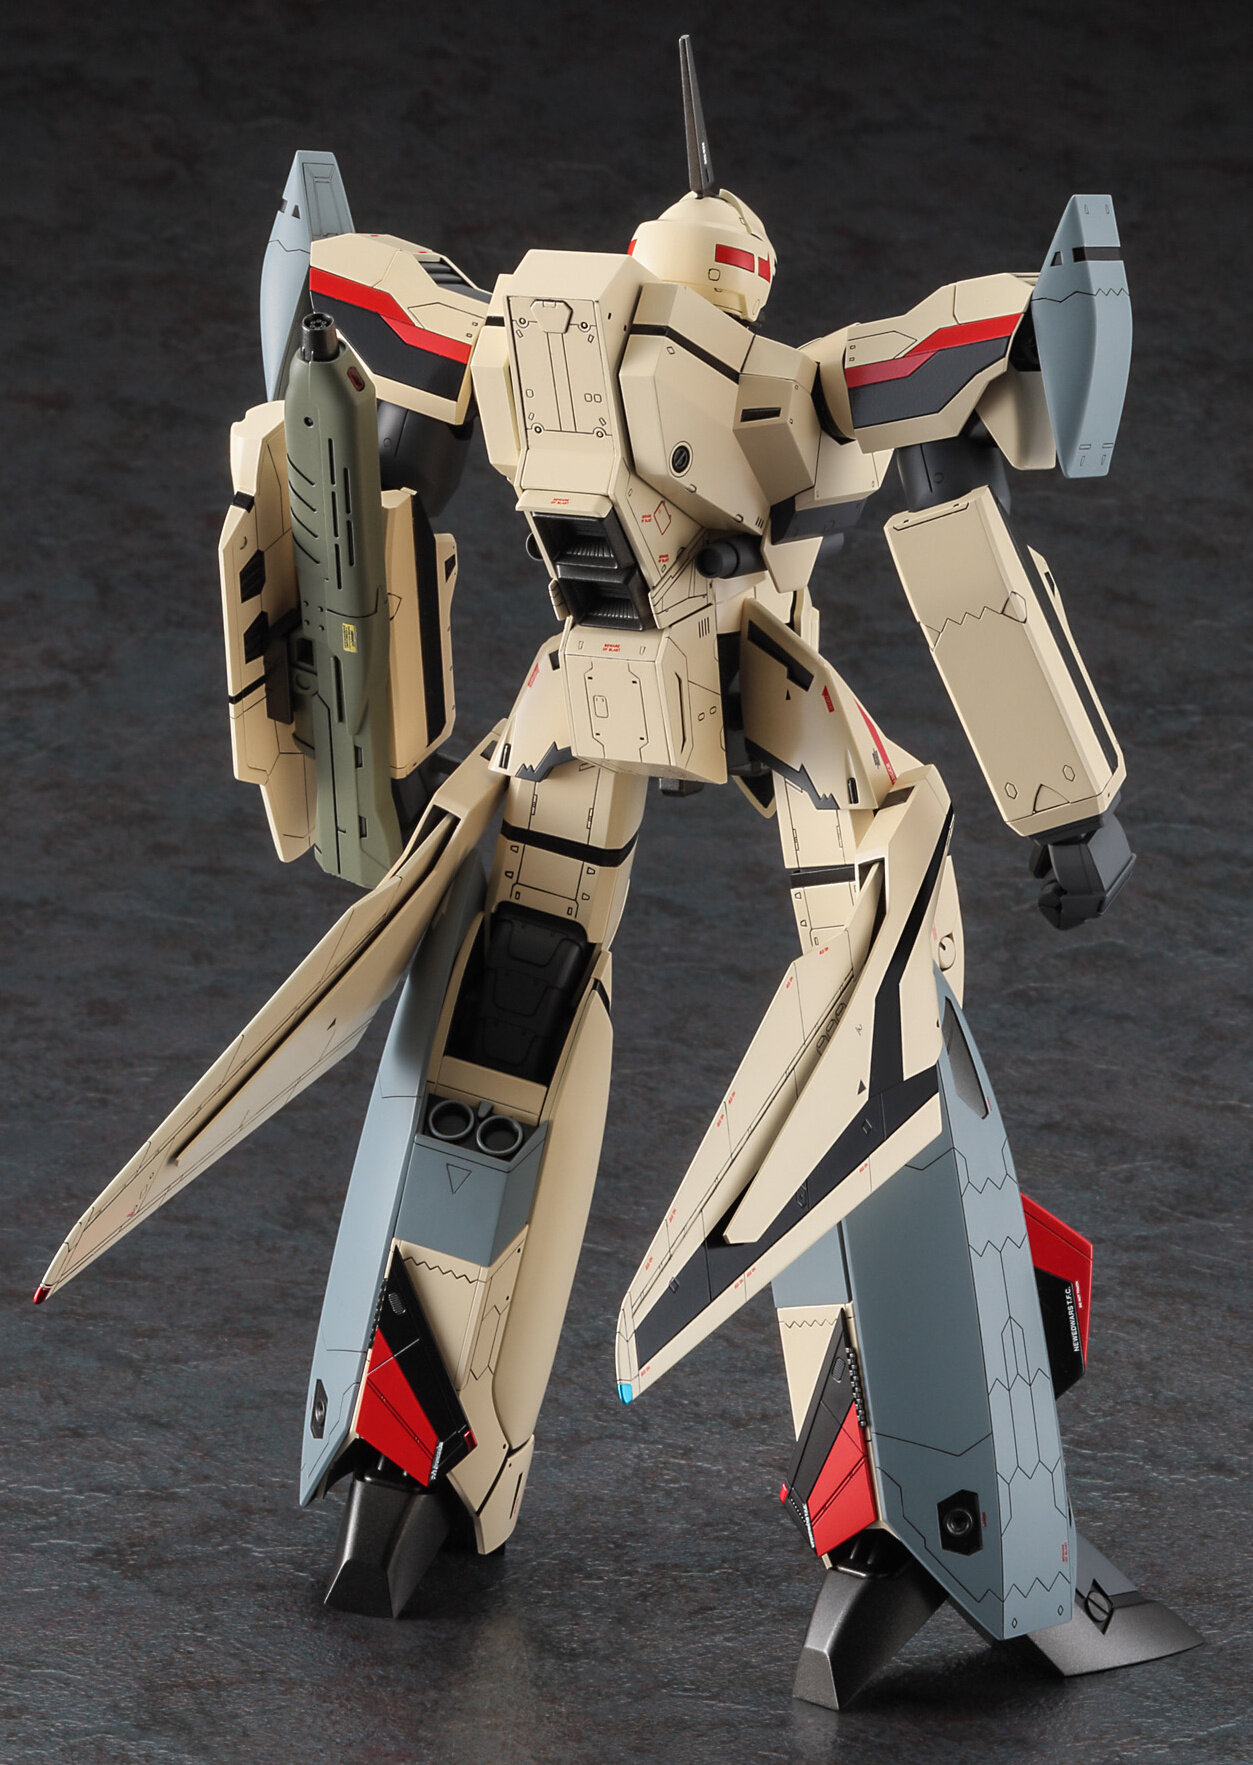
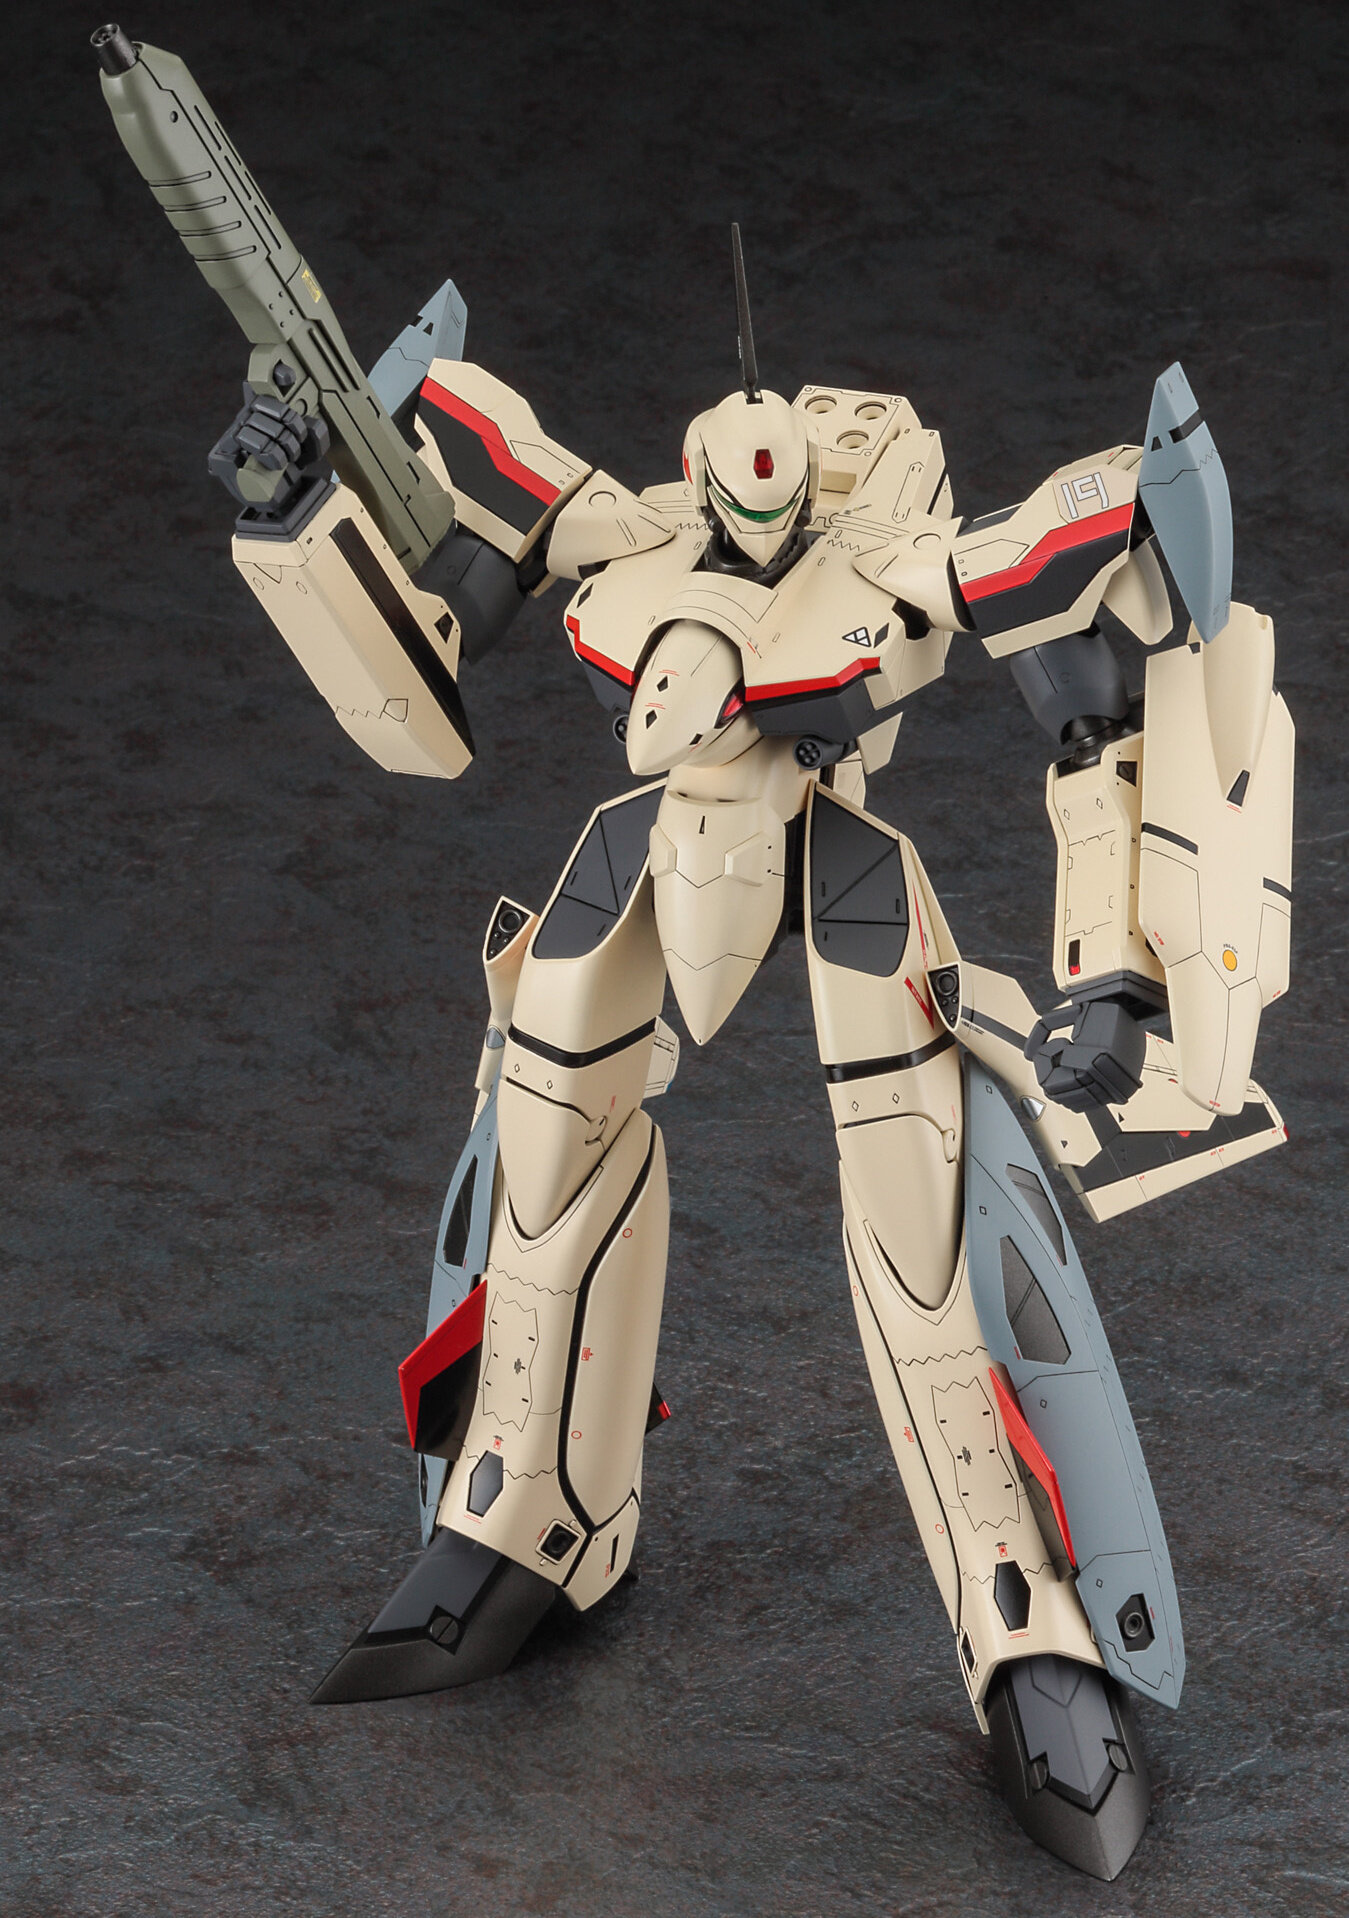

Awww shucks…
I didn’t actually want one, but now I want one. Damn sexy YF-19.
-
1 hour ago, TMBounty_Hunter said:
Seems they're building up hype for May 9th and going to actually reveal things at a webcast during Shizuoka Hobby Show weekend
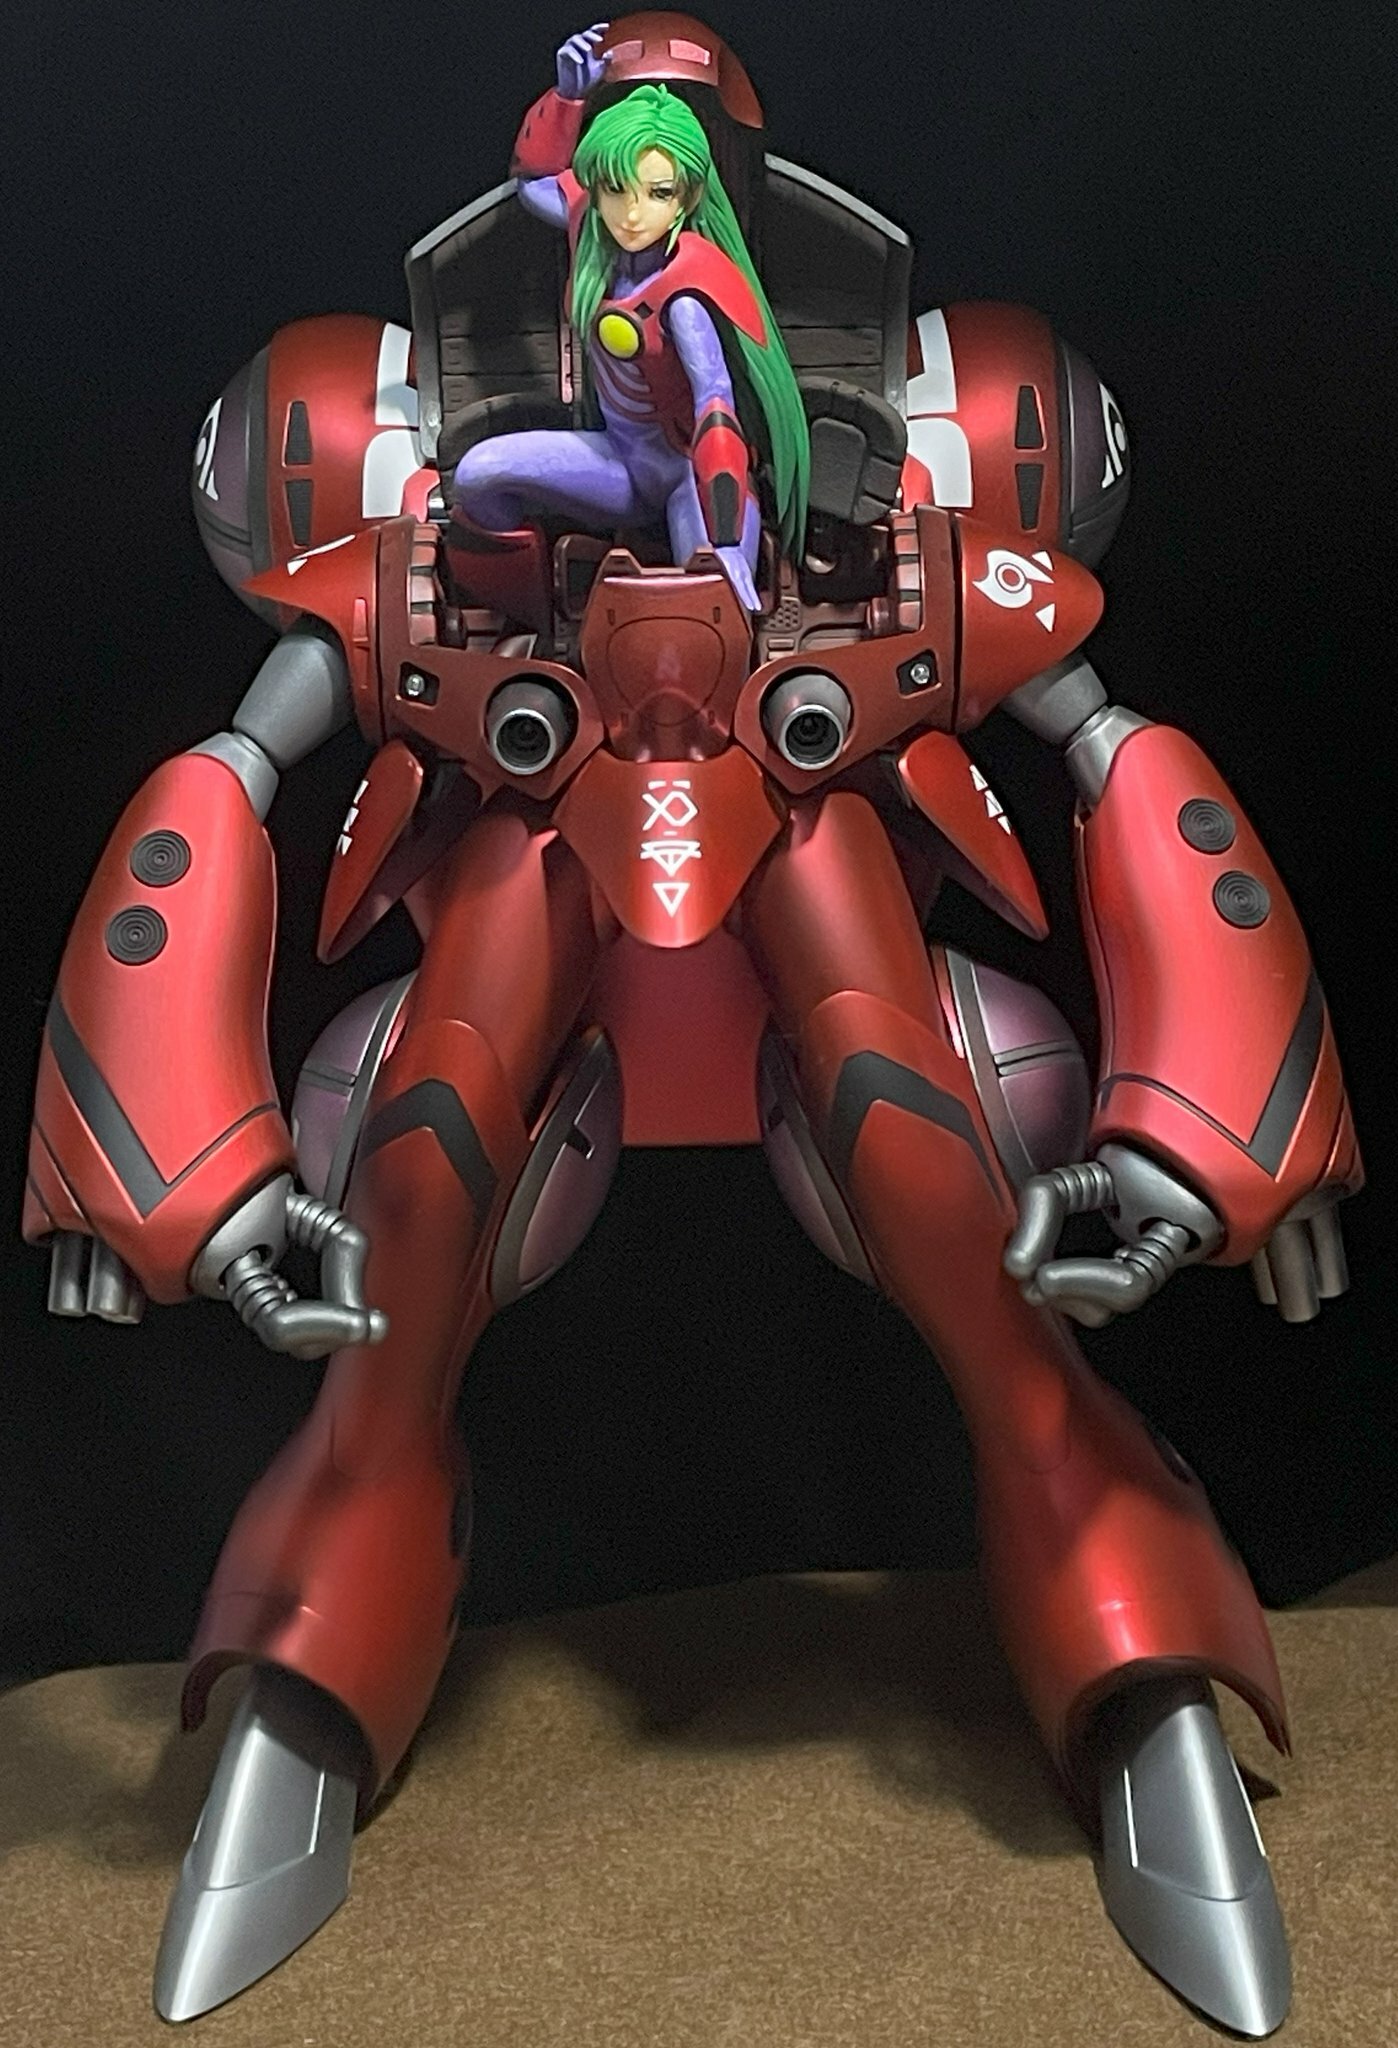
Yeah… was reading the news on the macross page and was disappointed. So, skull squadron themed lobster it is…
-
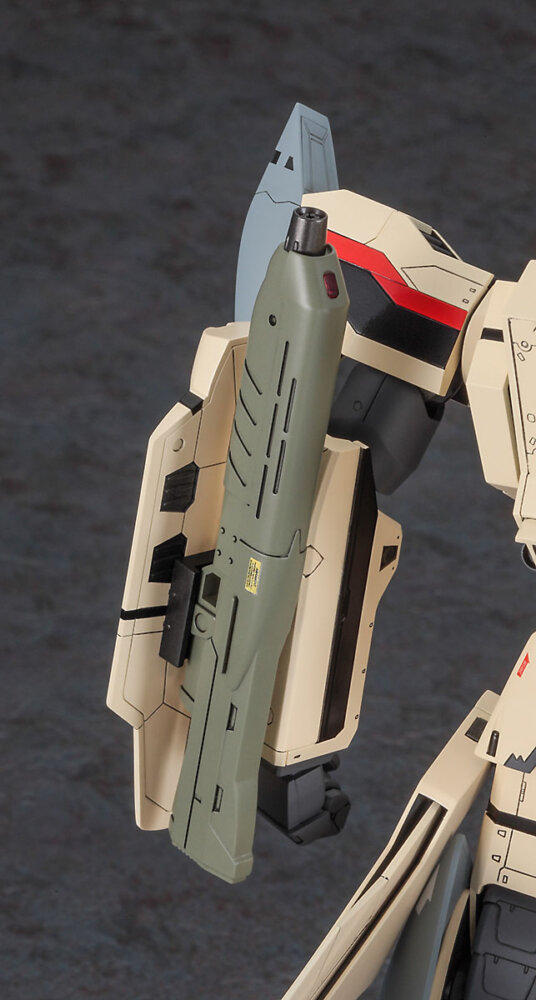
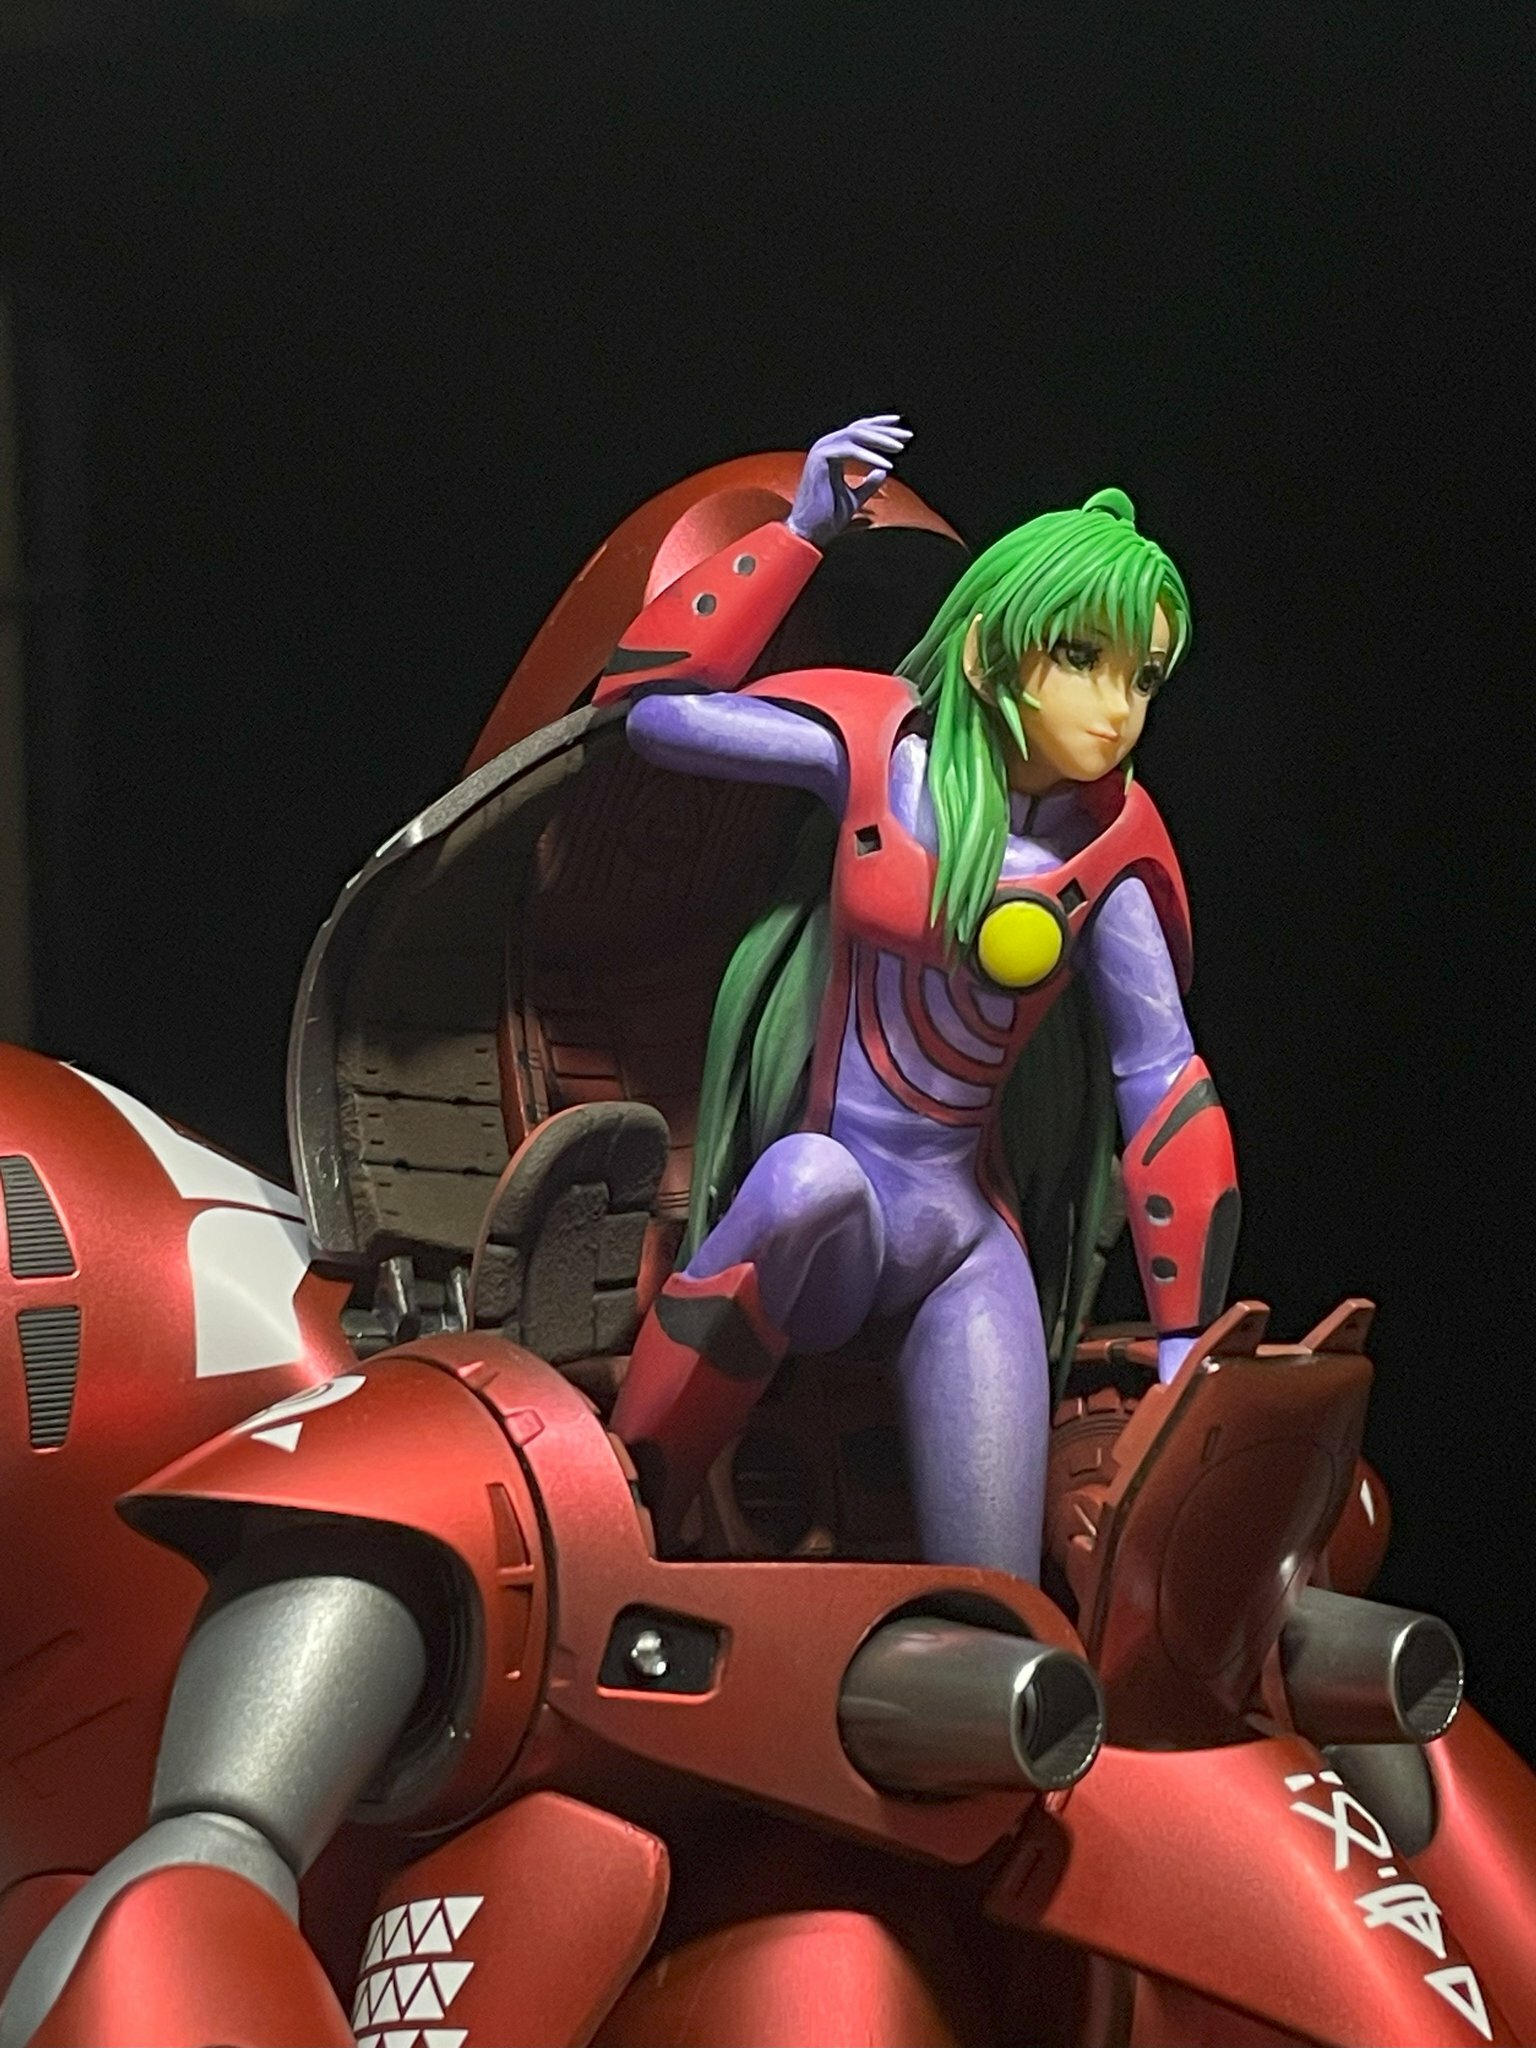
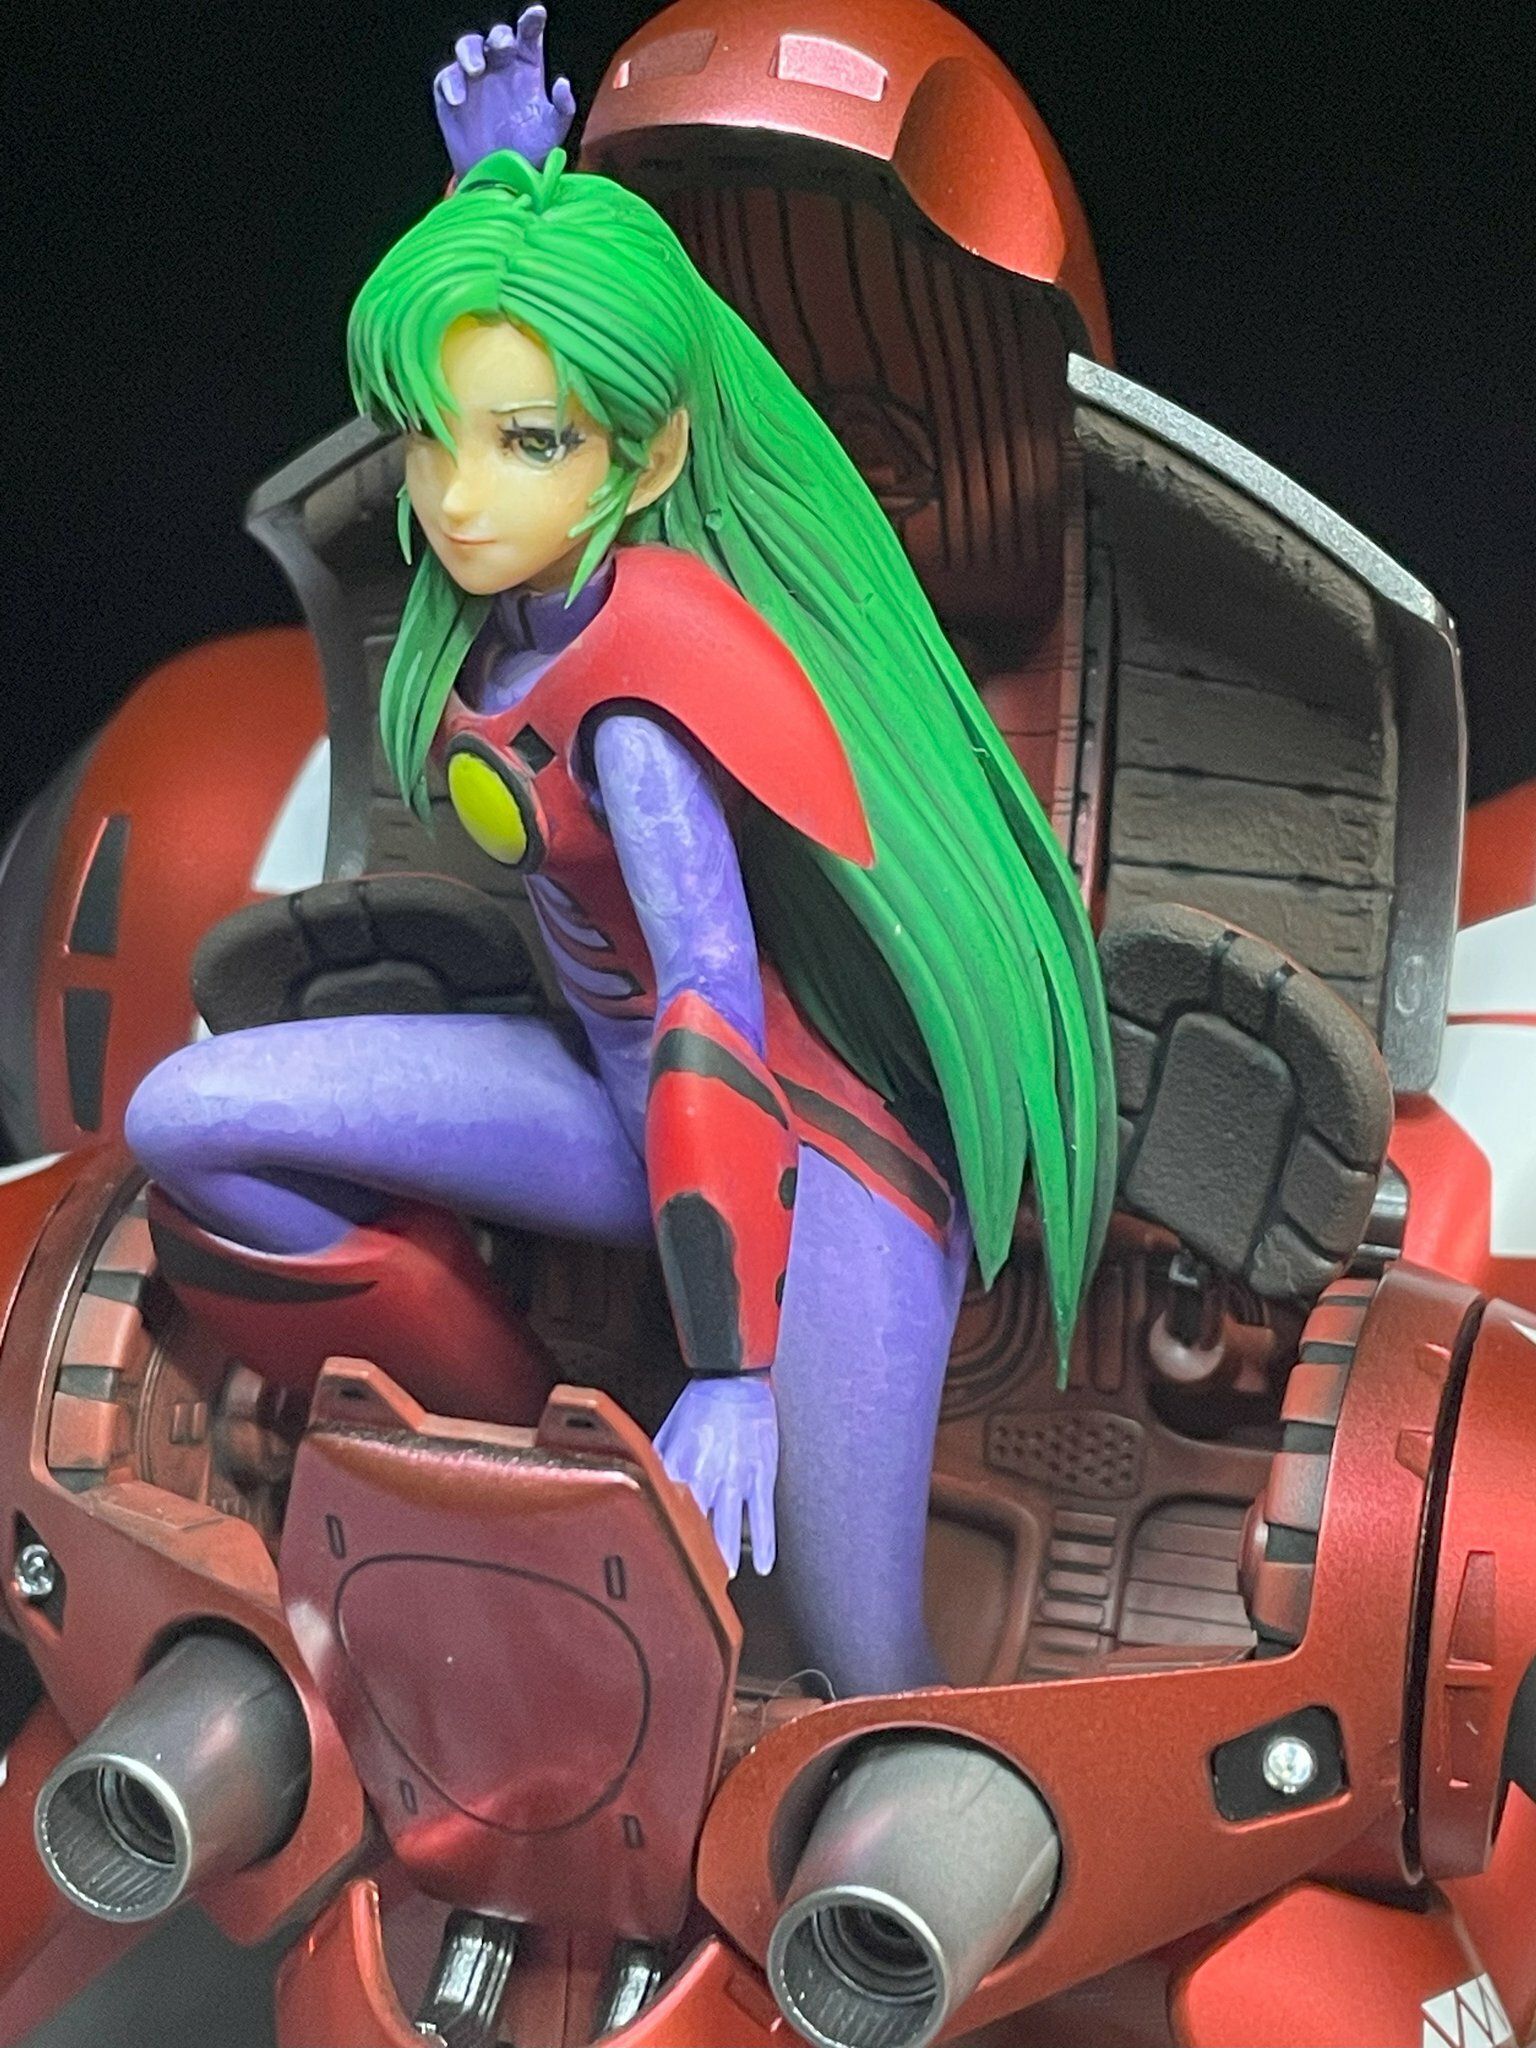
That is a sweet looking cockpit
Keep up the good work!
-
15 hours ago, pengbuzz said:
UPDATE: some long overdue progress shots:
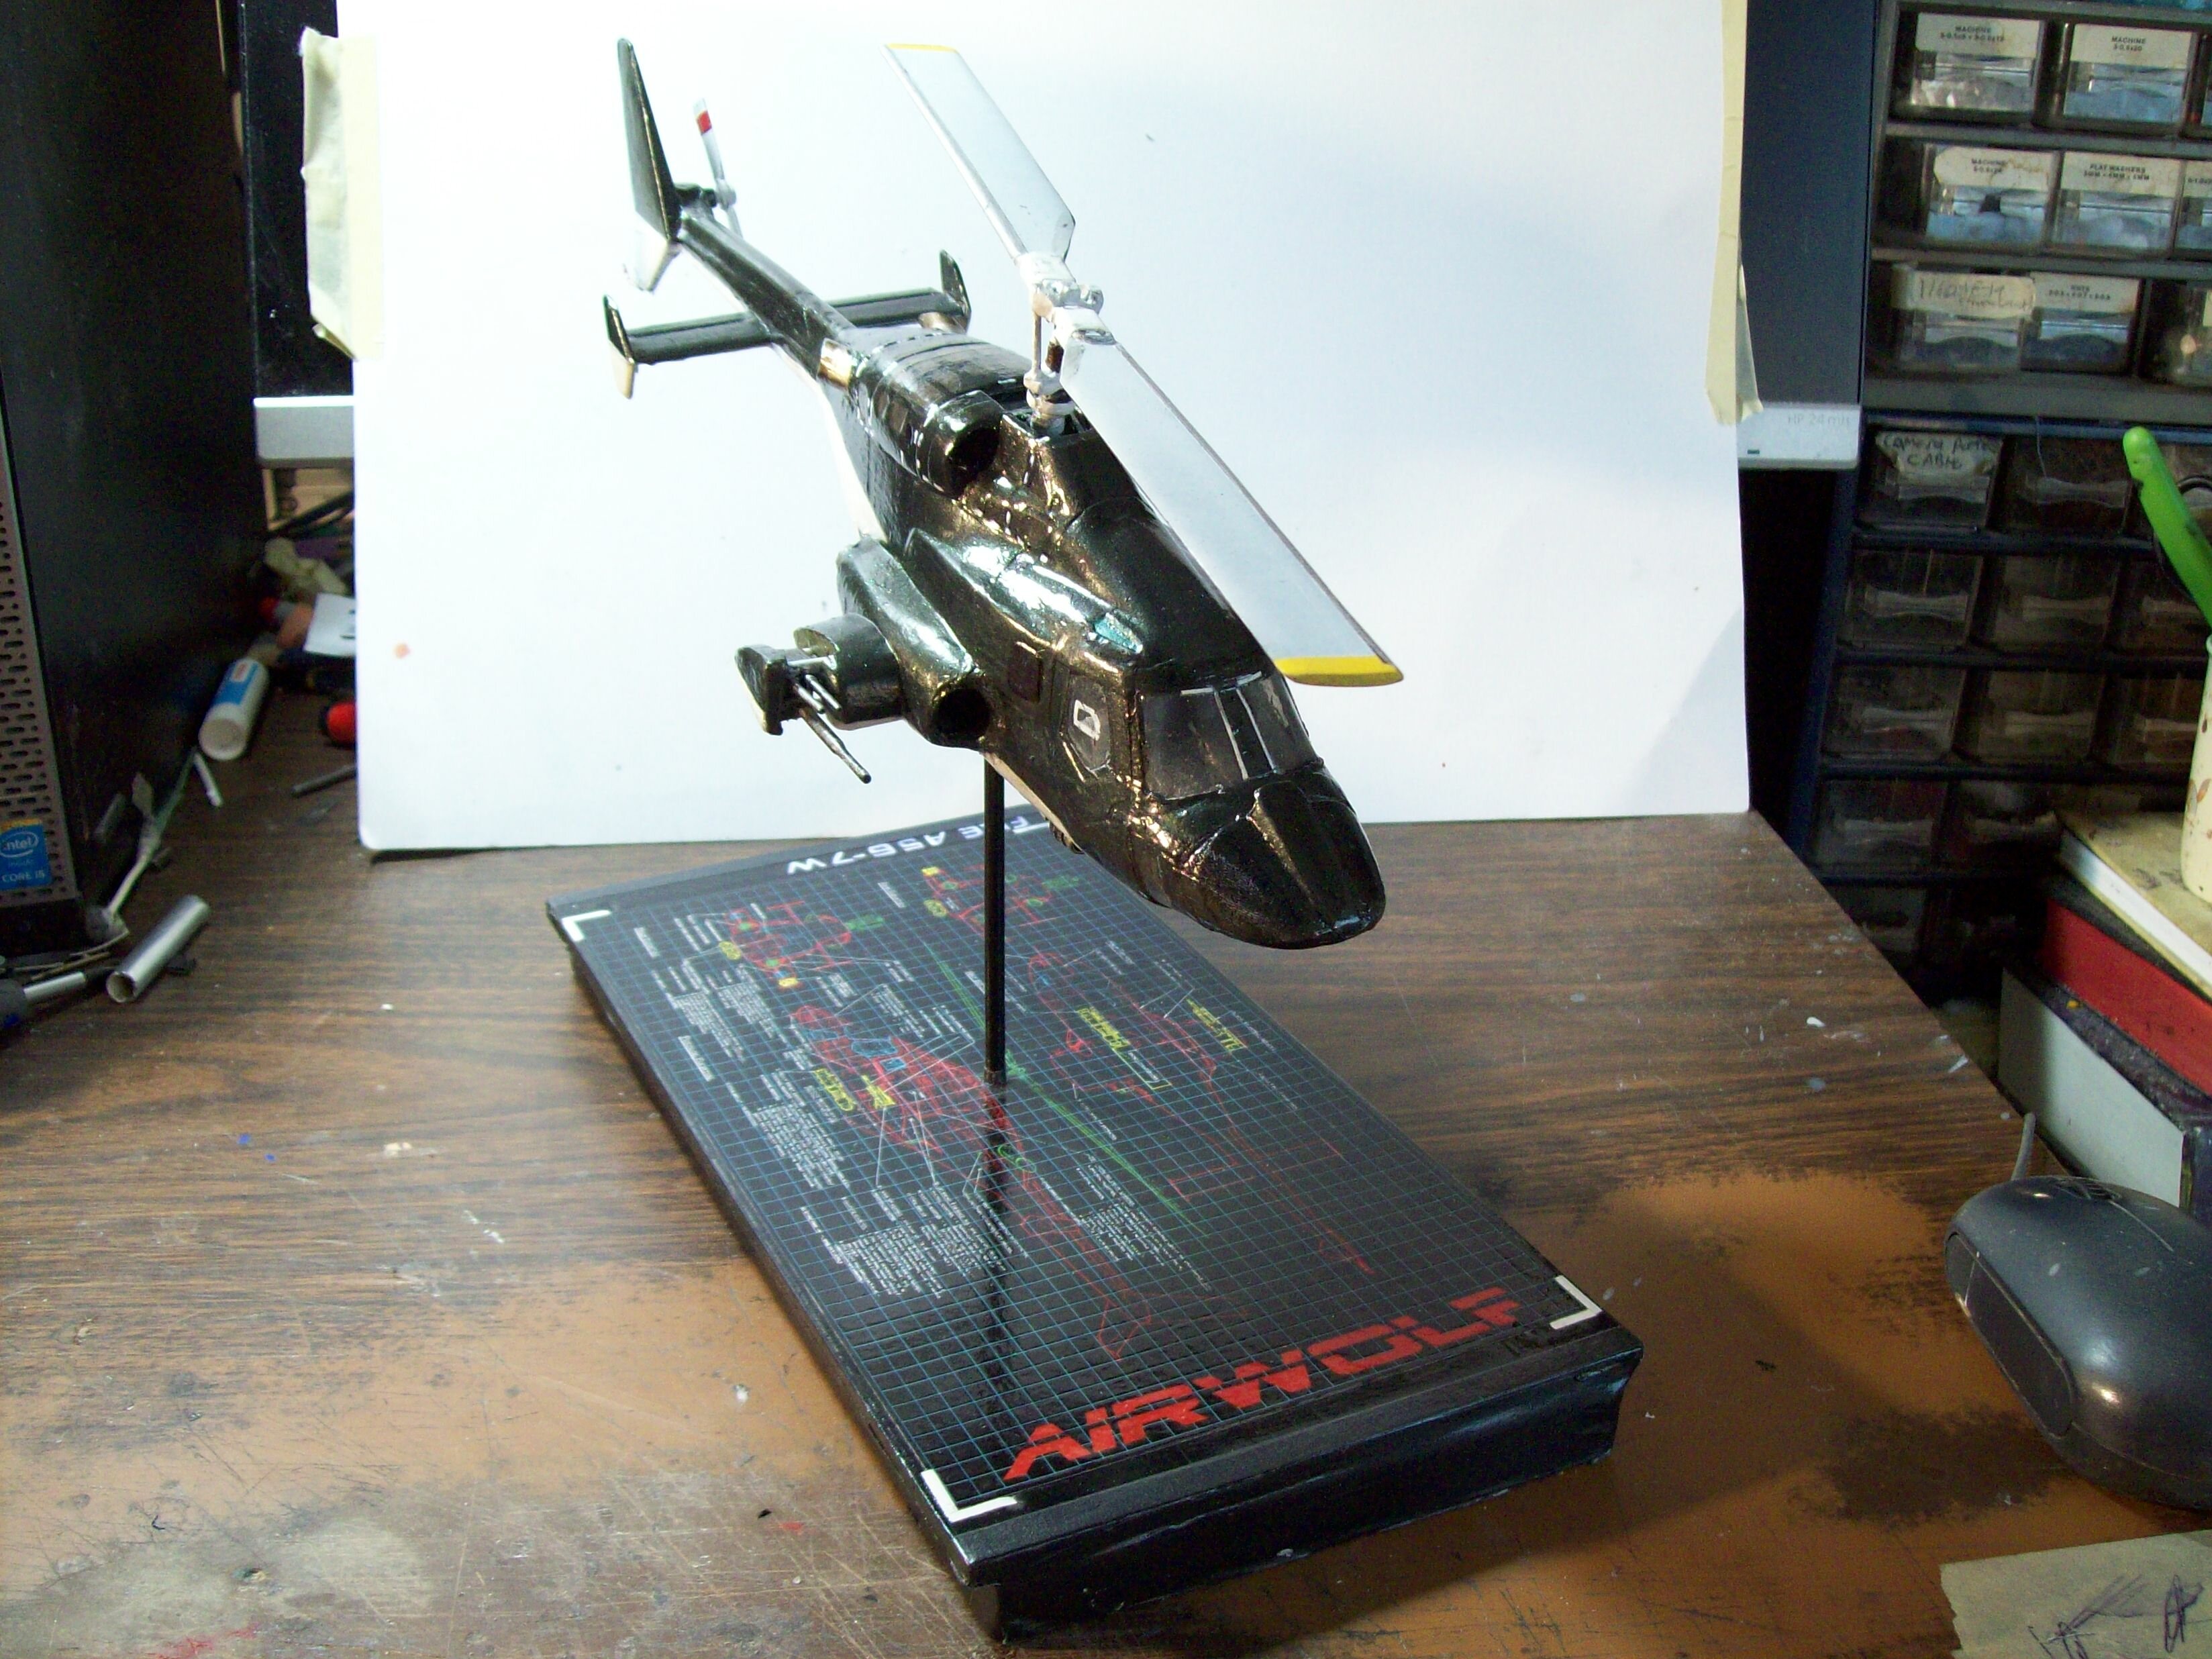
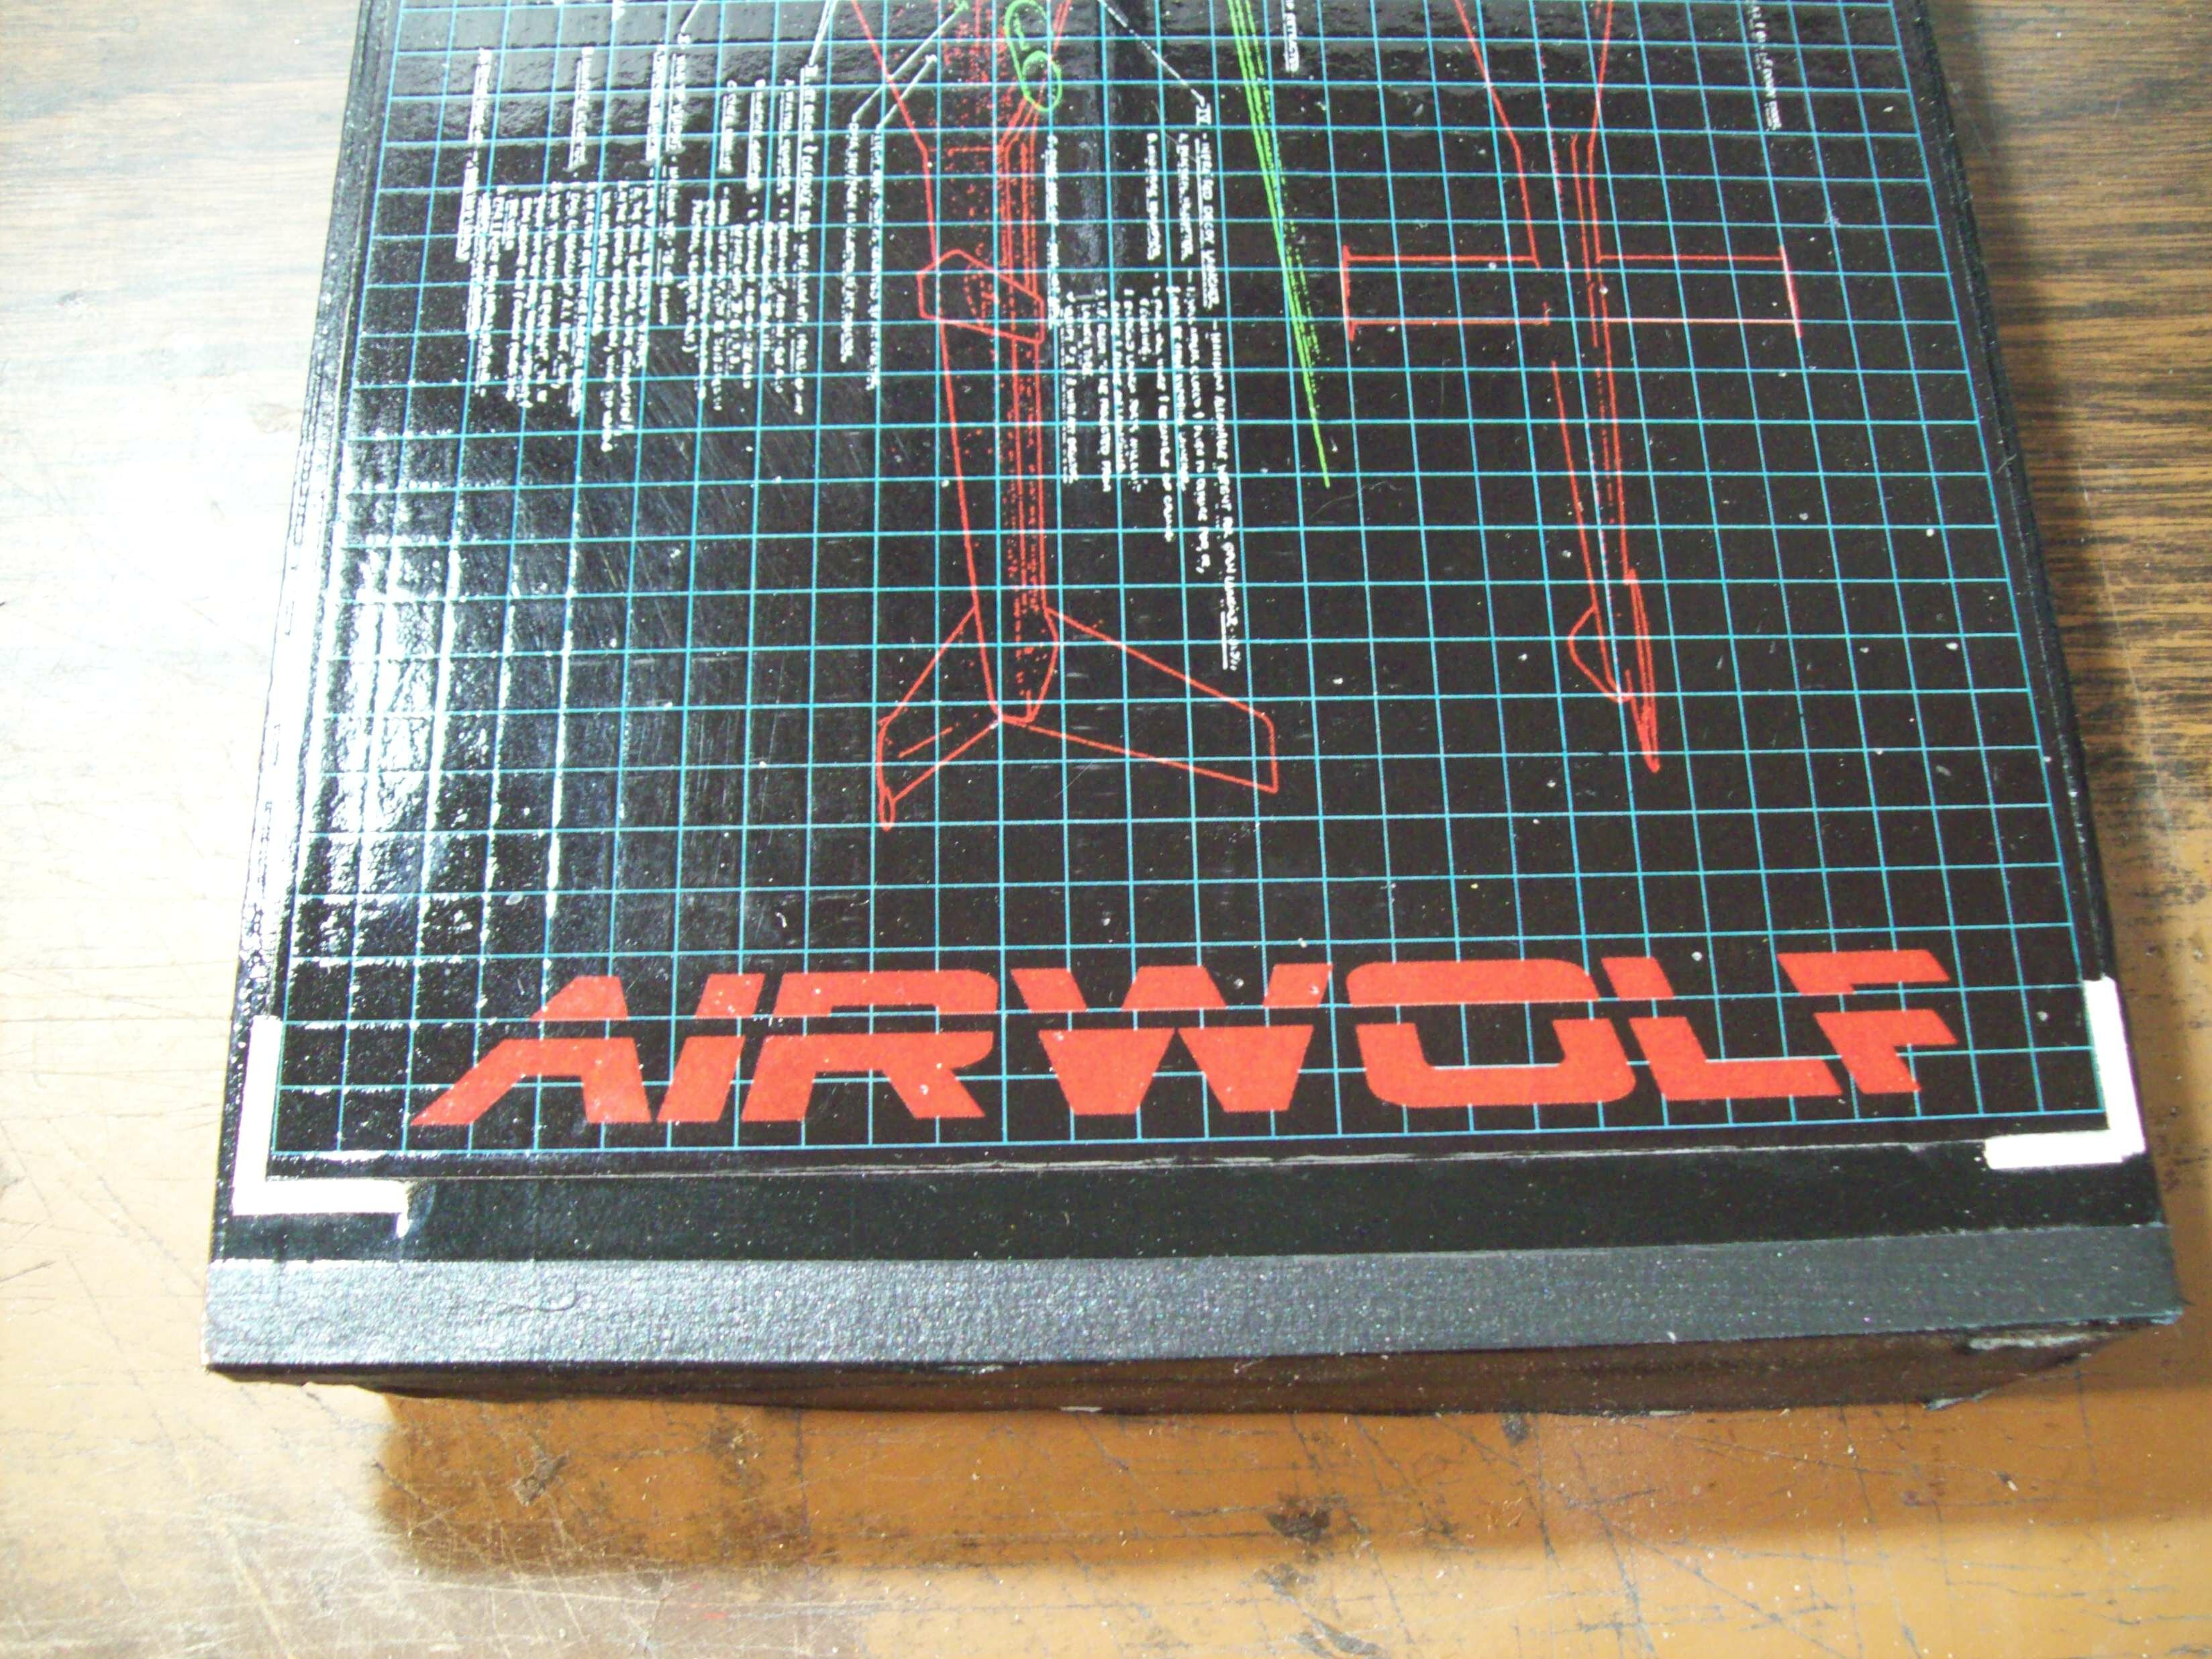
Final configuration for the stand base:

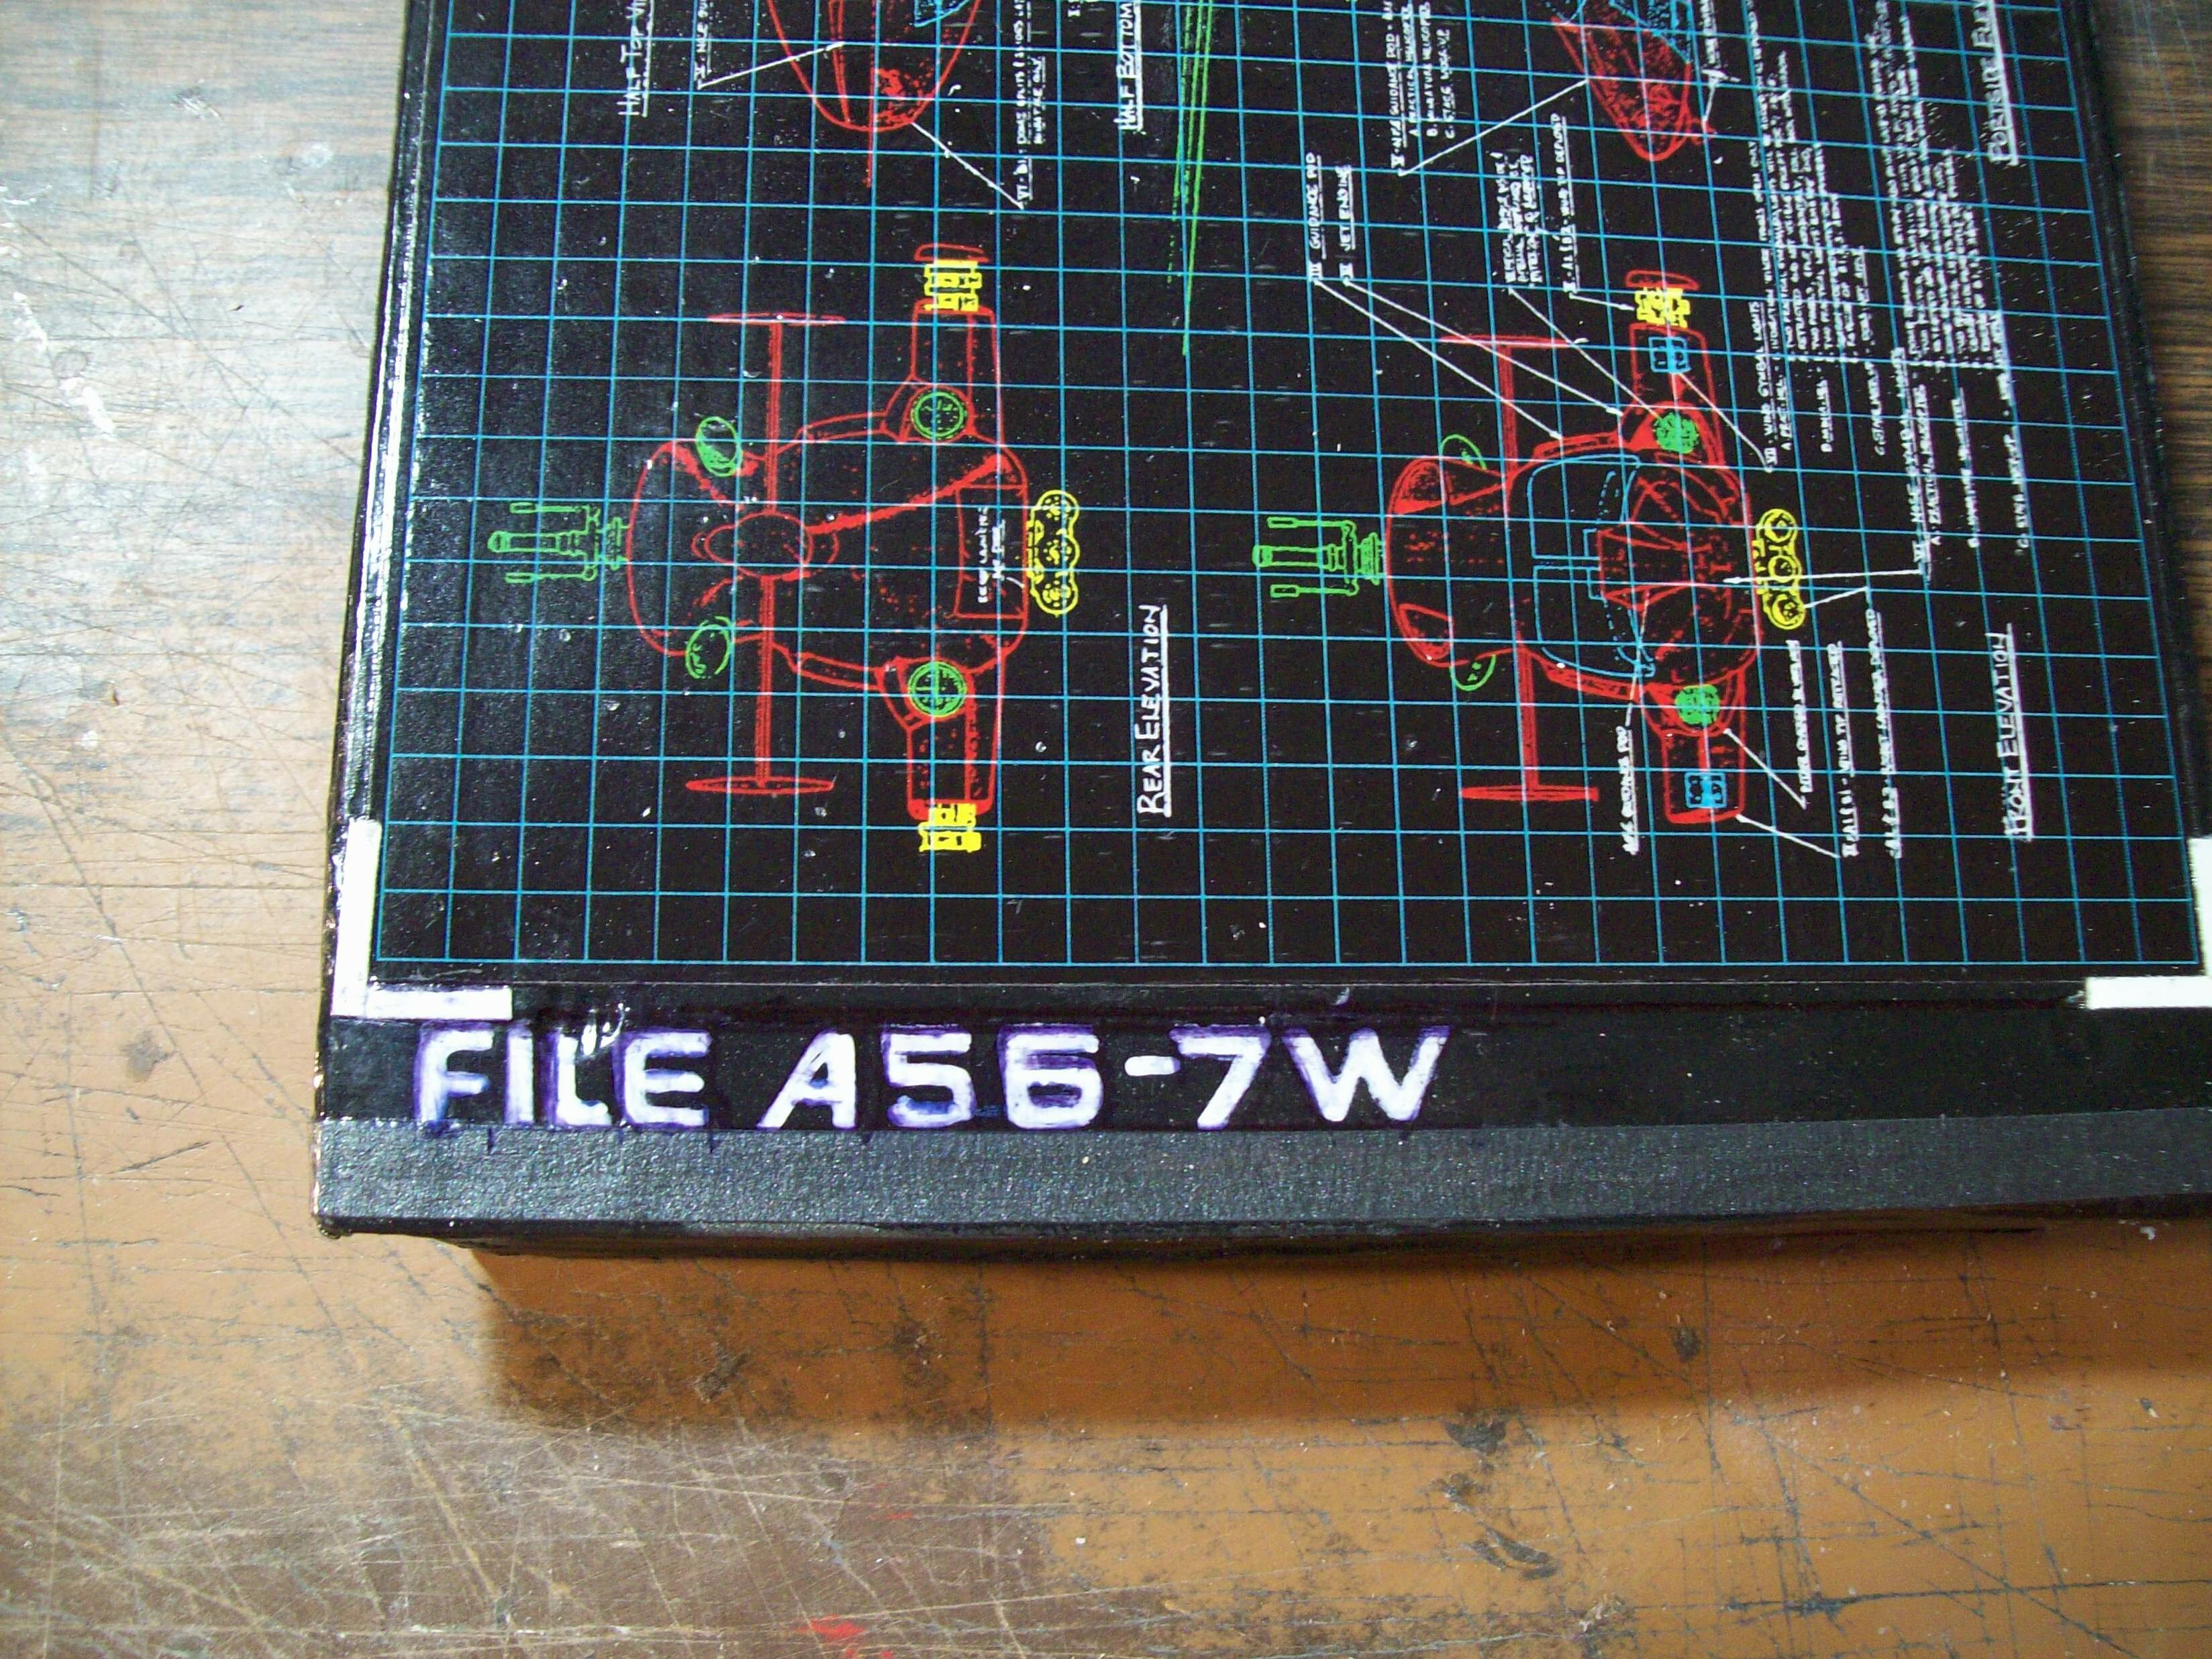
Main logo and the file number from the series' briefing (at the start of the S1 episodes, IIRC):
A pic with the unextended sponson ends attached:
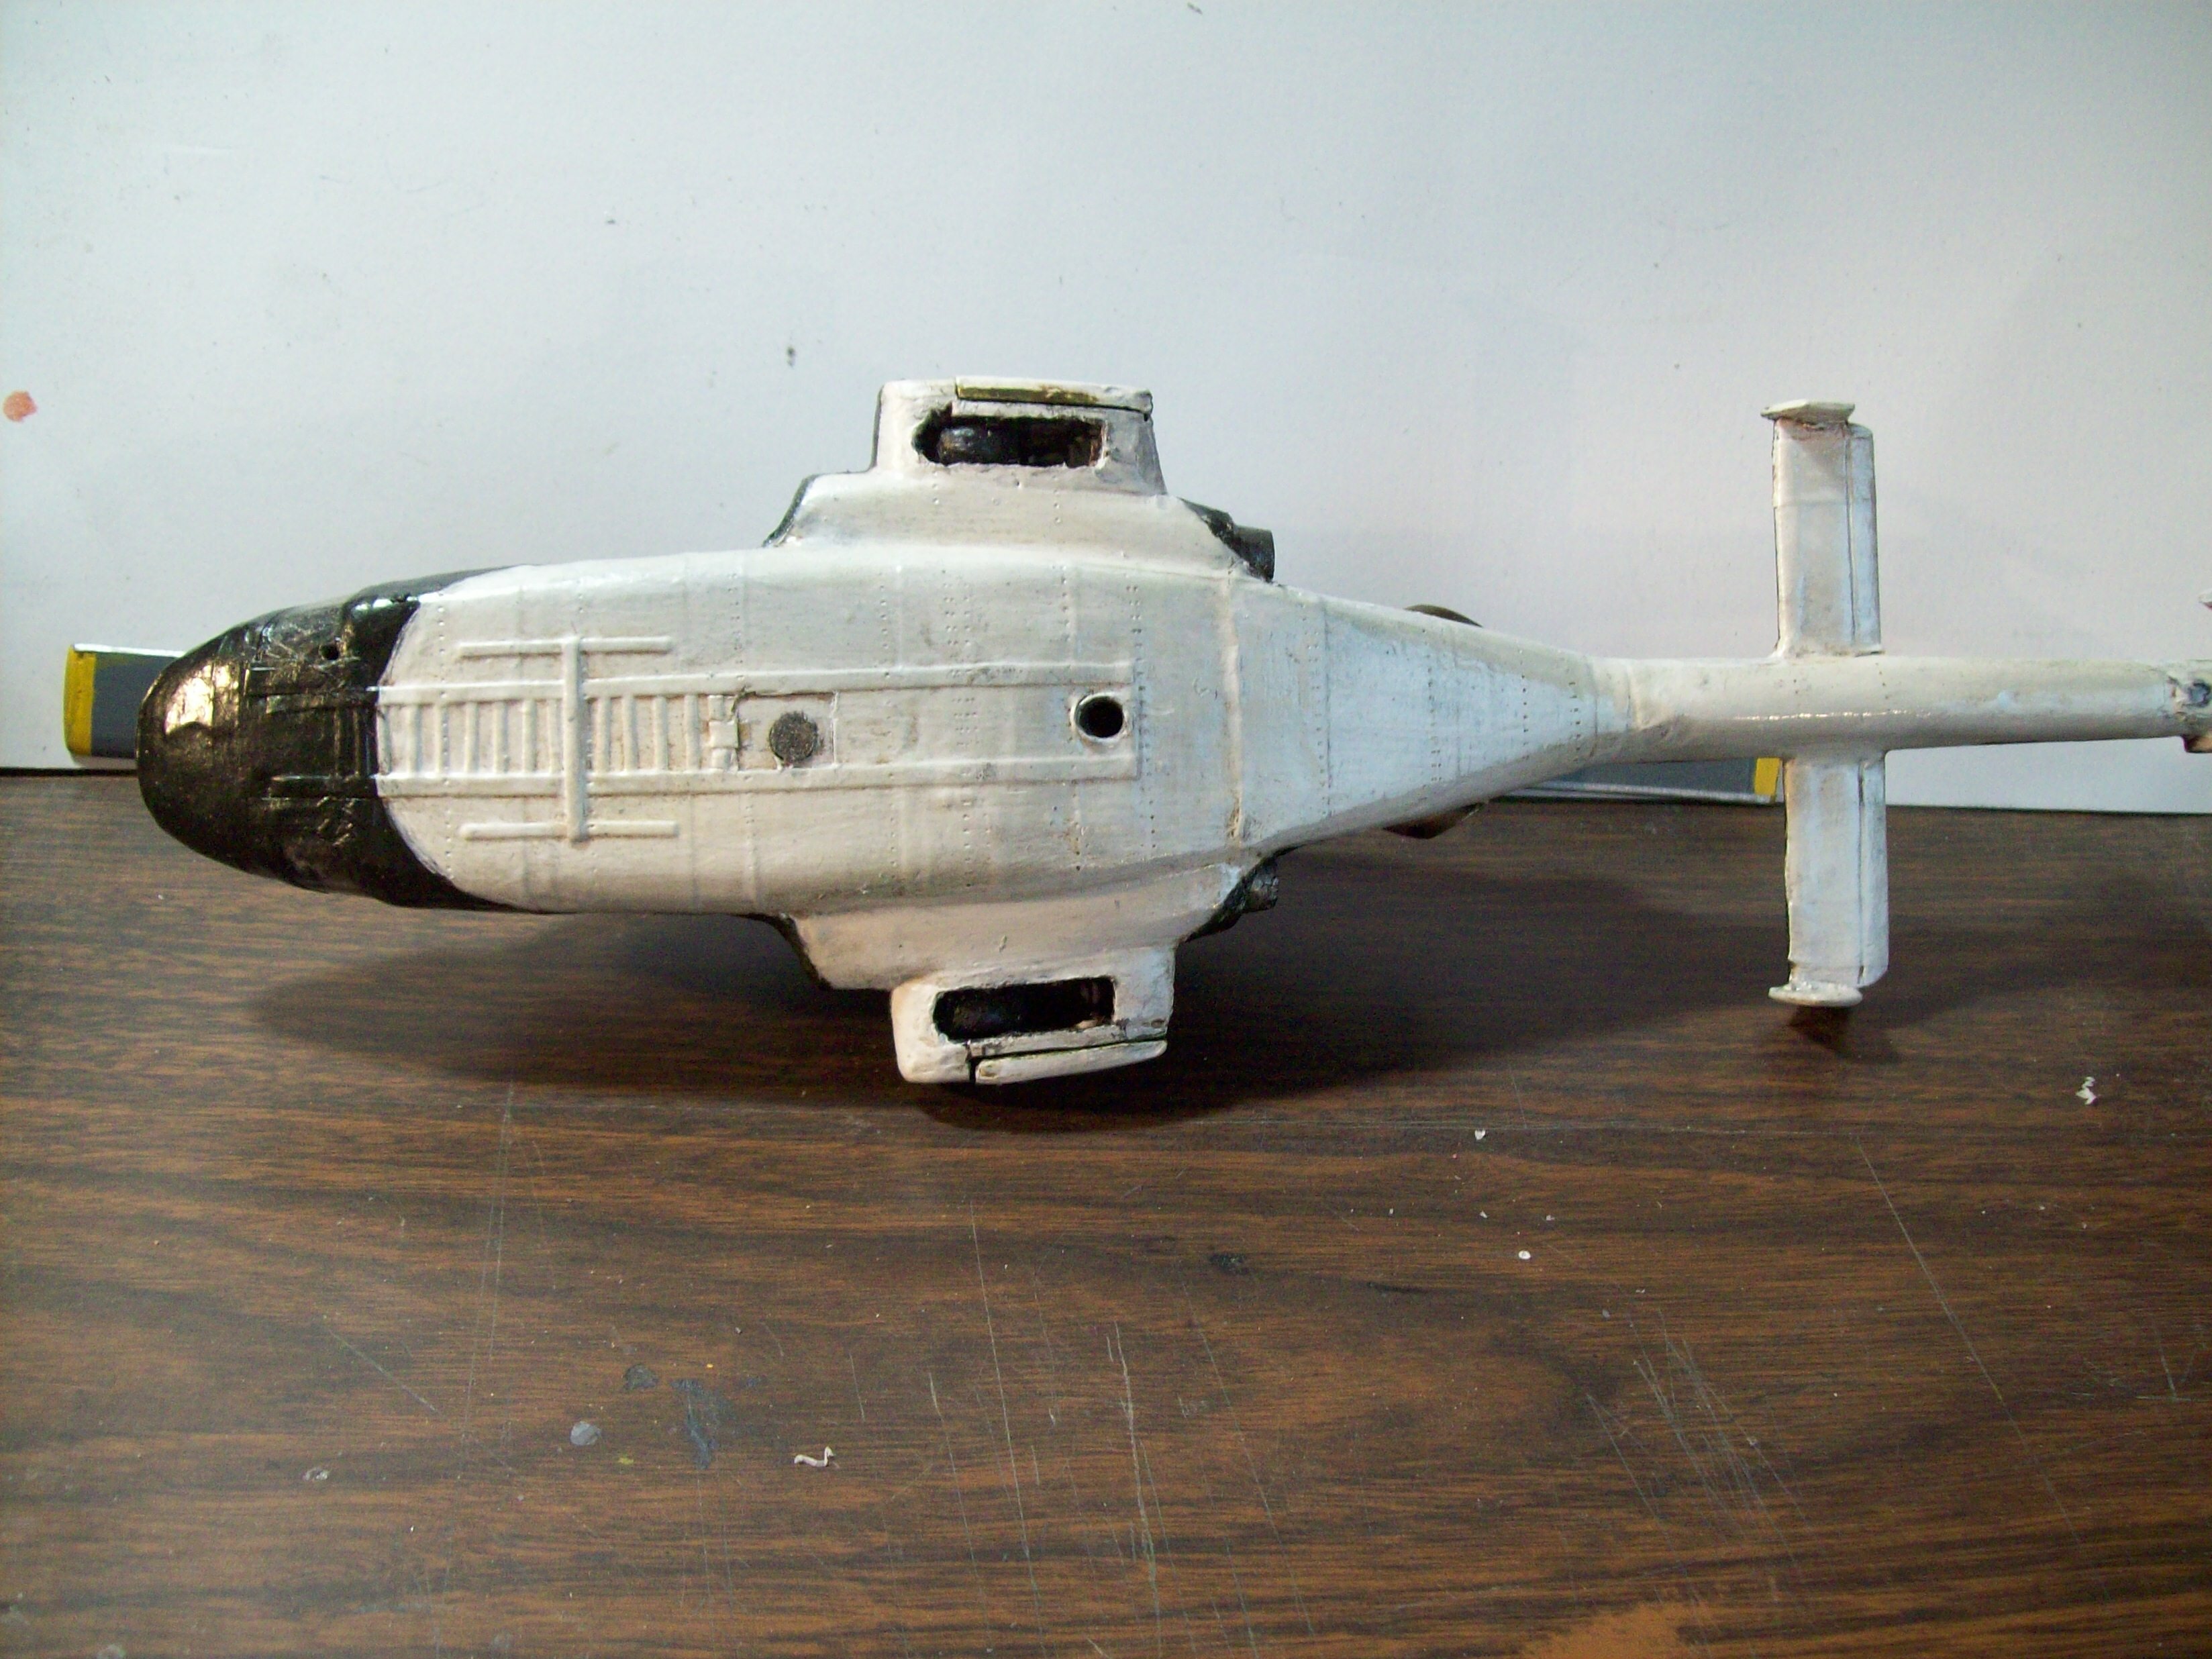
Bottom shot without and with ADF pod:
Rare Earth magnets embedded in both hull and ADF pod:
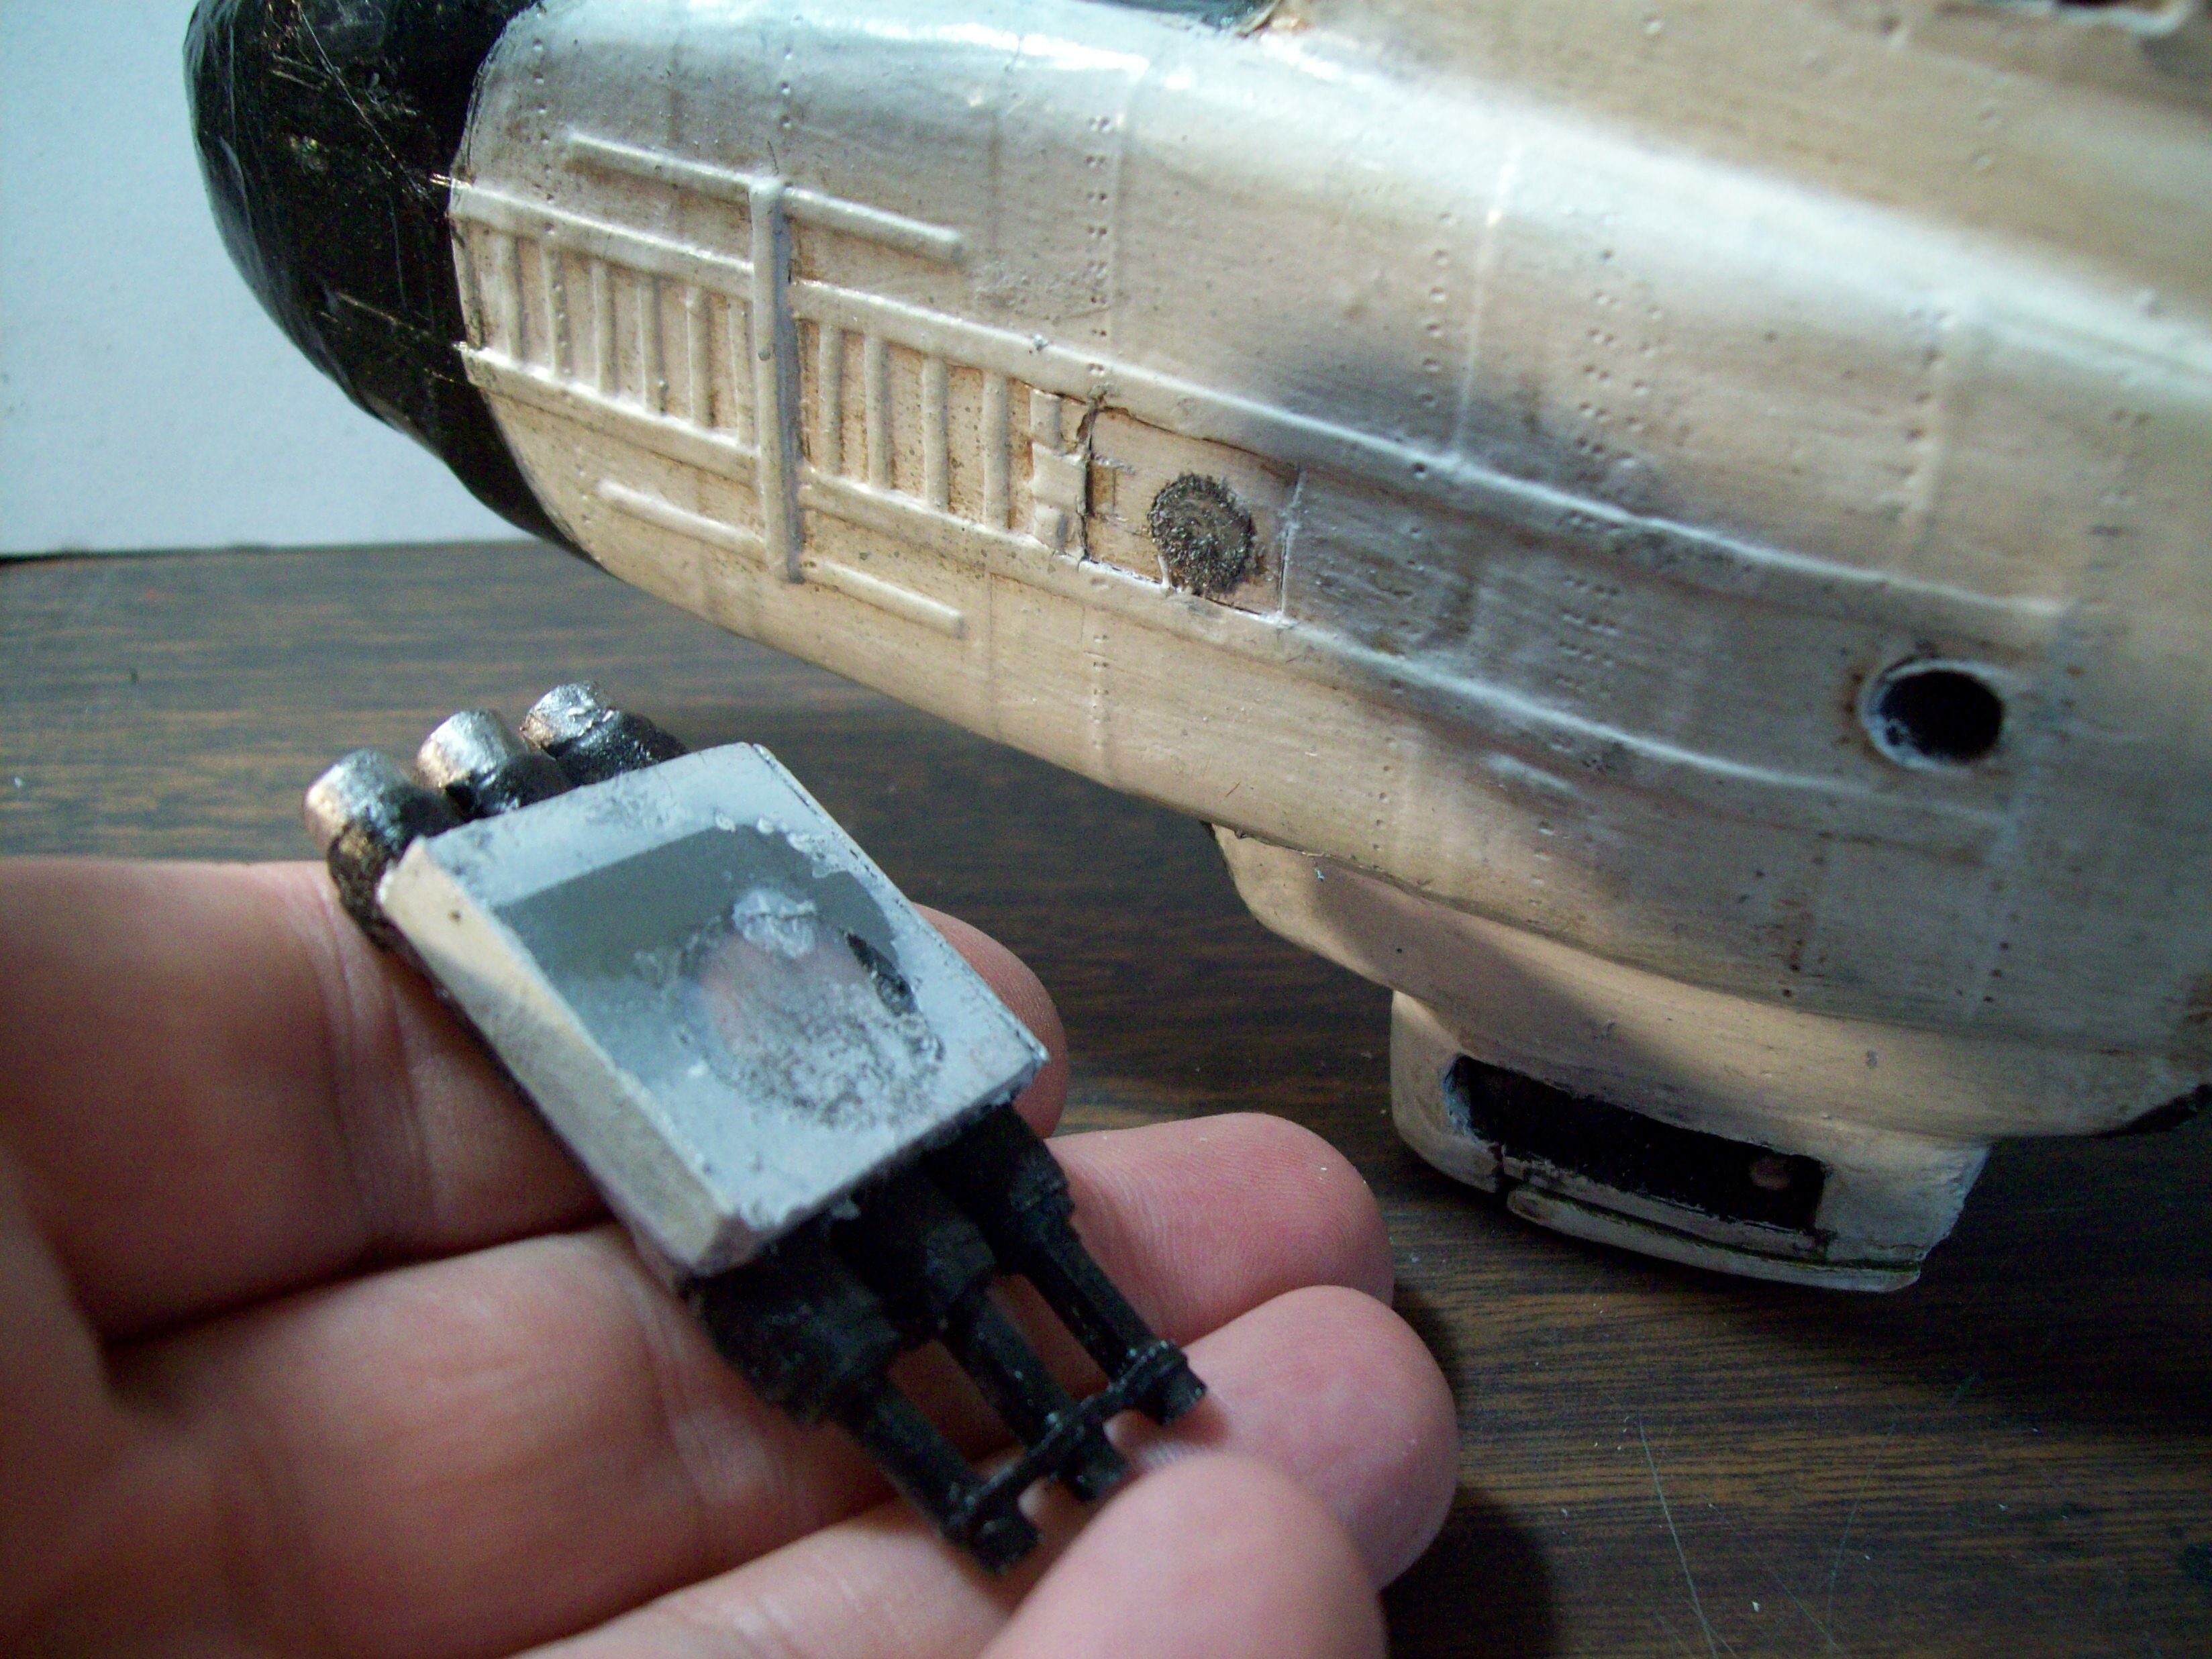
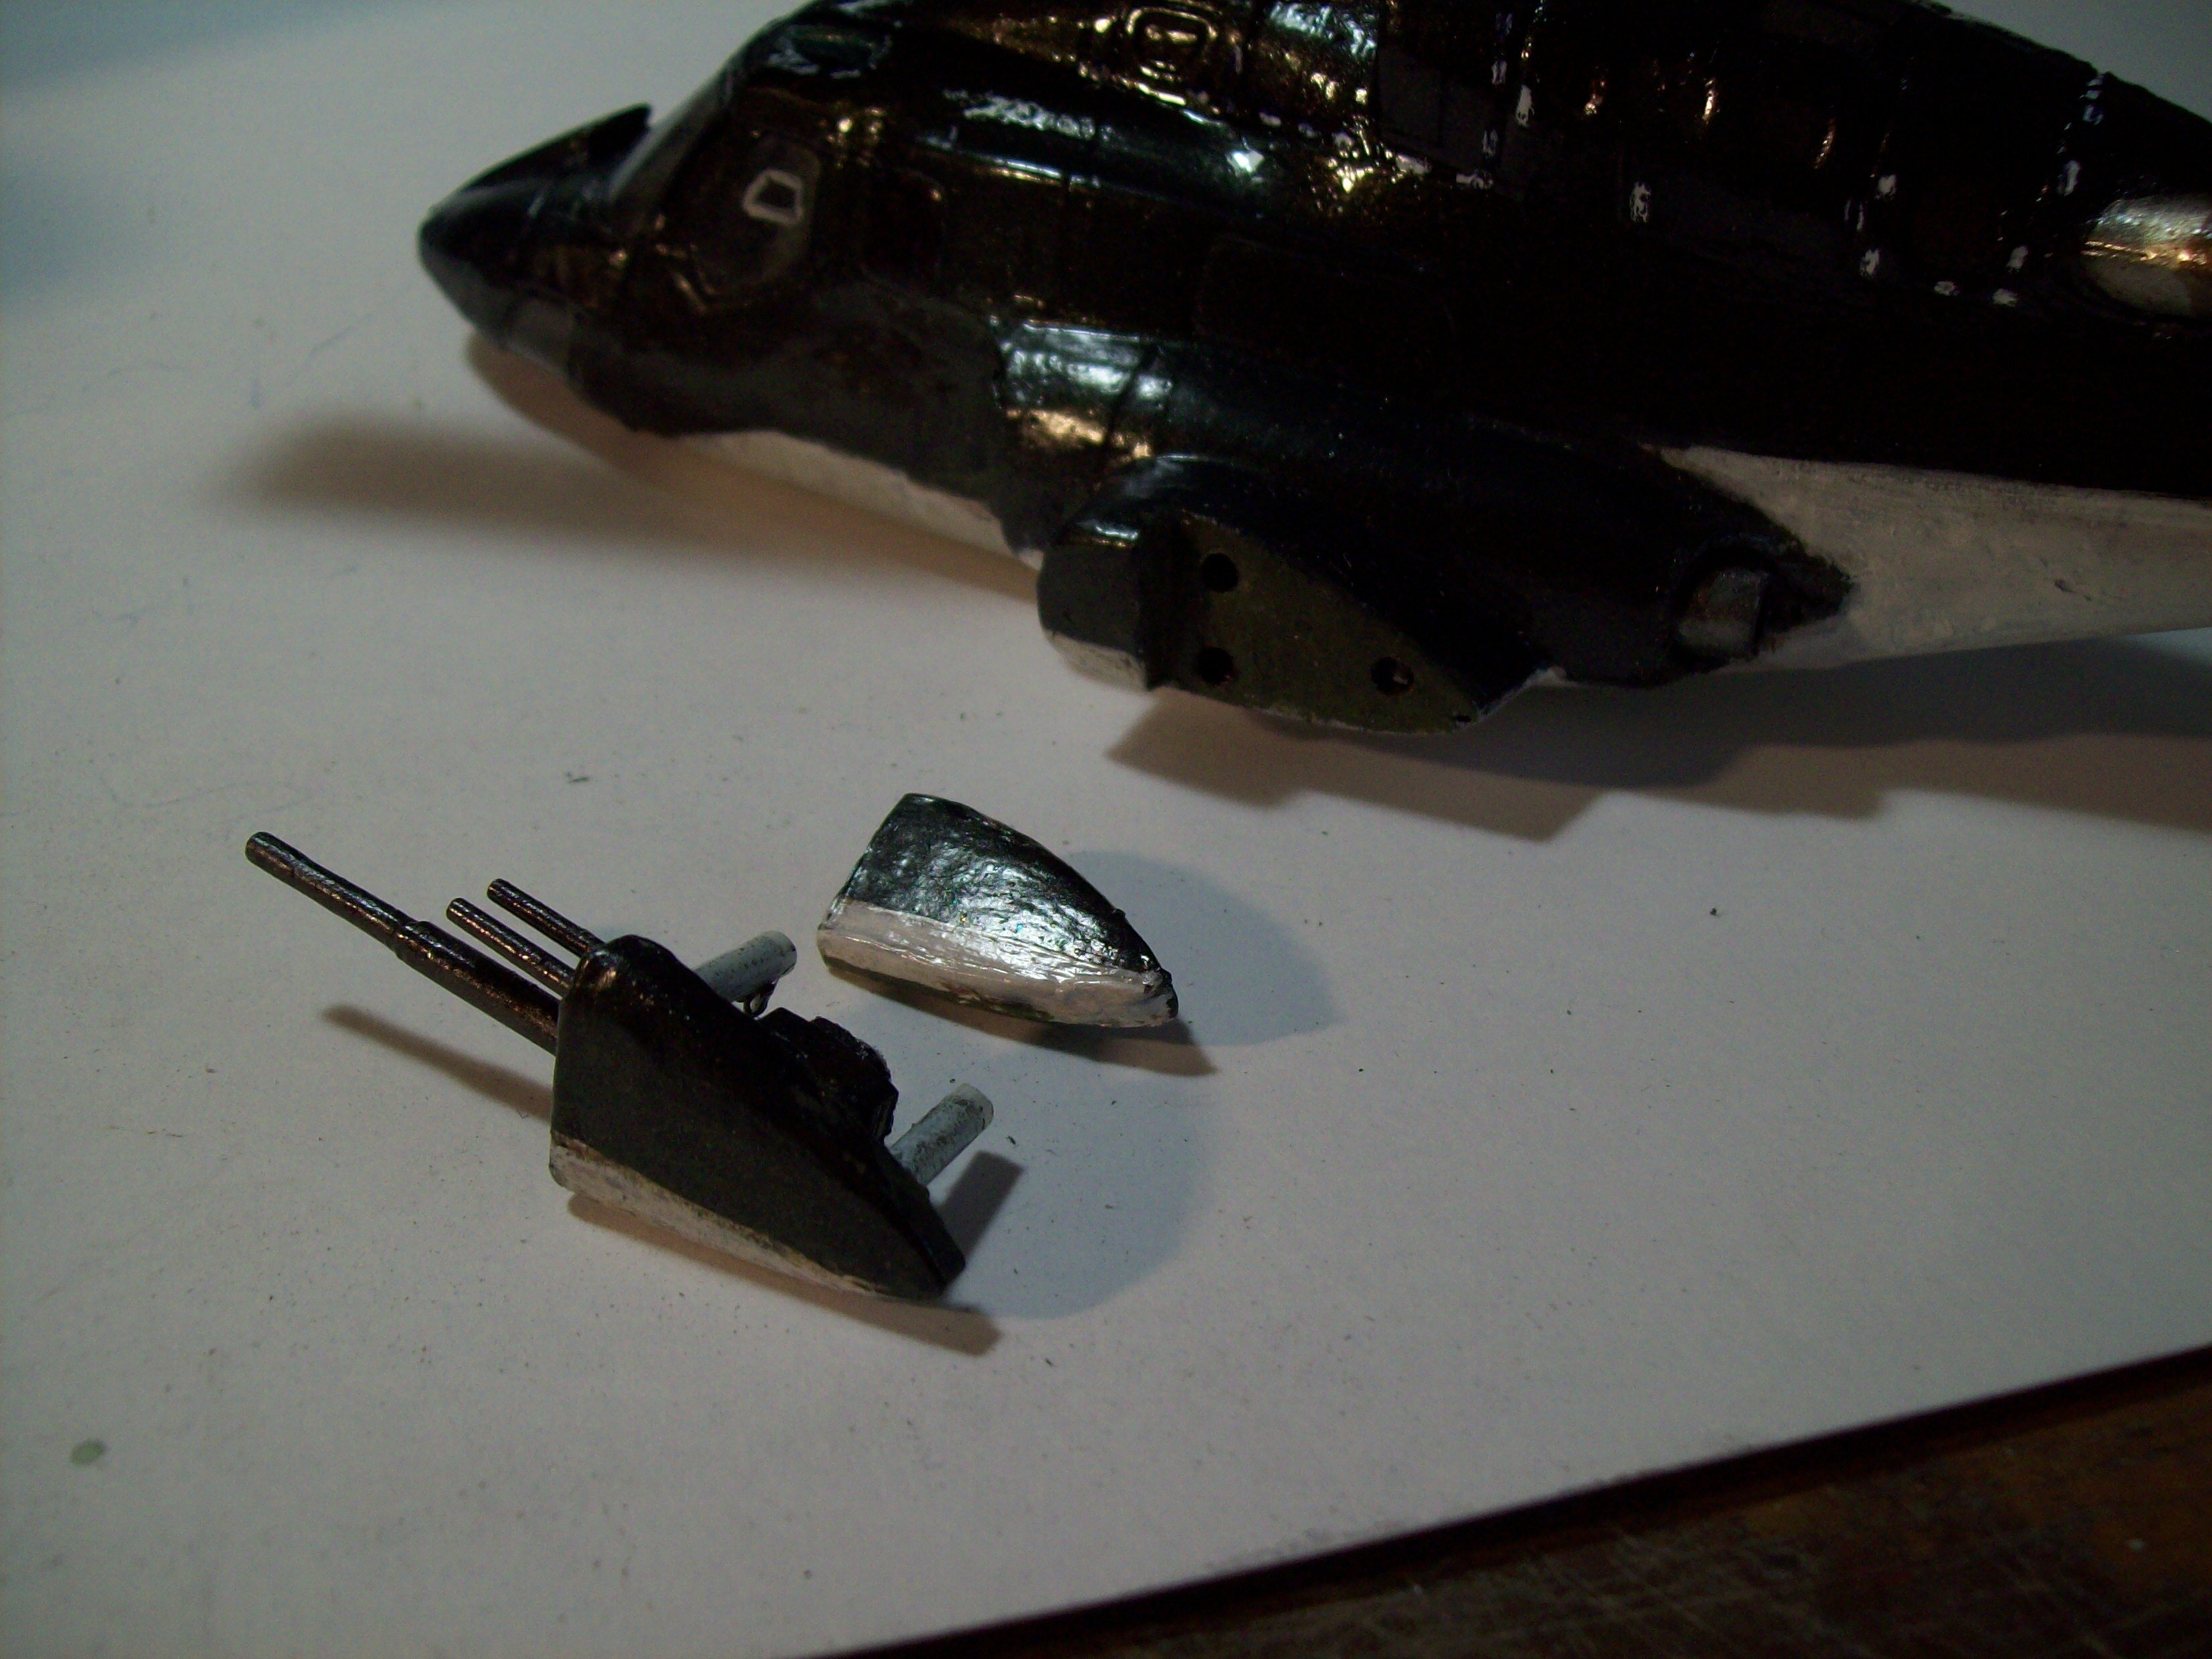
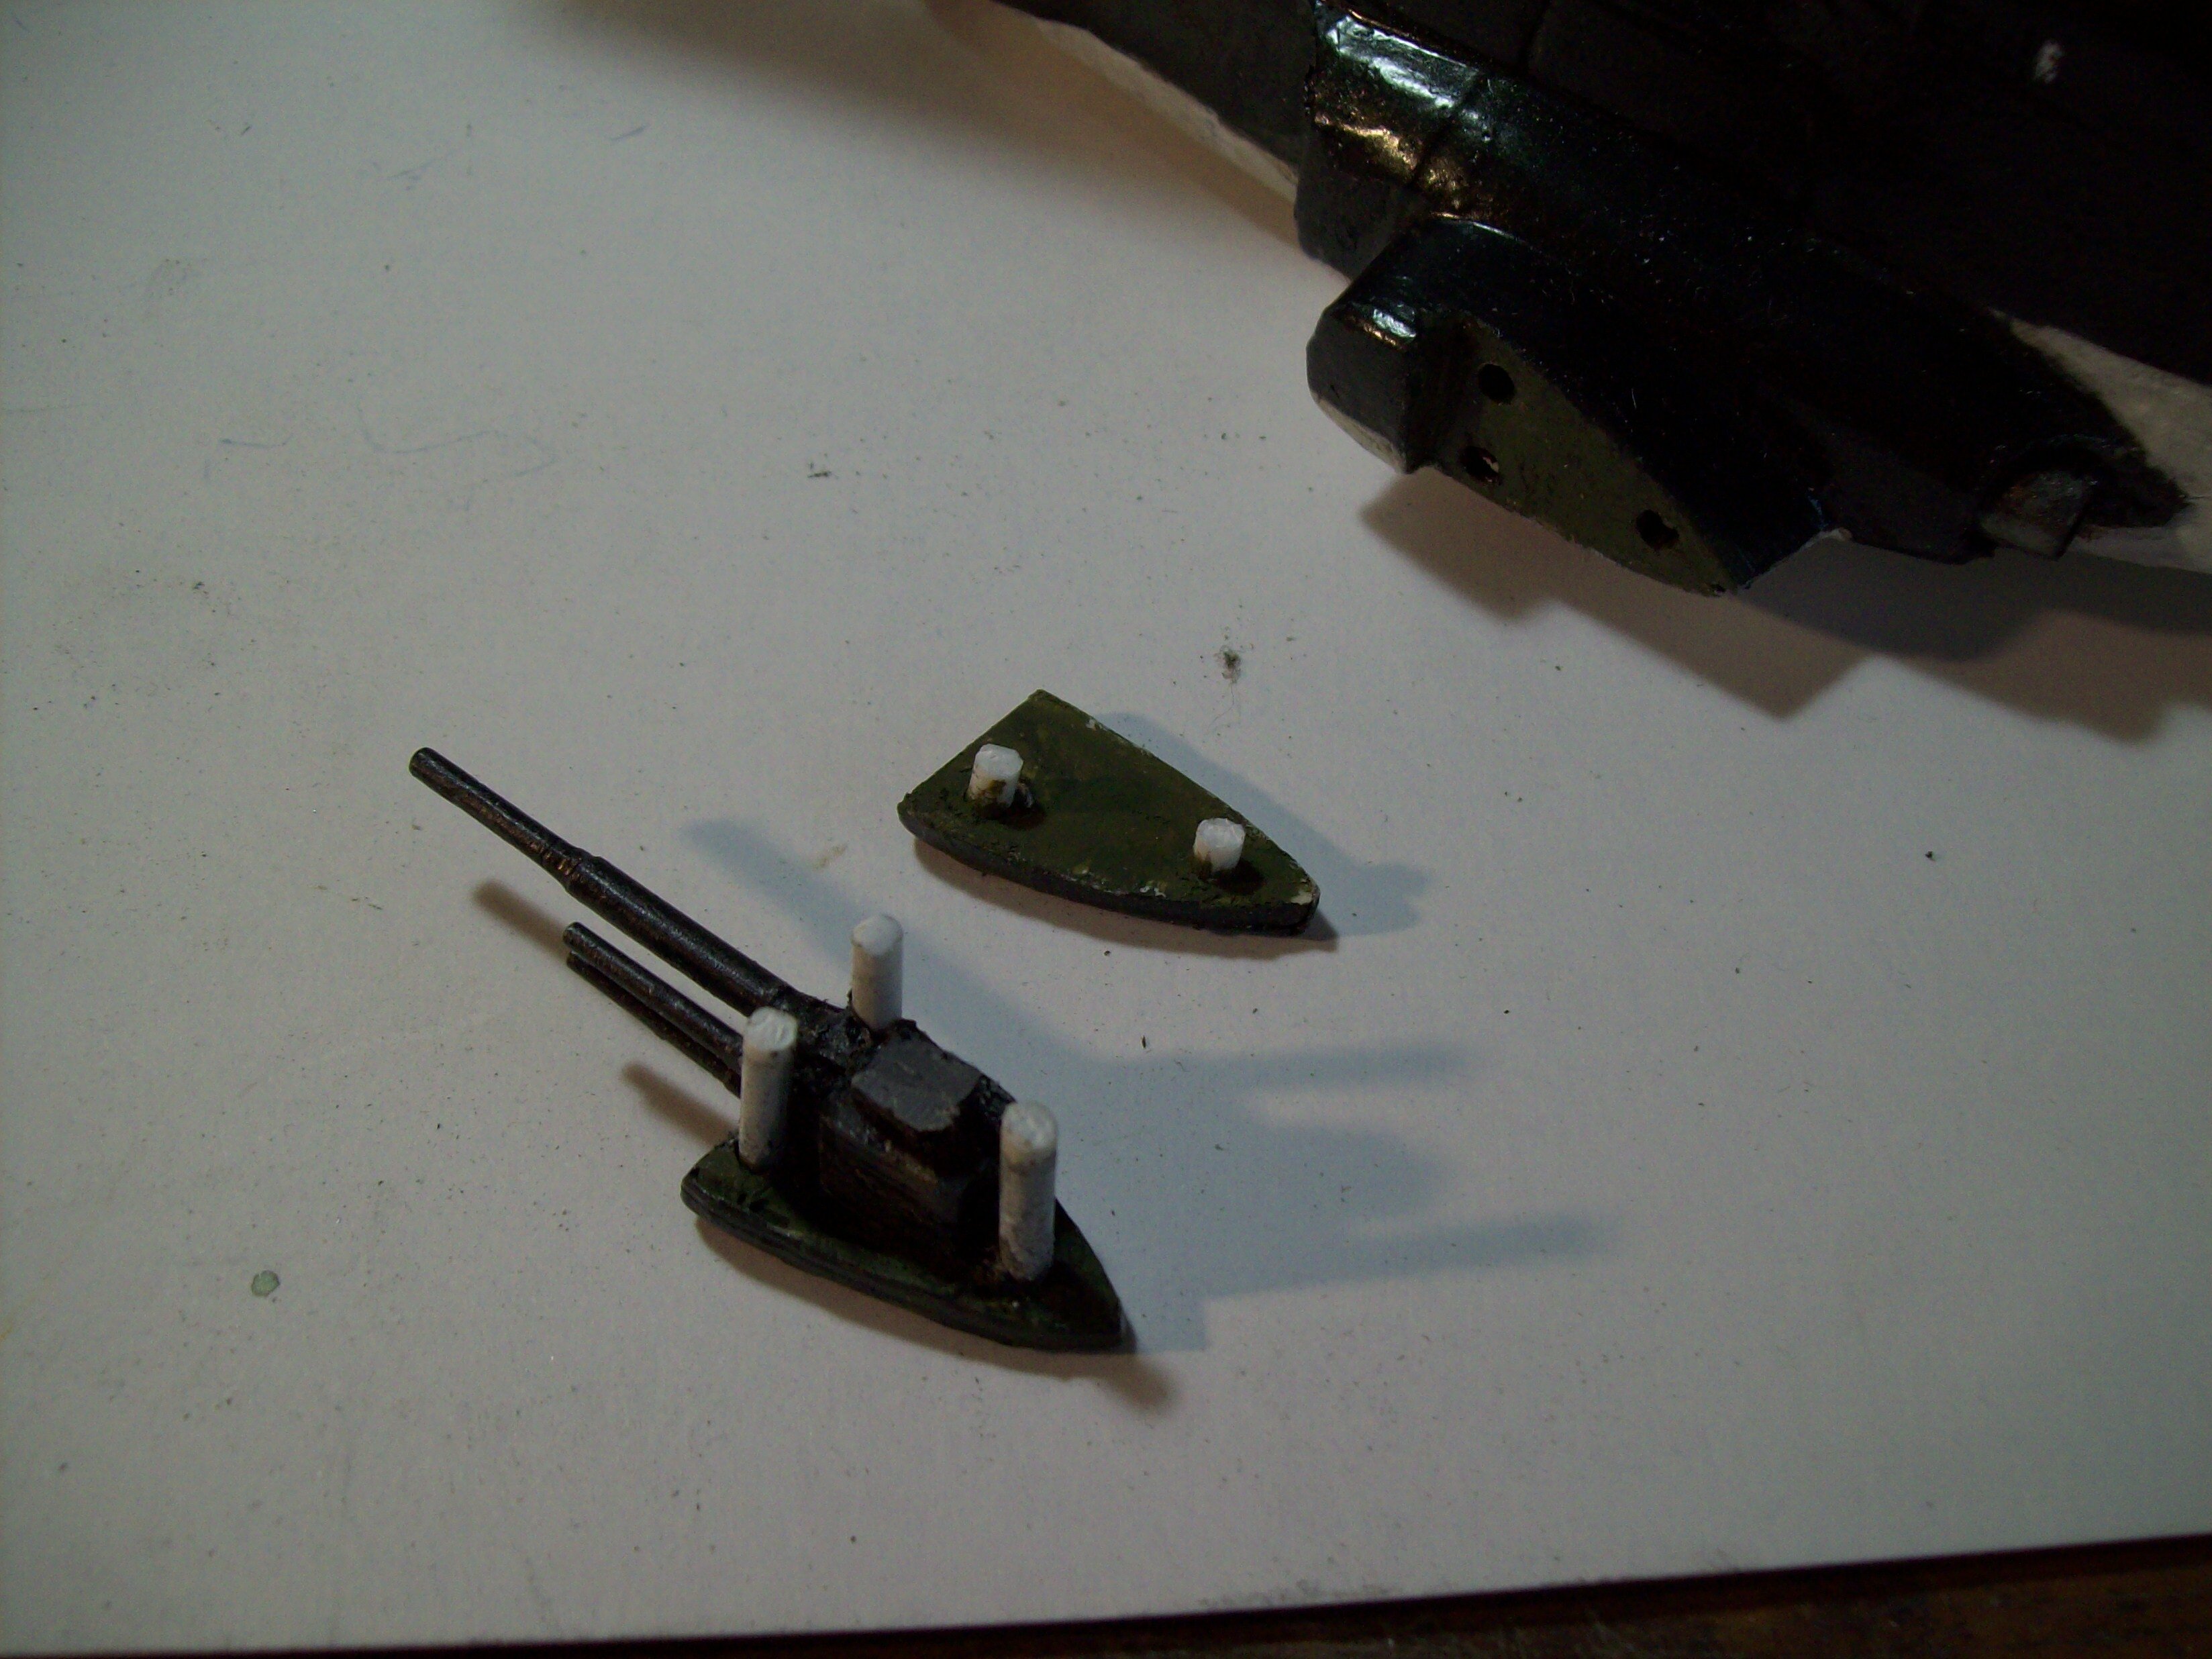
Sponson ends: normal and chain guns deployed; both attach via a series of posts:
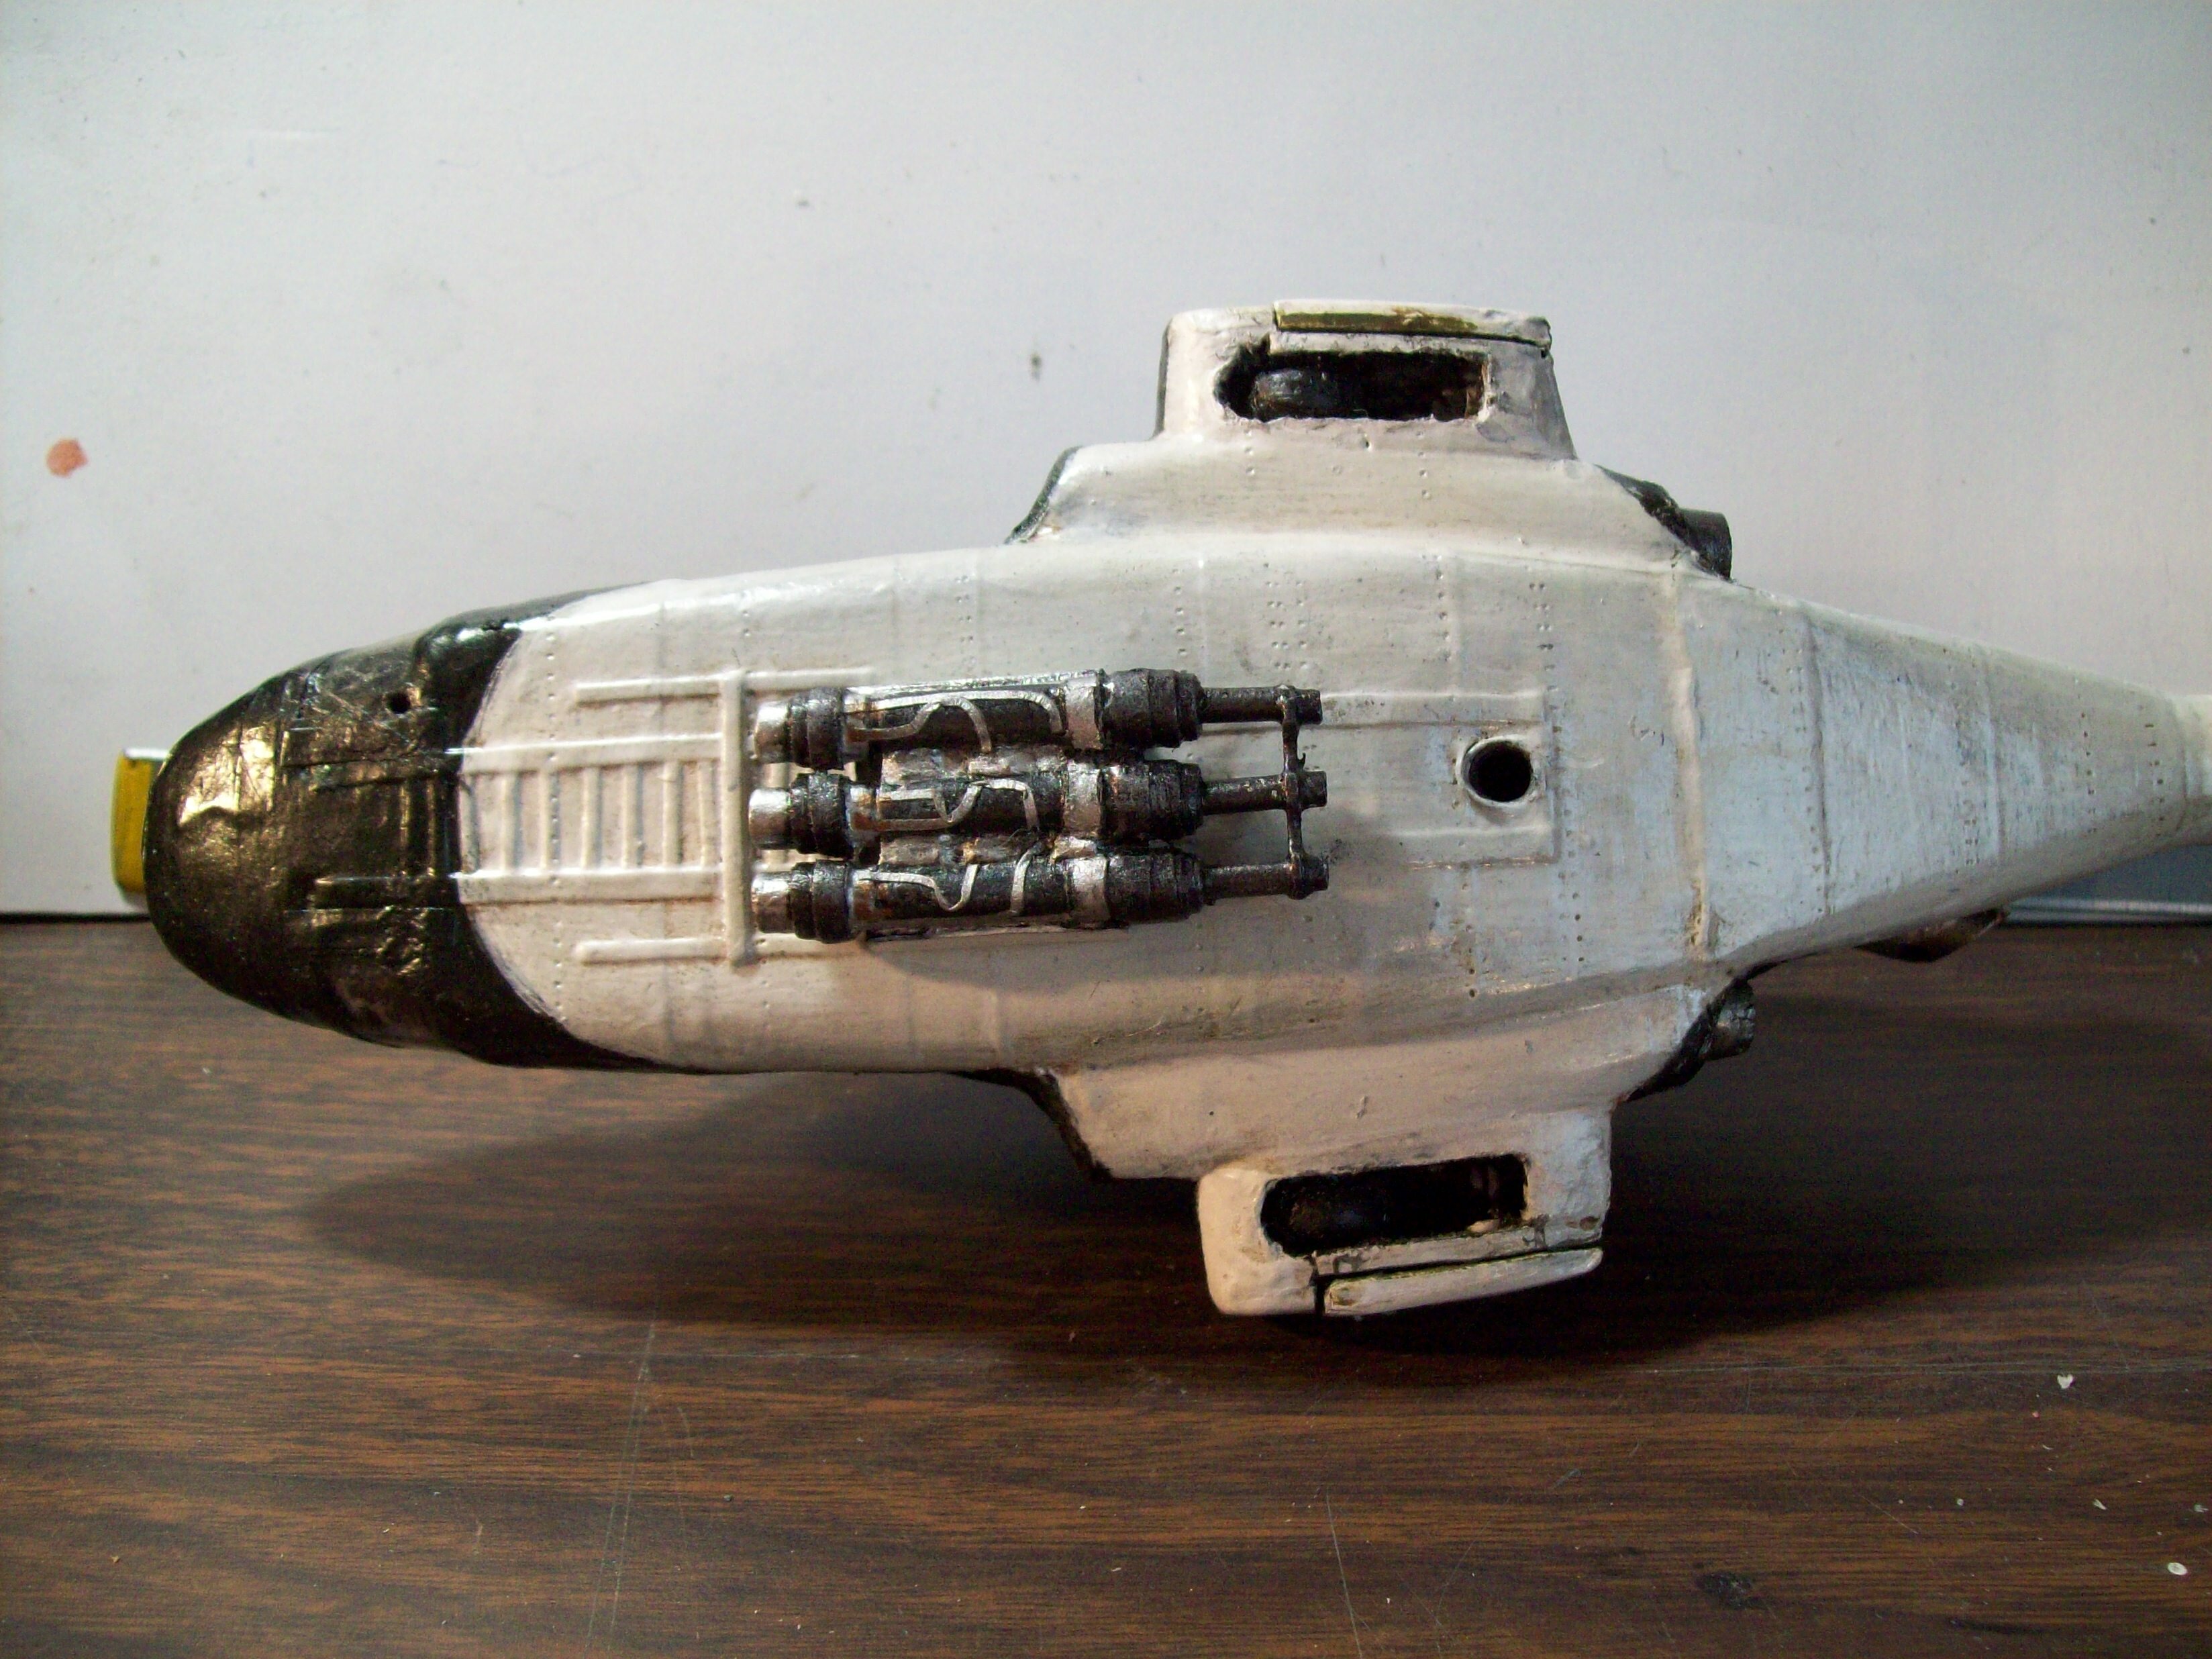
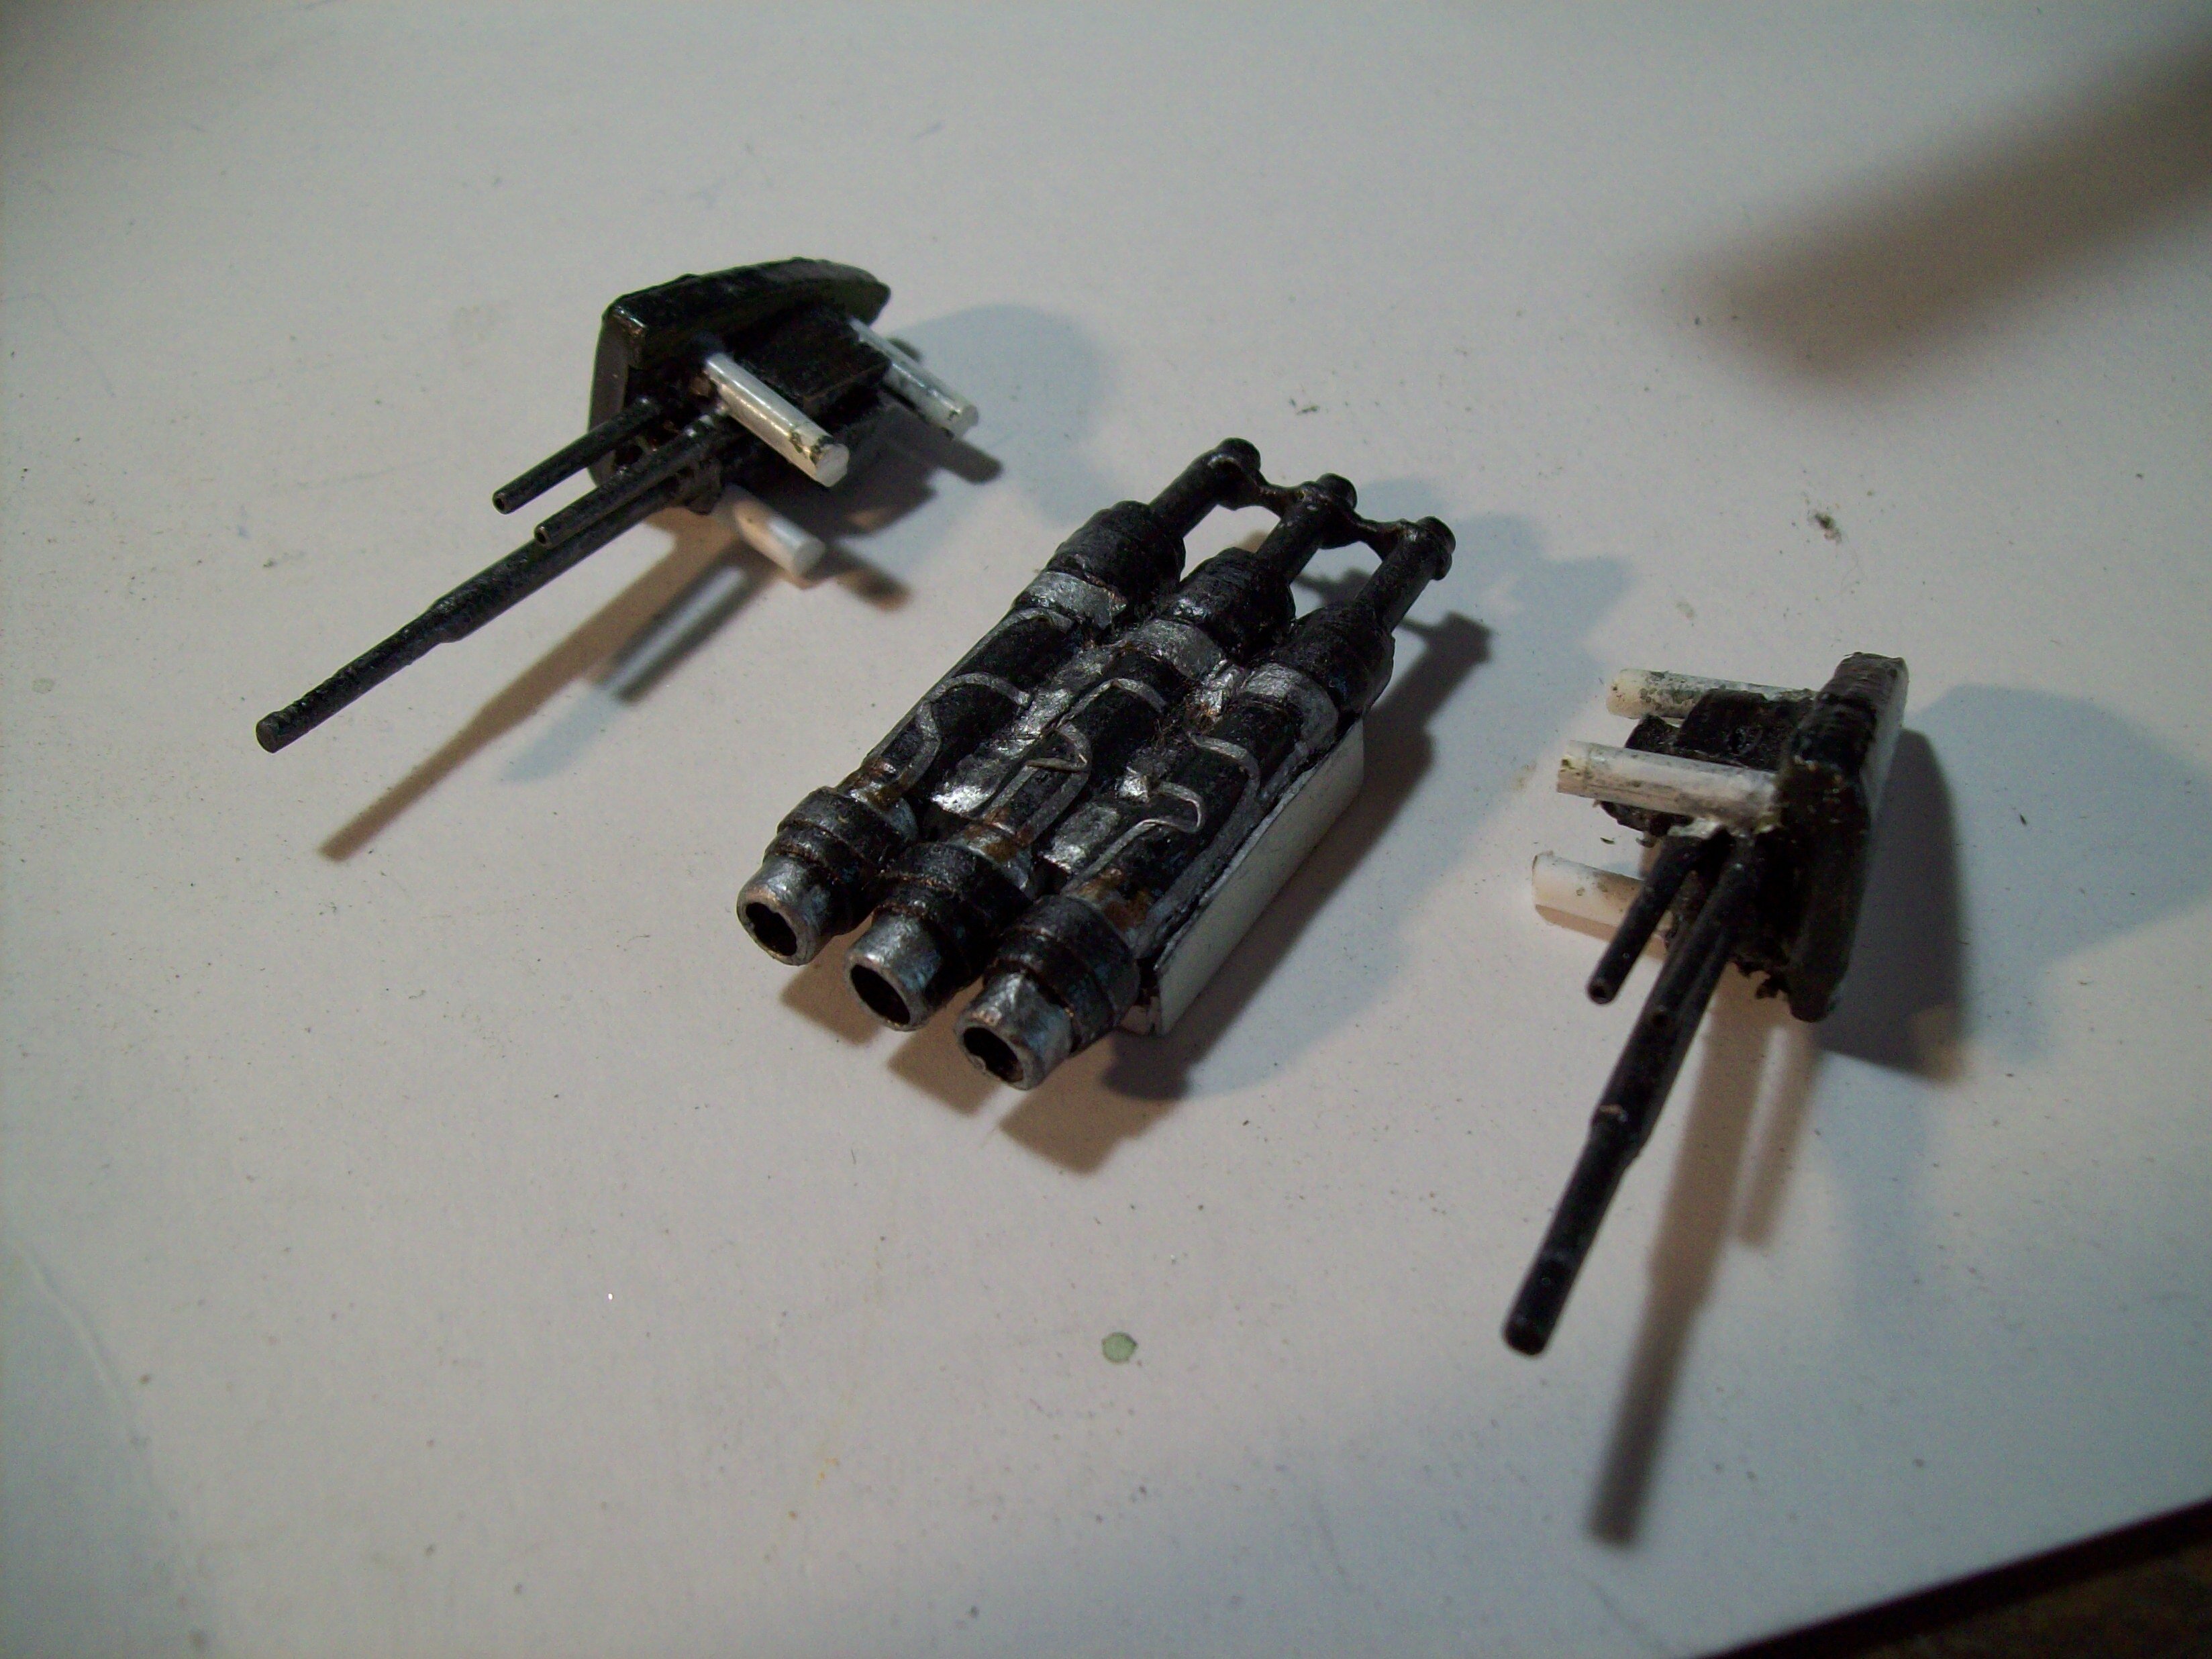
Airwolf's weaponry at a glance:
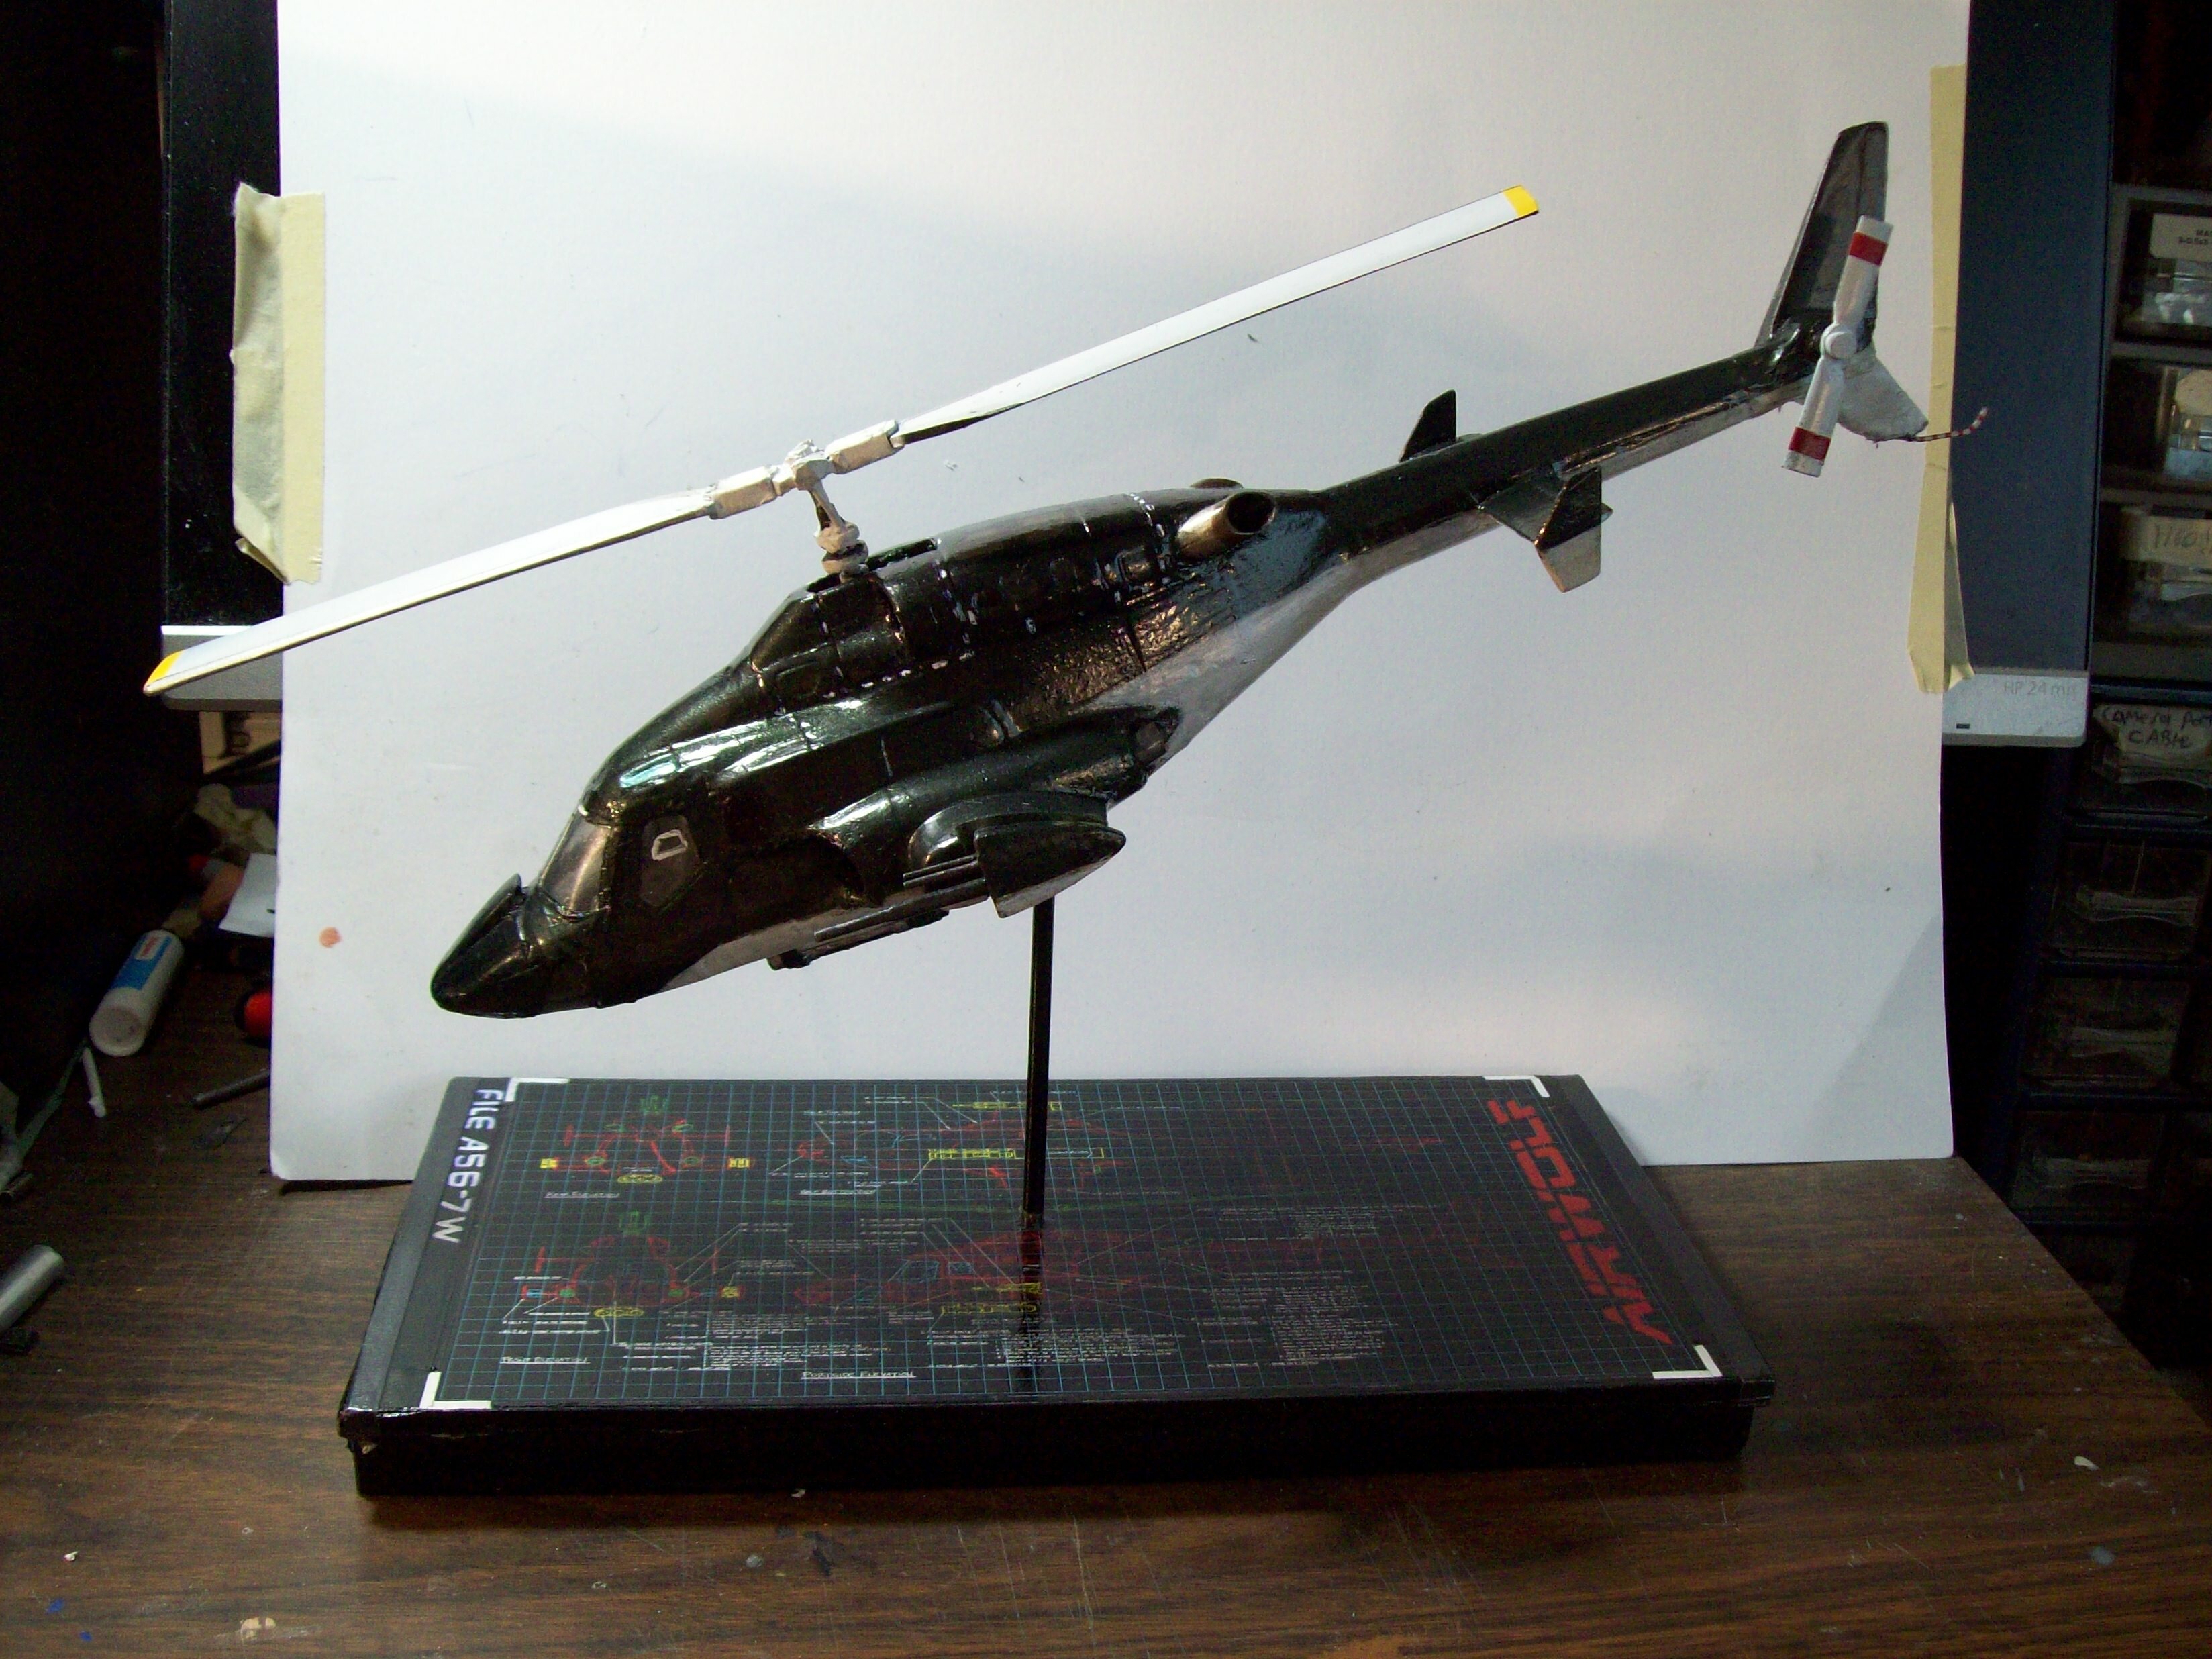
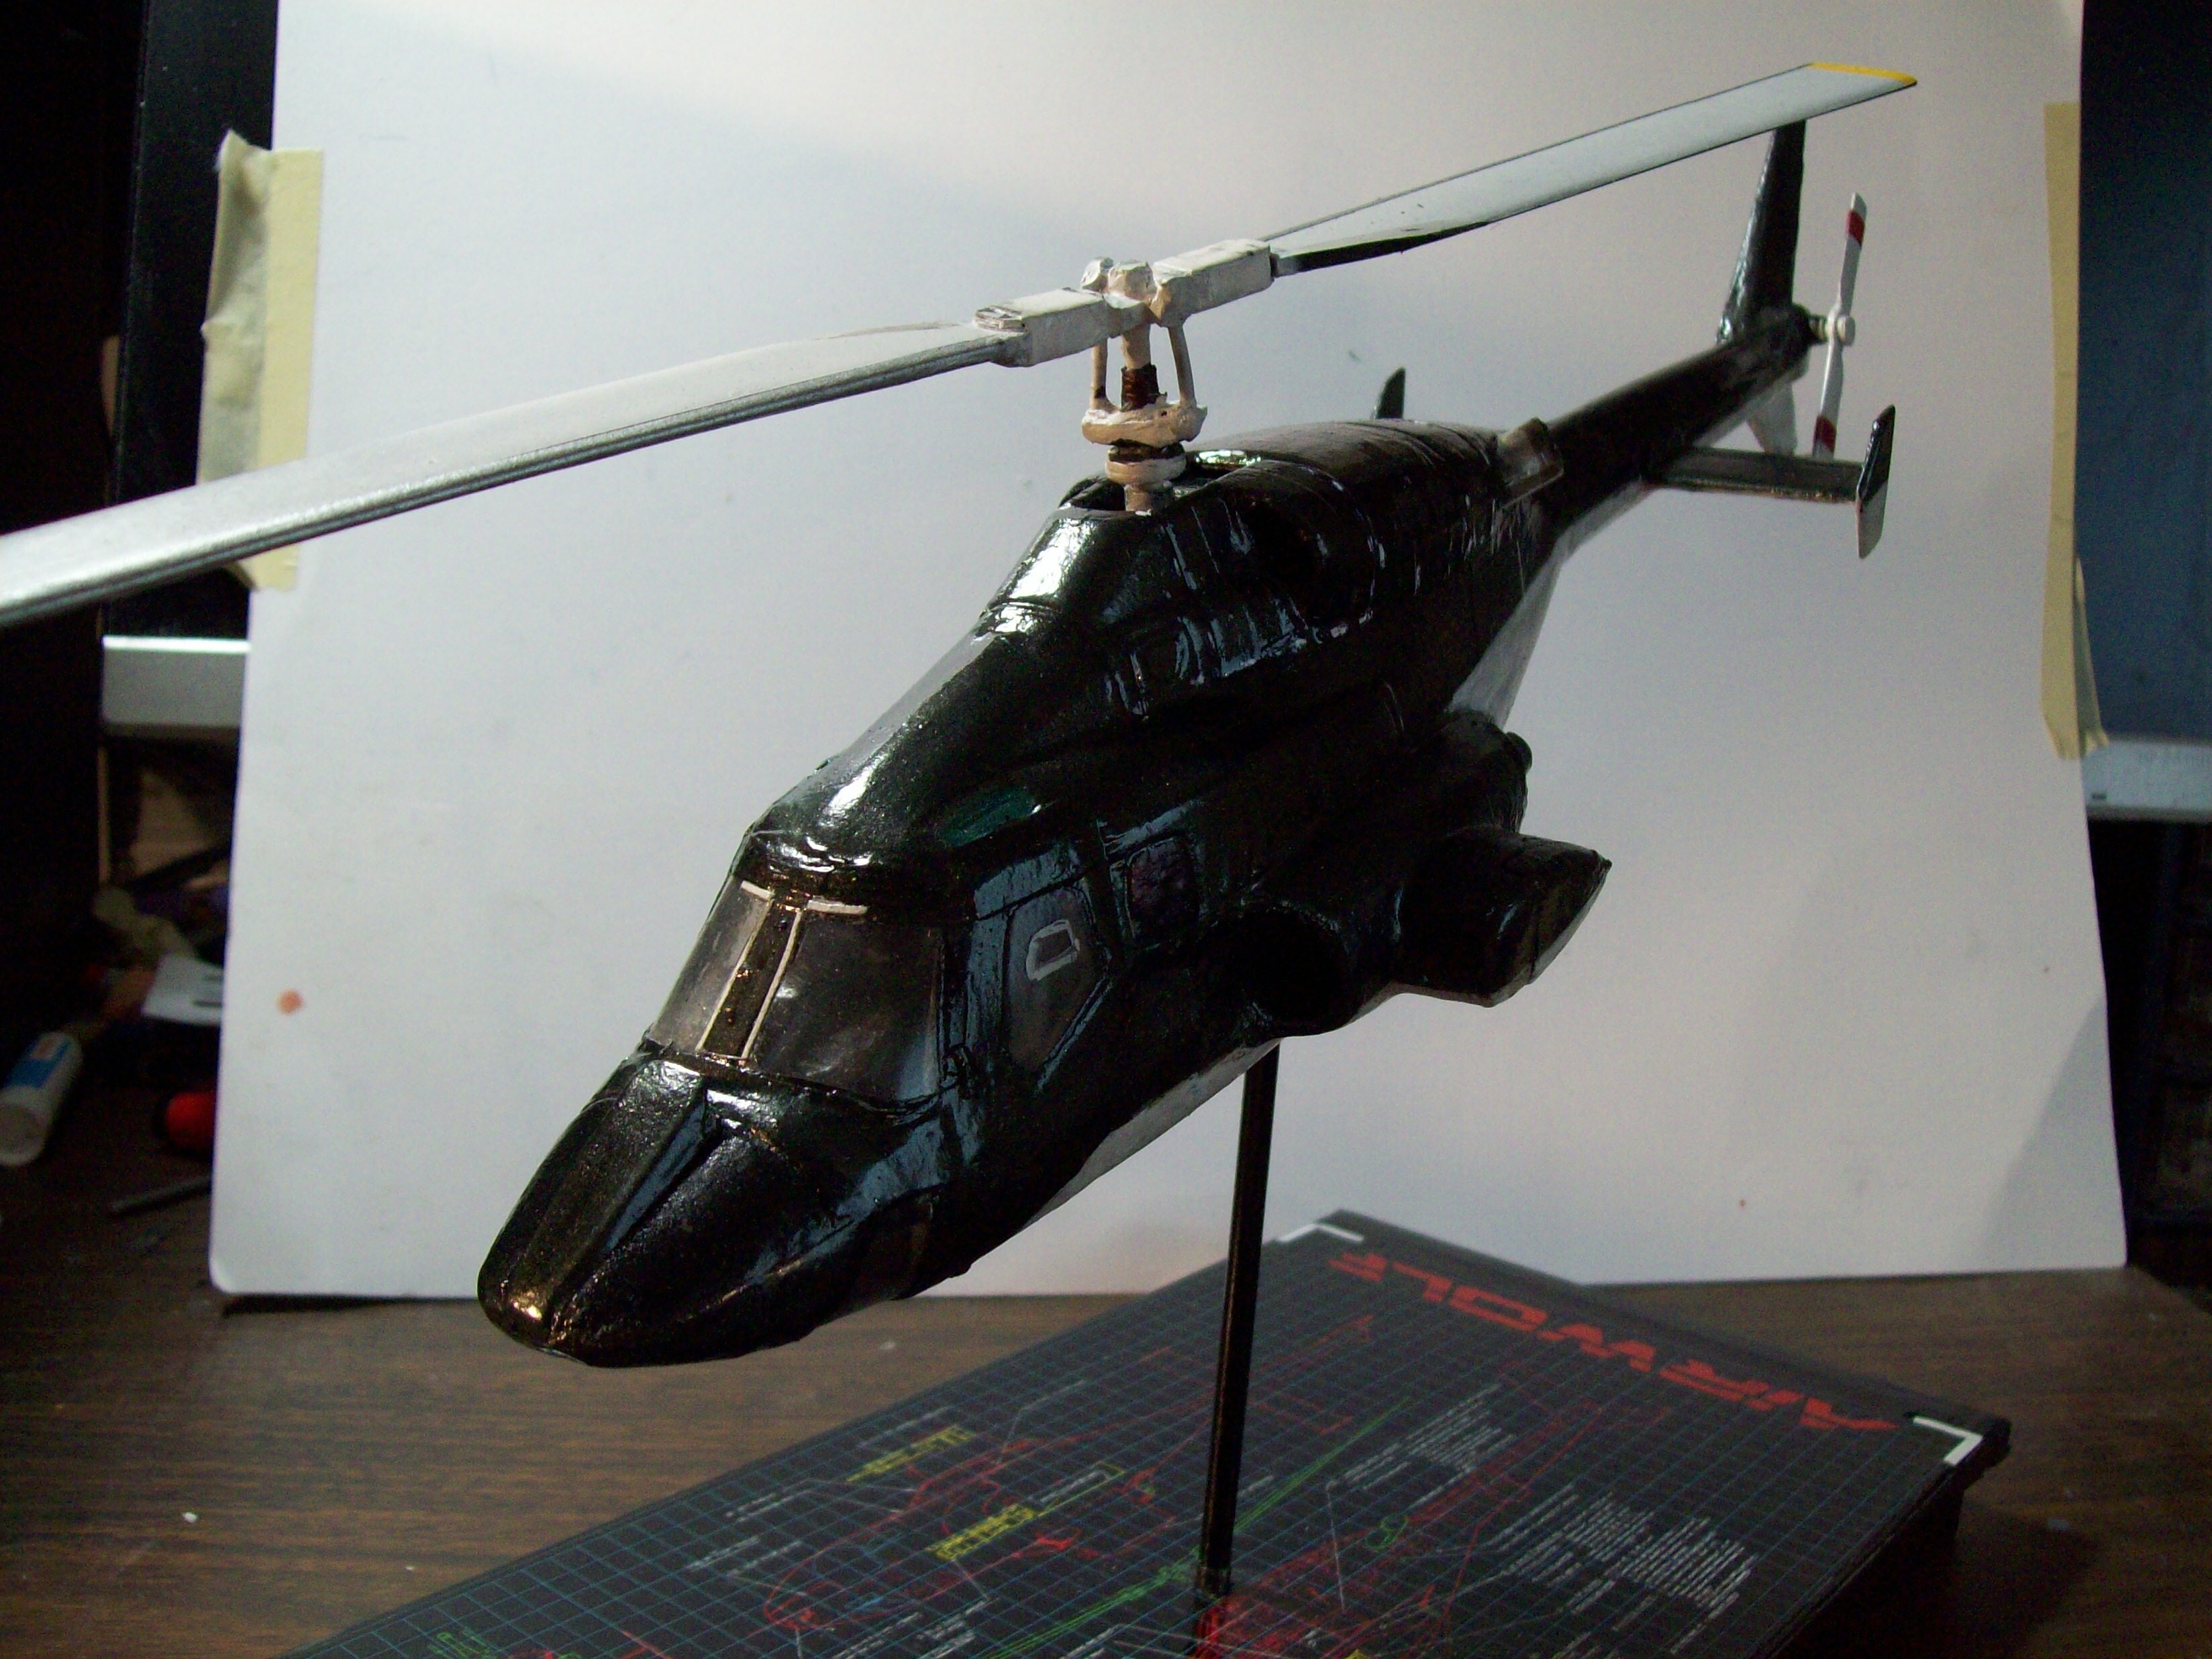
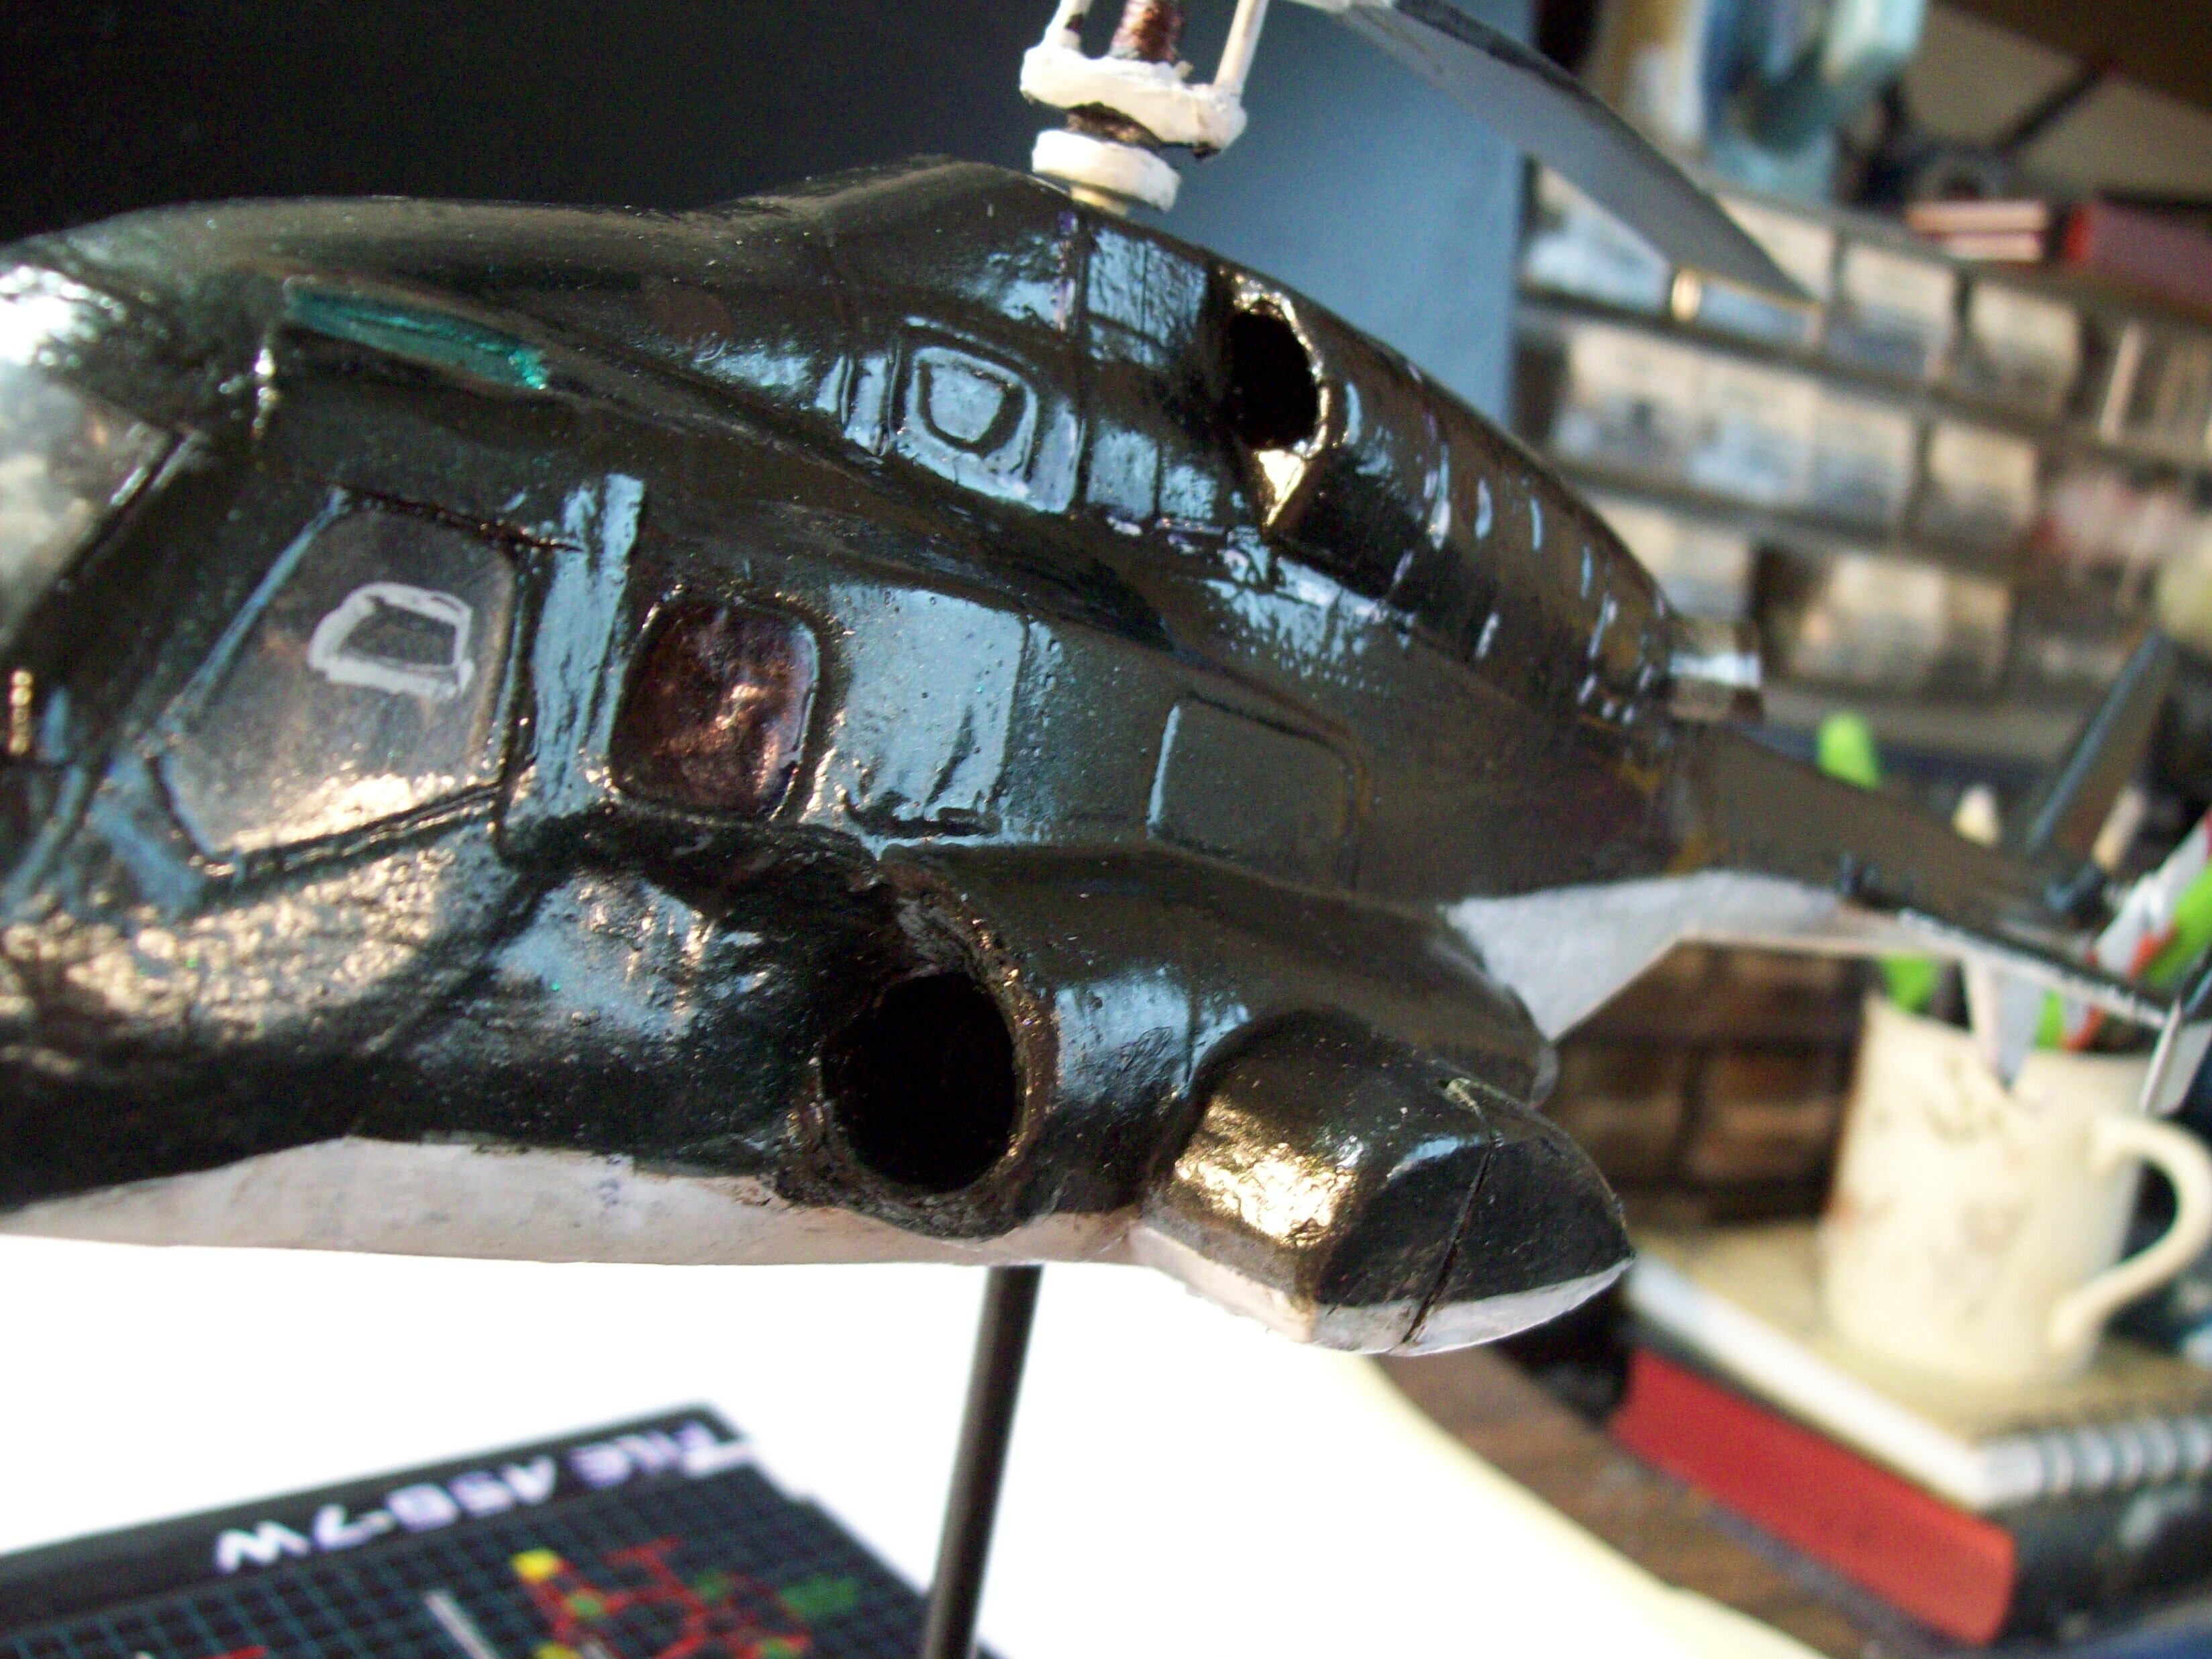
3/4 rear view port; extended exhausts for rotor engines and turbo boost nozzles in place:

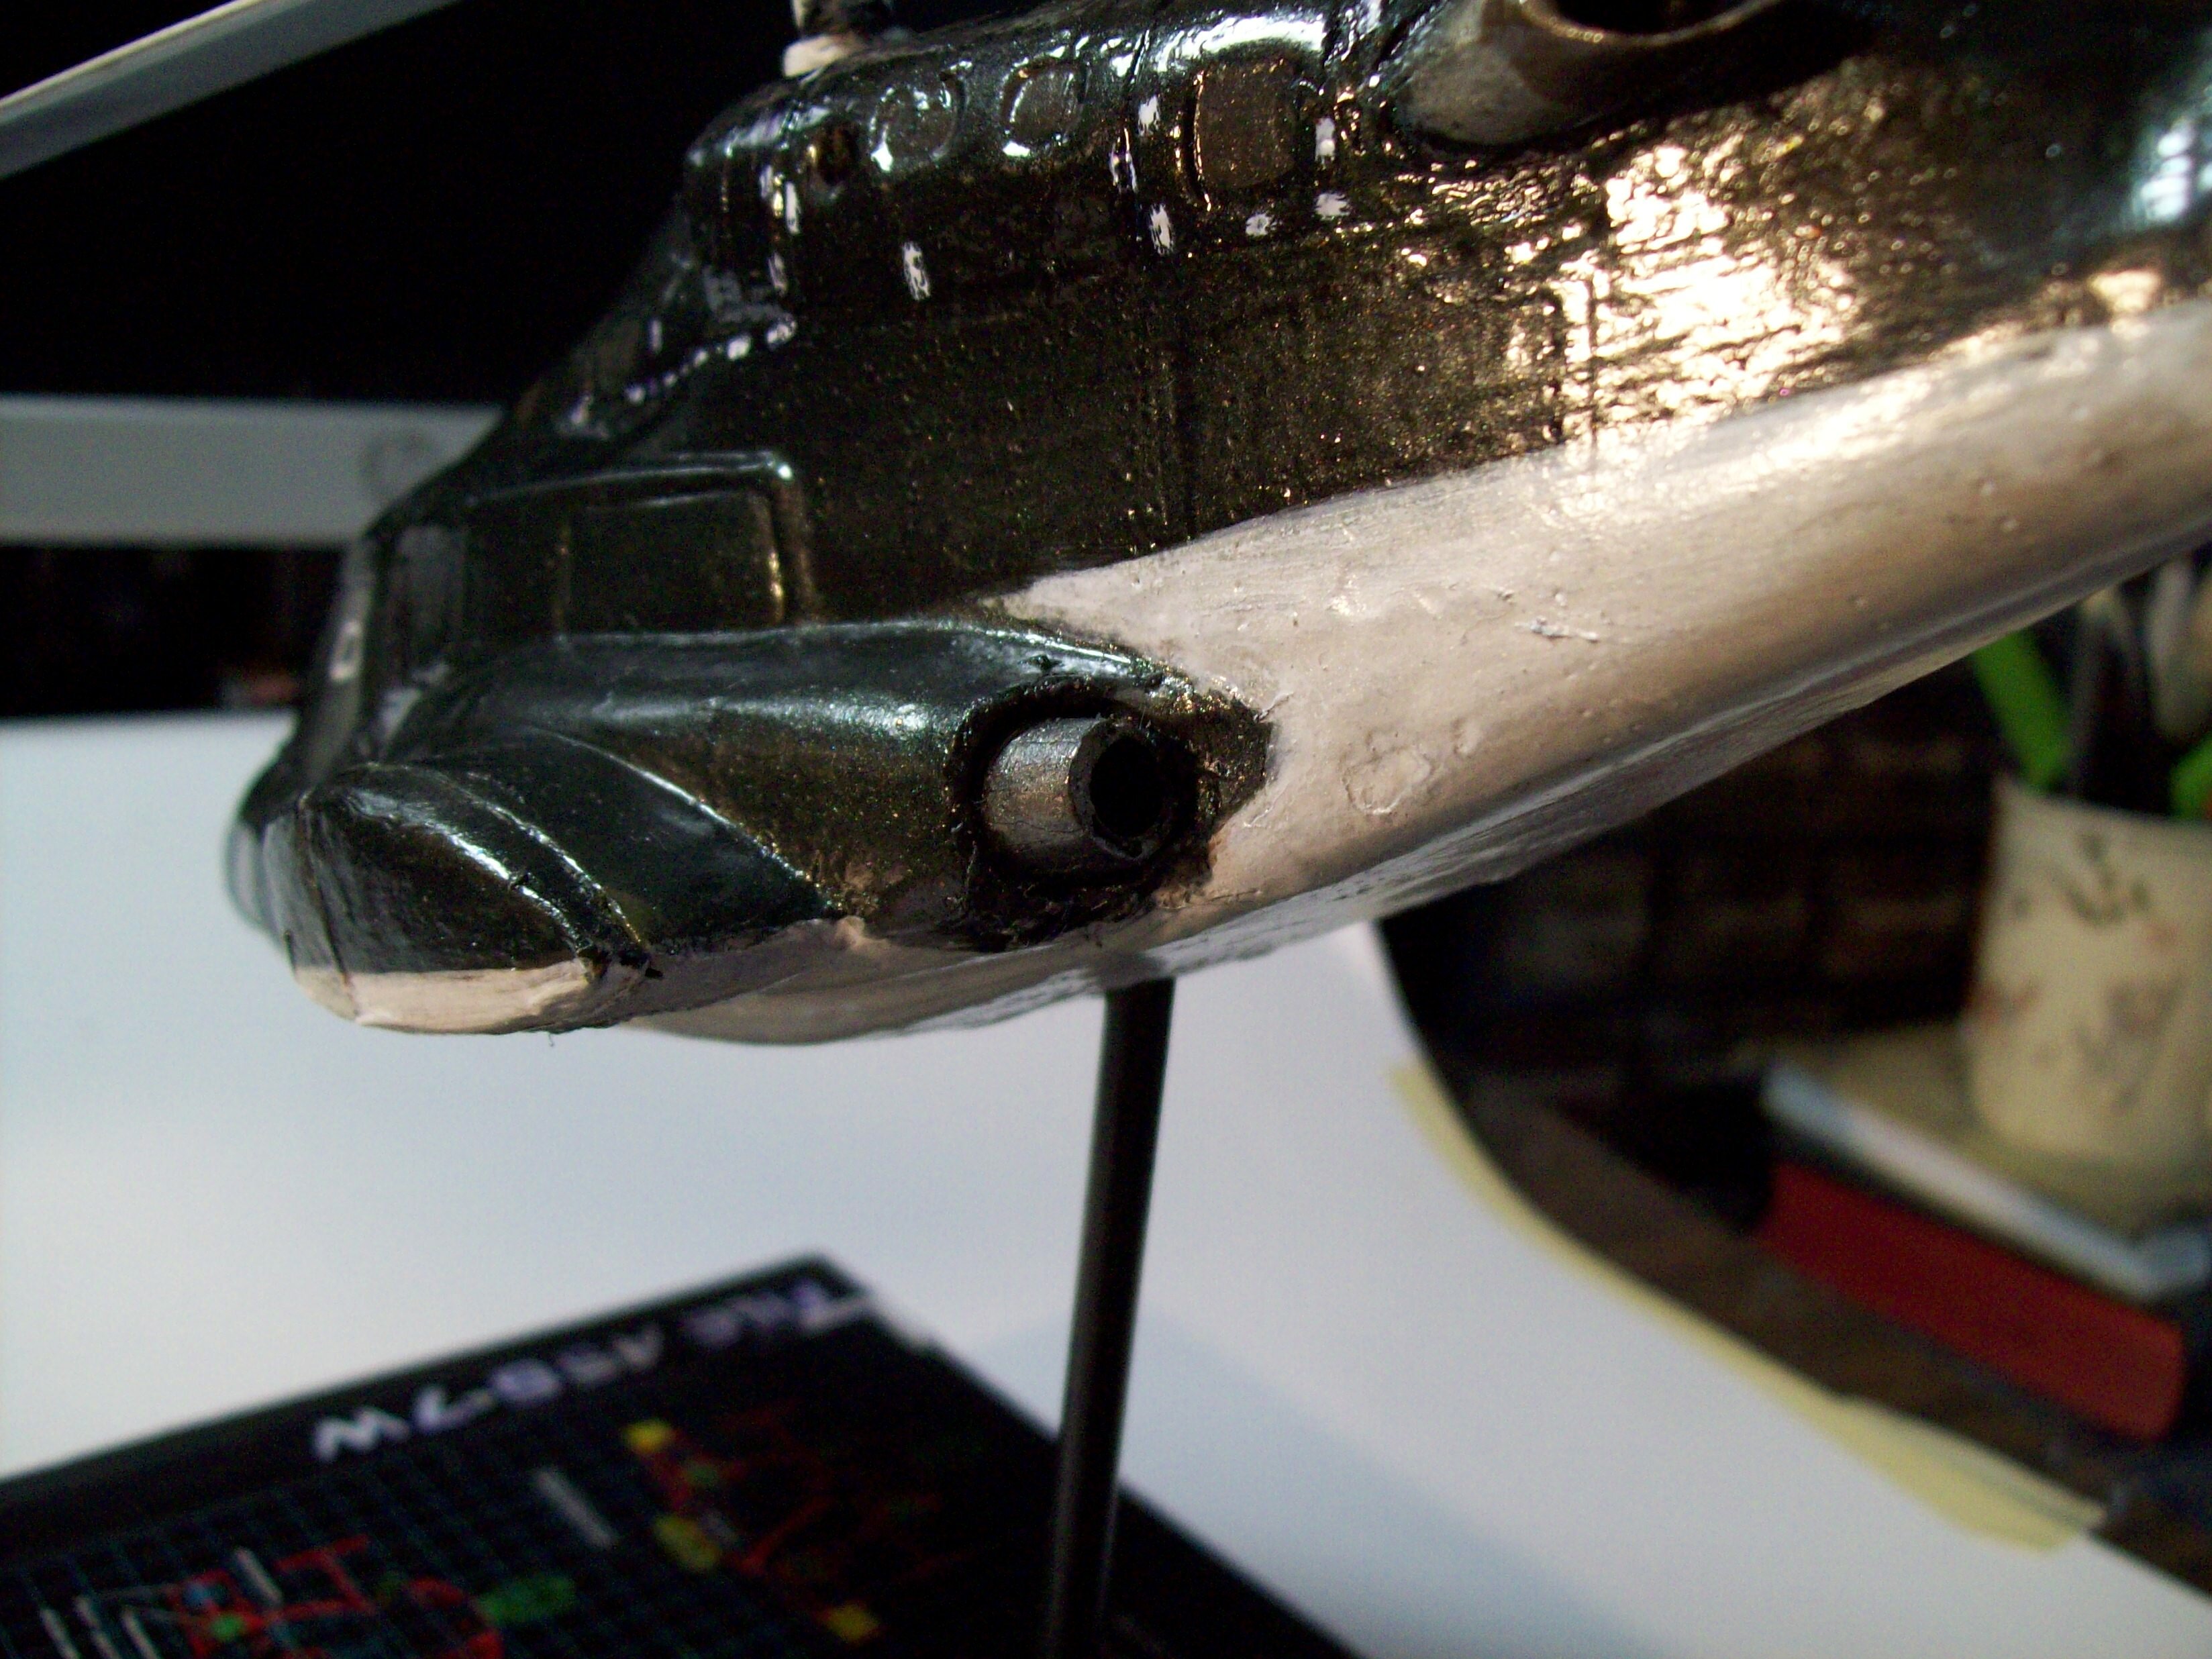
Work done to hollow out and rebuild turbo boost intakes and cooling intakes for rotor engines:
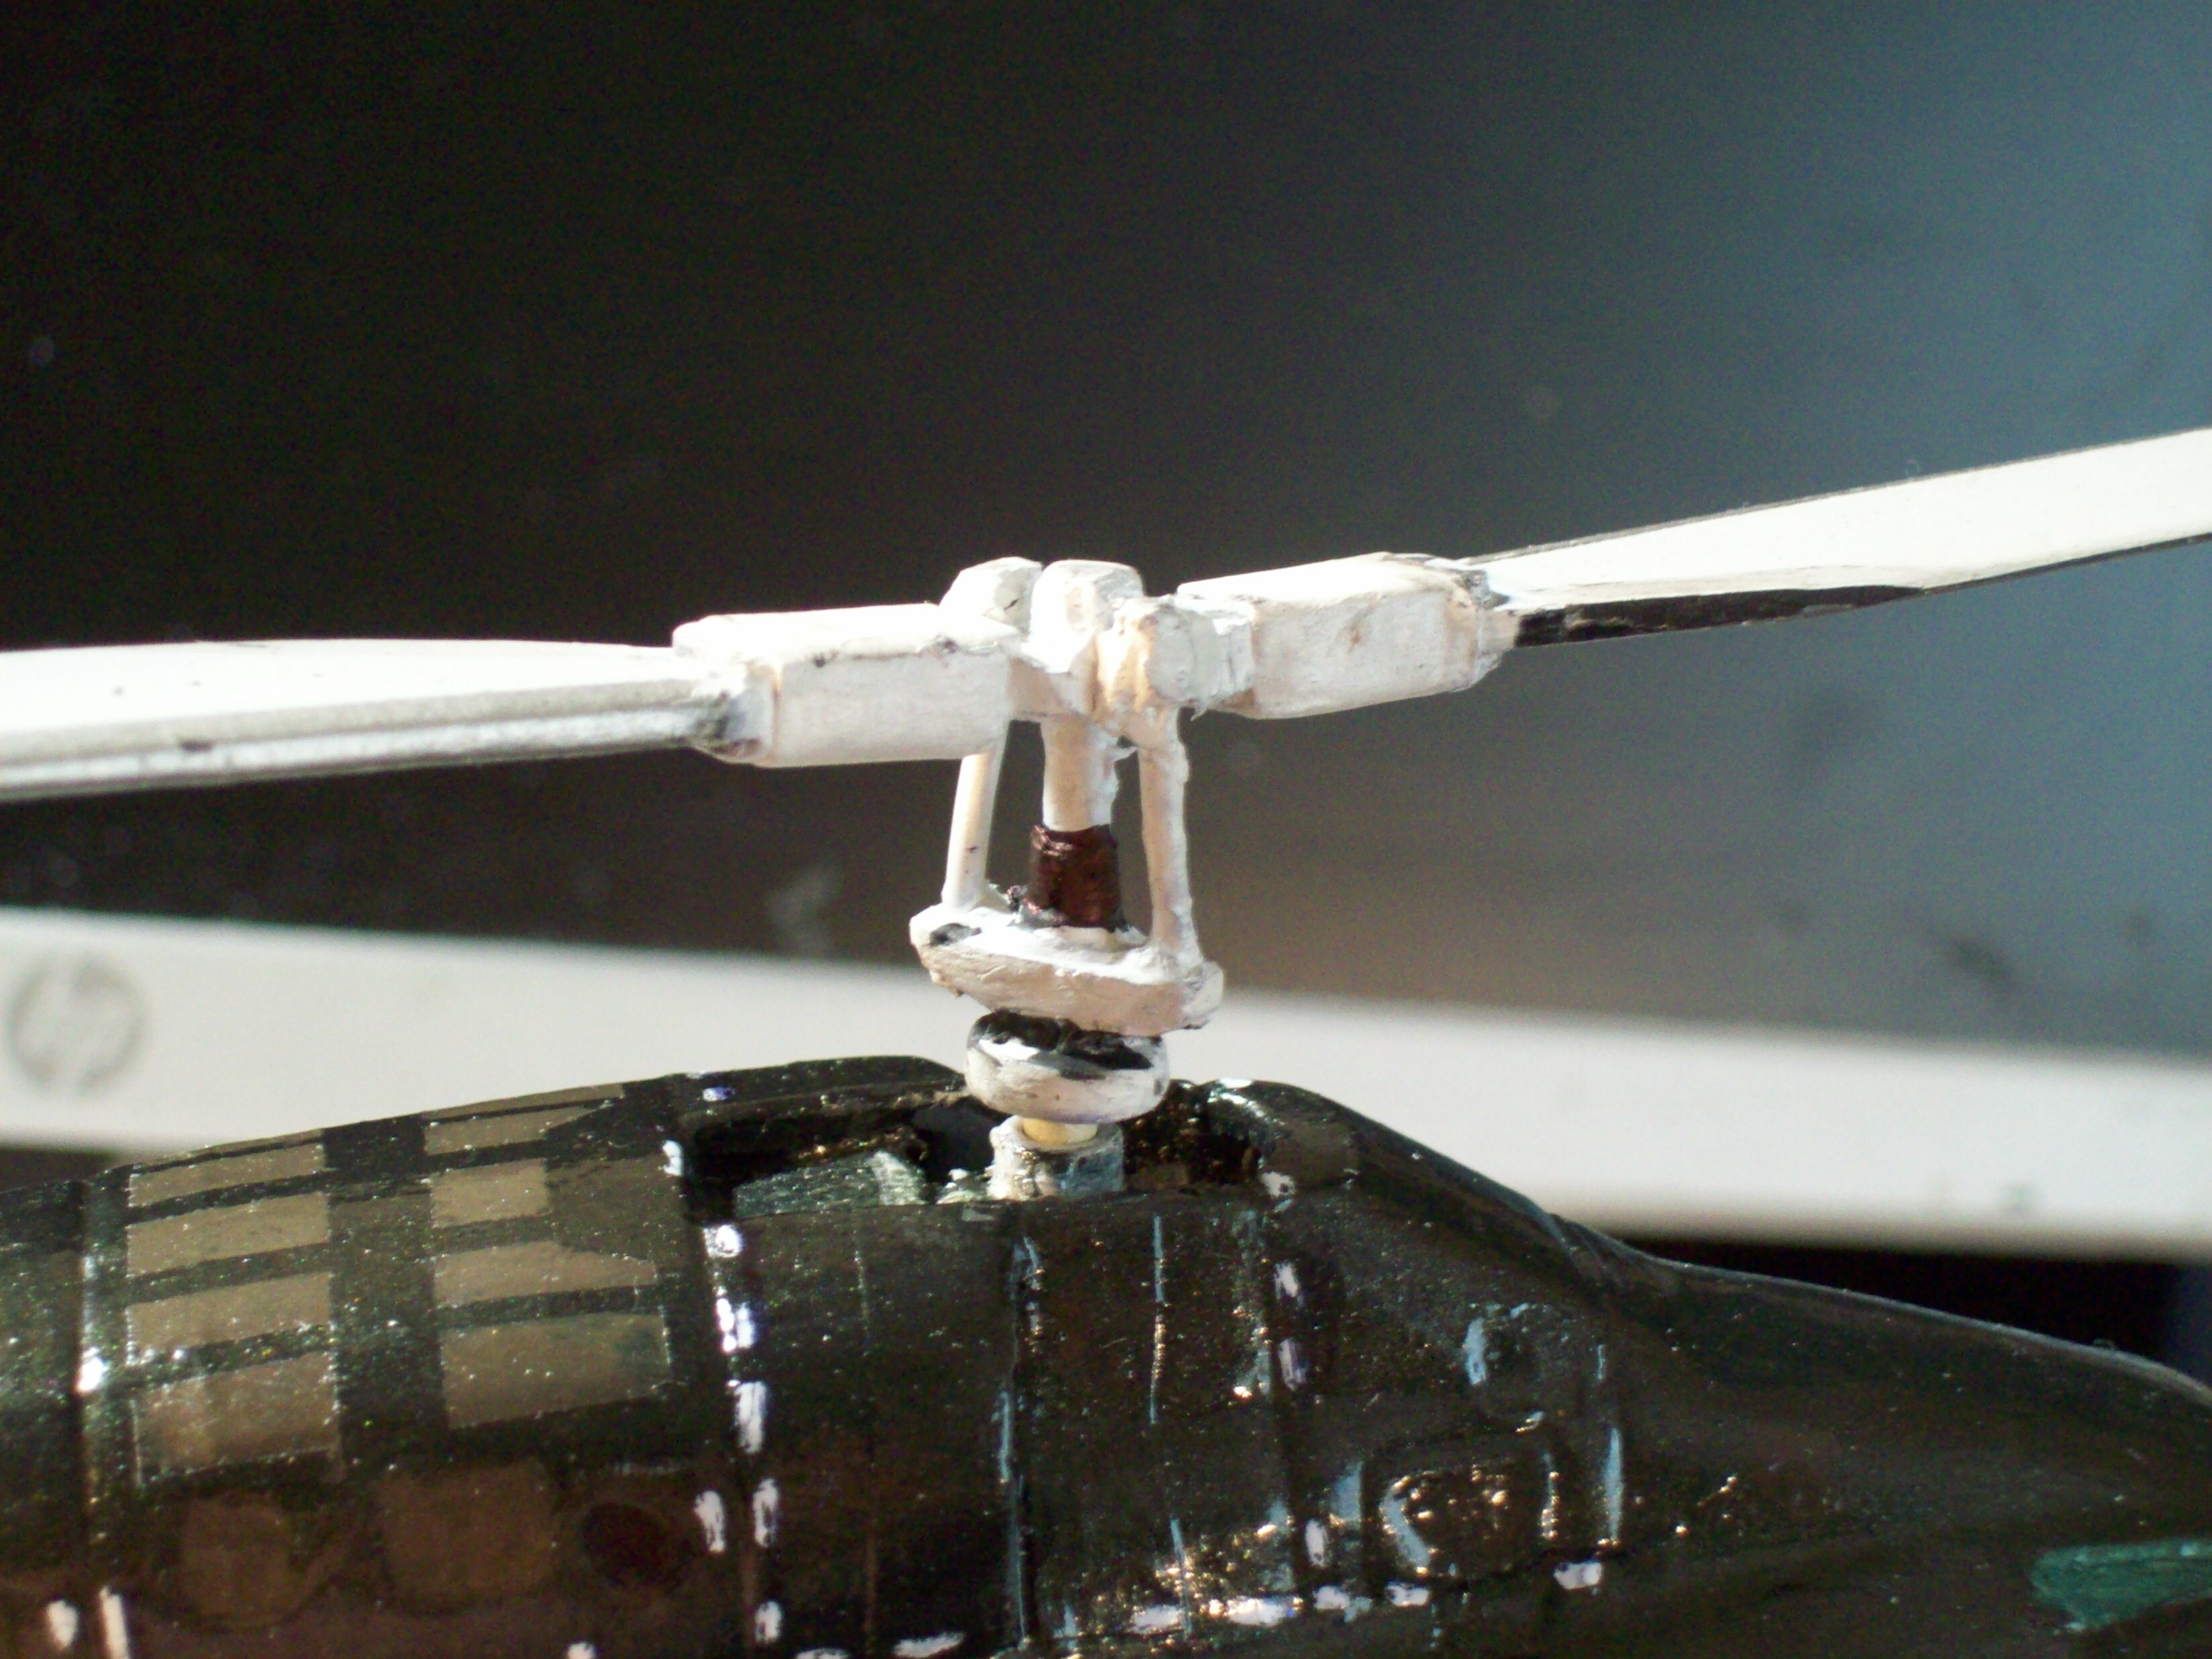
Main rotor hub:
The helicopter still needs work: a final buffing down of the hull (lumpy in some areas and the shine is too much), refining some details, and a couple fo other nitpicks. But overall, this project has succeeded beyond what I had hoped for!
Finally... a shot of "The Lady" coming straight for the camera:
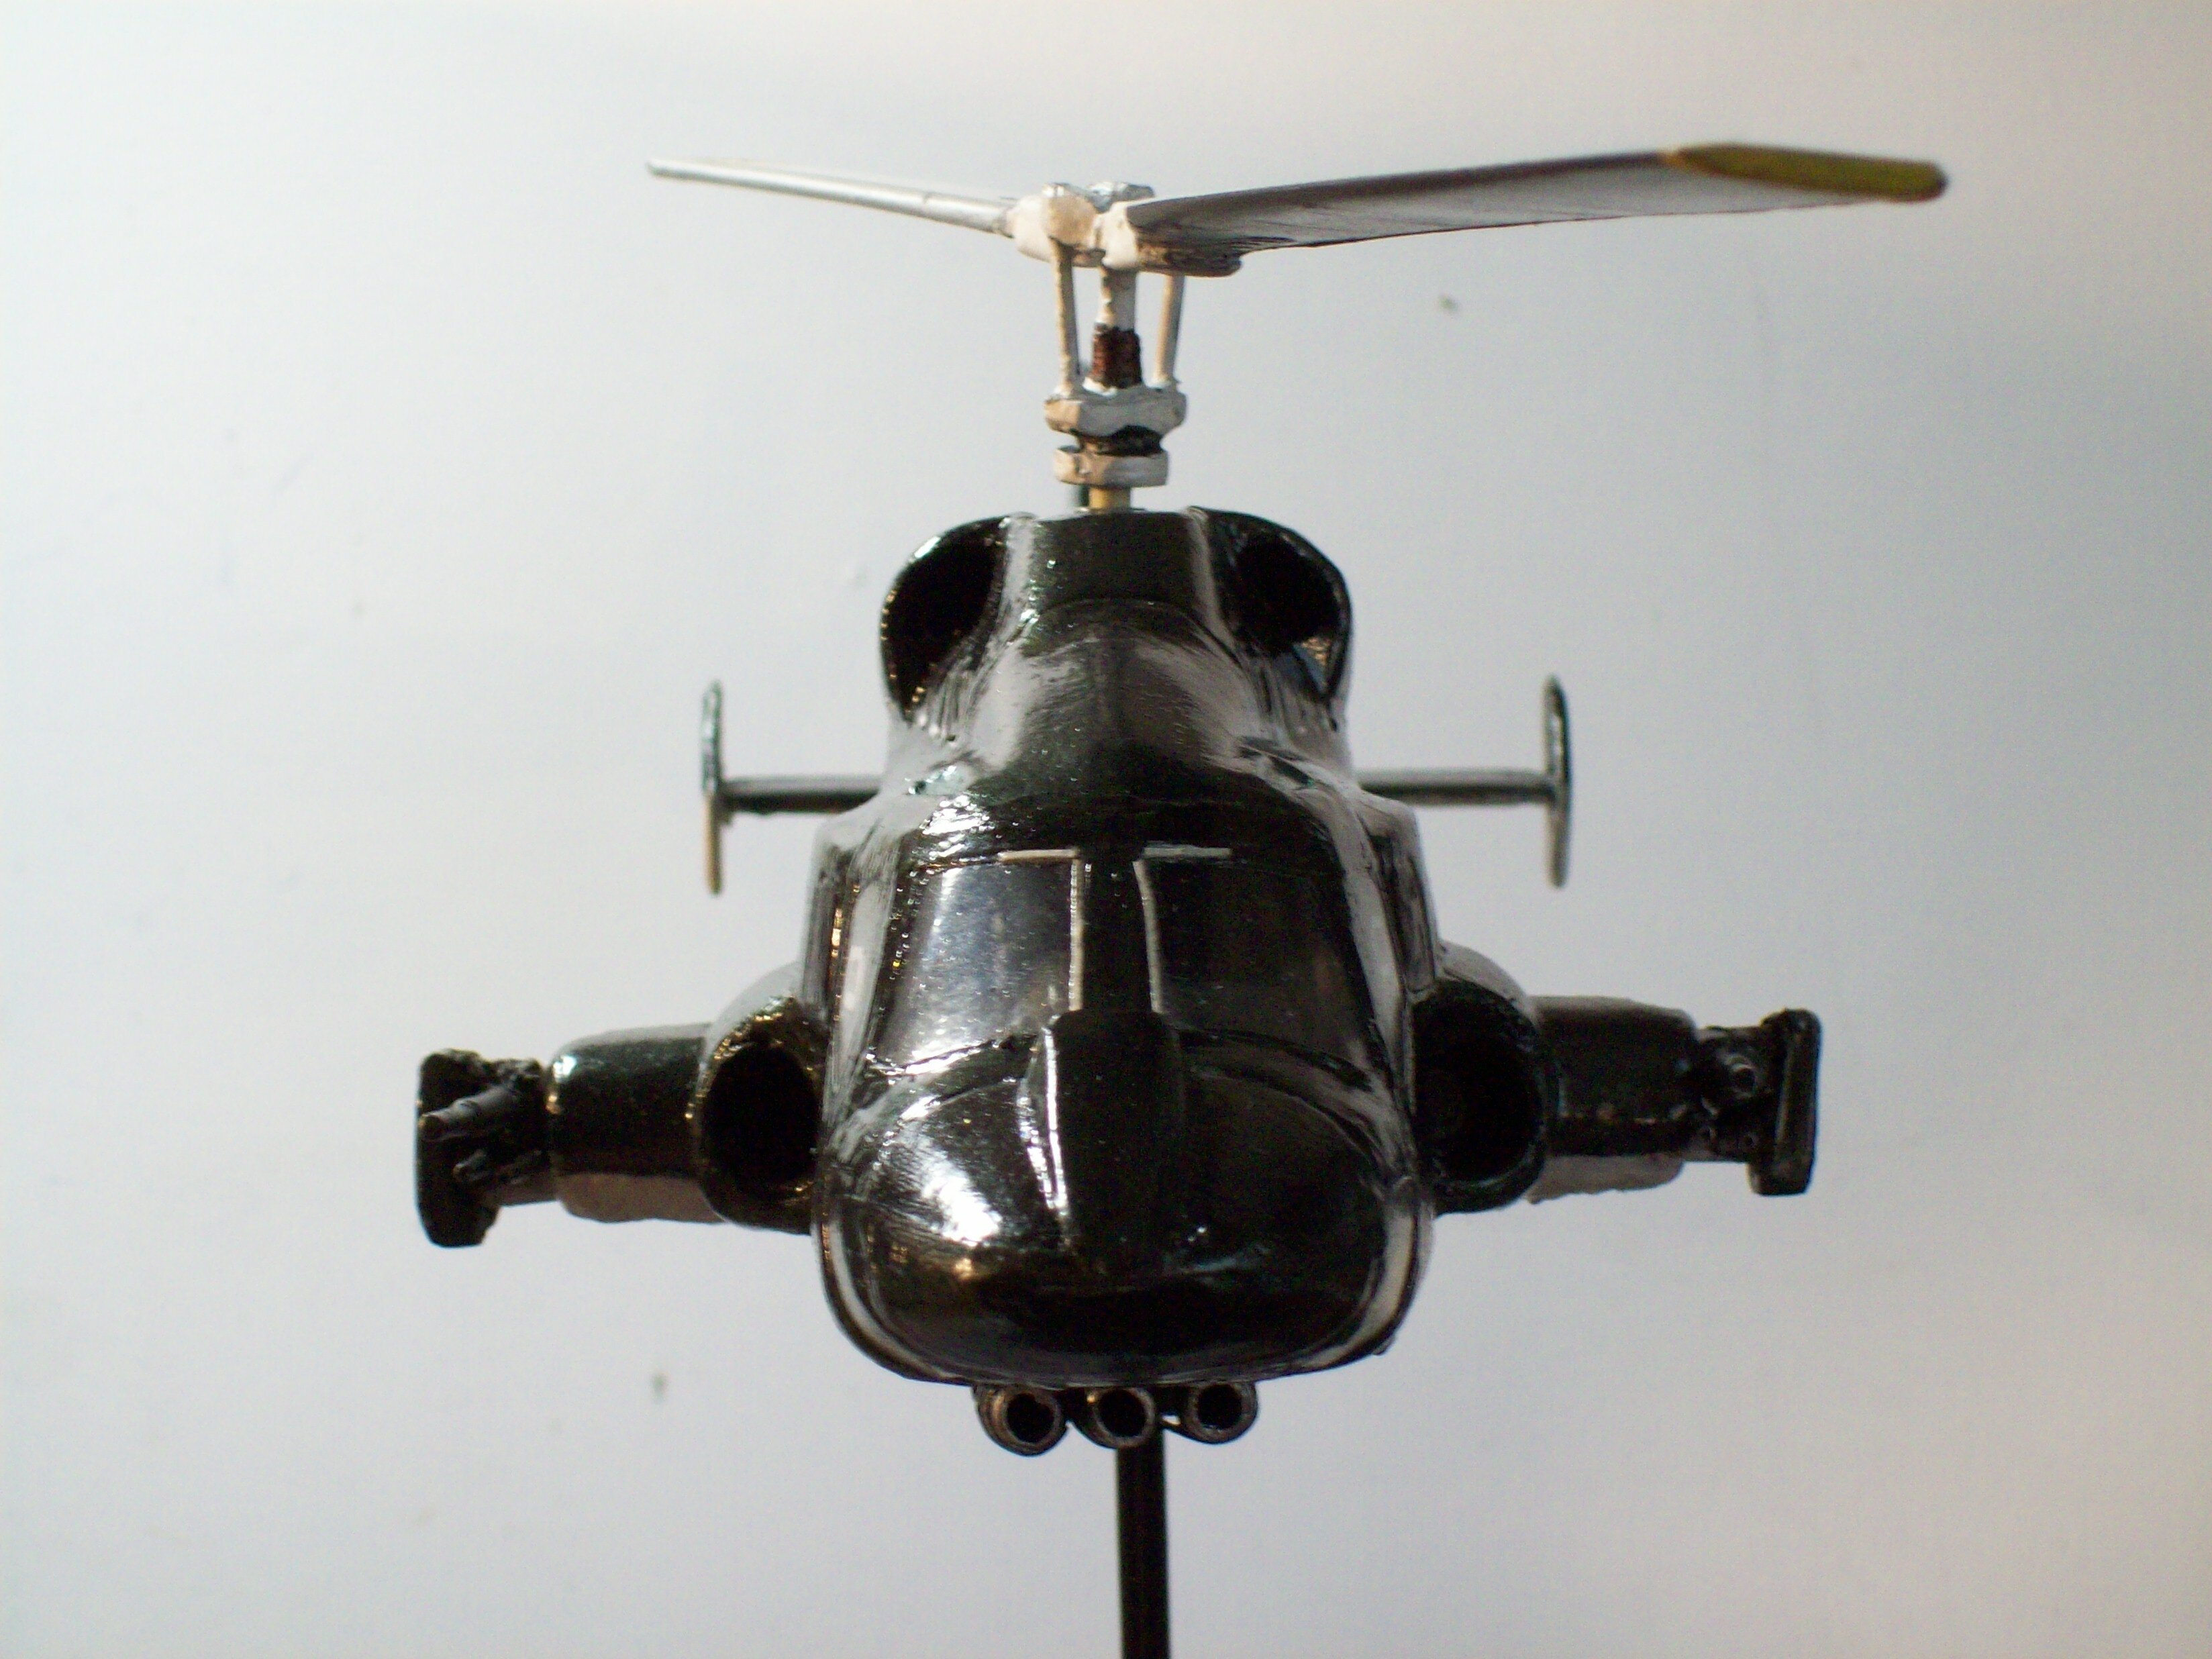
Stay tuned folks....
Good job man!
ps: my wife finished this
-
11 hours ago, electric indigo said:
Good Morning!
Oh ohh… it‘s got legs now :S
PS: Done

-
I like how everyone is having fun
-
Hehe, cool man!
I wonder: why is there the joystick in the middle? I always thought the stick is on the right hand panel.
-
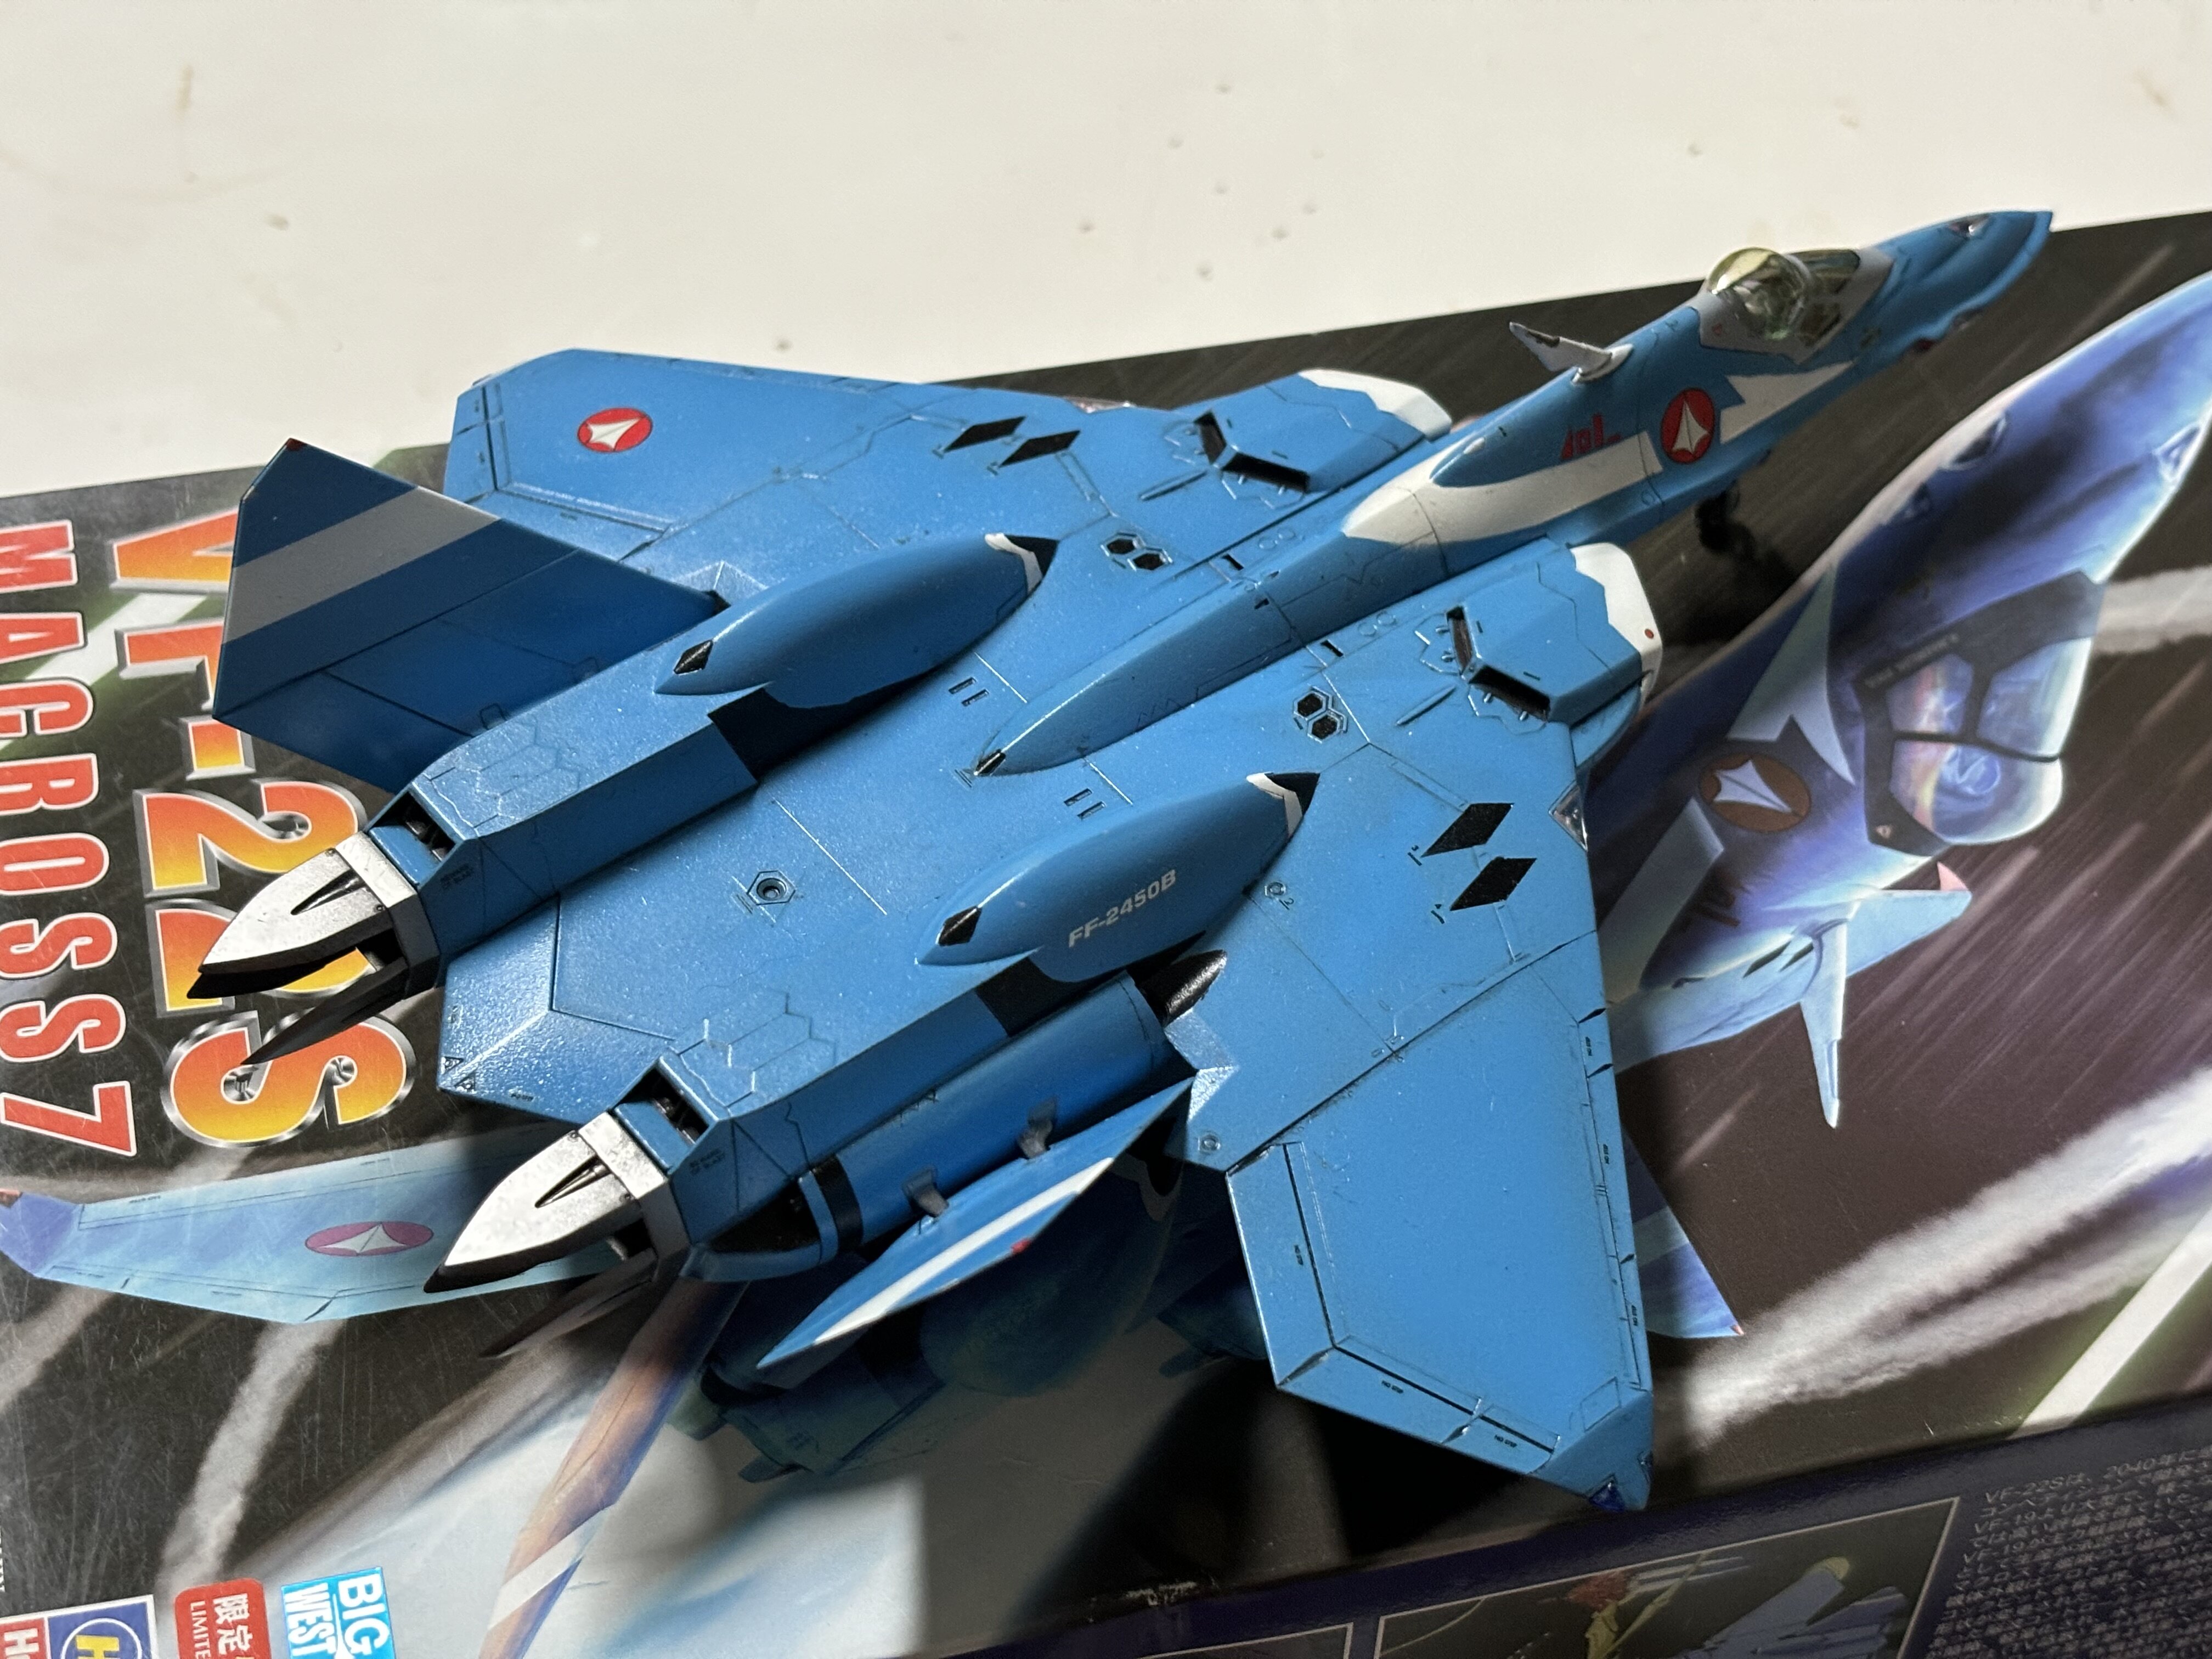
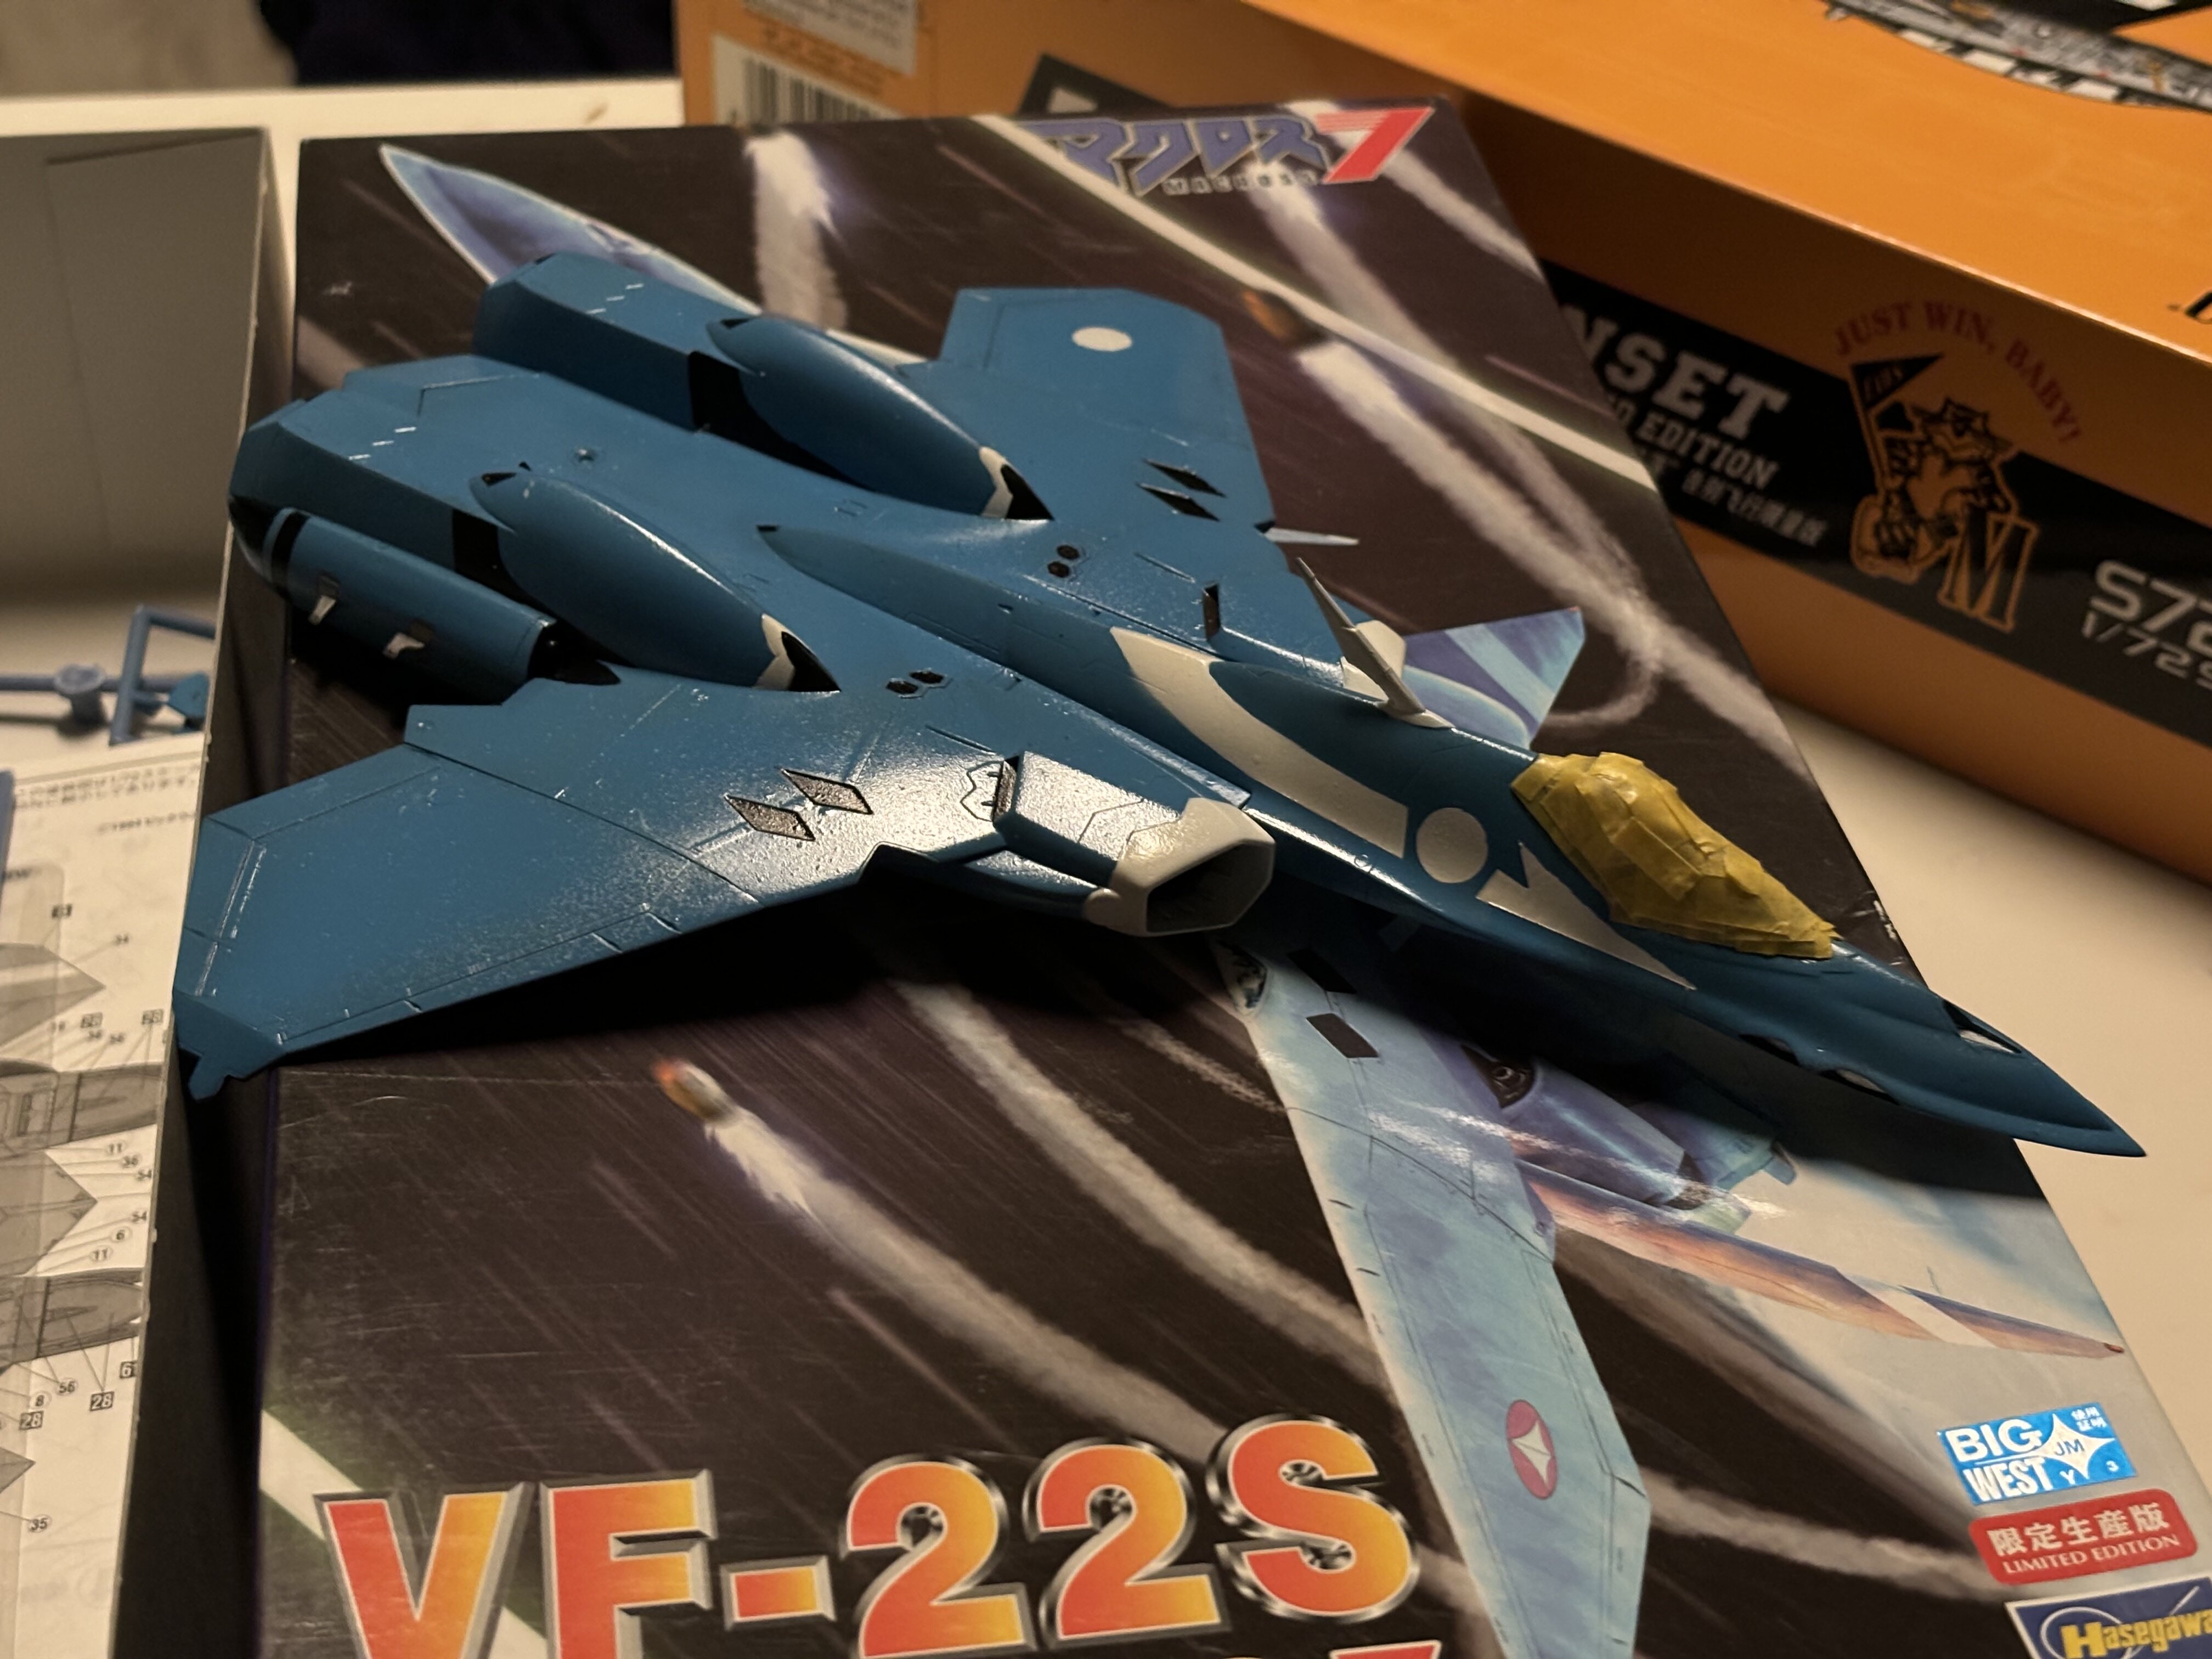
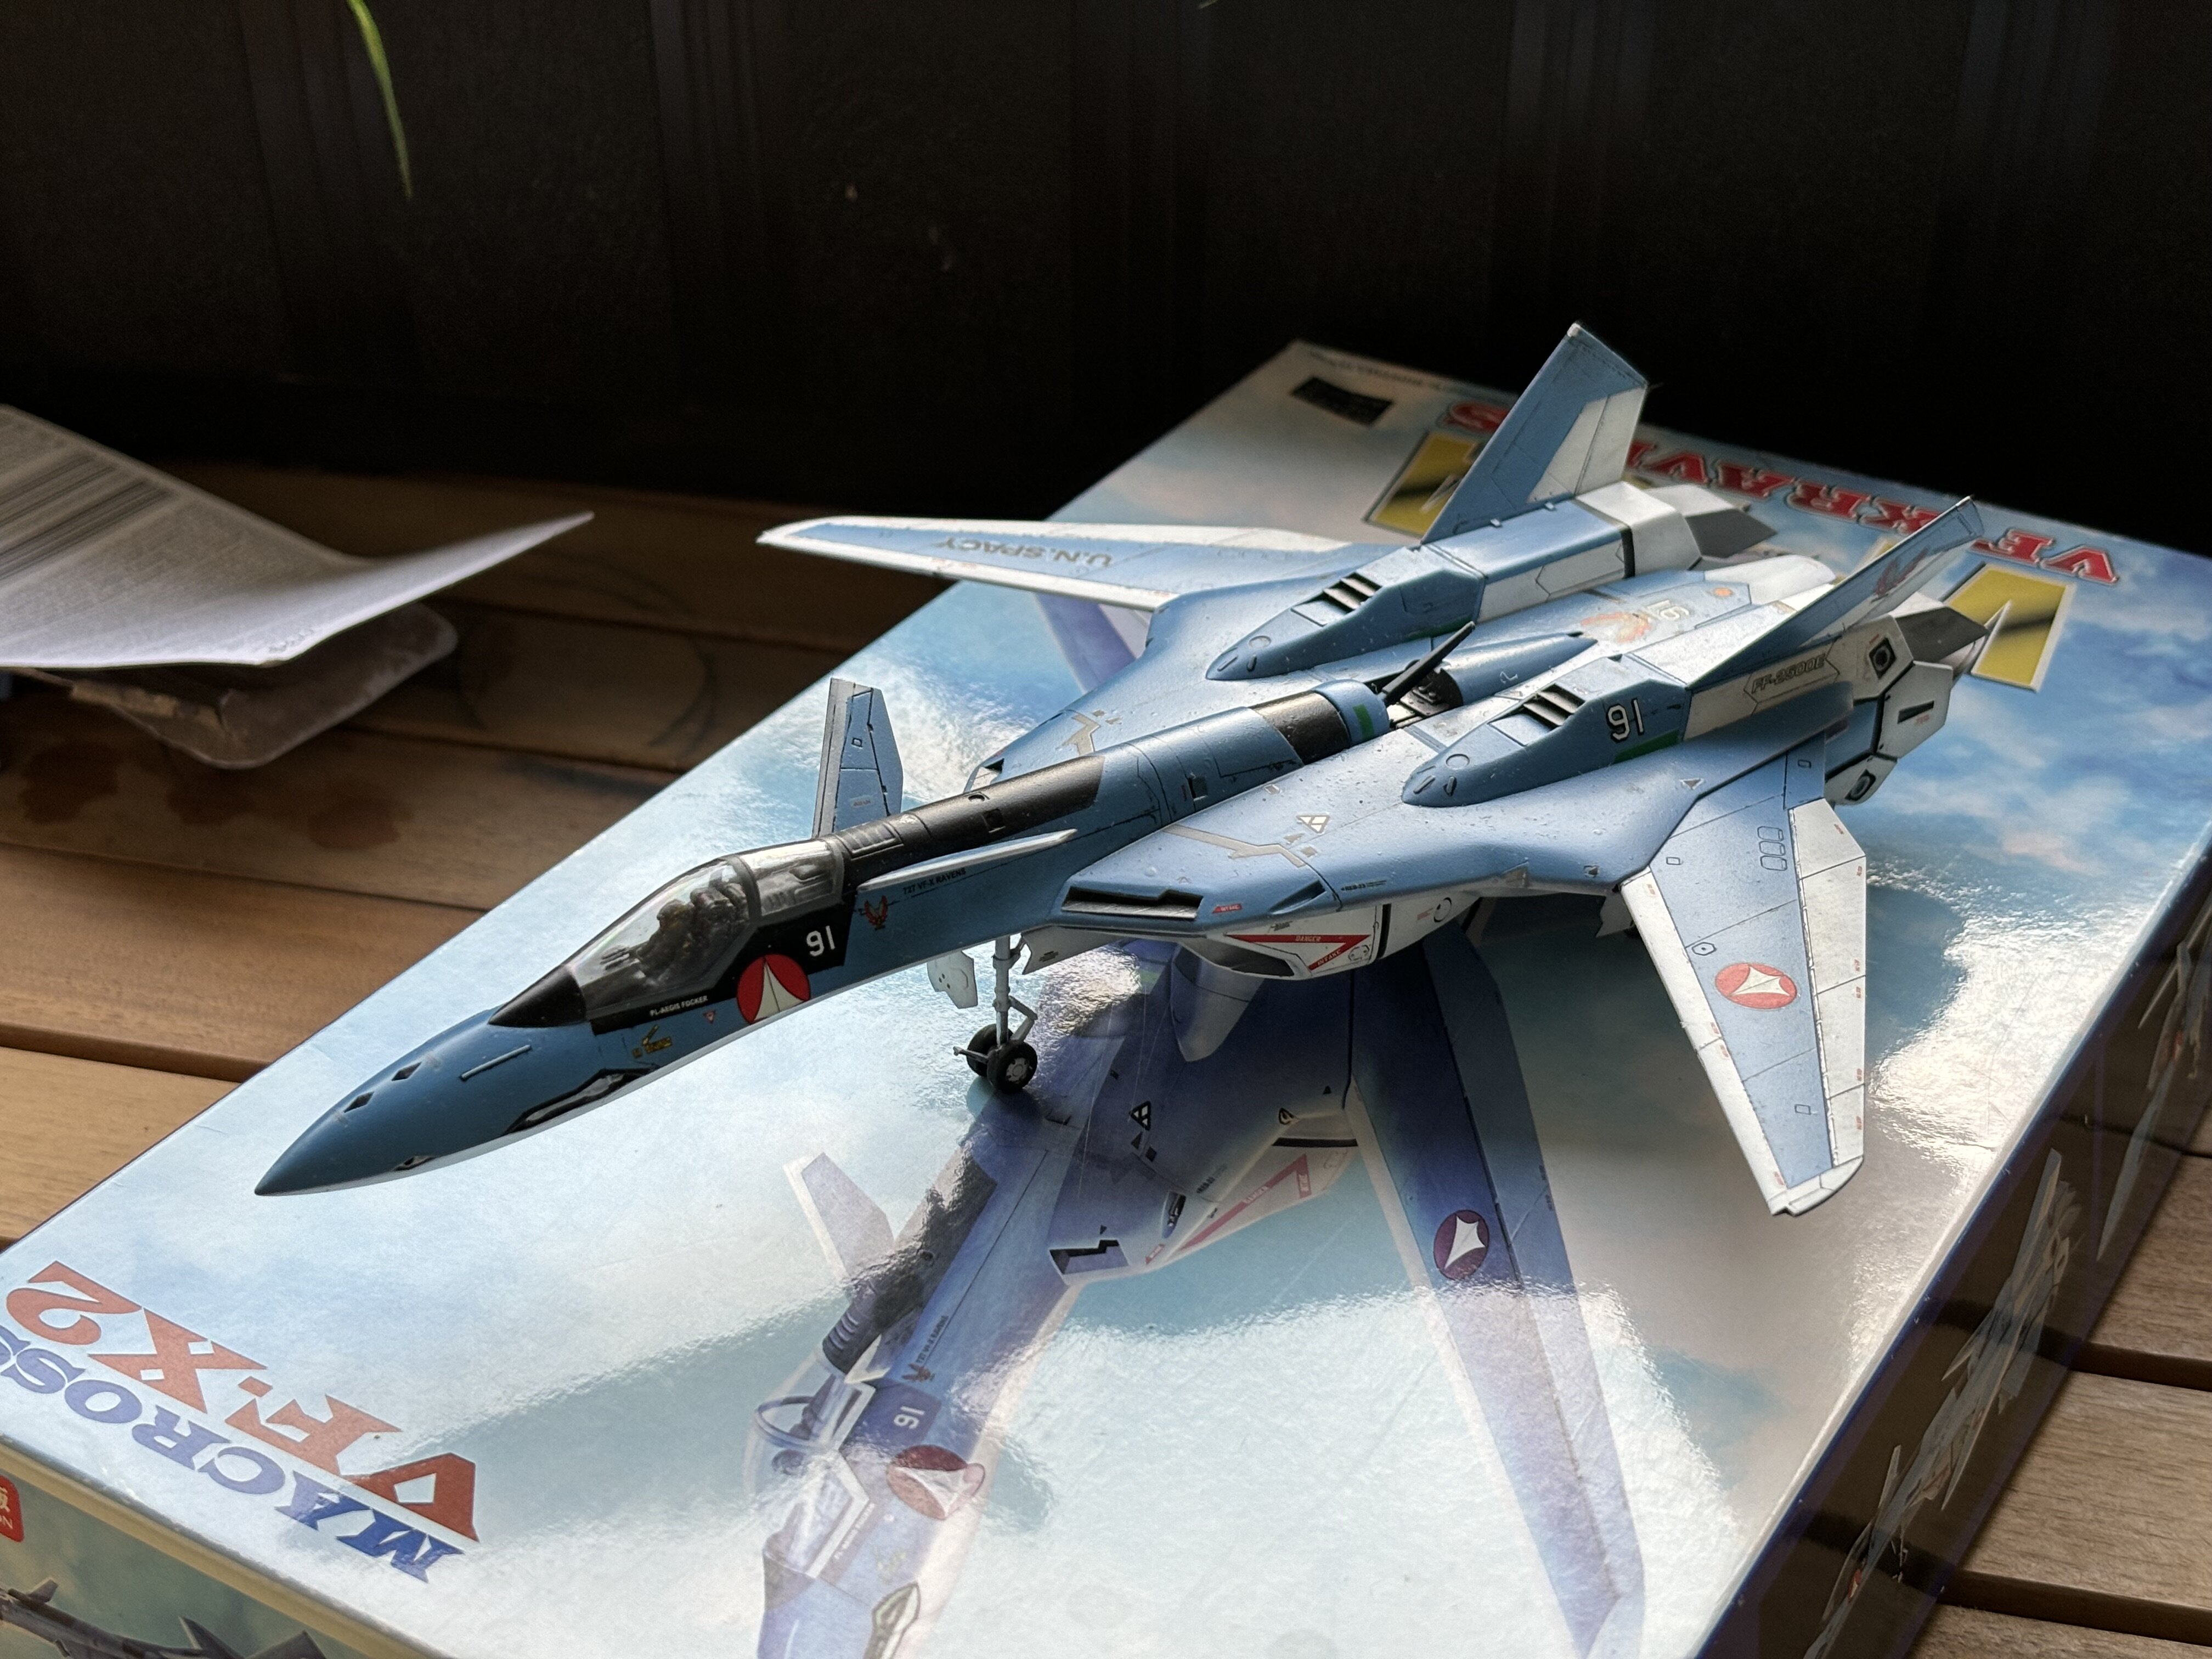
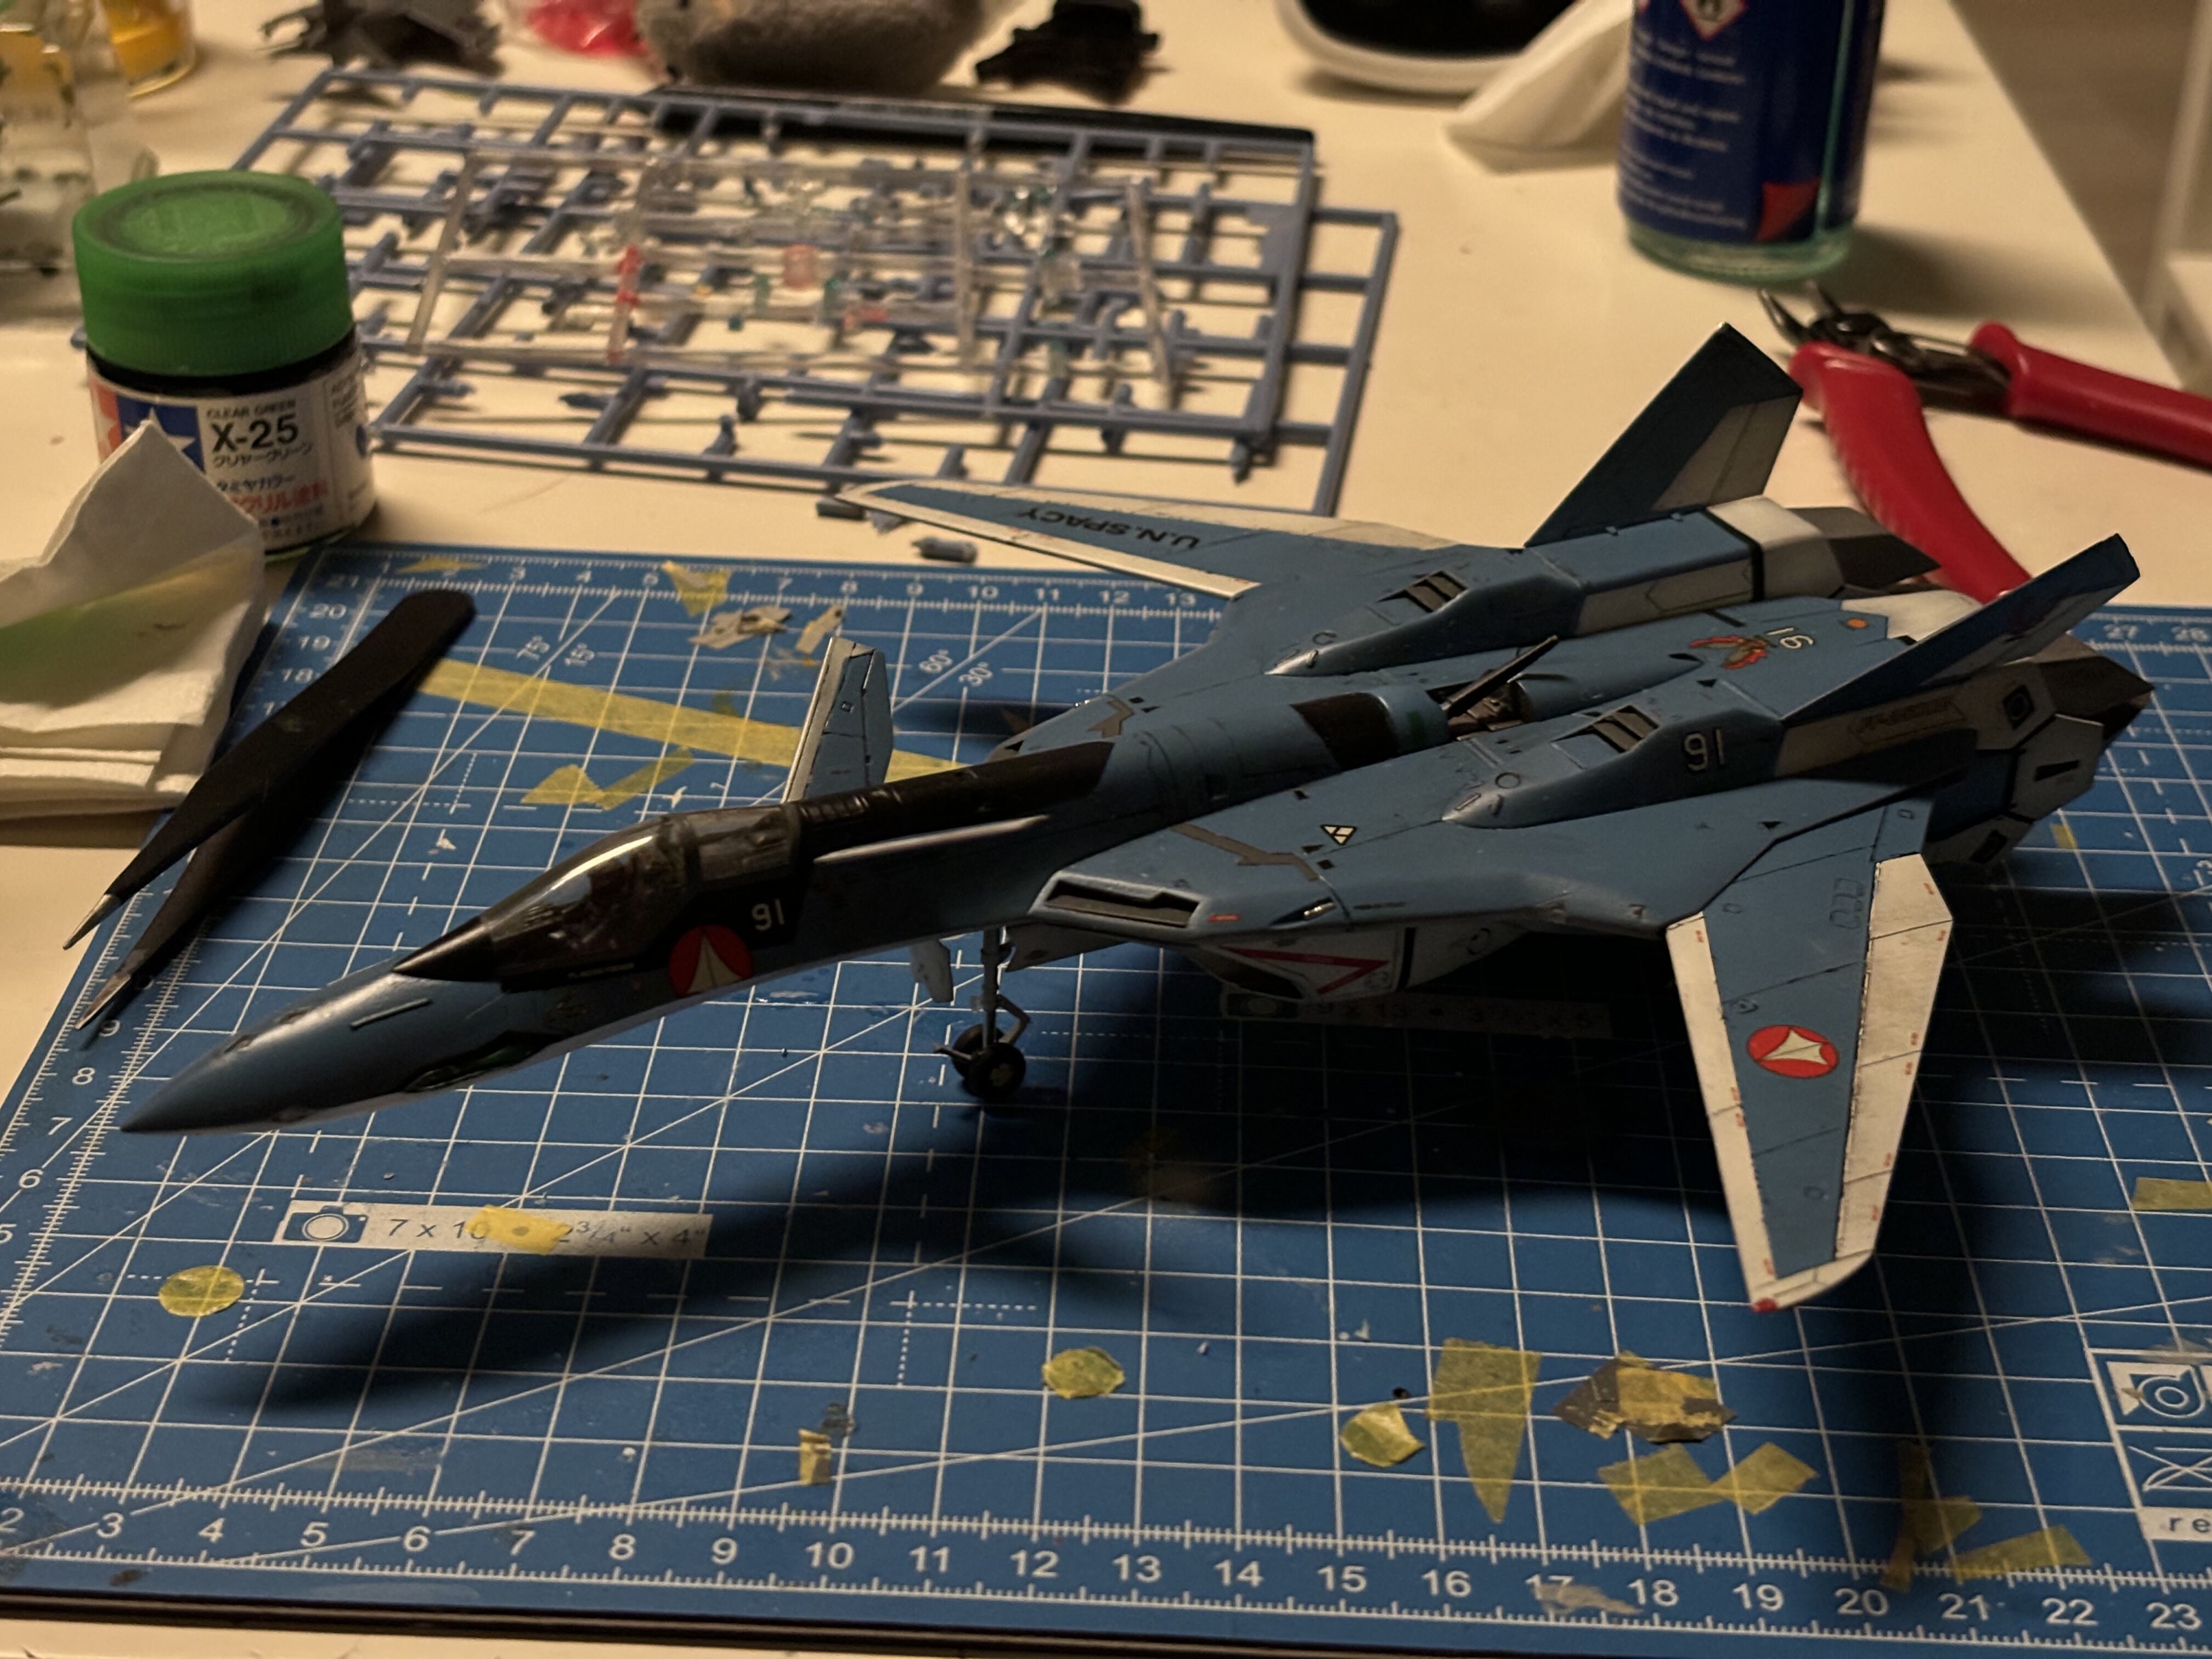
Washing the VF-22S.
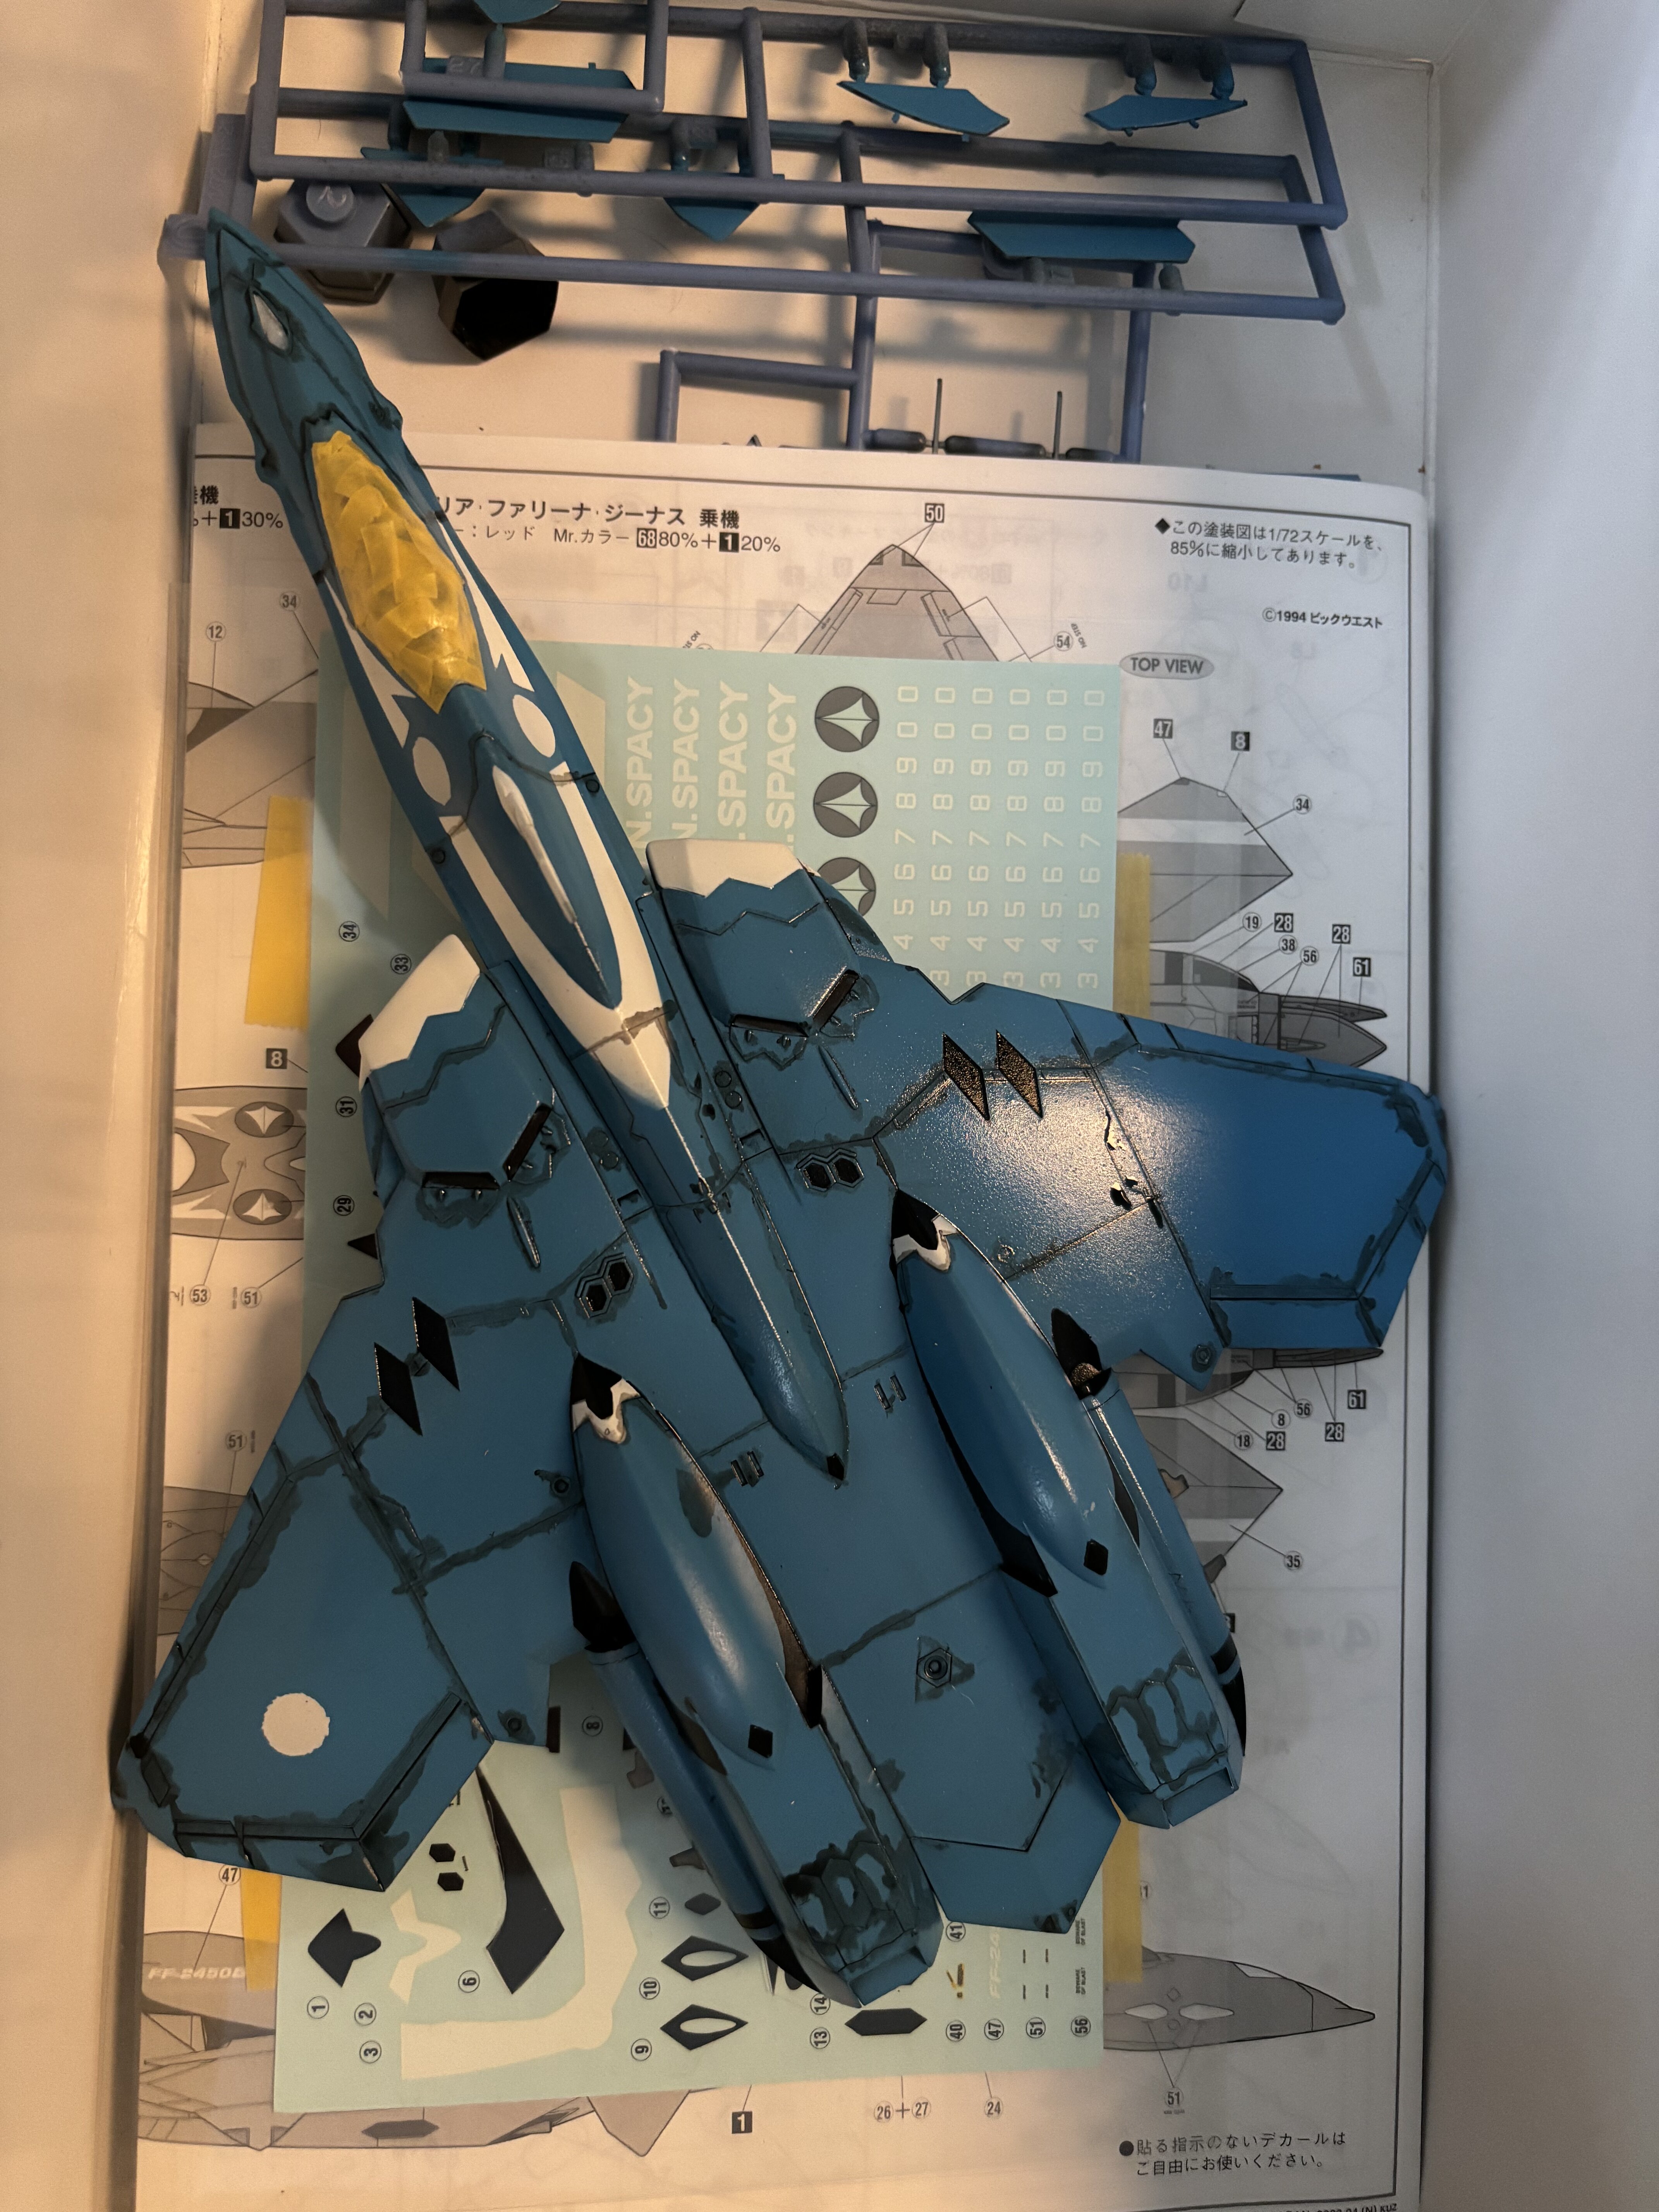
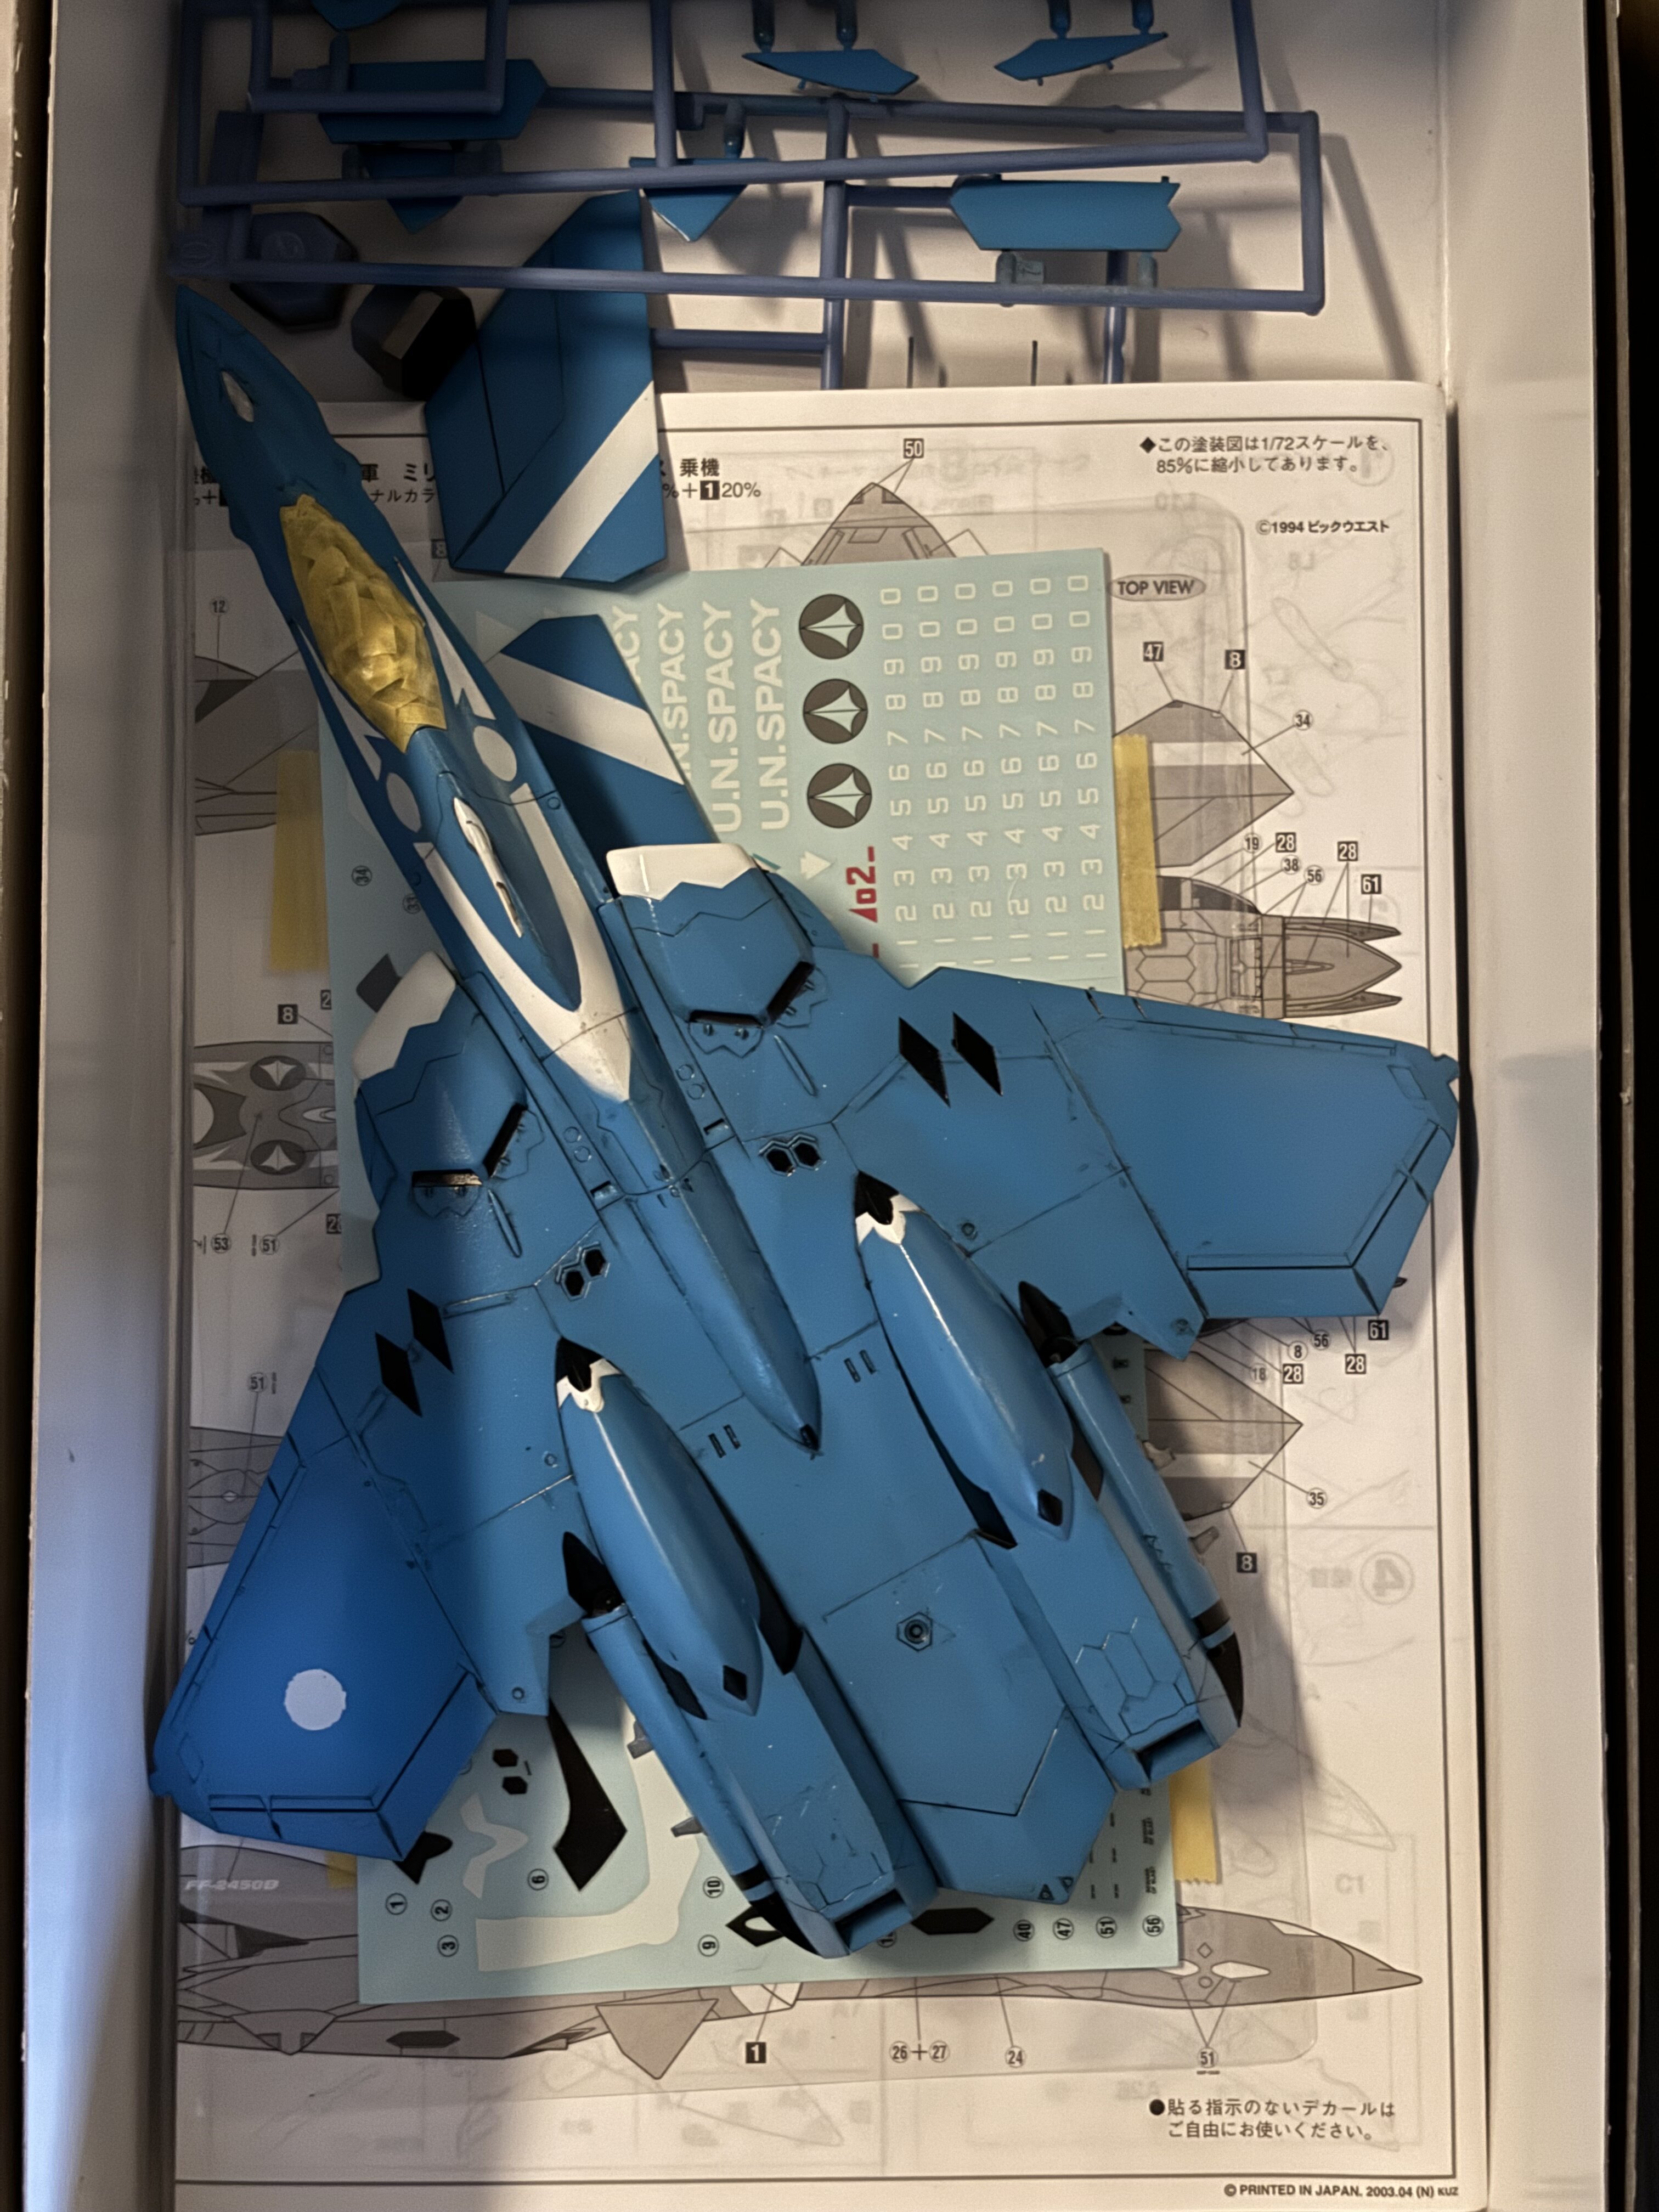
edit:
Decals!
-
13 hours ago, Chronocidal said:
Before you go printing Sparrows, take note of the fin shape. They used AIM-120 AMRAAMs on the Mac-0 F-14s.
They were never cleared for operational use, but the Navy did test using them. Apparently they scrapped the idea when the upgrade wasn't deemed worth it, considering the limited use compared with the Super Hornet that was already in development.
Oh wow - I wasn't aware. Thanks! Good I didn't invest time yet to create AIM-7 rockets or purchase some online. Will check for AIM-120.
-
On 4/14/2024 at 12:42 AM, Big s said:
Yeah, but probably a skull squadron lobster
there is a 99% propability that will actually happen, but let's dream a bit. Some possible quick pull-offs FUJIMI would be capable to do.
1/72 Macross Zero F-14
1/72 Macross Zero Mig-29
1/72 Macross Zero SH-60 Seahawk
Varja themed lobster or rhinoceros beetle -
@electric indigo awesome man!
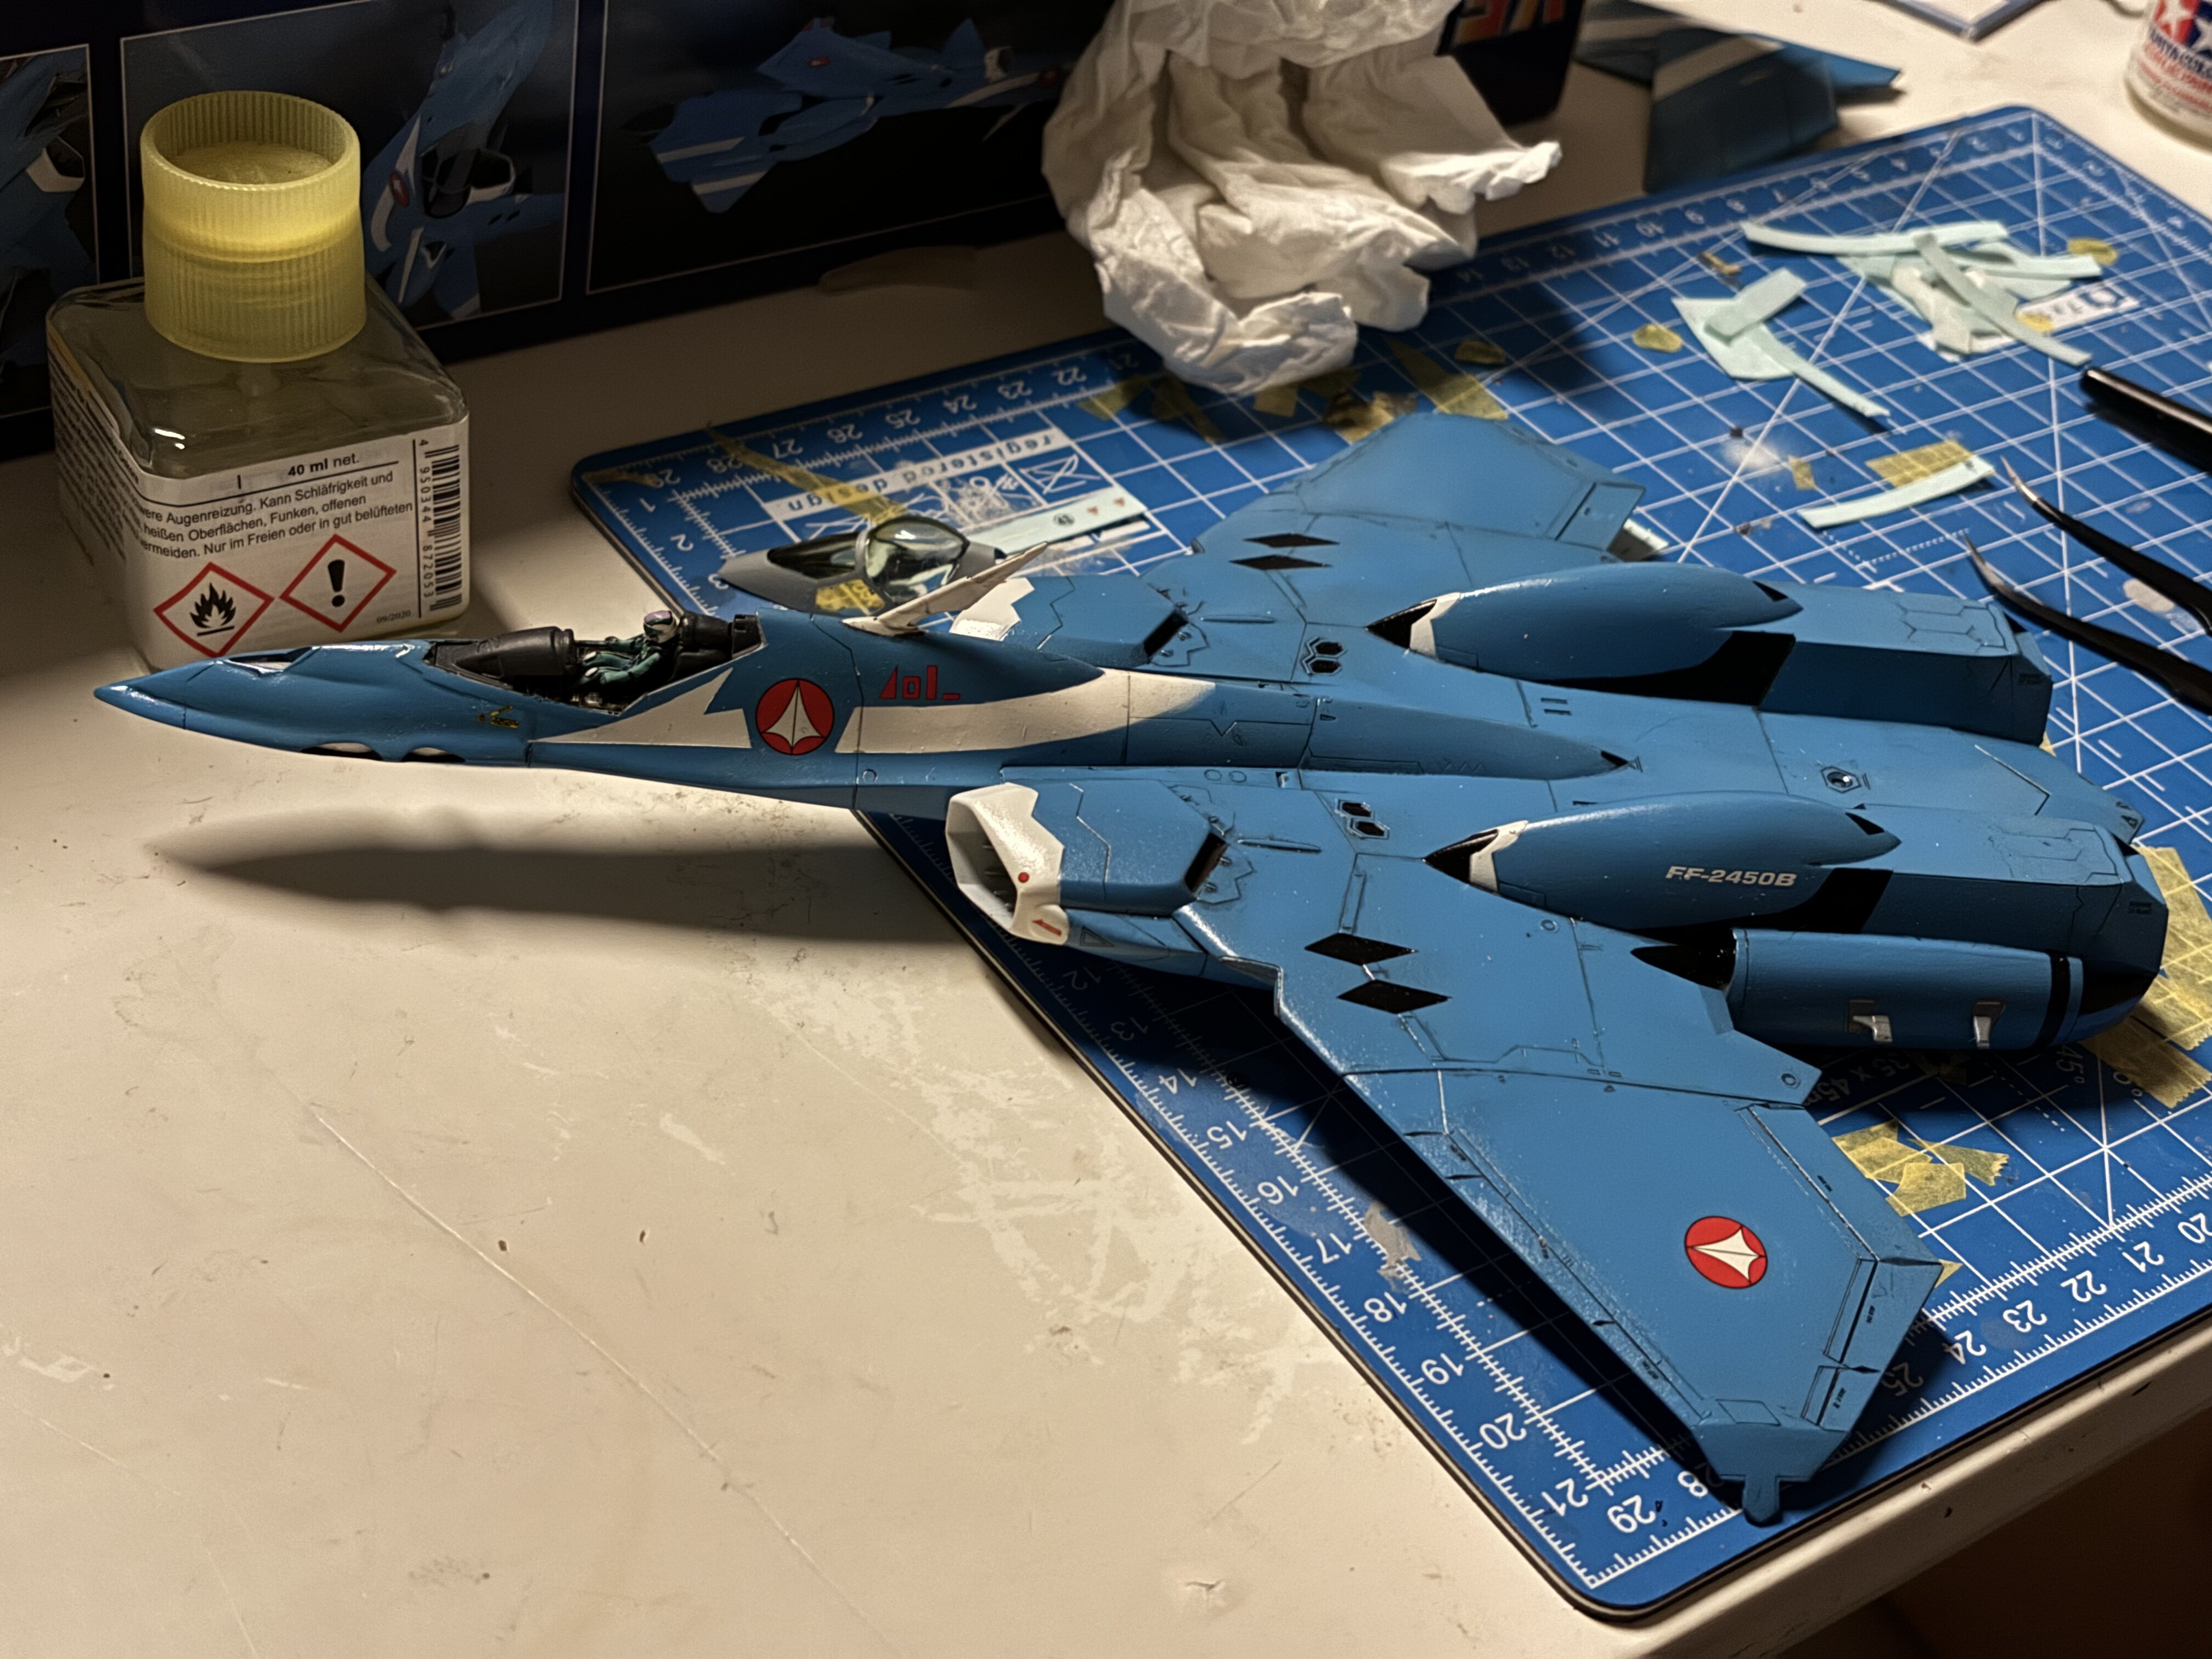
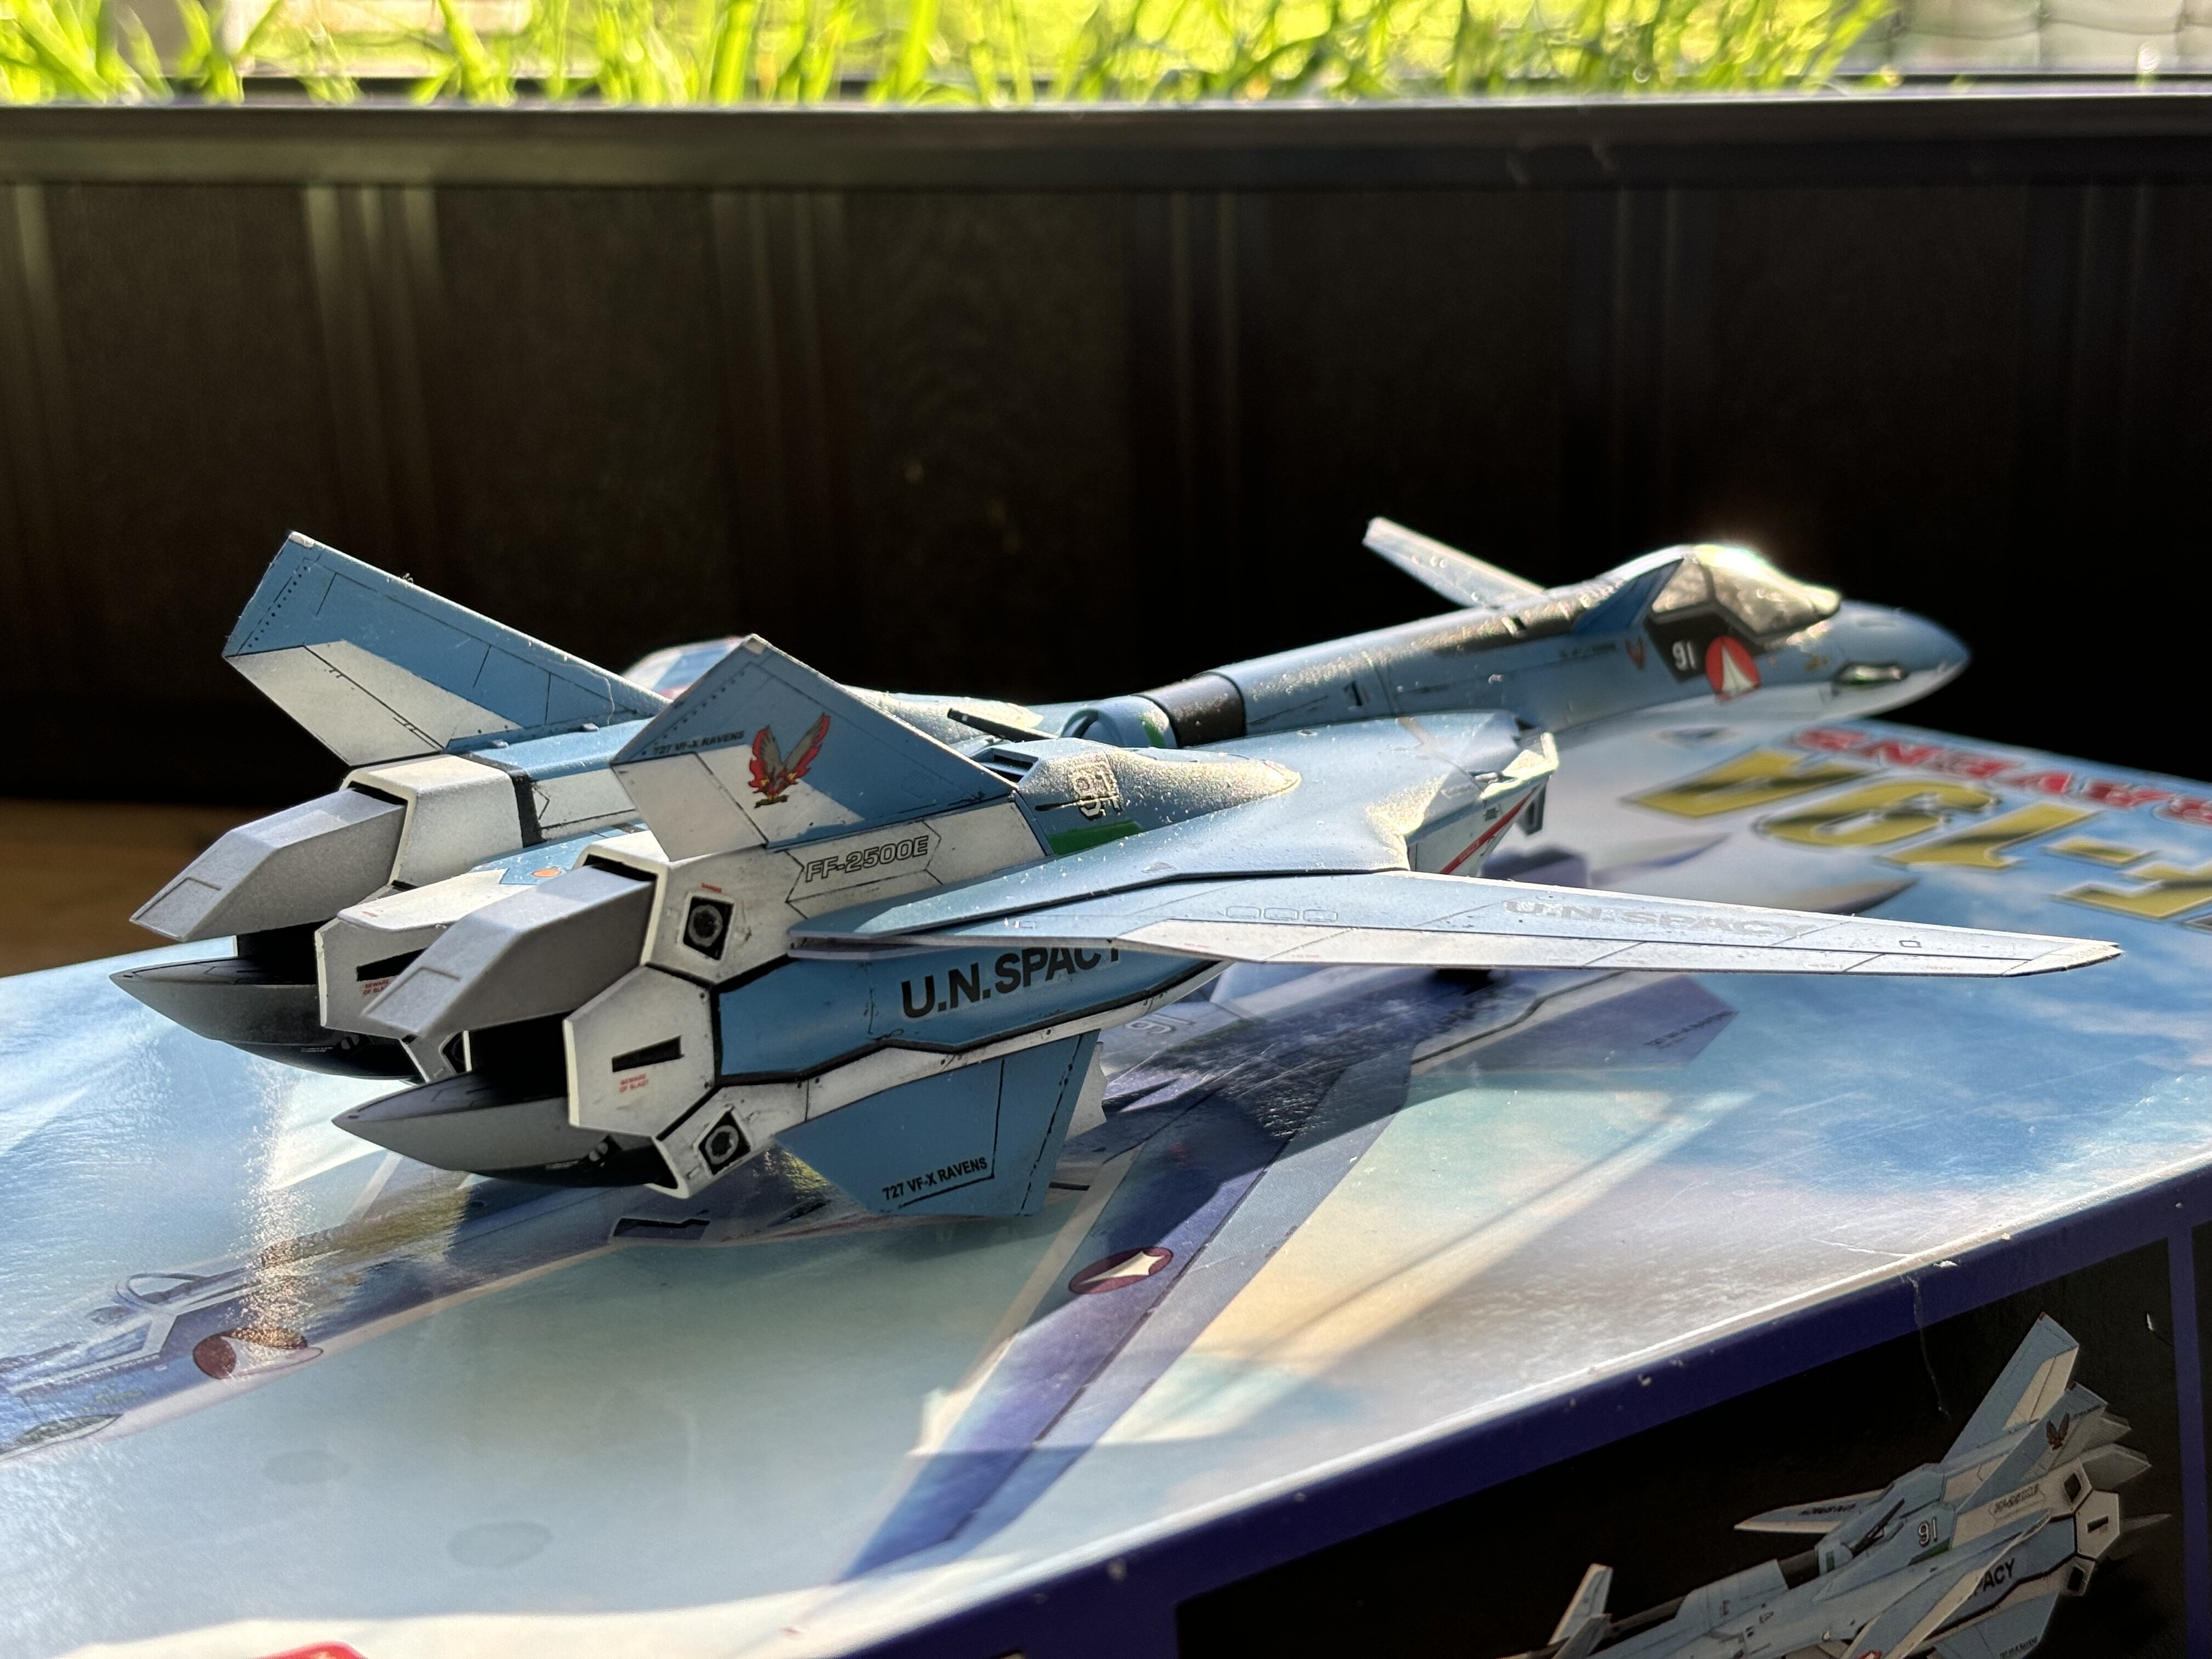
Here. Two pictures of the finished VF-19A in evening sunlight.
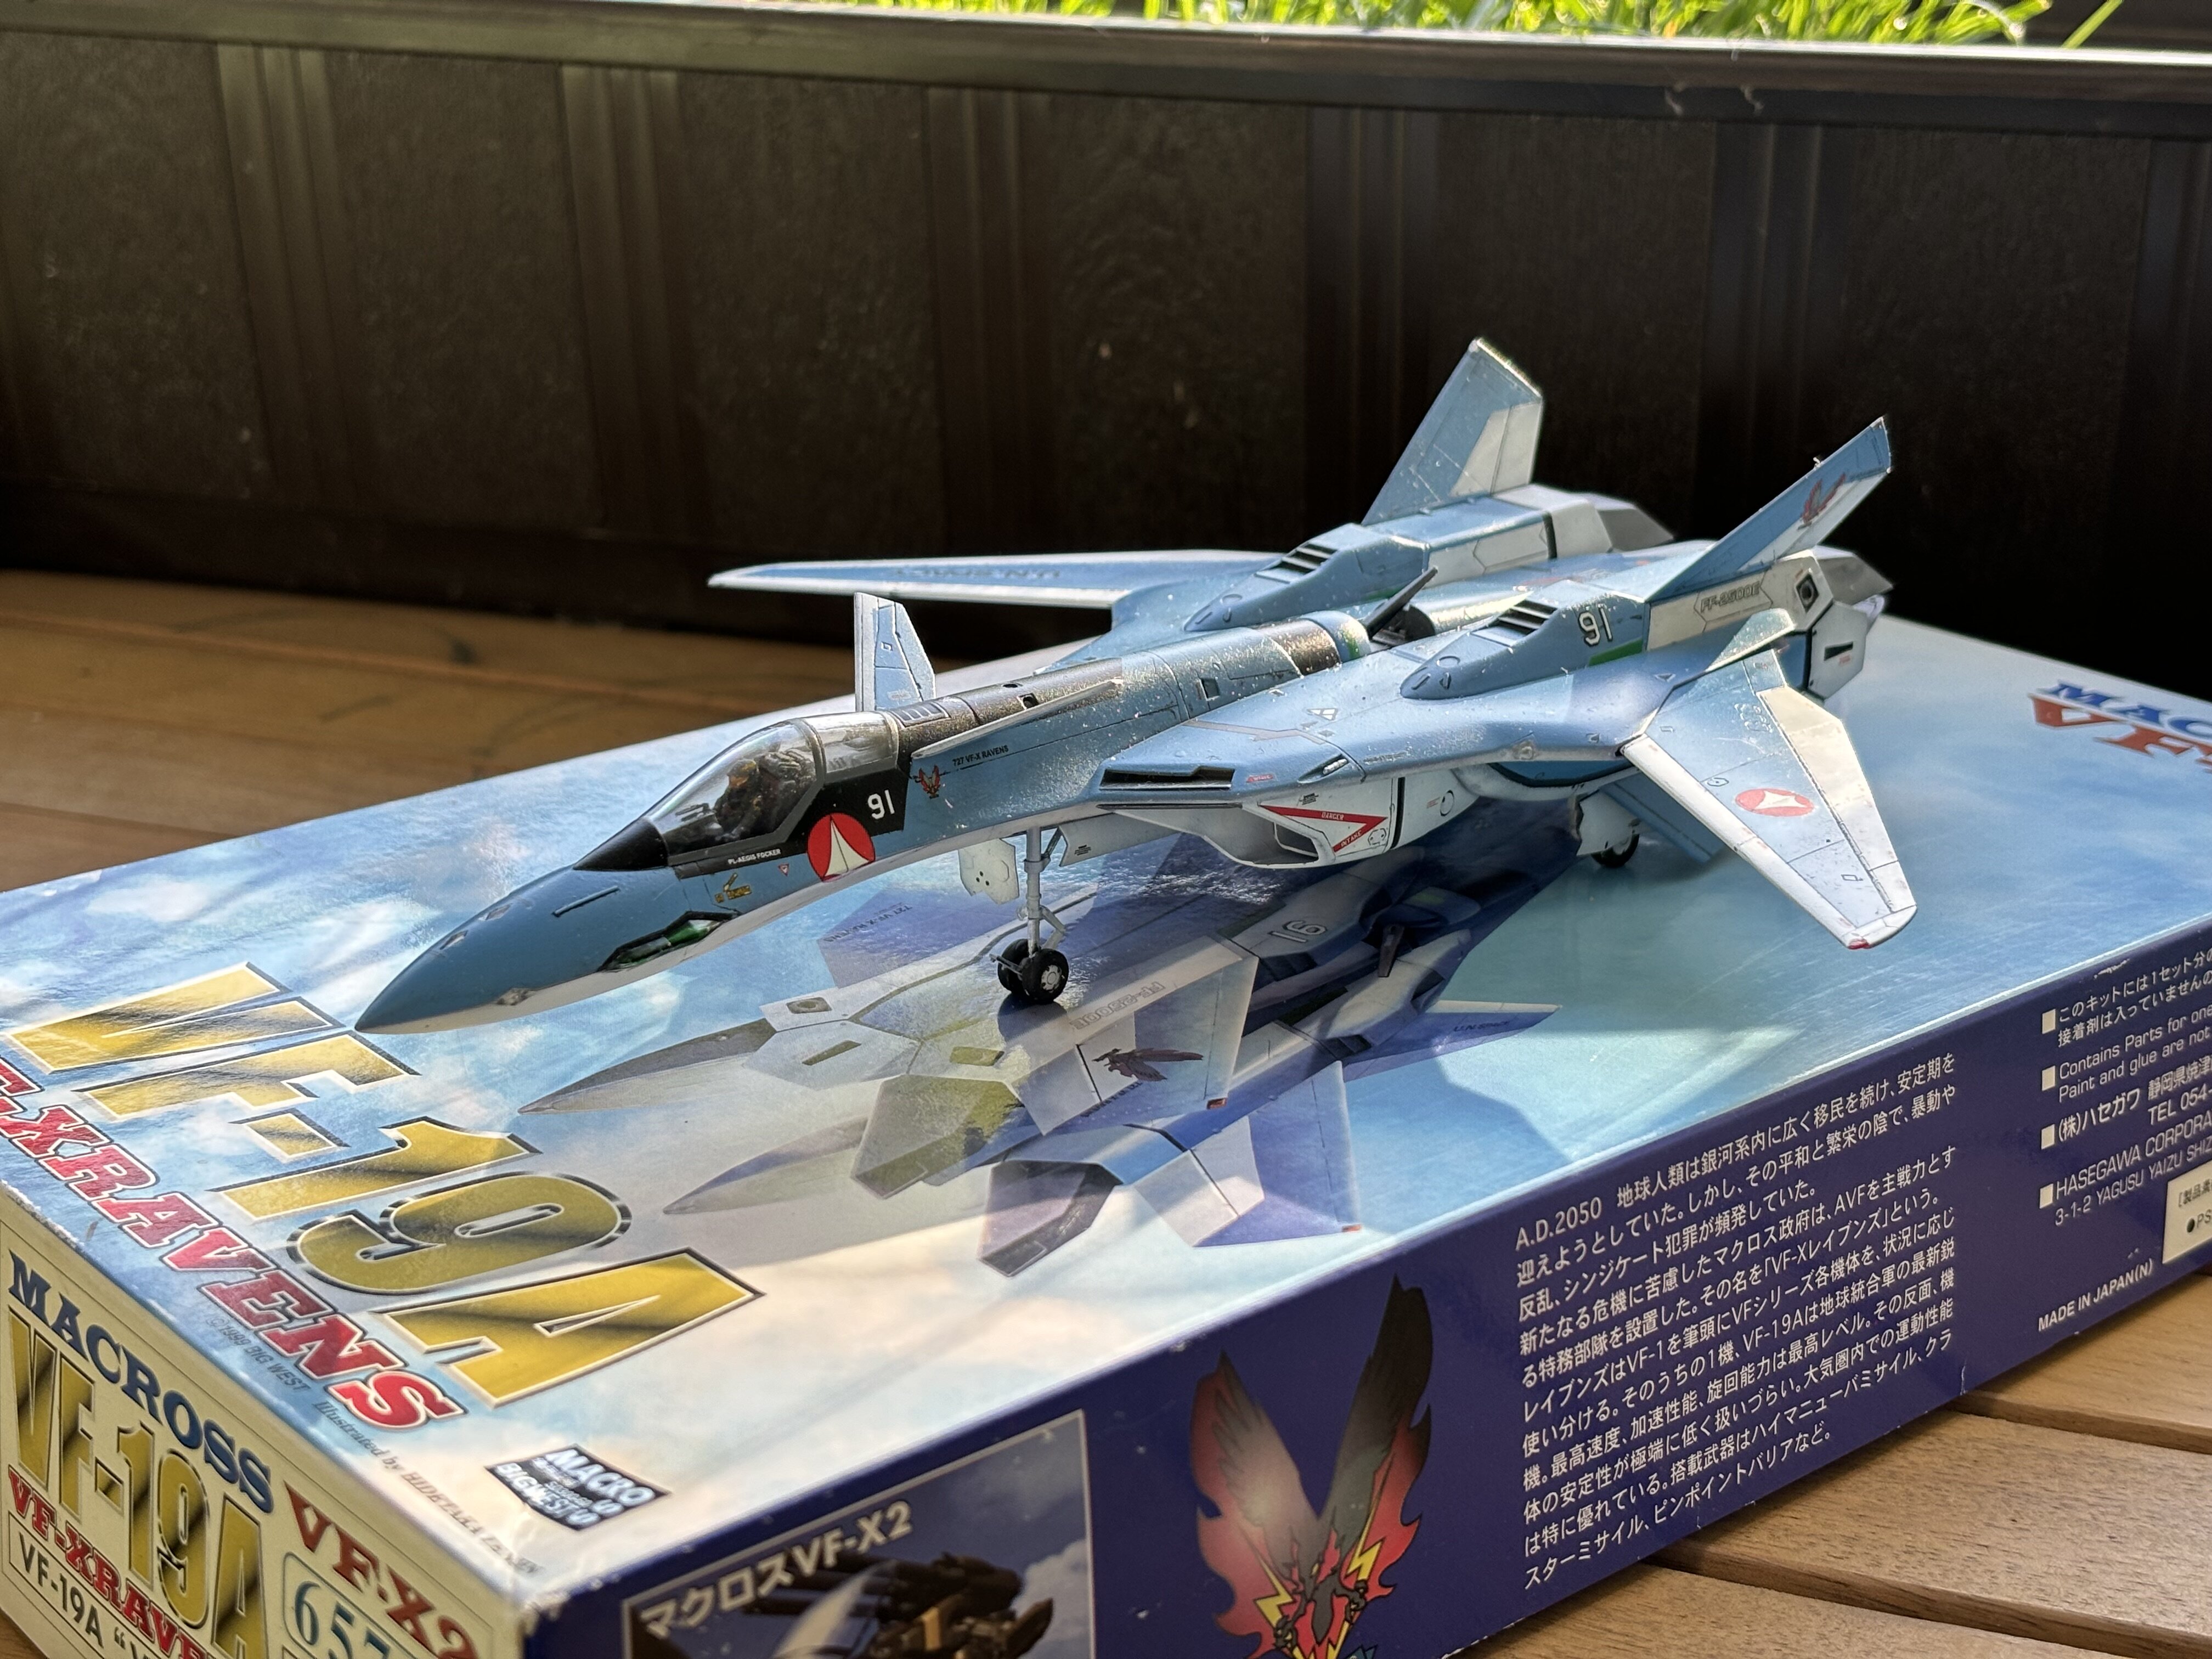
Edit:
XF-20 coated the VF-22 today, so I can wash it tomorrow.
Also checked the F-14D and forgot why I stopped to fiddle with it. Seems pretty much in a state that is close to finishing.
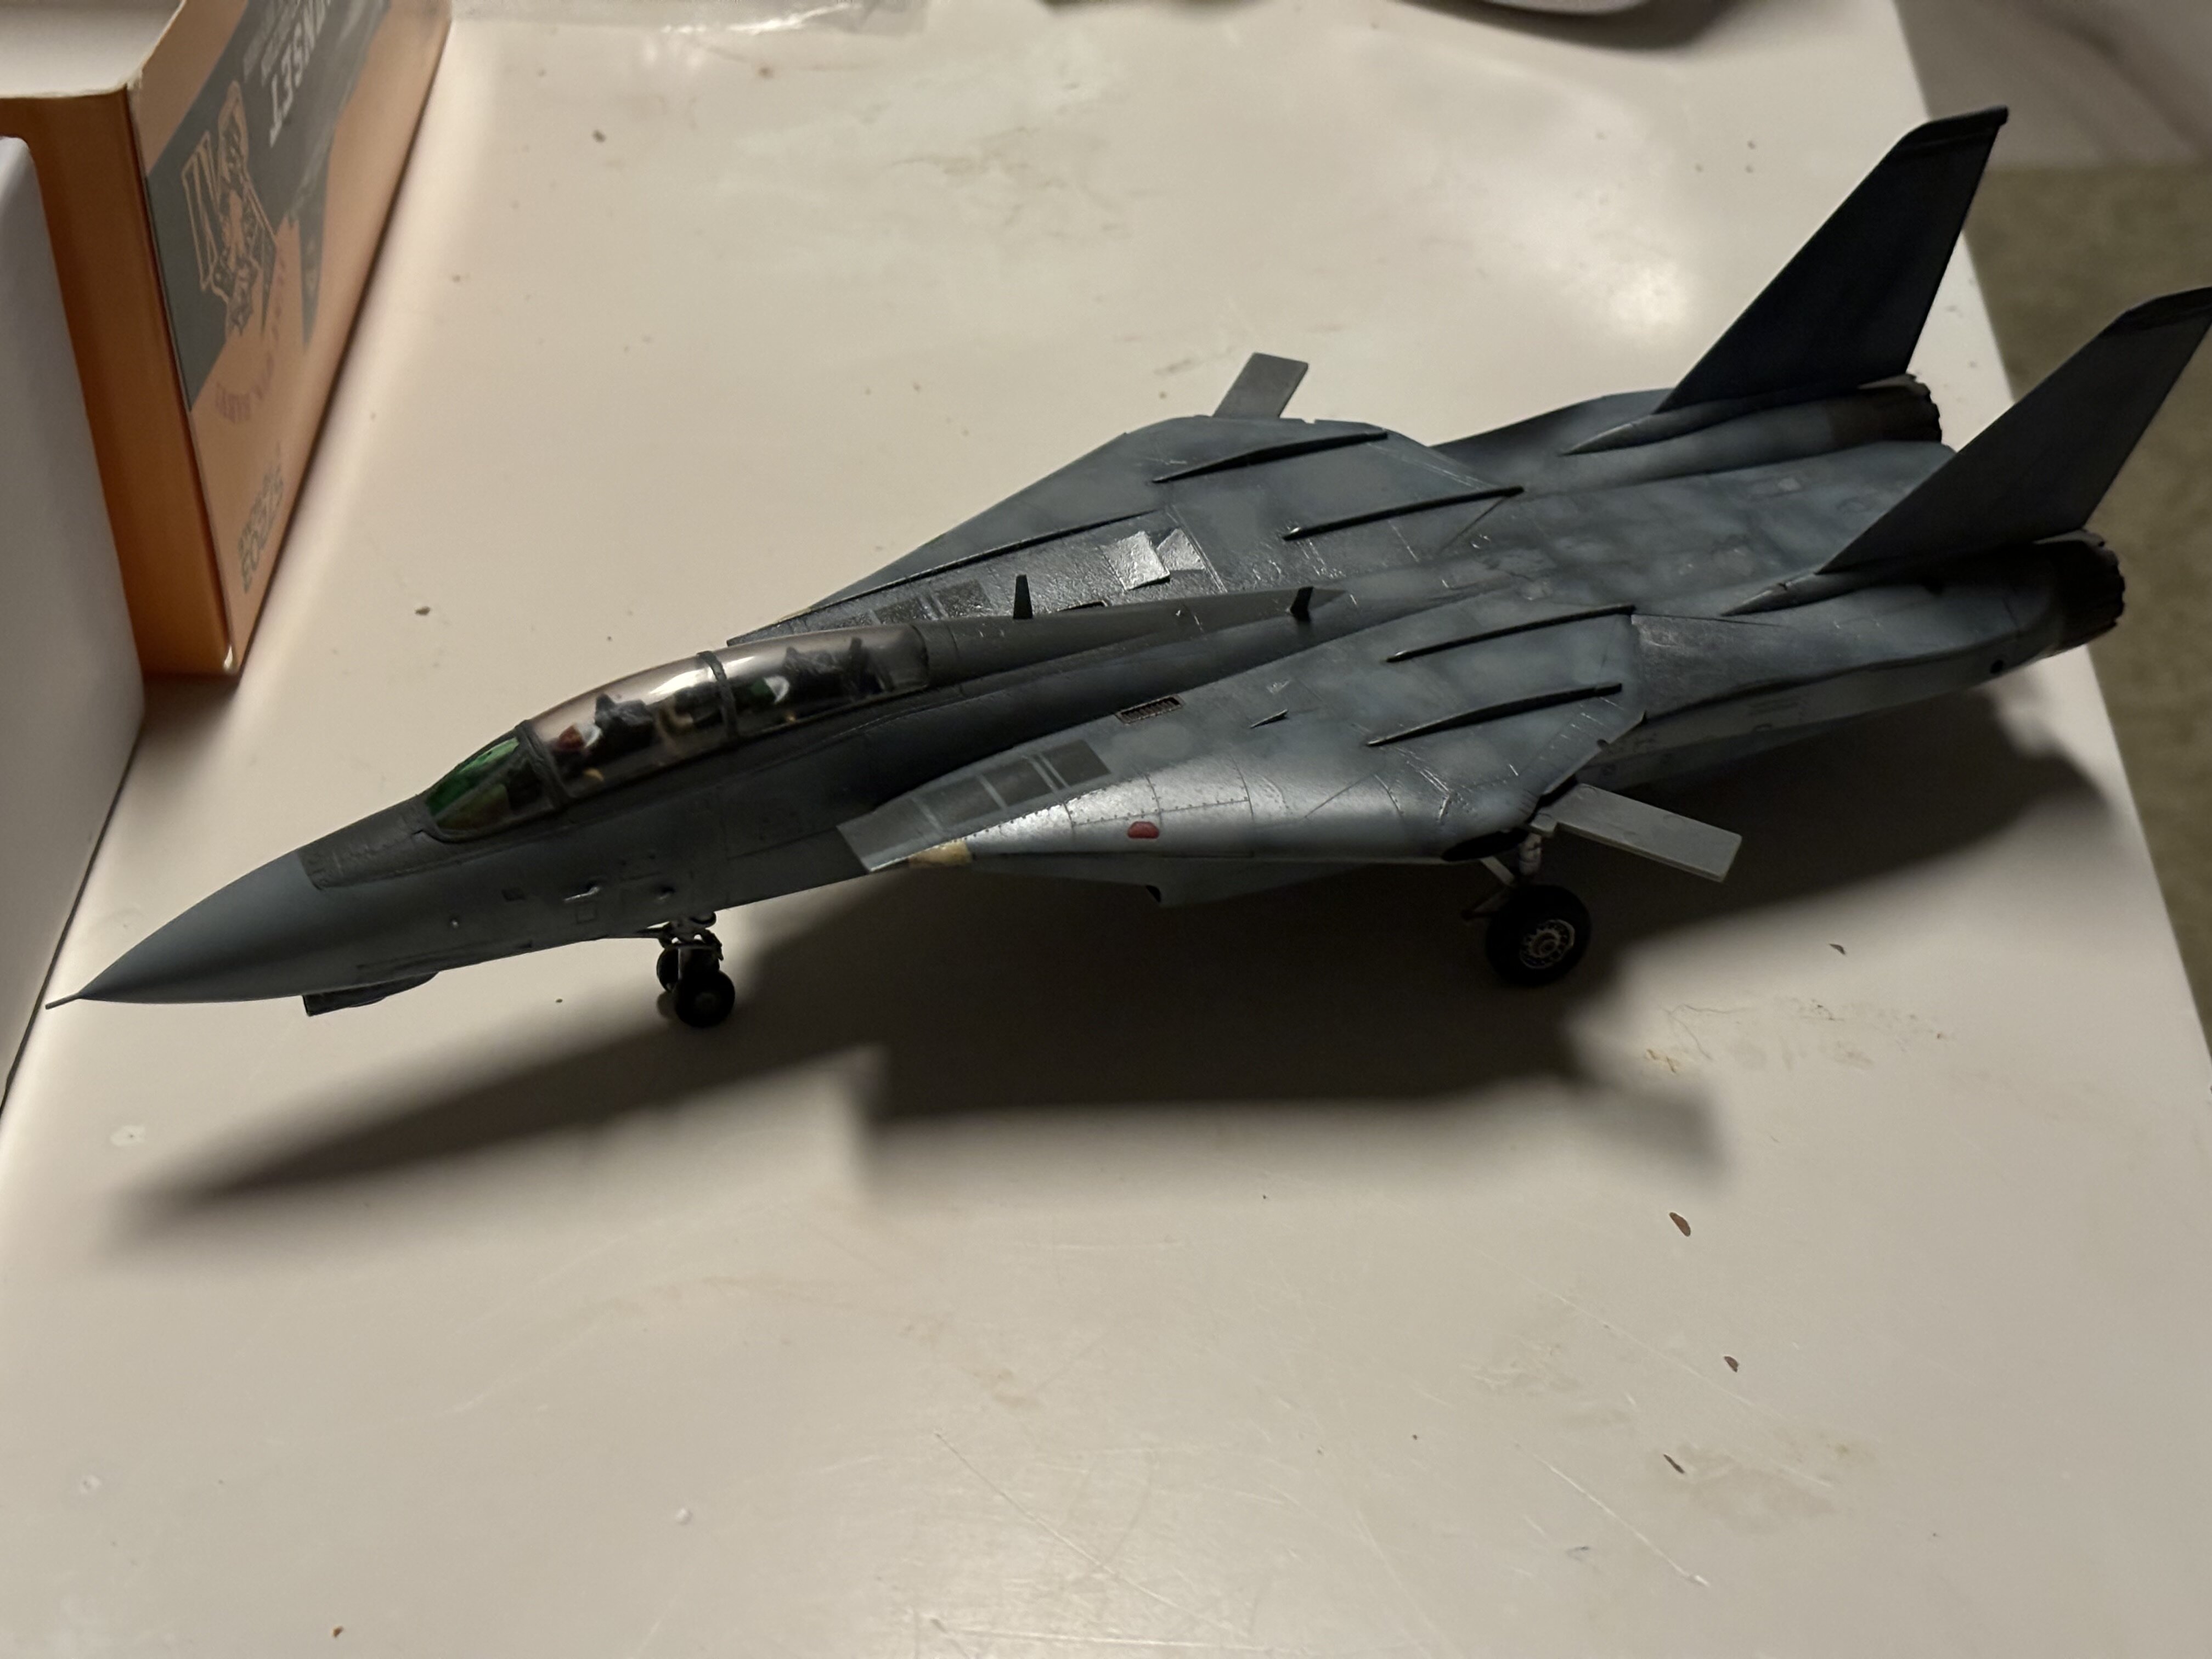
Only the ordinance missing. So I checked Macross Zero Episode 1, just to figure what I need. That‘ll be two AIM-9 and six AIM-7.
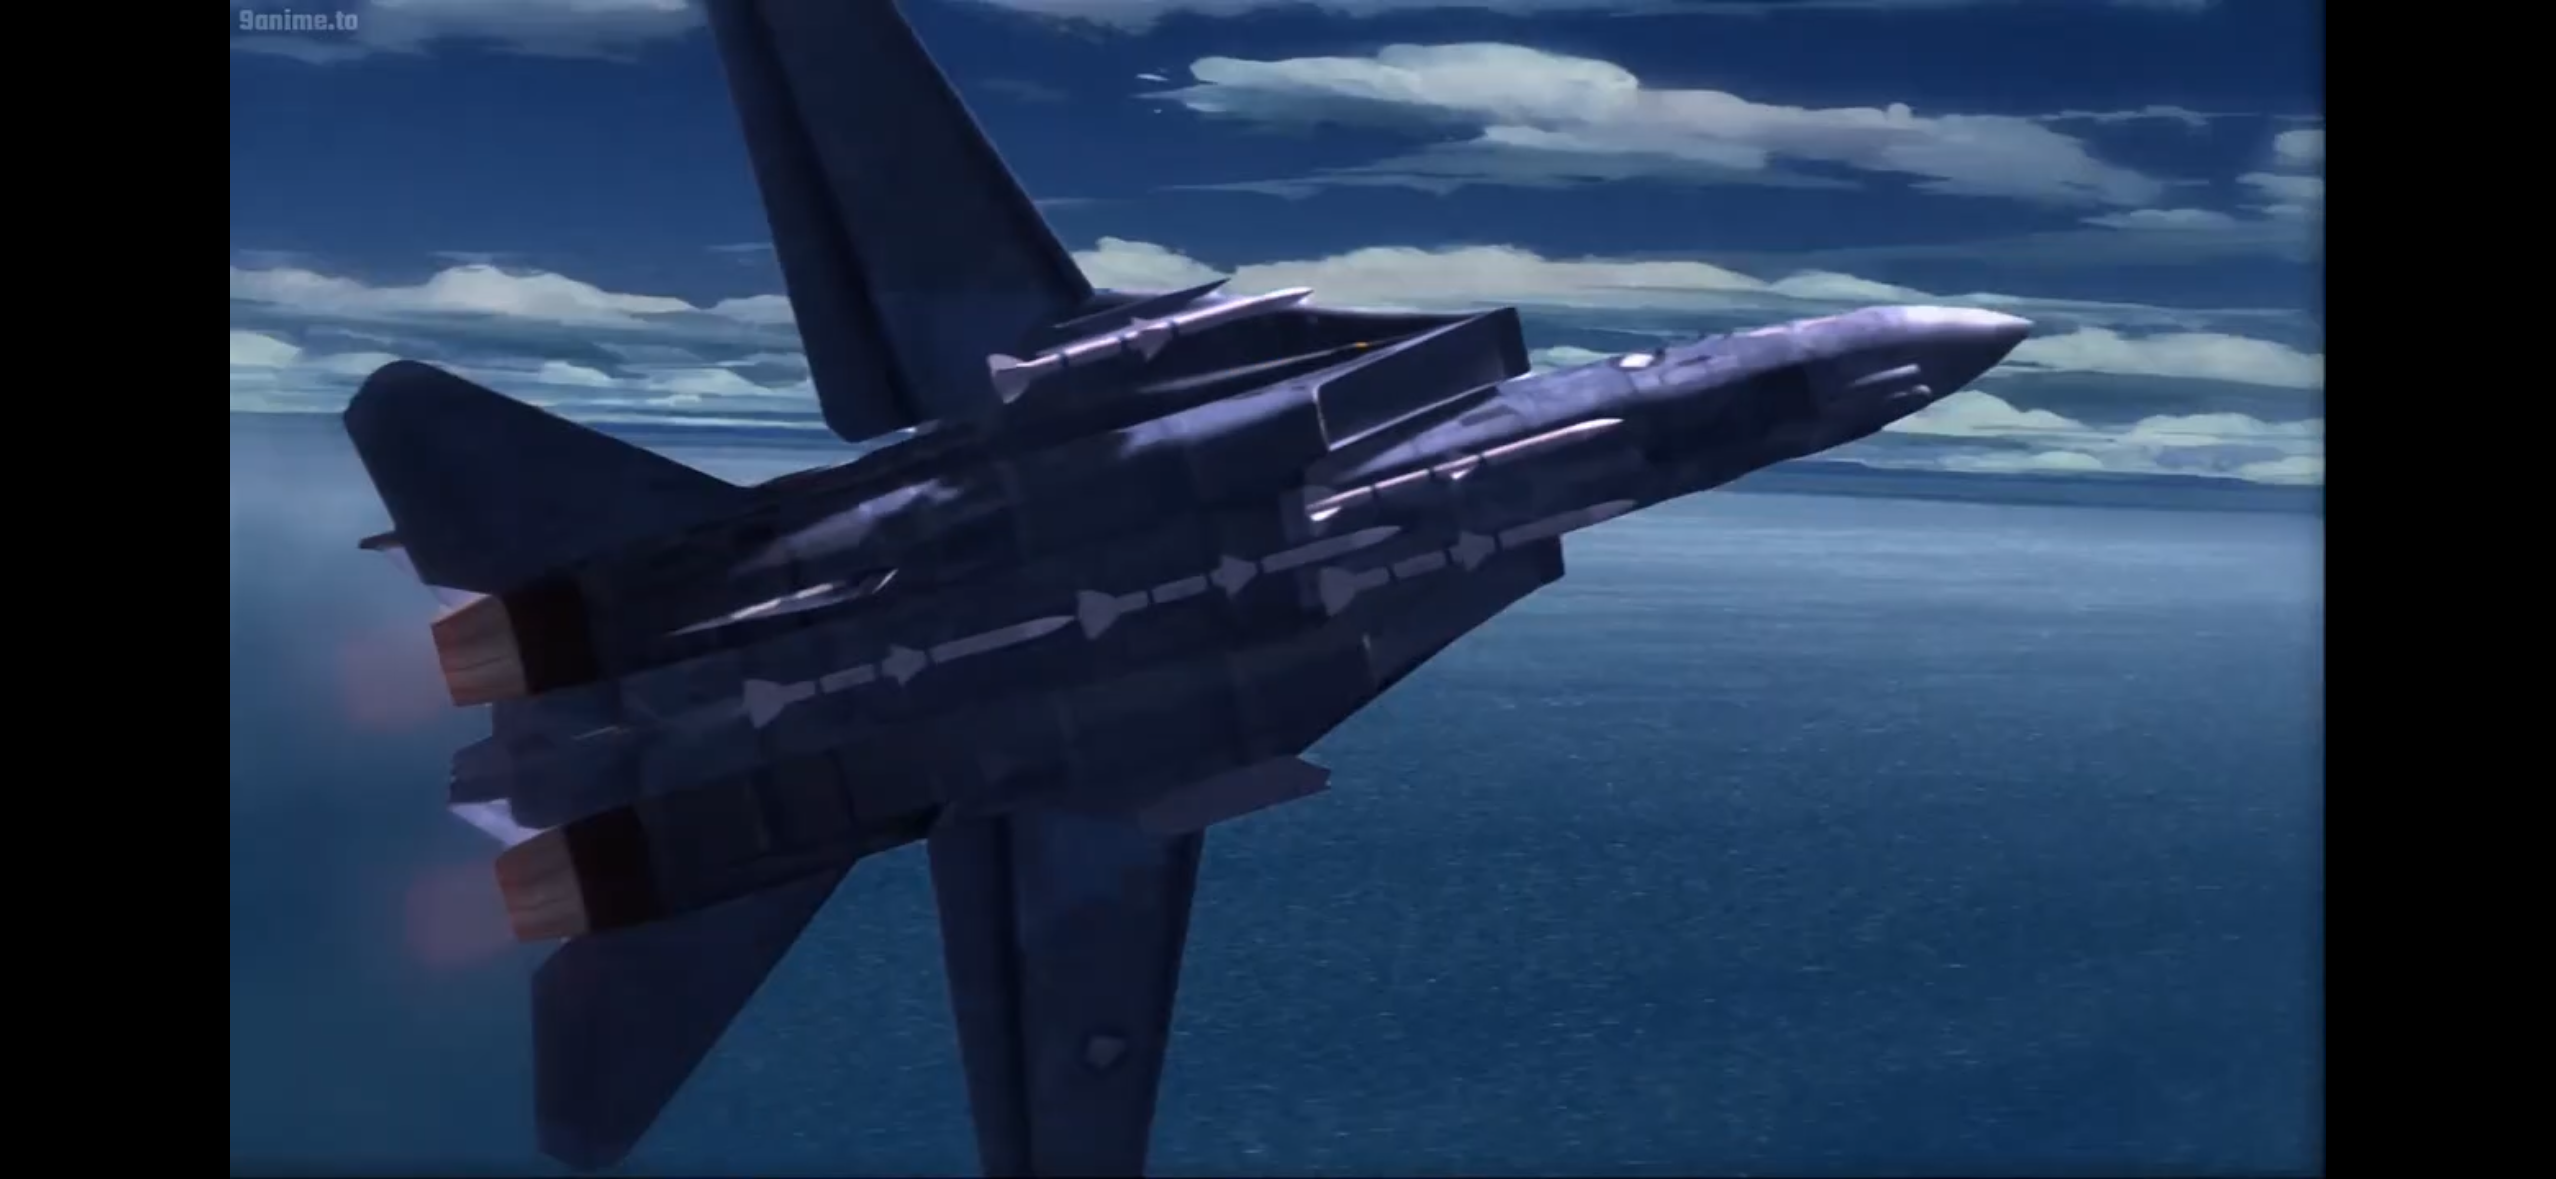
Then a blurry memory came up. I remembered what I wanted to do and why.The GWH kit only has two AIM-7…
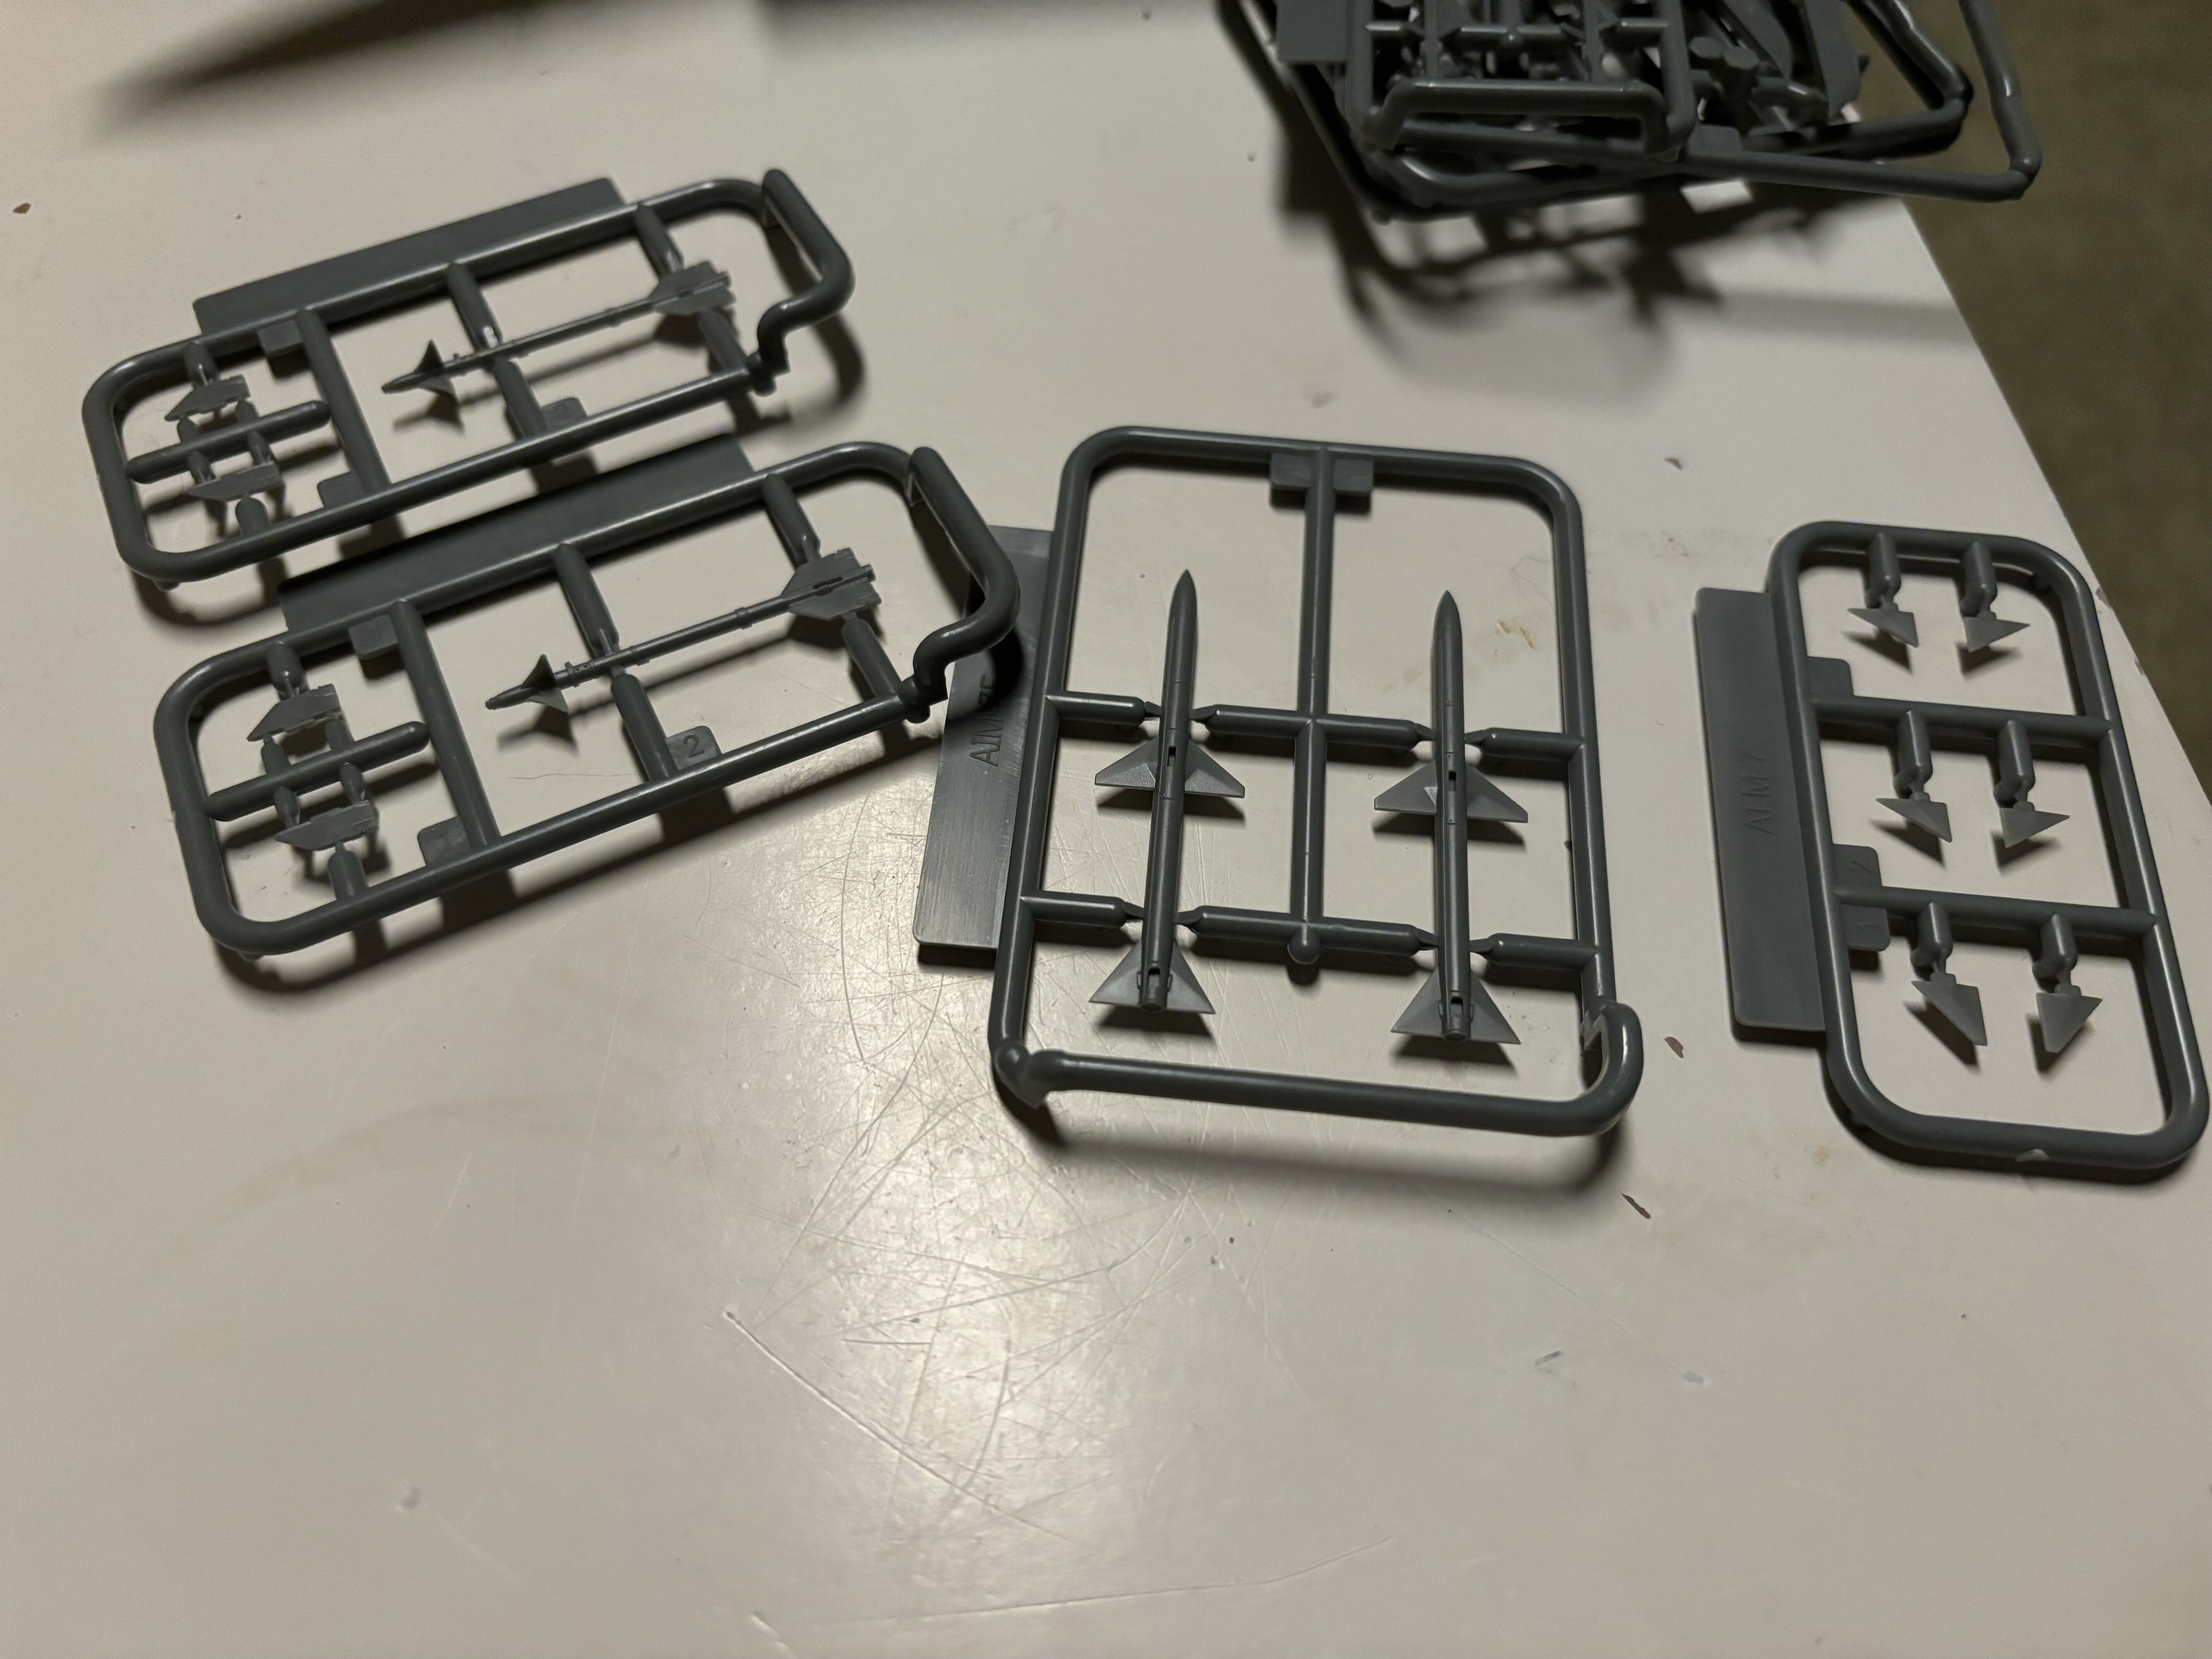
urgh…
I wanted to 3D print the missing four. Hahahhaha
I‘ll finish what I have for the F-14 and add the missing ordinance later.
-
Mhmm… Maybe a FUJIMI Macross Zero F-14 rebox? That would be possible too.
-
@SteveTheFish nice builds!
@Rock Defo the 5grand VF-1.
VF-19A almost done. Only some clear parts missing and the small barrels left and right.
Not my best build, but I am satisfied.
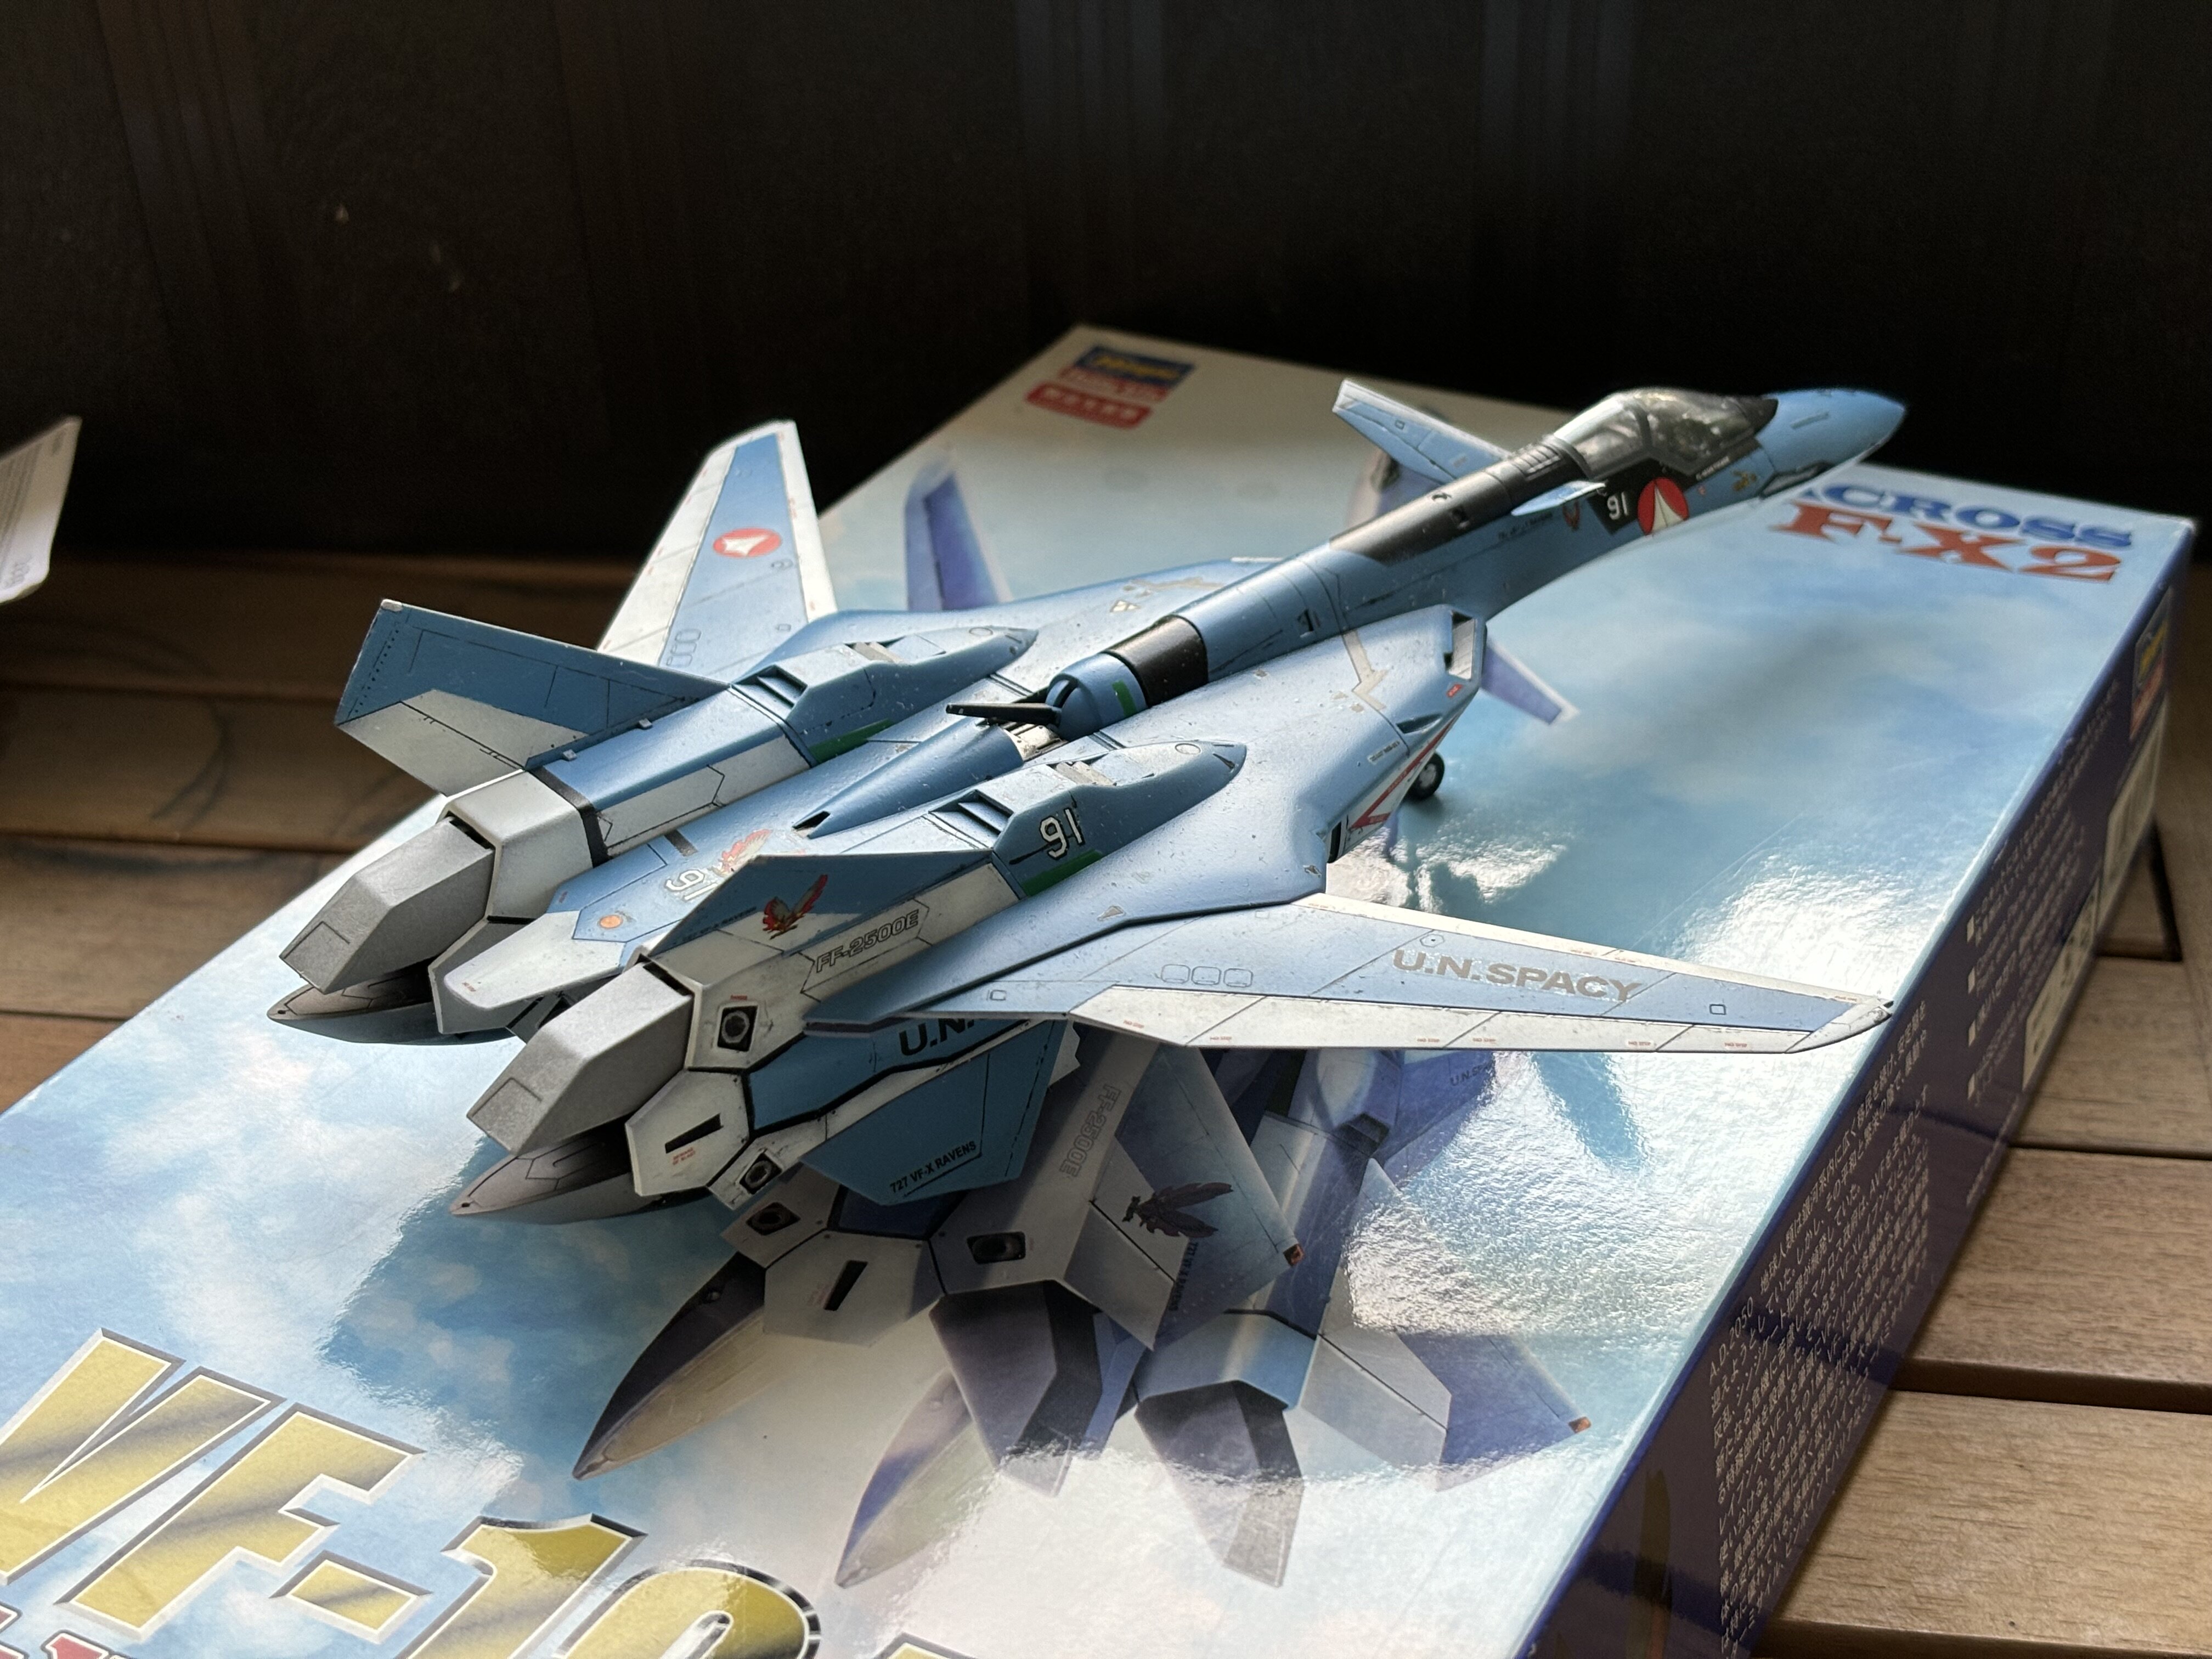
Edit: and done. Second kit of April done. It was a long journey though…
Maybe I‘ll get a better picture tomorrow.
-
3 hours ago, Big s said:
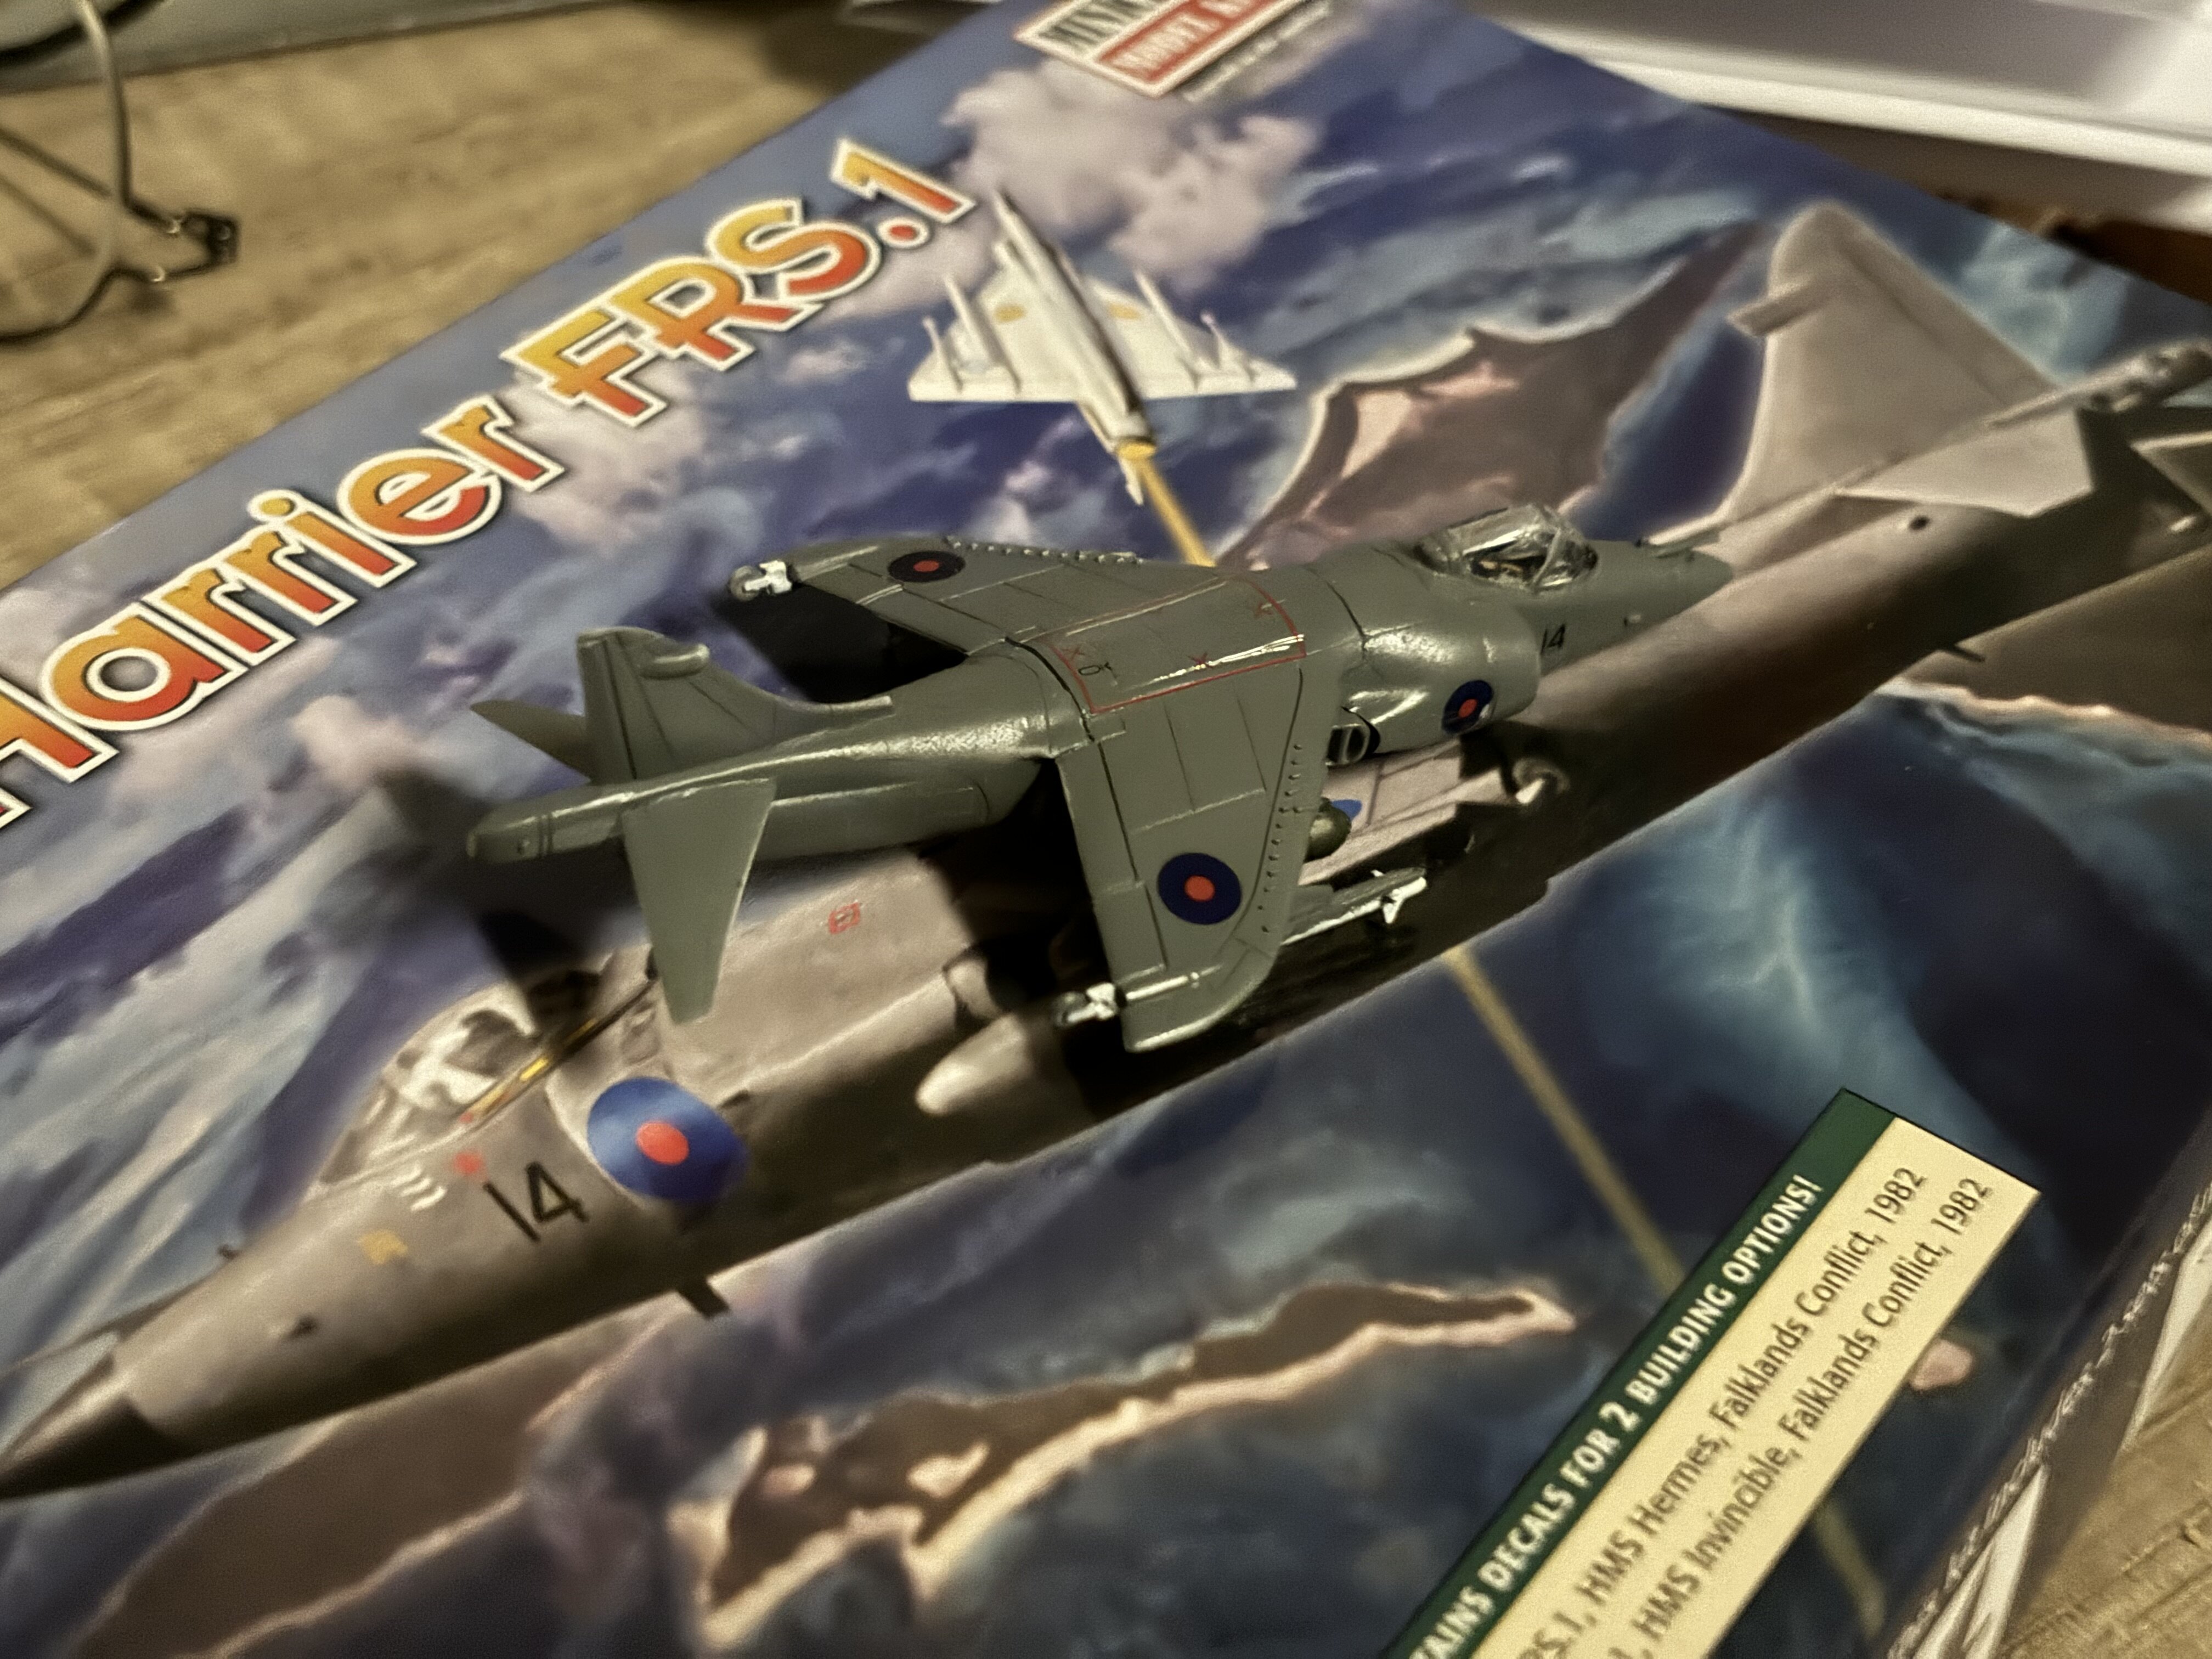
That’s a cute lil Harrier. And seems like you’re getting a lot of use out of that portable airbrush
And this is one I’m eagerly waiting to see the end results of
Yeah… the Harrier is super small. And done btw. First kit of April
So far I finished at least one kit per month this year.
the vf-19a is on the finishing line. I sealed it. The coat needs to cure and then I will glue the pieces together.
-
7 hours ago, Big s said:
Yeah, but that’s kinda to be expected. The markings are also a different set for those that wanted someone other than Roy or Hikaru, but that’s just recolored decals. Now people can do the Kakizaki vs Queadluun Rau diorama 😞
That is dark man…
but, yeah. I expected that as well. I have a kakizaki Hasegawa VF-1 already. Was thinking of a simple DYRL Max theme this time.
PLAMAX 1/72 VF-1 Valkyrie
in Model kits
Posted
I have so much glue ... I plan to GUNPLA this thing. Dissolving some sprues in tamiya glue to fill gaps and then sand the thing and then only decals and panel lining")
The only thing to receive color will be the clear parts.