-
Posts
808 -
Joined
-
Last visited
Content Type
Profiles
Forums
Events
Gallery
Everything posted by Urashiman
-
that is awesome man! with my limited japanese I was only barely able to figure out what was going on in Macross 30. Have to read this
- 1293 replies
-
- Macross 30
- video games
-
(and 4 more)
Tagged with:
-
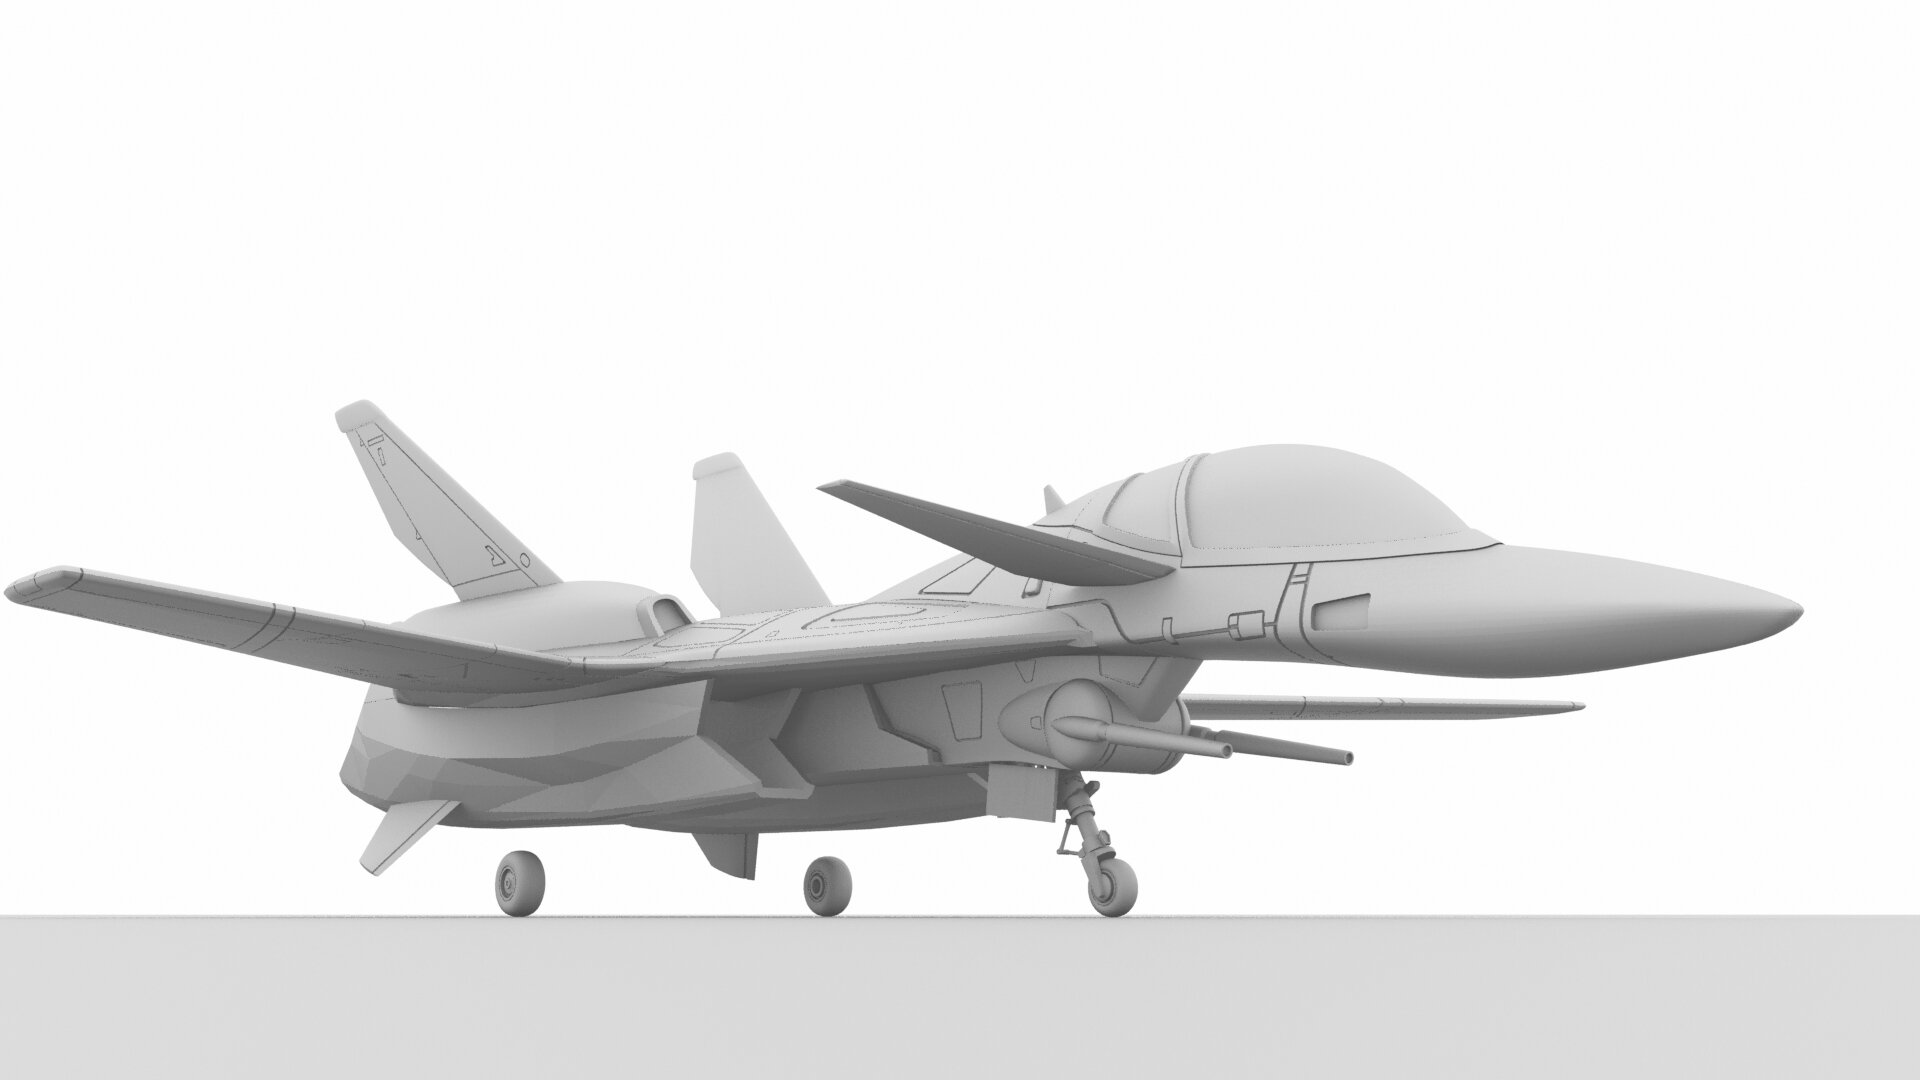
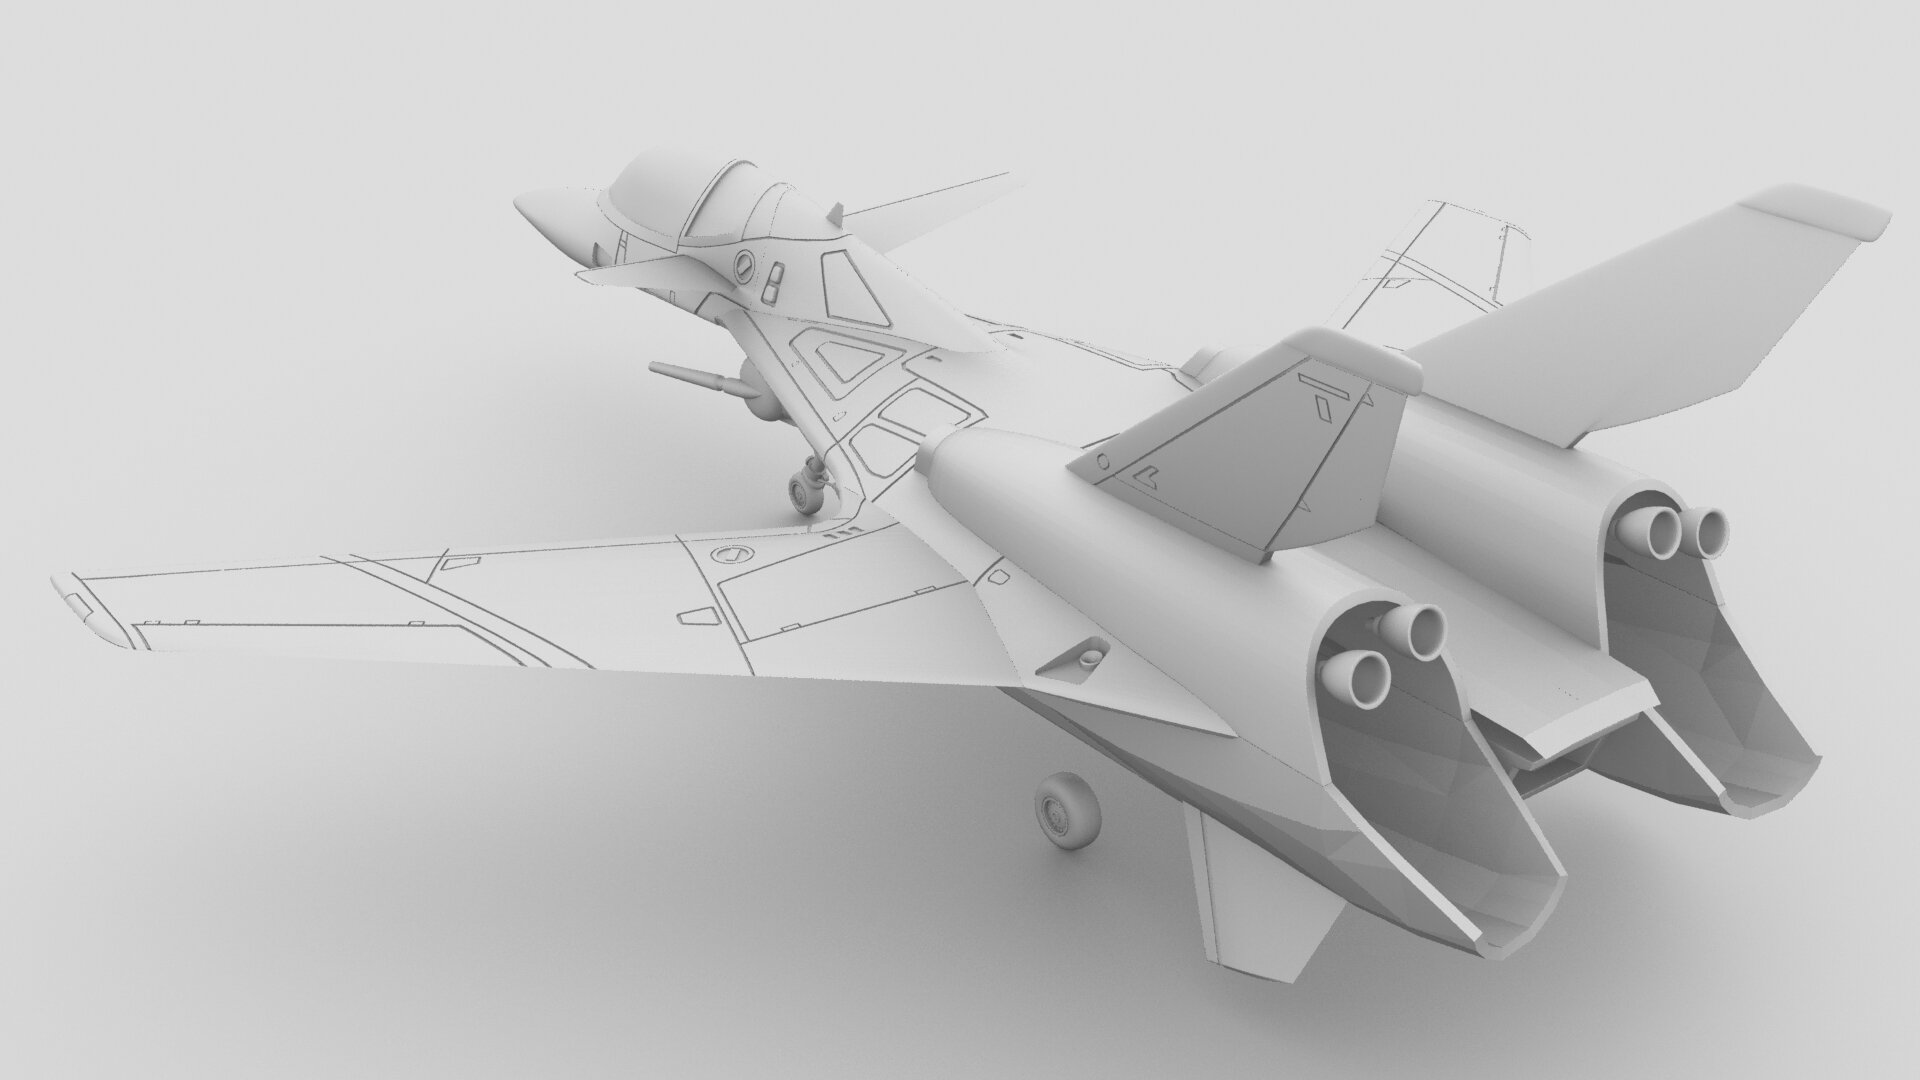
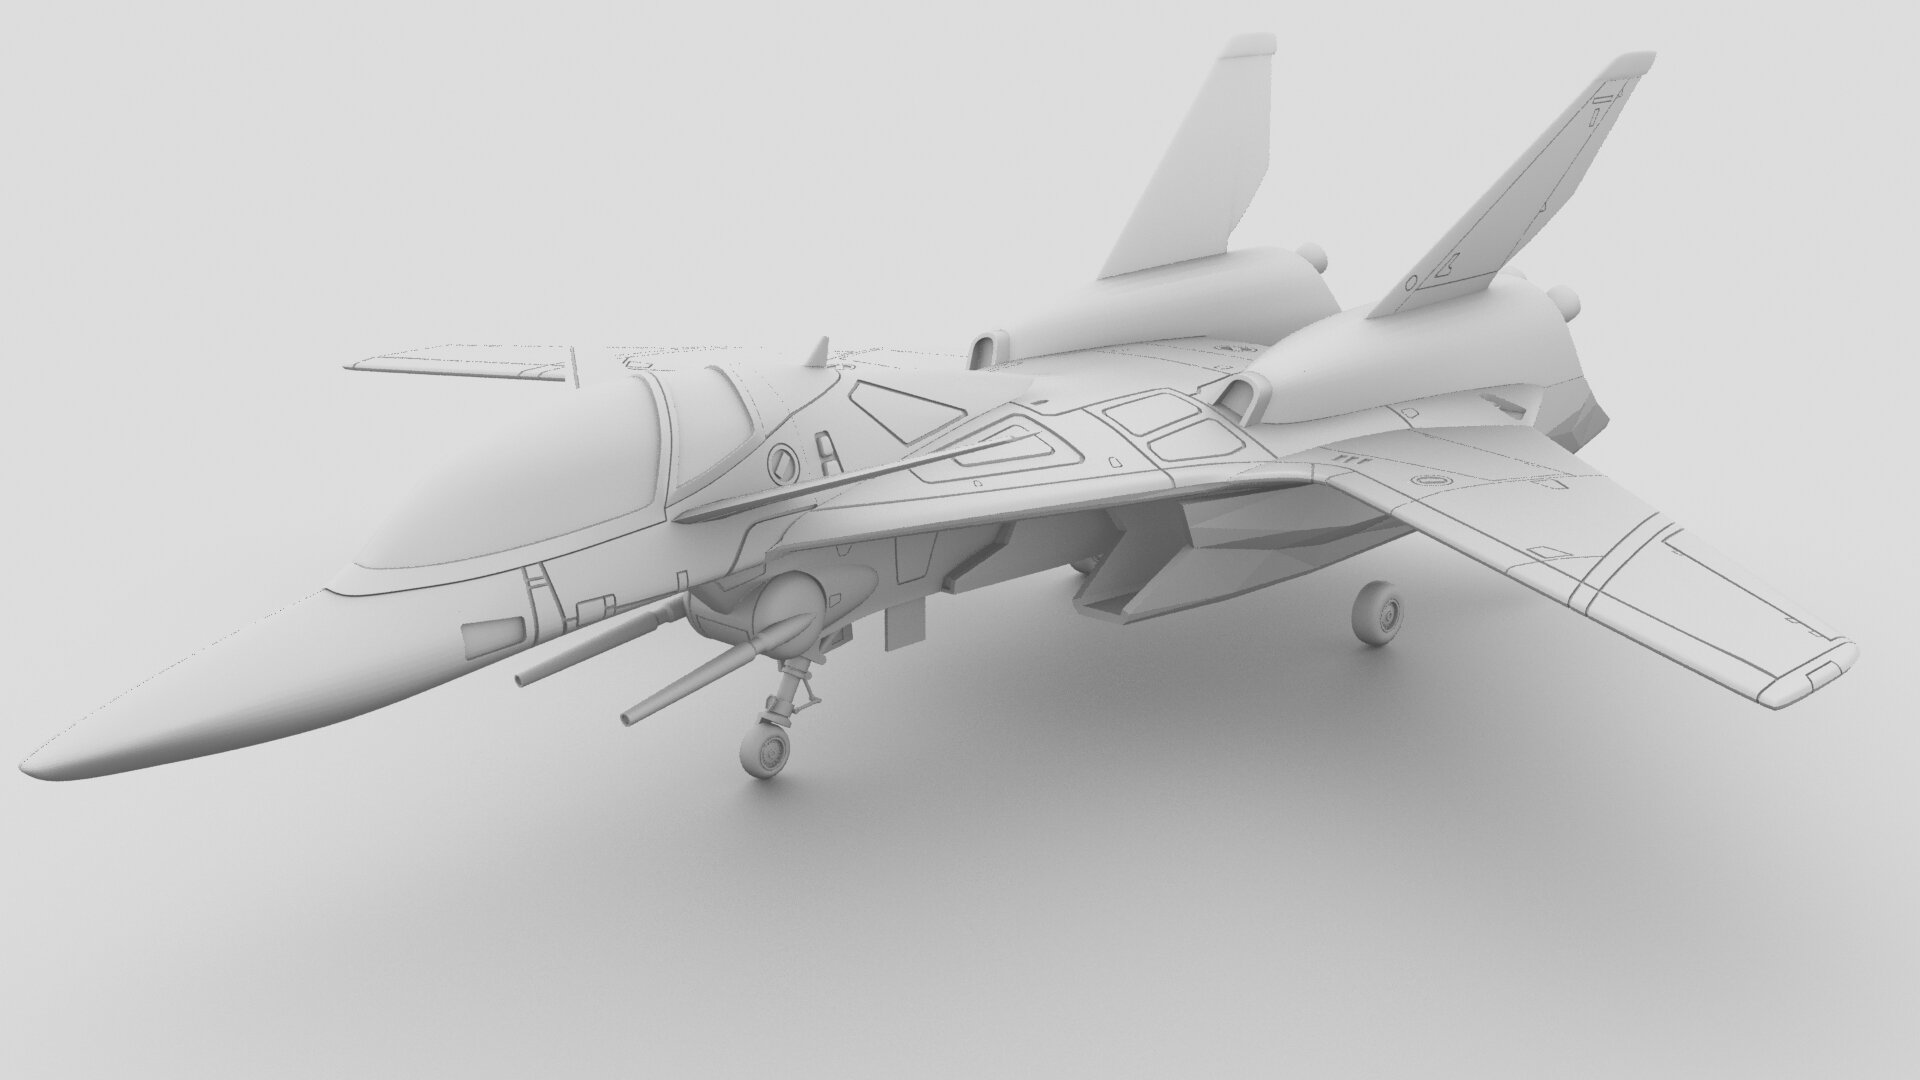
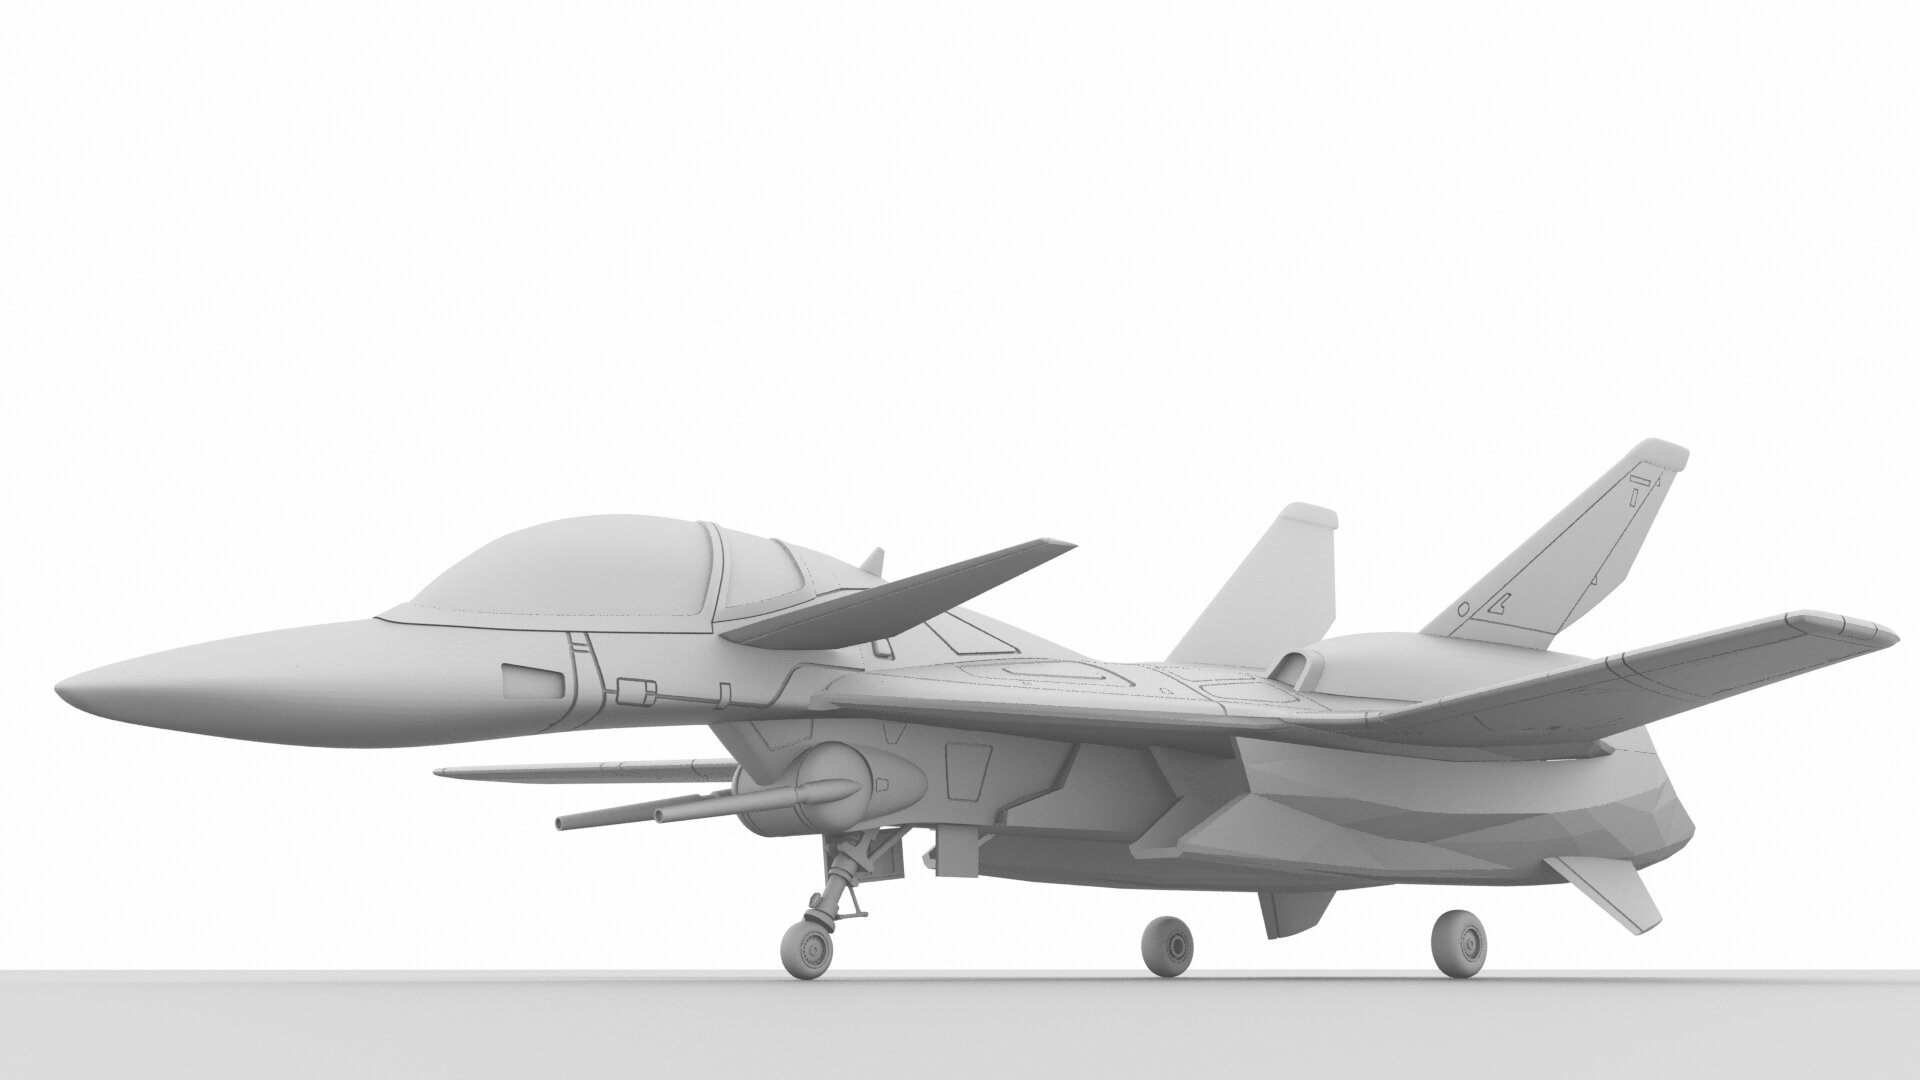
I've been chatting with Senovis on Facebook about the VF-9 and showed a bit of my work on the VF-9 as well. He was impressed with mine. His is really good, thinking of the time it took him to put it together, but there are some things that don't really fit kawamoris line art. Some obvious inaccuracies here and there. Like the panel lines are rounded on the edges, due to the modelling style. It happens with his other models too. It isn't as details as mine, and missing landing gears and so, but that is okay. there is very little information on the landing gear of the VF-9. I know how the front landing gear looks like since that Macross Delta episode were we see mirage at jenius air in the VF-9, but I am still in the dark about the back landing gear. I probably have to improvise there. Was thinking of F-16/18 style gear.
-
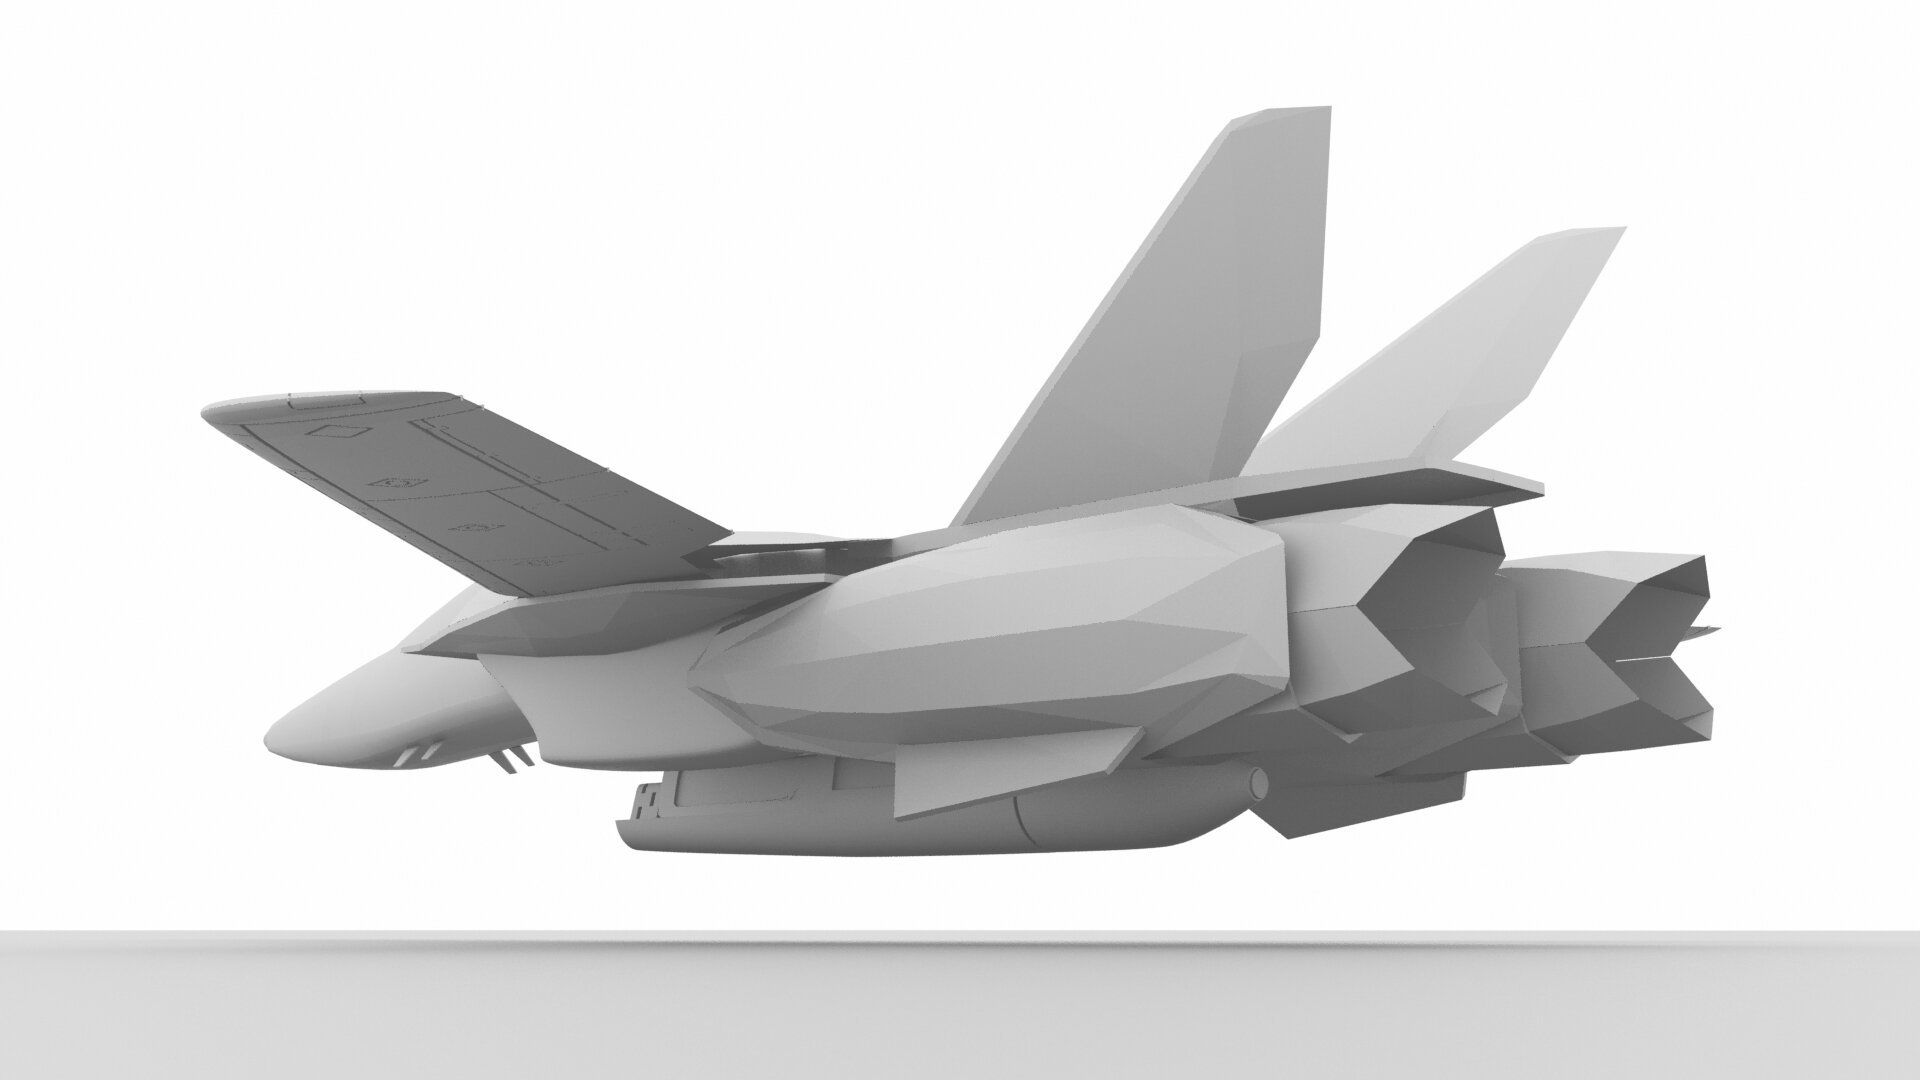
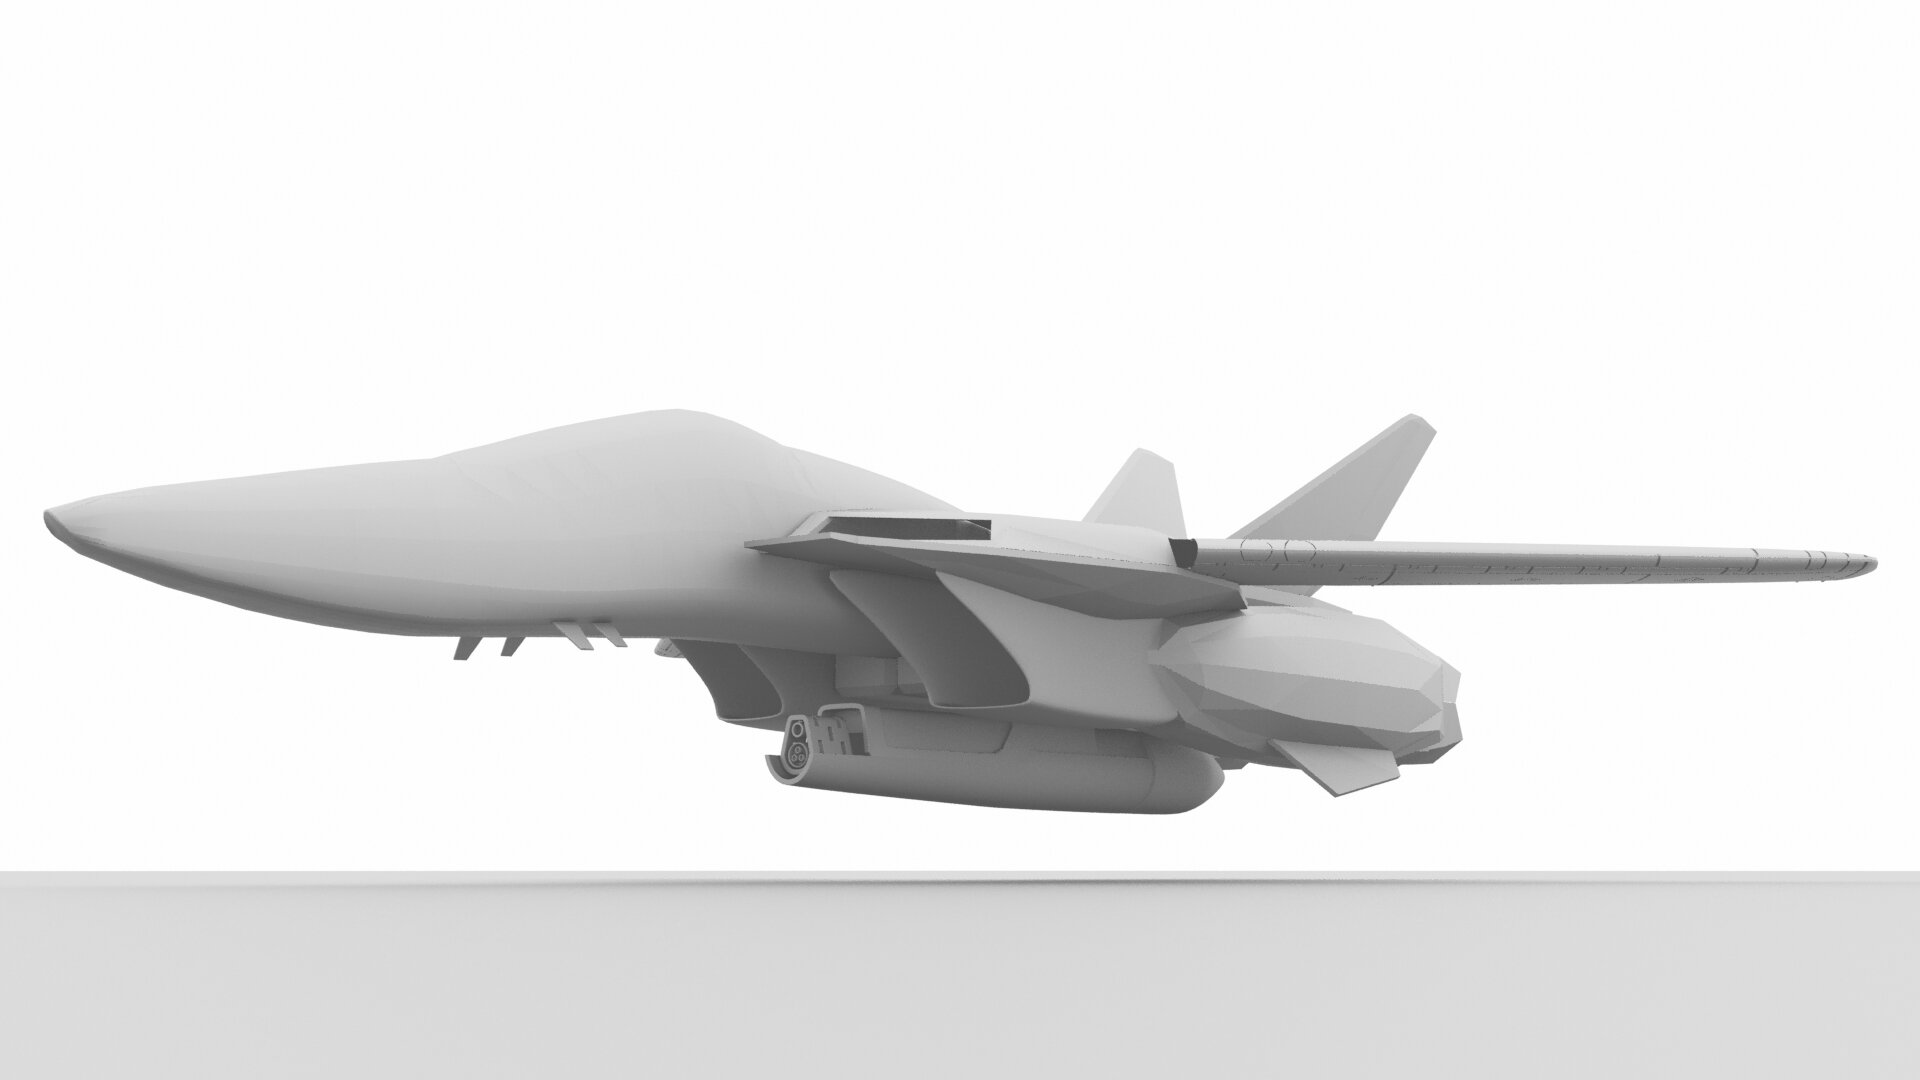
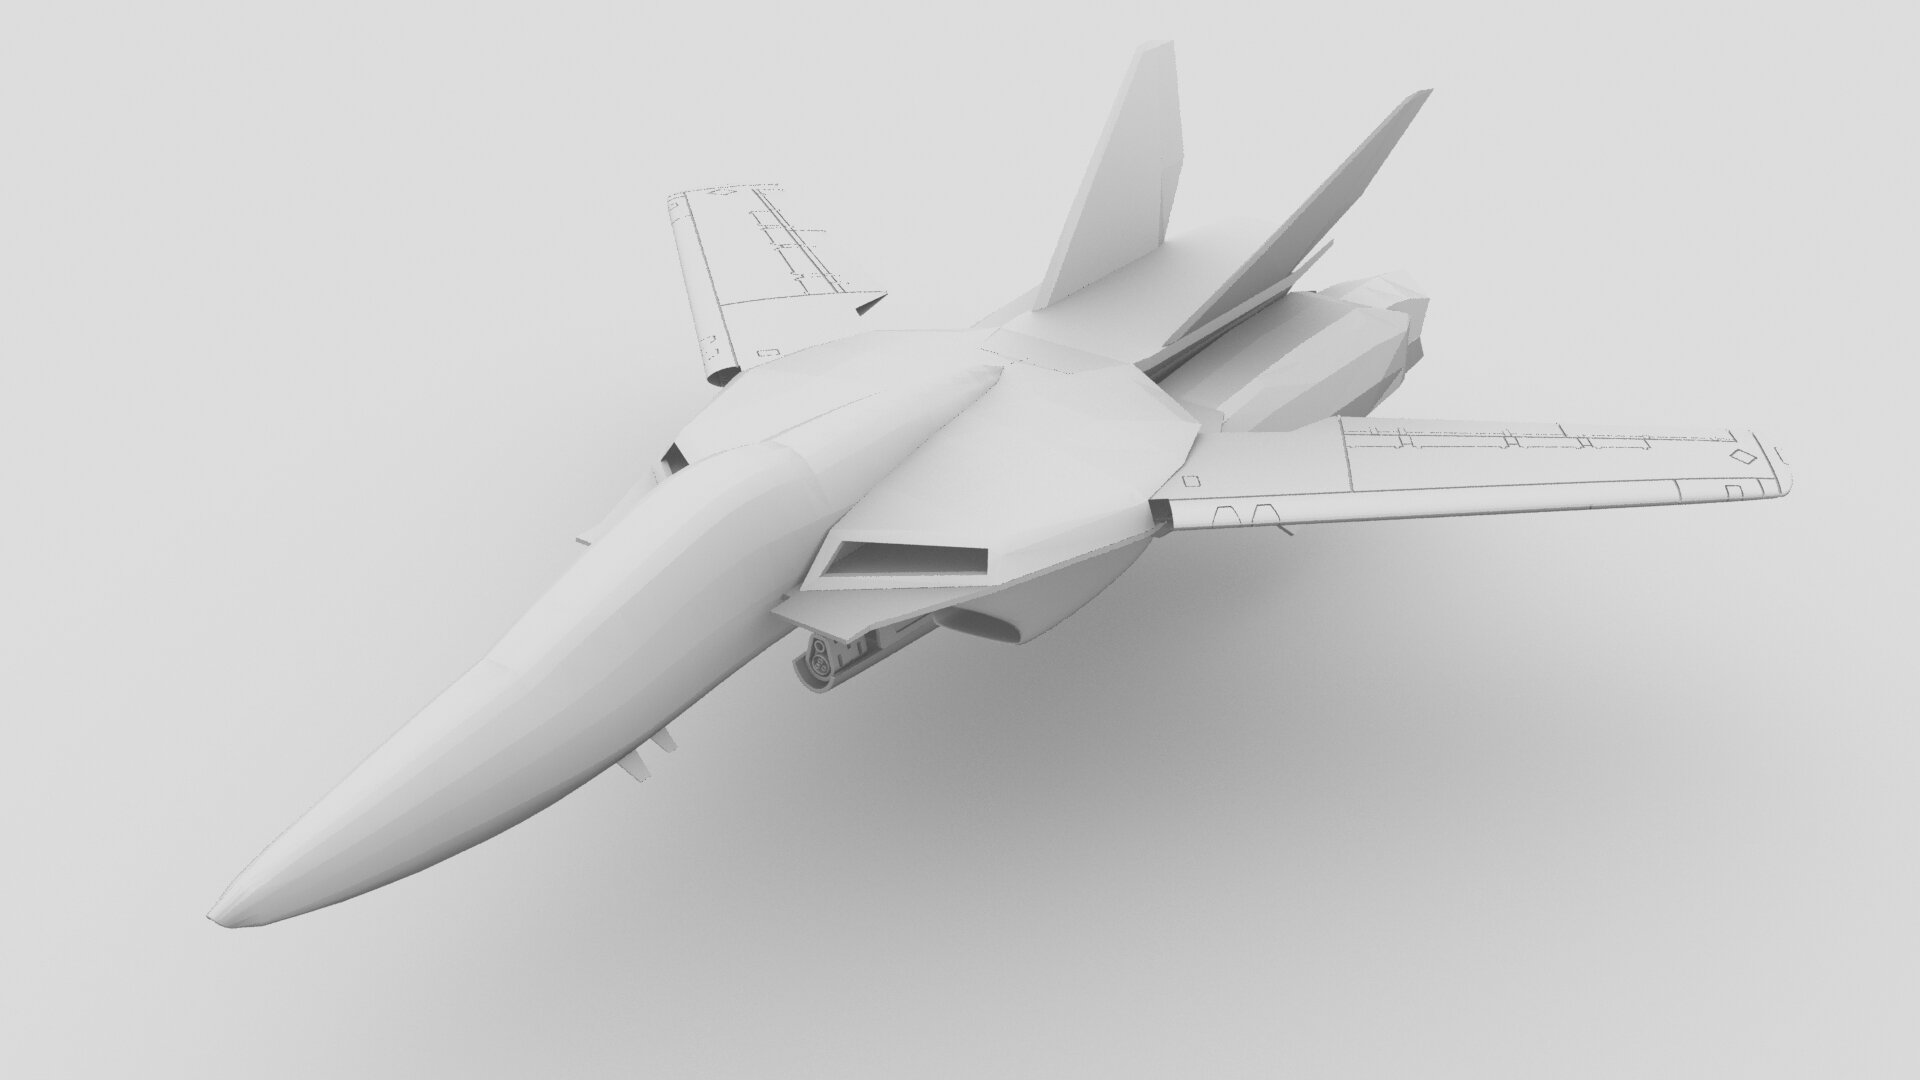
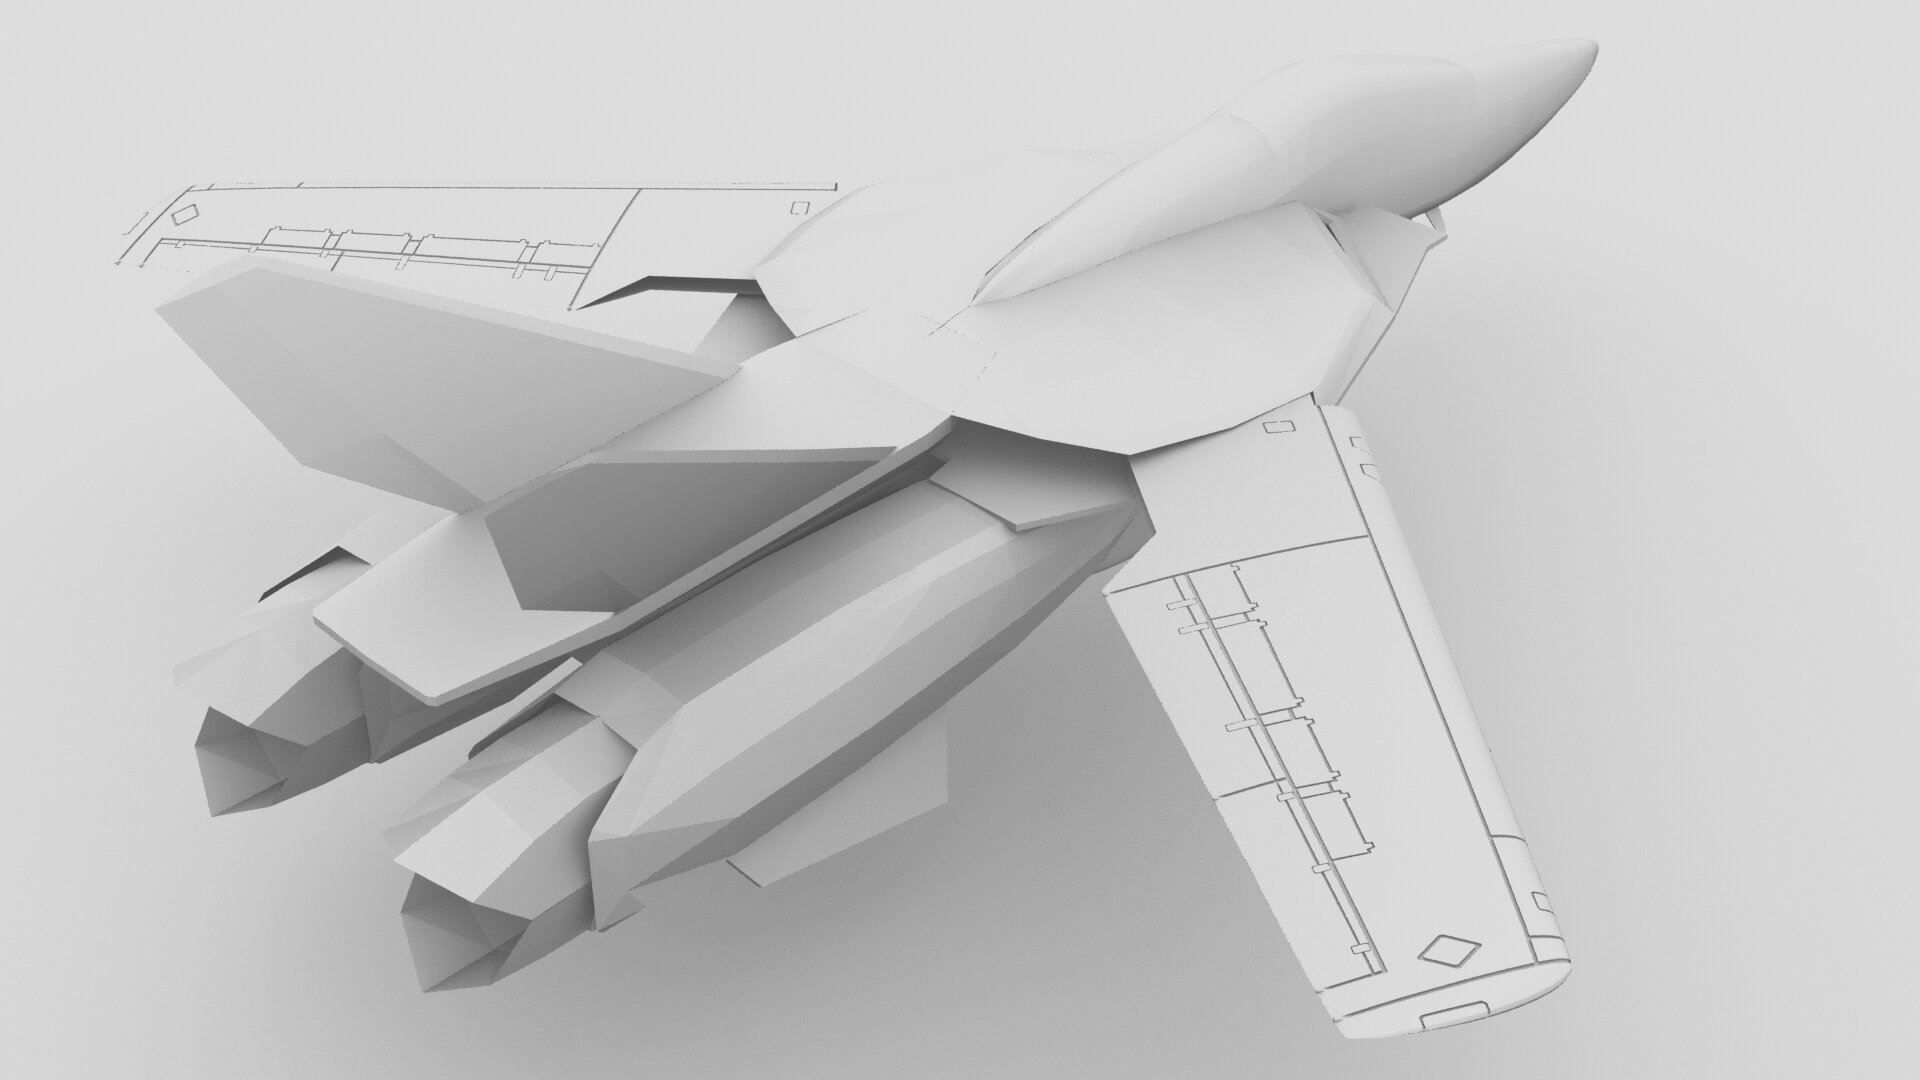
Thanks a lot! I'm giving it my best. this has been a multi year project now. I mean, I am fiddling on that thing since 2010... @Thom The VF-1P as a quite different panel lining compared to the normal VF-1. Everything is a bit more "stealth like" and the engine exhausts are more like the ones of a VF-0. The canopy pushes out a bit more as well. Will be interesting to compare to another VF-1 when done. @GMK Can't wait to see this fully printed and finished. I've been following your progress on it since the start.
-
Some digital workbench stuff for me as well. Progress on the VF-9. I wasn't happy with the engines/legs of my VF-9 so decided to delete the old ones and make new ones. I think I am slowly getting there. One by one. And presenting my side project. Whenever I am fed up with the VF-9, I am working on this. A VF-1P with a GU-11D gunpod. This is heavy early progress. It started out as a testbed for modelling techniques but got a little bit bigger now.
-
yeah, saw this one as well. Awesome!
- 3 replies
-
- vf-1 valkyrie
- vf-9
-
(and 2 more)
Tagged with:
-
Aww man ... hoped to get a hasegawa VF-31C Mirage version. Unfortunately that is discontinued.
-
This looks so awesome - instant nerdgasm
-
NO!!!! Send it to me! I can rescue it!
-
That's the issue - getting the basics in a couple of days isn't really "easy". The basics are navigation in the tool, primitives and boolean operations. Took me a whole day, because I am used to 3DS shortcuts. It was confusing as hell. Anyway - blender, as soon as you can work in it, is a mighty tool.
-
Blender isn't easy if you are already used to other tools like 3DS MAX, MAYA or Solidworks. It is really complicated. I tried it once and managed to do some things, but it took me a while. I think if you never used 3D software before, it is easier to master blender, because you are a clean slate and learn everything from scratch. Knowledge about other tools definately is not helpful.
-
I feel like on a star wars board, discussing about the proper scale of TIE fighters. They change size from scene to scene as well. It‘s no use to discuss this. There is no right or wrong here.
-
Uuhh - this is kinky hahahaha
-
Unfortunately- they won’t ship it until a shipping service is selected. No surprise 😕
-
Pre-Ordered the Regult at HLJ. Now ... let's wait for three months
-
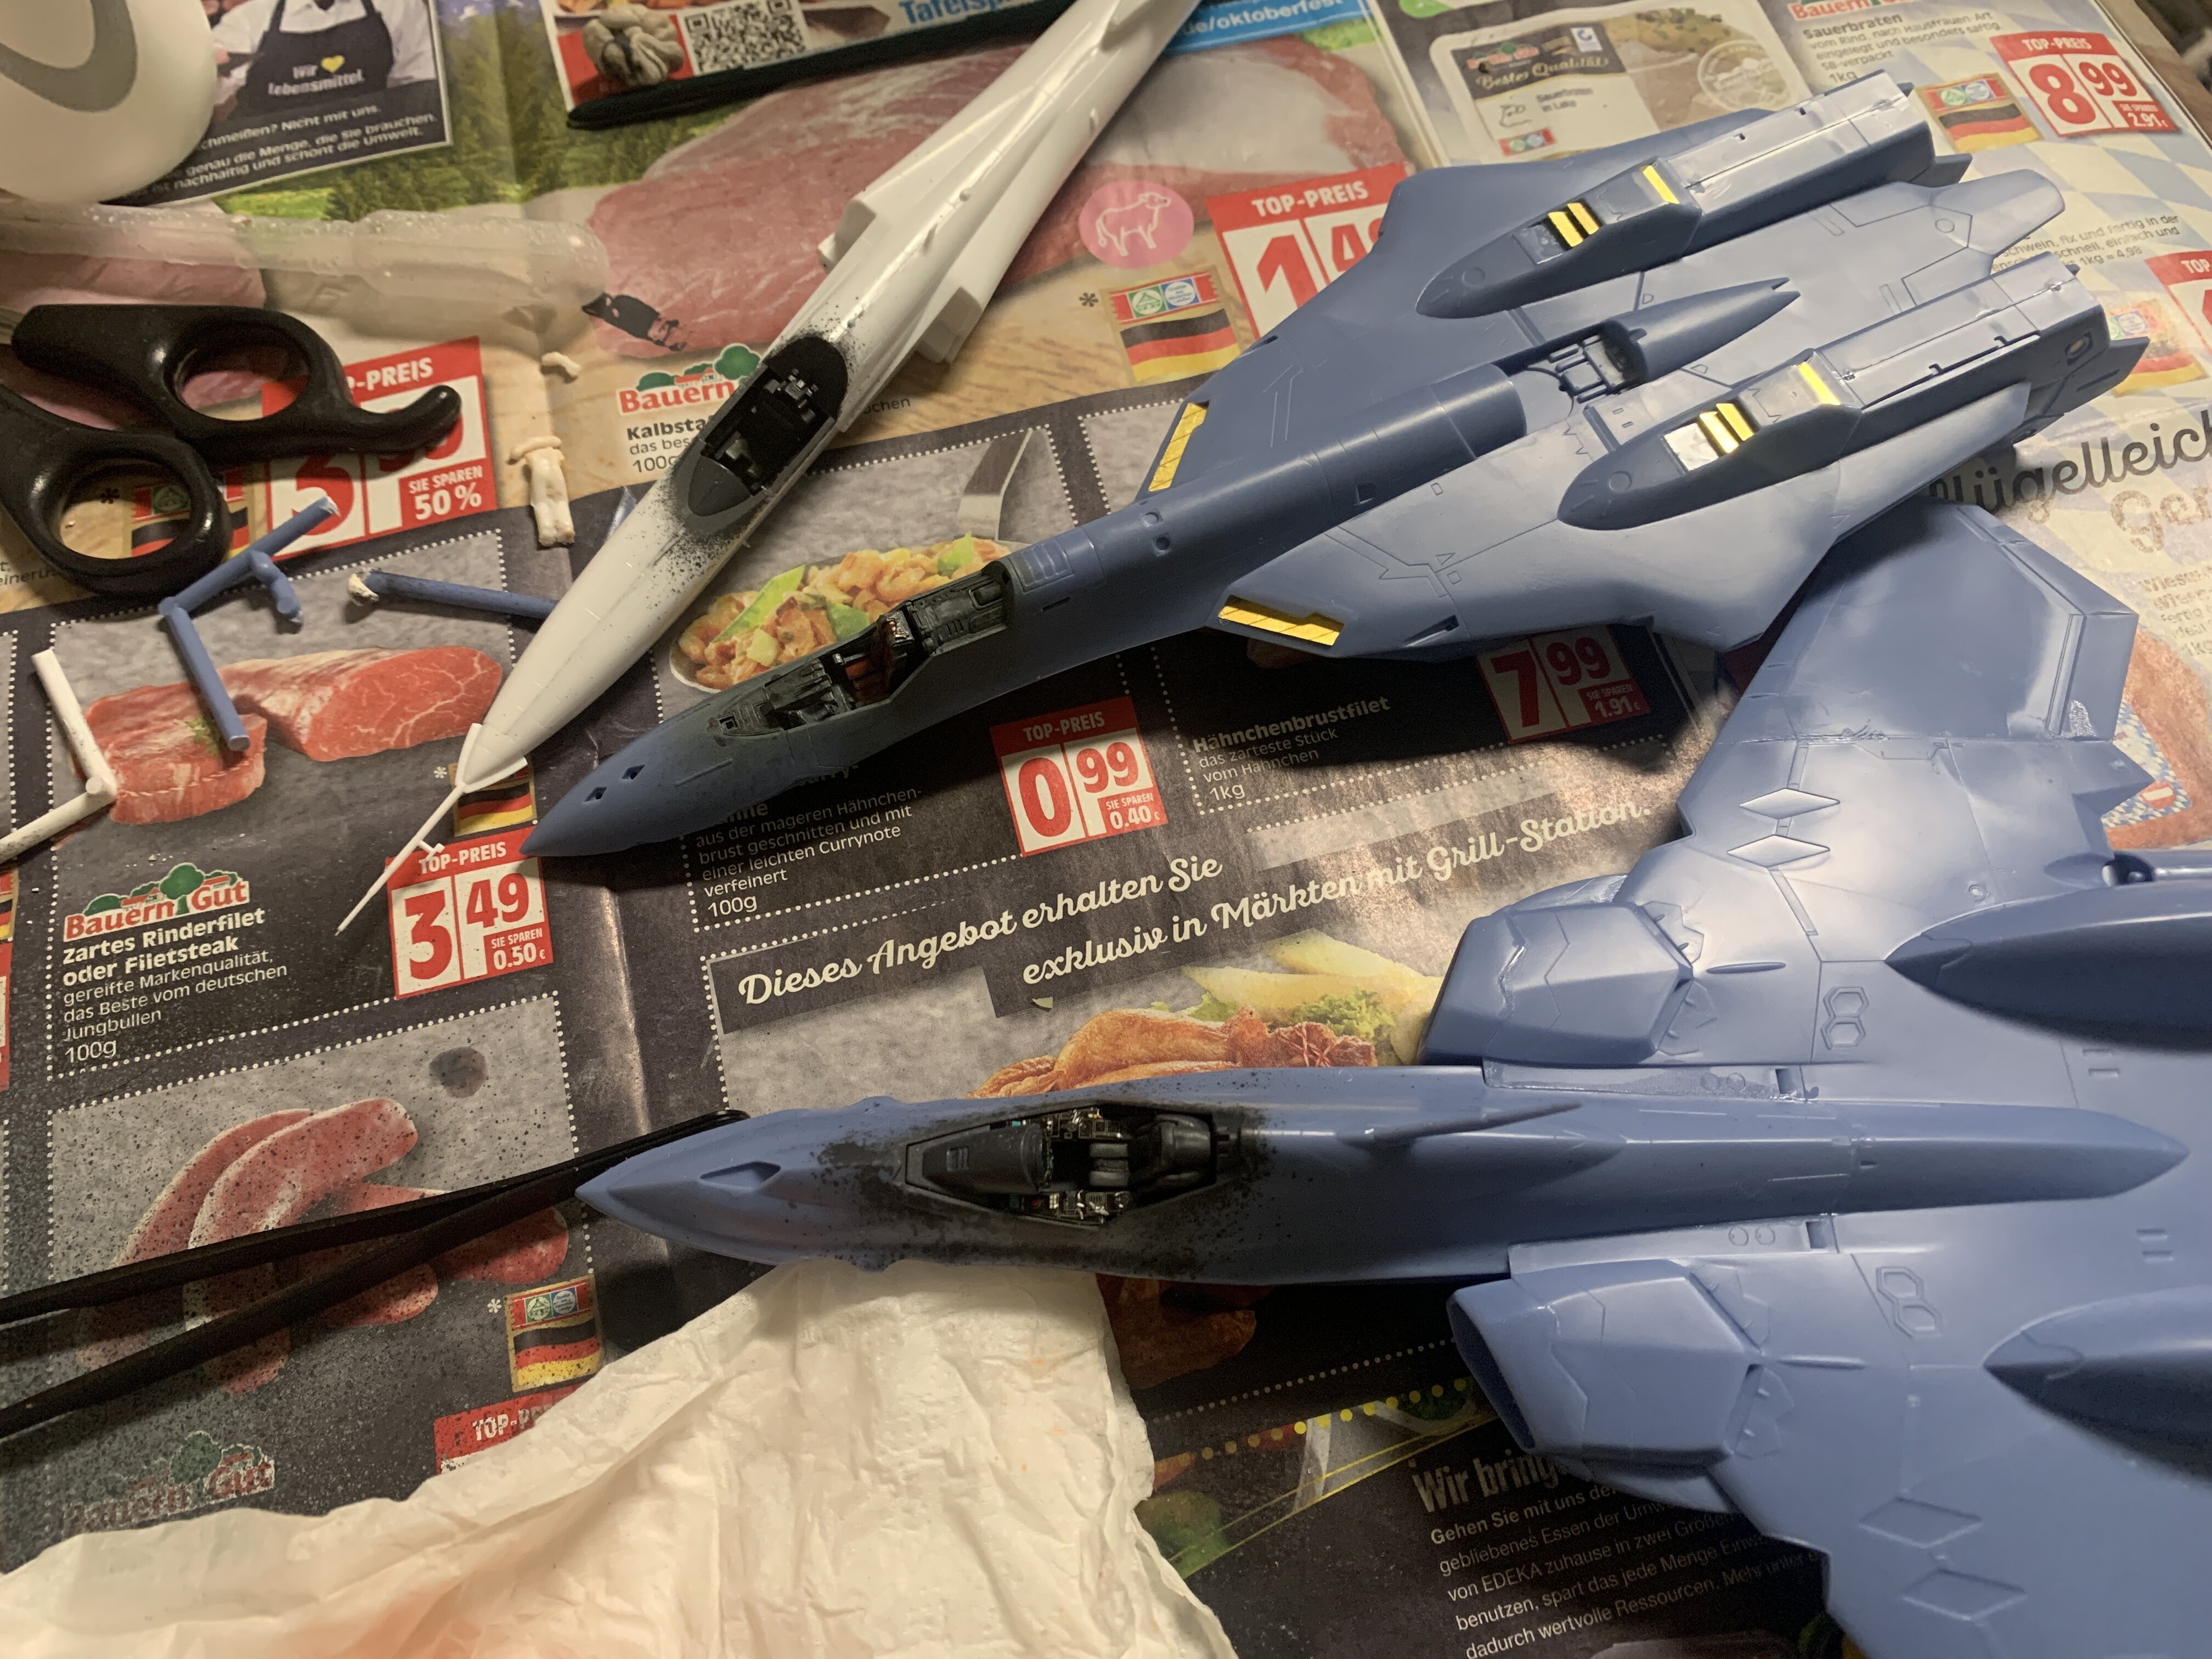
Yeah ... my first try to go at multiple kits at once. Especially with the same colored mold it is fun hahaha. I'll just make sure to put the right parts back into the right box.
-
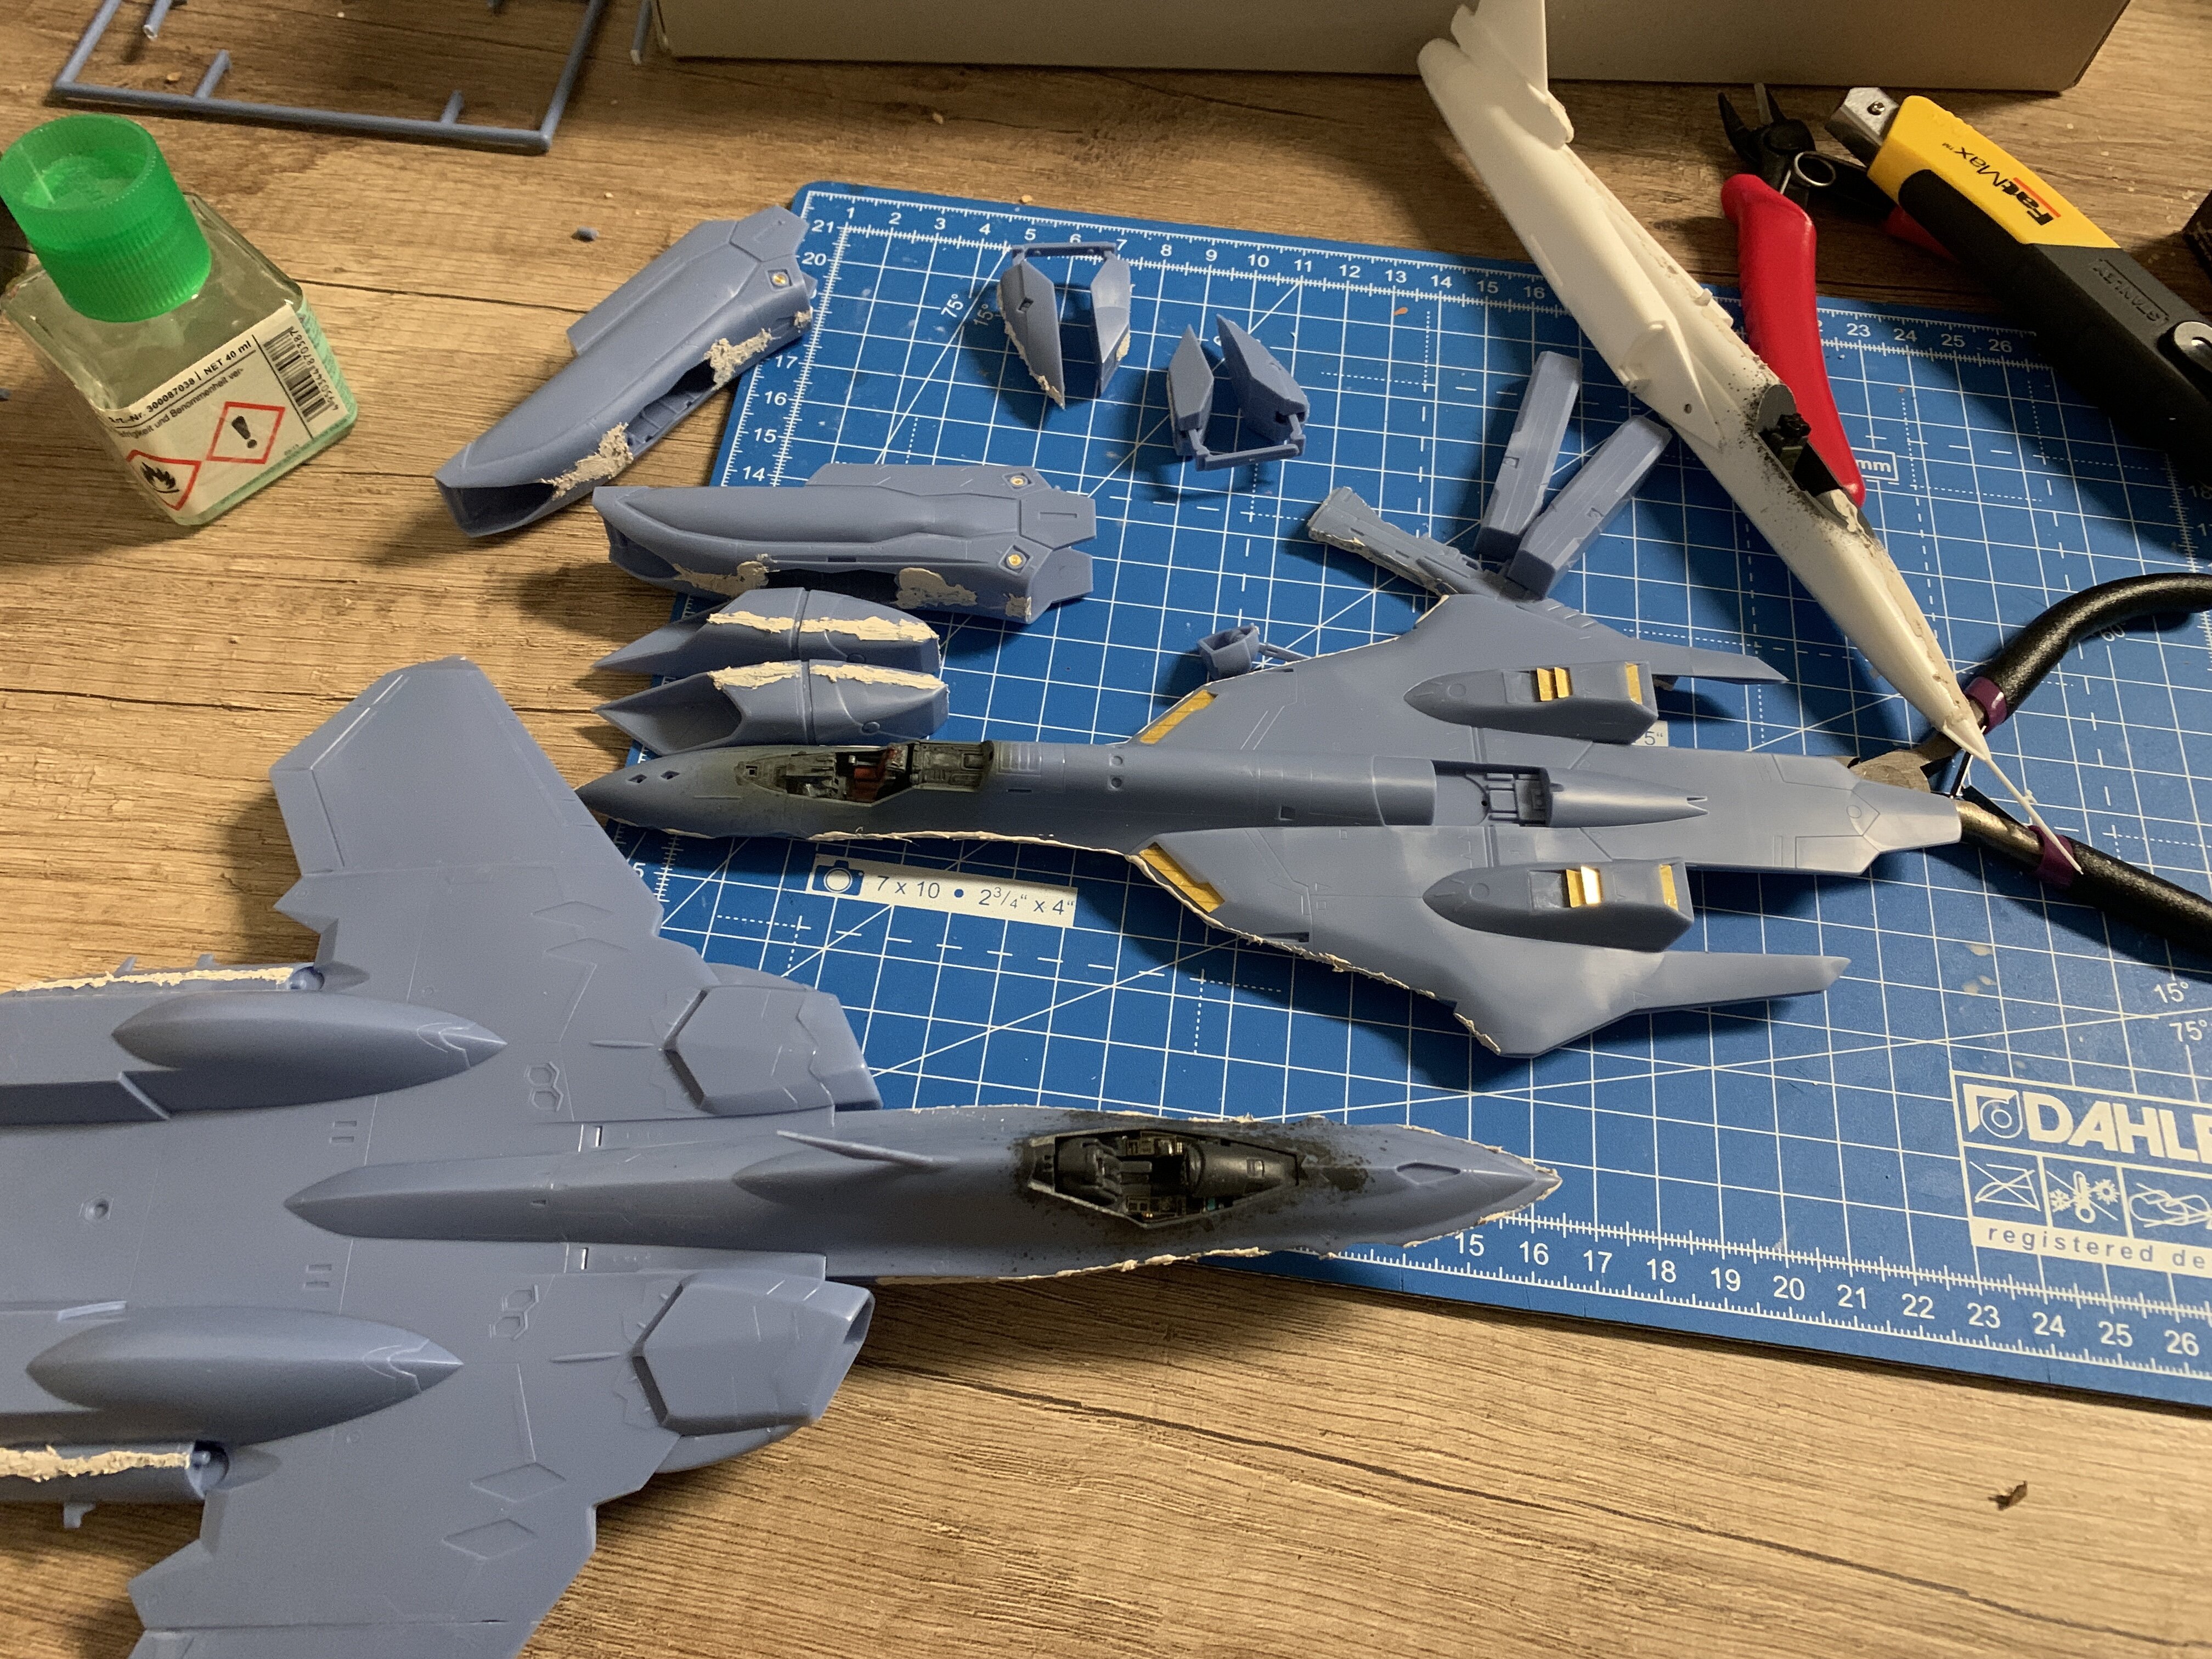
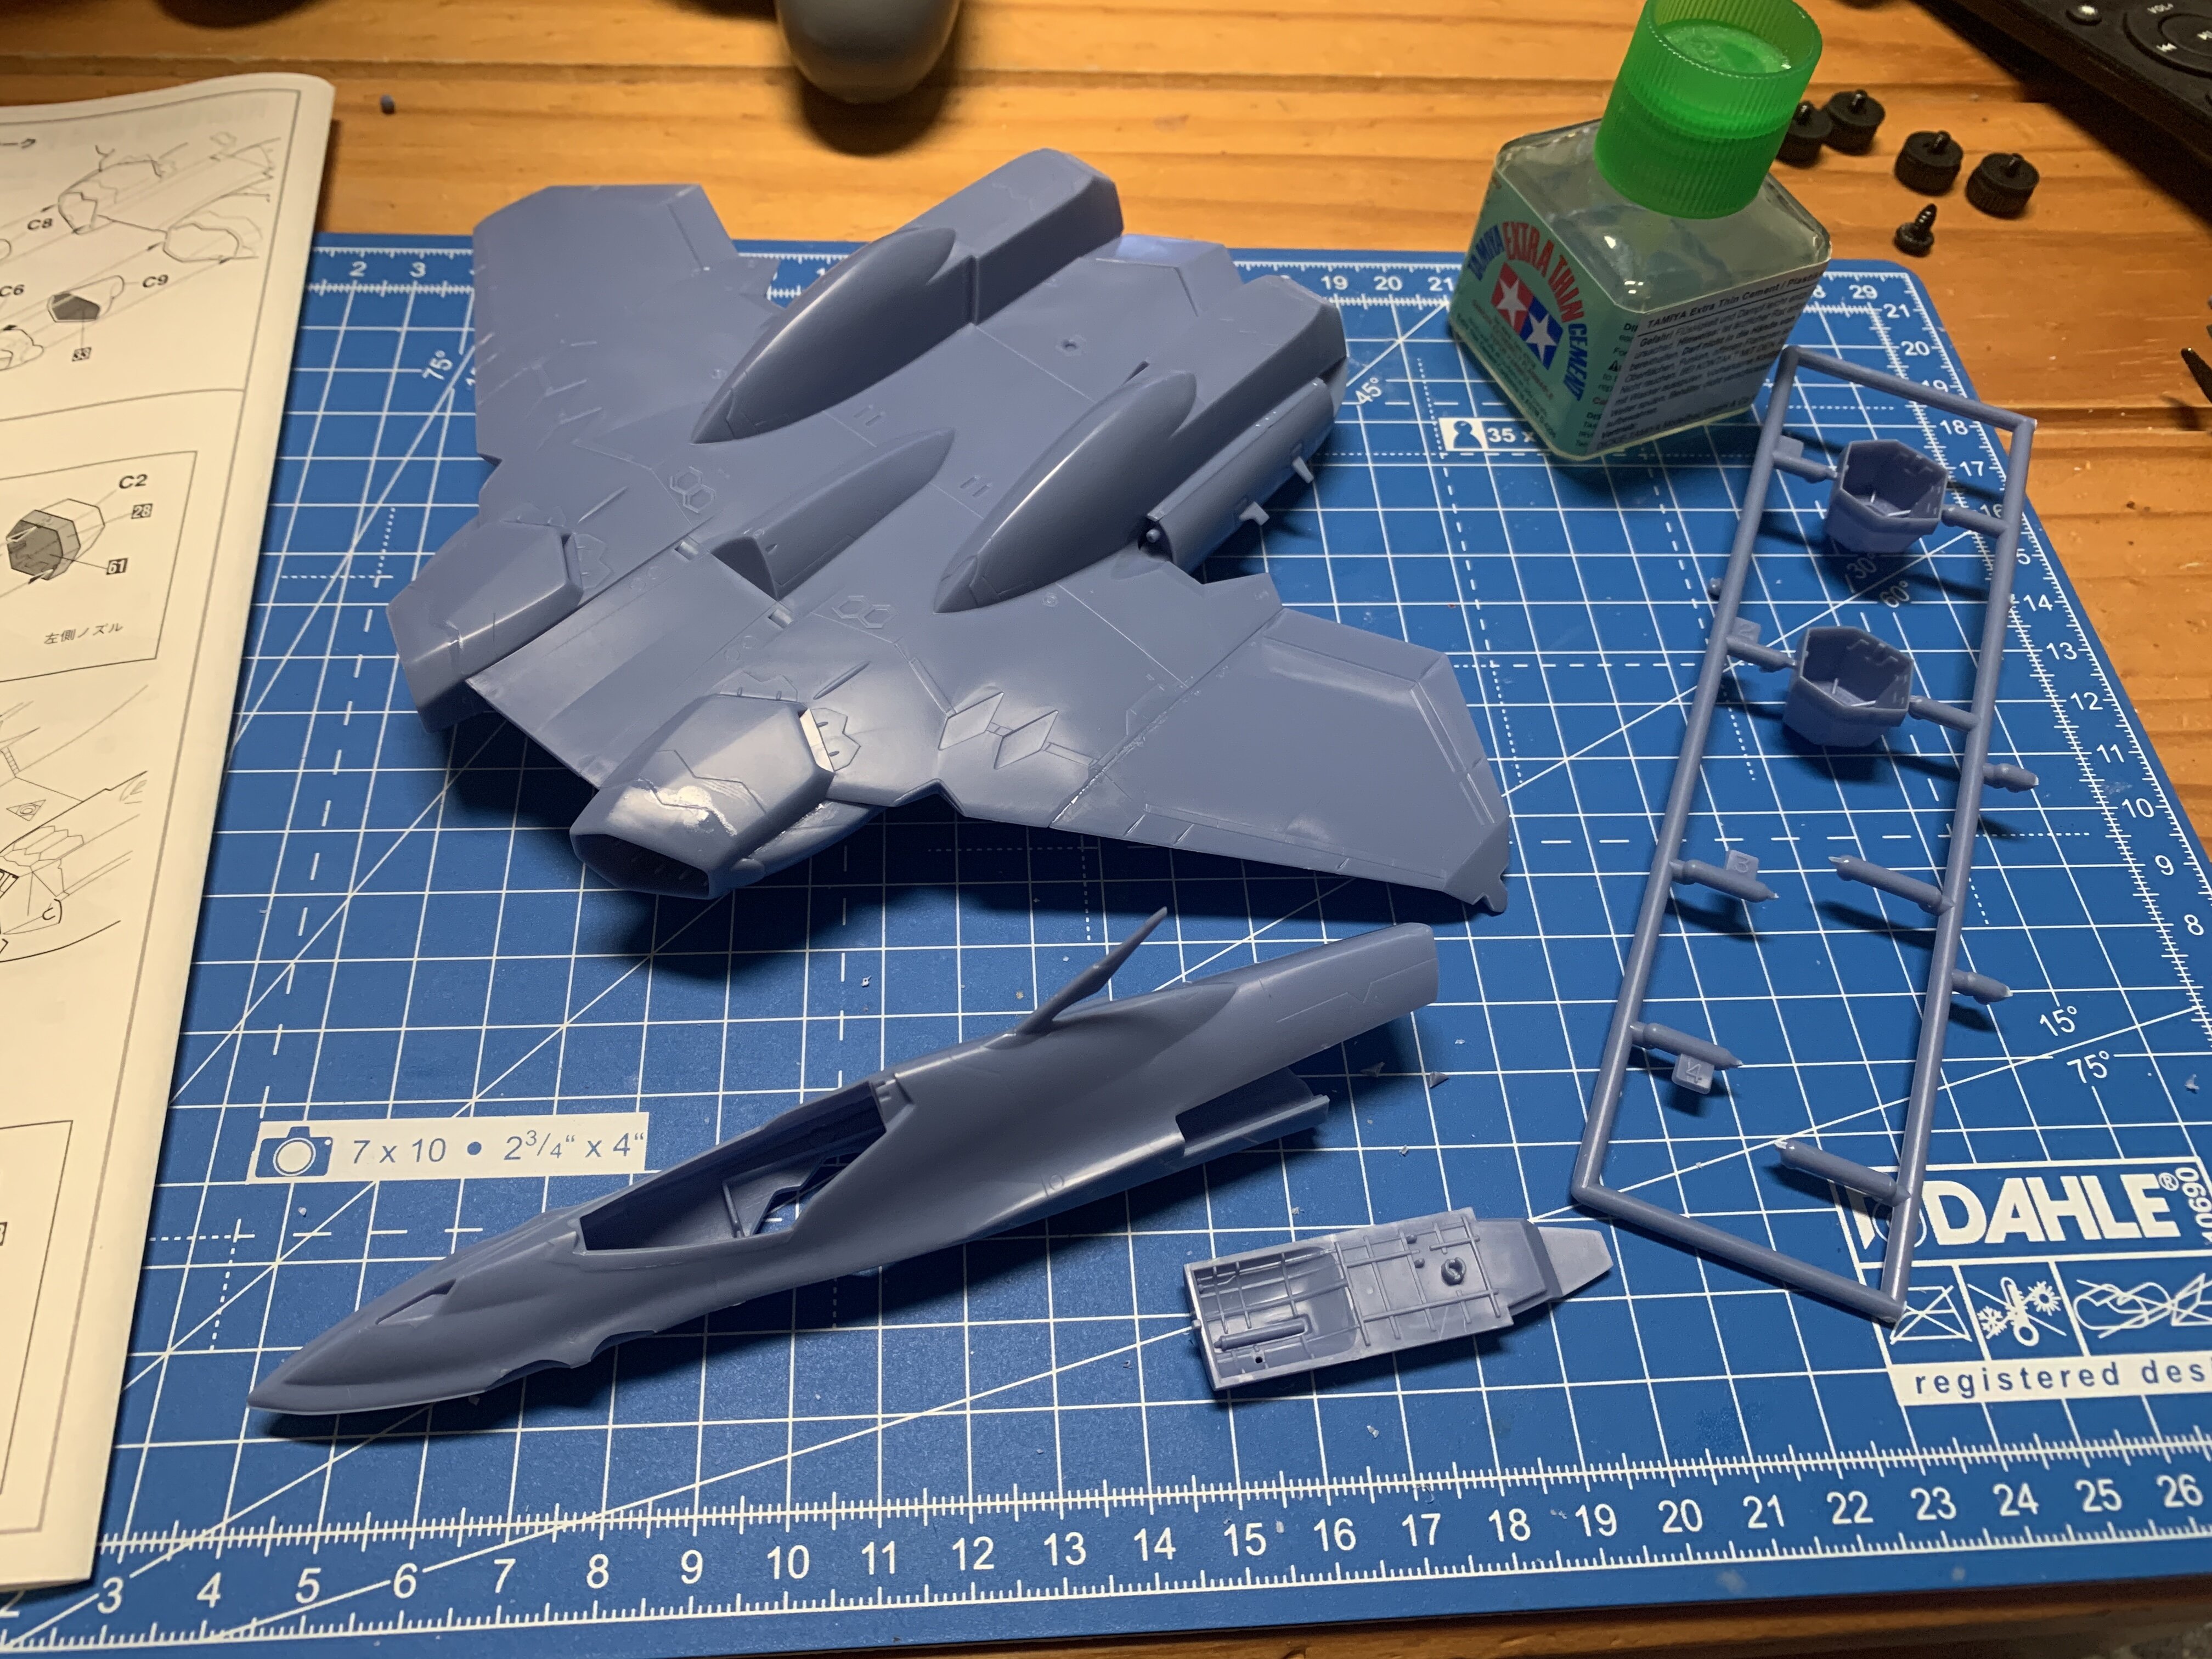
It‘s putty time, children! it is fun how much easier to build the VF-22 is, compared to the VF-19. I think I can start priming on the VF-22 tomorrow
-
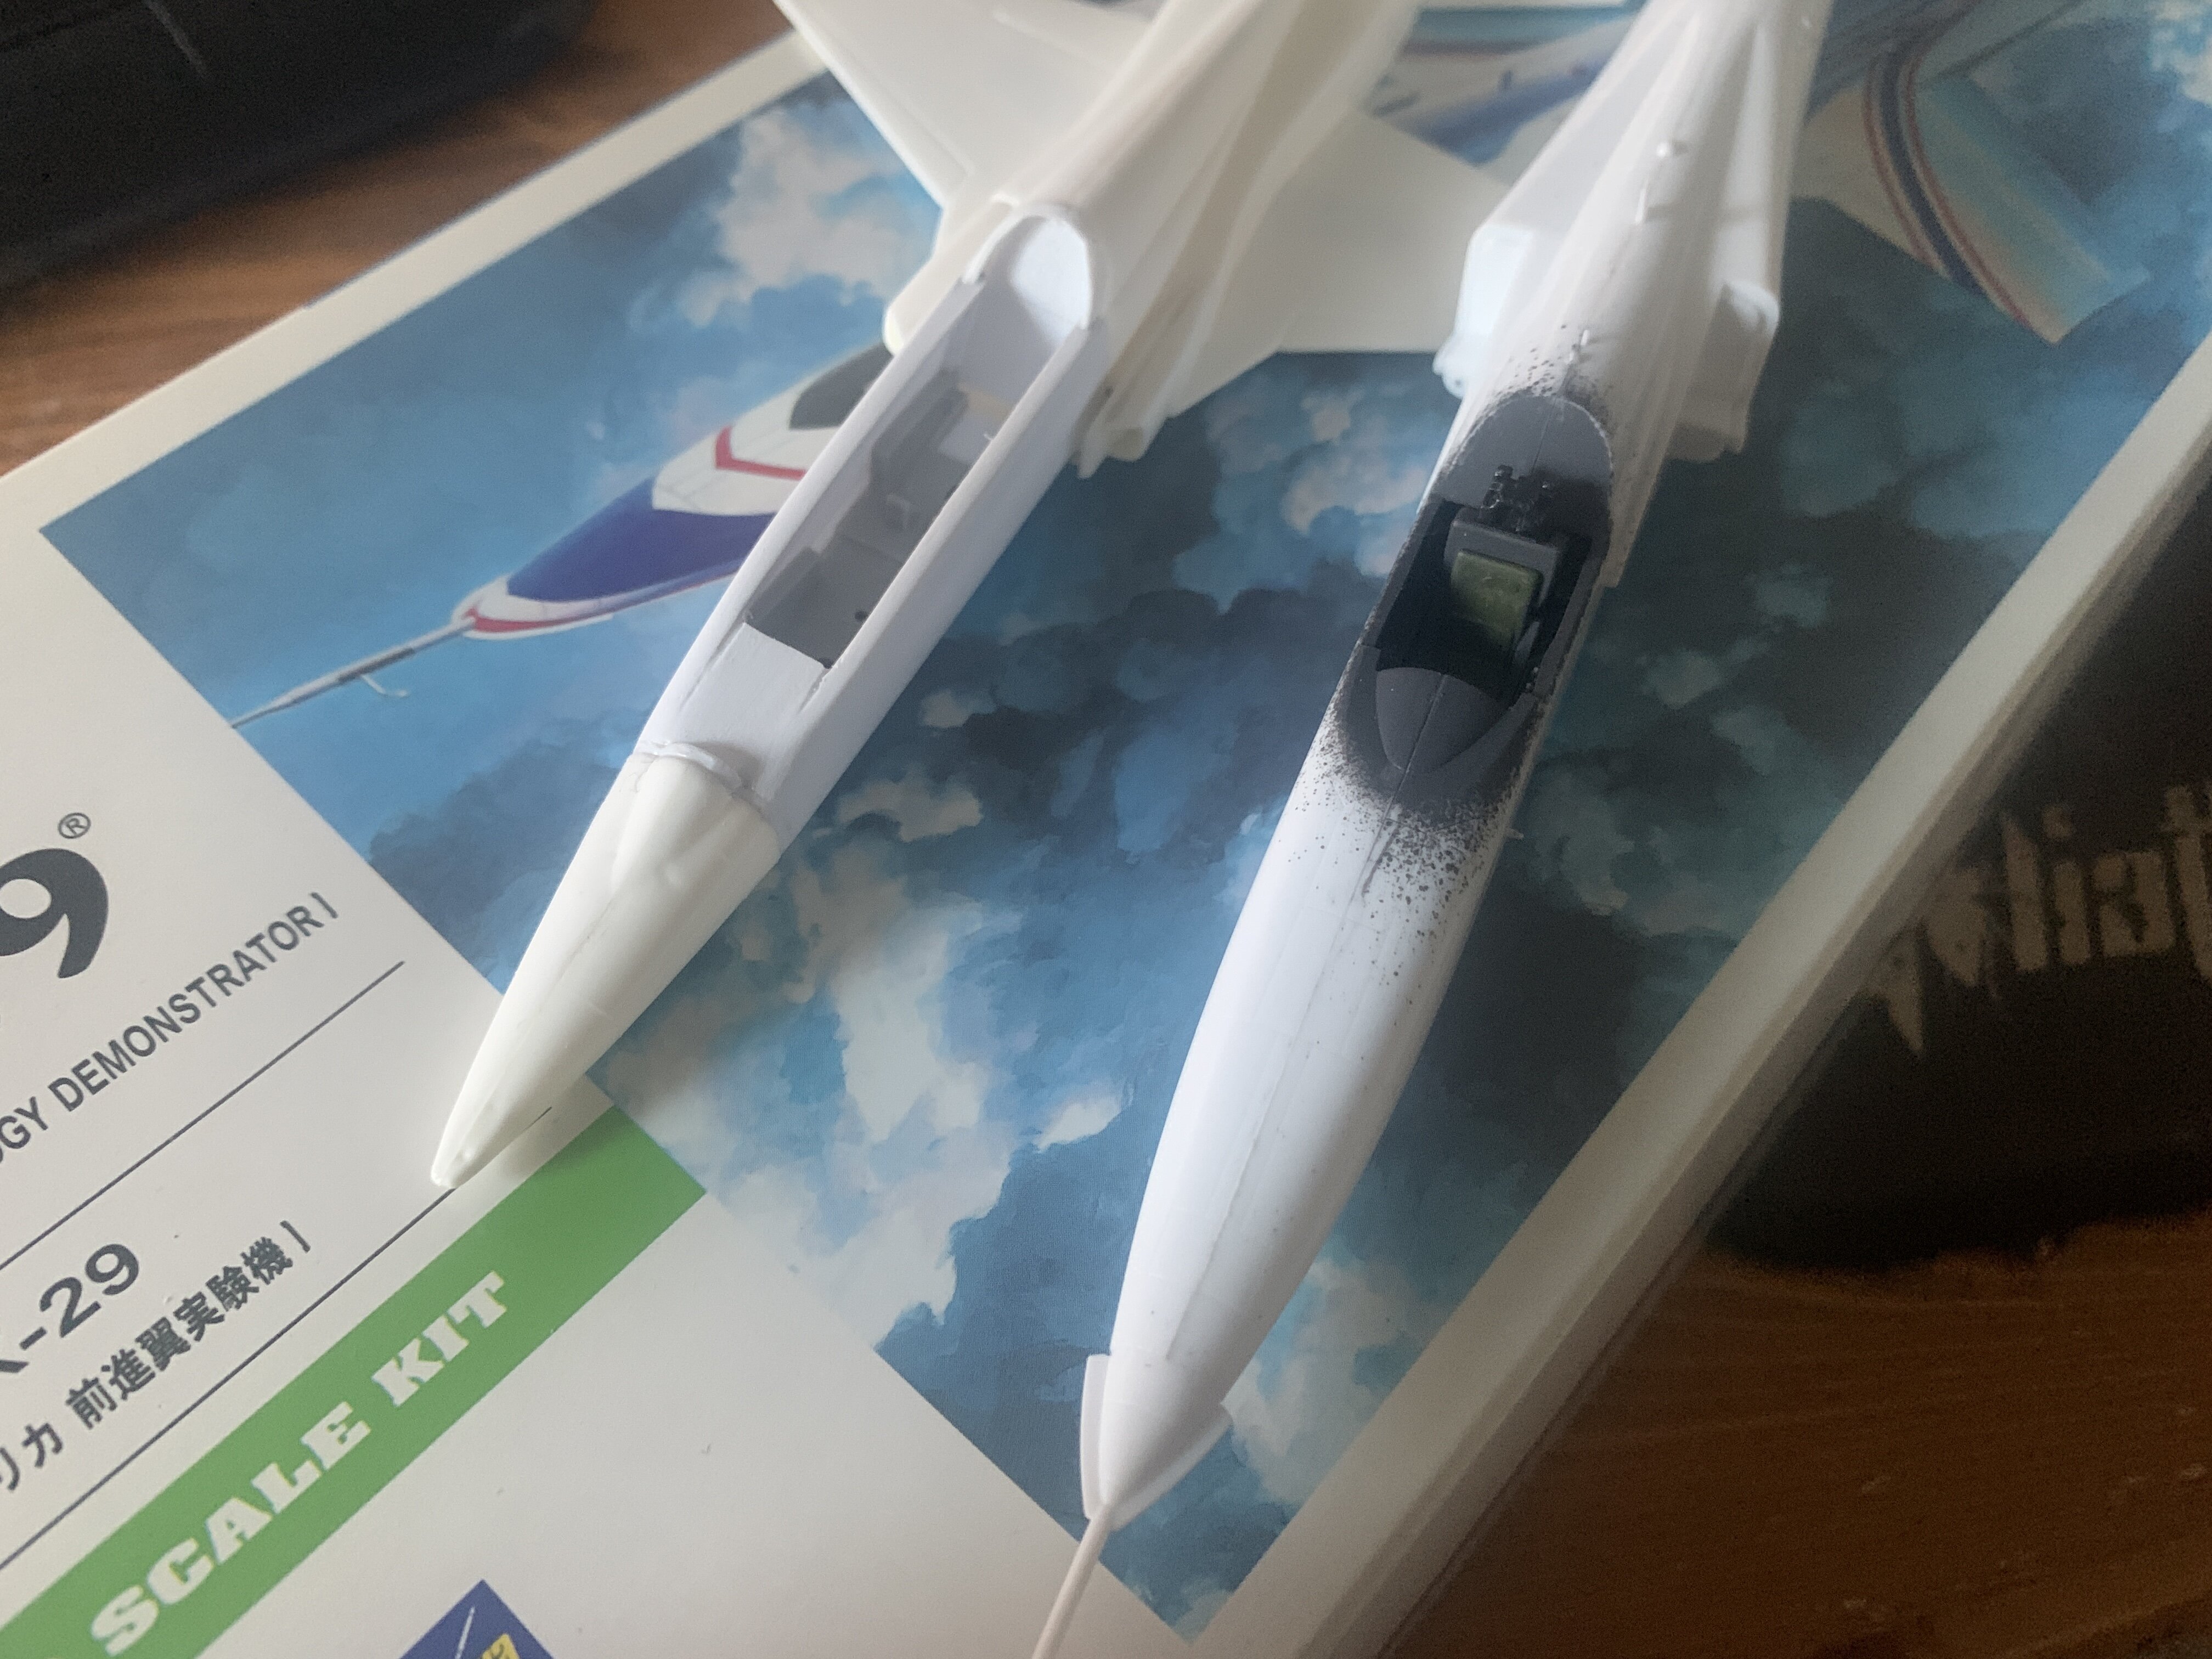
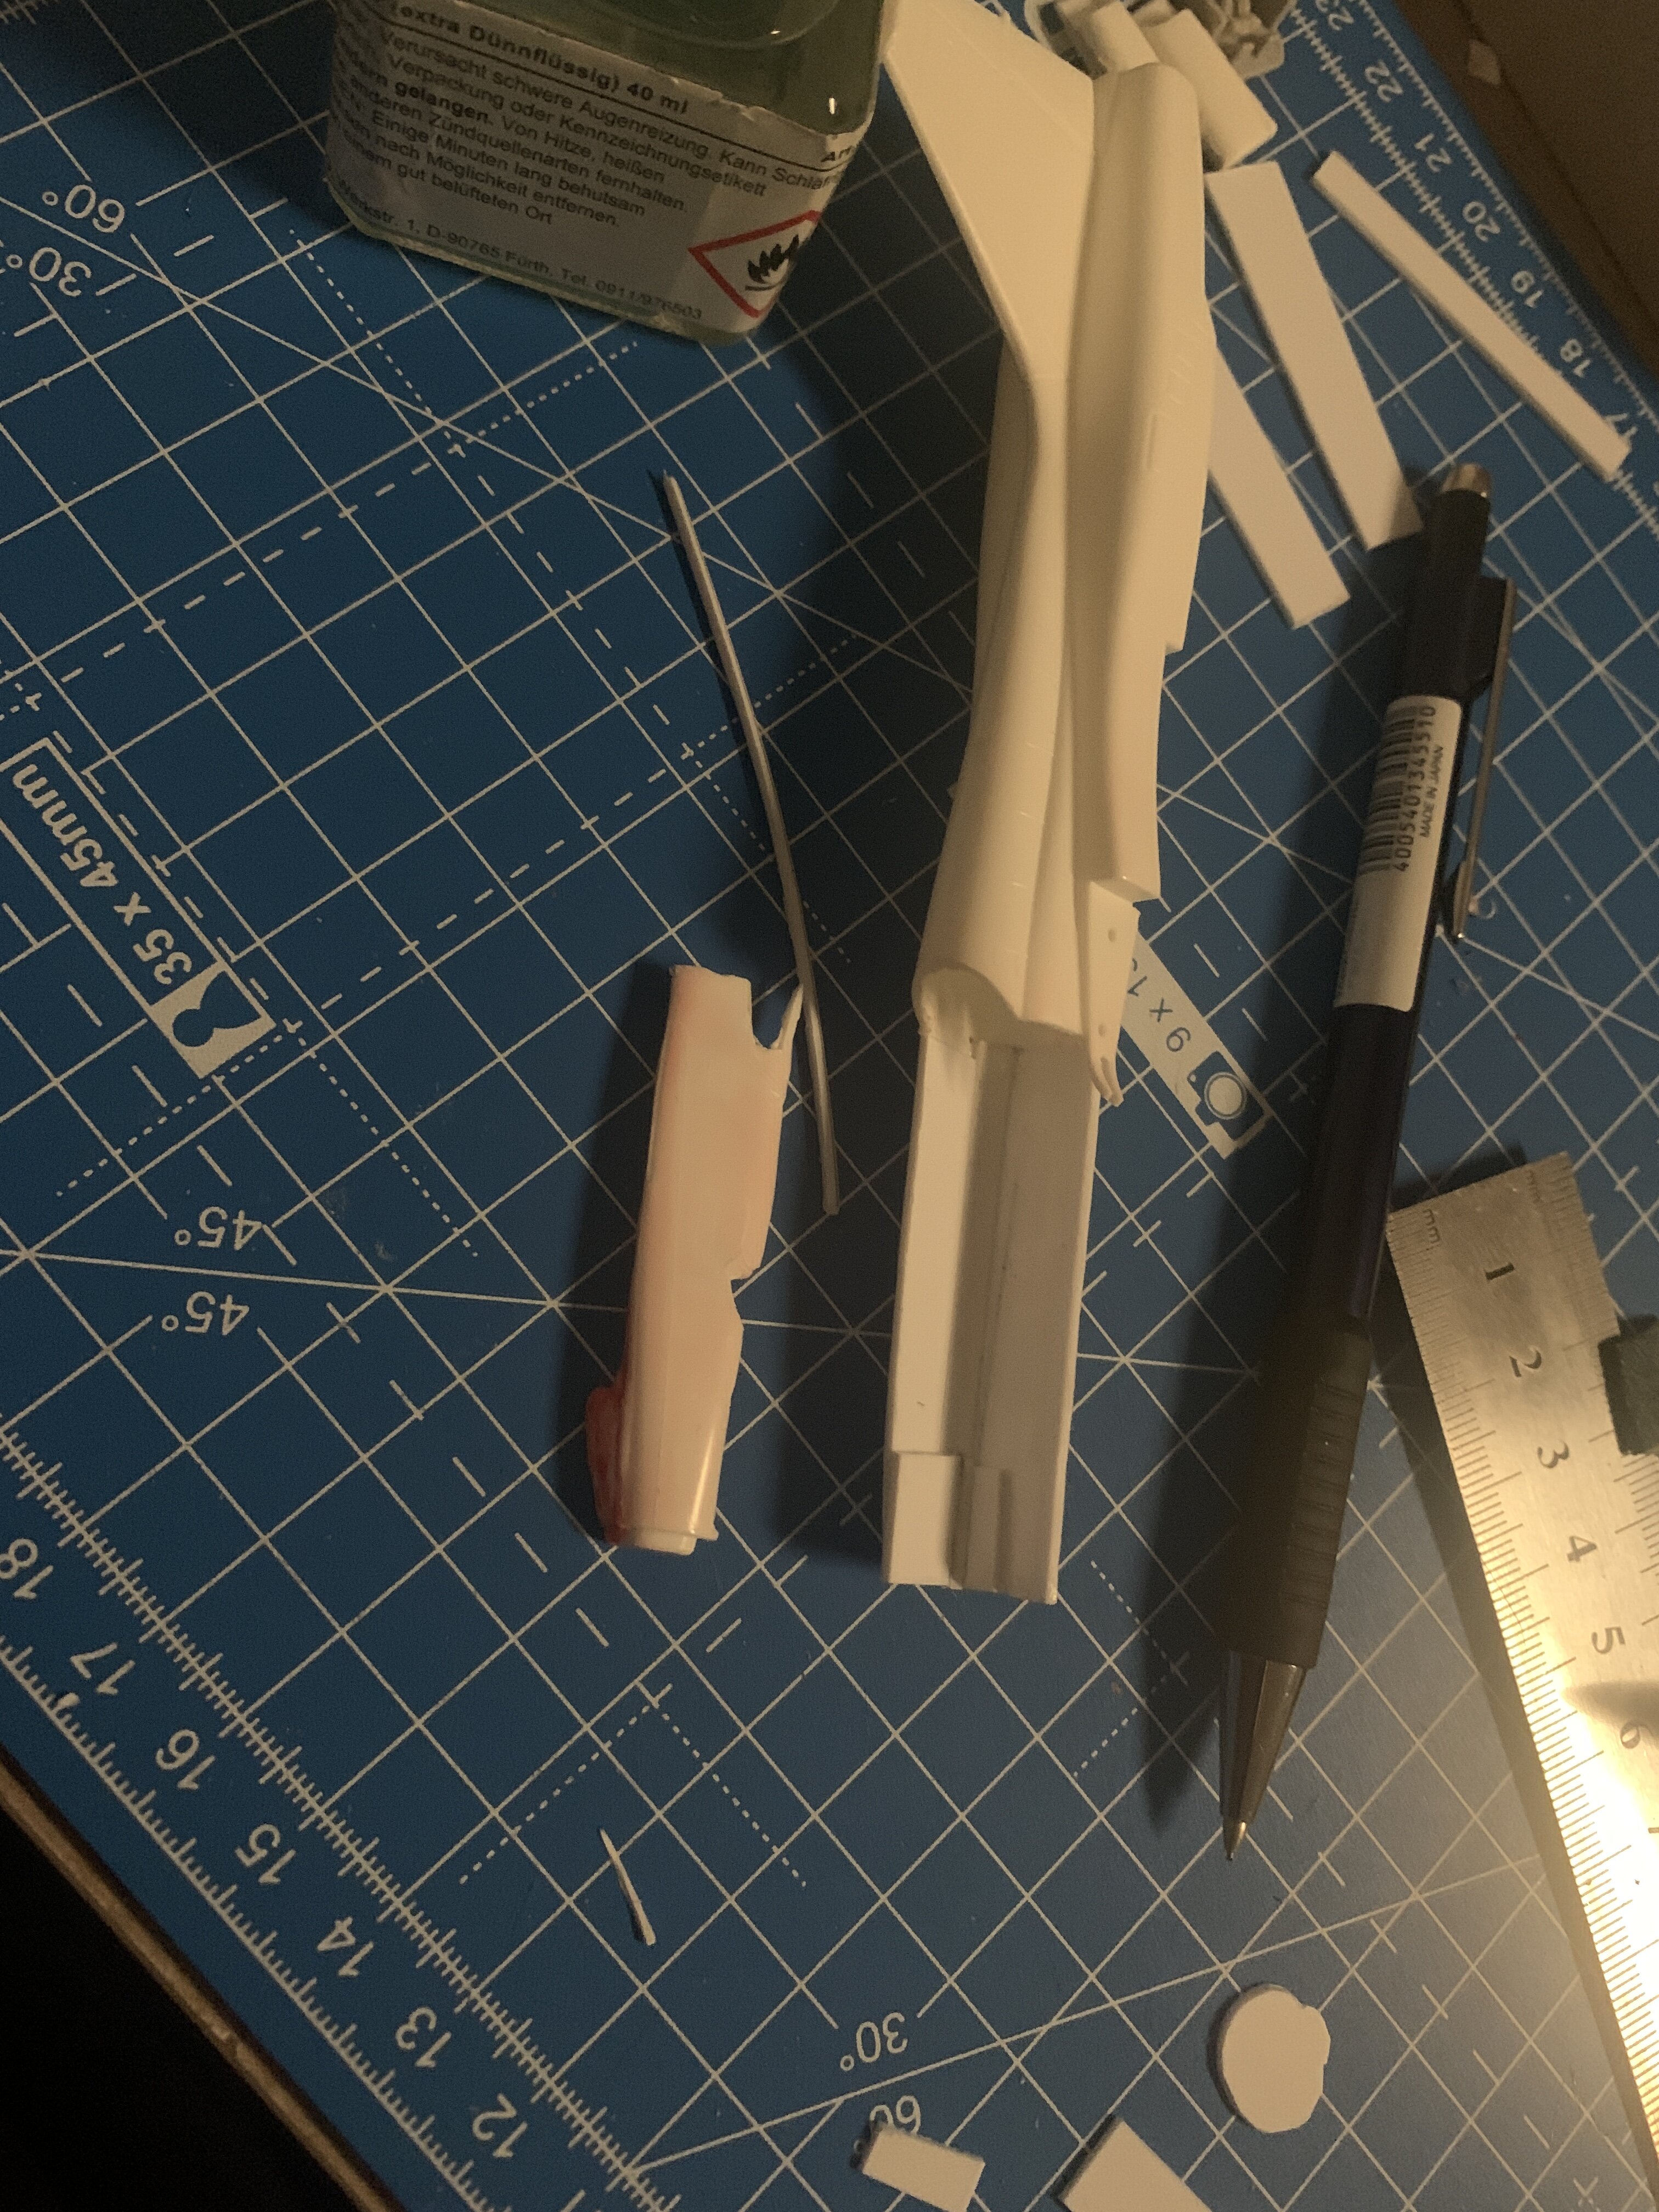
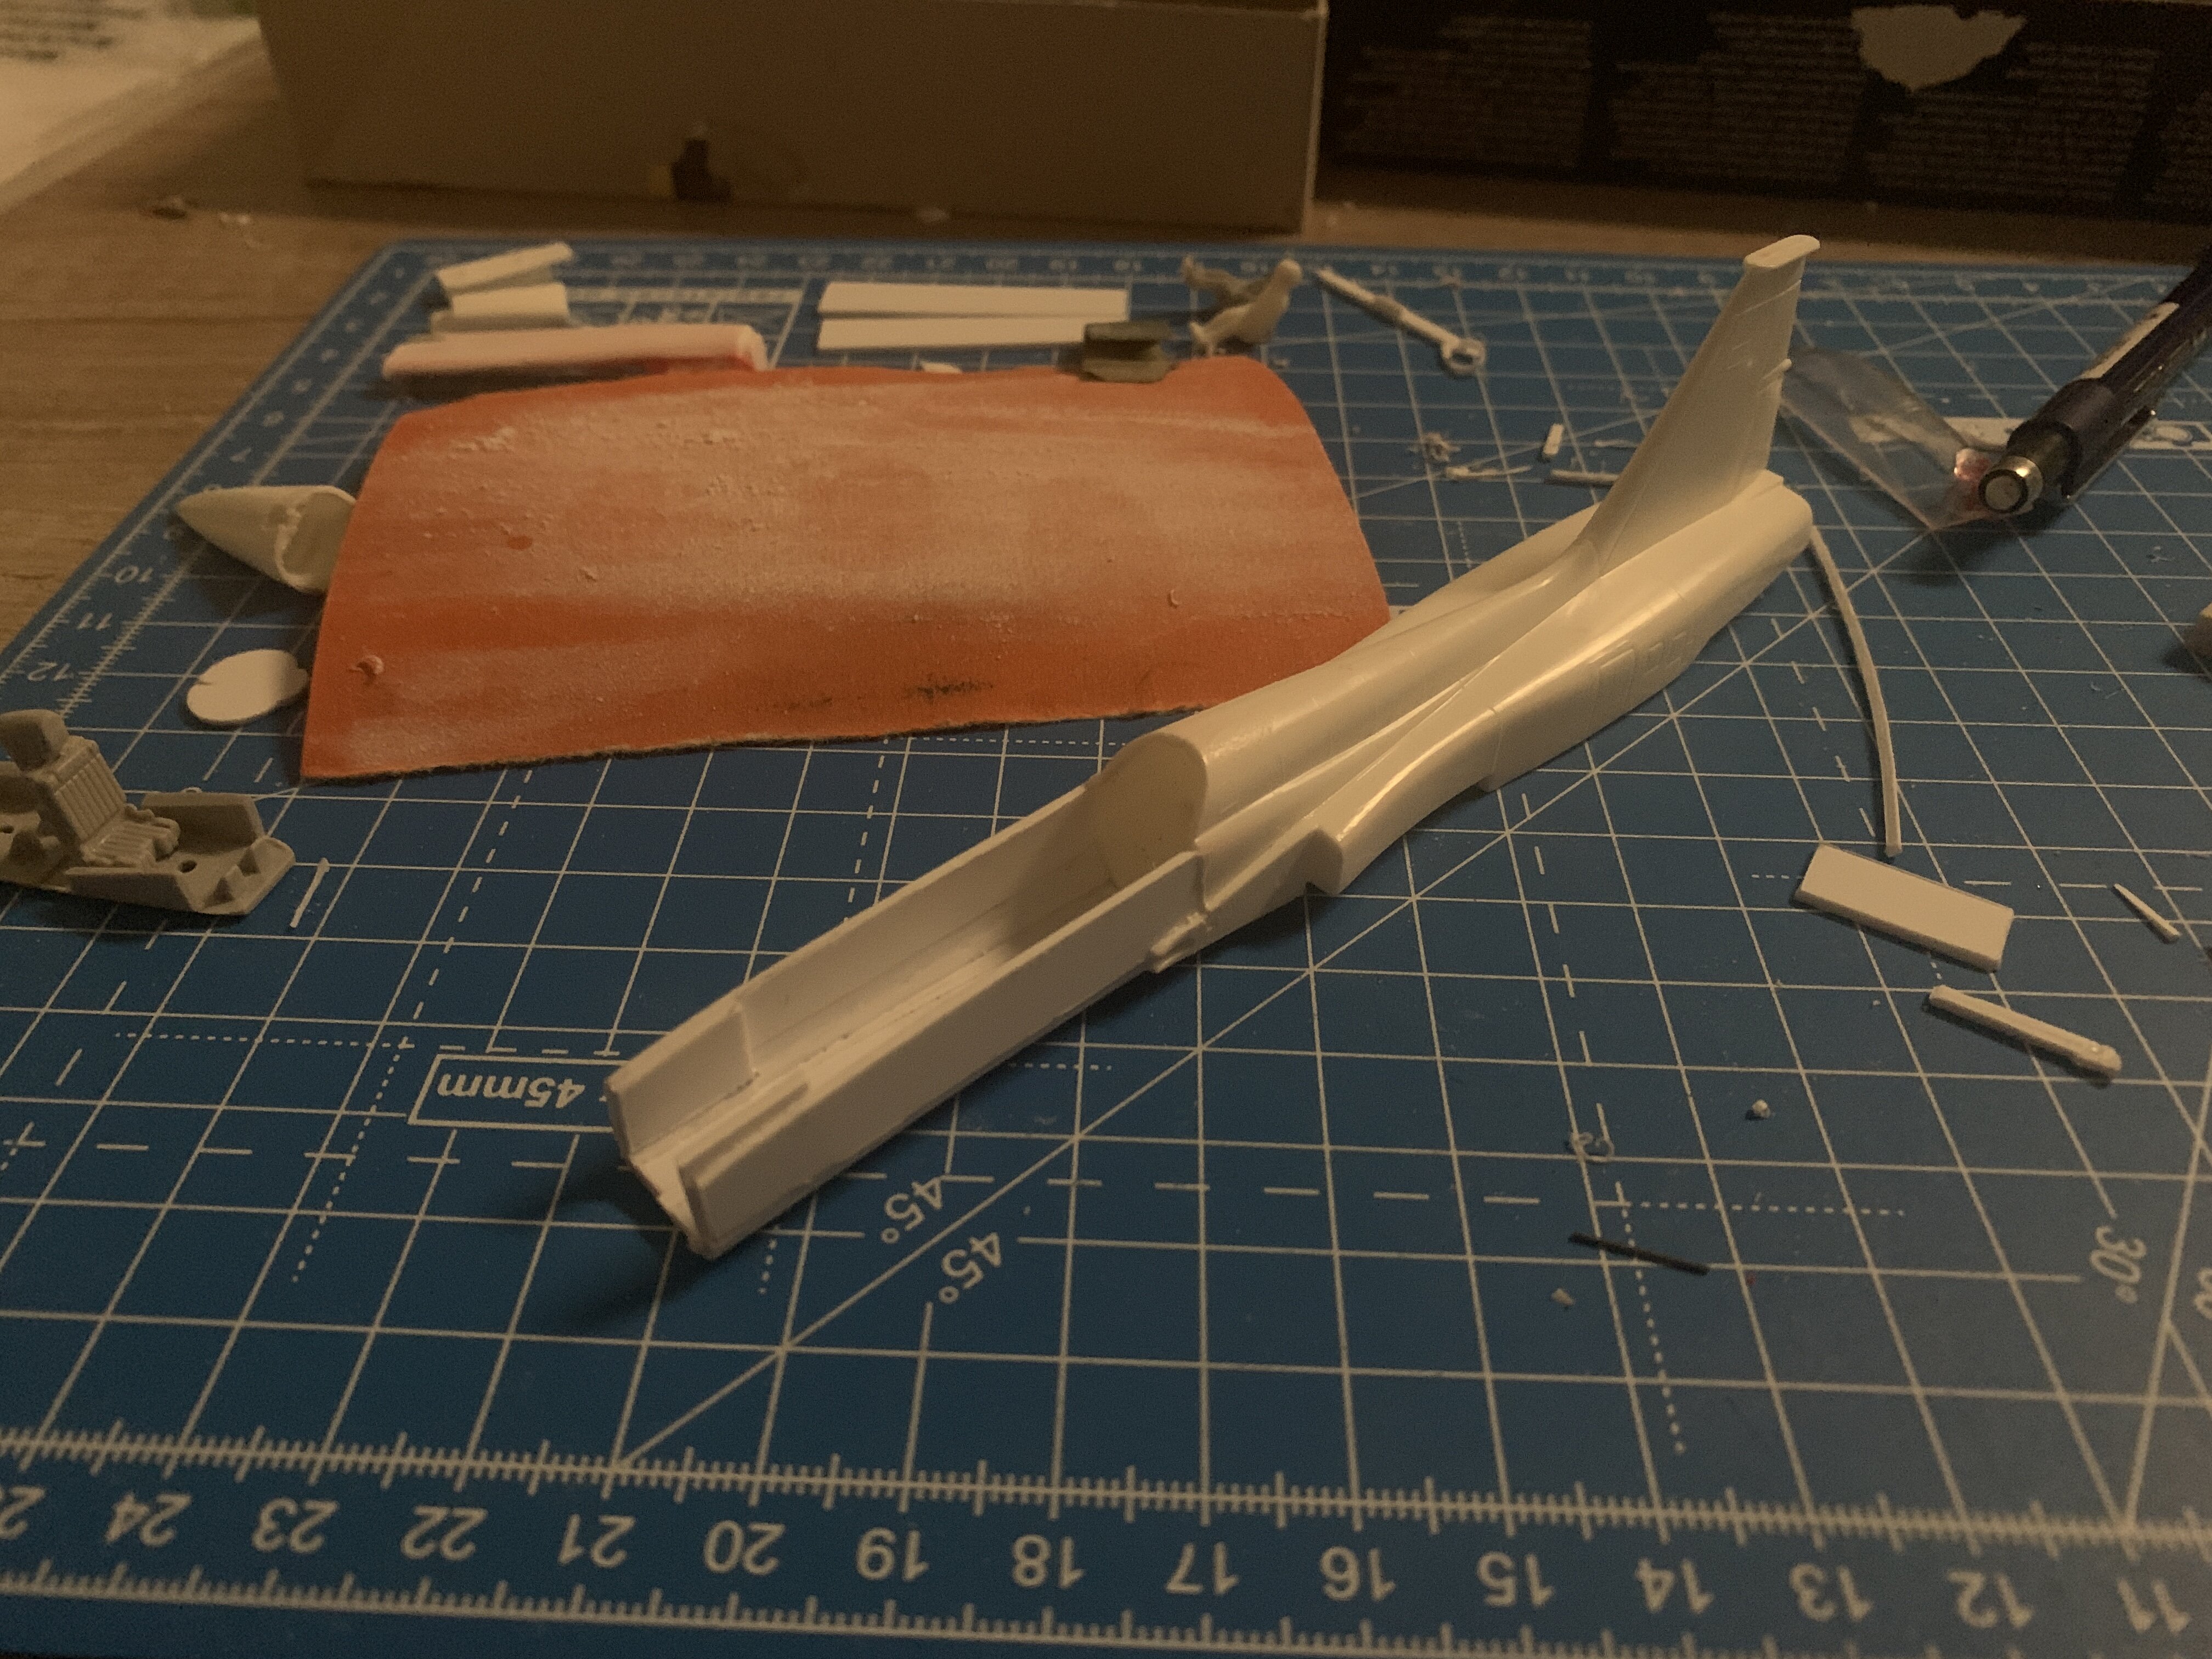
Correct! @Gabe Q thanks a lot, and correct as well! the fun part about the X-29 is, that the front was taken straight from the F-5. either the x-29 is way too big for 1/72 or the F-5B is too small.
-
-
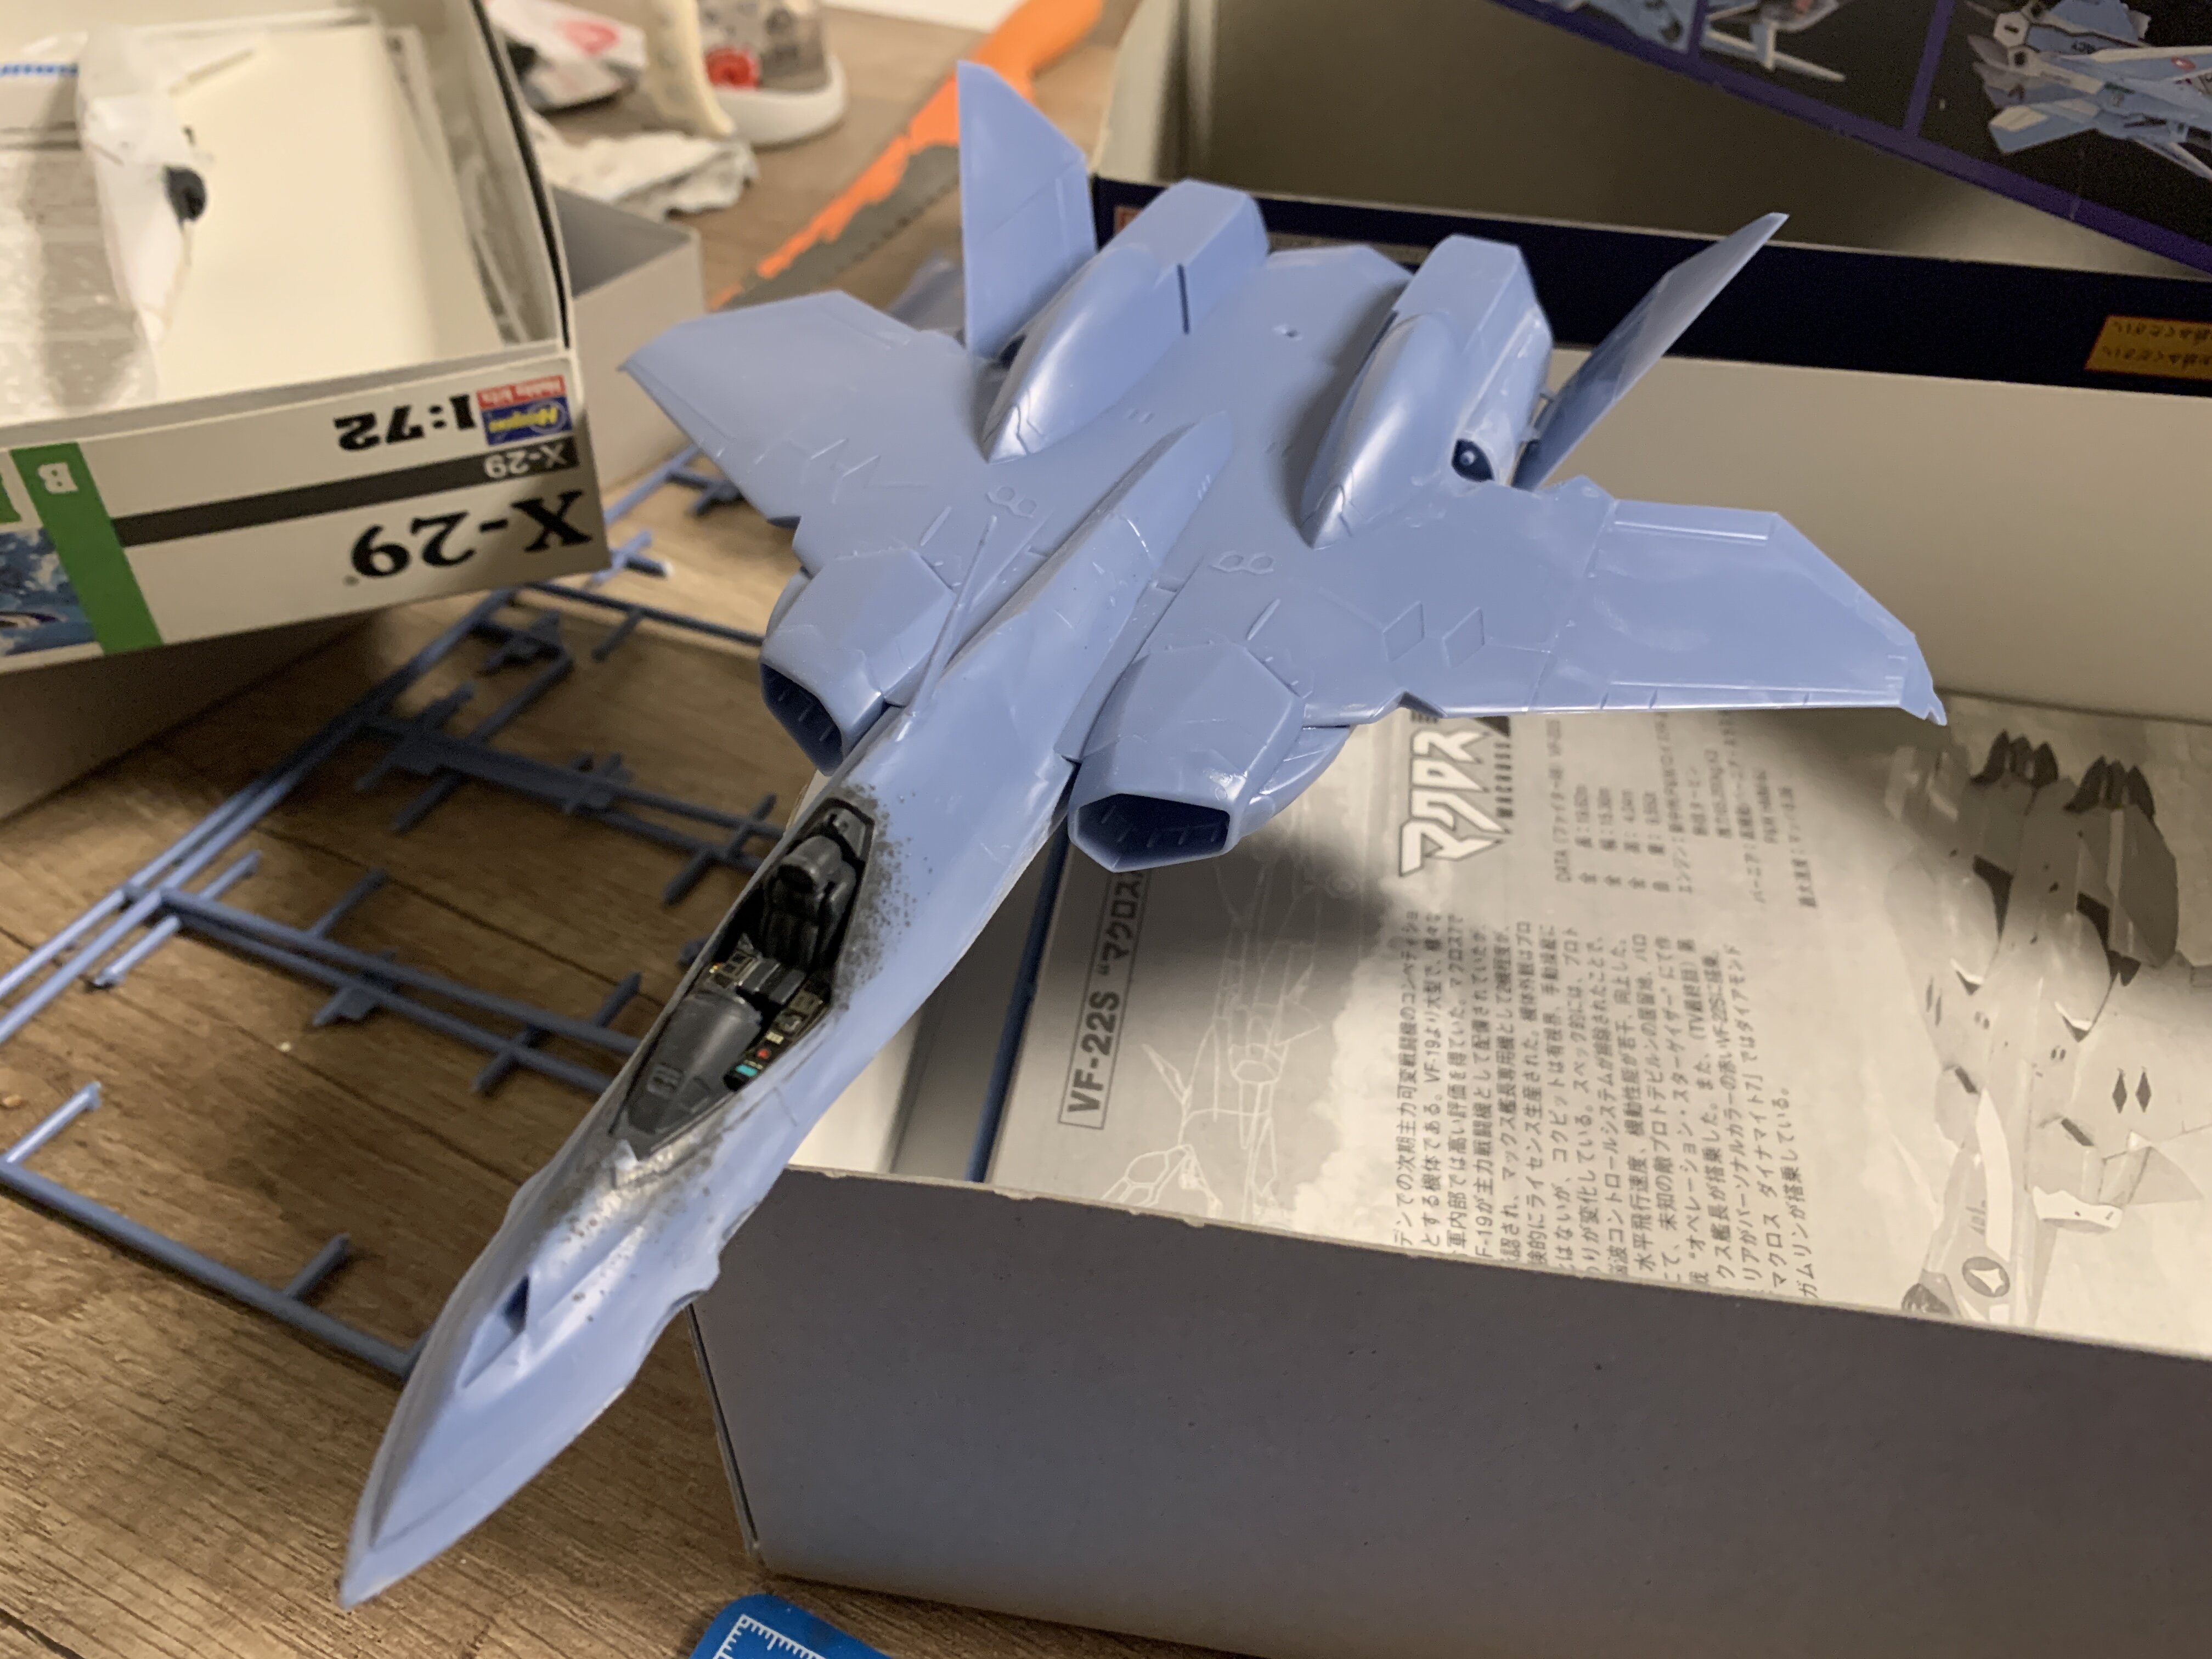
IT‘S ALIVE! Okay… I think the F-5B is alive and kicking again. Still need some panel line scribing but, it looks okay now. And because working on two kits is not enough, I started kit number three! Maxs VF-22 from macross 7.
-
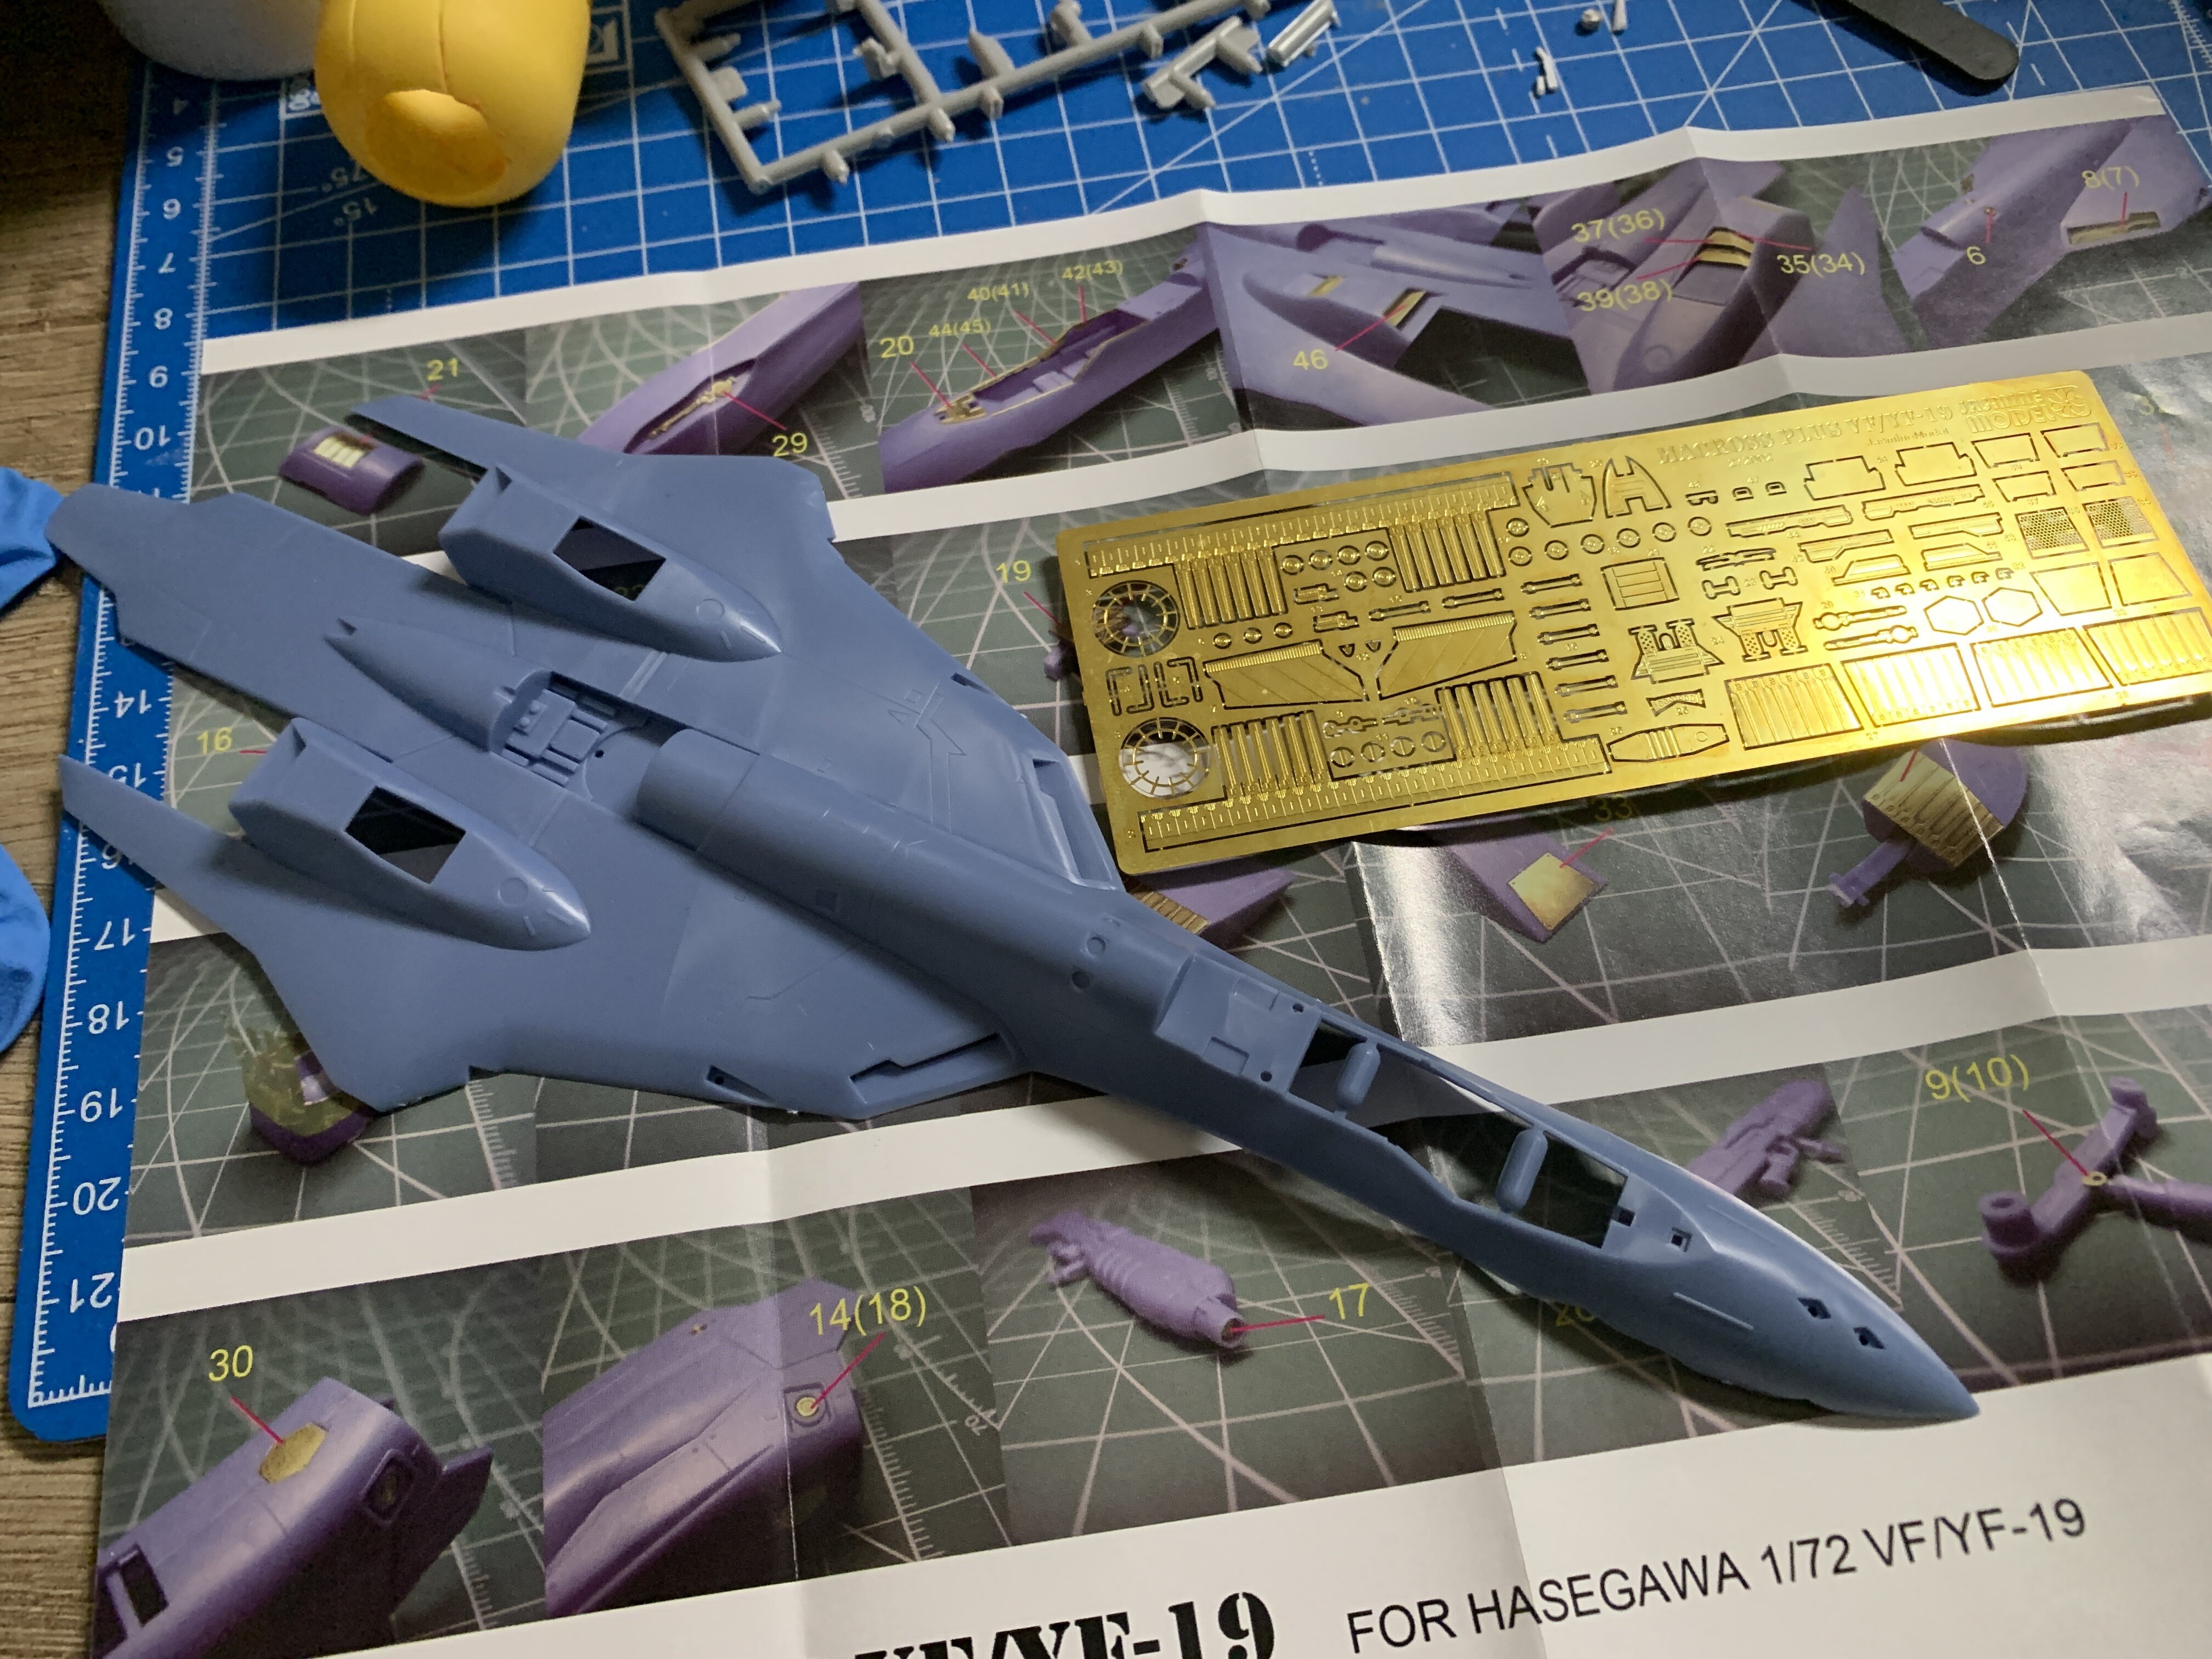
I felt, that I needed a break from the F-5B. So I started building something I have on my kit pile for years now. I got that VF-19A when it released the first time almost two decades ago. I also got the photo etched set from jasmine models, which is so awesome. I really like it.
-
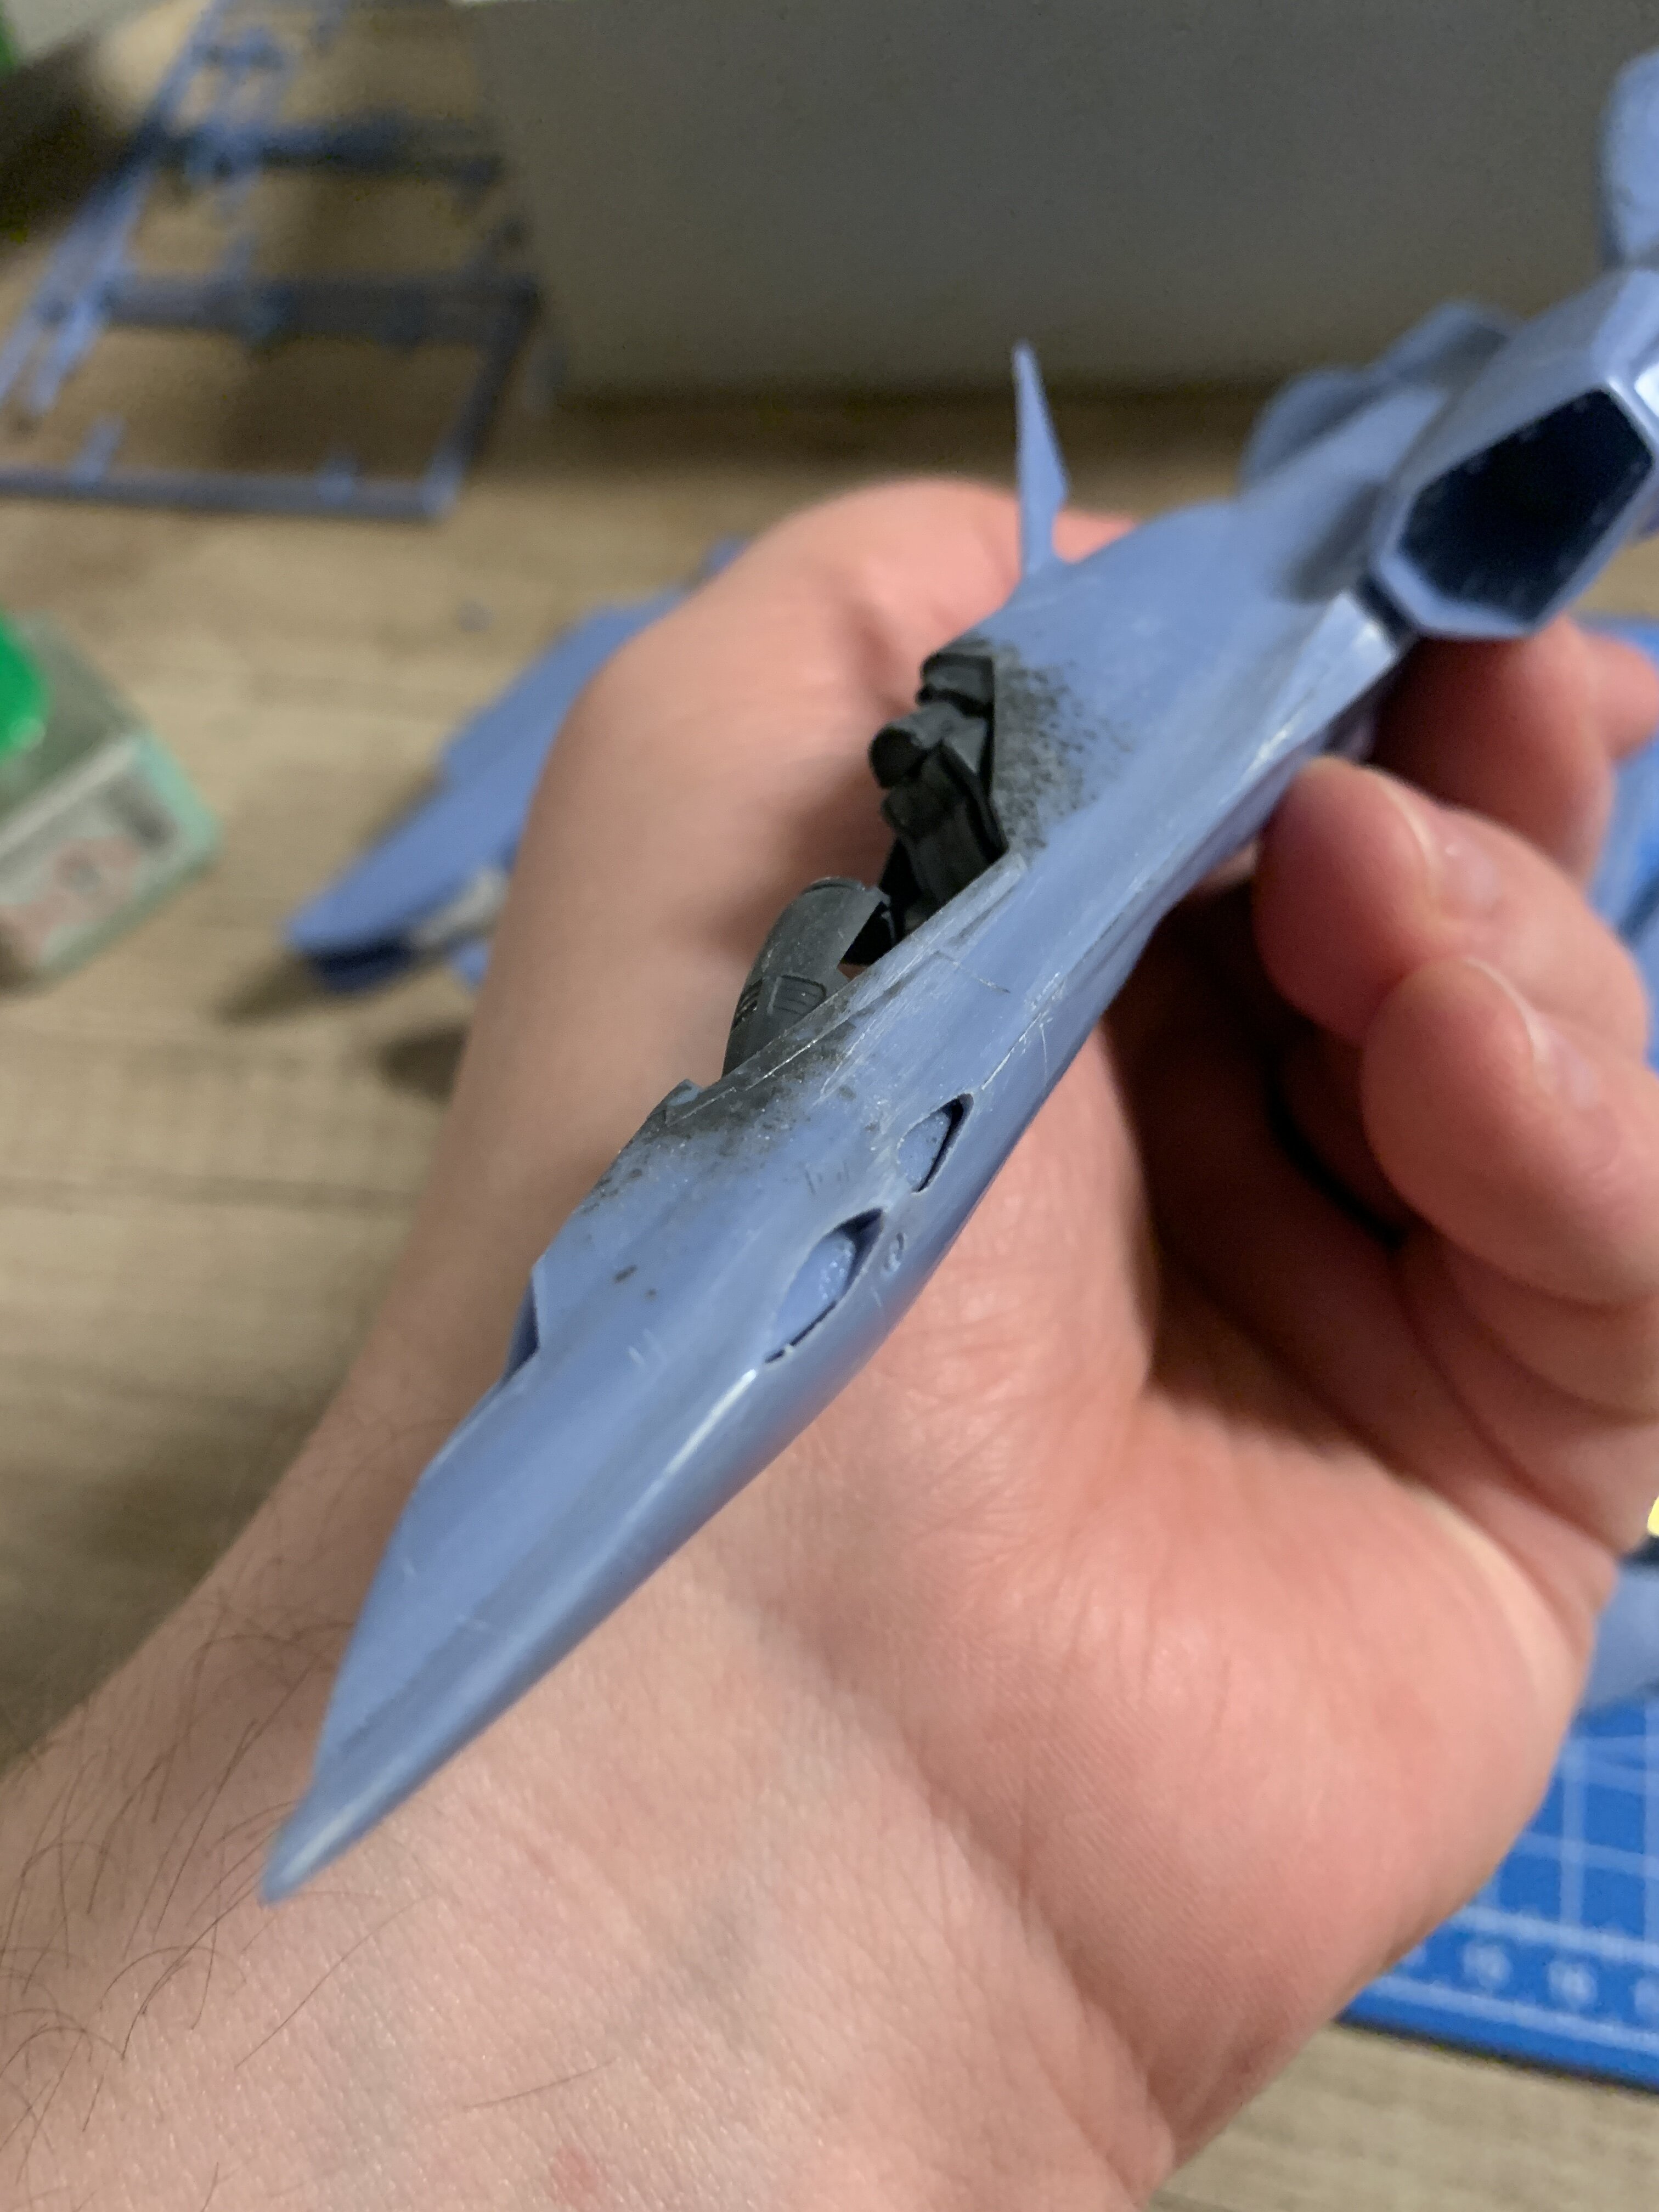
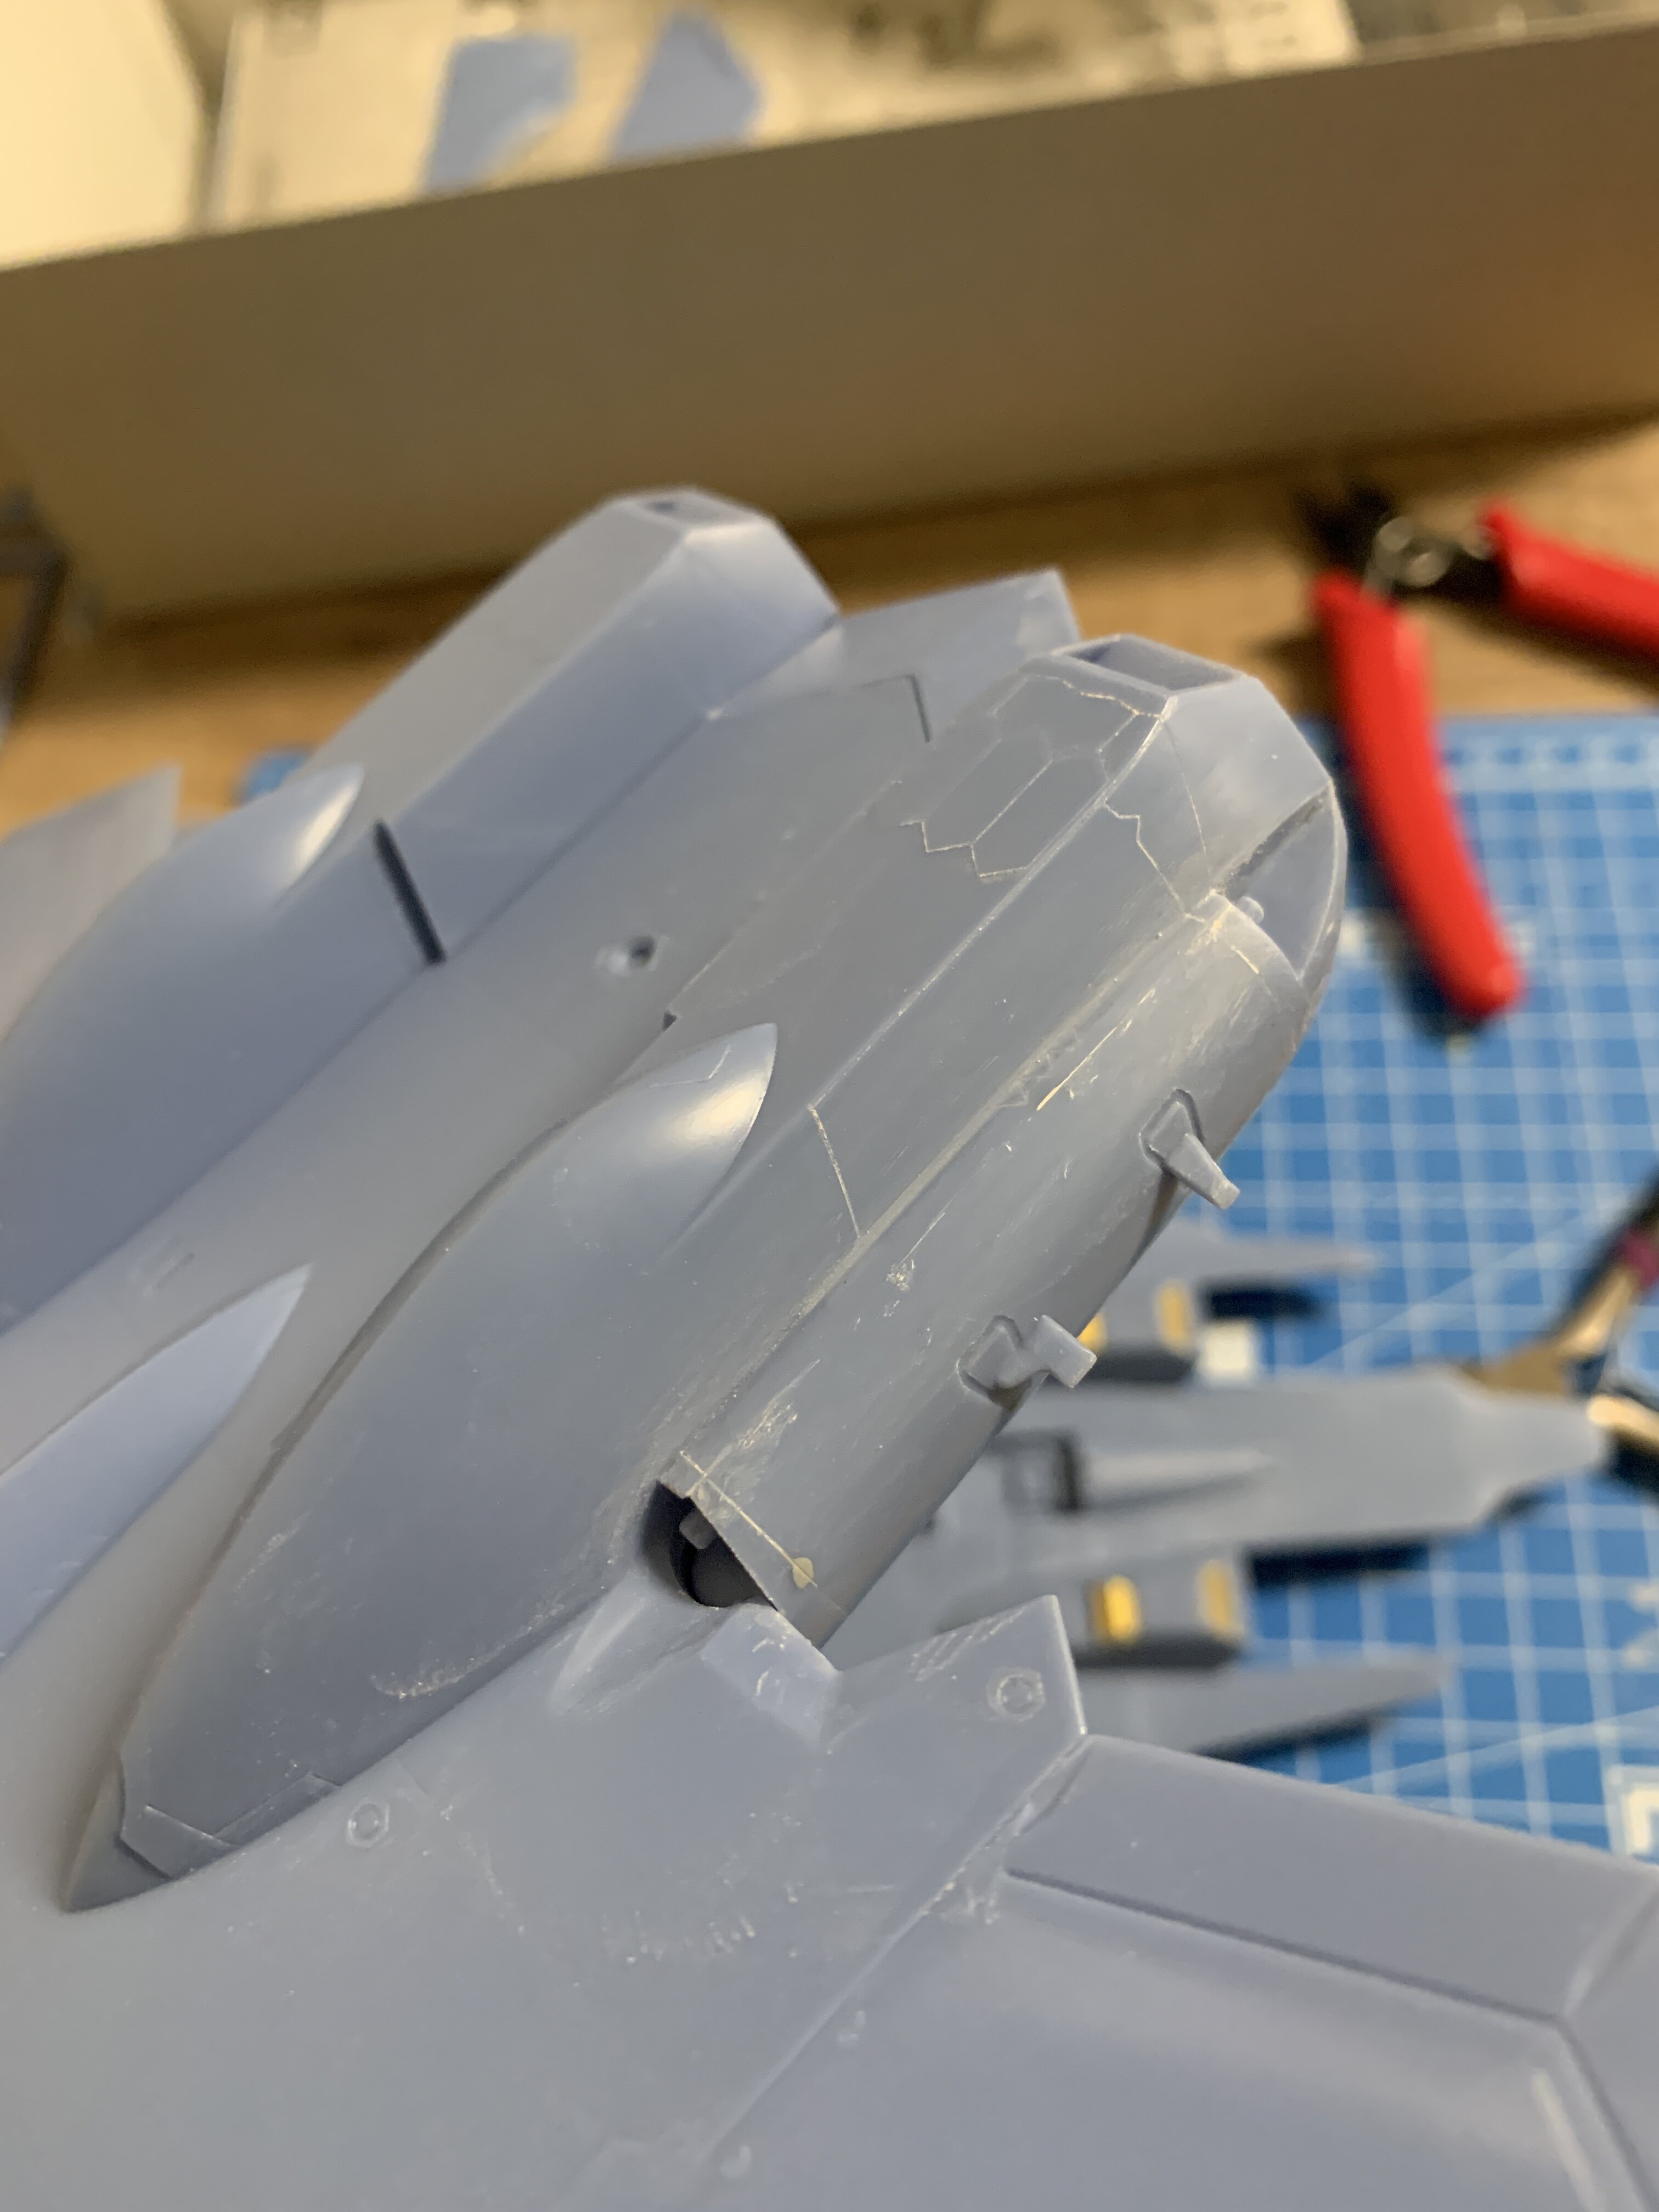
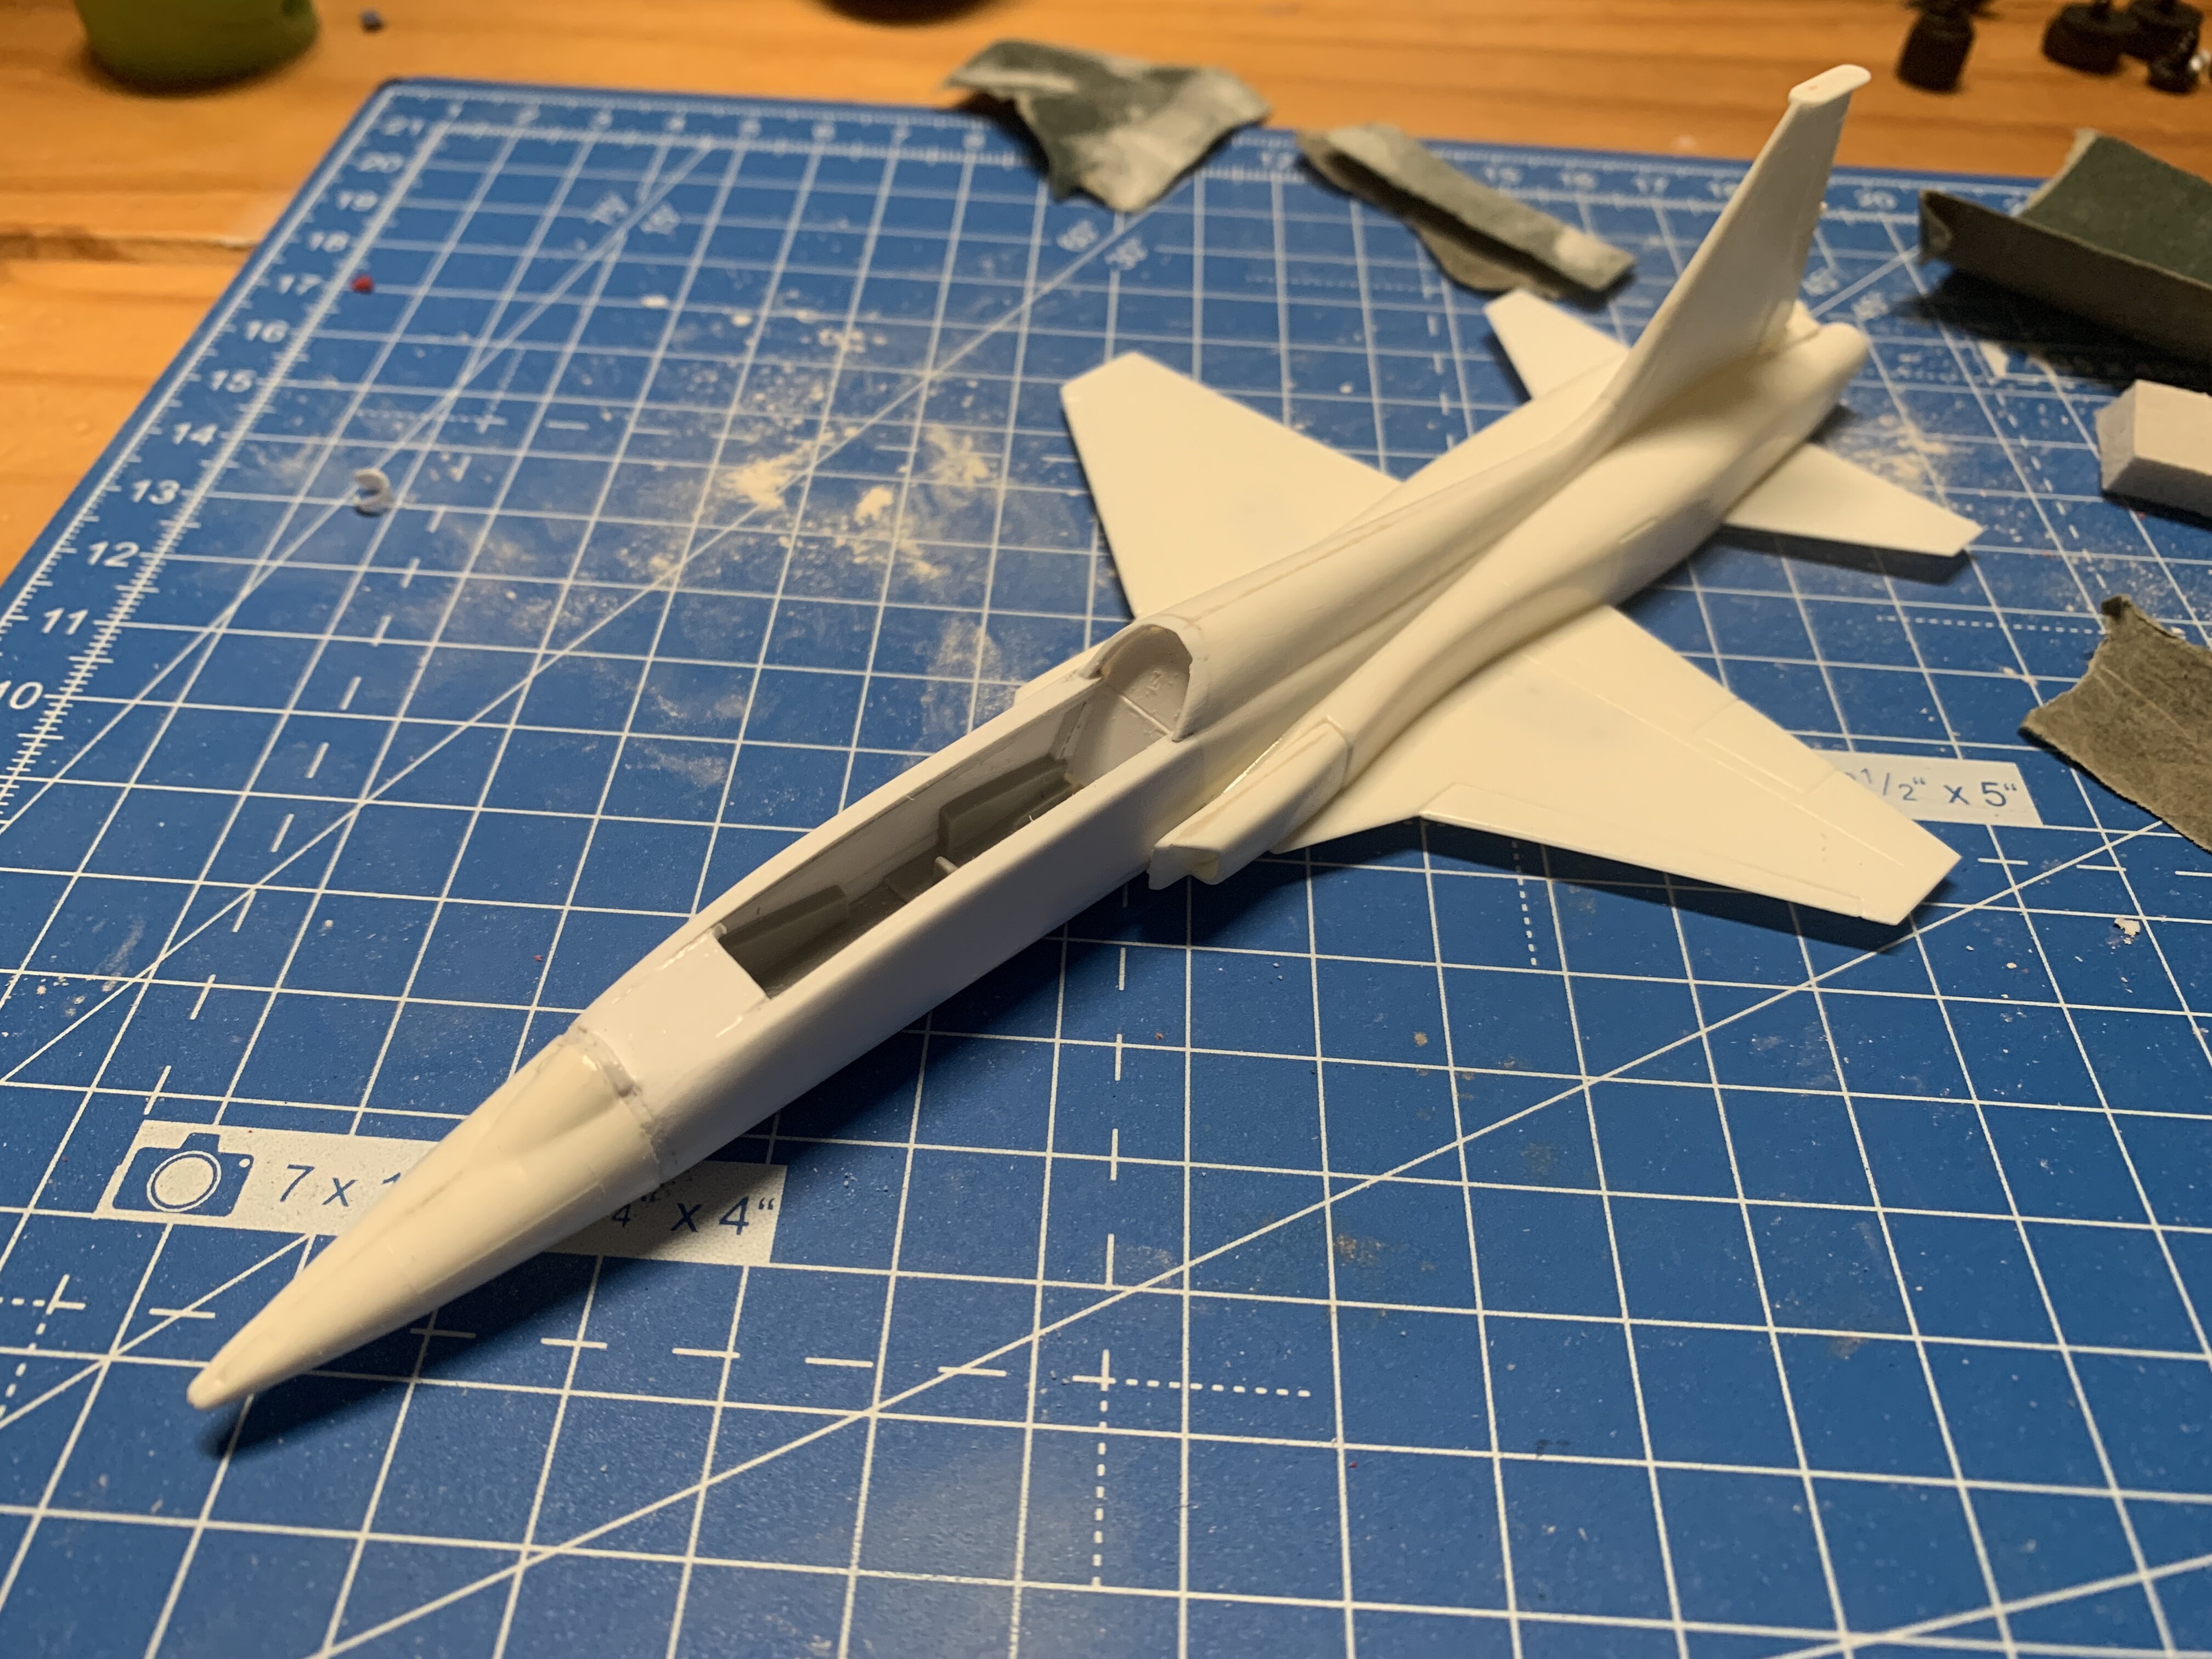
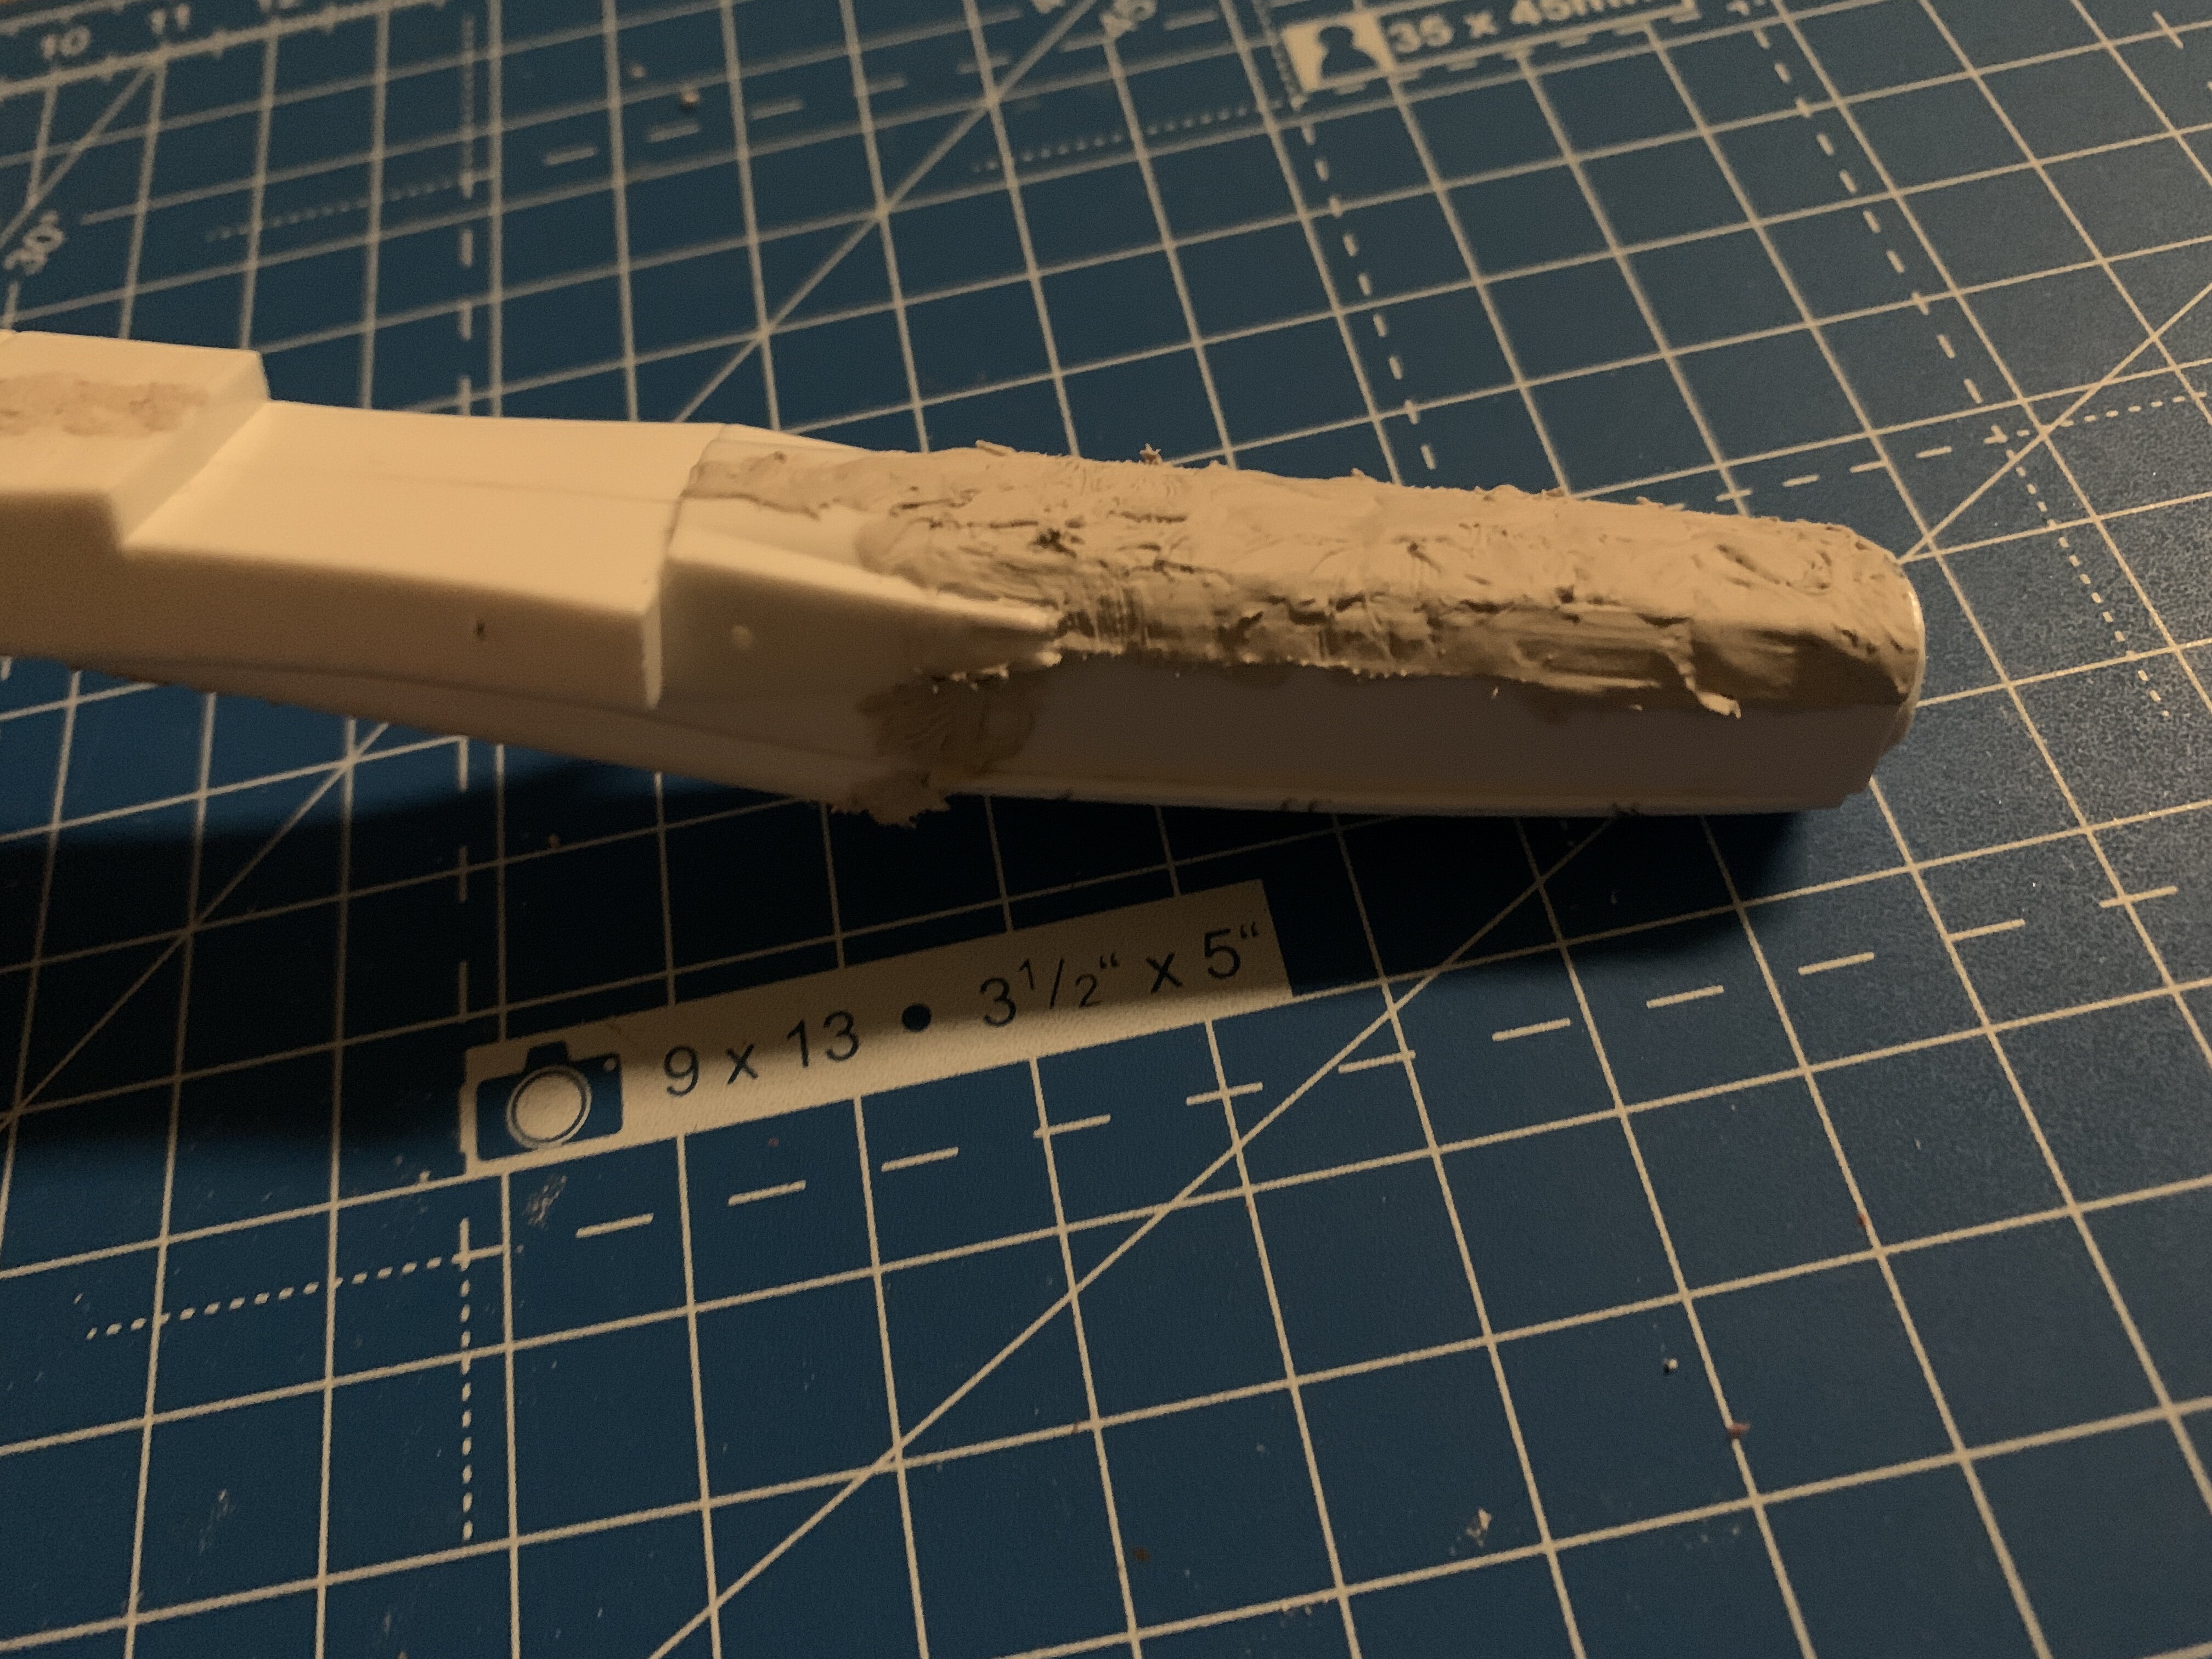
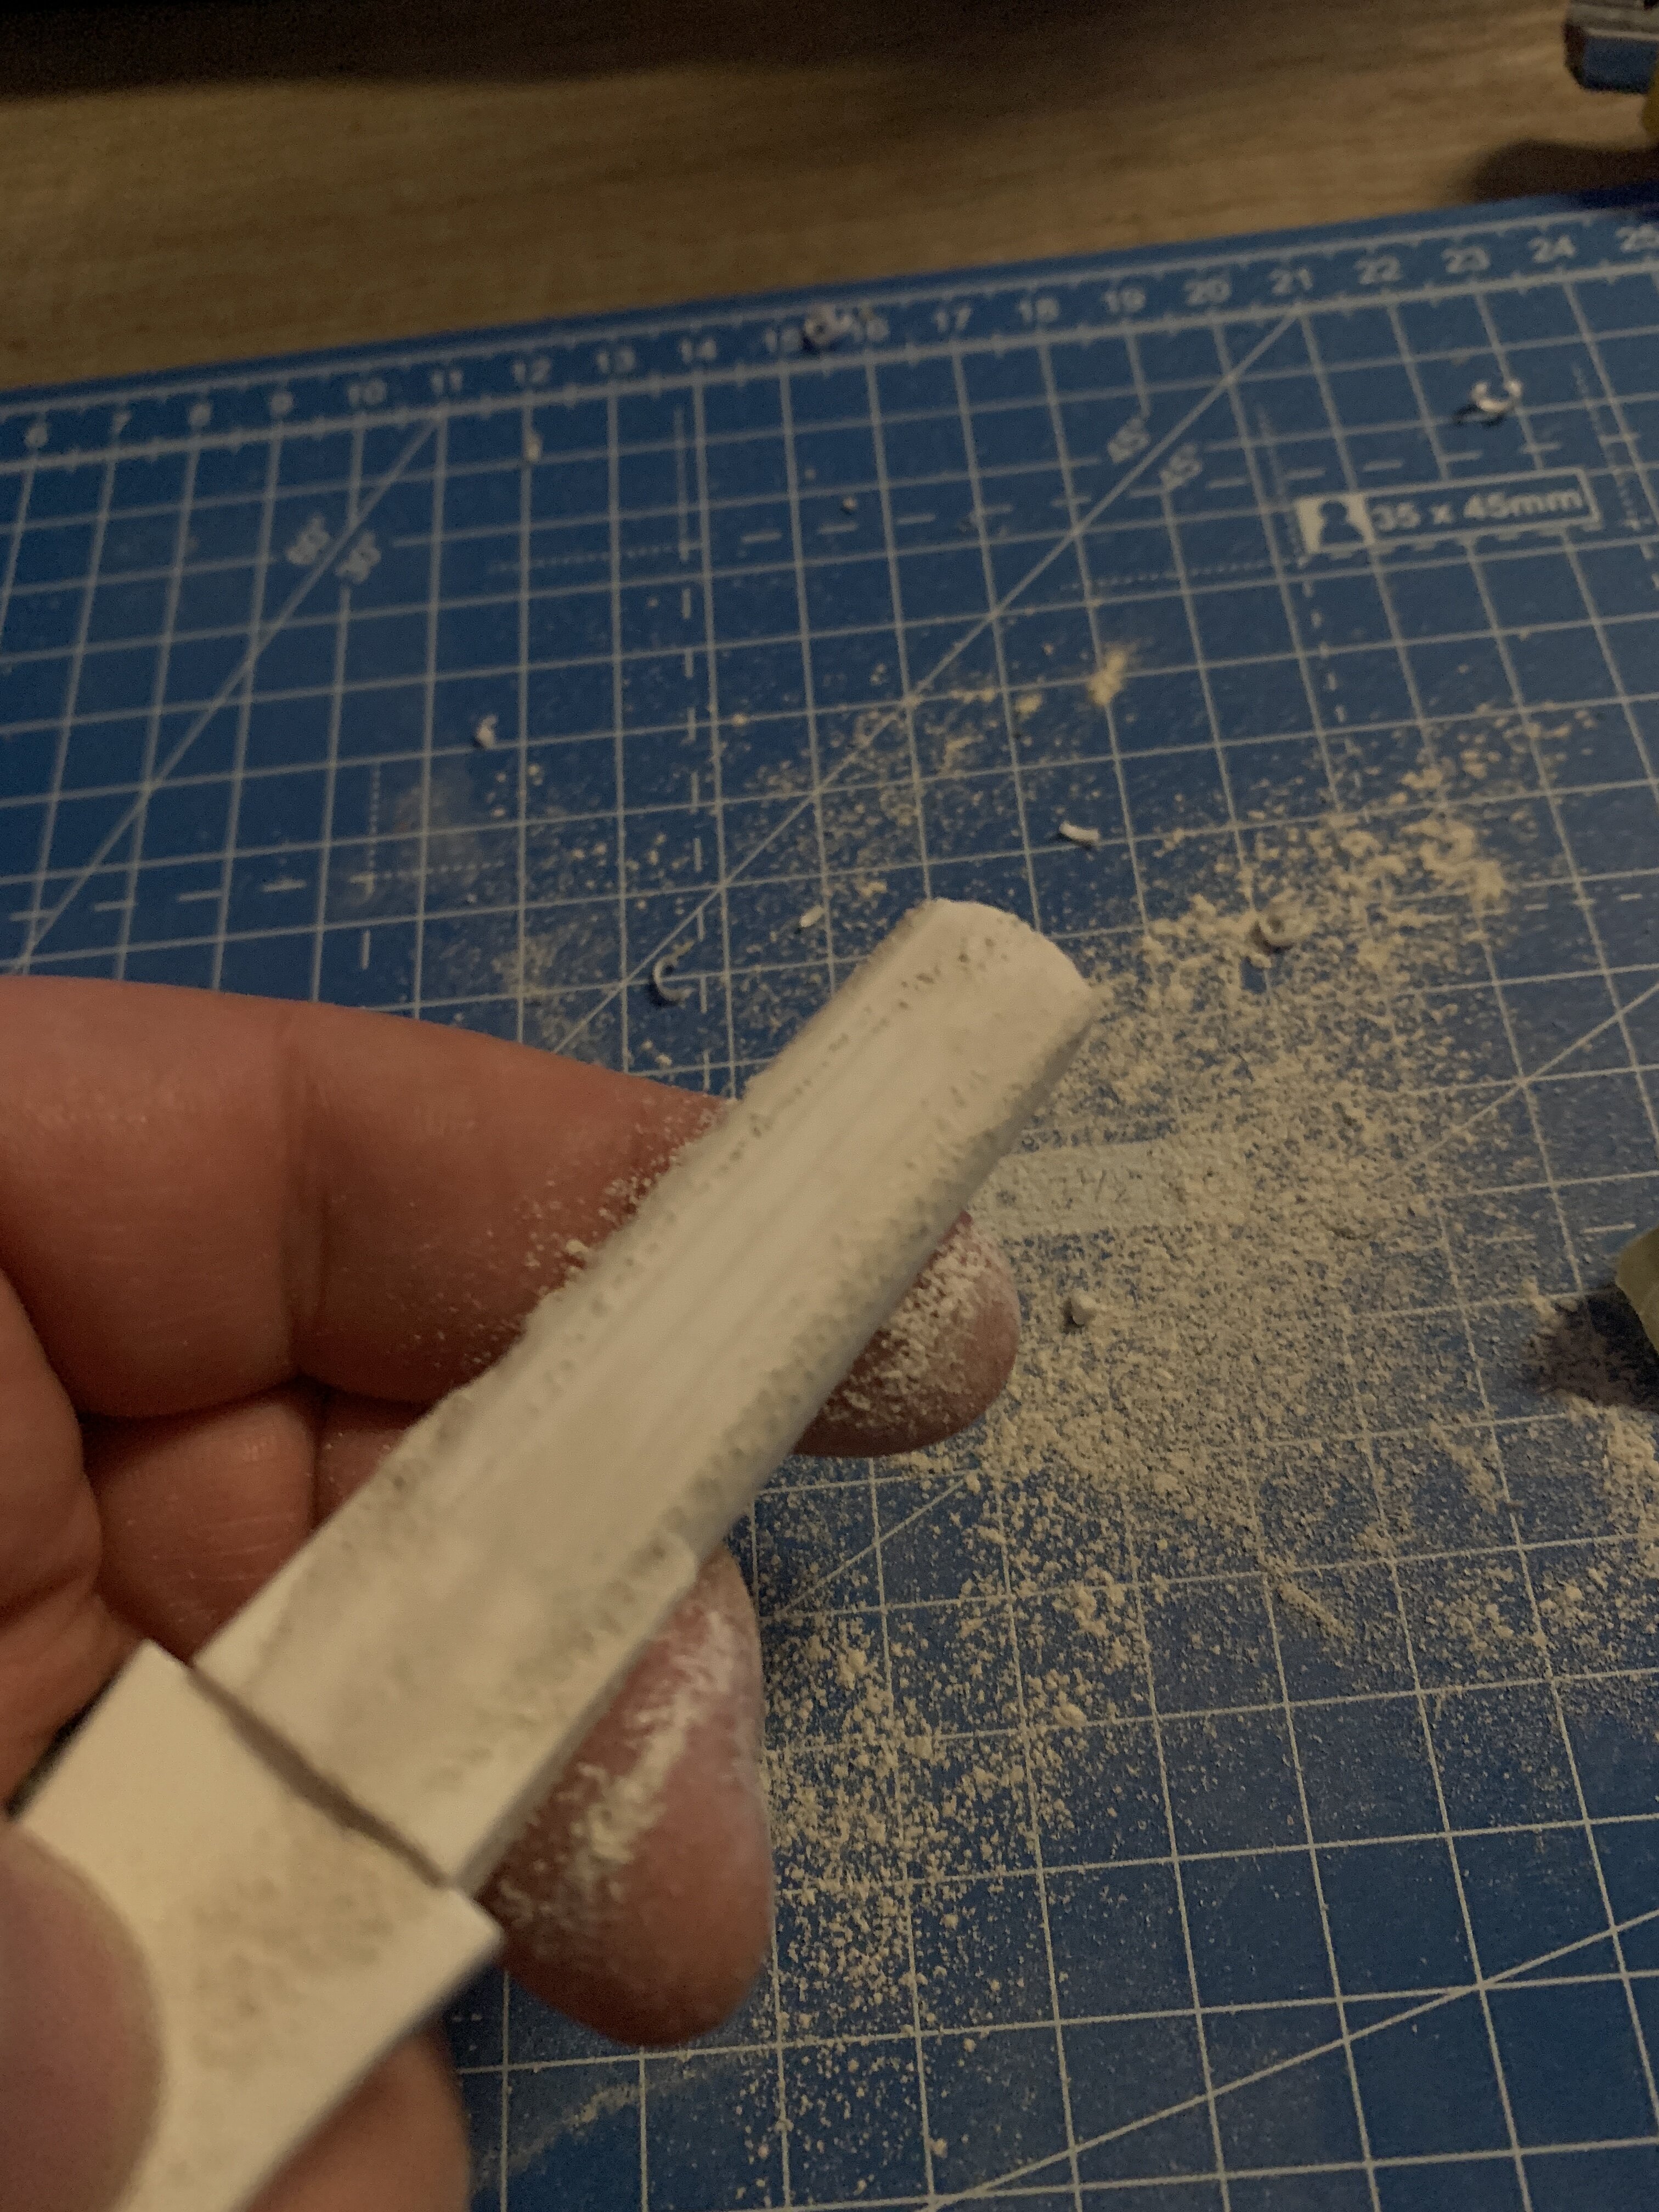
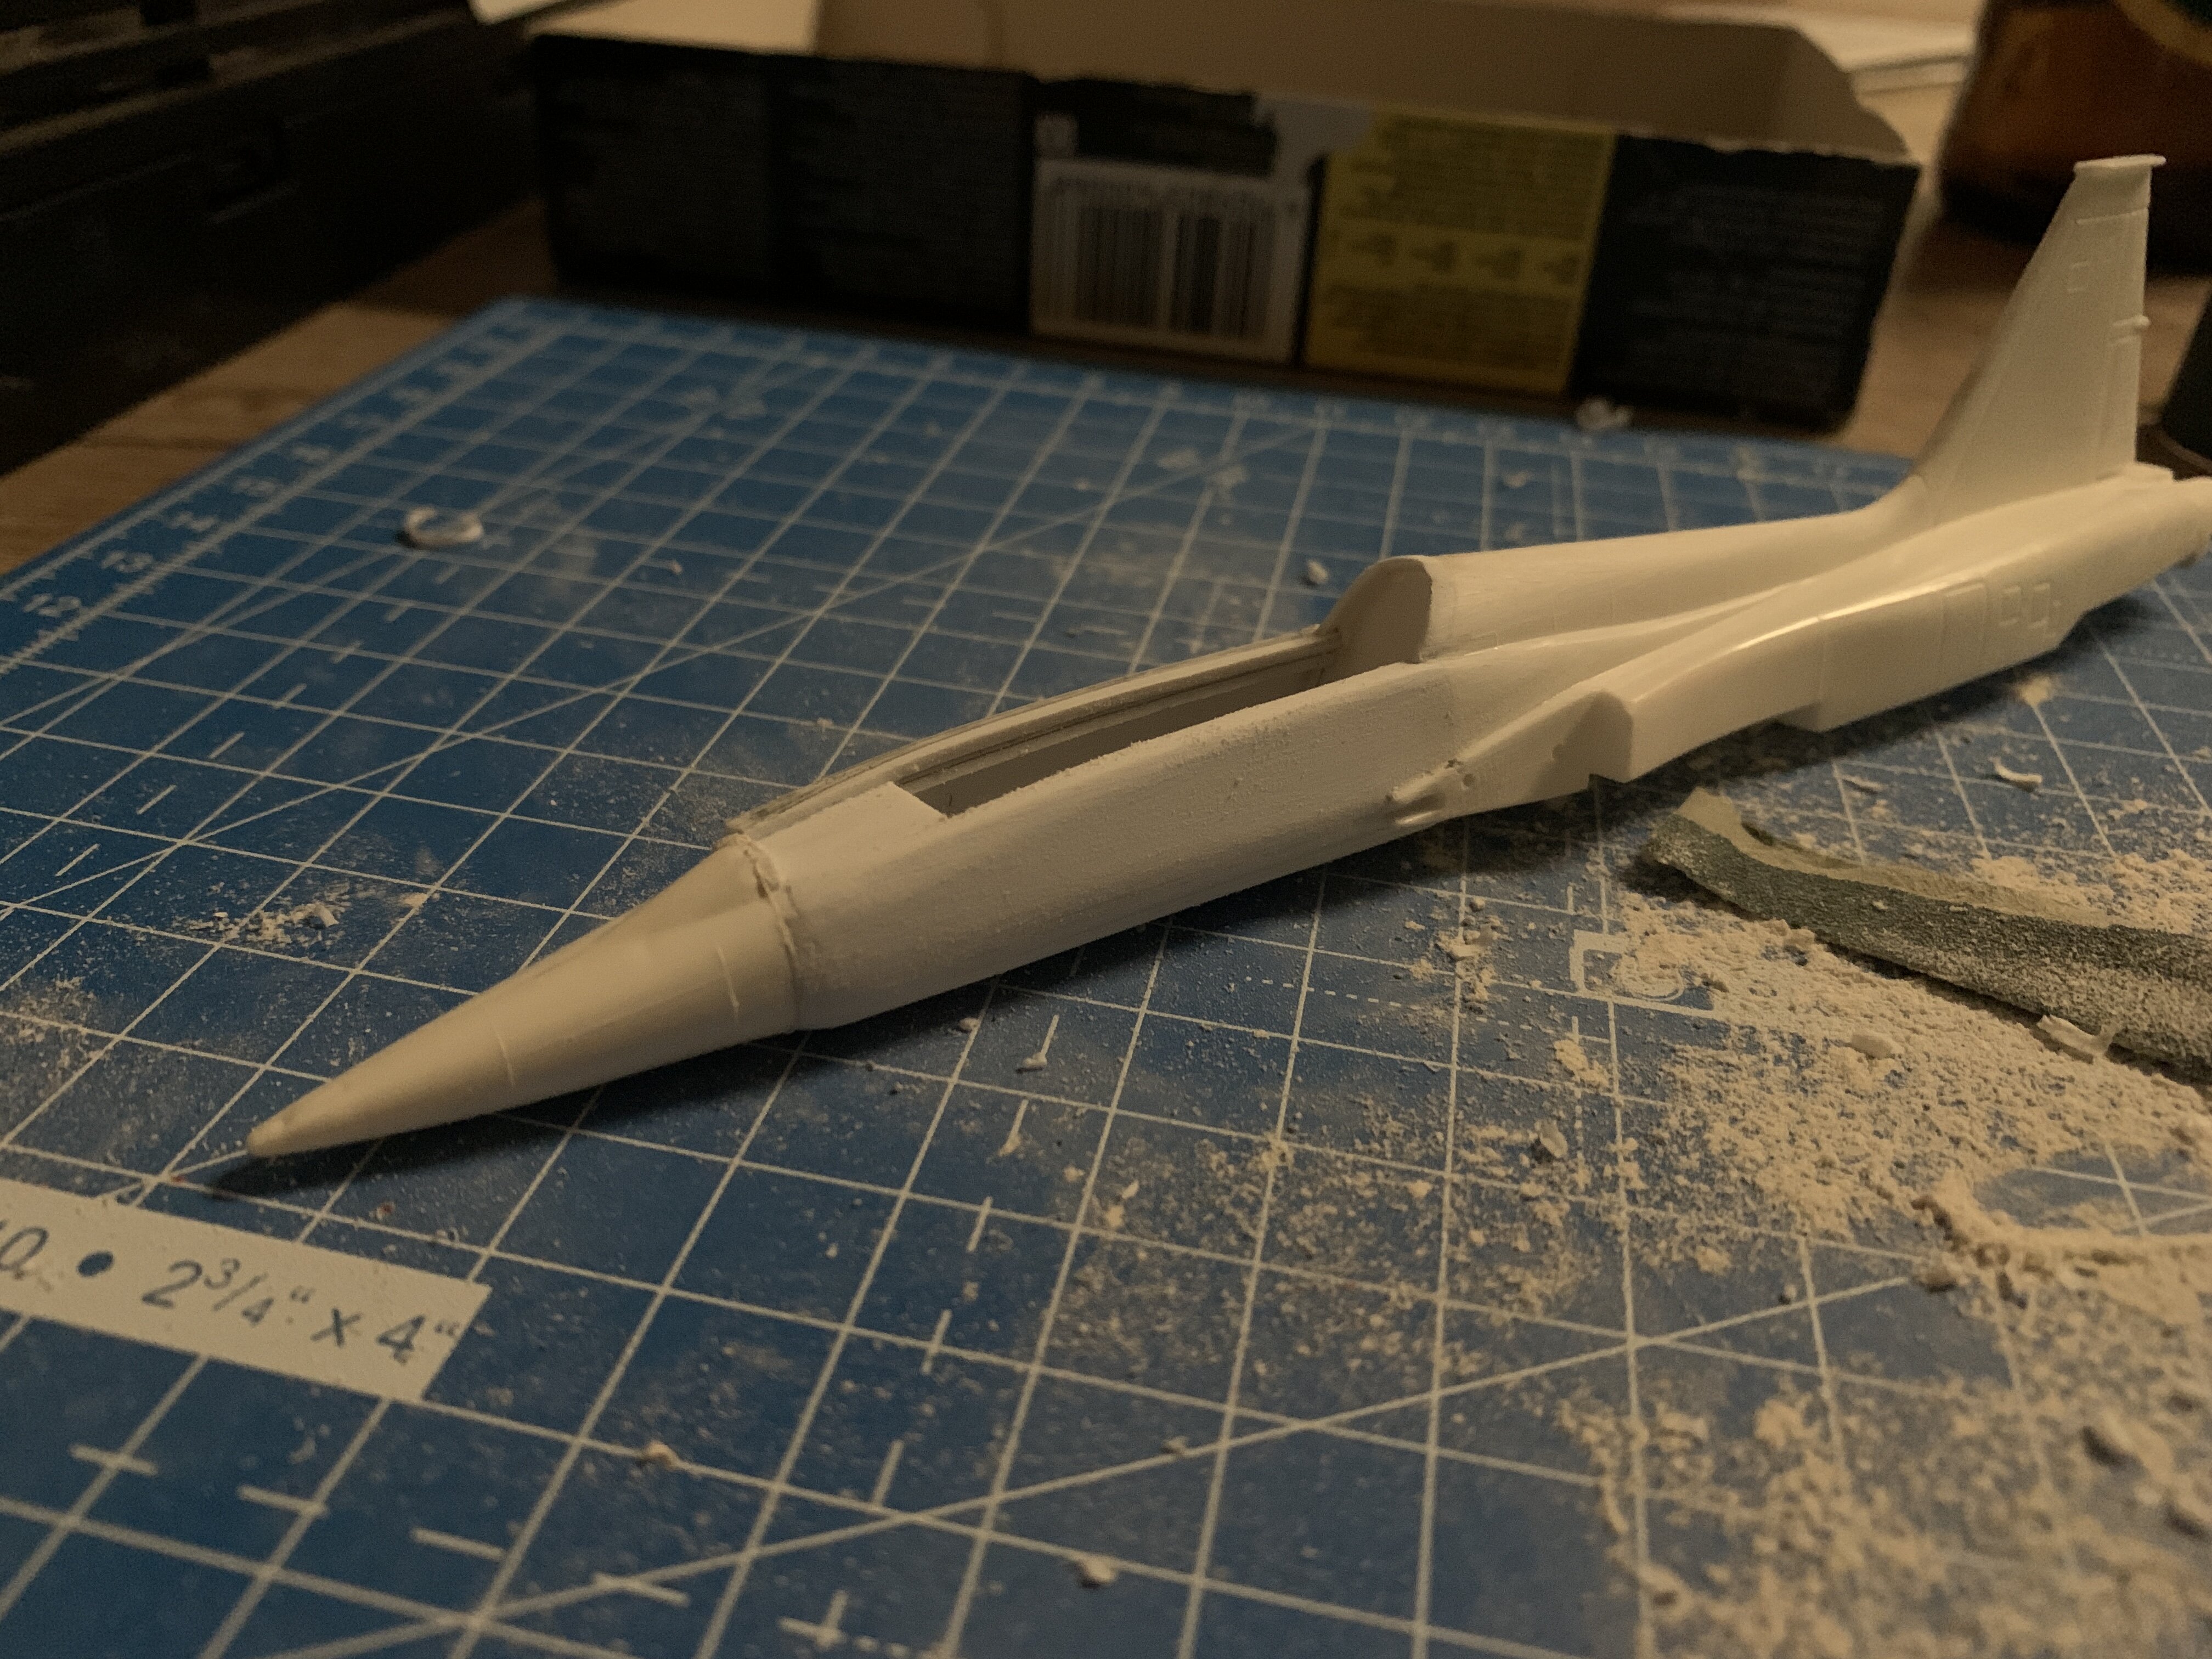
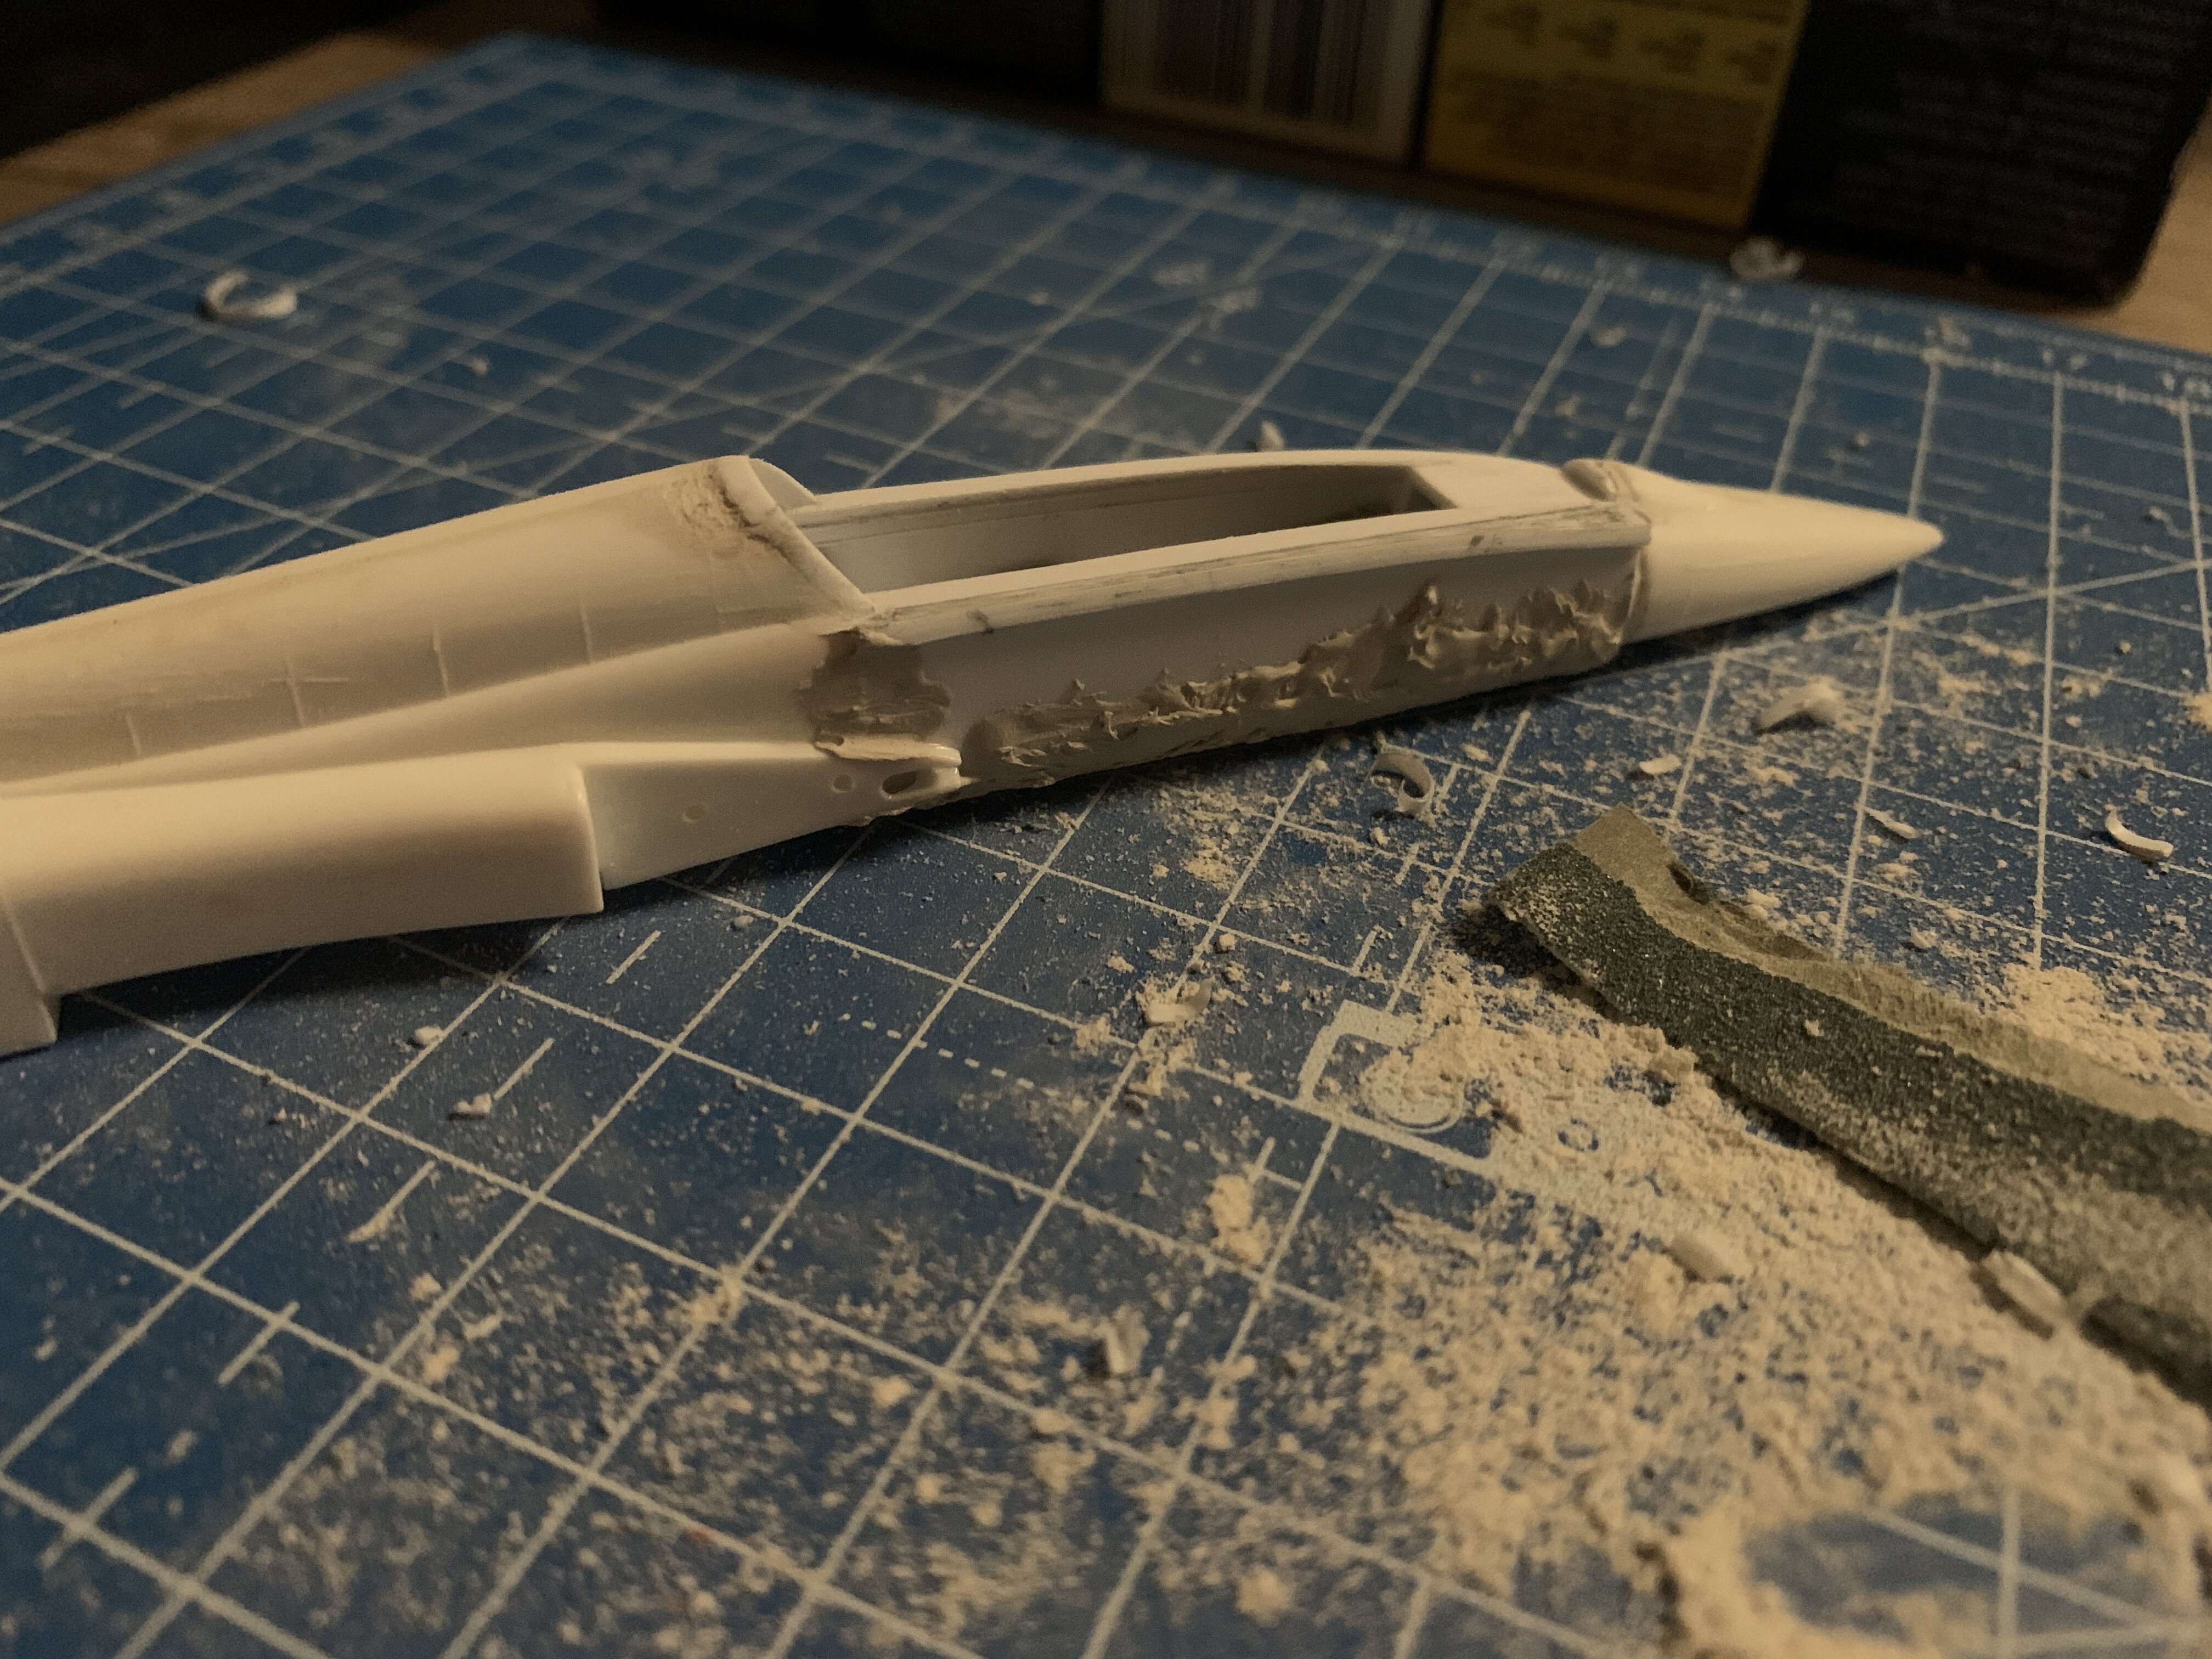
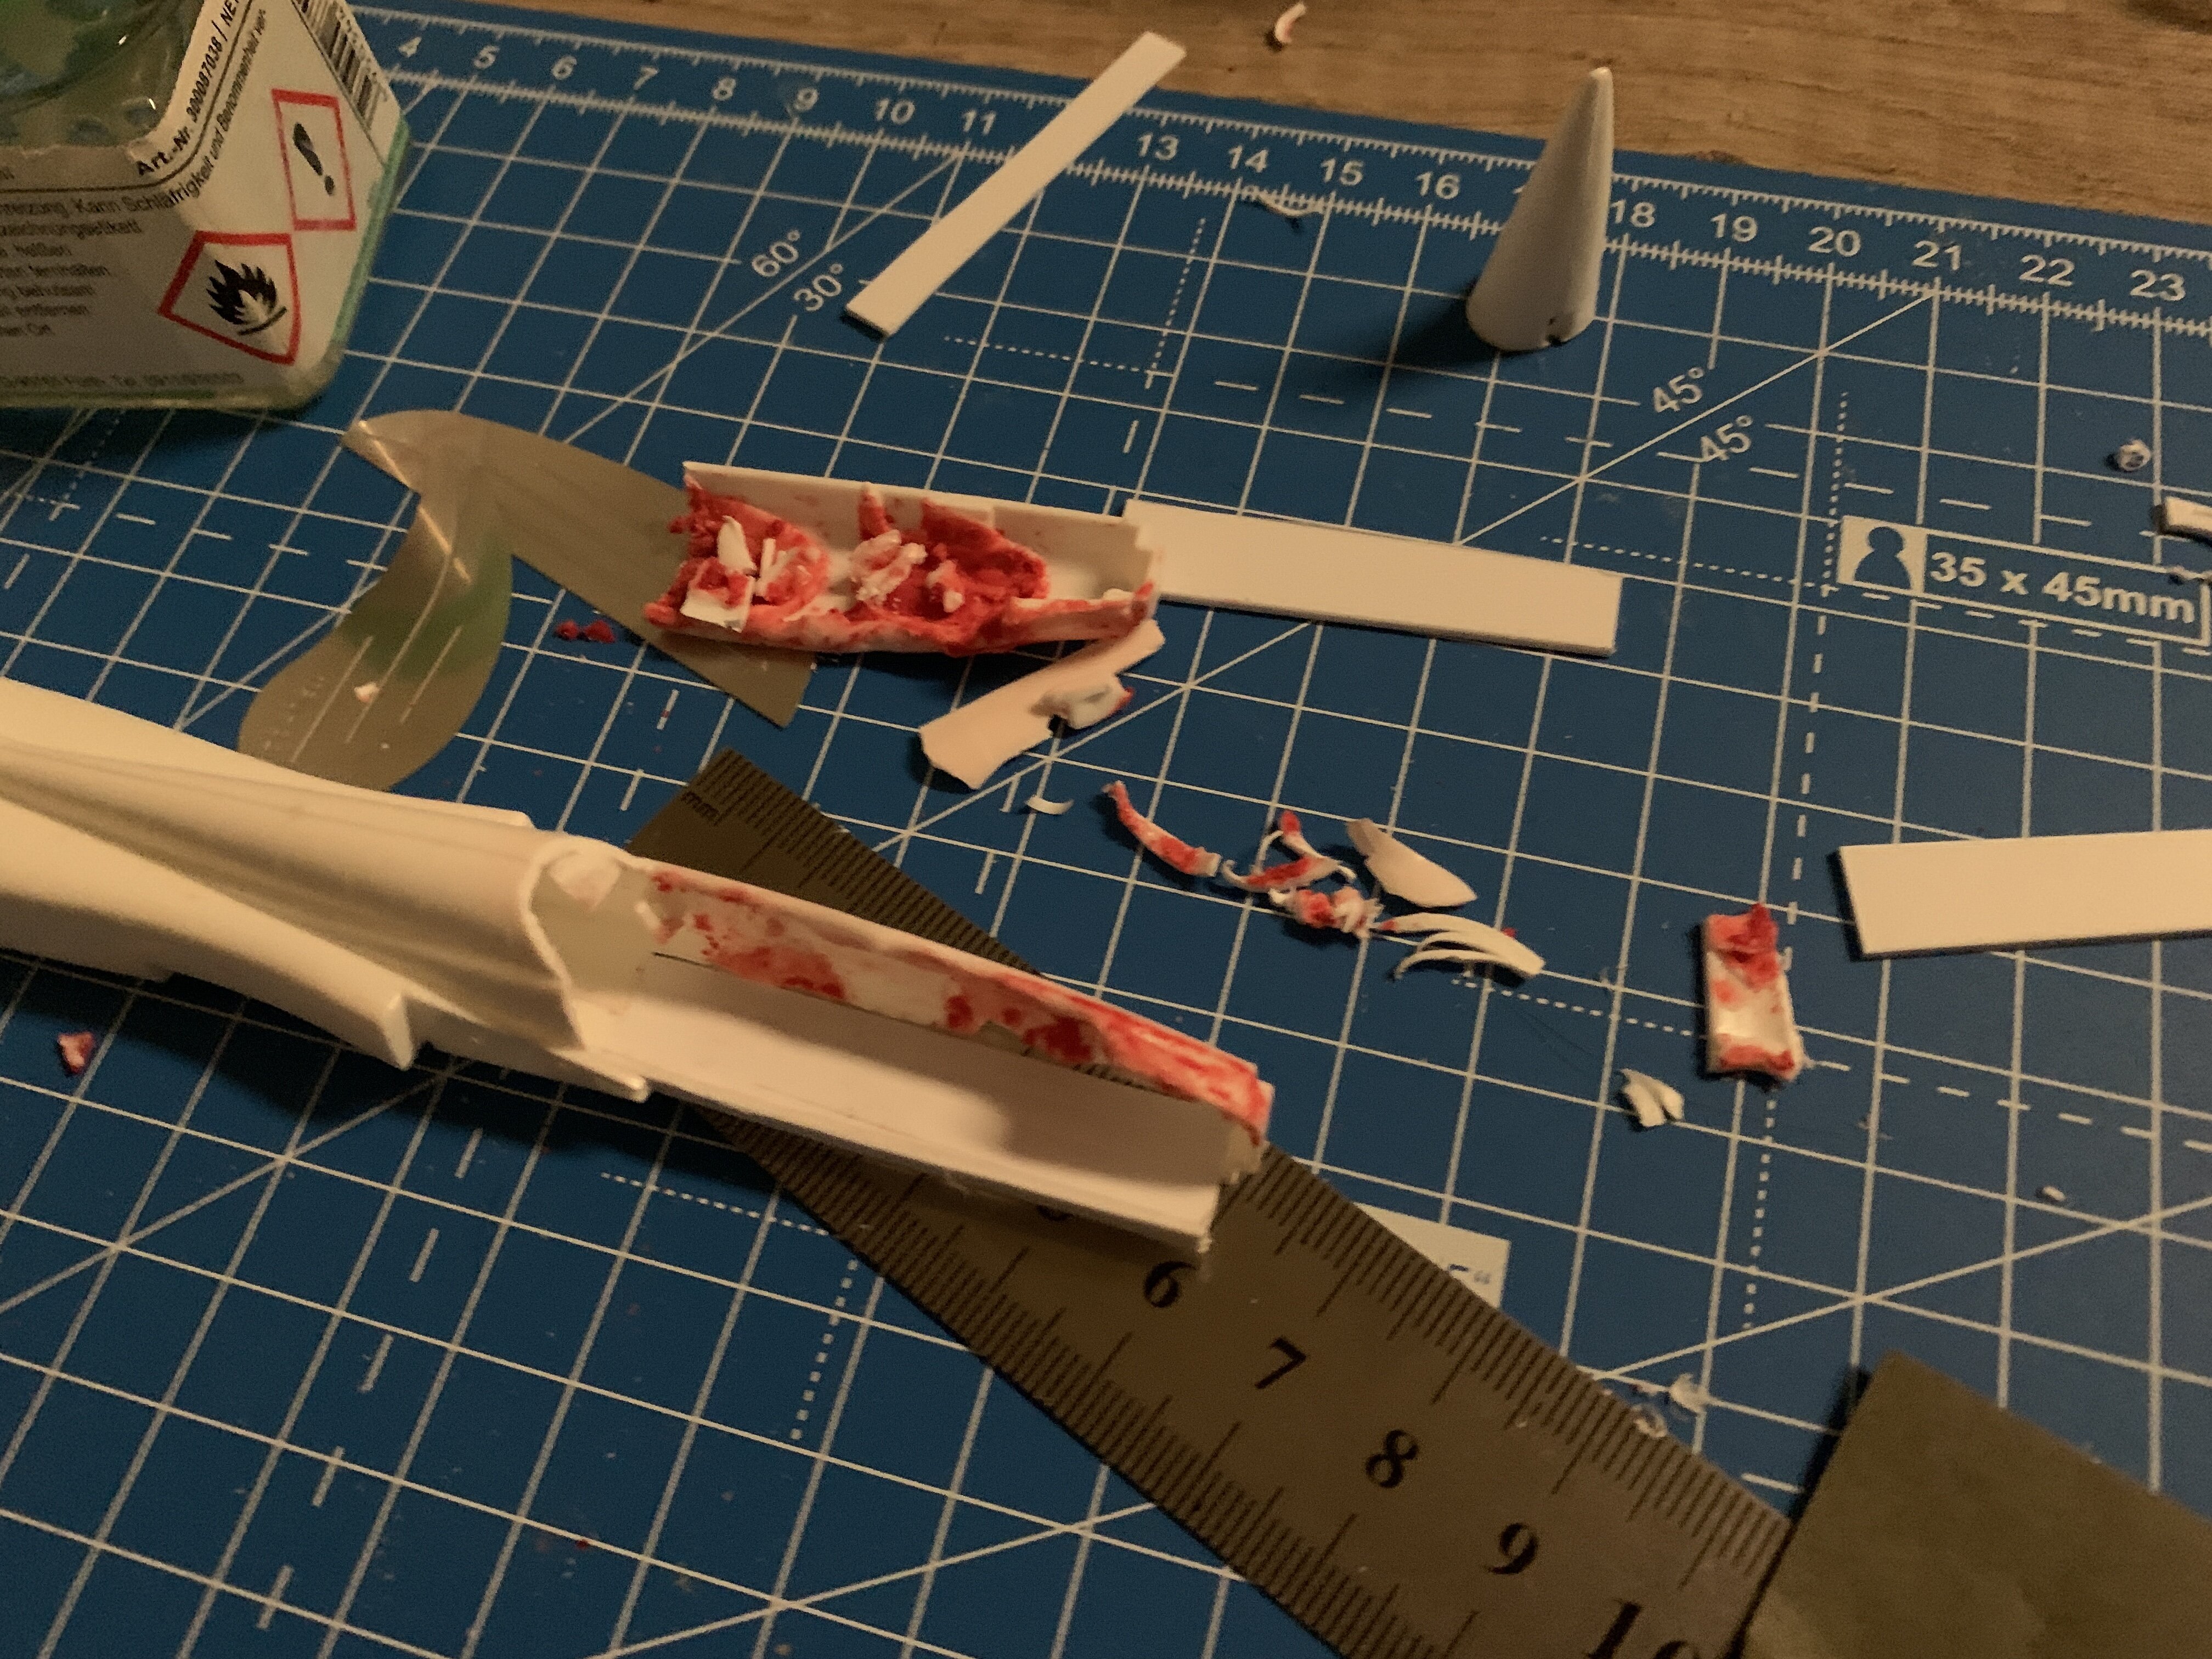
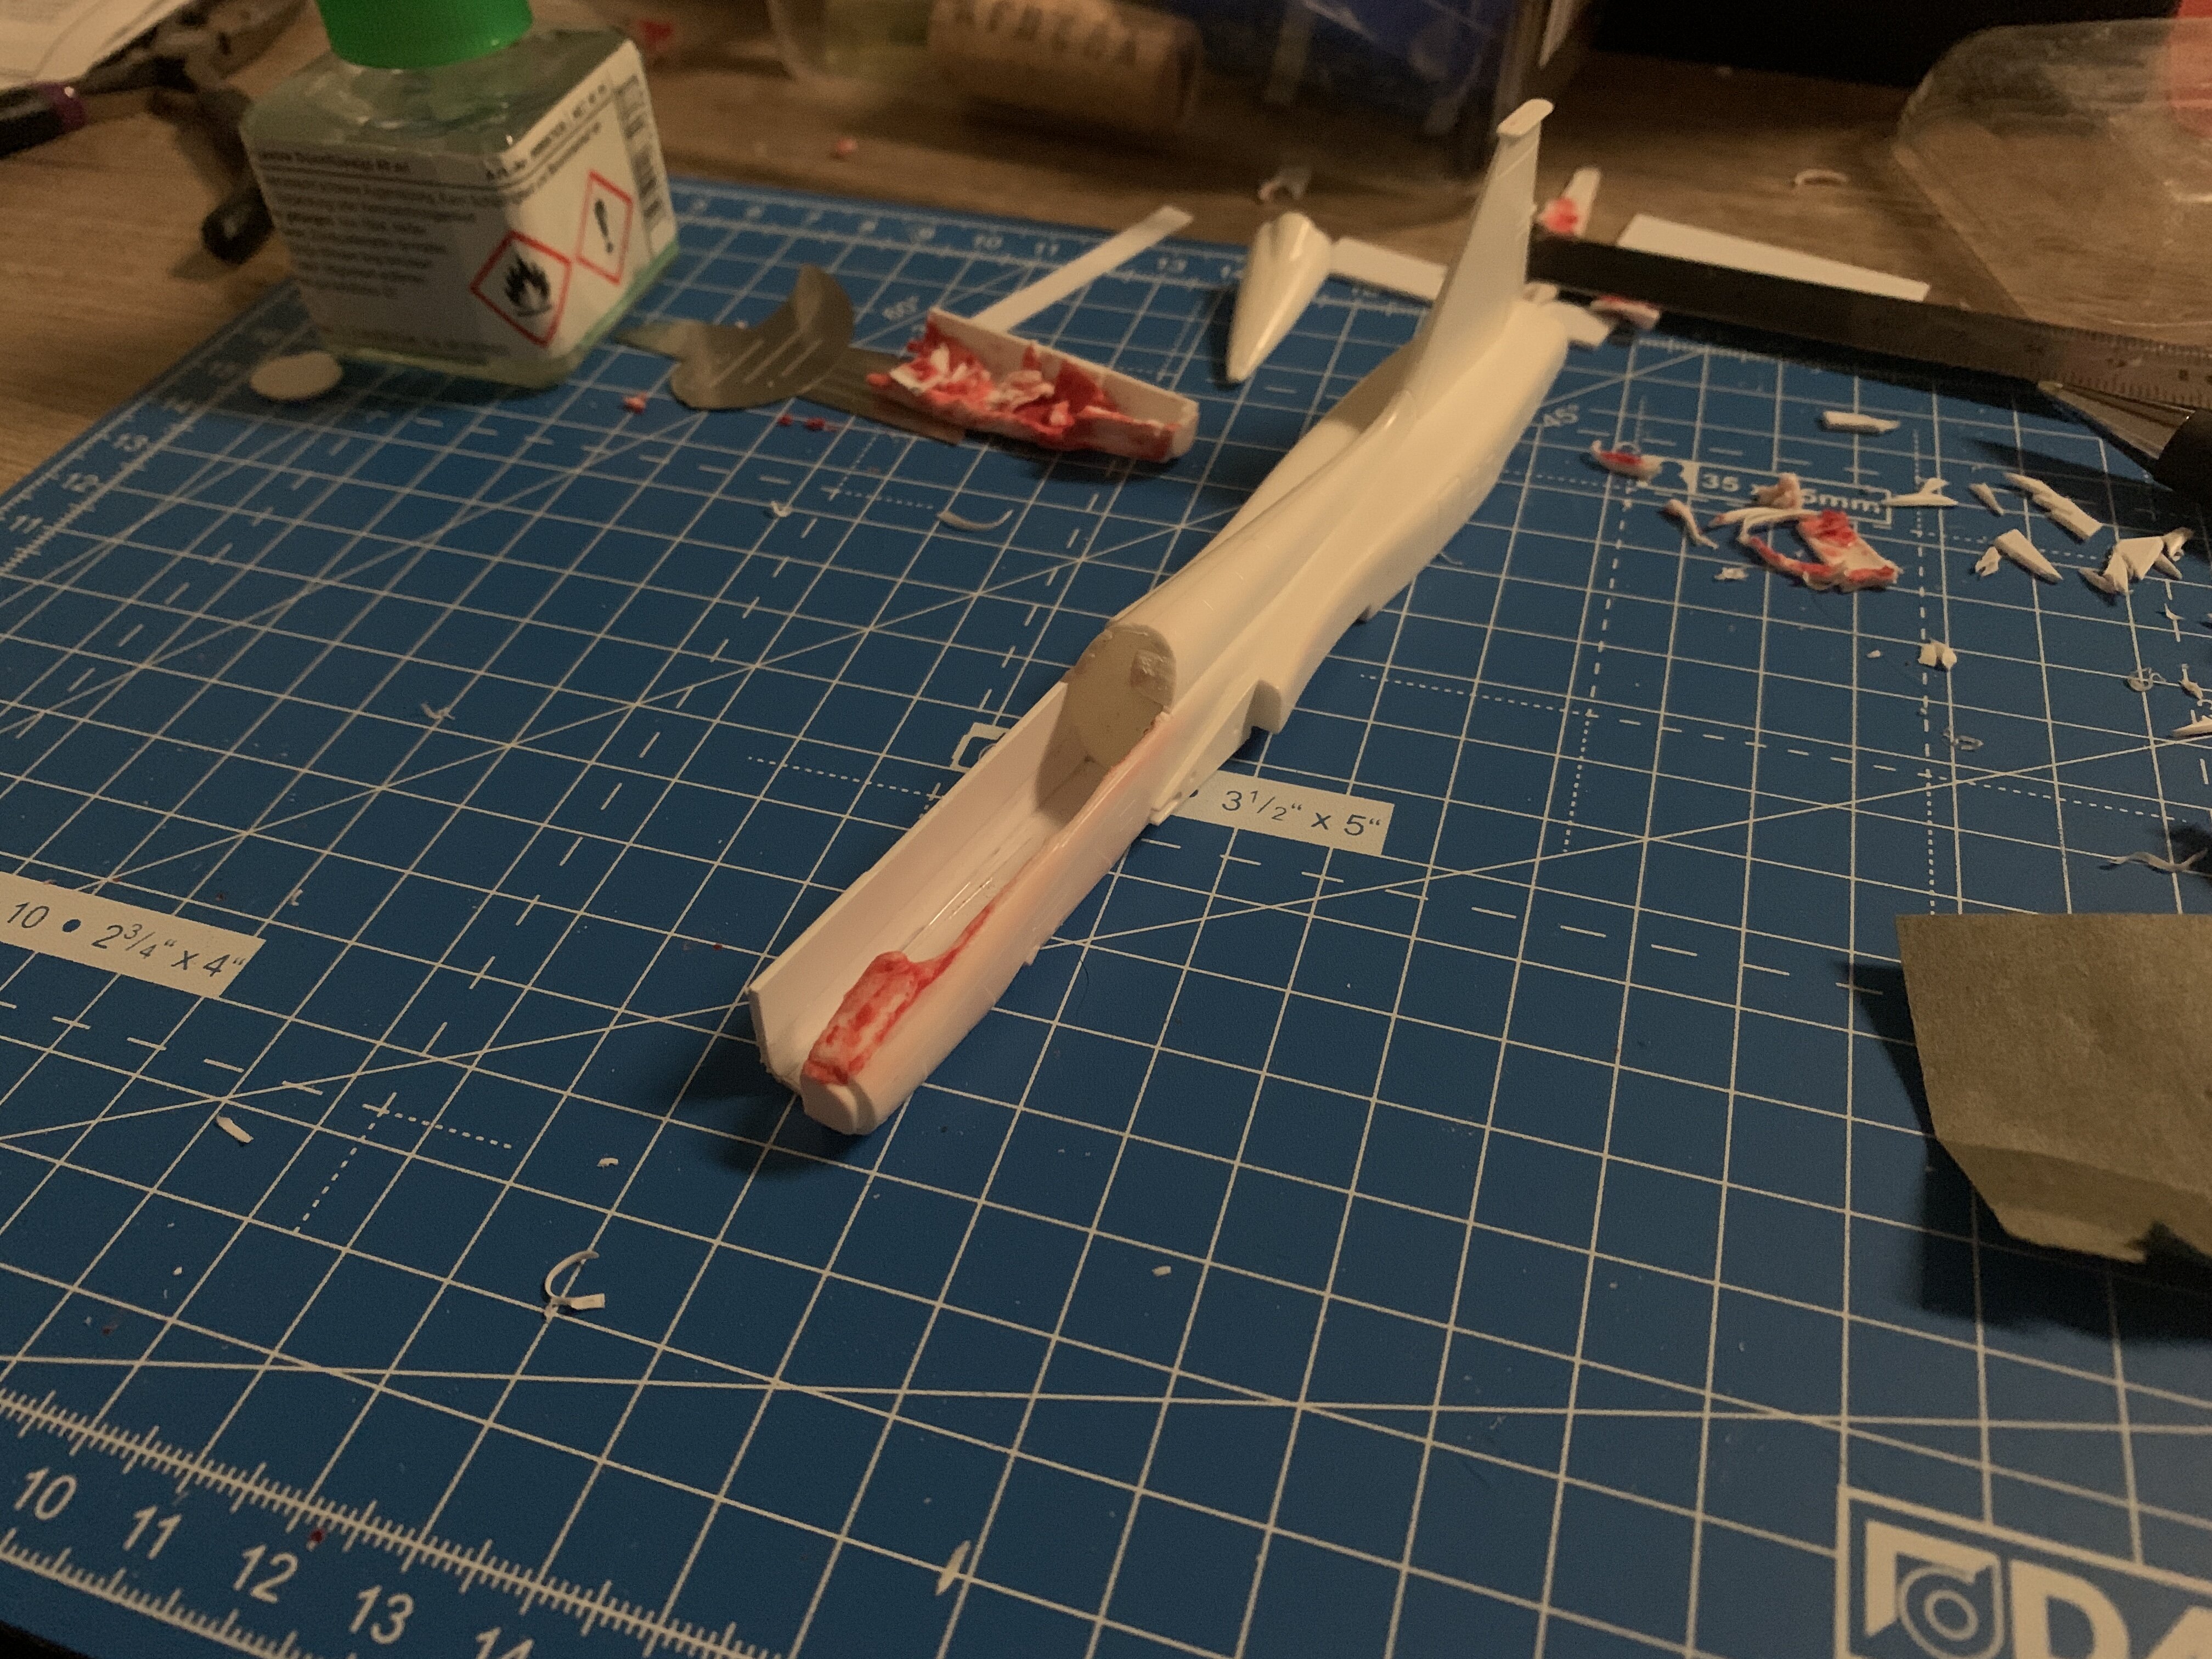
Okay, update on the F5B. I basically drenched it in Revell putty yesterday and let it dry for ~24 hours. and today I started to sand away on this like crazy. Uh! So this is where I am at now. One side almost done, the other still needs so sandpaper love. I think I am on a good way here fixing this crappy kit. Lets see how it‘ll turn out.
-
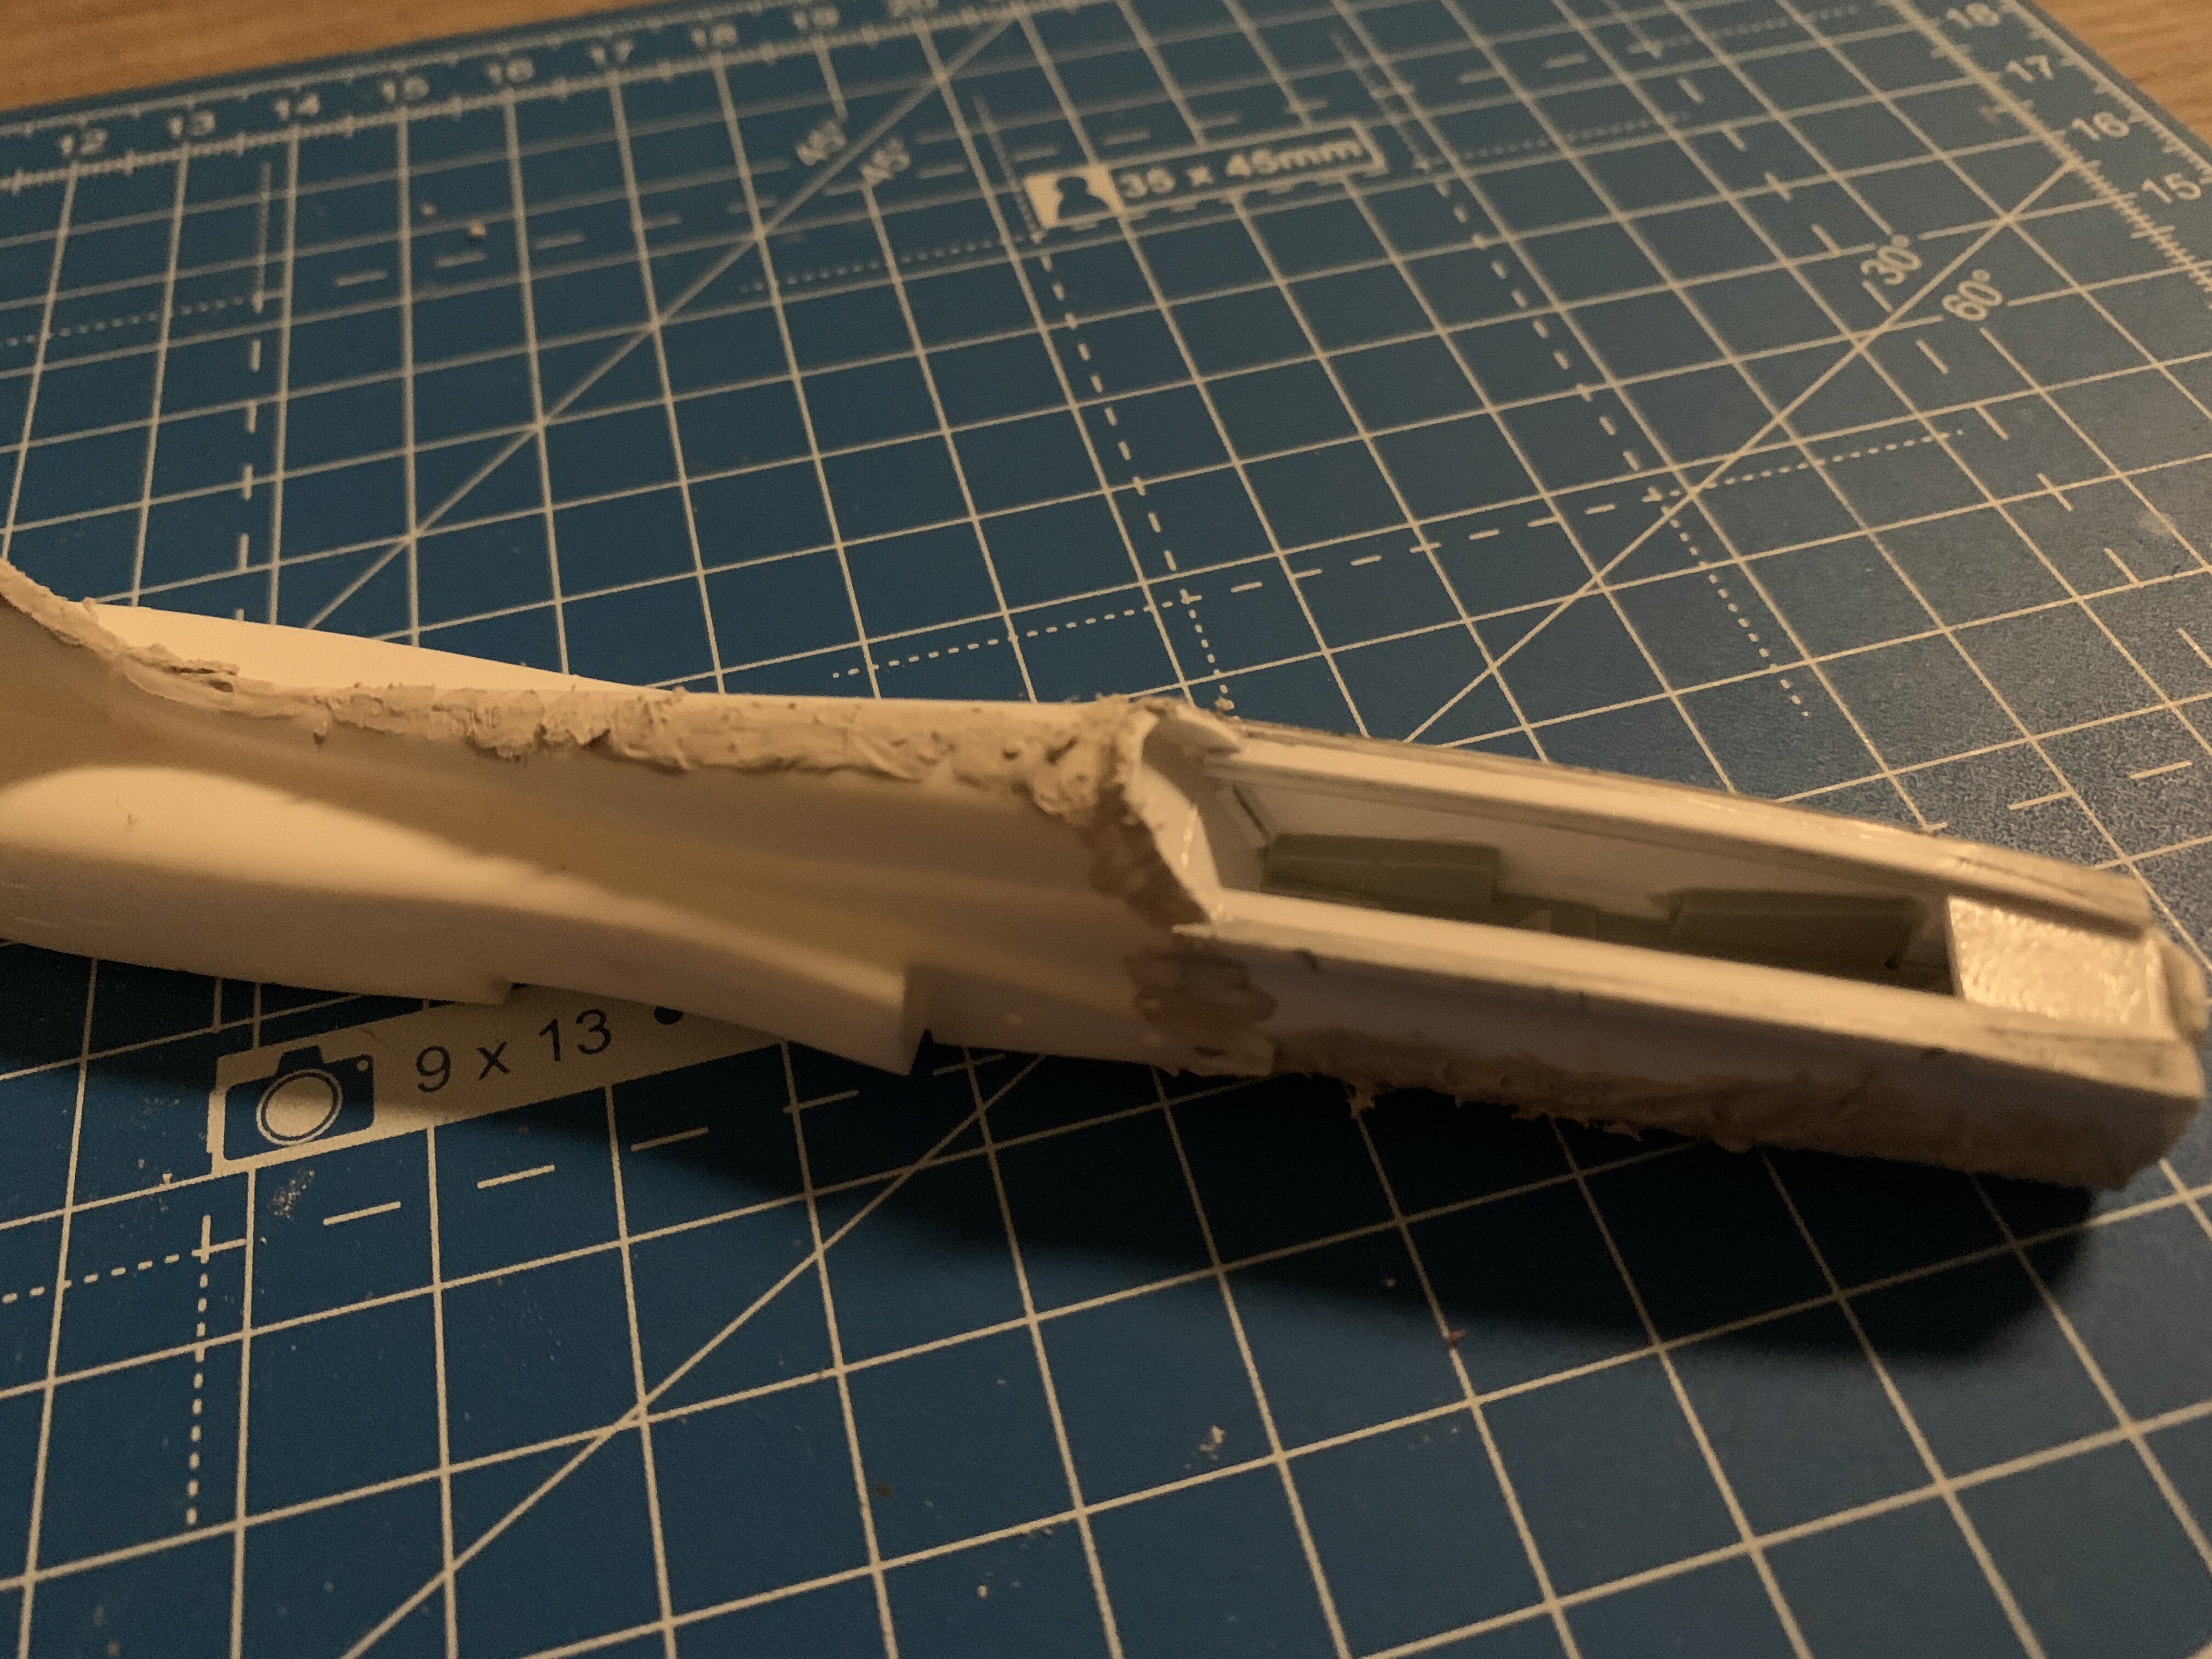
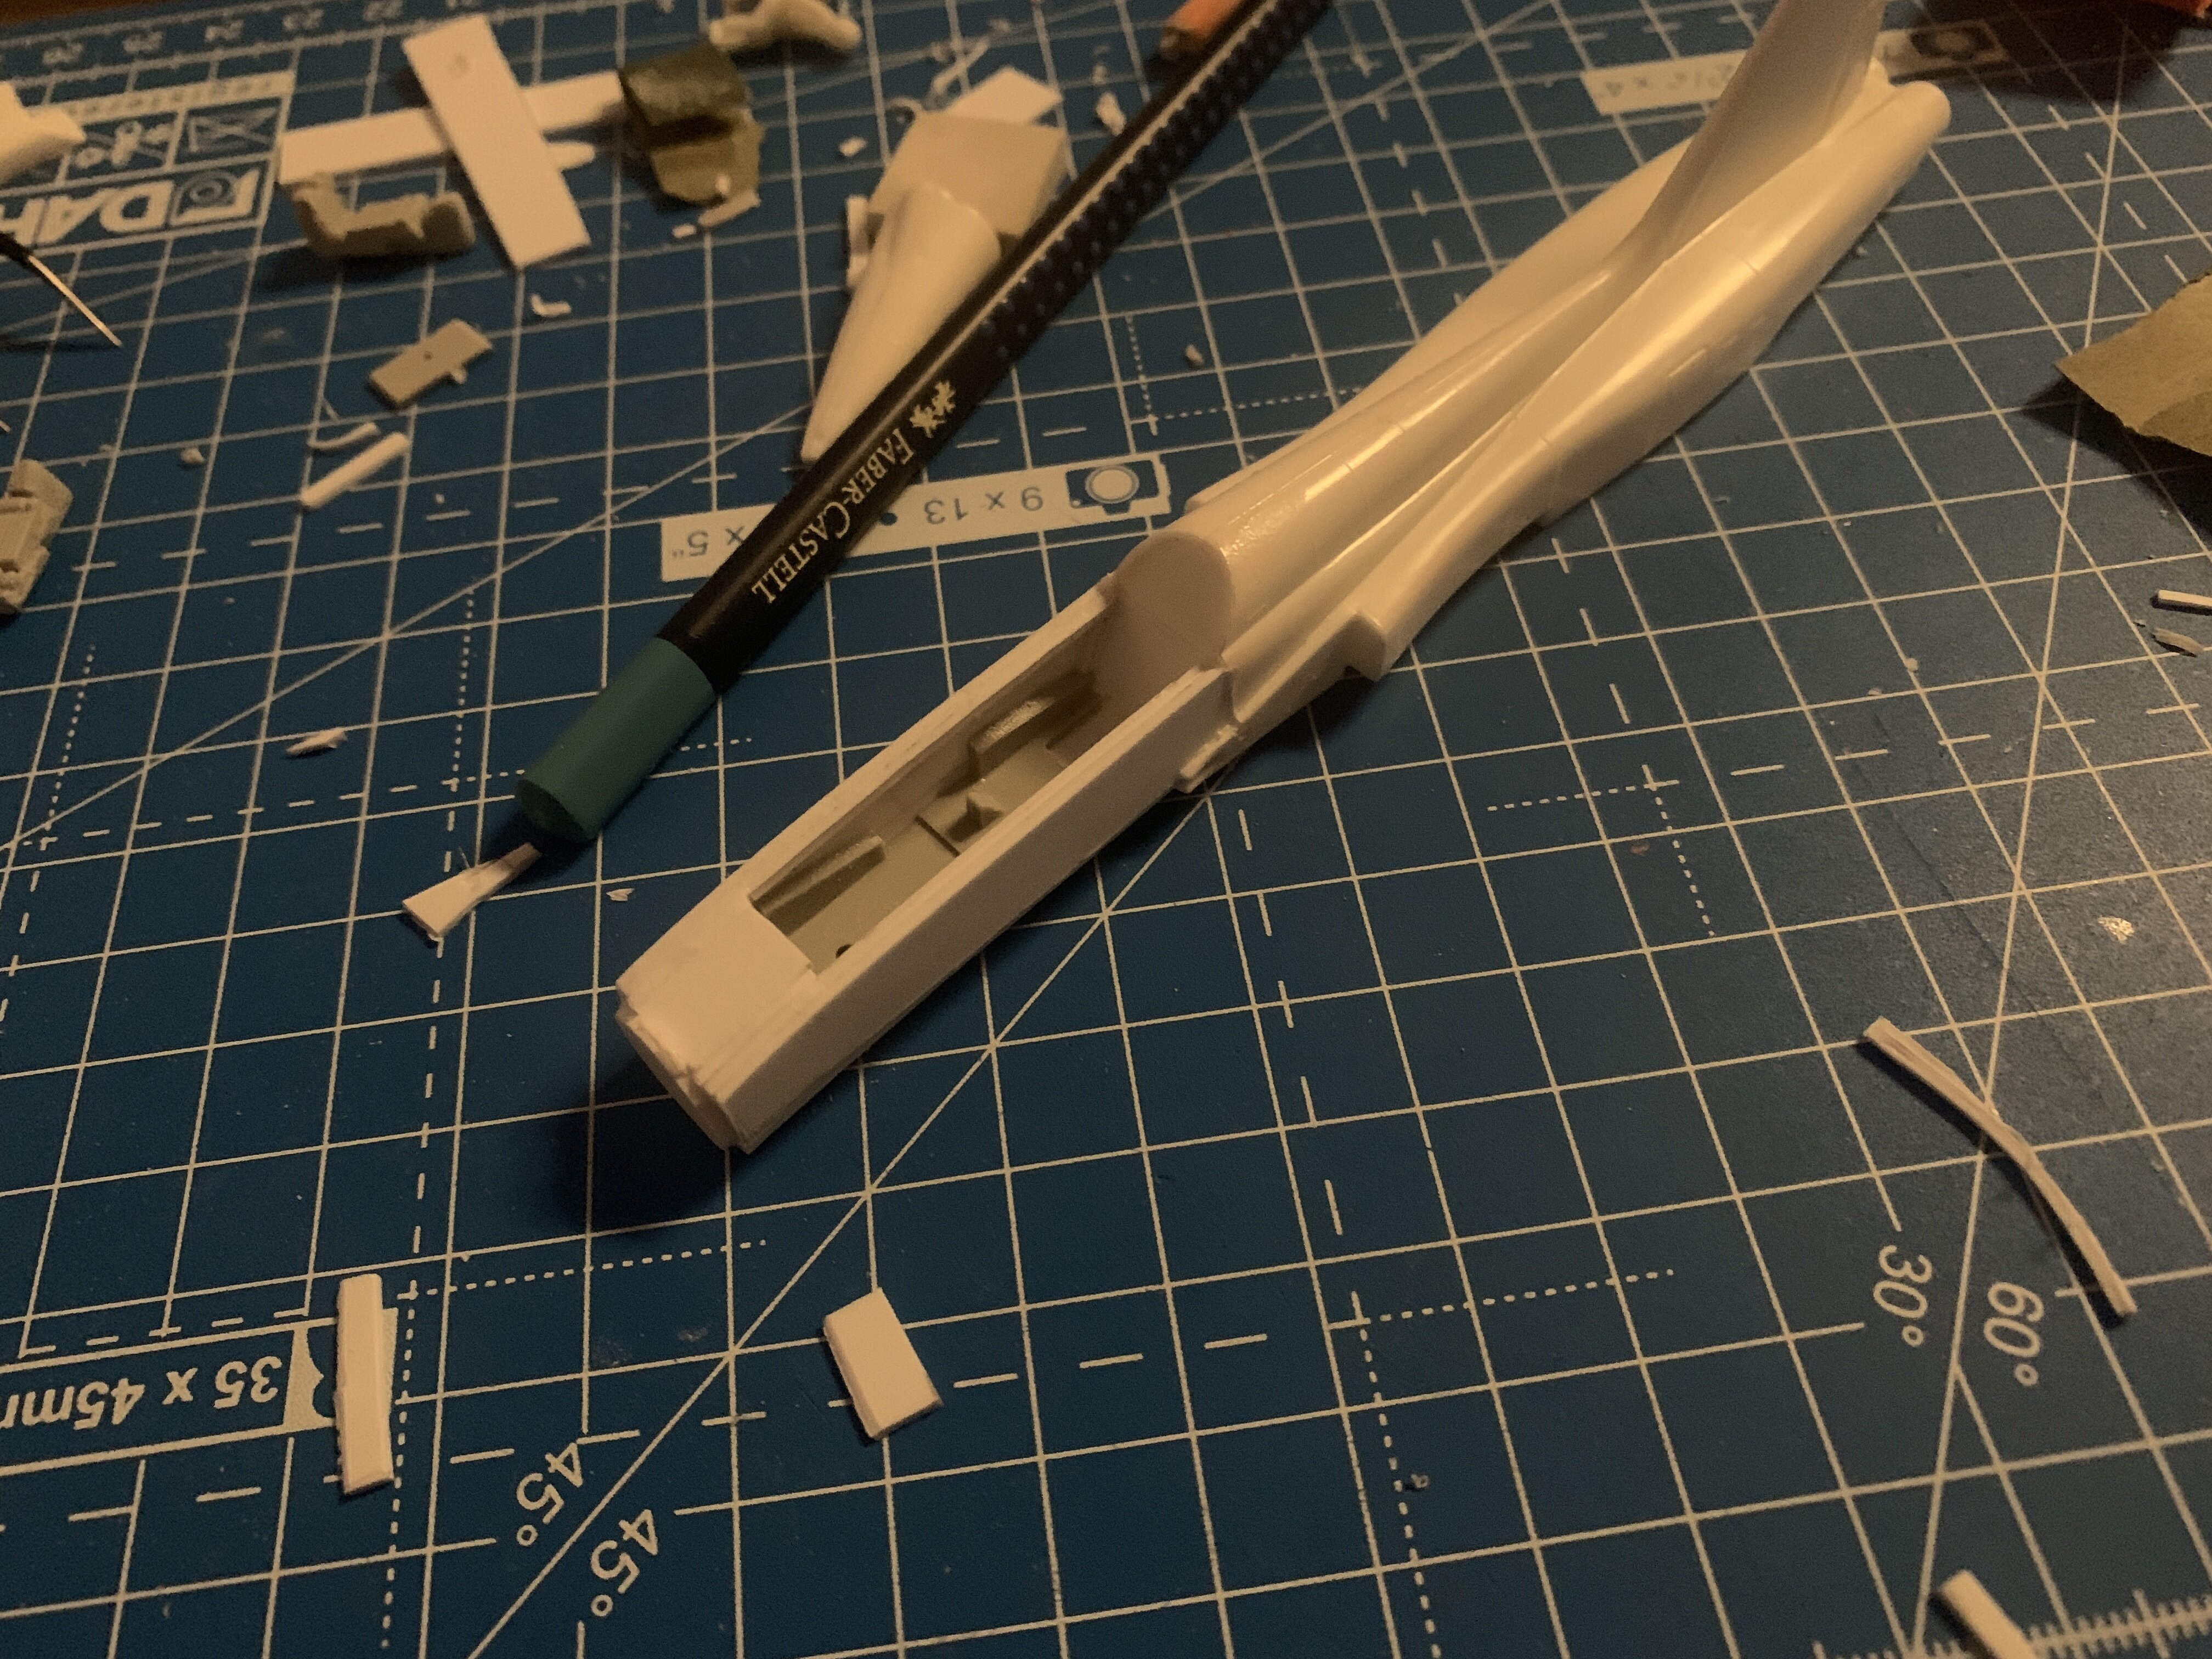
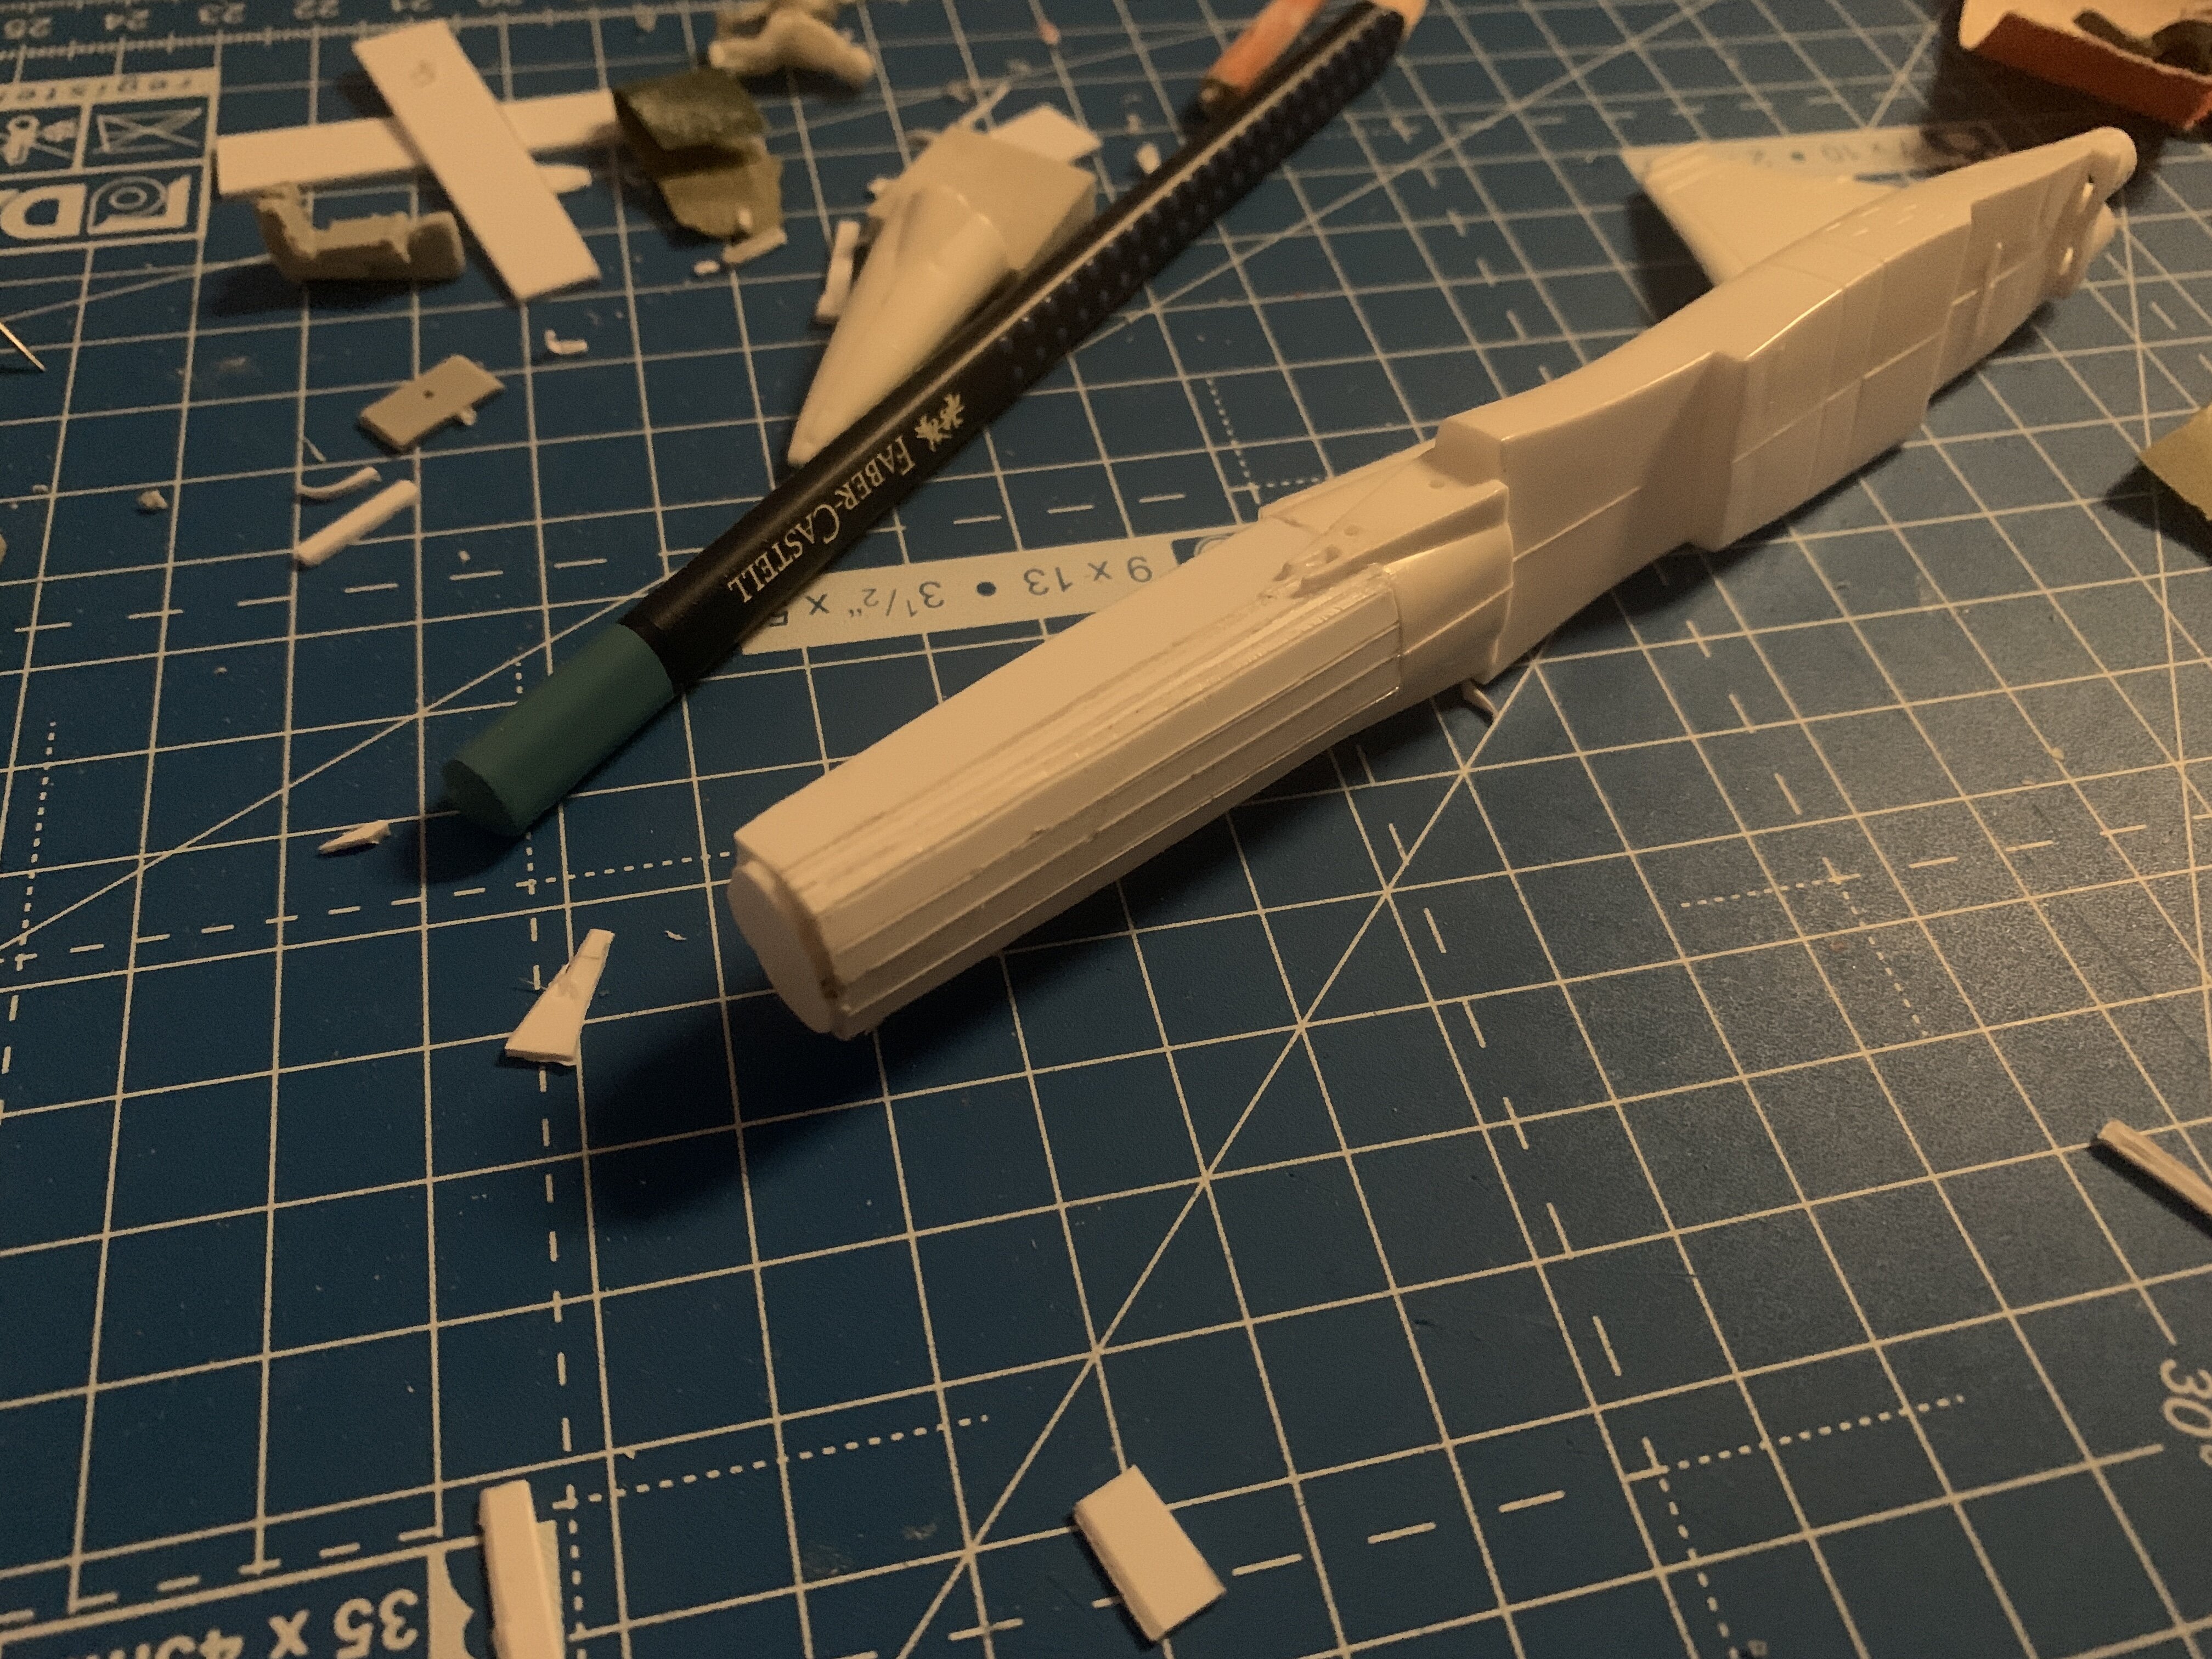
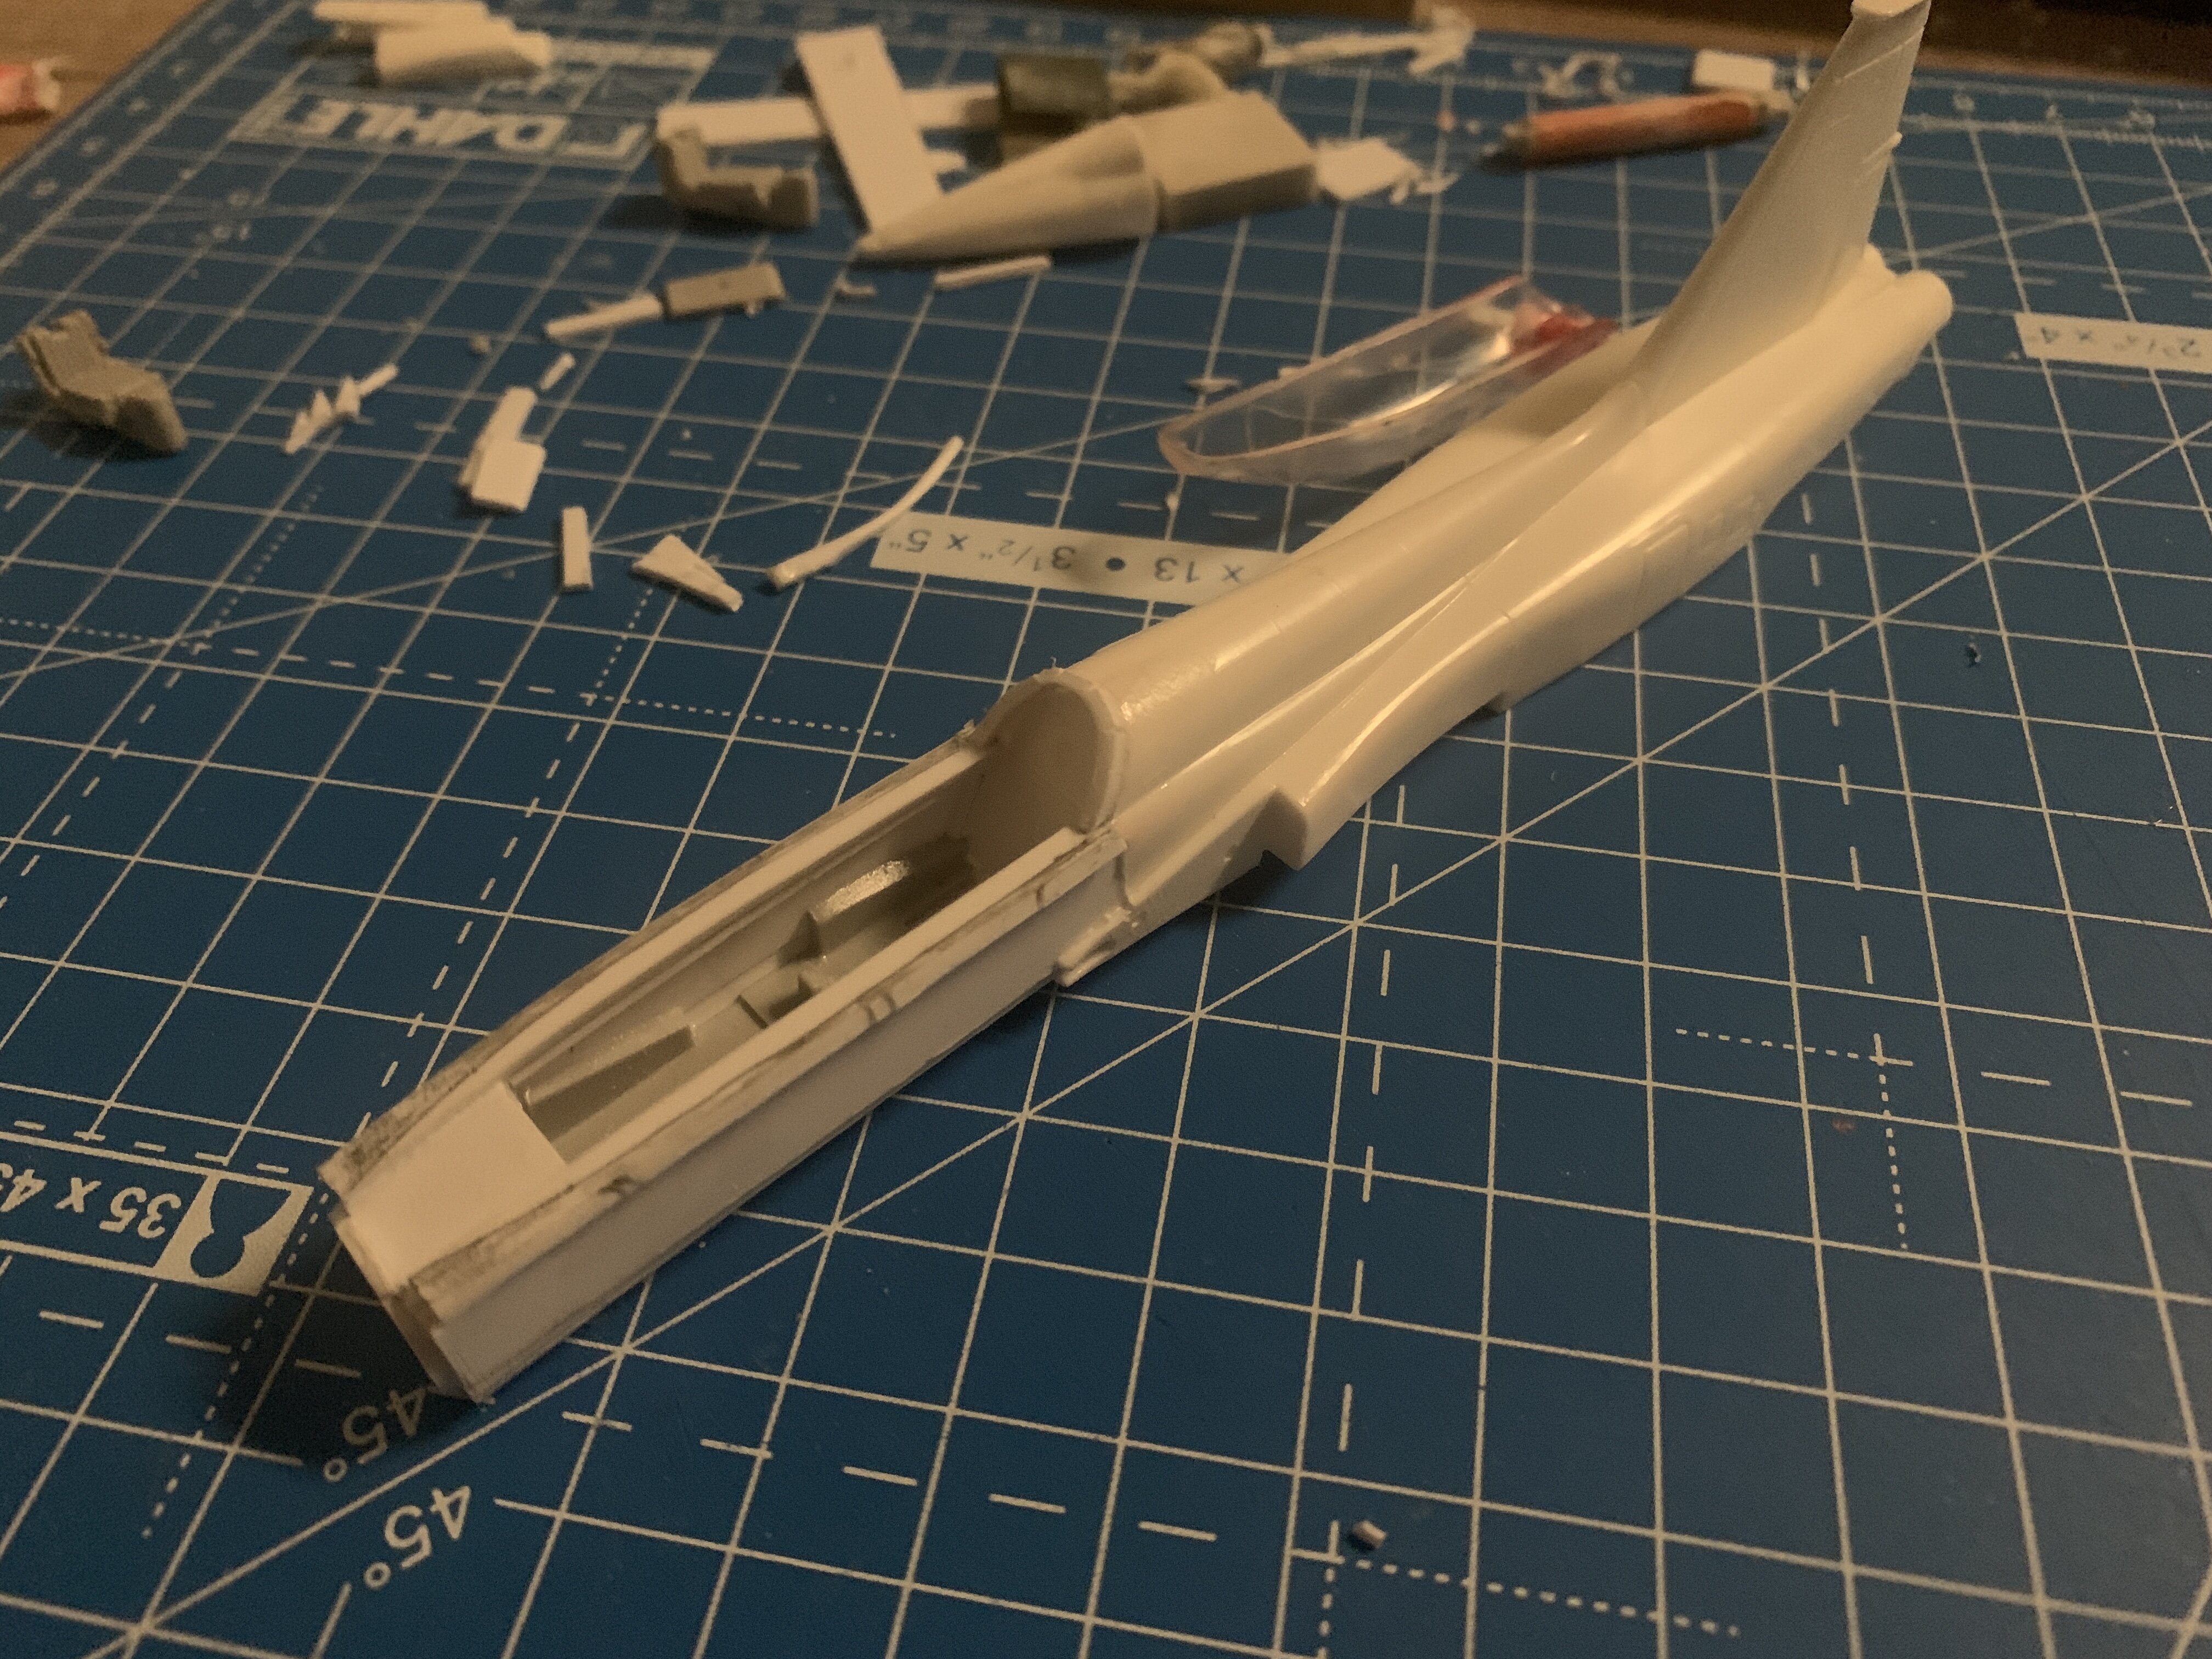
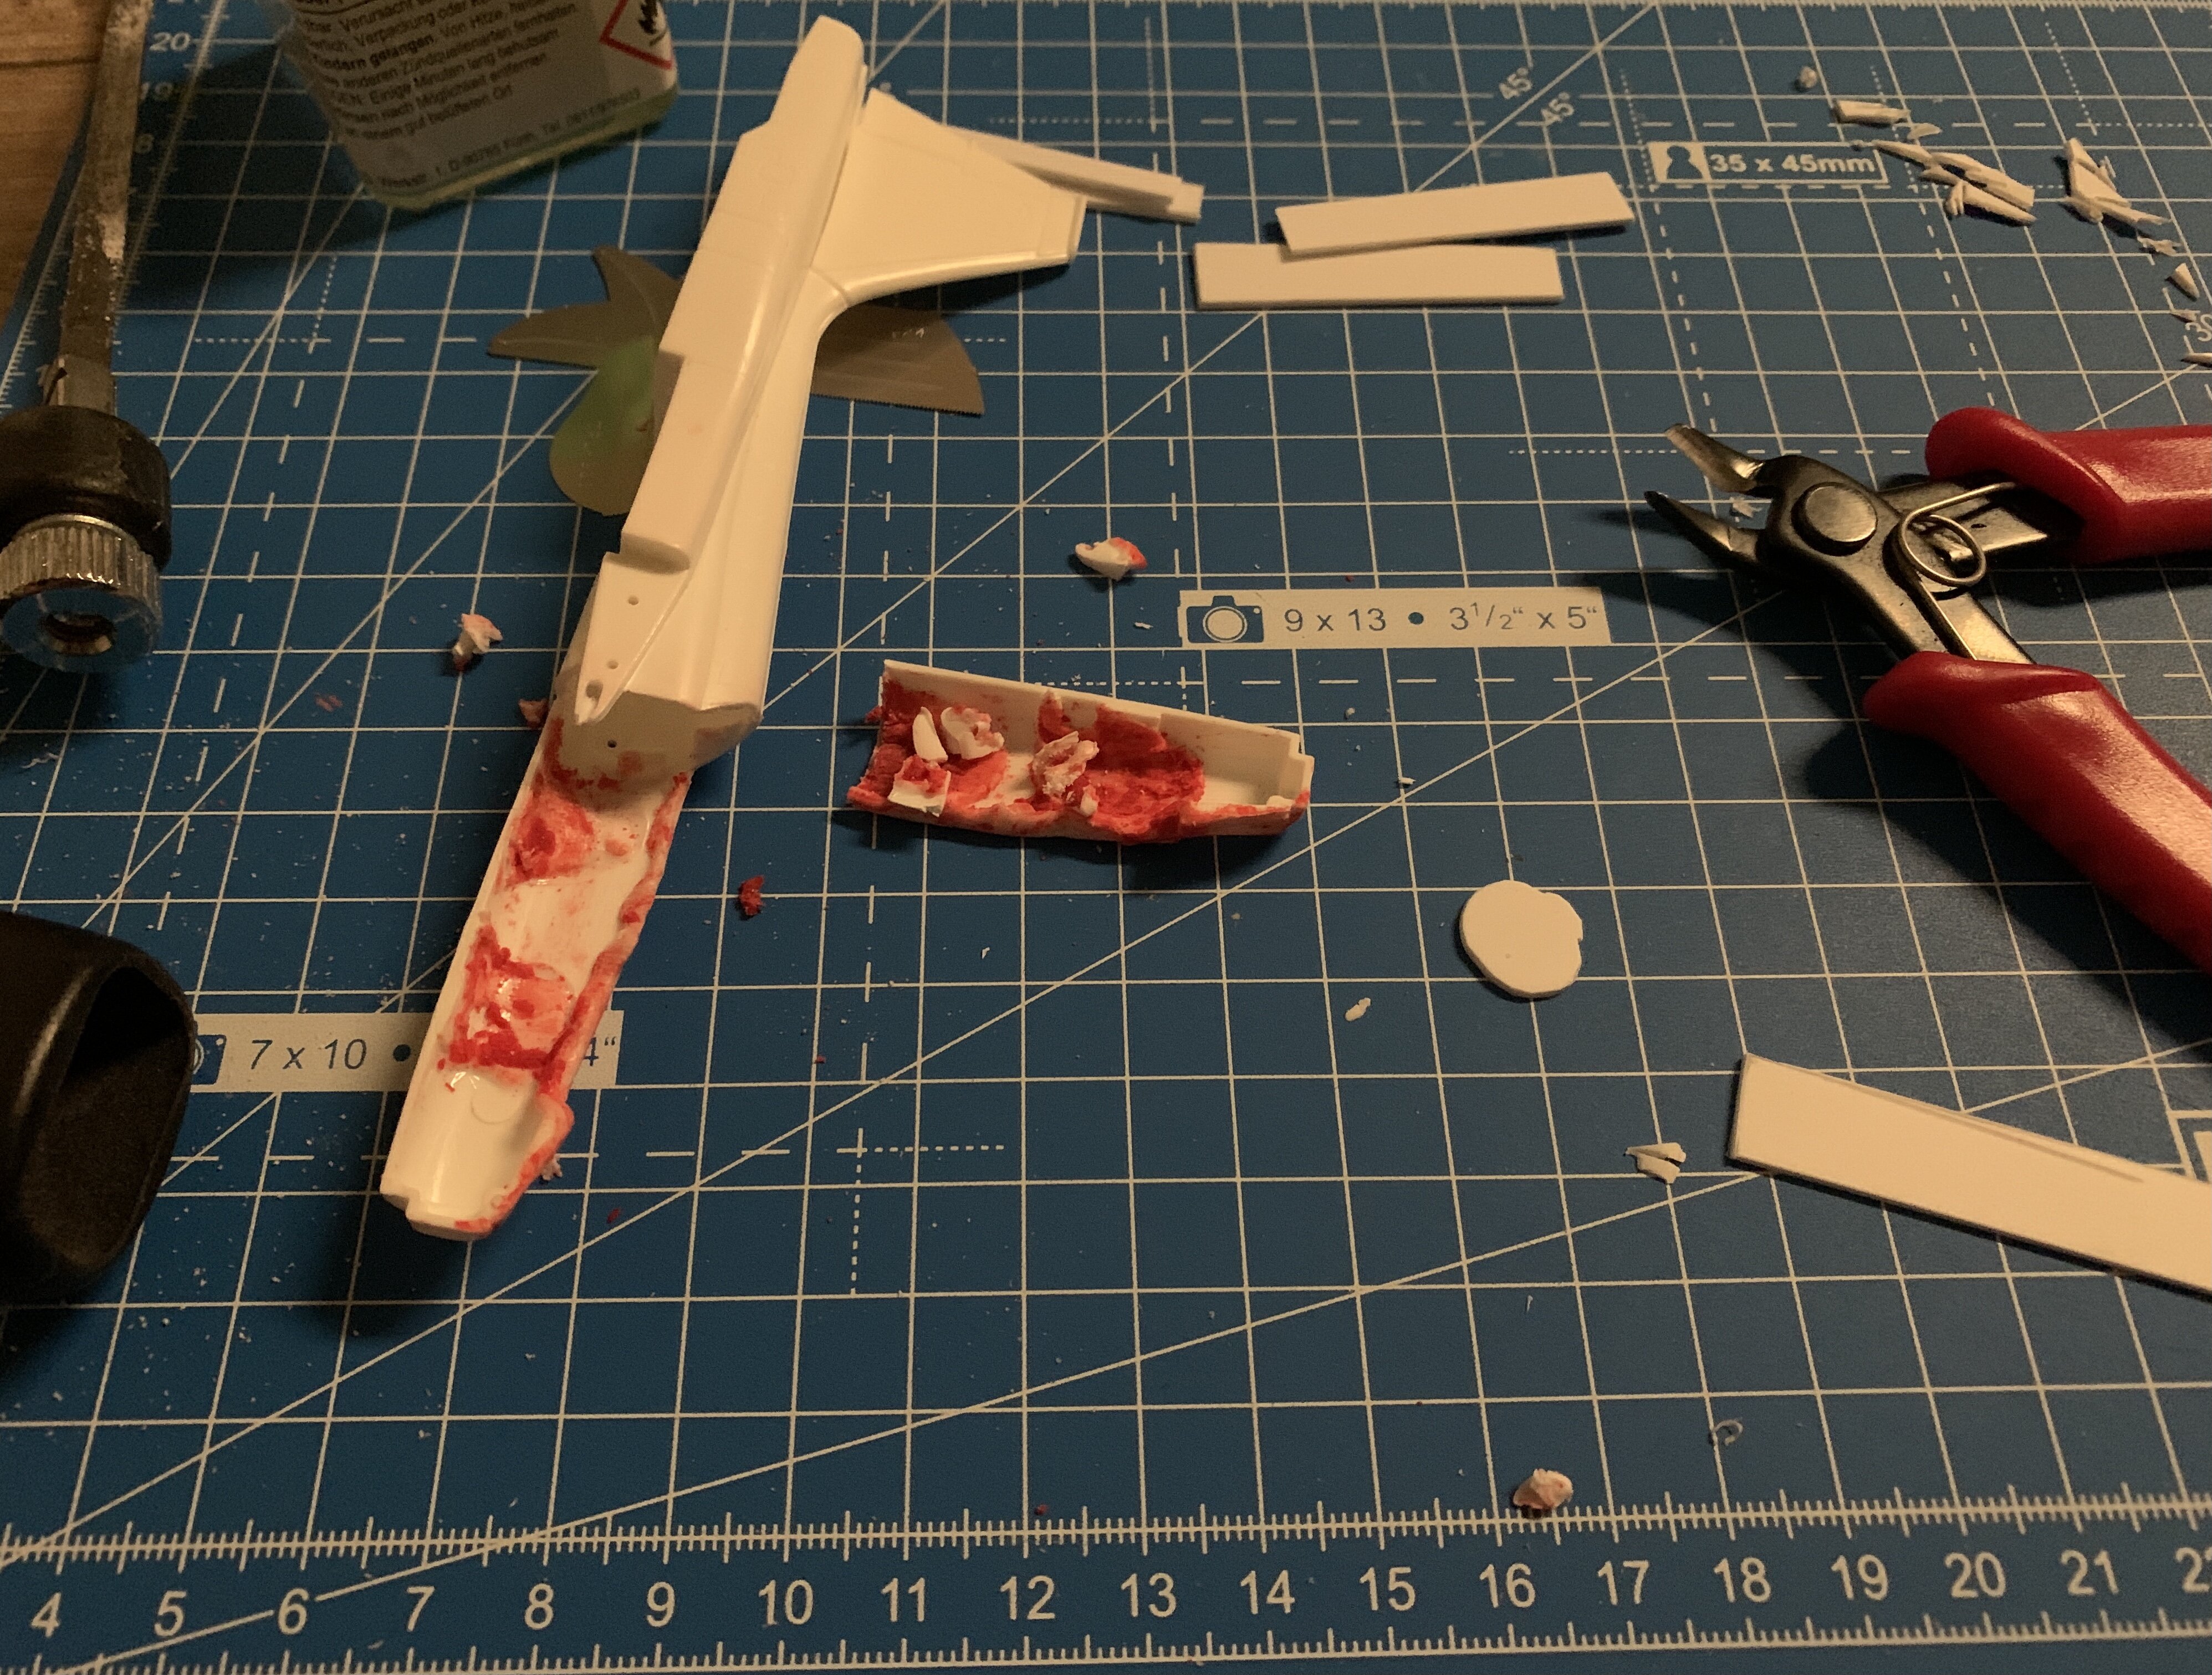
Okay, next phase on the F-5B cockpit section finished. I’ll have to do a lot of sanding now, and then, the good old panel line scribing. YAY! A bit better lighting today, so the “detail” is showing better.
-
Great work man!
-
-
nice! where did you get that model from?


