-
Posts
754 -
Joined
-
Last visited
Content Type
Profiles
Forums
Events
Gallery
Everything posted by Urashiman
-
I was wondering - how do you wash off the "chicken pox"?
- 89 replies
-
- macross vf-x2
- vf-19 excalibur
-
(and 2 more)
Tagged with:
-
Awesome man!
- 89 replies
-
- macross vf-x2
- vf-19 excalibur
-
(and 2 more)
Tagged with:
-
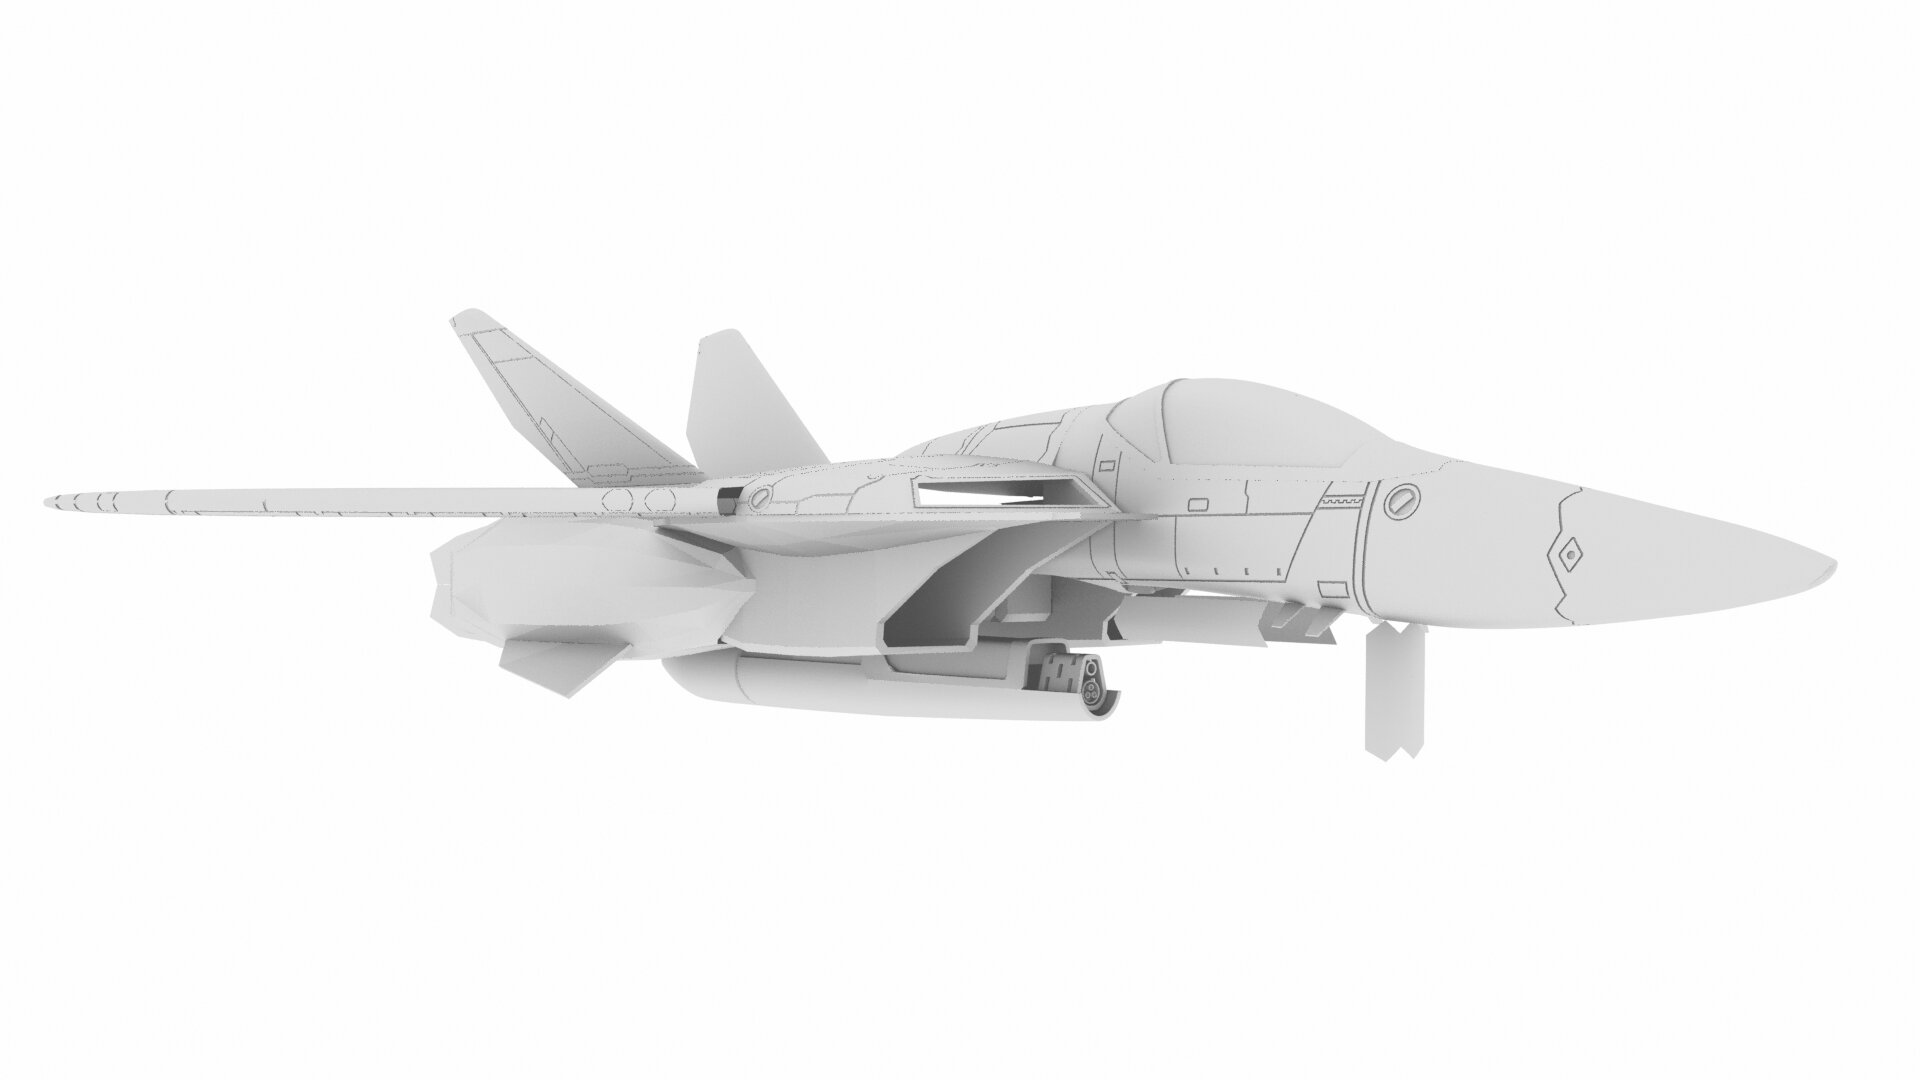
@Bolt thanks! Here, the VF-1P, from one of my older renders: @Thom Thanks a lot! @arbit Correct. They were to thin the last time.
-
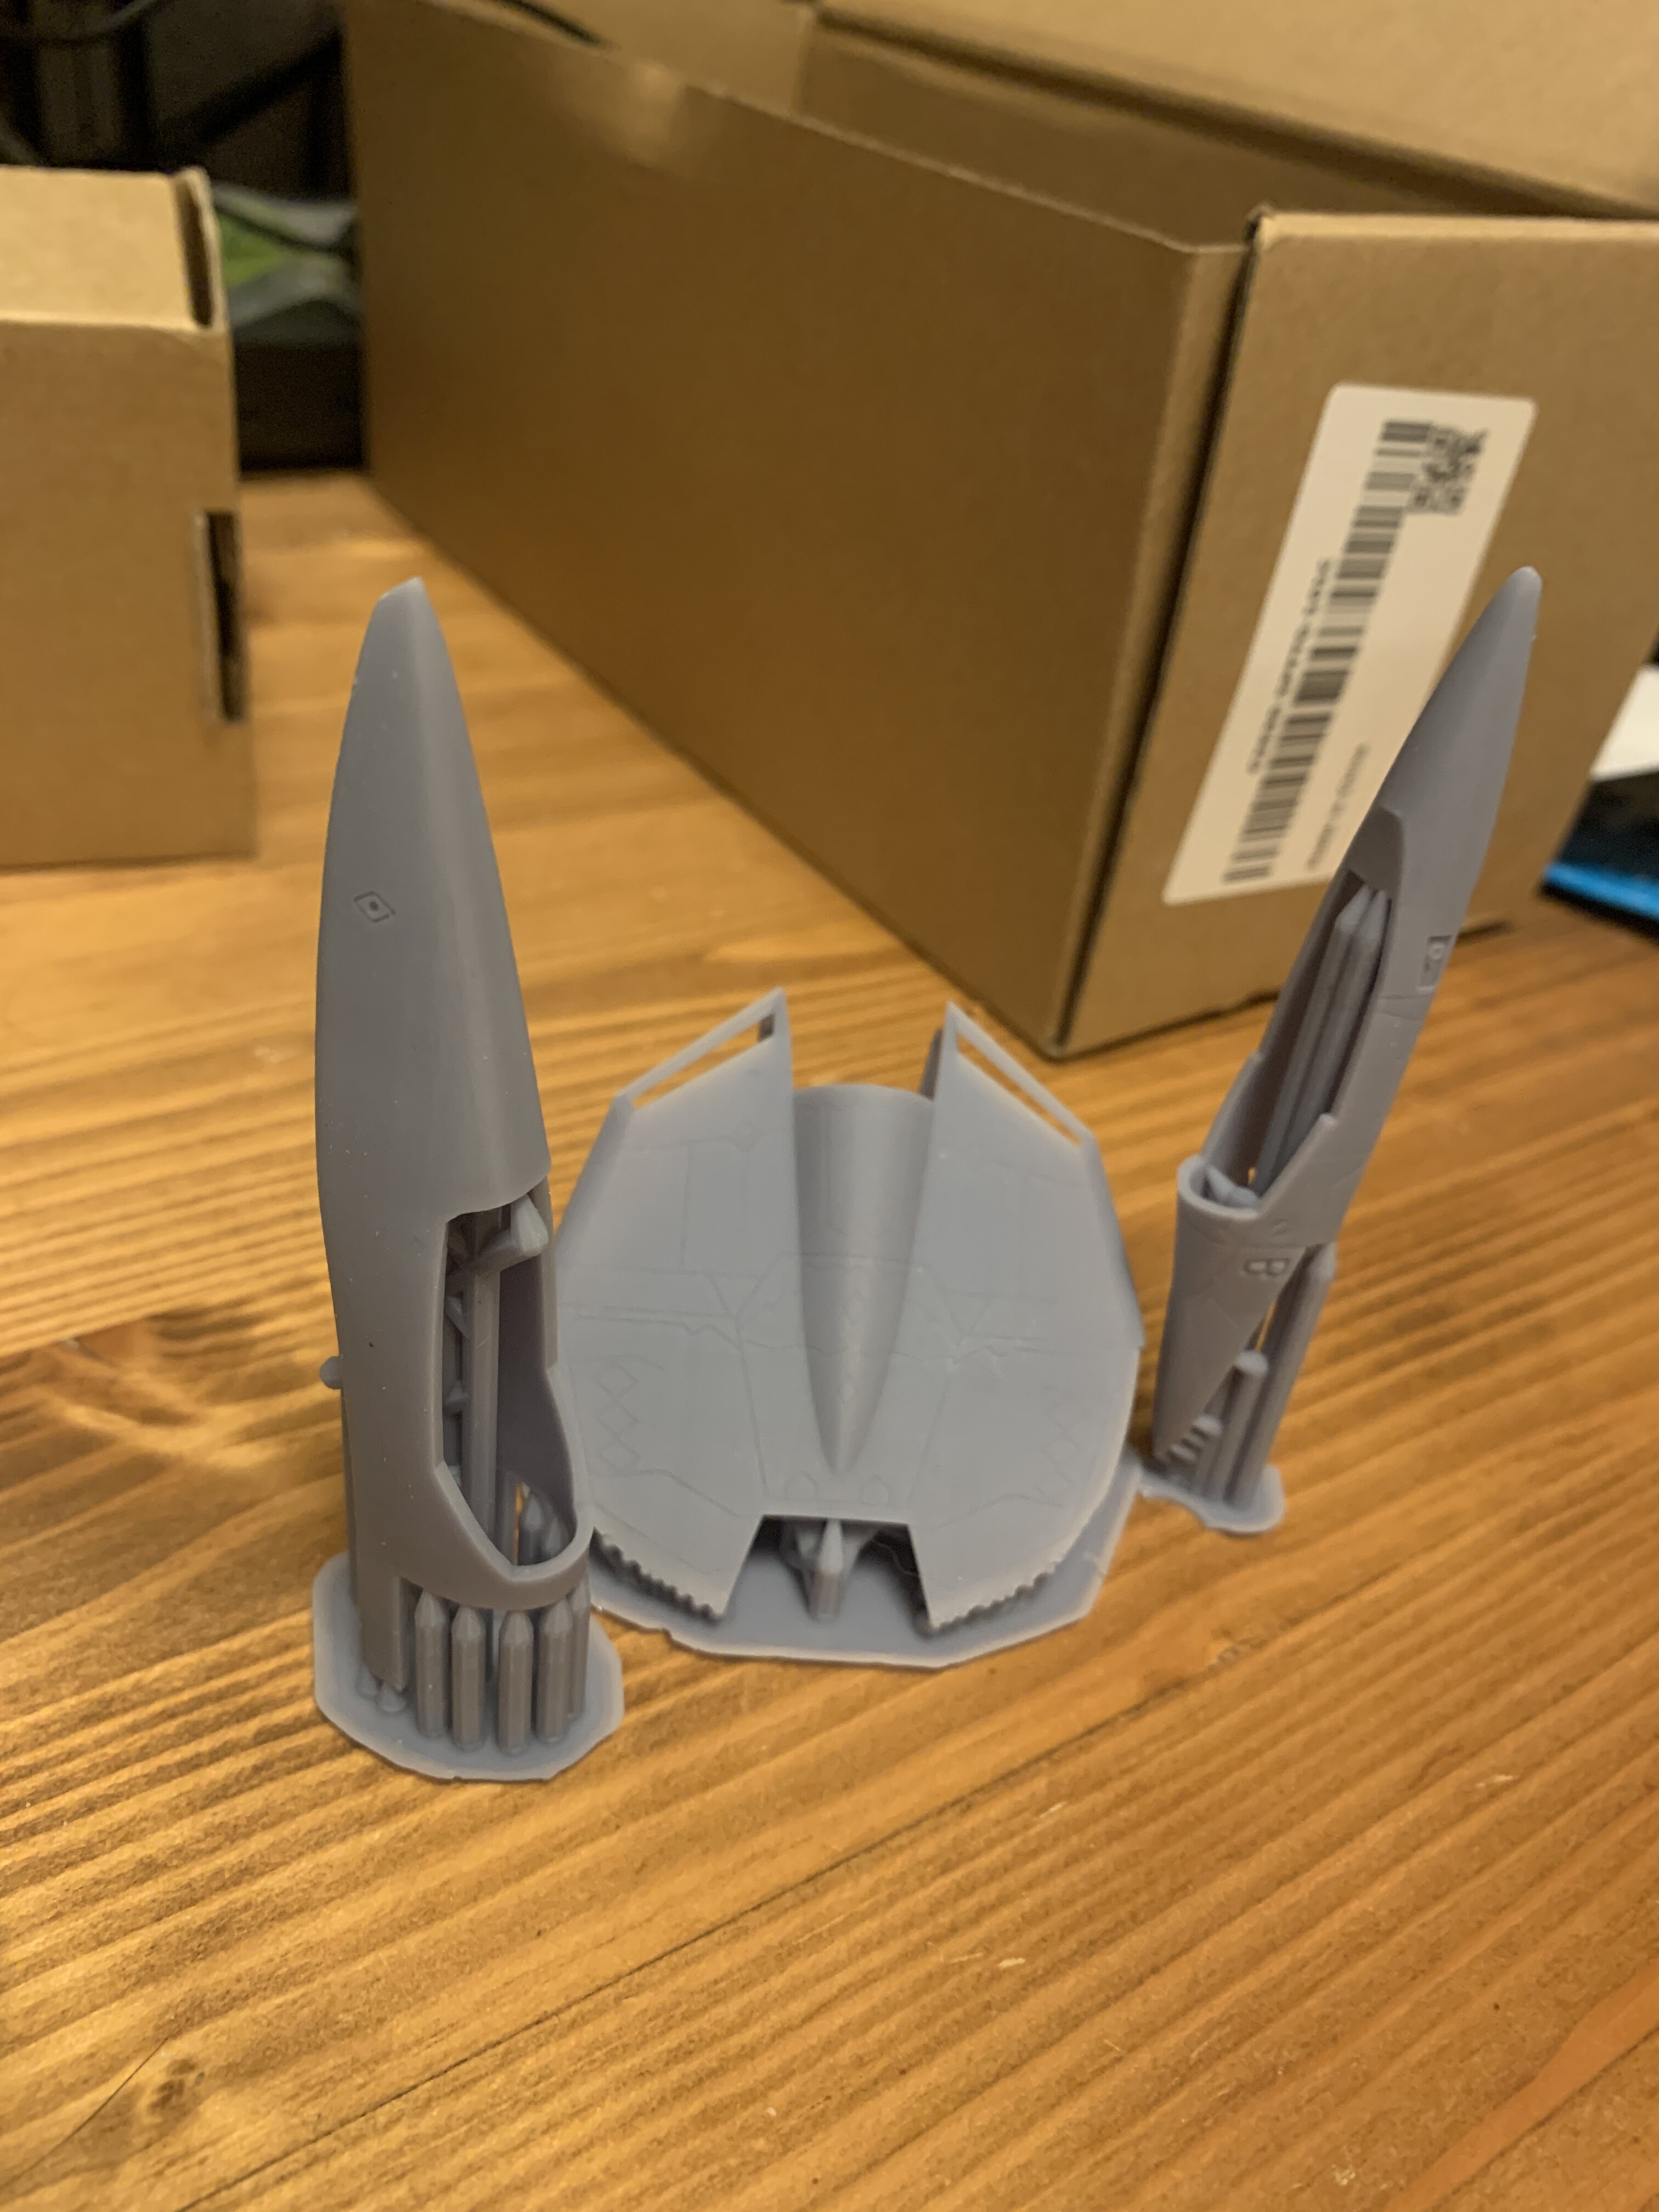
I purchased the ABS like resin from Anycubic and made some test prints today. It smells a bit more than the eco resin (which is really low odor), and leaves a weird white residue in the print bed and on the print. Using Isopropanol, I was able to remove it, but still strange. it seems a bit more flexible, which is good. Here is a picture. from left to right: new VF-1P nose, work in progress old VF-1P fuselage, needs to be reworked to be thicker. new reworked VF-9 nose, done.
-
Looks like a dragon ready to blast!
-
Yeah, the one one the left is Hex Camo style, the one on the right looks more like flecktarn. Flecktarn is more like splattering drops onto your stuff.
-
"Fleck Tarn" is used by the German army. Translates to "spot camoflage".
-
I have some carving tools for 1/72. no worries
-
oh man ... this looks horrible. Kinda like the VF-22 color from VF-X 1. And regarding the wings ... I did the same to my VF-19A hahaahah.
- 89 replies
-
- 1
-

-
- macross vf-x2
- vf-19 excalibur
-
(and 2 more)
Tagged with:
-
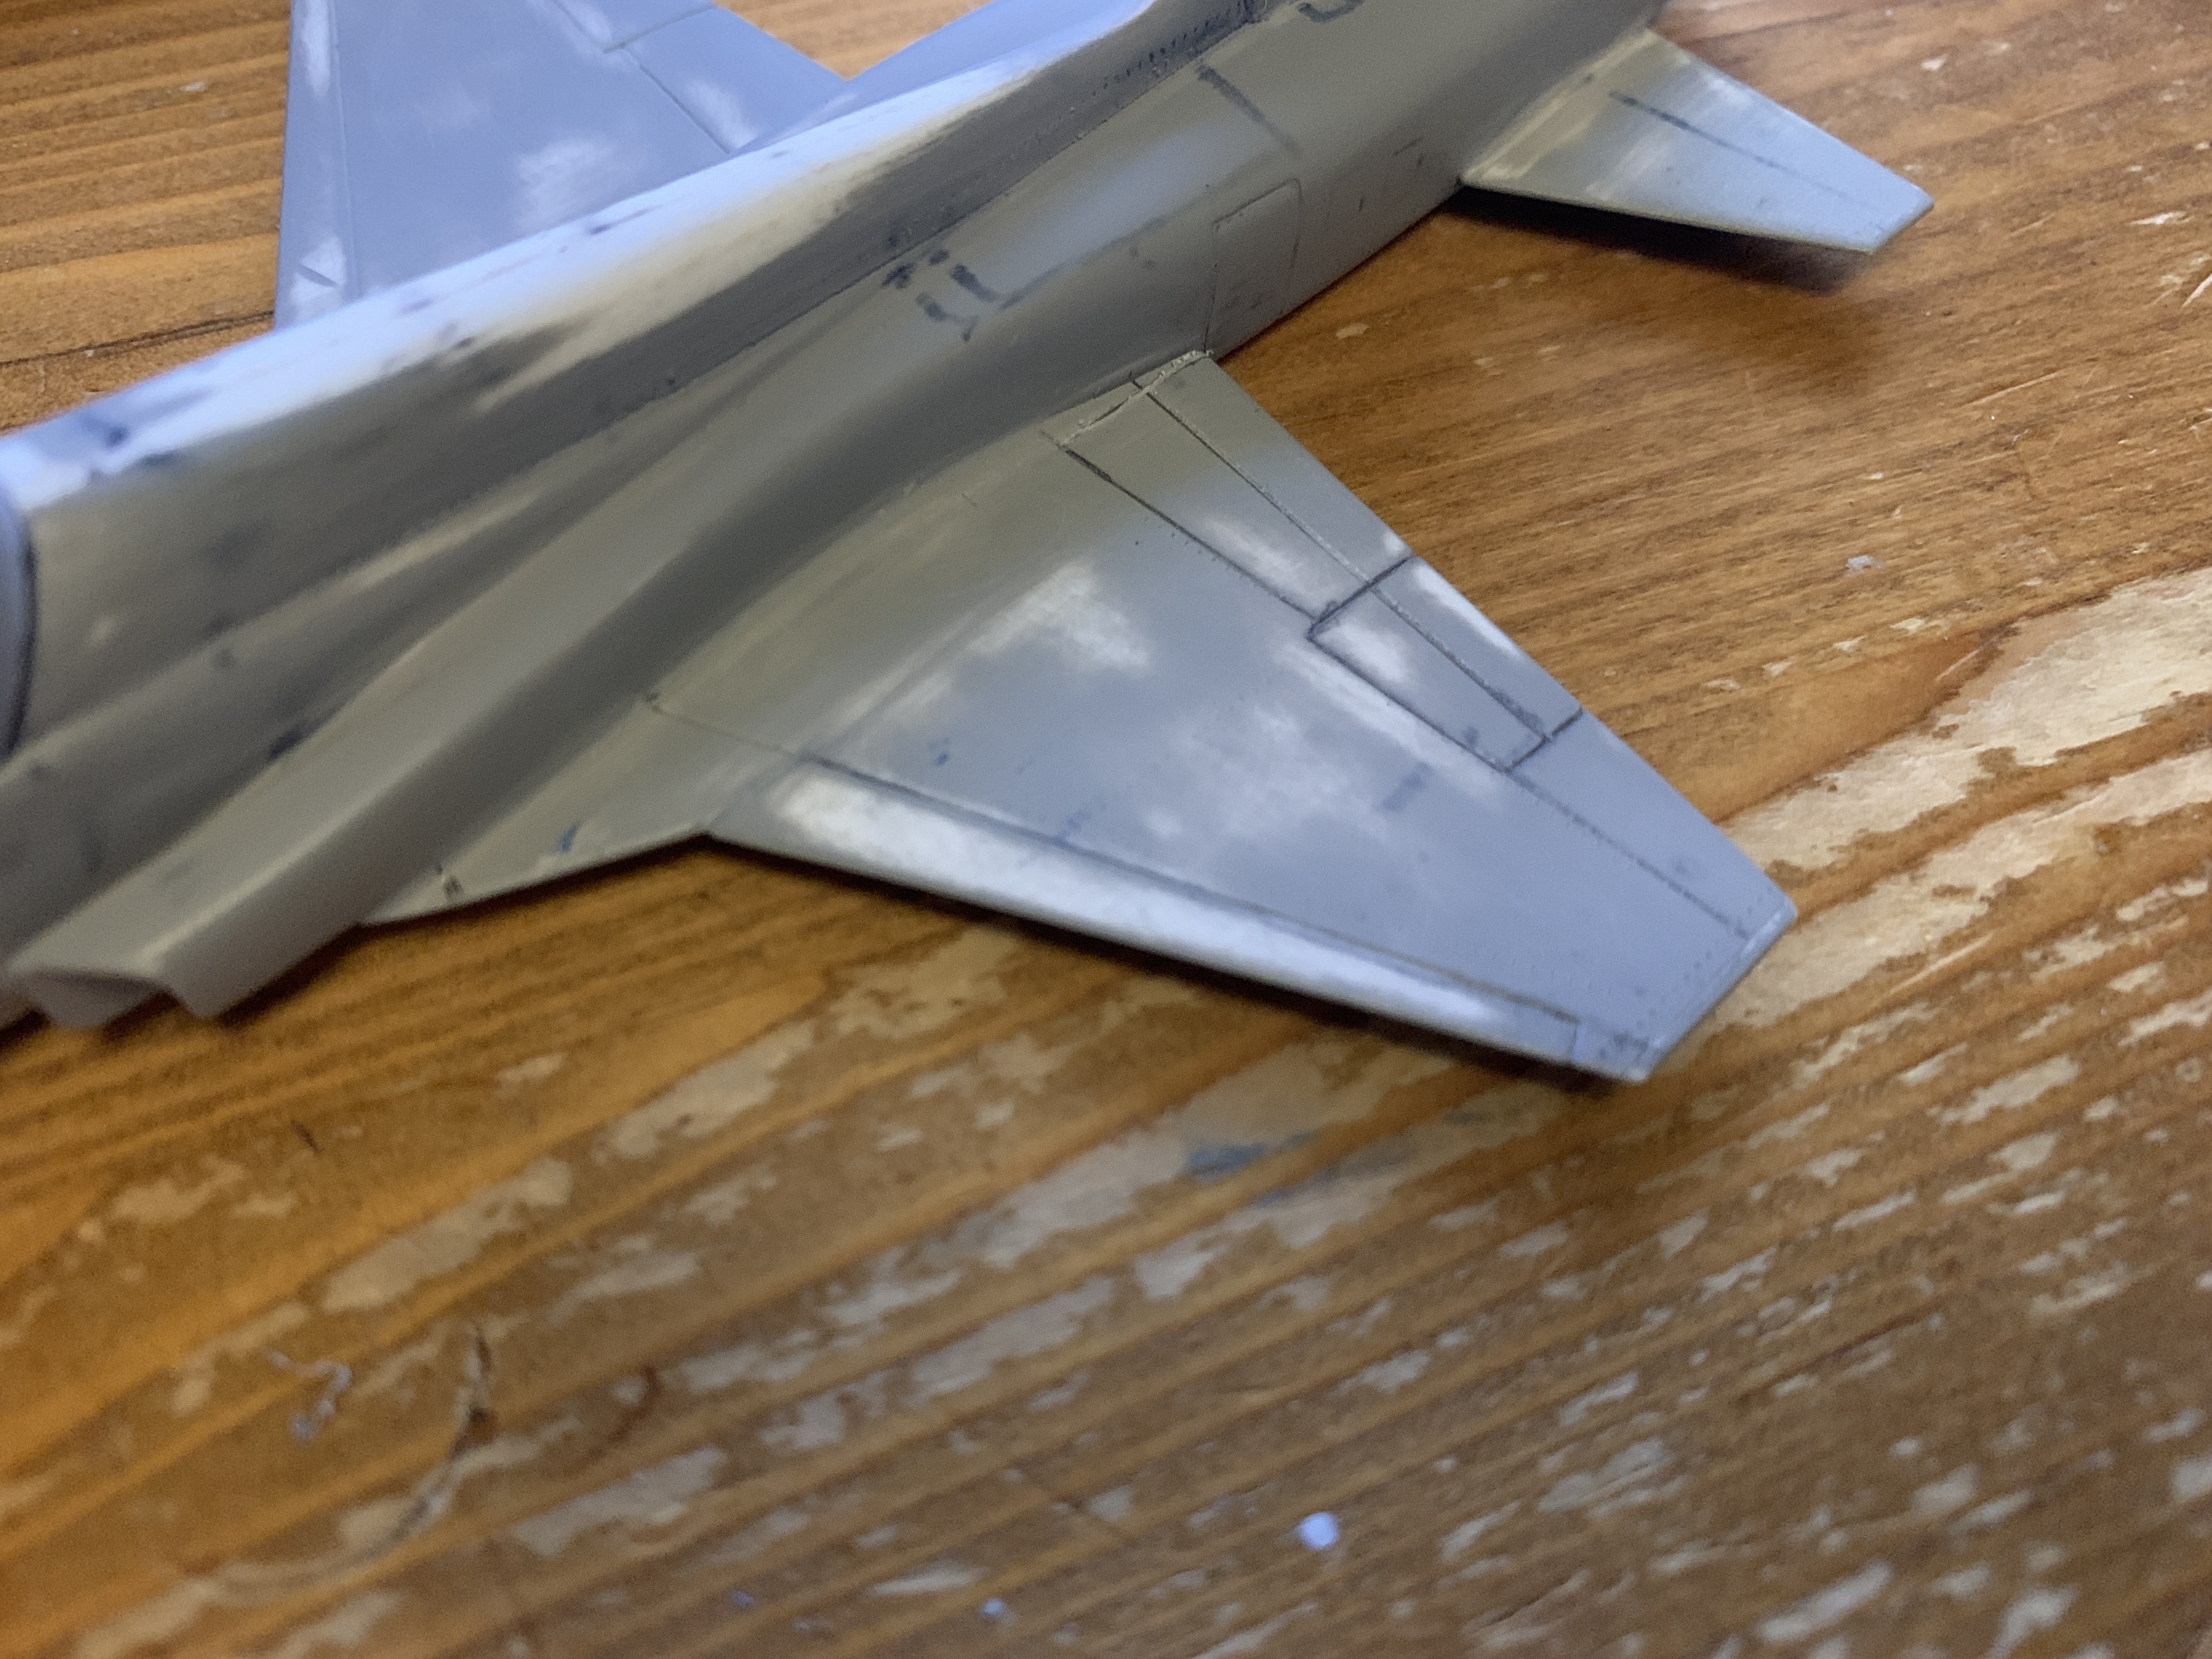
@Thom I usually try to keep the original panel lines as well, but for this kit, the panel lines were sacrificed during the process of fixing the kit. I had no other choice. I probably have to putty away the already done panel lines again, as I mixed up the F-5 versions. The F-5B and the CF-116 have slightly different panel lining. UGH
-
Awesome VF-4! I like it! Yesterday I started scribing new panel lines on the CF-116 (F-5B). So annoying, but I will do this slowly and carefully.
-
I had the Italeri one in a double pack with the X-32 as the X-35. The kit was building okay, but it lacks details. It seems that the italeri kit on your link is a completely new mould and has more details though.
-
@Bolt thanks! Plamax VF-1 time! While doing the first round of white… … something caught my attention. A seam I puttied, but forgot to sand. So careful sanding was done. But now the first white is done
-
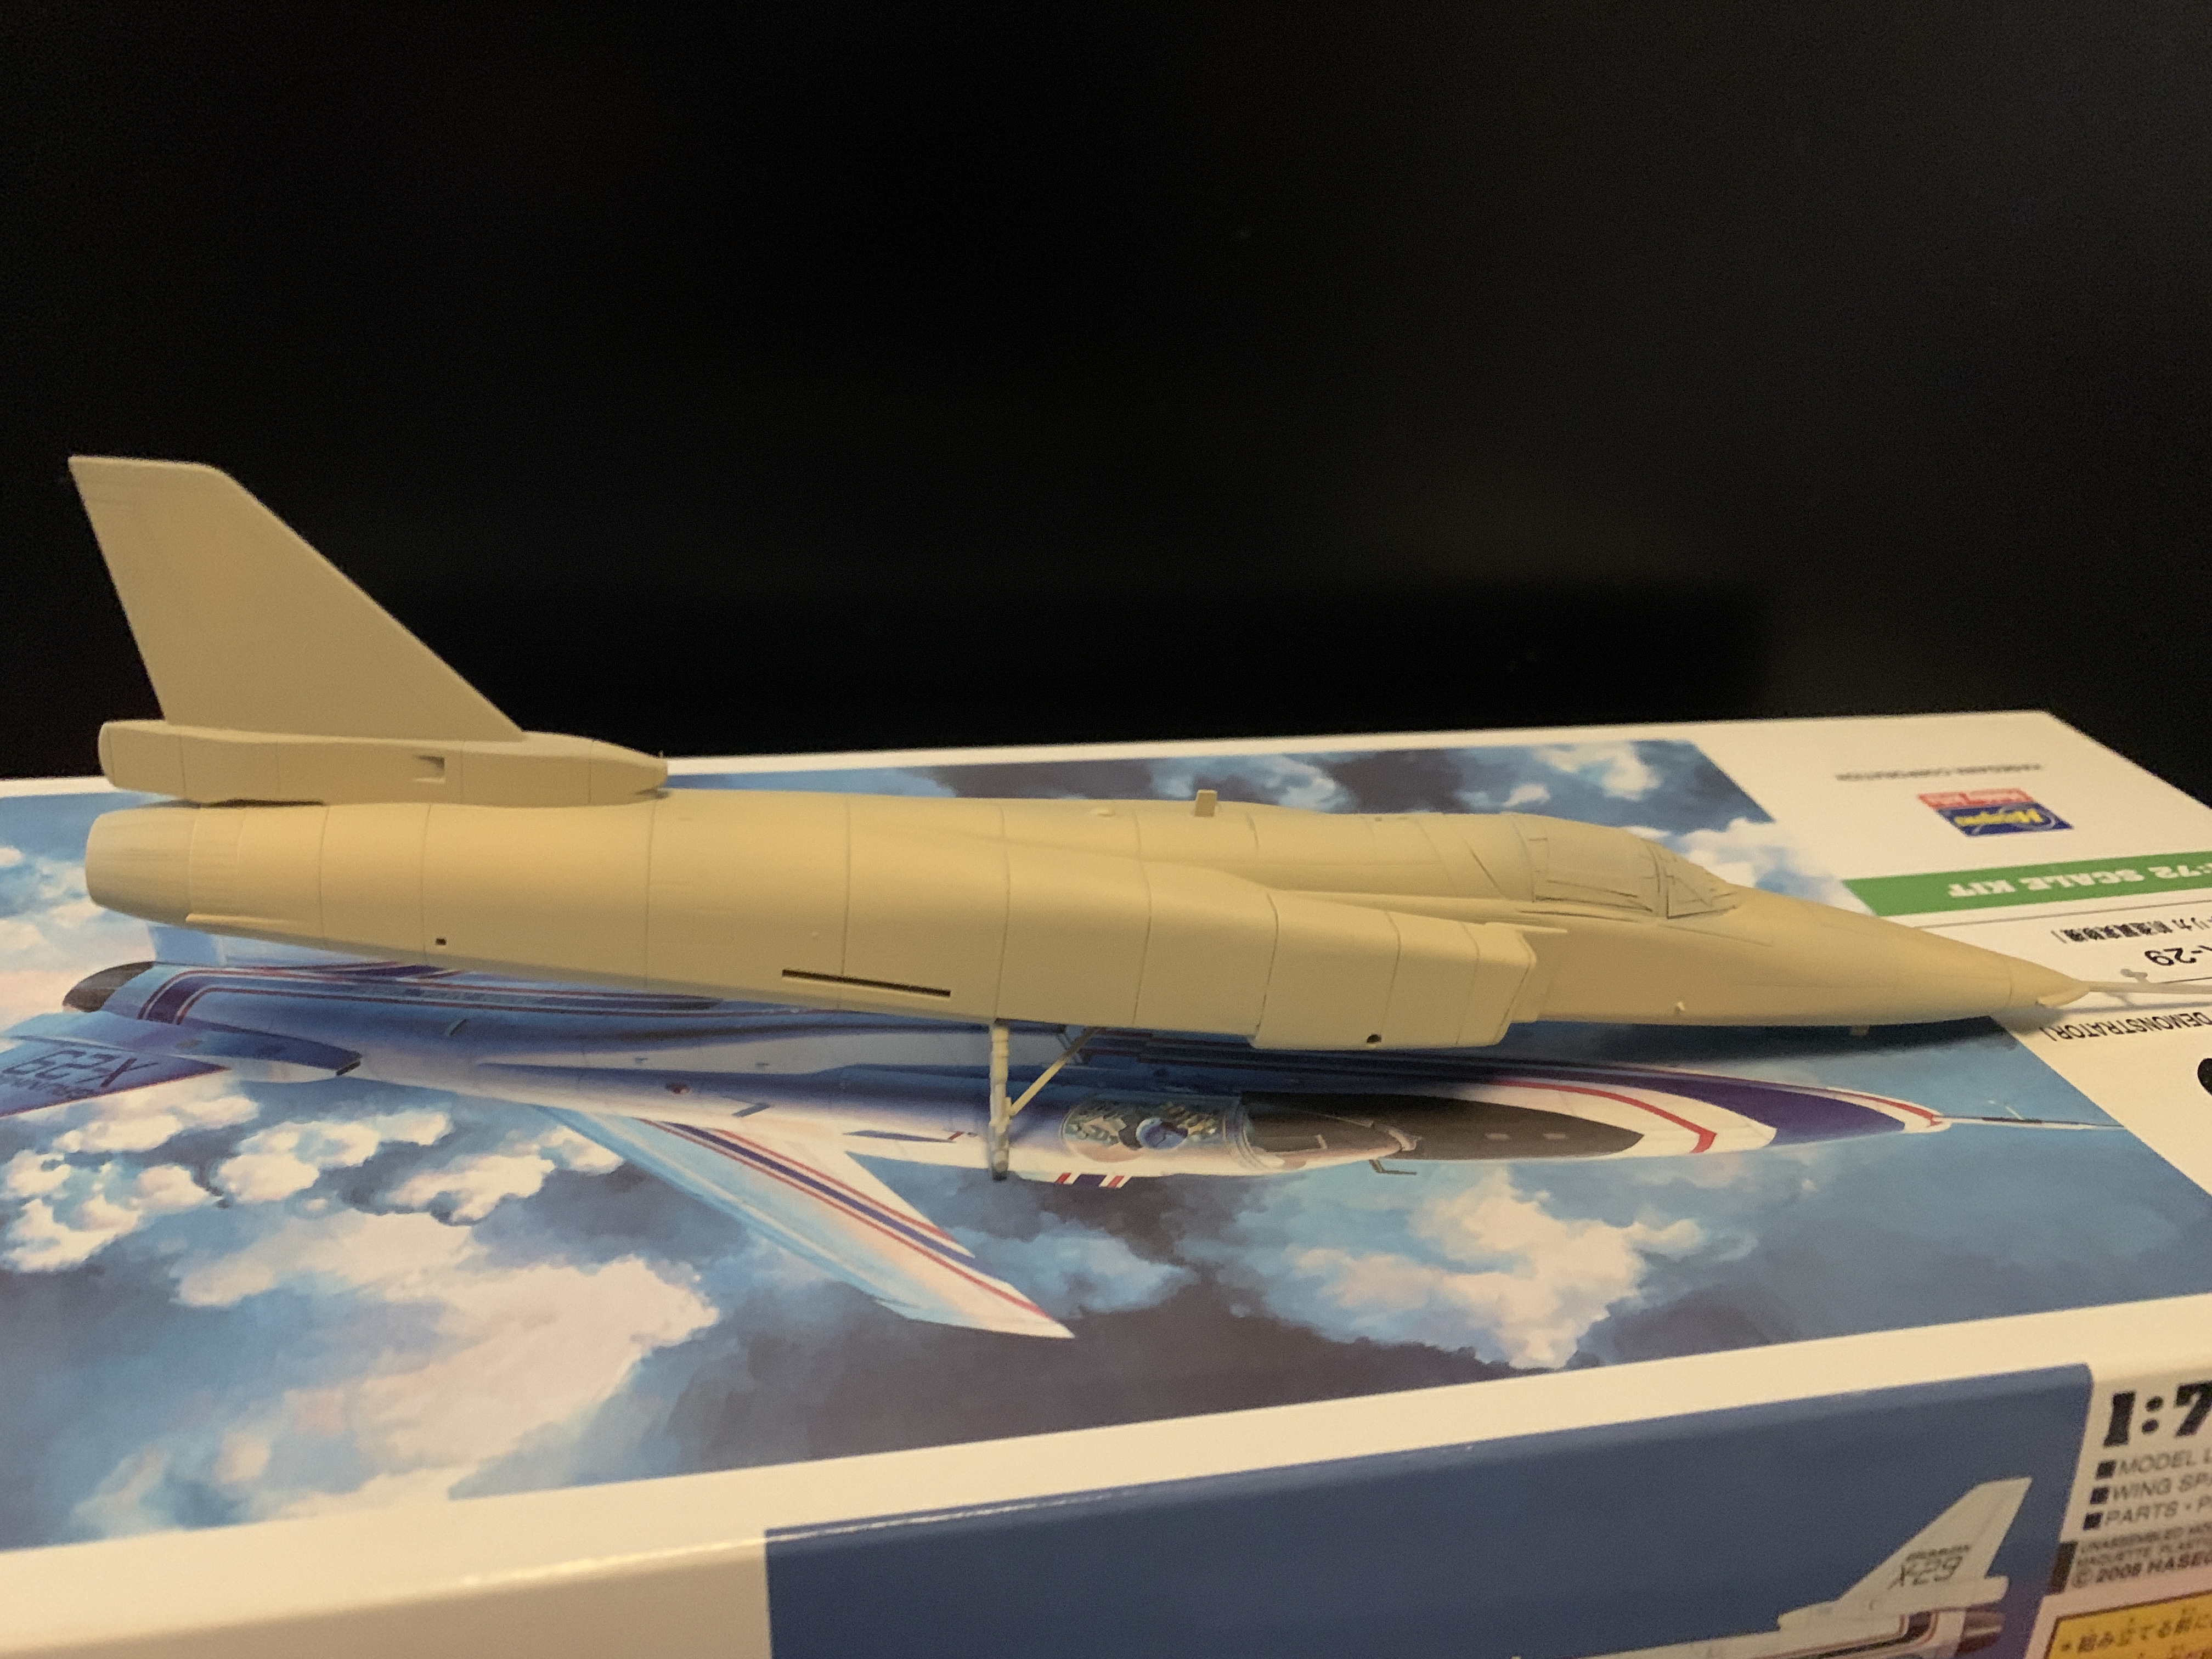
@Kurt WB! That is a great GP38! I like it. So I had some time today to work on the VF-19A and the X-29. by the pacing and masking needed, I think the X-29 will be first to be finished.
-
That is what they call "superhero legs". Proportionally too long legs for the characters in comics and mangas. Just look at hand drawn females and such. It is just over the top. It is troublesome to draw men with realistic shorter legs. The characters look really weird then. You can either choose the manga/comic style and keep the long legs, or do realistic style but shorten the legs. The inbetween causes the uncanny valley to trigger and something seems off all the time.
-
Interesting! Well - keep up the good work!
- 89 replies
-
- macross vf-x2
- vf-19 excalibur
-
(and 2 more)
Tagged with:
-
My dad once build an RC model boat from old cardboard and basically drenched it in clear lacquer color to make it waterproof. It worked! Unfortunately it tipped over due to a large wave and sank, but hey, that was the risk of RC boats in the 80s.
-
@arbit haha ... yeah. Super busy... when I have time @Bolt Uhm, no ... but my kid is throwing the airplane around the flat from time to time.
-
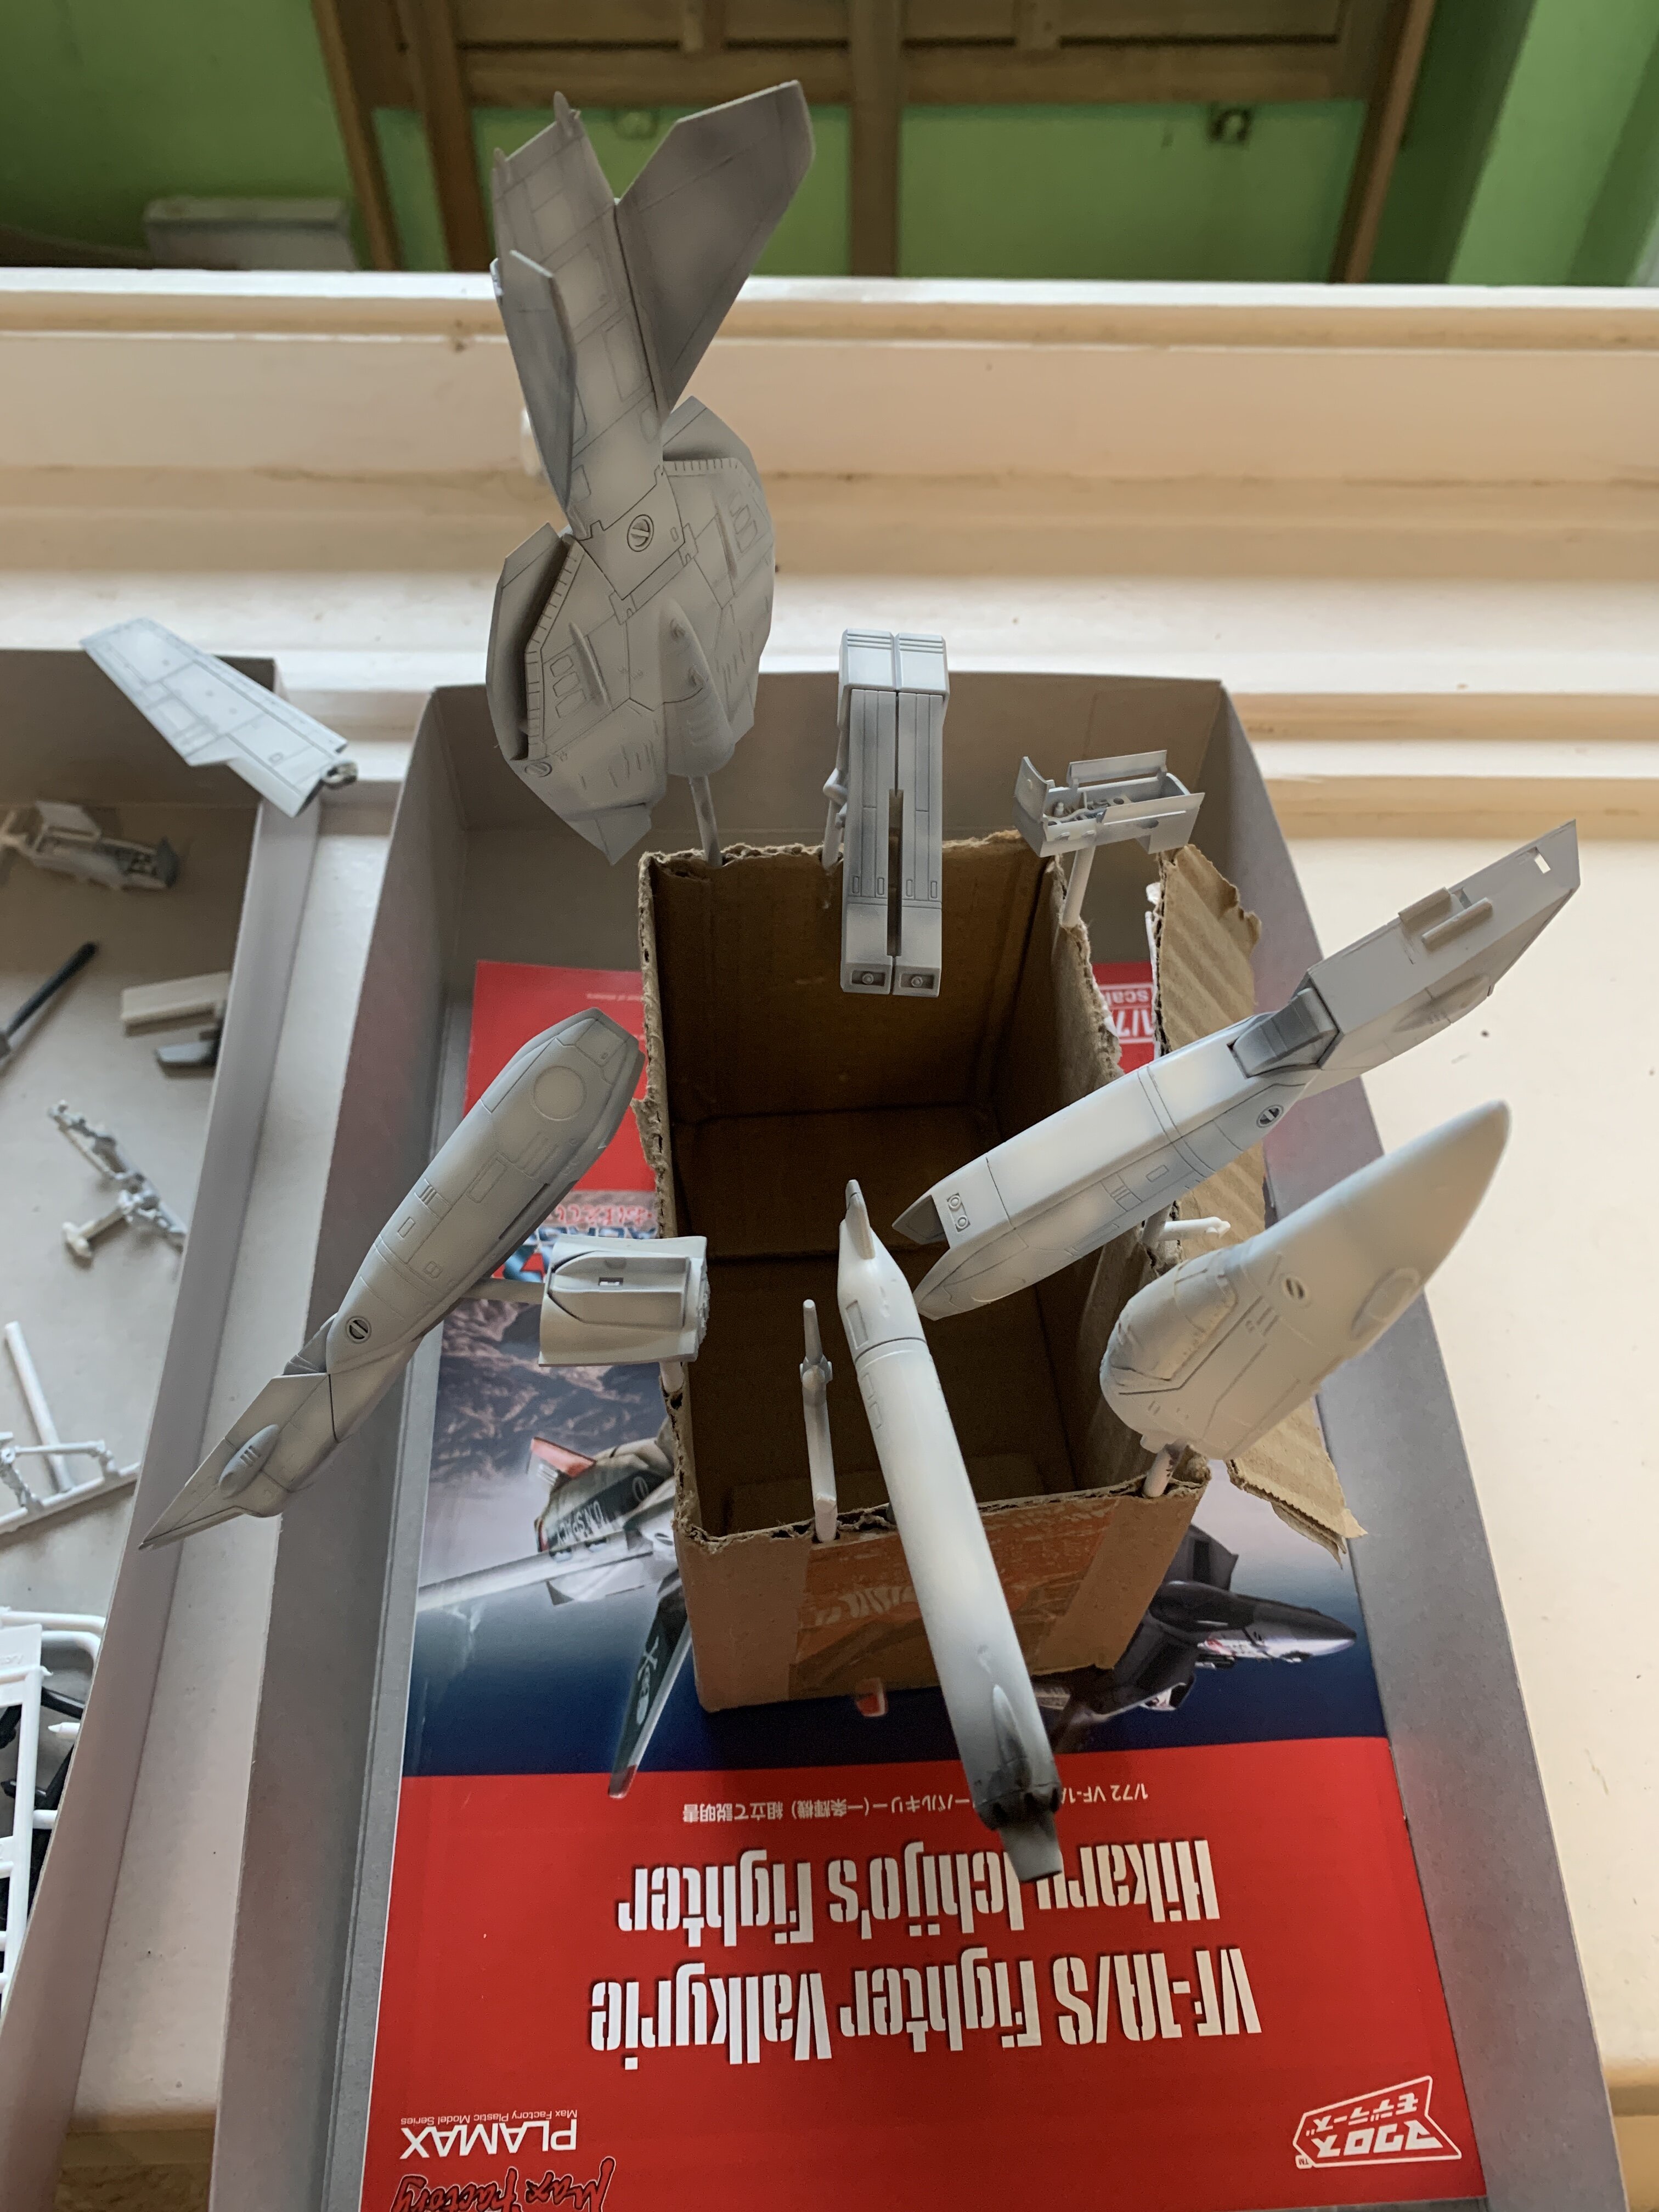
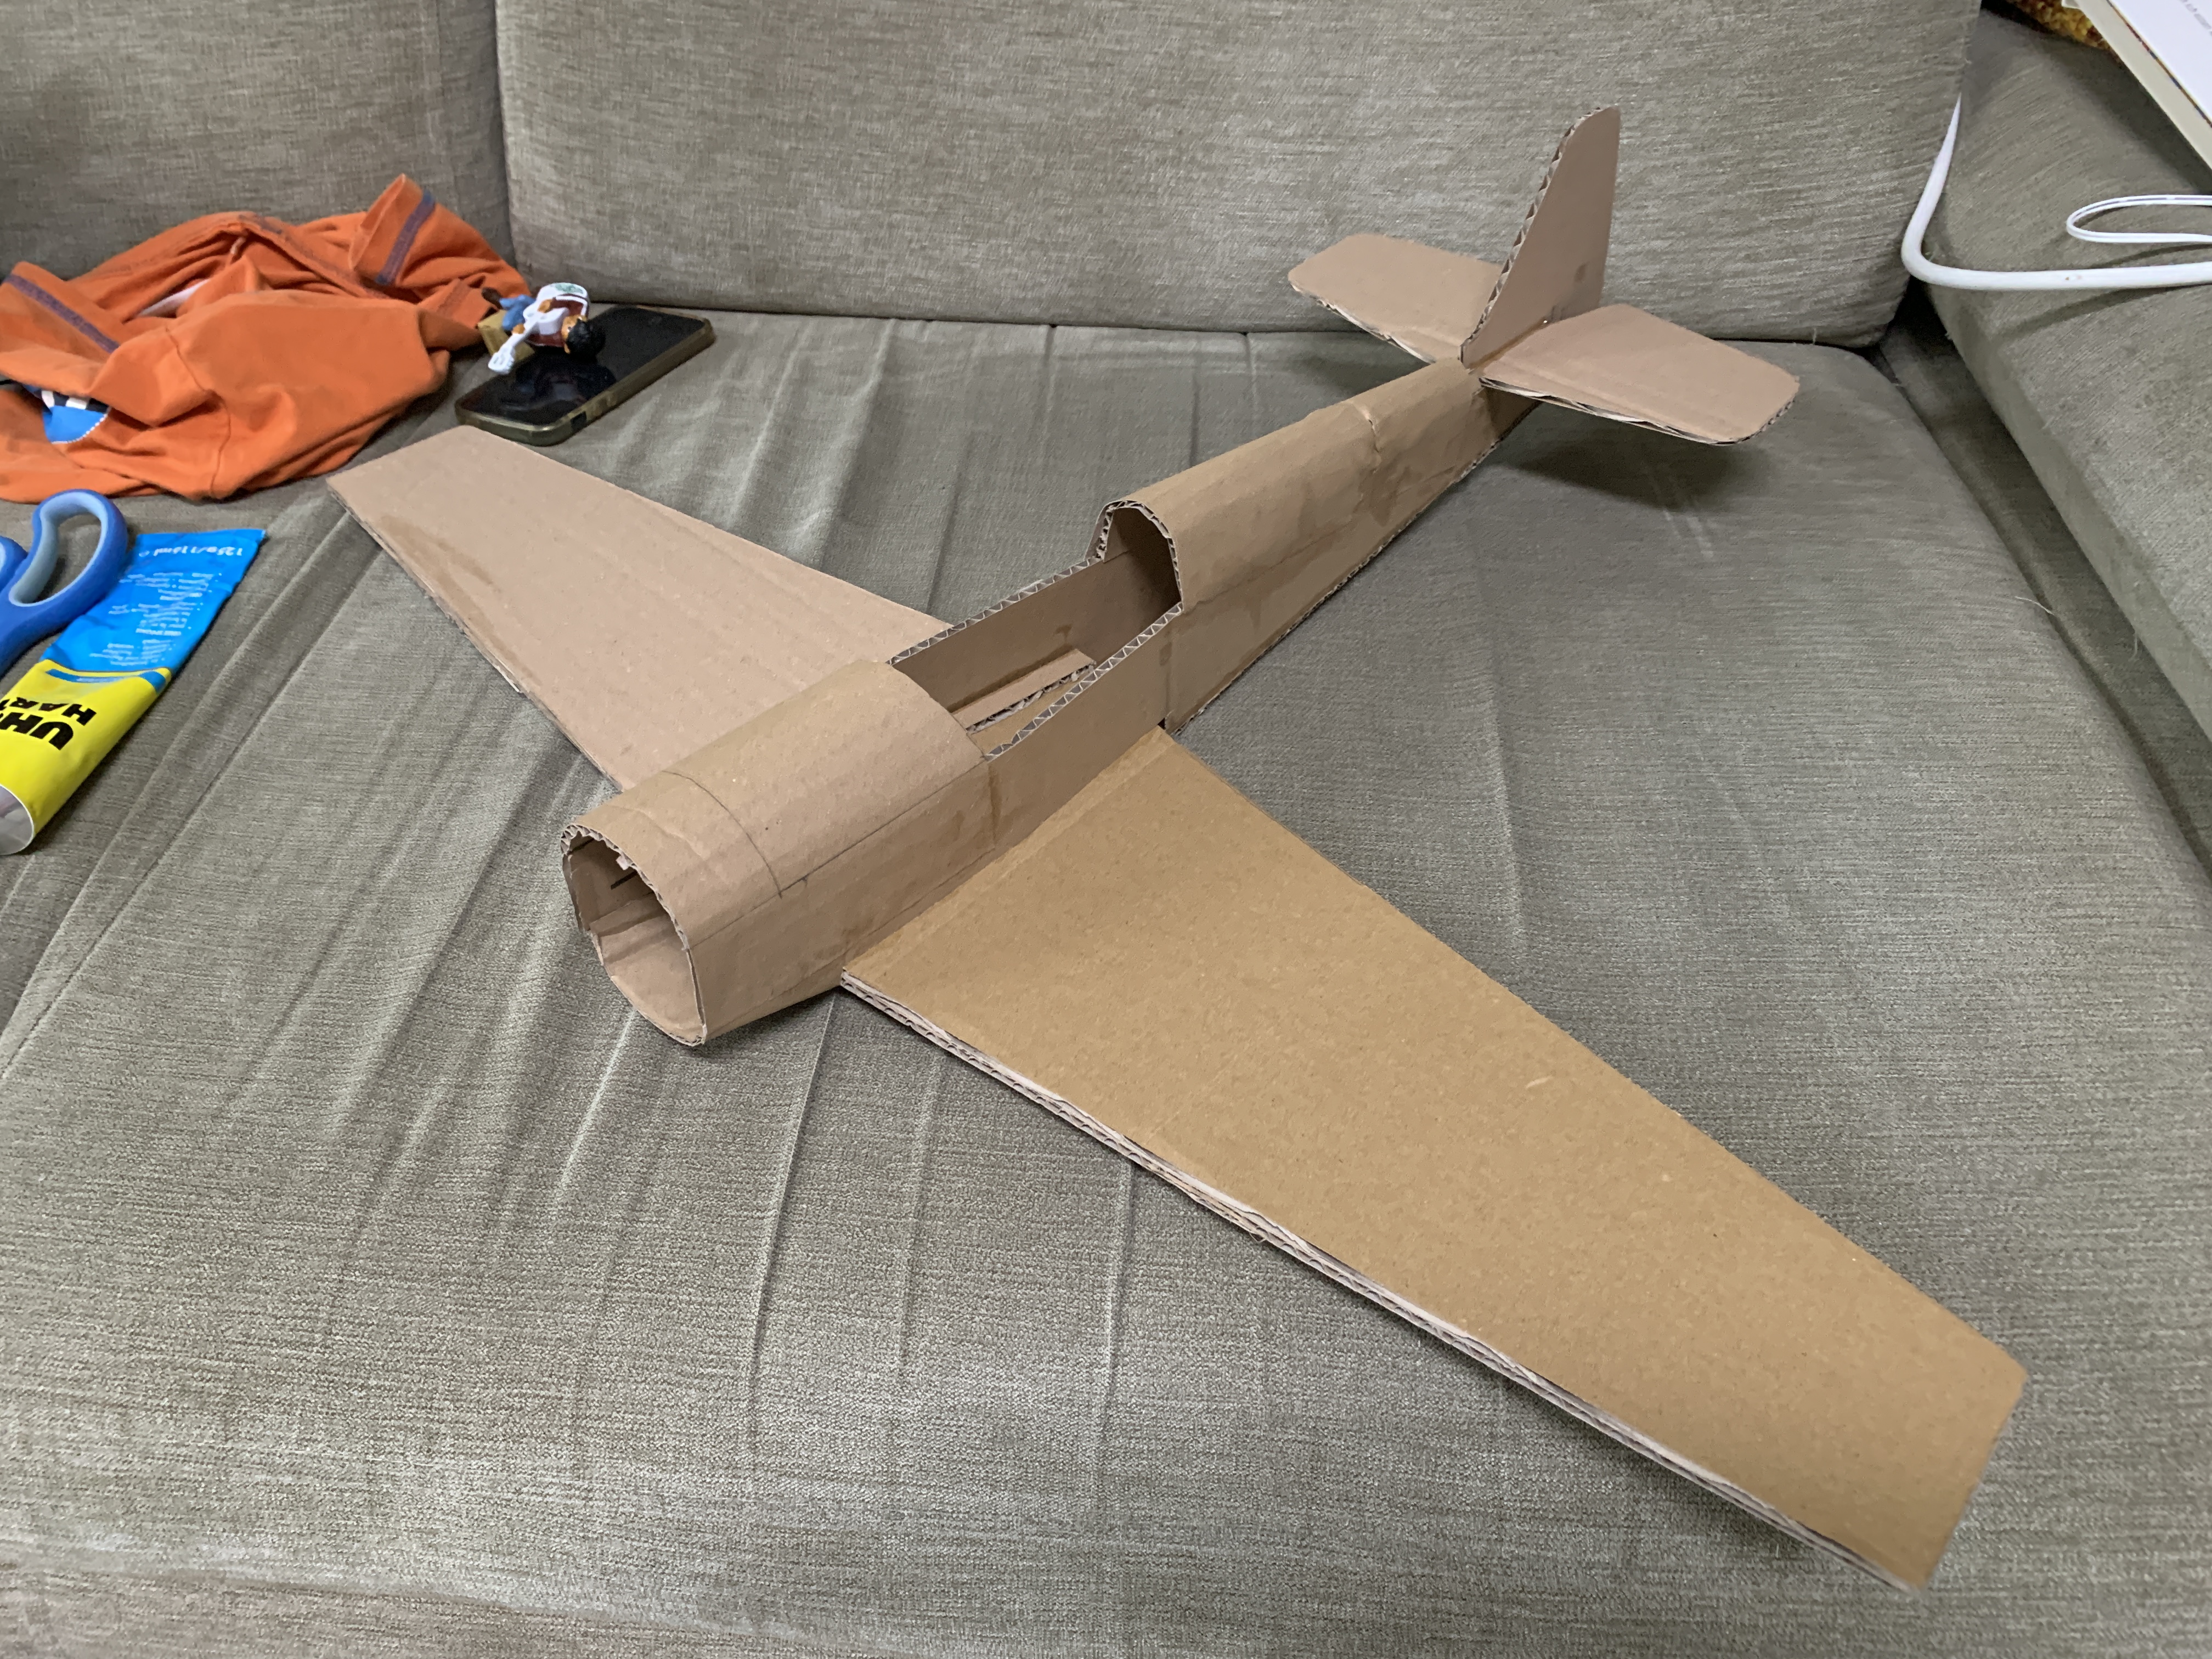
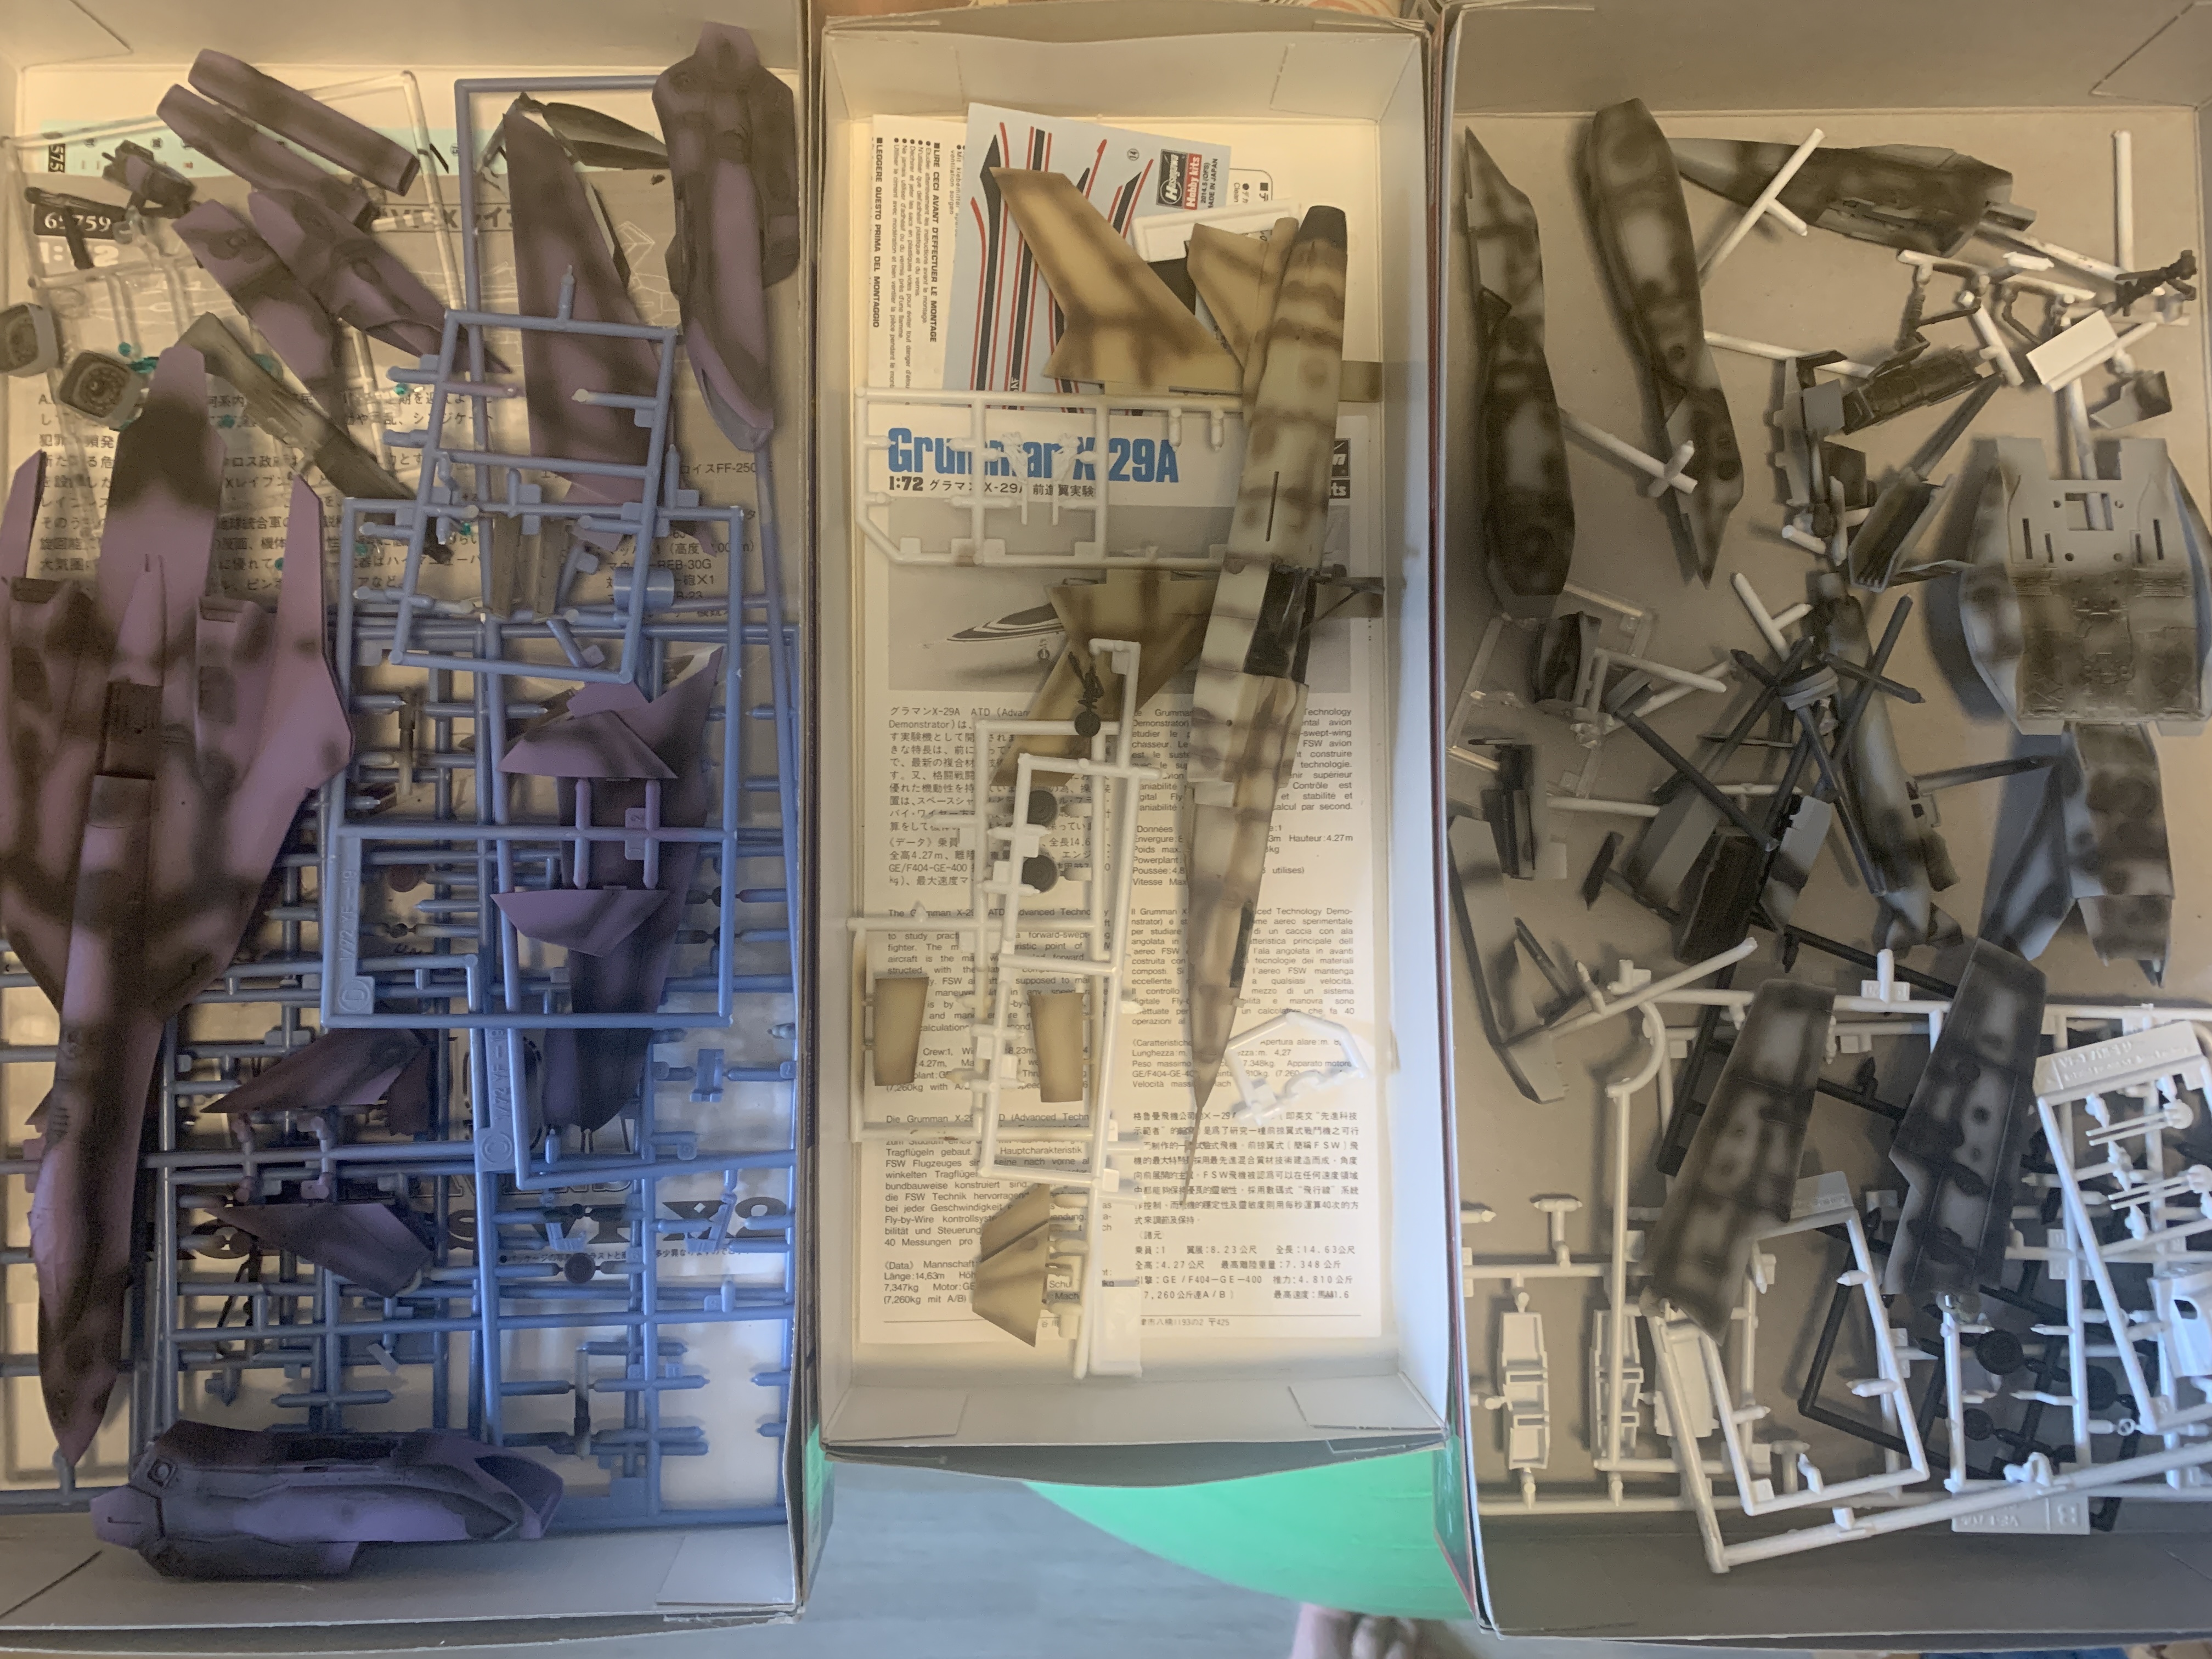
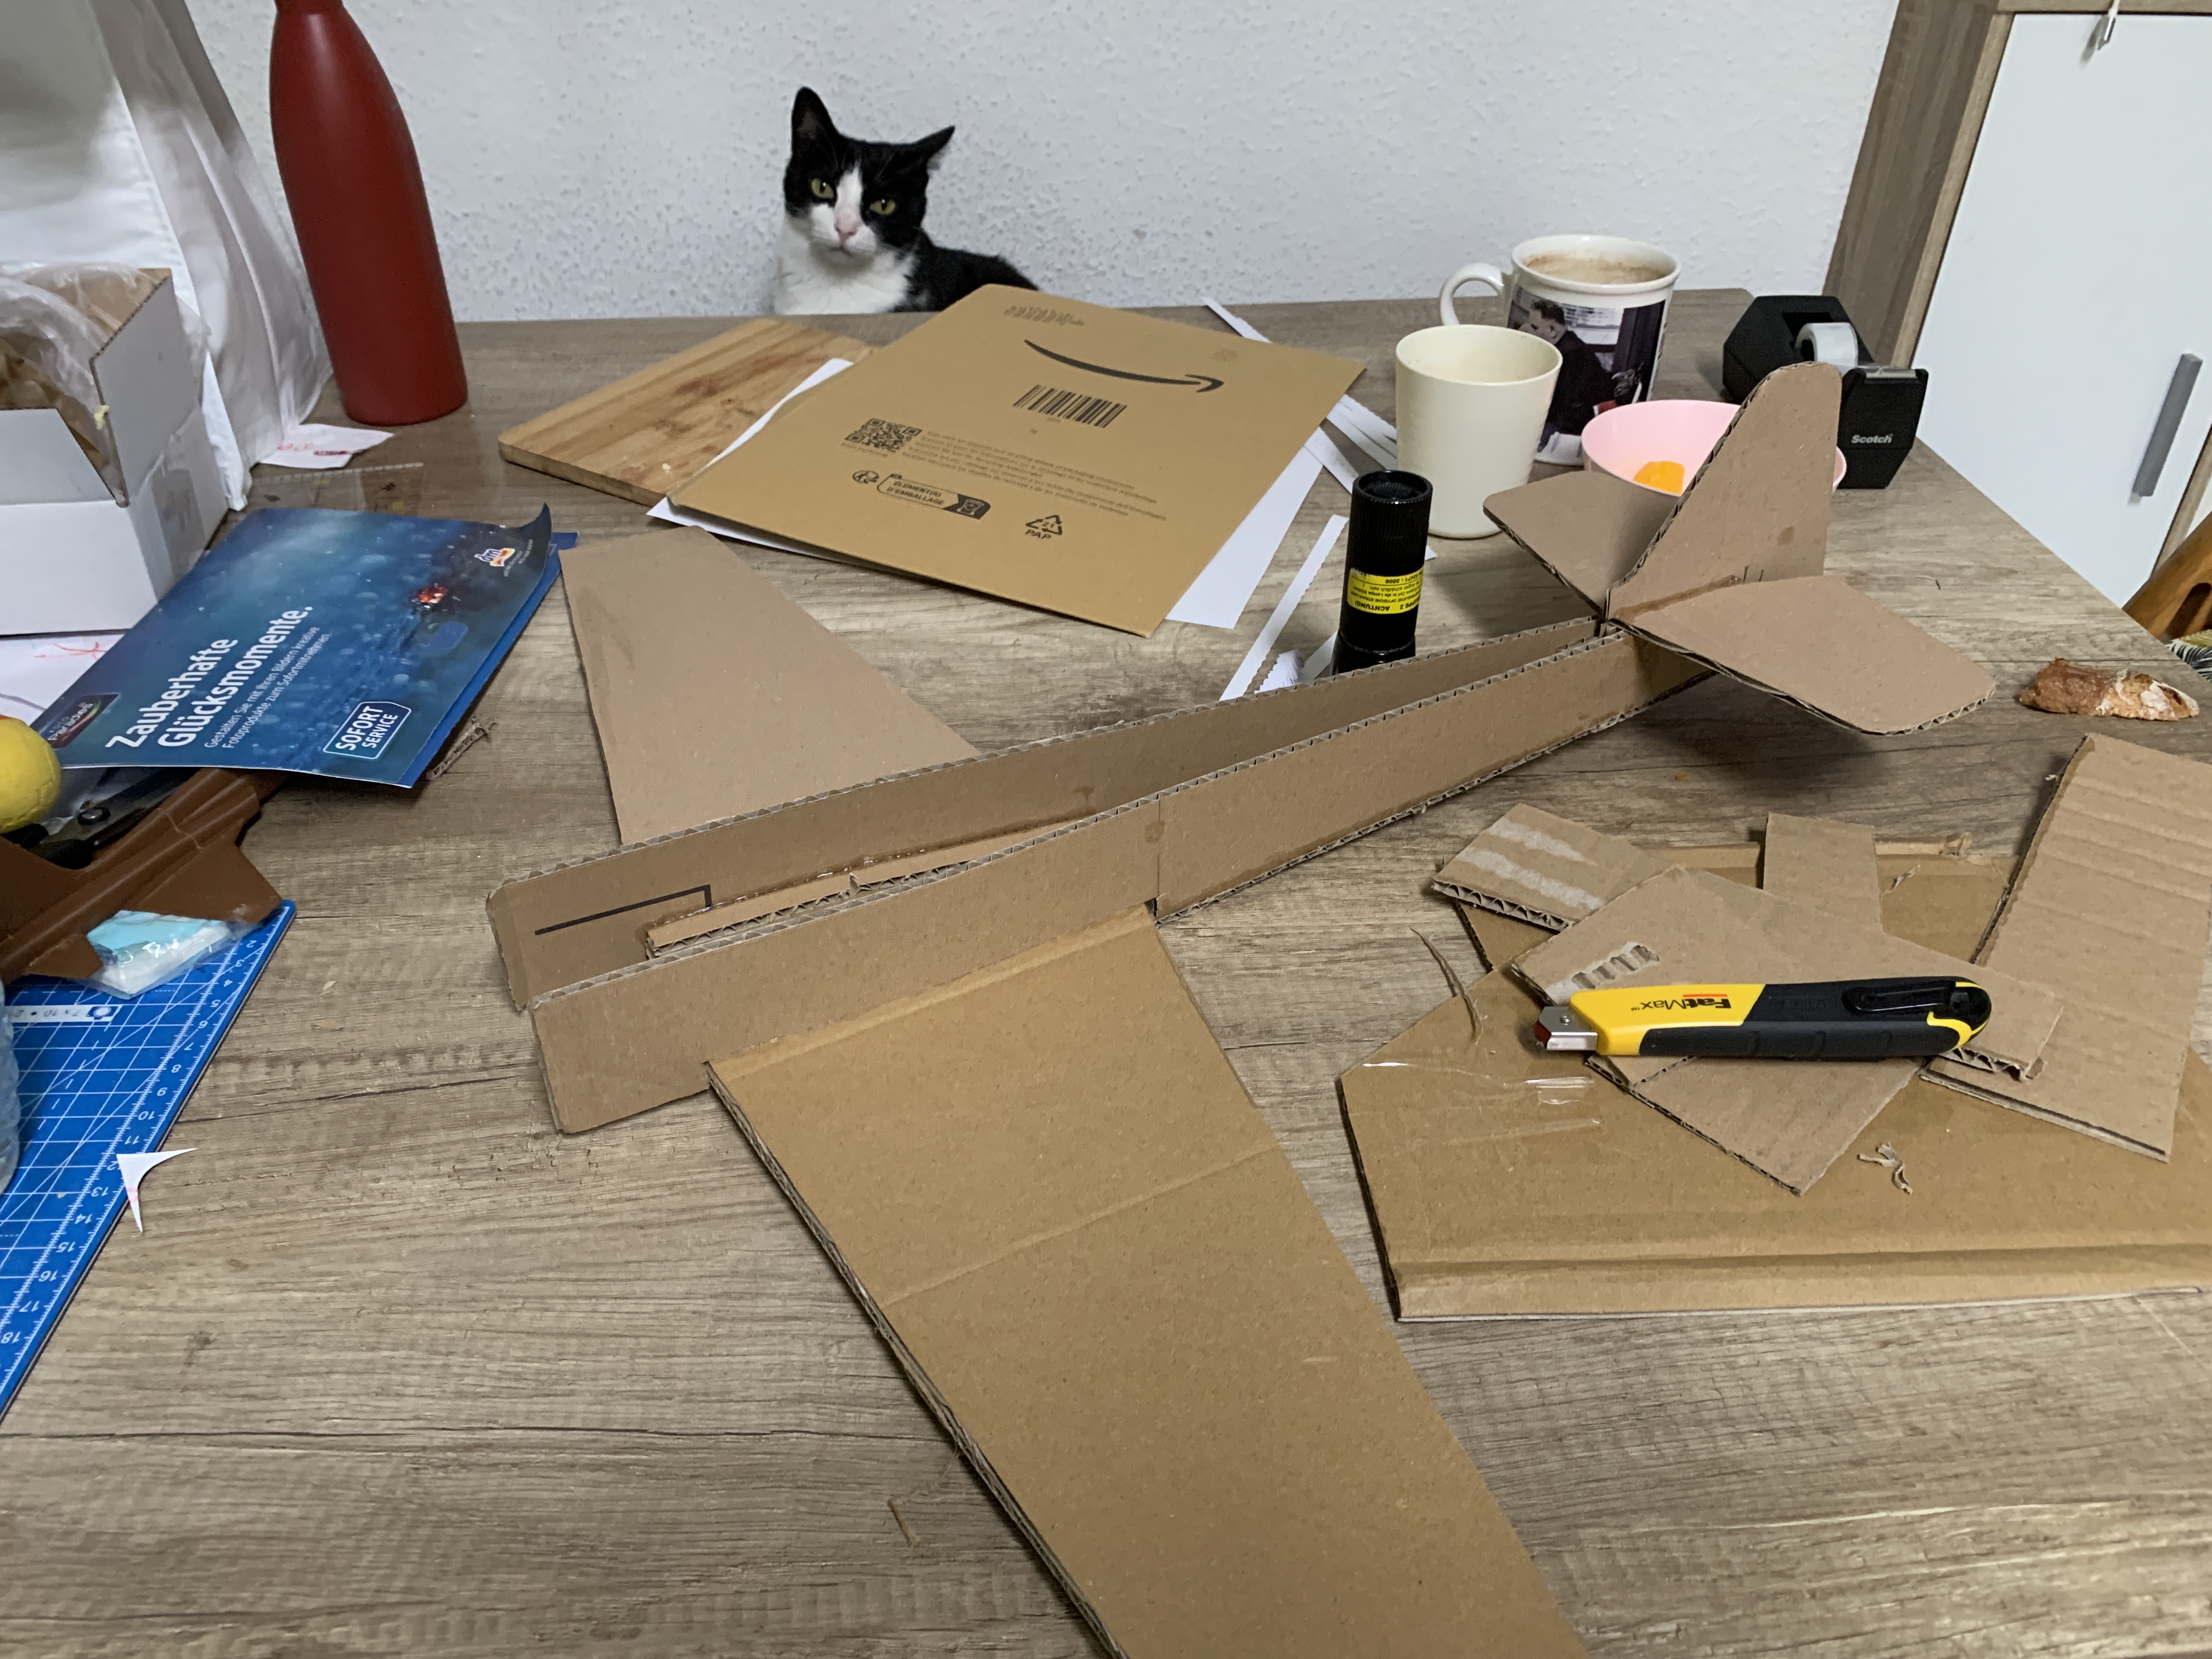
Awesome man! I‘ve done some paperwork yesterday. had to many cardboard boxes flying around and decided to build this. Glides through the air like an unfolded box. Hahaha did some pre-shading on the VF-19A, X-29 and VF-1A.
-
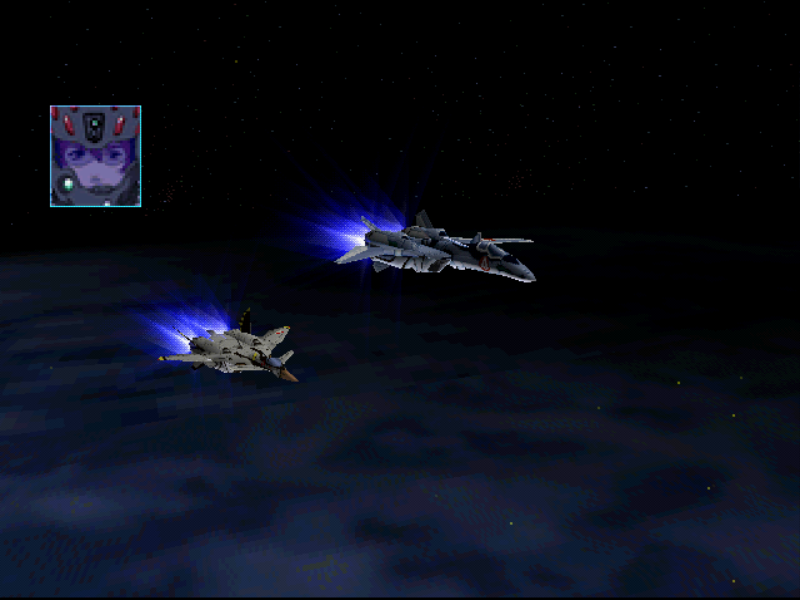
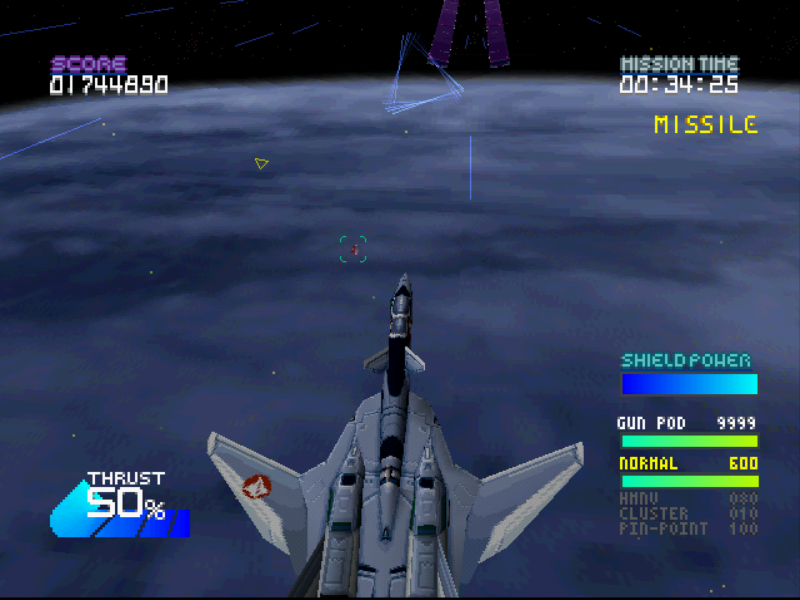
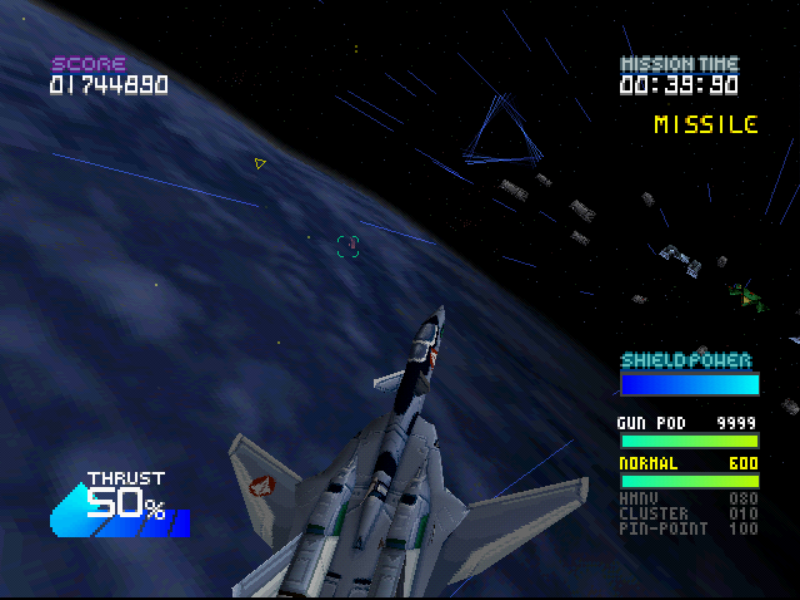
This looks more purple than blue. On the original artwork and the Macross VF-X 2 game itself, it is more a cerulean blue with a slight purple tint. That is why I am doing purple as a base shade for my 1/72 VF-19A and then going to spray cerulean blue over it. I took some screenshots from the game to show. This is the after the My Fair Lady mission, in earth orbit, fighting against a ghost V-9 prior to the battle against Macross 13. I mean, your color looks really awesome, just not game accurate
- 89 replies
-
- 1
-

-
- macross vf-x2
- vf-19 excalibur
-
(and 2 more)
Tagged with:
-
Well, just get the normal yf-19, paint it black and add carbon fiber details
-
You know what would be cool? A YF-19 re-issue with fast packs and a fold booster
-
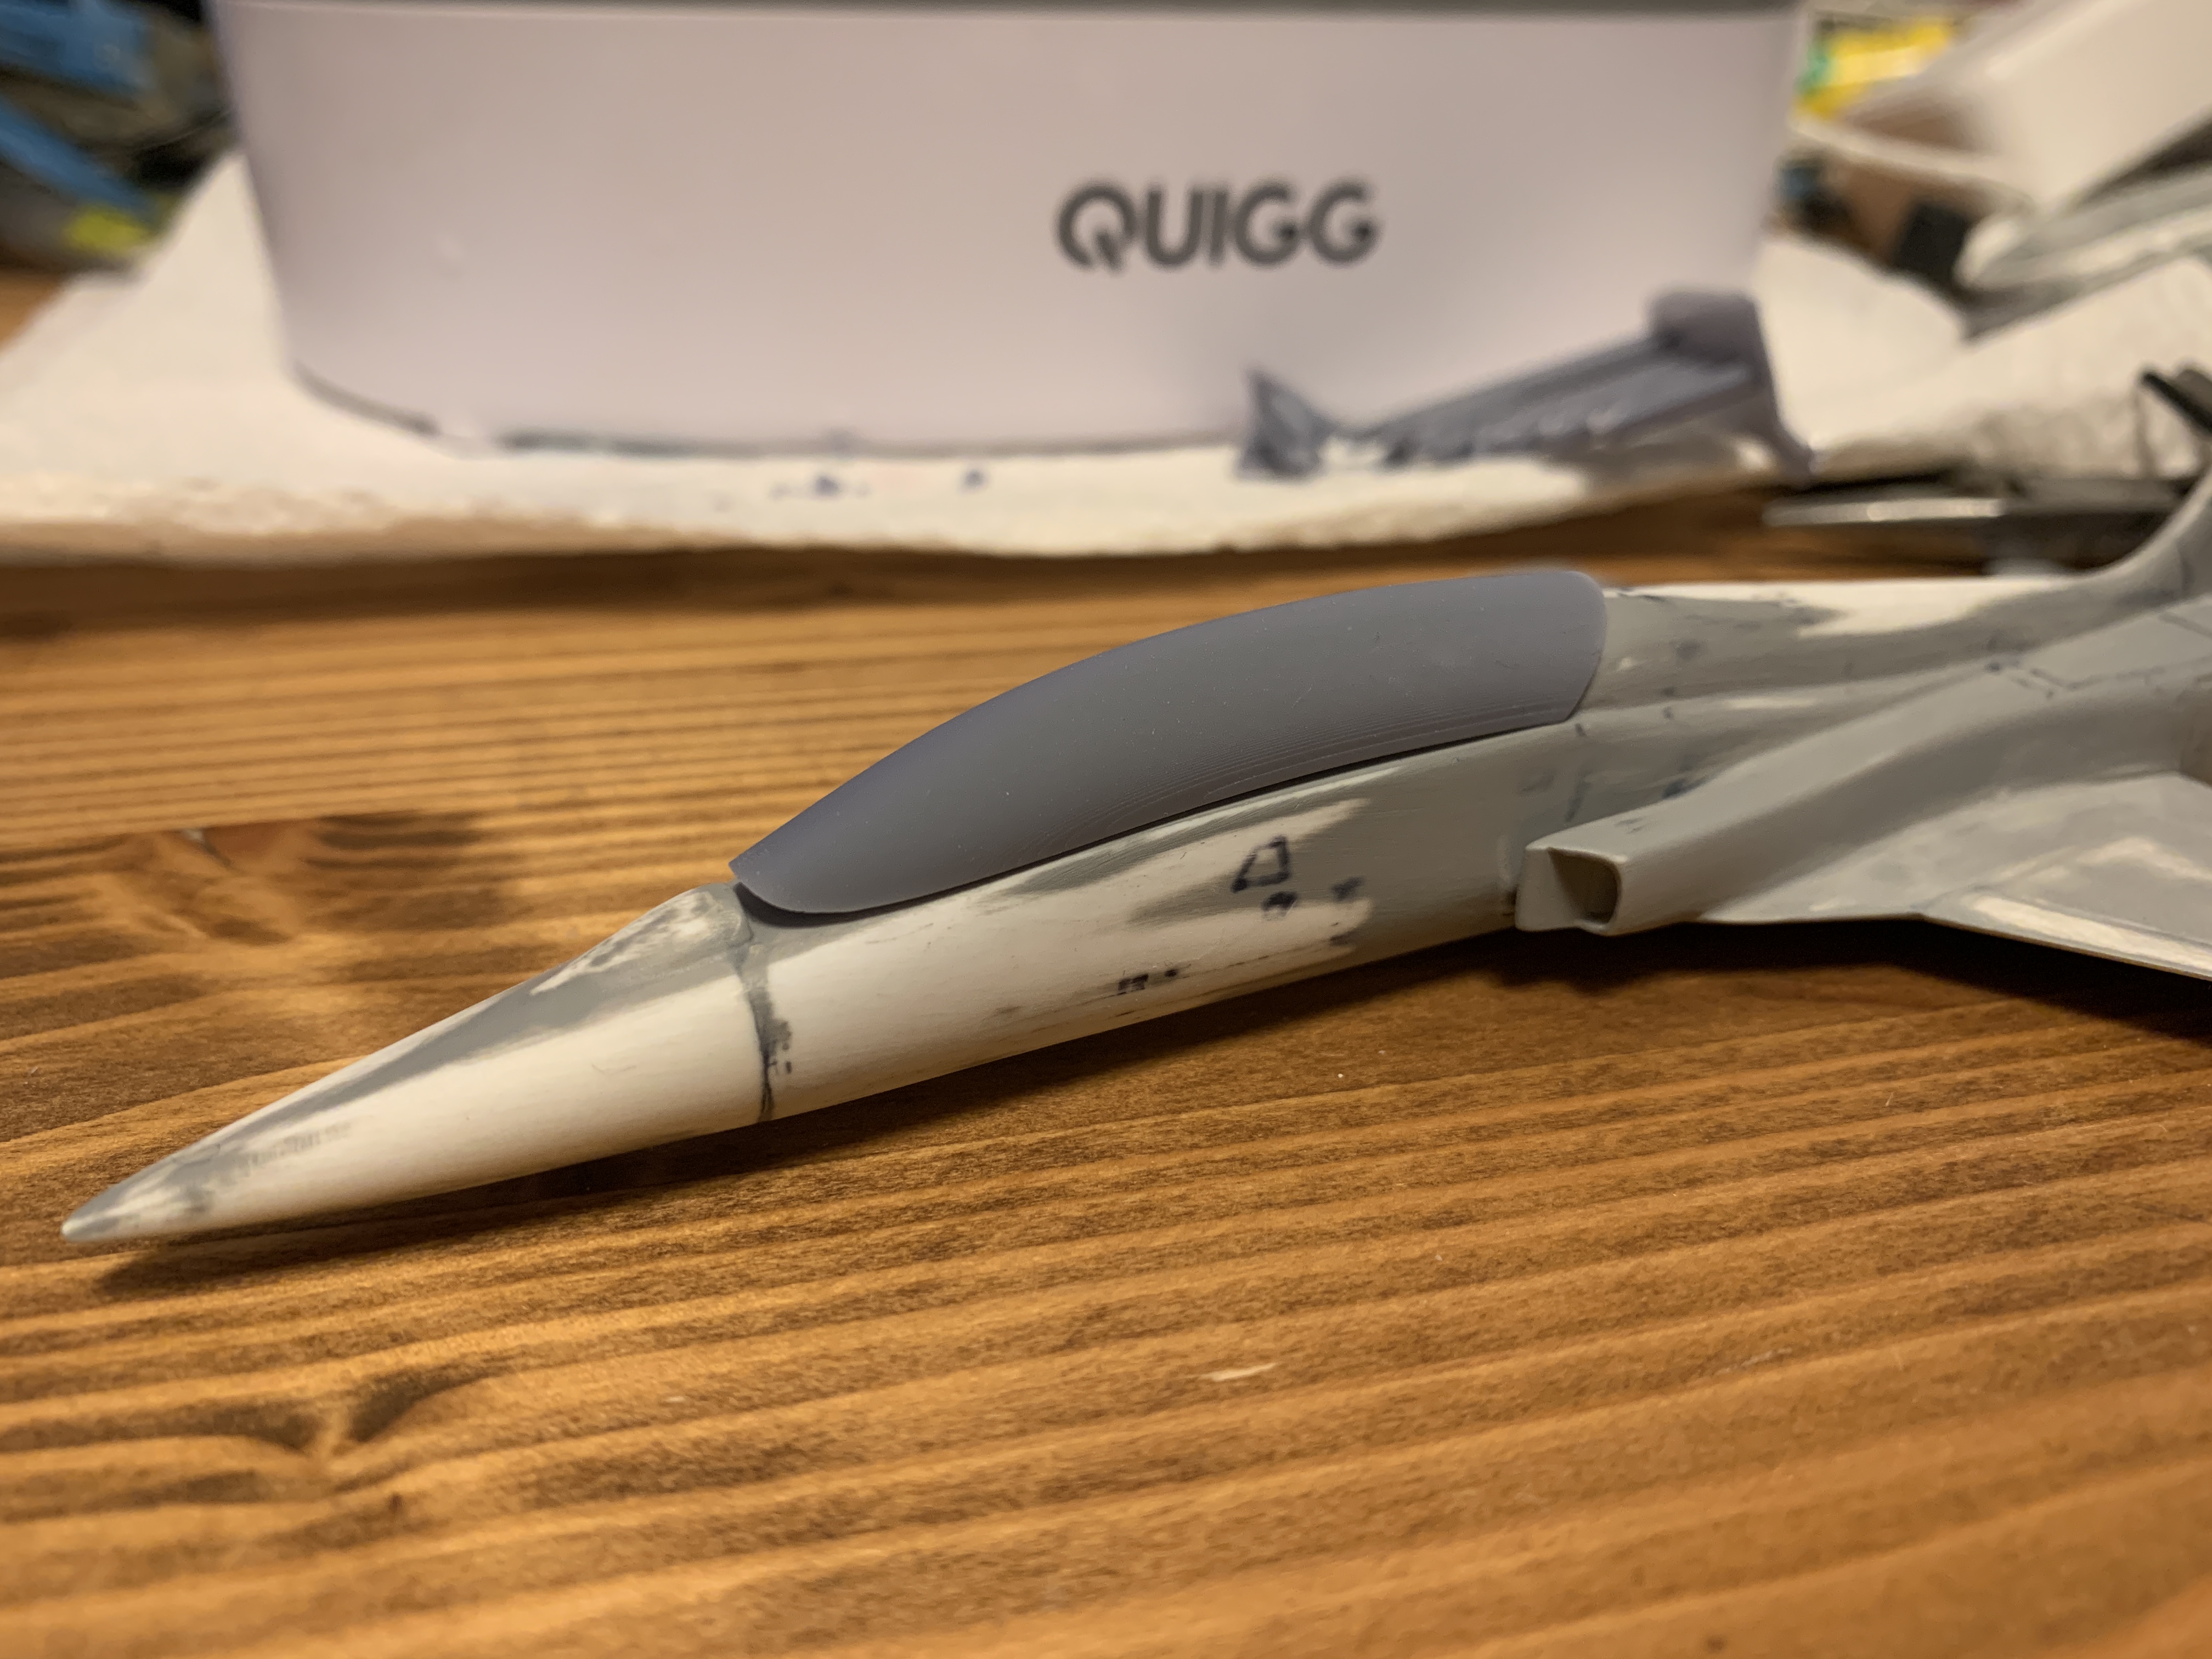
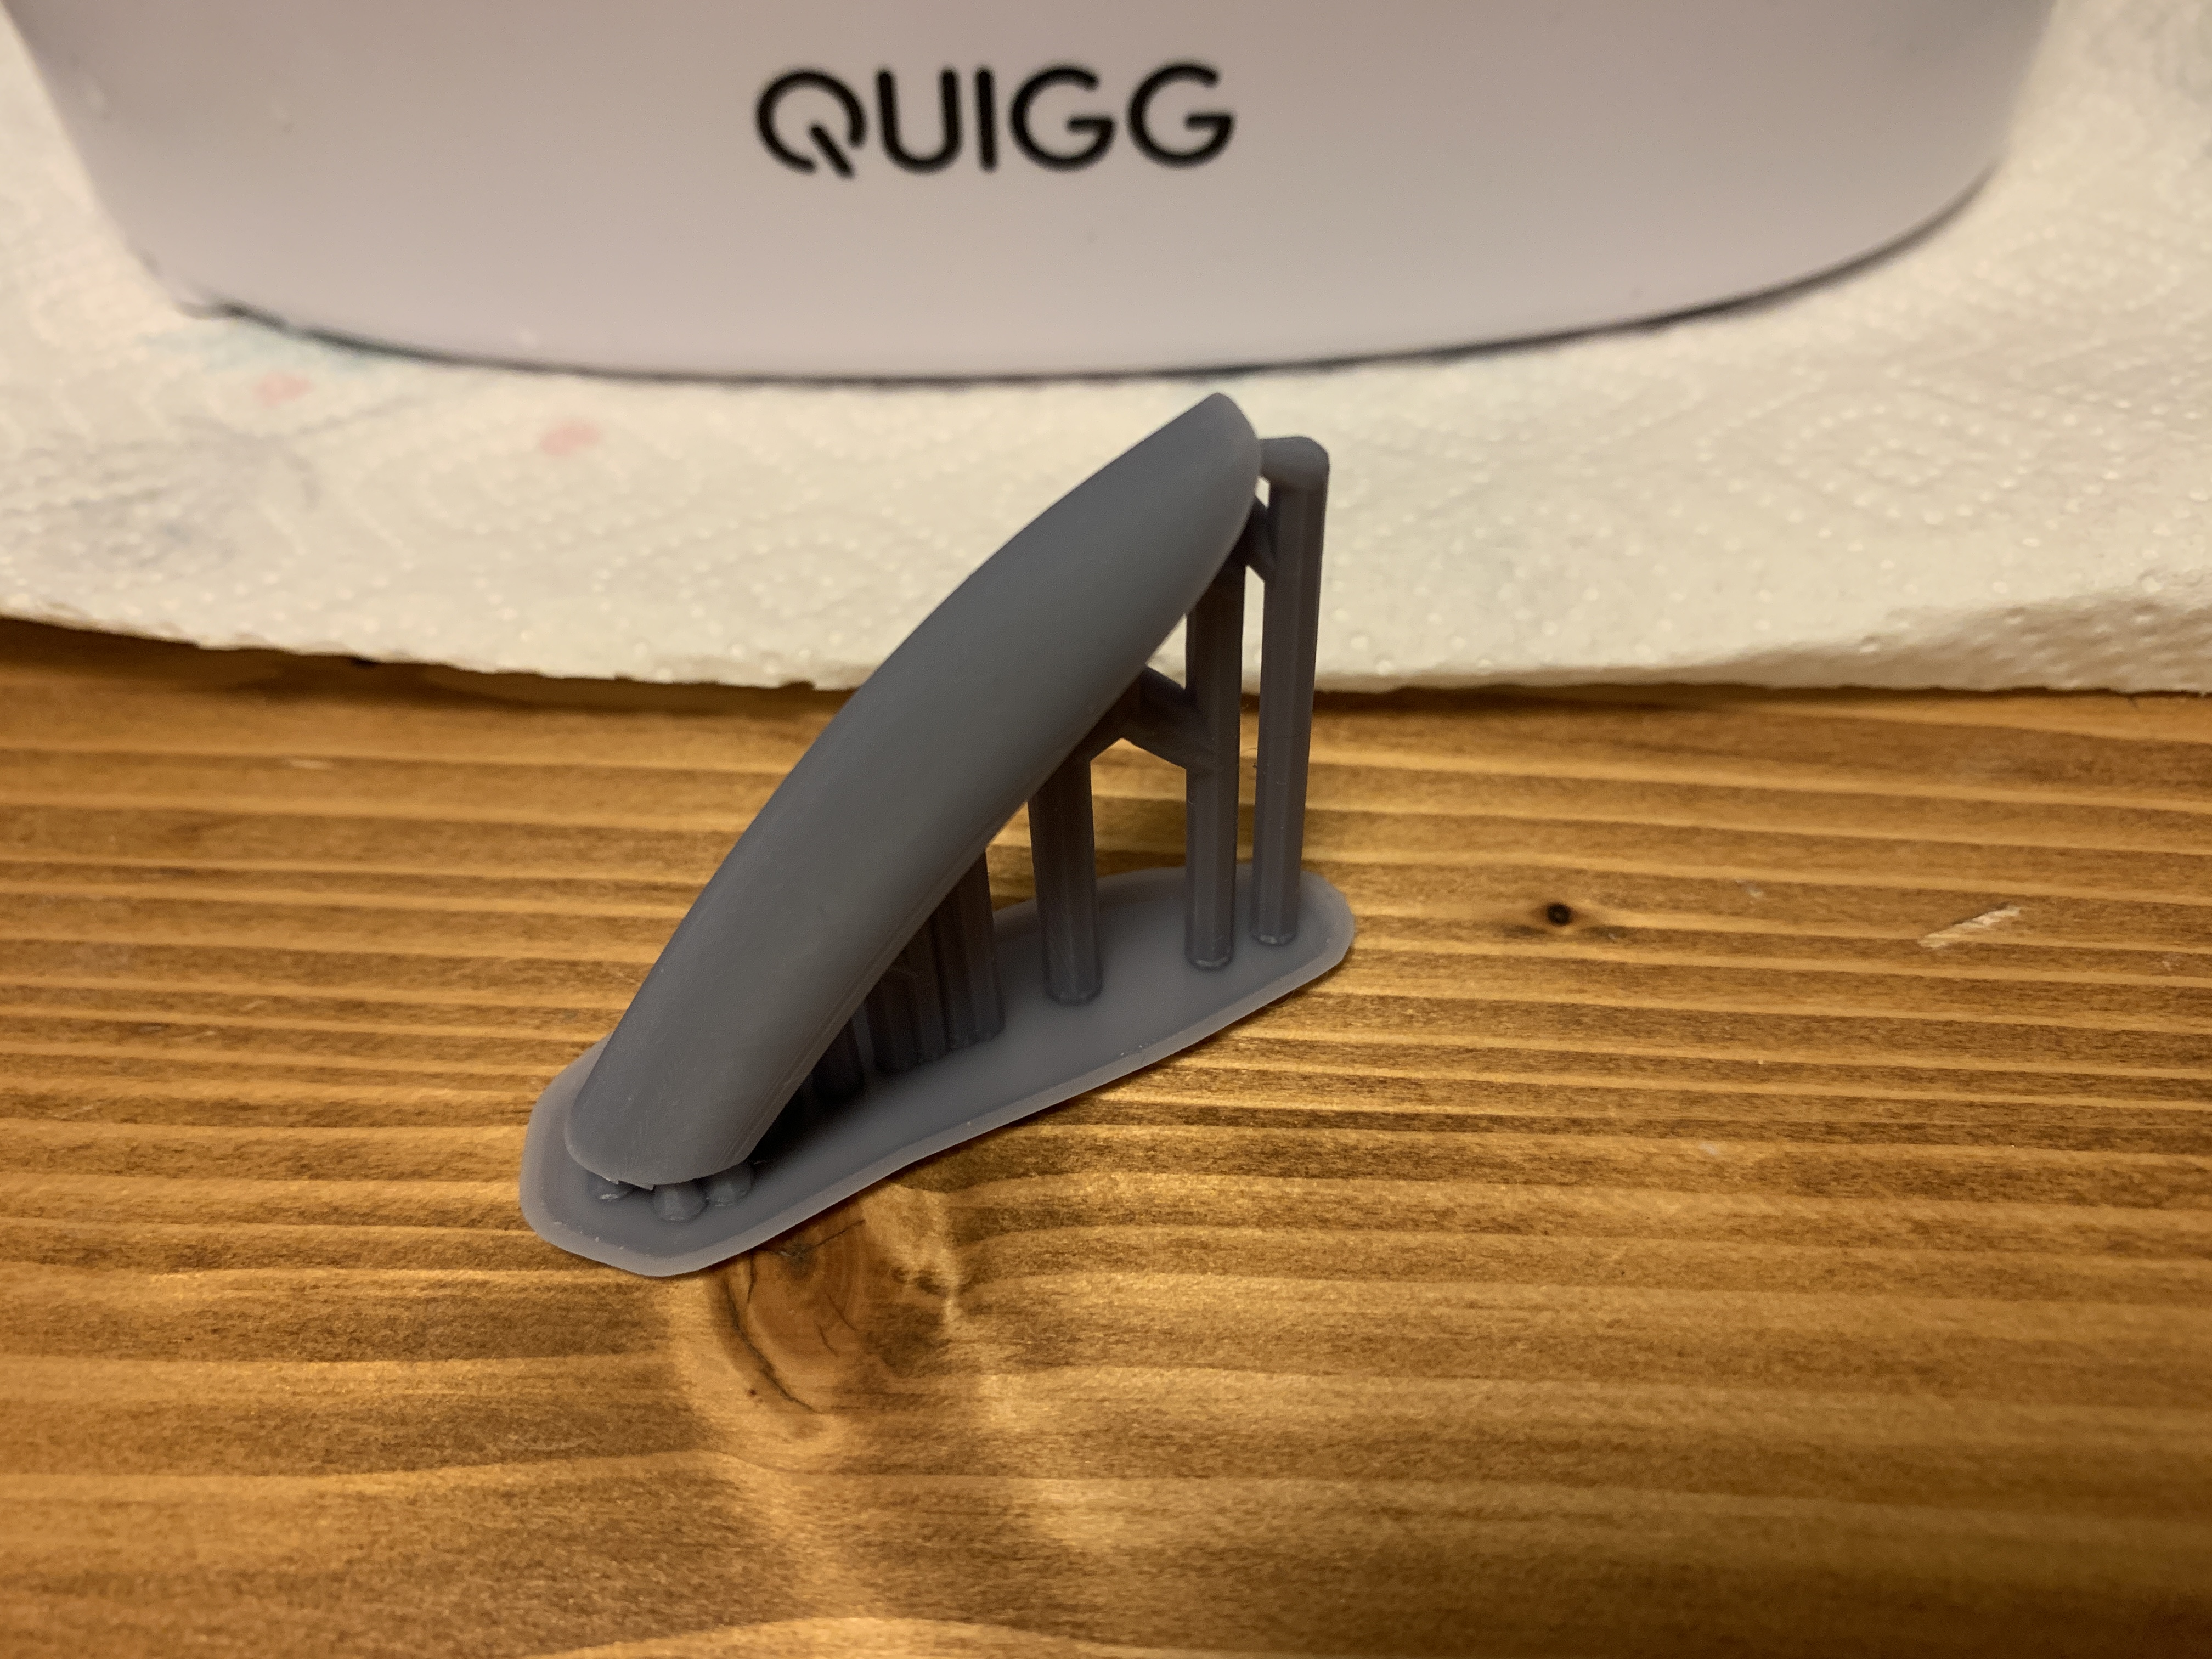
@Big s awesome front mission kit! @arbit good work! I like the bridge bunnies @derex3592 that reliant looks so nice man Some updates on the CF-116 (canadian F-5B). I struggled scratch building a new canopy, so I used CAD and original blueprints to make a canopy. So here is a quick test print as a proof of concept. I either need to adjust the canopy to fit the kit or adjust the kit to fit the canopy. Probably going to adjust the kit, as the canopy is kinda scale
-
Oh man ... Kakizaki and Roy are super tall! How are they supposed to fit into their planes?
-
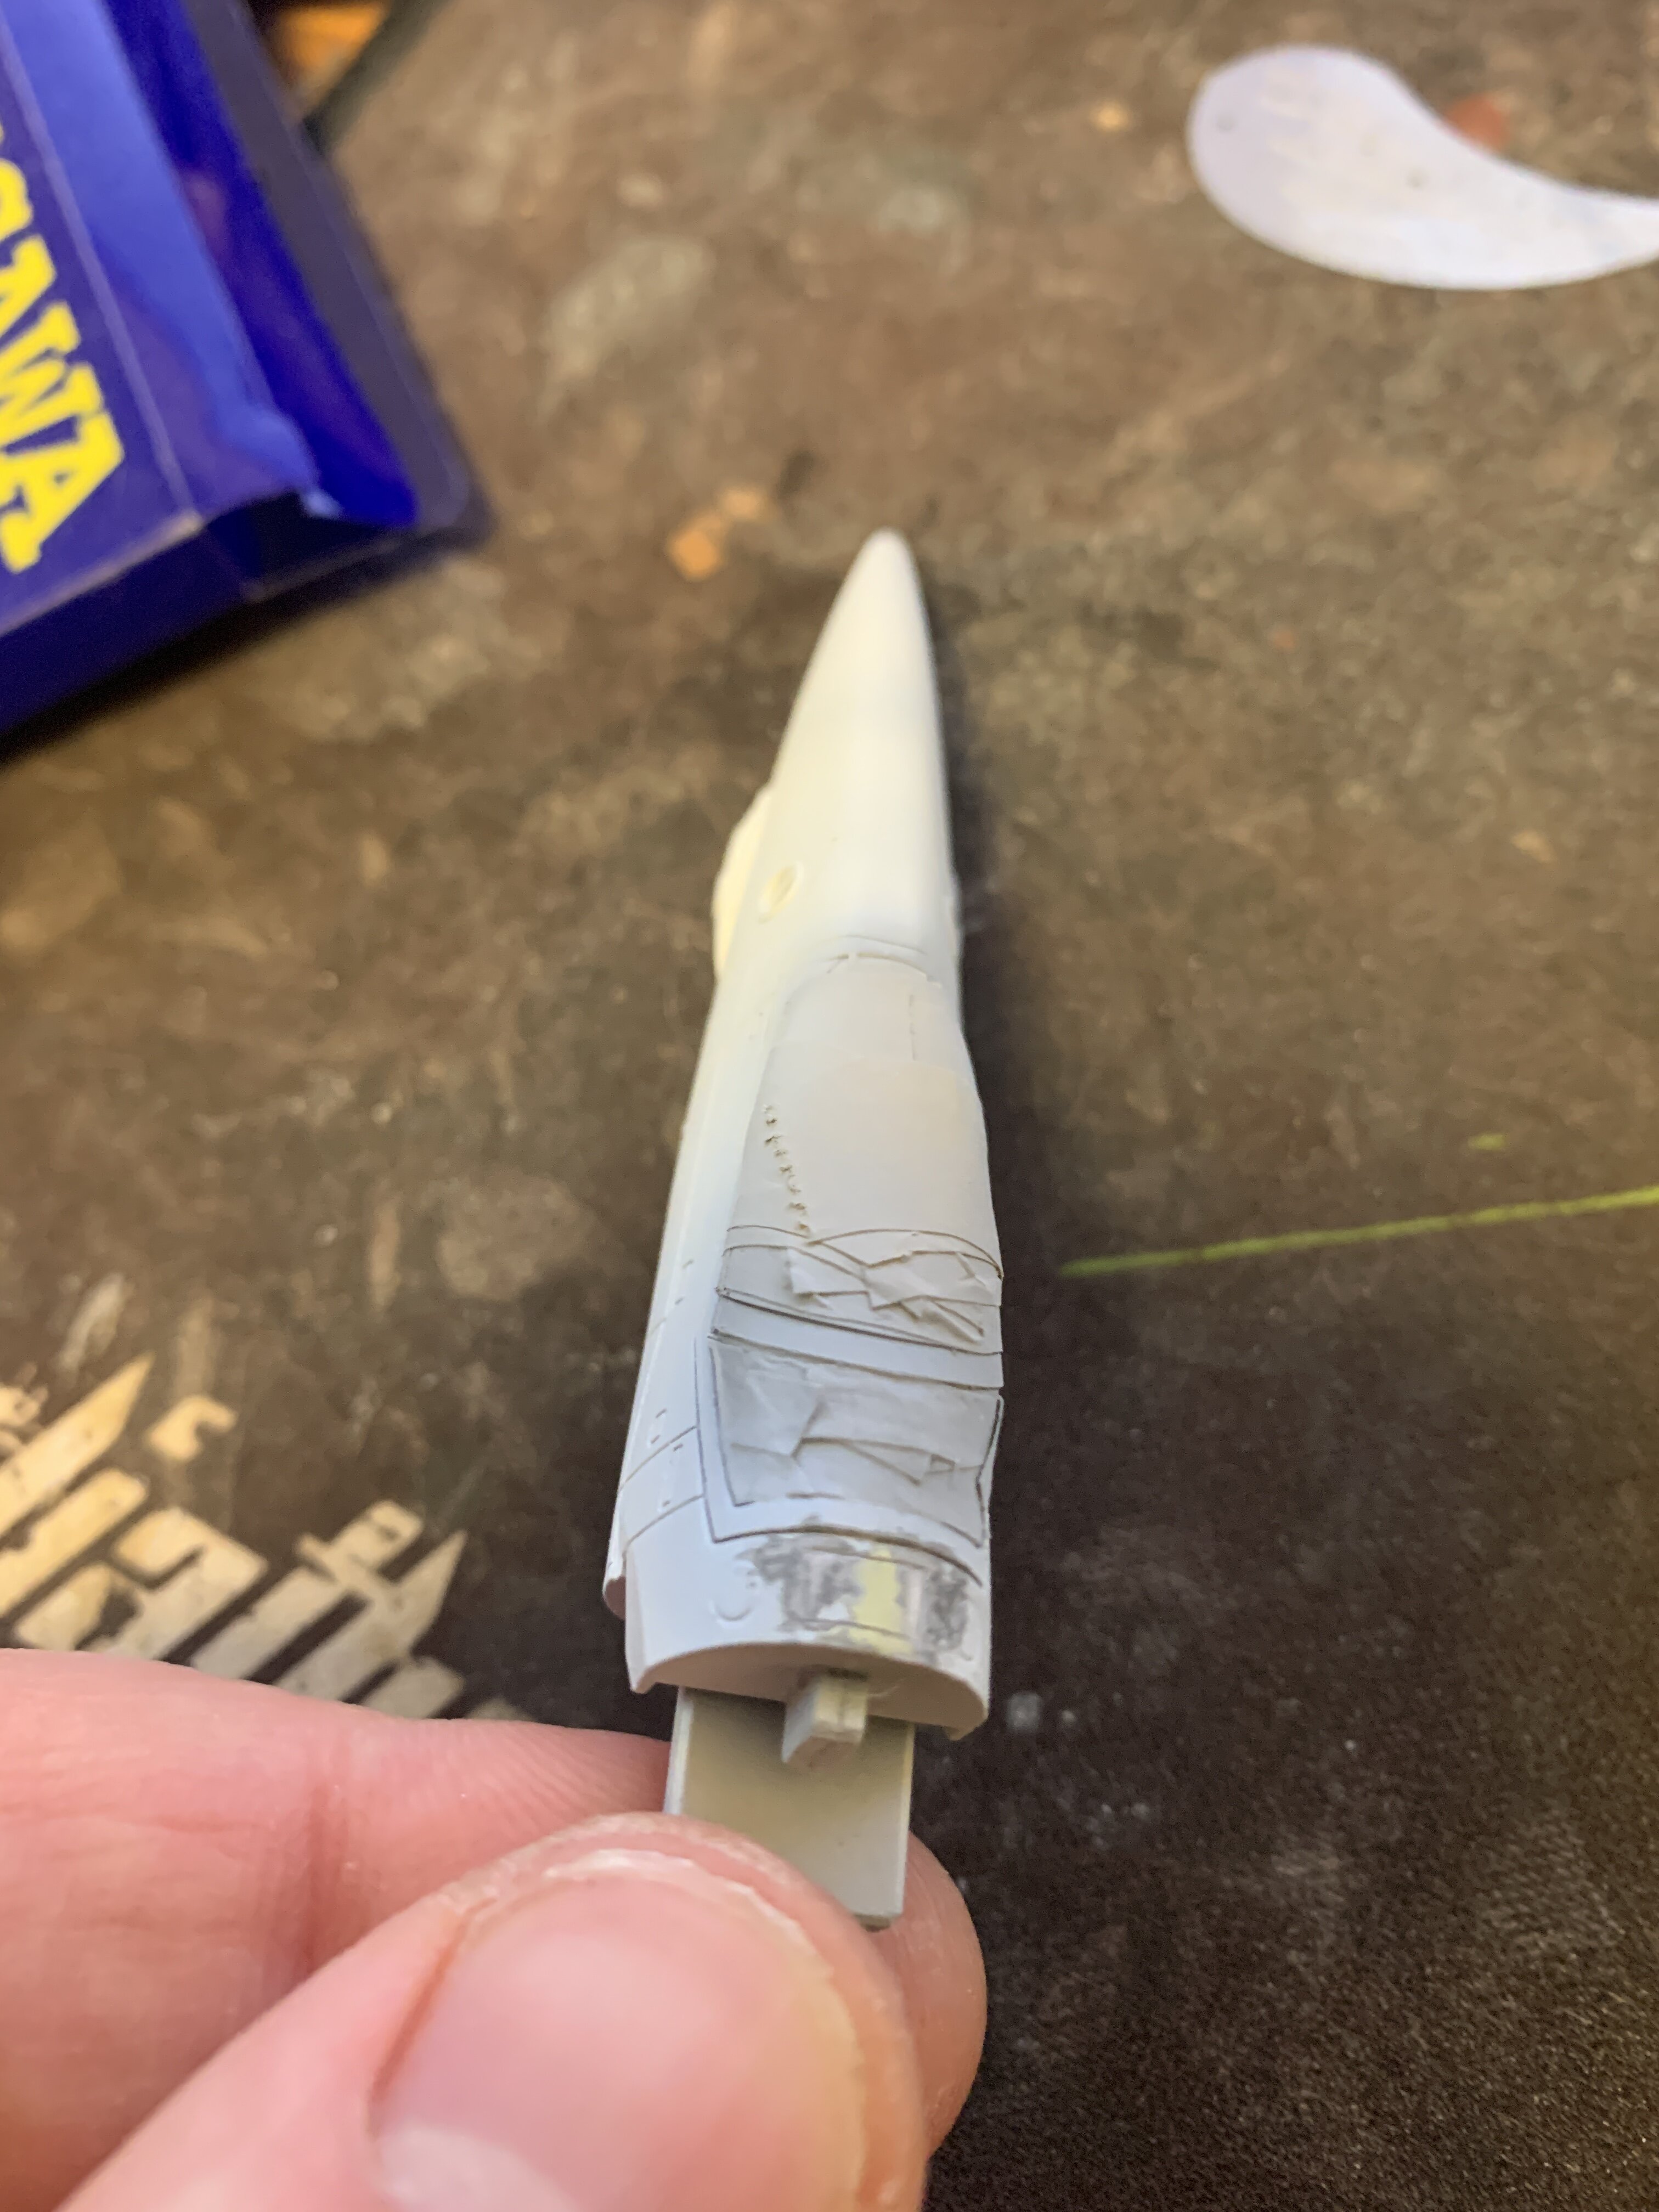
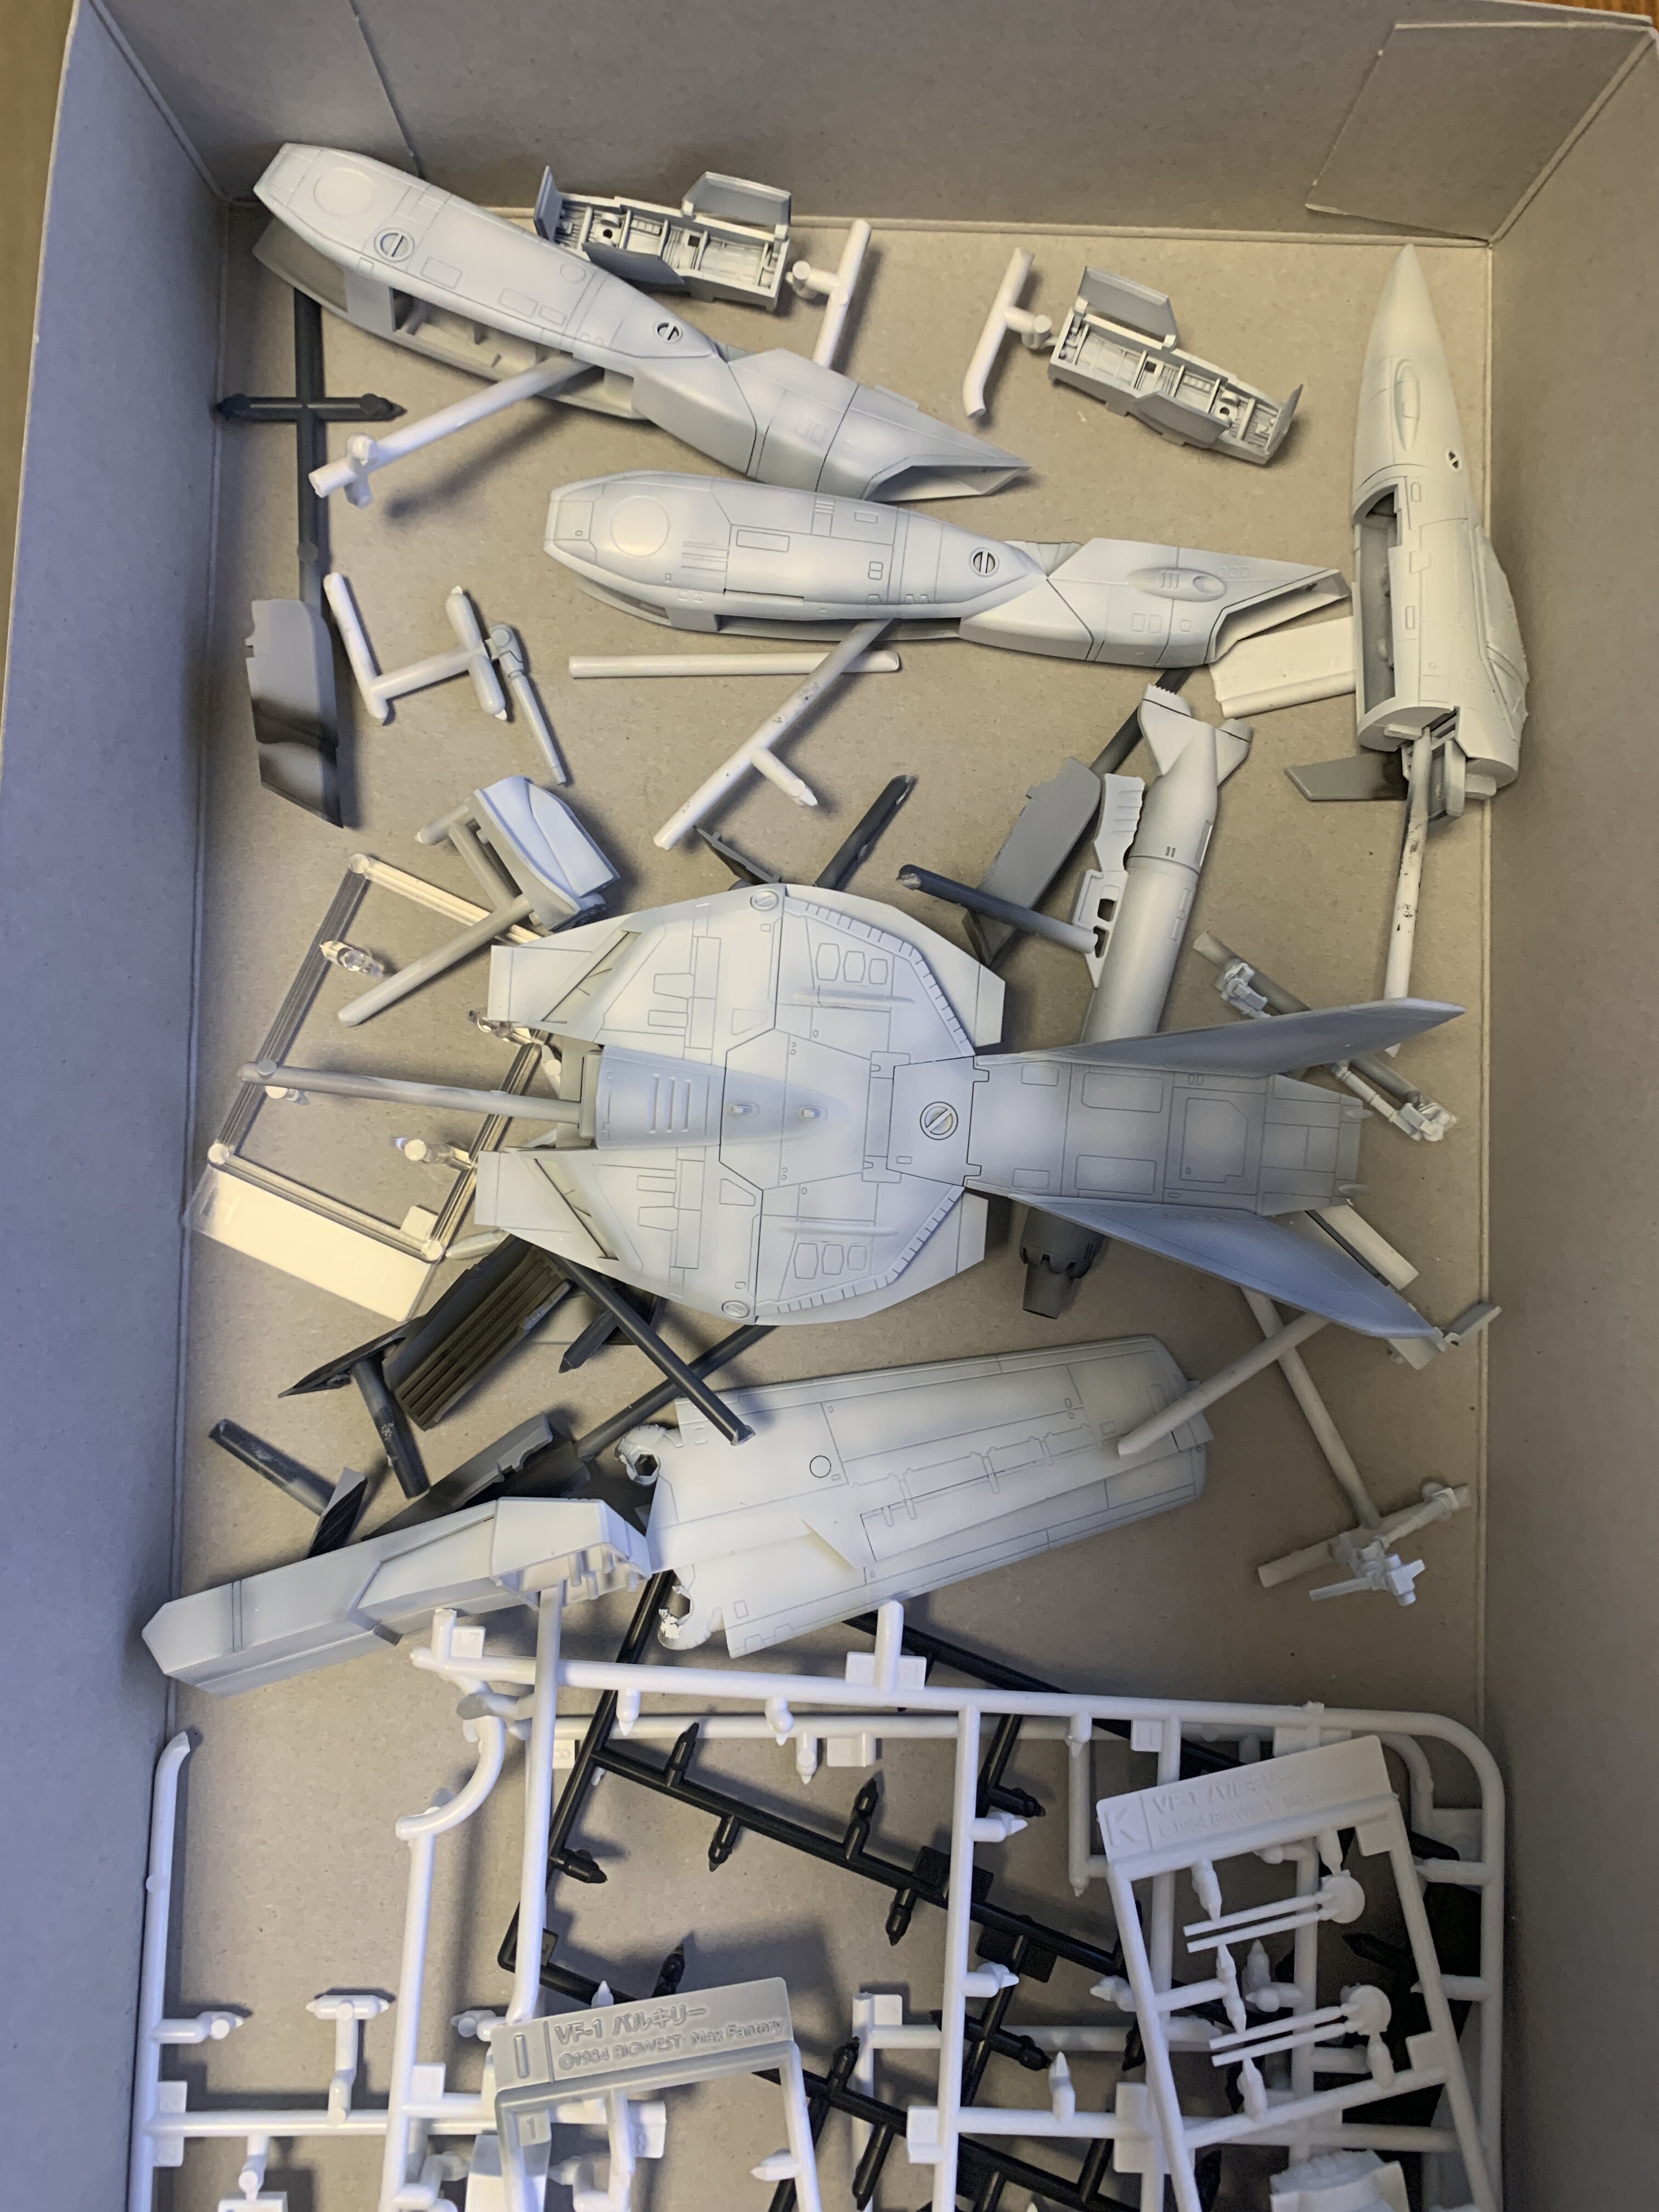
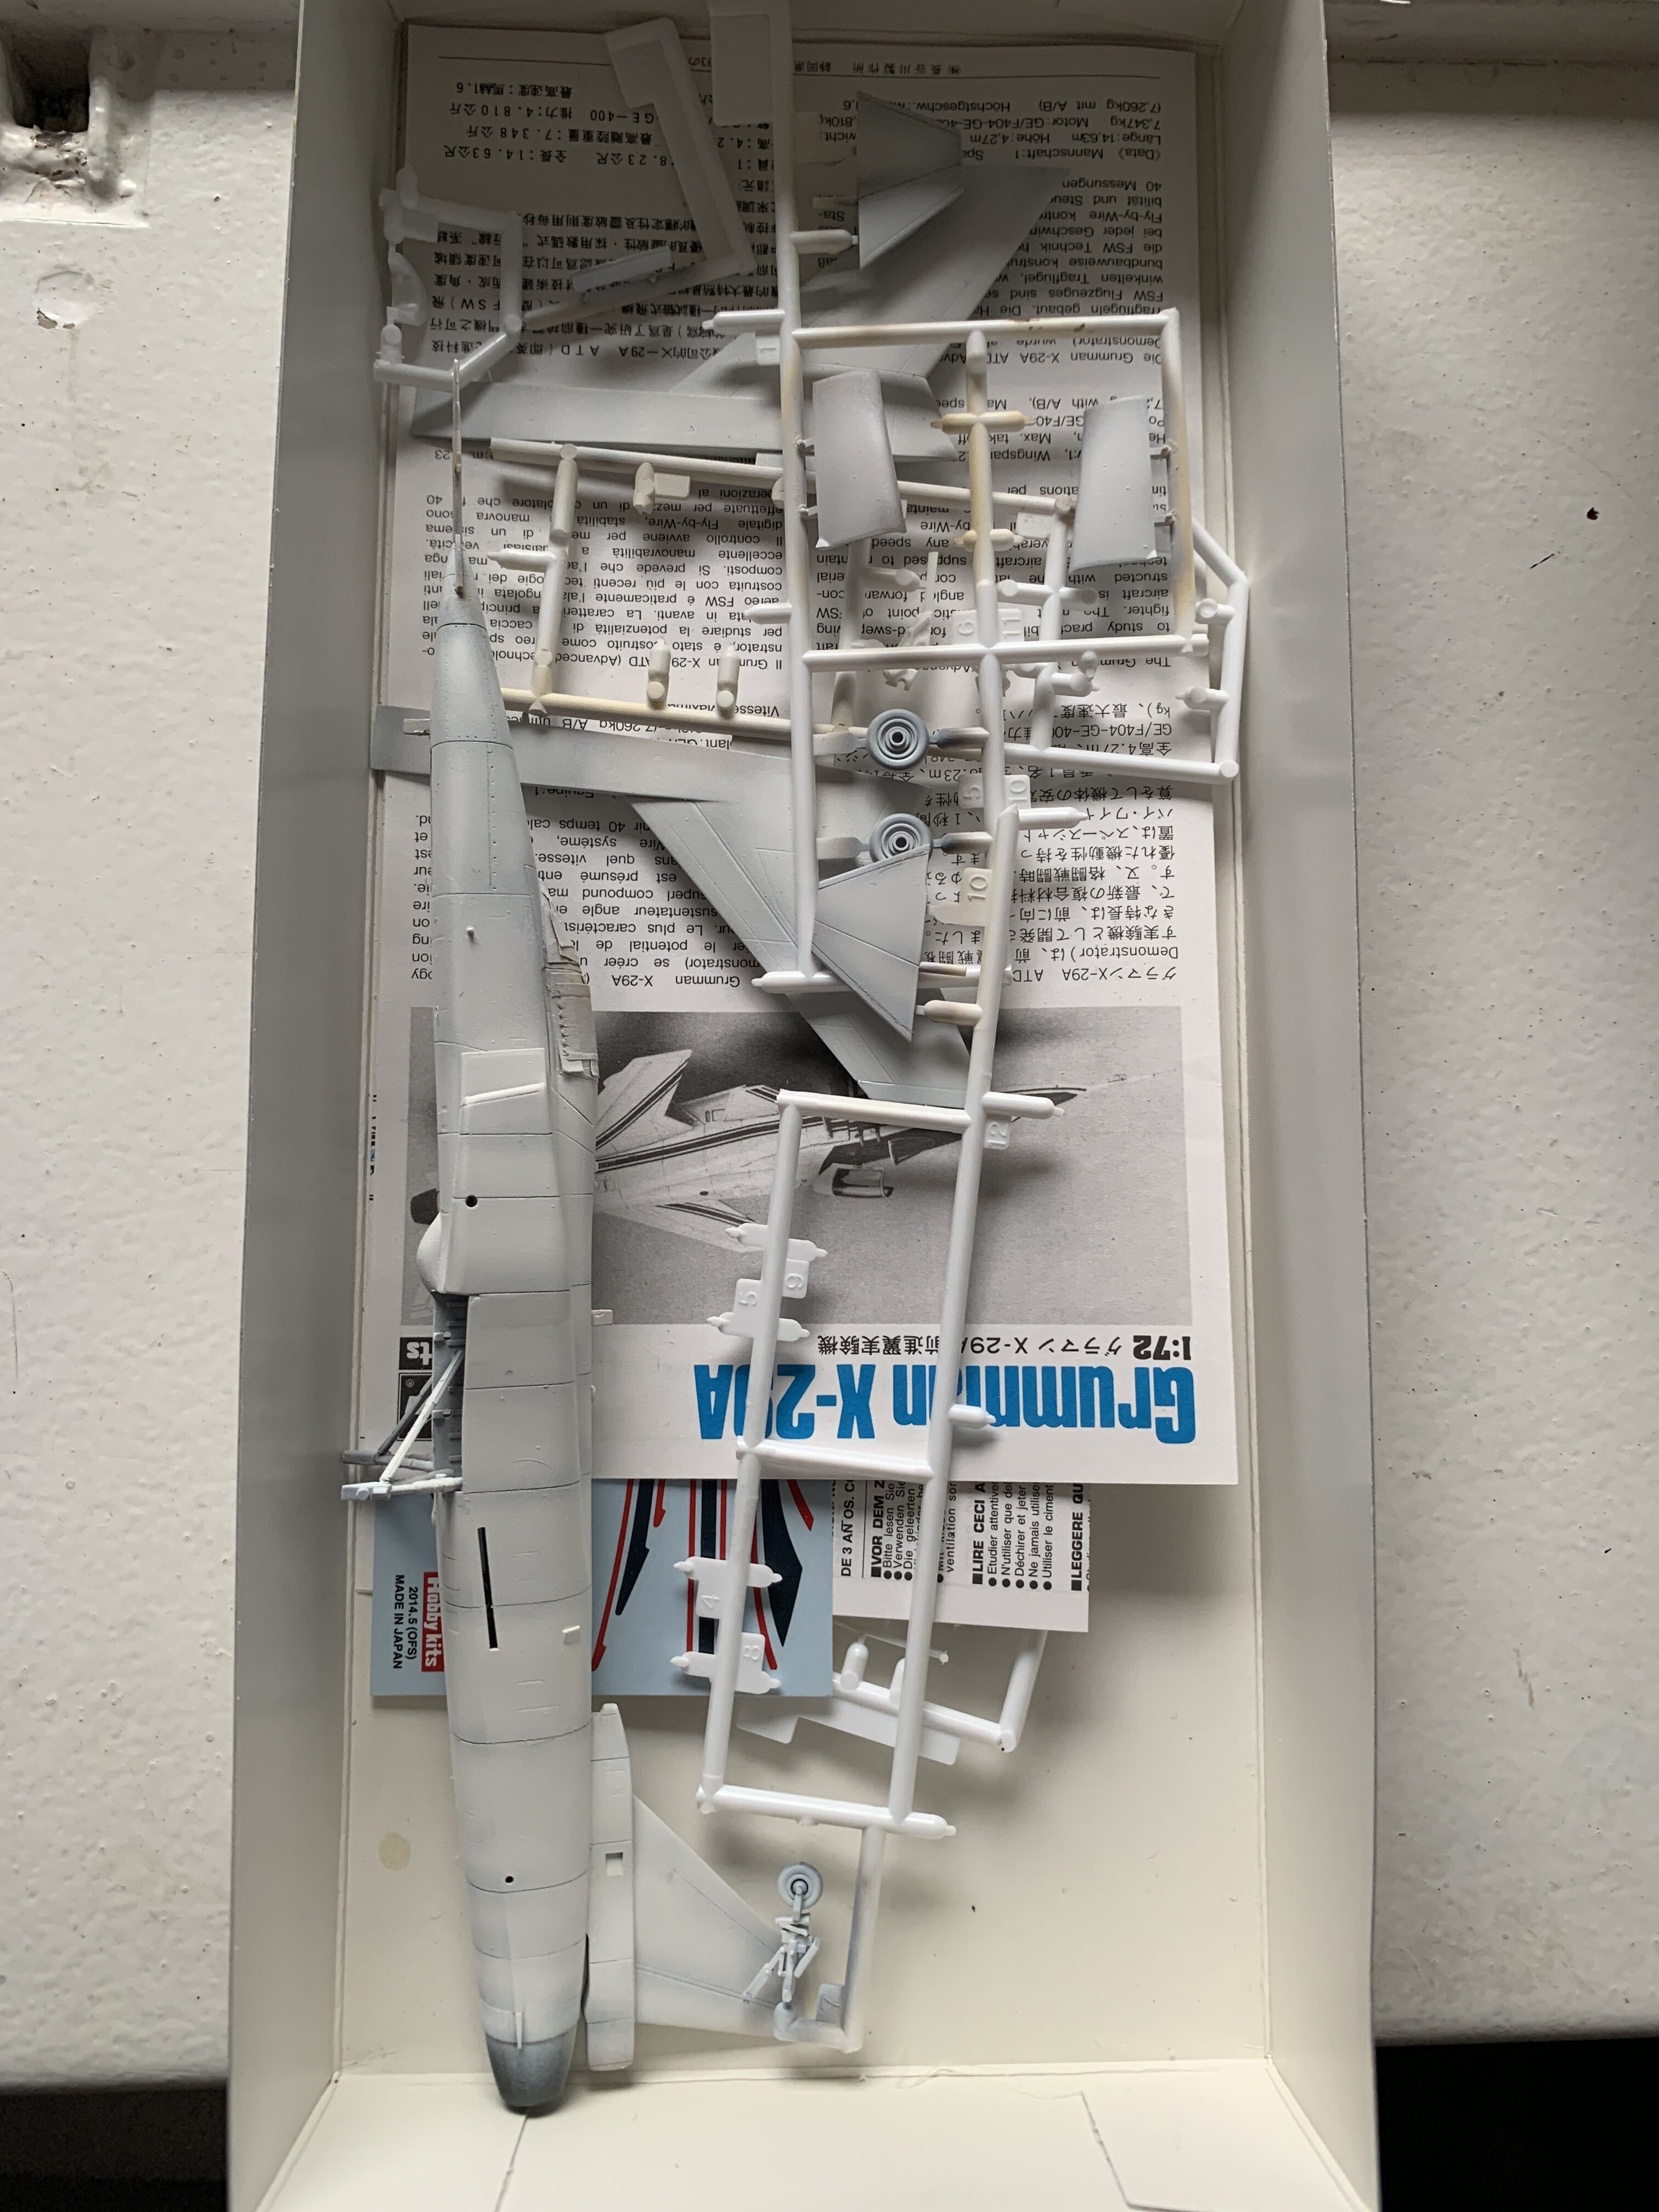
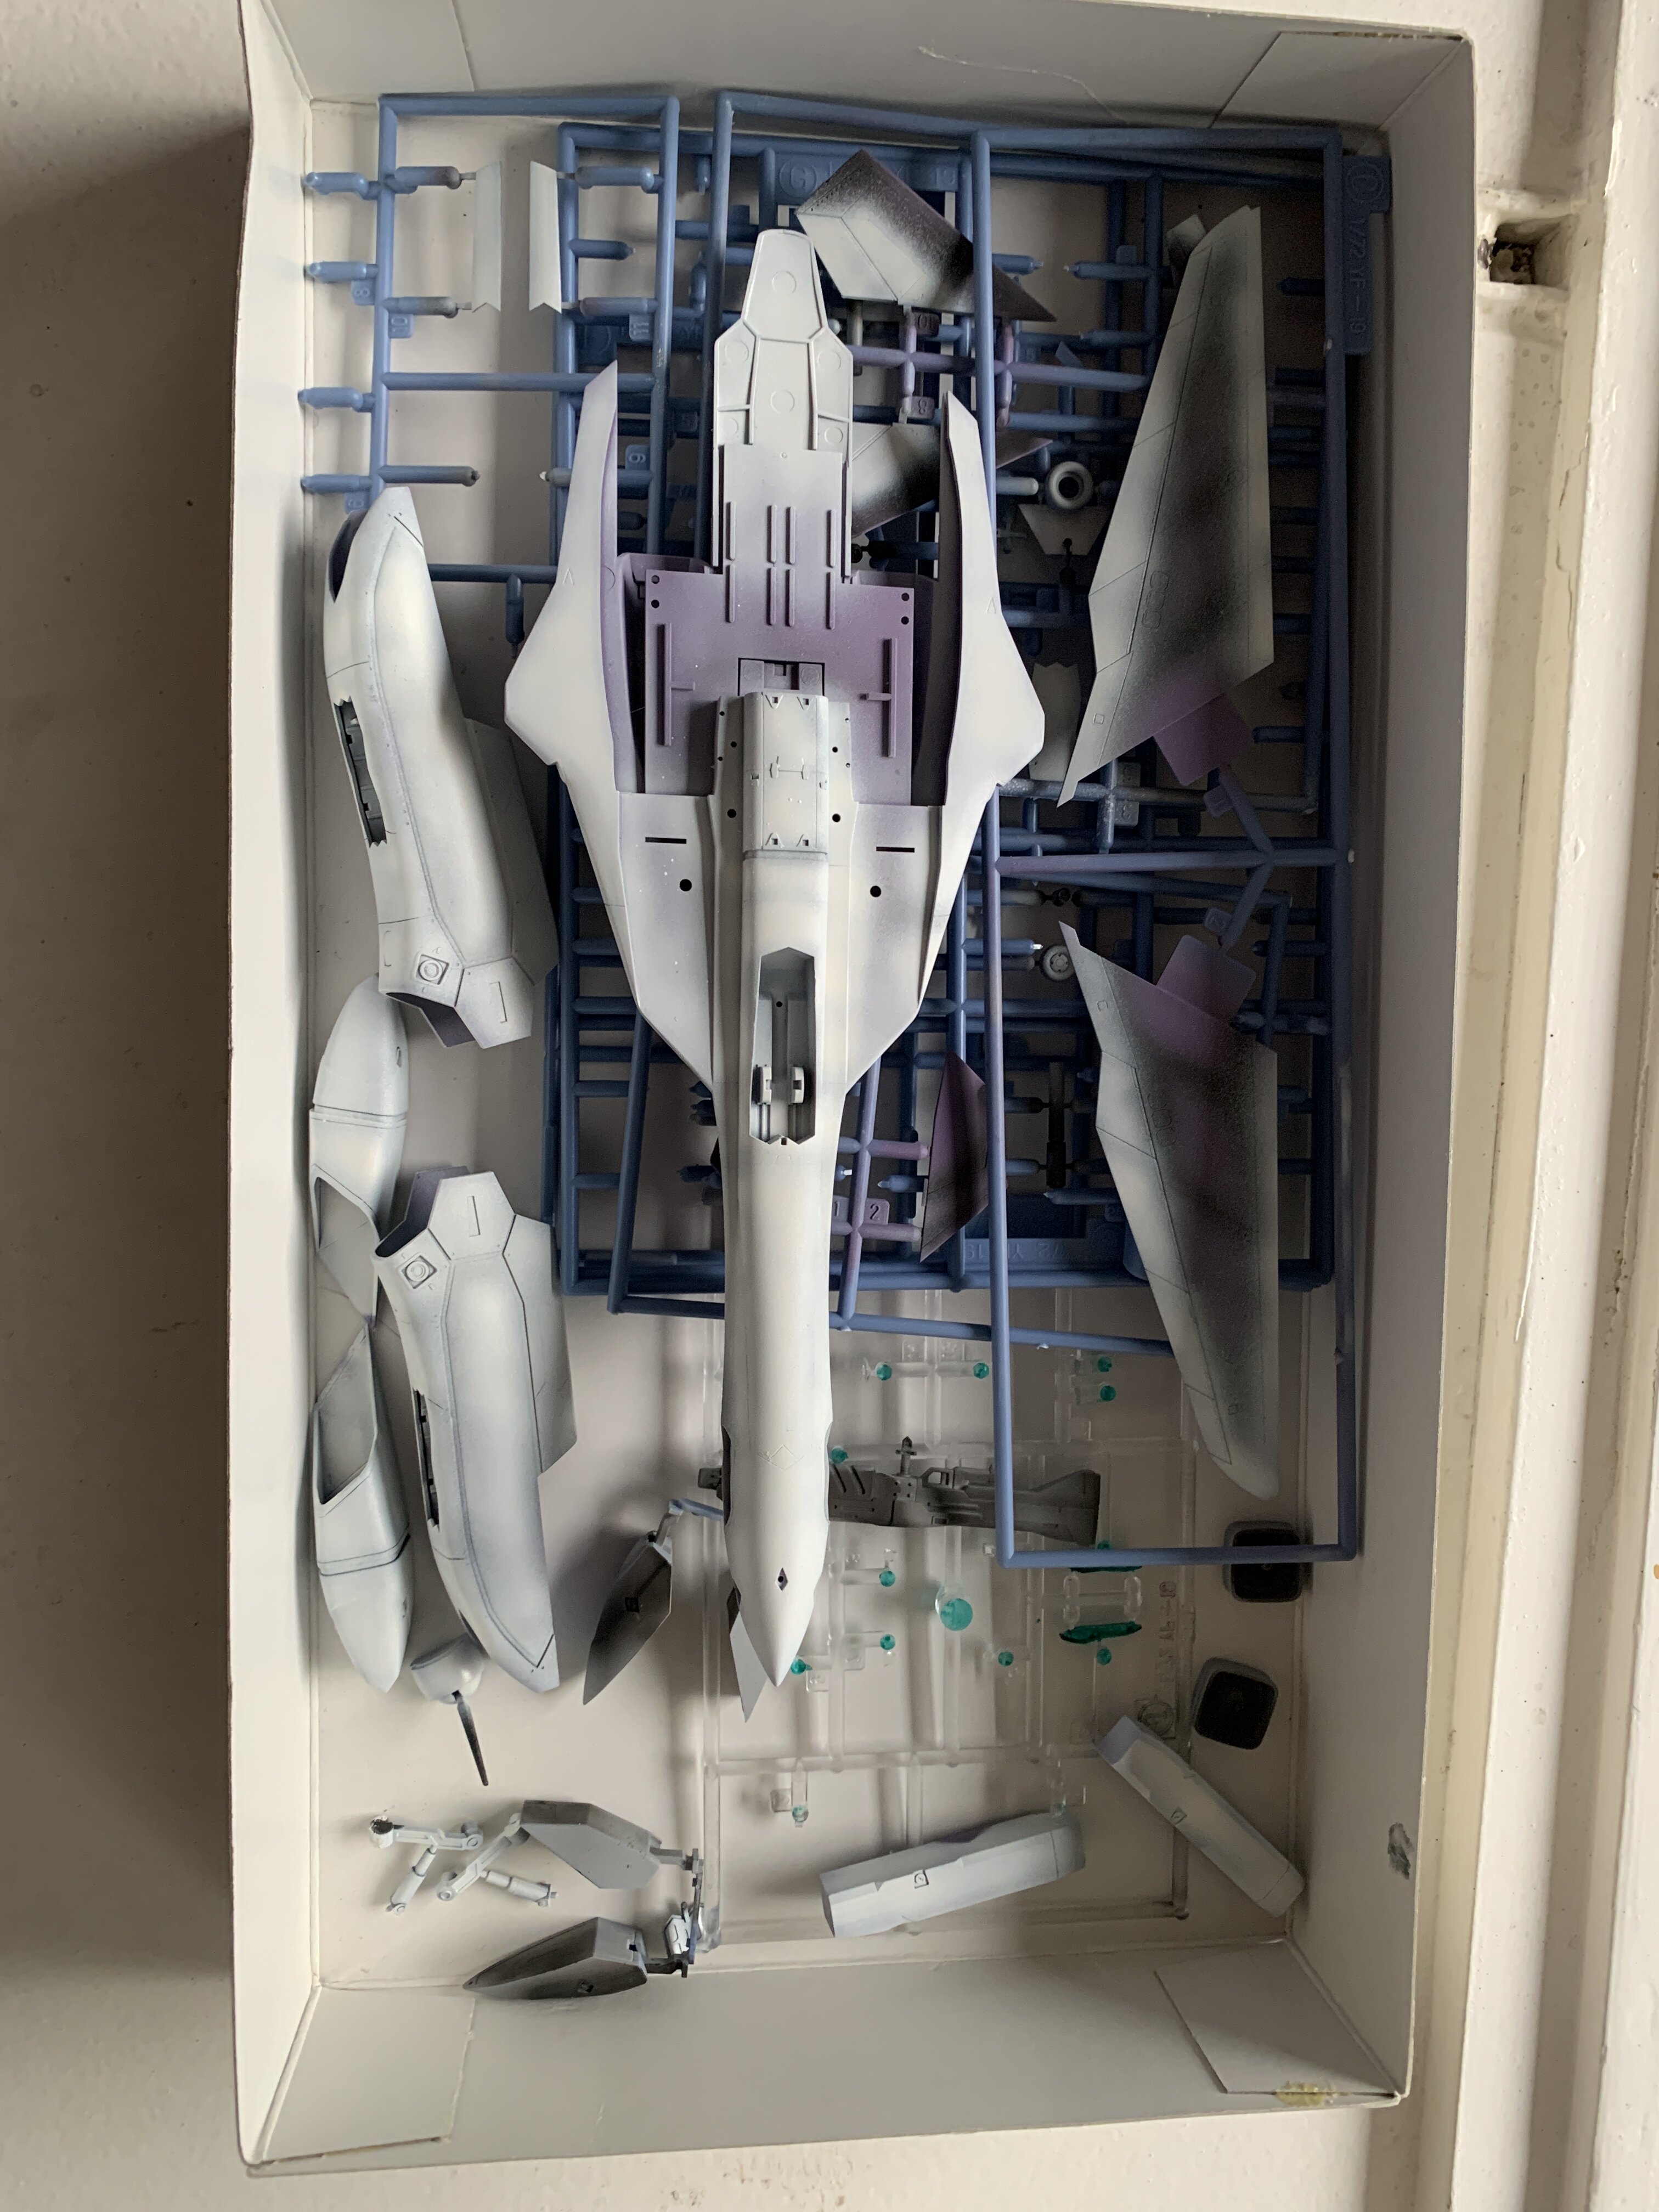
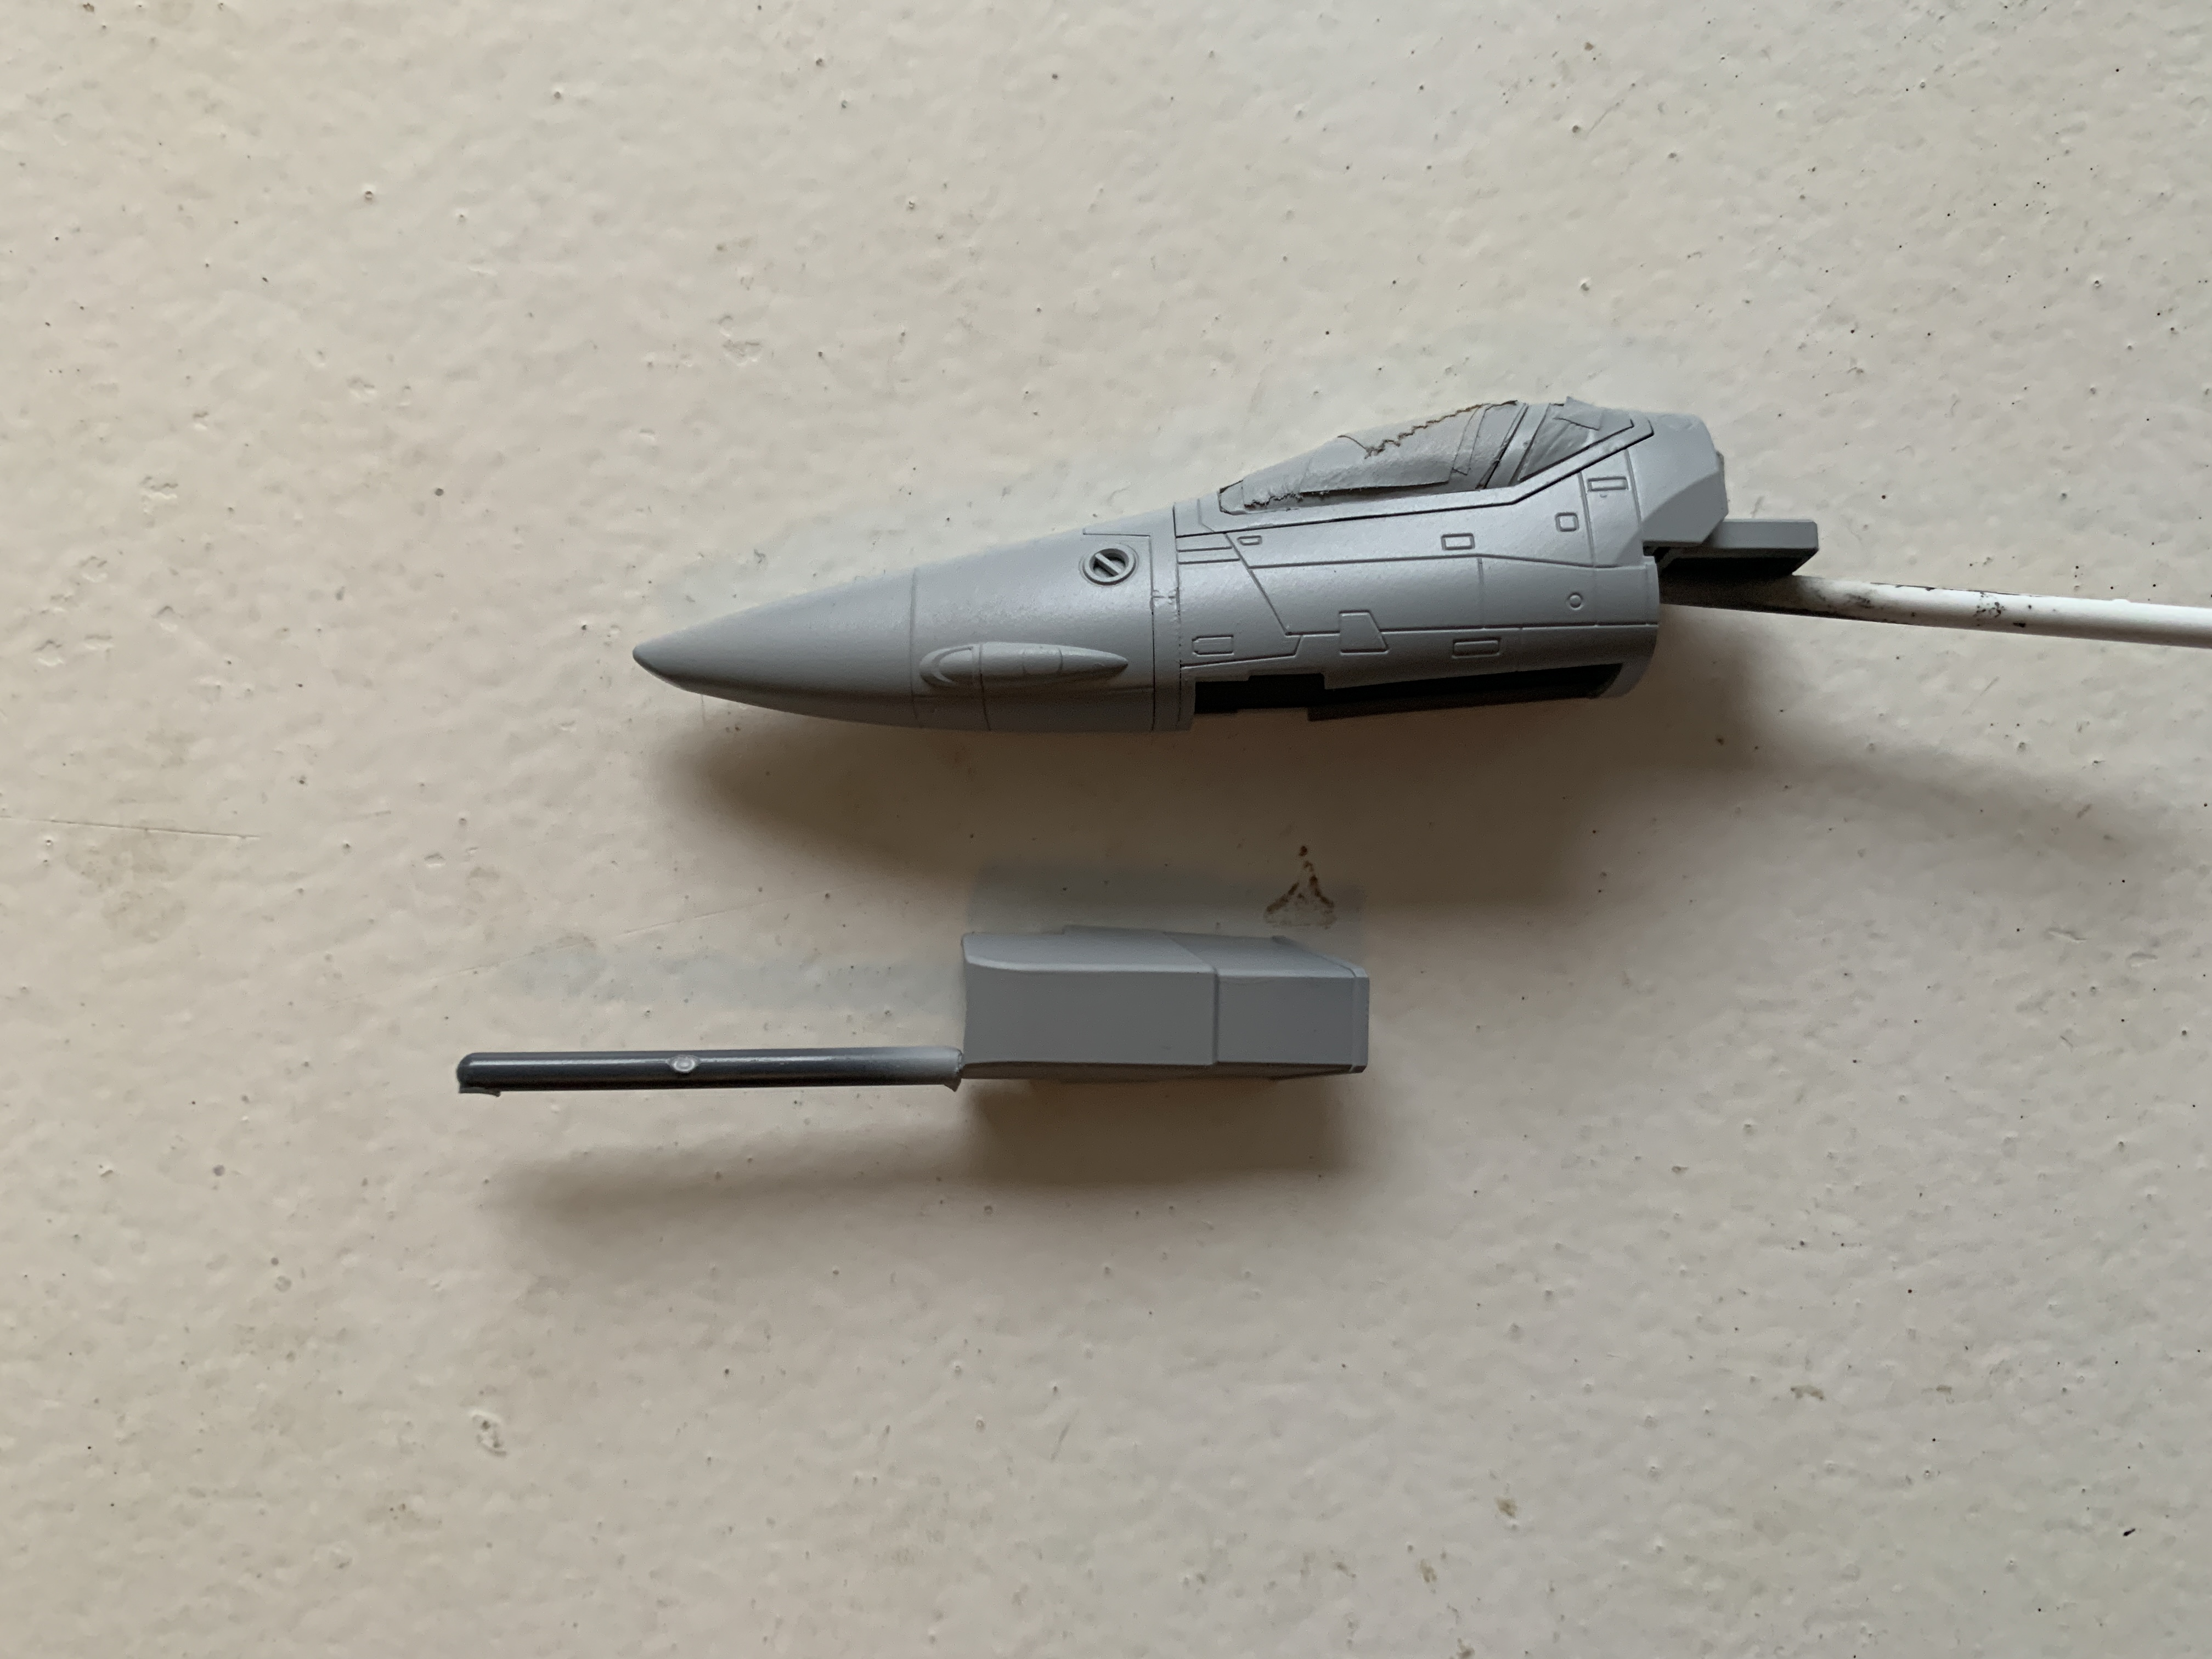
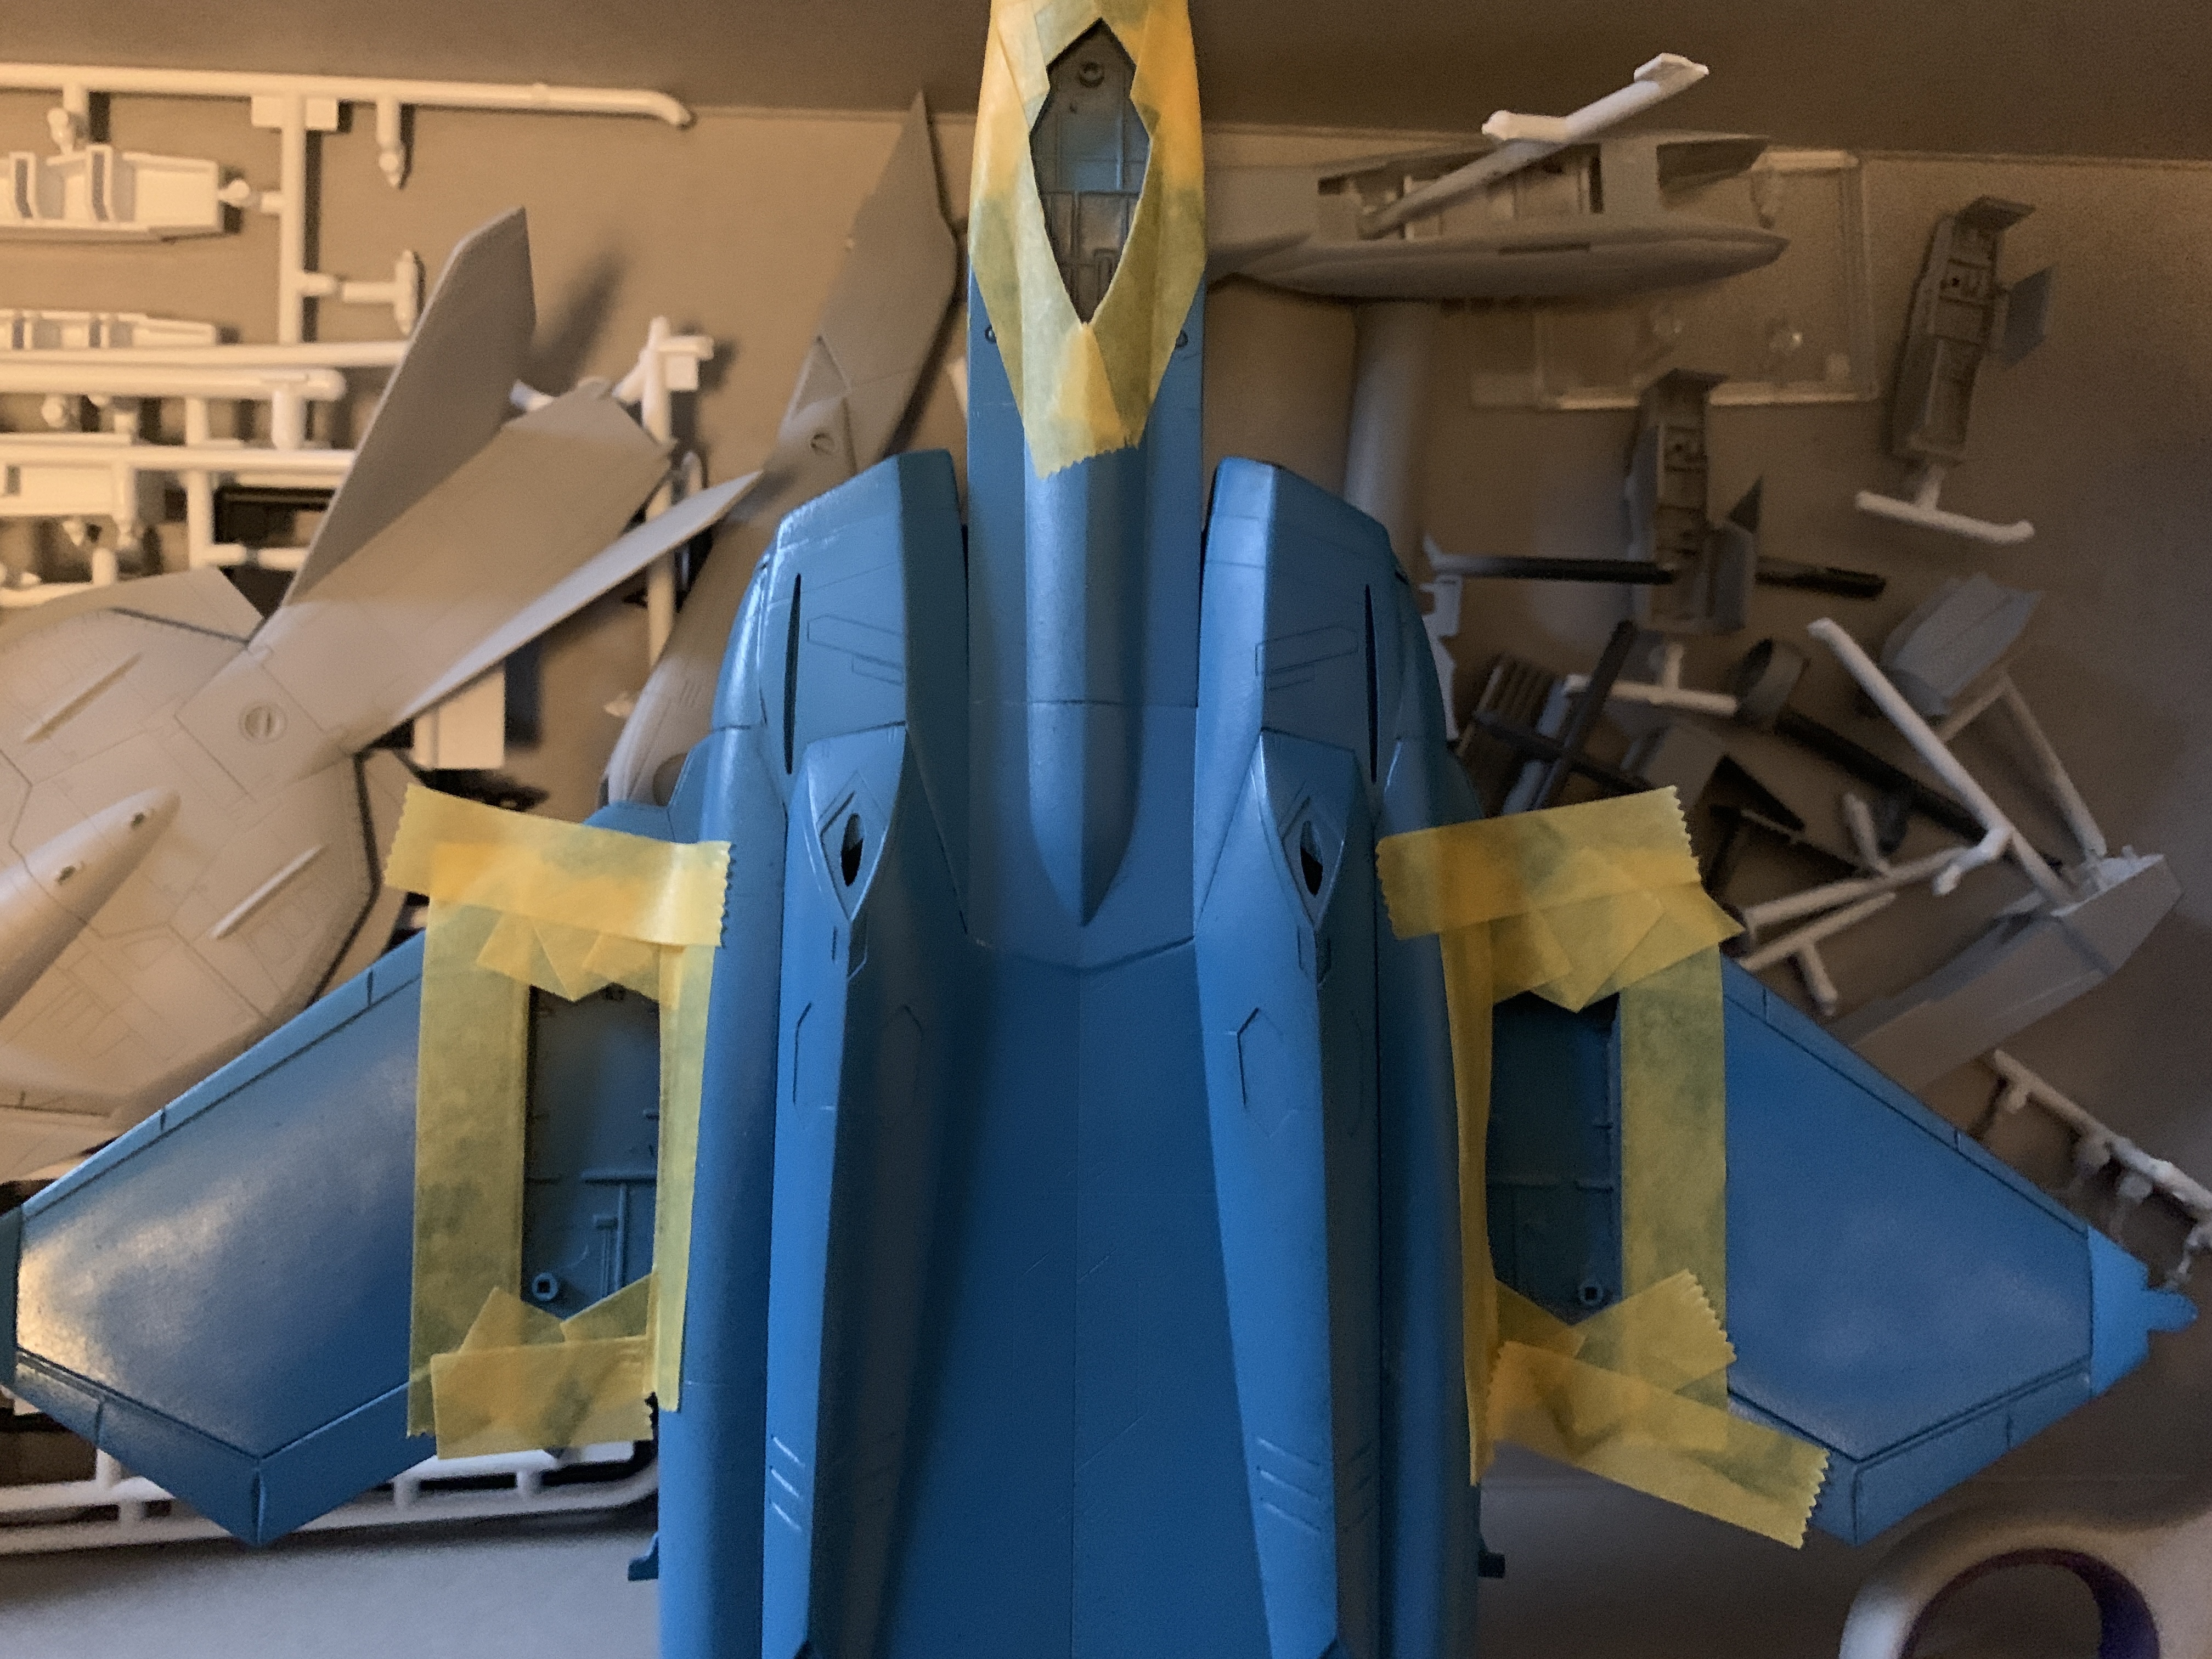
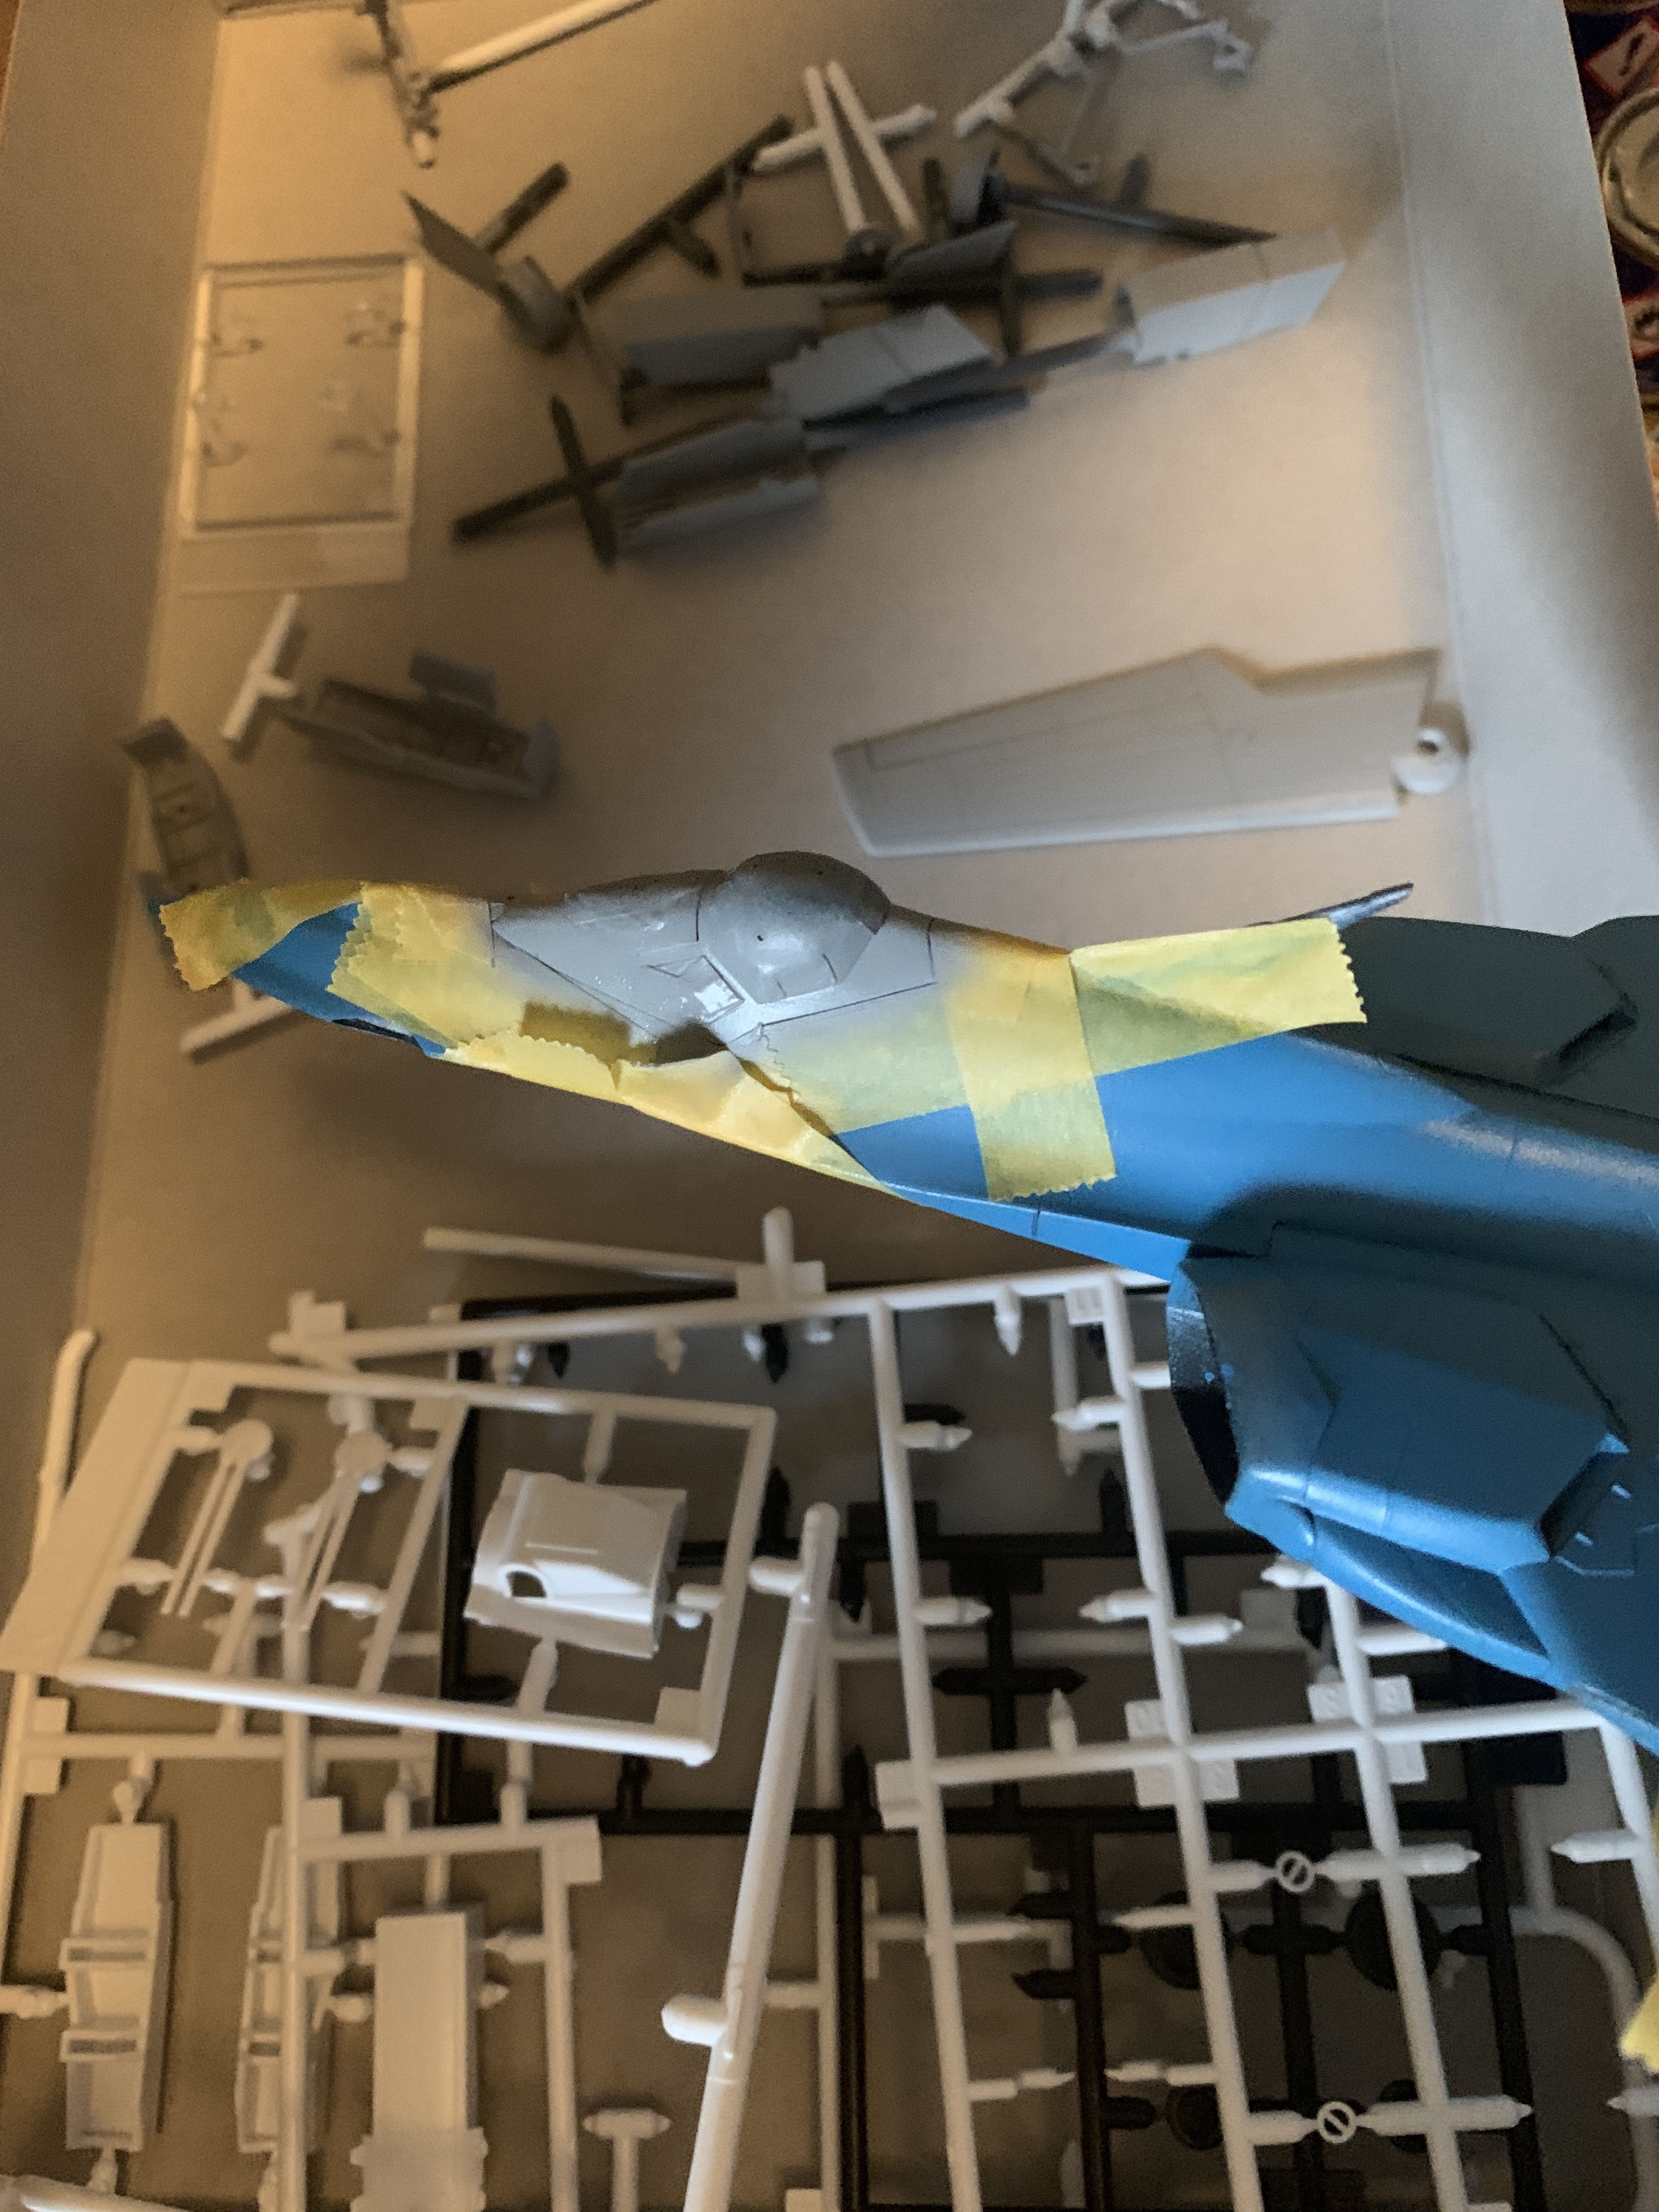
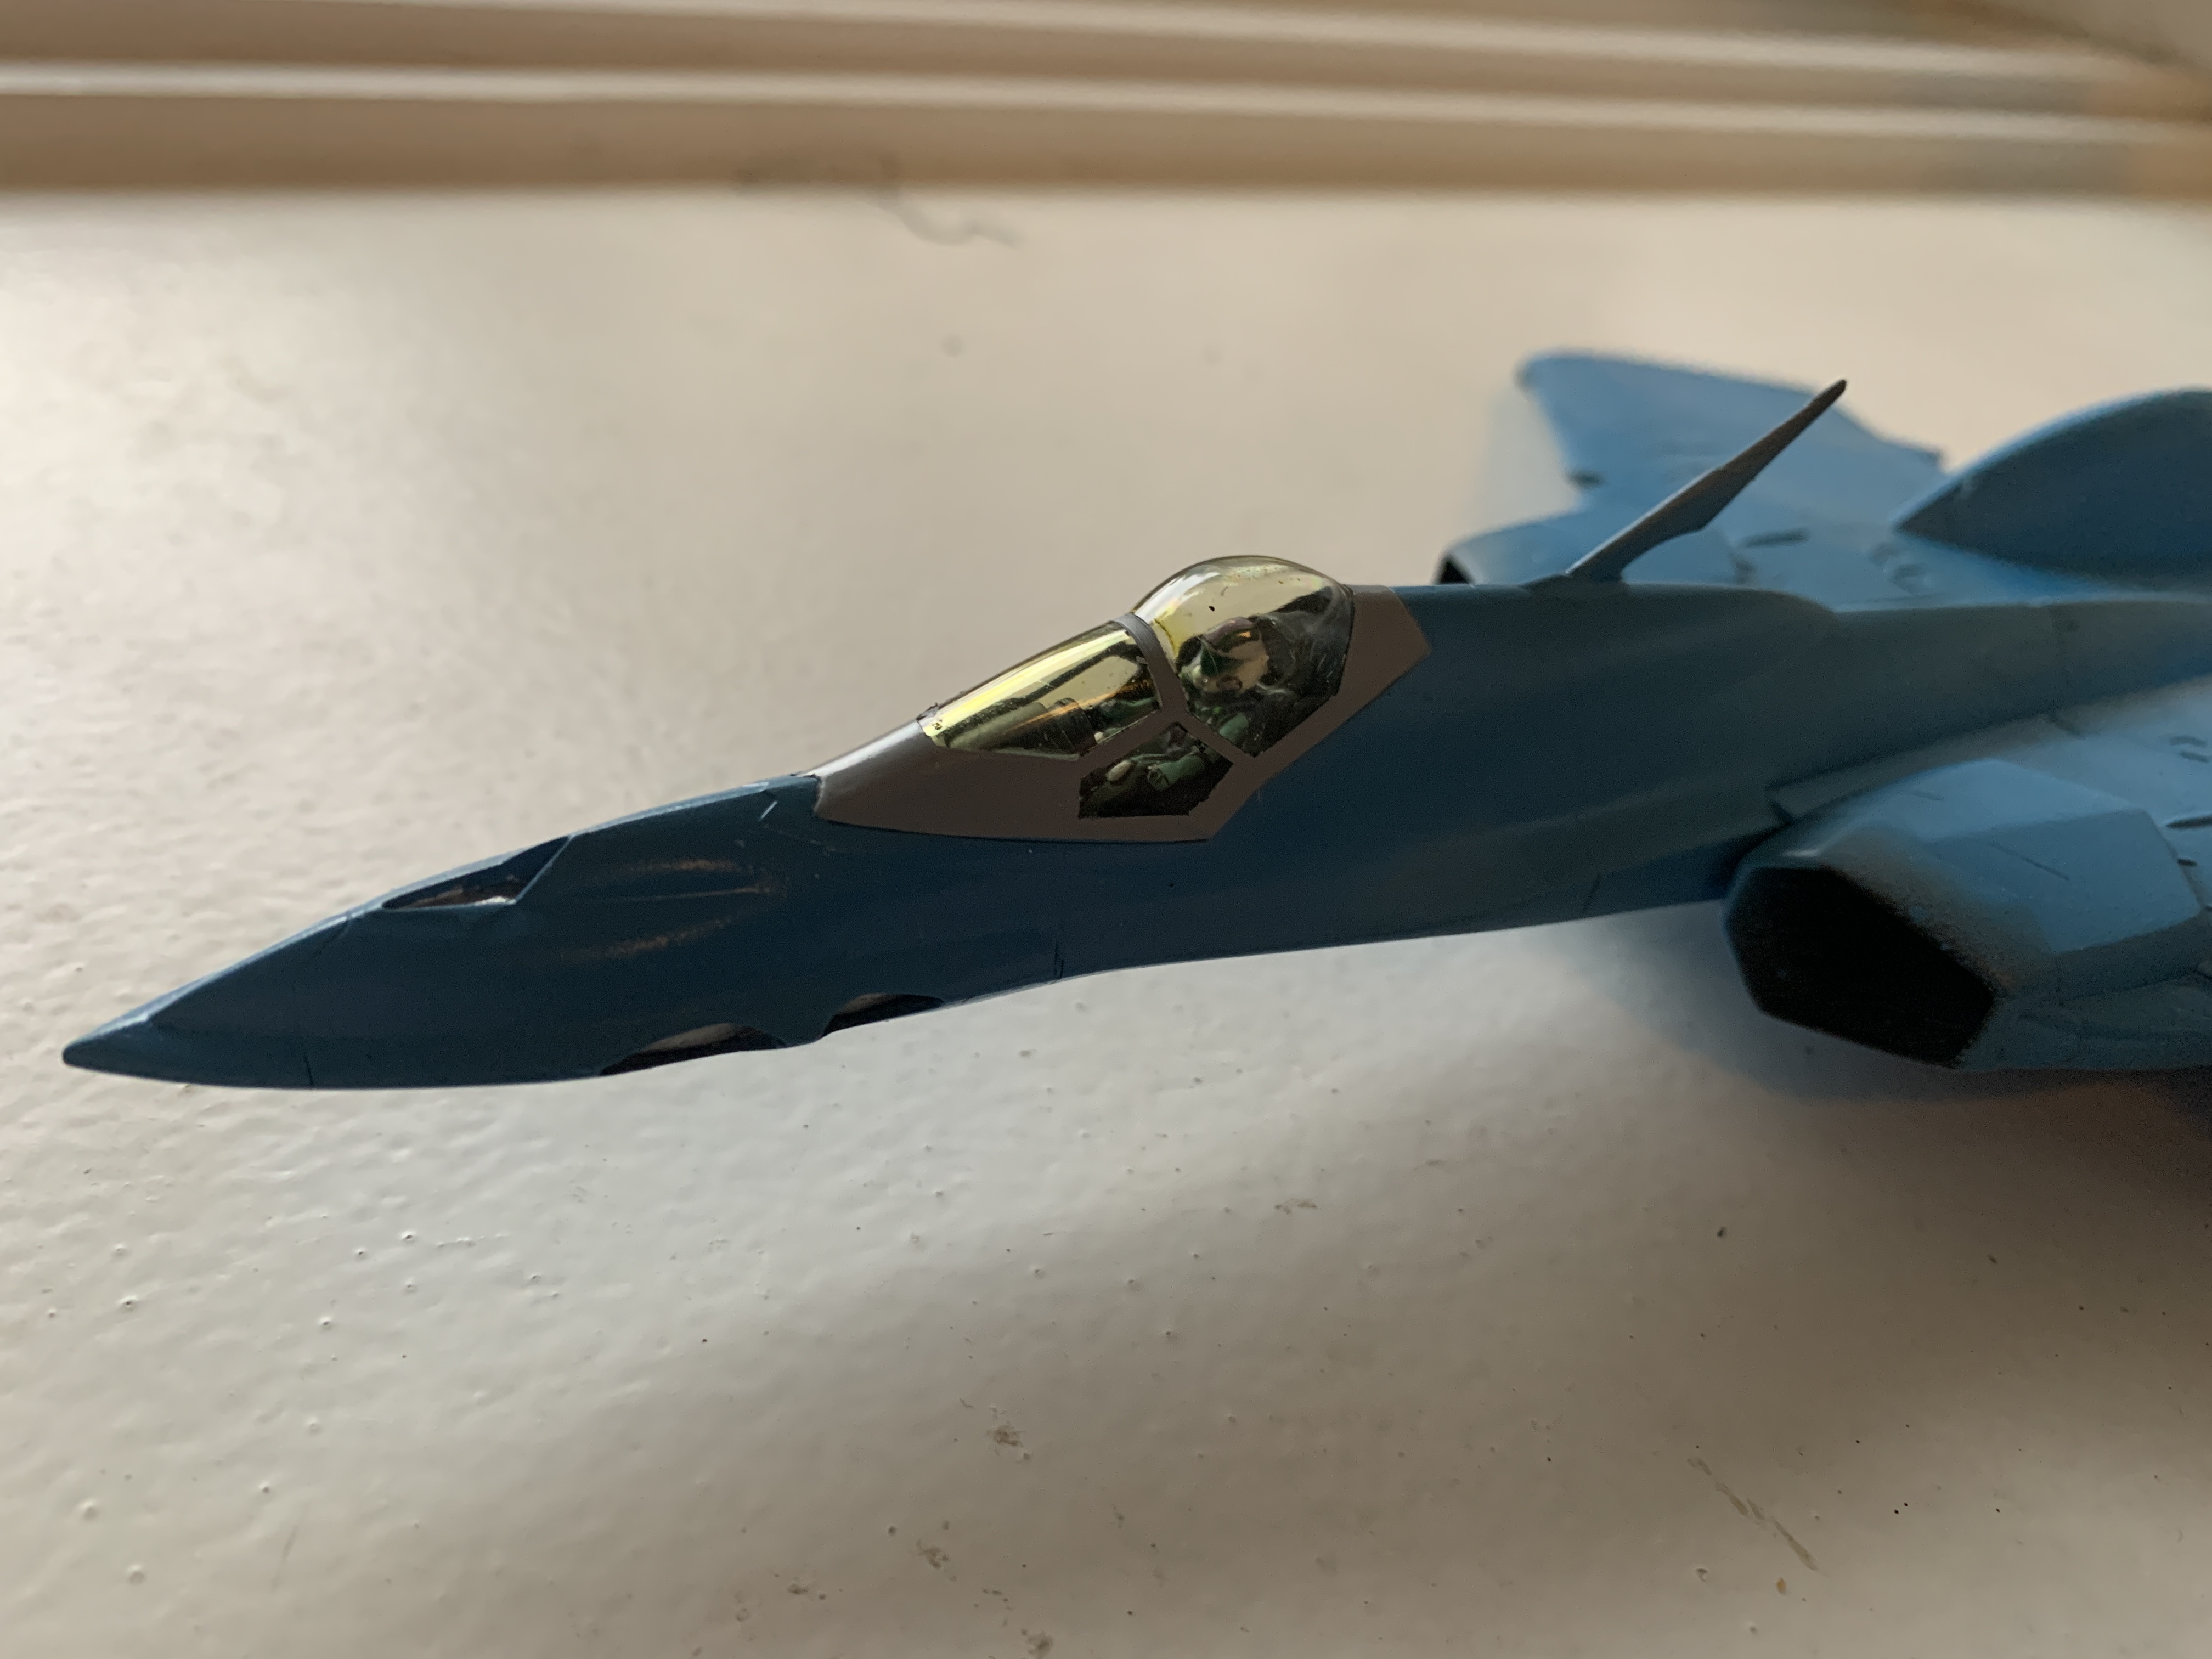
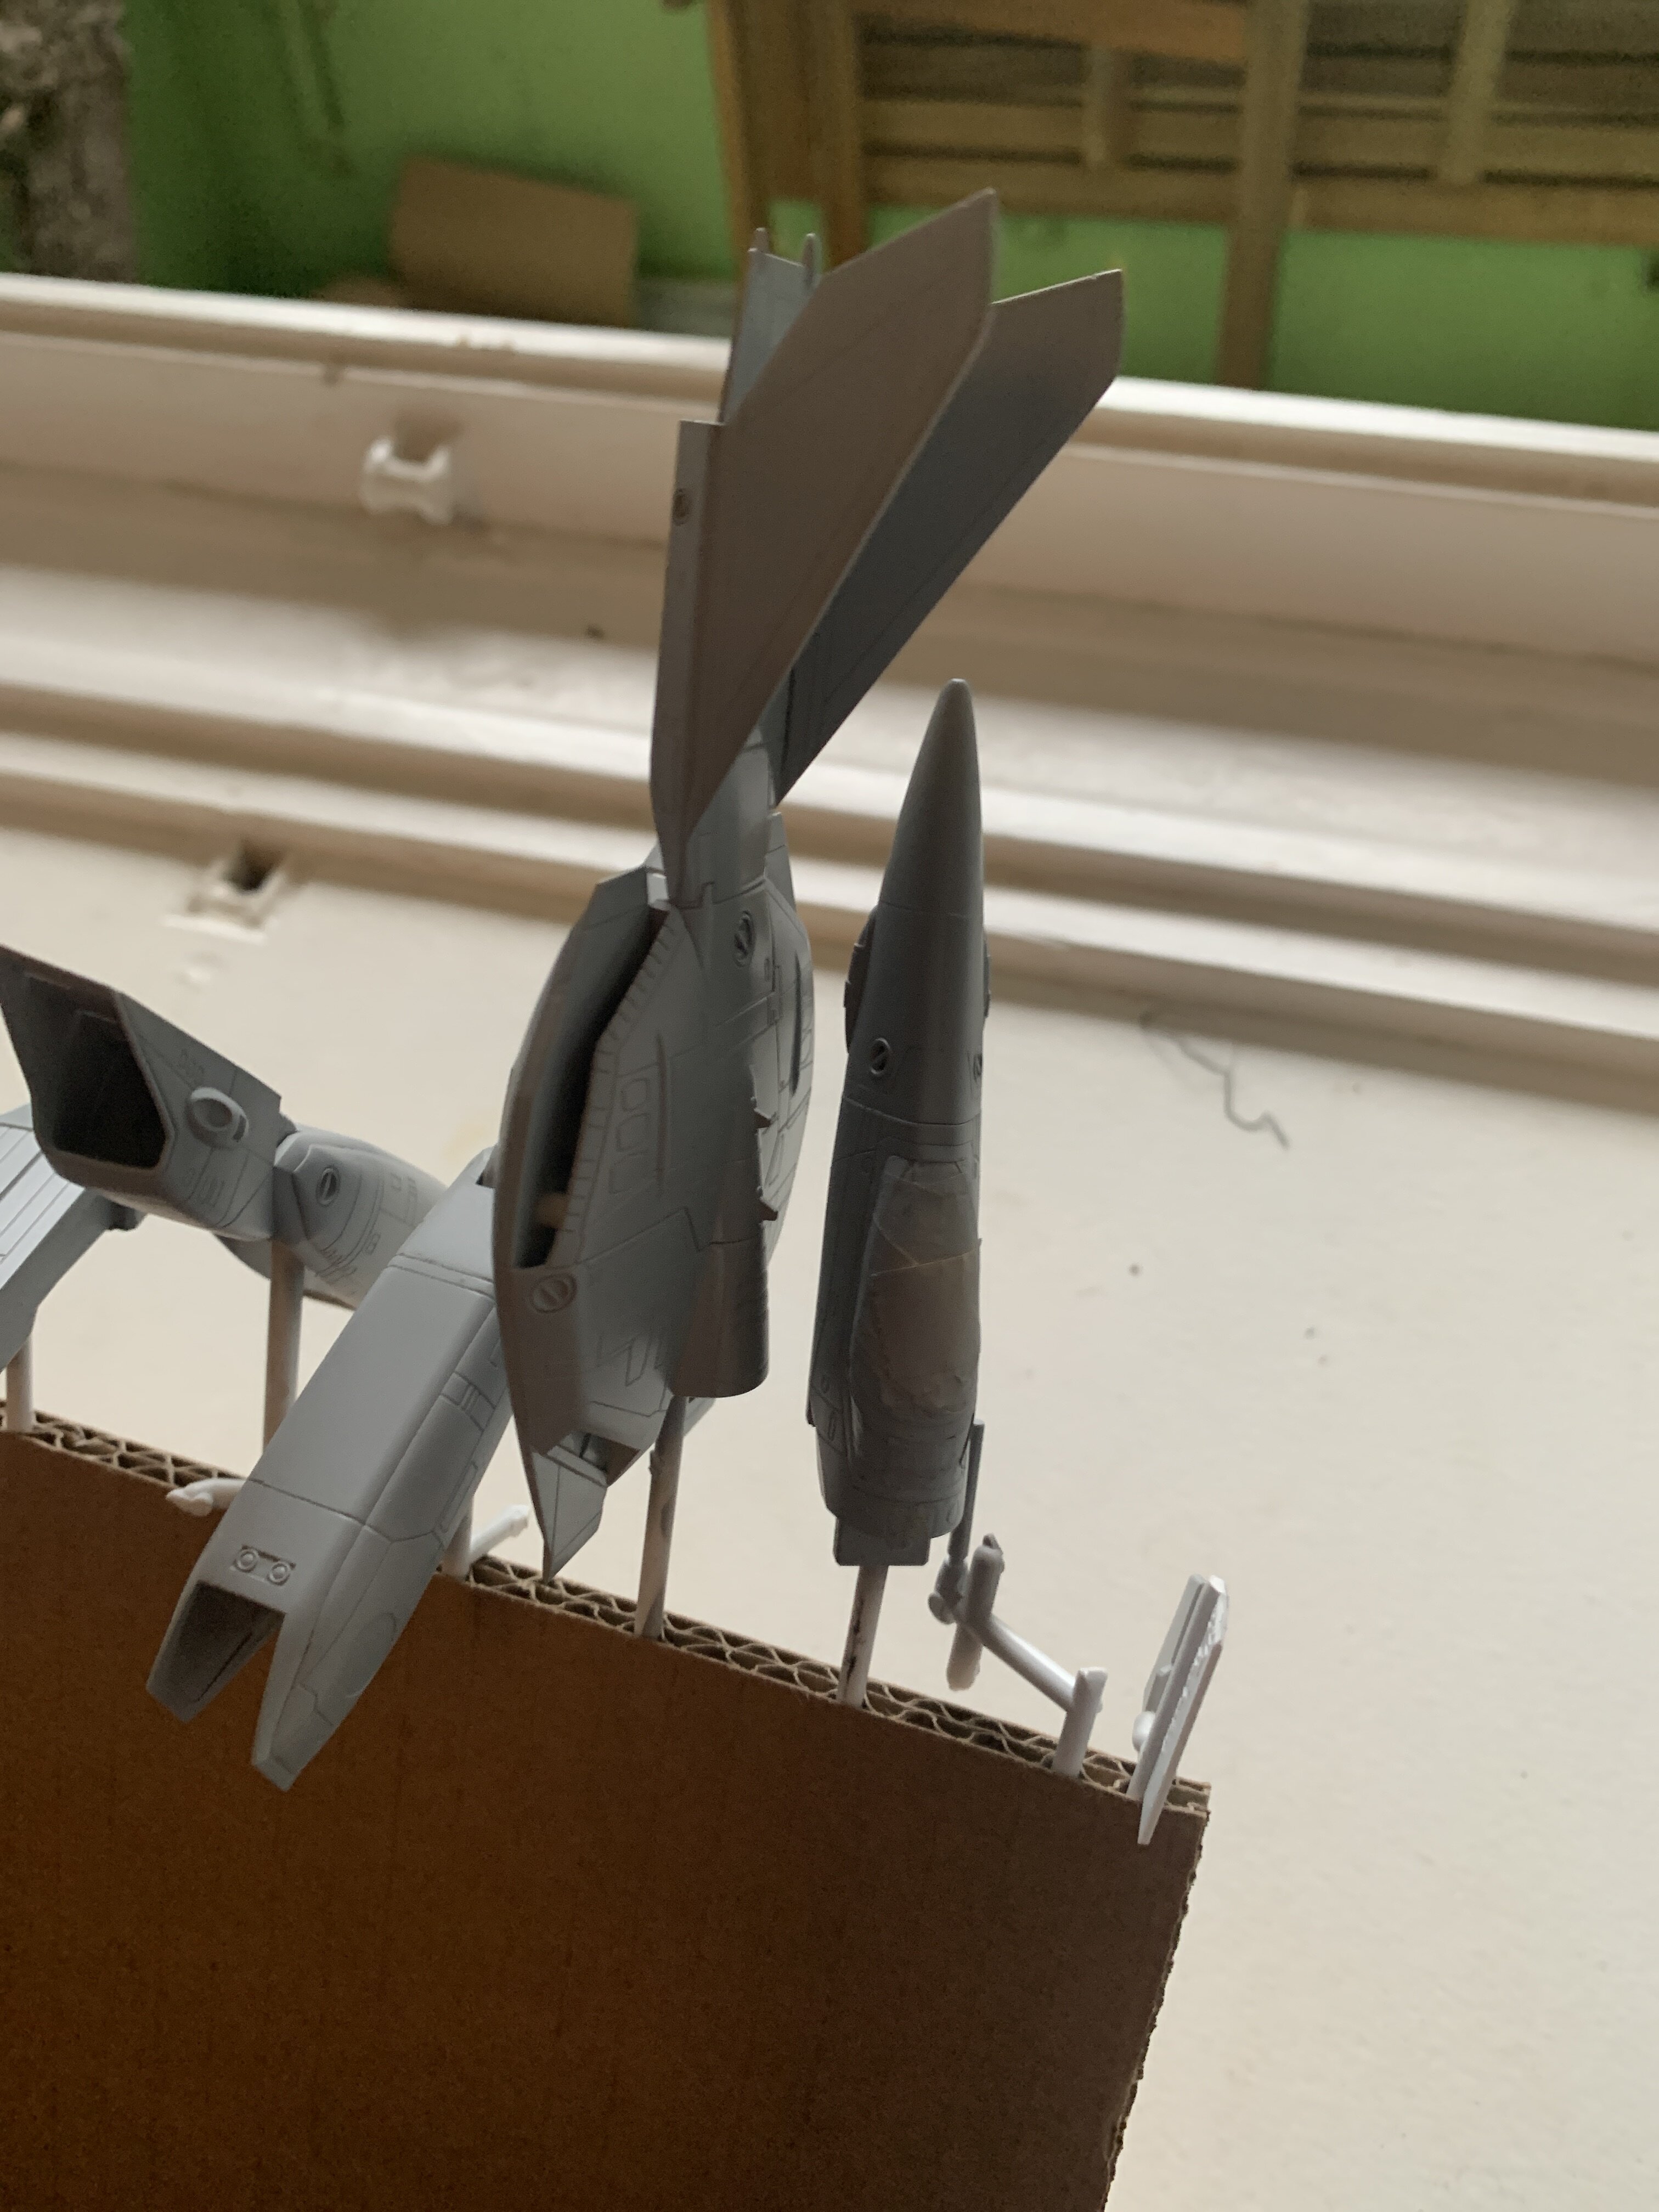
Time for some updates. Base shade color applied to the x-29. The color in use might be known by many here. The name is „Radome“, which is the color of Hasegawas YF-19. Base shade done for the VF-1. When airbrushing this I was a bit confused as I saw no change in tone. It appears that my primer has the same tone as my semi gloss medium light grey. Only difference? One is mate, the other semi-gloss. nose: with baseshade exhaust piece: primer only And I did some work on the VF-22. After what seems to be ages, Max finally sees daylight once again. Some of the grey managed to get under masking tape. I will have to remove that carefully later. The edges of the masked areas are a bit frayed. Need to fix that as well.


