-
Posts
2632 -
Joined
-
Last visited
Content Type
Profiles
Forums
Events
Gallery
Everything posted by mickyg
-
Thanks Shawn! I'm an IT prof myself and appreciate the effort you have to go to on the technical side to make all this work. Much appreciated, good sir!
-
Hi Shawn, Thanks for looking into this. This morning (about 2 hours ago) I was in the middle of making an update to a post and noticed my changes wouldn't post. I then closed the browser window, went to the main MW page and found it loaded up immediately. Clicking the Forum link just put my browser into wait mode though. I think it was sitting there for a few minutes before I just manually closed it. No error messages for me, just the main page loaded and no forum page loading. Hope that makes sense. Eventually it works (obviously) but usually requires me closing the page and starting over. EDIT: What EXO said.
-
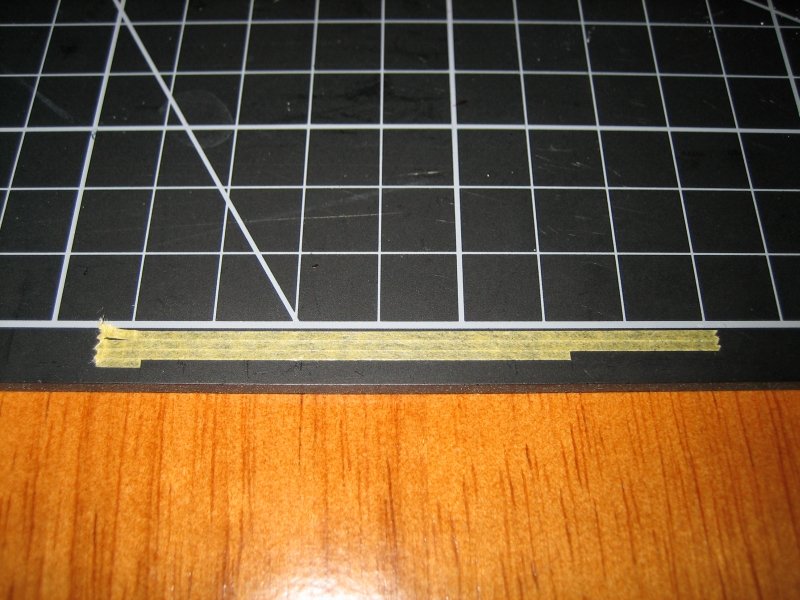
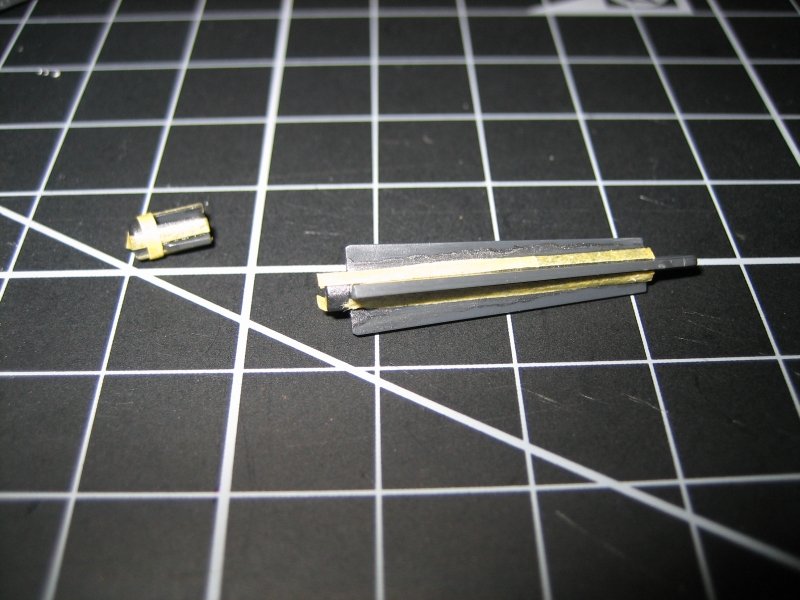
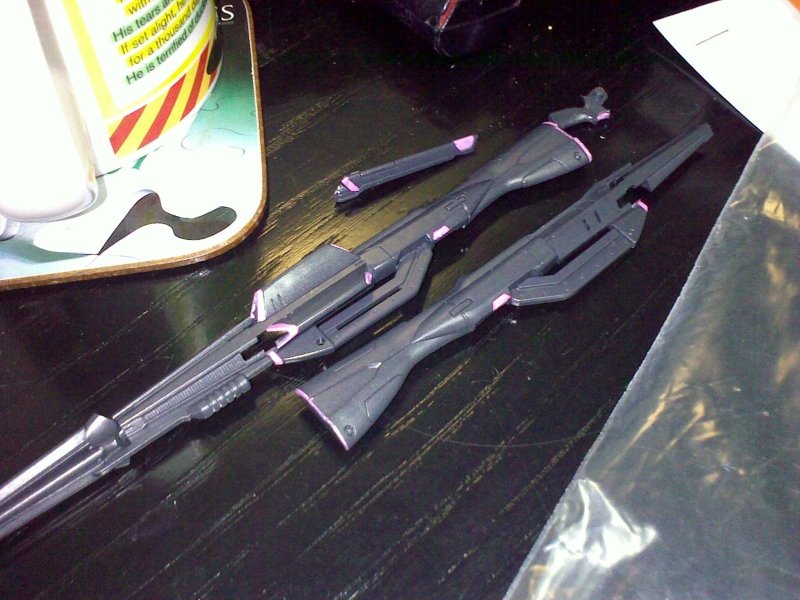
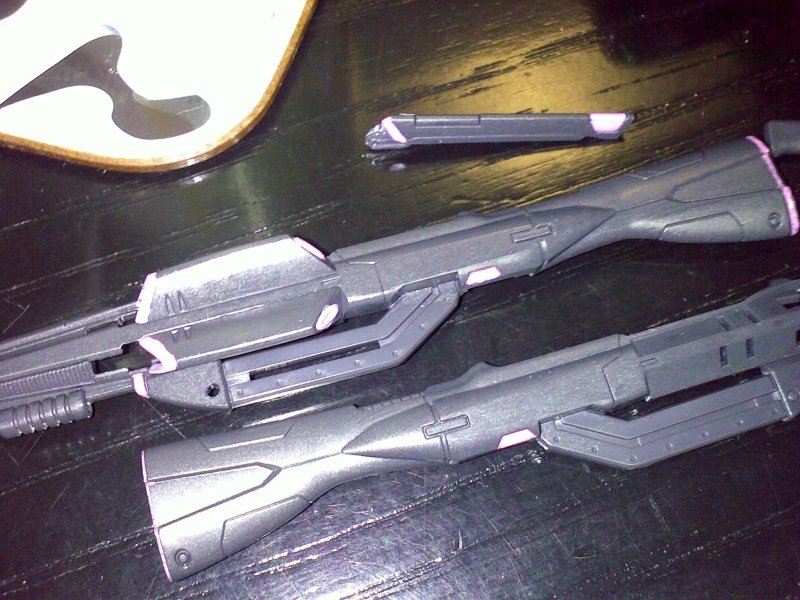
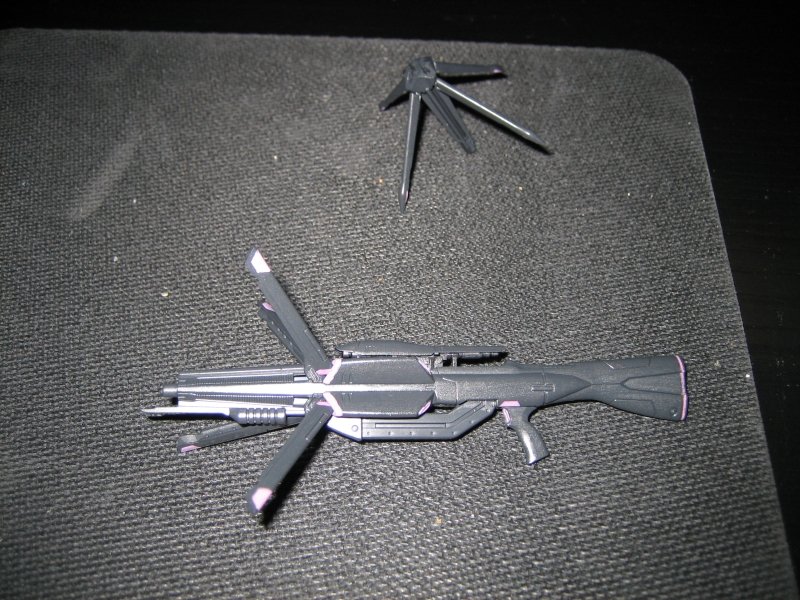
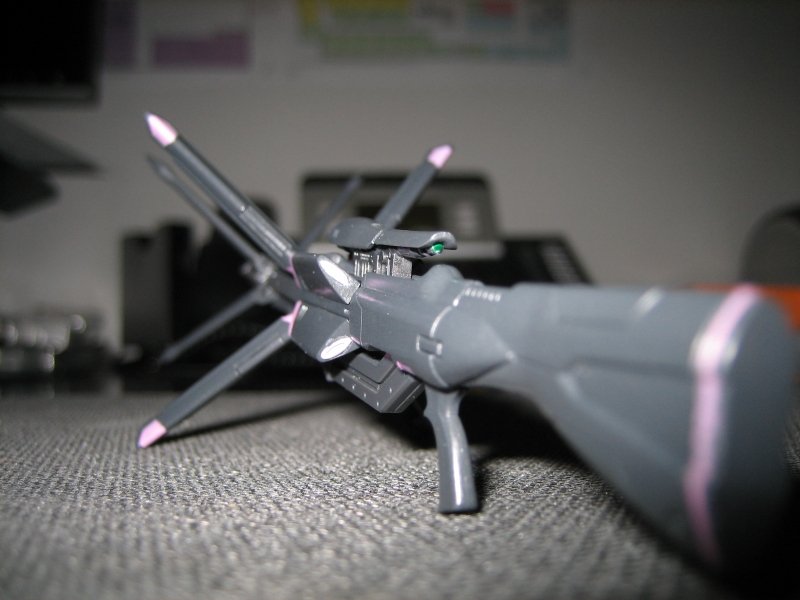
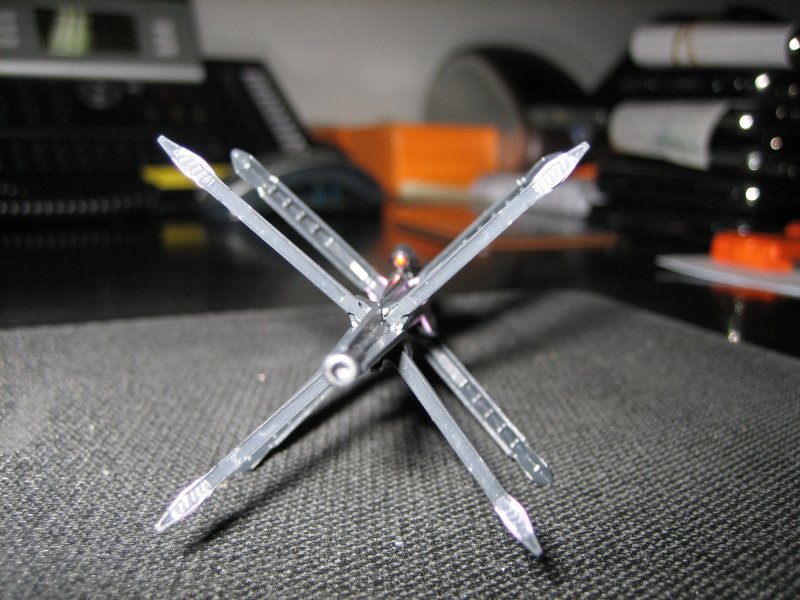
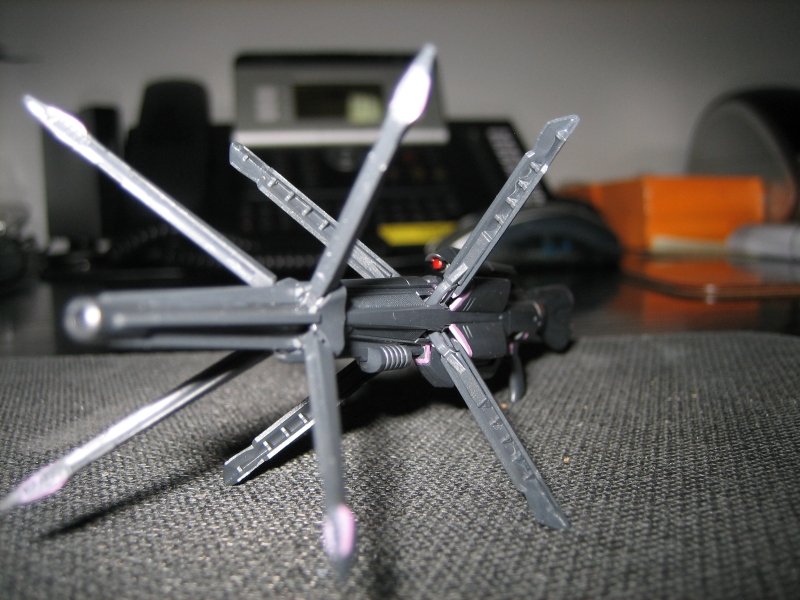
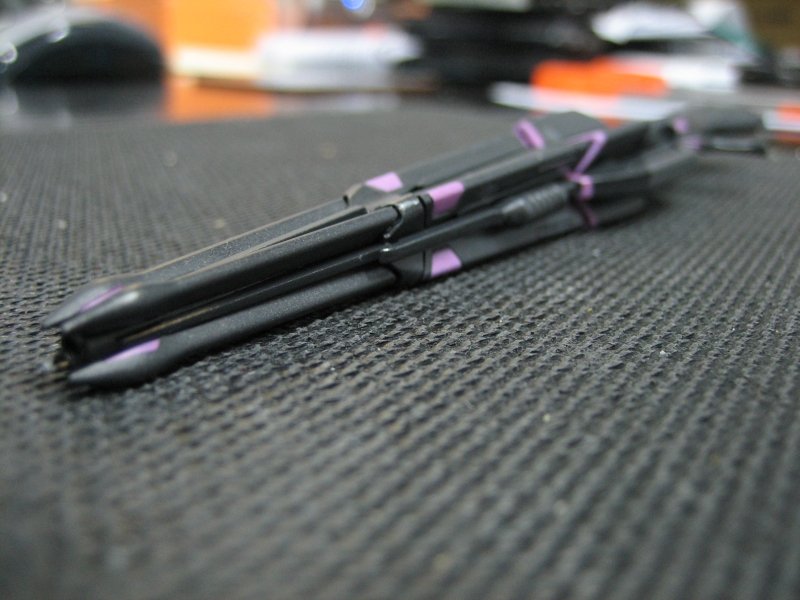
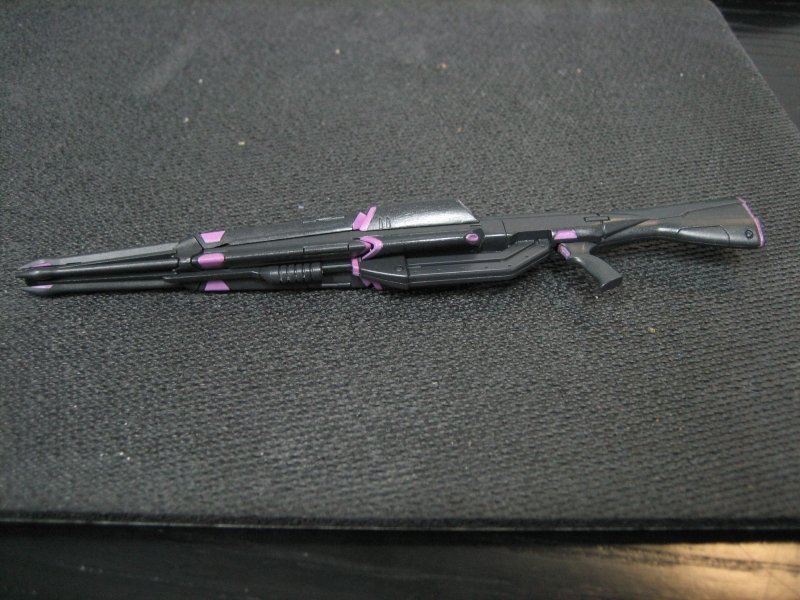
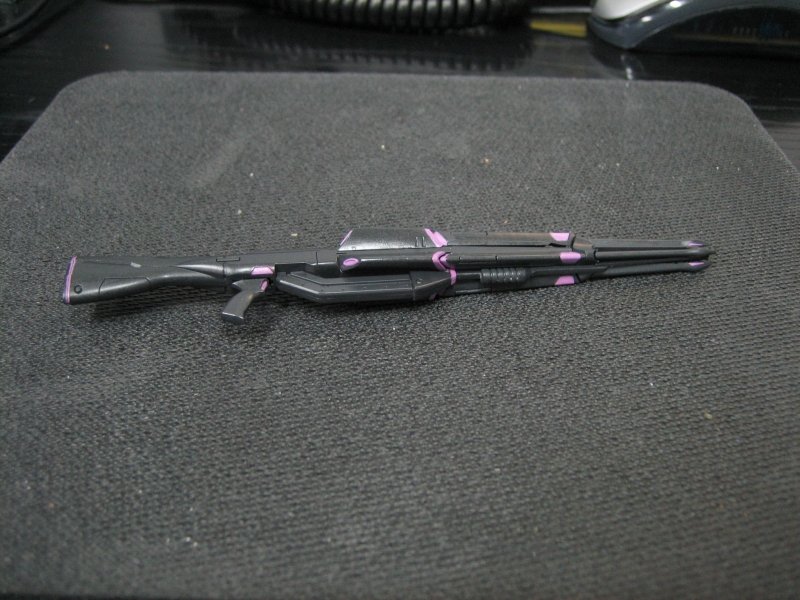
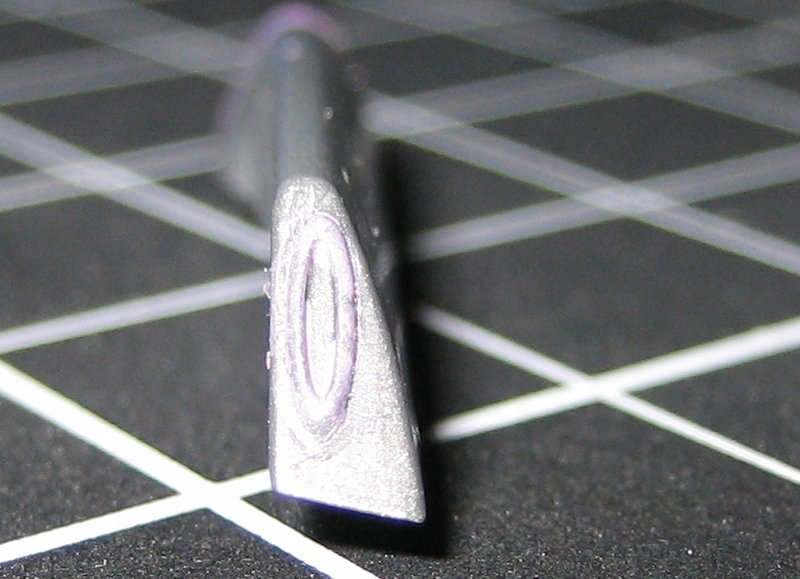
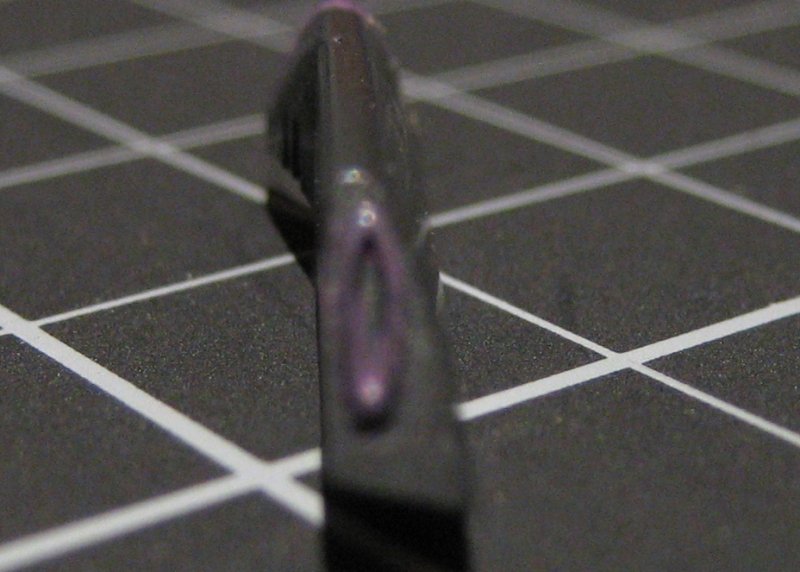
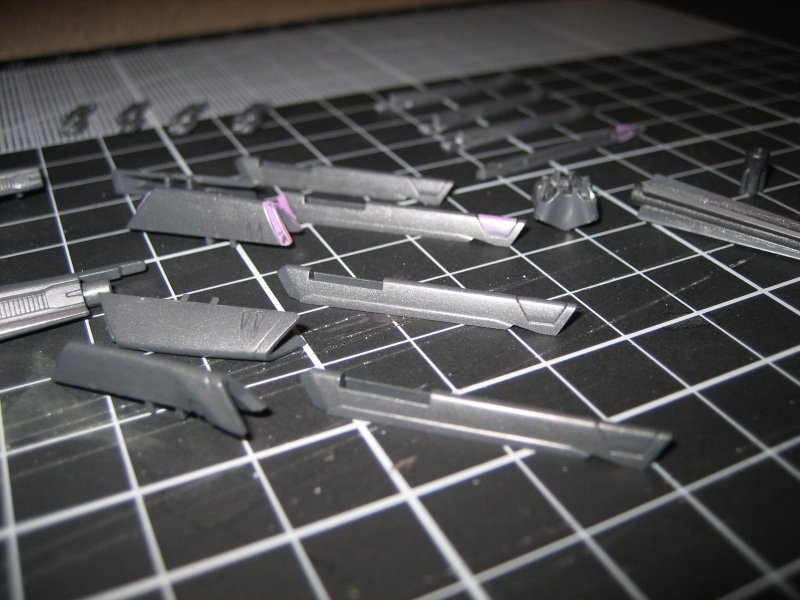
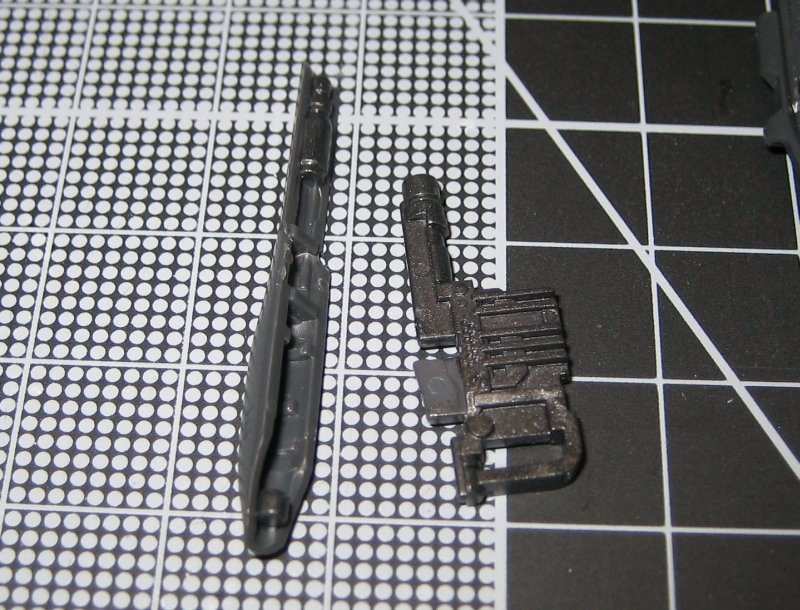
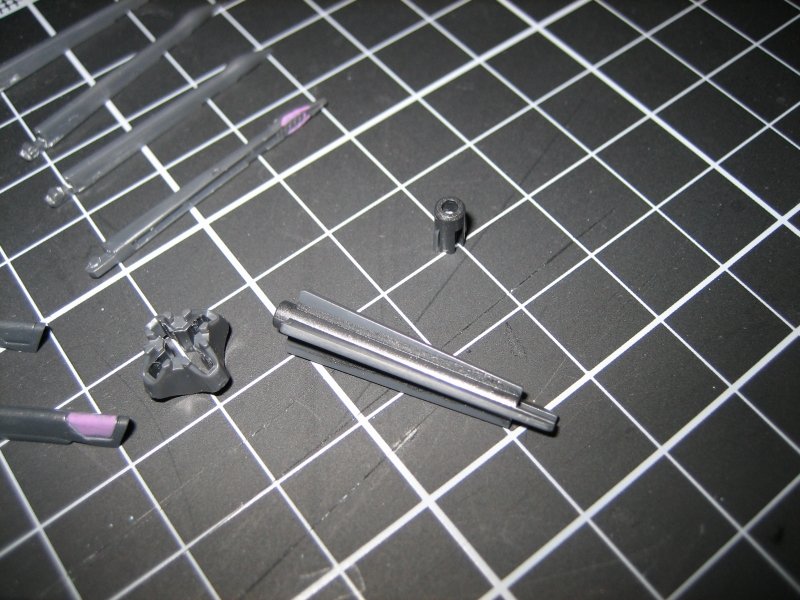
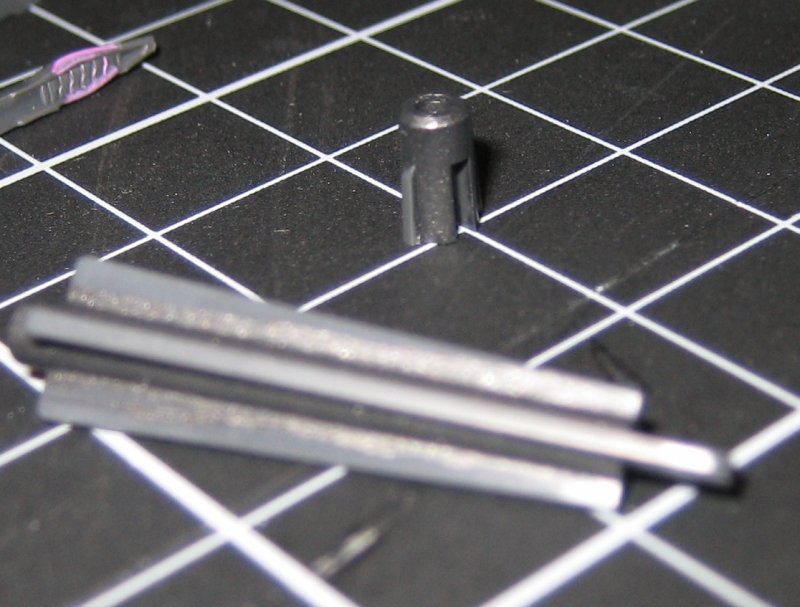
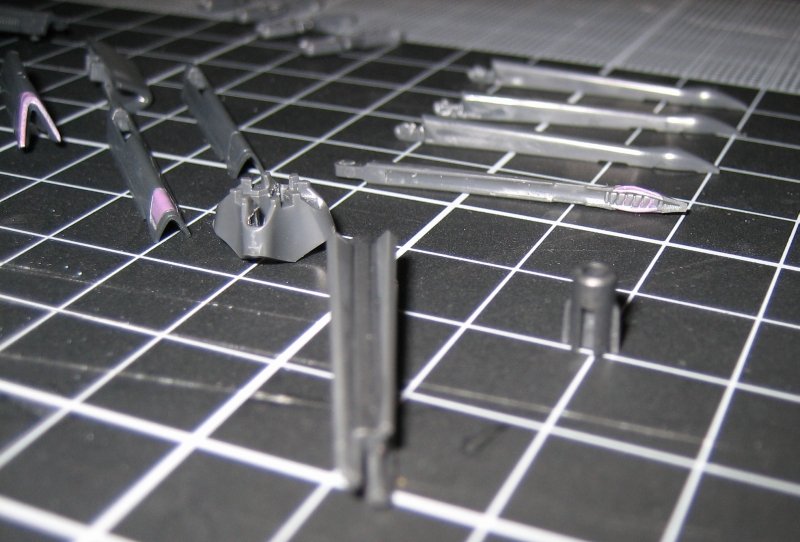
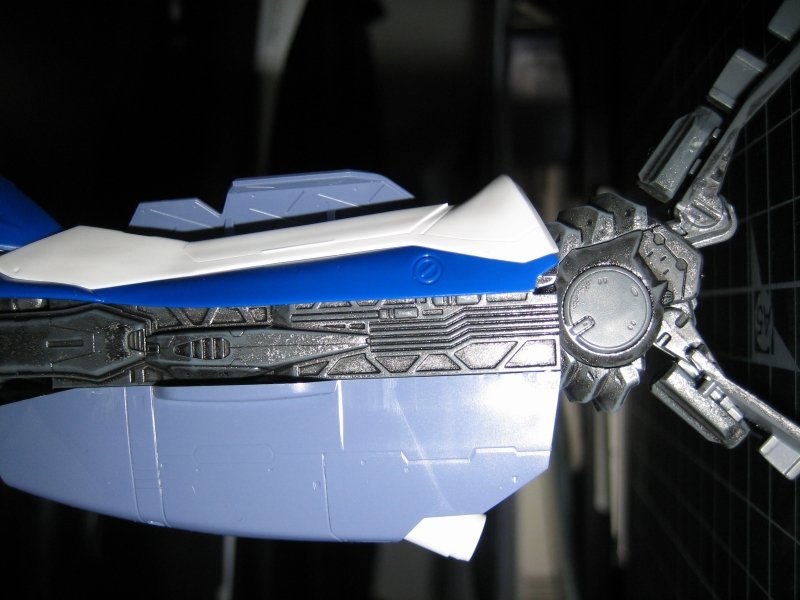
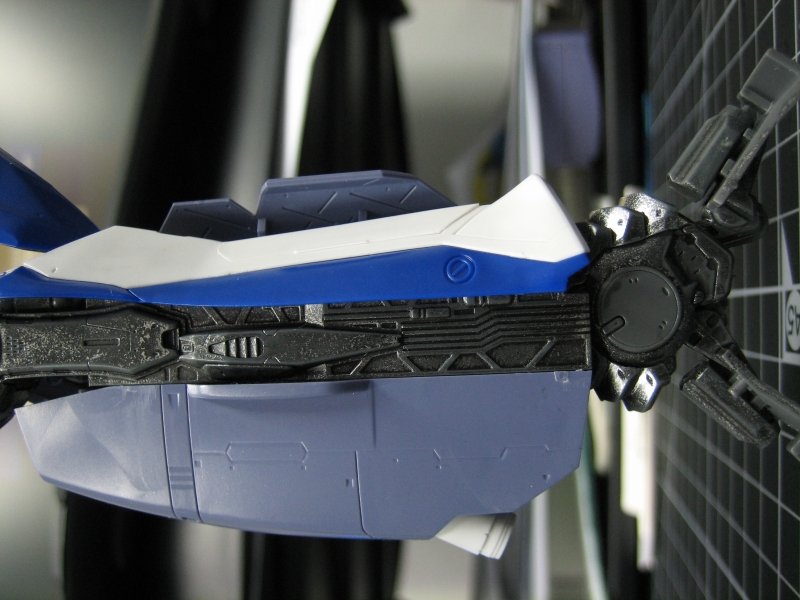
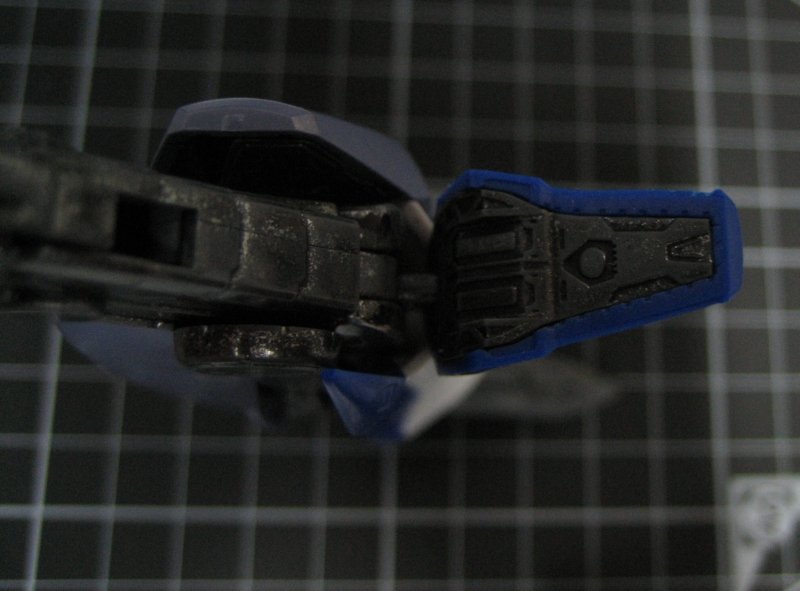
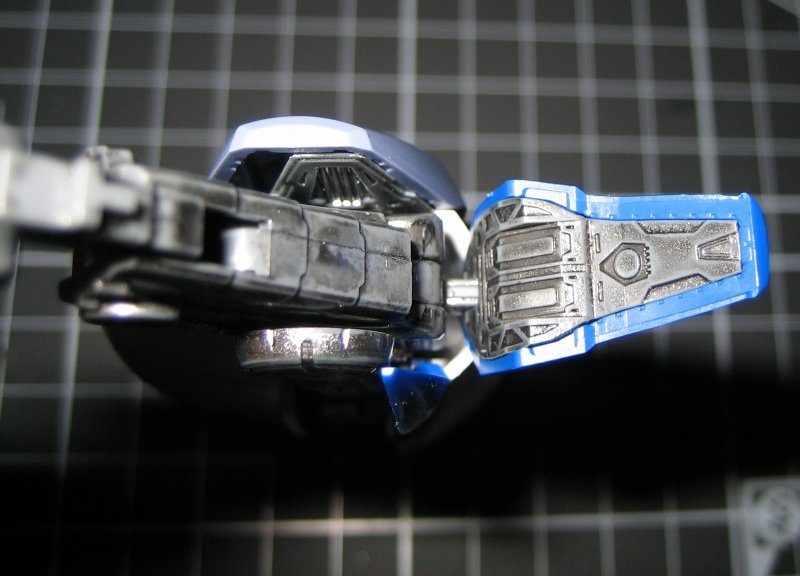
Update of sorts. I'm almost finished with the painting on the gun. There's the green to do, the lighter grey on the accents (clip, the "pump" on the front, etc...) and the red "lights" if that's what they are on the back of the gun. So nearly there! Of course, I'll then need to clearcoat it, black oil wash it, maybe a flat or semi-gloss clear on that (haven't decided on flat or semi) then the red the lights. If I do the red first, I'll need to mask it off to prevent them from losing their gloss. I haven't decided about weathering yet. I think on a part this dark, it might not be noticeable. Although there's plenty of opportunity for dry brushing - something I've never tried before. Any tips for this particular piece? I was thinking the inner workings of the scope could use some sort of dry brush highlighting maybe? Difficult for me to say, because this stuff is all so small and I'm a complete newb! Pics: These first two show the tiny strips of tamiya masking I cut out with a hobby knife and a ruler. I guess they would have been about 1mm wide, as the tape is 6mm. 6mm is a pretty versatile size, in my opinion (plus it was the smallest HLJ had in stock when I ordered it!). I put down some future over it to prevent paint from seeping under - this wouldn't have been necessary had I airbrushed it but I was concerned that the thin hand brushing would just allow the paint to seep under. It worked, but as you'll see in some other photos, the darker and lighter grey is so subtle that I wonder if it was even worth the effort! I'm hoping a final semi-gloss or flat clearcoat will bring it out a bit more. Some shots on my E71 camera phone. Not great but they show the rough first stage of the pinky-purple accents and especially the sloppyness of the oval, "eye" markings at the back of the rear tine housings. Yes, highly technical name! And some taken with the better camera after I'd finished with the scope lens bits, and the final coats of pinky-purple. I used a hobby knife to gently scrape away any excess. This worked well, although it was a bit trickier on the eye markings.
-
Thanks for clarifying - I knew the super parts' white was slightly different too, so it's good to know the subtle differences, based on someone who's actually got them all side by side to compare.
-
Looking forward to it! Please start a new topic for your Mikhail Custom - there's no way would I want your work getting looked over because it was hiding in here with mine. Not only would your stuff not get the attention it deserves, but you'd make me look bad! That said, any pictures you want to post up, feel free. In fact, post as much as you want! I could use all the help I can get. I just think you should have your own thread as well. Believe me, your work deserves it!
-
I'd be honoured! I would appreciate your input/feedback. I hope you'll post up a build for your G when you get to that point.
-
Well, I tried using the sponge approach but I think my paint was too thin. It went on so lightly that you could barely see it. I ended up using a brush instead and just scraping off the mistakes with a hobby knife. Because the darker paint so closely matches the plastic, I really can't see any blemishes where I've no doubt scraped both the pink and the black. Still, I may try this sponge approach again with some other parts where a feature sticks up enough to make this work. I mixed up some of the custom purple and put it in another 10ml plastic paint jar. Tip1: clear colours (red in this case) and opaques mix OK as long as you apply them immediately. If they sit for a few days, they separate. And restirring works for only about 2 days. Tip2: The paint won't last very long (probably 3 days max) in a container with this much air in it. Today the mix was clumpy and although not solid, was not really good enough to work for anything other than a few touch ups. I added some ammonia to see if it'll "melt" the clumps. I'll let you know how that works out. The good news is that I have managed to get all the purple parts except for the front tines painted. The gun looks pretty good! Next up will be finishing the front tines, then on to the green. I gave the scope some special treatment - the back (part facing the "eye" of the battroid) I did a simulated crt screen type of thing, so a green lens effect (similar to a HUD projector actually). For the front lens, I gave it a red coat. For both, I laid down a dot of gloss silver enamel, unthinned. Once that was dry, a dab with a toothpick of clear green for the back and clear red for the front. Both layers, when built up (the enamel and acrylic) make a pretty convincing rounded lens effect. I'm not sure I like the red look and am contemplating adding a dab of clear orange (amber) on top of the red to tone it down somewhat. Pics will be forthcoming. edit: The ammonia broke it down perfectly. The paint is nice and smooth again. I'll see if this gives me enough left over to finish the front tines.
-
As someone striving to get one of these to look "real" I'm just blown away by how well you did on yours! I never thought the RVF was all that great. But yours looks amazing! Would love to know how you went about doing your shading (pre, post, colours). If you wouldn't mind sharing that is.
-
IPS driver error for me too. There was a period yesterday or the day before when I couldn't get to the site at all. No error, just what seemed like an infinite wait for the site to load (the main MW site, not just the forums).
-
Brilliant! Thanks for the tip. I'll see if I can scrounge up a sponge of some sort. I want to get the purple done this weekend so if I don't have one on hand, I might have to improvise.
-
Yeah, I should have described the "eyes" better. A picture should help: Blown away by flash but in focus (mostly) And another showing I did paint these parts but it's out of focus Thanks for the tips on the other parts. I'm considering airbrushing but the areas are so small that I'm not sure I can adequitely mask them off. I don't have a small, stiff brush. My small brushes are all really flexible. I'm thinking I'll try the multiple coats option first and see if that works OK. As for the scratches you're seeing on the pink - it was time to go home from work and the paint wasn't dry yet. The scratches were a result of careless handling. Next time they'll be properly dry before I move them.
-
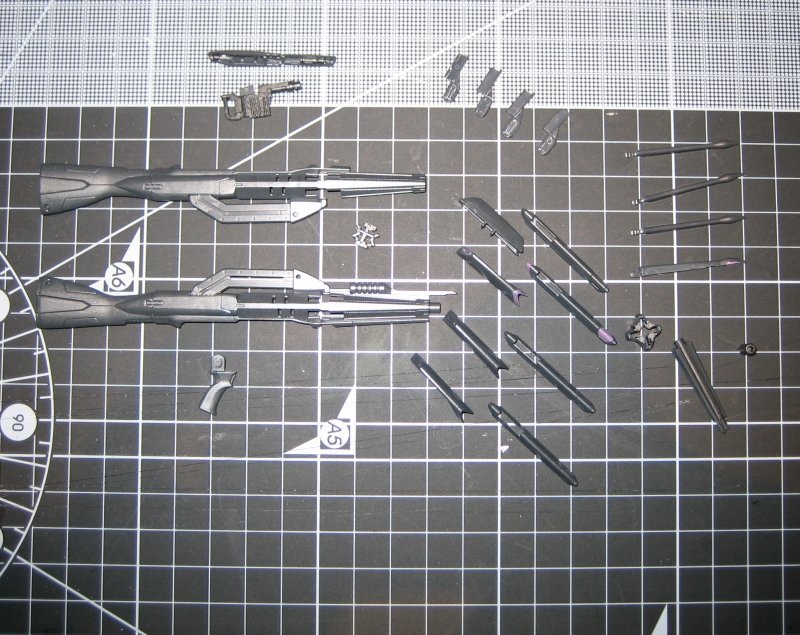
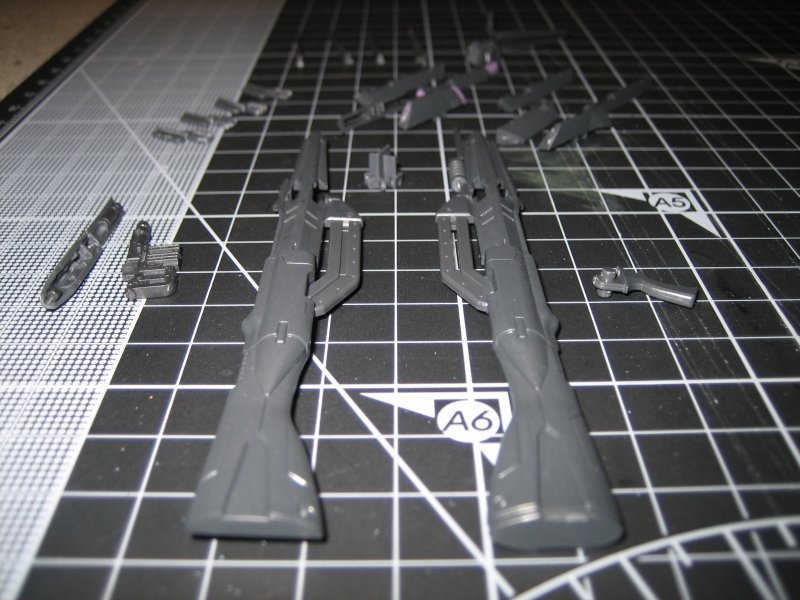
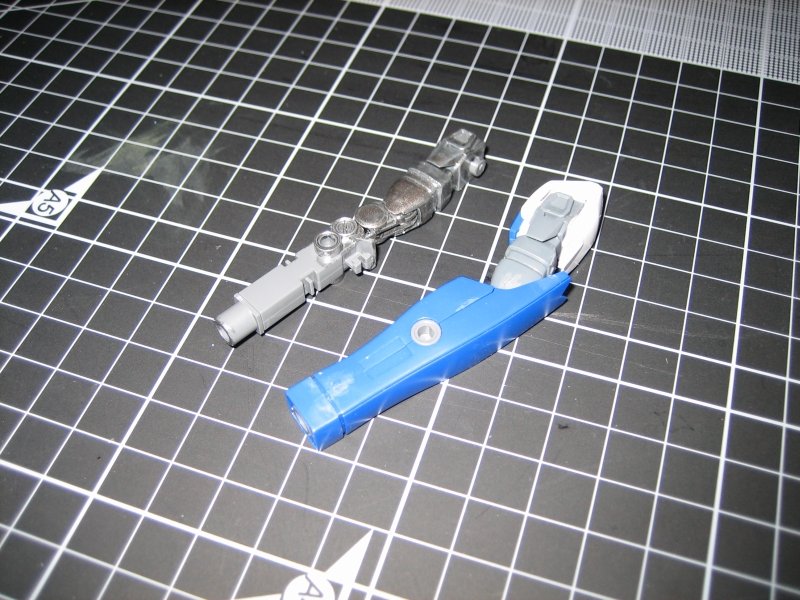
I managed to make some progress on the gun yesterday. I spent my lunch break hand brush painting the two shades of dark grey (almost black) and am pleased with the results. If someone had told me when I was a teenager that you could get the results I'm getting now with acrylics, there's no way I would have ever bothered with all the Testors enamels I used back in the day! Properly thinned, the Gunze and Tamiya acryls are so good, I don't see the need to air brush them on. Except for speed perhaps but all the cleaning of the airbrush sorta cancels that benefit out. Still, it has it's place and I'll no doubt be using it soon on some other parts. Anyway, I followed the paint guide for the most part. I wanted a bit of a metallic effect though, so added steel to both colours. I started with the darker colour - but since I didn't buy "Dark Earth" (couldn't find it and it's only called for in tiny quantities) I just went with "Tire Black" and "Steel" and I think the results are pretty good. As there's only a small amount of this colour, I had leftovers. So I added more "Tire Black" and mixed in the approximate amounts of "Neutral Grey" and "Midnight Blue" that are called for in the instructions. I put another small amount of steel to bring out the metallic but that was it. This colour so closely matches the colour of the plastic that I struggle to even see the difference. Unless you look for the metallic flecks, that is. Here are some pics: All the parts laid out (so many!) and some examples of the very subtle difference on the main part of the gun. The clip hasn't been painted at all but the rest has. Here are some of the most obvious darker parts (again, it's subtle) And these are only half painted. The "barrel" part of the rifle has been painted the blacker of the two colours and it's almost not visible. I'm hoping the final clearcoat brings this out a bit more. I then experimented with the pink parts of the gun. I don't have pink paint so I mixed flat white with clear red (don't have opaque red either) and then a dab of purple. Probably more purple than called for in the instructions. The colour is good but I don't like the coverage. I also forgot that the coat of pink will partially dissolve the under grey so I'll clearcoat before I do this for the rest of the parts. No idea how I'm going to do the tiny little "eye" shaped part at the back of those parts in the pic. Cent, any tips? Here's the results. They're not terrible but I'm sure I can do much better.
-
Bold added by me Phew! You had me thinking there was some way to get that effect with a normal brush and I thought there was no way I'd ever be able to do that! Almost crushed my confidence! Almost. Update Not much to report - been doing a bit more research on the gun and looking at ideas for the overall paint scheme as well. There's some great references on these boards that I had completely failed to use. Perhaps the best is WM Cheng's YF-21 buildup. That's got a blue fighter with weathering done up about as good as you could possibly want! So I'll probably borrow some of his techniques for mine too. I like the idea of varying matt/gloss clearcoats for subtle colour/sheen changes. I doubt I'll use 3 different colours of blue but 2 might be just right. I'm thinking I'll follow the way he did his 25F with a different colour in the middle of the wings and some select areas. Haven't decided on lighter or darker for these areas though. Back to the gun - I've decided after looking at the anime screencaps I've gathered up, that my black barrel, dark grey everything else, and neutral grey accents is the way to go. I'm going to mix in a bit of metallics with all these though as I think it'll look a bit better and tie in with the arms and legs of the battroid better. I've just spent the last hour sanding all the sprue marks off the gun parts. Man that's time consuming!
-
That looks great! I was thinking of not doing the green on mine but I think it adds a bit of alien-ness to it that I actually quite like! Really nice job on the hand painting too. Going back to the pics and comments of the feet you did - you said you brushed on the darker shades for that burned look - did you mean brushed as in hand brushed or air brushed. Cause if they're hand brushed, please share your technique, it's amazing! Man, I need to get a move on! With the sale on the 25G at HLJ, my build is going to end up so slow that it won't actually help anyone.
-

Bandai 1/72 Scale Macross Frontier Model Kit Thread Ver.3
mickyg replied to azrael's topic in Hall Of The Super Topics
Check out my buildup in the "building/customizing macross models and toys" section. Shortcut though, it's a combo of bright blue mixed with violet, according to the instructions (check out post number 4). And it matches the coloured plastic, almost exactly. -
The paint guide says white with a small amount of light gull grey. But judging by the colour of the plastic, it's probably the same as the 25F - bright white. It's definitely not light grey like the 25S. What's kinda frustrating is the super parts white colour. These are not molded in the same colour as the rest of the model. Though with the universal nature of the super parts kit, I guess there has to be some variety they don't match.
-
Hi Cent - thanks for posting! Yours is looking fantastic! I'd almost decided not to paint the whole body but I'm loving the results you're getting. The gun is pretty hard to judge on the show - in some shots you see a green tinge to the inner tines but other times, it's just grey. It's the same for the super packs - they're molded in purple but most of the time, they just look grey to me. And in my opinion, grey looks better. So I'll likely go that route. As for the pink - I kinda like it! I wish I knew why that colour was chosen though - what are those parts, what do they do? Are they crystals or some sort of sensor array? At any rate, I'll likely go more red or purple than pink. I'm not planning to use the stickers either. It's also great to hear people are reading and finding some help from this thread. For anyone else reading this or building the 25G, feel free to post away.
-
The inner framework is all done now - painted and black oil washed. I"m pretty happy with how it looks. I'll spray a semigloss clearcoat on it to seal it all in after I've made sure all the joints are tight and there are no more breaks or cracks that need fixing. The last one I found was the neck piece with the ball on it for the head - Had a crack right on the pivot joint. No idea how I managed to break that but it's safe to say the joints on this thing are fragile and care must be taken during any movement to prevent unexpected breaks. On another note - does anyone have any decent screencaps of the sniper rifle in closed and open mode? I've got a couple of caps from the show but they're all fairly low rez and I can't see any real colour consistency. The paint guide mentions a dark grey, a black and a lighter grey. But I can't seem to find anything specific on where these colours actually go. EDIT: My suspicion is that the black is the gun barrel and possibly the scope parts (under the top cover), the dark grey is the rest of the gun, and the light grey is a few accent pieces - the part that resembles a shotgun "pump" and possibly the clip, plus another ribbed piece on top of the stock. I'd just go with my instincts but I'm incredibly pedantic about accuracy. And if I can't get it accurate, it's got to be good enough to make me forget it's not accurate!
-

1/72 Hasegawa SV-51 Gamma w/ twin boosters (DD Ivanov type)
mickyg replied to nickster's topic in The Workshop!
Exactly! Oh, the lengths we go to hide our hobbies from our wives. What's wrong with us? -
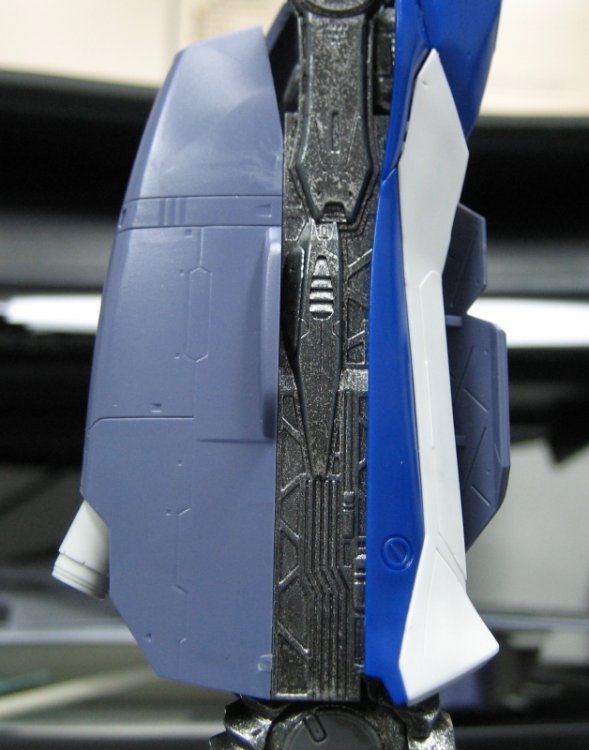
Finally had the model, camera and time to work on it all together today. So I figured I'd put a quick black artist oil wash on the leg. I love the results! Not sure if the pics really do it justice but the bright metalic finish that looked a bit fake before is gone. It's been replaced by what, in my opinion, looks much more realistic. Flash, no flash. No flash, flash. Amazing what the flash brings out that your eye doesn't see in normal light.
-

1/72 Hasegawa SV-51 Gamma w/ twin boosters (DD Ivanov type)
mickyg replied to nickster's topic in The Workshop!
Hah! That's exactly what I'm doing! My wife thinks I'm working on a Mospeada variable Legioss. She's got no idea I bought the VF-25G (or the Yamato VF-1a, for that matter...). She's seen the 25G I'm working on, but fortunately, she's not familiar enough with Macross to know that this is a different model. I'm so bad... Back to your project, Nick it's looking great! Keep up the great work - I'm so building this some day! -
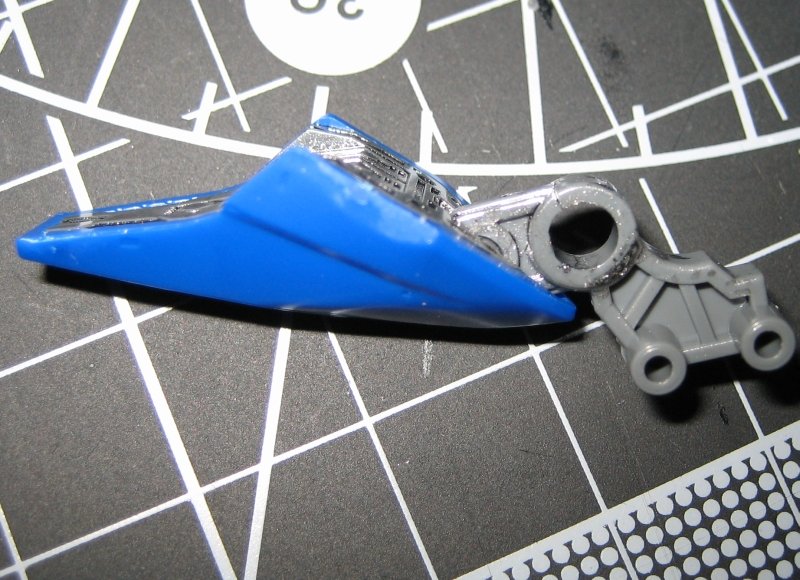
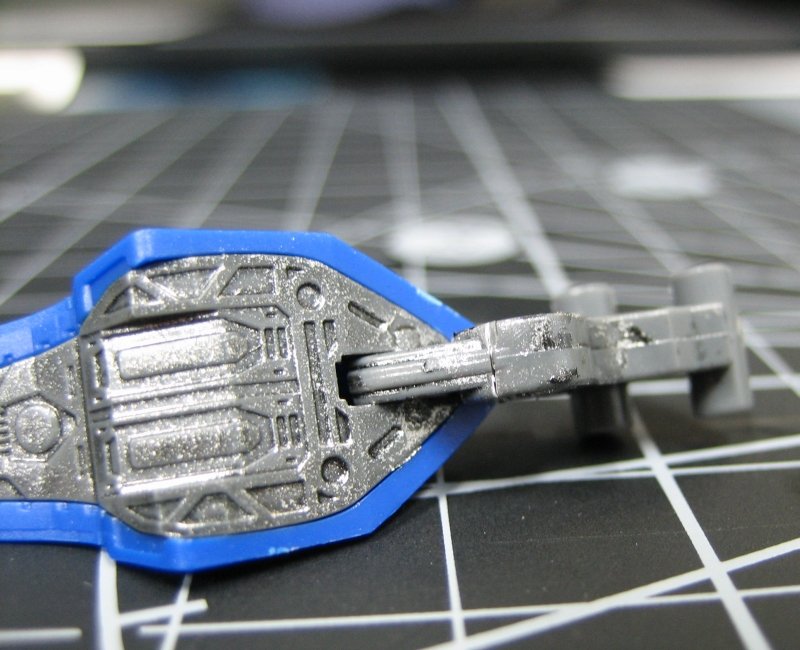
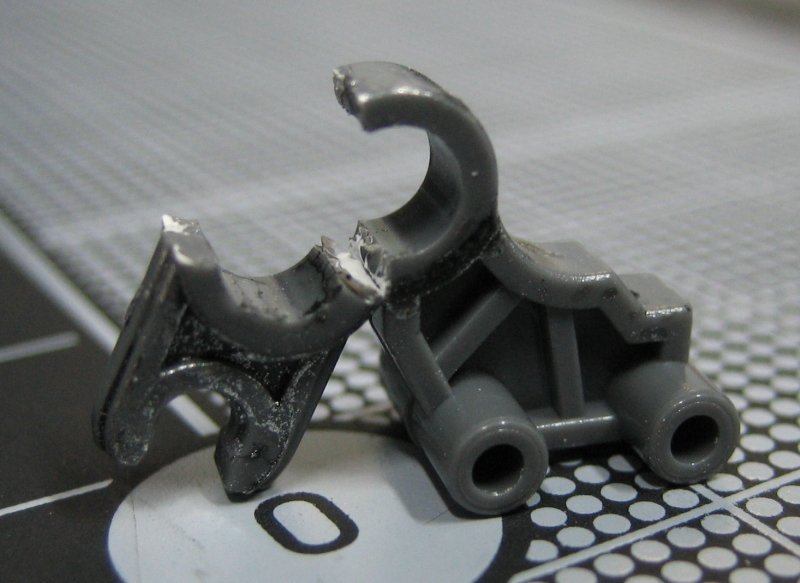
Got the leg apart. It's not loose, it's broken! Aaaaargh! Side and top, showing the crack all the way through. After I pulled the broken part out, I discovered it'd cracked at the bottom as well, which makes sense since that part would be under stress too. So knowing I'd need to super glue this (I think it's ABS, not PS), I just pulled it open all the way. The good news is that it's now been super glued back together and at least appears to be stronger than it was before it broke. Time and the occasional pose will tell. I don't plan to "play" with this thing so hopefully that's the last I'll need to worry about it. BTW How'd it break? I'm guessing it's that stupid Gerwalk leg configuration again. Probably the thigh fouls on the knee part and puts pressure on that joint. Another weak point in the design here but I'm not sure there's any other way to do it.
-
And some pics of the painted leg. I've since discovered the "knee" joint (it's got two pivot points) is loose. I'll need to disassemble this and see if it can be tightened. In its current state, it's not going to support the rest of the body when it's finished. With or without the super packs.
-
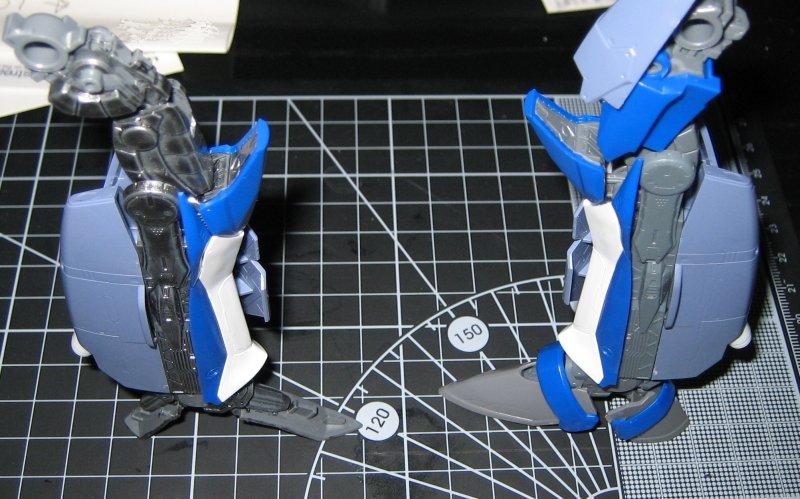
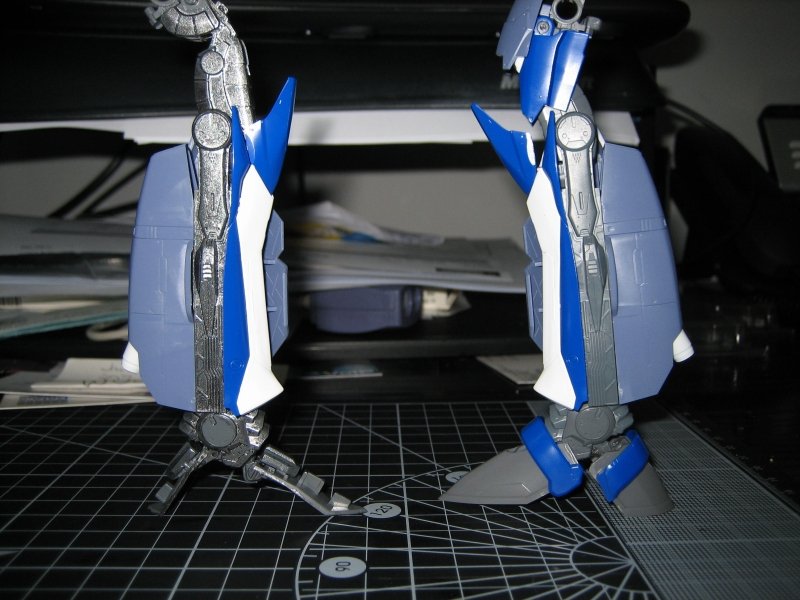
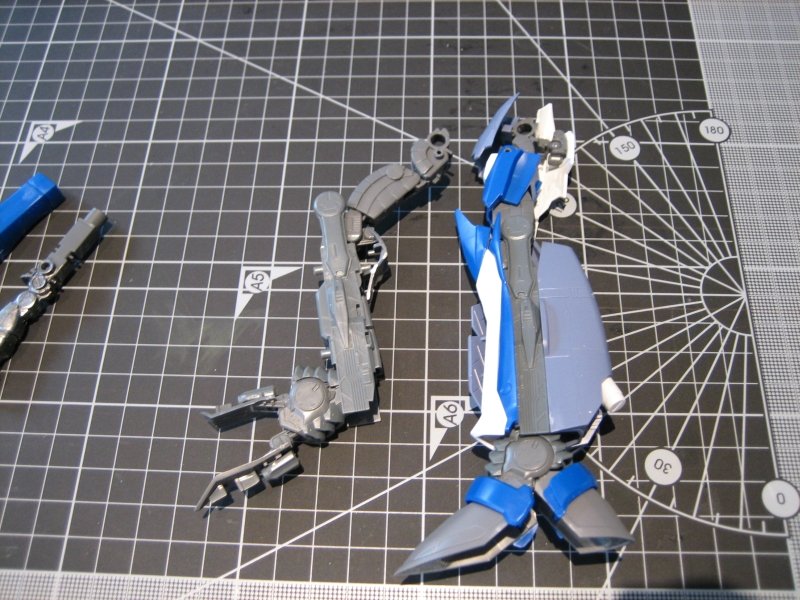
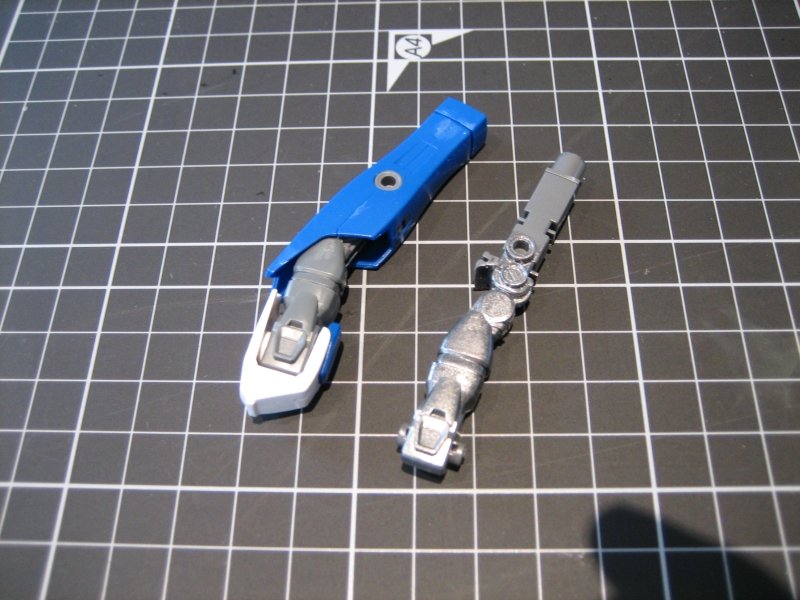
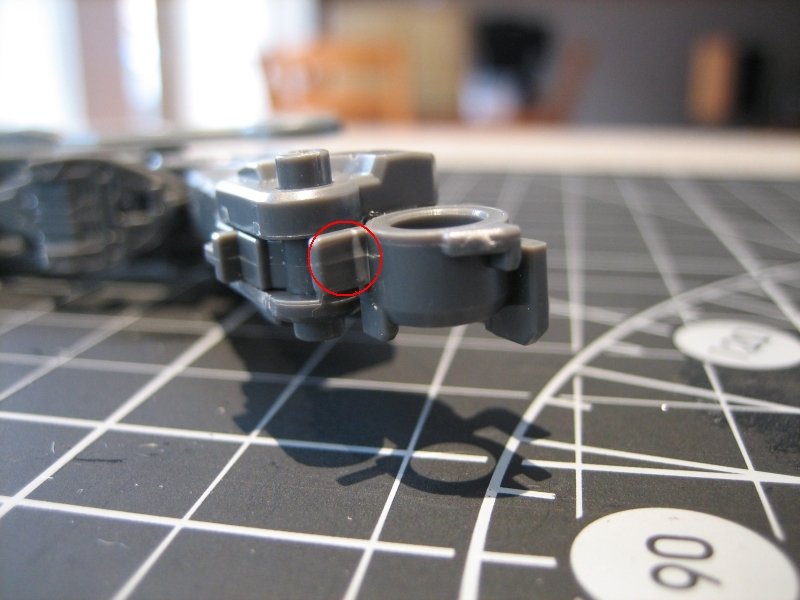
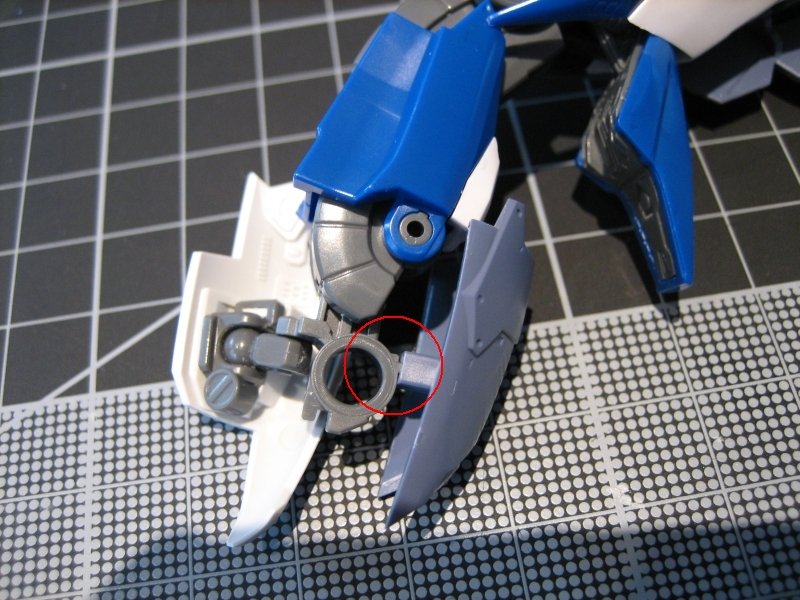
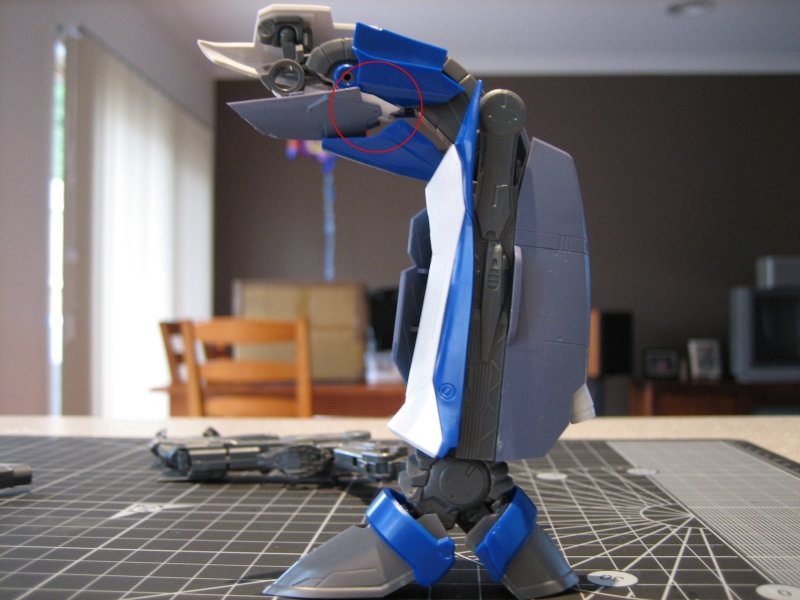
Pics. Unfortunately, the finished leg pics haven't been taken yet and of course, I left the parts at work and the camera is at home so they'll have to wait. Typical for me... Anyway, here's what I've got: Arms - One's painted, the other not. You can get an idea of the silver look, due to the metalic flake seperating out somewhat. It's actually worse in this light (halogen lights overhead - no flash): Legs - One dismantled and ready for painting And this view showing the stress mark (circled) With bottom of super parts intake attached And lastly, the leg in gerwalk mode, showing where the parts rub and cause stress on the mounting point
-
Thanks Nick. I like the look of that. I was thinking of black but it would likely be too stark a contrast for what I'm going for. I'll see what I can mix up from my artist oils.

