-
Posts
2632 -
Joined
-
Last visited
Content Type
Profiles
Forums
Events
Gallery
Everything posted by mickyg
-
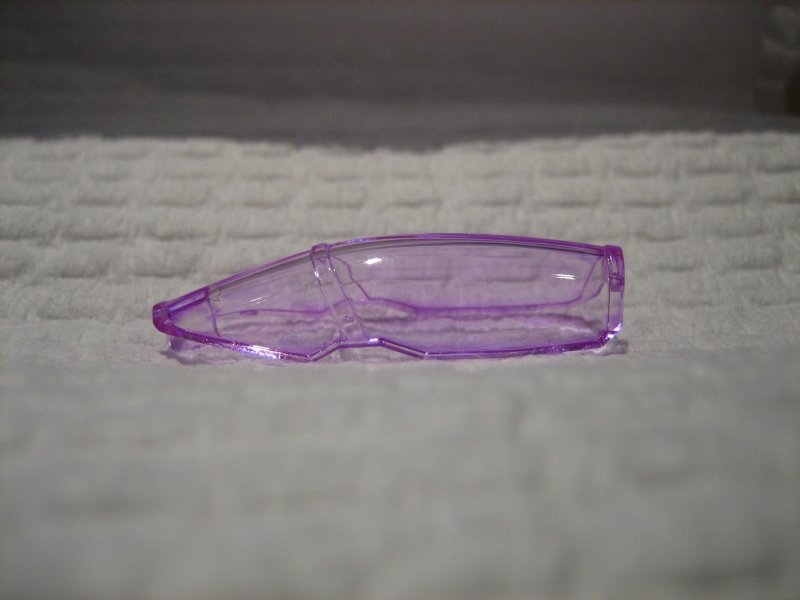
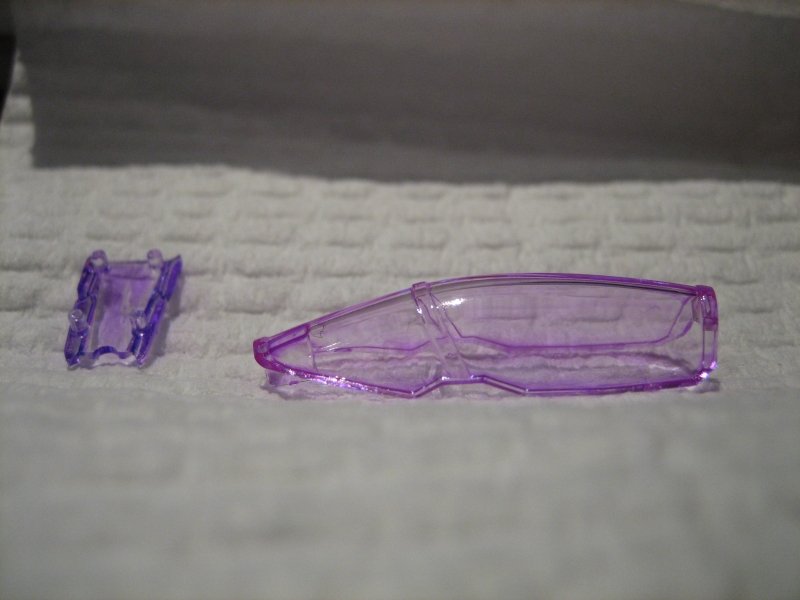
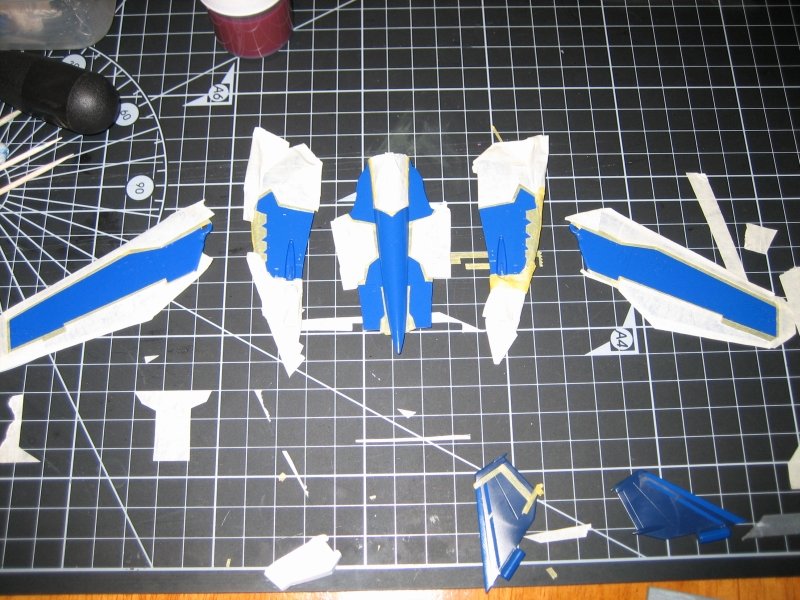
First the canopy, along with the front sensor array (I'm guessing that's what it is) that was done with my old mix. You can see there's a bit of a difference in colour. I think I'm OK with it though: And the masking, masking, masking! Wow this is tedious! I still have the tailfins to do (the white parts on the top and backs) and some bits on the hip/crotch area left but otherwise, I think we're almost there! Oh, and the super parts, of course. I'm wondering if I'll bother to paint them, or just leave them as is and overcoat in flat clear. In some lighting, they look grey enough for my liking. In others (mainly flourescent) they look too purple.
-
Yes, do tell! They look very tight. I've got magnets but the longer this build drags out, the more I'm wondering if I'll ever get around to fitting them. Got the top all masked so far for the slightly darker blue accents this weekend. Also experimented with the new future knock off that I managed to find. So far, just retinting the canopy. Two coats and the second didn't eat the first. So far, so good! Pics forthcoming, of course.
-
I don't think the dullcote was the problem. The gloss was, in my opinion. The dull did slightly attack the purple markings, though I think I accelerated that by soaking the parts in weak water/dishsoap solution. Still, it was OK after the dull. The problem came after I applied the gloss. I think the gloss was pretty hot and attacked the dull cote, which caused the wrinkling. I could be wrong though!
-
Yeah, it sucks. I'm fairly certain it reacted with the Testors Dull Cote. There were a few places the dullcote wasn't applied and the gloss went on fine there. It didn't react with the underlying acrylic paint or the plastic anywhere I could see. I'm still contemplating a test on some spare styrene sheets I've got. Some with paint, some without, some with the dullcote. I think it'll confirm my suspicions.
-
Yes thanks so much! So now I'm a bit annoyed I didn't search harder when I bought my paints. This is what I've purchased (all except flat): http://www.testors.com/category/136299/Int...re_Enamel_Paint And it's obvious these are not acrylics! They'll probably be durable but I've got a lot less wiggle room if I screw anything up because it's going to be next to impossible to remove. Note: I haven't even opened these paints yet so I can't comment on how they look or what they'll be like to apply. I imagine they'll be pretty durable though.
-
Loving that colour scheme. I have no idea how you kept it aligned straight, but it's very cool. And the quantities of tape are definitely impressive!
-

1/72 Bandai VF-25F Messiah build-up step-by-step (sort of)
mickyg replied to wm cheng's topic in The Workshop!
Thanks so much for your thoughts and advice! You should pop over to my build thread some time. You might recognise some of my methods. Most of what I'm doing you're directly responsible for! Yeah, automotive is now out of the question for me! I've purchased some Model Master clears but they're all lacquer based. I guess I assumed when you said your MM acryls were lacquer that it meant I could buy the lacquers and be OK. Now I'm not so sure. As for the finish I have with the wrinkled paint, I might try to lightly sand the really offending parts and live with the rest of it. It's bad but not so much so that I can't still appreciate the gun and colours I've used. -

Bandai 1/72 Scale Macross Frontier Model Kit Thread Ver.3
mickyg replied to azrael's topic in Hall Of The Super Topics
Works for me! I've got a VF-1D Hase kit to build up when I'm done with my 25G. This thing is taking forever! I seriously doubt I'd have the patience to launch into another 25 right away. Sometimes I wish I'd just built it, decalled it and called it finished. But NOOOO, I have to go and try to make mine look realistic! I know, I know, it'll all be worth it when it's finished... -
Wow, you work fast! Looks really good with the two tone colours too. I considered puttying the nose and arms but then decided it was too much effort, and more importantly for me, the seam in the nose is actually that way in the anime too. Probably not super realistic but then again, maybe a removable upper and lower panel on a real jet would make sense? I don't know enough about radomes to know the answer to that one. If David H drops by, perhaps he can answer that one. Can a radome be two parts?
-
I know exactly what you mean! I don't know if it's obvious from my pics but yeah, I completely assembled it, then took it all apart again to paint it. But to do it right, you need to keep the thing clean, so no decals or stickers. And without those, it kinda looks like crap! It is definitely possible though, just need to be very careful when you disassemble it not to bend any pieces or break them. Some of them fit very tightly. The best advice is to cut any pins that fit into holes at an angle near the ends. So the pin is still there but it's got a sharp angled point instead of being flat. This still allows the pin to lock into the hole when assembling but makes it easier to take it apart too. It's tricky to get right though so be careful!
-
That looks awesome! I love your work in progress pics on your flikr site too. Looks like you spent some serious time and effort on this. Your attention to detail is amazing - especially liked the cockpit treatment. The dry brushing on the "dashboard" (no idea what the real term is for that part on a jet) looks great!
-
Looks great! I love seeing things come together, after staring at the same separate parts for so long. I think I figured out what happened with my clearcoat. I noticed a few spots on the gun where the gloss looked OK, then remembered how I'd put the dullcote on. I stuck the gun, by its handle, into a blob of blutac, which means that some of the parts on the gun didn't get any dullcote sprayed on. Where there was no dullcote, the gloss looks fine. So it looks like my acrylic automotive clearcoat reacted with the dullcote. It does not look like any of the underlying acrylic paint had any issues at all. So the good news is I can probably spray the gloss directly onto my paints, without any issues. I'll still test it on some scraps but that makes me a feel a lot more confident about the whole process. That said, I've got semi and gloss clear of the Model Master bottles and am still wondering what I'll end up using to thin it. The automotive stuff is just something I had lying around from an old project and I'm not sure I'll end up using it. Looking at WM Cheng's builds, he never uses a high gloss even for what he decals over. So perhaps it's easier for me to just abandon the can and stick to airbrushing with what I've got.
-

1/72 Bandai VF-25F Messiah build-up step-by-step (sort of)
mickyg replied to wm cheng's topic in The Workshop!
WM, hope you don't mind me asking a general question regarding your methods on all your builds. I'm doing my Michael Custom (25G) and just had a nightmare experience with clearcoating on the sniper rifle. I used a flat clearcoat (Testors Dull Cote - lacquer) and had great results. I then decided I wanted a gloss coat over the top, to give me the best chance of wiping off the oil wash I haven't applied yet. I went for an automotive acrylic gloss spray but one that's lacquer based as well. I figured it'd be pretty close to the model master acryl clears you use for your builds (it's the stuff in the bottle, right?). So anyway, the gloss went on fine and looked OK while it was wet but when it dried, it got all wrinkly. It looks terrible and I fear I've ruined the gun. Short of sanding it back or trying a thicker 2nd gloss coat (which will likely ruin the panel lines), I'm not sure what to do. Any comments on how this is supposed to work, what I might have done wrong and how I can prevent this from happening in the future with the rest of the model? Oh and specifically, what do you use to thin your MM acrylic lacquer clear coats? I've got industrial strength lacquer thinner but it's so volatile that It can melt plastic. I'm thinking this is not the stuff to use for thinning a clear coat! Thanks in advance for any and all suggestions! -
I thought that too. But here's the weird part - the Testors dullcote is a lacquer! I put my automotive gloss coat directly over the testors dullcote so I thought lacquer over lacquer would be OK. Apparently I was wrong. There was a slight reaction with the dullcote over the colours but not enough for me to worry about. The reaction from the gloss coat though, it's just terrible! I'm going to have to use another method when it comes time to clearcoating the whole thing. I've got testors model master semi and gloss clears in the bottle. The plan was to thin those before airbrushing. But since these are most definitely lacquer based, I've got to find some sort of lacquer thinner that is less reactive than what I've got currently. The stuff I've got will melt plastic on contact. Anyone got any words of wisdom for testors clear (Model master in a bottle) and appropriate thinner?
-
Looks great! Did you use the decals for the white parts of the stabs or is that paint? Either way, it looks really good. I figure I'll paint mine but am a touch worried the white won't match. I'm thinking the little hinge pieces under the nose (the ones cast in blue for some unknown reason) are going to be a pain to colour match. I'm going the lazy route for the white parts and will just clearcoat the white plastic. But for areas that should be white and are cast in another colour, I'm going to have to do something that will match. The colour callout sheet lists white with a hint of gull grey. I'll try that on some white sprue to see how it looks. The hinge parts I mentioned are ABS (I think) and will likely need a primer first (will use mr surfacer 1000 white, airbrushed on). If I'm lucky, maybe that'll match, but I doubt it. I'm not sure I follow exactly. I thought my dull cote was OK, but the gloss one, not so much. I do wonder if the gloss overcoat reacted with the dull though. Perhaps it hadn't fully cured yet? Mine had sat for 3 days so I figured that would have been sufficient.
-
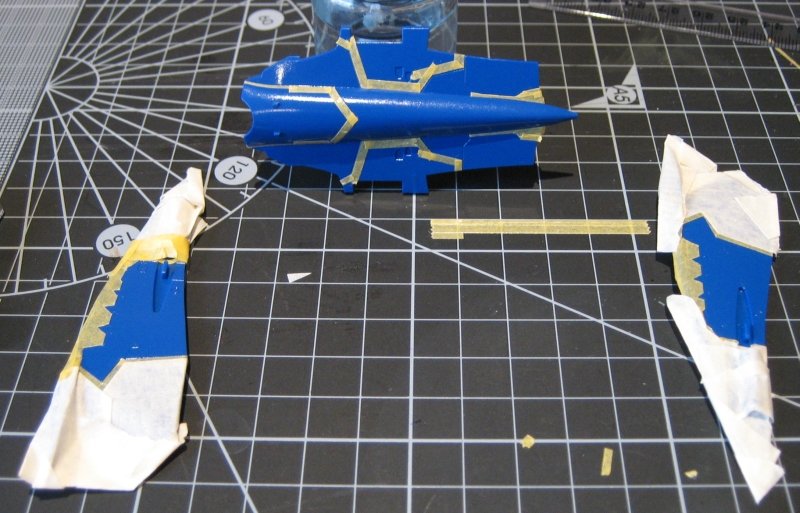
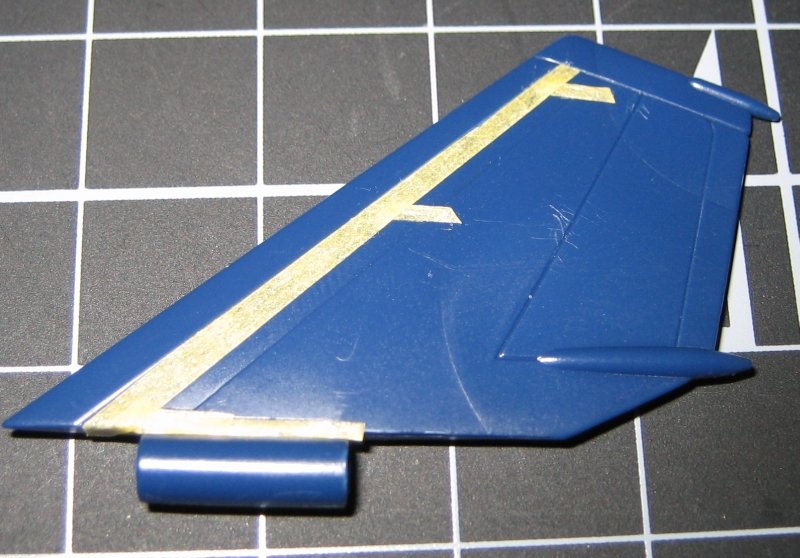
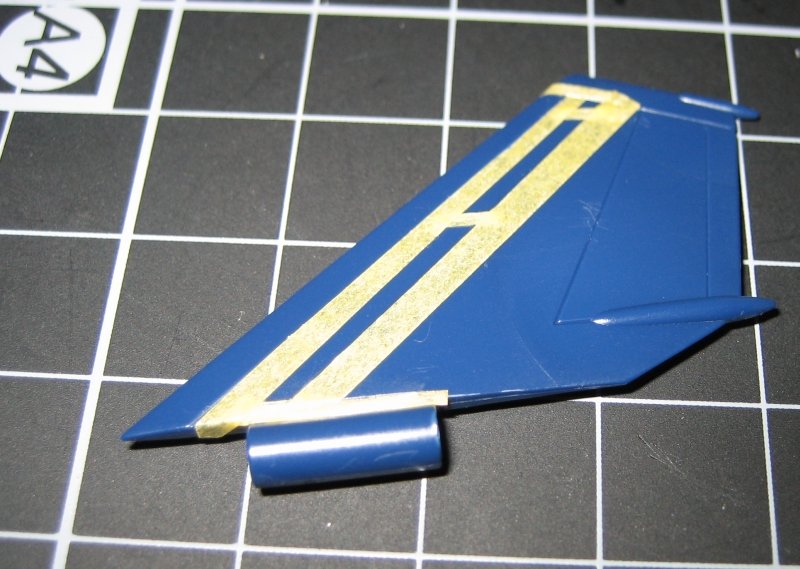
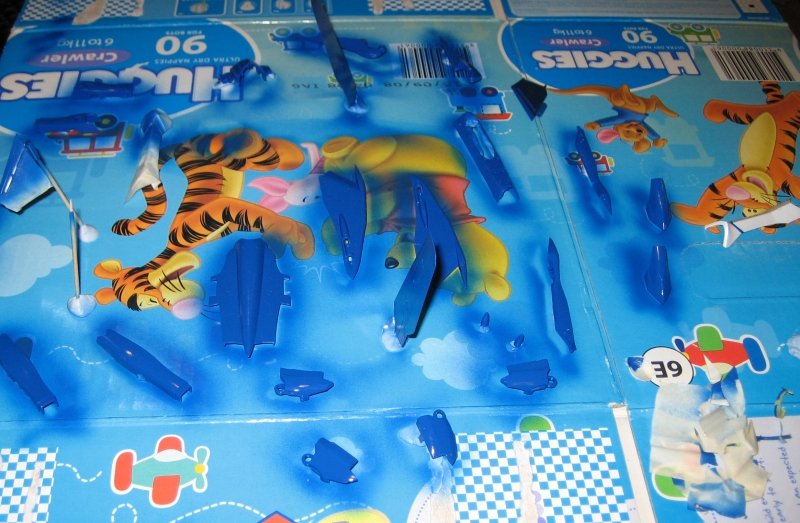
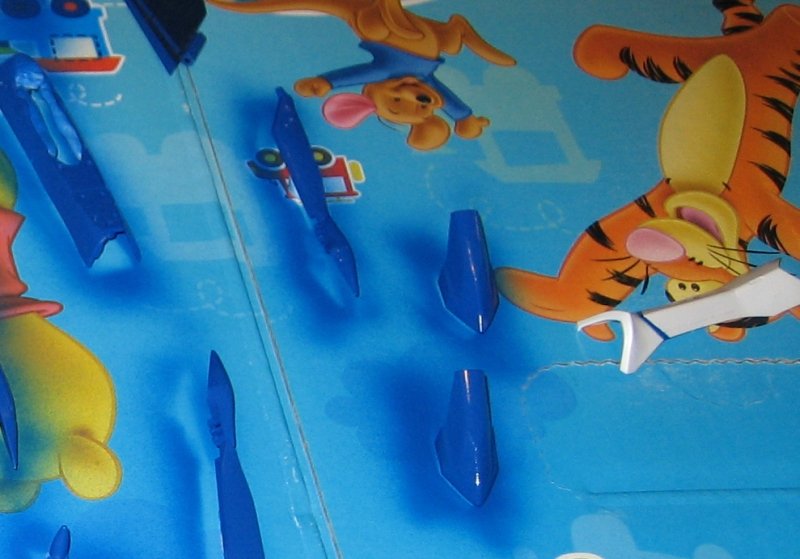
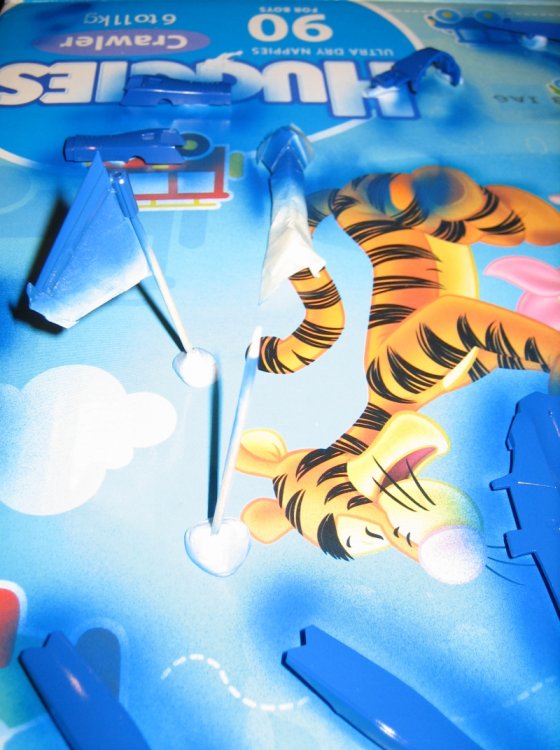
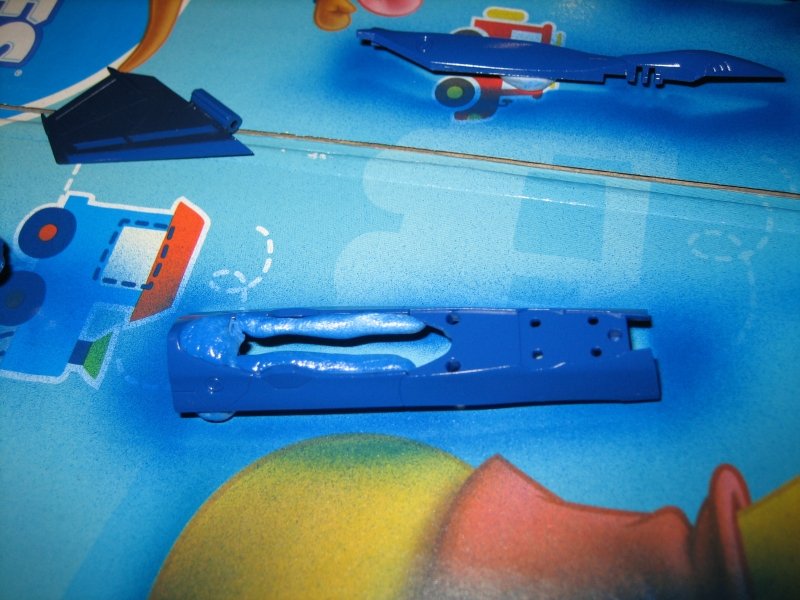
So that was the bad news. The good news is that I had a win with the blue paint and majority of the blue parts (not that I lost on the rest of the blue parts, just didn't paint them ). I got the tail fins and the stripe on the shins done, plus painted all the other big parts, to cover any plastic swirl marks or sanding marks. I'm still amazed at how spot on the colour guide is for matching the plastic. It was hard to tell where I'd painted, in fact. Masking these areas was tedious. I tried a few approaches and finally settled on using the panel lines as a guide to cut the tape, after it was applied. So you line up the flat side with a feature on the part that doesn't need cutting, then cut against the panel line on the other side of the tape. It worked really well. All the parts painted. I used blutac to hold everything down and a bit of it to mask areas off on the cockpit top as well. Versatile stuff! And who knew a huggies box would come in so handy!
-
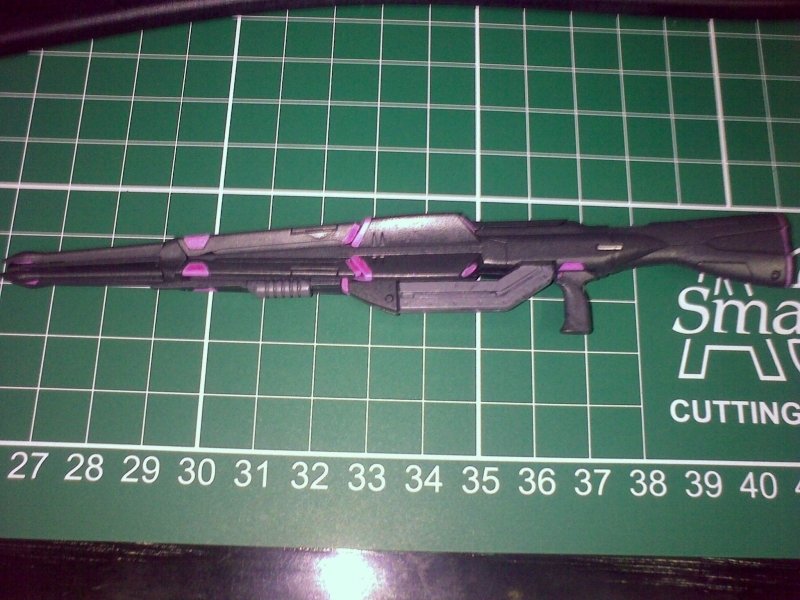
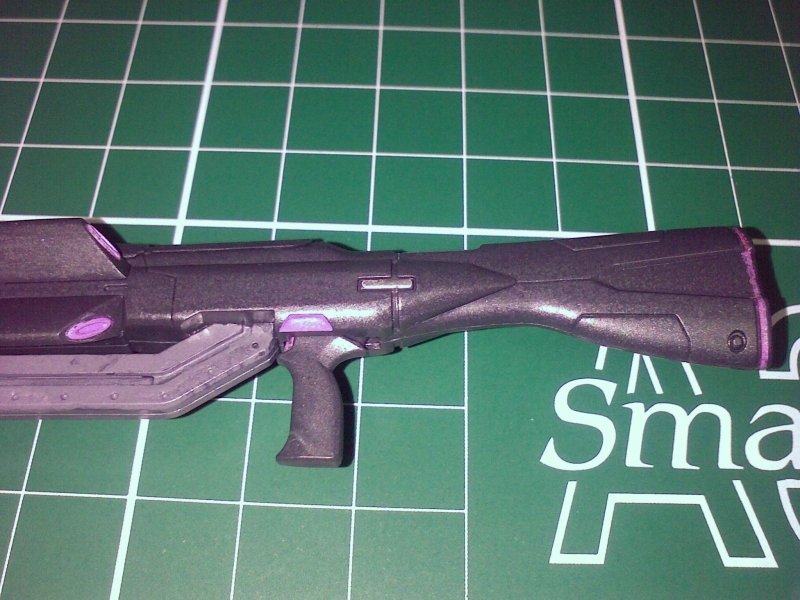
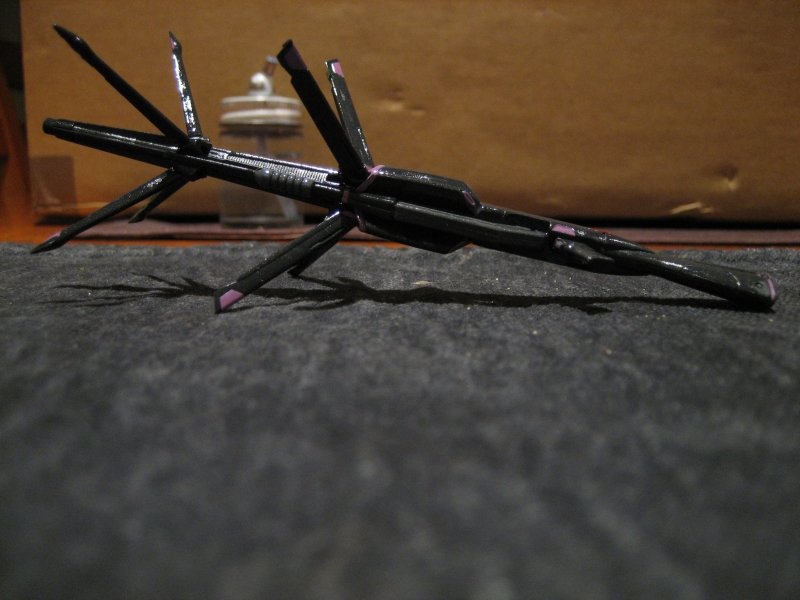
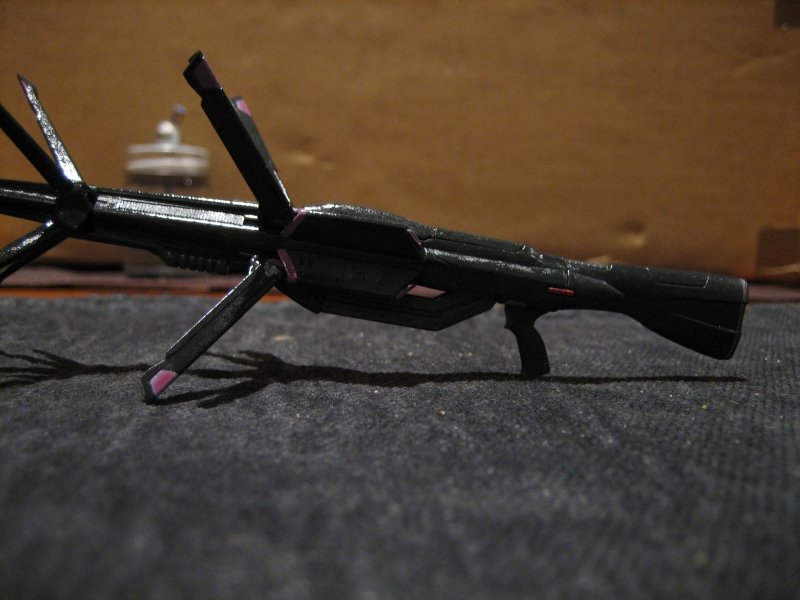
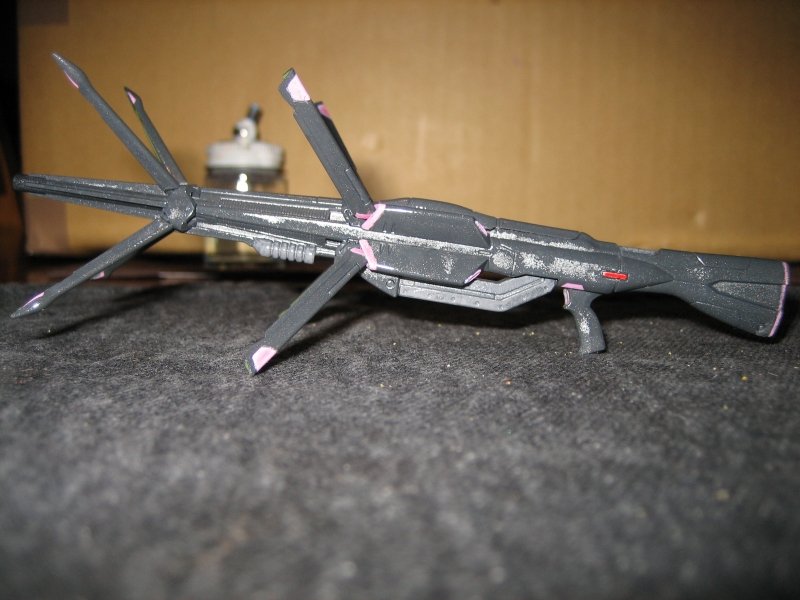
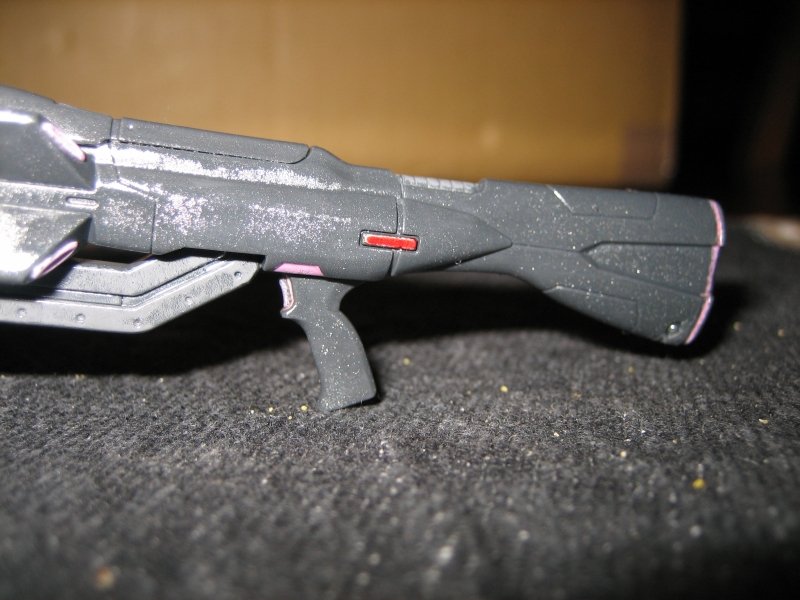
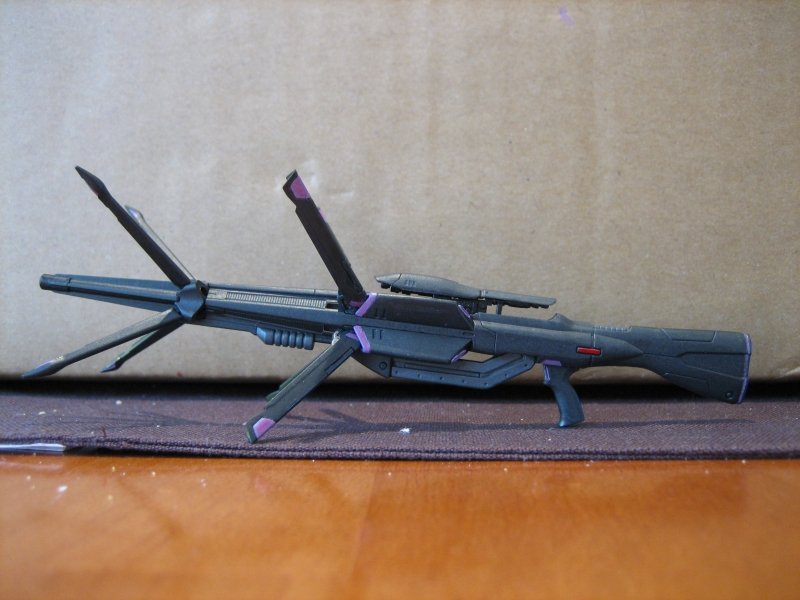
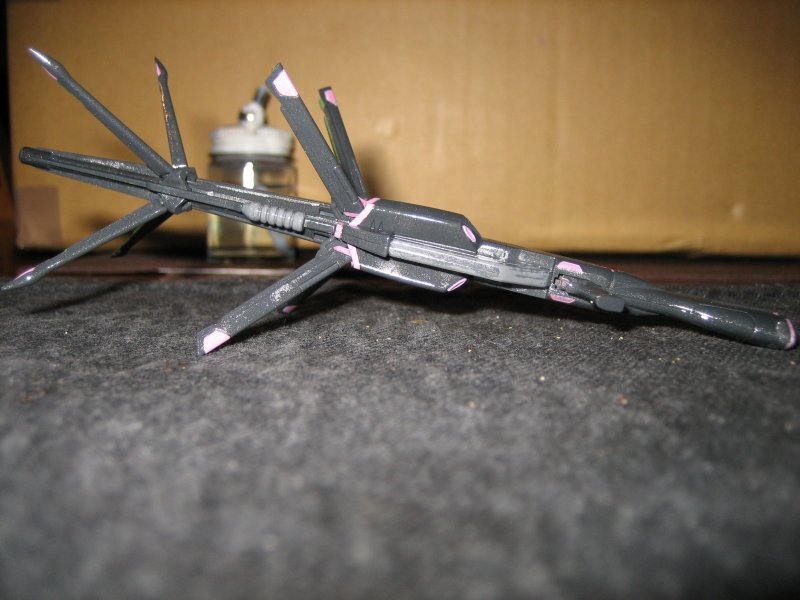
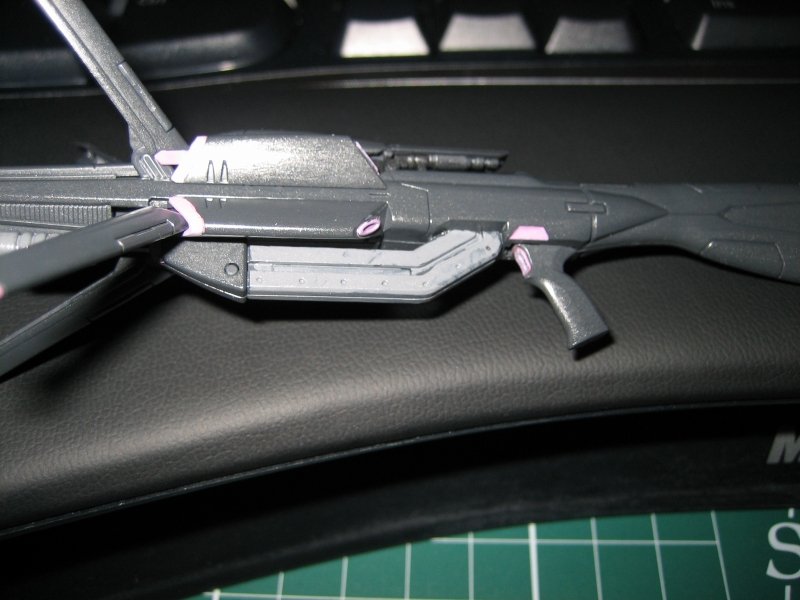
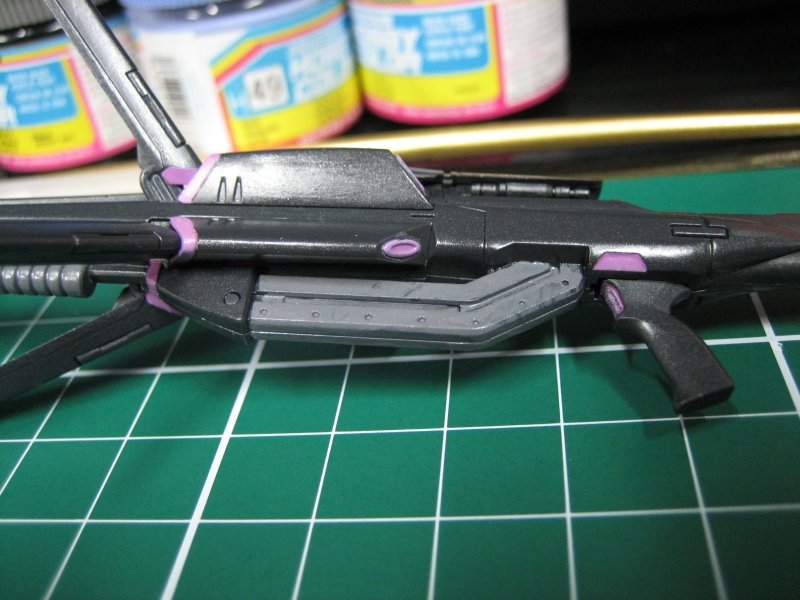
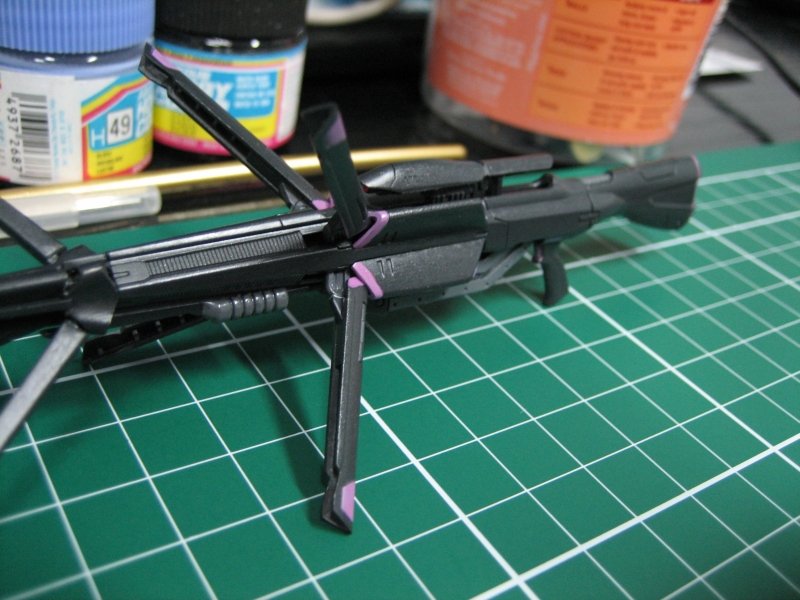
Looking good Cent! Can't wait to see yours completed. I had a bit of a disaster this weekend with the gun. I remembered I had some clear gloss acrylic spray (lacquer based) for automotive use out in the garage, so figured after painting the red light things on the stock, that I'd put a gloss coat over everything, in preparation for the black oil wash. I wanted it to be easier to wipe off. So after spraying a few light passes, it looked nice and wet and I left it for a few hours. When I came back, the coat had wrinkled and instead of a nice, glossy coat, I had a wrinkled, mottled finish. And since it's lacquer based, I'm guessing it's not going to come off. Needless to say, I'm pretty annoyed. I can try to sand it back, but there are so many irregular surfaces, that it'll be nearly impossible to do a decent job. Or, I guess I could attempt another coat, which will no doubt fill in all the panel lines, thereby losing any detail I'd hoped to achieve. If anyone's got any ideas, I'd love to know how I can avoid this in the future and possibly, how it happened. Some relevant details: Base colour is water based tamiya or gunze acrylic Over coated with Testors dullcote spray (not model master, just the regular stuff) It was a cold, dry day (around 10C/50F?) Before using the clearcoat, I warmed it up in a bowl of hot water. These pics don't show the severity of the wrinkled finish but should give an idea, at least. First, a pic of the red light steps. 1: paint silver enamel over the rectangular area 2: overcoat the silver with clear red (in this case, 2 drops of red, mixed with one drop of clear orange): These were pre-gloss coat. Now the wrinkle finish pics:
-
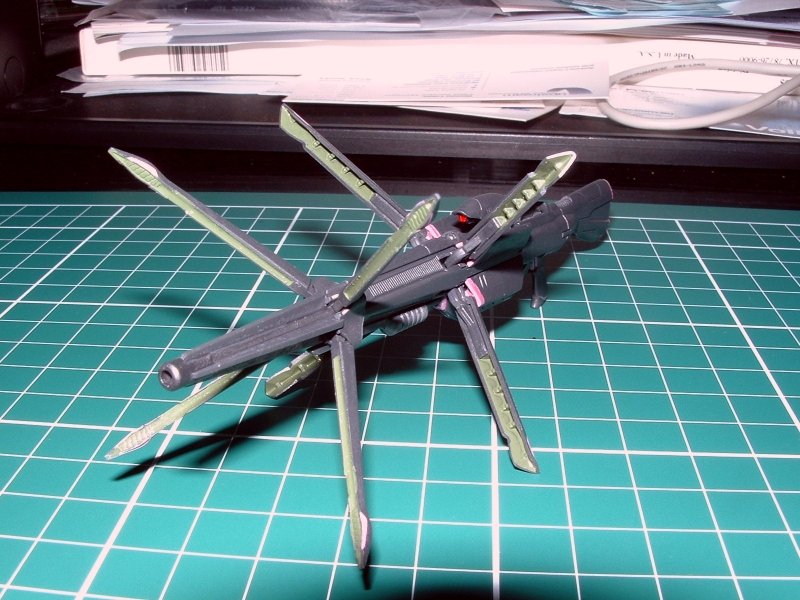
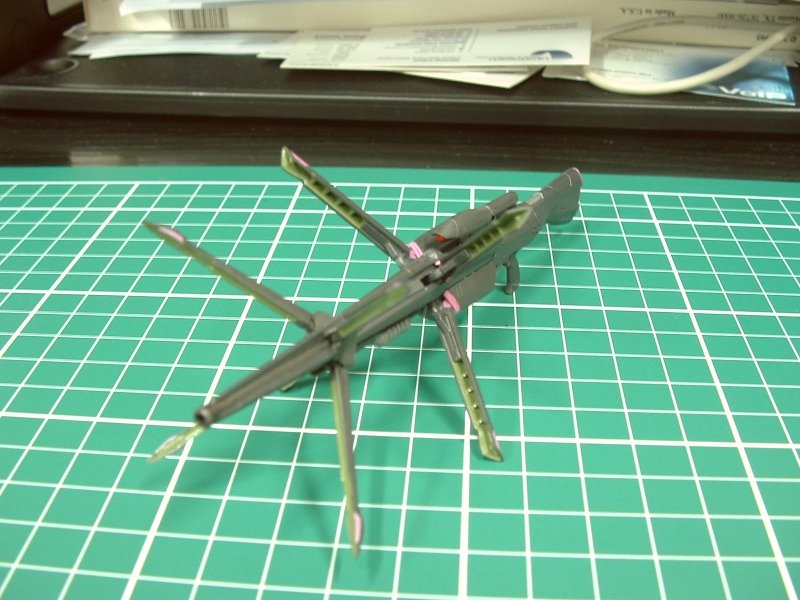
Some progress pics of the freshly painted (the green parts) gun. Apologies for the lousy pics. I borrowed an old fujifilm 2mp camera. They're clear but the colours are terrible! I've adjusted them to give a better idea of the colours but they're probably a bit too blue still. First with flash, the rest without.
-
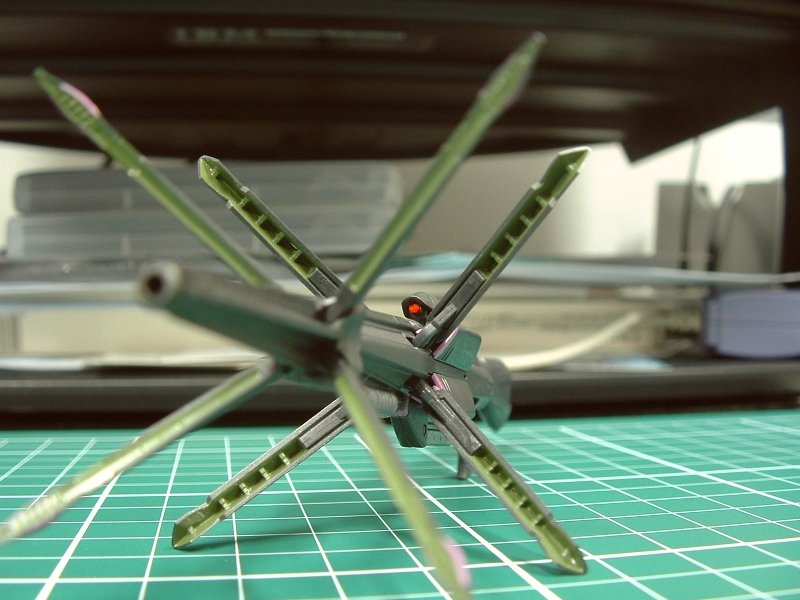
Doh! But you'll know. I feel the same way about mine too. I put a lot of effort into the legs that are at least half covered by the super parts. I think it's worth it though. Another minor update: Sprayed a flat Testors lacquer clear coat on the gun parts yesterday. I was hoping to build up a barrier that would allow me to be a bit sloppy with the green application on the inside of the tines (why are we calling these tines again?). I was careful when I put it on but still managed to get a few brush strokes outside the lines (what can I say, I've been that way since I was a kid!). I tried removing it with an ammonia dampened paper towel but it didn't seem to work. Only solution was to use my hobby knife. That did the trick, surprisingly. So in the end, the clearcoat was pointless! I do like the look of the matte metal on the gun though. The plan now is to maybe go semi-gloss, oil wash everything then decide if I like it semi or want to go back to flat/matte. I'm hoping the extra clear layers will tighten things up, as the gun almost doesn't sit open with its own weight.
-
After hearing a few people talk about acrylic washes, I'm still dumbfounded as to how anyone does it! For me, acrylic dries in about 5 minutes. The way I do a wash with oils, is to put it everywhere, wait a few hours, then wipe it off. I think using acrylics would stress me out, having to worry about it drying! So bravo on your efforts, those legs look great! That said, I'm curious as to what you think after you try the oil technique. Yeah, the aussie equivalent definitely sucks. Although we have two types over here, Pascoe's Long Life and Pledge One Go. I was using the Long Life stuff and just found it was a constant disappointment. I would have tried the other stuff but couldn't find it at any of the shops that were supposed to carry it. I had totally given up and decided to get my family to send some over (I'm American, but live in Australia and all my family is still over in the States) when I stumbled on the "One Go" stuff at different supermarket than the one I normally go to. So I grabbed some and the results are so much better! I stripped the canopy a few weeks back and did a very quick coating (only one layer) and the results were leaps and bounds better than what the "Long Life" stuff did. No pics yet though. And don't worry, you're not stealing my thunder at all! Post away!
-
Coming along nicely! So I take it you've had no issues putting a gloss coat over a flat one? I'm using acrylics too so I'll be more careful next time...
-
Not a whole lot to report. I'm holding off doing the rest of the gun until I can find a clearcoat that will be appropriate. I was going to clearcoat before finishing the green insides of the tines, just to make it easier to wipe the paint off if I screw up. I've got some testors dullcoat in a spray can so it should be trivial to put that on. Plus, I find flat clearcoat to be very forgiving in terms of overall finish (no orange peel, runs, etc...). I'm hesitant though because I'm not sure it's a good idea to put another, non-glossy coat over flat. I'm thinking it should be fine but wasn't sure. To make matters worse, I hit my first potential problem with the paint on the gun. I had quite a few noticeable fingerprints on the gun so decided to give the parts another wash. Just a drop of dishsoap in a small tub of water, very light toothbrush scrubbing. I let them soak for probably 20 minutes then took them out. All the parts looked fine and I really like the extra contrast when they were wet. However, when they dried, there was a very obvious chalky appearance to the painted parts. Almost like some of the flat pigment had leached out of the paint. And there were some marks where bubbles from the water/soap mixture had dried. I gave the parts another quick rinse under running water but I may have really screwed up my careful paint job. Has anyone else encountered this or is everyone else smart enough not to wash their parts after painting?
-

1/72 Bandai VF-25F Messiah build-up step-by-step (sort of)
mickyg replied to wm cheng's topic in The Workshop!
The sponge approach would be my recommendation as well. I've tried it on a few other small parts and it should work. The only thing to watch out for is making sure your paint doesn't go "frothy" like mine did. I think it's better to use a less thinned paint with this approach, so you also have to work fast. -
Hah! It is a pretty good job - I work in IT and have my own desk (and it's a big desk!). I get a 1 hour lunch break and so I cram in as much modeling into that hour as I can. I don't get much done but there are 5 of those hours per week that I can pour into some small things like brush painting with acrylics. No smell, no real worries about messes. It works well and my work colleagues like seeing what I'm up to.
-
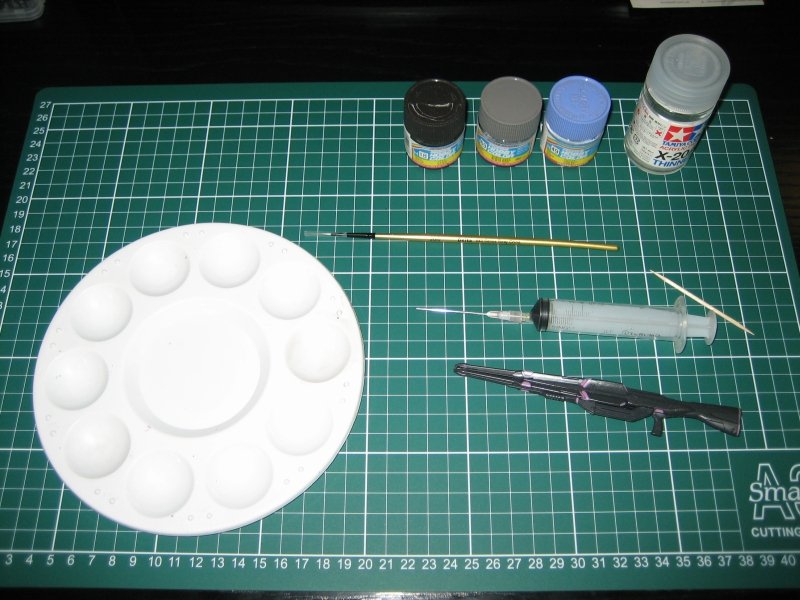
The lighter grey has been done now (sort of). As before, I went with a metallic interpretation of the colours that Bandai shows. So 90% RLM 75 + 10% Violet. I can't see that the Violet does anything at all, but it's in there, just the same. I then add a small amount of steel to the mix, which seems to darken the colour just slightly but otherwise leaves it about like it was. I made the mistake of using a really fine brush this time around, the same one I used for the pink details. It didn't go so well. The small brush, the thin-ness of gloss paints (RLM is semi-gloss, violet is gloss and steel is probably semi as well) and the rapid drying time all conspired against me. In the end, I ended up with a finish that I might have to either sand a bit or just strip it and start again. The Tools (just got the mat today - the black one for home, and now this one I can leave at work): Some shots of the new grey. It's not terrible from a distance but won't look great unless I fix it.

