-
Posts
2632 -
Joined
-
Last visited
Content Type
Profiles
Forums
Events
Gallery
Everything posted by mickyg
-
I'm in complete agreement! I voted VF-0D for that exact same reason. They need to finish the Zero line. In my opinion (regardless of whether you liked the OVA) those valks represent a modern take on the original VF-1 design and I just love them. I happened to like the OVA too, so I'm probably biased! Who knows, maybe the Zero line was a flop for Yamato and they're not willing to do anymore? Anyone know if this is the case?
-
If I look real closely, I think I can imagine I'm seeing clear edges! Looks really good! My fear with clearcoating, and likely the reason I haven't experimented with it more, is time and concern that it might go on too thick and ruin my panel lines. I've had some issues with the oil wash not "sticking" to the lines very well, even when the underlying paint isn't glossy. I fear if I build up the layers of paint with clearcoat, it'll make those lines into soft "dents" instead of the cliff faces they should be. Having said that, I don't see that being an issue from your pics and you're using 2 more coats than what I'd planned. I think I just need to take the plunge! Those last 6 photos, if they're your earlier work and the ones you were saying weren't as good as the back part, they're still amazing to look at! I forget how small all these parts are from the pics man, it looks huge!
-
Wow! That looks amazingly good. So this is all from a rattle can? I'm just blown away (no pun intended). I can't tell from the angle/lighting of your pics, but do you trim the decal carrier film on those SMS markings or is the clearcoat just that good at making them a part of the paint job? Keep it up man, loving your build(s)!
-
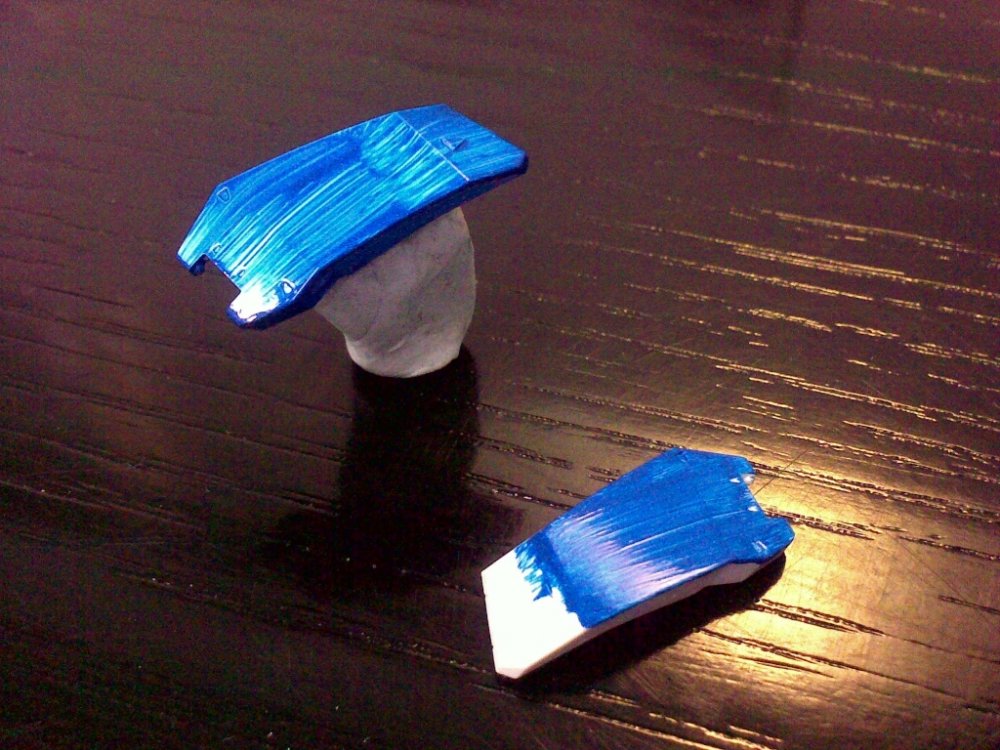
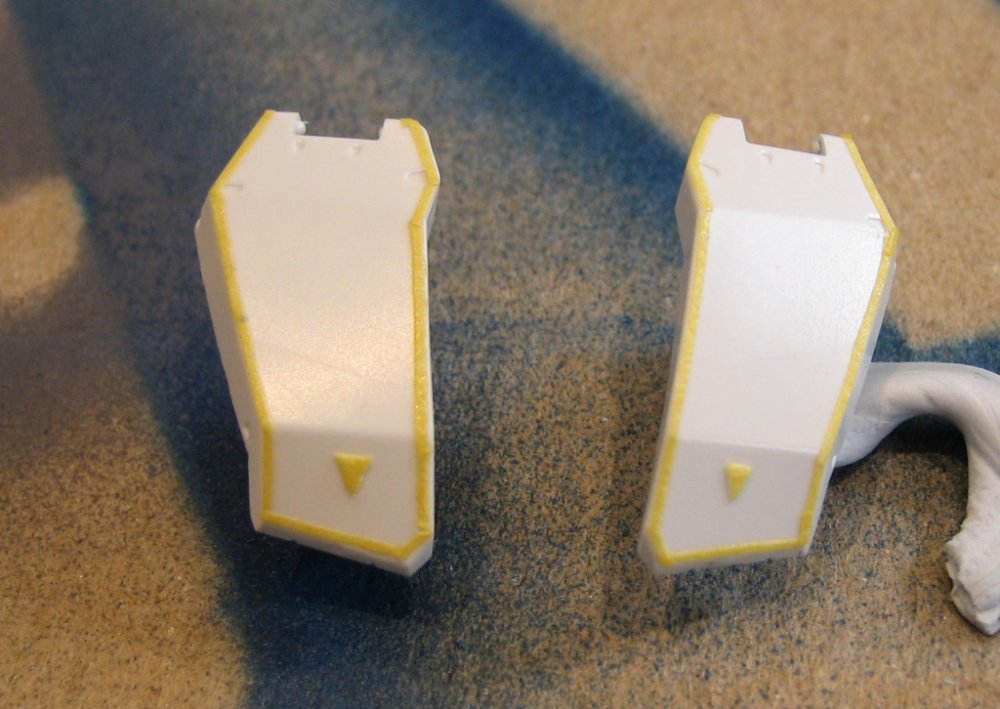
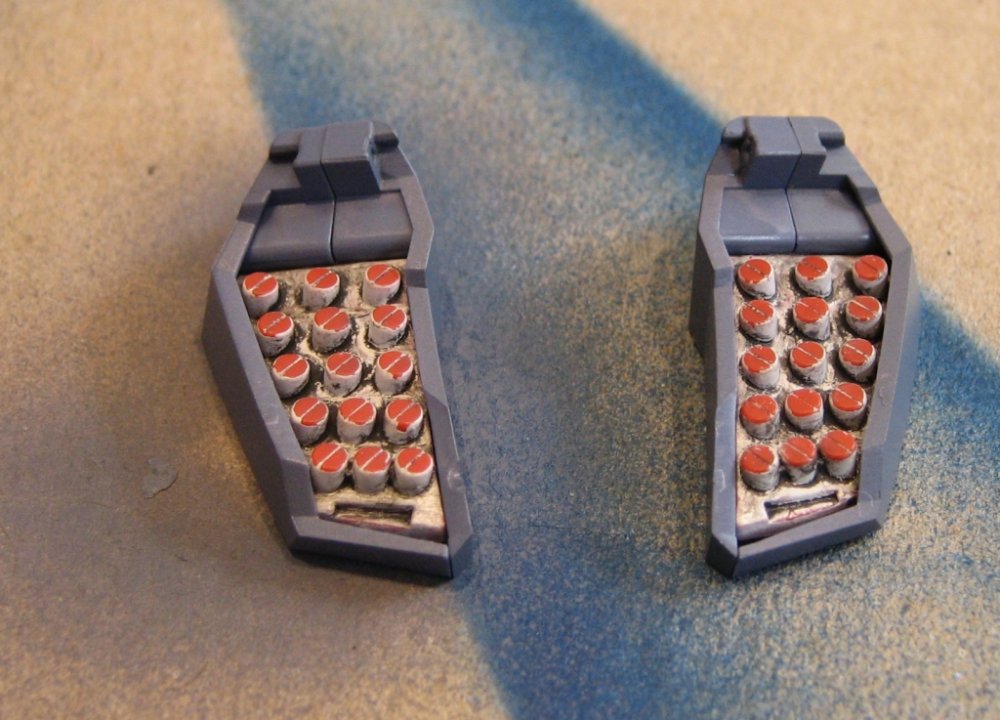
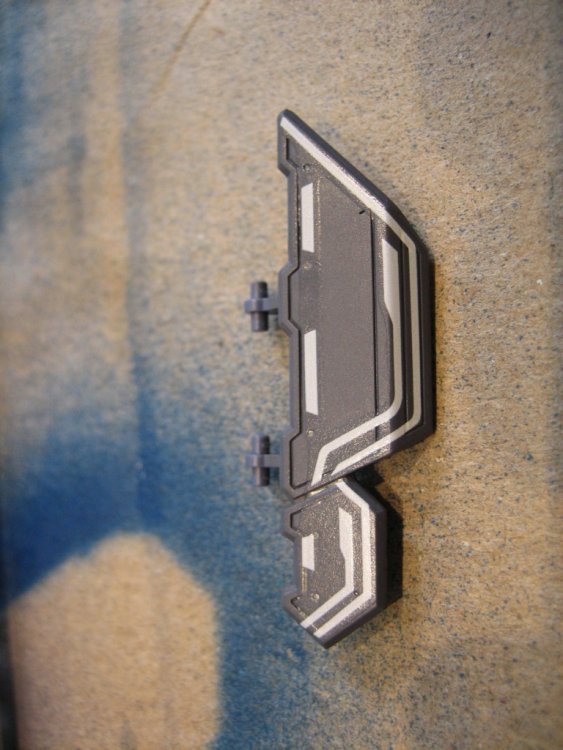
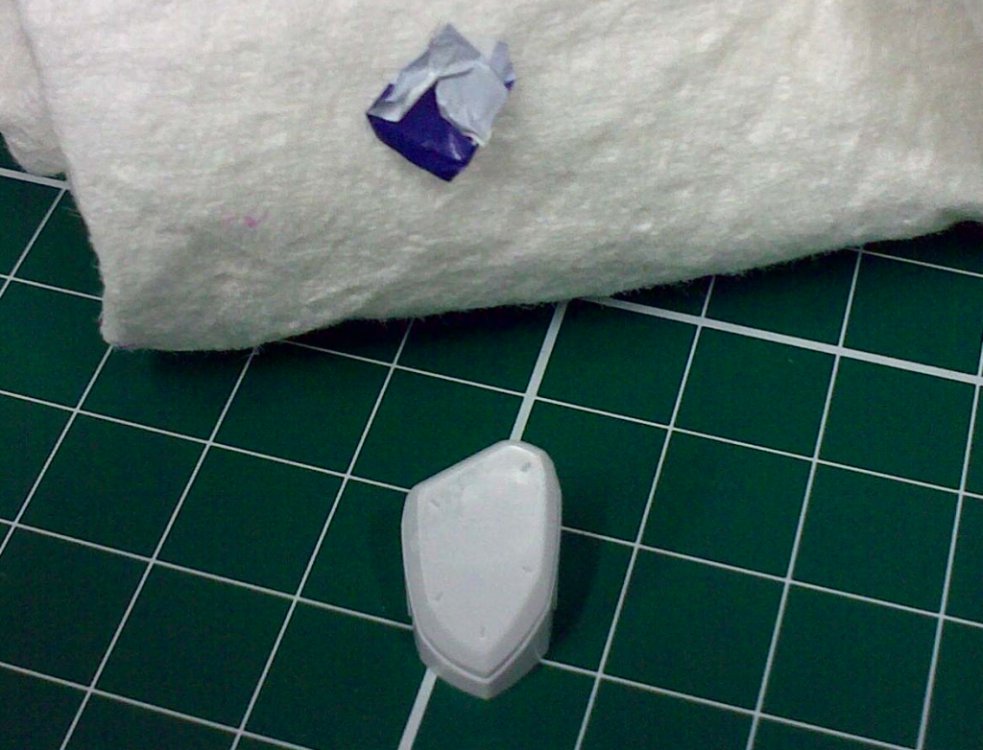
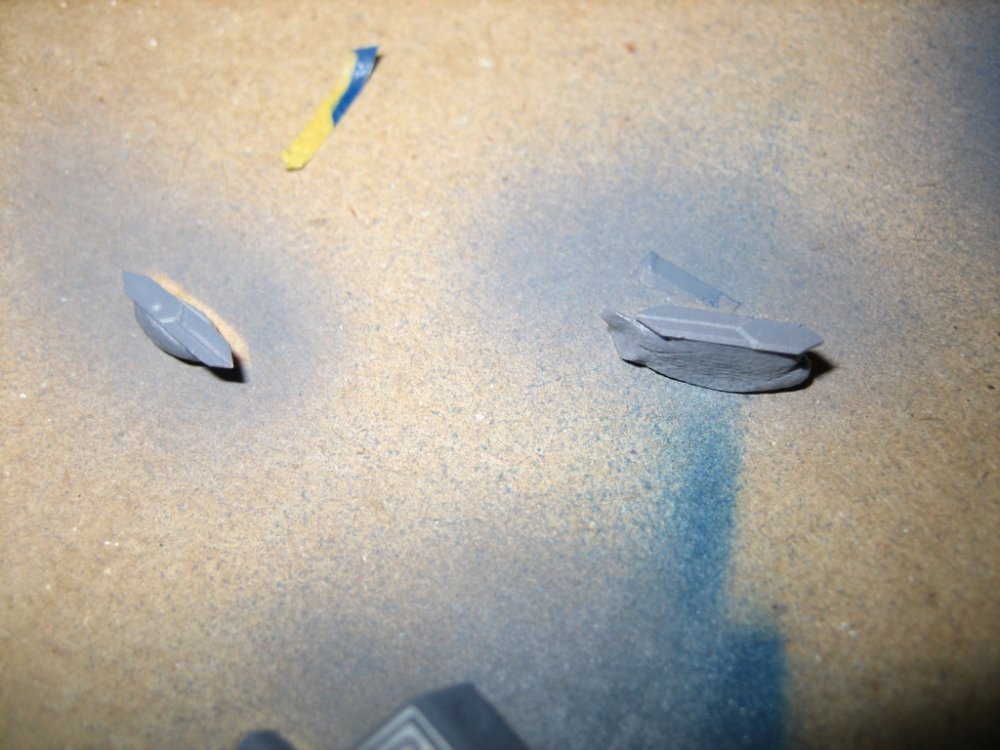
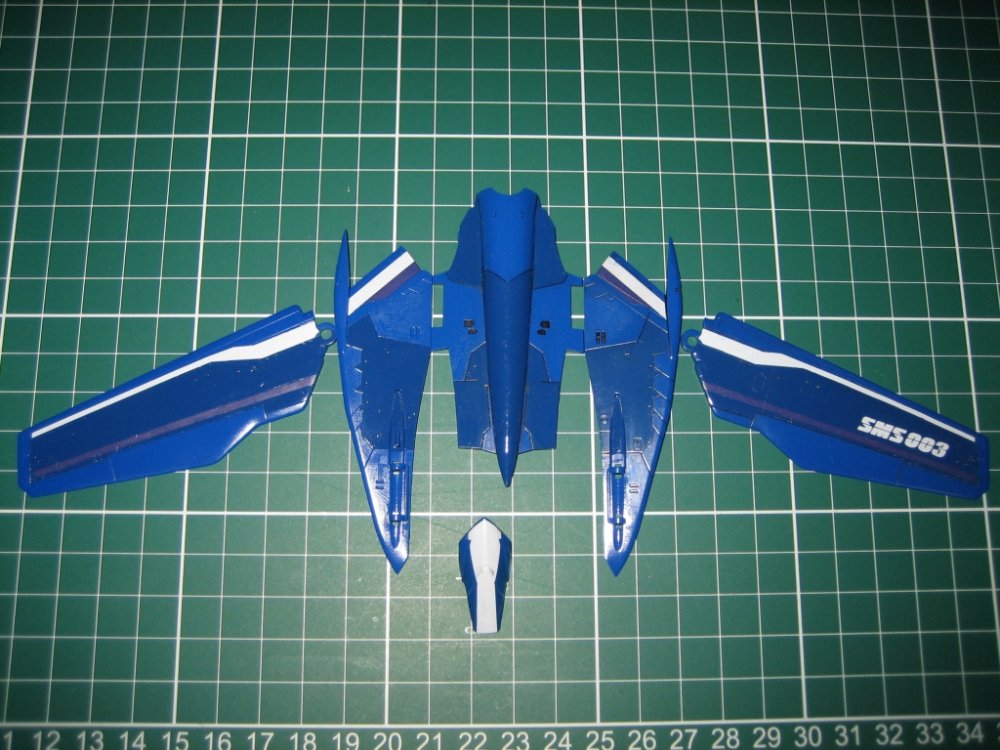
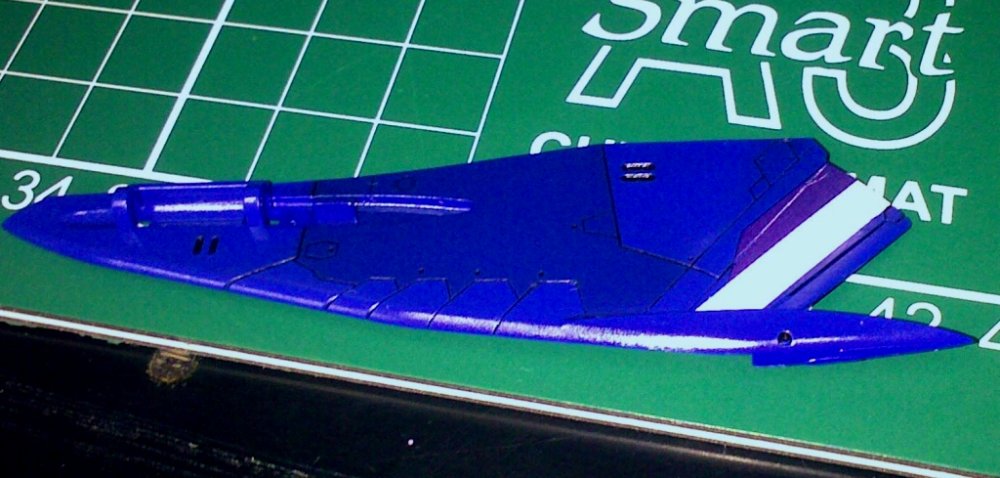
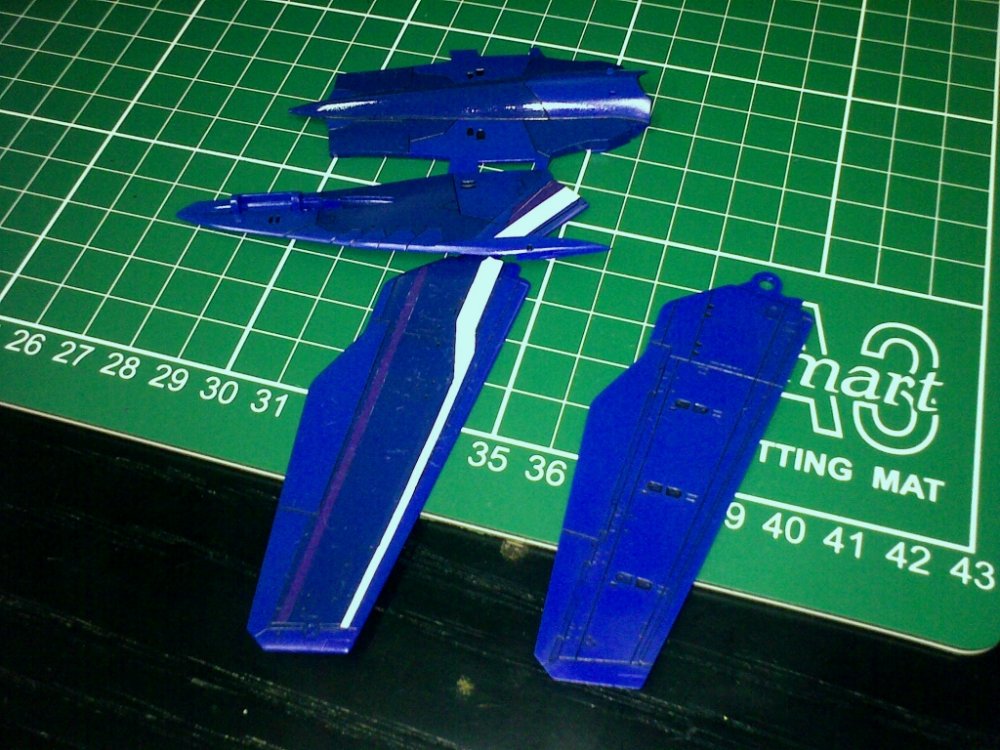
Got some work done this week on the missle covers. Epic fail! Brush painting gloss blue over white is a complete joke! Here's the results: Yeah, not pretty. So given this will need to be airbrushed, I windexed it, then masked for the white borders. Tiny strips of masking tape here! Ruler and a sharp knife is a must! Missiles after they've been cleaned up some. Also helps that they're now in their housings, otherwise, they just look really crappy. Also had a chance to experiment with the decals on a flat surface. To my surprise, the decals, even without softener look OK on the flat super parts. I futured one, applied the decal, then futured over the top to see if it'd hide the clear carrier borders any better, but to my eye, it looks the same or possibly worse. I also experimented with just futuring over the decal after it'd been applied but that was about the same too. Honestly, I think the decal applied on the flat paint, without softener, was the best looking out of the bunch. Not sure how but it looks like these decals aren't the same as what I'm used to. Anyway, you probably can't tell from these pics what they really look like, but I think once I get another flat coat on them, they'll look pretty good. And on to the really nasty part of this so far. This has to be my 2nd least favourite decal so far! The irregular shape, the fact it doesn't match ANY of the panel lines in this thing and the stark contrast, all conspire against getting a decent result. Oh that, and somehow the decal softener didn't do much of anything this time around. Anyway, it seems to be responding to a second application of the softener, even the day after, so this might just require a bit more time to get it to conform to the panel lines a bit better. Or I could decide I really don't care and just go with what I've got...
-
Very nice work! You use lacquers, right? Not the water based acrylics? Probably makes for a much more durable finish too!
-
Wow, those look terrible! They're a lot softer and less grainy to the naked eye. They're still not what I want though...
-
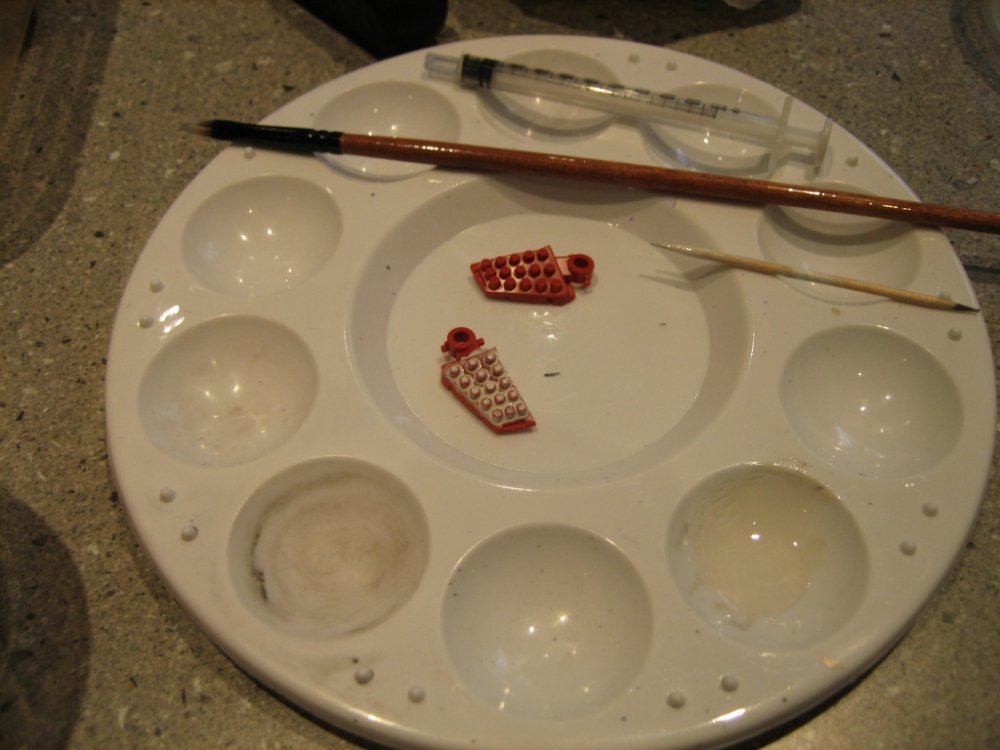
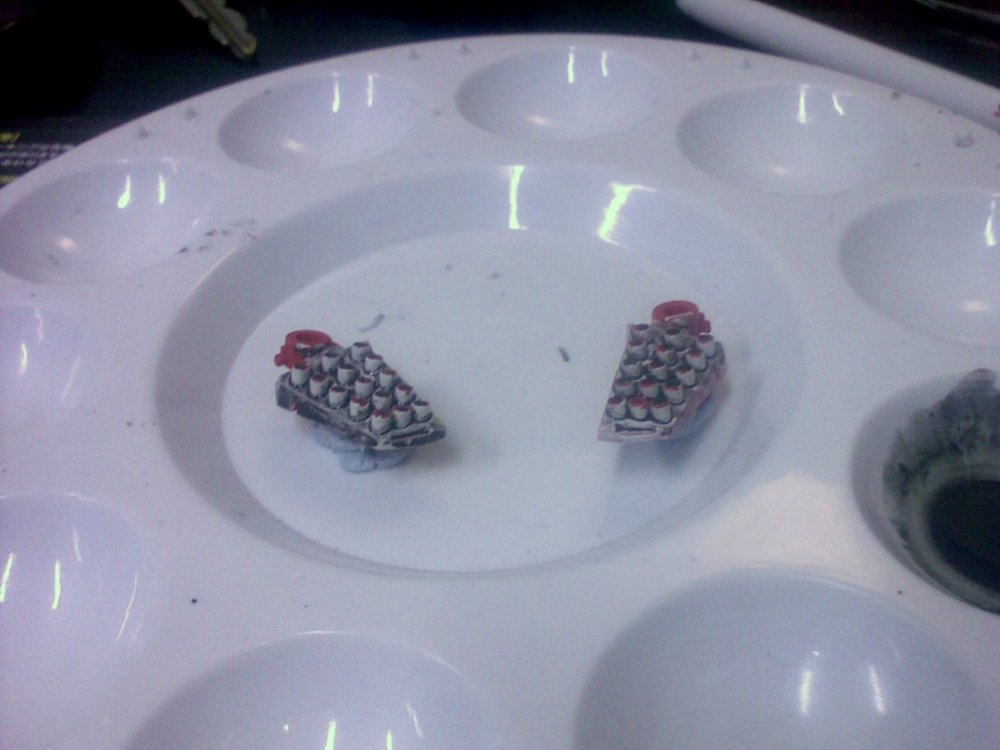
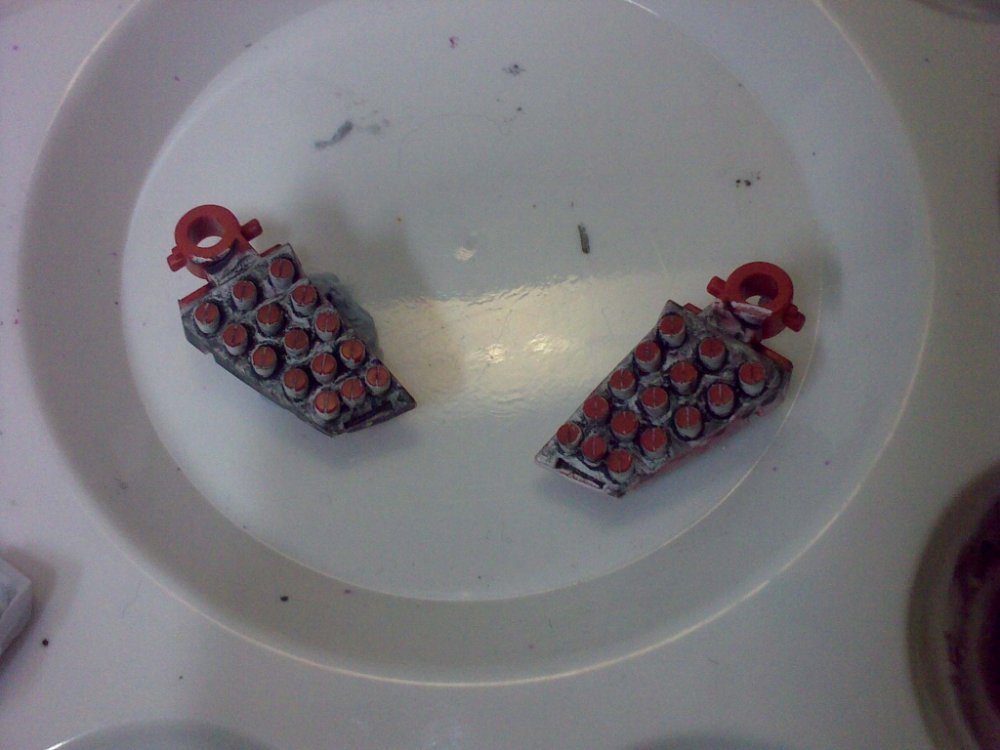
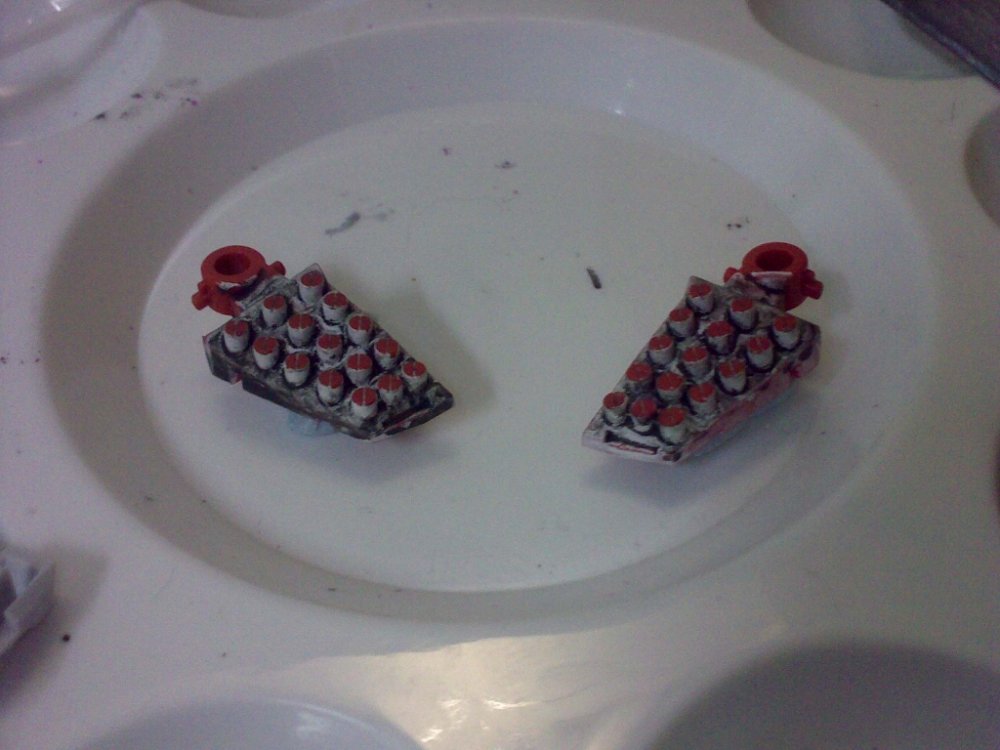
I sure could! In fact, that's my plan on most of this now. Unless it's tiny (like all the white marks on the super parts) or really complex (sms symbols for instance) I'll just paint it. The intake parts and tips of the boosters are already molded in white so I'll just need to paint the blue. Should be a piece of cake! Progress for the last few days has been on the missiles. I started by painting the whole block the recommended white + light gull grey. I ended up with a very yellow looking offwhite though. So I put a second coat of just white on to even it out. After that I attempted to use a small brush and ammonia to wipe the tips off, but for whatever reason it didn't work. I then tried a sponge - same thing, the paint just stuck too well. Finally, I used a toothpick, soaked in ammonia. That worked. It's not a great line and there's some chips here and there but it's acceptable. After that was done, I applied a very dark grey wash to the base, trying to be careful not to get it on the missiles themselves. It was a bit difficult because the surfaces isn't really flat, so it tended to pool up in places. I let that sit a few hours and then carefully wiped off as much as I could around the base, without actually removing the "stain" of the grey. In my opinion, it looks really dirty and grimey. I'm not sure what the base of a missile launching device should look like but I'm guessing they're probably not real clean. First pic is from the good camera, the rest are from my phone:
-
He's got VF-0 models with ghosts! I didn't know Hasegawa did the VF-0 with a ghost. That is a crazy collection!
-
Thanks Newca! I broke down and bought a set anyway. On the last day even!
-
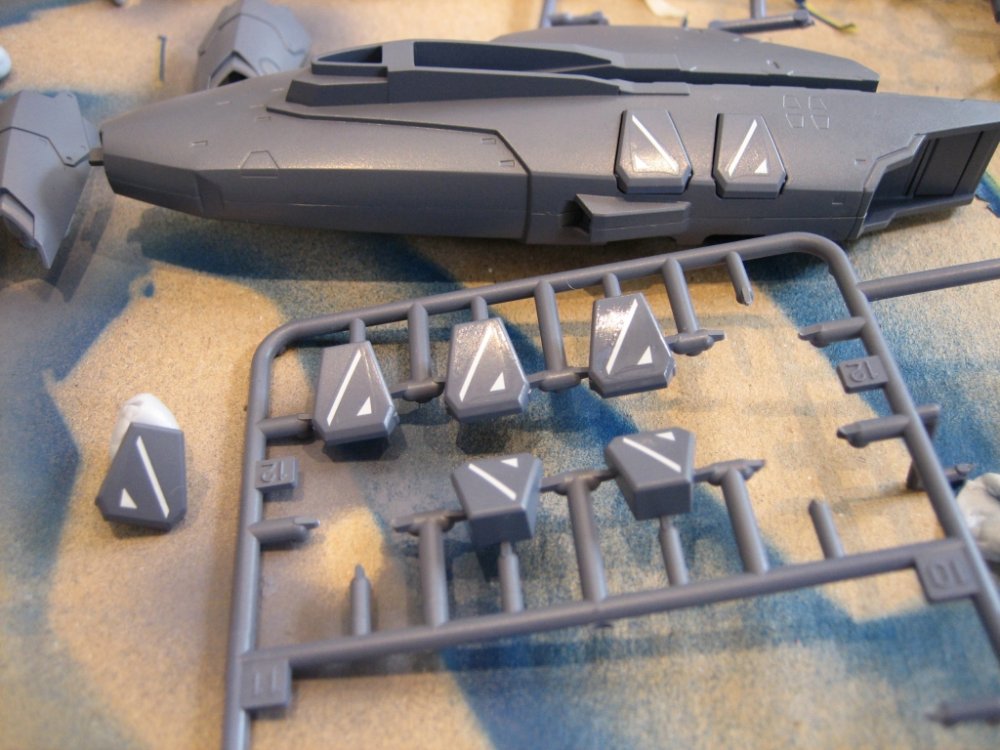
Yep, the ones in your first two pics are the ones I'm talking about. It looks like the armored takes a simpler approach to the intake "plug" than the super parts does. And yours looks great! That ankle piece looks like it'd be a nightmare! I'll definitely be painting the intake plug on mine. Upon further inspection, this will actually be easier, as there's a distinct line between the blue and the white part. Should be very easy, even to brush paint, after I mask it off. In fact, I think I'll paint all the super part blue areas, none of them look terribly difficult. The white pinstripes on the missile covers look to be the most challenging but I think I can manage that by painting it blue, then masking and airbrushing for the pinstripes.
-
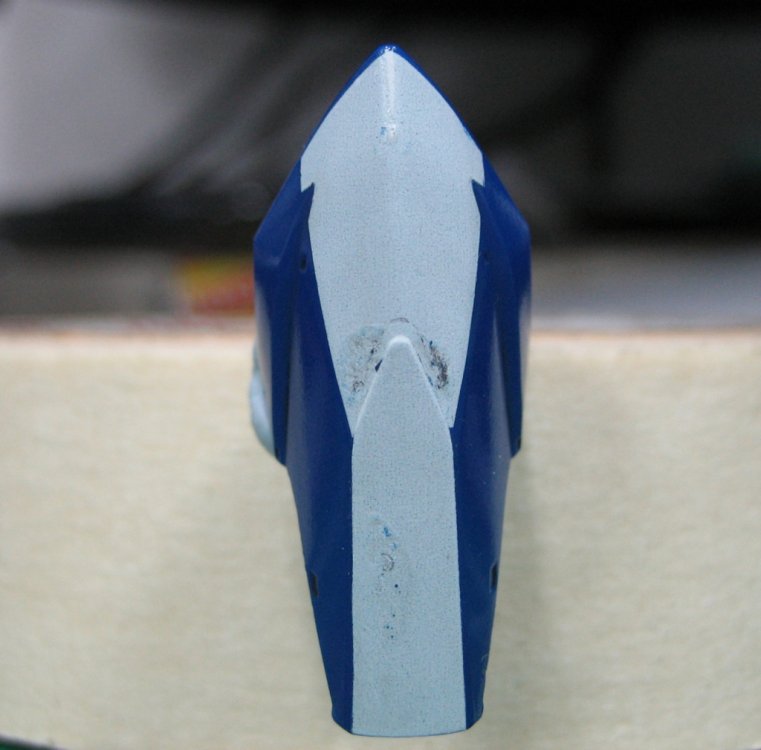
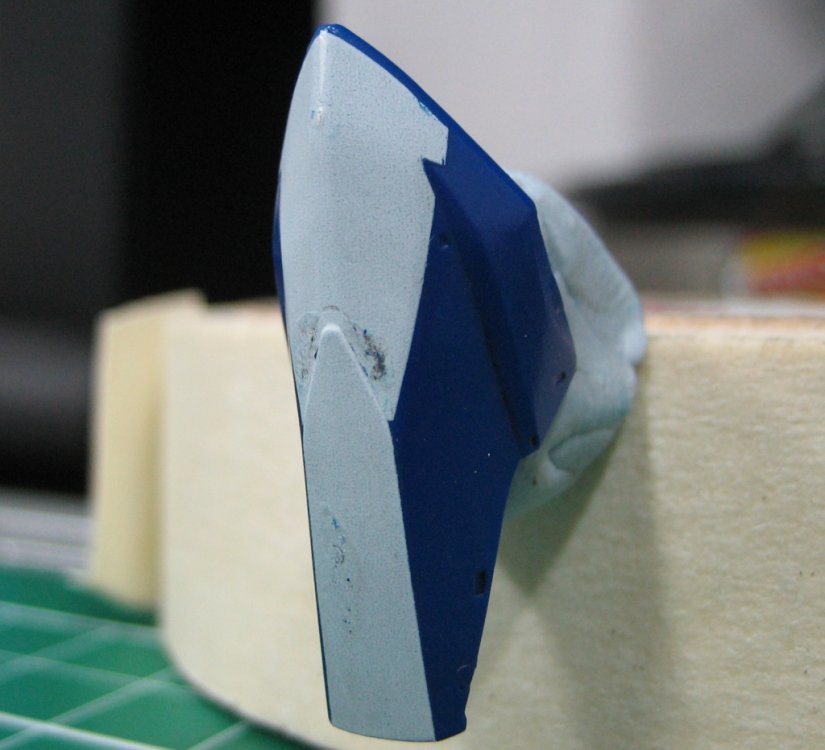
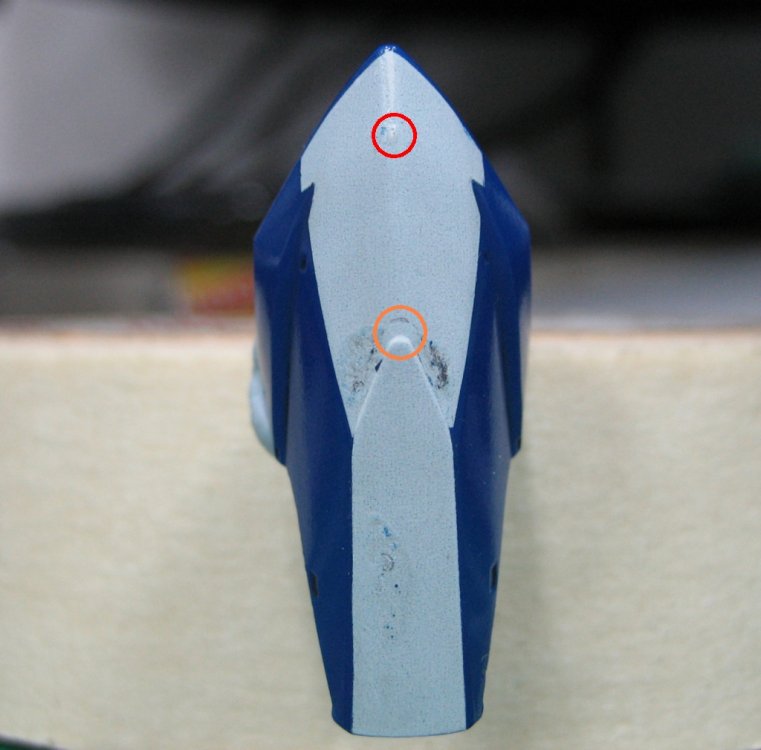
Have I mentioned how much I hate some of these decals? I was experimenting a bit with the super parts and decals to see whether I could get away with applying them over a flat surface - I REALLY don't want to gloss coat the super parts if I don't have to. The paint application has just been too thick and the parts are so large and irregularly shaped that putting another layer of anything on is a royal PITA. The flat, final coat will by my goal for clearcoating. Anyway, I tried out the little triangular parts on the bottom of the boosters and it actually came up well with a bit of Mark Softer. No silvering that I can see. Once I get that final flat clear on it, I doubt it'll be visible. So I'm ok with this so far. So I decided to go for the intake cover decals next, since this is over bare plastic, I figured it'd be easier and would give me a good indication of how this was going to look. BZZZZT! Wrong! That decal has to be the most painful thing I've ever tried to apply. There are cutouts to get it to conform around the bottom, but strangely, nothing for the top. There is no way this will fit and if anyone's been successful, please share some pics of how it ended up. Mine ended up like this:
-
Hah! Thanks man. I'm jealous of yours as well, and especially so of the fact that you've got all of the squadron!
-
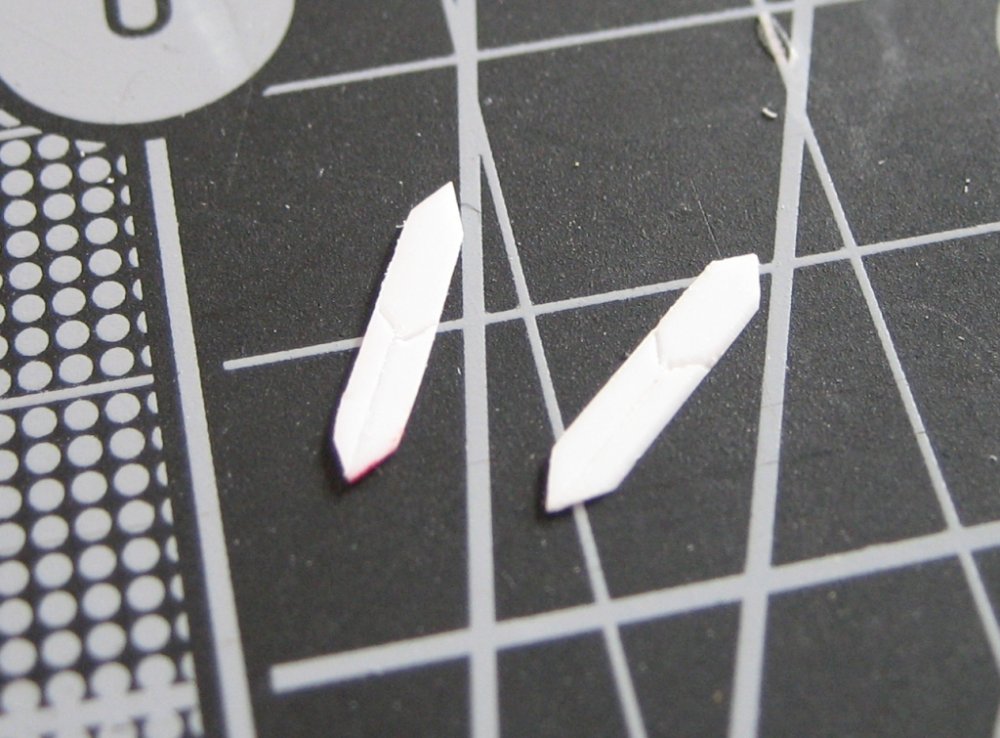
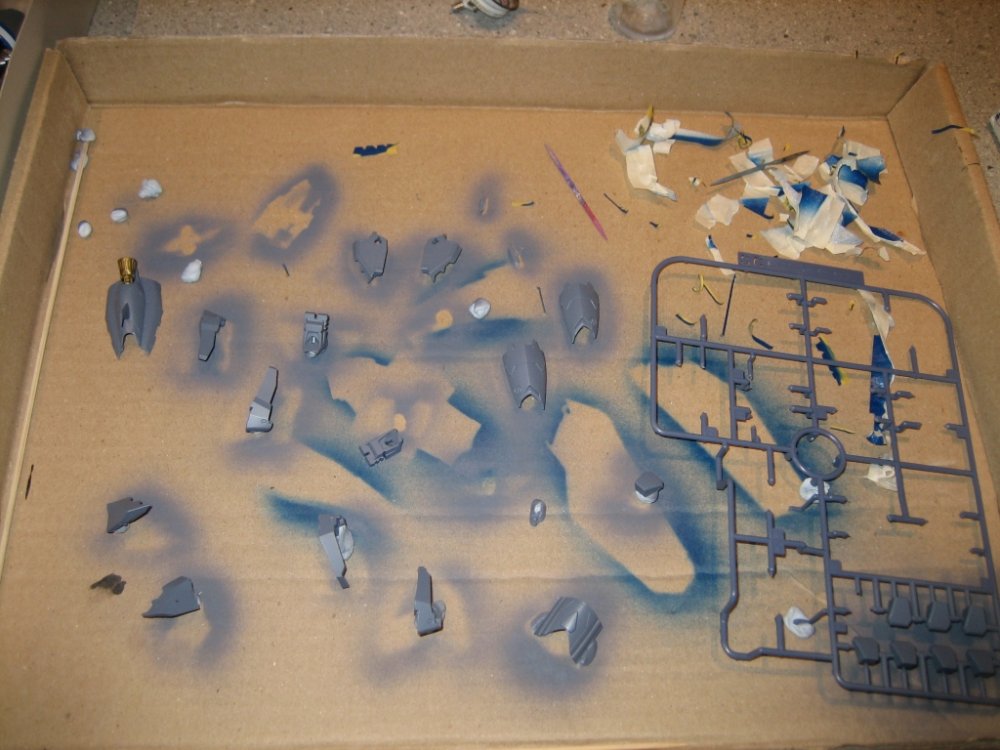
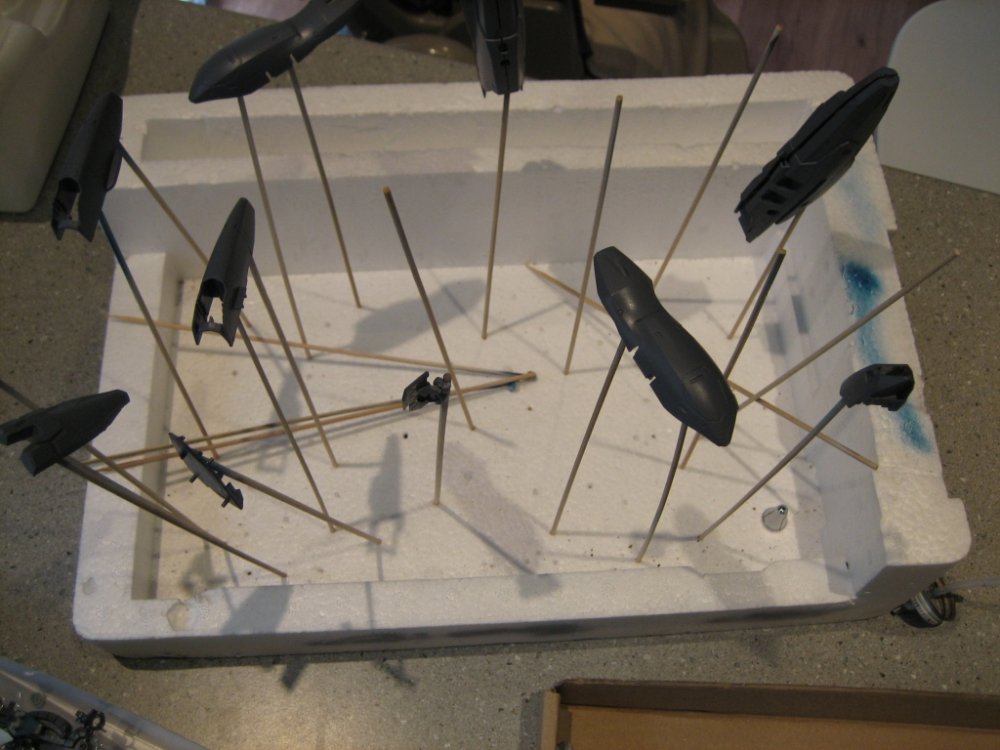
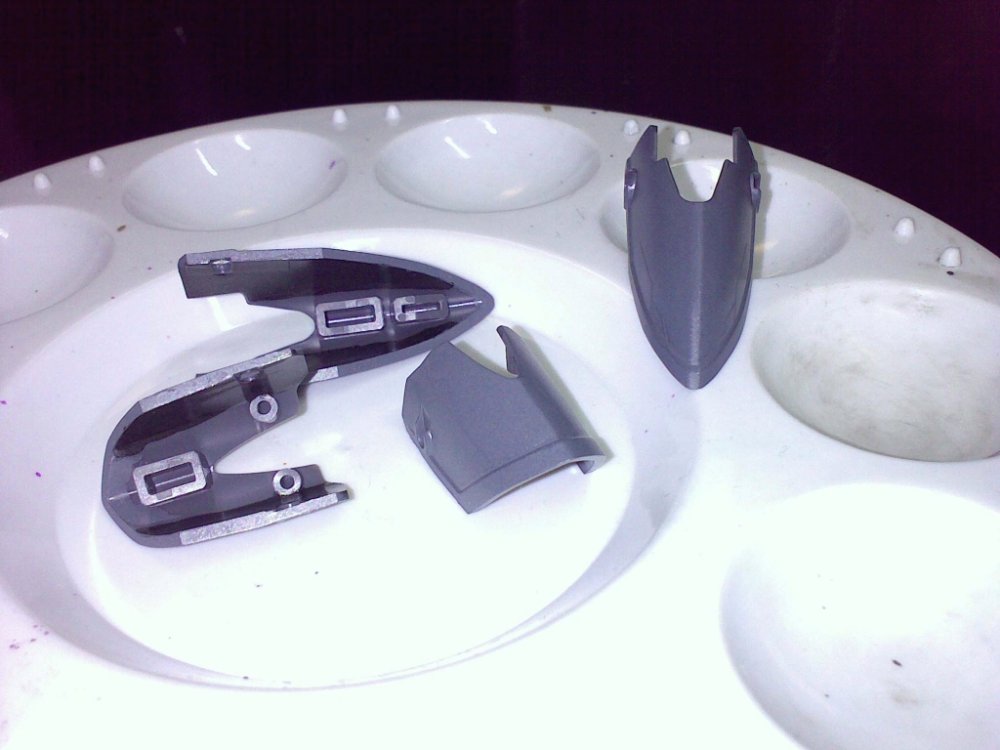
Thanks for the kind words! And a warm welcome to the forums! I'm glad I've done well enough with this build that someone would actually think to use it. I hope it comes in handy for those that wish to use it. I haven't got pics yet but I've done a fair bit this weekend on the super parts. I also got some (un-documented, pic-wise) work done on the legs. They're almost done now. The decals for the feet still need doing (black marks) and the SMS designations on the shins. Then it's on to the super parts. Man those ankle pieces were a nightmare! The back ones especially. None of them are quite long enough and getting them to line up and sit flat was a joke. For this weekend, I've airbrushed the grey/purple. Unfortunately, I ran out of paint before I made to the big parts. Not only that, I'm using an air storage tank with a 12v compressor that I "charge" it with. That lasts about 5 minutes it seems. I haven't rigged it up to be self regulating but would love to. It's a pain to stop/start with disconnecting, charging, using it, disconnecting, etc... This is the first time it's run out in the middle of a job and I didn't notice. I could tell I wasn't getting much consistency in the paint near the end but I thought it was because I'd run out of paint. So my last few pieces are thick and inconsistent, paint wise. I'll likely start over on these (gotta love windex and a toothbrush!). Another area that I spent considerable time on was the micro-missile port on the top of the boosters. The tops are slotted for the fold communication device on Luca's valk. No other valk uses this. It's nice that Bandai made the kit universal but in my opinion, the hole is ugly for the rest of the valks. And actually, it's unecessary on the other side anyway, as only one side gets the device. Anyway, I used some very thin (.03mm) plaplate and cut out a tiny little cover for this piece. It is very crude but seems to do the trick. I scribed the little opening marks into the piece as well. For that I use the Tamiya plastic scriber, wich worked very well. Pics:
-

Bandai 1/72 Scale Macross Frontier Model Kit Thread Ver.3
mickyg replied to azrael's topic in Hall Of The Super Topics
I haven't tried this yet, but this was going to be my approach: - spray the whole thing white with acrylic paint - use black wash at the base as already mentioned - come back with sponge dipped in windex or ammonia and wipe off the tips of the missiles, exposing the red plastic underneath In theory, the missiles are the correct colour of red already so this might work. The problem would be getting the wiped area to be sharp between the white and the red. Not sure if this would work well but I'm willing to give it a shot! -
Not much to report for yesterday/today. I got the decals for the front part of the lerx on - that was pretty easy. It's also much easier knowing I'm doing the super parts scheme only on this build so exactness of the "puzzle piece" parts and their decals is a non-issue. I painted the feet the other day with a metallic grey that I really like. I mixed - wait for it - 4 different colours to get what I liked. Here's my mixing guide (so I don't forget it): 6 parts Neutral Grey 2 parts RLM 75 Grey 1 part Light Gull Grey 2 parts Steel 2 parts Gun Metal The greys were basically what was called for on the box (kind of - I didn't have exactly what was called for) and the metallics just seemed like a good idea. I also painted the inside of the feet with steel to give it a more jet exhaust look. I had thought the inserts at the bottom would do this but the sides of the feet "shell" are still exposed on the inside. This should bring everything together.
-
Been meaning to ask how you did the shoulder hexes. So you cut them into 4 pieces, not 6, right? Just wondering how you handle the overlap that I'm guessing occurs at the edges? Doesn't look noticeable so whatever you do is worth imitating!
-
Looks awesome Honket! I still can't believe you hand brushed all this! Amazing work. You've got both guns mounted in one of your photos, is that part of the kit or did you come up with a way of doing that yourself? Really wanting to grab this one now - thanks a lot!
-
Well, if I eventually do find it, I'll pick some up! In the meantime, I had an OK experience last night with the next few I applied. Although the tops of the shoulder "puzzle pieces" were a bit of a pain!
-
Thanks for the replies and the ensuing discussion - this is good stuff! However, my main concern wasn't power generation per se. I actually meant propulsion. My thought was that a turbine engine - which if I understand correctly is present in traditional or nuclear format in all Valks, I mean look at all the silly looking turbines in the yamato valks. Anyway, if it's a turbine, it's there to accelerate air to use as thrust. I may be exposing my limited knowledge of jet engines but I thought that unless you're afterburning, your primary source of thrust is super compressed air. You can't compress air if there is no intake! That was my main point. By closing off the intakes, you can't produce thrust unless you're burning something afterward. And the ocean scene doesn't have this happening. Actually, even if we discount that, you can't really produce thrust in space without a fuel source, like rocket fuel on the fast packs. So yeah, I'm still confused. And for the record, my mind can totally believe in transforming jets!
-
No I haven't. I've only found Mr Mark Softer out here, which is annoying. However, the last 4 decals I've done (2 stripes on the left wing, the one on the left wing root, the SMS003 label) all went flawlessly without the setter solution. Although, I don't know what I'm missing, perhaps the setter would make things easier than they already are. Ignorance is bliss in this case though! I think the combination of acrylic paints and laziness is my main issue. I should be clearcoating over the acrylics but didn't. I expect that would have made things a bit less fiddly. I'll consider this for the super parts, although that paint will be glossy there as well... Maybe, maybe not, we'll see.
-
Another question that's been bothering me (totally new topic, too): How do VF engines generate power in atmosphere when the intakes are closed? This is mostly a battroid case but lets say, Macross Zero, for instance. When Shin's VF-0D goes submarine, there's just no way to reconcile that one in my mind! Is that a bad example? Ok, let's concentrate on battroid then. How do the engines work if the air source is blocked by the intake covers? Am I not allowing "reaction engine" to really do it's thing here or is this just a question that wasn't meant to be asked? It's just that lots of other things (technical) in this series is actually really well thought out.
-
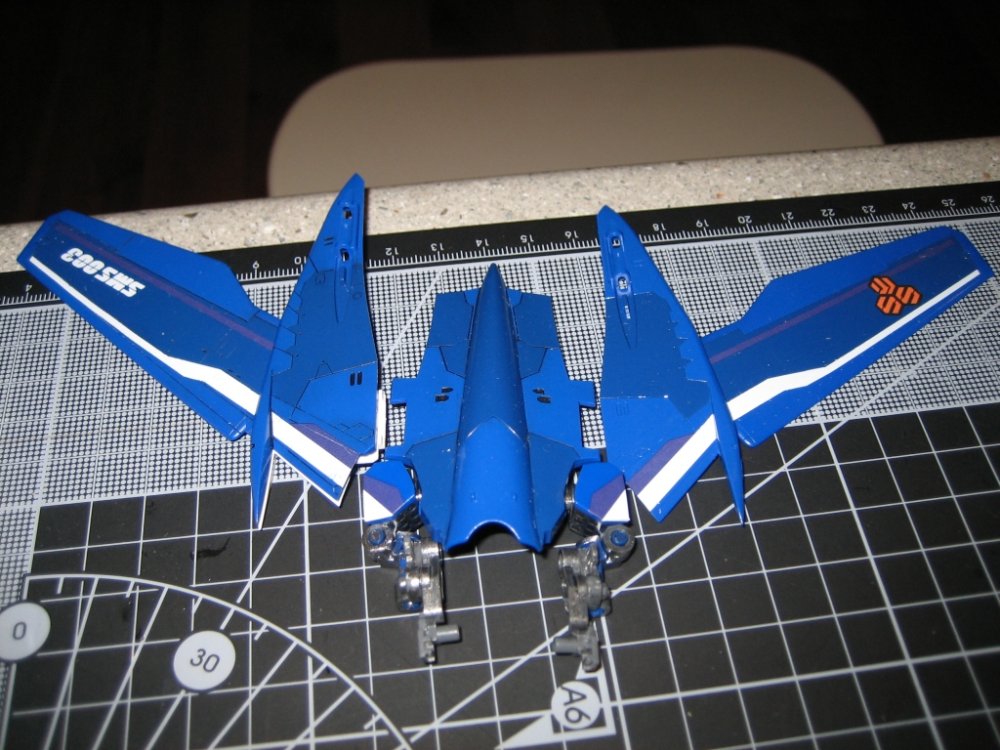
Took some pics with the good camera yesterday. I've completed a few more decals, and as I get more used to these, they're coming up better and better. The left wing is almost flawless. Unfortunately, the SMS003 decal on the right wing stuck almost instantly and no amount of water or softener would allow me to move it. So it's probably a bit farther away from the line than it should be. At least it's straight though! Almost done, except for oil wash on left side parts: Red circled part = parts of the decal etched/melted away due to softener that I left on. This was the point where I realised what was happening and learned that I have to come back with a damp cloth and get rid of any excess, before it dries and ruins the decal. The orange circle is the point where the decal folds over to match that sharper contour of the knee. I mentioned it in a previous post. This knee is ugly and will likely require some touch up or repainting.
-
Wow! Very nice effort. Especially given you're using brushes! I really like that darker colour scheme (and you know how pedantic I am about colours!).
-
Thanks man! And these pics are on my crappy E71 phone's cam. I'll try to take some better ones this weekend when I've got my wife's camera again. Regarding the Finish compound, it's really fine so will get in the panel lines very easily. Just means you need to use a toothbrush to wash it off afterward.
-
More fun with decals! I've discovered a few things that will hopefully prevent anyone reading this from a bit of frustration. Firstly, Mr Mark Softer works. It works really well, as long as you follow a few guidelines that I only figured out through trial and error. This stuff definitely softens even the thick bandai decals it makes decals conform but not when the decal has to fold to fit a wierd shape (the fold on the knee pieces, near the bottom, for example) The tailfin trailing antenna area was impossible for me to get the decal to conform to. No matter how much of the softener I used. And most importanly, if you leave the solvent on the decal in a wet state, it will dry but deposit melted bits of decal to the surface, or simply leave them underneath, creating an ugly mark on the decal. Solution - let it soak in for a minute or two tops, then dab it off with a damp cloth or cotton bud. Also important - this stuff will disolve acrylic paints, so again, don't let it soak into the surrounding paint for too long. I attempted to use the tailfin decal (the white top and trailing edge one) as an experiment. I'd heard they were awful and just wanted to see what everyone was talking about. Yes, they suck, badly. The don't meet at either the leading or trailing edges, where the two are supposed to meet. And even if they did, they're just transparent enough that you'd likely end up with a whiter line where they met or overlapped. Instead, you get a dark line where they don't meet. The trailing antenna was a complete joke. There's just nowhere near enough material to fully cover that part. I shudder to think of what it would be like to use the stickers on this part! In the end, I scratched the decal off with my fingernail. Since I didn't paint the darker blue on the fins, this has left no scratches or marks on the bare plastic underneath. I again experimented on the knee decals and they're actually not too bad. Acceptable enough that I think I'll use them instead of painting these areas. The before mentioned cut out in the decal that's supposed to allow it to conform to the sharper edge of the bottom part of the knee required a little extra persuasion but that was no big deal (softener, then just pushing the area down with the handle of a paint brush, to gently roll it down). This is also an area where I learned how the softener can melt the decal though, and you'll see in the pics that there are a few holes where the blue is visible. I'm guessing the white just melted away in these spots. And finally, I've put an oil wash onto everything. Unfortunately, the gloss acrylic shows the smudges up quite a bit after wiping the wash away. It looks like a nice postshade effect if you're looking directly at it and can't see the surrounding gloss. To fix the smudging and fingerprints, I bought some Tamiya Finish polishing compound. It worked great! Pics (I'll add more soon):

