-
Posts
2632 -
Joined
-
Last visited
Content Type
Profiles
Forums
Events
Gallery
Everything posted by mickyg
-
Thanks for posting. I somehow missed this one, even though I've been asking you to post progress pics for a while now! I really like seeing the early stages this time. Nice work! Can a mod perhaps move this into the "building/customizing" forum instead of the generic "model kits" thread where it is now? I don't want anyone else to miss finding this one.
-

Droopy leg/flappy wing fix for 1/72 VF-25 kits
mickyg replied to Chronocidal's topic in The Workshop!
What sort of camera have you got? If it's got a macro setting (icon will look like a flower), try that. By the way, great little tweak there! I've got magnets but given how long and meticulous I've been with my build, I can't bring myself to take the time to actually use them! I'll have to see how this can be translated to the super pack version and might just end up using it. -
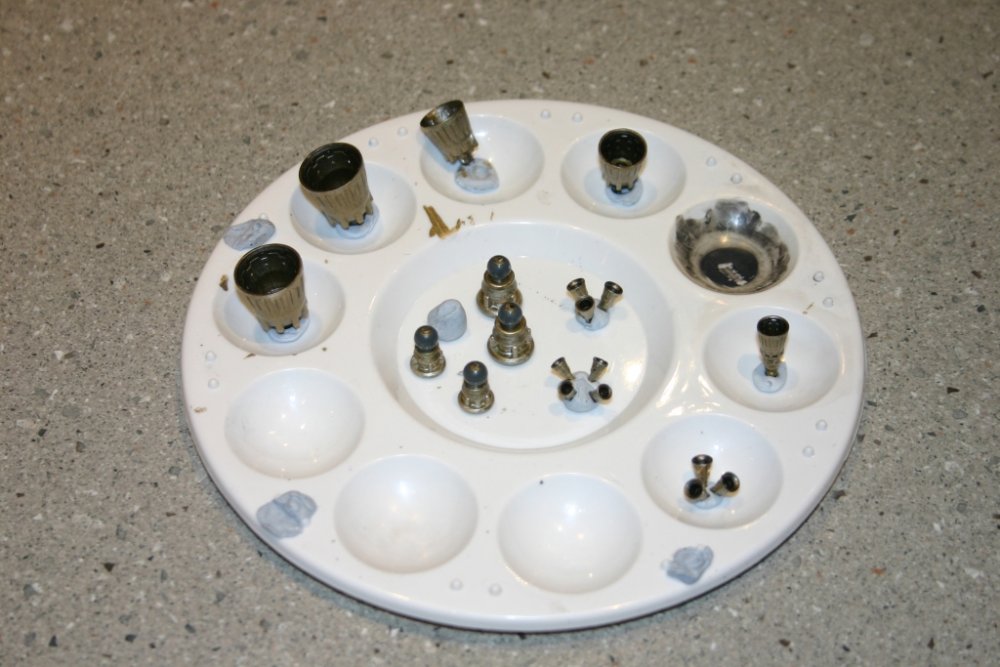
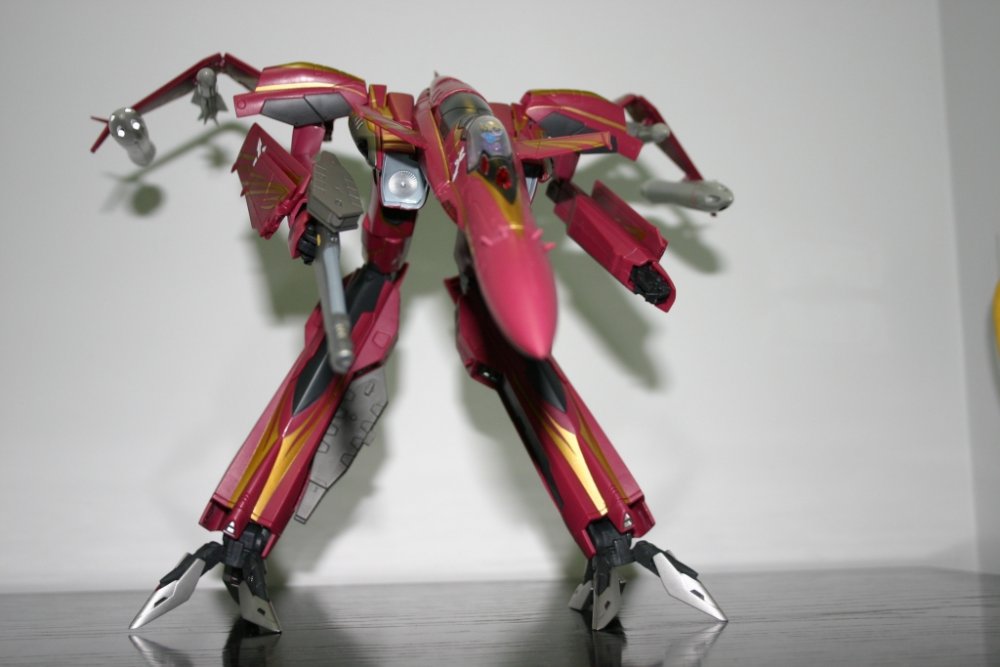
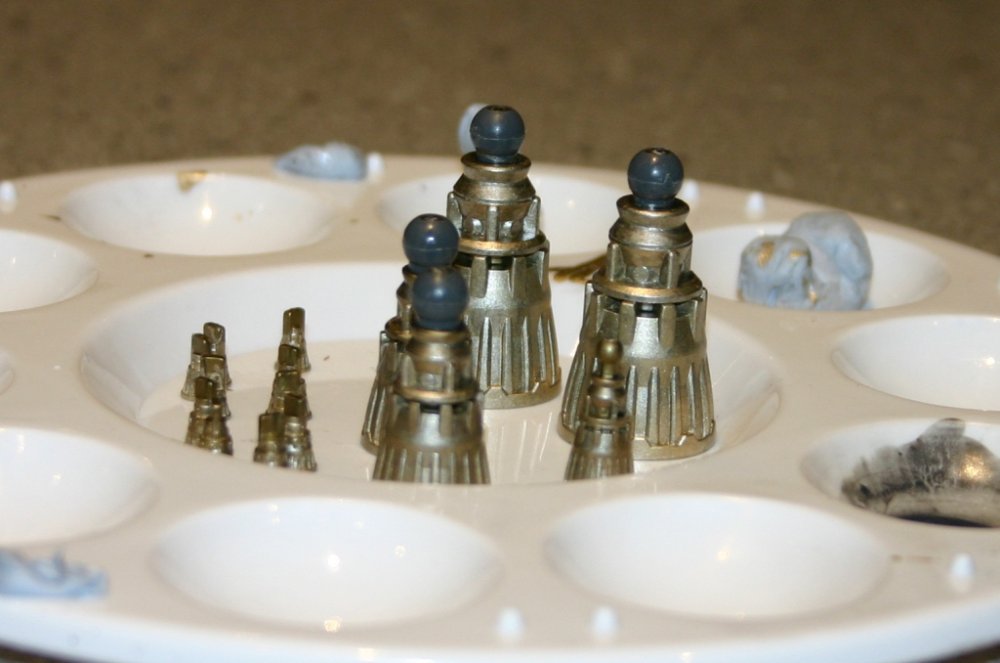
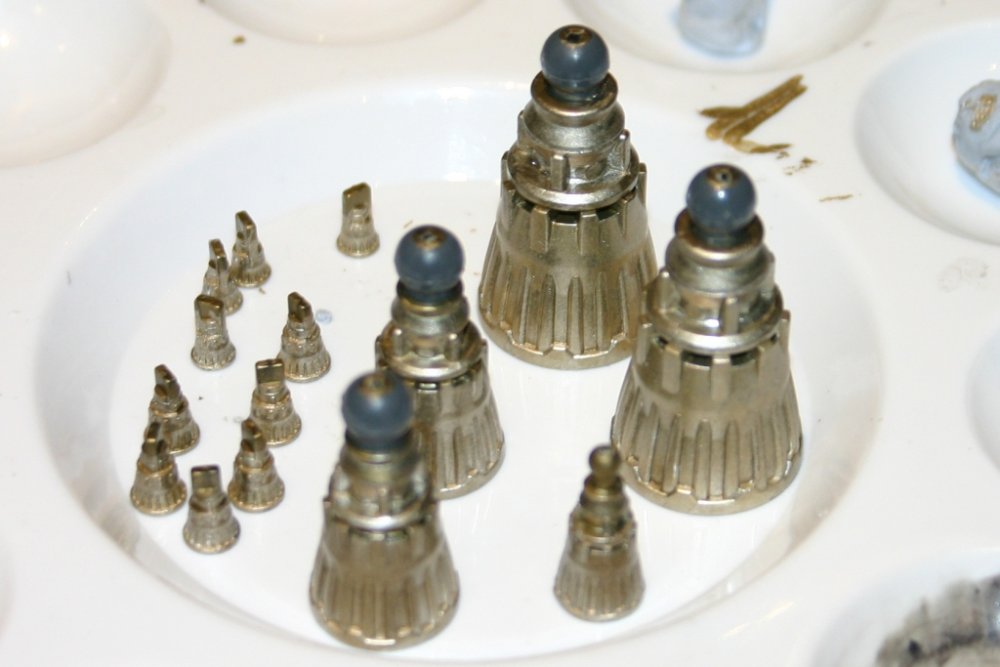
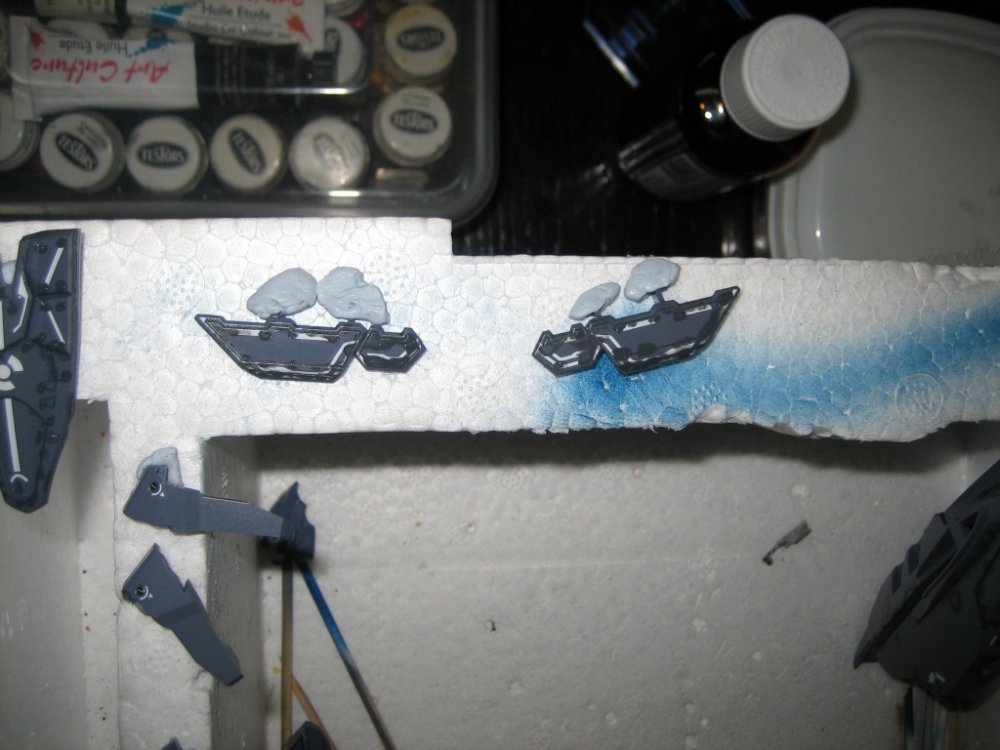
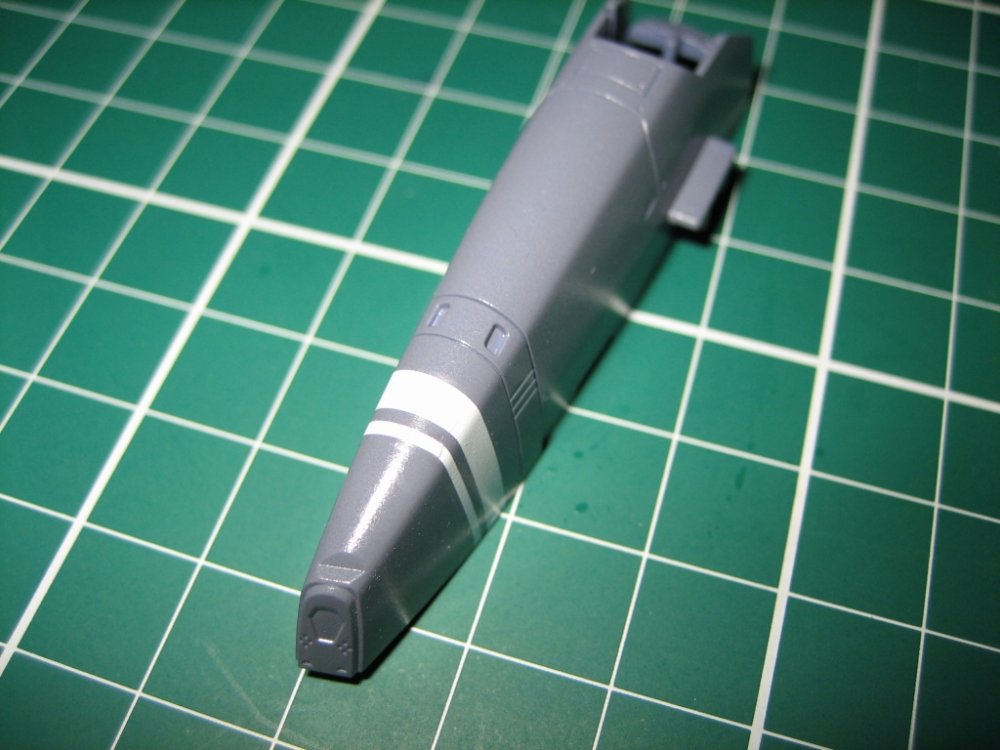
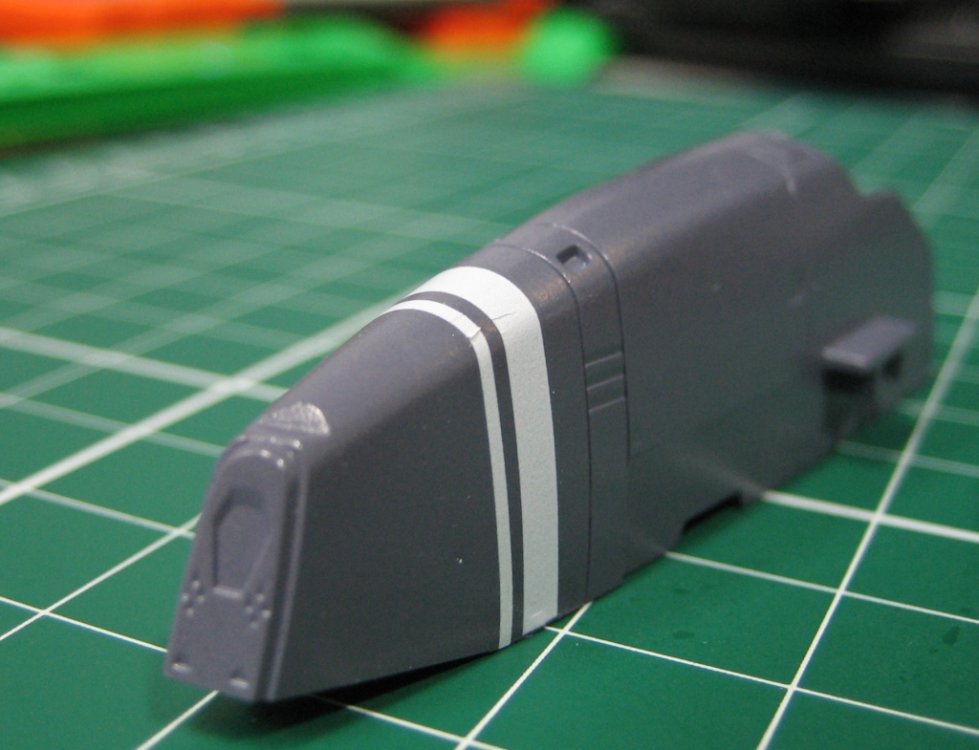
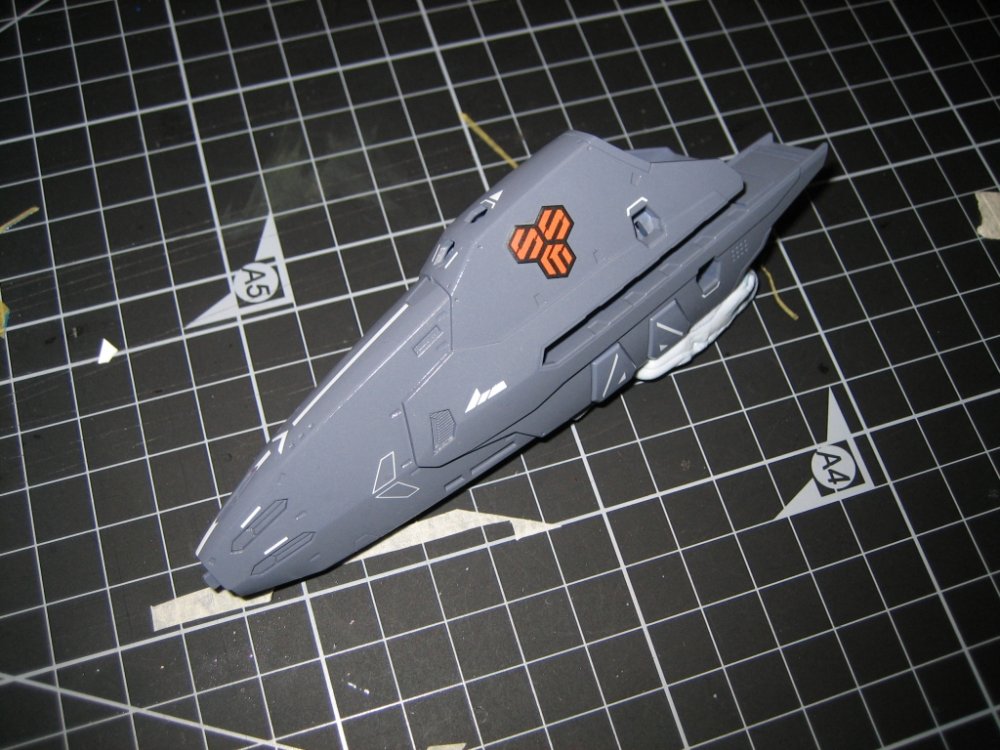
Not a whole lot to report. The weekend was a complete bust in terms of getting anything done. I had planned several things - clear gloss coating the super parts, painting a darker colour on the inside of the nozzles, possibly some making on some areas that still need it (the portion under the nose that always seems to get missed - needs to be painted blue, in my case). Anyway, I managed 40 minutes last night. That allowed painting the insides of the nozzles. I mixed 2 parts Steel to 1 part titanium gold. The Steel is Gunze (GSI Aqueous) and the Titanium Gold is Tamiya. They mix fine. These nozzles are totally brush painted. I've been too lazy to get the airbrush out for them. Plus, just haven't had time to work on them at home so brush painting at the office is the only option. I took several photos of the these things, because I'm still playing around with my new SLR (well, new to me - it's a camera my friend had that he's taken very good care of). I love it but it's got a learning curve that I'm going to have to come to terms with. Best photo of the bunch: And some playing with settings on my SV-51 test subject. My next hurtle is trying to get the whole valk in focus instead of just parts of it. Sorry for the off topic-ness of Nora's bird.
-
Yeah, there was no way I was going to use that decal on that section! I don't know if the colour is right, based on what it is but I think it'll do.
-
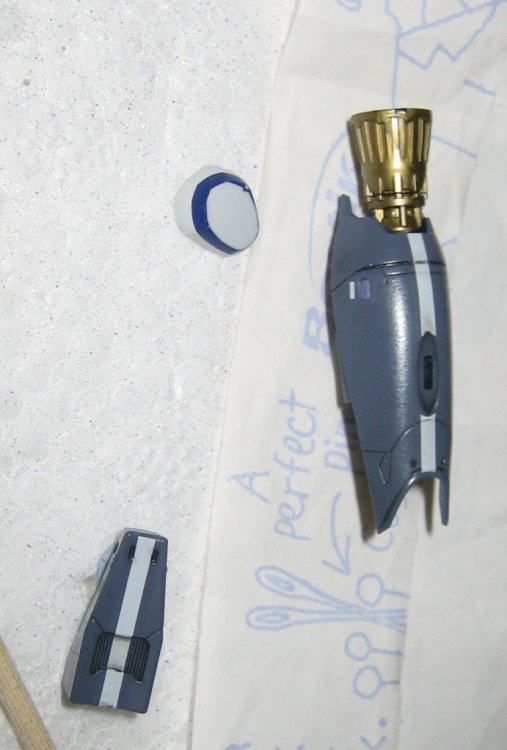
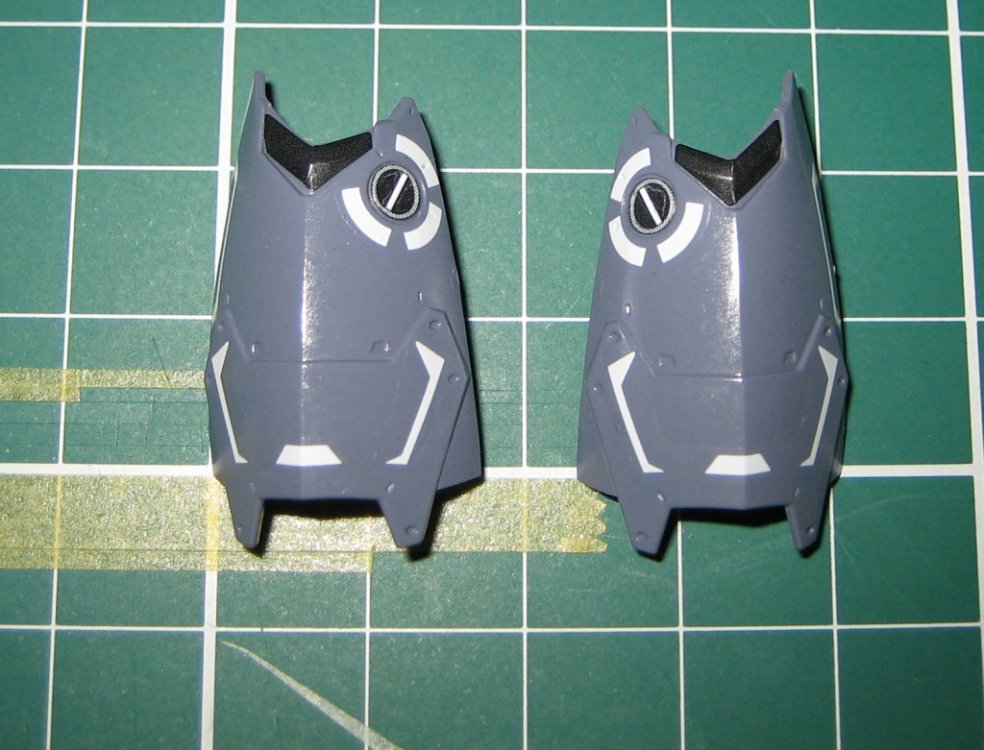
I've painted the booster nozzles but not much else this week. I did manage to get a DSLR though and that's exciting! I've got no idea what I'm doing yet but the close up photos of my progress are a lot easier to capture now and lighting is nowhere near as picky! Colours for the nozzle are Tamiya's "Titanium Gold" and I think I'll do Iron for the inside, possibly mixed with a bit of the same gold colour (similar to what I did on the leg armour patches). I'll clearcoat the nozzles with gloss, apply a brown wash on the outside and black on the inside, then do a clear gloss satin to seal it all in. Pics:
-

Bandai 1/72 Scale Macross Frontier Model Kit Thread Ver.3
mickyg replied to azrael's topic in Hall Of The Super Topics
Indeed! I guess because it's a nudge for us to paint them instead. If memory serves, these are usually ones that need a metallic finish, right? That's hard to do with water slides. I can't wait to get this kit! But I have to until after Christmas. Guess that gives me time to see what others are saying about gotchas and any problems. Loving the pictures so far though! Anyone want to volunteer to translate the colours? I can probably work out the ones that are the same as the other kits and any mixed paints that match, as well. I'm guessing there will be a few new reds, purples and pinks in this one though. -
Oops... Double post.
-
Any time! Looking forward to seeing/reading your progress.
-
I've got 3 Hase kits that need to be built and I've deliberated on this question myself. Unfortunately, I haven't decided what to do yet either! I'd have to say though, if you're not great with decals, I'd paint these instead. If you haven't got an airbrush, perhaps the decals are a better option though. Yeah, that probably doesn't help, does it? Check this tutorial out: http://www.swannysmodels.com/Canopies.html That should give you an idea of what you're up against. It looks daunting but I've used this approach for lots of masked details (just not canopies - yet) and it works a lot better and easier than you'd think!
-
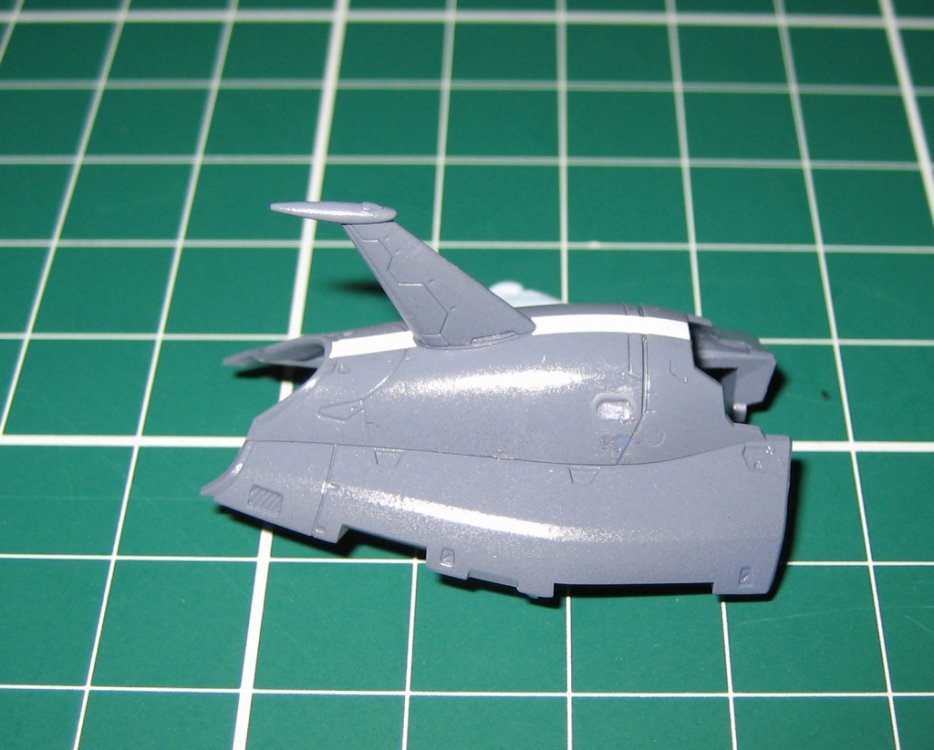
Got all the oil wash appropriately wiped away last night. No real problems to report or warn anyone about except the advise using restraint in how much you apply. I blotted on a bit too much and since it has to be wiped off, too much is just a nuisance. That and the turpenoid (low odor turpentine, varsol, etc...) does soften the acrylic paint some. So you must be careful when wiping the excess off, that you don't wipe to vigorously or rub too hard, as you can inadvertantly rub the underlying coat off. I'll likely do a gloss clear coat as originally planned (before I rushed into the oil wash) and paint the missle hatches dark grey or black, follow up any other darker areas that need paint, and then put a final flat clear over the top. Some pics to show the progress:
-
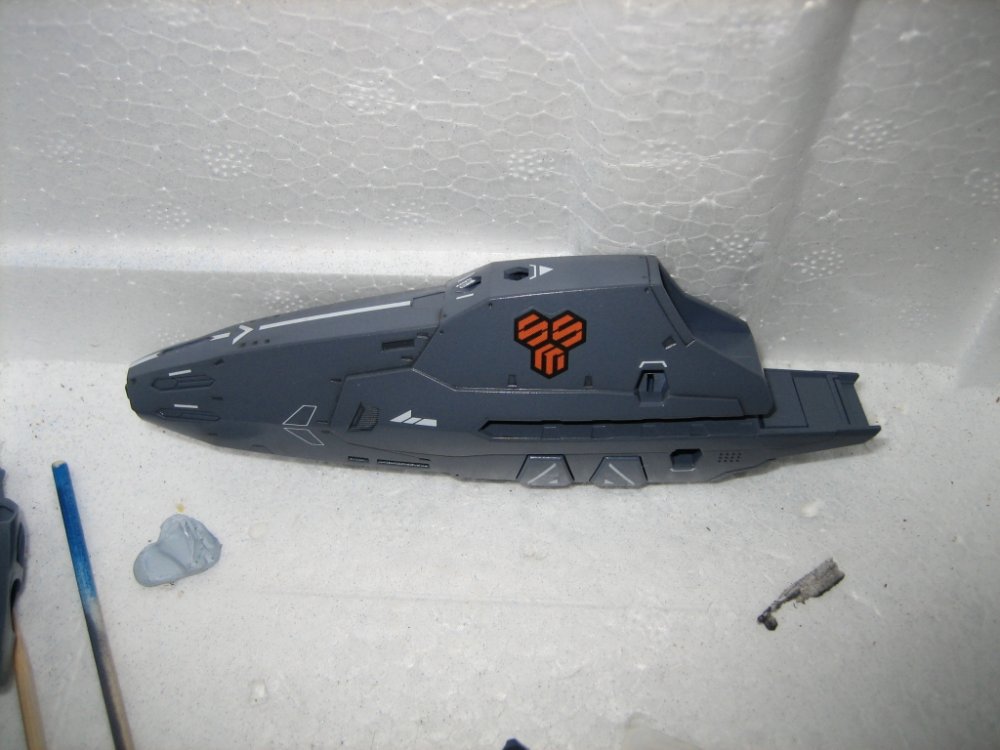
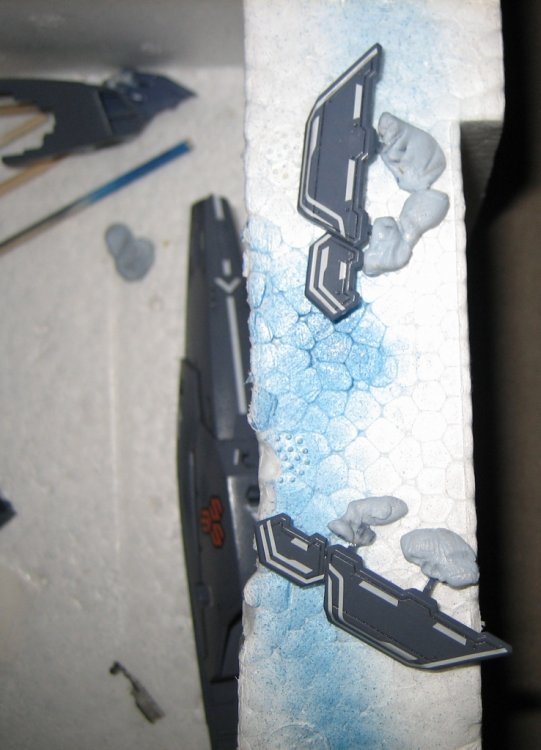
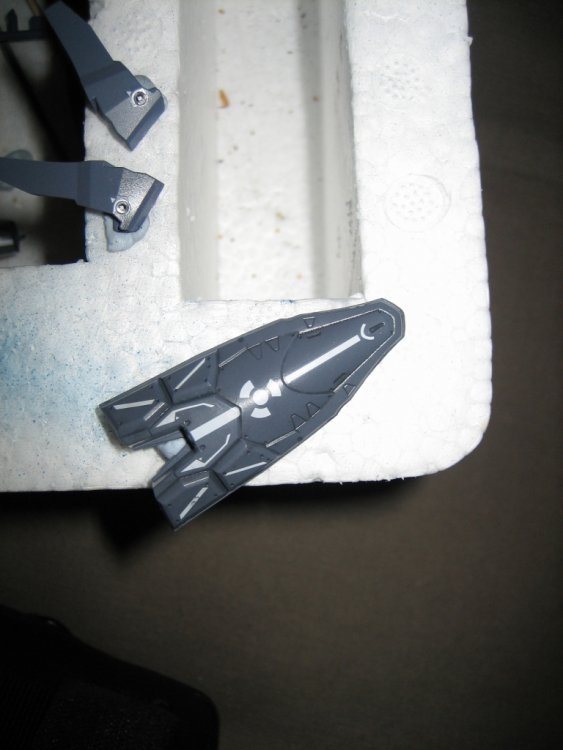
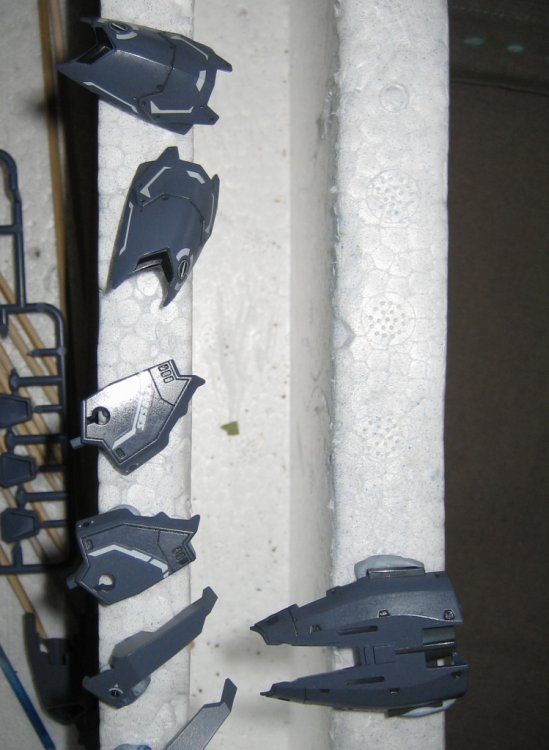
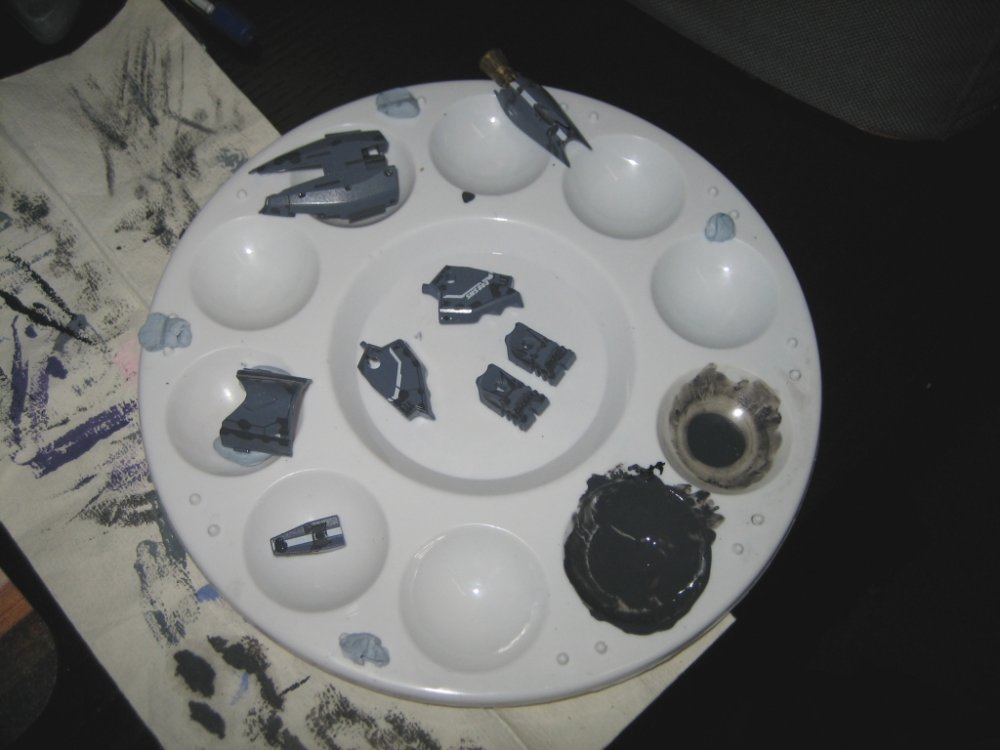
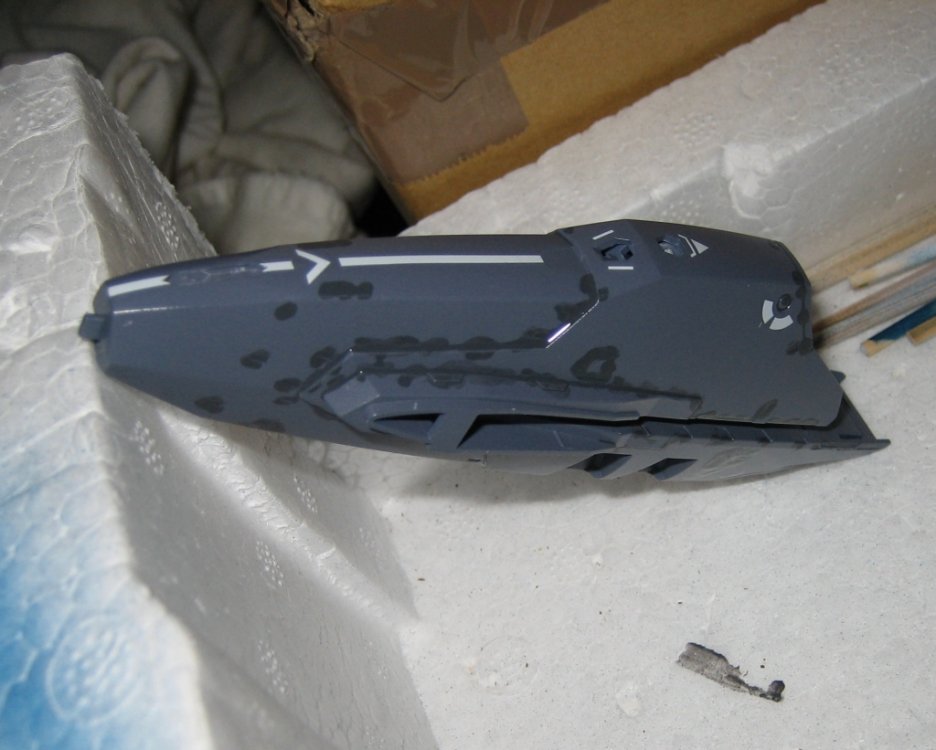
I had planned to post some pics up of the decals I finished last night. Instead I got impatient and put the dark oil wash on today at lunch! I mixed up a very dark grey from black and white oils, then thinned it down pretty heavily (probably 3 parts thinner to 1 part paint). The black mix was 2 blobs of black with about one of white. Maybe. When in doubt, do what I did and start with black, "mix" it into the paint tray with the brush (I'm using cheap testors brushes because the bristles are practically indestructable) to break up any clumps and recombine anything that's separated (my tubes always get runny near the opening). Add a bit of white until you get the colour grey you're after, continuing to mix with the brush. When you're happy with the colour, then add thinner and keep adding till the consistency is thin enough that you can almost wash the paint off the sides of the mixing tray. It's difficult to describe but this seems to be the best consistency for me. Anyway, here's some pics of all the grey super parts. The first one shows the mixing tray and some smaller parts. I've lightened it up a bit but the colours aren't totally accurate to what I see with my eye. It's basically a nice slate colour and seems to go perfectly with my dark, purple-grey parts. The rest of the pics are the rest of the parts. Nothing special and nothing's been wiped down yet. Might not get to it till tomorrow but the paint dries so slowly that this should be no problem.
-
Got all the grey super parts decals done! No pics yet but may grab a few tomorrow. You all know what they look like though.
-
It does but honestly, nothing beats good old Tamiya Acrylic thinner! If you can get it, that is. Yeah, it's expensive but the stuff lasts a very long time and it's compatible with both tamiya and Gunze acrylic paint. I use it for airbrush and hand painting. Try it, it's definitely worth it. I think a really big jug of the stuff is $12 or so (aussie dollars, since we share that in common -> Smegalot) and the smaller bottle is about half that. I've done heaps of painting this year and have used only about half the jar and that represents a lot of waisted paint too. Incedentally, the Tamiya stuff is a mixture of alcohol, and glycerine (and likely a lot of other things too) so it has a self leveling effect as it prevents the paint from drying too quickly. I was forever cursing acrylic paints before I realised thinning it with this stuff made it 100 times better. Hope that helps!
-
Thanks for the tips! Yeah, the carrier film trimming trick I've employed quite a few times already on this one. I was doing it for all the decals on the main part of the plane but then realised the film was nowhere near as noticeable as I'd thought after testing a spot or two. That part of the decal is actually quite impressive! It's the rest that really sucks at times. You know, I really can't tell you "cheated" from those pics at all! The decals look really good to me. Ah the VF-27. I'm tossing that up right now. Do I buy that one when it's released and start on it before I get to my Hasegawas? Or do I spend money on a DSLR? Decisions, decisions...
-
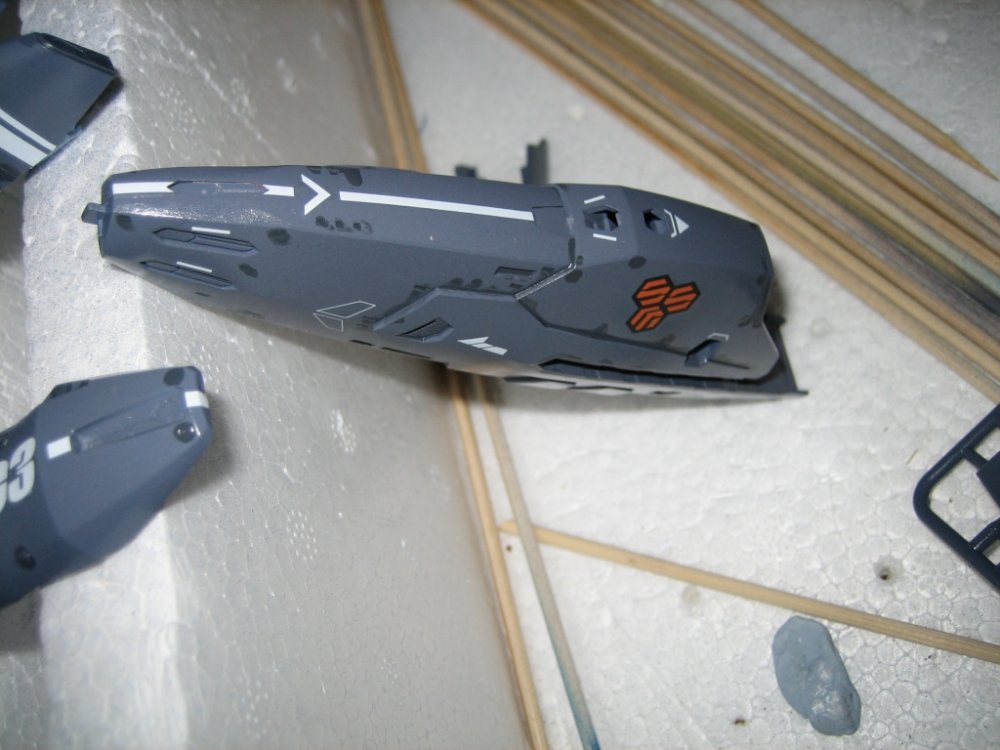
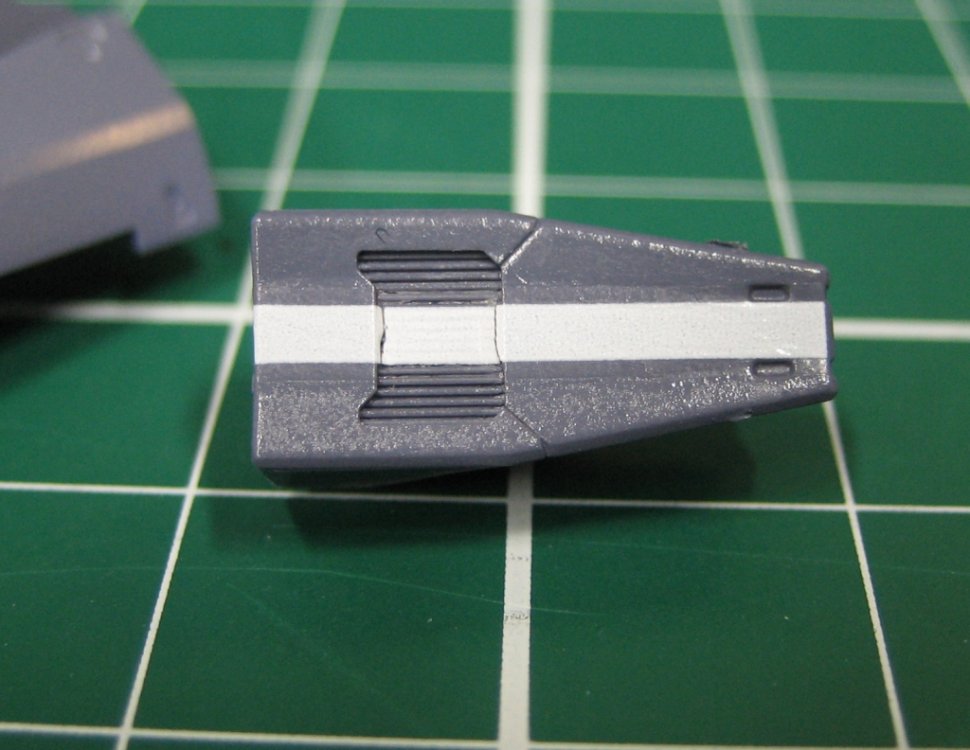
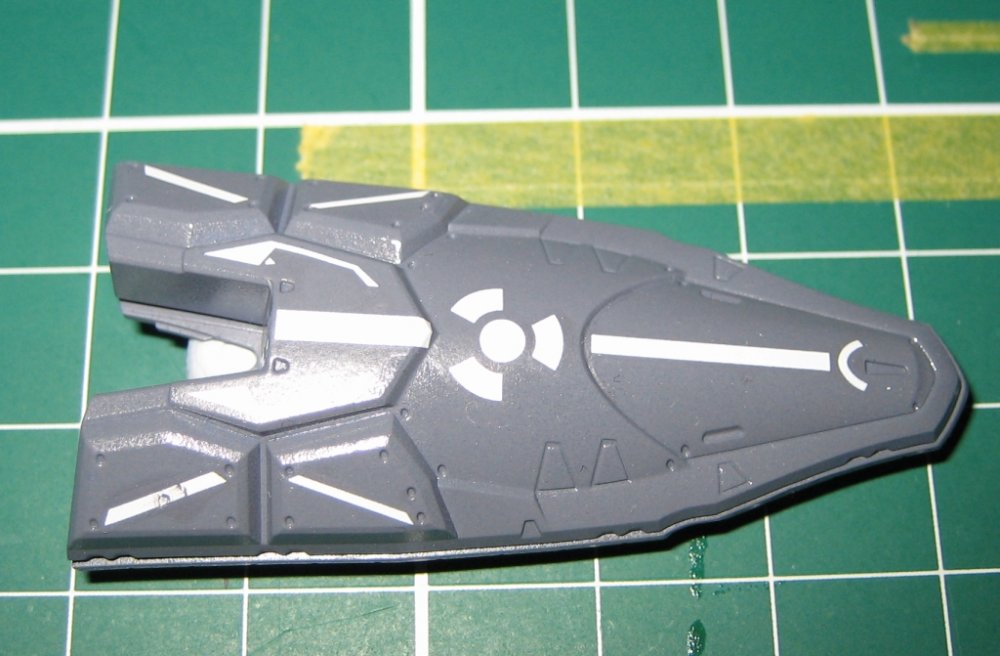
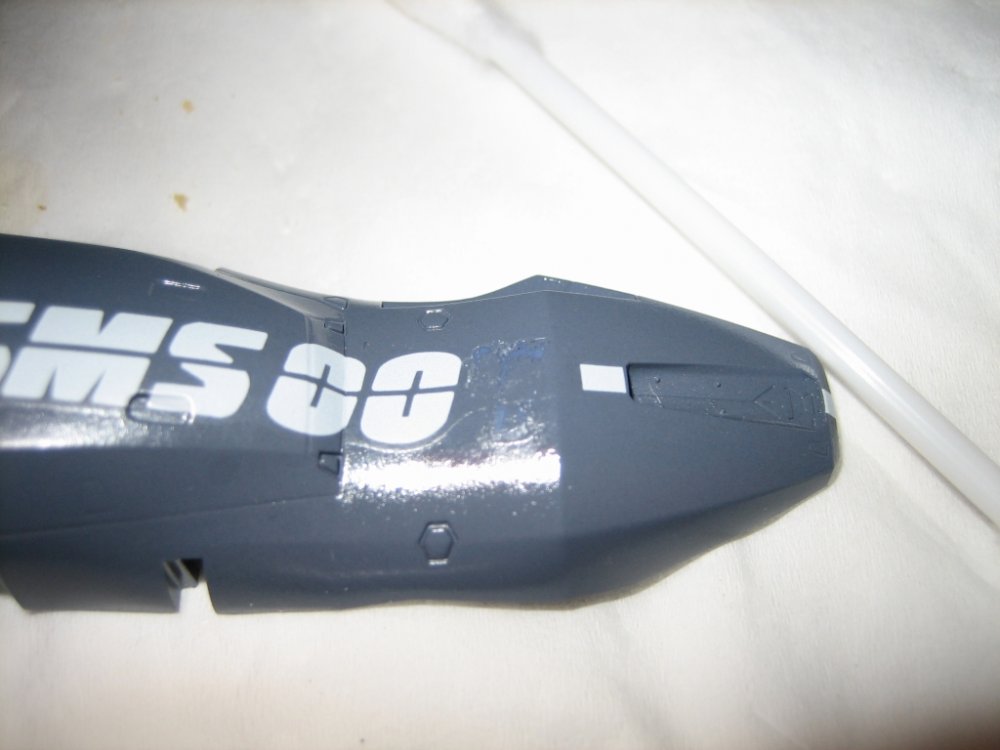
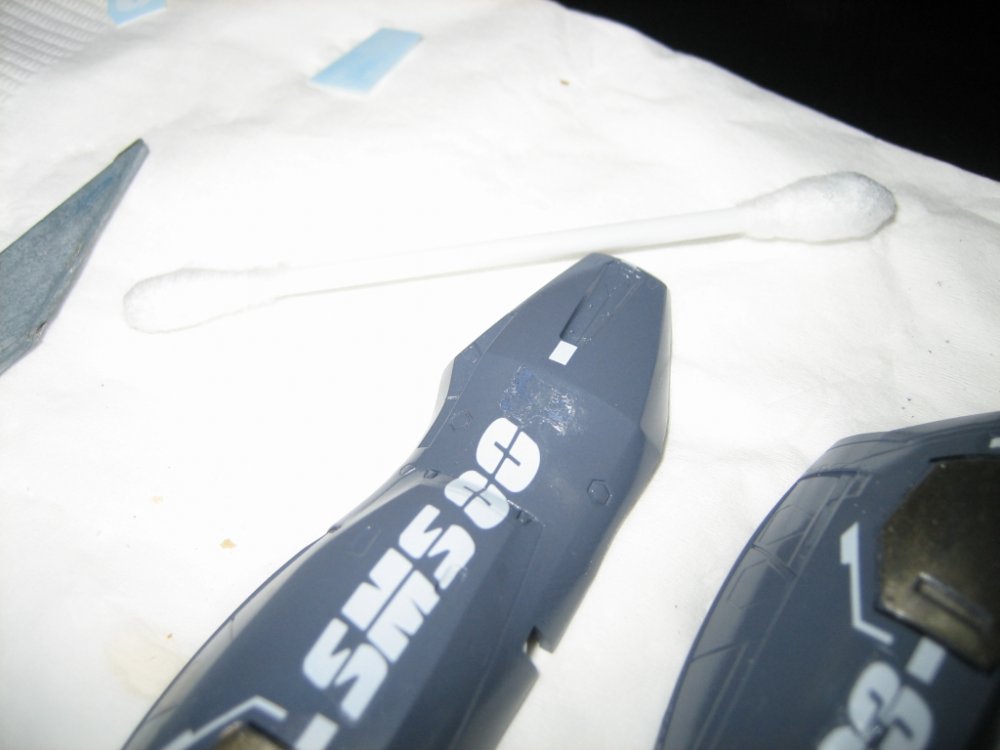
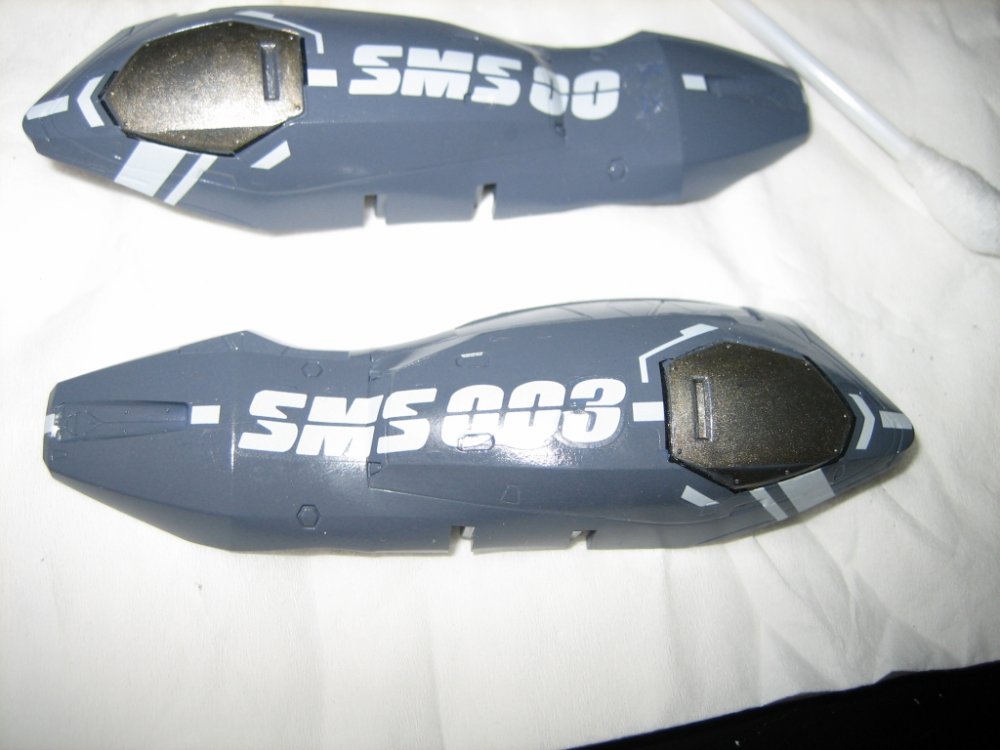
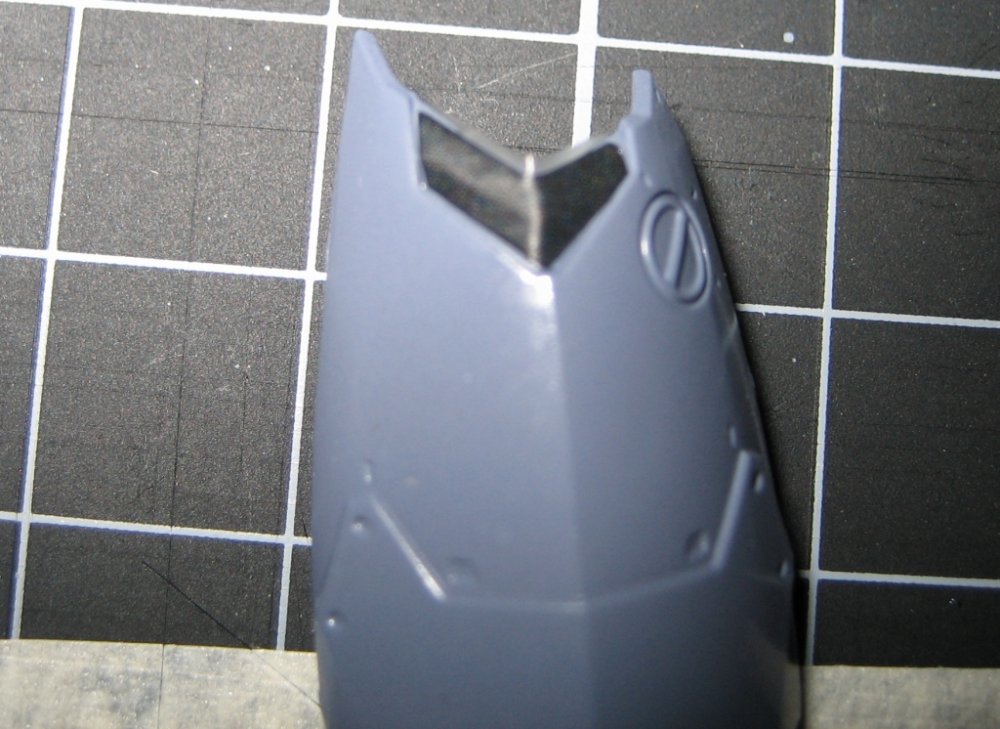
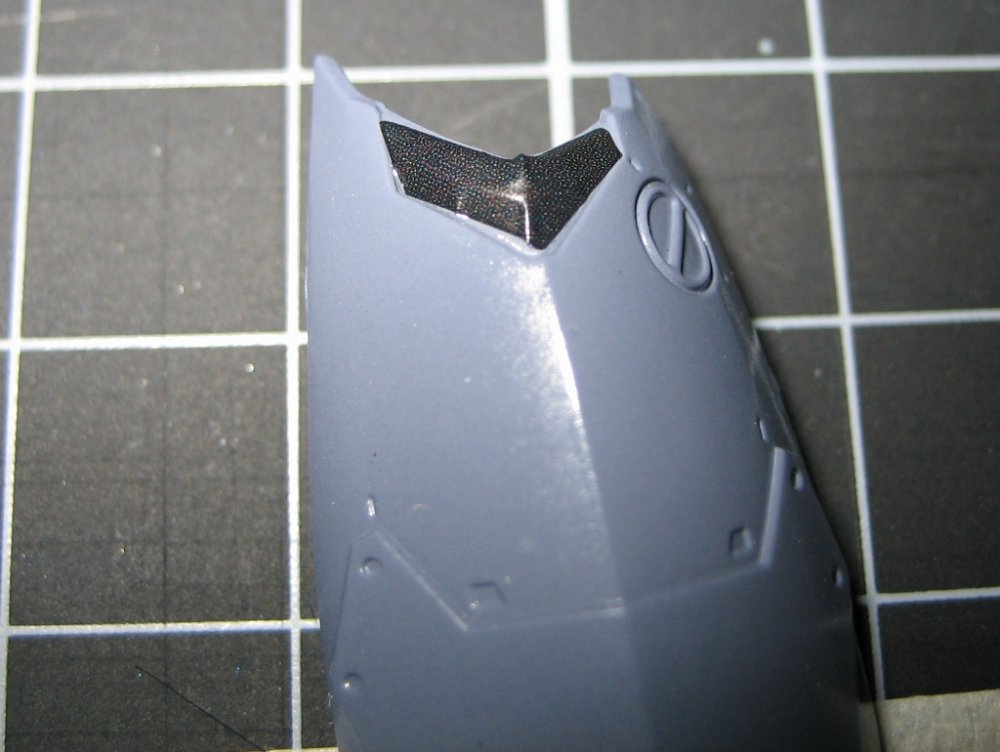
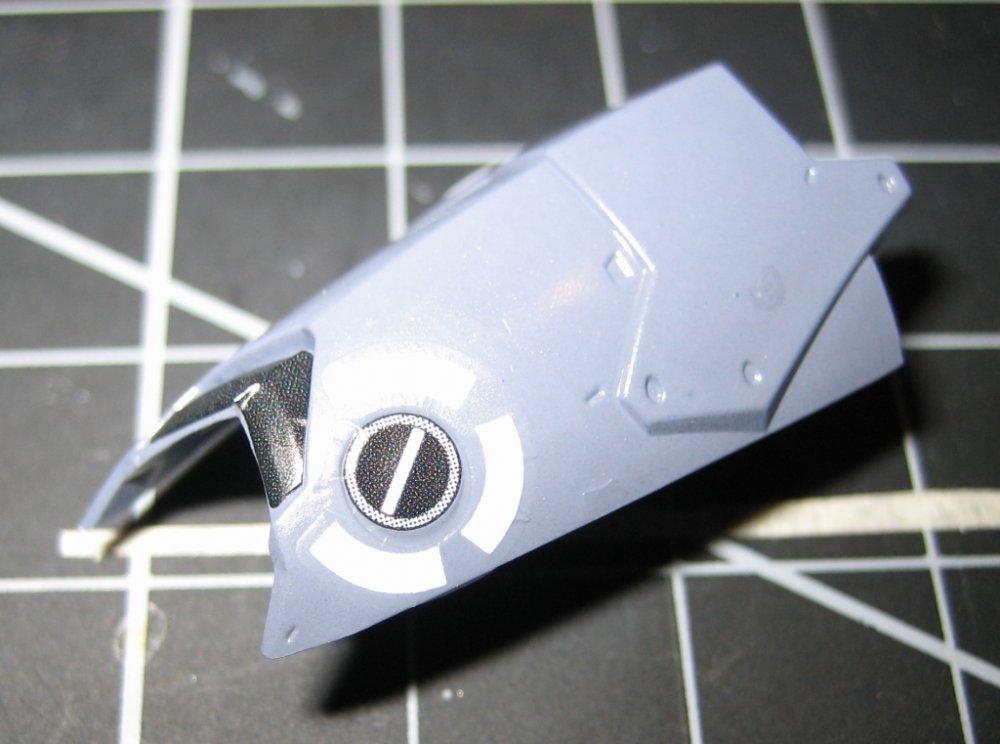
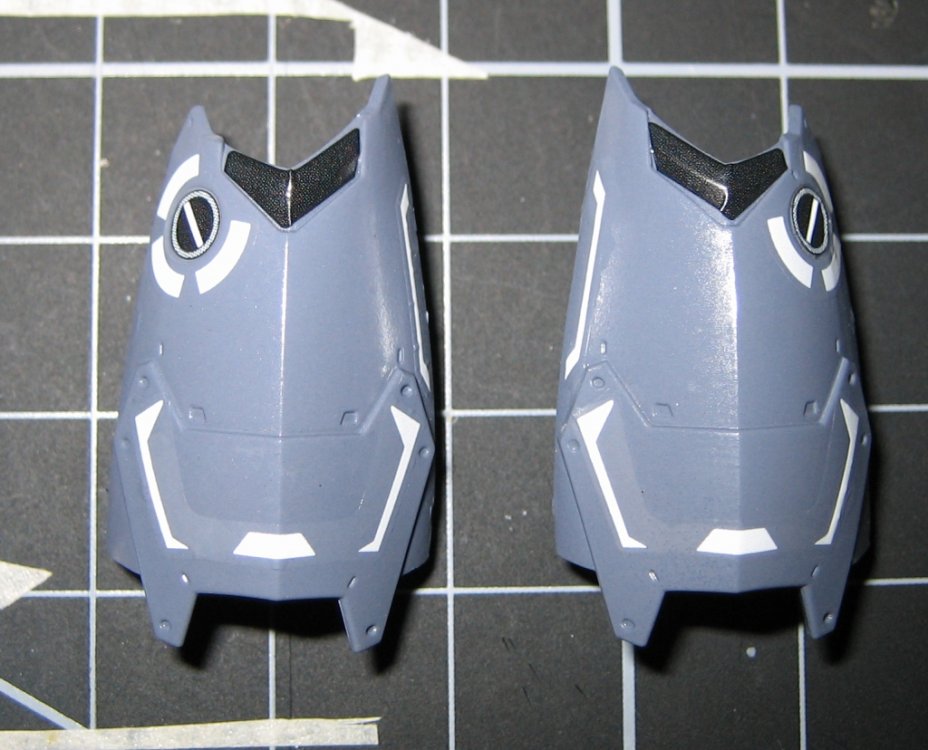
Here's the missing progress pics from this weekend. Firstly, some info on how I struggled with a few of these decals. I'm using Mr Mark Setter for most everything, and Mr Mark Softer for the really troublesome areas. Both soften the decals, both seem to cause the carrier film to "melt" into the paint, and both can cause the acrylic paint to run or streak if you soak it on too thick and bump, scratch, poke the surrounding area around the decal. So you must be very careful after applying this stuff or you'll damage the decal or the part's paint. Very tedious and somewhat stressful at first. Anyway, on to the issues I faced and will probably continue to face. There are quite a few areas where the decal crosses a panel line or some other detail that I want to be visible through the decal. In most cases, the Mark Setter is fine (it's the milder of the two solutions). However, I'm noticing the Bandai decals, despite being horribly coloured in and mostly not fitting the areas they're meant to cover, actually are very flexible and tend to work well if you're patient. That said, the decals don't seem to like stretching. They'll conform well enough but stretching is an issue. Therein lies most of my problems. For the long line type decals, you'll need to push the decal down into lower areas while the decal is still wet and hasn't yet started to stick to the paint. This can be a real pain to get right and I think I'm still struggling with it. Here's an example: The camera isn't capturing how well the middle of the decal sat down into the grooves but it did a reasonable job. I put a fair bit of setter and softer on this portion, thinking I'd get the decal to completely "melt" down into the lower, grilled area. However, only the middle 3rd of it did. The edges remained stretched up to the edge of the part. Of course I didn't realise this till after the decal had fully "cured" or dried. By then, the only option was to carefully cut the edges of the decal and reapply the softer solution to attempt to get the decal to lay down. It only partially did this. Lesson learned - make sure the decal is flexible and well saturated in solvent (either type) before walking away and letting it dry. The solvent will soften the decal after it's dried but nowhere near like it does when it's still wet. I think the decals really do "set" and become almost plastic like after this happens. OK, next issue: This one was a simple accident and nothing more. I got the tiny little light decal (if that's actually what it is) on the opposite side applied just fine but because I couldn't actually see the depression the purple part is meant to sink into, it ended up just slightly crooked. And again, I only noticed after it had set. Once it's set, there's no way to move the decal at all. "Eh, no big deal" I thought. So I moved onto the other side and did that one. The second side went on perfectly. So for some brilliant reason I decided it'd be cool to dry fit the backpack parts with the shield. I didn't realize my thumb was right on top of the tiny decal until after I'd basically wiped the print right off the carrier film! And no amount of solvent would allow me to wipe the decal back into place. I think my thumb successfully absorbed the liquid, which basically cemented the print into place. Next lesson learned - don't touch the decals until they're completely dried! Final issue: These are the long boomerang shaped decals, when they're on the sheet. When they're applied, they should be straight. Surprise, surprise, they're not. They require quite a bit of massaging to get them lined up and even when they are lined up, they require a wrinkle to actually sit straight. Very annoying! So that little wrinkle was the result of a whole lot of carefully applied solvent. It's still there but not as noticeable as it likely could have been. And some final pics. The bottom intake parts are shown just to give an idea of how applying a bit more mark softer to the multi purpose handle/verniers got the black portion to sit a bit better into the recess. I did some cutting to get this to sit as low as it did, as there was a lot of stretched decal that just wouldn't lay down any other way. Remember, I'll be black washing most of this stuff so you won't see any tears in the decals. The little smudge you see on the shield (I love the shield!) is the result of trying to use a dry brush to smooth out a bubble after the solvent had been there a few minutes. Always use a wet brush!
-
I, for one, laughed until tears came out. My wife must've thought I was possessed! I s'pose she's not far off... Back on topic: I noticed the missile hardpoint on the end of the right wing on my Hikaru 1A has broken. One side only so it's still holding but, damn - I have only put the missles on and removed them maybe 3 times!
-
Thanks man. I'm finding it's going a LOT slower than I'd like but that's life for ya. Just glad I've got time to spend on this at all! Though I haven't posted pics, I've only got the other booster, back leg armor, and intake/missle parts left to decal. Oh, and the rest of the plane...
-
Fixed the 7 to a 3. That wasn't as hard as I thought. The end result isn't bad but I'm amazed at how well the decal actually bonds to the paint. I had to use a hobby knife to gently scrape the decal off. No solvent seemed to work. I managed to get a lot more decal-ed up over the weekend, but also had a few mistakes too. Pics of those as soon as I take 'em!
-
I must admit, the news that I'd screwed up the SMS numbers kinda but a dampener on things... But I did manage to get a lot done last night and wanted to post up what I did. I've got a couple of gotchas, for anyone following along and getting ideas. The decals on the super parts, are for the most part, easy to apply and straightforward. There are a few exceptions, of course! The thigh/bottom of the intakes, for instance. These are very irregular shaped parts and asking a decal to conform over them, is a very tall order. I tried quite a few methods, like trimming off all the carrier film to get it to fit snugly into the space, liberally applying mr mark setter, then softer over the trouble spots. In the end, it only made a terrible area almost acceptable. I'll show you what I mean with a few pics farther down. There were a couple of minor alignment problems with some of the small or really long decals but other than than, I'm happy with how it's going so far. I should get a few more parts done today and with any luck, the majority of the super parts will be ready for a wash this weekend. I'm not going to jinx myself by making predictions though! Lower intake parts prior to decaling, showing the irregular surface the black decal needs to stick too. Not shown is the "ledge" that the top makes over the black decal. This almost looks like a vent. The decal didn't make this any more realistic and I'm sure I'll need to fill in the areas not covered with black paint of some sort. Why'd I use a decal again? The next two are right after applying the decal and then the decal after it's been softened with Mr Mark Setter (Hadn't used the Softer at this stage of picture taking.). The next hurdle was getting the vernier decal to line up properly. Not only does it need to sit directly over the round detail, but it needs to be twisted in the right orientation to get the handle detail to line up! Needless to say, it was fiddly and a touch stressful. The pics here show the decals still wet. This morning the black had sunk down pretty nicely. So that's two intake bottoms done! And one booster finished as well:
-
CRAP! ...And well spotted! This is what happens when you blindly follow the picture instructions on the back of the super parts manual. I got lulled into a false sense of security, thinking these were for my model, not all 4 variants. I'll be carefully removing the 7 decals today and putting the 3 ones on. Wish me luck!
-
"Thingy" is exactly right! That's a custom part I made from .3mm plastic sheet. I sort of explained it about 2 pages back, 4th post from the bottom. That's if you've got your post count set the way mine is (for example, this is page 6 for me). Anyway, I think they add a nice bit of realism to an otherwise ugly hole. I cut them out roughly, then sanded them a bit to fit, scribed the lines to match the other two on the boosters and that was pretty much it. Oh, and I think I might have sanded them down a bit to make the piece a bit thinner. .3mm is thin but not quite thin enough. Hope that helps! And when we going to see some of your build pics? I, for one, can't wait to see how yours is coming!
-

Official Bandai 1/60 Scale DX Toy Thread Ver.6
mickyg replied to Duke Togo's topic in Hall Of The Super Topics
I'm wondering where the shield stores. On the 25s, it goes where that backpack "tail" is. But for the 27, obviously the "tail" is still there. Maybe the shield goes underneath? Either way, this looks very nice! -
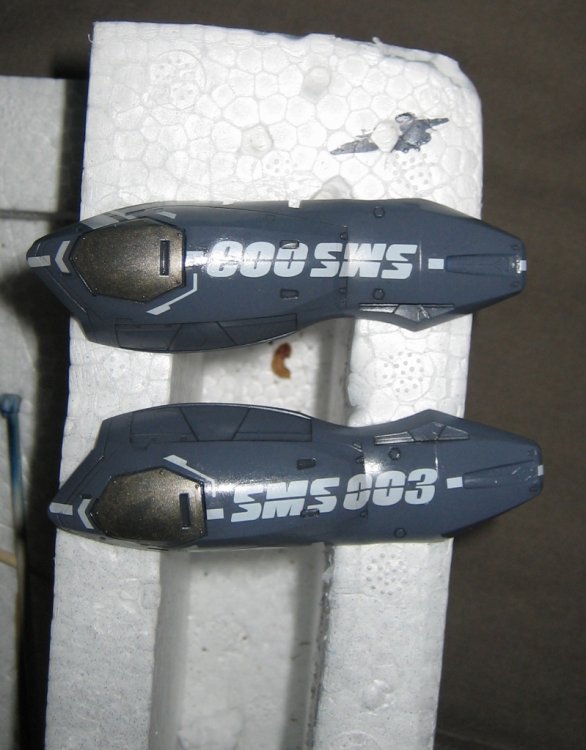
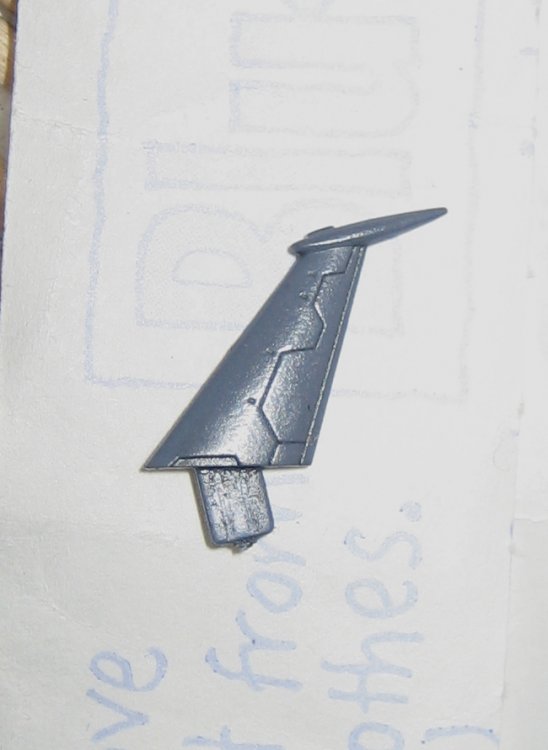
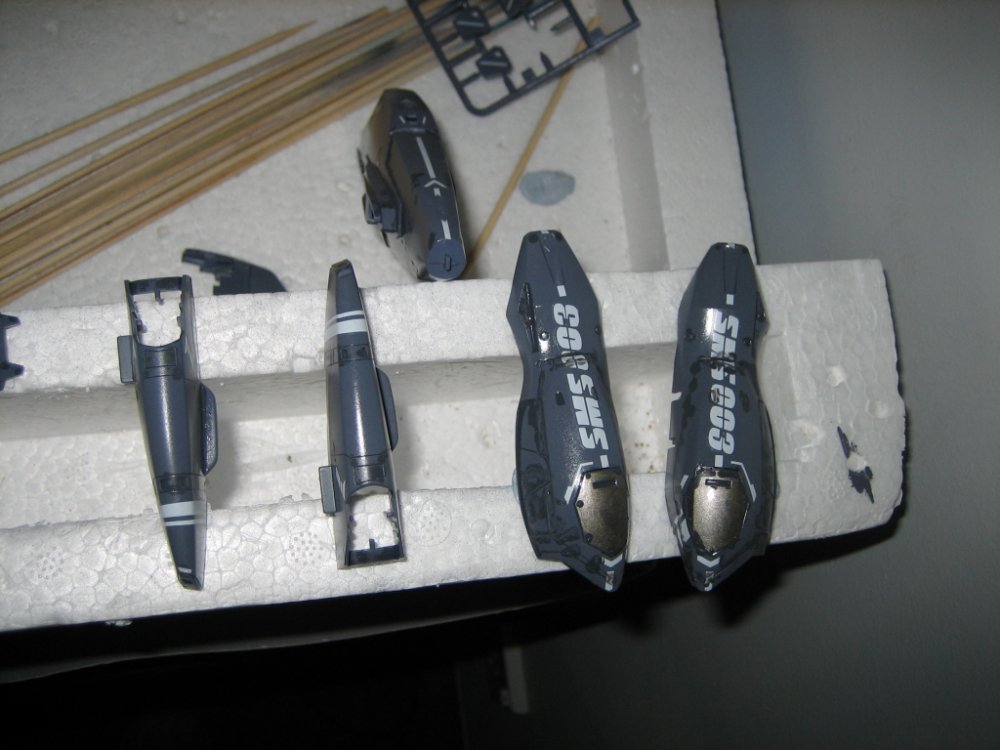
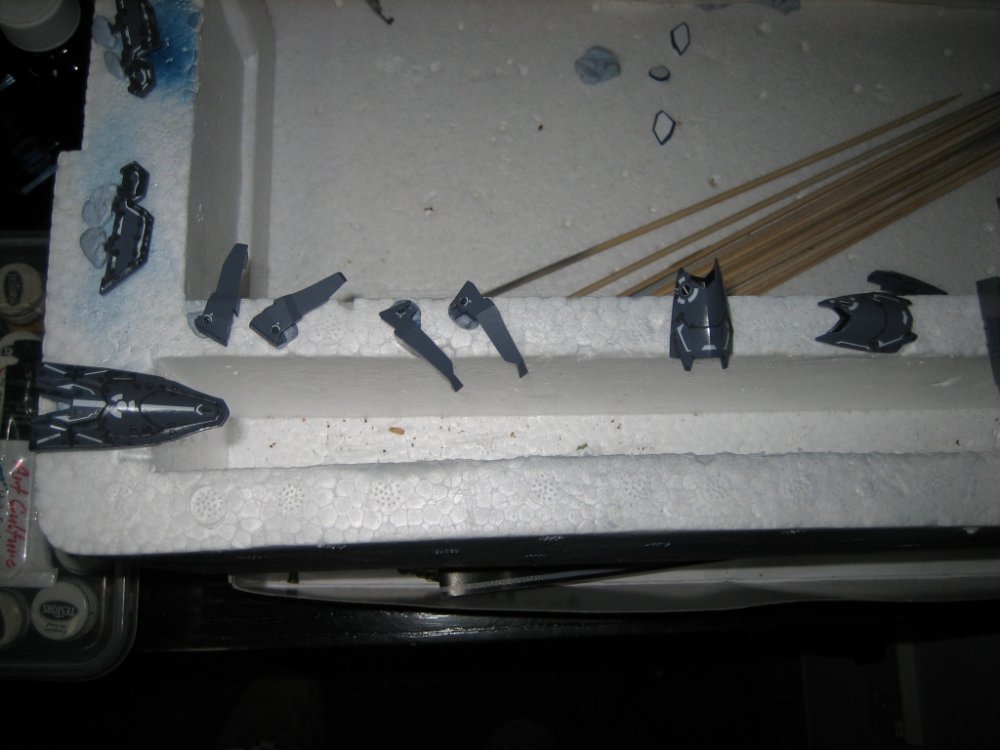
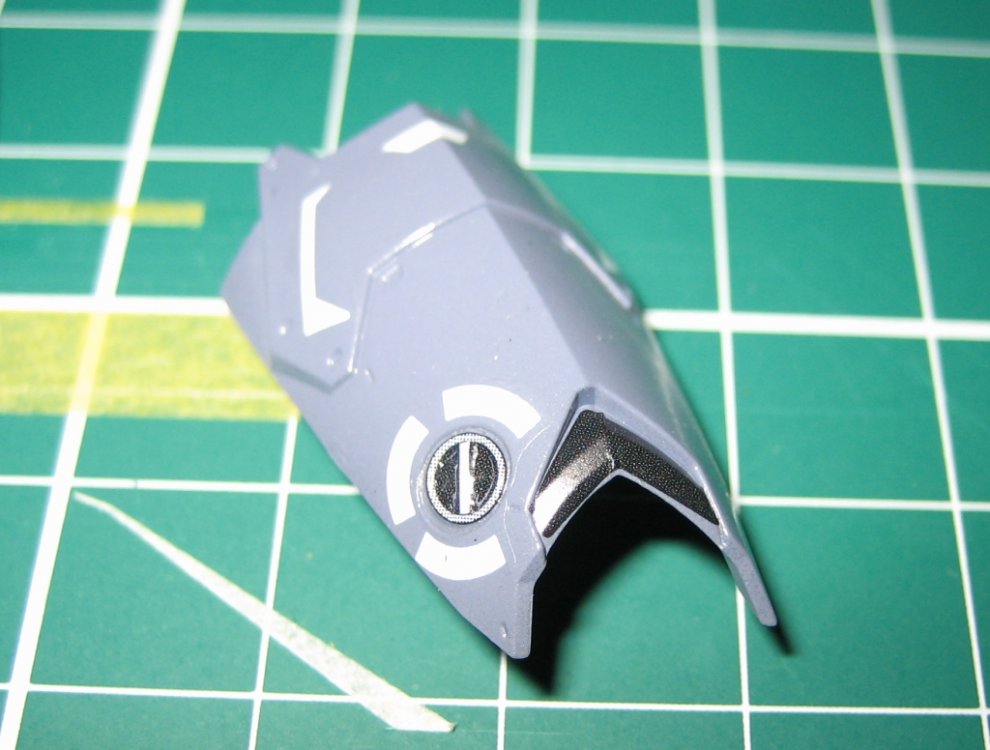
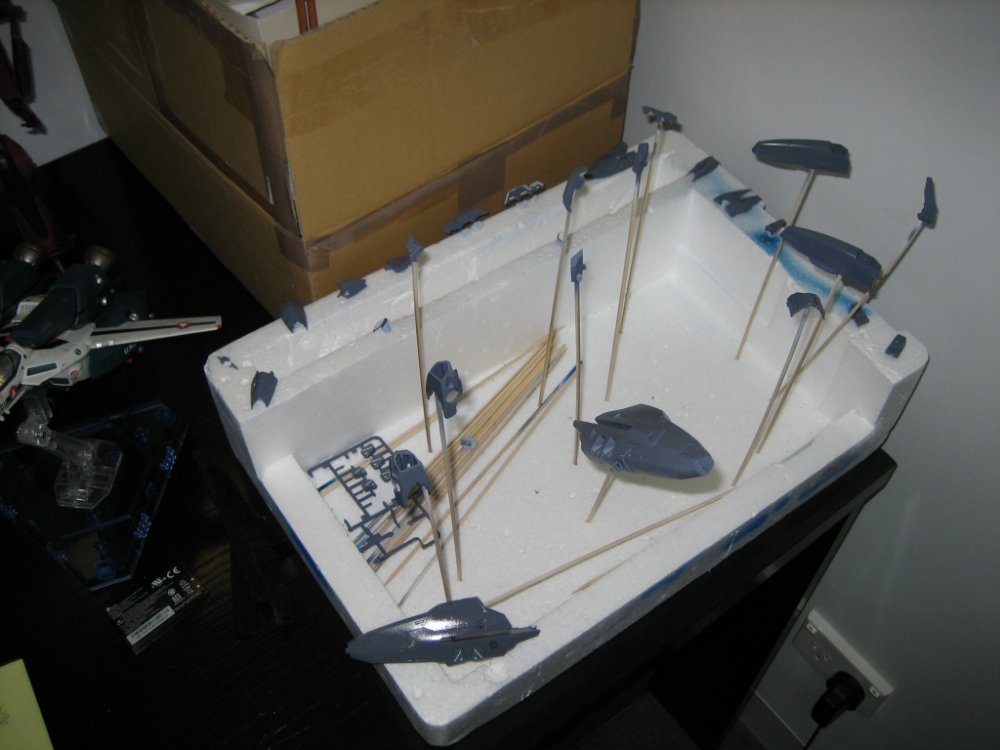
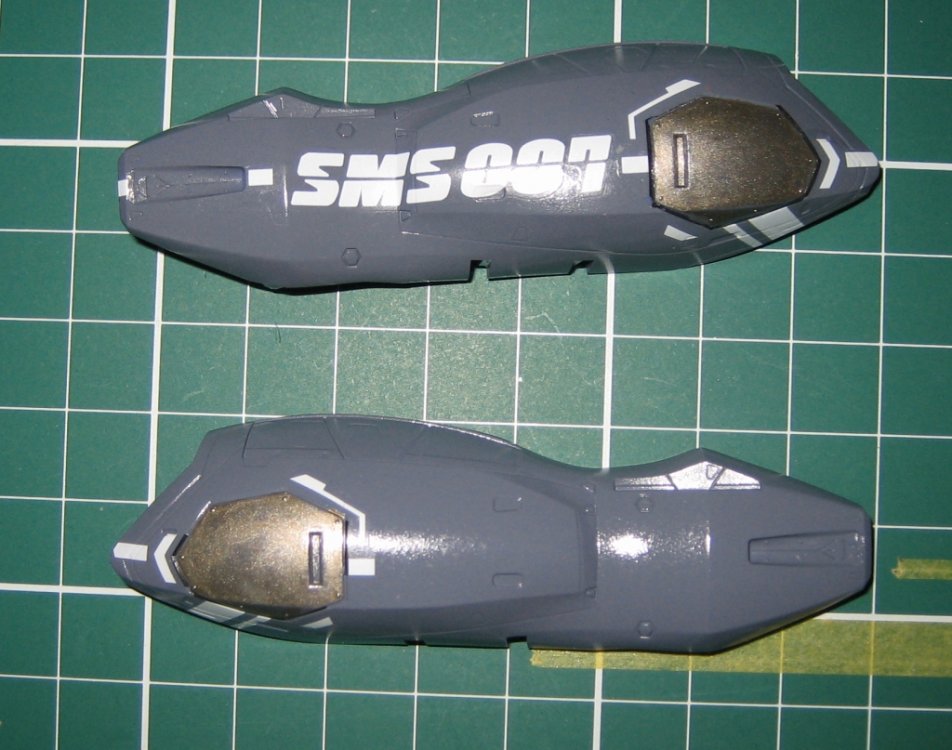
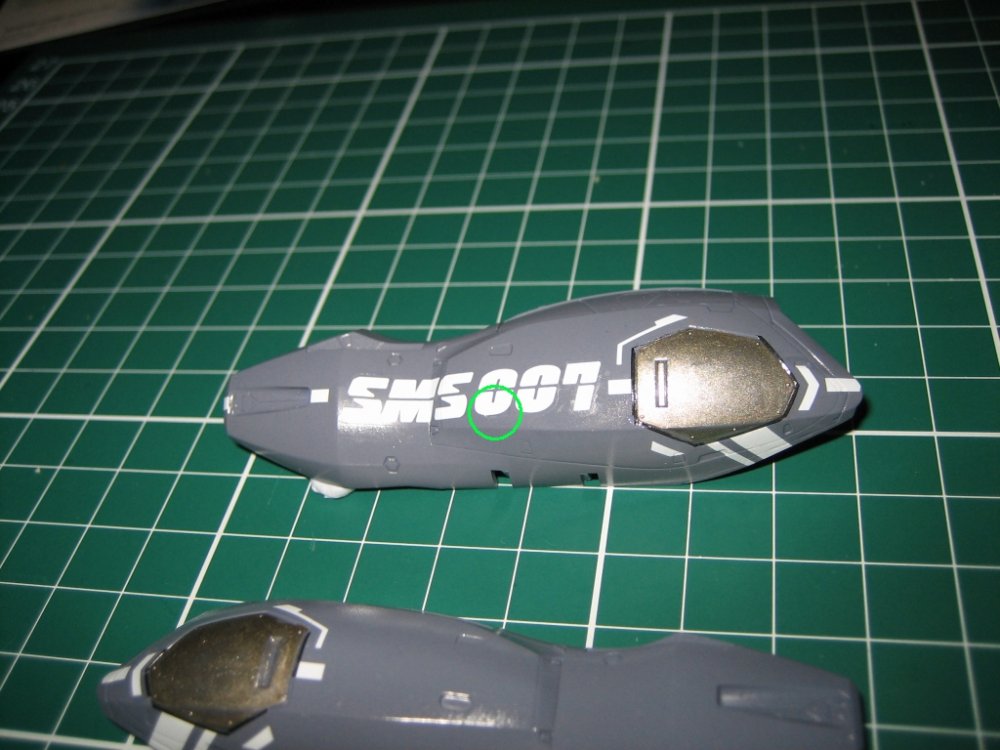
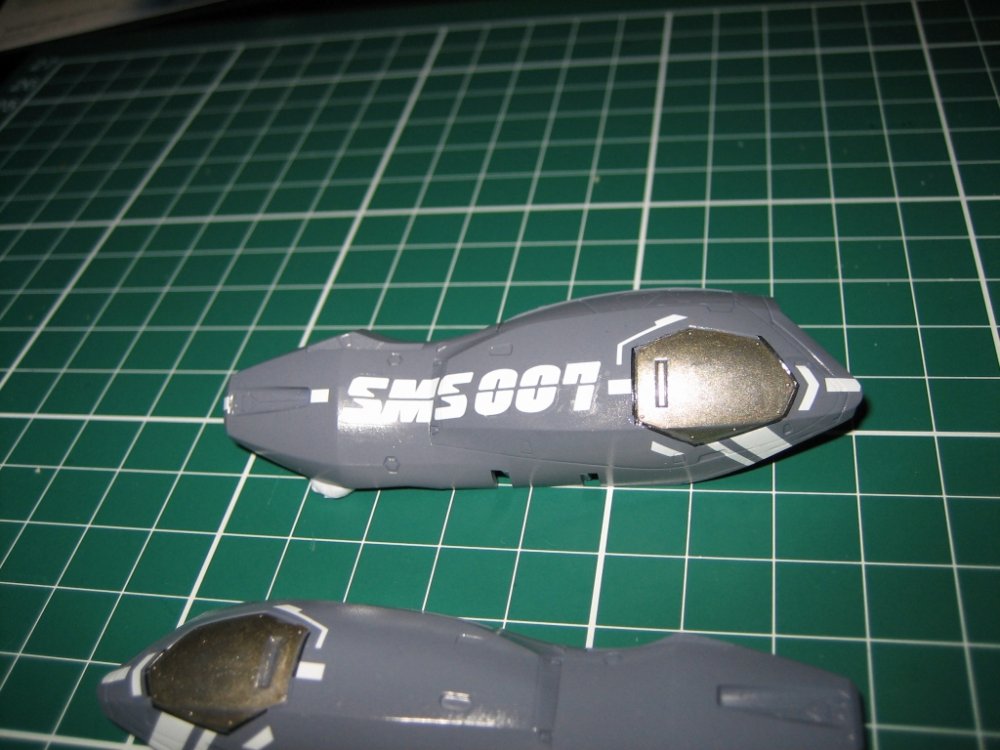
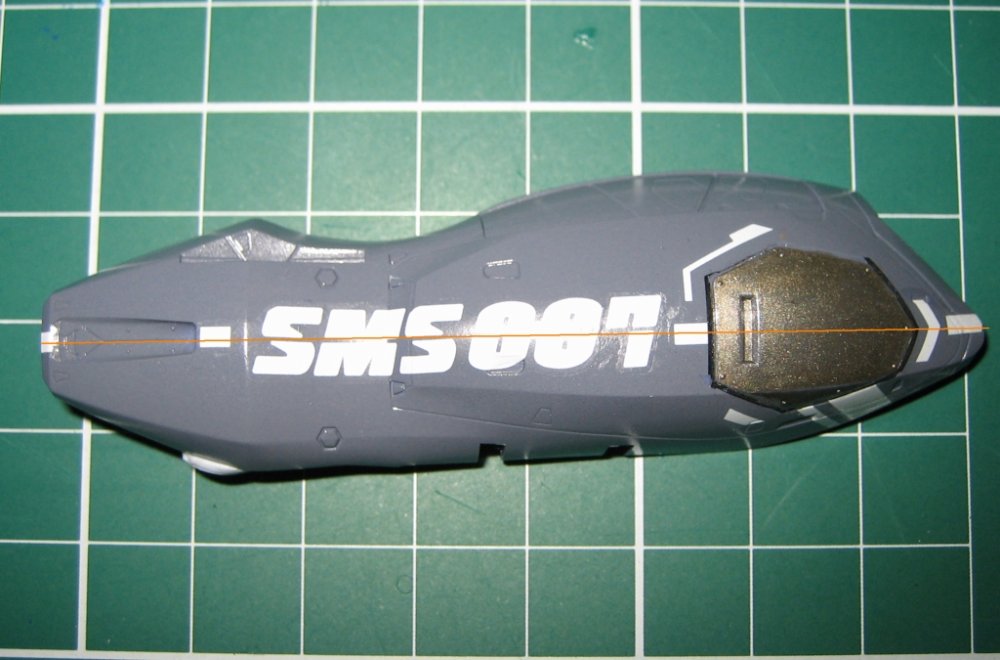
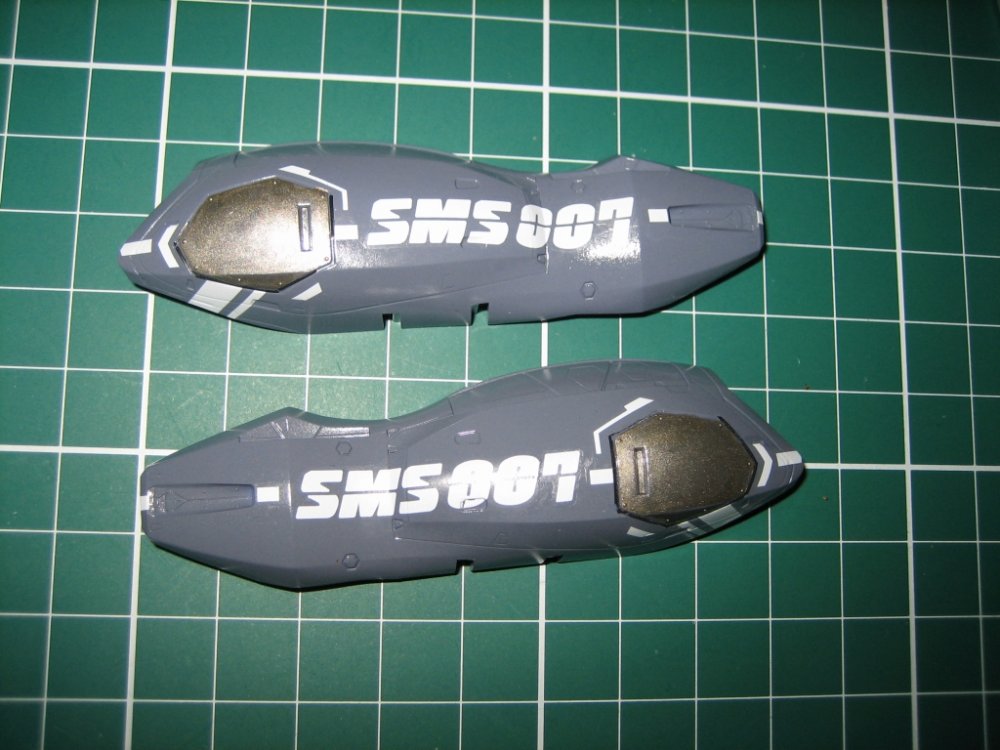
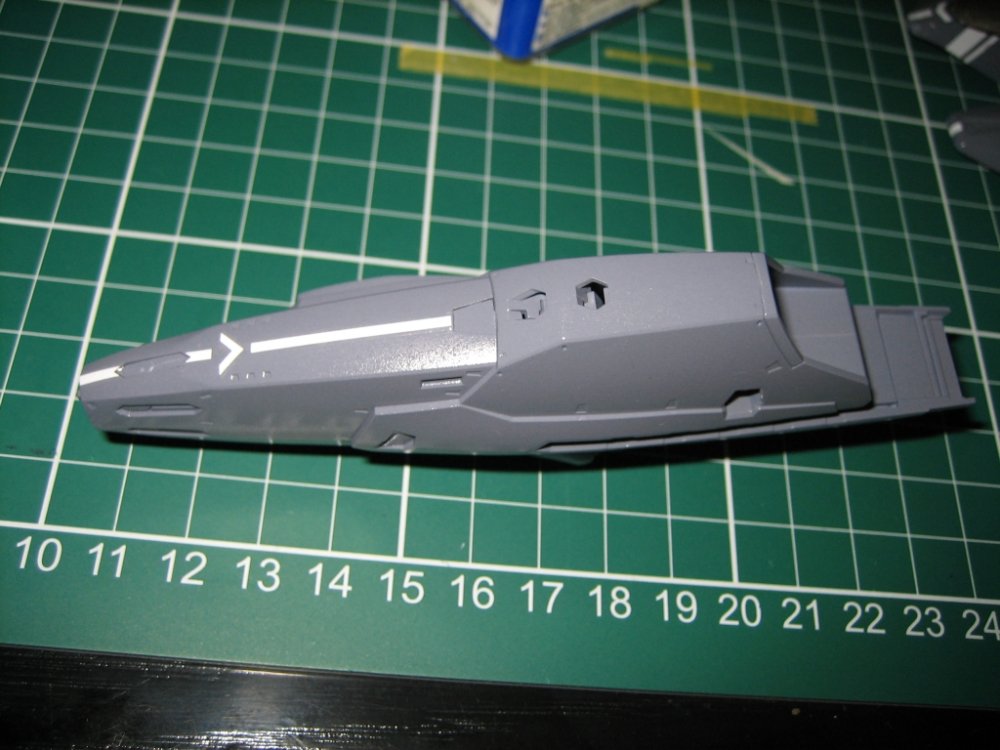
Long time since updates and I've made some (albeit small) progress! I found a bit of time at home over the last 2 weekends to do a gloss clearcoat of my Mr Hobby Aqueous acrylic. I have no idea what to compare these to, as the last gloss I used nearly ruined my paint job. But I can say, this is much easier to work with, doesn't melt my paint (or plastic!) and cleans up very easily in my airbrush. I still need to work on technique, as the finish I got was very orange peeley and I obviously didn't spray thick enough (or apply as many coats as I should have). But I ran out of air before I could finish the last few coats. I can't say I'm too concerned. I've noticed I get equal or better results from applying these decals to a flat (matte) surface anyway. I had previously applied a few decals on the leg armor so I was able to compare. Anyway, I'll be more thorough on the covering coats. The plan is to gloss coat over the decals, do an oil wash (dark grey or black, haven't decided yet), possibly post shade with Tamiya Smoke (something I've never tackled before) and then overcoat with some Mr Hobby (Gunze) Flat clear acrylic. Anyway, on to some pics of the super parts post clear (gloss) coat awaiting decals, along with my meager progress on the decal-ling: I had some issues with the decal sucking into the depression where I've circled: And an issue I noticed with alignment of the white line. The SMS lettering breaks this line but it should be continuous. As you can see, it really doesn't follow the line, as the metallic shape requires the decals to sit within the panel lines and throws everything out of whack. Not a huge issue but somewhat frustrating when you're trying to make the impossible happen with alignment. Next leg armor done and you can see the results of me trying to get that previous decal to sit better in that depression - oops... Guess and oil wash will partly hide that. Next is the top front of one booster, with a closeup of the missile opening. It's tough to get the carrier film to snug down into those openings. I think it worked OK in the end though. Getting there!
-
Very nice Lolicon! Did I mention I was inspired to get my own now? Yeah, thanks a lot! I've already got 3 other models (Hasegawa) that need to be done, plus I want to get the VF-27 now too! I'm never going to be able to finish everything! What a great hobby this is! Thanks for sharing your pics - I've just saved them all for future reference. Have you got a place to display your finished works?
-
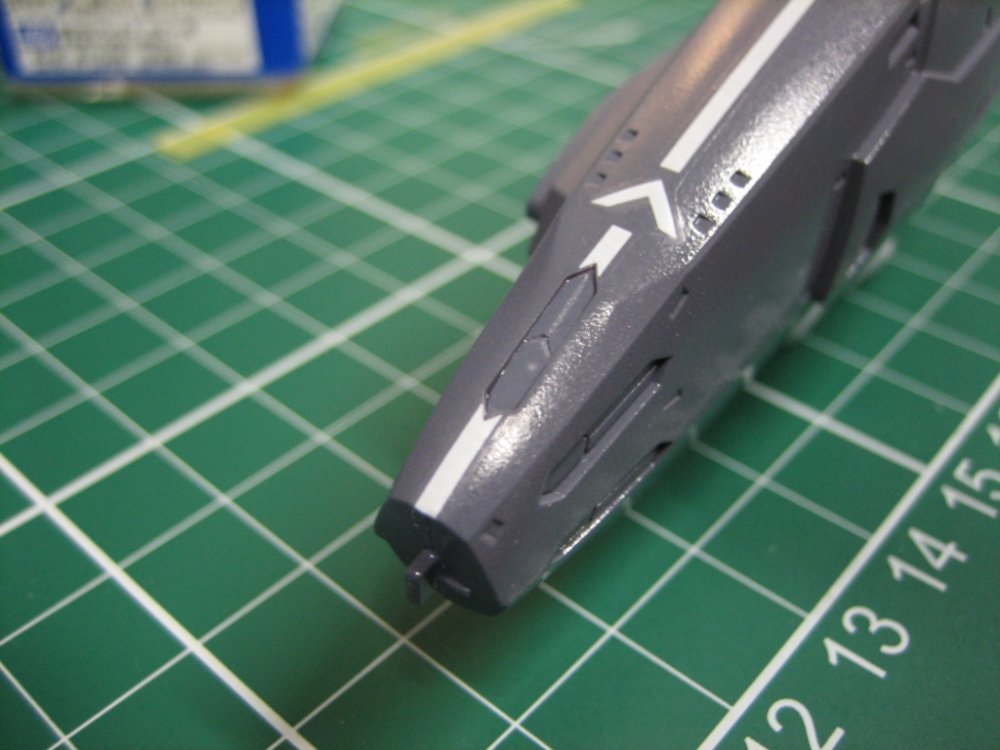
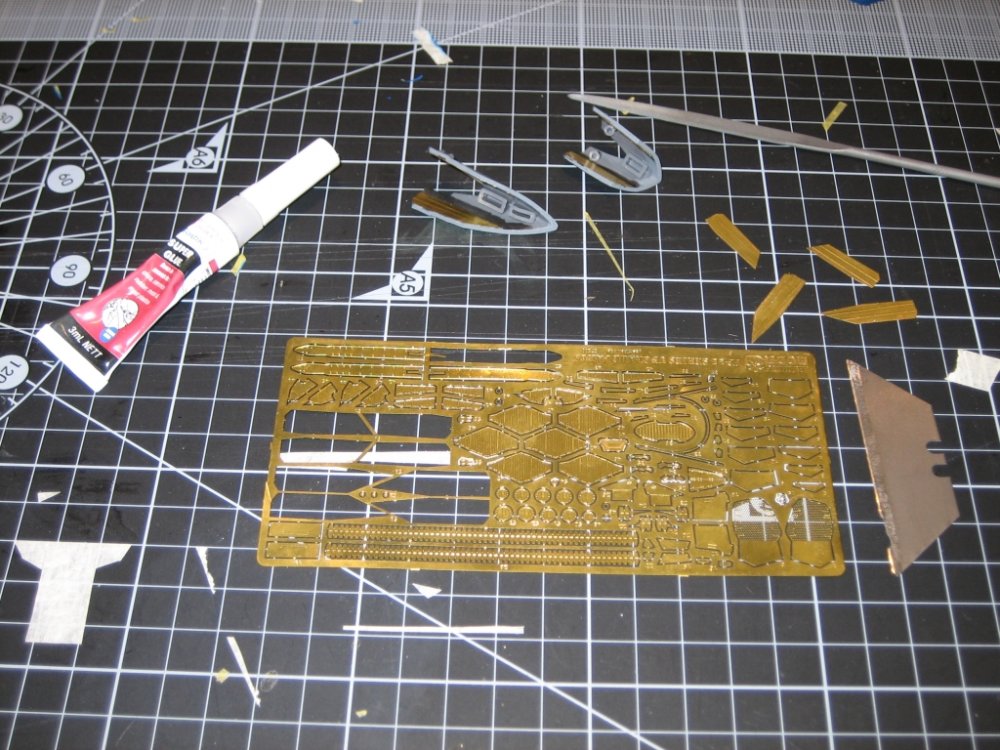
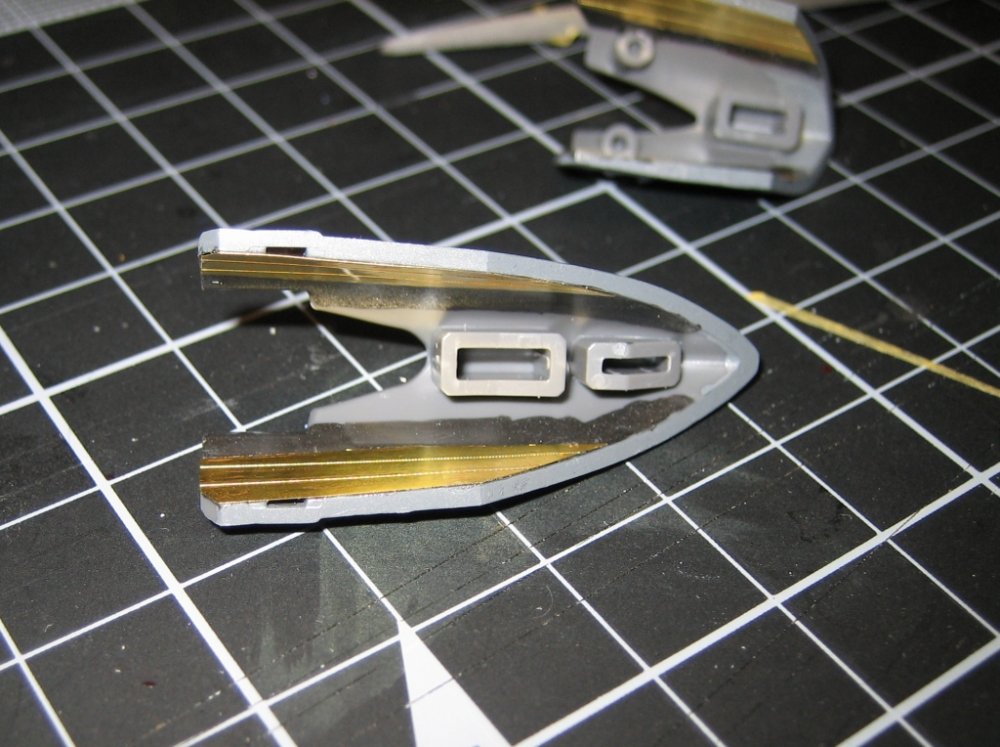
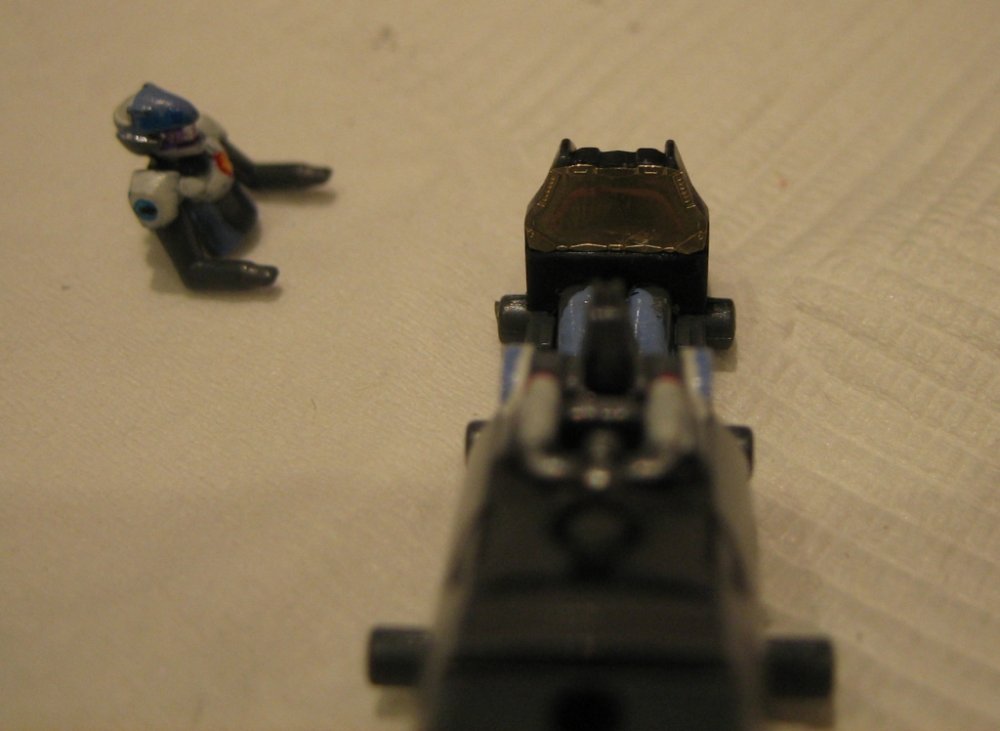
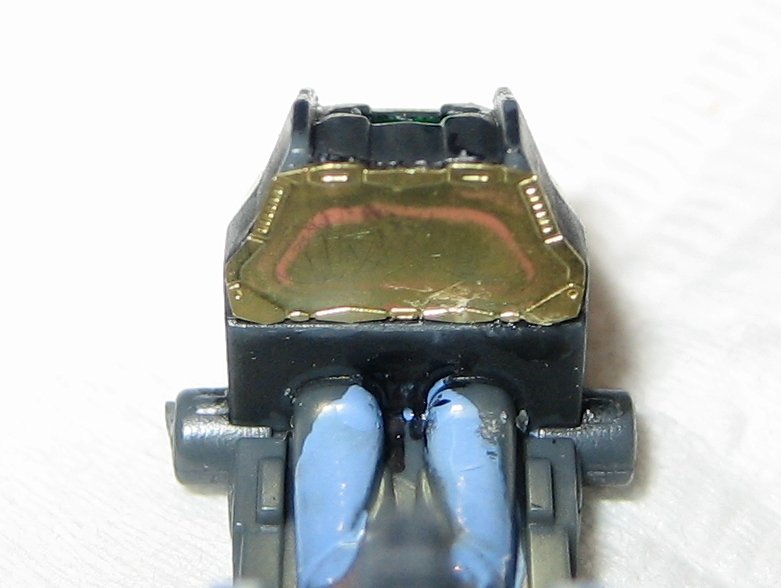
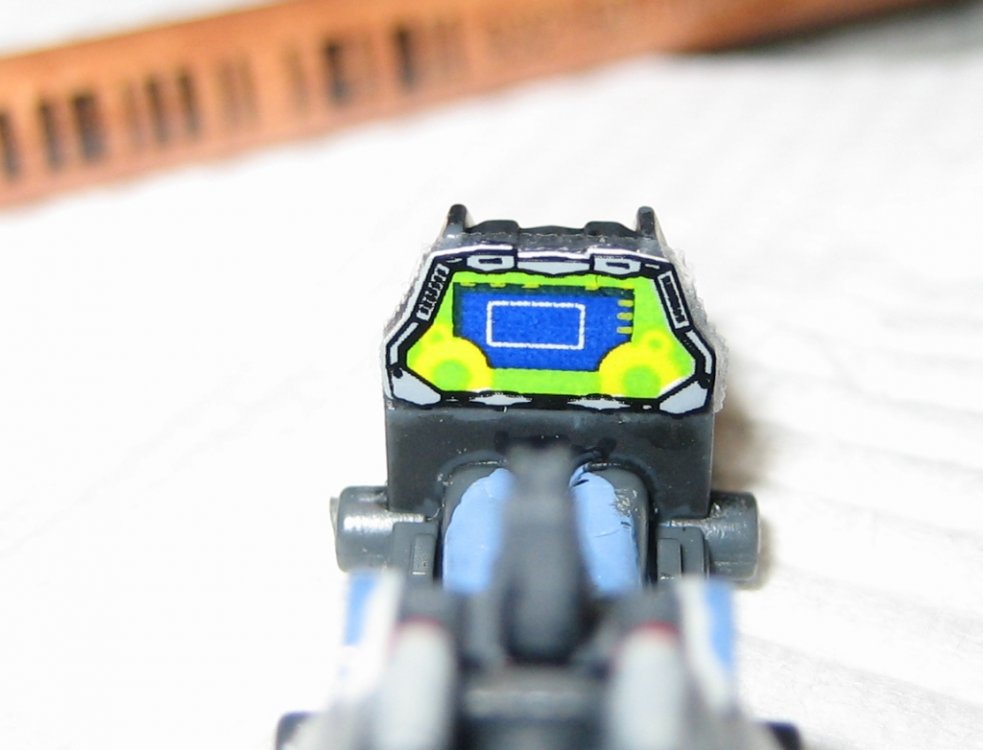
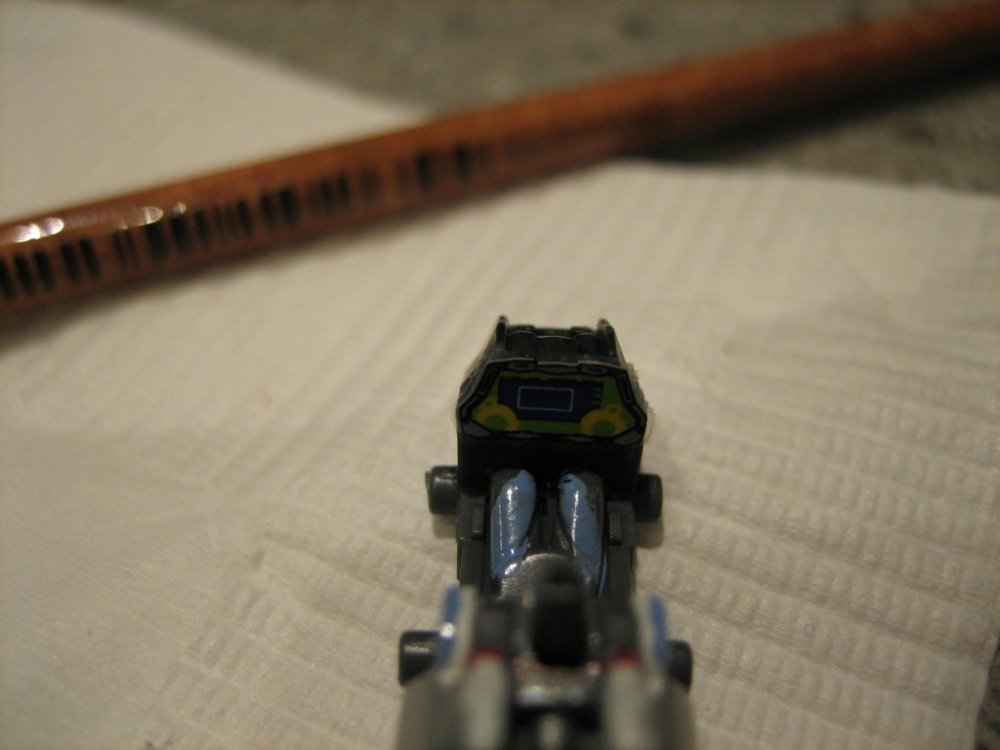
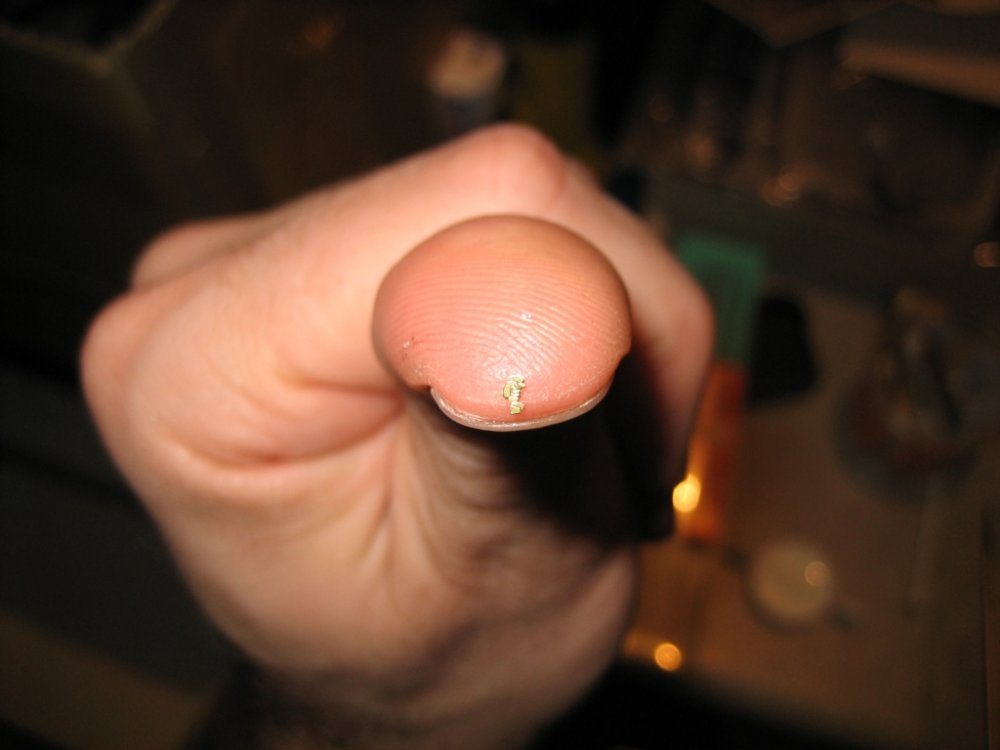
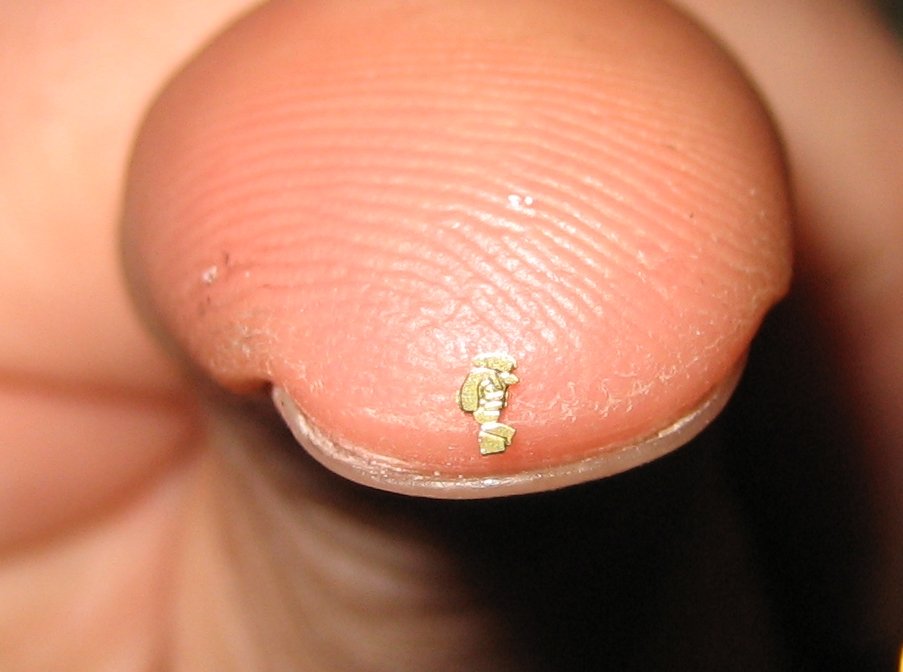
No airbrushing done yet. I was really hoping to get to it this week. Man, it's been tough getting back into this after a few weeks off. And fixing my faulty SV-51 toy didn't help either... Anyway, I decided to rip into the PE detailing kit I got from Newca. Wow! Such incredible detail and the fit on these is just amazing. Must have been a ton of work getting these right. I realised when I ordered the kit, that I'd likely only use half of it. I was mainly interested in the foot thruster detail, the cockpit, and the sniper rifle. The rest was either for another kit or parts that would be obscured by the super parts. So that's what I concentrated on today. I only managed to get the feet details, one sniper boom part, the instrument cluster and the instrument decal done. And I should probably mention, this is the first time I've worked with detail parts. Lots of research online to have some clue of what to do, trust me! Observations so far: Super detailed parts! Very impressed, indeed! The "dashboard" area in front of the HUD (Cowl I think it's called?) is nice but the plastic window is so thick that you can hardly make out the extra detail. In addition, the pegs on the front windscreen need to be cut off, as the PE part covers the holes it mounts to. That took a bit of careful filing then sanding. If you don't sand it correctly, it'll make the pegs stick out like a sore thumb. So be careful here. The sniper rifle: this really bugged me actually. The parts in the model kit are so tight, tolerance-wise, that adding this super thin PE part makes the rear booms impossible to completely close. I might save these for my Armoured VF-25F that I plan to get. I might keep that sniper rifle in open configuration, where the parts are actually visible. The other solution is to sand back the top edge enough to allow for the thickness of the parts - YUCK! The hands/joysticks are microscopically small! I can't believe the level of detail that Newca was able to get into something so tiny! Wow! I have NO idea how I'm going to glue these on... So here's the obligatory progress pics. All the basic parts needed to get started. The utility knife blade to cut the parts out of the fret. The file to get rid of the excess leftover metal (which actually works remarkably well and fast). Super glue to attach the parts (this bit is tricky to get the part into place before the glue sets). And a few parts already attached to the feet. closeup of the instrument panel. Those marks are scratches from my super sharp tweezers! The decal looks terrible with a flash. It's not fantastic, detail wise but definitely better than the pic shows. without flash: And a size comp of the joystick/hands. One with my whole hand, the other closeup to show the detail. Truly impressive!

