-
Posts
2632 -
Joined
-
Last visited
Content Type
Profiles
Forums
Events
Gallery
Everything posted by mickyg
-
Everyone's basically said all the main things that I would have. A couple of items of interest to me though (coming from someone who's never seen M7 and only knows the basic storyline from reading a few summaries on Wikipedia): What's with the shuttle? Is it using some kind of IFF that keeps changing designations? That part wasn't completely clear to me. Is it ever explained why Gamlin's hair is modeled after Wolvarene? The songs in ep1 were really annoying to me the first time I watched/listened to it a few months back. Now they're growing on me. Gamlin at least knows about the VF-19 being a new valkyrie and knows at least partly what it's capabilities are. I'm interested to know a bit more about how this will all play out. Someone mentioned Mac Plus came out before 7 so I guess we're meant to know this was in development. Is that order correct? What's with the shuttle? Looking forward to ep7
-
...Except that it's no longer in stock. I guess I'm going to have to go with plan B and wait. You could and should. Sorry, don't know how I missed that before!
-
Looks like the armored kit does come with the regular decals! Reply from Amiami: Sweet!
-
Wow! That is incredible! Would love to know what techniques you used to weather it so convincingly. I see a fair bit of what looks like drybrushing. Very, very nicely done!
-
I didn't think to check Hobbysearch, which would at least have pictures of the contents. Thanks guys! I'll report back what I find. EDIT: Nope - hobbysearch don't have the deculture edition. I'll email amiami and find out from the source. Thanks for the tips guys!
-
Thanks. If the standard kit doesn't come with standard decals, I doubt the armored one would either. I might just have to wait, like a good boy!
-
I was all set to order the VF-27 and VF25F Armored kits from Rainbow ten a few weeks back and to my dismay, discovered the Armored kit is no longer available. I emailed rainbowten but they said it was out of stock and no ETA on availability. Bummer. So, I see a few places have the deculture decal version (Sheryl) for a reasonable price (amiami, specifically). This leads me to two questions: Does anyone know where I can still get the Armored Alto for a price that's less than 8,000 yen? Does anyone know if the Sheryl decal set comes with regular decals too? Thanks in advance.
-
Thanks for clarifying - and clarification with pictures is always a winner! I love how yours turned out. I think a wash on the nozzles is a no brainer, having seen the effect on yours. Still not sure I'll put any effort into darkening the recesses on the other nozzle recesses though. We'll see how things go this week. I've got a whole week off so I might actually get something accomplished.
-
Thanks! Although the parts I've hand brushed are very, very few. Most of this has been airbrushed. I only painted the missile covers on one of the boosters by hand brushing. And the most recent use of hand brushing was the clear I did over a very small section that I'd fingerprinted. So I'm nowhere near the level of a lot of guys who are hand brushing!
-
Very quick update: I brush painted a coat of flat clear (gunze acrylic type) over my finger/cloth prints and it smoothed right over, didn't dissolve the underlying paint (I was very concerned about that) and looks great! I'll airbrush a coat or two of flat later on but at least it's smooth now!
-
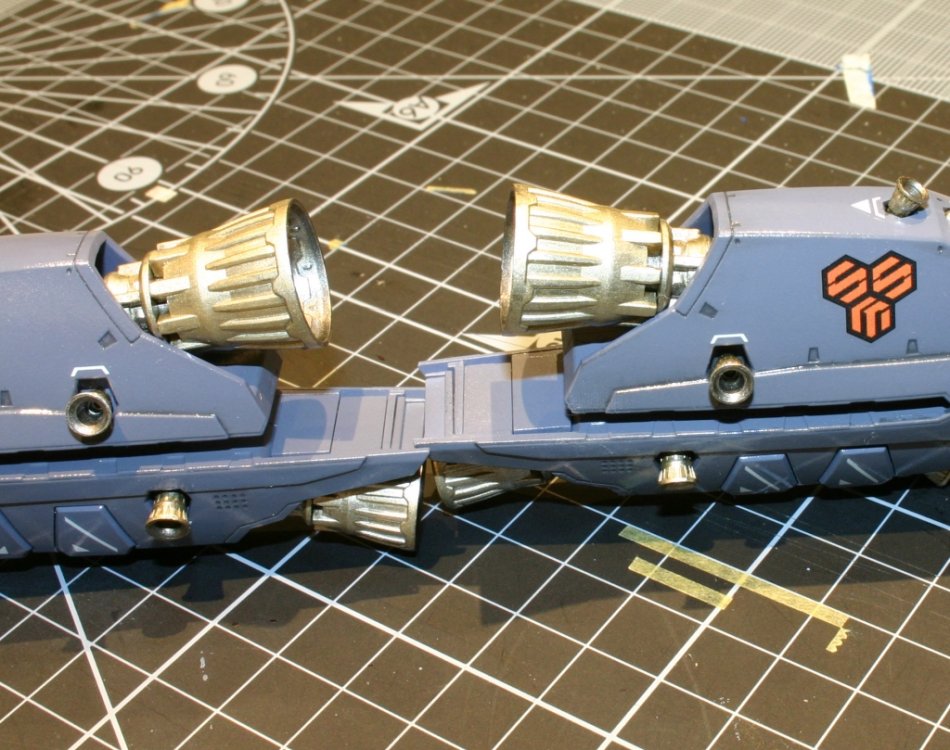
Lolicon, would you mind providing a bit more detail for the following bold items: For the first item, did you mean the holes the nozzles go into, or the rest of the stuff that I used the grey wash on? On the second, did you mean the insides of the nozzle (yes, I know, that's exactly what you said) or where you by chance referring to the holes the nozzles go into (yeah, second time I've mentioned those)? Reason I ask is that I've just taken a few photos tonight to compare the "holes behind the nozzles" painted and not painted effect. You can just barely make out a difference and that's with a long exposure with a flash at the beginning, in very bright halogen lights. Something that your eye will never be able to do unless you're closely inspecting the model. I'll post those in a sec. You might also be referring to the lack of surface detail I have in the actual nozzles, since they're metalic painted, but nothing else. I think I mentioned a few posts back that I was planning on washing these with brown on the outside and black on the inside. I guess I probably still will, although I was entertaining the idea of being lazy and leaving them! I also think a flat clear on the inside of the nozzles would be appropriate. I don't know about the outsides yet either. They'd probably be best a satiny sort of clear. Anyone have any opinions? Pics:
-
OK, I'm hooked! I've just spent the last week or so catching up on all that's been written so far and I've decided to join in. I'm hoping to actually contribute to the discussion of the series very soon, but haven't actually watched anything but episode 1 yet. Which brings me to an interesting point - I've never seen M7. I think it might be fun to share my views of the series, since I'm approaching it completely green. I've read some synopses of the series here and there, but as for the minutia of the show, I've got no clue! So this should be interesting. Just a touch of background about me first - I'm 32, I spent my early childhood (until I was 10) in Northern California, moved to Oklahoma, graduated college from Missouri, then moved to Australia when I was 25. Been here ever since. I discovered Macross, like a lot of others, when I as maybe 6, and that was through Robotech. I think I only got to see maybe 10 episodes (I'm re-watching the series and there are episodes that I don't remember seeing at all). But what I saw I loved. So I actually never saw more than those first few eps and didn't get any more Robotech till I was a teenager, in the form of the McKinney novels. I loved them! Before anyone switches off, I was a typical person that had no idea anything other than Robotech existed. So in the last 2 or 3 years, I started looking into this series and discovered Macross. From that point on, I've embraced it! I appreciate RT for the vehicle it was in getting me to Macross. And the books were very good reading when I was a teen. But Macross is fantastic! For me, 7 is the last uncharted territory of Macross, I've watched everything else except the movie version of Plus. I'd considered leaving all the 7 stuff out of my experience but you guys have sold me on it! Anyway, enough rambling! I mentioned I saw episode 1 so I'll briefly comment on what I thought. Firstly, I think I'd just finished watching Frontier when I watched this. So I had expectations that it'd be something between SDFM and Frontier. I don't think I'd yet seen Zero or Plus at this point. I remember thinking it all looked very kid like and that I just couldn't get into the story if it was all going to be like this. There didn't seem to be much character intro, the animation seemed boring, it was all just a bit too "out there" for me to want to give it much of a second chance. But, I also realise now that I had a lot of things against me really appreciating the show. For one thing, I was watching this off Veoh and the subs (I now realise after reading the remastered M7 thread) were probably not very accurate. Then the song lyrics were going right over the subs! That's got to be one of the most annoying attributes of western sub projects - I need to see the dialog before I want to worry about the song lyrics! There are exceptions of course. ...Anyway, the qaulity wasn't fantastic either. Just lots of distractions for me. But the biggest issue is that I was in a hurry. I wanted a quick Macross fix and I don't think that's the right attitude to really appreciate this series. Add that to all the little projects I've got going on and I just didn't have time to really do this any justice. So, I'm now armed with some decent versions, with good subs (The remastered VIP ones) and with only one ep a week, I think I'm ready to experience this ride! Hope you all will excuse my occasional ramblings and possible newb questions, but I'm looking forward to seeing it and discussing it with everyone!
-
Heh! So am I! This thing is going so slow! I got the missile doors painted on the other booster yesterday (only did one with the airbrush because masking took so long and I was really just wanting to experiment). I actually just brush painted the second one - no masking at all. Took me all of 10 minutes from prep to cleanup. Now that's better! It looks great and was so much less hassle. I didn't do recesses in the booster (behind the nozzles) as I did on the other one, you just can't see in there unless you're shining a bright light and looking at exactly the right angle.
-
Worth noting, if anyone's following this as a guide - probably not worth painting the nozzle "holes" in the boosters black like I did. Once the nozzles are in place, the black is moot. The shadows from the nozzles make the walls of the holes black anyway. Good to know for the next booster as this undoubtedly took me an extra hour to mask properly!
-
Good point there Wicked. However, I didn't want to run the risk of pulling up the wash from the panel lines, so I applied the gloss to protect it. If I went in this order: prime/putty sand paint colour paint second coat if needed paint details first gloss coat to give a good surface for decals decal oil wash for panel lines second gloss coat to seal in decals and wash possible 3rd coat, depending on how hidden the decal edges are final flat clear Perhaps that would have been safer. It doesn't address the most annoying factor in all this though - how am I going to handle this thing at all, without getting fingerprints on it? It seems the acrylic clear is always going to be "soft" and so not appropriate to handle. It's a hard coating, don't get me wrong but if you press on it for more than a few seconds (even lightly), it seems it is easy to distort. I wasn't at all worried about pulling the decals up with the tape though! I can't believe how difficult these are to remove once they've set. I've tried solvents and even they don't make a mark on the decals! The only option in places where I've screwed up, for these decals at least, has been to carefully scrape them off with my hobby knife. I'll give the future a try. I got a friend to bring some back from the states on a recent trip. I've got a close equivalent here in Australia but I've found it cracks when it dries so I'm hesitant to use it until I figure out why that happens.
-
It is sad. I love this valk! But there's no way I'm going to buy one unless it's: Really cheap Something I'm prepared to spend lots of time fixing up Really cheap There have been a few sales on this thing so the price isn't atrocious, but it's not quite what I'd deem "really cheap" yet. Also, it is definitely sad that out of 3 releases, while the shoulder cracking seems to have become less prevalent, the floppiness never really got resolved. I know there are members here who have had no issues with their VF-0 toys but I'm not sure any of them would say the joints are "tight" like they can with the v2 VF-1 series. Also, I've never quite warmed to the "fat" panel lines of Yamato's earlier attempts. But that's not a QC issue... On the panel lines note, nicely done on your specimen red2alpha!
-
Thanks Newtype! I love having something to contribute. If you read through the years of posts here, you'll see a lot of people who have done lots of contributing and people like me have reaped the benefits. This is just my way of giving back! And I love learning along the way too. Oh, welcome to the forums, by the way! Hope you find us all hospitable and decide to stick around.
-

Tester Model Master or other preferred paint for 1/48 plastic?
mickyg replied to RCB's topic in The Workshop!
Hey RCB, I'm relatively new here too and the search feature here took me a little while to get used to. Actually, searching on any forum takes a bit of time to familarise yourself with! They're all just a little bit different, it seams. This site, if memory serves, defaults to only showing search results for a given time period (30 days or something?). So go to the advanced search and make sure you select "any date" from the list. Once you've done that, that option's locked in. Of course, if you've done all that, my apologies! -
I'm using Gunze (Mr Hobby Aqueous) clear. Another coat is one option. I'm afraid it won't really fill in the "bumps" left behind by the tape though. I suppose it's worth a try though. The plan here was to protect the decals for masking, but probably more importantly, to "hide" the outlines of the decals as well. The last coat is going to be a flat clear and I want everything as close to uniform as possible before that goes on (I know it won't be perfect but getting rid of that obvious step from plastic to decal would be nice). EDIT: I'm not sure if it matters, but I saw these same marks on the gloss blue I used on the rest of the model. So I don't think this is clearcoat specific.
-
Check that last pic - you can make them out around the hole for the nozzle (top one over the wing slot). It's like the clearcoat is still semi viscous and it conforms to the shape of the masking tape after a few days (that's about how long I left it on there). That or the masking is pulling the clearcoat in an irregular pattern as I remove it. It's definitely not pulling the clear off though.
-
I forgot to mention the tape marks too. Does anyone know how to prevent this? This isn't tape pulling the clearcoat up/off, it's the tape leaving an impression in the clearcoat. It's also not sticky, so it's not like the adhesive is pulling from the tape. Very annoying! And the Tamiya stuff seems to be worse than the generic tape I'm using around it.
-
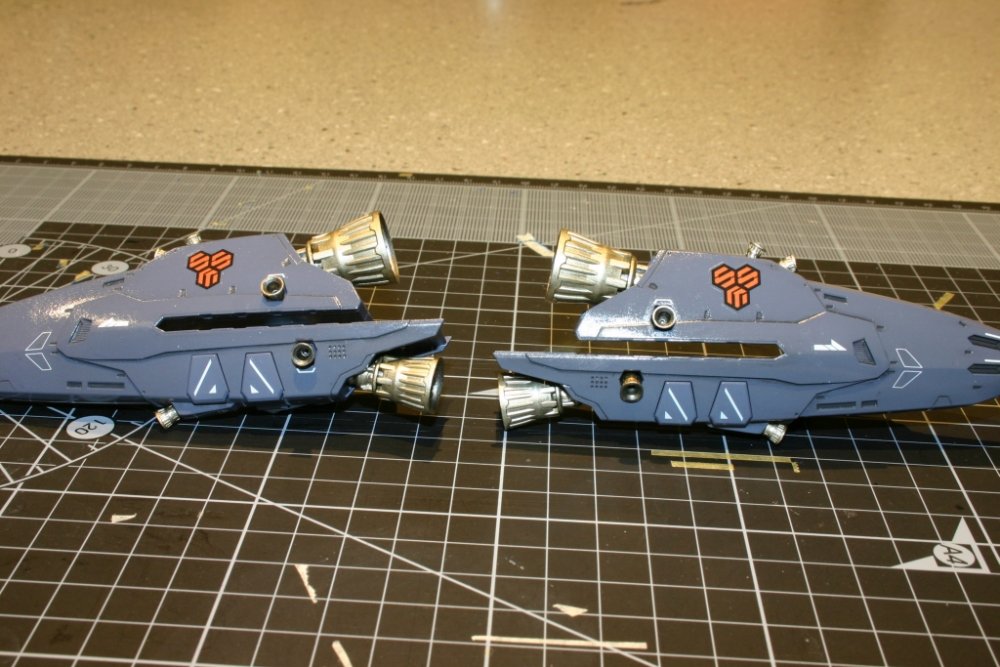
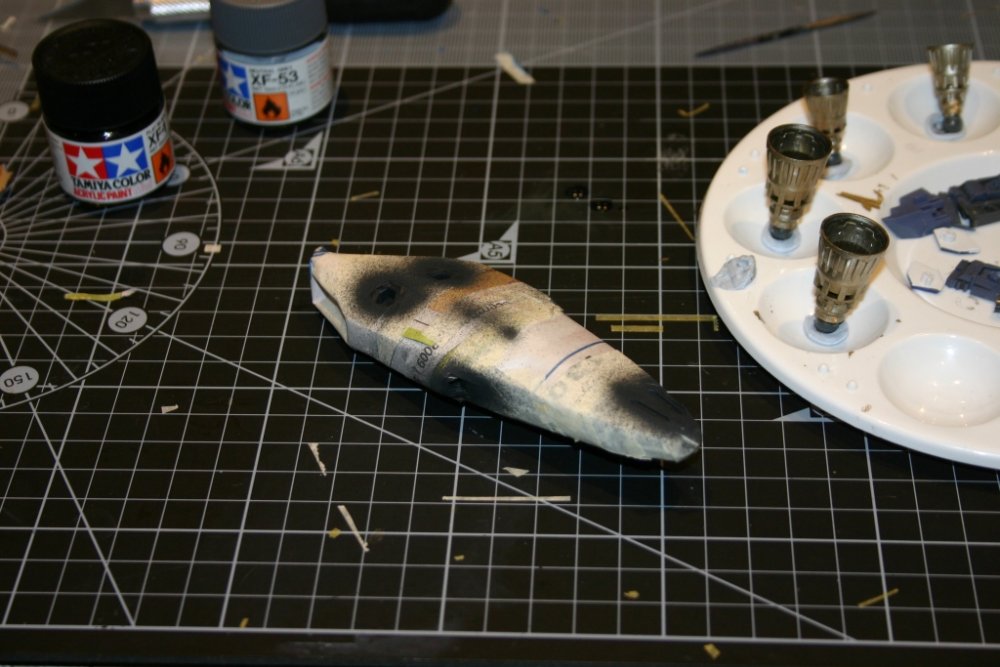
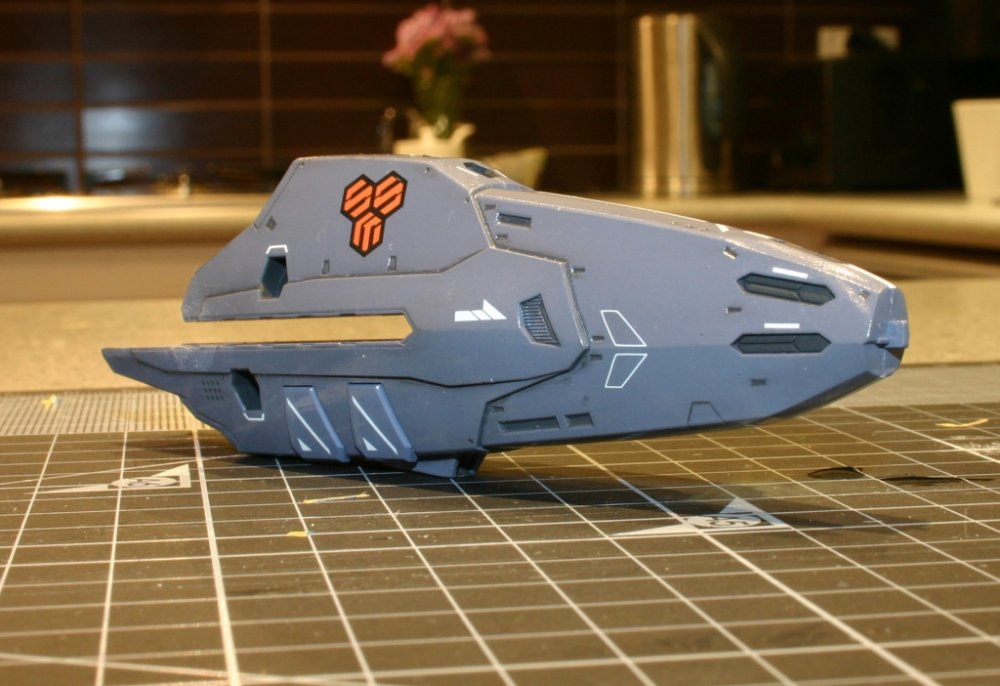
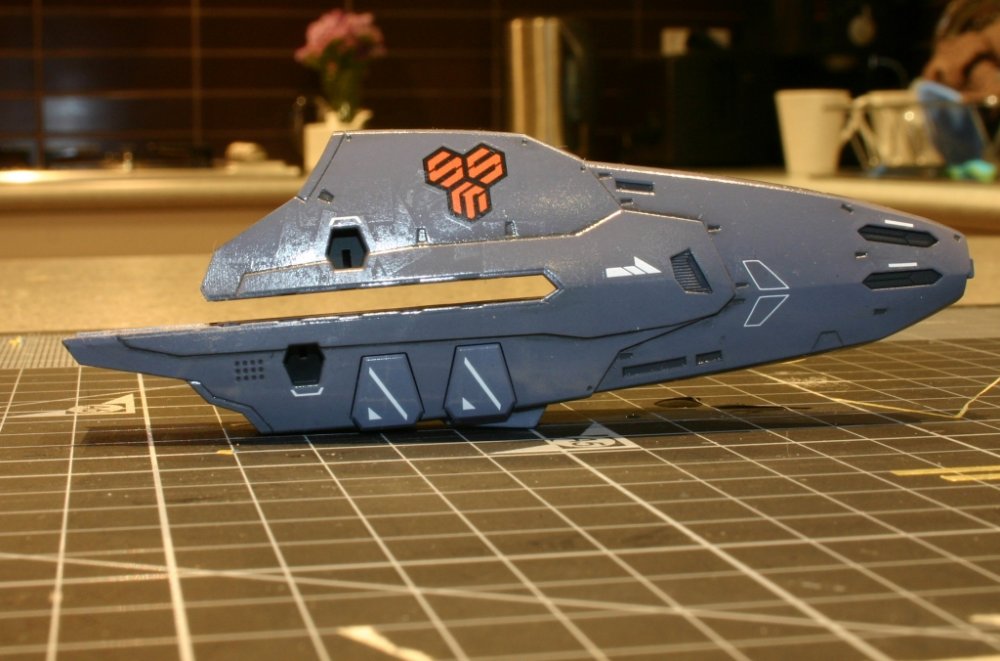
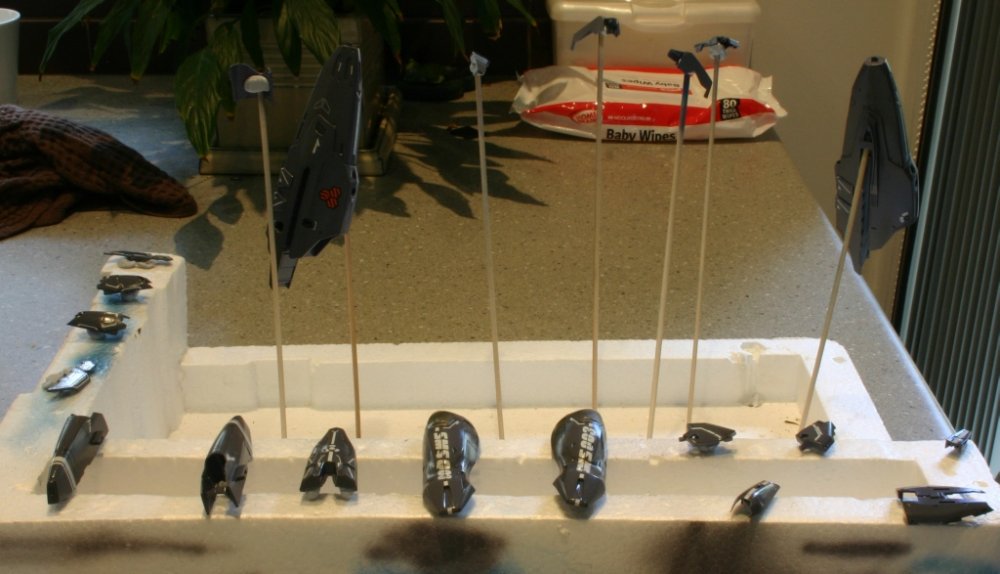
Probably the first time I've ever posted in the morning, did work on the model, then had time to post in the evening! I managed to get the rest of the booster masked and painted. Everything went pretty smoothly and this was by far the fastest I've ever been able to prep a part for painting and then actually paint it (not counting all the masking I've done in the last week). For the black, I actually used a 2:1 mix of black to neutral grey. It's pretty dark but not as stark as I though Black would be. I did say everything went smoothly, right? Well nearly... The gloss acrylic clear is nice but it has a hard time with fingerprints. This has been on for over a week now and fingerprints are a real issue. Knowing that, I thought I'd handle the part with a T-shirt while I was removing the masking tape. So we're talking a few minutes tops. Anyway, big mistake. I now have fine fabric fingerprints and likely some fuzz as well! Wonderful. So I'll have to sand that out somehow or hope that it self levels (yeah right). Anyway, pics (and we're back to my "good" camera, the EOS 300D): All masked and ready to paint: After painting: After removing the masking: You can actually make out the fabric/fingerprints in the rear part of the booster (after the wing slot). It looks like dust or glare from the camera lense but it's actually the rough surface picking up the flash. Fan-freaking-tastic!
-
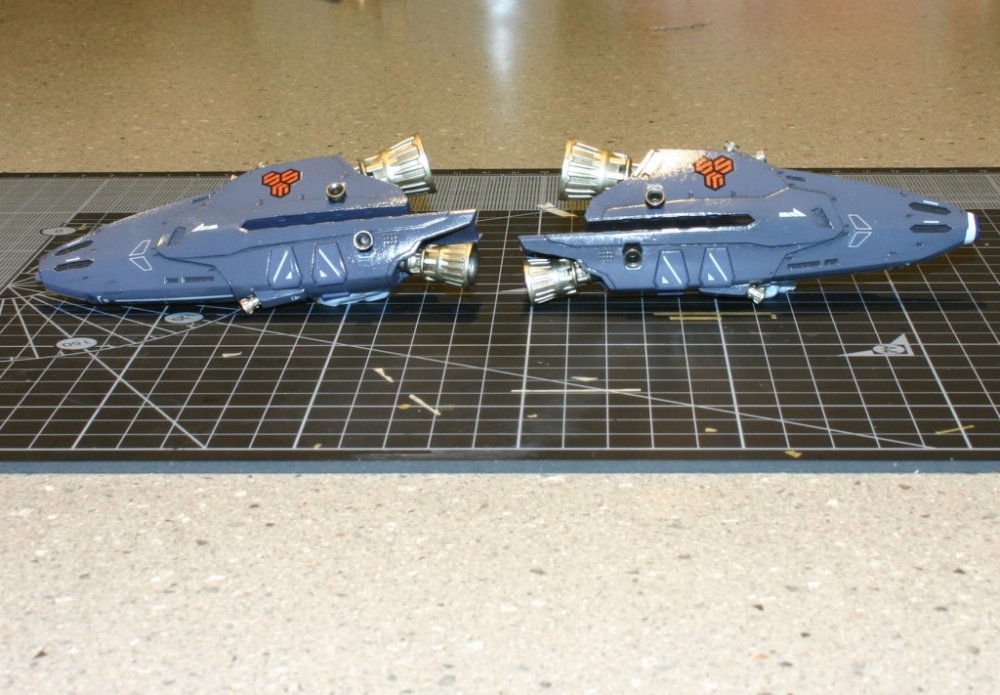
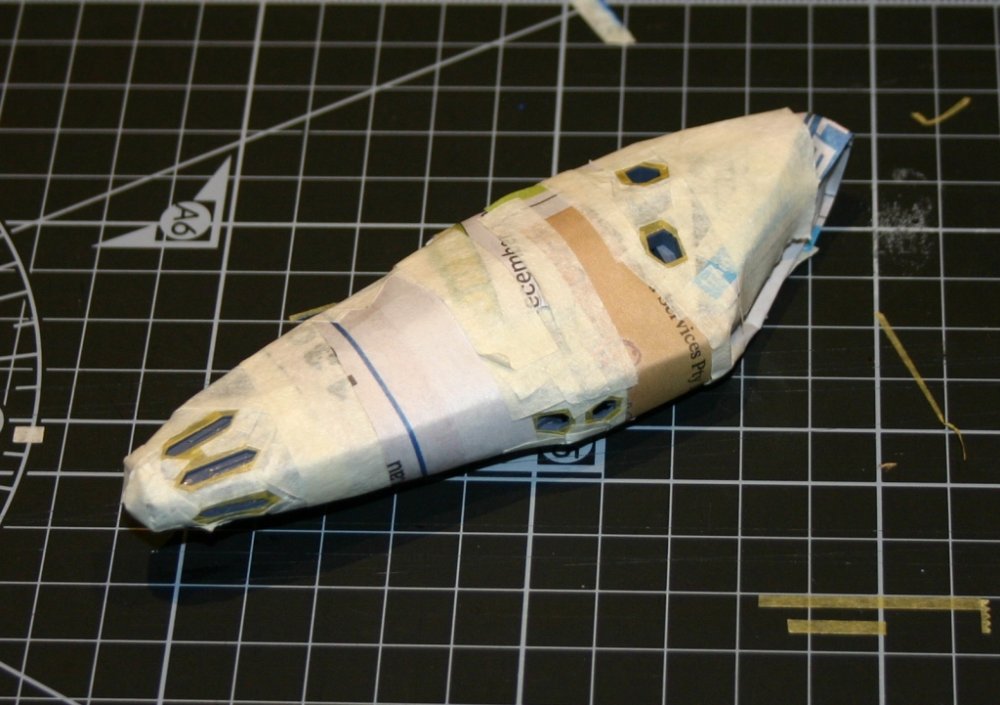
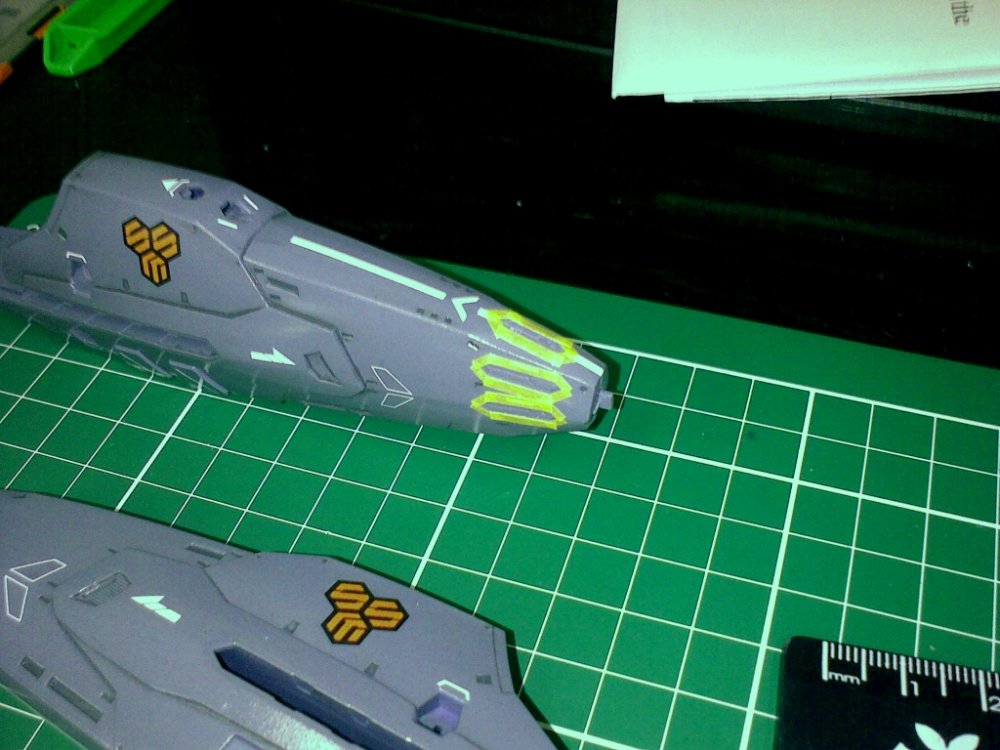
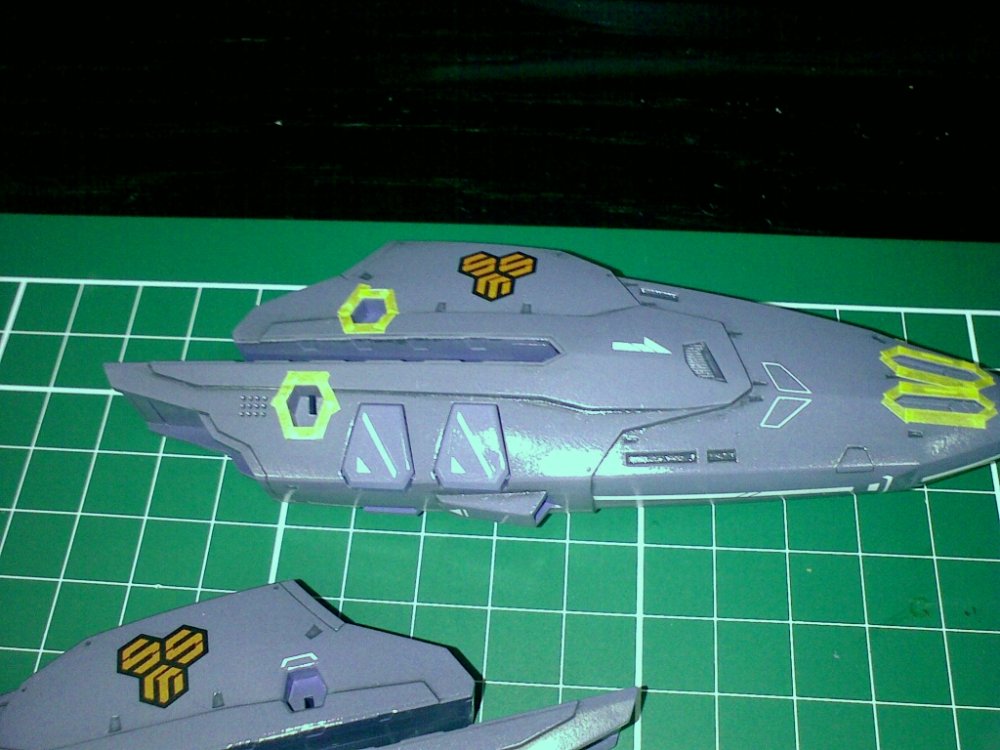
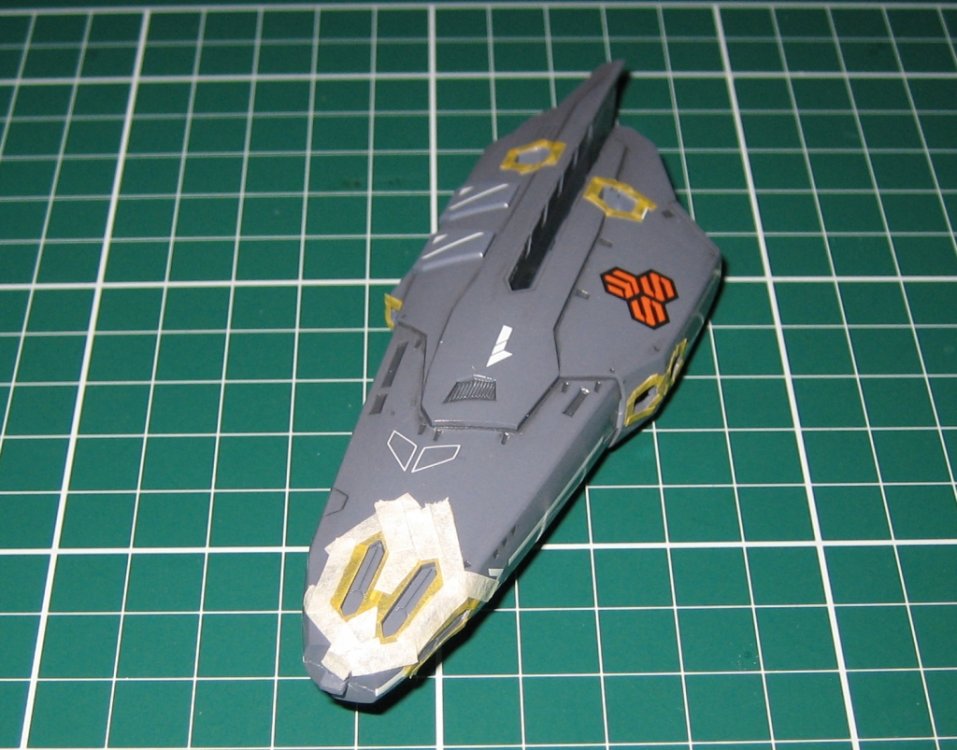
Some Minor Updates: I got the super parts gloss clear coated. So now the decals and wash are protected. I've started on the masking for the darker parts on the boosters. I don't know of any other areas that need to be masked off. This covers the missile openings and insides of the nozzle openings on the boosters. Yep, that's 3 different cameras for those photos! I was experimenting with DOF (Depth of field) with the top one, using my DSLR. Not great but at least it's all sort of in focus. The masking ones (first and second) were done when I had forgotten to bring a camera to work, so that's my Nokia phone and it's been [poorly] colour corrected. The last one was this morning on my little point and shoot digicam. I'm using a slightly different method of masking the openings on the boosters. I don't know if it'll work or not but here's the plan. Since the surfaces are all recessed, and the "walls" of the details aren't sharply separated from the top layer, getting masking tape to conform to the outside edge of the opening is next to impossible. And for the missile doors, I really don't even want the inside walls to be painted. So anyway, I figured if I overlapped the masking a small amount over the hole, I'd get paint into the hole, and on to the inside detail, without it completely covering all the way to the top surface. Any paint that does make it up that close to the surface will be overspray and should end up looking like shadow, which is OK by me. Let me know if that made no sense and I'll try to explain a bit better.
-
Very nice collection! I wish I had these sorts of memory problems! I've only got 3 unbuilt kits in reserve.
-
My thoughts exactly. If there were some way to get the turbines in the right spot, integrated PT covers would make sense. But short of a 1:1 scale PT valk, that's probably never going to happen. Even the Hasegawa, fighter only valks have the turbines too far forward. Find a way to engineer a PT valk with correctly placed turbines, and still get the legs to be able to work correctly, then I'd be blown away! In my mind though, with the v.2 Yamato VF-1s, we've got about as PT a toy as we can possibly get for the size.

