-
Posts
2632 -
Joined
-
Last visited
Content Type
Profiles
Forums
Events
Gallery
Everything posted by mickyg
-
Good to see a few Aussies here! I'm in the same boat - married with one kid (21 months old). There's no way I can do any modeling with him up. So most of my modeling time is when he's asleep and my wife's out or I do it on my lunch break like a few others here. I find this thread to be very encouraging, actually!
-
Seconded. This kit has me very excited. And I haven't started any of my 3 Hasegawa kits yet!
-
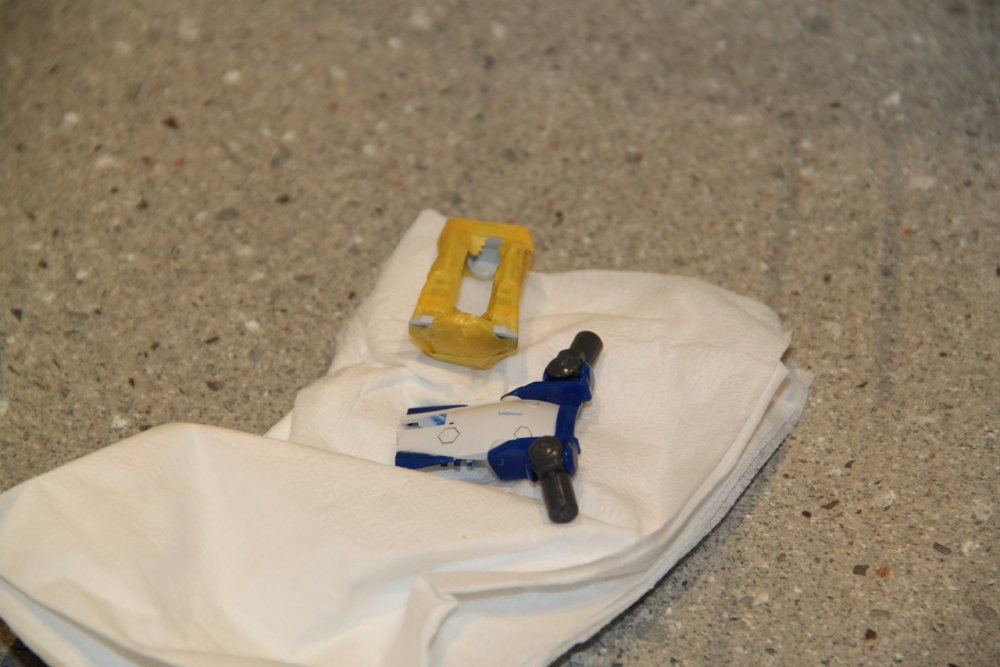
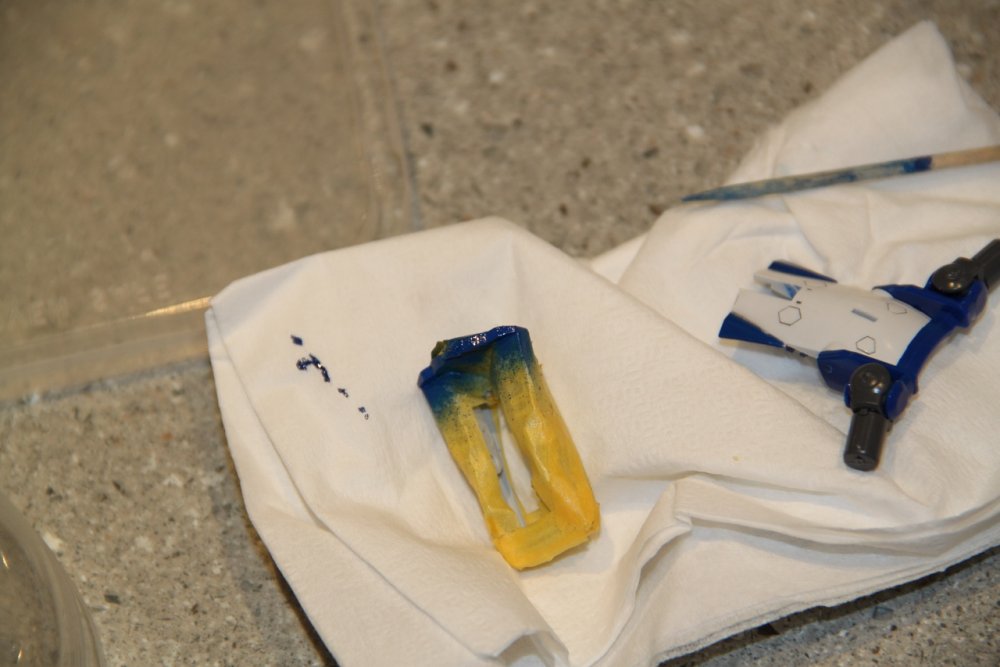
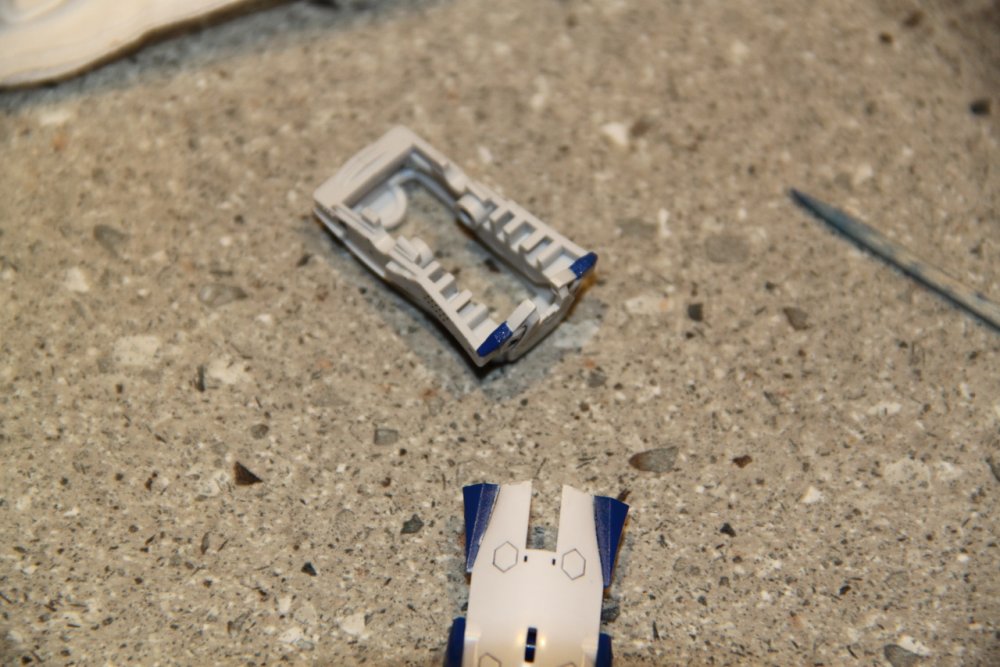
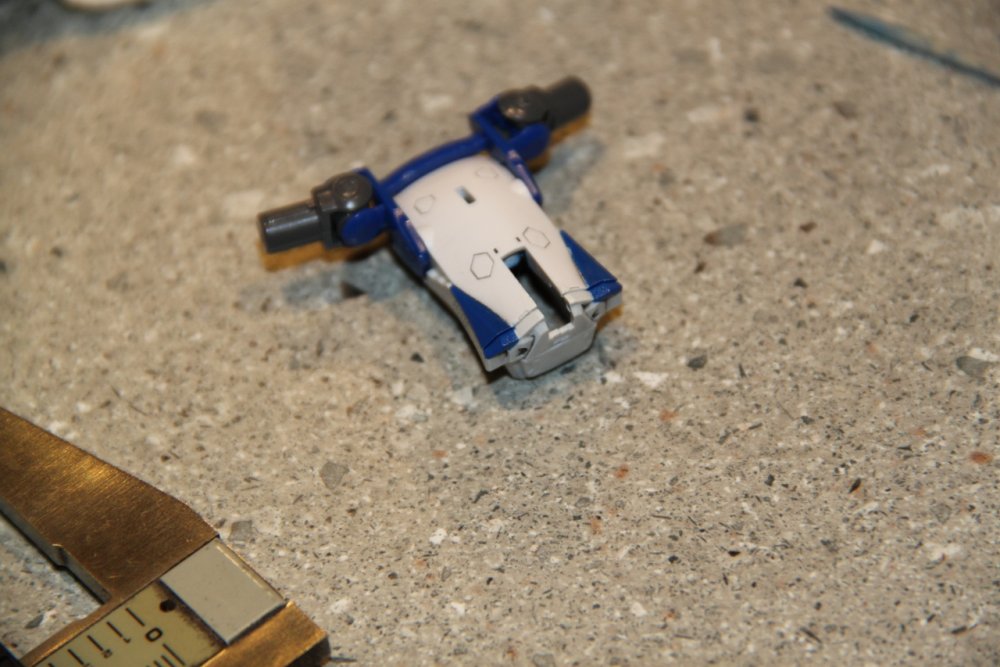
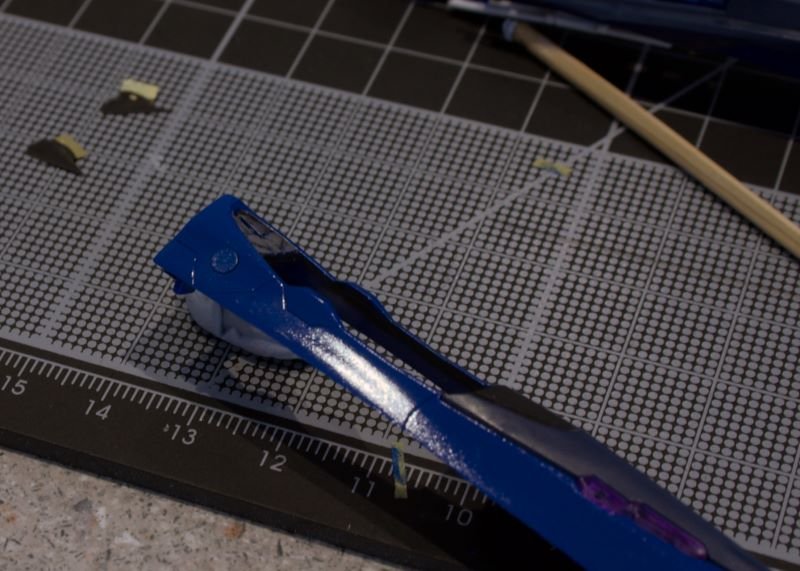
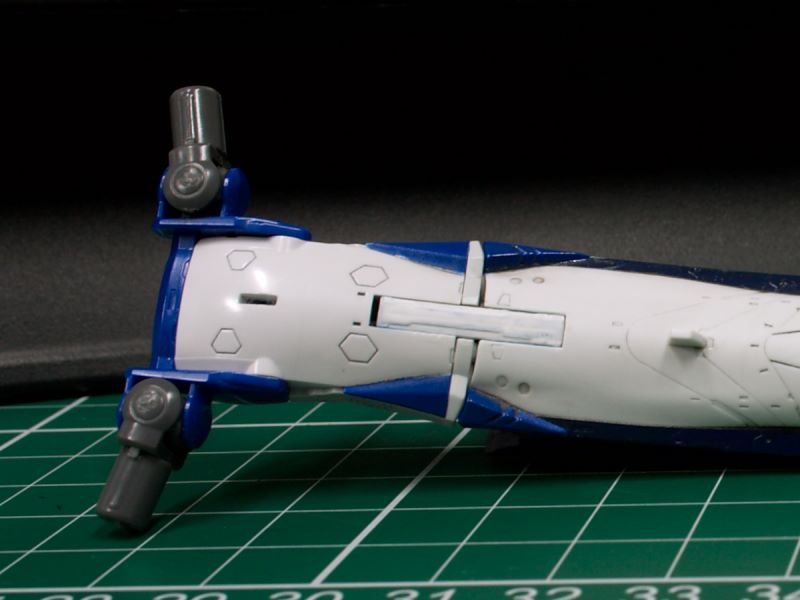
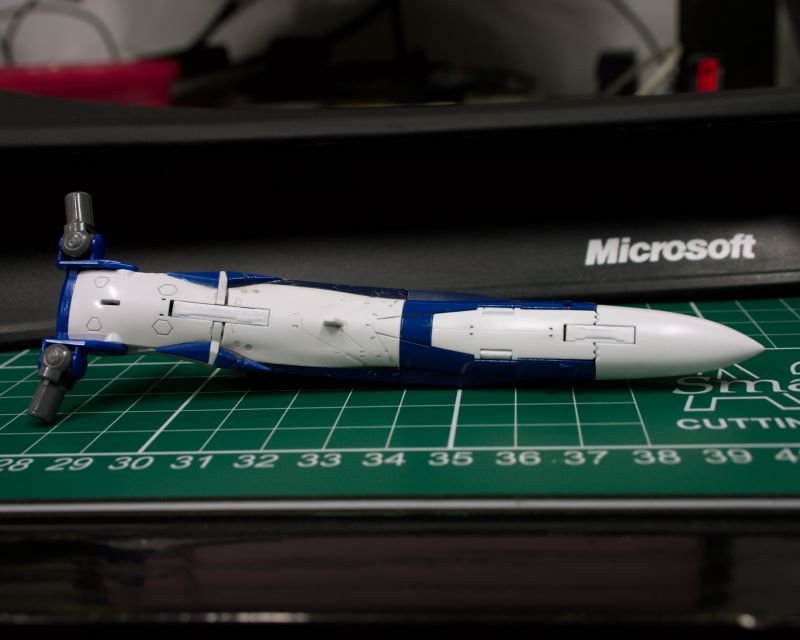
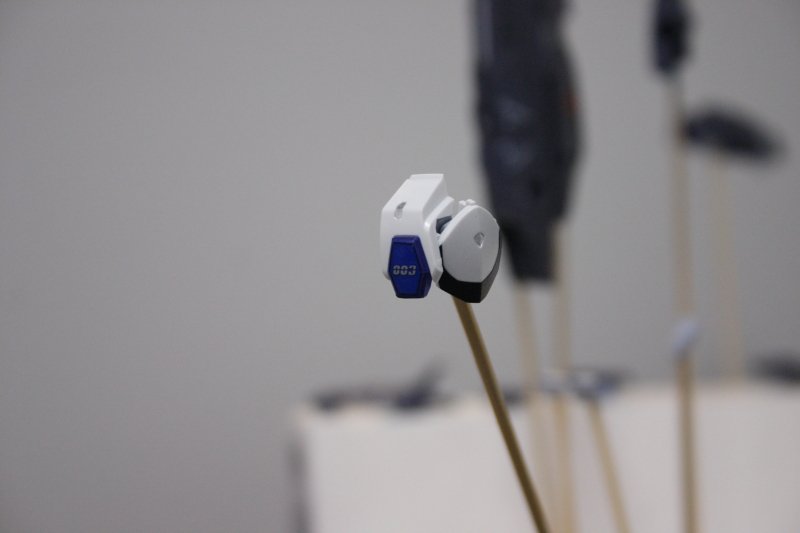
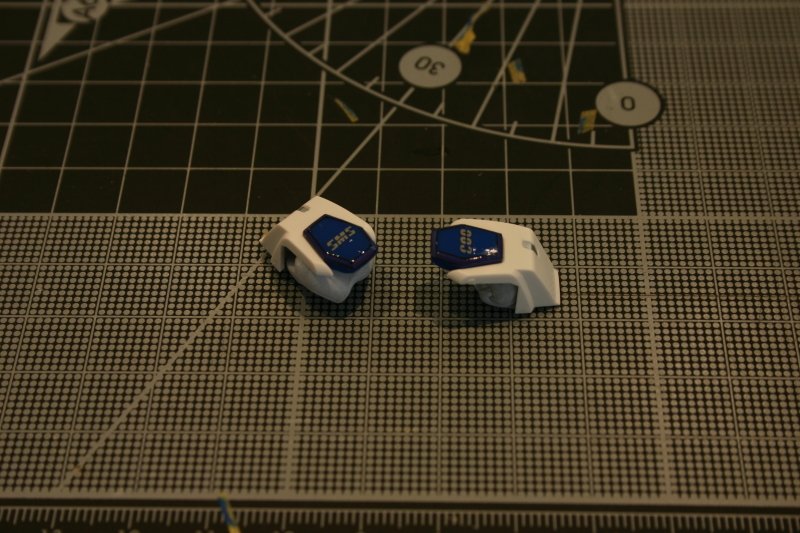
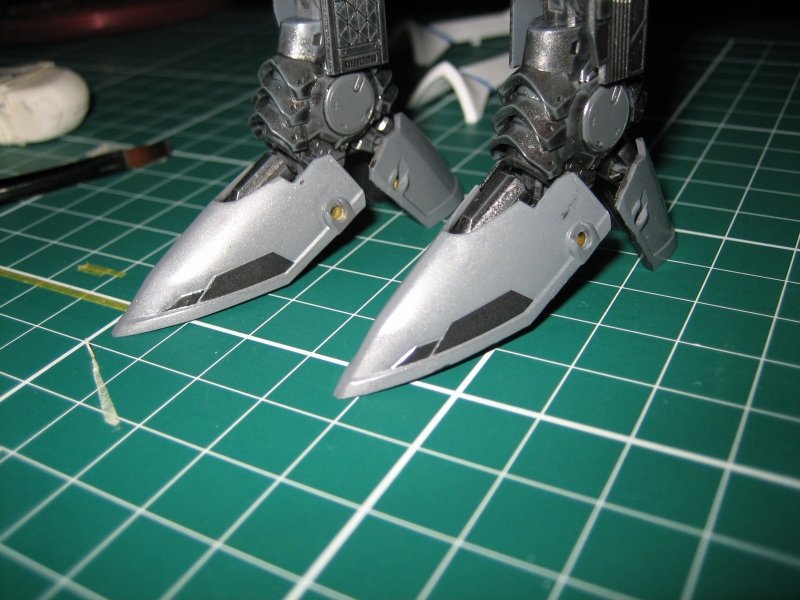
...And we're back! Long, extended hiatus there. For anyone waiting with baited breath my apologies. Amazing what happens when my I get preoccupied with new "projects" - the latest has been getting my camera back up and running. Which required money, which required selling off a bunch of things on Ebay to get the necessary funds. But now I'm back up and running and have a decent camera setup to record my progress again! I spent about an hour tonight on some very small details so it's not super exciting. But the payoff in the end should be pretty good. I'll get to the point: There's this two-tone blue and white scheme going on from the landing gear bay under the fuselage to the part that becomes the crotch. The blue is not a seperate (blue colored) part and has to be painted. I thought I'd gotten all this done and out of the way, then assembled some of the parts of the crotch and discovered I'd missed one. (shown a few posts above): Anyway, I needed to mask the whole part off, paint it blue, then remove the masking. That took about an hour but came out surprisingly well! Pics:
-
Thanks Vostok! Don't know how I managed to "lose" that item as I always search for the same thing when I visit HLJ. I can breathe again!
-
Not to unintentionally update a thread that's been sleeping for a few months, but where is the unassembled, unpainted VF-1S kit gone to? It used to be on HLJ at about 5,800 yen but now the only thing showing if you do a search is the unpainted (non-kit, assembled) version. A couple of posts above, it's mentioned that Yamato will delay the release till March. Anyone heard anything else about what's happening?
-

Bandai 1/72 Scale Macross Frontier Model Kit Thread Ver.3
mickyg replied to azrael's topic in Hall Of The Super Topics
Alright David, you're scaring me! As pedantic as I am about accuracy, I just know I'm going to want to know what all the colors are actually supposed to be. Any chance you've embarked on the long, boring, tedious task of translating common Japanese colors into their real life equivalents and putting them all into a nice chart? I know that's a huge undertaking, but I can dream, right? -

Bandai 1/72 Scale Macross Frontier Model Kit Thread Ver.3
mickyg replied to azrael's topic in Hall Of The Super Topics
I love that candy apple red! I'm seriously considering the metallic approach now. Oh wait, I still need to finish my VF-25G first! Ah, the joys and slow projects that come with being a father and husband... -
Hah! Always good to hear people's enthusiasm when trying new things! They're great aren't they? Wow, 5ml - you really used a lot of paint! Wait till you start thinning and seeing how far your paint can really go! These little things really are a lot of fun and make painting so much easier. Welcome to a new level of modeling. And yes, please post pictures of your VF-25 as soon as you can. They never get old!
-

Bandai 1/72 Scale Macross Frontier Model Kit Thread Ver.3
mickyg replied to azrael's topic in Hall Of The Super Topics
Wow Ron, that looks awesome! Nice work. -
Heh, I thought I was behind because I hadn't watched an episode since late Dec and went on a hiatus for the whole month of Jan. I started watching again last week and got a little carried away - Already watched up to 15! I thought I was going to be behind. Sounds like I need to slow down and join in the thread again! Great discussion so far, everyone. I really like how much more enriching it is to watch this along with everyone's comments.
-

Bandai 1/72 Scale Macross Frontier Model Kit Thread Ver.3
mickyg replied to azrael's topic in Hall Of The Super Topics
Lolicon, that looks very nice indeed! One month? That's insane man! -
Just about to post a similar screen shot - you beat me to it! Yeah, I don't get it either. I was actually going to continue the blue to the next section, just behind the gear doors, as that section has a panel line that matches the one in front. But the anime has it all white and I'm a sucker for accuracy! Oh well...
-
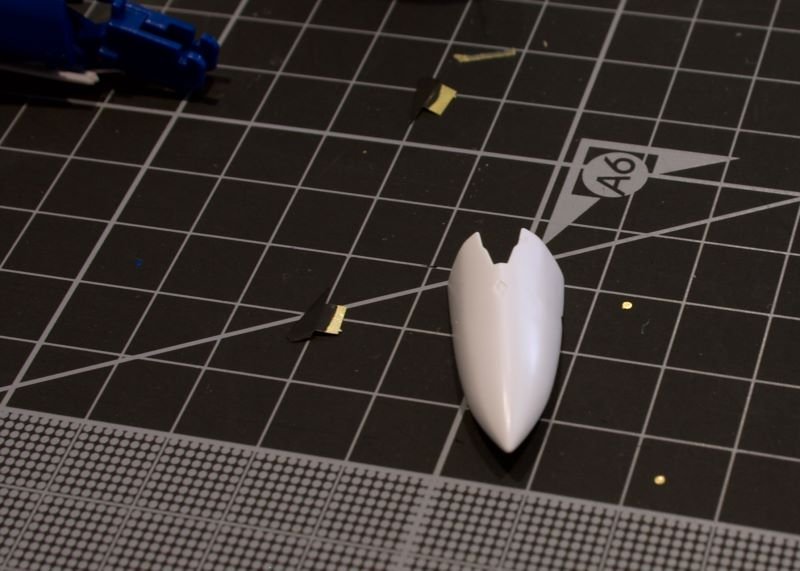
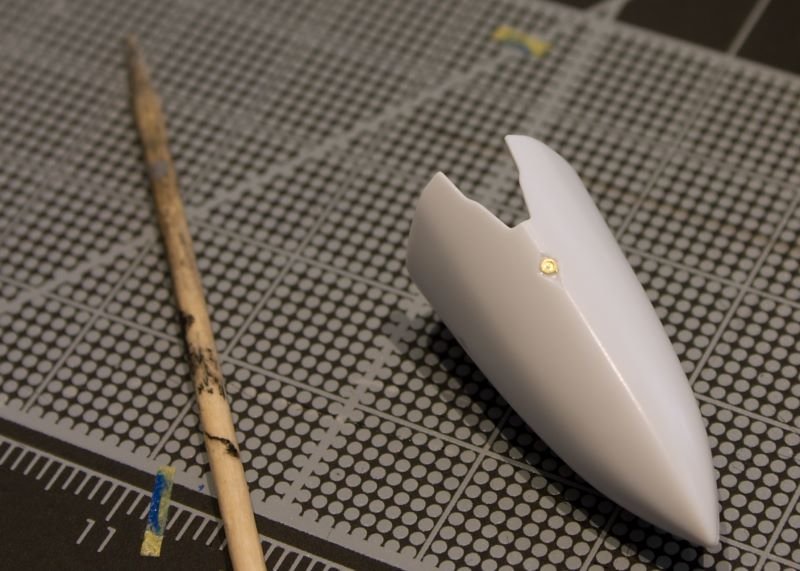
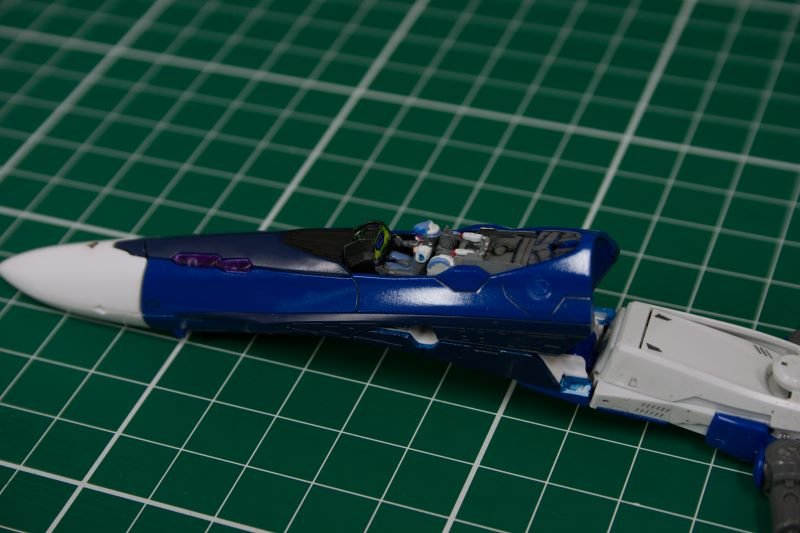
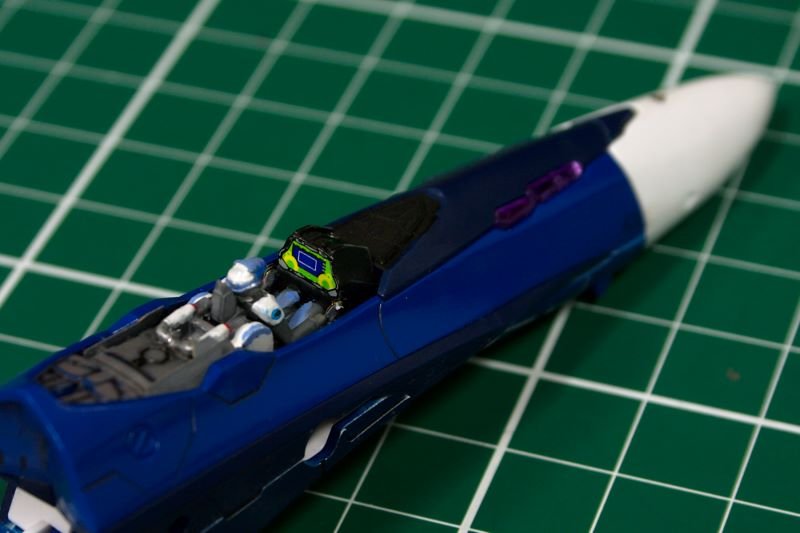
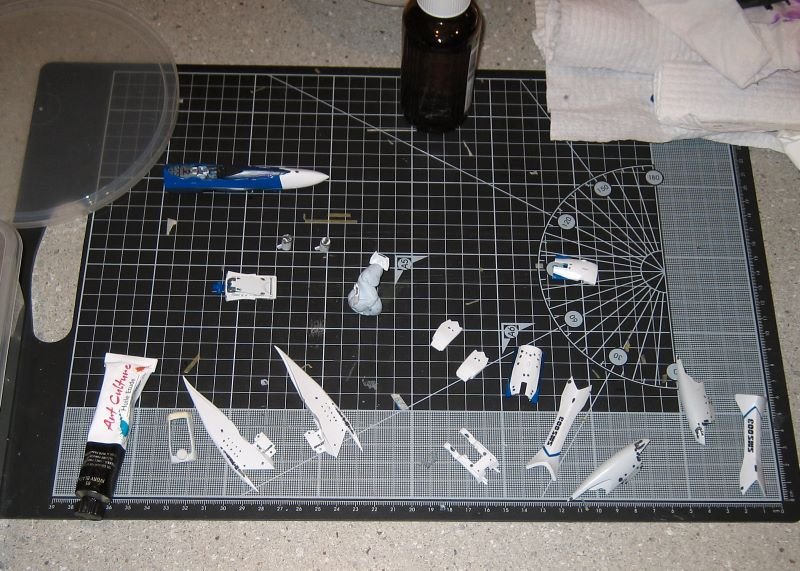
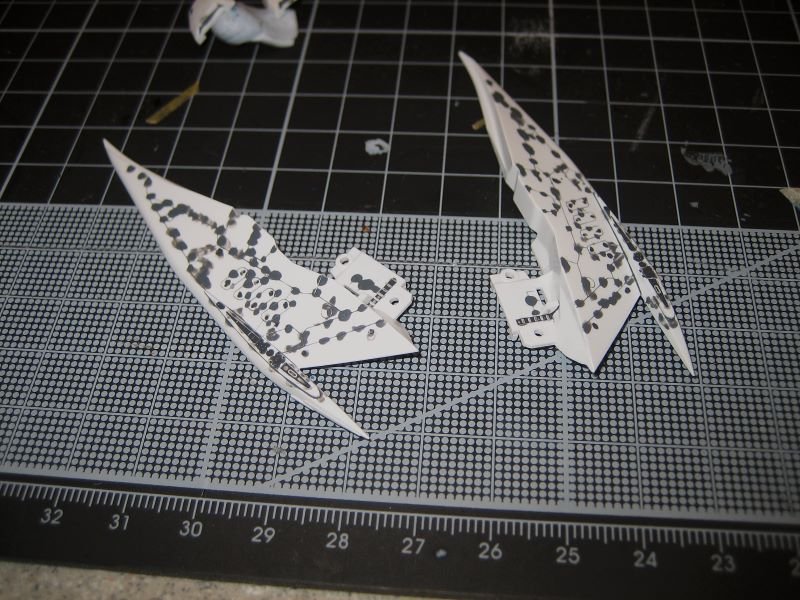
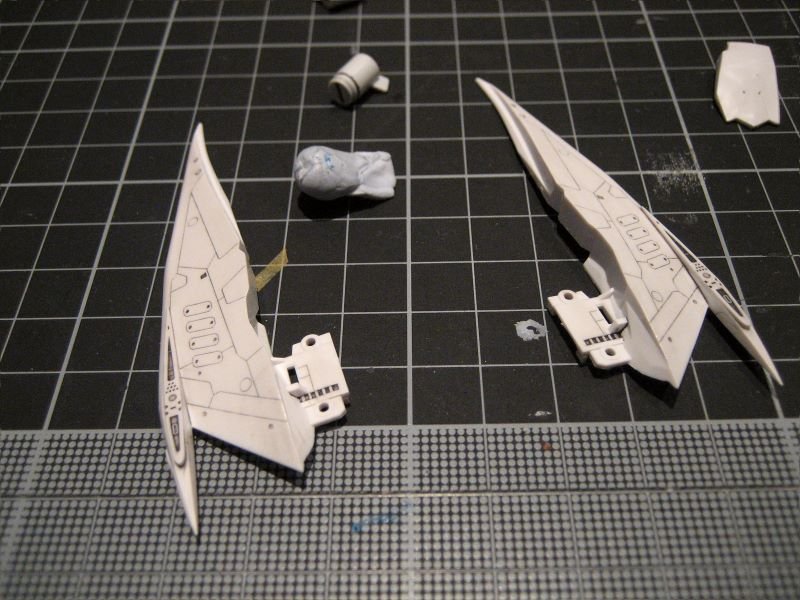
Lot's of pics ahead... I've done pretty much nothing over the last week but had taken lots of photos of my previous efforts, and haven't posted them yet. So this is a "catch up" post for anyone that wanted to see some progress. First up, my PE adventures. The first pic is the Vernier, after painting it and attempting to super glue it. I didn't end up keeping these due to poor fit. I'm not experienced enough with these and it's possible a more seasoned modeler could have bent the part properly before attaching it, thus avoiding the unsightly gaps I experienced. The next two are of the nose "sensor dots" that fit into the little recesses. I like these parts but they're so small! I ended up using the one for the top and haven't made up my mind for the sides yet. Once I attach these, the nose halves will be "locked" together. That, and I don't know that I really need them here, as there are discs already molded into the triangles on the sides. The final pics are of the cockpit details. I've used the front part that goes directly under the front canopy section (can't remember what this is called - cowl?), the instrument panel and decal, the two "wall" parts behind the seat, and the hands/sticks. The front "wall" parts wouldn't fit under the canopy, so weren't used, and the parts on either side of the seat just didn't seem to represent what was in the anime that well in my mind, so I chose not to use them. Next up are pics of the areas I still need to paint. The bottom fuselage and a closer shot of the area that still needs to be painted blue (the white sliver between the sections that form the crotch area). And finally, some progress shots of the oil wash I did after my last post. I started with a dark wash on all the deep and detail parts (attachment points, access panels, etc) and a lighter wash on the rest. In hindsight, the lighter wash isn't nearly light enough. I'm debating on whether I go over it with a lighter wash or just spray a thinned coat of white over it. I might go for that option, as the super parts white doesn't match the kit white, so that sliver piece, the guns, the crotch, all don't match the rest of the white on the plane. Don't know... Thoughts and comments are always welcomed!
-

Bandai 1/72 Scale Macross Frontier Model Kit Thread Ver.3
mickyg replied to azrael's topic in Hall Of The Super Topics
Thanks Lolicon! Can we cut it in half and just paint the purple line segment where the decal should join up? Aren't we used to this by now? -
It's been a day of frustration (mostly)... I thought it'd be fun to get out the "detail up" PE kit from Jasmine that I purchased some months ago. Up till now, I'd only just used the instrument cluster and feet detail parts. They weren't too big a deal. The rest though is a completely different story! You might remember a few posts ago, I completed the vernier decal for the legs (inside near the ankles). The detail in the plastic is horrible, with this scewed, distorted oval shape to it. The end result is a decal that can't possibly fit right, and furthermore, why would you want it too? These verniers are one of those visual "macross" things, as far as I'm concerned! And those symbols are supposed to be round! Anyway, I thought I would skip the grief on the fuselage verniers and just use the PE parts instead. I figured the fuselage was slightly less than flat but that I could get them to conform with a bit of pressure and some super glue. I had no idea how difficult this would be! The super glue wouldn't go on small enough, so every time I'd push, it'd ooze out the sides and stick to my finger instead. Or I'd get the orientation wrong, or it'd stick to the wrong spot. In the end, my best attempt resulted in the part fitting but not enough to get rid of an unsightly gap around the outer diameter. Not what I had in mind. So I ended up ripping them both off. I think I'll just go with the decal, after all. Just don't have the patience to make it work. Next step, try some of the cockpit parts - they can't be that hard, right? Wrong. The main issue with these is paint application. Paint just doesn't go on and stay on to a metal surface. And yes, I'm using Mr Metal primer. I might not be using it right, but I'm using it. Anyway, after I got the paint applied, I had to be super cautious not to scratch it with my tweezers as I tried to apply it. That failed, by the way. No way to prevent paint chipping with metal parts, in my limited experience. So that went pretty slowly. I gave up on the front windscreen parts around the HUD/instrument panel. They sit too high to allow the windscreen to fit on. Hadn't thought that'd be an issue but it is. Furthermore, there's pretty much no chance that I'll even be able to see that kind of detail with the canopy closed! So it got chucked. Same for the shoulder parts of the seat back. I couldn't see how to paint them or how they match what's in the anime and so they got discarded as well. I used the hands and joysticks but I don't know that I like the look of them. Oh well. In the end, these parts were just too much hassle for something that I don't think I'll notice when it's done. And it's taking me so incredibly long as it is! Another slowdown just isn't an option right now. The ones that I will be using are either already applied (instrument panel and feet details) or will be easier (the "sensor cluster" dots in the nosecone, for example). Anyway, end of my rant. The good news is that I managed to get some of the two-tone blue airbrushed on the underside of the fuselage. This is the part that I keep forgetting and the way I was going, it'd be after I started assembly that I remembered to do it. No interesting pics, in my opinion. Sorry. I hope to post more progress tomorrow.
-
I should have been a bit more descriptive on the shoulders, actually. The only thing I touched up were the corners of the inside black line. And I only used a black marker. The rest is all decal. They're small enough and the colour is close enough to the blue plastic that you can't make out where they don't match up at the corners. Don't worry, they're a far cry from perfect! Sounds like my efforts have done the trick though. Thanks for the compliment!
-
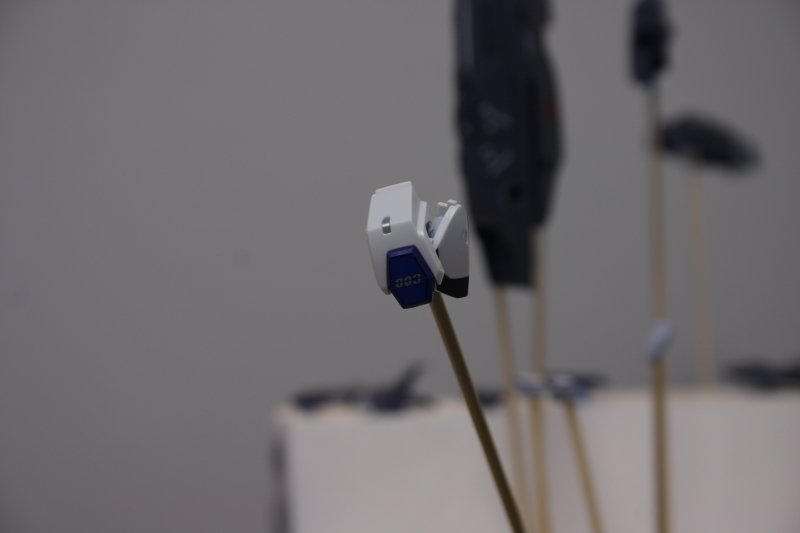
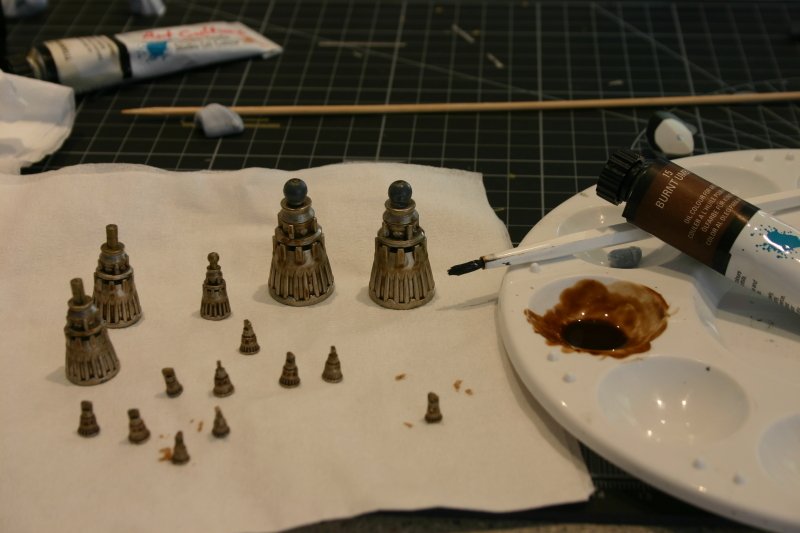
Long time between updates! I've been spending every waking moment, it seems, trying to repair my broken DSLR. The camera repair guy said it wasn't fixable (well economically, at least). I figured I didn't have anything to lose so it's been apart at least 4 times now! In the end, I was able to fix my lens but that's all. It now functions as a manual only sort of camera. The light metering system, which determines every automatic setting, except for auto focus, is broken. So in the meantime, I can take pictures, as long as I'm willing to snap a few to get them right. No big deal really, just a bit more time consuming. Anyway, after I got all that out of the way a few days ago, I was able to get back to the model. I've accomplished the following since then: Removed excess decal "sludge" with fine and finishing tamiya polishing compound - works really well! Paint the silver chrome for the back of the red lights on the shoulders and chest - pen works as well as I had hoped. Paint in (using a gundam marker) the missed areas from the shoulder hexagons, due to seperating the decals. Apply a thick clearcoat with brush to the shoulder hexes. Apply a brown oil wash to the super part thruster nozzles. Pics of the above:
-
It's not quiet step by step but there's some detail of how our friend got this result. And note the bold I've added below
-
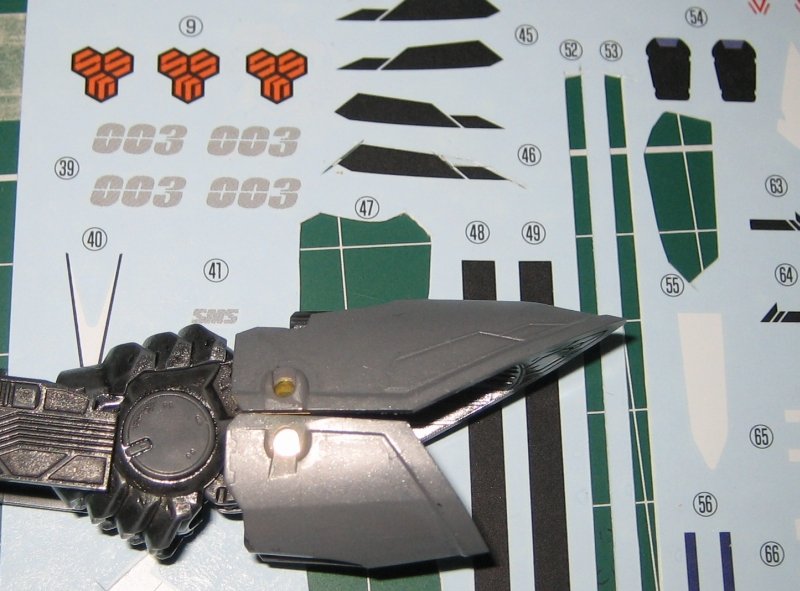
Quick update: Second shoulder and lettering (003 and SMS) done. Lots of dried "decal goo" to clean up. SMS003 lettering done on the legs/landing gear doors. I actually struggled more with placement on these decals than any other so far! Could not get them to line up and remain "unstuck" to save my life. Ended up using both "spares" for the open door option. That's OK, didn't intend to ever display it gears down. Side of leg (the blue strip) vernier decals and purple "things" applied. The verniers were terrible! It's like they applied a circular mold to the part but from the top instead of perpendicular to the surface. The result is an oval vernier that doesn't line up with the round decals at all. I've got the PE detail kit but couldn't be bothered trying to apply a flat circle to a complicated plastic surface. I have spare decals for the standard shield that I might use if I decide to try the PE parts in the future. Chest piece black decal applied. Lolicon, thanks for the heads up on this one. You're right, it doesn't fit to the edges but since I was expecting the worst, I was pleasantly surprised by how uniformly it did fit in the areas I wasn't expecting (around the panel line detail). This will be a cinch to fix up with black paint or gundam pen.
-
Very nice! Been waiting a long time to see this one completed. You don't disappoint! I'll have to hurry up and finish mine now Can't wait to see your next project.
-
I'm always a little late to the party it seems... Oh well, I like surprises! It's already been said, but I'd like to echo others sentiments and say thanks Graham for going to bat for everyone. Can't wait to see what's in the pipeline when it's "officially" announced.
-
Thanks you two. It's a real honor to have you both pop in. Your comments and advice are always welcomed! I haven't got much progress to report. Finished the decaling on the other knee, and it's way better than the first one (no idea why I waited so long to do the second one). Amazing what a few months of experience and proper tools will do! No pics unfortunately. The death of my DSLR is annoying as it means the only good camera is again a precious commodity. I also managed to get one shoulder hex decal on today. Man these are a pain! I read somewhere ages ago that cutting them on the corners was a good idea. So that's what I did but I've got pretty small gaps on all four corners now. Oh well, they'll probably blend in once I get some weathering on them. They're so small! That and the colours are so close to the blue part that you almost can't see the stupid decals.
-
To me, the biggest bonus in a second run would be smaller panel line seams (assuming they addressed the fragility of the earlier releases). The v2 VF-1s have really thin seams and that make it look so much less "toy-like" in my opinion. I don't have any VF-0s but my SV-51 has fat panel line seams and that's what just jumped out at me when I got it. Fix that to match the narrow, precision lines on the VF-1 v2s and you'd have a real winner. Then again, maybe the VF-0 was a poor seller for Yamato in the grand scheme of things. Graham, if you're watching this, any thoughts?
-
Hi WM - good to see you're still popping in from time to time! I know what you mean by the busy month! I had more time off than any other month this year but only manage to spend about 2 hours on the model! Good to know the glossy finishes are something everyone gets frustrated with. Means I'm not going crazy! Regarding why I decaled and didn't mask? Pure laziness, my friend. Pure laziness. I spent all that time masking the first time I did the blue parts of the super packs and after I destroyed it with that clear coat mishap, I just couldn't bring myself to do it again! The sad thing is that I'll probably sand off the wrinkles from the decals (on those booster tips at least, it's gonna bug me otherwise) and paint them anyway. I figure if I can get the paint somewhat close to the decal colour, the decals will provide a good guide to paint against. I might even get away with brush painting them in case the masking is too annoying. This was also a bit of an experiment to see if I could get these decals to conform to these highly curved surfaces. In the end, I proved I could do it my satisfaction (it's not great but it's better than I expected) so I can move on now. The last thing that I didn't really plan ahead for though was colour matching. The blue in the paint callout for the super parts is a great deal brighter than the blue in the decals (that it's supposed to match). So I'm going to need to get creative with my colour matching skills on the missile covers and intake plugs. There's no way I'm attempting the decal on the intake plugs and the missile covers don't have decals. Why'd I have to stuff up the painting on those things again? I agree about the masking being worth it. But I think the above paragraph explains my reluctance to do some of this again. I'm just making excuses, I know. It's not that difficult and I do think the results are worth it. Just have to psych myself up to it again. I just have to keep telling myself, "Must not get impatient!" Progress yesterday: Got all four decals for the feet done with only about 30 minutes available on my lunch break. I think I'm getting faster at this, which is really sad - 30 minutes for 4 decals? I cut off the clear carrier on the tops of decal, so it wouldn't be visible on the main part of the foot. I left the film excess on the part that butts up against the bottom though. I'll apply a wash to that area and plan to shade it with smoke. Plus, now that they've set today, I can't even see the film anyway. Pics: The first pic shows the naked foot along with the first decal I cut. The cuts are made with a hobby knife and a metal straight edge (metal so I don't shave chunks out of it with the knife). I cut close to the black but not exactly on the line. If you cut too close or into the colour part, it can make the decal a bit fragile before it's set (tore a few that way). The second one shows it in position and maybe 20 minutes after I'd applied it. Today, they look painted on (well if you ignore that annoying dot pattern, that is). I didn't use Mr Mark Softer on this batch, just Setter. And yes, I still need to paint the white discs! Still feels like so much left to do...
-

Bandai 1/72 Scale Macross Frontier Model Kit Thread Ver.3
mickyg replied to azrael's topic in Hall Of The Super Topics
Looks fantastic Jarrod! A real inspiration to get mine done (just gotta finish my 25G first!). You've answered my question about the canopy - I love the clear green poking through and can't imagine doing it any other way. Any tips? It looks like it'll be pretty tedious. Also, your colour matching looks great - did you follow the recommended guide on the box?

