-
Posts
2632 -
Joined
-
Last visited
Content Type
Profiles
Forums
Events
Gallery
Everything posted by mickyg
-

What's wrong with my Yamato, Bandai, etc.
mickyg replied to UN Spacy's topic in Hall Of The Super Topics
What Chronocidal said about the SV-51, I second! It is mostly glued together, or said differently, it's screwed and then caps are glued over the screw holes. It looks great but it's a royal pain to take anything apart. I've got mine for sale and have packaged it back up but if you get stuck, I'll see if I can do some checking to offer some advise about dismantling it. The fix for my defective leg was pretty destructive - the screw cap was completely useless after I drilled a hole in it. Luckily the screw that holds that part together is not terribly obvious when looking at it (just ends up being a small hole on the side of the intake duct/thigh). Oh, and in the case of my fault, the whole fig got replaced. Not sure if HLJ will have the same option that Overdrive did but fingers crossed! -
The head is looking pretty wide in my opinion and I agree with others on the fastpack attachment. I'm hoping it is a resin proto and they're just heavy. But even if they're not, these are small parts and hollowing them out would seem to me a difficult task. So I'm not sure they'd be that much lighter in the final version. But who knows - we'll just have to wait and see. What I do really like is how well that head "hides" in fighter mode - that's the best VF-1S head I've seen yet in fighter mode!
-
I tried Veoh and about a year ago, that was the best way for me to get anything Macross related. But in the last few months, everything downloads at .4k a minute or something equally slow. Thanks for the tip though. Perhaps I'll need to keep trying veoh - maybe it's a slow day.
-
I'm up to episode 29 this week. And I'm enjoying the series quite a bit. No idea if 29 is ahead or behind anymore! Unfortunately, my usual source for these only goes to ep 28 (thanks Boinger!). Can someone PM me with a source for the rest of the series? I've looked high and low and the ones I find are either horrendously slow to get (like days to get one episode) or they're subbed in Spanish or not subbed at all. If this post is against forum rules, can a mod please delete? Thanks, Michael
-
I don't mean to needlessly threadjack, but on the decal issue, please stop by this thread: http://www.macrossworld.com/mwf/index.php?showtopic=33559 I'm looking for scans of the VE-1 or Low Vis VF-1S (or any other grey kite logo valk, for that matter). Thanks!
-
Thanks! Trust me, there are plenty! It's all trick photography.
-
Thanks for the feedback and kind words people! I am planning some light weathering but am holding off a bit for a few reasons. I'm a perfectionist and a natural procrastinator. In model building, that's a mixed blessing. It means I want the very best result but also means I'm easily discouraged and can put things off indefinitely because I'm afraid I won't get the result I want (or in some cases need). So on that note, any advice others can give on how to do said light weathering would be most appreciated. It will be my first attempt ever. I've got the airbrush but I've also got a Tamiya weathering kit. It looks like a makeup kit to me and has black, brown and white. I'm guessing I can mix the colours up a bit like I do with the oils but I'll have to experiment to see how it's all going to work. Anyway, things like where to apply weathering (corners, edges, burn marks, etc...) and technique to get the sort of result I want would be where I'm most lacking in knowledge. So any pointers would be greatly appreciated! Oh, and W M, no need to tip toe around my feelings! Speak your mind, my friend. Any time! I know exactly what you mean and trust me, there are glaring flaws! But yes, the time factor has definitely dulled the annoyance. I'm still trying to figure out the legs but for now, they're staying up and I'm not too concerned about them.
-
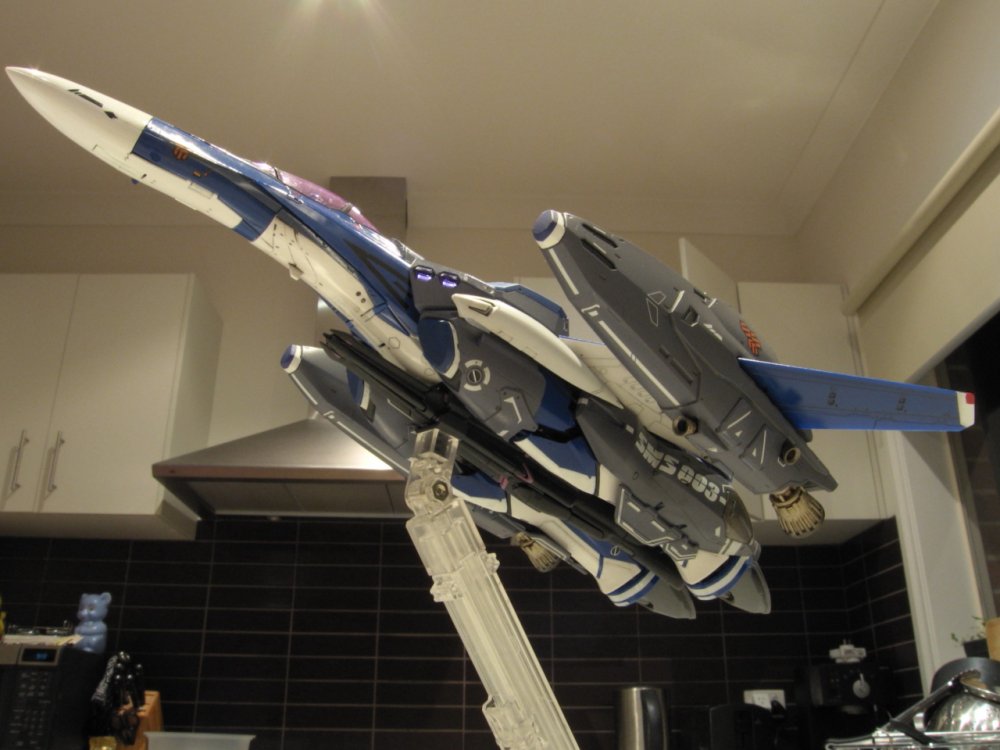
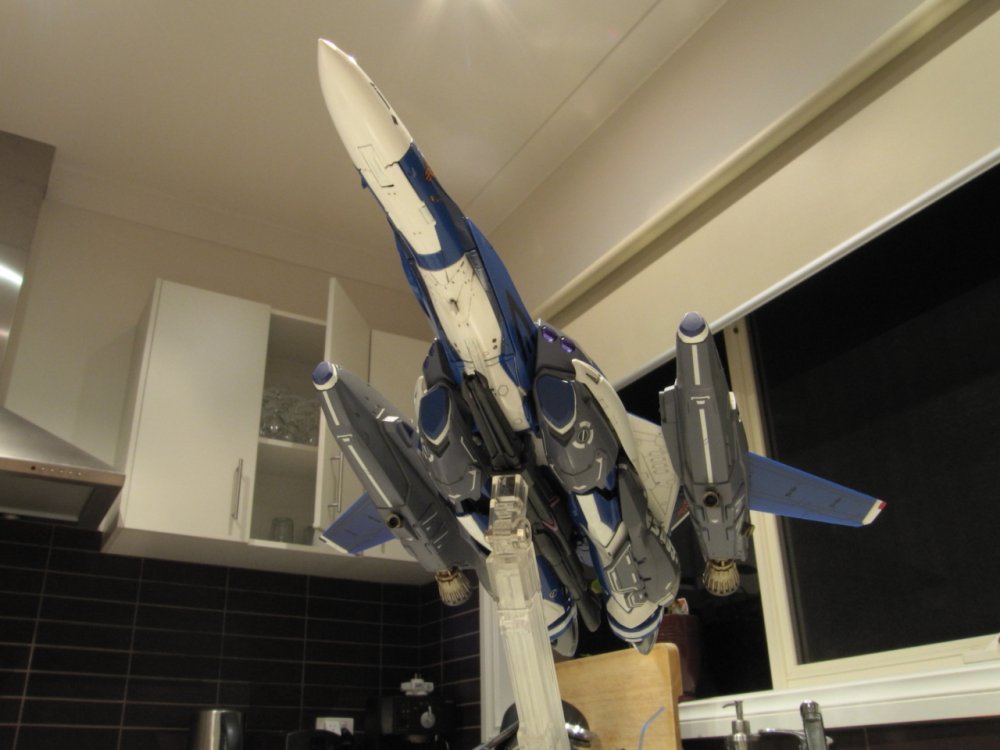
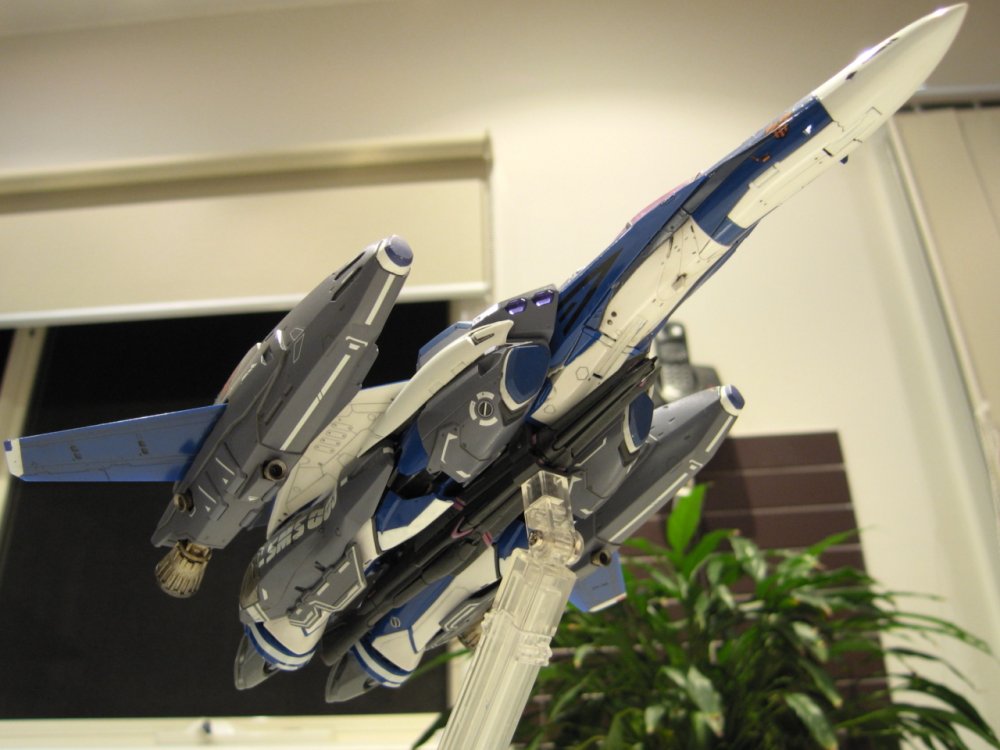
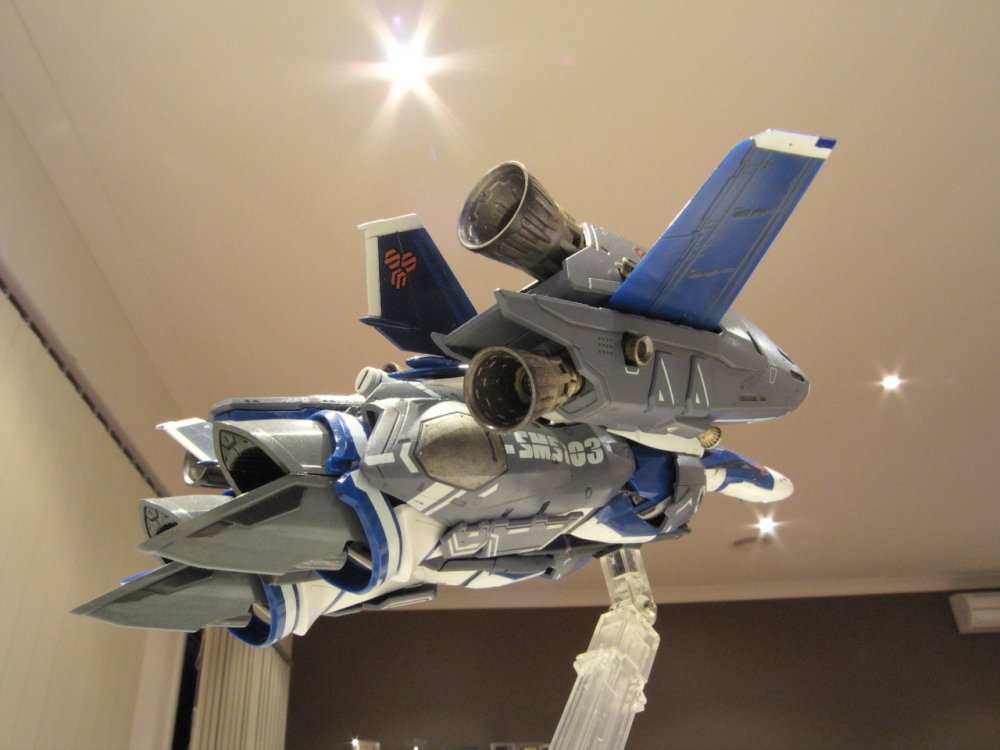
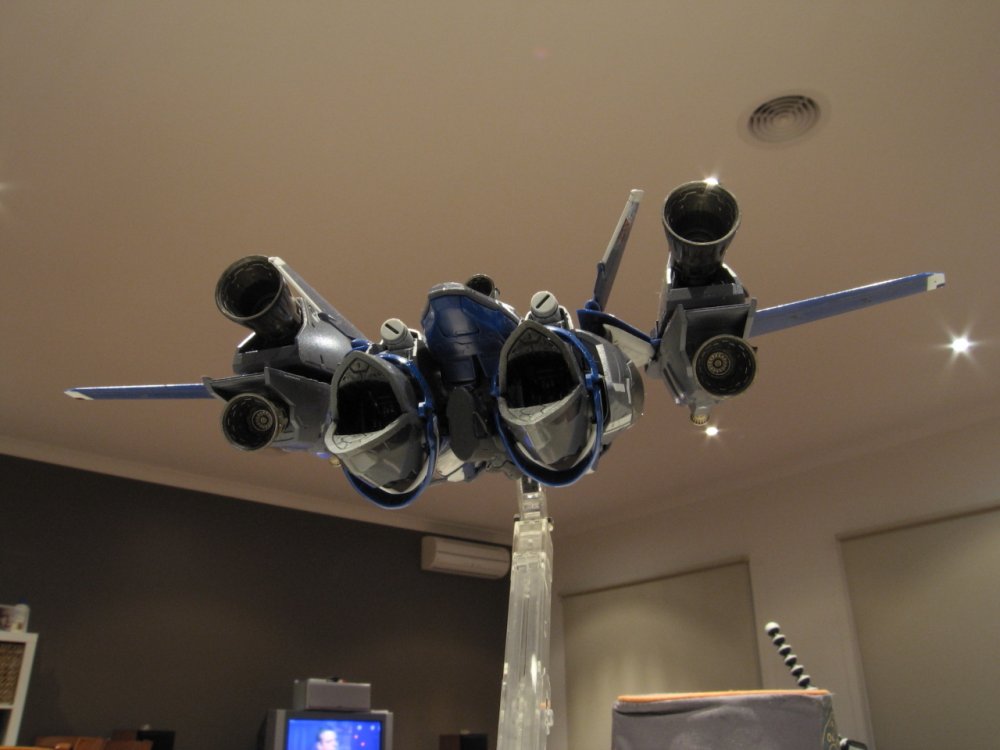
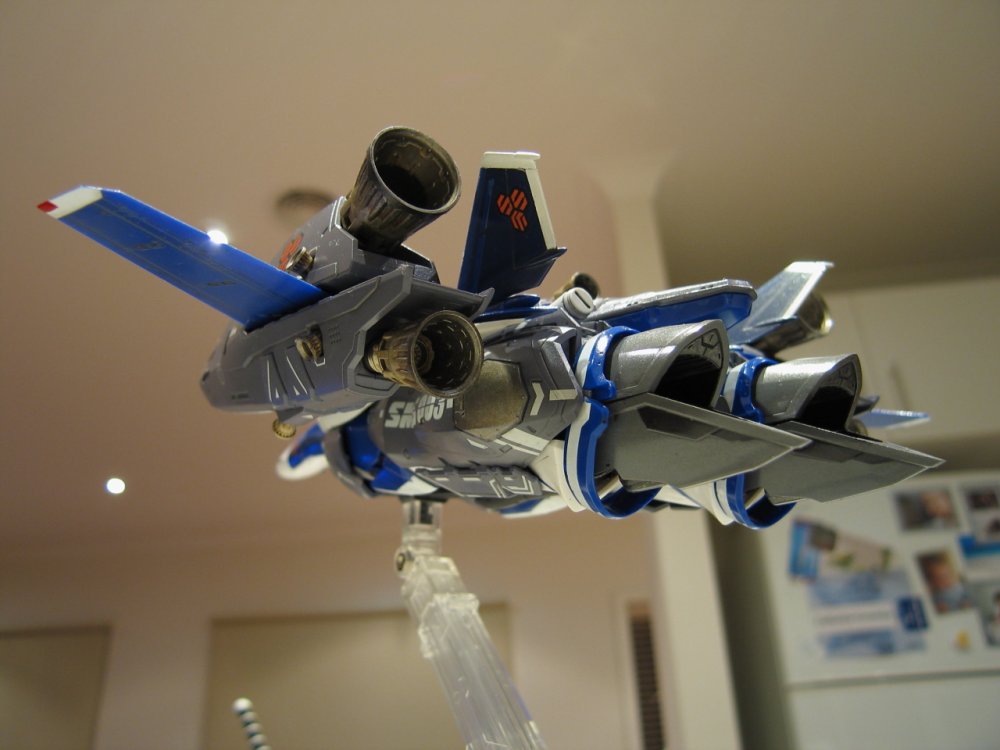
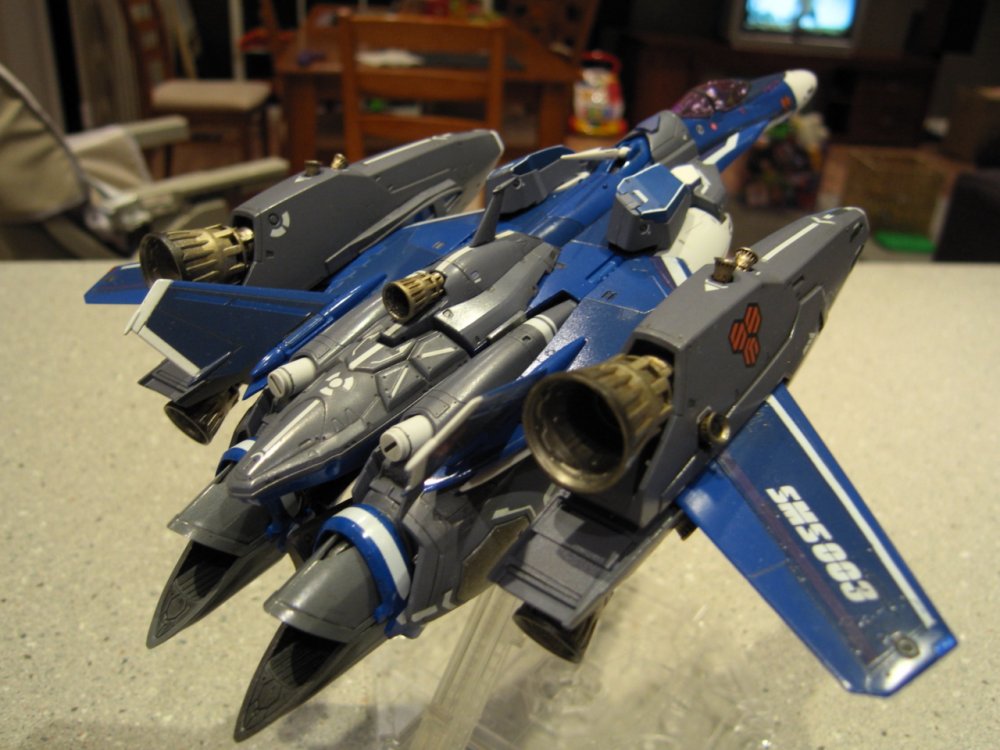
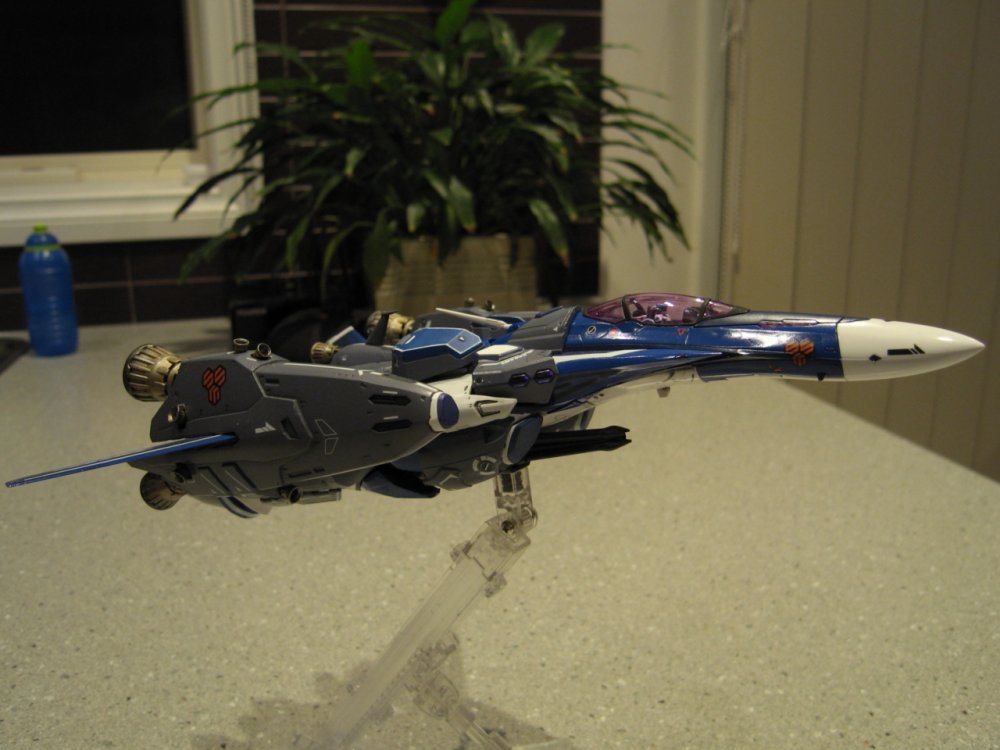
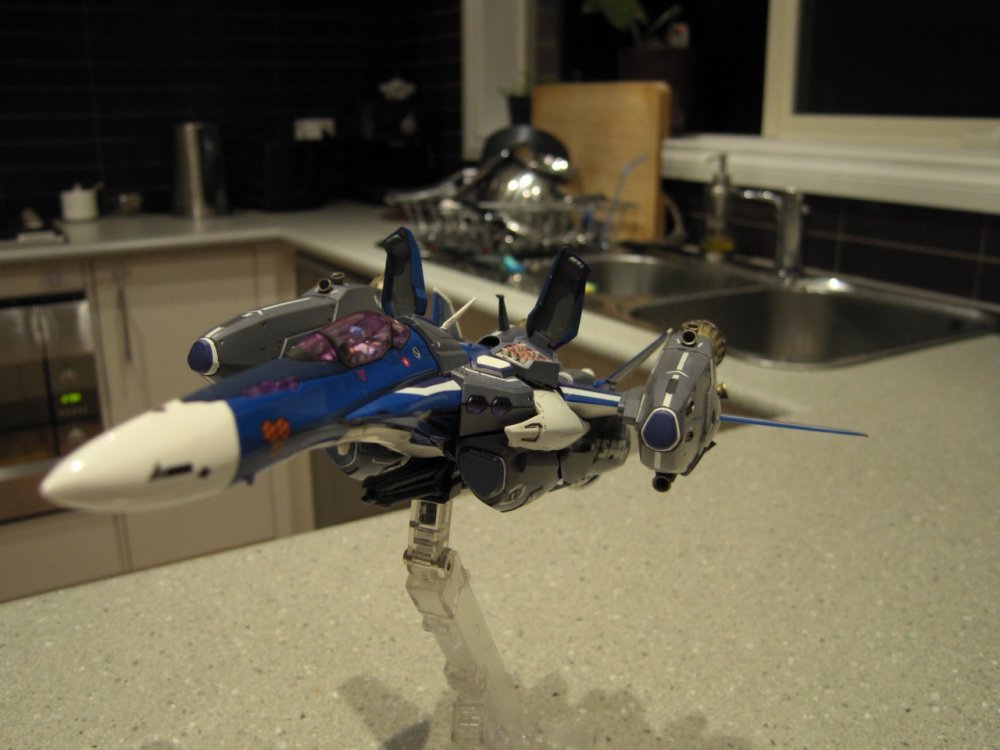
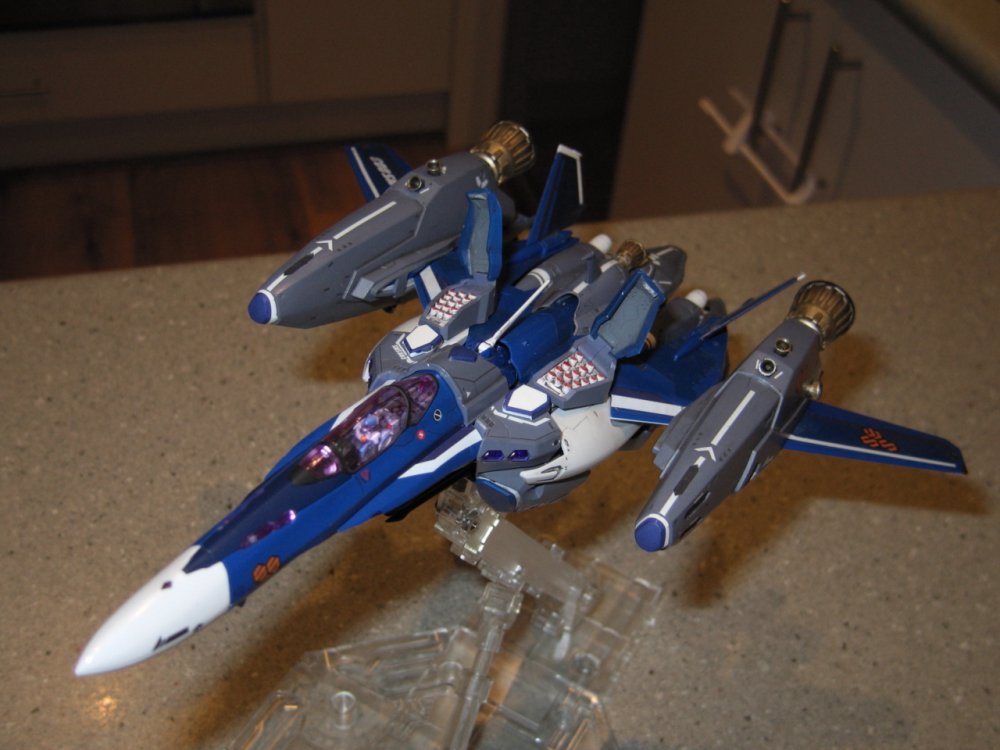
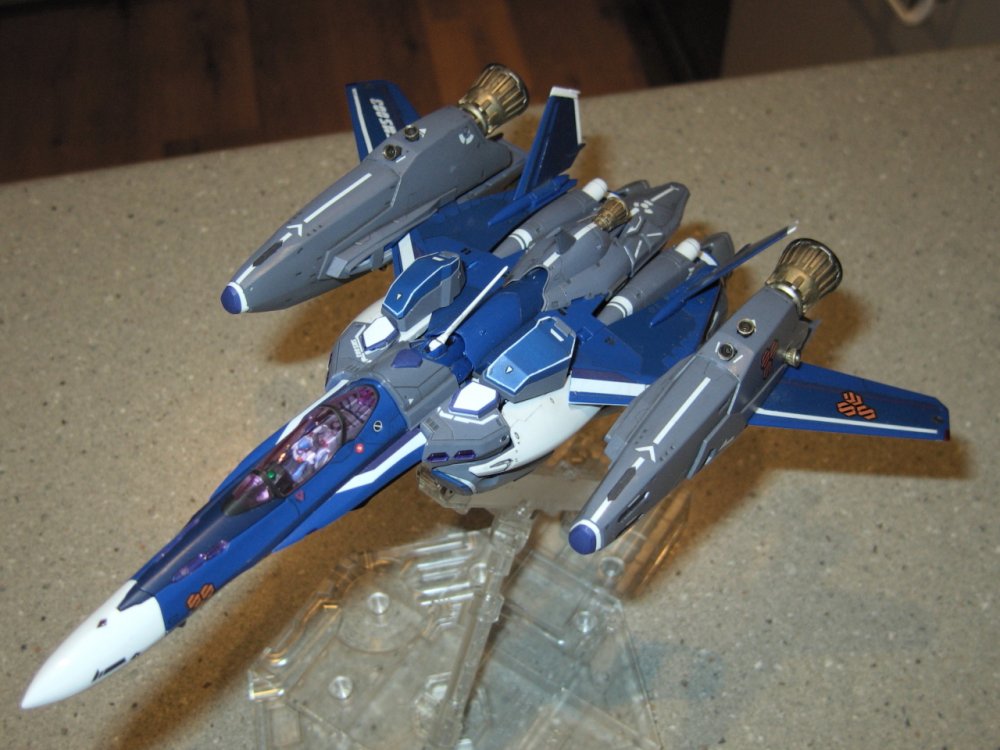
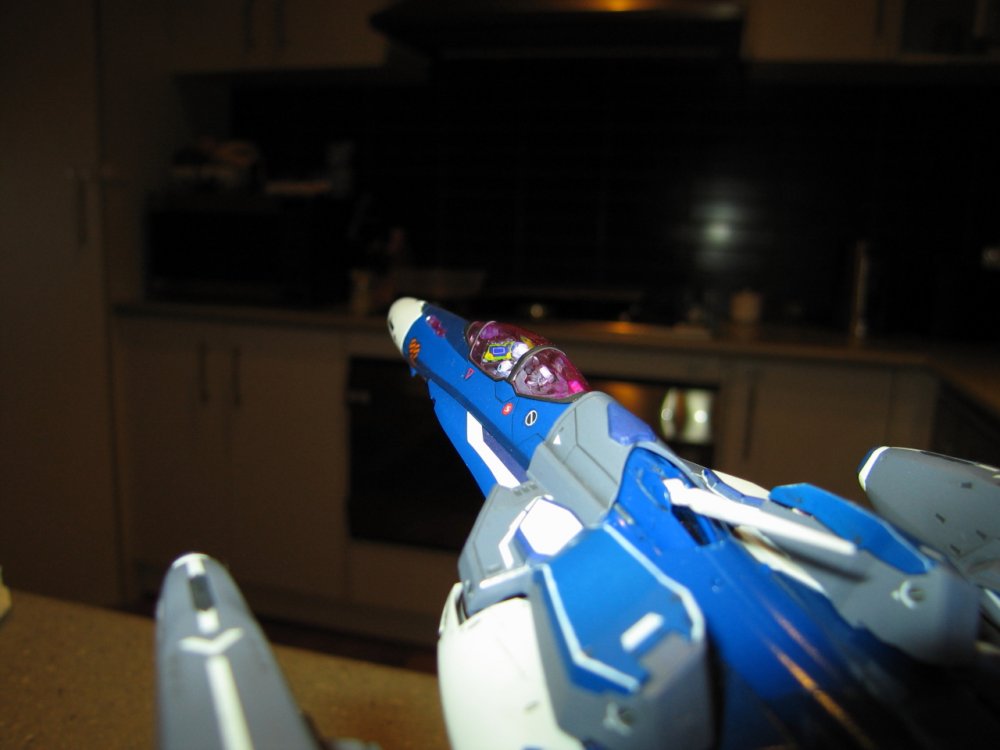
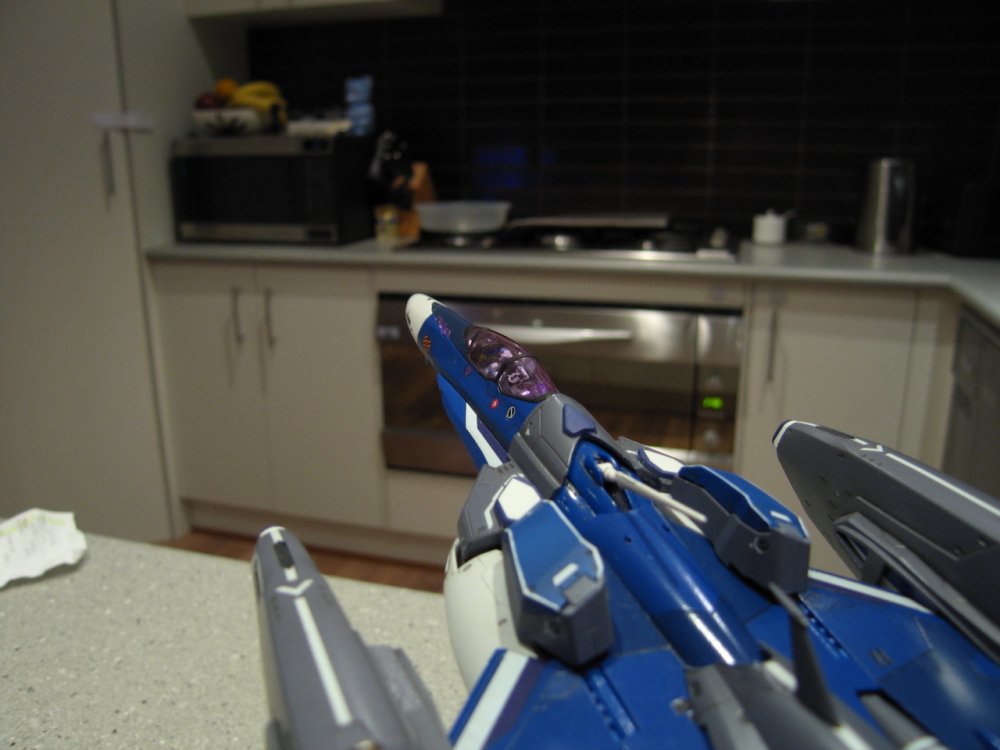
I've had a rough week and need to post something to make me feel like I've actually accomplished something. This isn't really "finished" yet but it's close. So here's some Pics: ...Oh, and I'm still experimenting with cameras and perspectives. This is a Canon S60 point and shoot that does raw and full control over all settings. I can go wide angle and get really close. This is supposed to give the effect of this thing being life sized. Not sure I've pulled that off and since the photography experts don't normally comment on such things in these (model) threads - now's your chance!
-
Got the following done this weekend: Actually, the first and second items were done a week or so back. The flat clear I did yesterday. This airbrush continues to impress. I used about .2ml of paint/thinner mixture and because I had a lot left, I decided to play around with doing some spot flattening of the body. I especially wanted to try to dull down the darker blue on the front of the canopy/nose area. The glossy nature of the satin coat on that darker portion was bugging me. To my amazement, just free-handing with the tip really close to the surface, I was able to completely flatten the portion I wanted and I can't see any overspray on the rest of the lighter blue colour. I'm pretty blown away (Hah! Get it, blown, airbrush...) by this tool! I went on to add a few spots here an there over various panels, just to add some variation. I also applied some to the inside of the booster nozzles, as the glossy nature of the metallic finish wasn't very realistic to me. With all that done, I still had left over paint (although not much). The Iwata HP-C Plus is the best tool I've purchased yet! Pics coming soon...
-
From the album: Yamato 1/60 VF-1J v2 - TV Hikaru type
-

Yamato 1/60 VF-1A v2 - DYRL Hikaru Type
Images added to a gallery album owned by mickyg in 1/60 Customs
-
From the album: Yamato 1/60 VF-1A v2 - DYRL Hikaru Type
-
That is nuts! This is THE project that brought me to Macross World, my man! Can't wait to see what comes of this.
-
Based on the little I know of decal making, I think the final clear layer that gets applied to seal in the printed markings is what was cracked on mine. I assumed it was just the carrier film or the part that disolves when you get them wet but was a bit frustrated to find that it was in fact the clear, protective layer. The print underneath is flawless and very detailed. It was only the clear, top layer that has this cracked look to it. I took some pictures and posted them in a thread some time last year. The effect is obvious if you're looking closely. But not a big deal from a distance. And also likely to be something that would fill in nicely if you apply future or another gloss layer over the top of the decals. And just as likely, the problem might be fixed by now. Either way, as I mentioned before, they're the only game in town. Plus, the price is only $5 and as I've also mentioned the detail is very good. I'd say, even with my less than fatastic experience, I'd still go this route again. Now, if they'd just make some low vis markings, I'd be one happy camper!
-
They sold me my first decal sheet on ebay. Or I bought my first one there... It's not like they forced me to buy it! Anyway, my decals were all cracked on the surface and though I contacted them immediately, and got a reply back pretty quickly, advising me of a potential solution, I never got a resolution. ff9ggj, I hope yours were better quality because this seems to be the only game in town. I kinda have a bad taste in my mouth from my experience. The detail is amazing but the quality of the top coat applied to the decals at the factory was at least for mine, lacking. I think WM Cheng had similar results with his. Here's hoping they've improved!
-
Ditto! I'd like to get something happening for my valks too. I'm not a fan of the thickness that's obvious with stickers. They're great, detail wise, but you just can't get past that thick, plastic look of stickers and with decals, yes they're a pain but at least they're thin enough to look realistic. To me at least.
-
EXO that looks incredible! Thanks for sharing your method for tracing it too - very helpful stuff and something I'll actually use for some projects on the go.
-
Well my first item on the above list is done (gloss coat the inside of the missile covers). And that's pretty much it! No oil wash yet. Slow going lately. Been busy with home and family stuff and had a rough few weeks so modelling has taken a back seat recently. Should be able to get back into it again more steadily soon though.
-

MickyG's Yamato VF-1S Unpainted, Unassembled Kit Build
mickyg replied to mickyg's topic in The Workshop!
Don't know how I missed this. Sorry Valhary! And now for the disappointment... I don't actually know! I'll have to start on mine to be able to give you a firm answer. I do have some progress though! I started working on the coloring by overlaying the yamato instruction sheet (scanned at 300 dpi) on the F-14 Agressor scheme from the first page. I'm teaching myself graphics editing skills to do this so it's good for my skills but not so great for quick progress. Anyway, it's coming along. I'm not sure how I'll mask it yet and I'm already starting to worry about paint chipping. No idea how easy/hard this is and how obvious it'll be if it does scratch. But here's my reasoning: the kit is white, the lightest color I'll be using is light grey (well not counting the nose). If it scratches, it will be visible. I'm thinking the tops of the intakes are going to be pretty obvious, with the little pegs. Maybe I'll have to get over it and push forward regardless... -
Thanks Hornet! I got a pretty fast reply. Unfortunately, he only does stickers, not water slide decals. Oh well... Love those pics! Been waiting a while to see someone do that scene!
-
Well, if I'm not mistaken, that was the first fighter to really have the "jewels" on the nose, so that makes sense (the VF-0/SV-51 doesn't count in my opinion as it's after SK came up with the "new" designs). Someone can correct me if I'm wrong - it's highly likely since I'm relatively new to all this (didn't even know there were any other Macross series until about 2 years ago!). Progress: I put a very dark grey wash (almost black) on the missile covers and intake "plugs" and wiped them down carefully. The little triangle feature on the missile cover was going to get decaled but I decided just outlining it in black oil wash had the same effect and it was less frustrating than trying to get those decals to lay flat (I didn't even try after seeing the result of the wash). I got the white trapezoid decals on the missile covers and happened to get them lined up about as perfect as I can see them being I'm considering gluing up the legs, the constant drooping is driving me nuts! I've got blutak on the area that comes into contact with the arms, but it seems the weight distribution from the gun mount to stand interface, causes extra stress on the whole model so much so that the end result is the legs pull the arms right out of the pegs in the back piece. Not completely, but I'll come in after it's been sitting for a few hours and find both legs slightly out of position and the read shield with a big gap where it should be tight up against the rear of the body, and sitting slightly lower. If you've got one of these, you'll know what I mean. If you don't, none of that will make sense! Lolicon, I know we've chatted privately about the VF-27 and I know I've said I want to build it. But man, I'm having second thoughts! That Bandai DX is looking very tempting! Too bad it'd be completely out of scale with the '25G and since it's the only other Frontier piece I've got, I'm conflicted. I love how this model is turning out, looks wise. There's really nothing that can touch it in terms of looks and intracacy and just "wow, that's really cool" factor. But I just don't know if I want to build another kit that I can't transform! I really want something that looks amazing and can also be transformed and posed and provide some entertainment value beyond just looks. Is that too much to ask? Yes, I know the answer to that one... I digress... So what's left? I think I just did this list recently but here's another (revised) one: gloss coat inside of the missile covers so I can do an oil was and pick out the details (cause they're cool but basically invisible with the current flat gray) apply wash to said insides of covers flat clear coat the missile covers and intake plugs devote some serious thought to how I can add some subtle weathering to the parts that need it. My work colleague that's most interested in the project thinks it looks too "clean" to be real. I keep telling him it's a space ship after all and there's not much to "dirty it up" out in deep space. He's not buying it and I think I get it. At the very least, get out the tamiya weathering kit and try to do some convincing exhaust blackening around the feet. Probably play around with some Tamiya smoke in the airbrush for some extra weathering. Although I don't know where. And that brings me to yet another question (Man this post is long!): How well does the weathering kit stuff stick? I mean if I come along with an airbrush to try to seal it on the model, is it going to blow off? Thoughts and criticisms are most welcomed!
-
I don't mean to go too off topic, but I've just done a quick search for Takatoys and can't seem to find anything that's current. Is there a "secret" site I need to be looking for? I'd really like to get hold of some decent decals for a WIP I've got. Any suppliers of decals are of interest to me. And are these water slide or stickers? Thanks!
-
This is just incredible. I'd love for my models to look like this but the photography is equally stunning. It's as close to real as I've ever seen a valkyrie get!
-
Very true. Although I stopped with purple because I think the ink alone was 8 dollars or something crazy. If I did it again, I'd probably add a touch more blue.
-
Well, the thing about Future and any derivatives, is that they're all pretty easy to thin/remove with windex. I practiced on clear sprue at first but by the end, if I didn't like what I got, I just soaked the part in windex and started over again. For clear to dye/ink ratio, I think I started fairly dilute and then experimented until I got what I liked. I couldn't tell you exactly what the ratio was but it was probably one part ink/dye to maybe 50 parts future? What you want is a pretty obvious purple when you're done. Wait a day for it to dry, see what you think and if it's not good enough, add more, rinse in windex and repeat. I stored my mixture in a small container with a lid on it (10ml paint container, I think) and it kept pretty well. I think it's still useable actually and it's been at least 6 months since I mixed it up. I must never have seen any of those reviews where the parts were referred to as imaging cameras but I suppose that's as logical a description as any! They strike me as being the same color as the fold quartz so I always assumed they were some sort of fold sensor sort of thing. But then again, nobody knew what fold crystals were until well into the series so that probably doesn't work... Oh well, they're cool jewelly thingos on the nose - works for me!

