mickyg
-
Posts
2632 -
Joined
-
Last visited
Content Type
Profiles
Forums
Events
Gallery
Everything posted by mickyg
-

MickyG's Yamato VF-1S Unpainted, Unassembled Kit Build
mickyg replied to mickyg's topic in The Workshop!
That's a scheme I'd love to see! There are quite a lot of markings on that one. If it were me, I'd have to come up with an airbrush template for the tail markings. It'd be hard to find decals that would fit the oddly shapped tails on the VF-1. I'm sure it wouldn't be terribly difficult as it's just a half circle with straight rays coming out of it. I'd love to see more buildups of this thing - c'mon people, post! -
MickyG's Yamato VF-1S Unpainted, Unassembled Kit Build
mickyg replied to mickyg's topic in The Workshop!
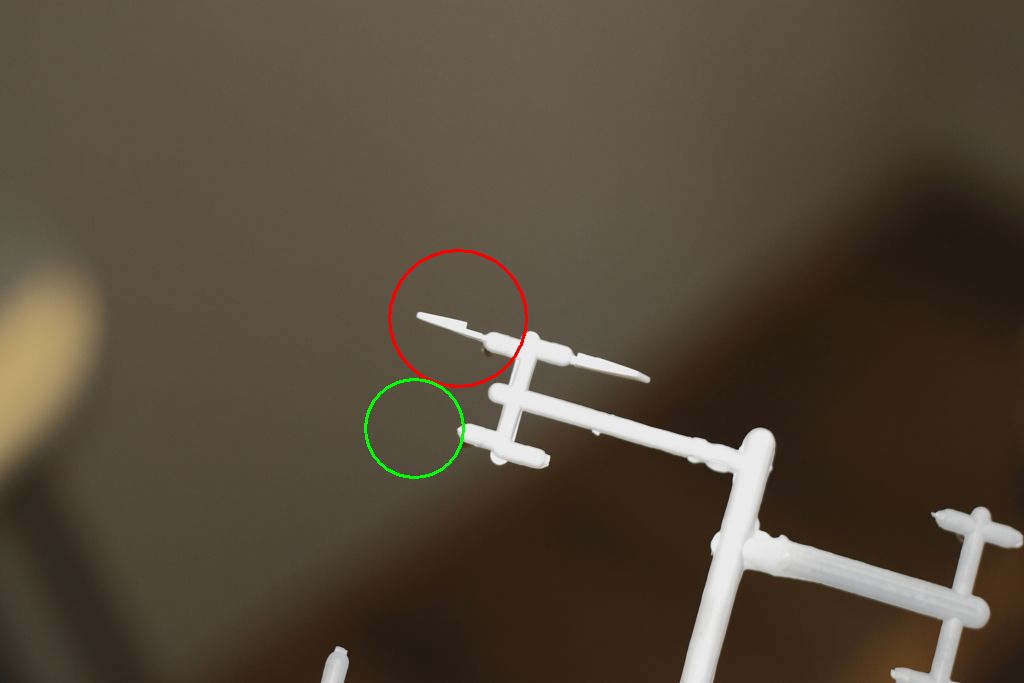
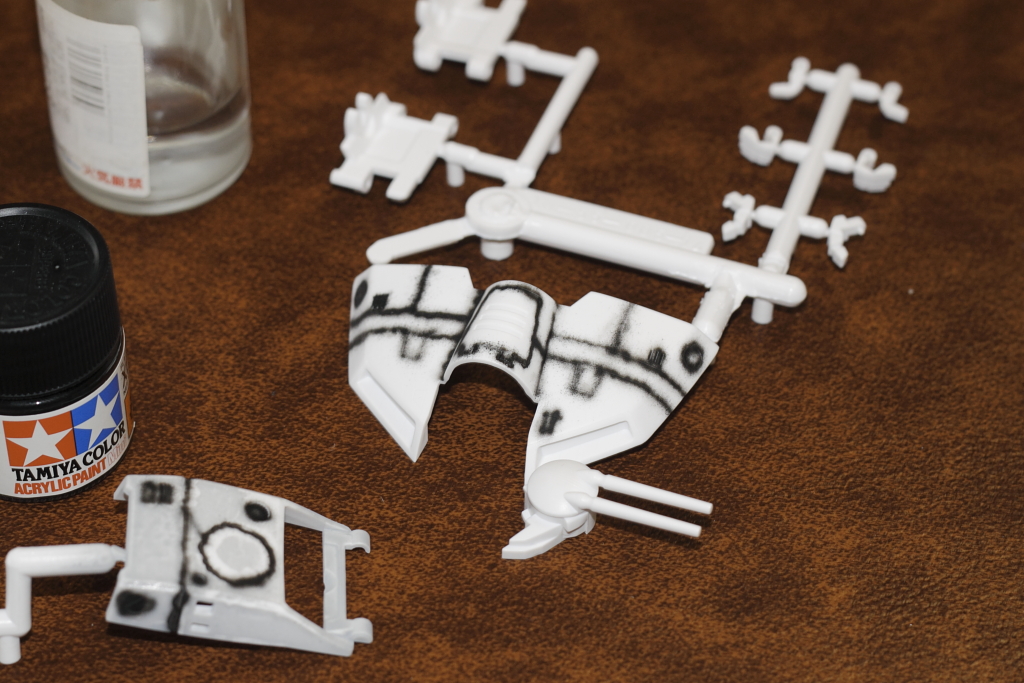
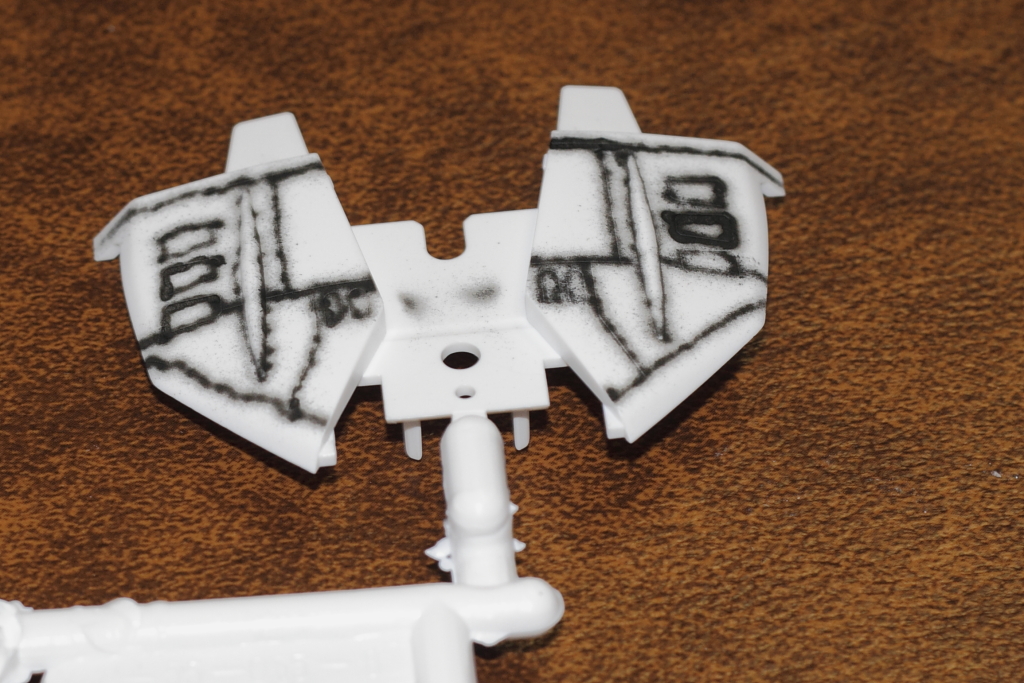
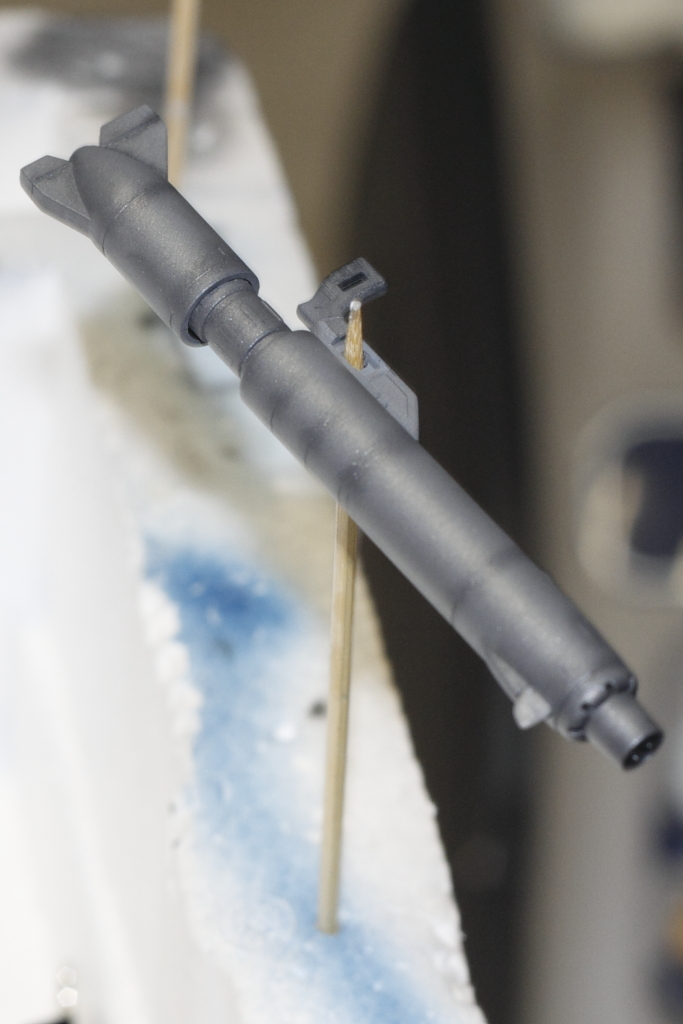
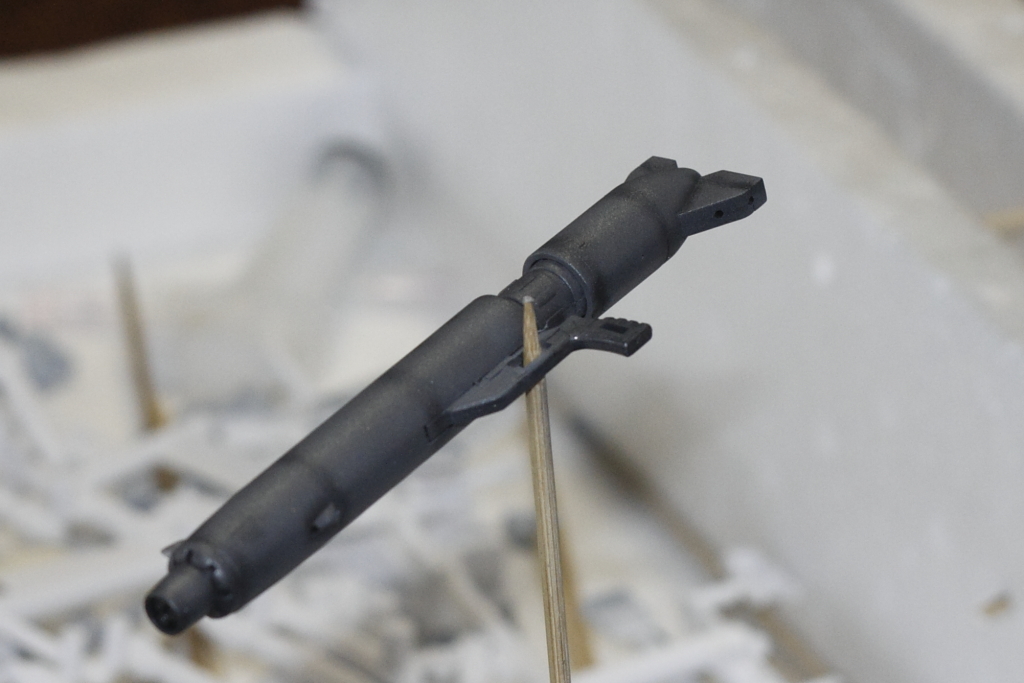
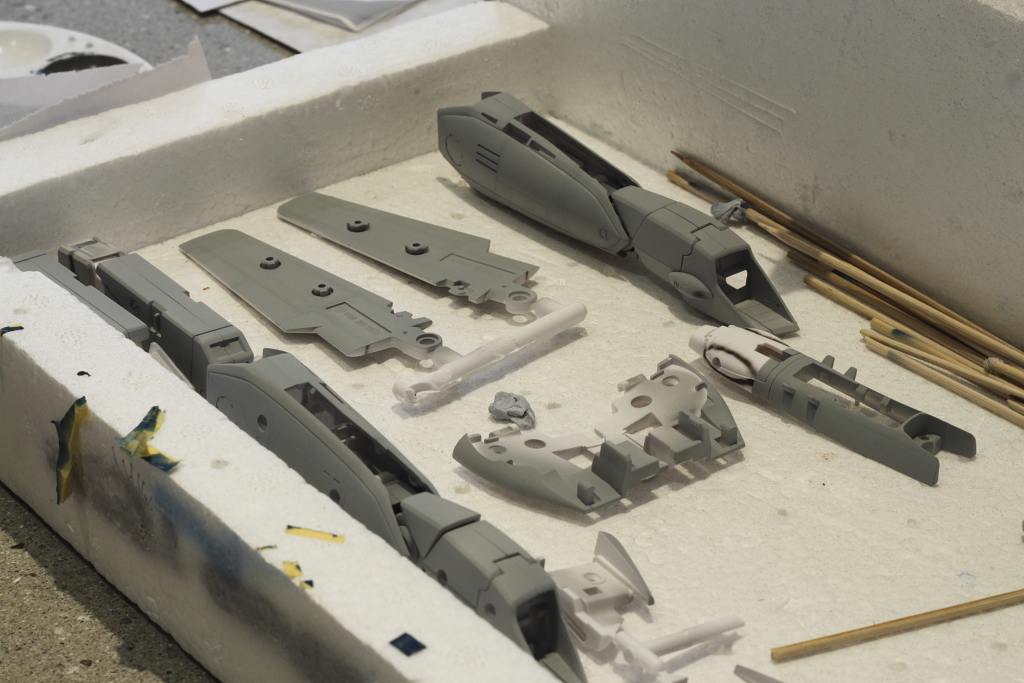
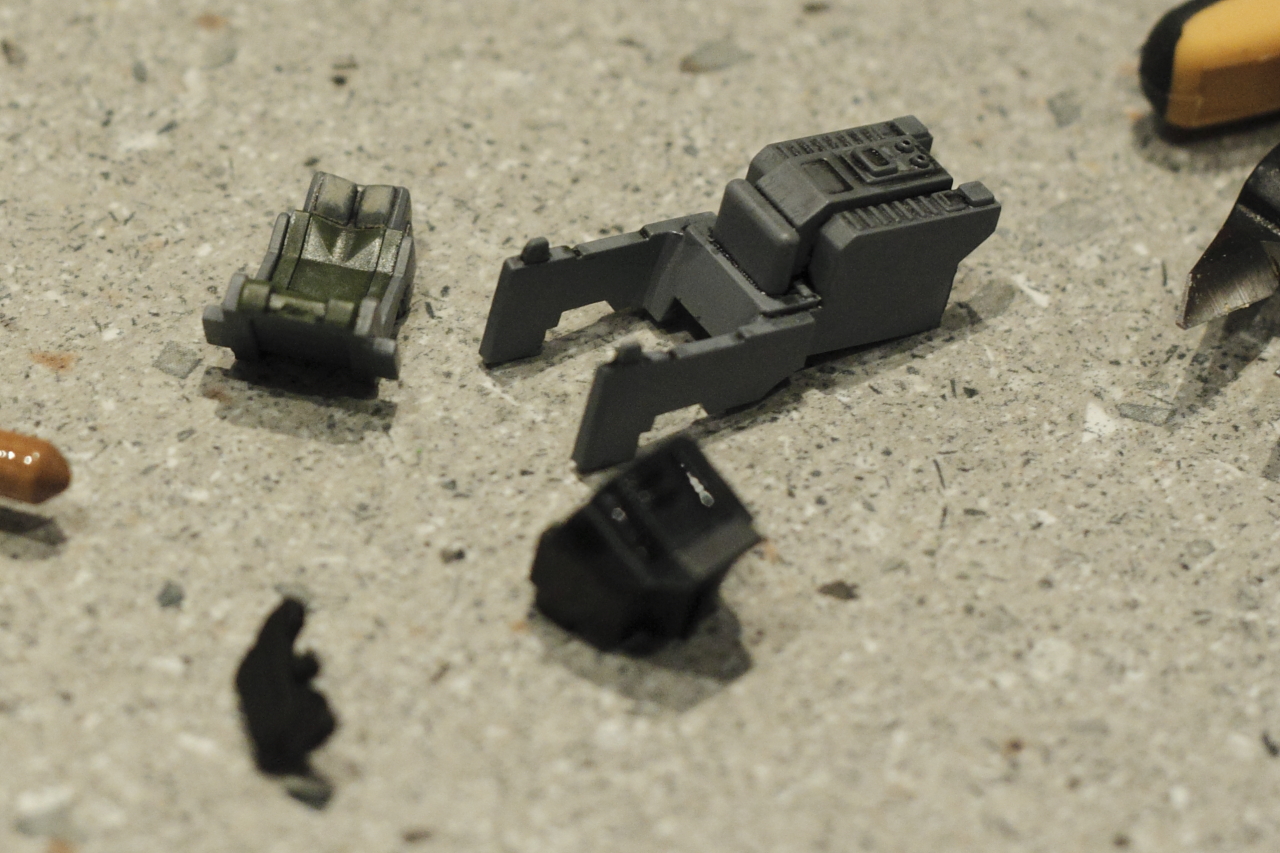
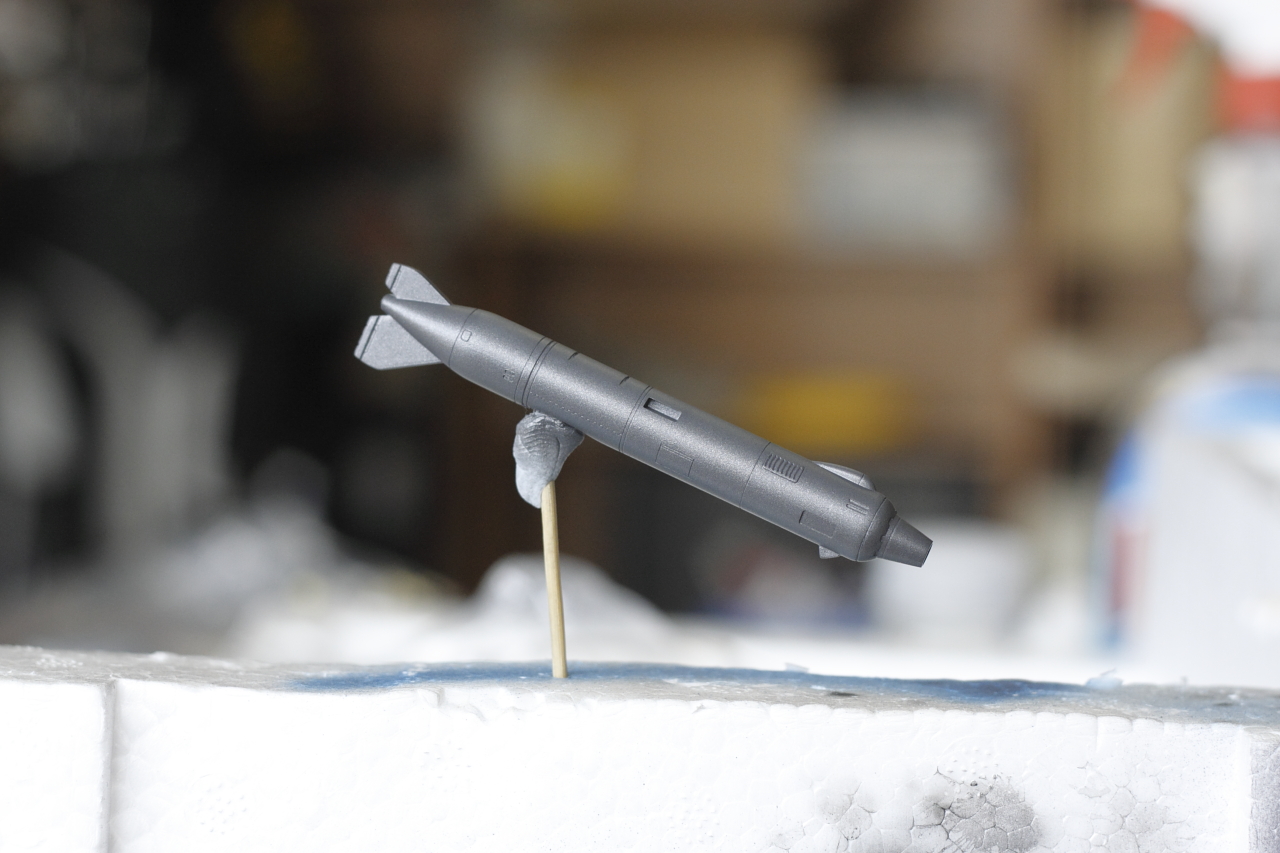
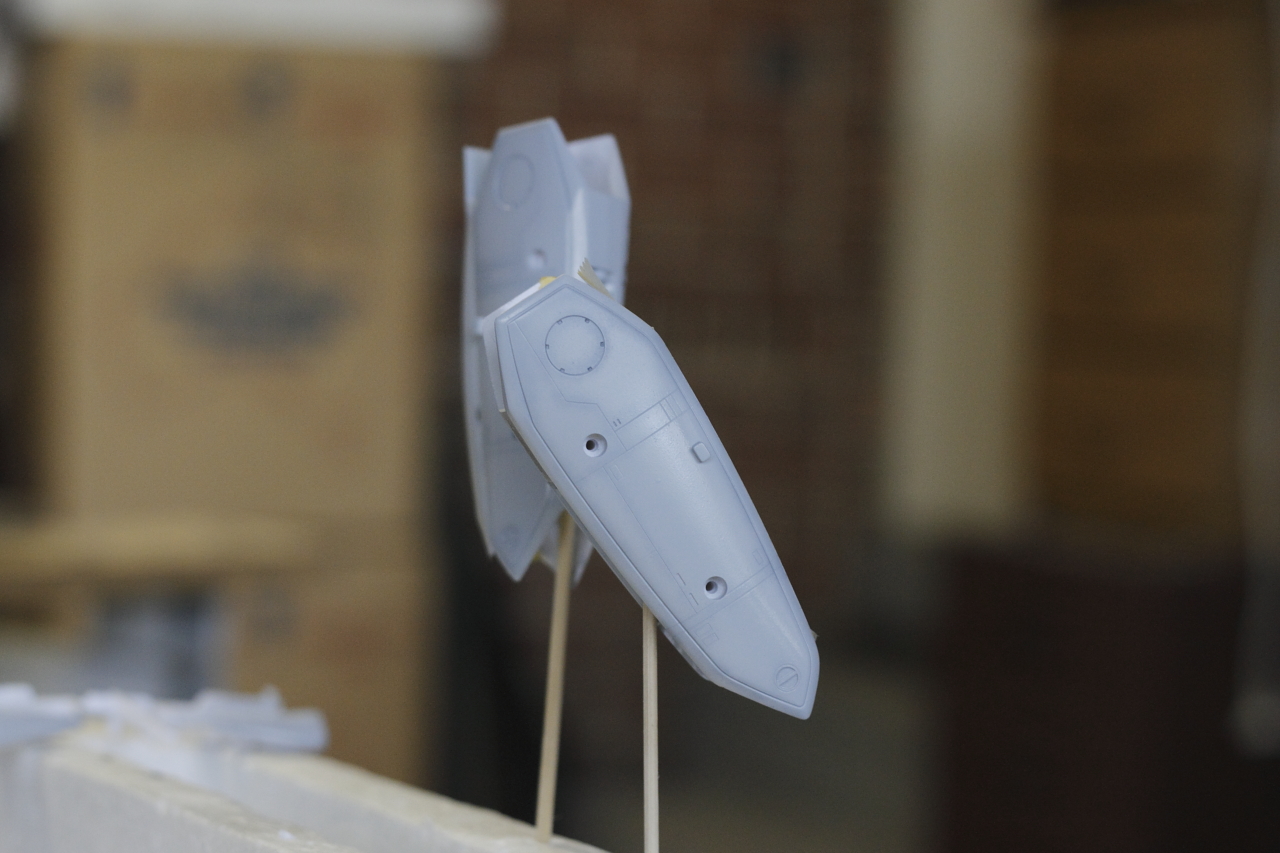
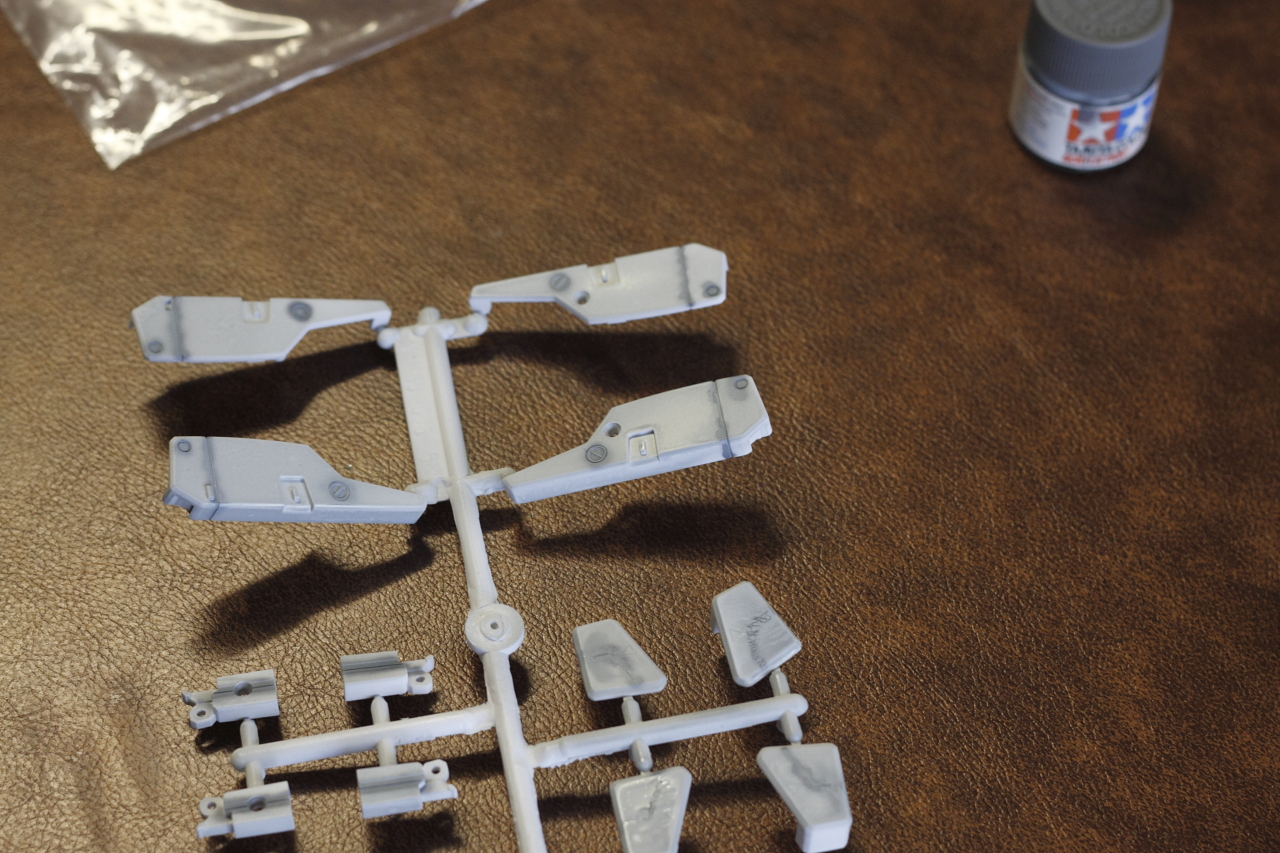
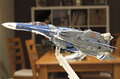
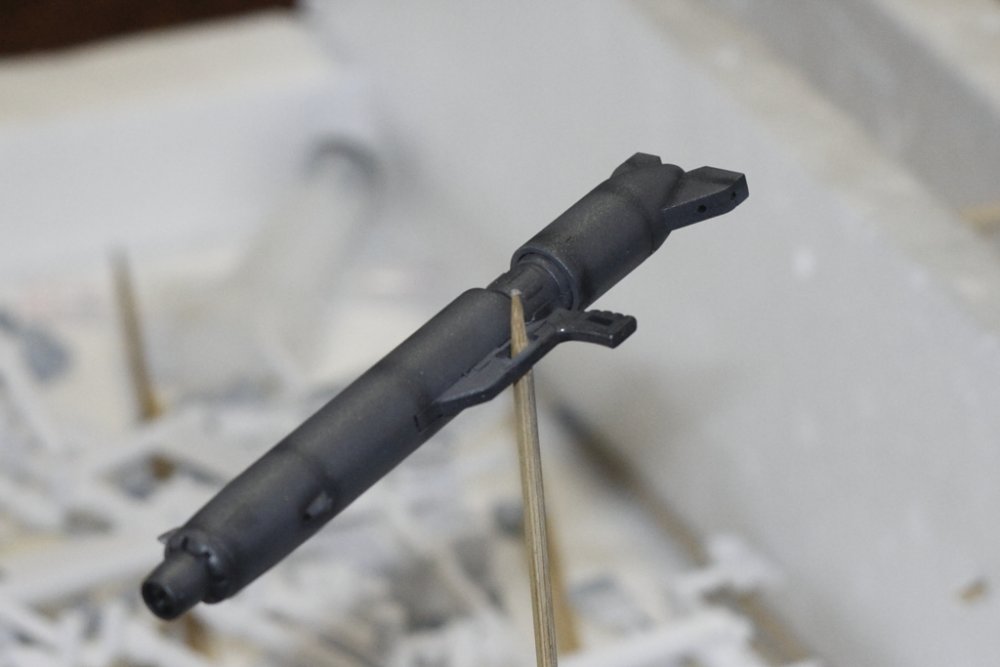
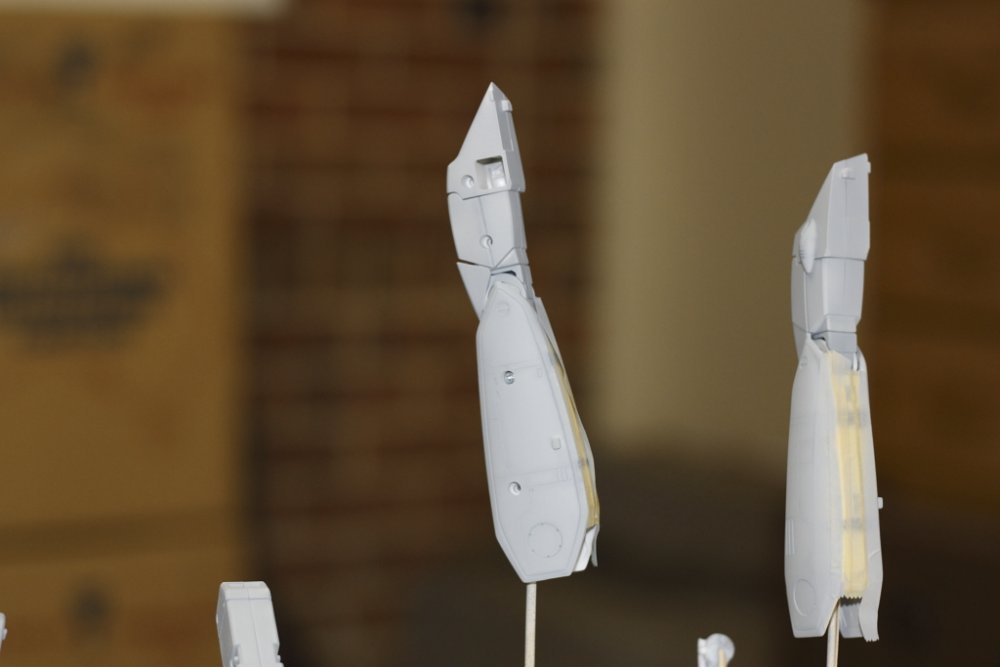
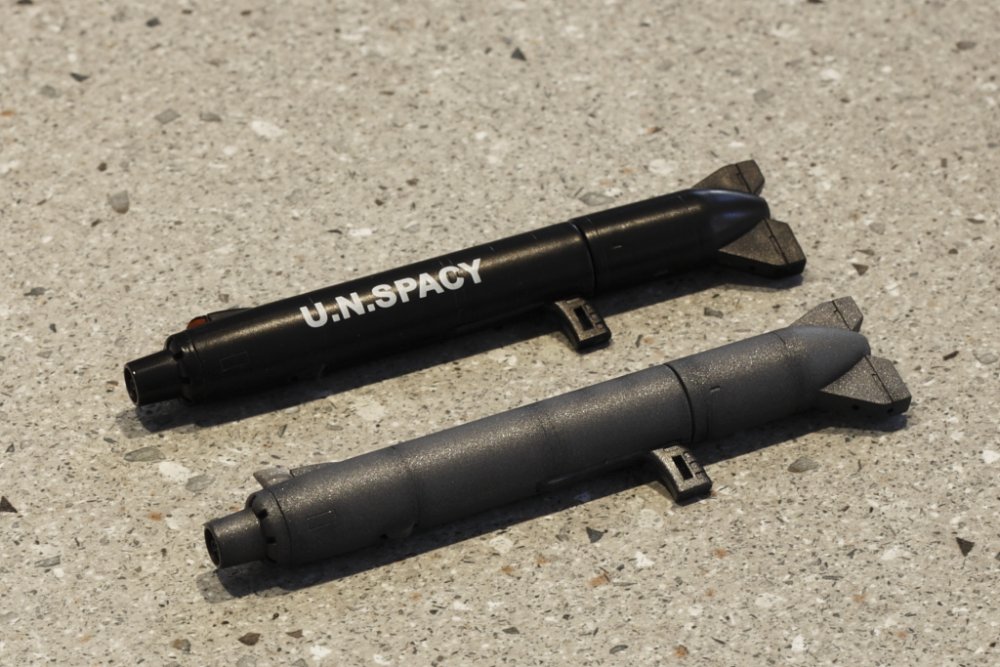
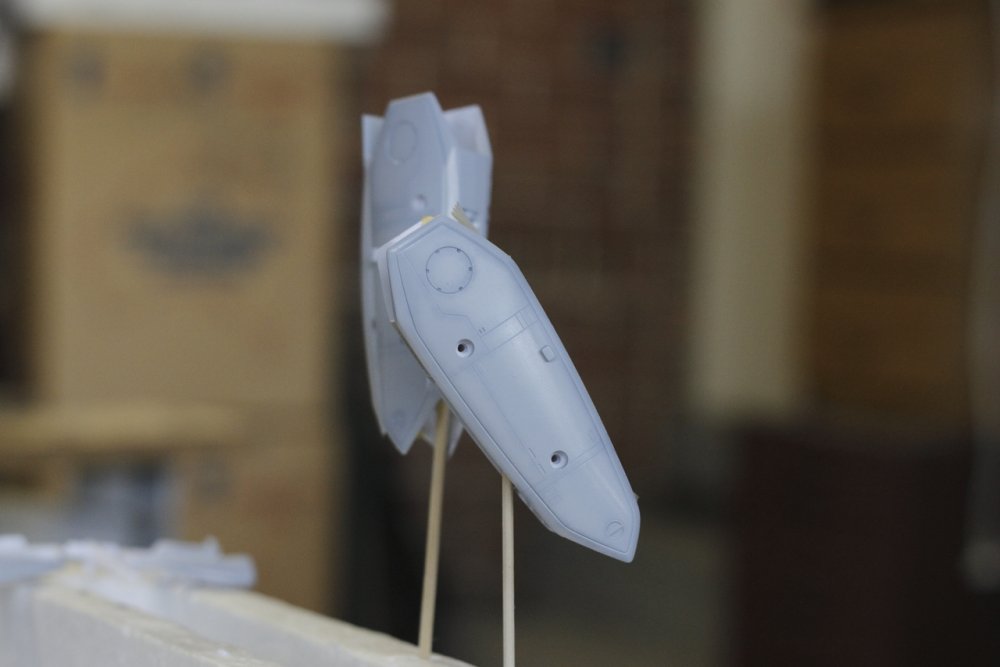
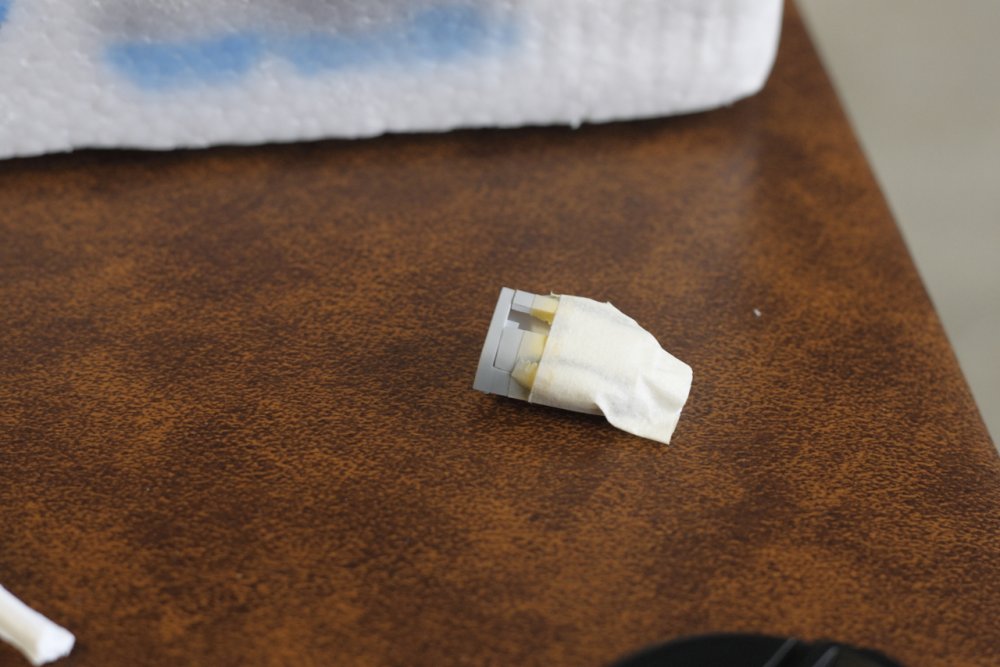
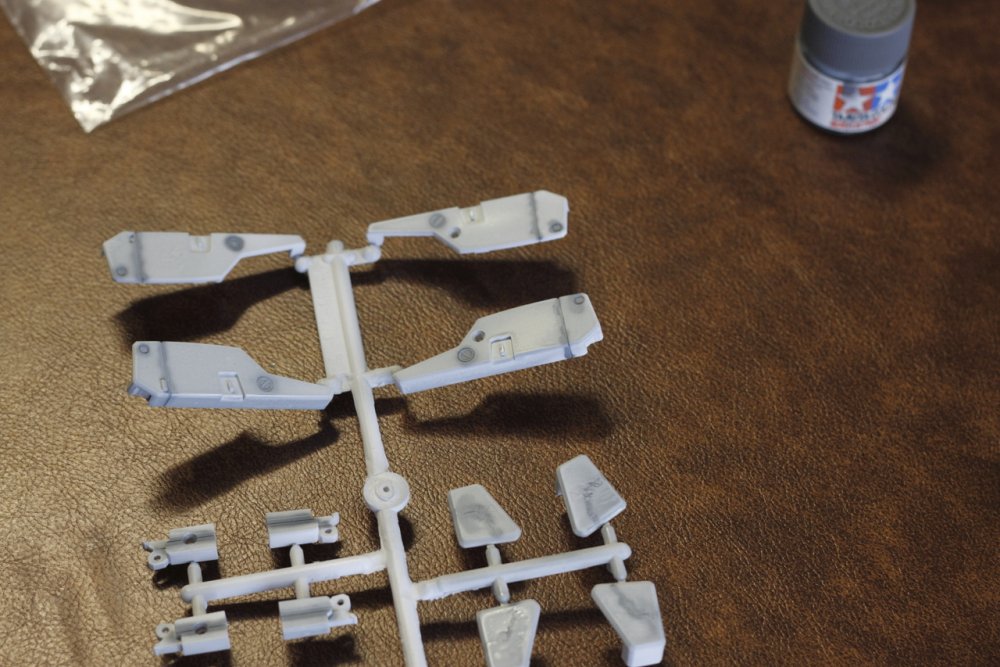
More progress today (only seems to happen when I'm home from work, sick...). Got lots of painting done, which was a positive. But unfortunately, during the parts cleaning (soapy warm water in my kitchen sink) I lost a part. It's the small insert that fits under the bottom fin near the "shin" of the leg. There are two and they form part of the mechanism that allows the fin to fold in on itself. No idea why it's a seperate part as it looks like it could have been molded to the leg. Anyway, it must've washed down the sink, even though I was super, super careful not to do just that. I figure I'll make one out of styrene sheet. I knew I should have kept them on the sprue until the very last minute! Here's the part (red shows the other one, green is the missing one): I wasn't happy with my pre-shading attempt the first time, particularly with the backpack. The Tamiya acrylic (black) I used was thinned too much and the pressure was too high. So my first few attempts a few weeks back weren't great. By the time I got the last batch done, I sorta had the hang of it. So I started over on the bad ones. Removing the paint was very easy-just a bit of windex and a toothbrush. The Lifecolor paint I'm using is very different from the Tamiya stuff - it doesn't come off with Windex. Very odd when the paint under is Tamiya, it gets that off and the Lifecolor paint on top of it, but leaves the rest. I didn't photograph it but it was weird. Nice to have a basecoat that won't react to Windex though! Oh, and this time, I decided holding the part and freehanding the airbrush was not a good way to get a straight line. Two hands this time, with the part stuck on a stable surface. I think the results were much better than my first attempt a few weeks back. As you can see from the next pic, the basecoat covers a multitude of sins! So getting the pre-shading perfect isn't exactly super important (the white stains you can see at the back is what happens when you don't thoroughly dry the parts before painting. There was a lot of water inside the back of the gun and it dripped out into the wet paint - oops): My first attempt at gray a few weeks back was a bit too light. Also, I used the thinned with water approach and it looked awful on most of what I did. So here it is with the second (and likely final) coat: And a comparison between the standard (unpainted) gun and my custom coloured one. I think if this were a real gunpod, it'd likely get the same basecoat as the rest of the underside of the aircraft. But this isn't a standard gunpod, right? And (some of) the parts touch dry, inside where it's warm so they can fully dry:


-
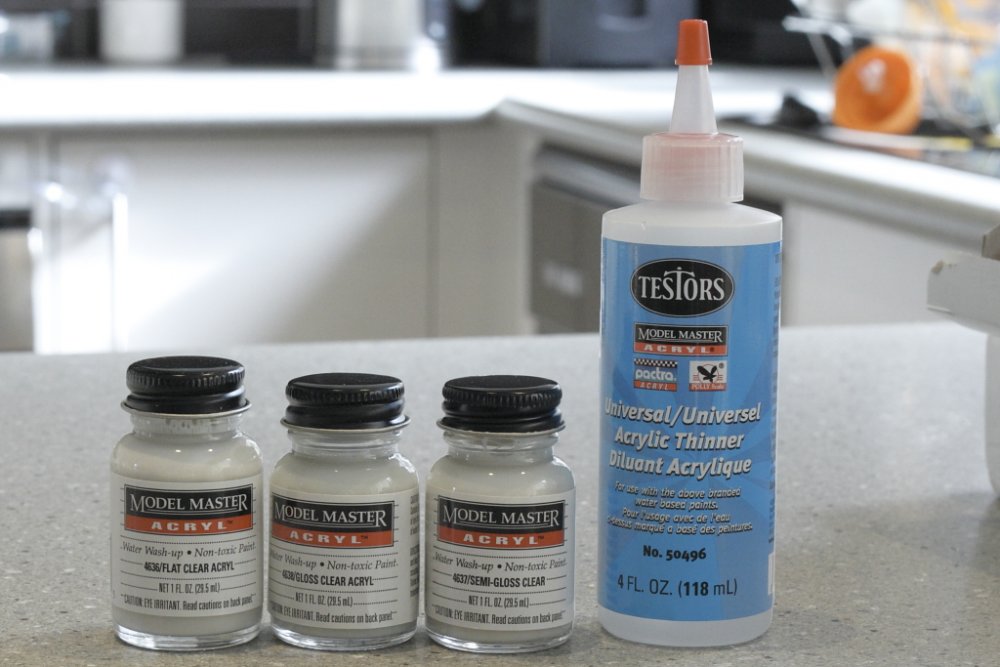
I finally got some from my LHS! Nobody had it and everywhere I tried wasn't even interested in trying to find out how to get it. I finally went to the most expensive hobby shop I could think of. It's probably been around the longest in Melbourne, is located in one of the hottest tourist spots (our main, iconic train station - Flinder's Street Station) and would have to have some of the most expensive prices on hobby stuff, compared to any other shop I've been in. But man, have they got a selection! And their staff are extremely helpful. In the end, I went through their contact us website and got ahold of an email address. Contact went from there and they agreed to source some for me. The ended up getting a carton of the stuff and are now stocking in on their shelves! I hope they didn't do that based only on my recommendation... Anyway, for any Melbourne people reading this, I'm talking about Hearns Hobby shop on Flinders Street. Yes, they're expensive but not by an unrealistic amount (imagine the rent they're paying for that location!). For example, a bottle of Tamiya paint is usually $3.50 at most stores, here it's $3.75. So some observations: It's white! This is the only clear I've seen from anyone that starts out white and dries clear It doesn't seem to have any noticeable smell (but I've got a cold) It's very thin - so much so that I wonder if I'll even need to thin it before airbrushing. There's a lot in the bottle (almost 30ml - 3 times what comes in a Tamiya jar) It's expensive! These cost $8.95 each! But considering what it took to get them and the comparison to Tamiya, it's actually pretty reasonable. The thinner has no smell that I could detect. Is it water? Is it alcohol based? Is it glycol? Who knows... Maybe I just spent $10 on a bottle of water! Can't wait to try them out. I don't think they'll be used on the 25 though. This project is pretty much finished. It's now sitting safely on my desk at work and everytime I look at it, I think it's pretty good for a first attempt at doing a model "right" and completely (shading, weathering, panel lining...). It's a long way from perfect, and yeah, there are things I'd do differently next time (like not be in such a hurry to assemble it and make it impossible to work out all the painting subtleties) but it's not bad and shows a lot of improvement over the last model I built, 10 years ago. So thanks everyone for the encouragement and very helpful advice, tips, comments along the way. It's been a lot of fun and I'm looking forward to my next few projects. I doubt any of them will be as in depth or detailed as this one (commenting on every step takes a really long time!) but it's certainly been fun and a learning experience to do this and I've made some great friends along the way. See you in the next few builds!
-
Cannot wait to see this! I'll have to experience this vicariously, I'm afraid. Too big/expensive for me to justify. Plus, my wife would have a heart attack!
-
Looking very good. Those CIWS parts are so small!
-
My main gripe is the gluing. I've searched everywhere out here and just can't find anything that works with ABS or POM plastic as a "plastic weld" type of glue. So I'm going to be using superglue. Given how well that worked on my SV-51 to repair it, I figure this will be OK. Ruskii, if you can find anywhere local that stocks glue that will work, let me know! The minor gripe right now is painting. I have this sinking feeling all my efforts to paint it are going to be smashed the first time I transform it. There's just so much of this thing that's designed to rub or grip and I seriously doubt paint is going to hold up well. Too bad they don't sell this in grey...
-
No idea about the soldier (I'm sure it's been mentioned somewhere but can't think of where off the top of my head) but I can say that scale, compared to the 1/60 VF-1D looks spot on! That's very impressive stuff! But no, I don't know if it's "confirmed" to be 1/60 scale or not.
-
Count me in as well!
-
Thanks very much! Haven't seen you around for a while Nickster. Been busy?
-
Thanks Weasel! It's a real shame there aren't any static 1/72 models for Frontier stuff yet. I'd get the whole squadron if that were ever to be released!
-
MickyG's Yamato VF-1S Unpainted, Unassembled Kit Build
mickyg replied to mickyg's topic in The Workshop!
Managed to get some oil wash done on the cockpit area. Not much to look at but it's at least some progress.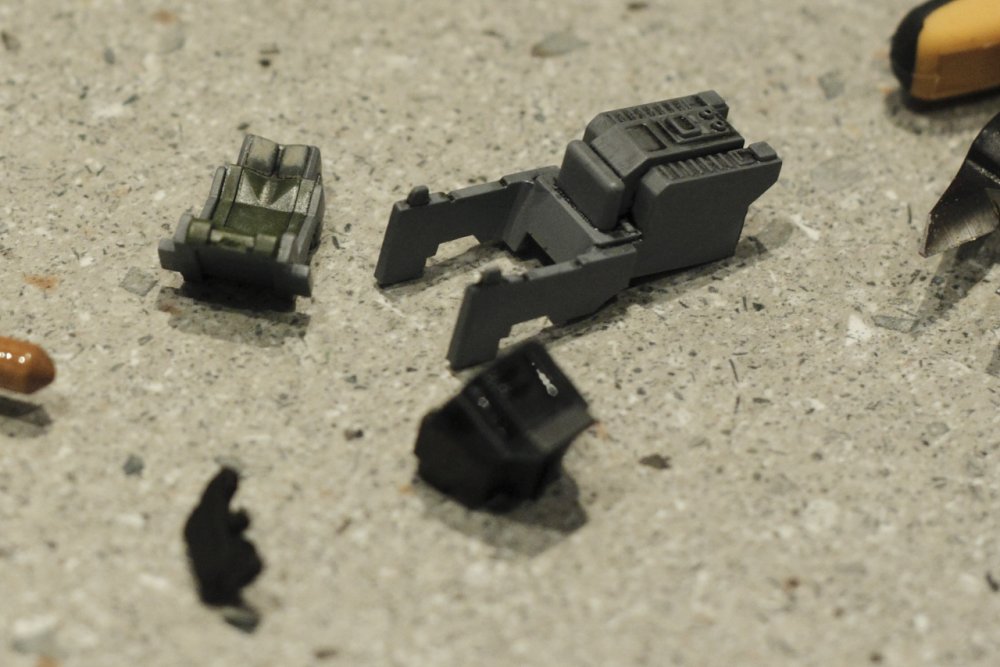
-
MickyG's Yamato VF-1S Unpainted, Unassembled Kit Build
mickyg replied to mickyg's topic in The Workshop!
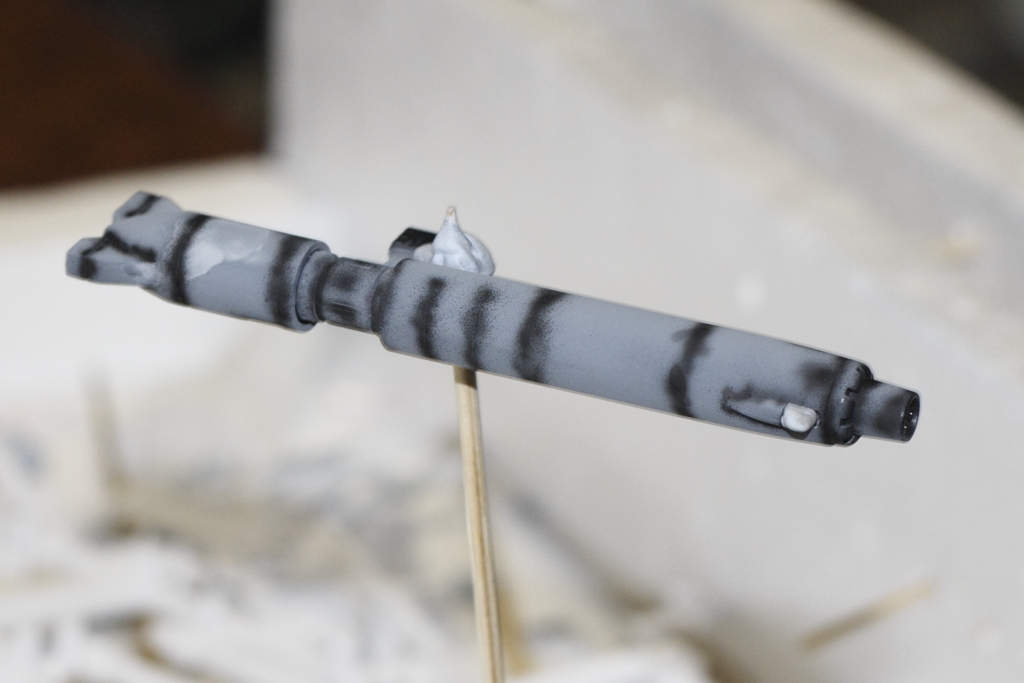
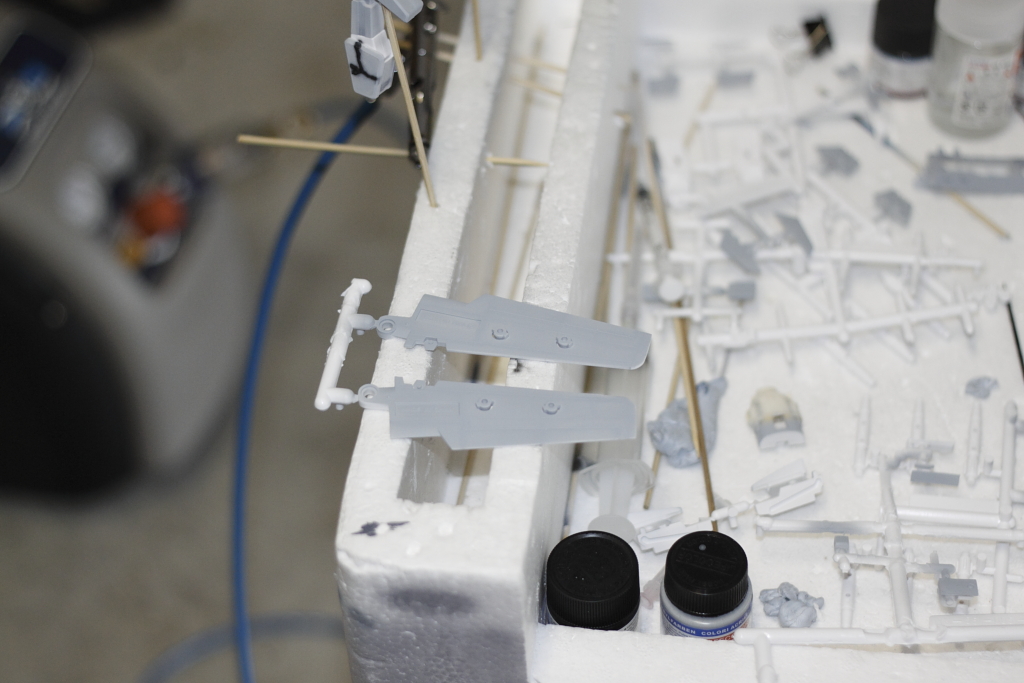
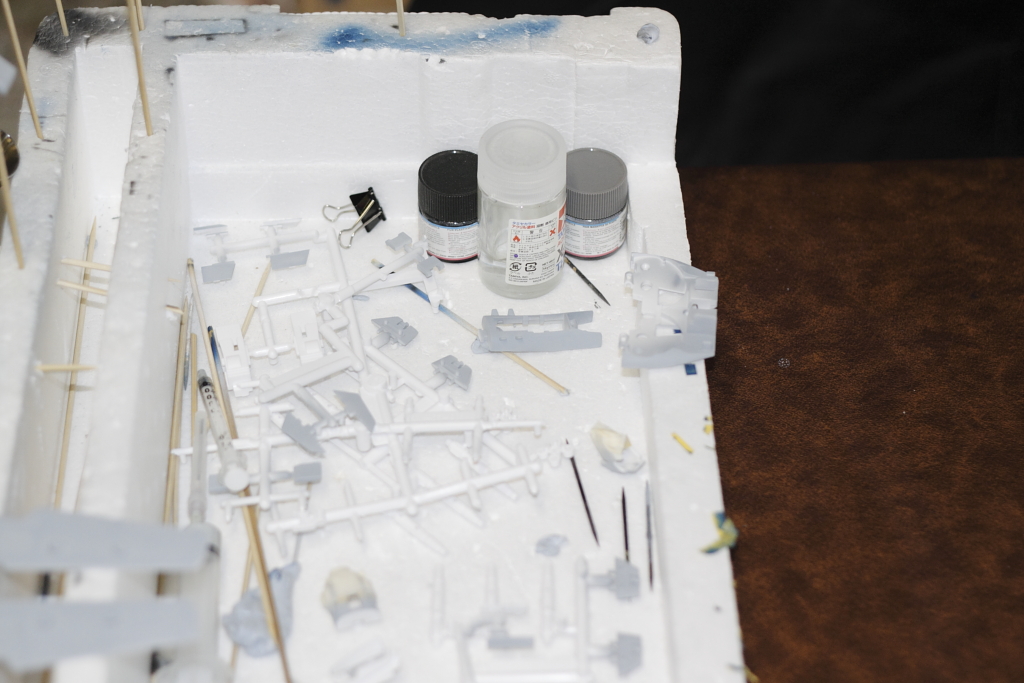
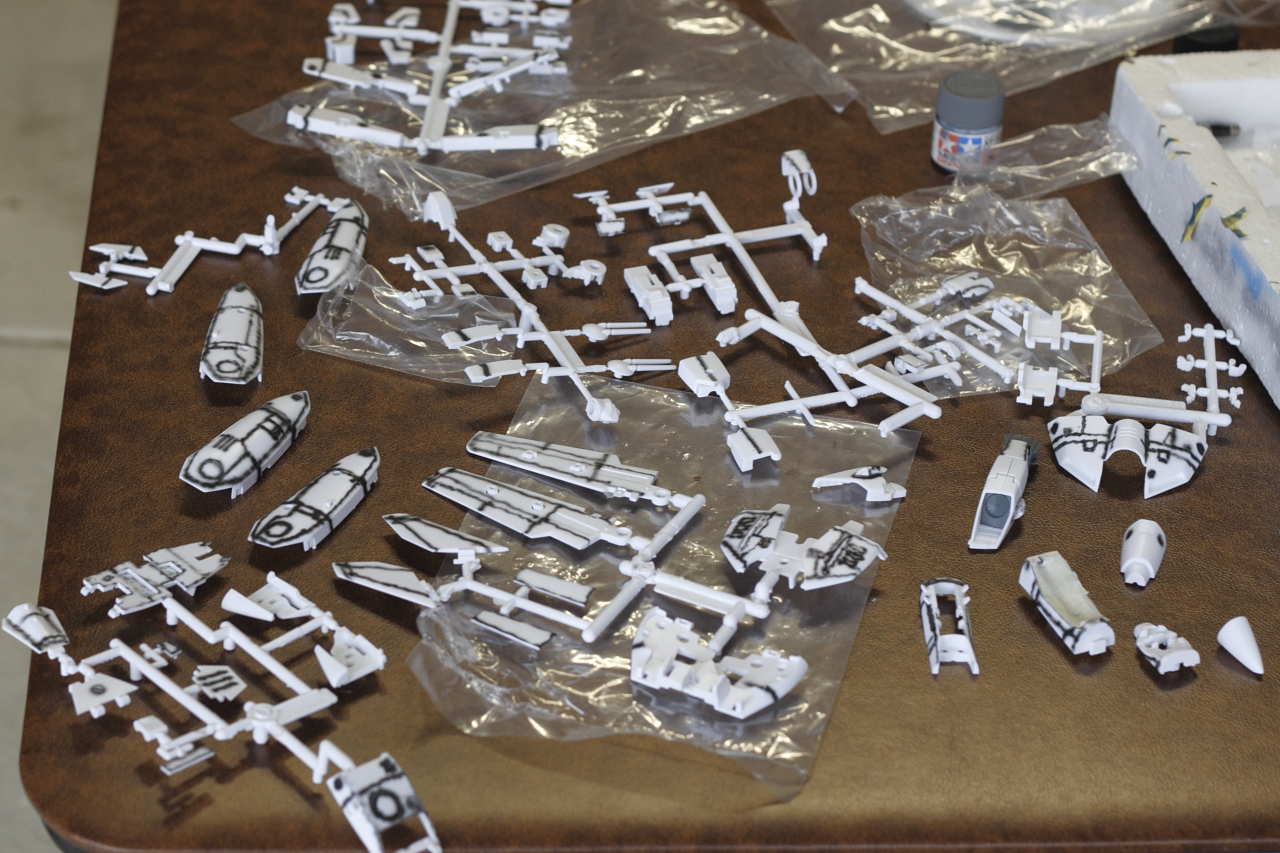
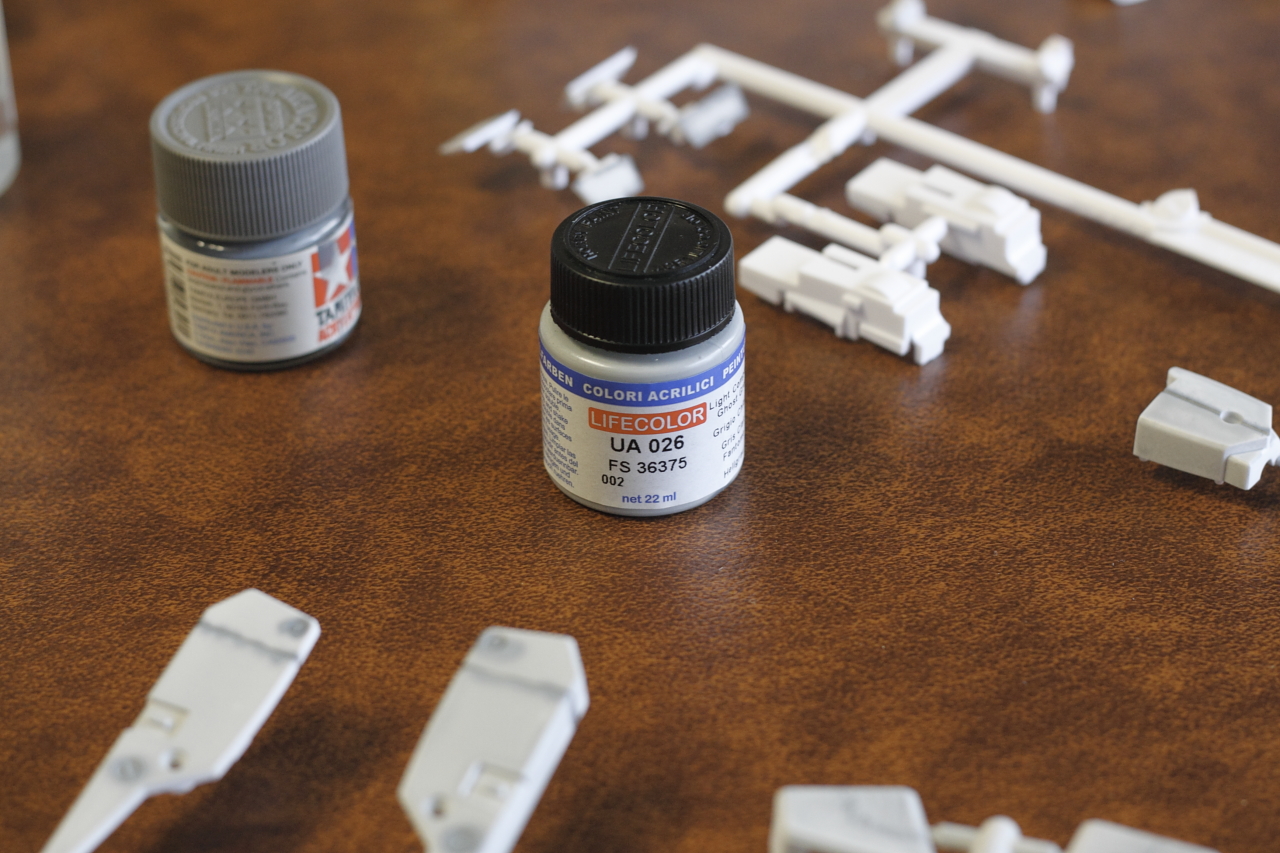
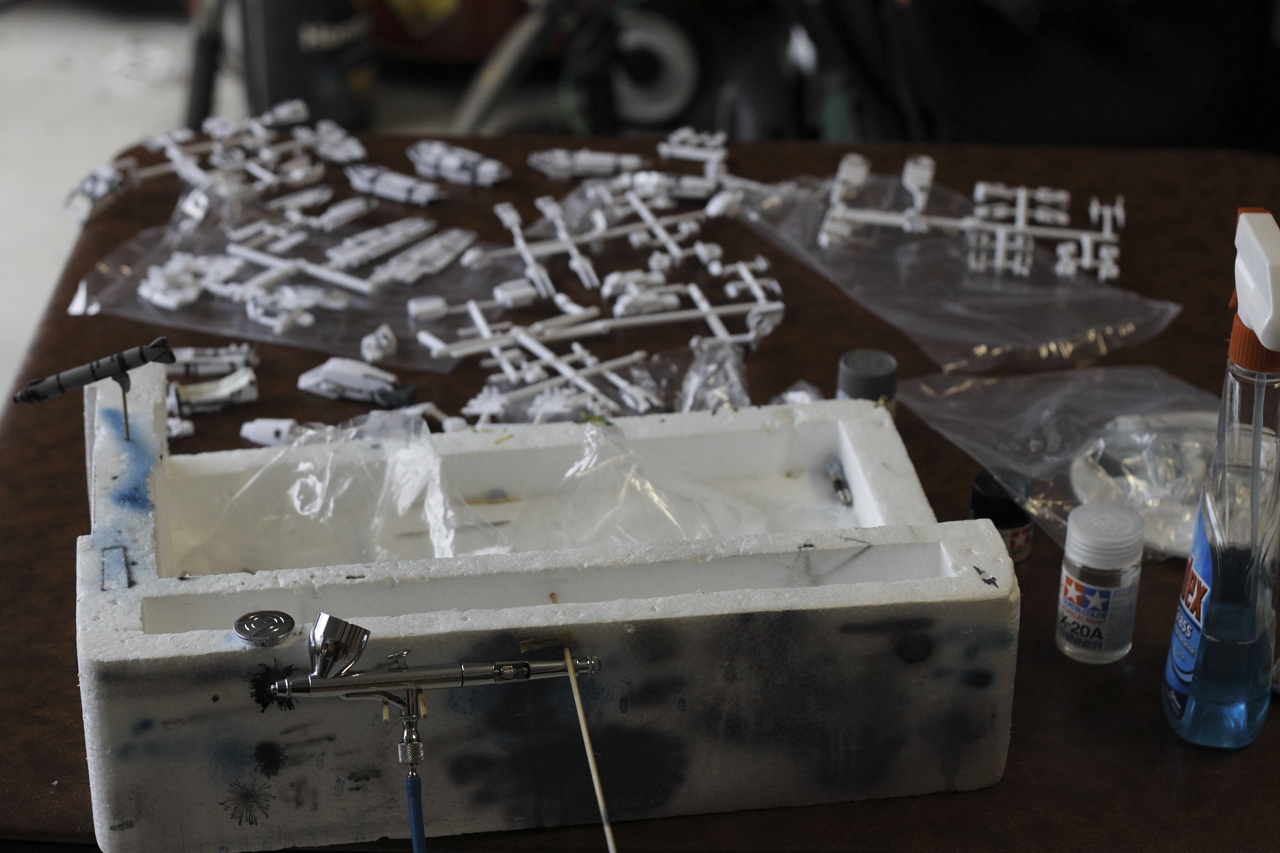
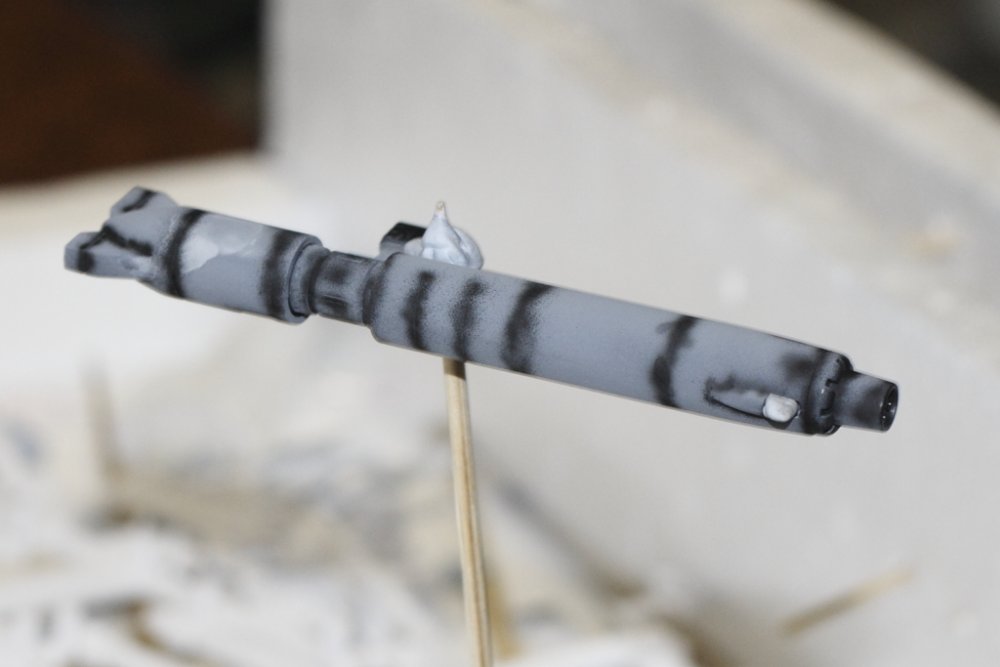
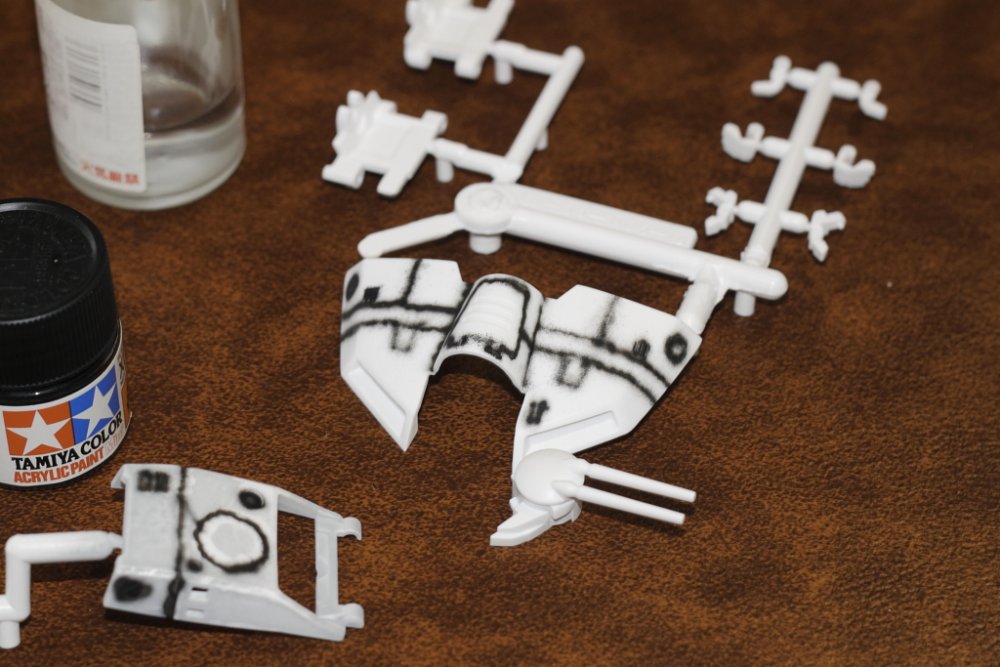
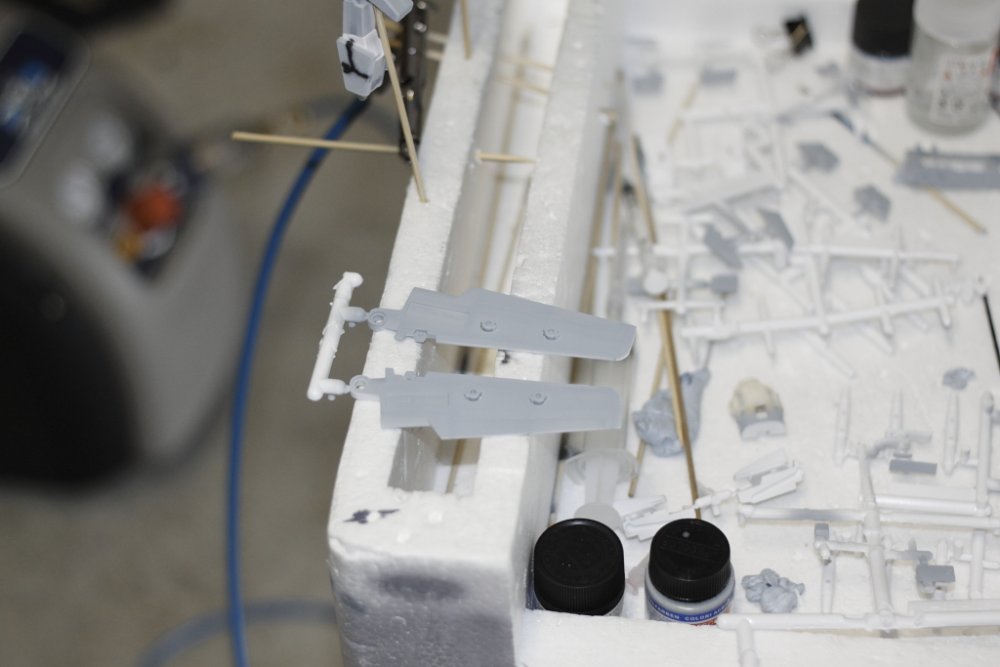
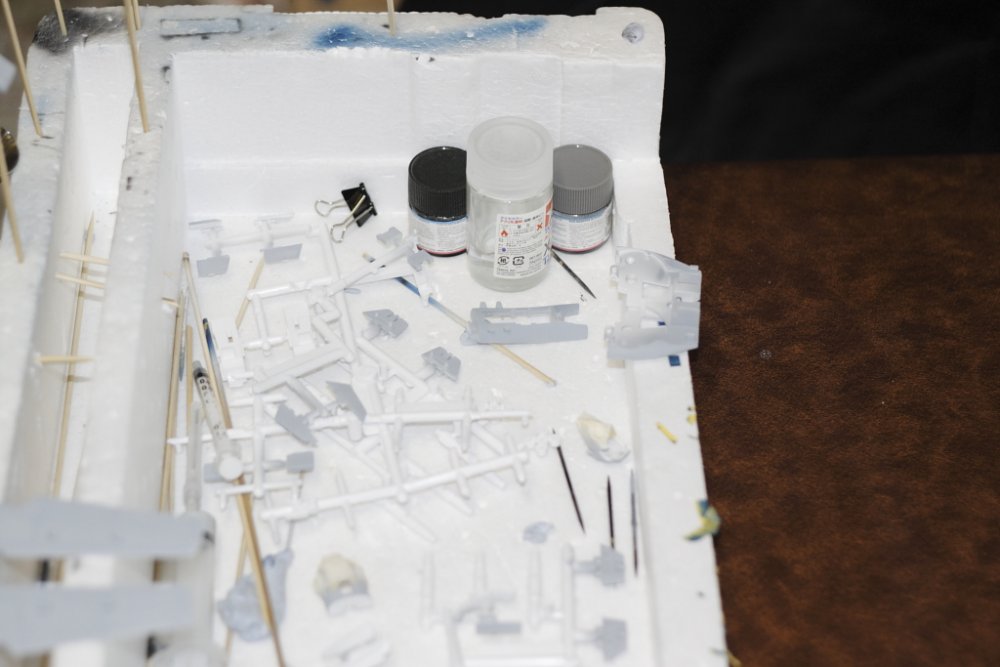
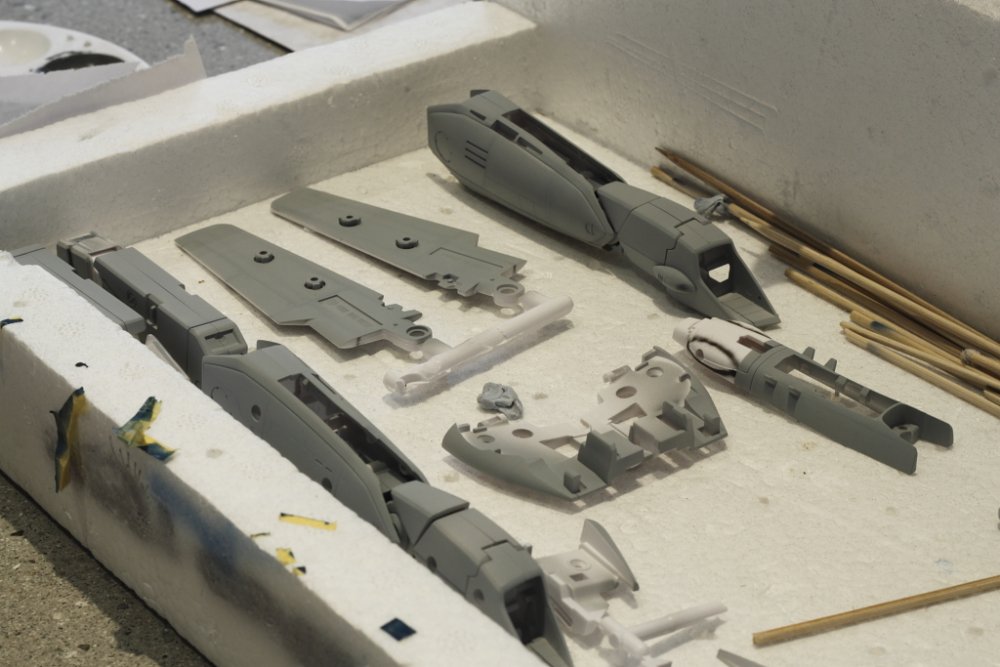
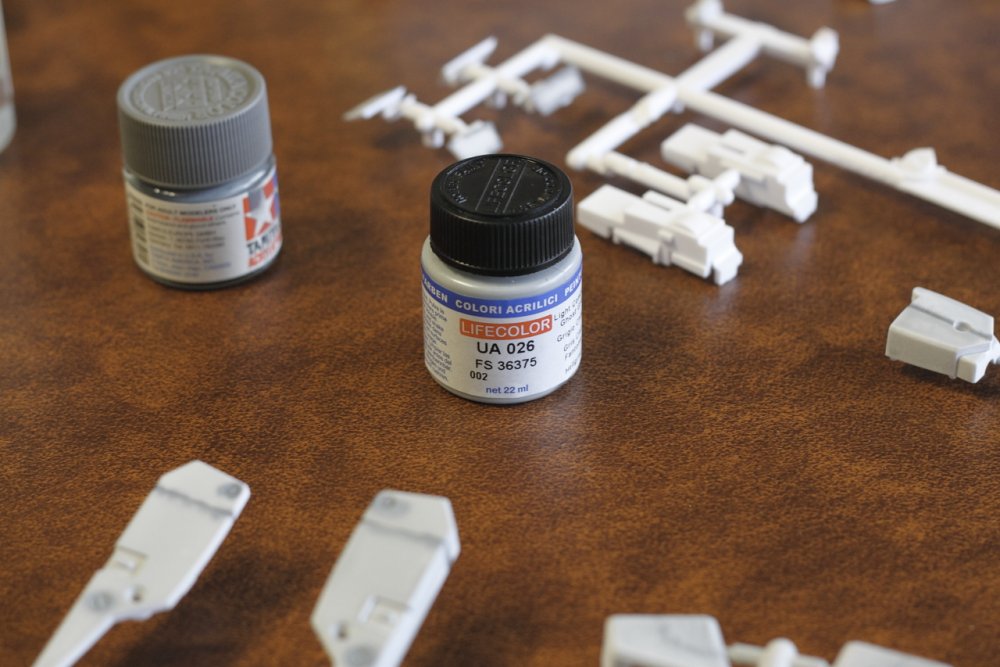
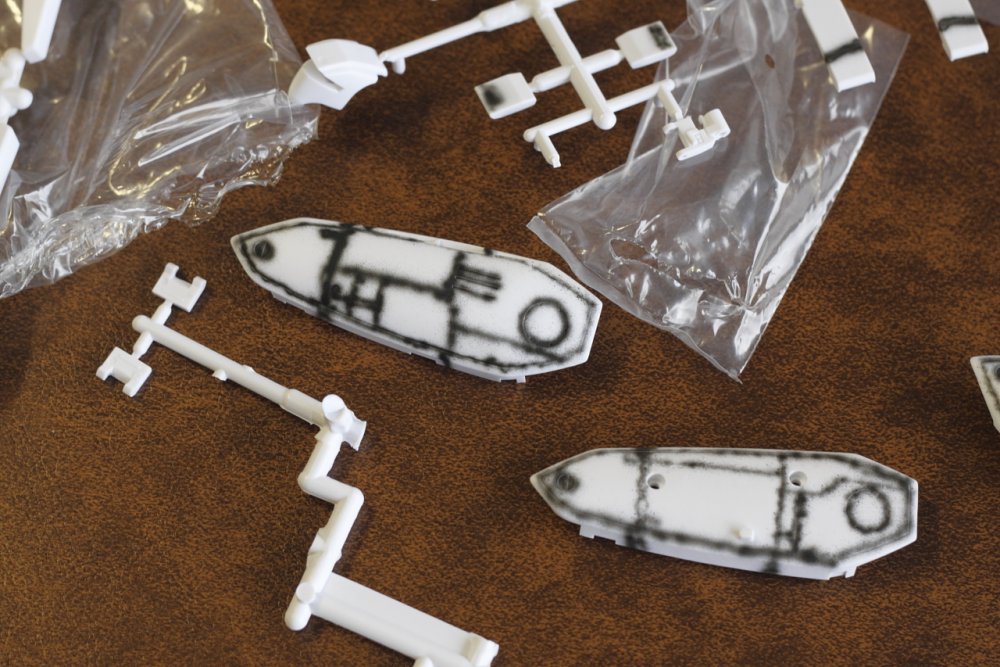
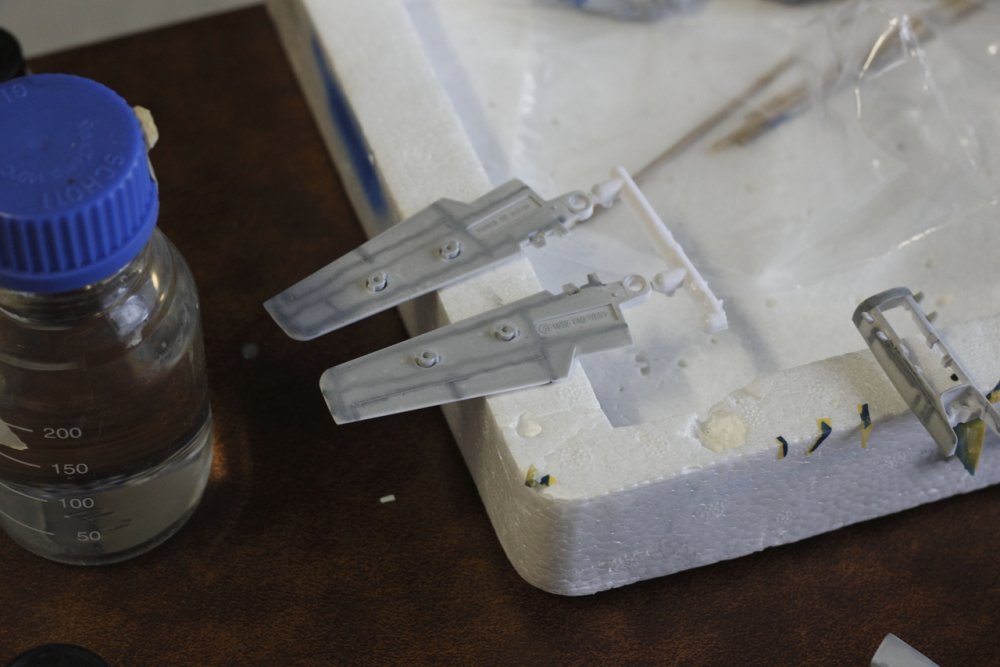
Got some pre-shading and small amount of base coat on today. This is my first foray into pre-shading and it was tough! I expect in another few years, if I stick with it, I might actually get good at it! The airbrush is great for fine lines but my hand isn't steady at all and following the panel lines resulted in squiggles instead of straight lines. But strangely enough, once the base coat was over it, it didn't seem to matter much. I experimented on the Hasegawa VF-1D gun first (well, yesterday actually) and realised very quickly how important a steady hand is. By the time I re-did it today (love acrylic paints!) it was a much better experience. Hasegawa VF-1D gunpod practice (pre-shaded, then base coat): Lots and lots of parts laid out: First base coat applied (and the paint I'm using in the first pic): This gray paint has been a bit of a learning experience. It's something I bought specifically for this project because none of the local hobby shops I frequent, had all the colors I needed in Tamiya or GSI brands. So I got these new ones. They were a bit more expensive but also have more volume of paint. Firstly, they do not thin well with Tamiya thinner. I mixed a few drops of paint with a drop of thinner and it looked like it was thinning the paint but a few seconds later, it all sort of started to seperate into tiny little particles. Imagine cottage cheese on a much finer scale. So that sort of thinner was definitely out. I did some reading up on this brand of paint and from what I saw, water is the best option. So I tried that in my airbrush. That went on horribly. The paint went on like you'd expect water to - all beaded up and runny! My final solution - straight paint into the airbrush. That went on like a dream! Very smooth and very even coverage for a single coat. The second will go on tomorrow. So the "Lifecolor" paints are definitely good, quality wise. And you get more in a jar compared to Tamiya or GSI. But, since there's no need to thin (they really are pretty thin paints to start with) I'm not sure you're getting your money's worth here. So far, I'm learning lots about paint coverage, how seemingly insignificant getting the pre-shading exactly perfect is (For the 1D gun, you can't even see the shading after the base coat!) and how patience is still very much needed. Next up: I think I'll loosely assemble the kit so I can get a better idea of what goes where and what needs to be painted. I've decided to leave a lot of parts white, as it ties in with the white nose and landing gear. Why not have internal parts remain white? As long as they don't clash too much, I think it'll work pretty well. I'm thinking the swing bar, the nose and hip attachment points, and a few others can all stay white without throwing the scheme off too much. We'll see though...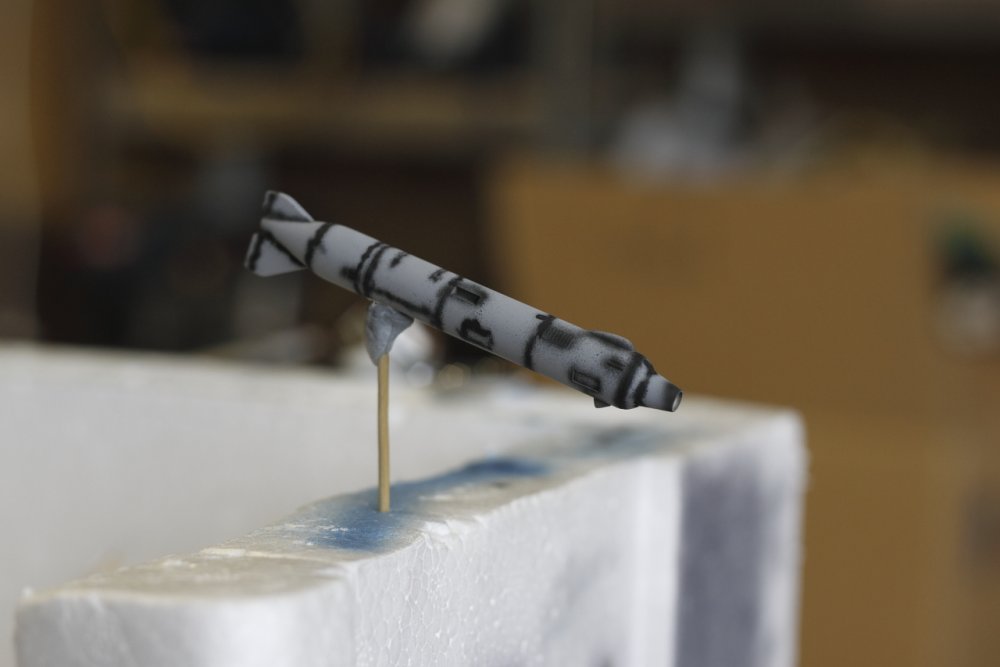


-
I love this site and love the fact that I can post images on my threads at pretty much whatever resolution I want. I'm also very grateful for the (what looks like) unlimited storage available for hosting my images directly on the thread. So I'm just curious as to why the gallery defaults to such a tiny (648 wide on the longer side) image size. Is this hard coded or is there a way to change this a bit in settings somewhere? Thanks again for a great site and great features. I know this stuff isn't free and I really appreciate all the effort that goes into it (monetary and time).
-
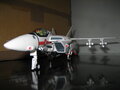
Yamato 1/60 VF-1J v2 - TV Hikaru type
Images added to a gallery album owned by mickyg in 1/60 Customs
Another panel lined specimen -
-
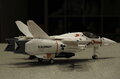
From the album: Yamato 1/60 VF-1J v2 - TV Hikaru type
-
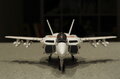
From the album: Yamato 1/60 VF-1J v2 - TV Hikaru type
-

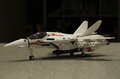
From the album: Yamato 1/60 VF-1J v2 - TV Hikaru type
-
From the album: Yamato 1/60 VF-1J v2 - TV Hikaru type
-
From the album: Yamato 1/60 VF-1J v2 - TV Hikaru type
-
From the album: Yamato 1/60 VF-1J v2 - TV Hikaru type
-
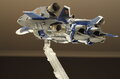
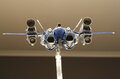
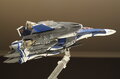
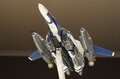
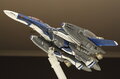
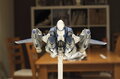
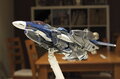
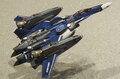
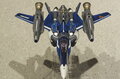
Bandai 1/72 VF-25G - Macross Frontier Michael Blanc type
Images added to a gallery album owned by mickyg in Macross Models
A Frustrating Labour of... Not sure I'd call it Love. ;) -
-
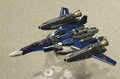
From the album: Bandai 1/72 VF-25G - Macross Frontier Michael Blanc type
-

From the album: Bandai 1/72 VF-25G - Macross Frontier Michael Blanc type
-
From the album: Bandai 1/72 VF-25G - Macross Frontier Michael Blanc type
-
From the album: Bandai 1/72 VF-25G - Macross Frontier Michael Blanc type